Destiny 2 Pantheon walkthrough
Take on Destiny 2's raid boss rush for some great loot!

The Pantheon is an all new raid boss-rush mode added to Destiny 2. It’s a limited time activity, with the potential to reward some of the best gear in the game.
This end-game difficulty activity is geared towards fireteams of 6. In it, you and your squad will face off against a remixed lineup of bosses from the various Destiny 2 raids, with some unique twists along the way.
This guide will explain how Pantheon works, what are the Pantheon rewards, and what you can expect to deal with each week.
On this page:
Destiny 2 Pantheon Explained
Pantheon is a limited time event running from April 30th until the weekly reset on June 3rd. Each week will debut a new series of bosses to face, each taken from previous Destiny 2 raids. The fights themselves will feature unique twists, like new enemies that weren’t present before, or modifications to the encounter mechanics.

Each week also represents a change in difficulty. For week 1, everyone in the fireteam will play with a -5 level disadvantage versus the enemies. For week 2, that increases to minus 10, then 15, and finally a full minus 20 levels for the final week.
That might sound daunting, but you have an ace up your sleeve in a special buffs each week. For week one it called Class Warfare. This applies stacking increases to your outgoing damage, and reduction to incoming damage when someone in your fireteam uses their class ability. You will need to be within range, but if you perform a hunter dodge, for example, and a Titan nearby puts up a rally barricade, everyone on your team in range will get two stacks of this buff. The best part is this is inclusive of other active perks, enabling huge boosts to damage and damage resistance.
For week 2, the buff is Shot Caller. If you land a few hits with a primary ammo weapon, like a scout or auto rifle, it empowers your Special and Heavy ammo weapons, and gives you an incoming damage reduction. This is great to help keep you alive, and can be activated at the start of boss damage phases to help put the hurt on the forces of darkness.
Destiny 2 Pantheon Rewards
There wouldn’t be much point in taking on the gauntlet that is Pantheon without rewards that make it worth your time, and oh boy is it worth it. Clearing each encounter brings with it a veritable bounty of raid weapons, frequently including some with Deepsite Resonance. That means you can extract the patterns, and eventually craft your own god rolls.

In addition, Shaxx has a special quest called Divine Weaponry. Once you pick this up all you will need to do is complete all of the Pantheon Encounters, and Shaxx will give you your choice from a selection of Raid Exotic Weapons. These have historically always relied on pure luck with drop rates, being able to just select one is unprecedented.
Each week Shaxx will update his quest, and add to his assortment of expotic weapons. Currently your choices are:
- Eyes of Tomorrow - Rocket Launcher from the Deep Stone Crypt
- Touch of Malice - Scout Rifle from King’s Fall
Pantheon Week 1 Atraks Soverign in Destiny 2
The first week of the Pantheon pulls from King’s Fall, Vow of the Disciple, Root of Nightmares, and the Deep Stone Crypt. Your level disadvantage is set to -5.
The first encounter is Golgoroth from King’s Fall. We have a full walkthrough to this fight in our King’s Fall Raid guide. To summarize, everyone will clear adds until you eliminate a pair of yellow health bar wizards. Then, four members of the team shoot orb on the ceiling one at a time to form pools of goo. They have to stand in the good to damage the boss. The other two members take turns shooting Golgoroth in the weak spot on his back to attract his gaze (trading before the timer runs out each time), which prevents him from killing the DPS team. Occasionally someone on the DPS team will get a debuff called unstable light, they will need to release an explosive shockwave when their timer runs out, damaging any team member nearby.

There are three key changes for this version of the fight. First, the add clear phase now features Ogres, and yellow-bar Knights called Witness’s Conscript. Make sure you clear those quickly. Second, during the boss damage phase Two Guardians will now be cursed with Unstable Light. They will both need to run away from the squad before they detonate, lest they kill other fireteam members. Finally, the Gaze Holders will have to deal with Invisible Minotaurs while they are holding Golgoroth’s attention.
Next up is The Caretaker from Vow of the Disciple. He is slowly walking towards an obelisk, and will wipe the party if he reaches it. He can be temporarily stunned if he is shot in the face when it light ups, then his back when it opens up. While that is happening a pair of runners will take turns shooting a darkness seed to open a vault room, and collect up to three glowing symbols by running through them. They will then need to shoot the symbols they have gathered on the obelisk to clear them. Once all nine symbols have been shot, the damage phase will start. You will need to be standing on the glowing circle on the floor to do damage, it will rotate through three different spots. After a damage phase the entire battle moves up another floor. After the third floor the boss will go into a last stand, everyone will need to do enough damage to finish the boss before he wipes the party.
This one is more or less the same as before. There are some extra enemies, but the main thing to watch out for is the homing projectiles fired by The Caretaker will also seek out the runners who are searching for the Darkness fragments. Anytime he hits them, it decreases the amount of time you have to find the fragments.
The third encounter for week 1 is Macrocosm from the Root of Nightmares. You can check out our guide for full details. The idea here is to get each trio of planets above each of the four floating islands to be a complete set of Darkness, or Light. One person will be assigned to each Island, and after killing a colossus, they will be able to see which planets are Light and Dark. Once they do, they will see which is the outlier, collect it, and swap places with the outlier on the opposite side of the map. Once all of the correct changes are made, more Colossi will appear. Kill them to reveal the color of the planets above the middle of the arena, and a Guardian will need to bring the matching energy to each.
Damage phase will begin after this. The boss will have either a Dark or Light Shield. You will only be able to damage the boss while standing under a planet that matches his shield. After several rounds of this he will go into a last stand phase of his own. Finish him quickly to advance.
There are two things you will need to watch out for. First, a fire tornado will spawn on one of the floating Islands when someone takes the Light or Dark energy from a planet. This does a lot of damage, and will rotate from Island to Island. Also, a Tormentor will spawn once all of the planets are aligned. Make sure you deal with him quickly before he becomes a problem during the damage phase.
The last encounter is a fight with Atraks-1 from the Deep Stone Crypt. Split into two teams of three. Three stay in the beginning area, the other three use the elevators in the back of the room to reach an upper area. Clear adds until a number of Servitors appear, then find and identify a Vandal with a yellow symbol (upper area) or red symbol (upper area) above their heads. Someone from each team will need to pick up those symbols. Red is the Operator buff, this person can activate switches, which open airlocks at the end of the space, or send elevators back down. Yellow is the Scanner buff. When all of the Servitors die, the damage phase begins. During the damage phase there will be copies of the boss, and only the scanner can see which copy is glowing. That’s the one that needs to be destroyed.

There is a terminal in both the upper and lower areas. If one of the augments is docked in it, it can be retrieved by someone in either the upper or lower area. The Operator Augment should be sent up as soon as possible. When a copy dies, it leaves behind a ball of energy. Someone needs to pick this up, or it explodes and wipes the team. The person who picks it up has 40 seconds to get rid of it, or it kills them alone. The Operator can shoot the energy off of them, which resets its timer. The goal is to get the person with the energy to an airlock, for the Operator to shoot the switch to open the airlock, and for them to shoot the energy off of them in the airlock so that it is sucked into space.
After two copies in the upper area die, they will appear in the lower area. The Scanner augment will need to be sent down. This time the players who retrieve the energy should take the lifts back to the upper area, allowing them to vent the energy out of an airlock. After two copies die in the lower area, two more appear in the upper. After a few back and forth cycles you will either reach the last stand, or the damage phase ends. If the damage phase ends then everyone should return to their side and start the process again. If the last stand begins, then everyone should gather at the top. A larger number of copies will appear. Everyone should rush the one identified by the Scanner. After it dies another copy will become the target, then one more after. Collect all of the energy as they fall, and defeat the third copy before time runs out to avoid the wipe and clear the encounter.
This is identical to the normal raid version, with one key exception: Tormentors will spawn after you’ve killed the groups of Servitors. Make sure to take them out quickly, otherwise complete this as normal.
Pantheon Week 2 Oryx Exalted in Destiny 2
Week 2 of the Pantheon starts with the exact same four bosses as week one, then adds one more on top at the end. It also comes with a different set of modifiers:
- Solar Surge: 25% increase in Solar damage
- Stasis Surge: 25% increase in Stasis damage
- Shot caller: Landing multiple precision hits with a primary ammo weapon empowers Special and Heavy ammo weapons. Reduces incoming damage while active
Notably, this second week also increases your level disadvantage from -5 to -10. Things are officially getting tougher.
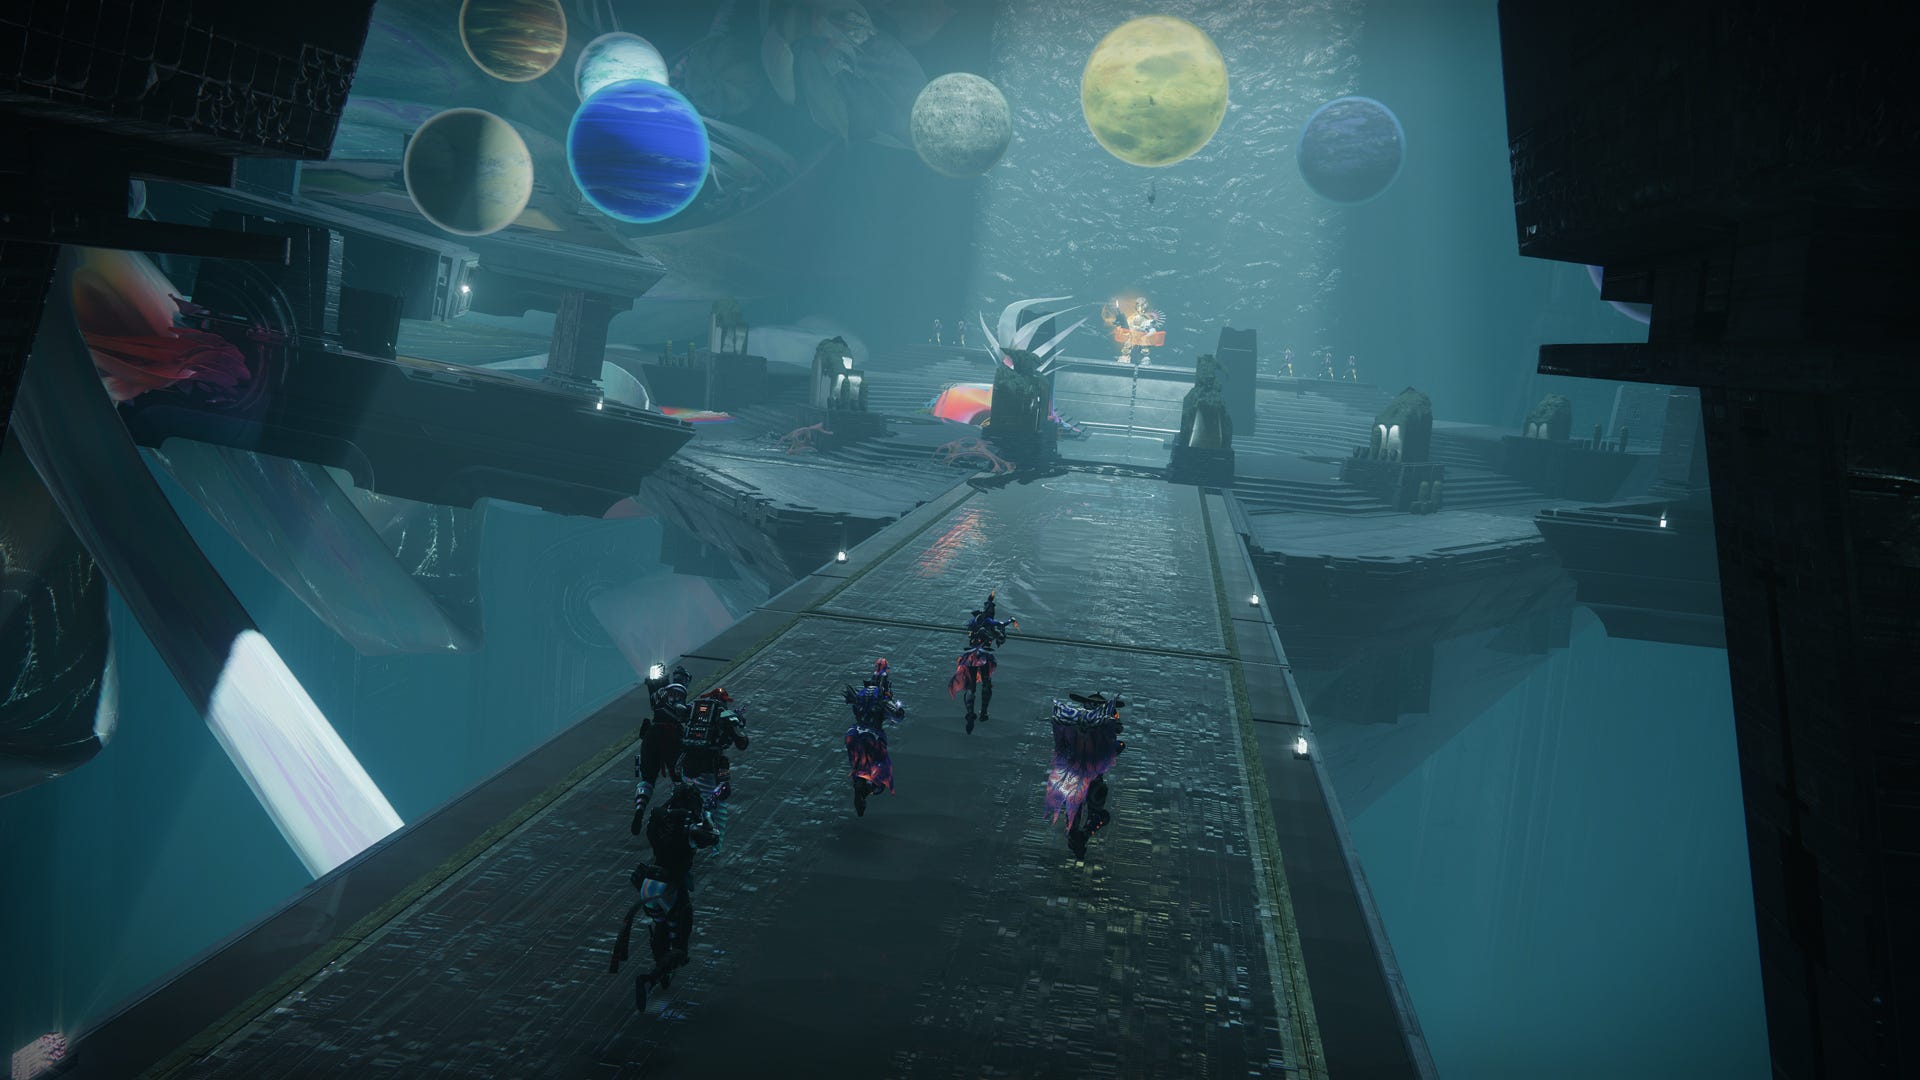
The strategy for the first four bosses is unchanged. Once you have beaten Atraks, you will be transported to the next area to fight this week's added boss, Oryx, the Taken King. This is a complex fight, and it is worth referring to our detailed breakdown in our full Oryx guide.
As a refresher, you will divide into a group of four platform holders, and two floaters. The platform holders will be assigned to one of the four platforms at the corners of the arena. The two floaters will be in charge of killing enemies, and will replace a platform holder as needed.
A knight will spawn on each of the four platforms. Once all four are dead, Oryx will move next to one of those locations, and slam his giant fist on it. Now, a few things will happen. One random person will become Torn Between Dimensions, they are now a runner. If it was a platform holder, the nearest floater will take over the platform duties. The runner will go to the platform Oryx struck.
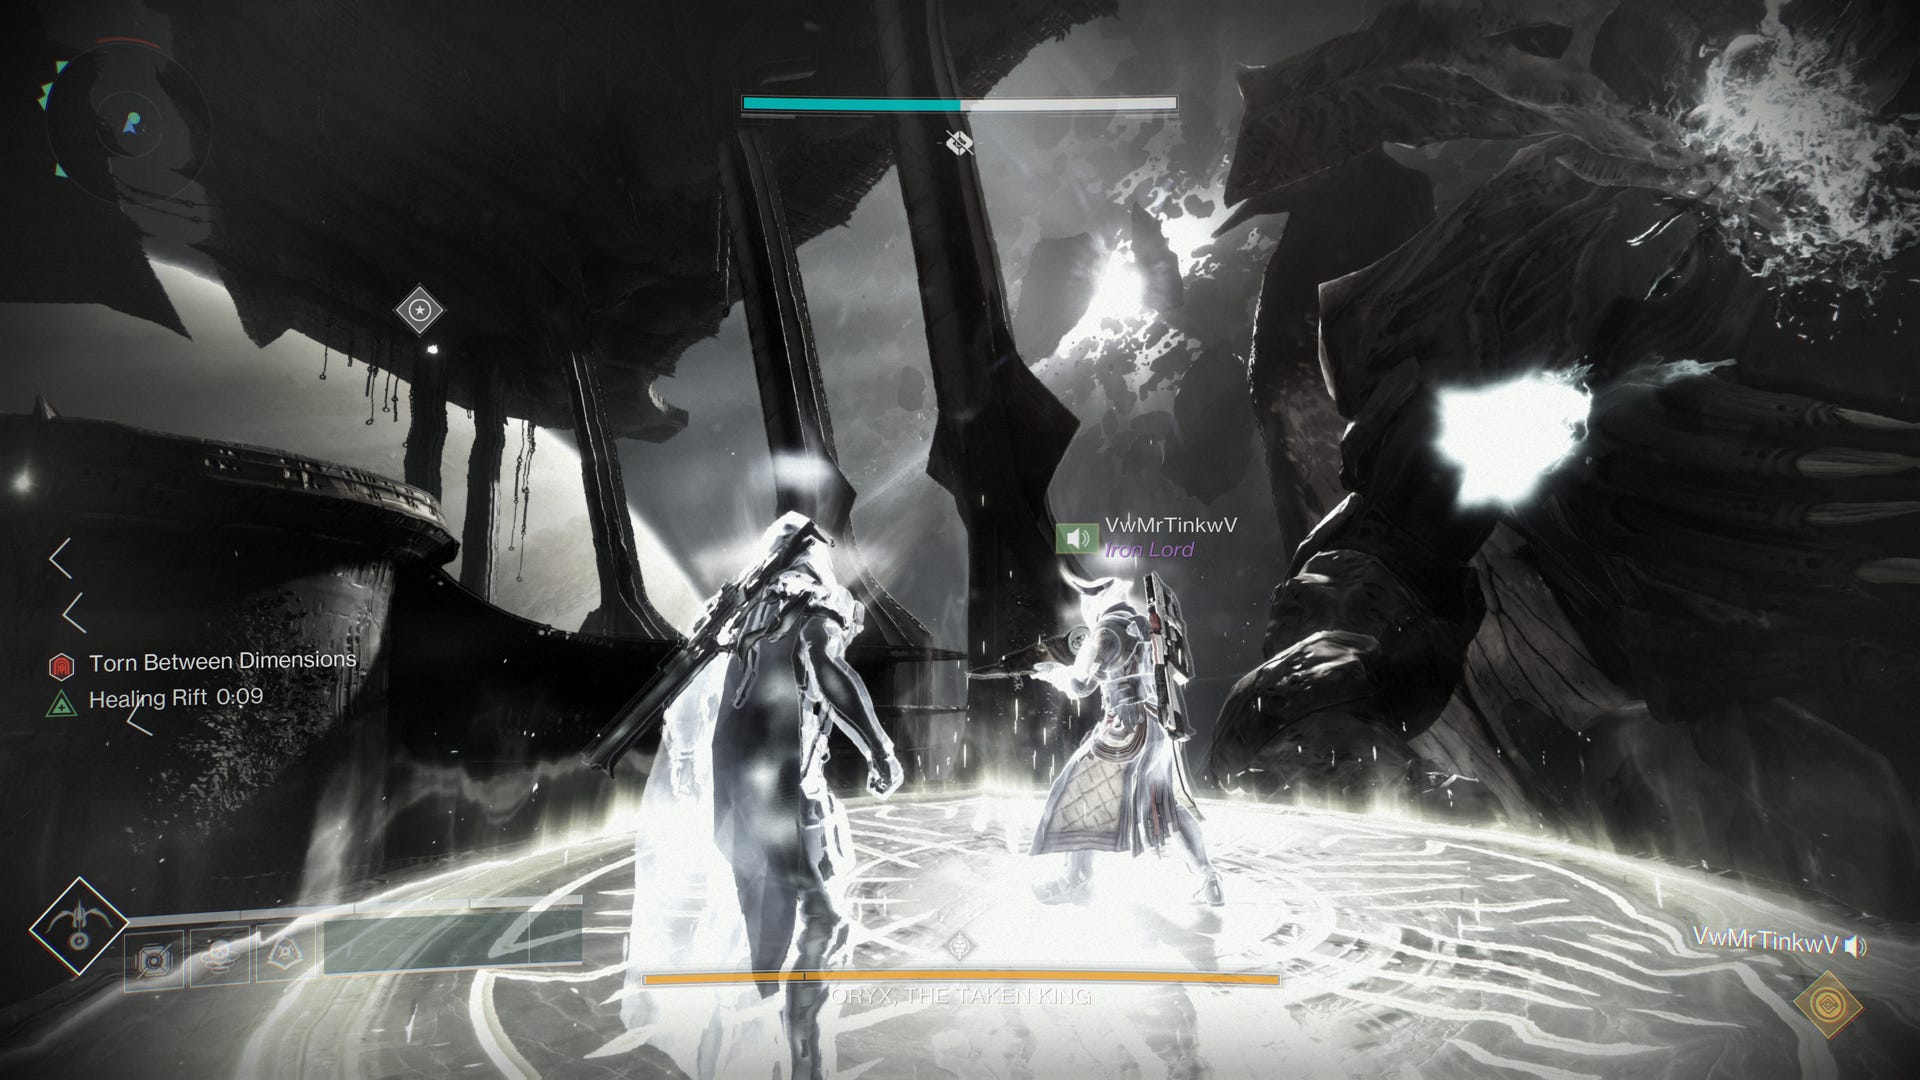
Simultaneously, one of the other platforms will have an orb of light appear above it. Now the platform that Oryx punched will turn green, indicating it is the starting point. This must be stood on, followed by the one with the orb. This will create a series of platforms for the runner to jump across, allowing them to grab the orb of light. Once collected, everyone will get off of their platforms. Now a new platform will glow green, a new orb of light will appear, and the process will repeat twice more. Once the third orb is collected, the runner will gain the Brand Stealer ability. They will then locate a special Knight called the Vessel of Oryx, and steal his brand. This gives them the Aura of Immortality, making them and anyone in a close radius invincible.
While all of this is going on, an Ogre will spawn one at a time next to each of the platforms. They must be killed quickly. When they die they leave a special 'bomb', be careful not to get close to it. After an ogre dies, a special knight will spawn to try and collect the bomb. The platform holders and floaters will need to focus on killing all of the ogres and knights.
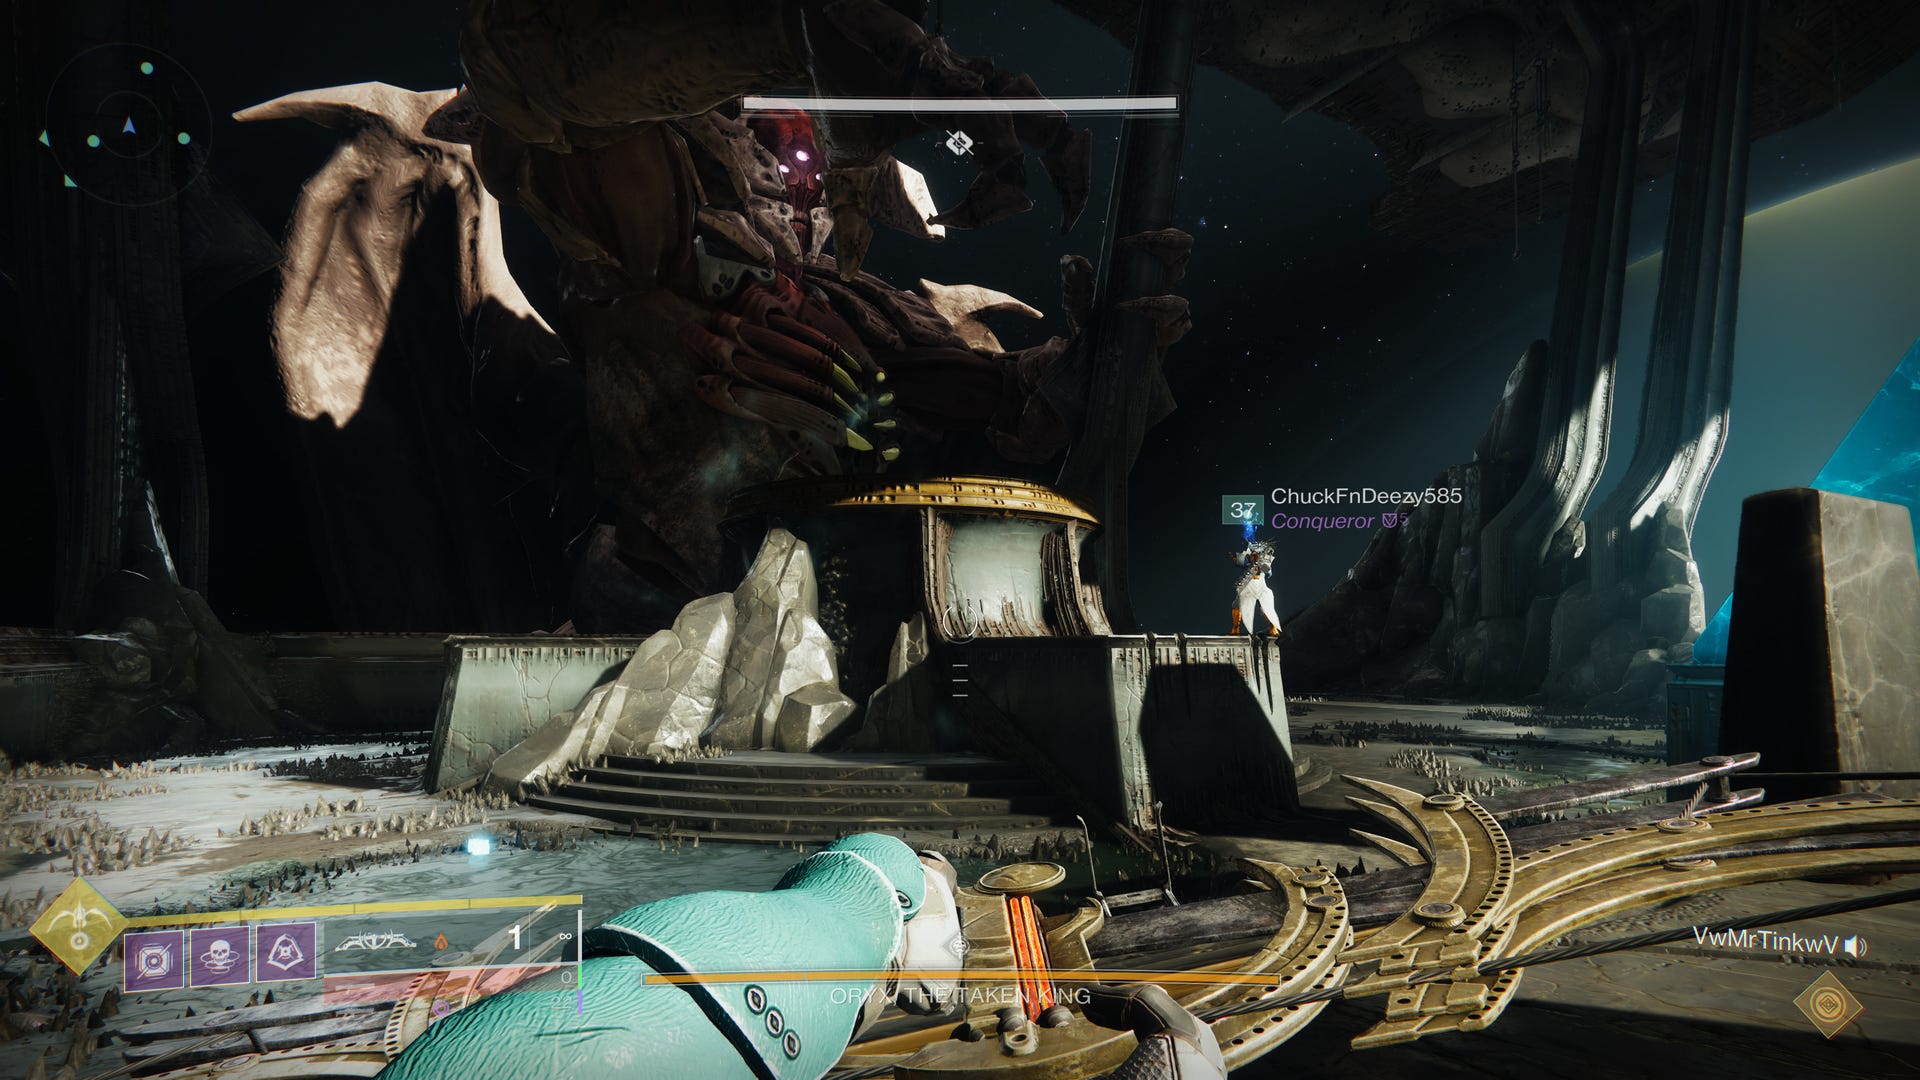
When the Ogres and Knights are dead and the runner has the Aura of Immortality, everyone will meet in the center of the arena. Oryx will find another platform to punch. As soon as he does, every platform holder will run into the bomb near their plate. It will charge up, and as soon as it is ready a message will appear that says '(Guardian Name) has detonated a Corrupted Light'. As soon as someone sees their name, head back into the Aura. The bombs will strike Oryx, setting him up for DPS, and kill anyone not in the Aura. Hit Oryx as much as you can while his chest is open.
Next he will either suck everyone one at a time into a blight where you must kill a Shade of Oryx to escape, or he will launch bombs of his own, which you can avoid by running. Then he will return to punch a platform again, and the entire cycle leading to the damage phase repeats.
Eventually he will reach a last stand. Everyone should meet up in the center again, and let Oryx have it. Ogres will spawn at the two platforms closest to this end of the map. Kill them, and detonate those bombs one at a time to interrupt his party wiping hand-clap maneuver. Poor enough damage, and Oryx will fall.
The Pantheon specific additions to this fight are pretty tough. First, the Knights on the platforms are the more powerful yellow health bar variants. A Tormentor will now spawn in the transition period between damage phases (when bombs fall or Oryx is pulling people into the Blight). Finally, if you do end up with that Blight, there are now multiple Shades of Oryx to deal with.
Pantheon Week 3 Rhulk Indomitable in Destiny 2
The third week of Pantheon adds yet another boss, and remixes the modifiers yet again:
- Arc Surge: 25% increase in Arc damage.
- Stasis Surge: 25% increase in Stasis damage.
- Class Warfare: Outgoing damage boost, incoming damage reduction for a short time after using or being near someone using a class ability.
This week’s new enemy is Rhulk, the final boss from the Vow of the Disciple raid. For this week your team will be facing a -15 level disadvantage.

There are three phases to this fight. During the first phase you will divide into two groups of three. The people will focus solely on clearing enemies, the other three will be Leeching Force holders. One person from that group will shoot a floating Crystal, giving them a buff called Leeching Force for 44 seconds. Everyone will use this time to clear all of the enemies (other than Rhulk), and the person with Leeching Force will stand on a large glyph near your spawn point, after which two more Crystals will appear. Once those are shot by the other two Leeching Force holders, the buff will transfer to them. Rhulk will periodically send a massive blast of energy towards your team, the pair of people with Leeching Force will intentionally get in the path of this, which will transform Leeching Force into Emanating Force.
A pair of yellow health bar enemies called Glyphkeepers will appear. Killing the one on the left allows anyone with Leeching Force to see a stack of three symbols on the left side. Killing the one on the right does the same for anyone without the buff. Players will need to call out the symbols they see, one symbol will be common on both sides. Once it is identified, the people without Emanating Force will be able to look at the columns around the arena to see which two of those columns have those symbols. They will call out which columns, and one person with the Leeching buff should go to each and deposit the Emanating Force energy into them.

Repeat this process twice more until a total of six deposits have been done, and Rhulk will begin the next phase.
Rhulk will retreat to a small stage at the rear of the arena. Your team will pursue, and try to avoid attacks from Rhulk while clearing a constant influx of Taken. After a few rounds of attacks, he will drop his Glaive on the ground. One person from the team will need to shoot it in order to get the Leeching Force buff. They will be able to see a symbol left behind, and will call it out. As before, this person will then intentionally get hit by a beam attack from Rhulk in order to gain the Emanating Force buff.
Everyone other than the person with Emanating Force will be able to see symbols on the pillars at the four corners of the stage. They will identify to the Emanating Force holder which one has the matching symbol. The Emanating Force will then be deposited in that pillar. This will reveal a glowing weak point on Rhulk that must then be destroyed by the team.
Repeat this process several times, and the damage phase will begin. Rhulk will continue his attacks, but will be vulnerable to damage. Unload everything you have on him. Rockets, Linear Fusion Rifles, and Sniper Rifles are particularly effective. Eventually the damage phase will end, and everyone will need to run to the starting area to avoid an area-of-effect attack from Rhulk. The process then repeats from the first phase. Eventually Rhulk will reach the last portion of his health bar, which starts a last stand mechanic. You will have a limited time to do enough damage to kill him, otherwise he will wipe the party.
The big change as part of the Pantheon is that there is now a copy of Rhulk up on the stage during that portion of the fight. This second Rhulk is invulnerable, but lacks any ranged attacks. It will walk around the stage, and try to punt players off to their deaths. As long as you keep your distance you can avoid him. You can also have one player try and old Copy Rhulk’s attention, and kite him around. The fake will disappear once the damage phase ends, and return once the fight on the stage begins again.
Best of luck with the Pantheon!