All EMF experiment locations in Spider-Man 2
Plus, how to complete all EMF Experiments.

EMF Experiments in Marvel's Spider-Man 2 are quick quests dotted around New York City. There isn't a time limit on when you have to do these experiments - we completed them after finishing the main story. However, only Peter can do EMF Experiment tasks - if you visit one as Miles, you will be given an option to quickly swap to Peter.
After you track down an experiment you then need to complete their individual tasks to help the EMF and eventually get a heartfelt reward. To help, here's every EMF Experiment location in Spider-Man 2 with a quick explainer on how to complete them.
On this page:
How to unlock EMF Experiments in Spider-Man 2
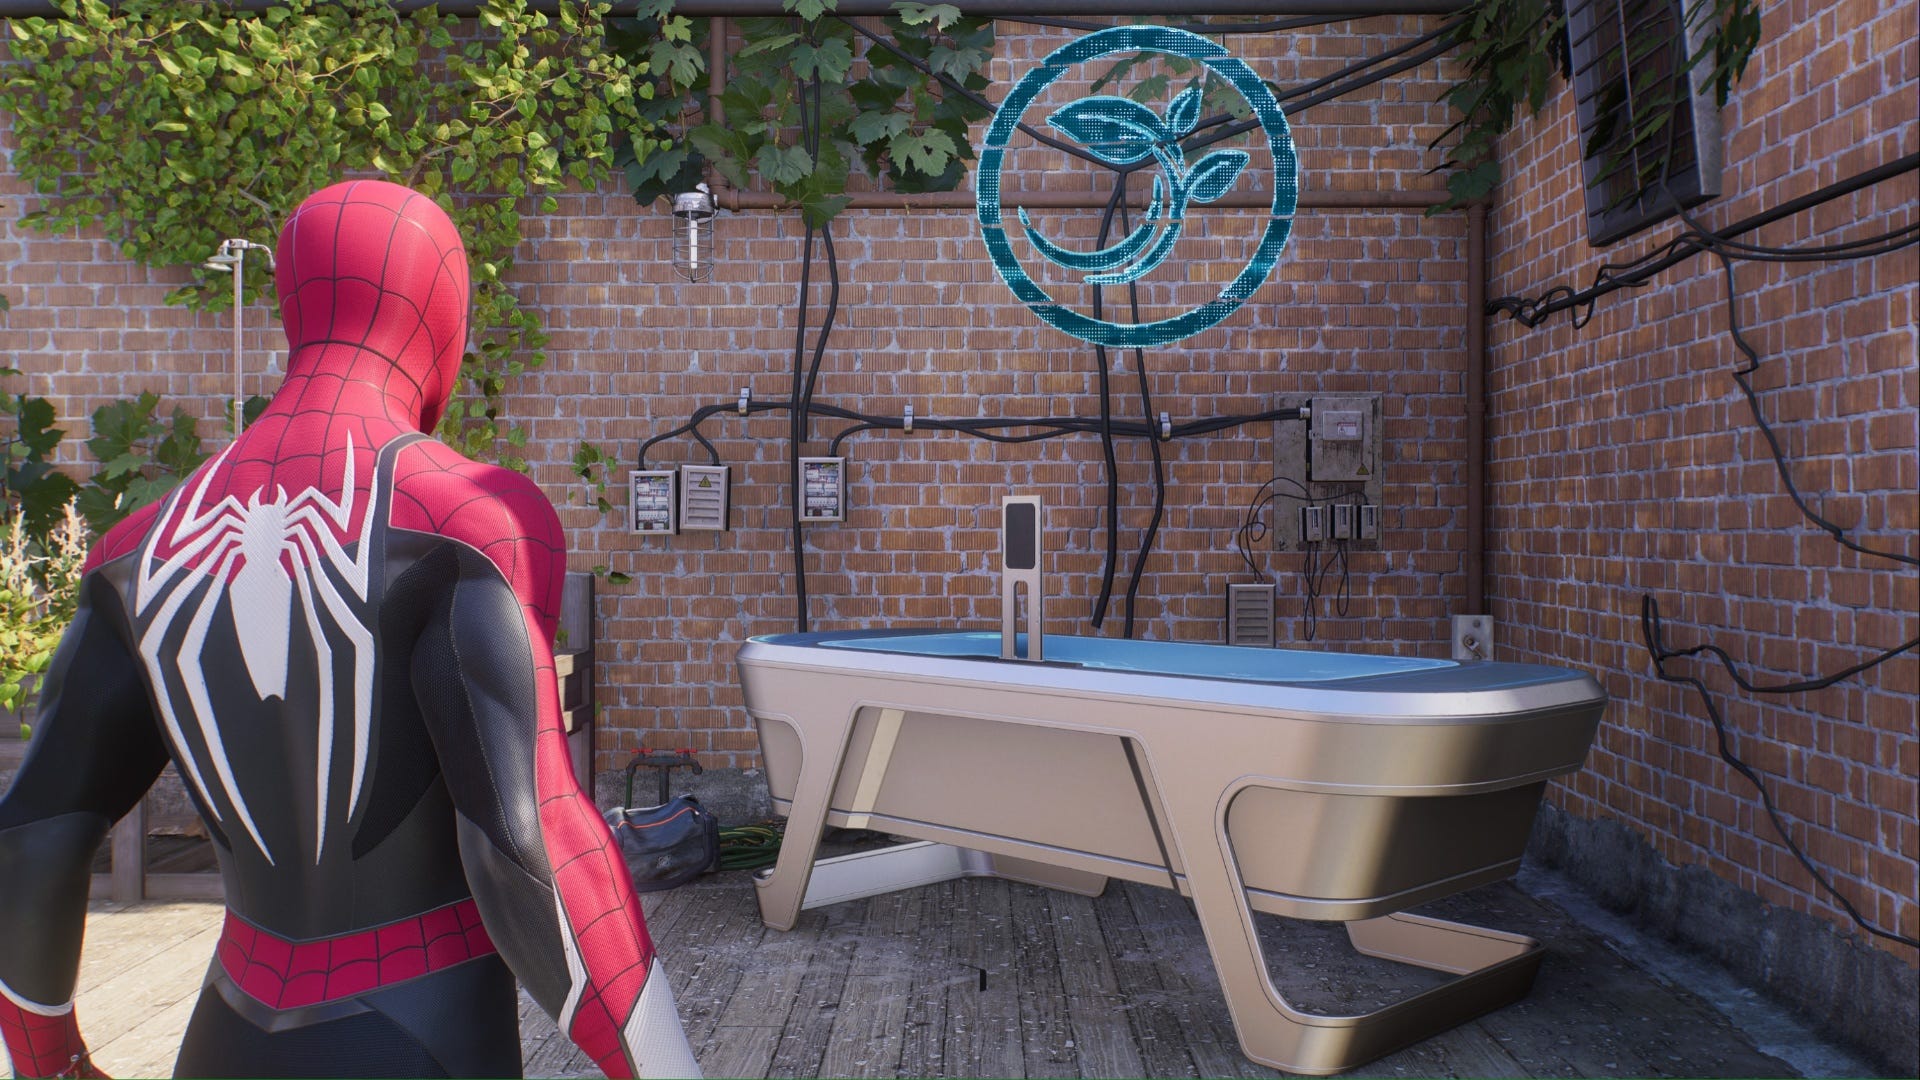
To unlock EMF Experiments in Spider-Man 2 you need to complete the 'Healing the World' main story mission. Once you've completed this mission, EMF experiments will become available across the city. All you need to do is find them.
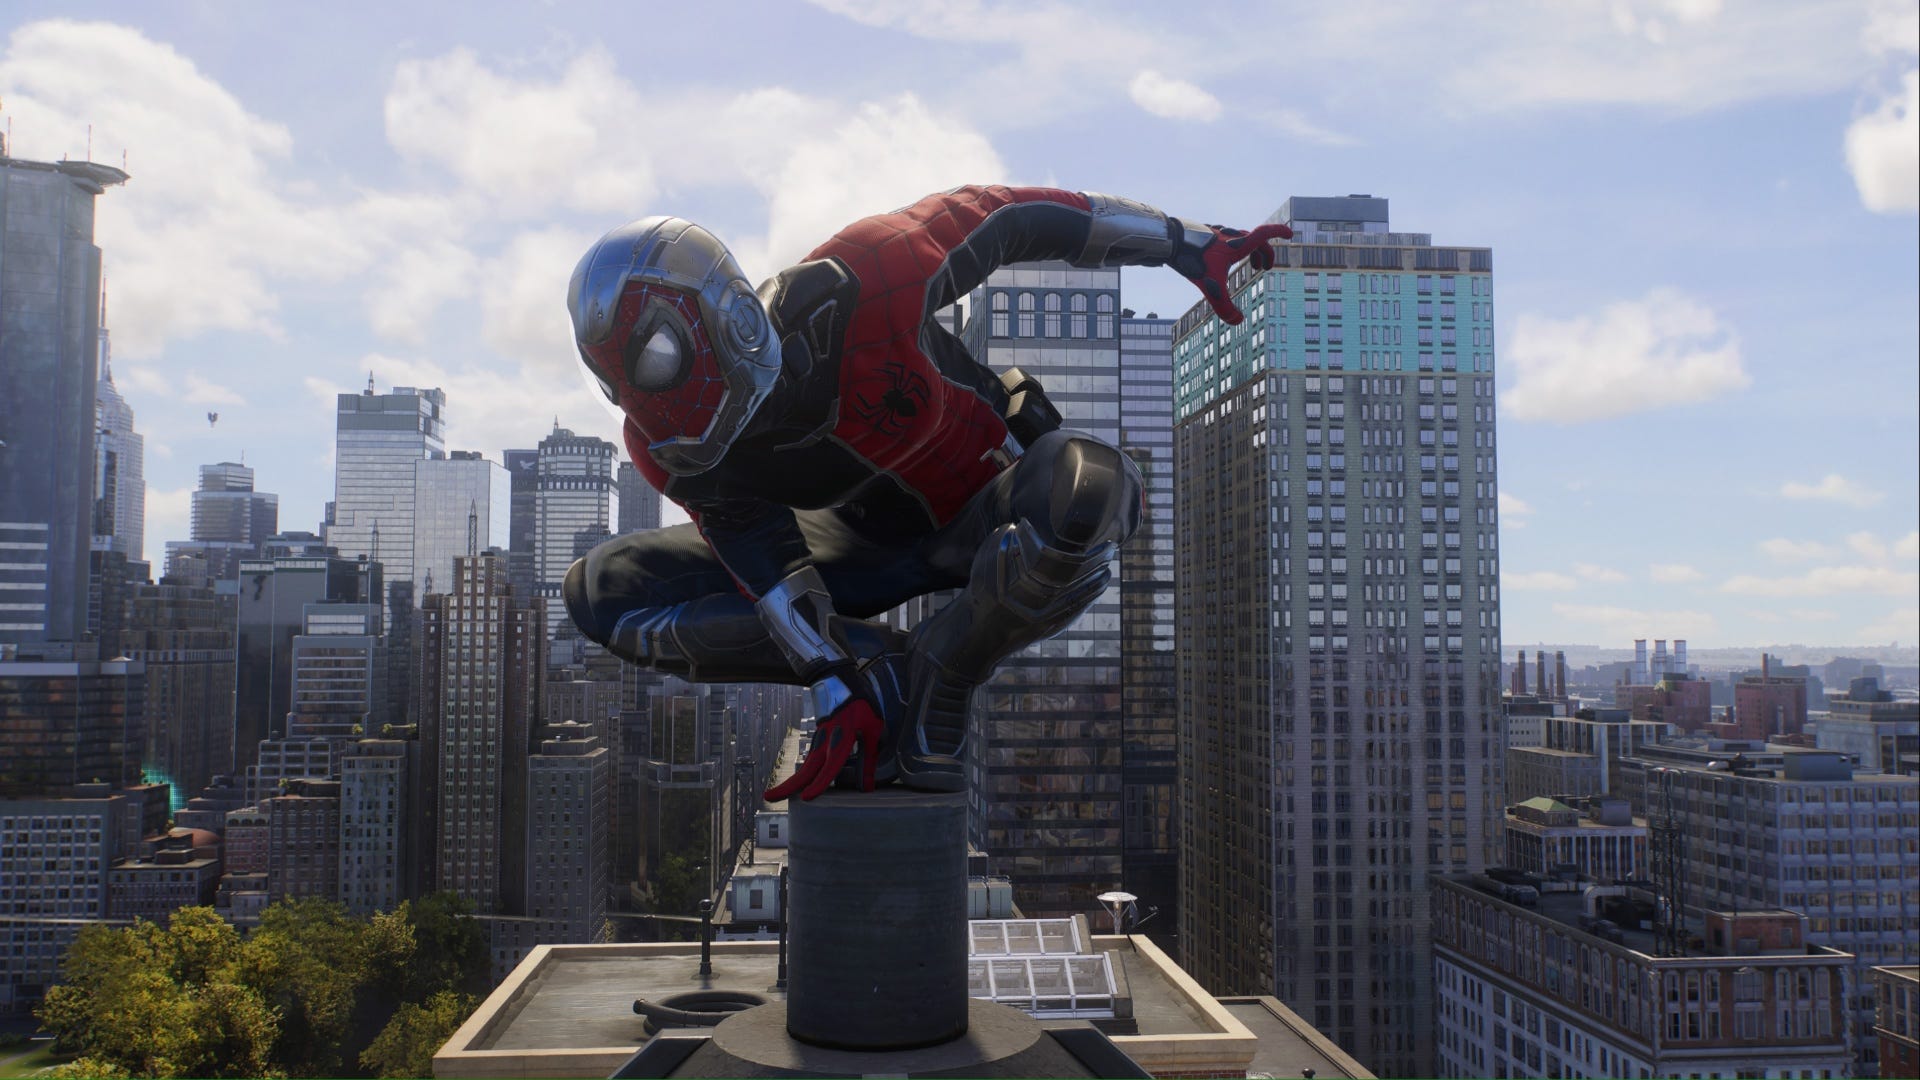
![Spider-man 2 Emily-May Foundation building [Embargoed]](https://assetsio.gnwcdn.com/Spider-man-2-Emily-May-Foundation-building.jpg?width=1920&height=1920&fit=bounds&quality=80&format=jpg&auto=webp)
All EMF Experiment locations in Spider-Man 2
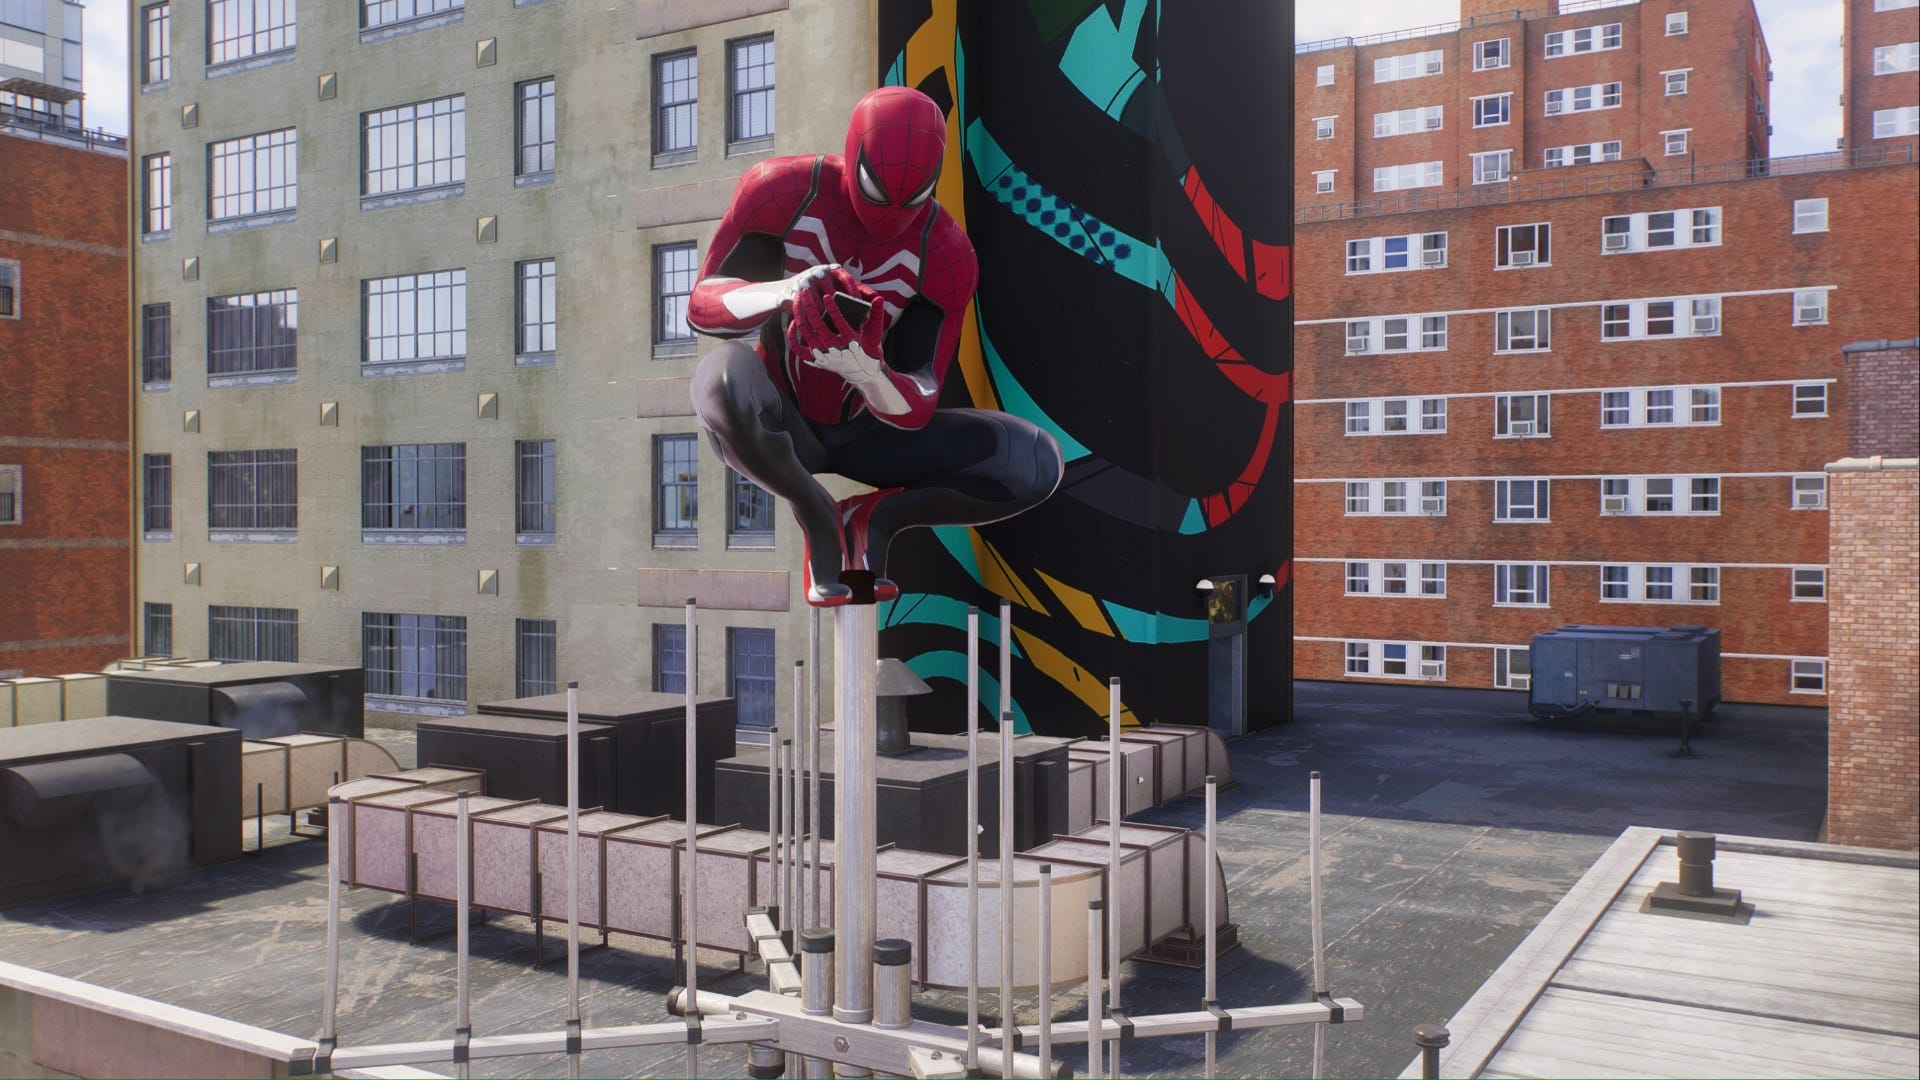
There are eight EMF Experiments in Spider-Man 2. They're almost evenly distributed between both sides of the map, and you'll often only need to swing or glide past a location to discover it. Once you 'discover' the location of an experiment, its icon will permanently be added to your map until you complete the task.
Here are all EMF Experiment locations in Spider-Man 2:
Important: Please note that the map marker on Peter's house on the eastern side of the map in Queens is for you to find after you complete the other eight EMF Experiments around the city.
How to complete all EMF Experiments in Spider-Man 2
All eight EMF experiments across the city have their own mini-missions for you to do to help further the research of scientists at the EMF.
For every experiment, you need to locate the EMF Kiosk on the designated rooftop/area and interact with it to begin the mission. Then, you will be given instructions on what they need Peter's help with. Each time you complete an experiment you will be rewarded with 700 XP, three Rare Tech Parts, and 140 Tech Parts.
Some are very basic and easy tasks, while others can leave you wondering what to do. Don't worry, we're here to walk you through each EMF Experiment and you can use the links below to jump to the one you're stuck on!
- Little Tokyo: Plant Science
- Portside: Plant Science
- Two Bridges: Plant Science
- Central Park: Bee Drones
- Central Park: Energy
- Queens Apiary: Bee Drones
- Brooklyn Heights: Energy
- Prospect Park: Bee Drones
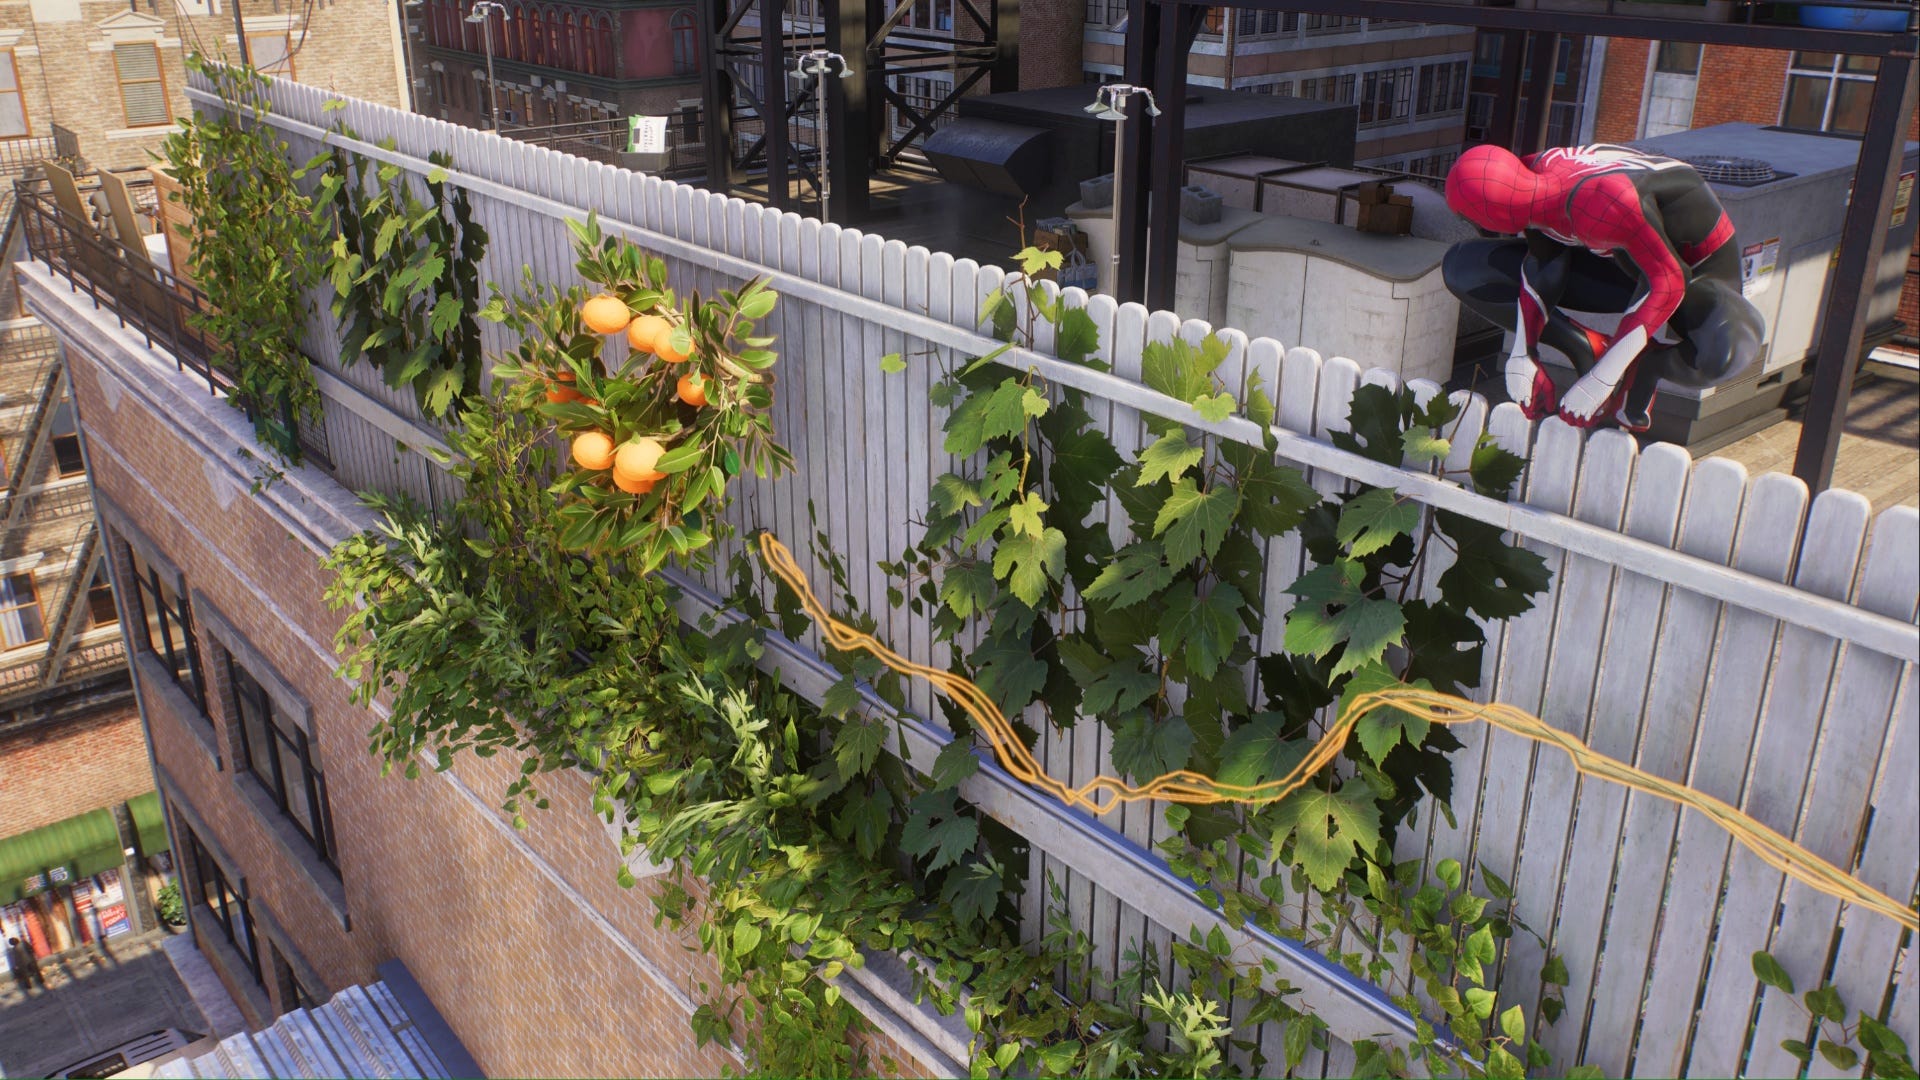
Little Tokyo: Plant Science
To complete this mission you need to pulse with R3 (after listening to the kiosk instructions) to highlight several sets of vines that stretch around the rooftop. These vines will take you to three different specimens. Here's a quick list of which part of the rooftop/building to look at for the specimens:
- North east side of rooftop - On the end of a bar above the street.
- North west side of rooftop - On western side of the fence behind planters.
- Southern side of the building - Around halfway down the building.
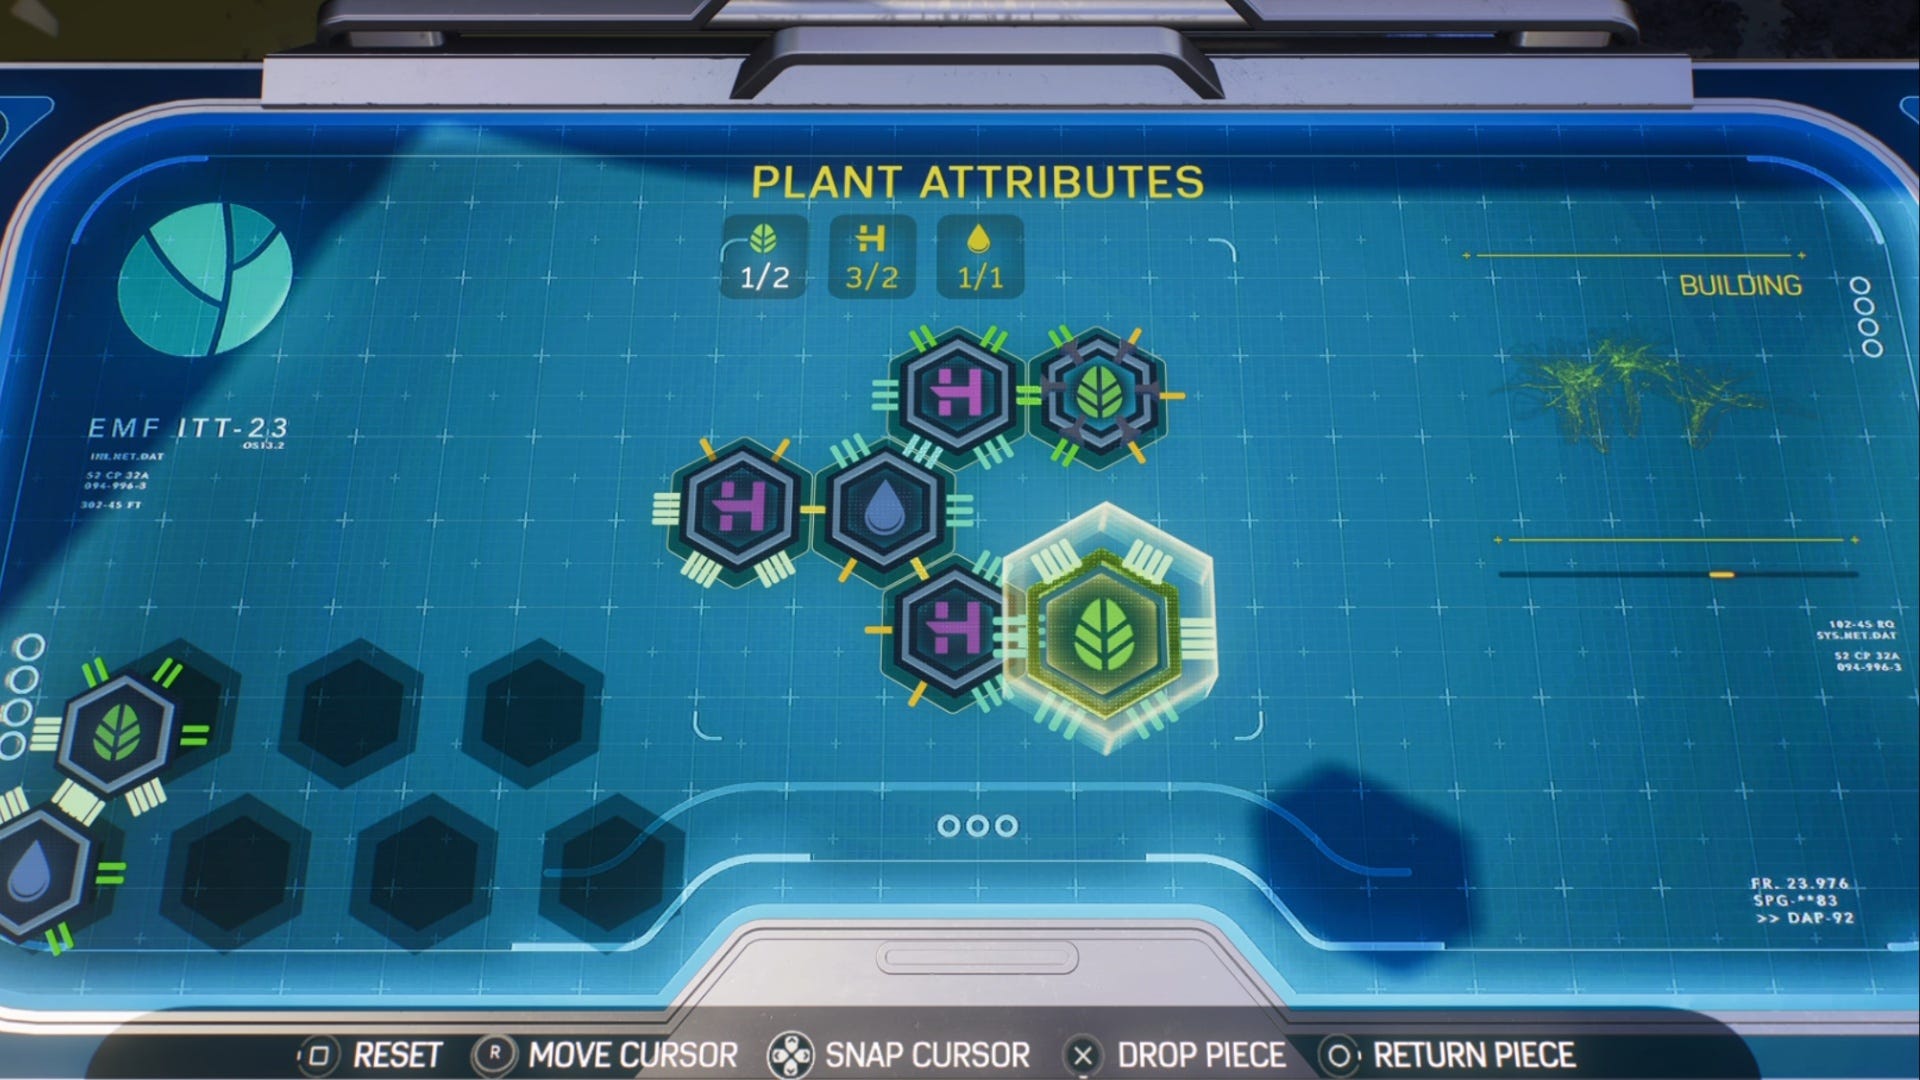
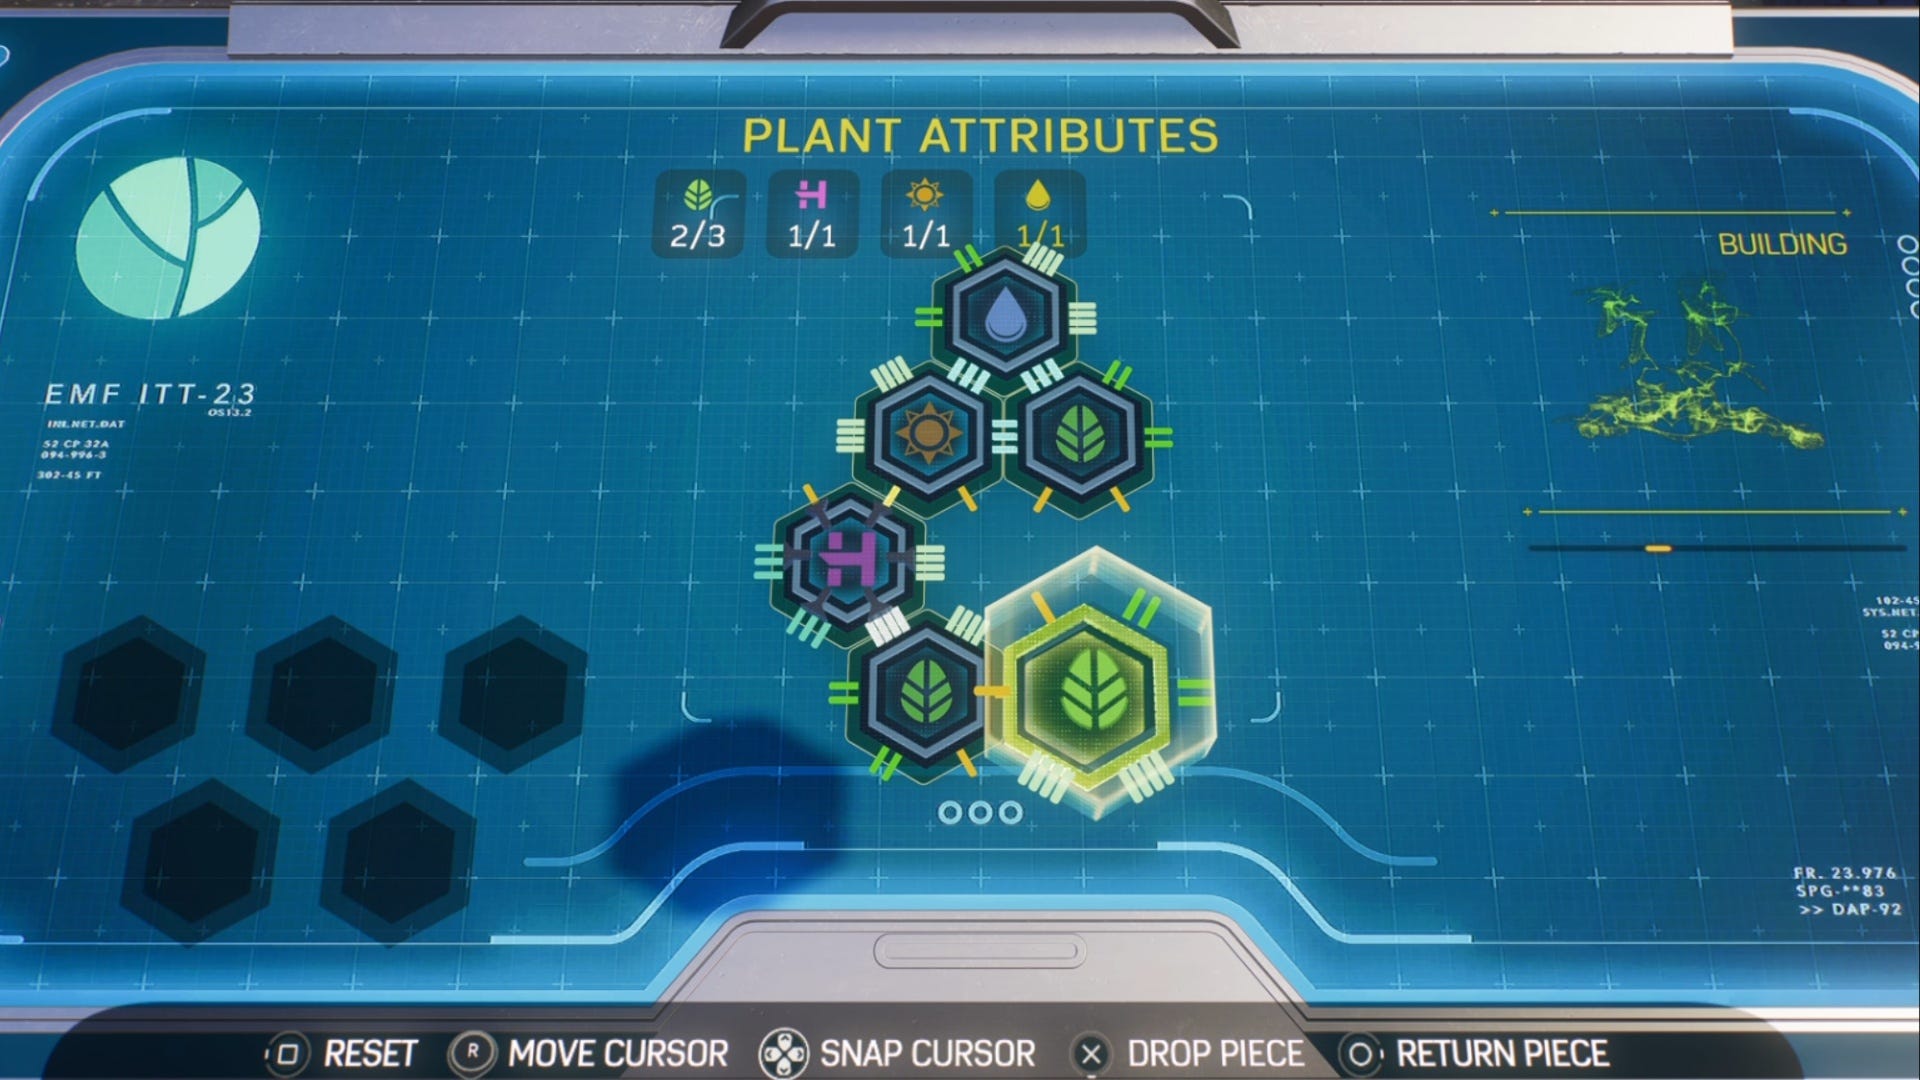
Collect all the specimens and go back to the kiosk to splice some genes. There are probably a few different ways to solve this puzzle, but here's our solution to the Little Tokyo EMF Gene Splicing puzzle:

Now you have to 'prep' the garden. Head over to the large water storage container on northeastern side of rooftop. Use L1 and R1 when prompted to - uh oh, you've sprung several leaks!
All you have to do is locate the different leaks across the roof and fire your webs at them with R1 to seal them up. They're easier to locate if you climb to the top of the water storage unit and look down onto the roof.
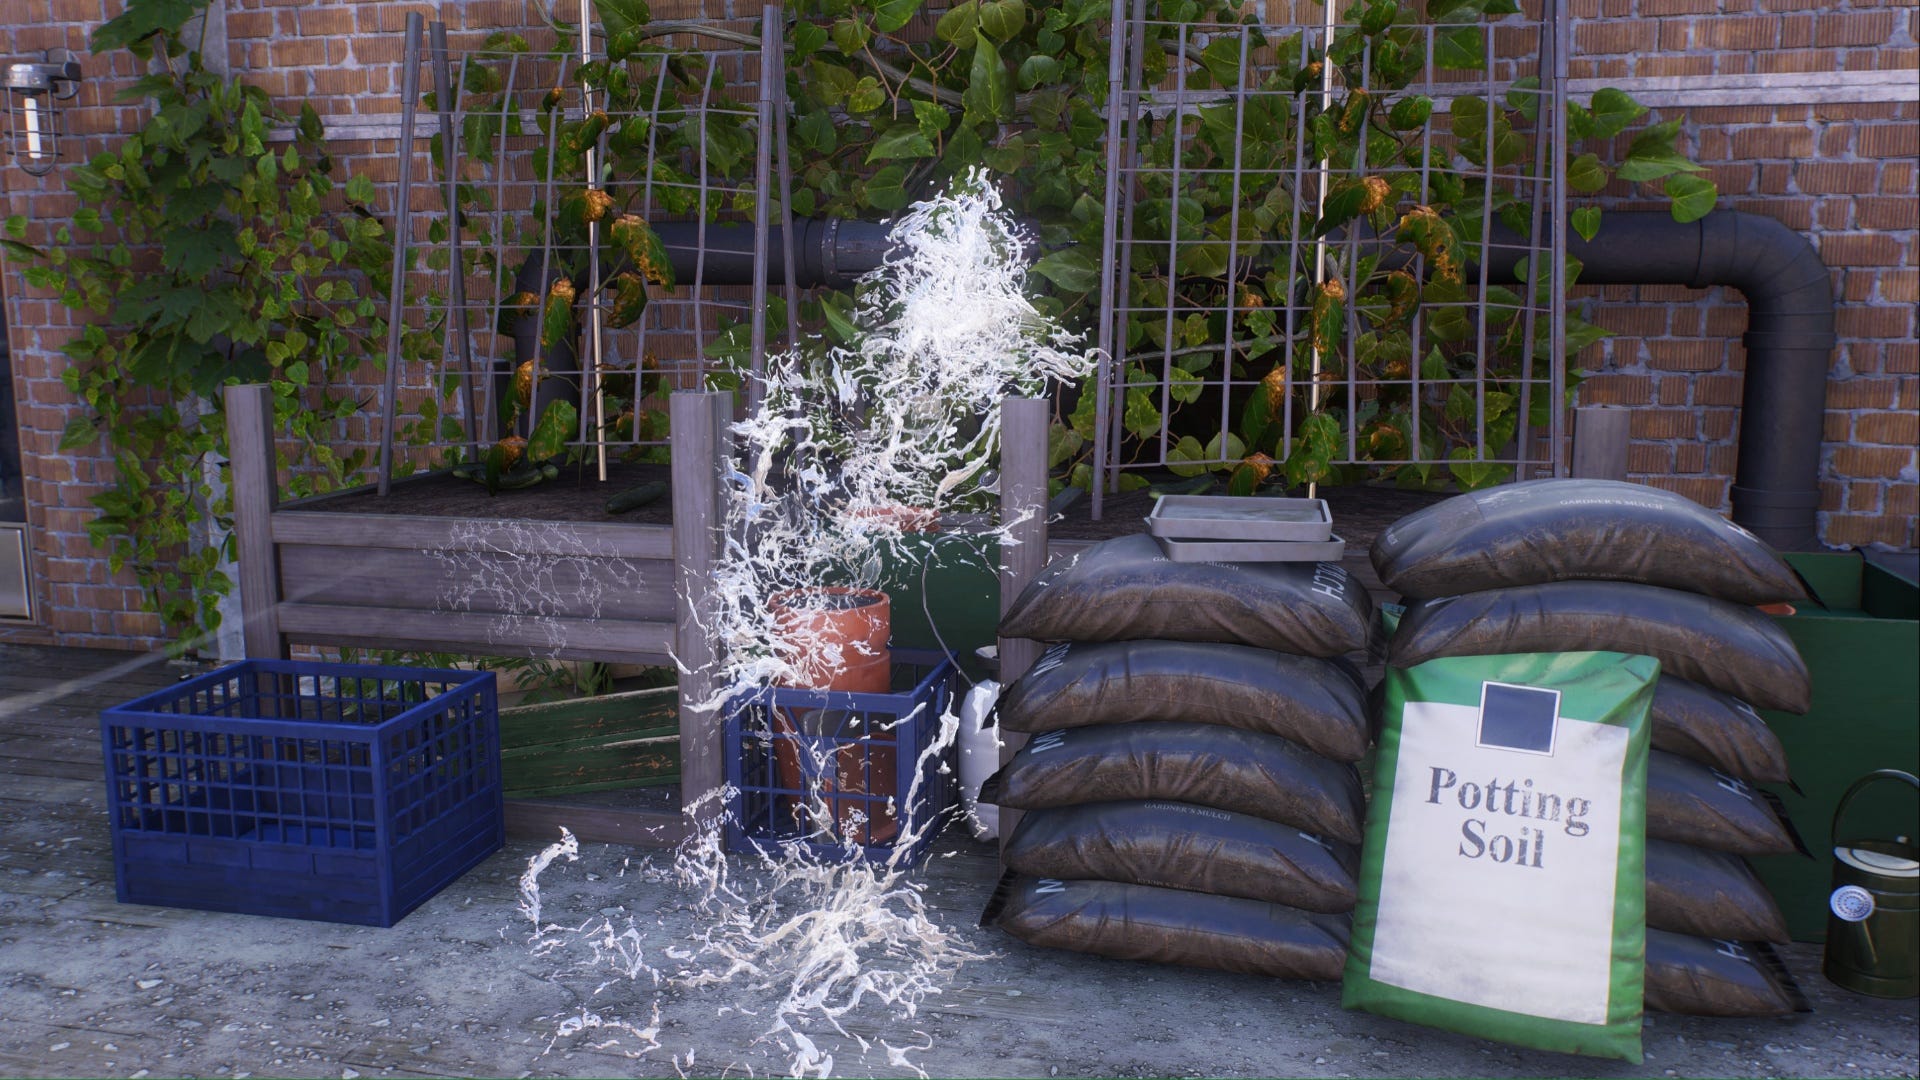
Once the leaks are sealed, you have completed this experiment!
Portside: Plant Science
After you interact with the EMF Kiosk at this location and get your instructions, instantly look down and to your left while facing the kiosk. You should see a murky puddle here.
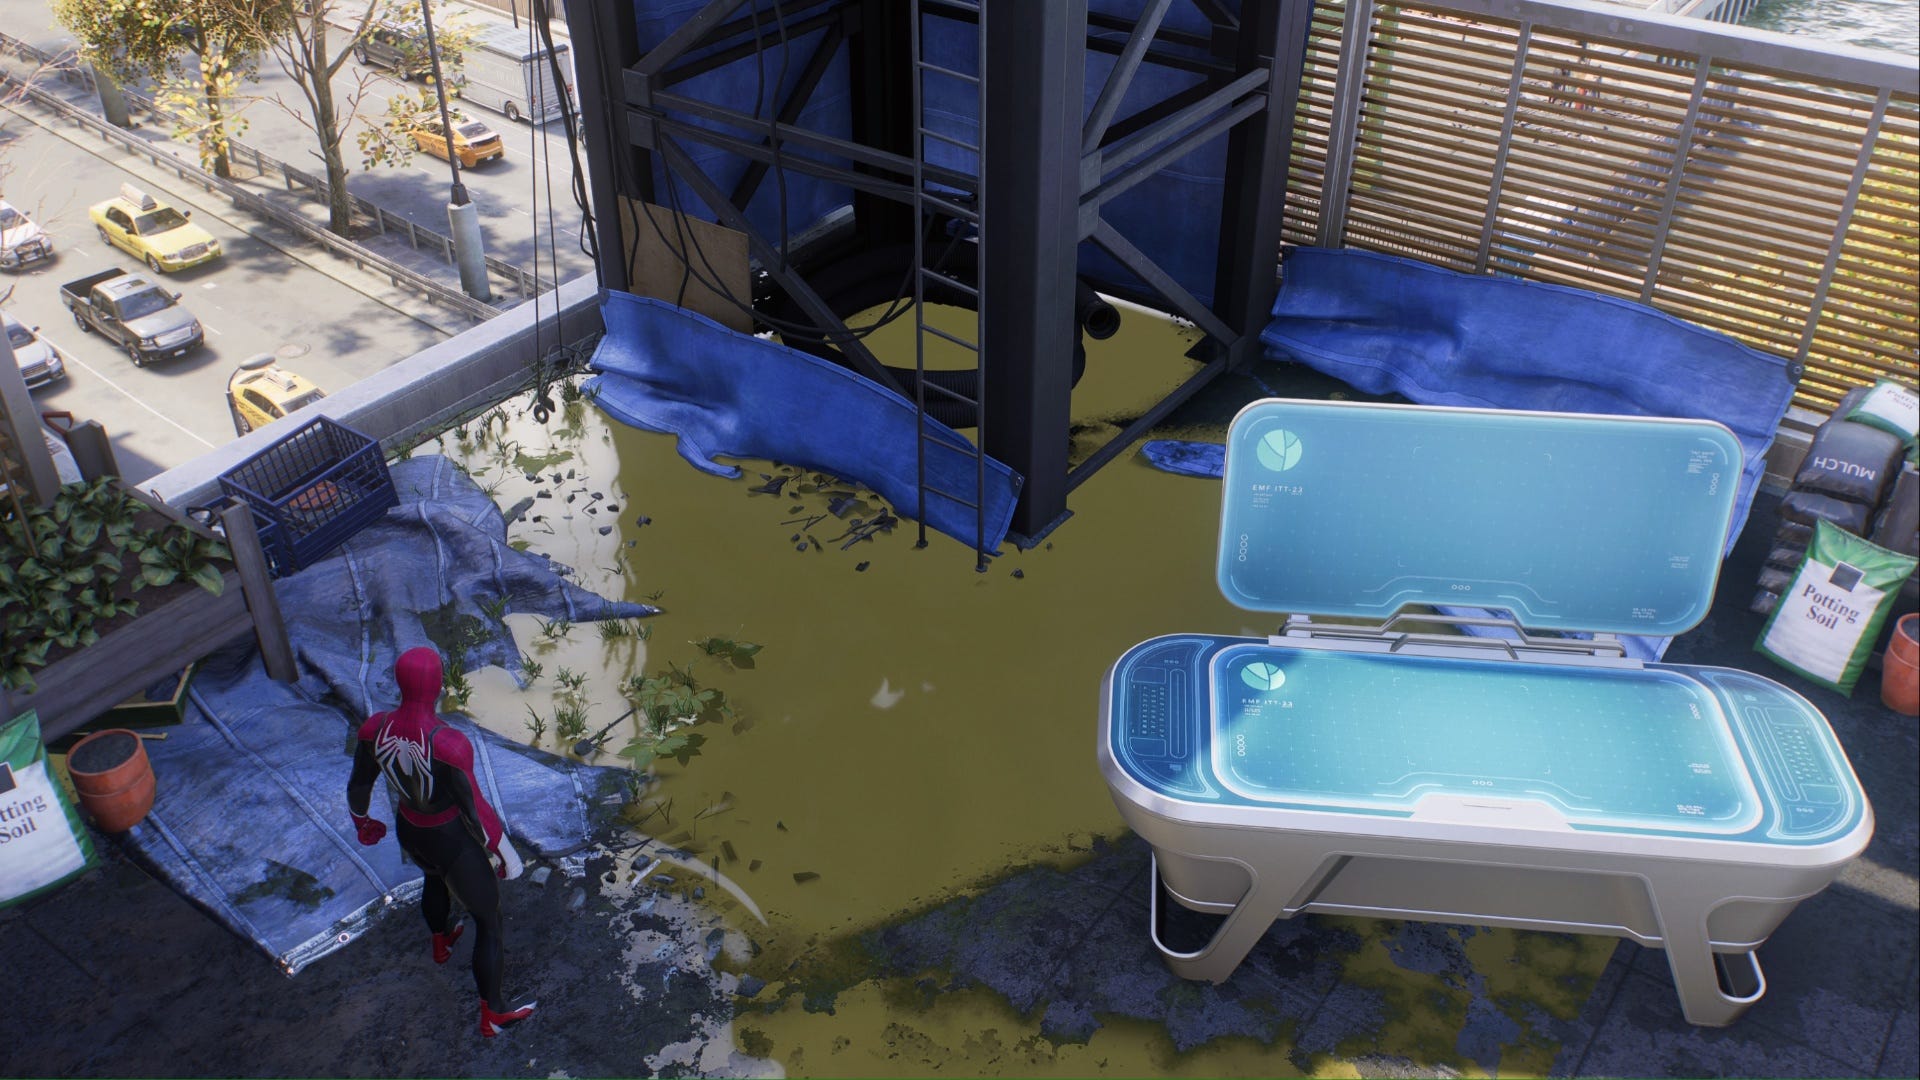
Walk over and interact with it with Triangle. You then need to destroy all corrupt molecules in the sample, here's how we did it:
Part One
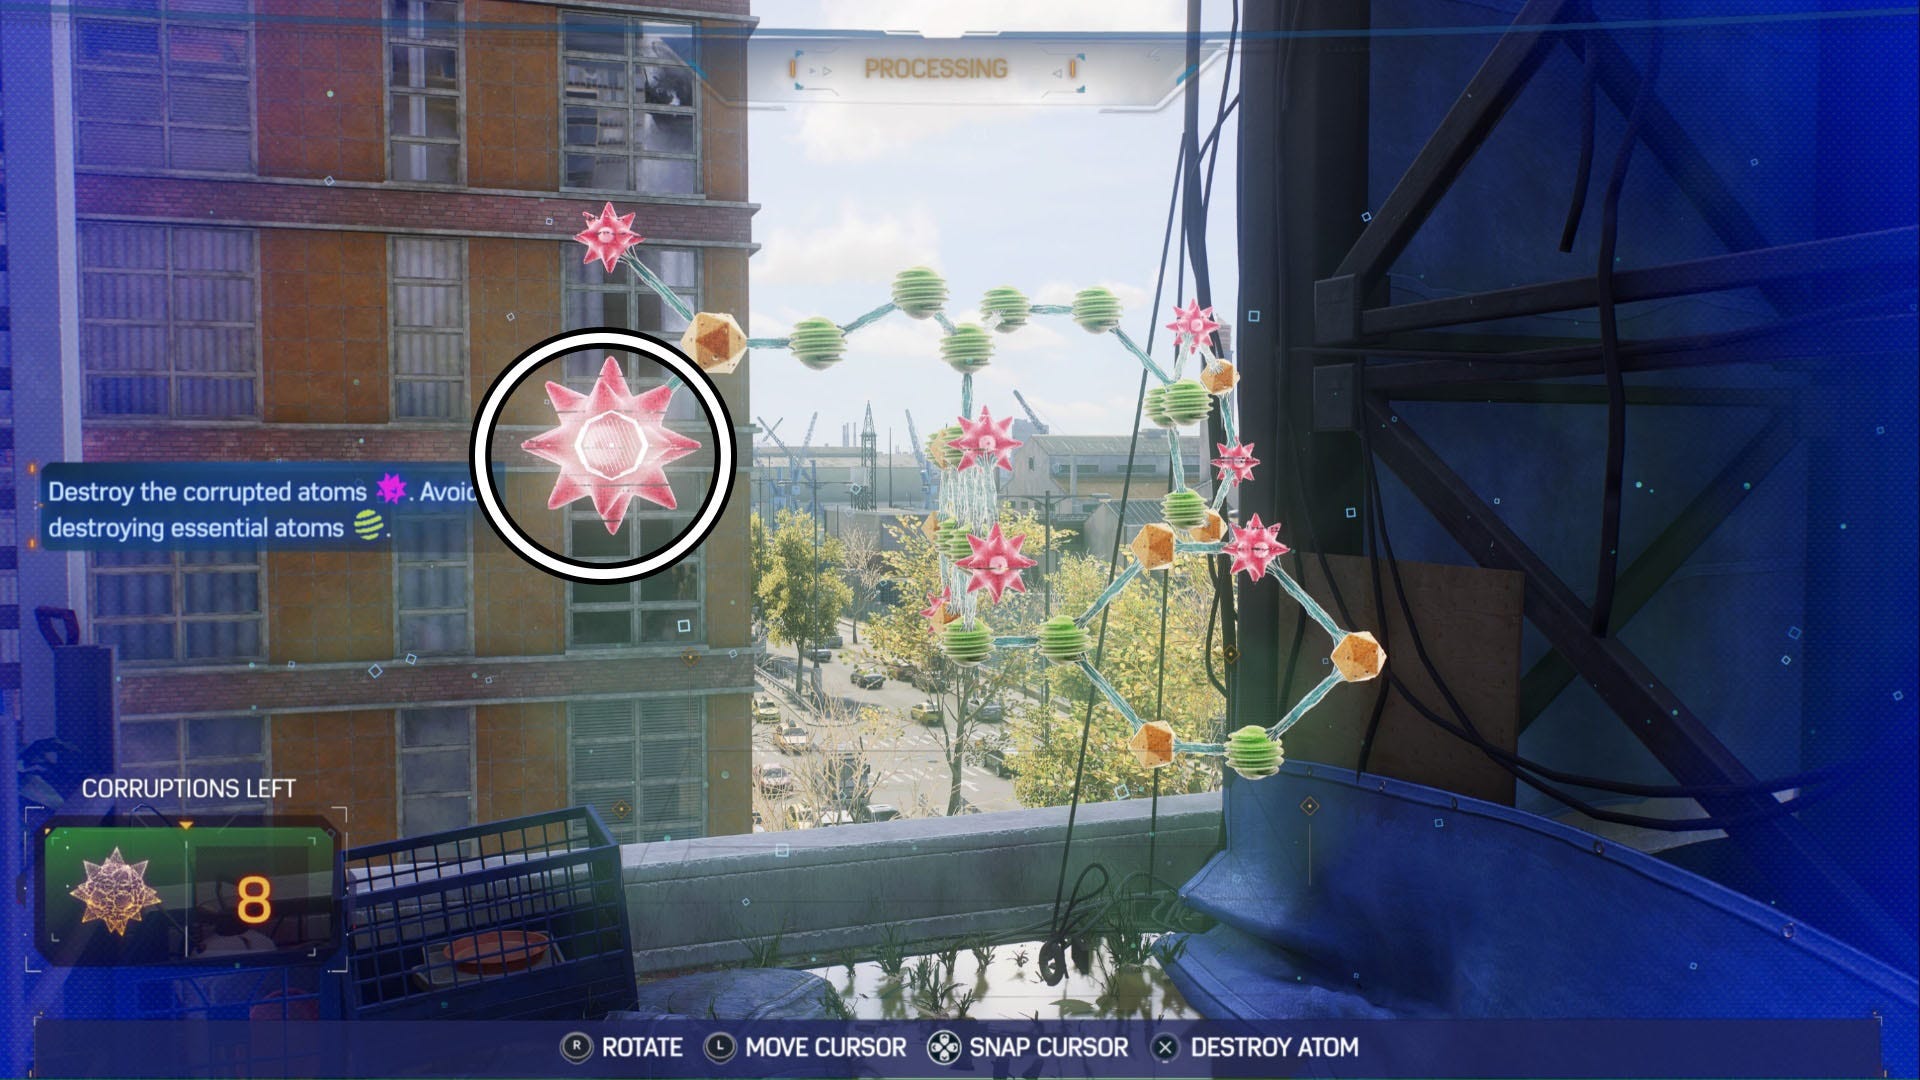
Then rotate the molecule structure clockwise.
Part Two
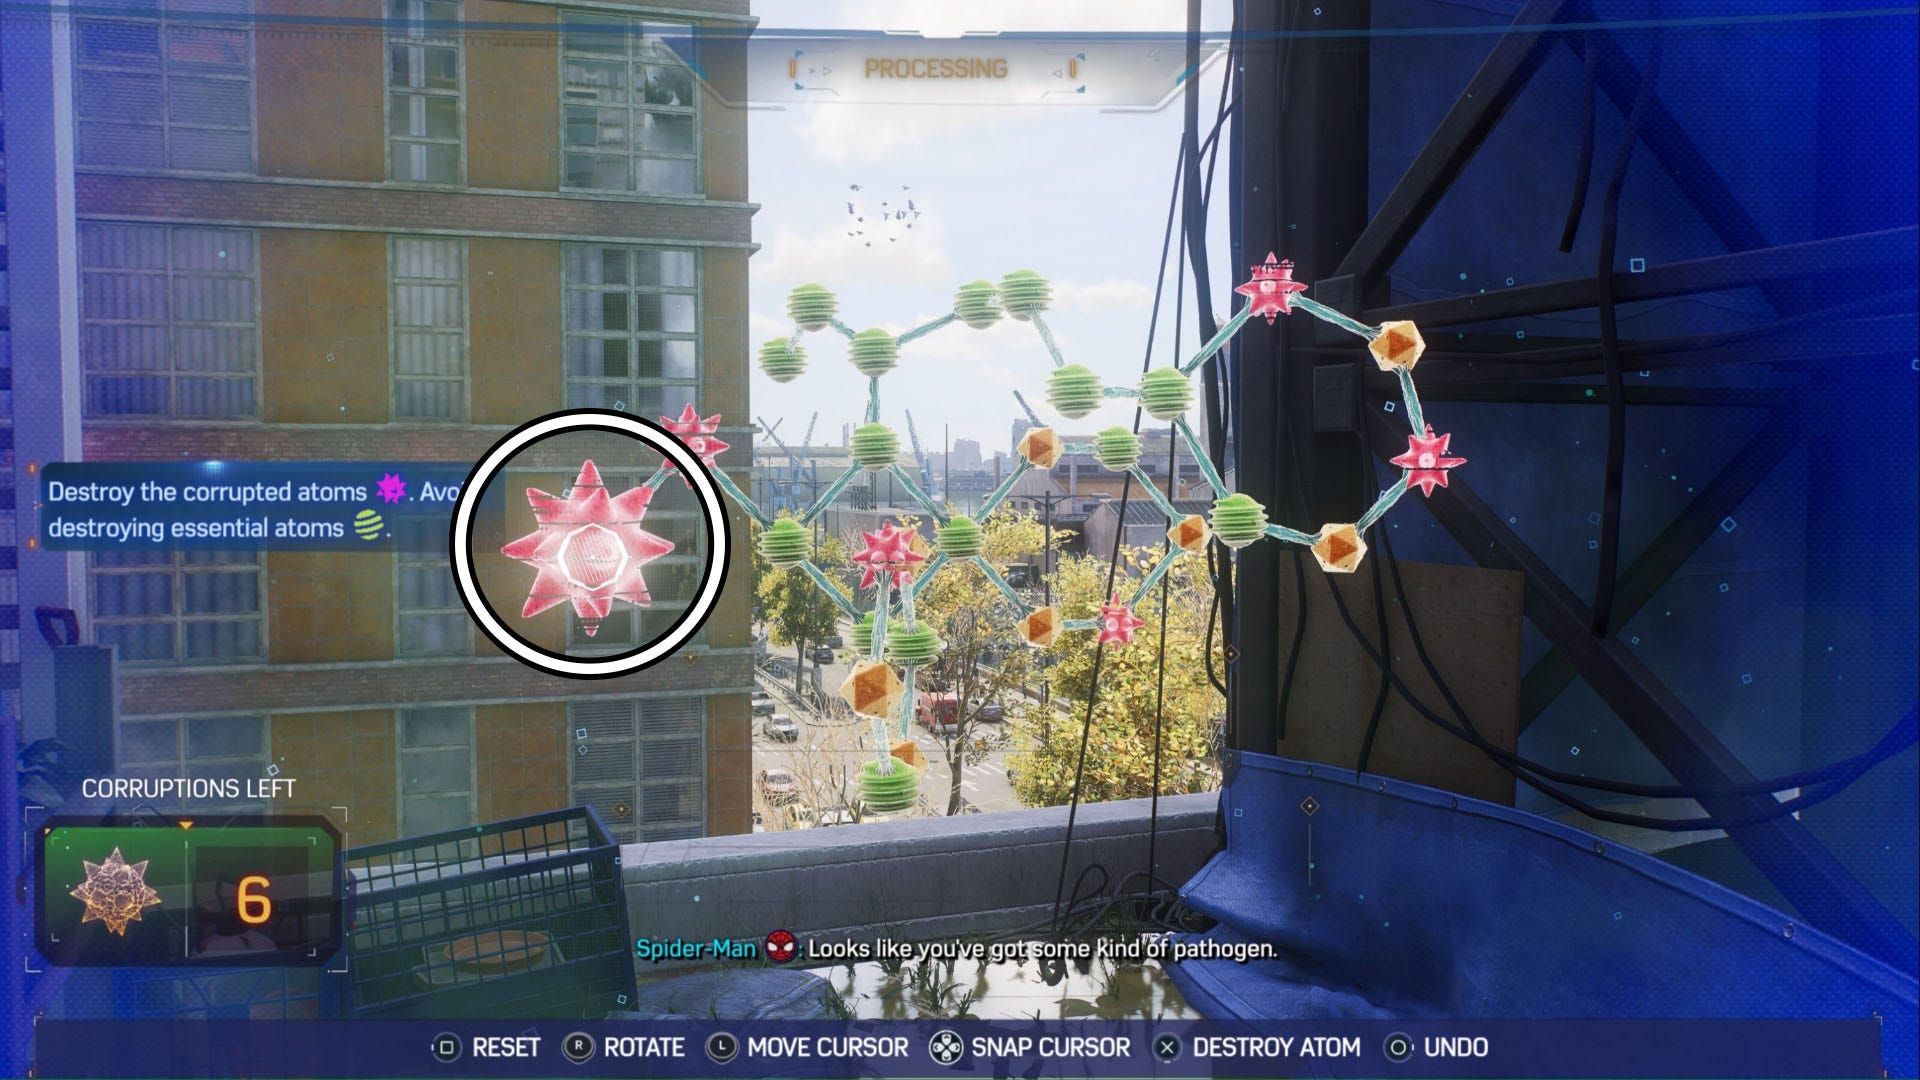
Rotate the molecule structure again.
Part Three
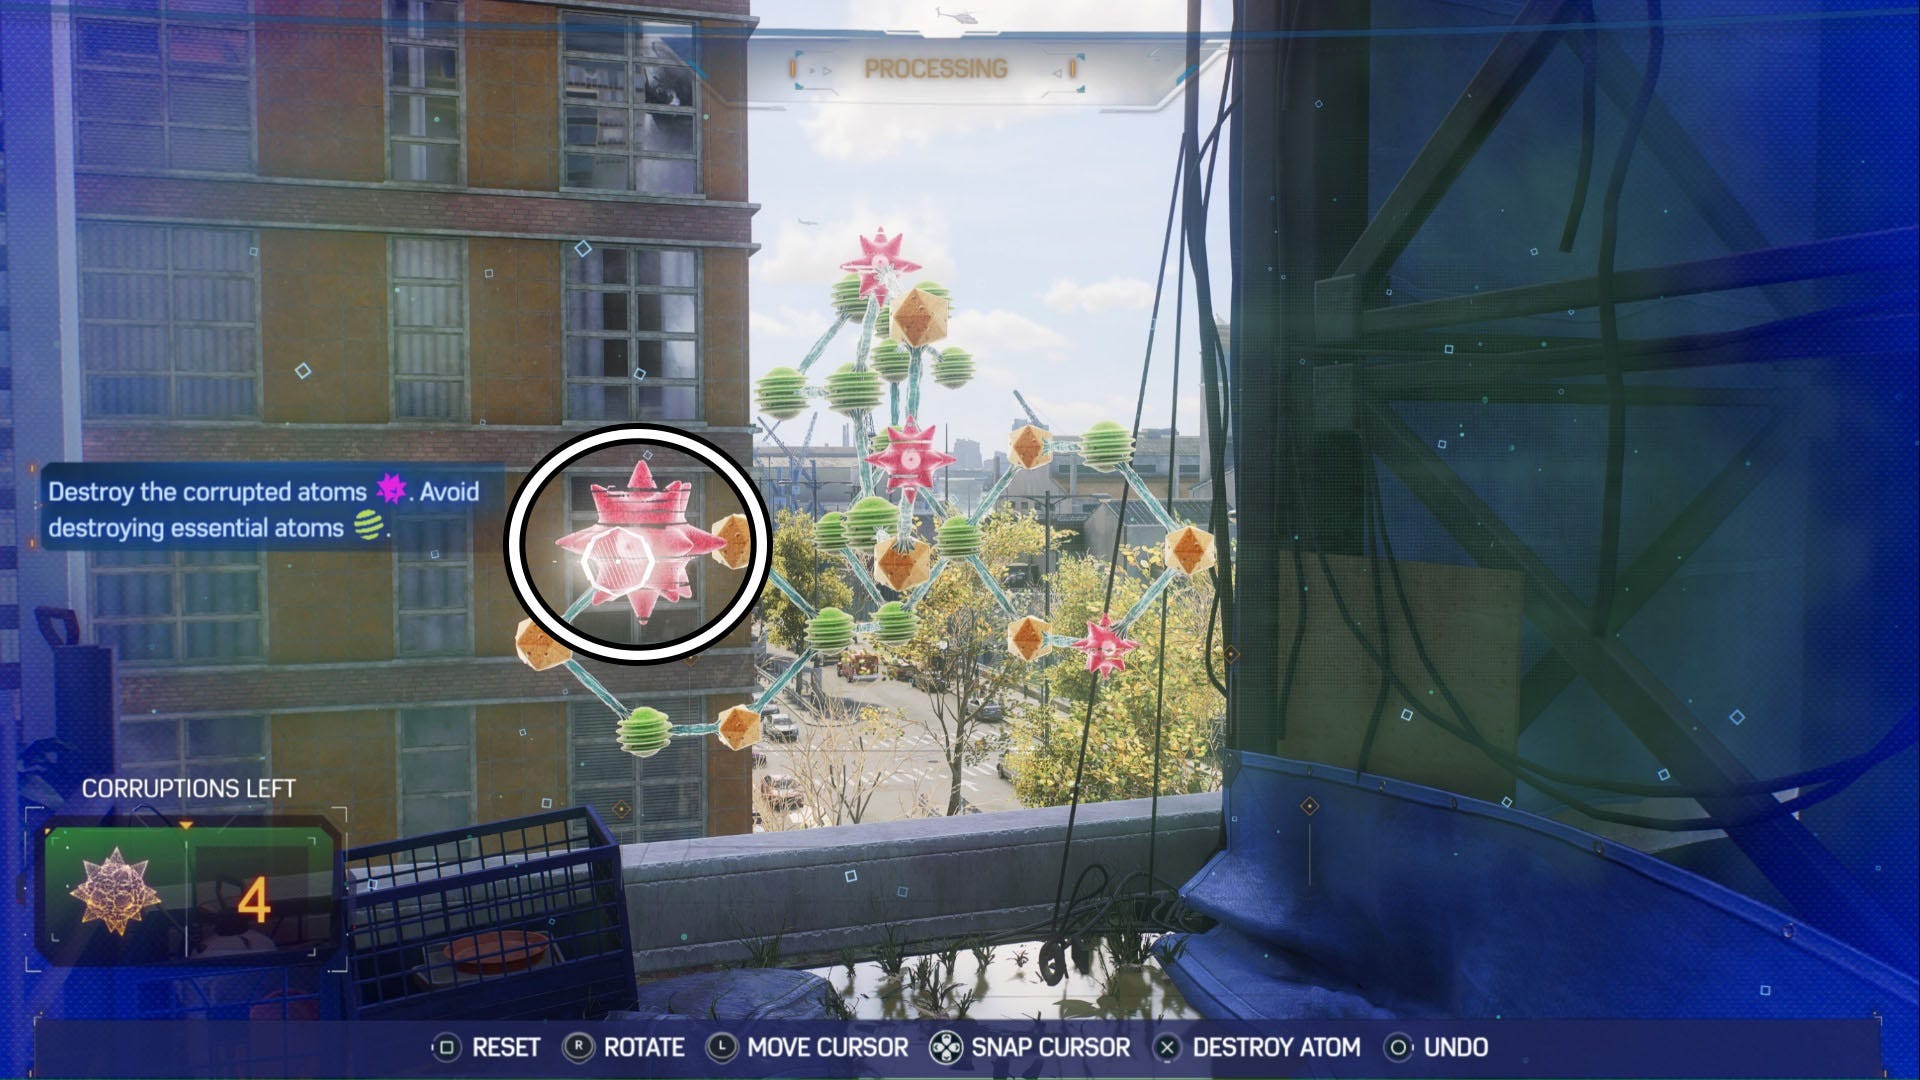
Yet again, rotate the molecule clockwise.
Part Four
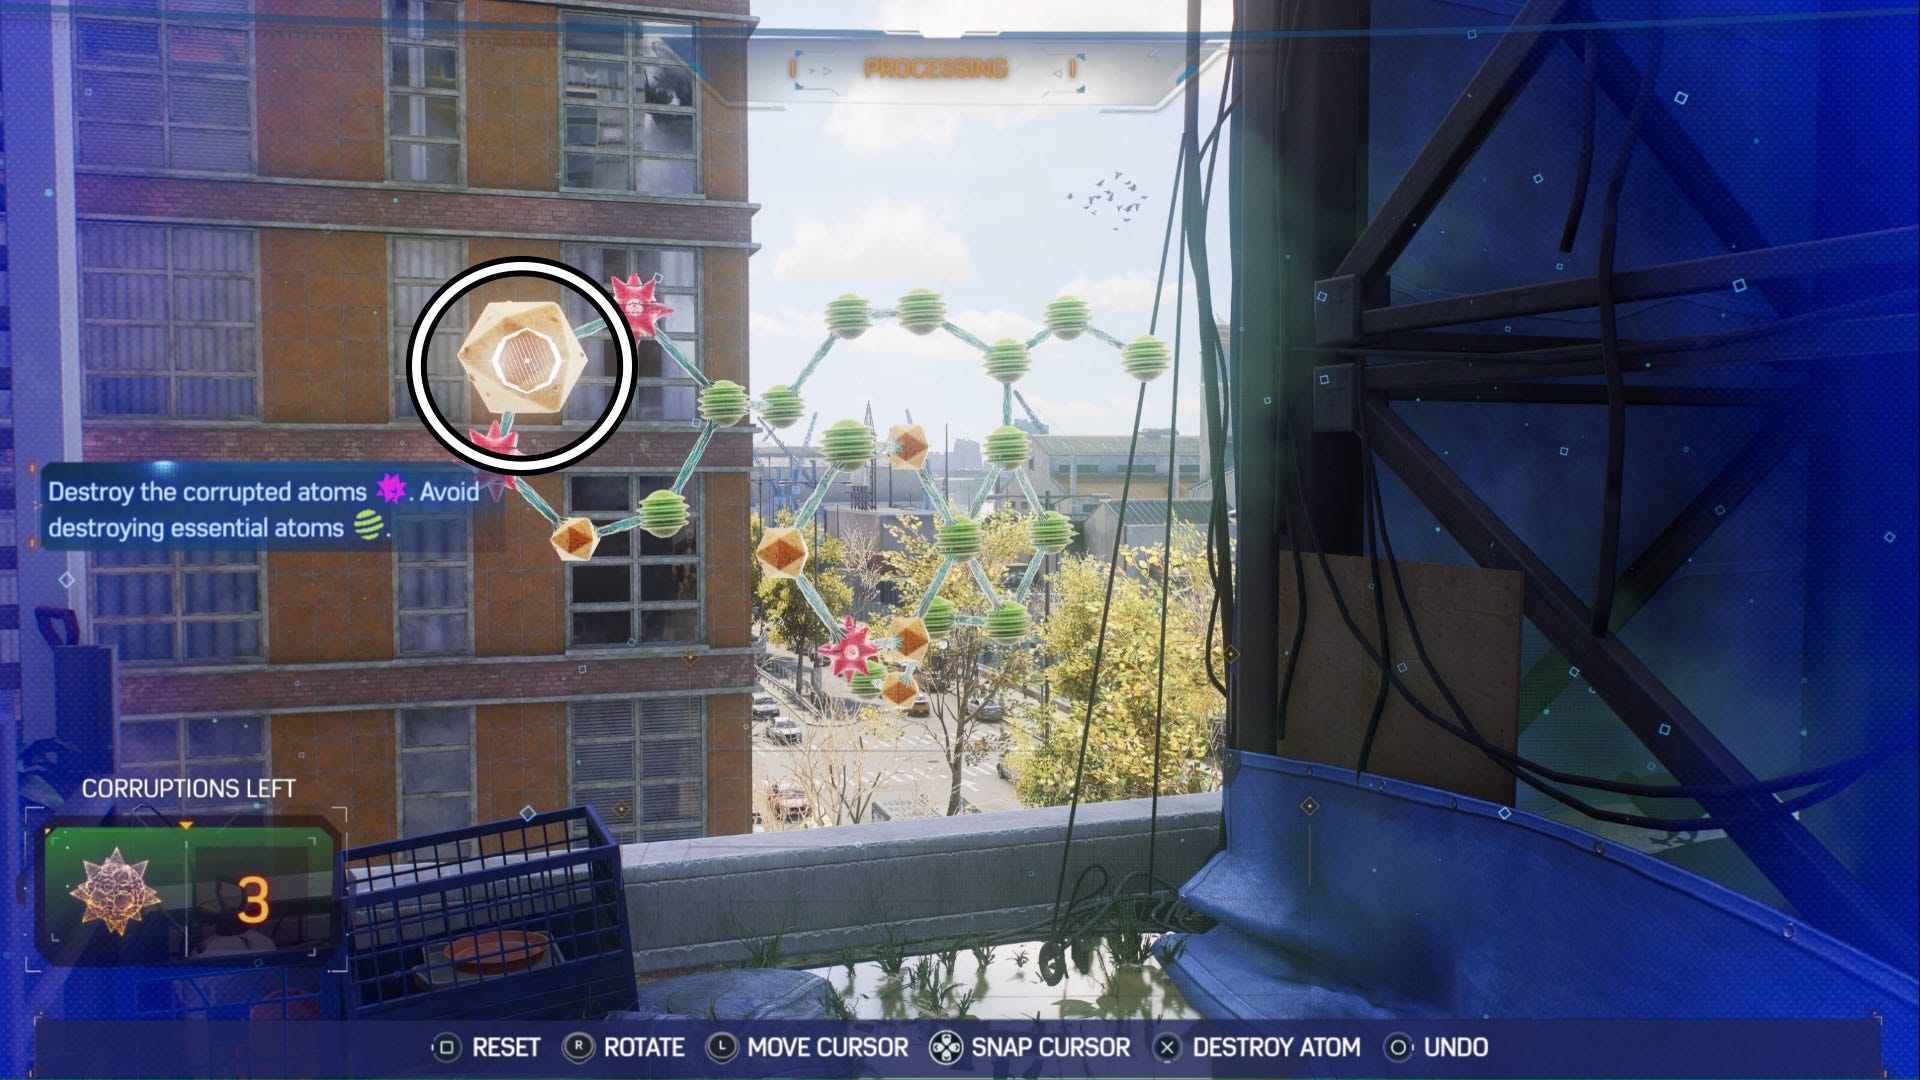
Finally, rotate the molecule one last time.
Part Five

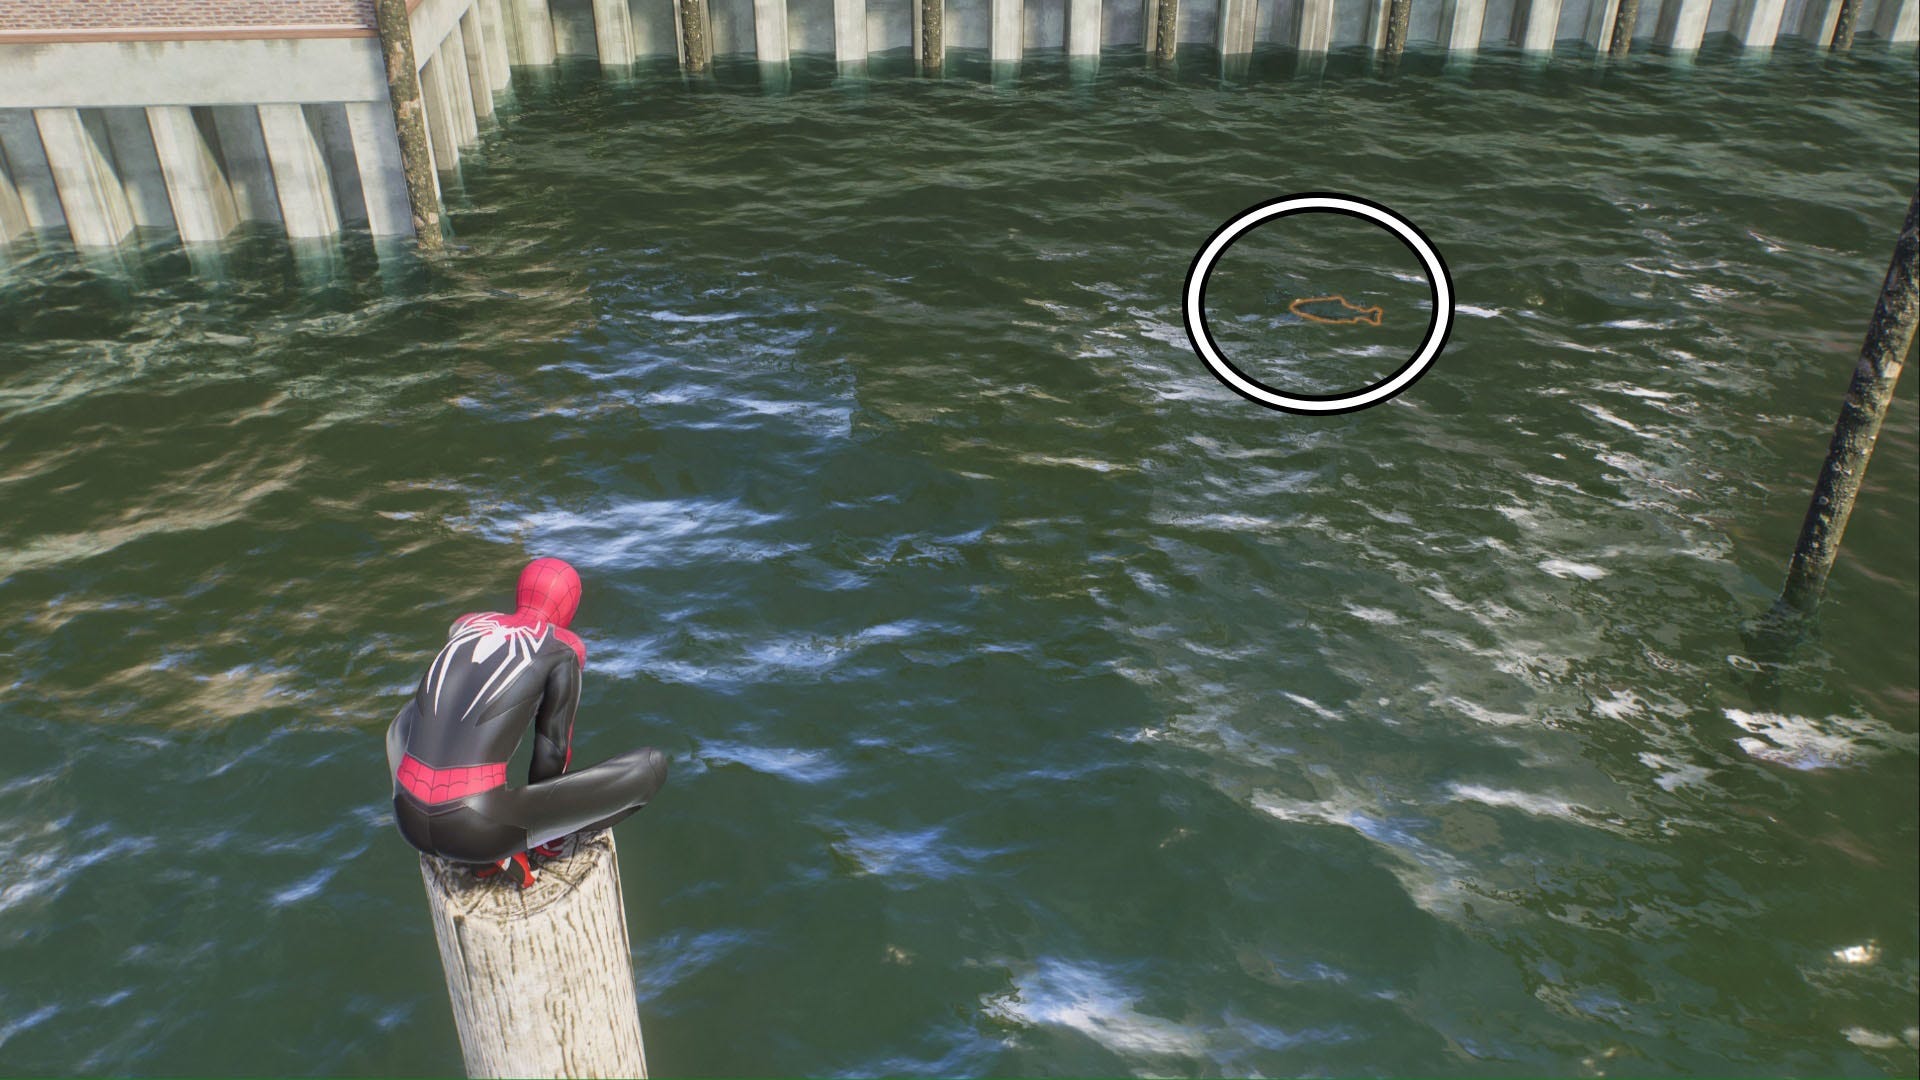
After you've done this, head to the marker at Portside Docks and sit on top one of the poles in the water. Then, look down into the water and wait for a fish to swim past (they're highlighted). Once you see one, and the prompt appears, use L1 and R1 to pull it from the water. We had to do this three times before we got the 'right' fish.
Once you've done this, head back to the Kiosk on the rooftop and splice some genes. There are many ways you can solve this puzzle, but here's how we did it:
Once you've done this, the Portside: Plant Science EMF Experiment will be complete.
Two Bridges: Plant Science
After getting your instructions from the Kiosk at this location, follow the marker to the ESU in Chinatown. Then, when there, head inside the Greenhouse on the rooftop and interact with the empty specimen container here with Triangle. Then, exit the Greenhouse and follow the pollen clusters along the rooftops until you find the thieves.
Defeat them however you see fit, then collect the stolen specimen.
Take the plant back to the EMF Experiment rooftop and interact with the kiosk. You'll be interrupted when you start the gene slicing process. Defeat the enemies again, then return to the kiosk. There are many ways you can solve this puzzle, but here's our solution for the Two Bridges Plant Science EMF Experiment gene splicing puzzle:
Once you complete the splicing sequence, you will have completed this experiment.
Central Park: Bee Drones
After you interact with the Kiosk at this location and have entered Bee Drone mode, all you have to do is fly around Central Park and shoot 20 purple targets by using R1 or Square before the drone's charge runs out. This is exactly the same as the time you did it in the EMF Foundation.
The charge capacity of the Drone can be seen in the small ring around the targeting icon in the middle of your screen.
Here's a quick list of the controls for the Drones:
- R2/X- Rise.
- L2/Circle - Descend.
- R1/Square - Fire.
The targets you're aiming for in this first section look like this:
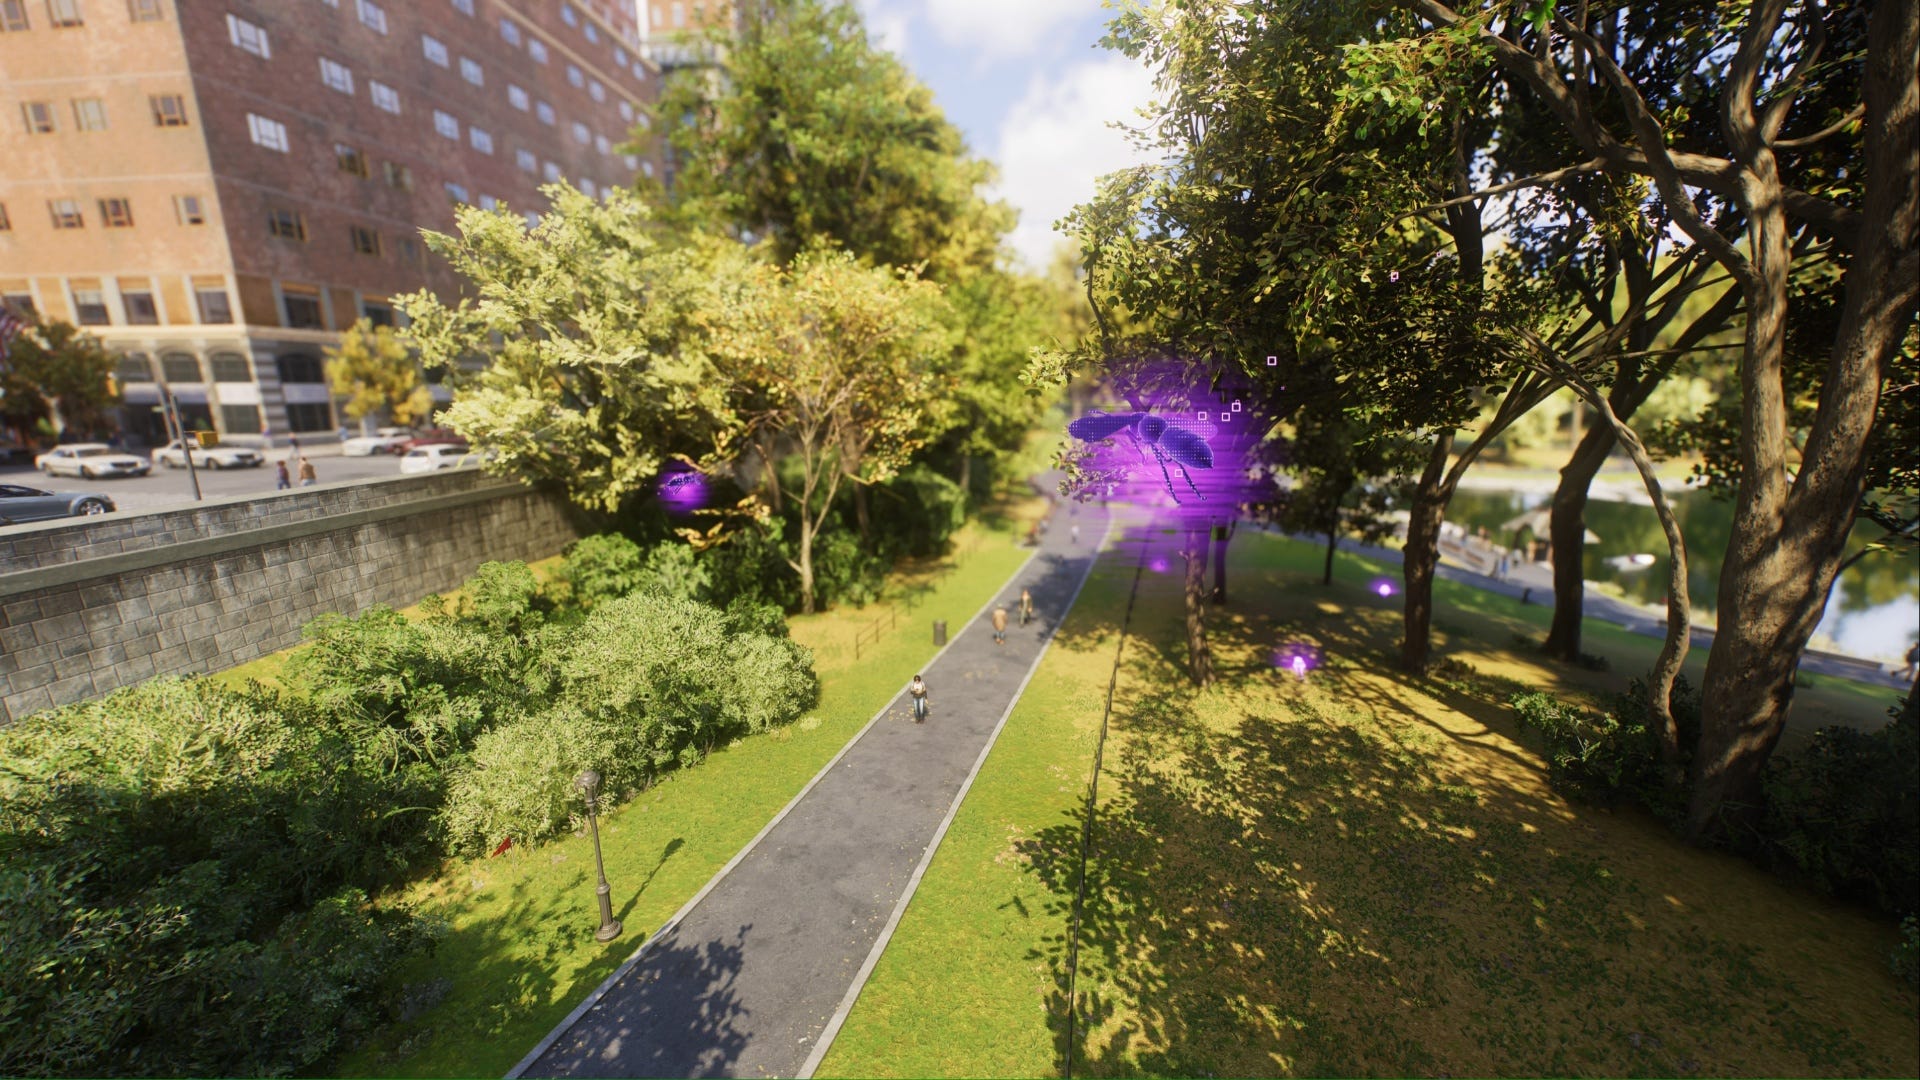
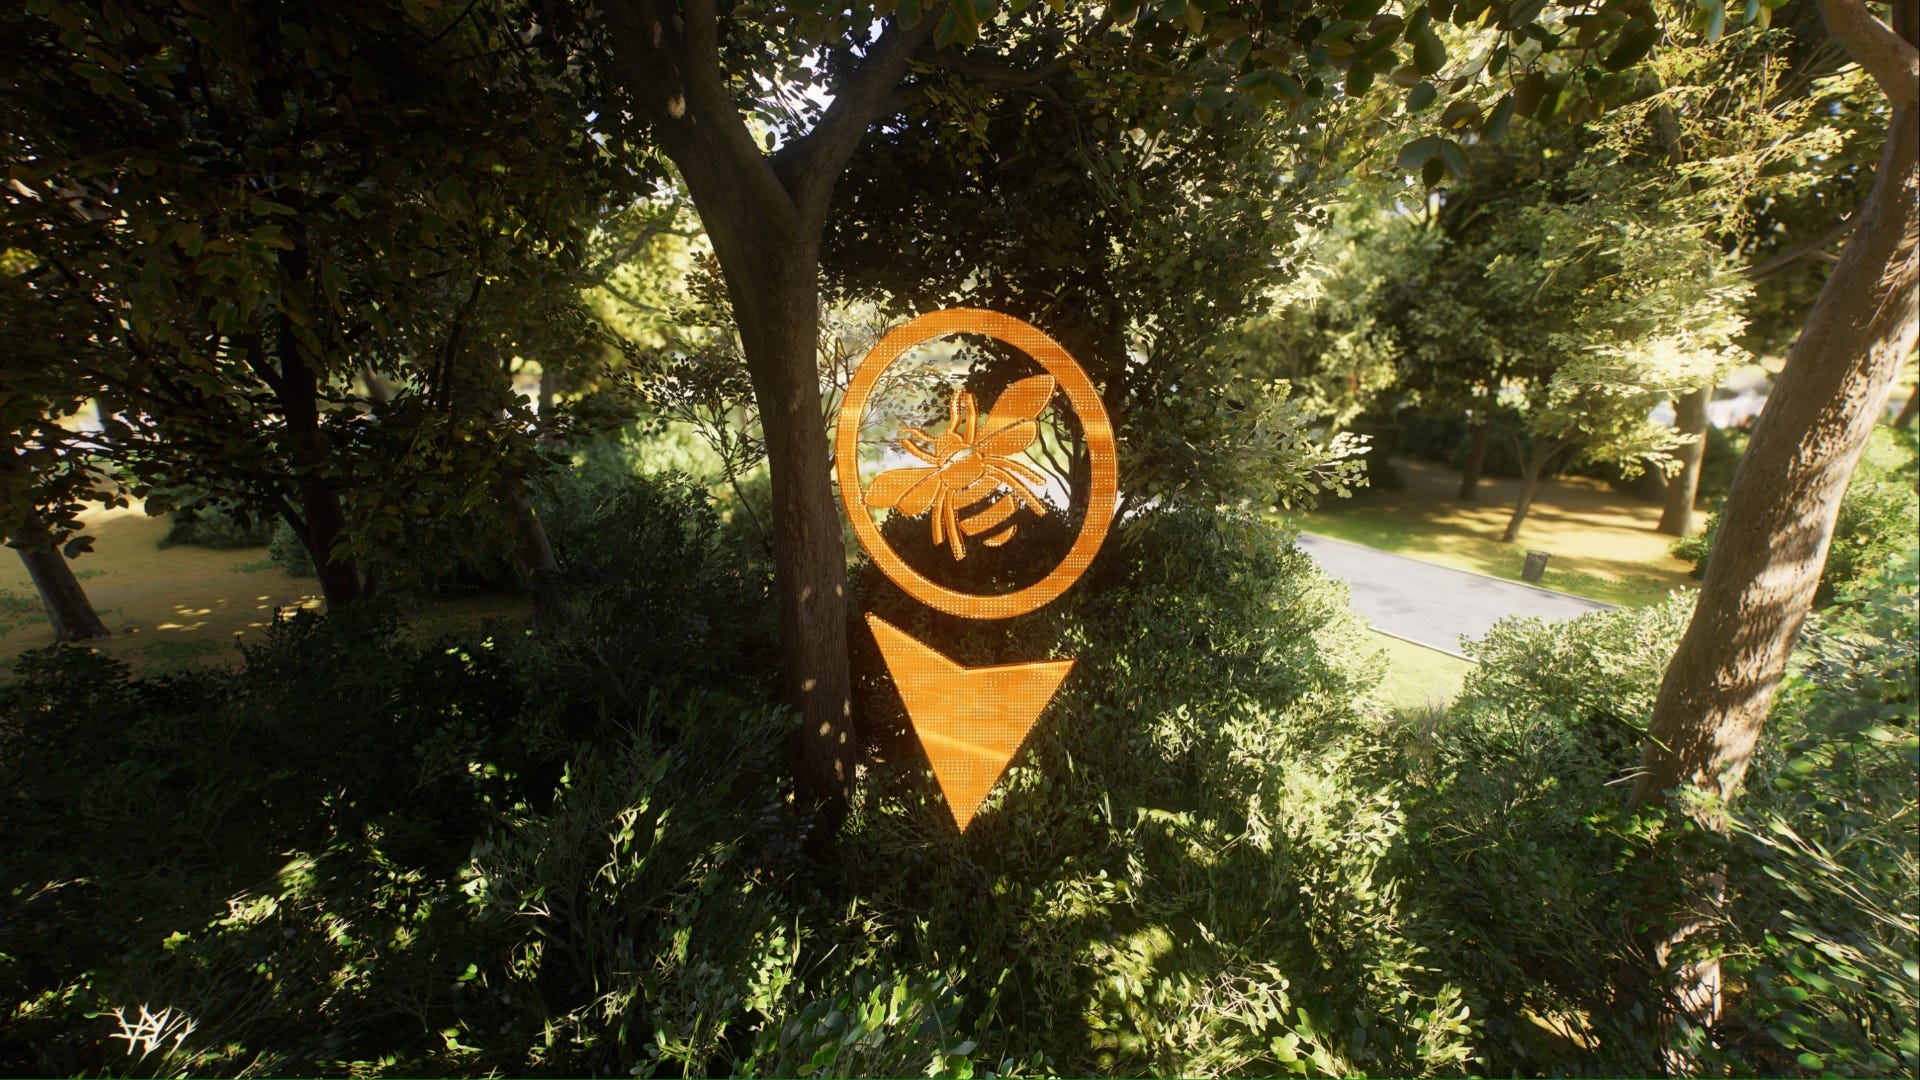
After you hit 20 of them you then need to fly your Drone through seven hologram markers above potential nest sites. The markers you're aiming for have a Bee in them and look like this:
Once you've done this, the experiment will be complete.
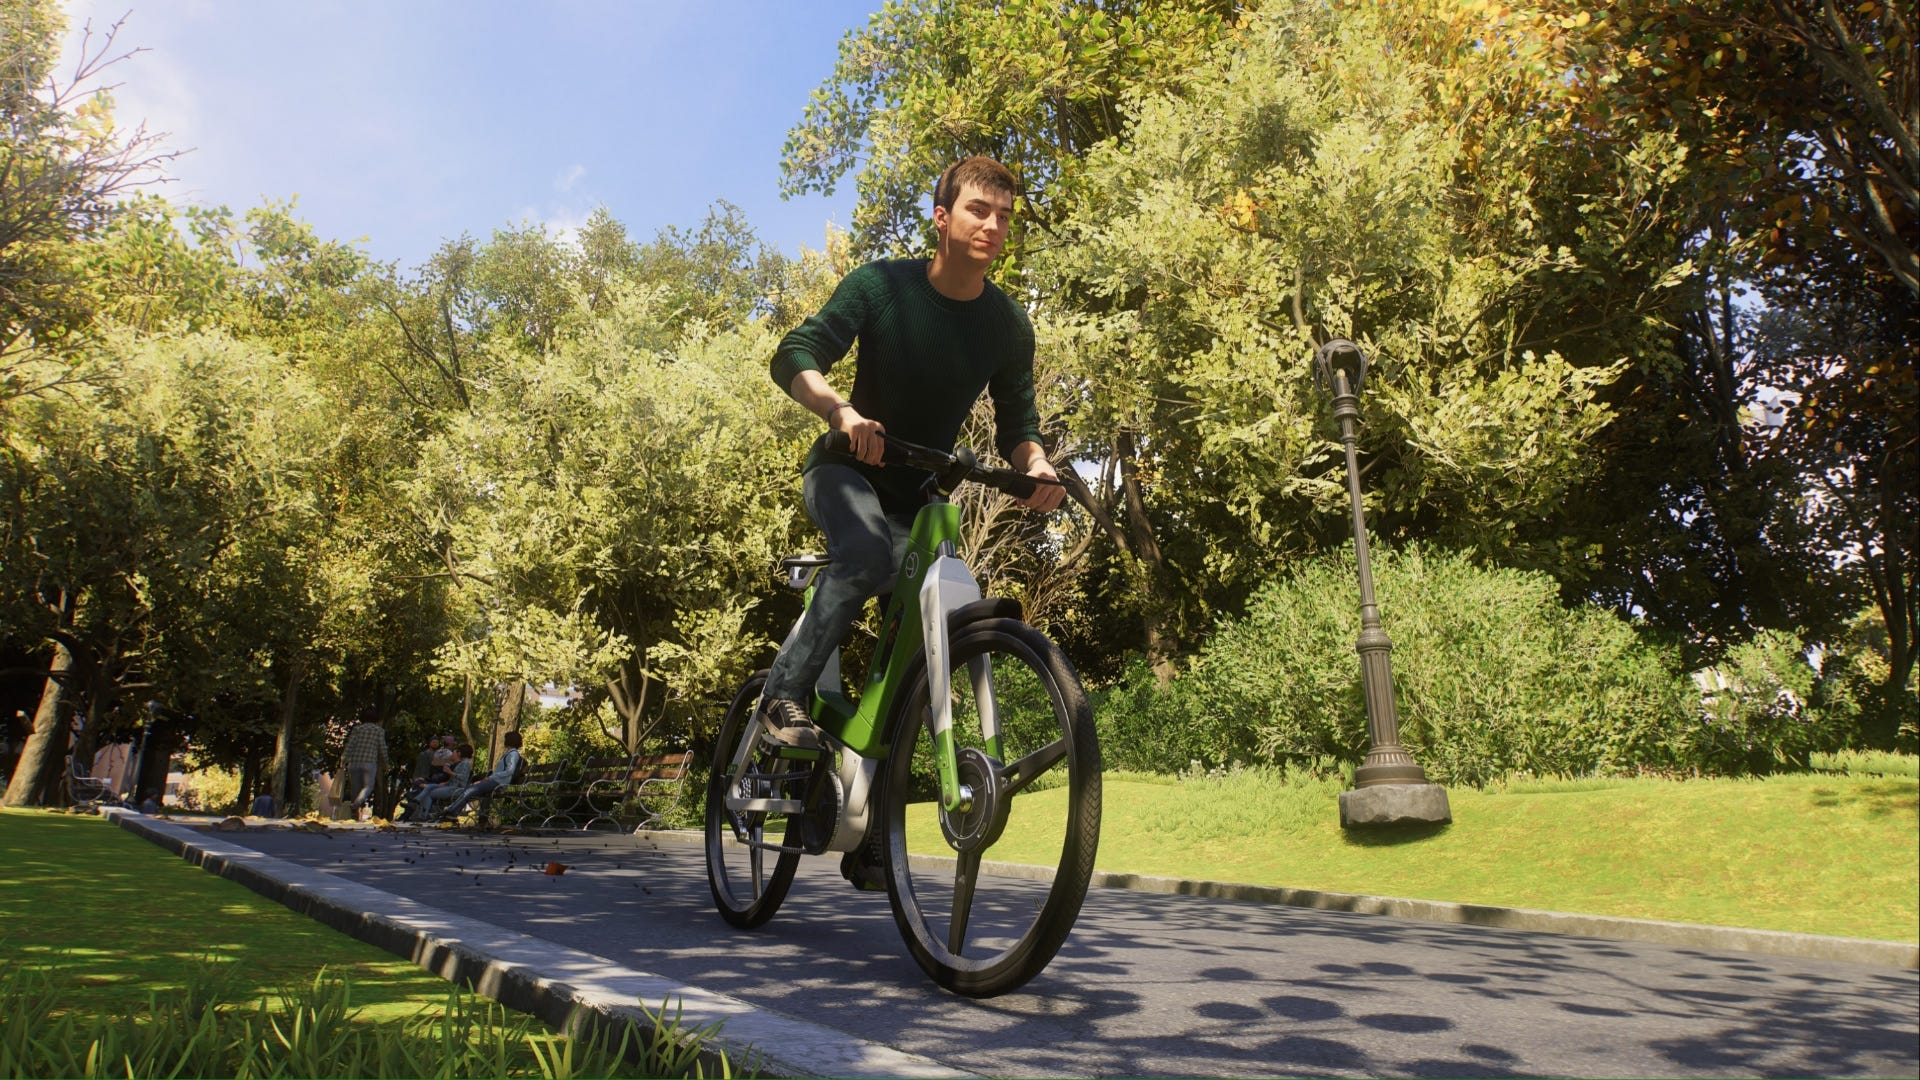
Central Park: Energy
One you've gotten to the location for this Experiment and interacted with the Kiosk, you'll already be close to completing it!
All you have to do for this experiment is ride through the checkpoints in Central Park. Follow the main path through the park and the pay attention to the various signs dotted around to make sure you're on the right course. Here's a quick list of the Bike's controls for you:
- L3 - Pedal/Steer
- X - Pedal Faster
- L2 - Break
All you have to do is make it to the end of the course to complete this experiment.
Queens Apiary: Bee Drones
This experiment starts like any other Bee Drone one, you need to interact with the Kiosk to enter drone mode and then fly around the rooftop to shoot 20 targets before the charge runs out. The charge will be represented by a ring around the target in the middle of your screen.
Here's a quick list of the controls for the Drones:
- R2/X- Rise.
- L2/Circle - Descend.
- R1/Square - Fire.
Then, when prompted, fly over to investigate the 'Unidentified Predator' (the bird trying to eat the Bees). Then, switch to Sonic Shots when prompted and fire at the Bird to stop it eating the bees. The bird will then fly off, and you need to follow it to find out where it came from.

The bird will stop a few times before it reaches its home, but you can just fire at it to gently persuade it to keep moving. Once you've reached the bird's home, fire at the piece of wood propping up the door to make sure it doesn't escape again.
Once the bird is back inside its home, the experiment will be complete.
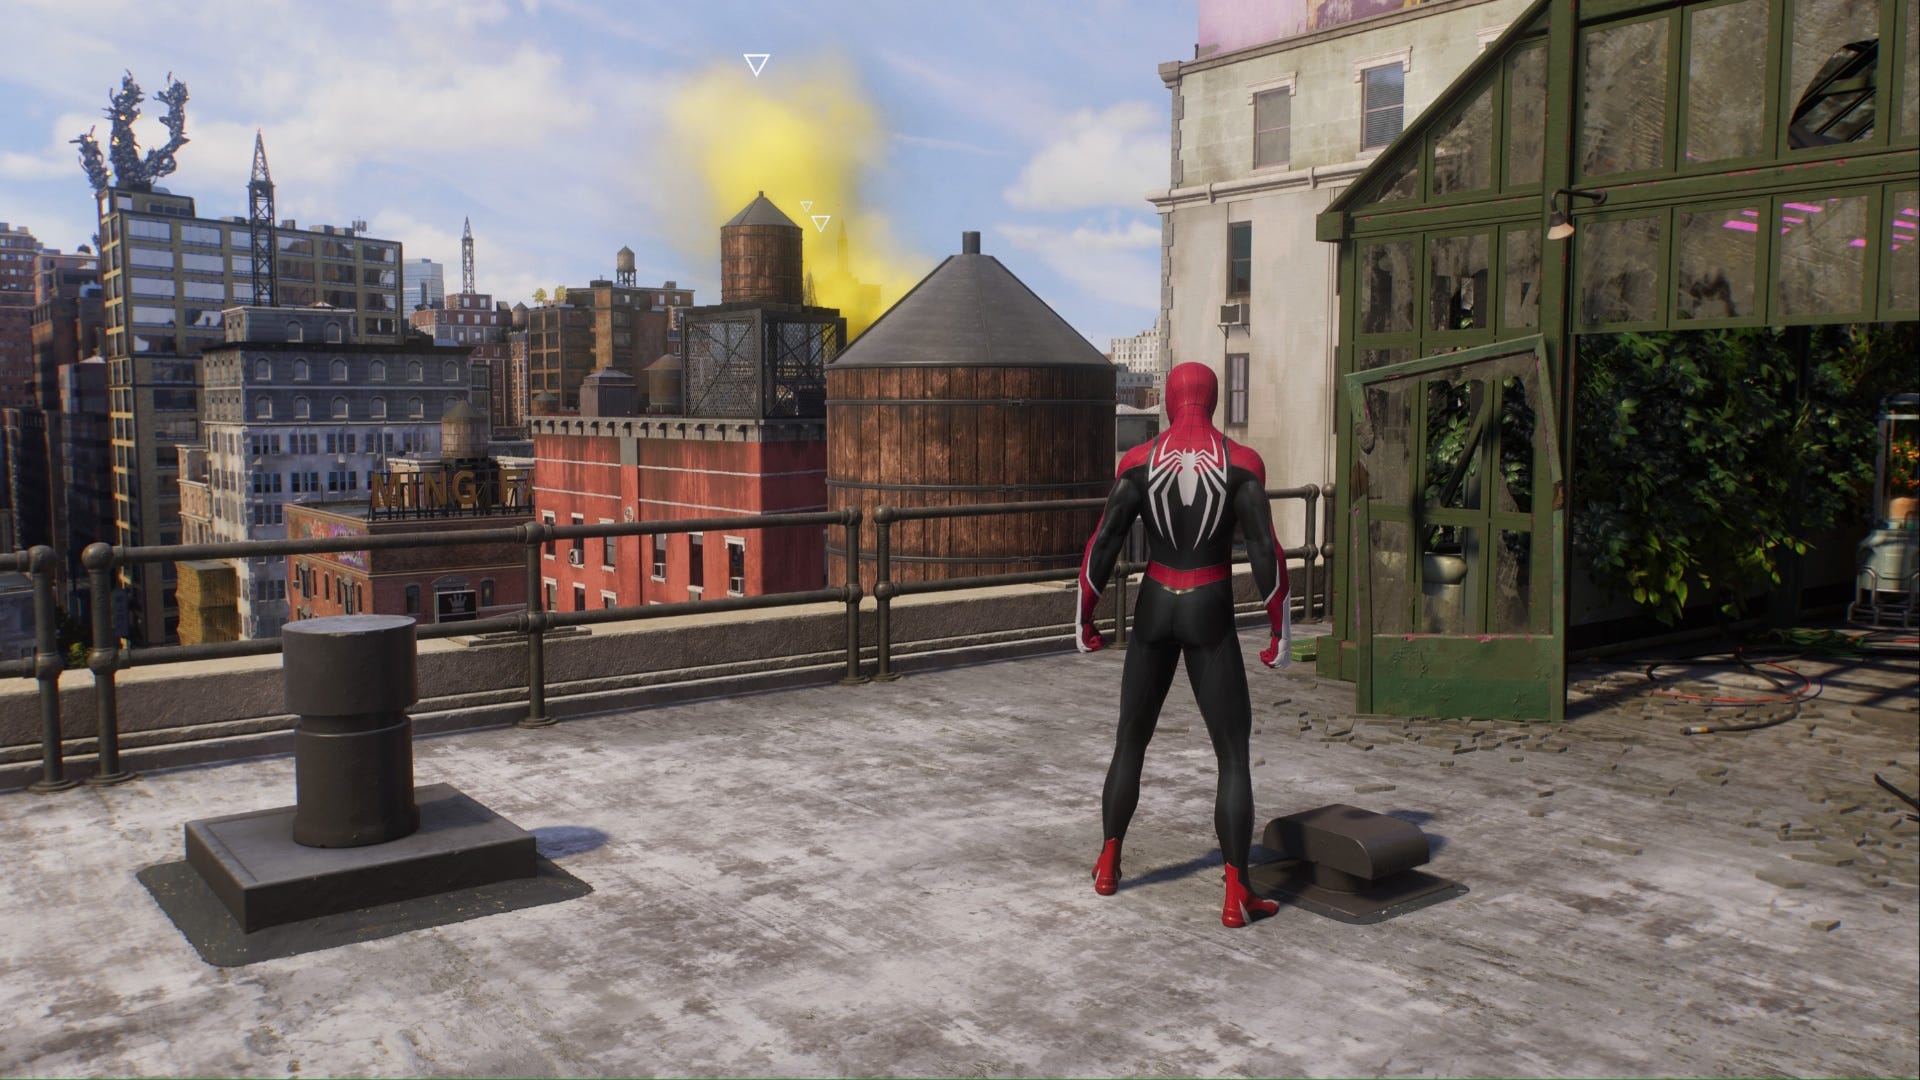
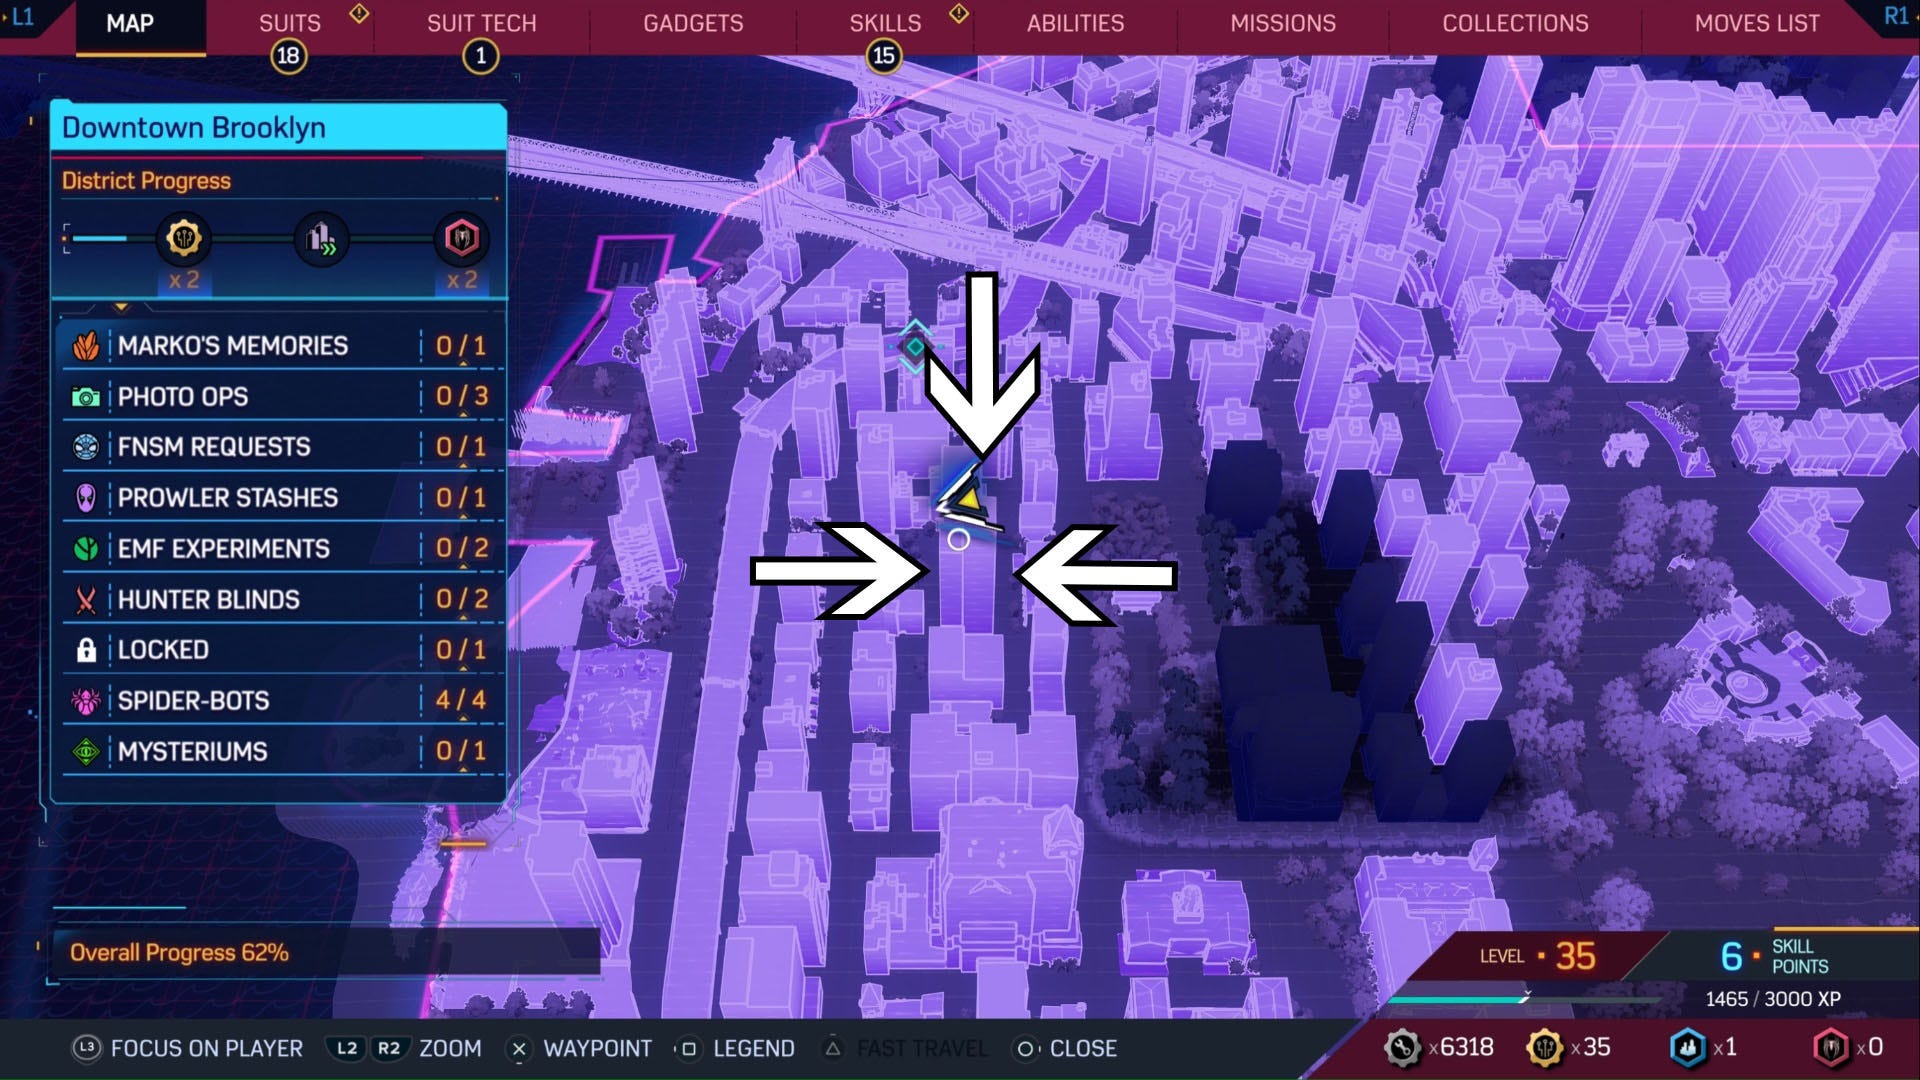
Brooklyn Heights: Energy
This is the experiment that we found the most difficult, especially if you approach it the way the game wants you to. However, we found an easier way to get these Wind Turbines deployed!
Interact with the Kiosk at the location to get the Wind Turbines and you'll see a few markers appear on your map. This is the area you need to deploy the Turbines in, but you need to get to a specific height to be able to do so.
There is a bar on the left side of your screen that will tell you your current height. Peter needs to be high enough so that the bar marker enters the green section at the very top and he must keep the marker there until he's prompted to deploy the Turbines.
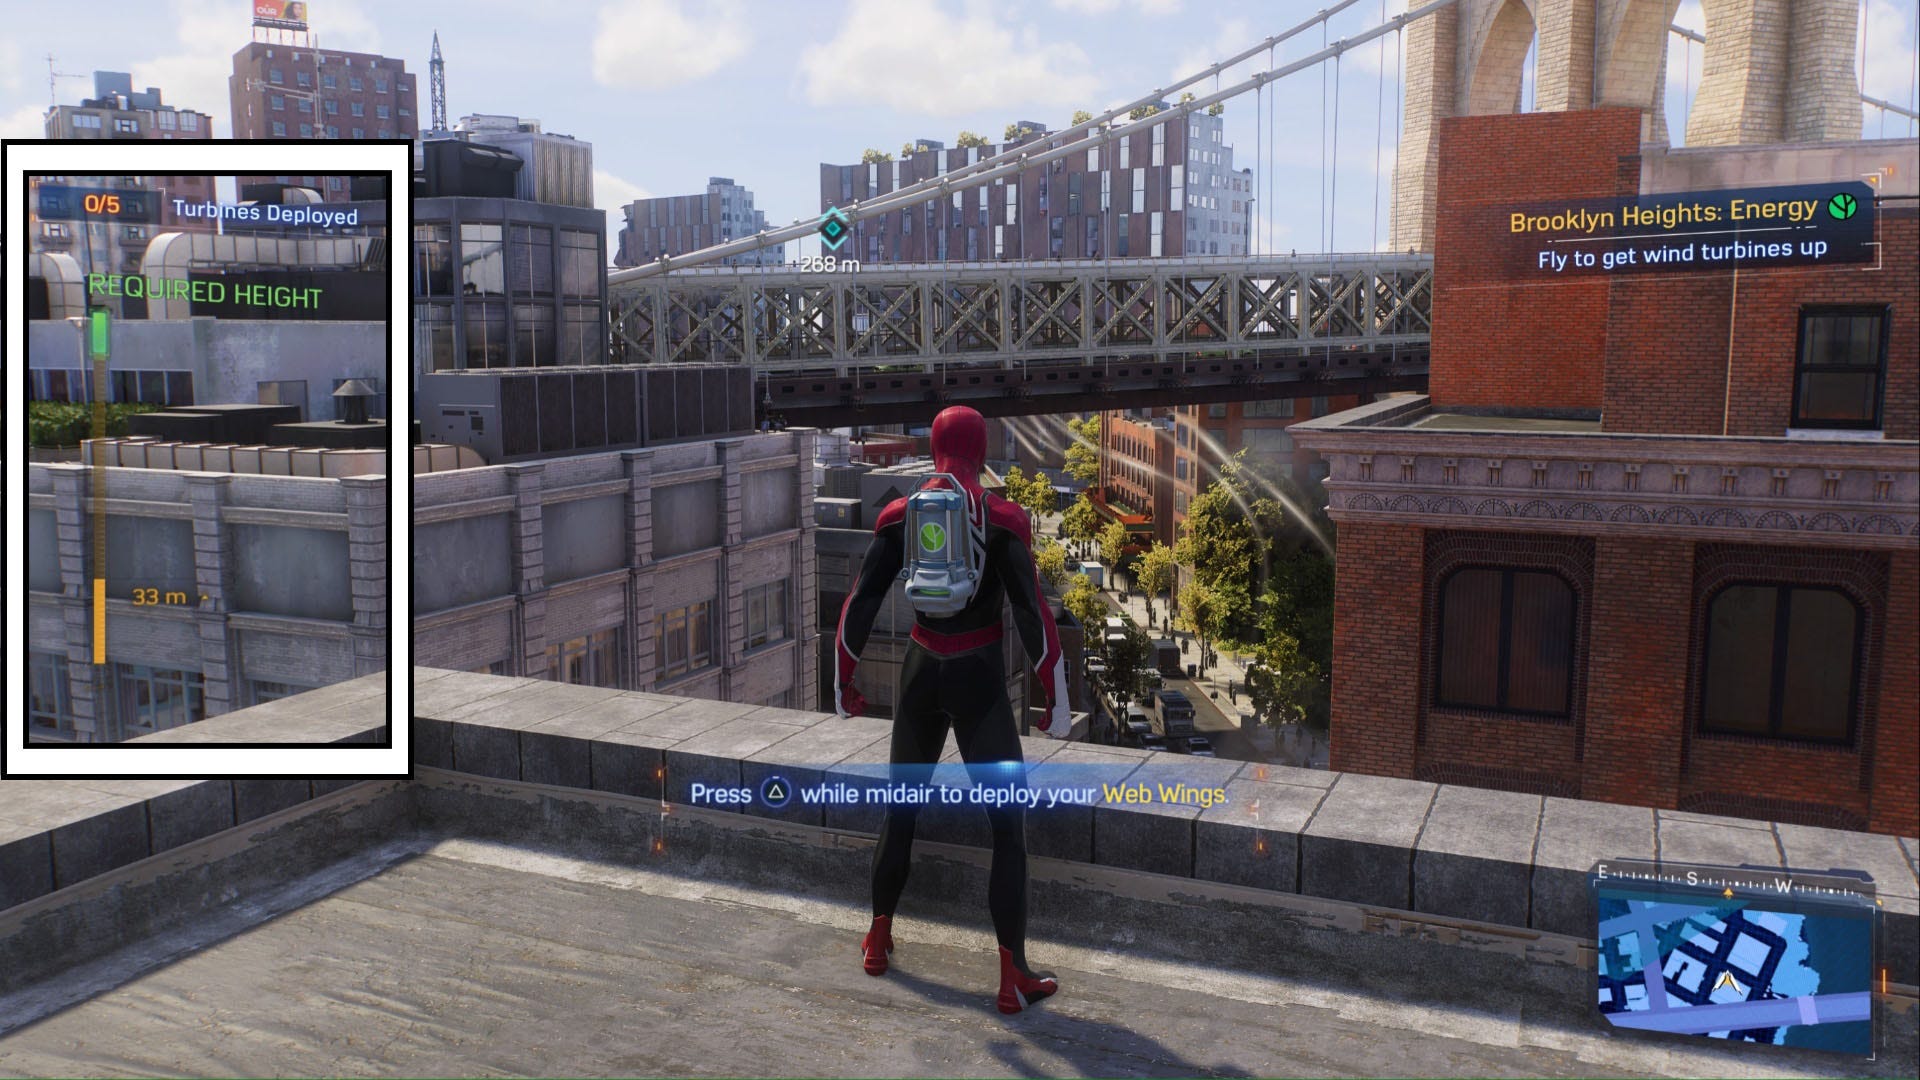
Now, the game wants you to ideally use the Wind Tunnels but we found a different way. Head to the building we've marked on the map below and climb all the way to the roof:
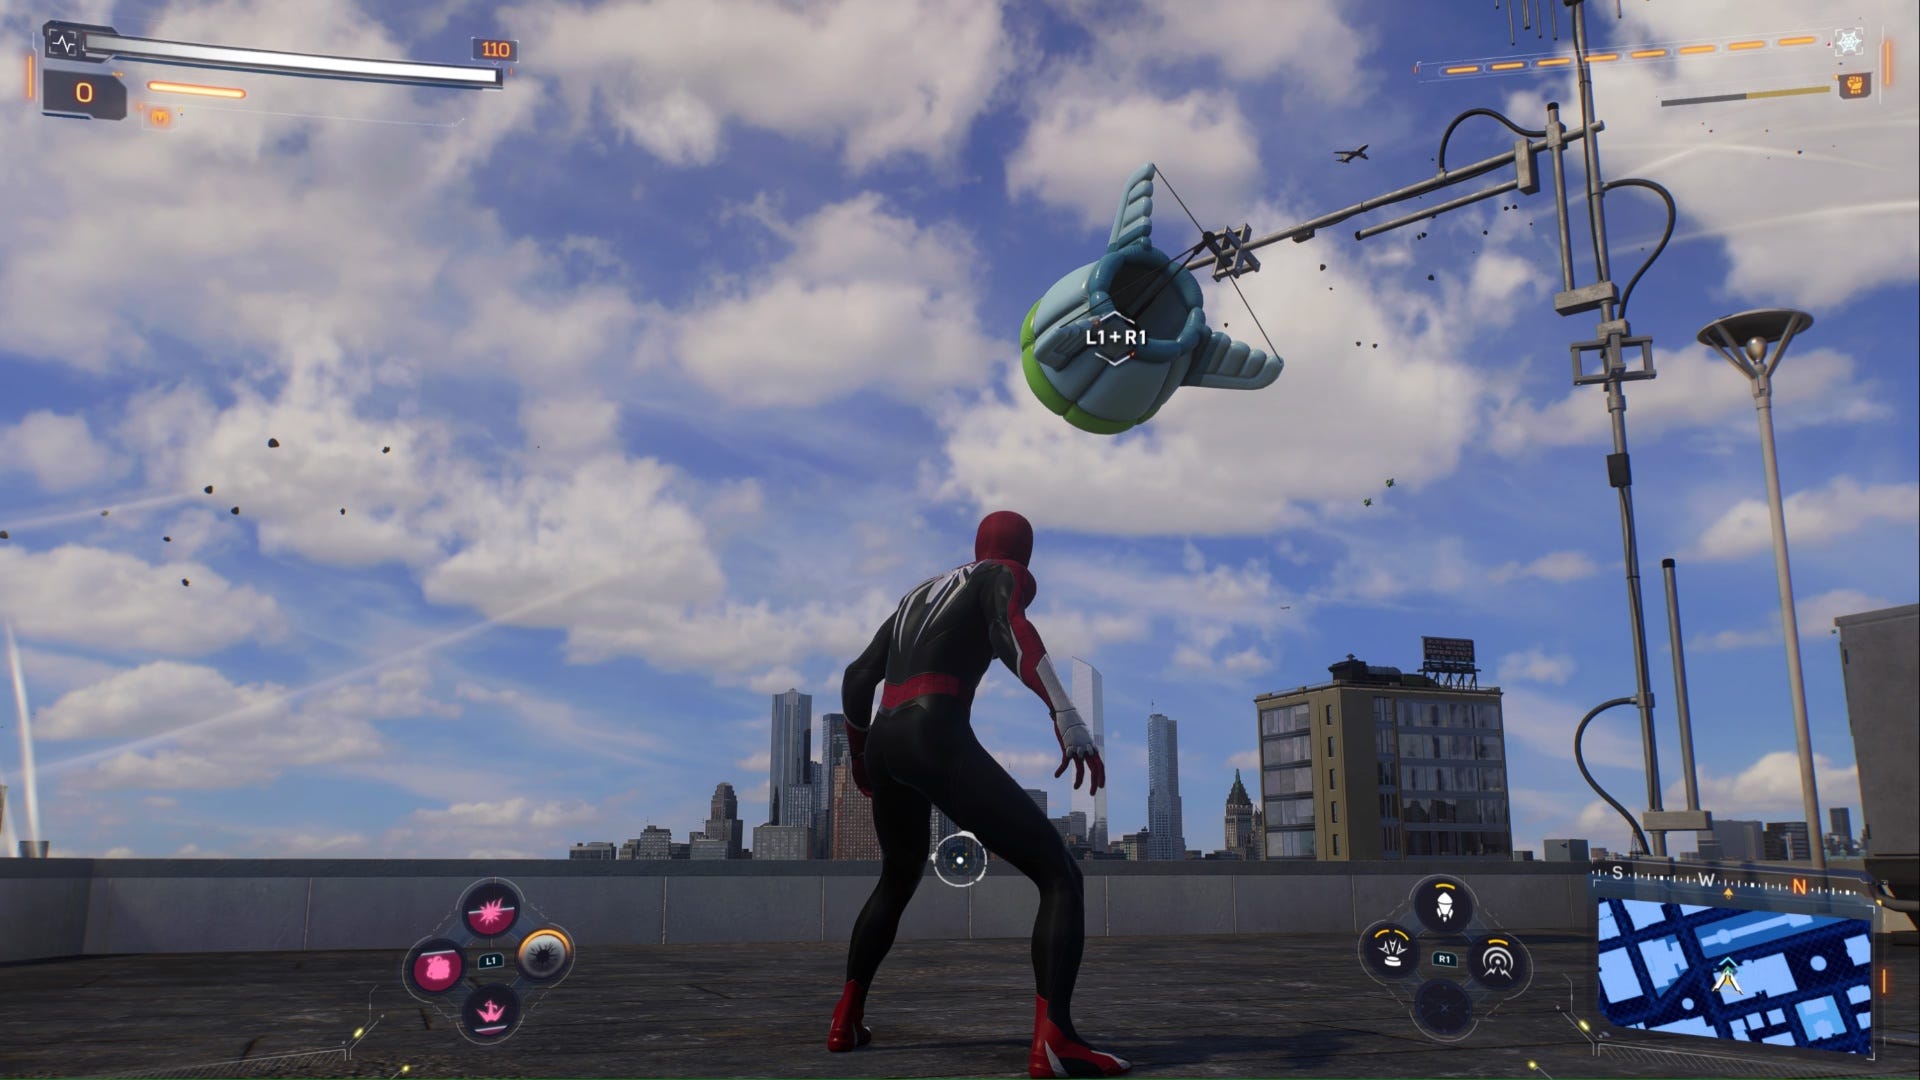
Then, climb to the highest point on this rooftop. Use R2 and X to charge jump into the sky, then instantly deploy your Web Wings with Triangle. The marker on the bar should enter the green and all you have to do is keep Peter hovering there for a few seconds until you're prompted to deploy a Turbine with Square.
You will lose height eventually, so rinse and repeat this method until all the Turbines are deployed.
Once you've done this, head to the rooftop marked on your map and defeat the enemies here to free the Wind Turbine. When the enemies are down, use L1 and R1 to throw the Turbine back into place.
The experiment will now be complete!
Prospect Park: Bee Drones
Interact with the Kiosk at this location to enter Bee Drone mode, then pilot the Drone around the park to shoot 10 targets before the charge runs out. The charge will be represented by a ring around the target in the middle of your screen.
Here's a quick list of the controls for the Drones:
- R2/X- Rise.
- L2/Circle - Descend.
- R1/Square - Fire.
Once you've done this, fly the drone through five holograms marking potential nest sites. These holograms have a Bee in the middle.
However, after you fly through three holograms the Drone will be stolen! Head down to the Drone's last known location (follow the on screen marker). Then, from here, head to the rooftops indicated by the several different markers on your map to try to track down the thieves.
We found the thieves by sitting on the rooftop that's just south of the Kiosk location.
Once you become the Bee Drone again, fly towards the shelves in the garage and shoot the cages holding the Bees:
When you've released enough angry Bees, the thieves will open the door and run into Peter. You know what to do - teach those thieves a lesson and the experiment will be complete.
Spider-Man 2 EMF Experiment reward explained
After you complete all eight EMF Experiments in Spider-Man 2 you will unlock a substantial reward. However, you will not be able to access this reward until you've completed the main story.
If you've completed all eight experiments and the main story, then one more EMF Experiment marker will appear on your map after MJ's phone call. The marker will take you back to your home and the reward is waiting for you in your garage.
Interact with the parcel on the desk here to claim your prize, which is the Life Story Suit for Peter. You'll also get 200 Tech Pieces and 1,000 XP.
On top of this, you'll get the Foundational Trophy for completing all EMF Experiments and another small reward that we won't spoil for you.
That's it for now! If you're after more collectibles, check out our guides on Marko's Memories and Photo Ops locations instead.