The Last of Us Part 2 - Road to the Aquarium: All items, boat location and how to explore all areas
How to complete the Road to the Aquarium chapter and find everything along the way.

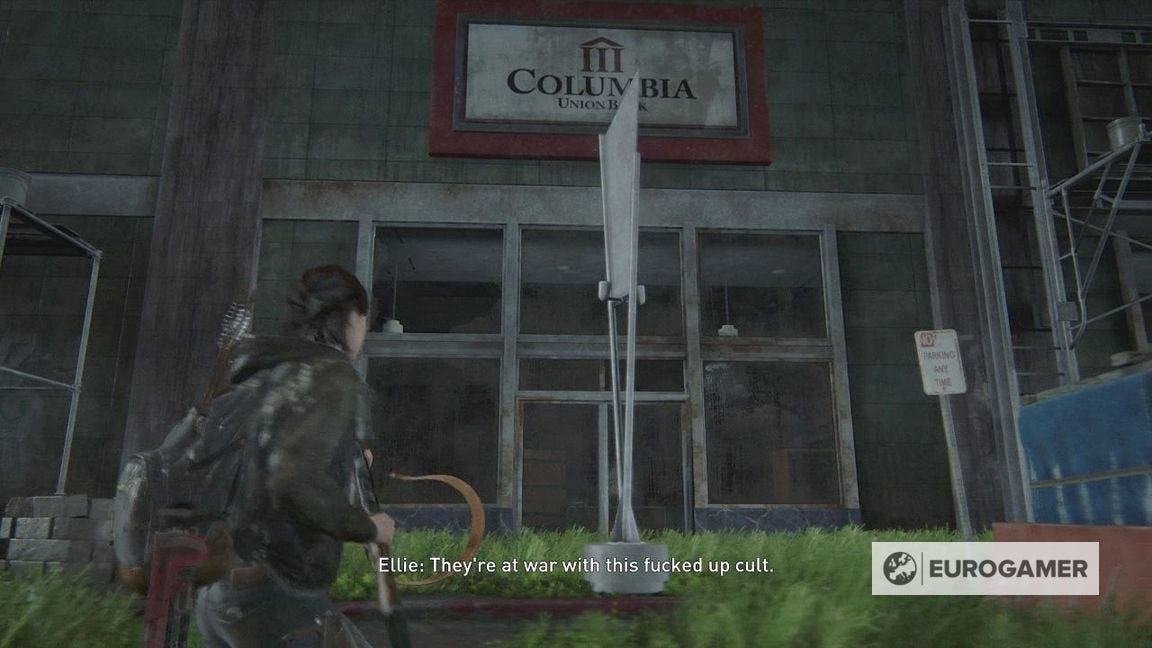
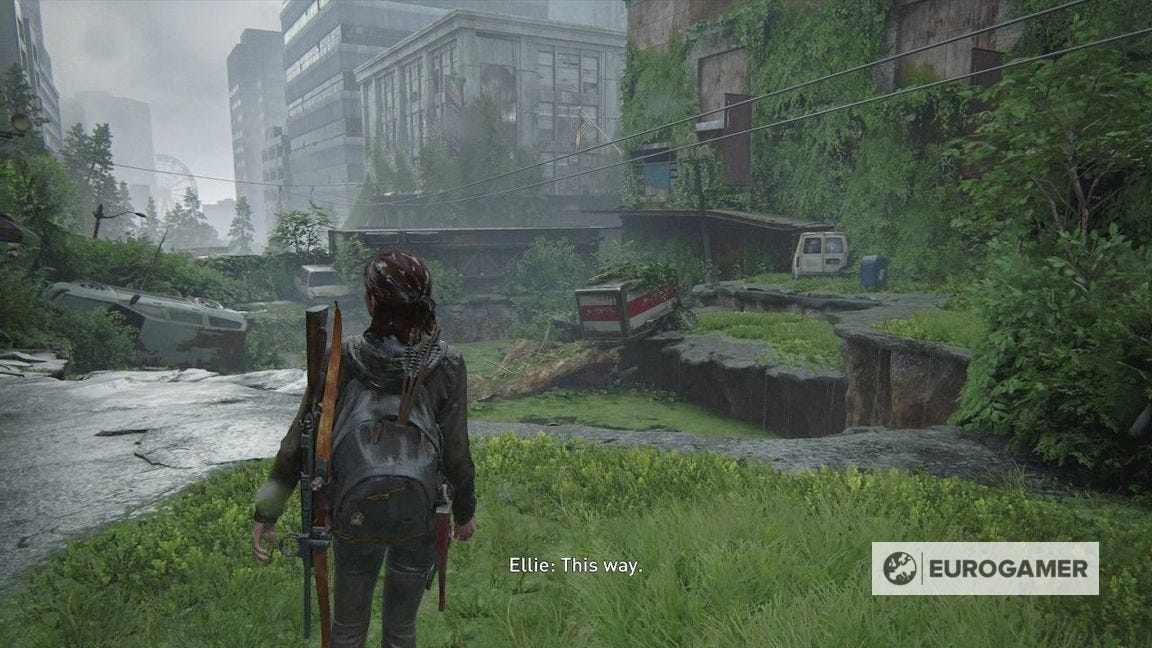
Road to the Aquarium follows on from The Last of Us Part 2's St. Mary's Hospital flashback and The Seraphites section.
This is the first part of Seattle Day 3, and as the chapter title explains, has Ellie and Jesse make their way to the Aquarium.
As always, you'll be seeing the dilapidated sights and sounds of Seattle as you go, with plenty of missable items along the way - which this page explains how to find.
On this page:

Looking for help in other areas of the game? See our The Last of Us 2 walkthrough and collectibles hub.
Frontier Rental Car to when you start swimming in Road to the Aquarium
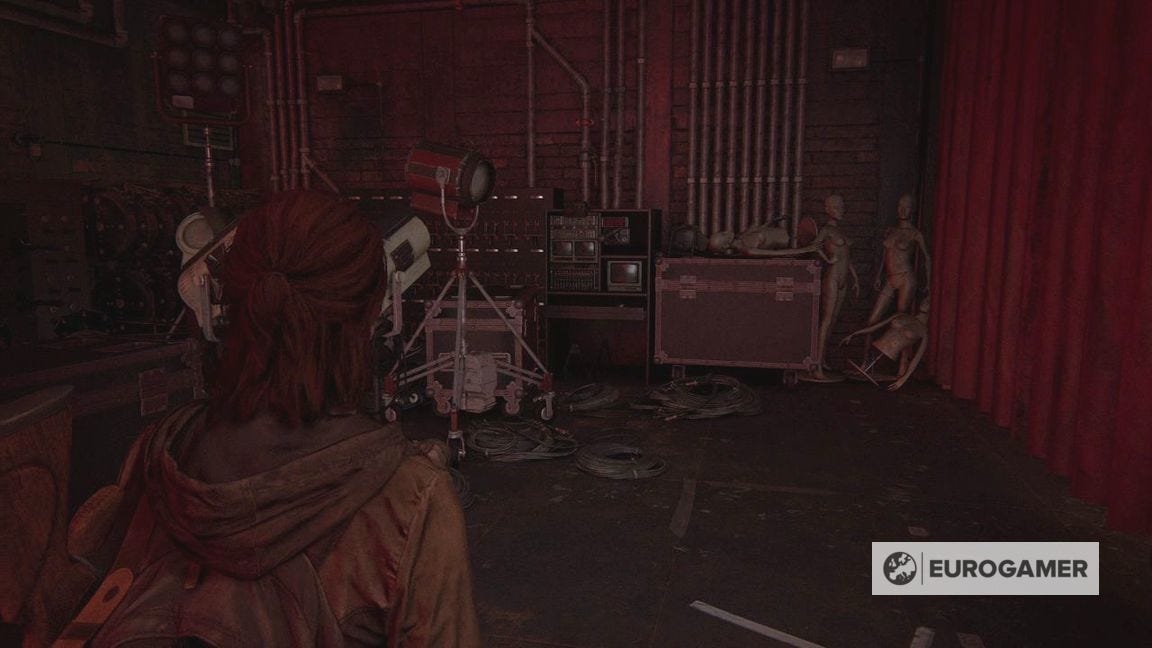
Leave the backstage room, past all the sets to the room with the red curtain.
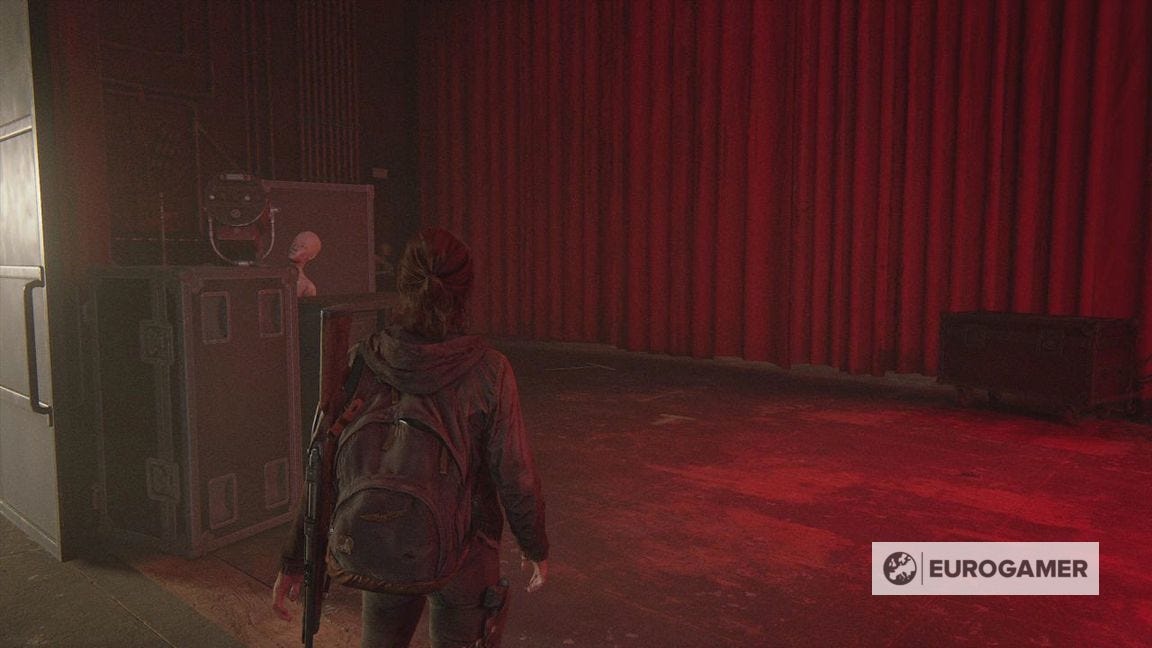
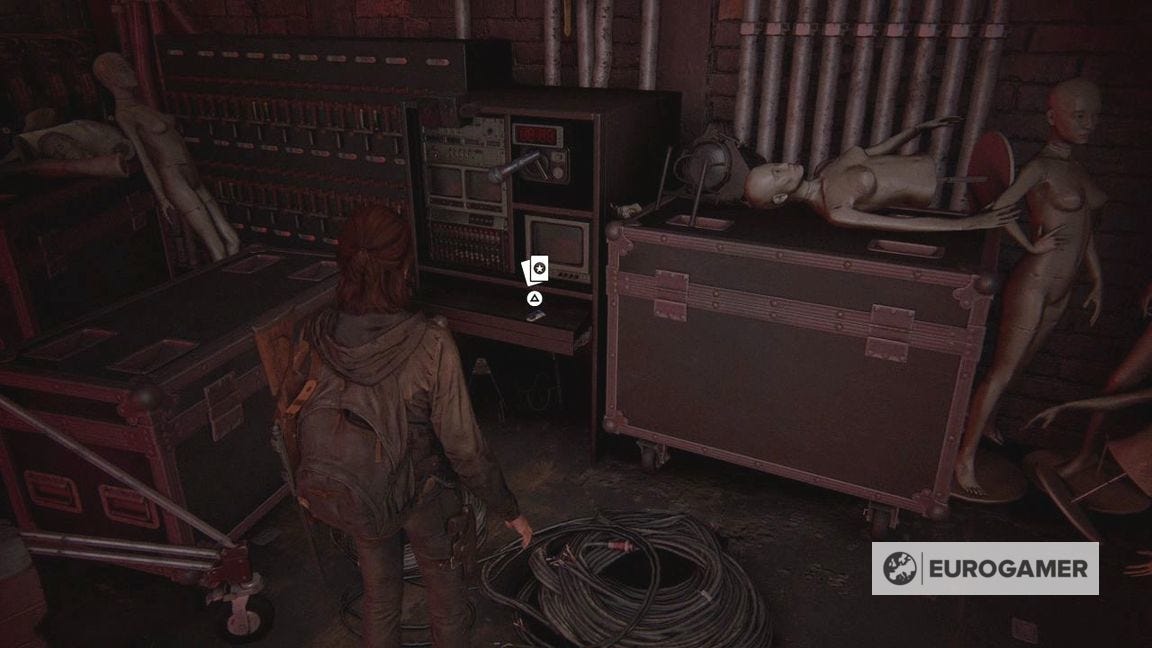
Before you enter, check the audio visual equipment on the far side for the Esquire Trading Card.
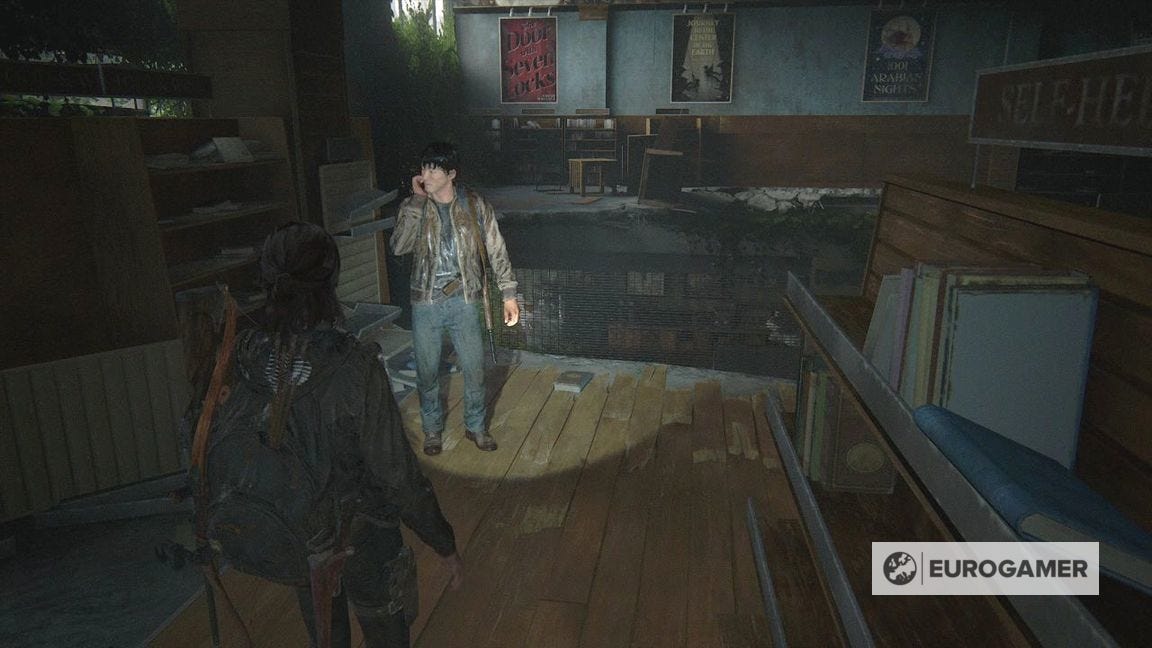
Approach the curtain to leave. Head out of the Theatre - again, you can practice the guitar if you fancy - before doing through the end door for a cutscene.
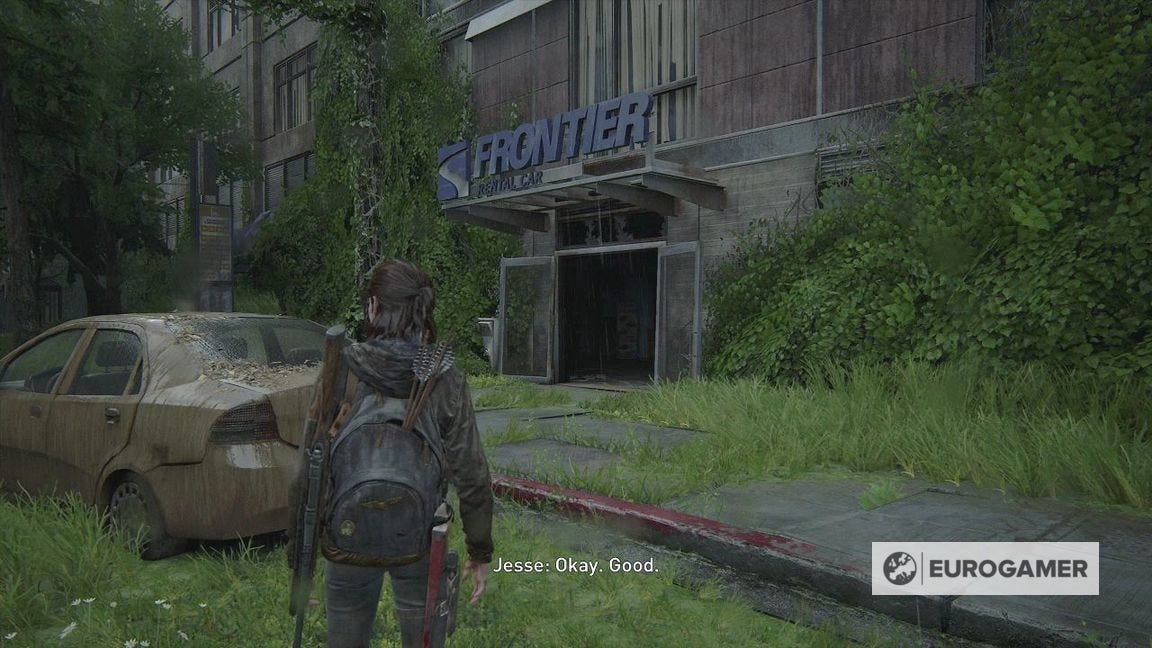
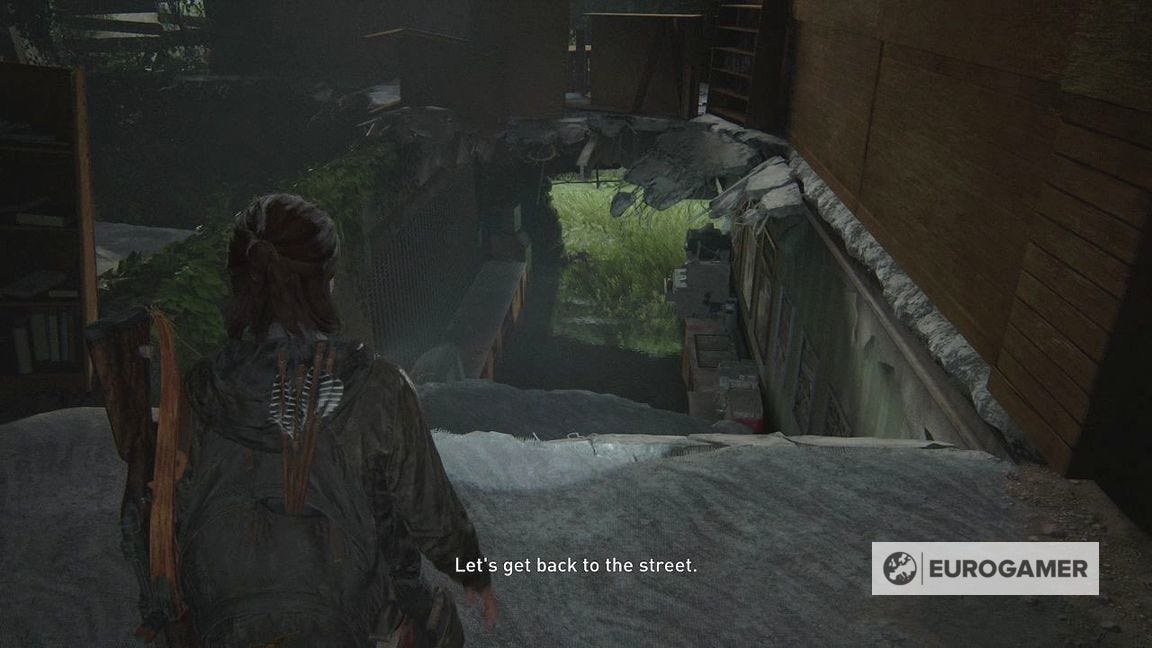
Outside the theatre, Jesse will boost you up the collapsed road.
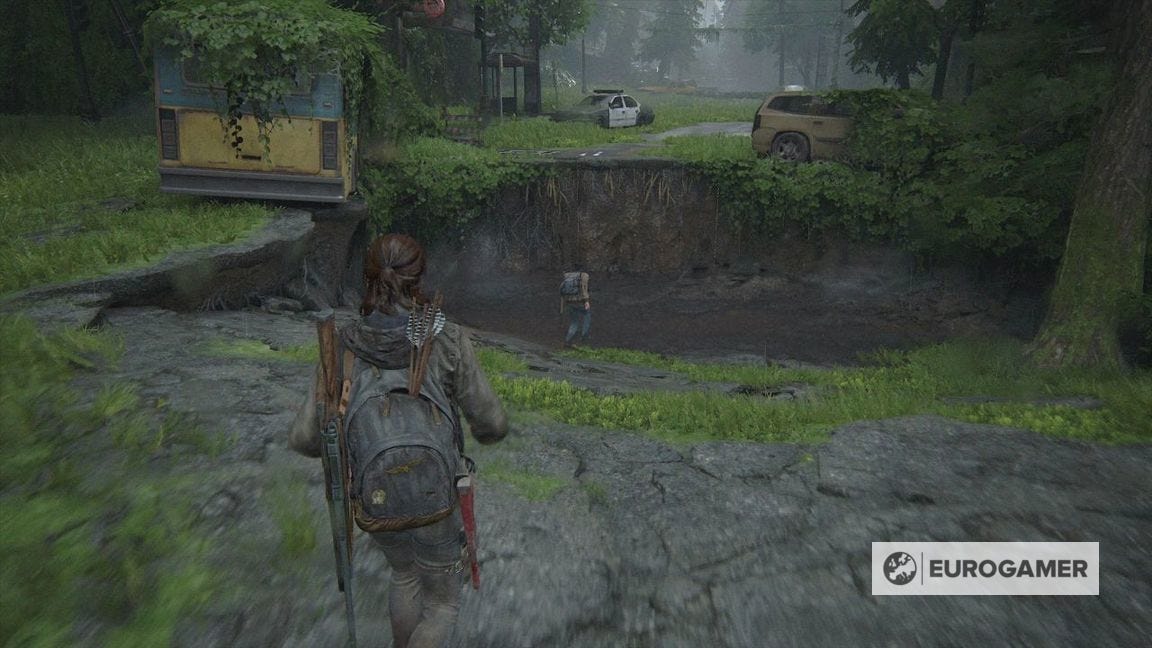
To the right is Frontier Rental Car, where you can find some supplies - but nothing missable.
Continue along the collapsed road until you come to a building with a logo 'WDI' out the front.
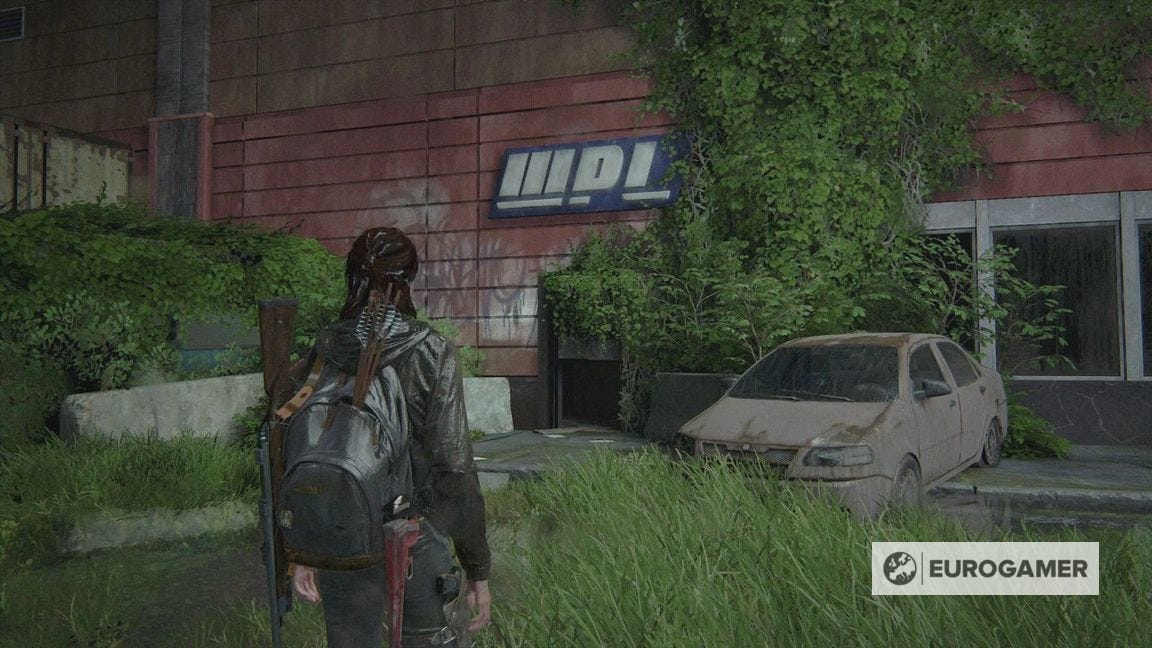
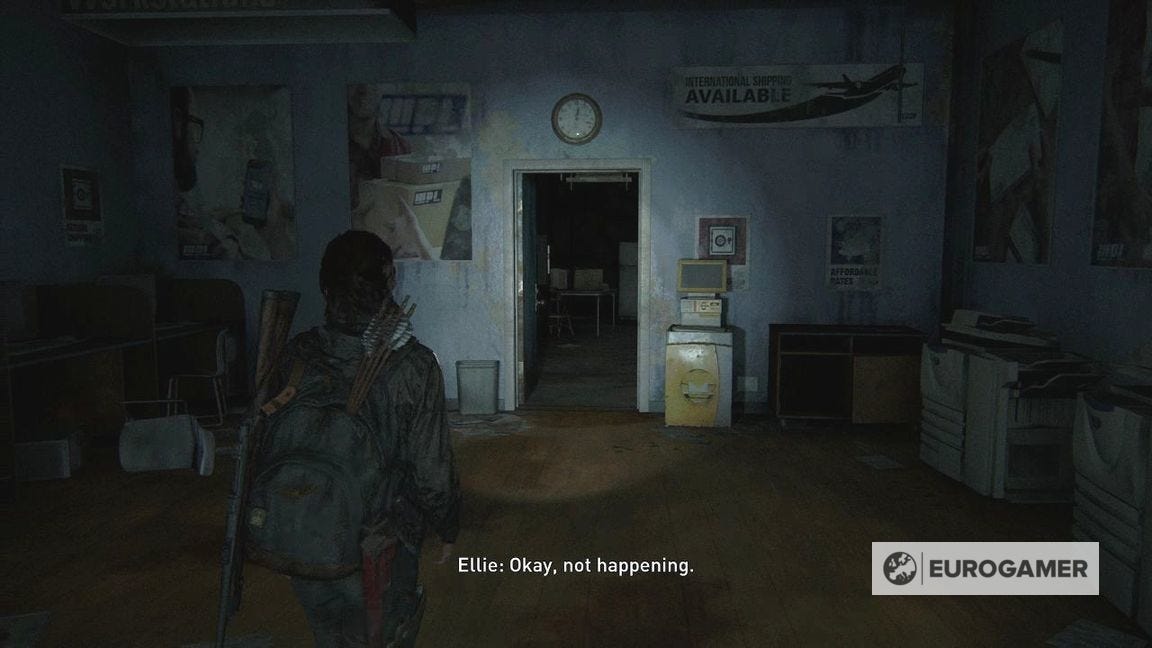
There are various supplies in here. Go through the back room, and left along the corridor. Opposite the double doors is a door with some debris saying 'Trusted Shipping' on it.
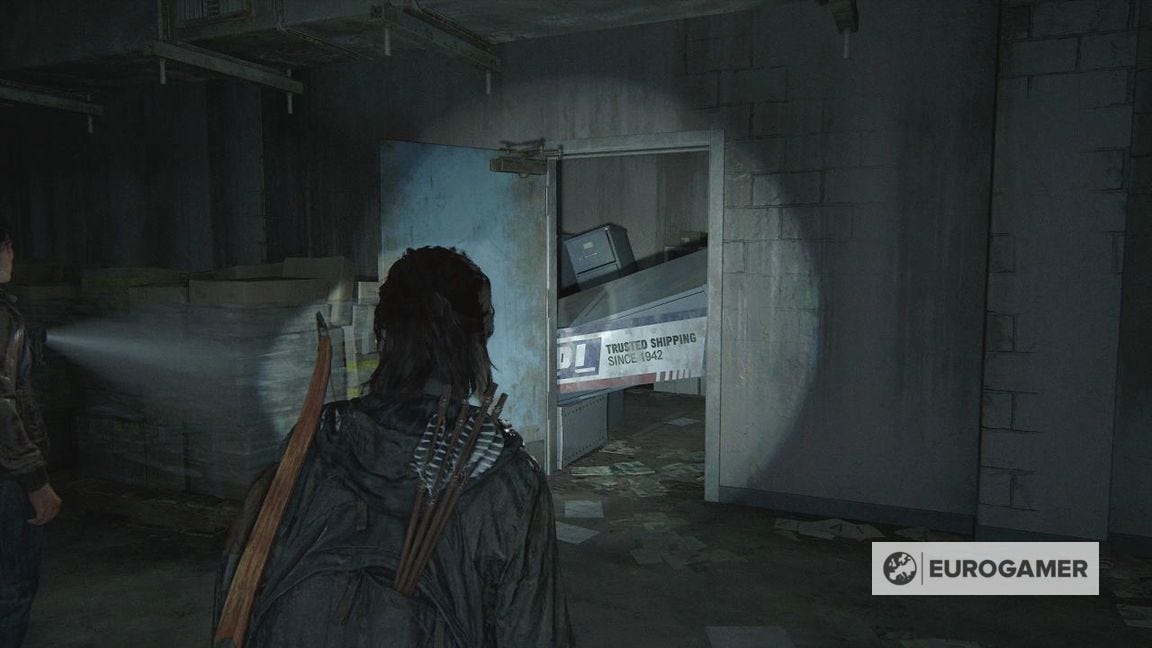
Crawl underneath to enter the room. On the left is a Workbench location.
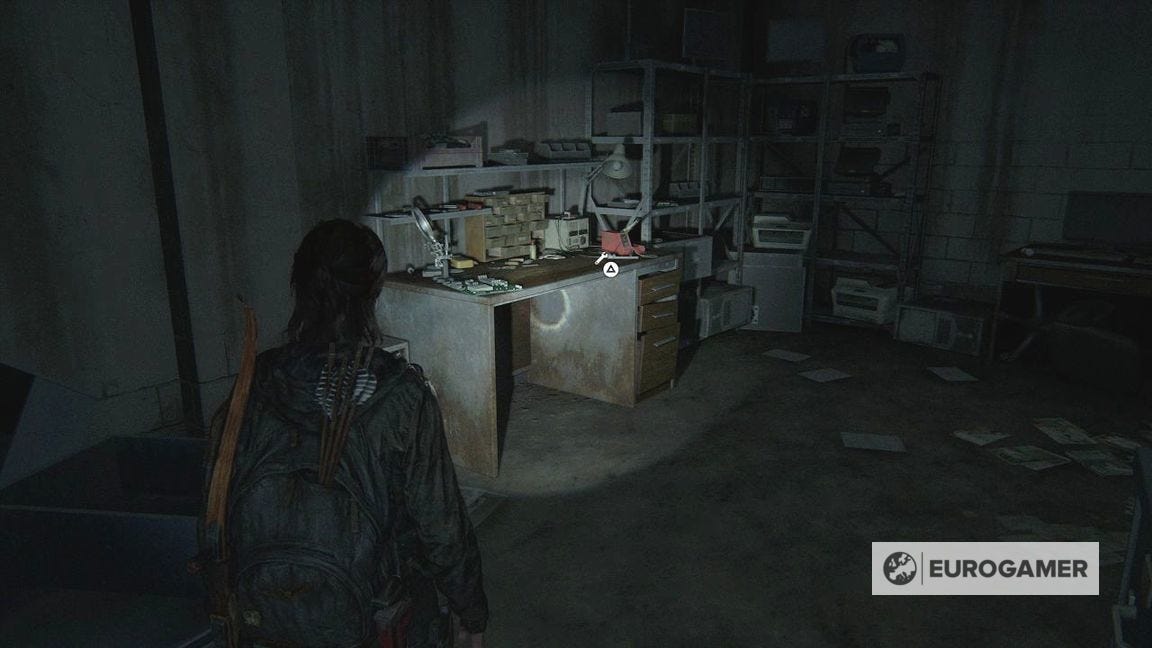
Opposite the Workbench is the Tormentra Trading Card.
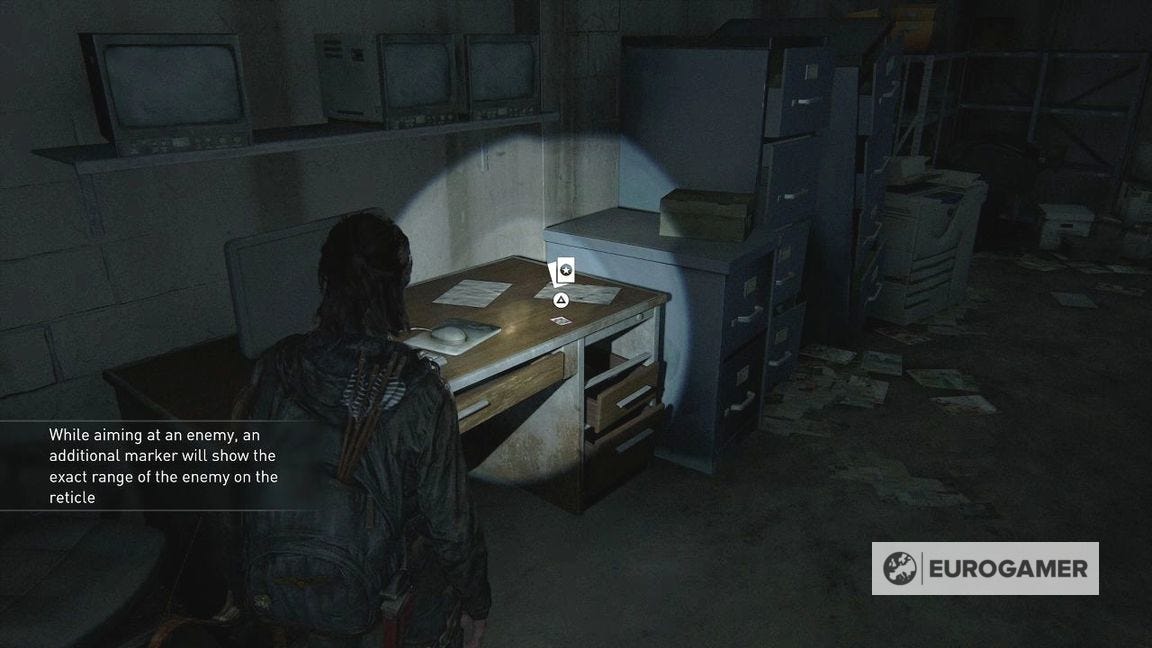
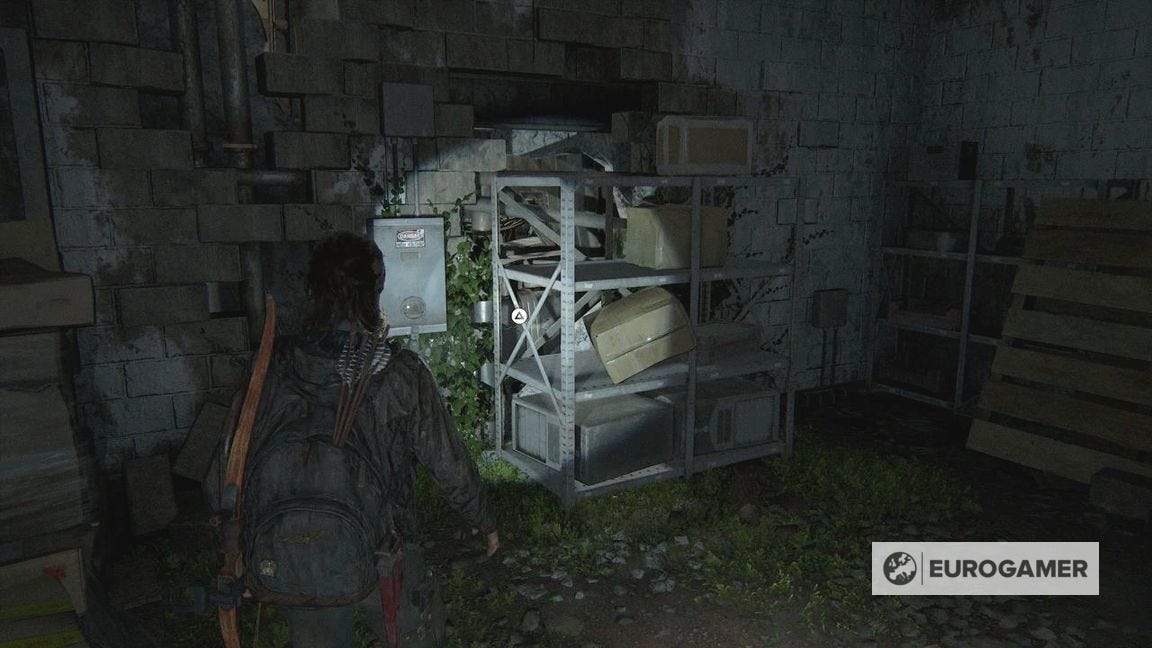
Go back to the previous area and through the double doors. There's more supplies here. When ready, help Jesse push the shelving at the end wall to leave.
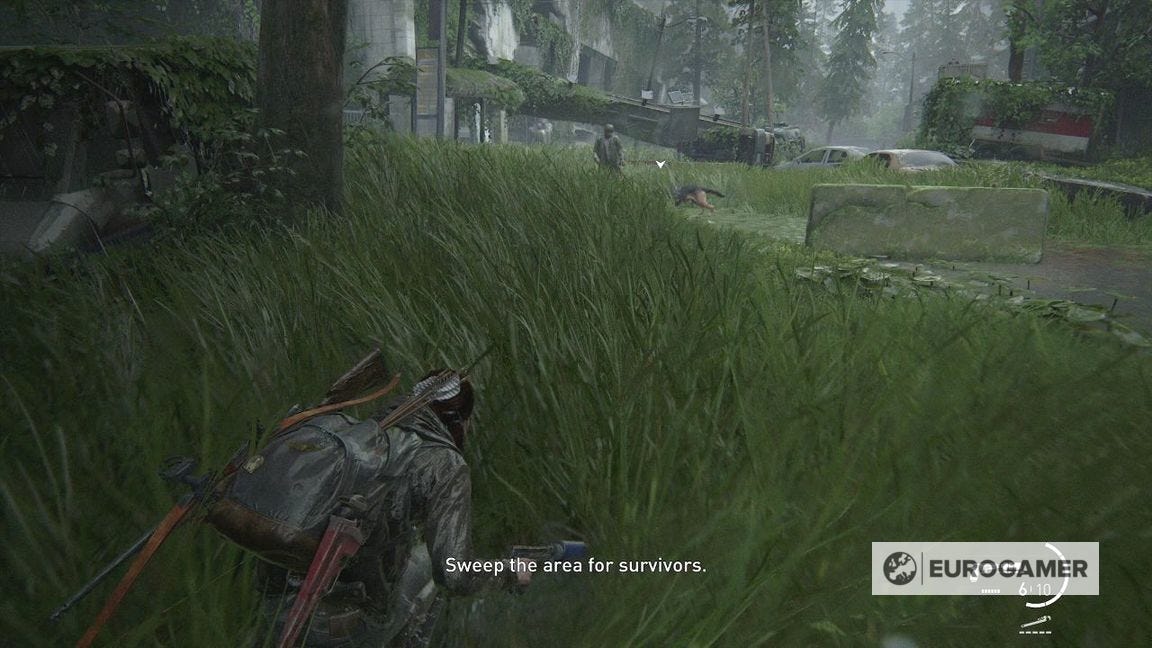
As soon as you exit, WLF soldiers will be ahead. There are more than just the two that first appear, so clear them out or stealth past them.
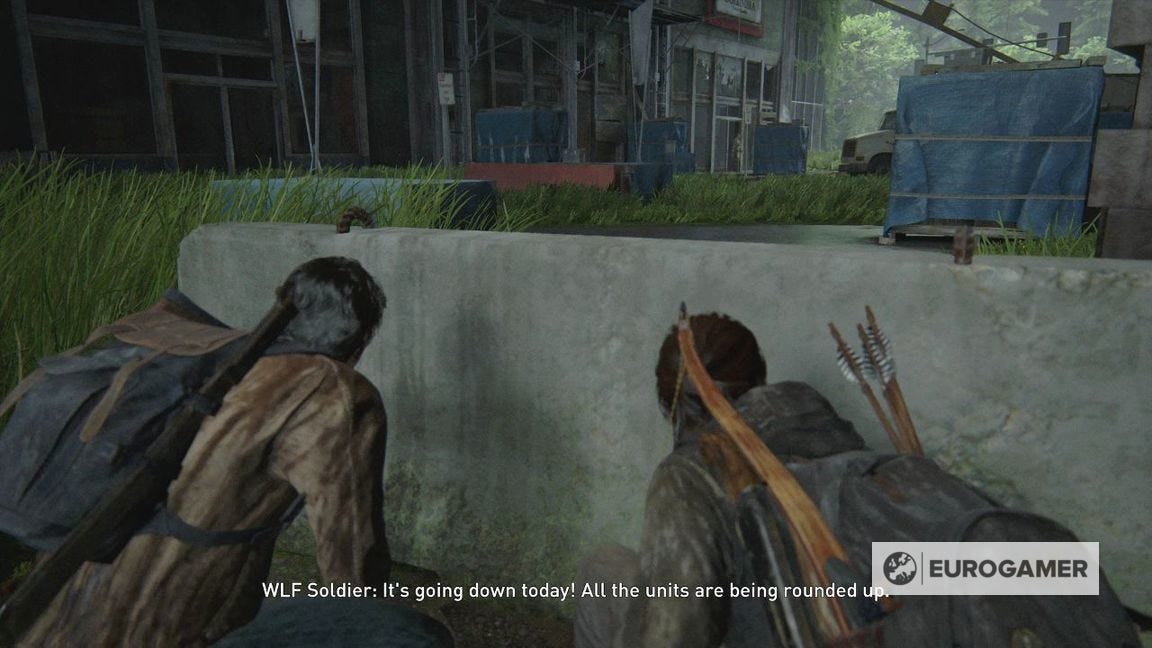
You can use the bank on the left for cover, or for grabbing some supplies as you go.
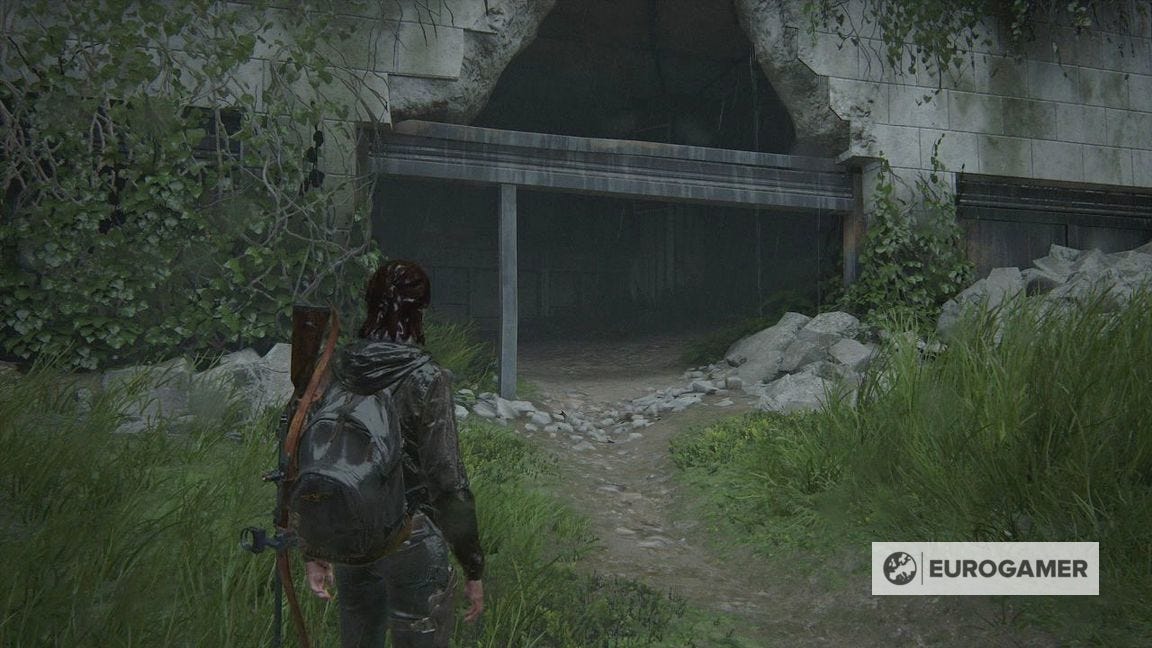
Follow the linear route round the corner from here, through our old friend the Convention Centre, up a car and under a log.
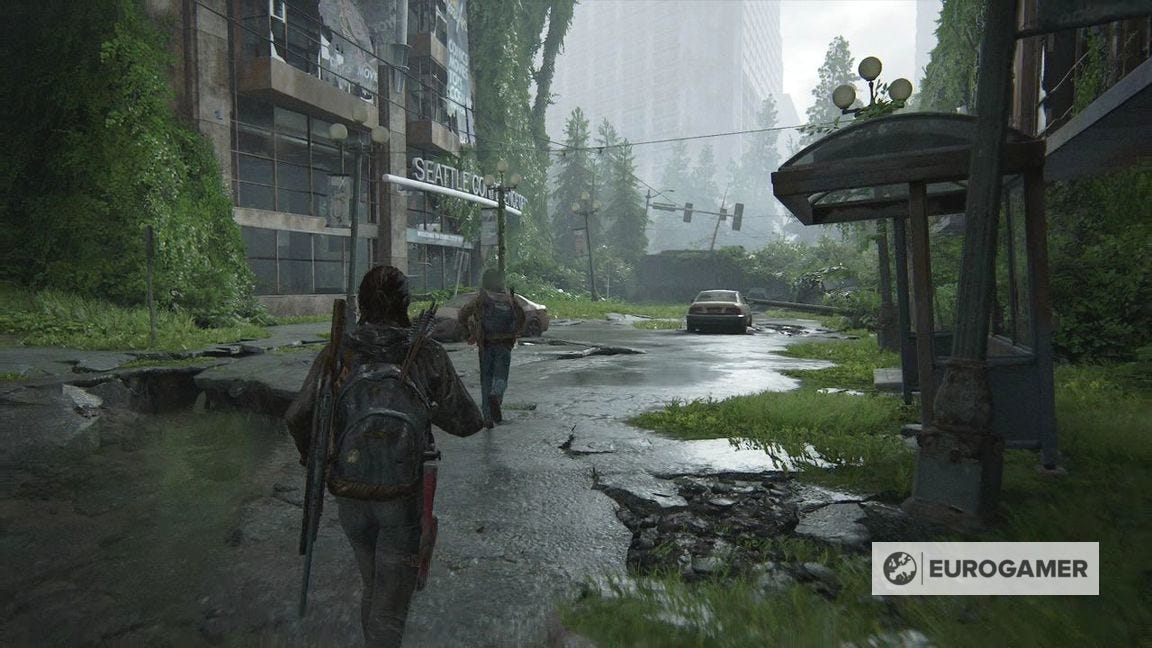
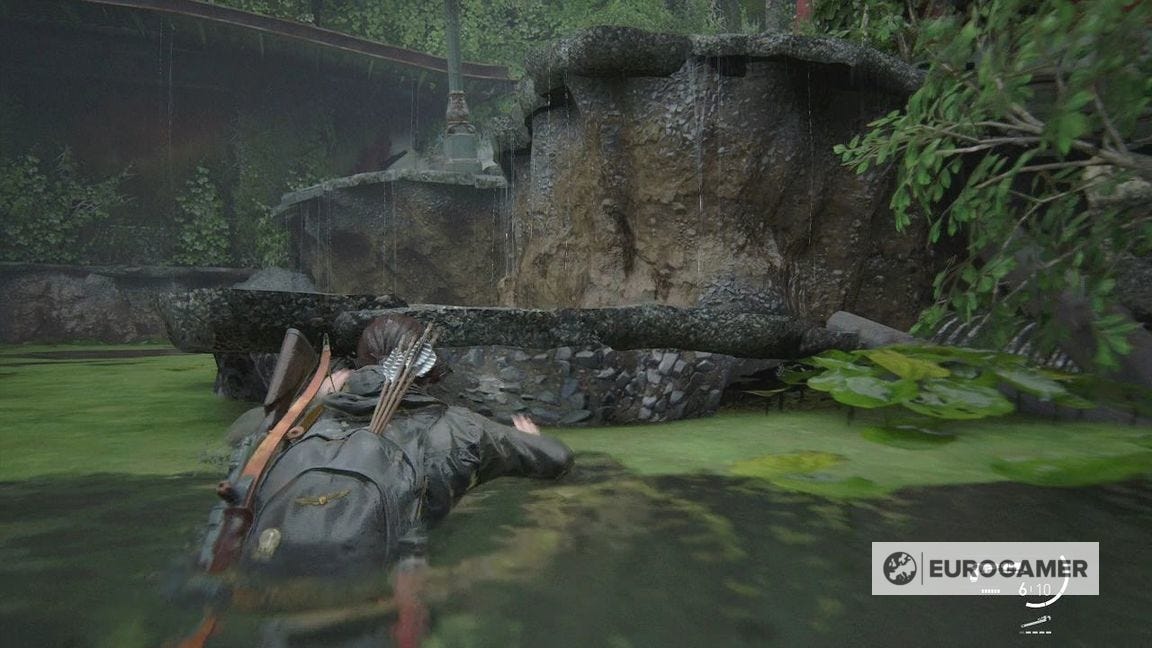
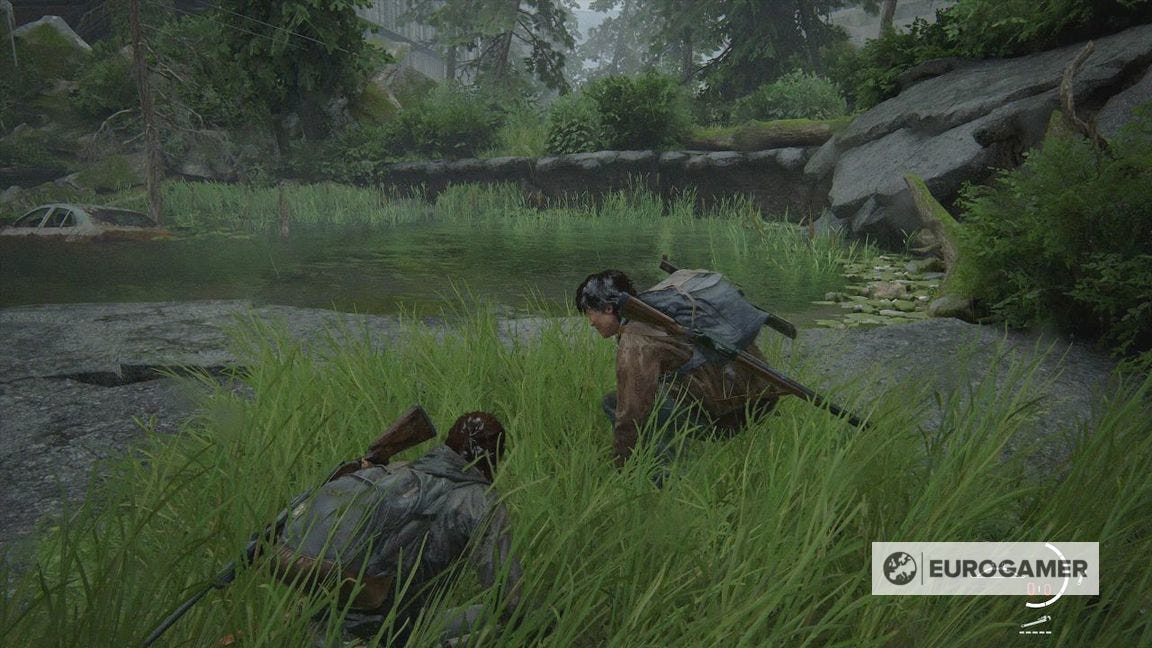
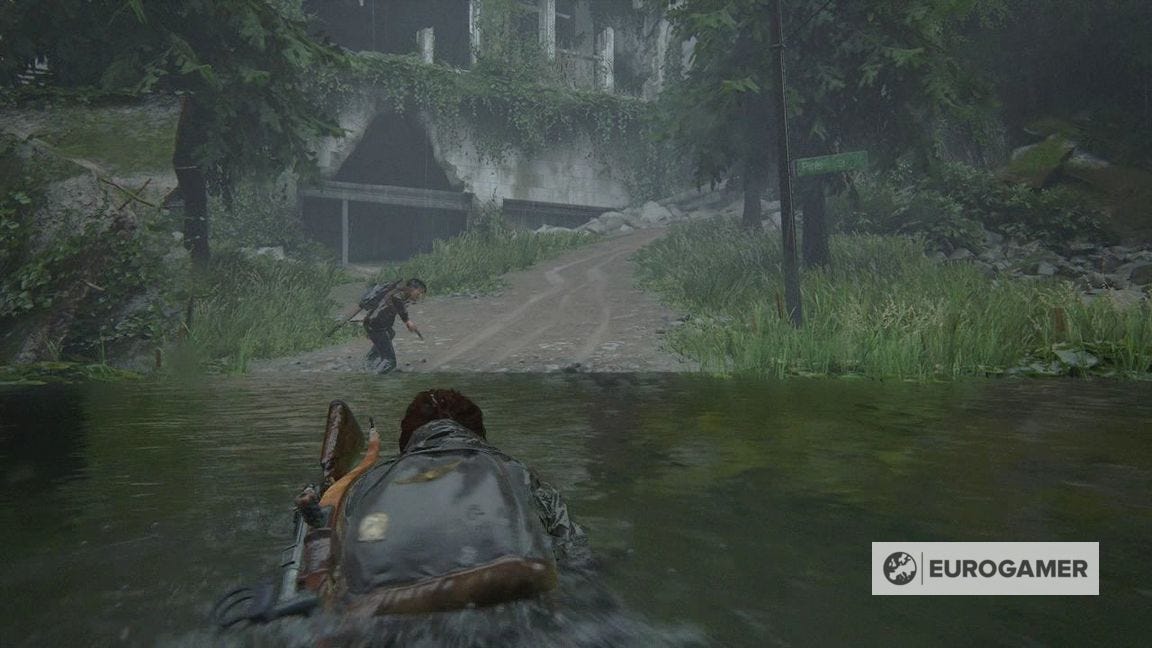
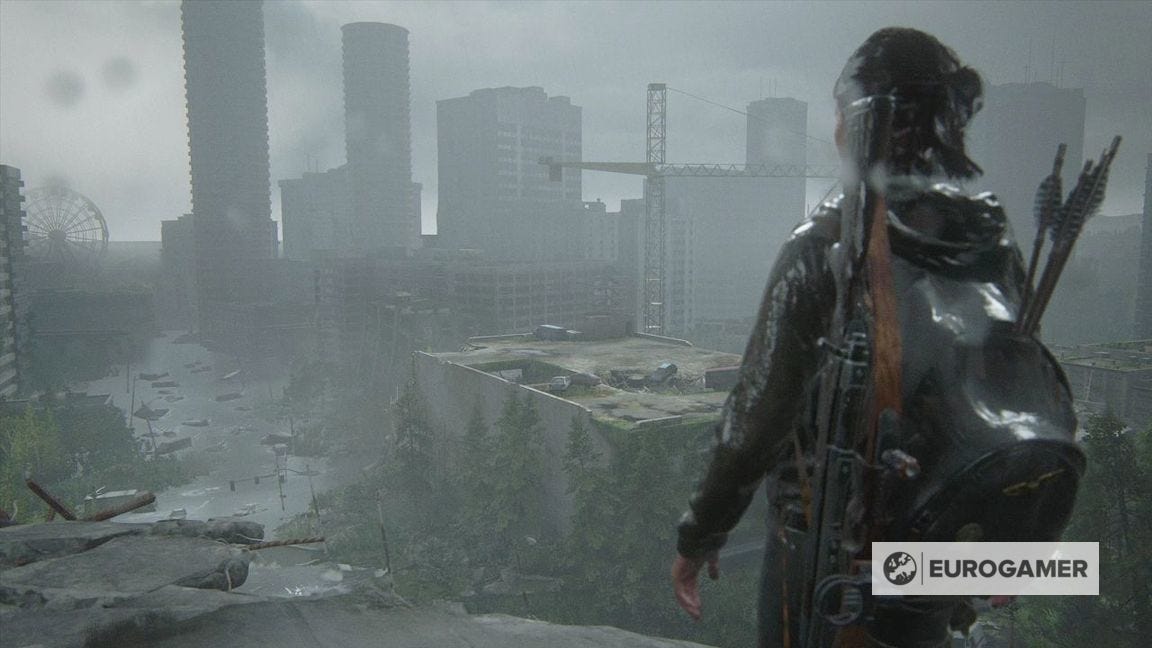
Keep going until you spot the ferris wheel and Jesse explains you need to swim. Drop down into the water below.
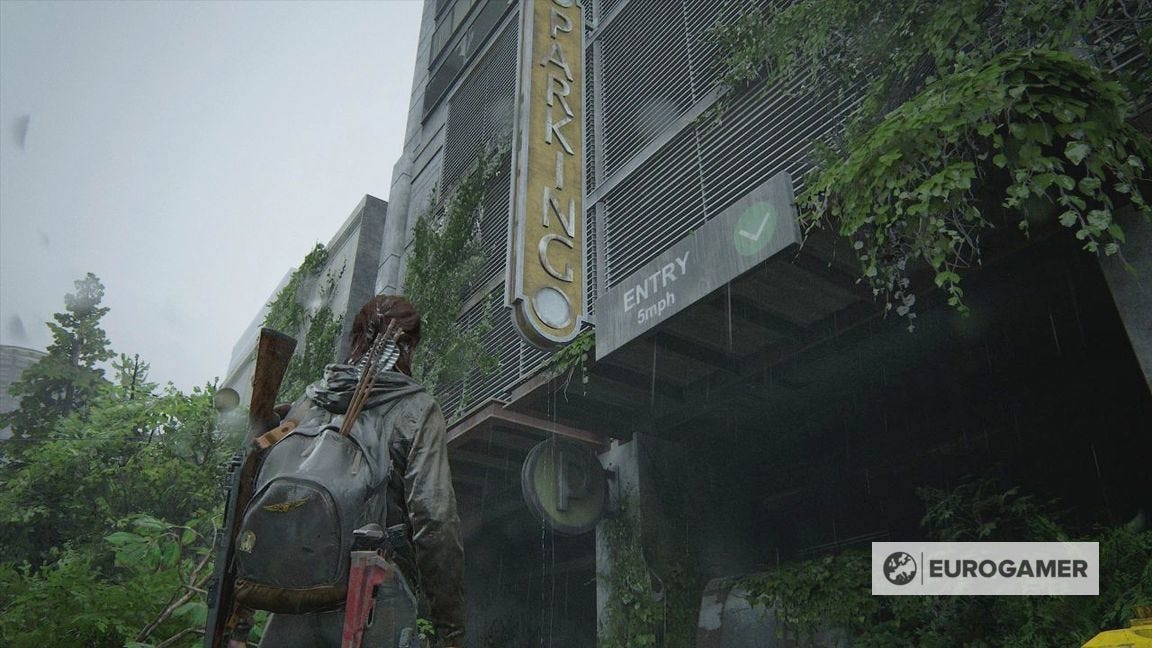
Swim a short distance until you can climb up the ledge to your left, and enter the Parking building.

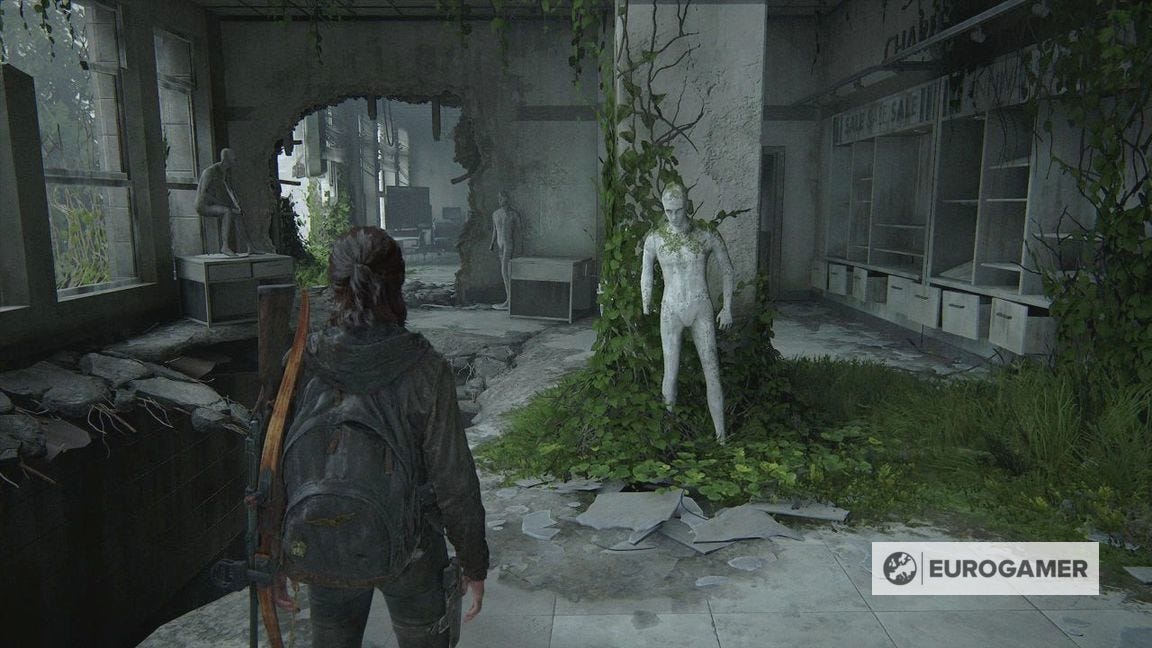
Inside are stalkers. There aren't many, so if you spot on, fire and lure the others out.
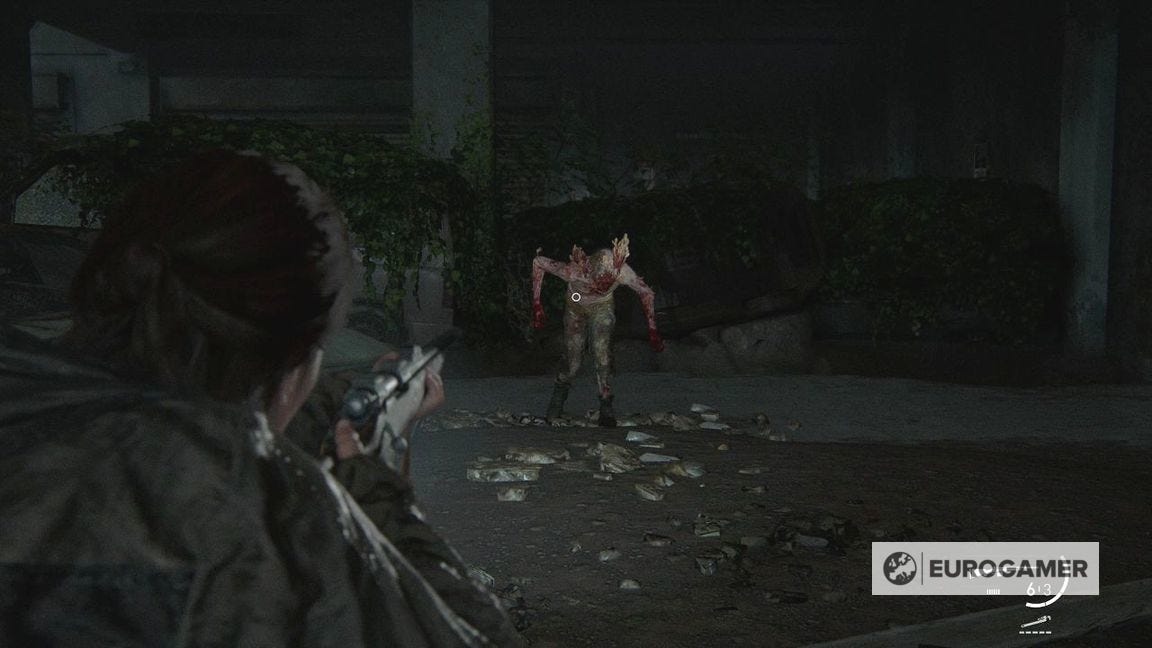
Explore until you reach a brown car, allowing you to climb onto an incline. At this point more infected will appear from the sides.
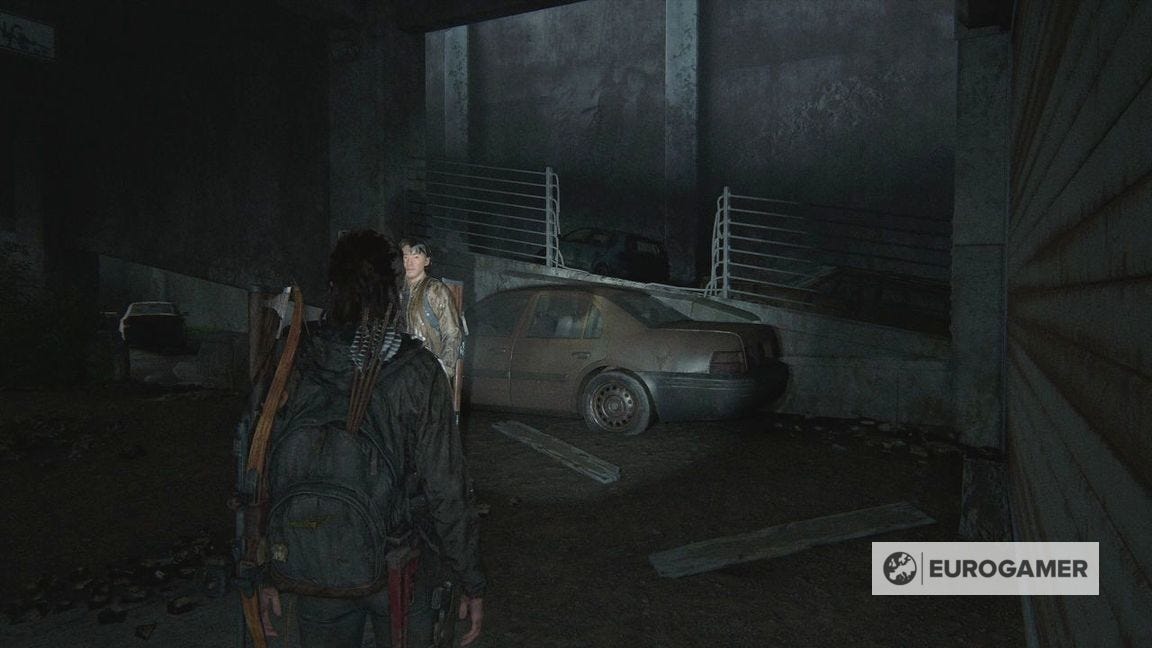
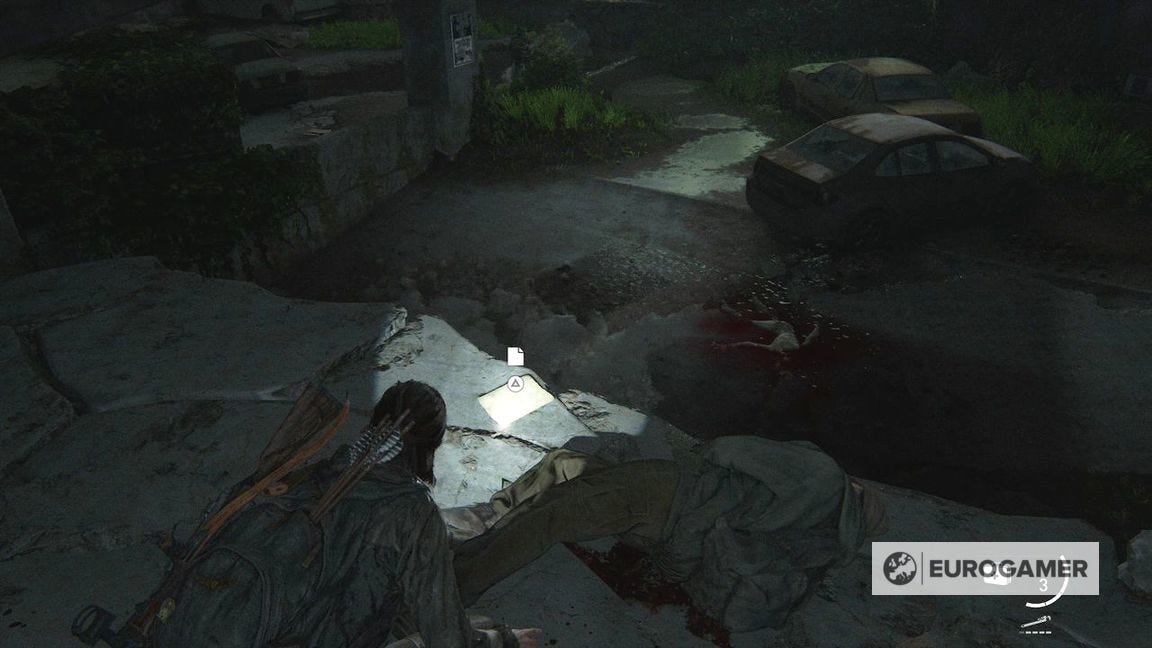
Once clearing, at the end of the incline are supplies and the Garage Note Artefact.
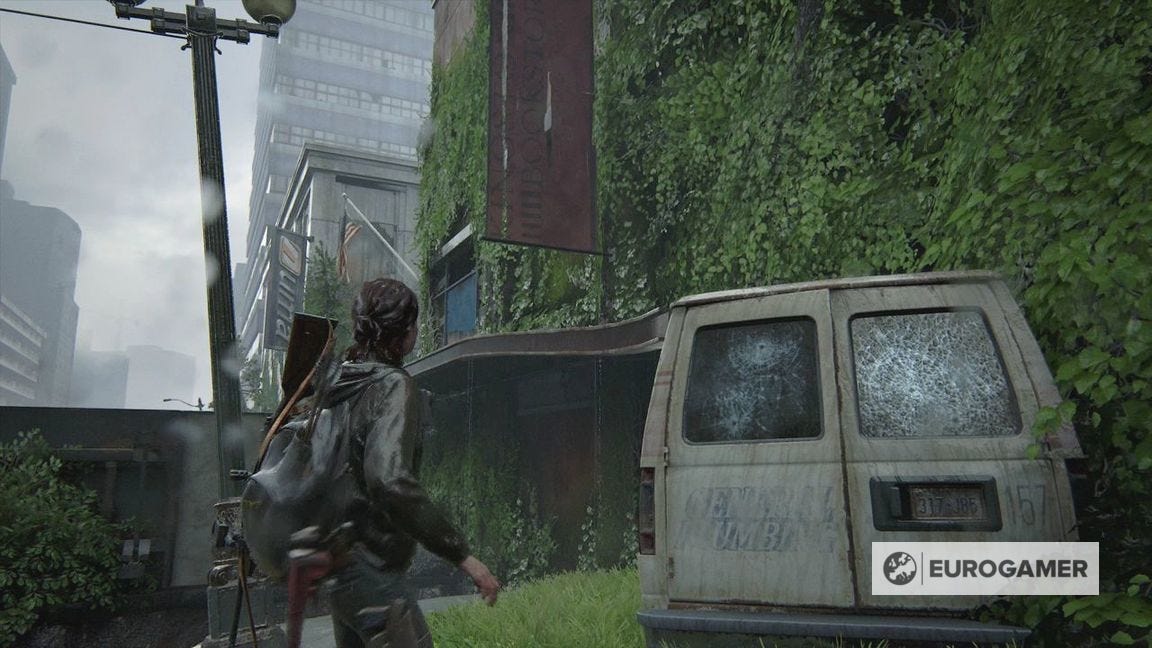
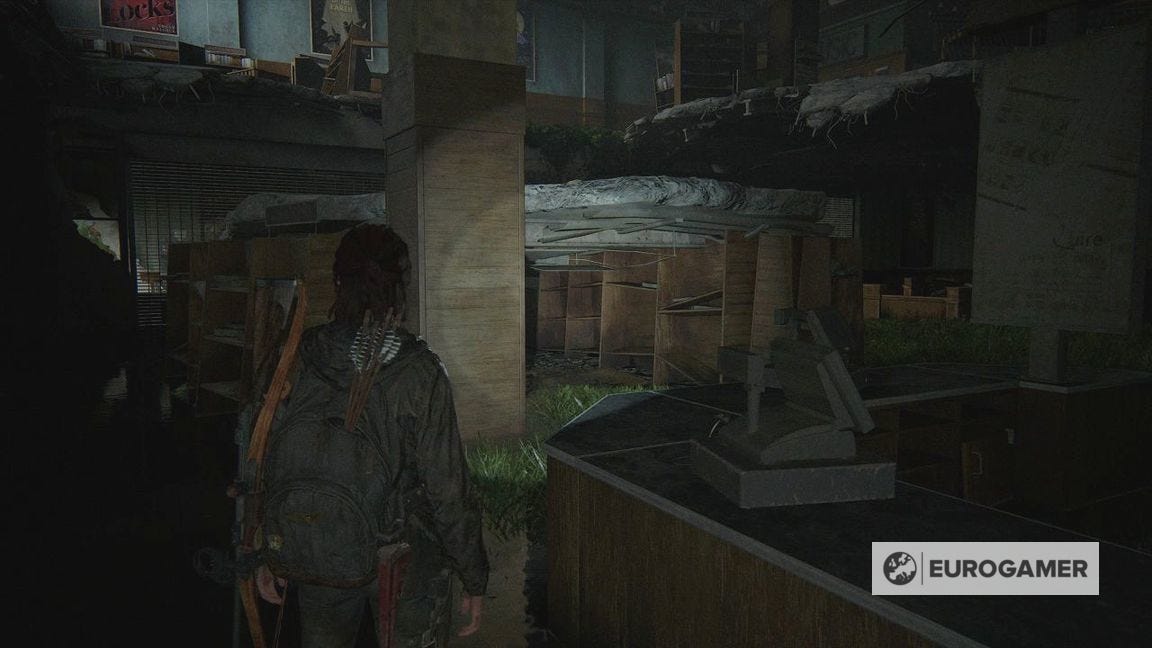
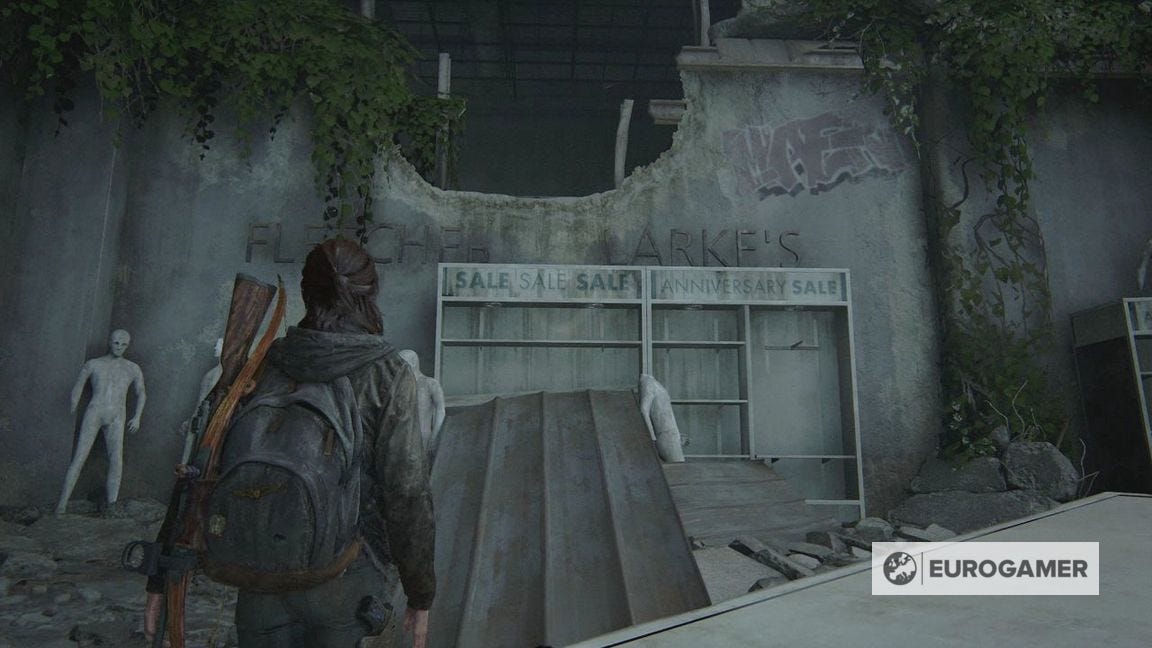
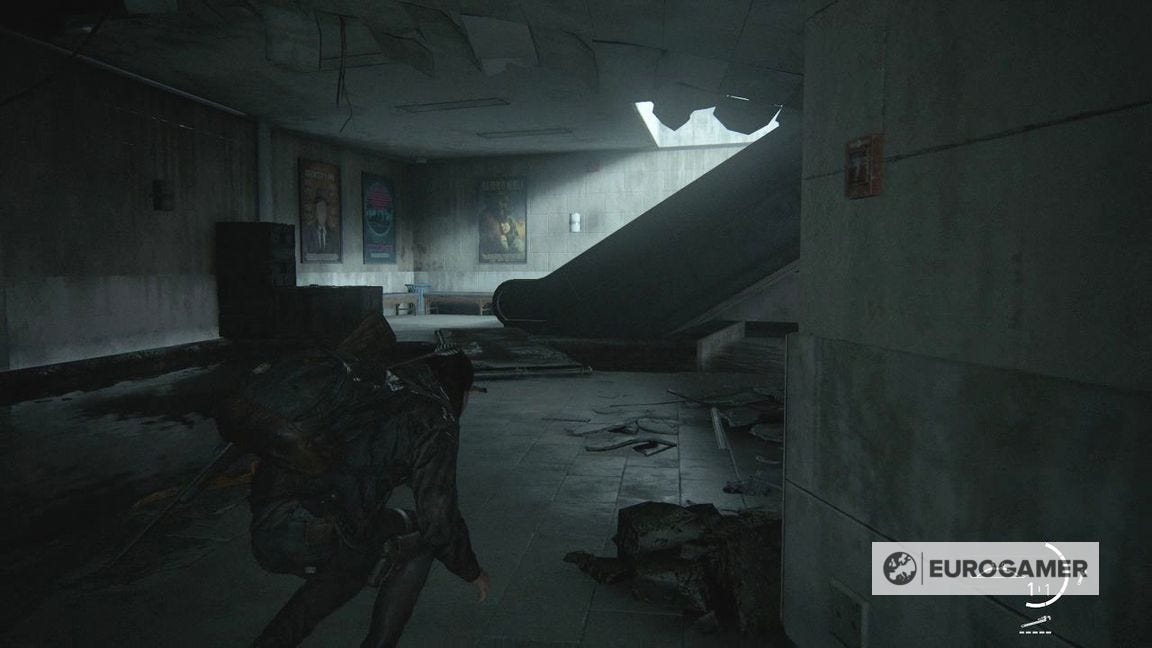
Kingston Bookstore in Last of Us Part 2's Road to the Aquarium
Head back to the water, dive underneath to continue, and climb up the ledge immediately to the right.
There is a Kingston Bookstore banner on the wall here. You can climb up the van, under the sign, then up and into the building.
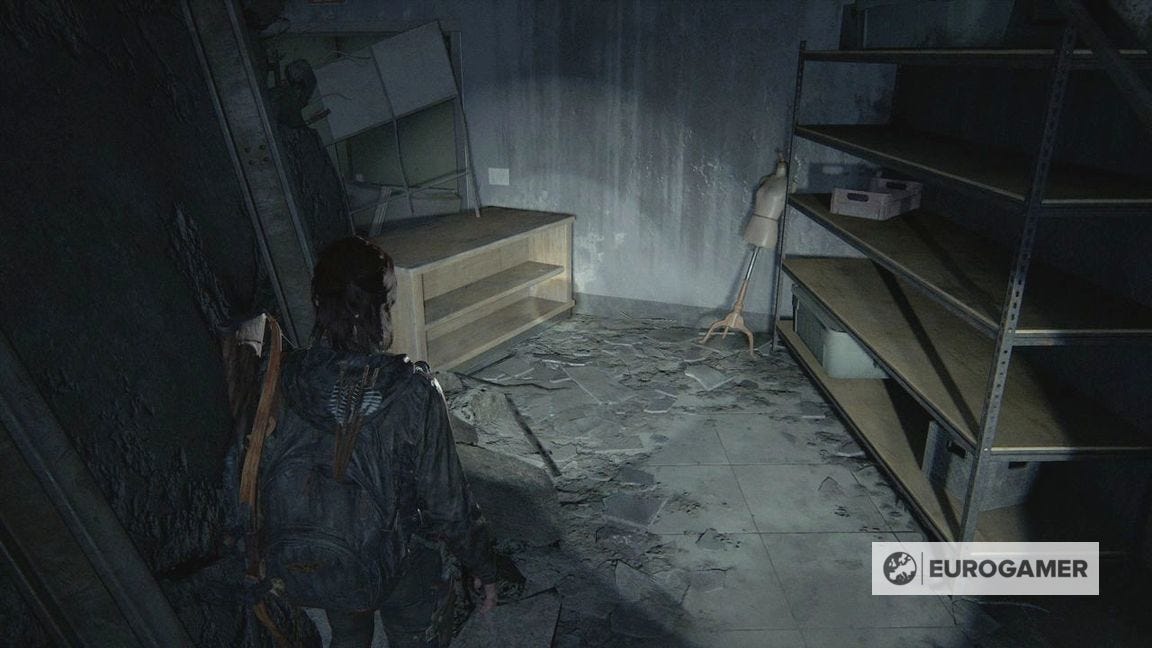
Drop down to the floor below and explore.
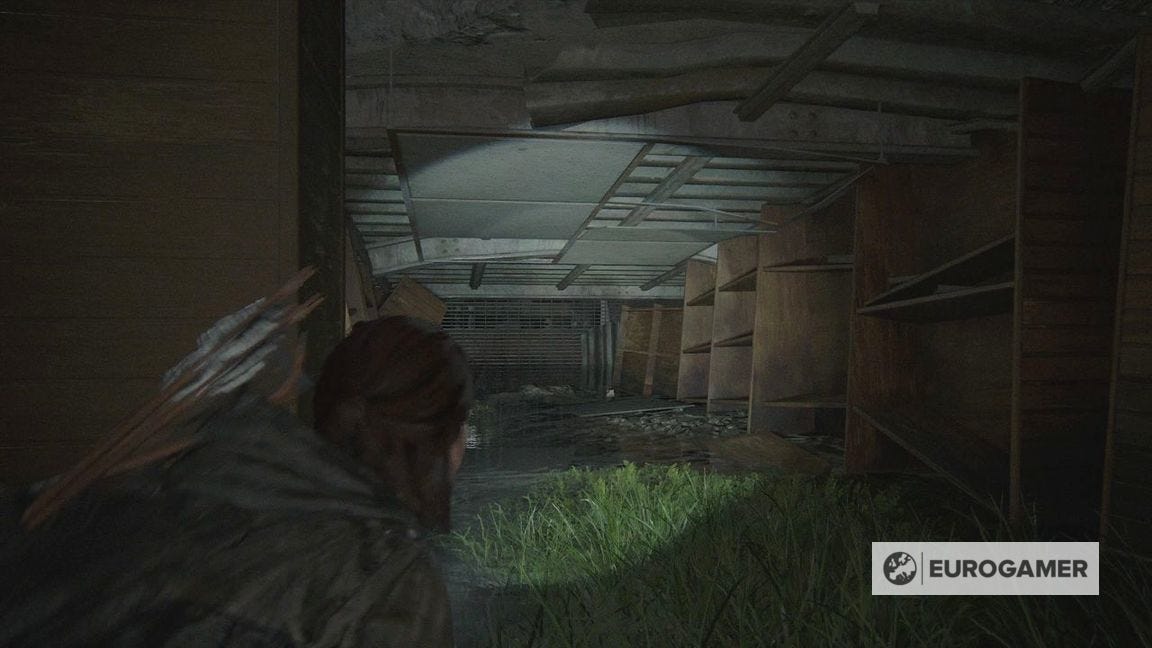
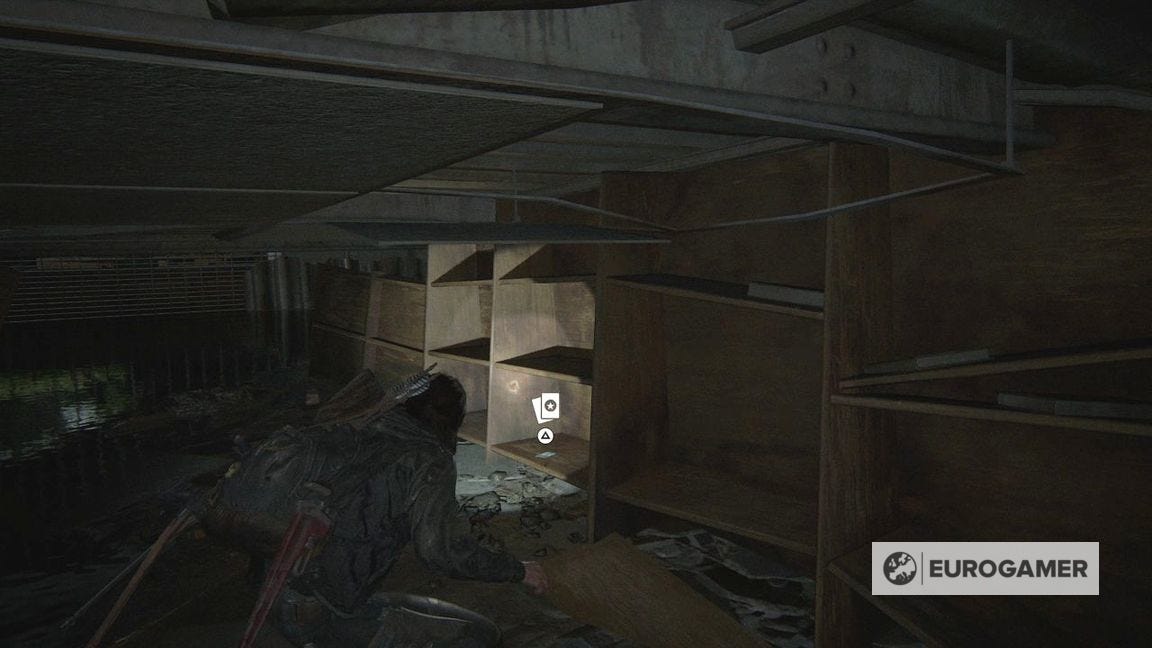
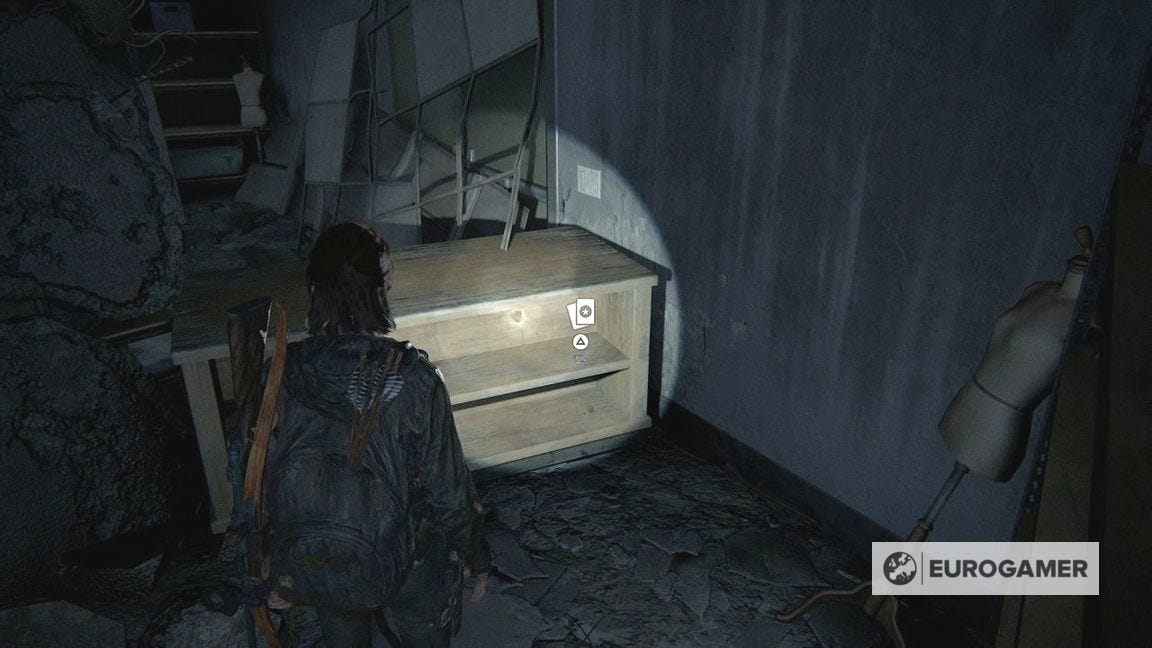
From where you drop down onto the collapsed floor, there are shelves underneath propping it up.
Crawl underneath to find the Tanager Trading Card.
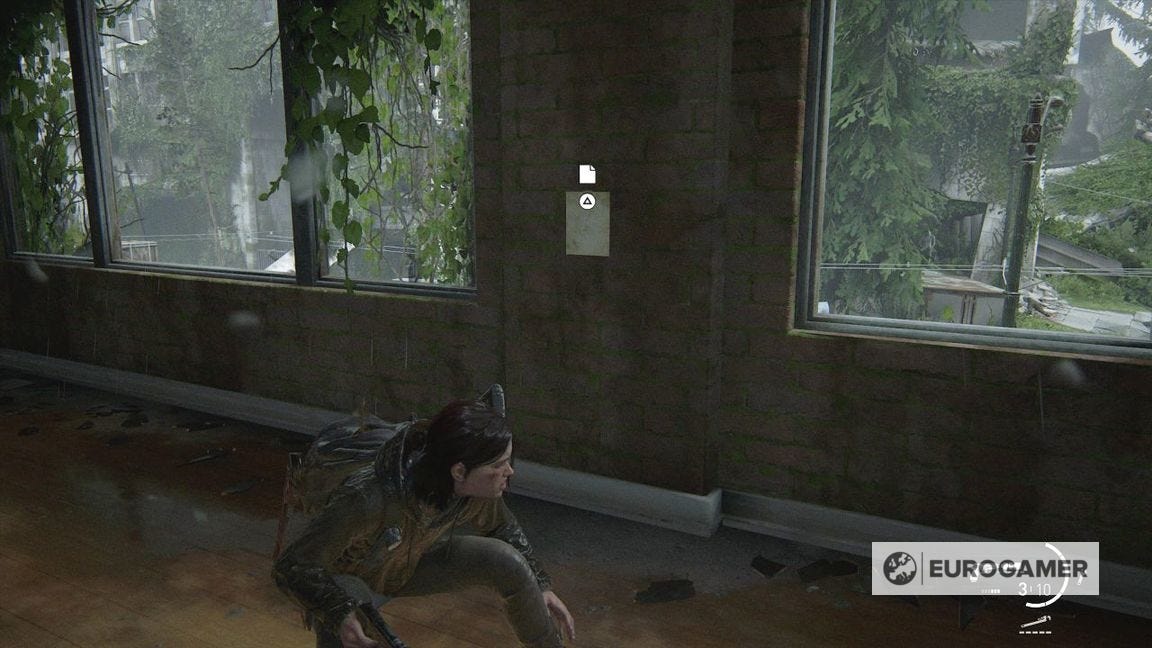
In the kid's section in the back corner - the one covered in mushroom drawings - there's a Journal Entry.
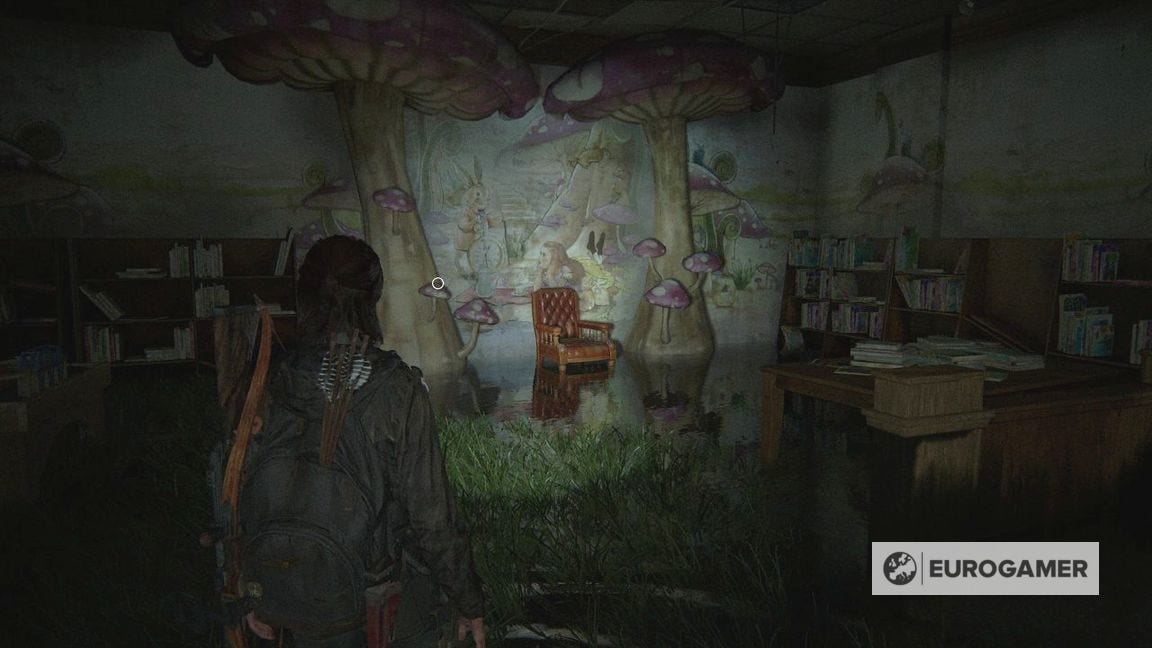
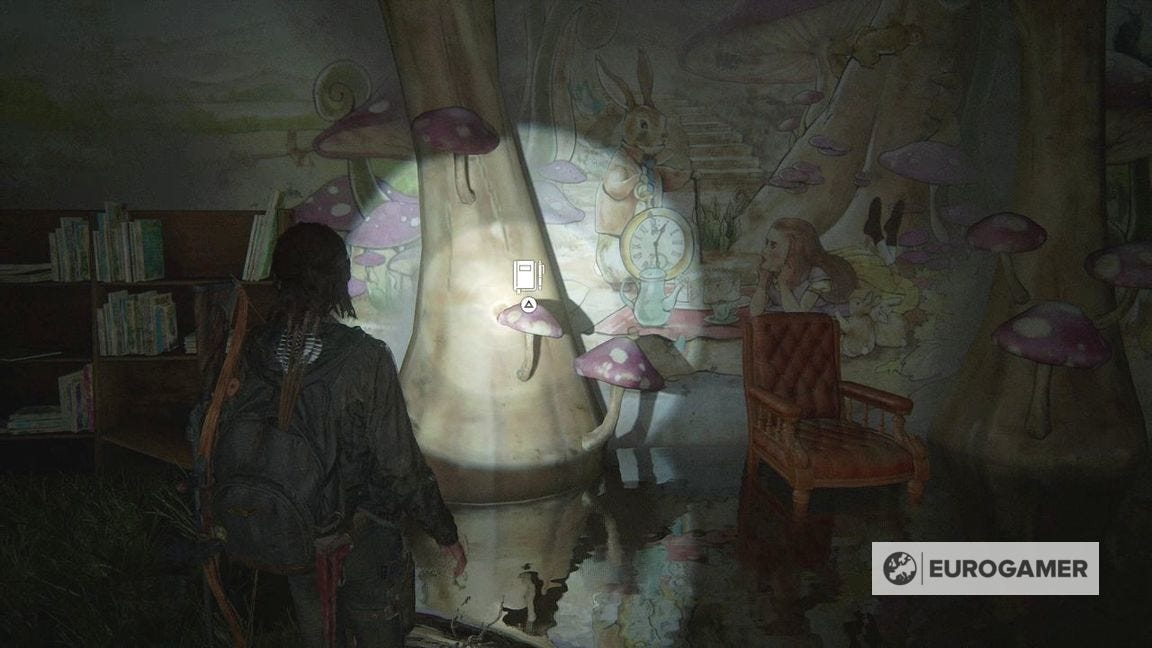
In the same section, grab the Bookstore Note Artefact on one of the tables.
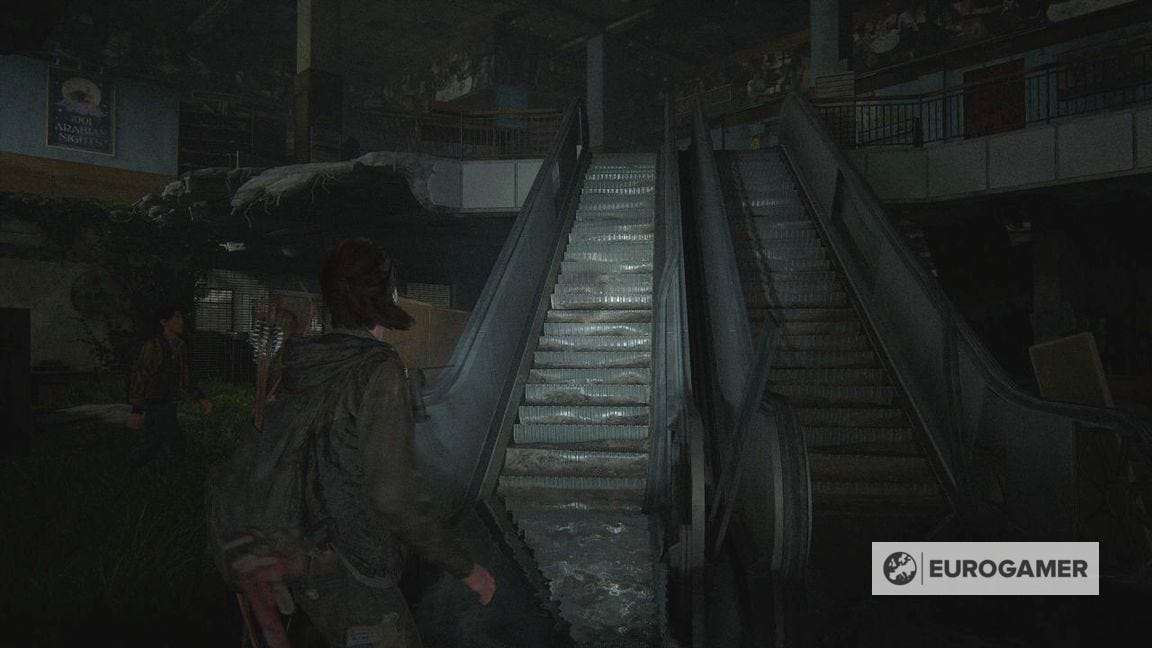
To leave, go up the escalator.
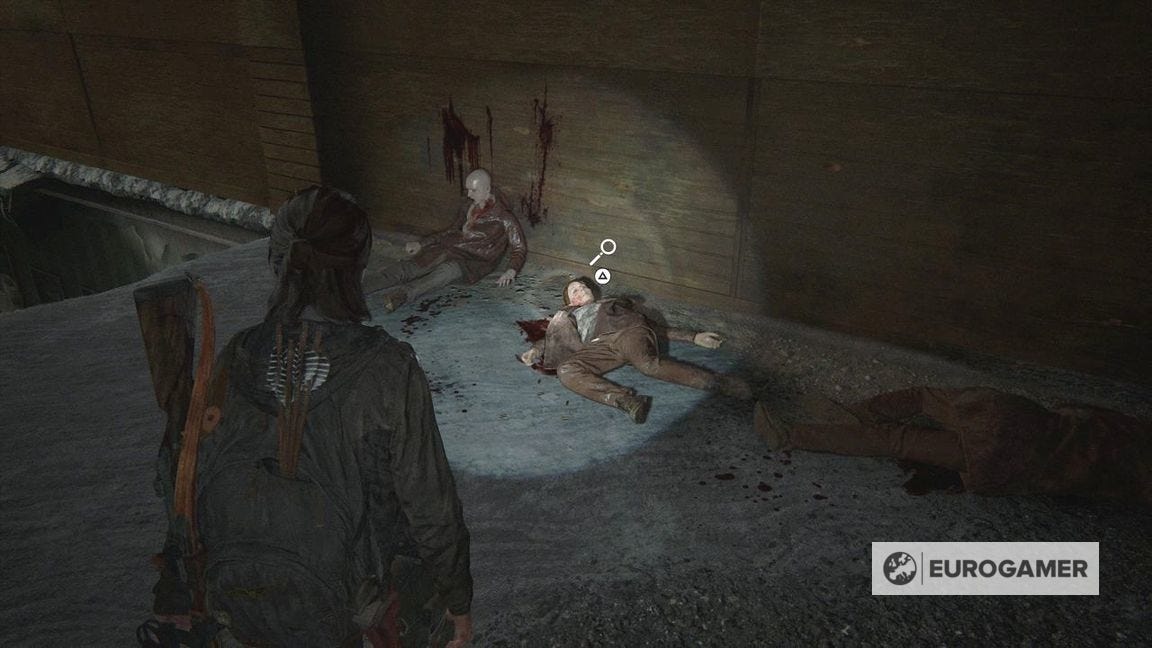
To the left of the bodies on the far wall you can drop down and go outside.
It's worth checking behind you (and underneath the collapsed floor here) for some easily missed supplies.
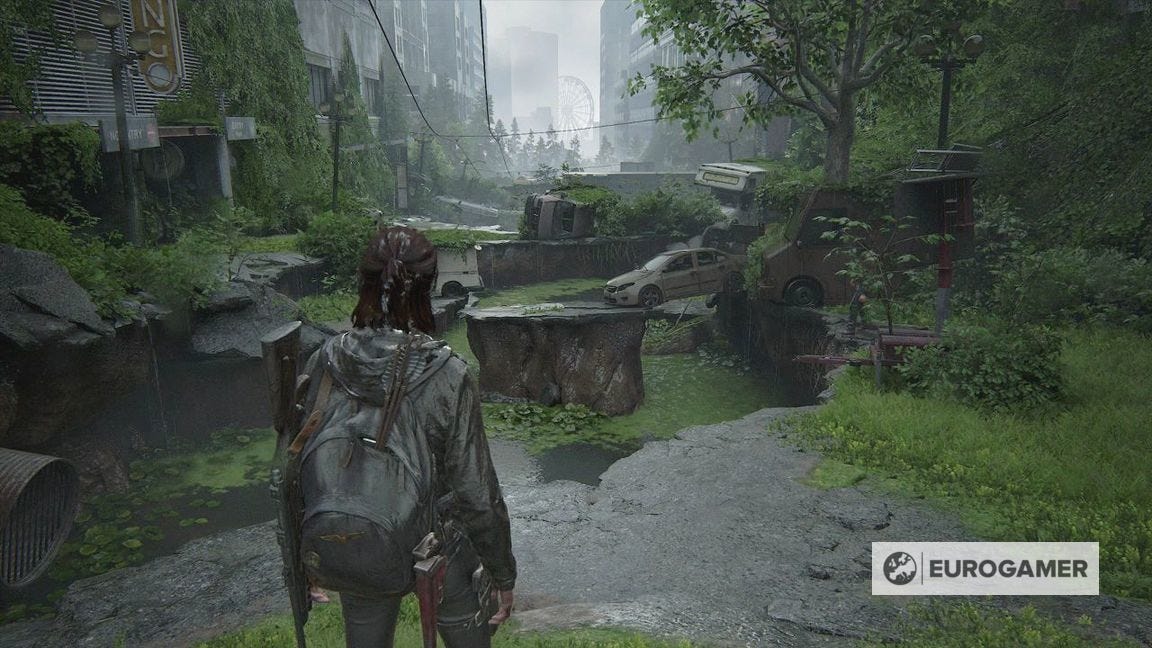
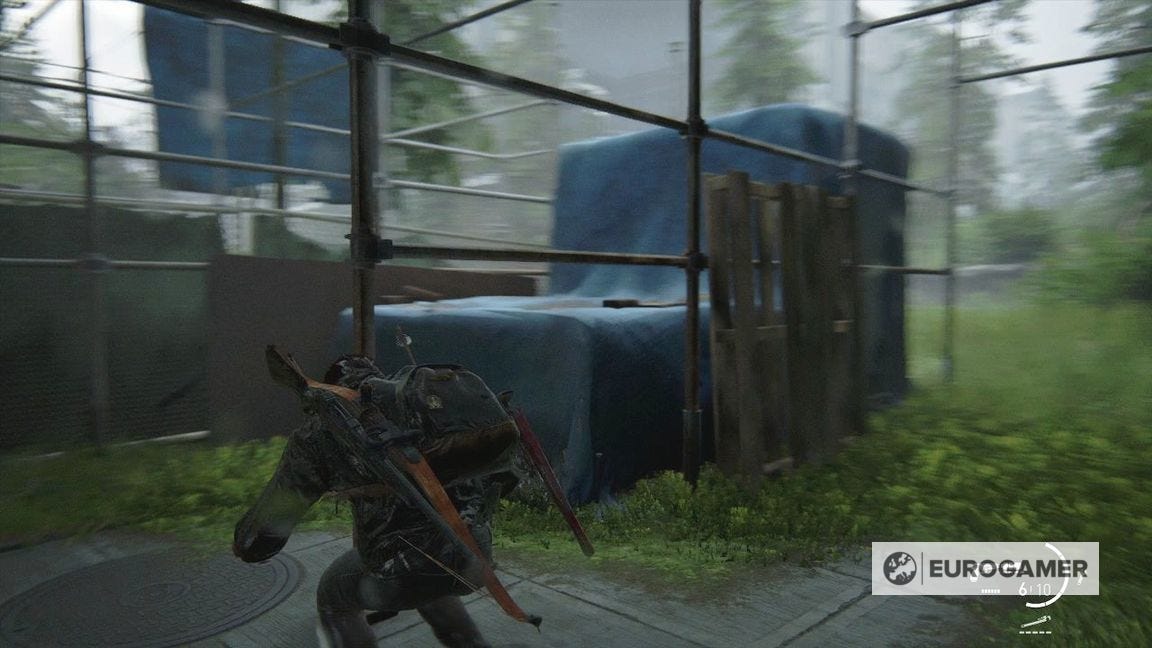
Rachel's Fabrics in Last of Us Part 2's Road to the Aquarium
There are more soldiers to avoid on this street after the bookshop.
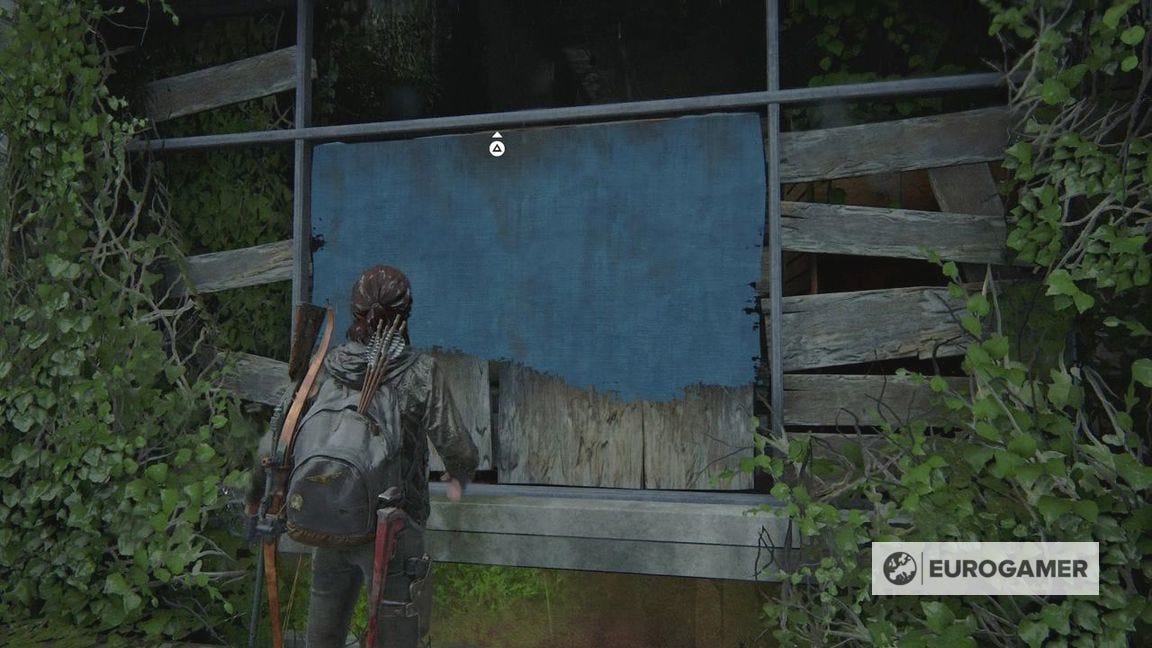
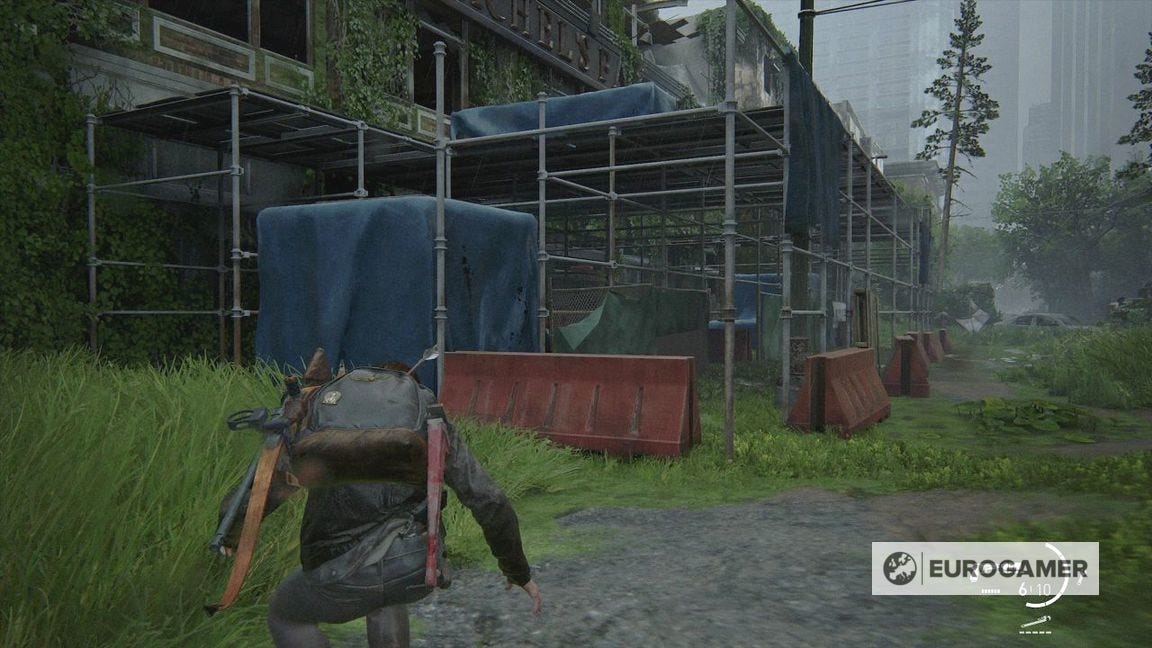
Though the aim is to reach the water at the end, you can find a missable item in the Rachel's Fabrics building on the right.
You can enter by going into the middle of the scaffolding and climb up the blue sections.
After you climb in, look at the wall between the windows for the Textile Note Artefact.

There are more supplies here, and once done, head down the stairwell (there might be a guard here so be careful!) and to the water at the end.
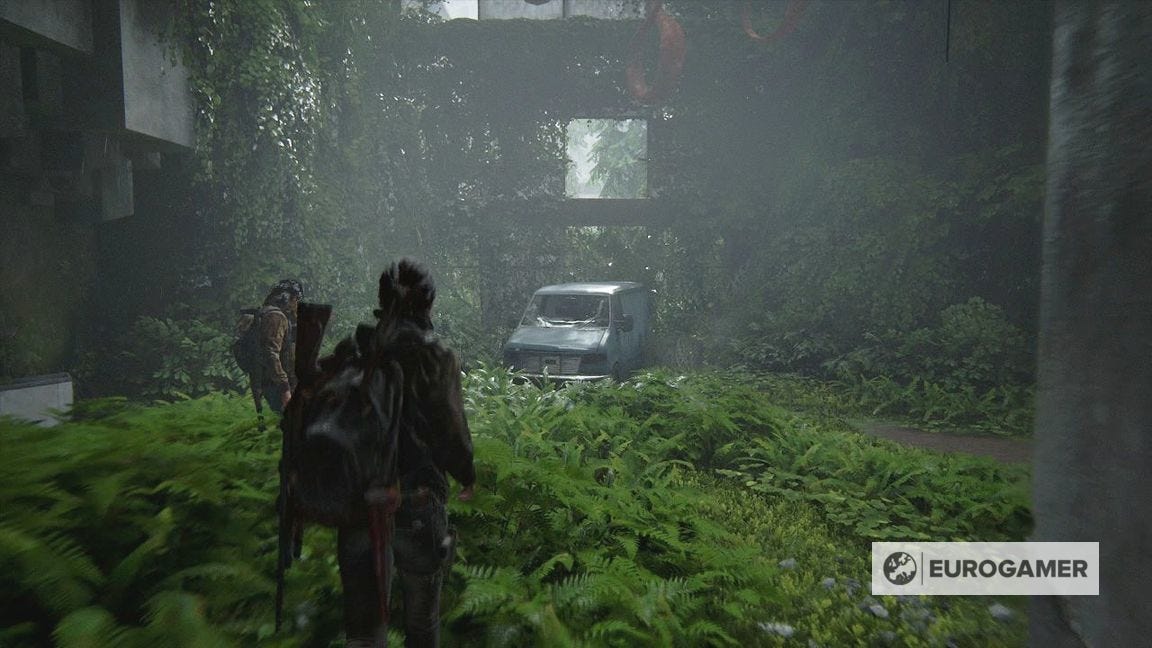
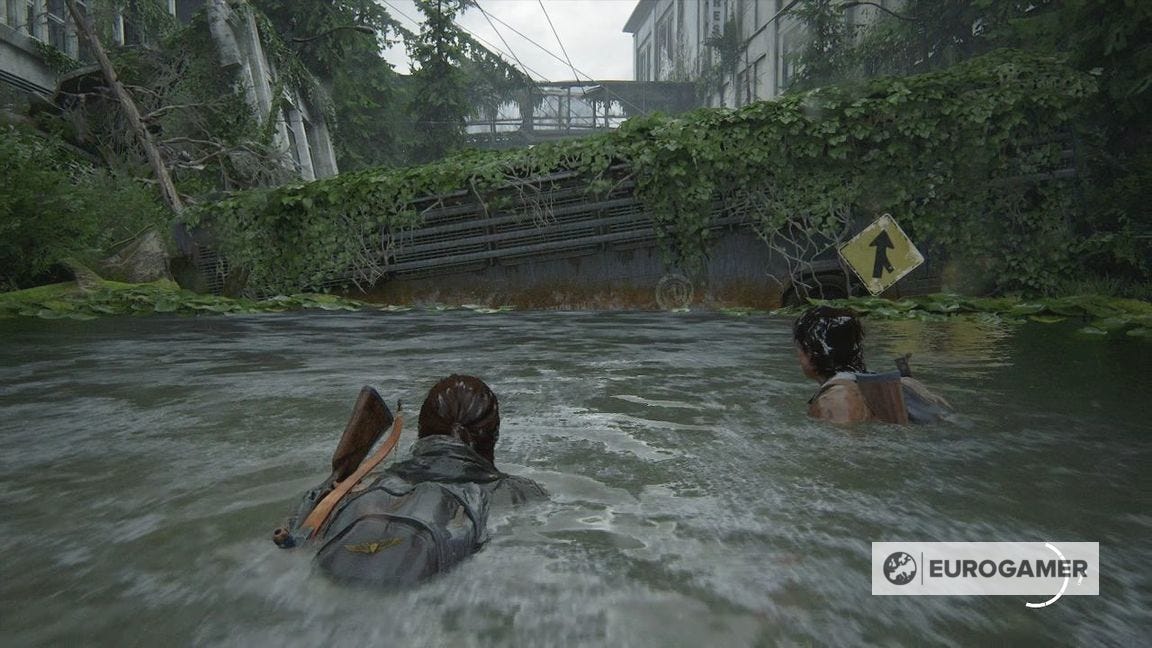
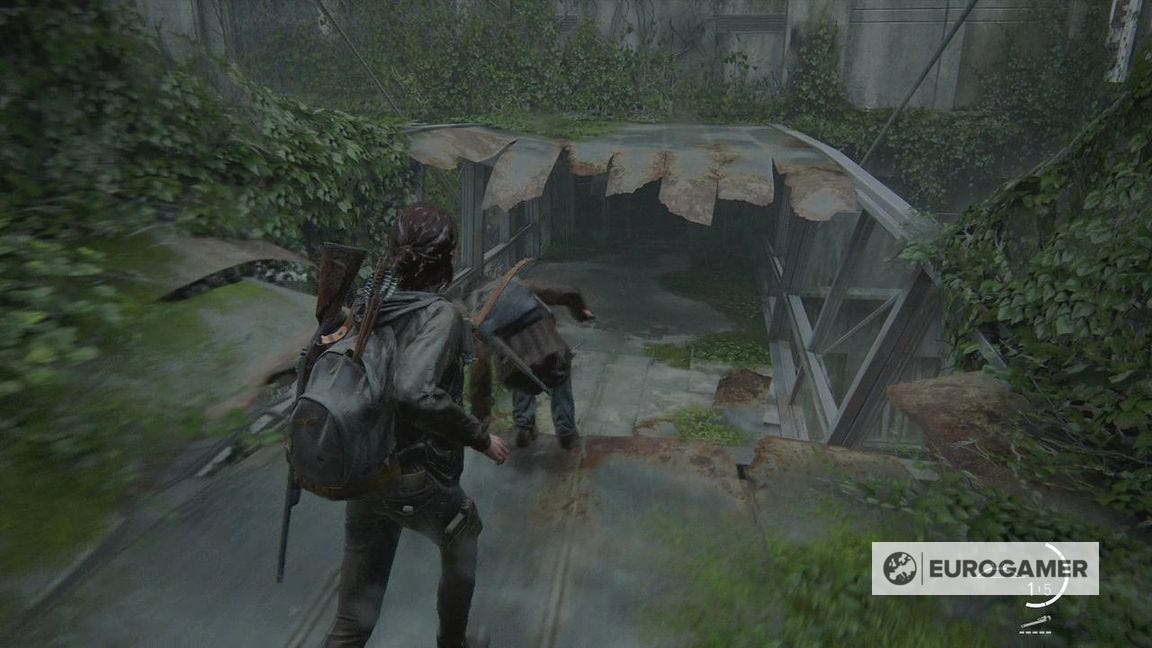
To progress, dive under the bus and emerge out on the muddy trail on the left. Jesse will mention the bridge above.
Before heading up, explore the building to your left. You can go up the rubble and back in the direction of the Fabric building.
Here there are supplies and a Workbench location.
The route on to the bridge is linear - simply keep on climbing through the building.
After the cutscene, you have a new objective - getting your hands on a boat.
Go across the bridge and into the building.
You'll have to drop down into a collapsed area full of shelves, and crawl underneath to a door blocked with debris with a button prompt.
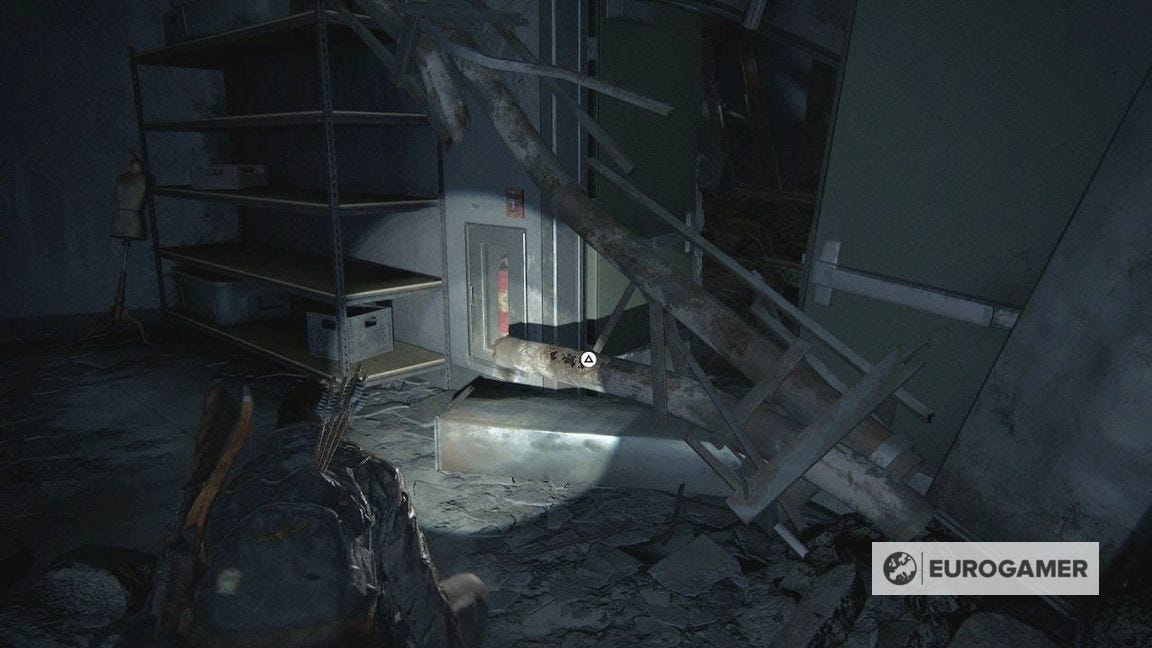
Before you do, go to the low shelving unit on the left at the end for the Tatuaje Trading Card.
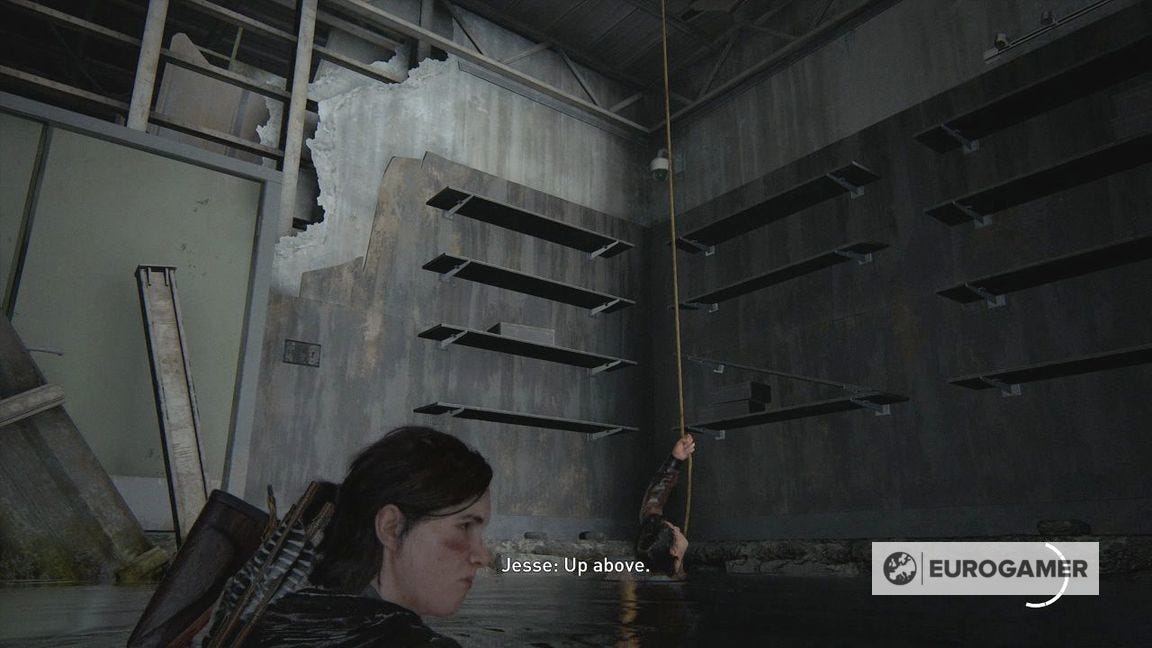
Go through that door now. After diving through the water, follow Jesse up the rope for a cutscene.
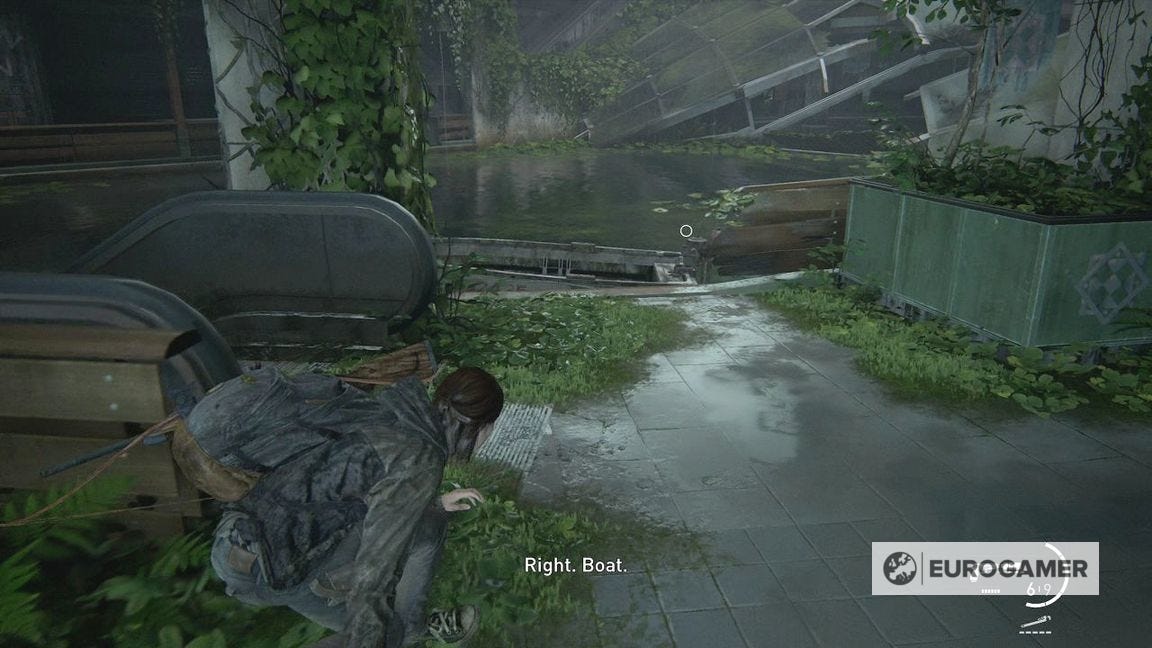
How to get the boat location at the end of Road to the Aquarium
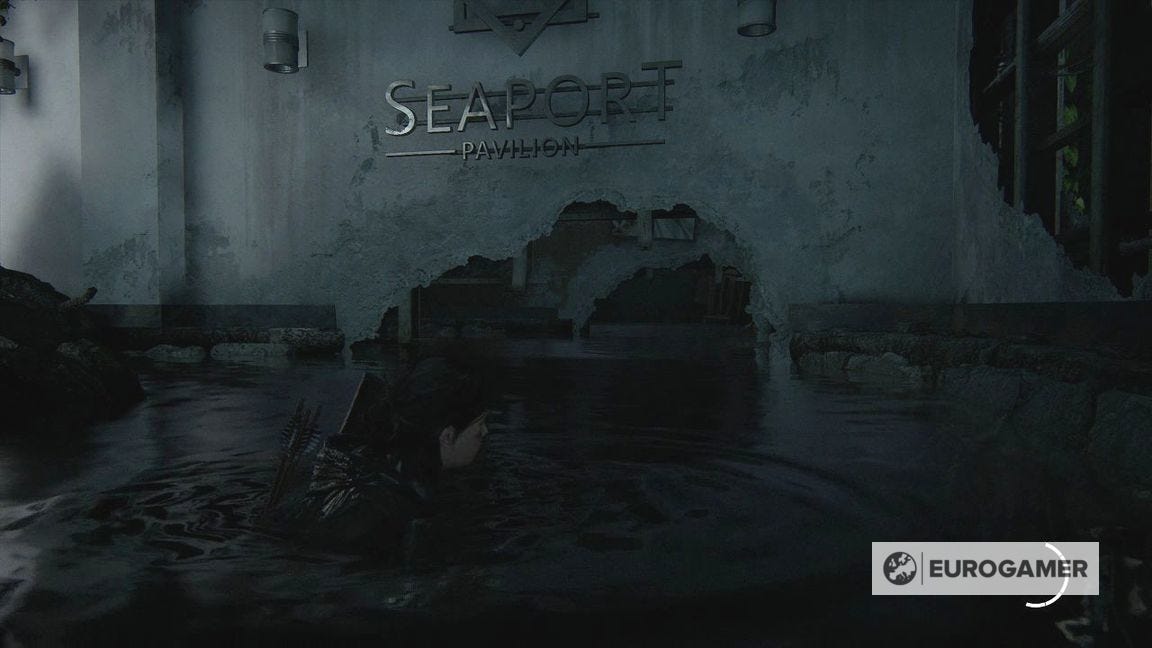
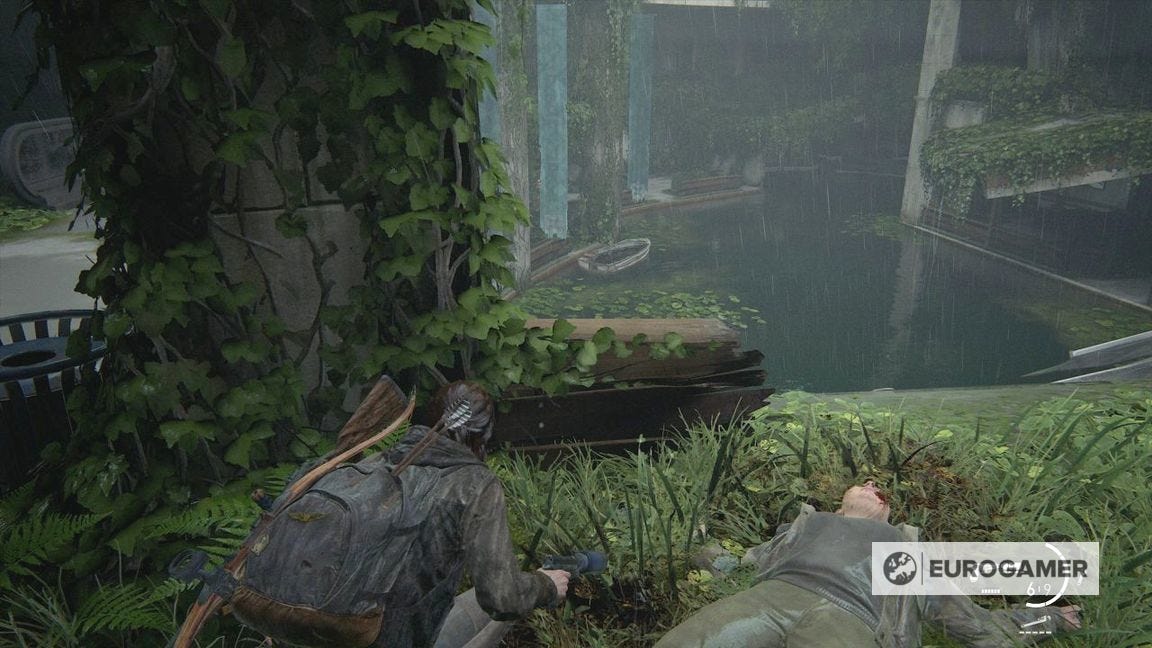
You now must explore Seaport Pavilion to get a boat.
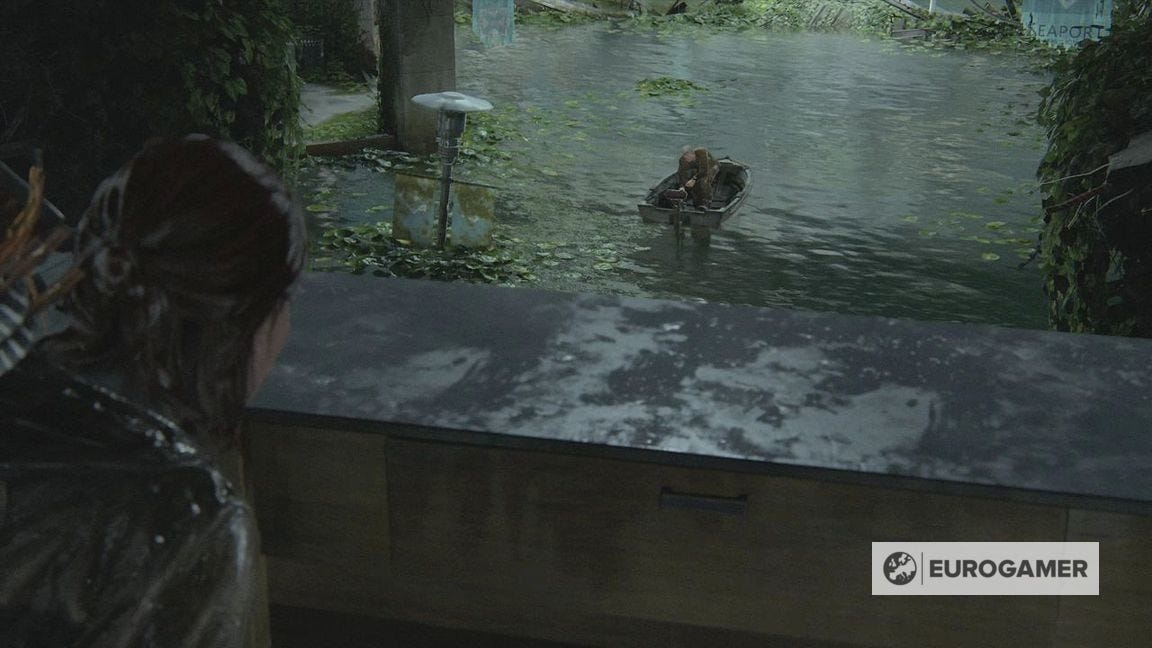
The temptation straight away is to swim after the boat ahead of you, but it'll pull away before it goes. Instead, hang back in this entry way.
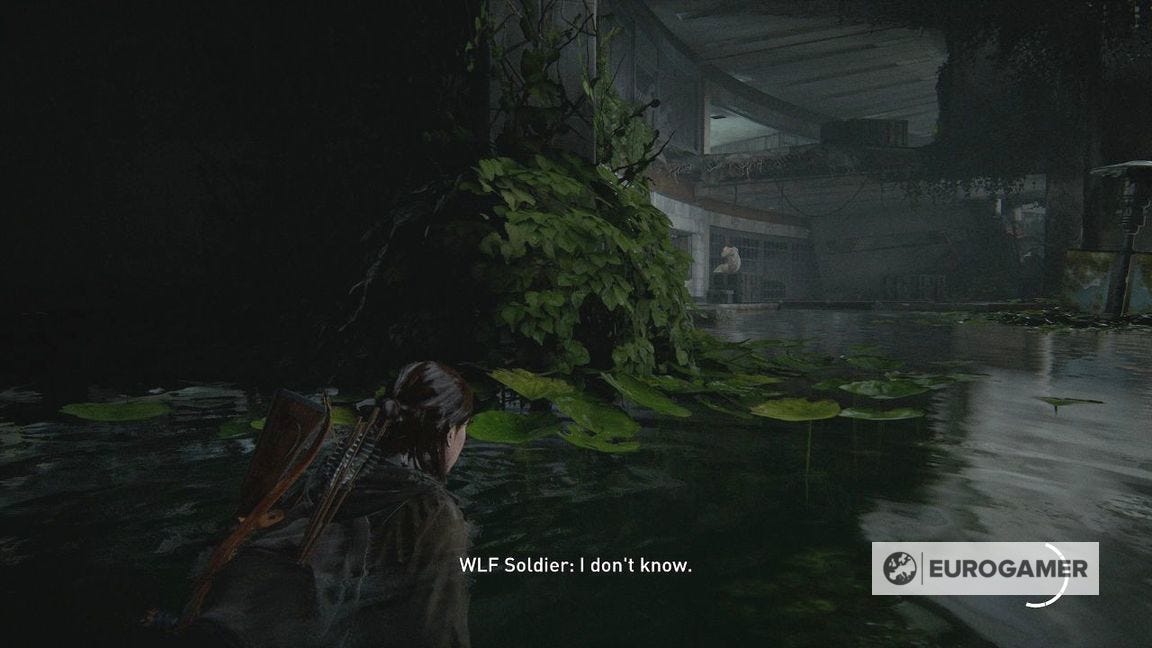
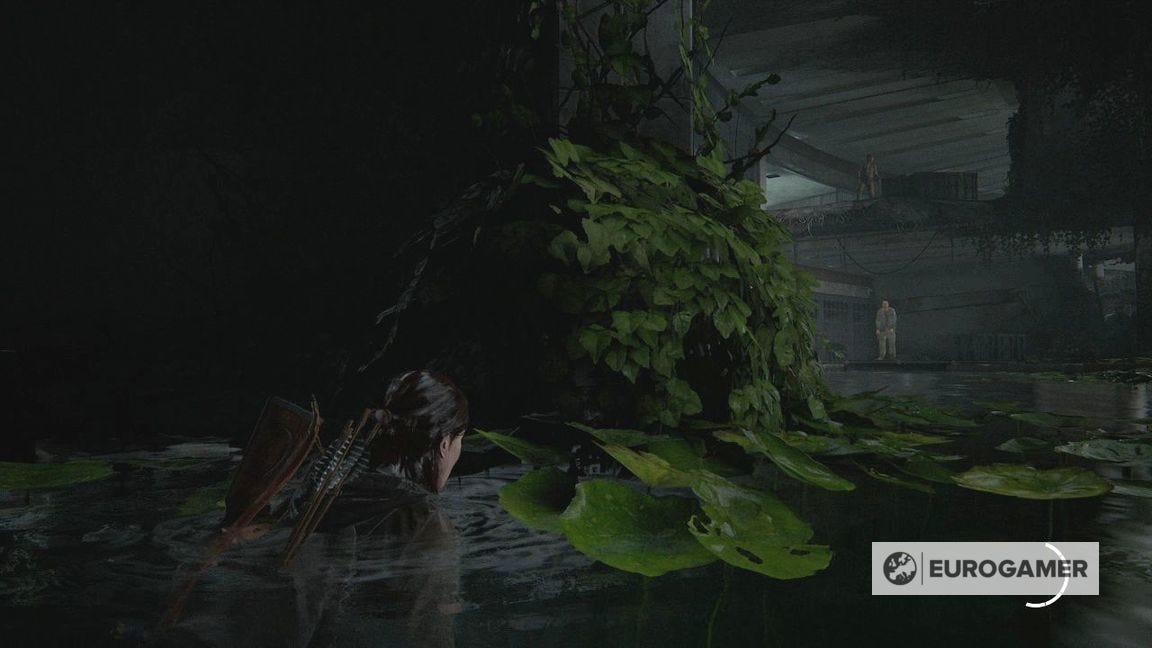
There are ledges to the left and right with guards. You'll want to make sure the coast is clear before moving out.
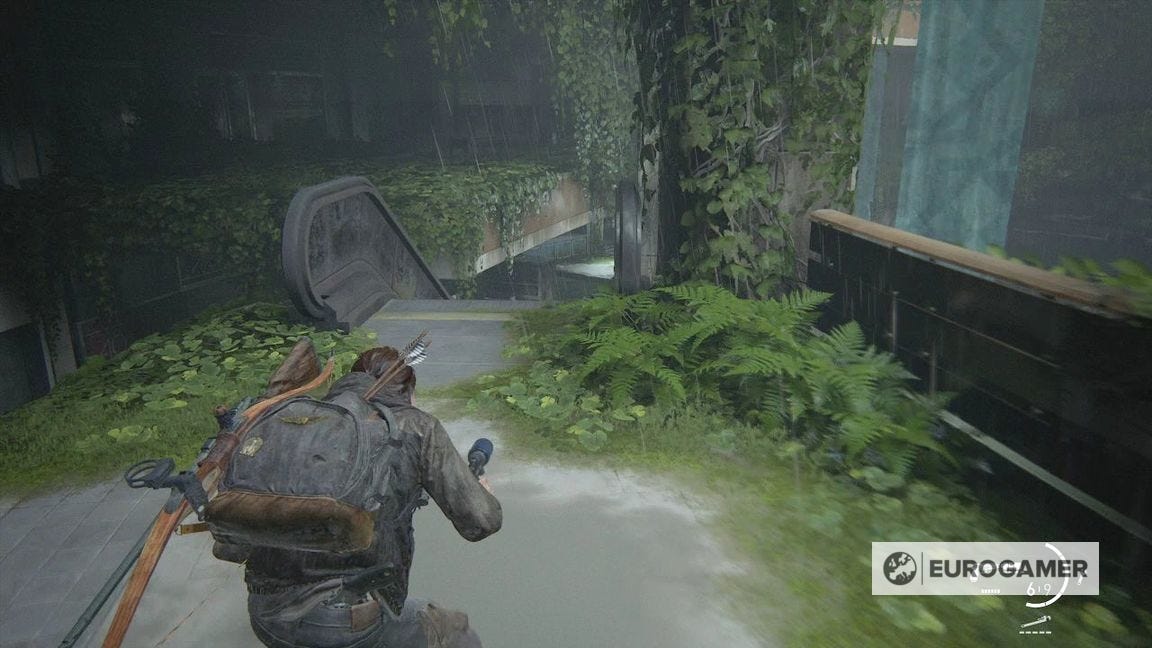
Go left, climb up and through the building to an escalator.
At the top of the escalator, go on just a little, and the area opens out to see the water below. Down on the left is where you can see the boat.
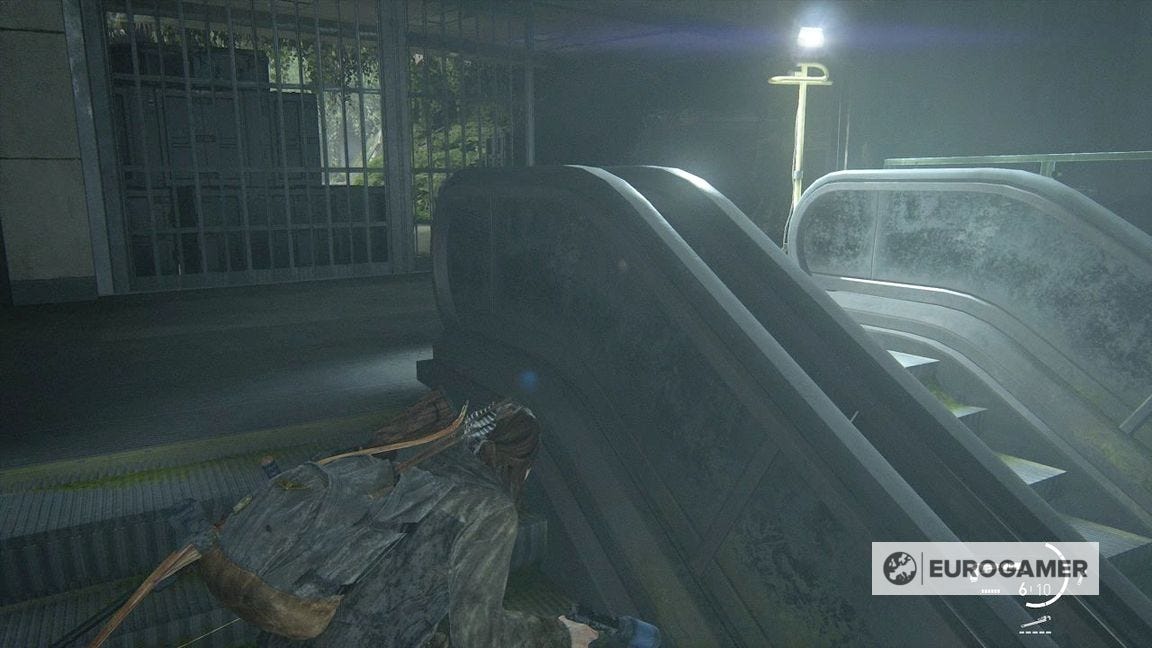
Take the escalator here down and it'll be on the water side.
Now take the boat out of the building to finish the chapter. Next is The Flooded City.