The Last of Us Part 2 - The park, Garden Suites, car park and hospital: All items and how to explore every area
How to complete the second half of the The Seraphites chapter and find everything along the way.

The park, Garden Suites, car park and hospital is the conclusion to The Last of Us Part 2's The Seraphites chapter.
The second half of this chapter is particularly combat heavy. Stealth is key - so craft arrows and silencers to make passing sentries as easy as possible.
There are also other missable items to find along the way.
On this page:

Looking for help in other areas of the game? See our The Last of Us 2 walkthrough and collectibles hub.
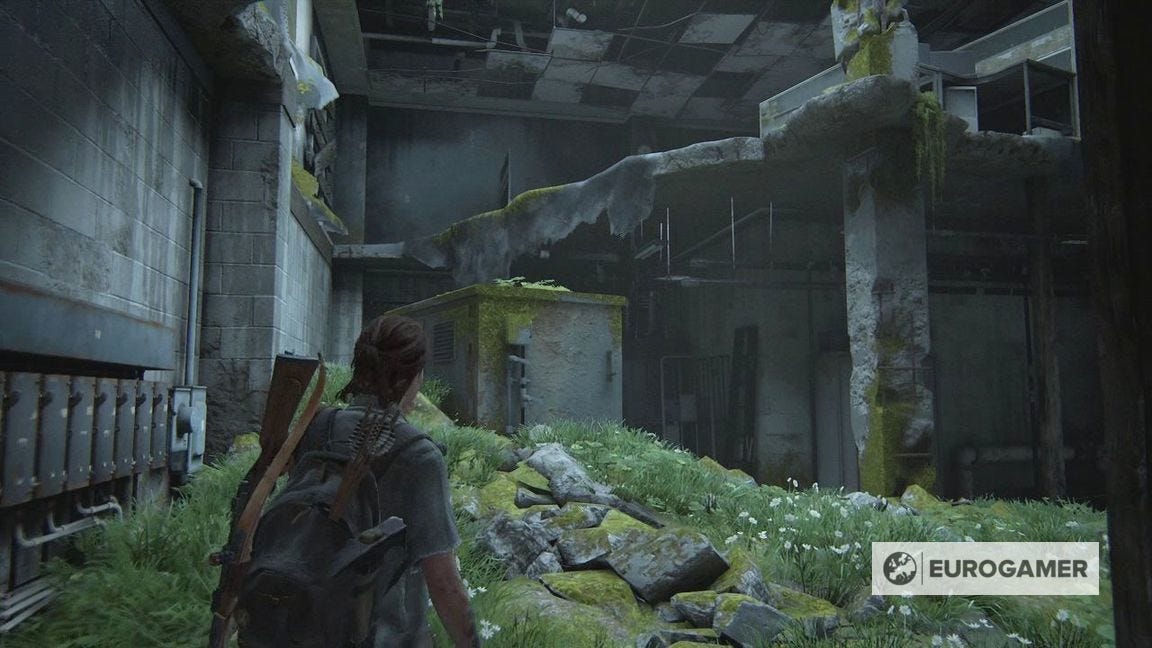
The Park explored in The Last of Us Part 2
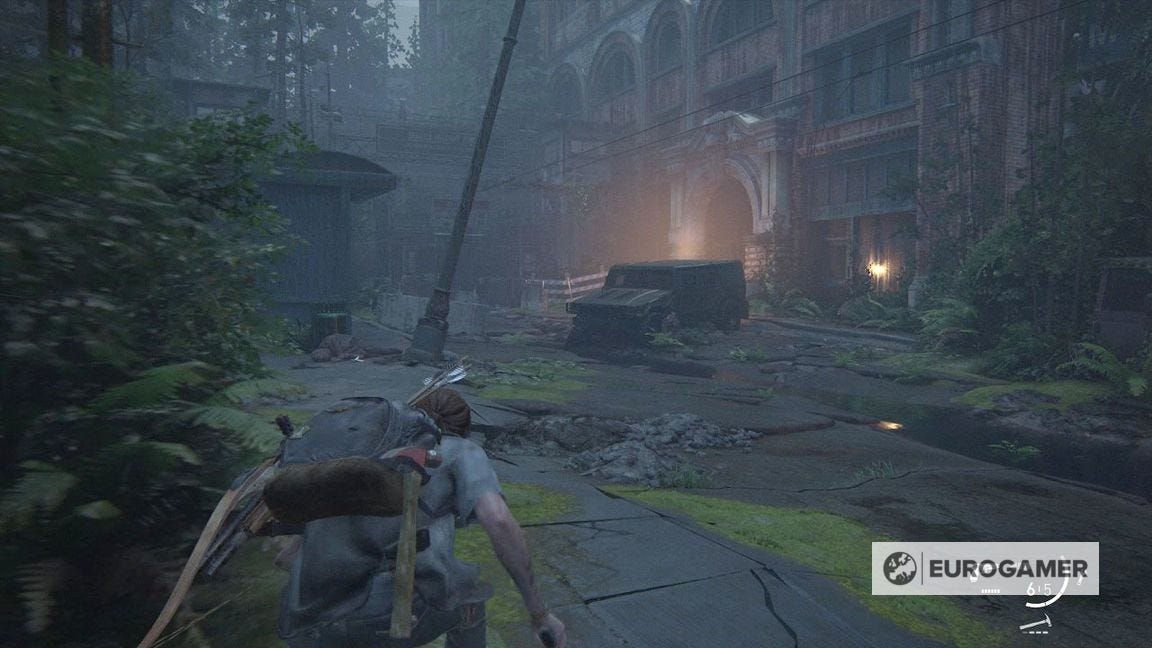
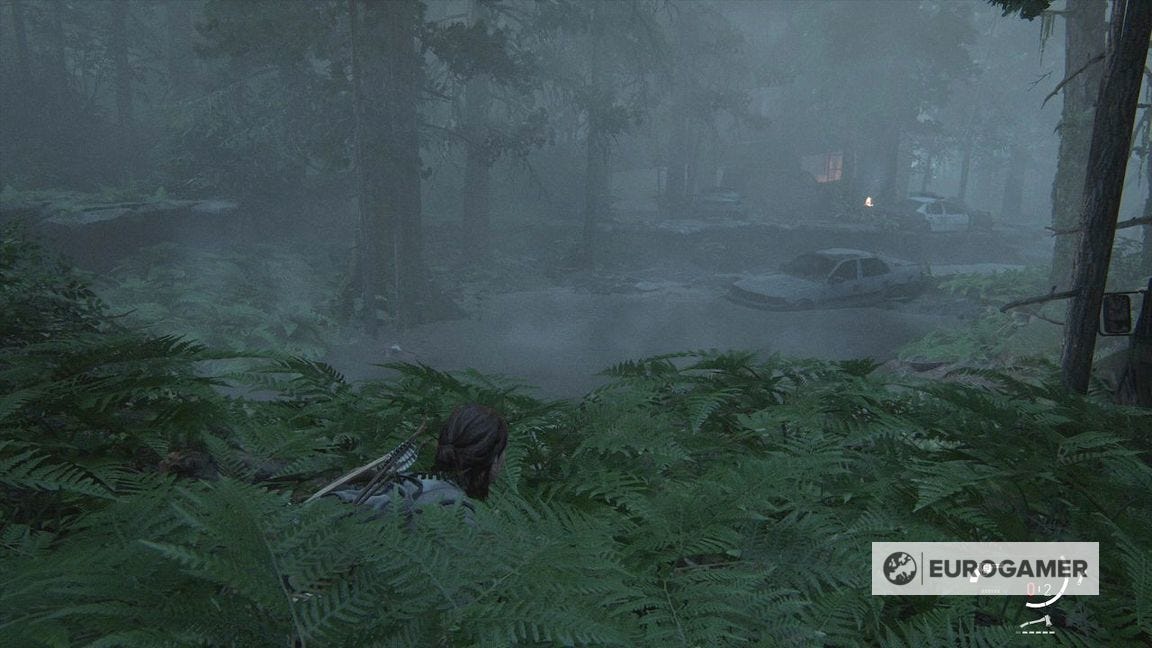
Following emerging from the Sewers in The Seraphites, you'll continue this chapter in a park.
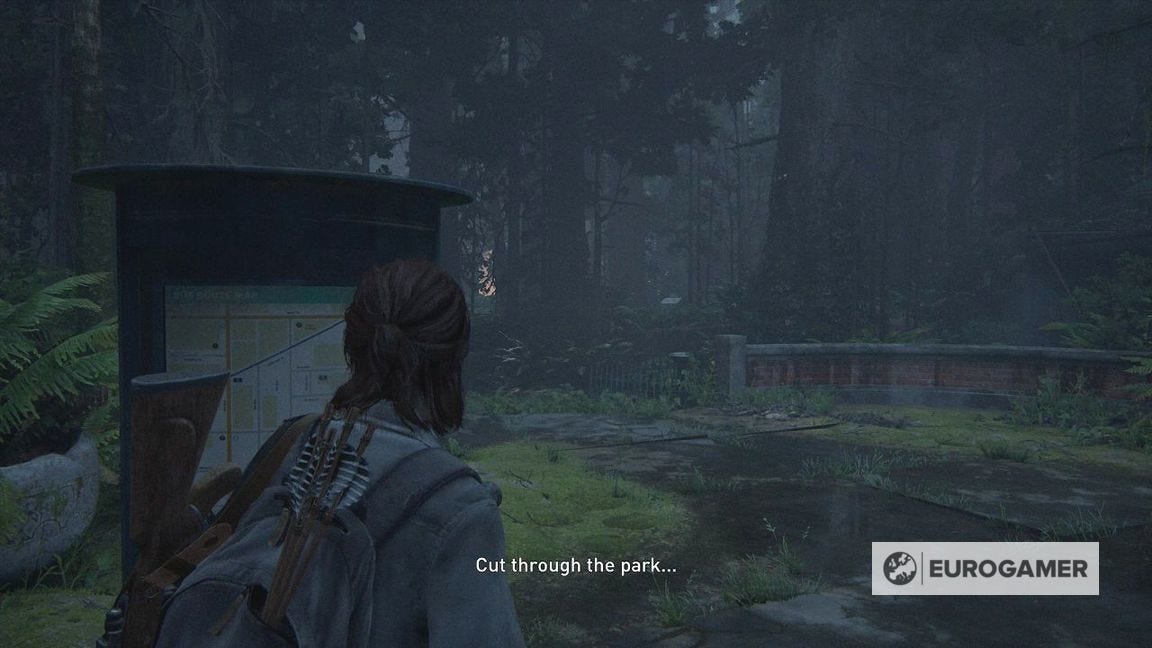
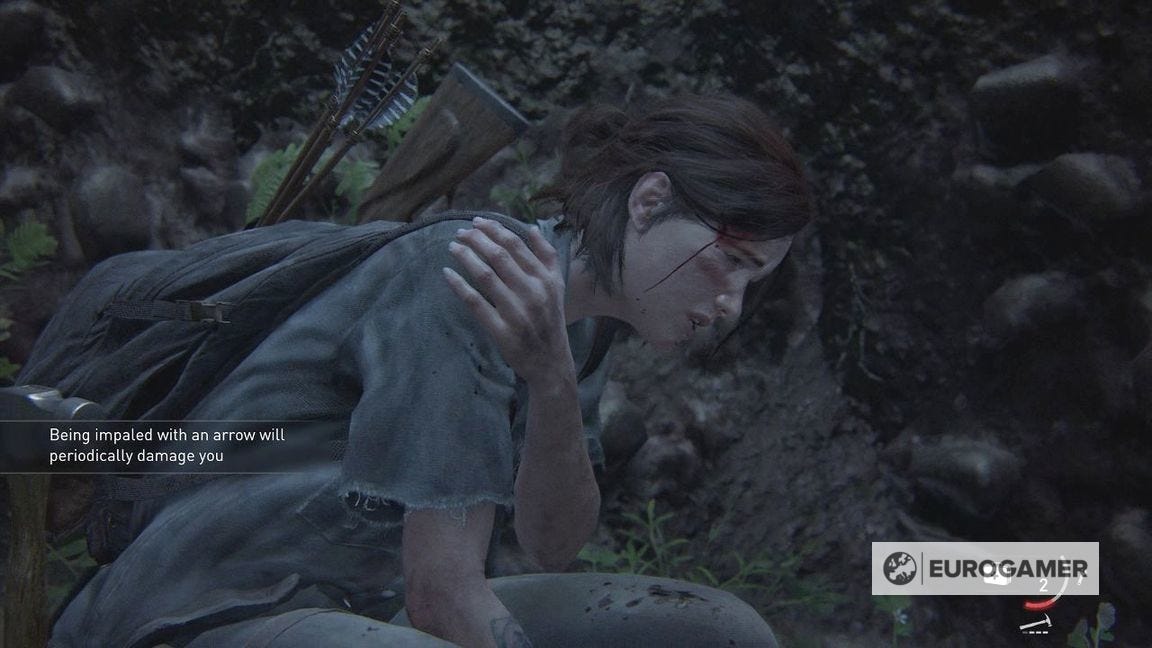
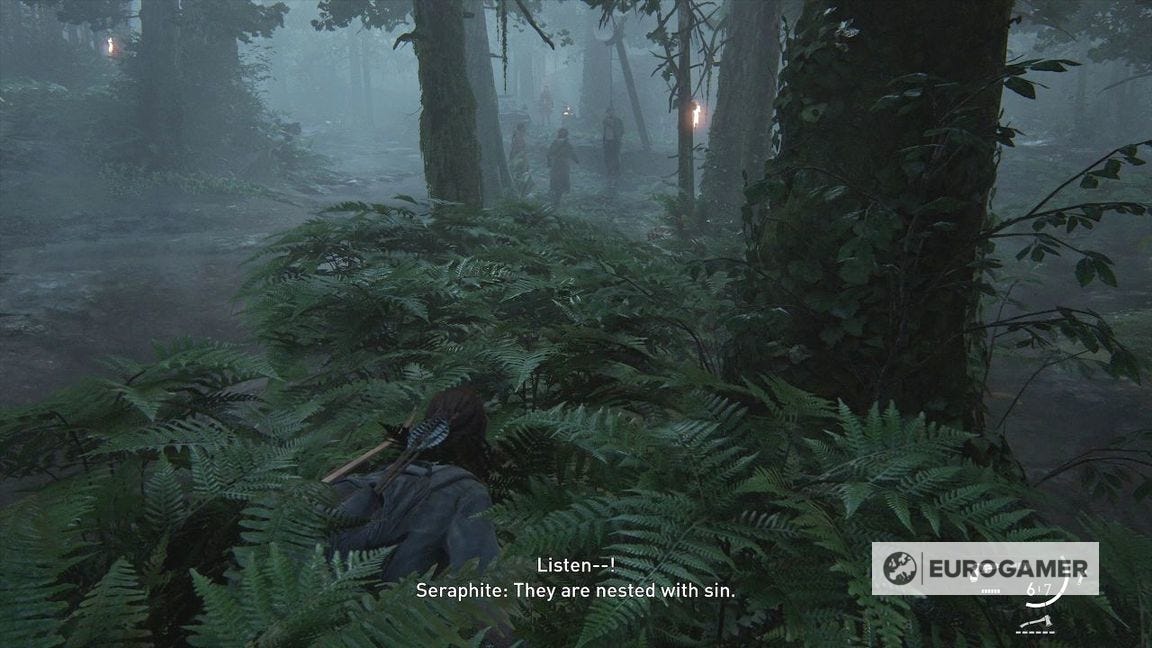
Make your way onward until you are ambushed.

You'll learn a new arrow pulling mechanic here - if you are hit again, then hide out of sight and remove the arrow as soon as possible.
Immediately go right and through the undergrowth to avoid detection.
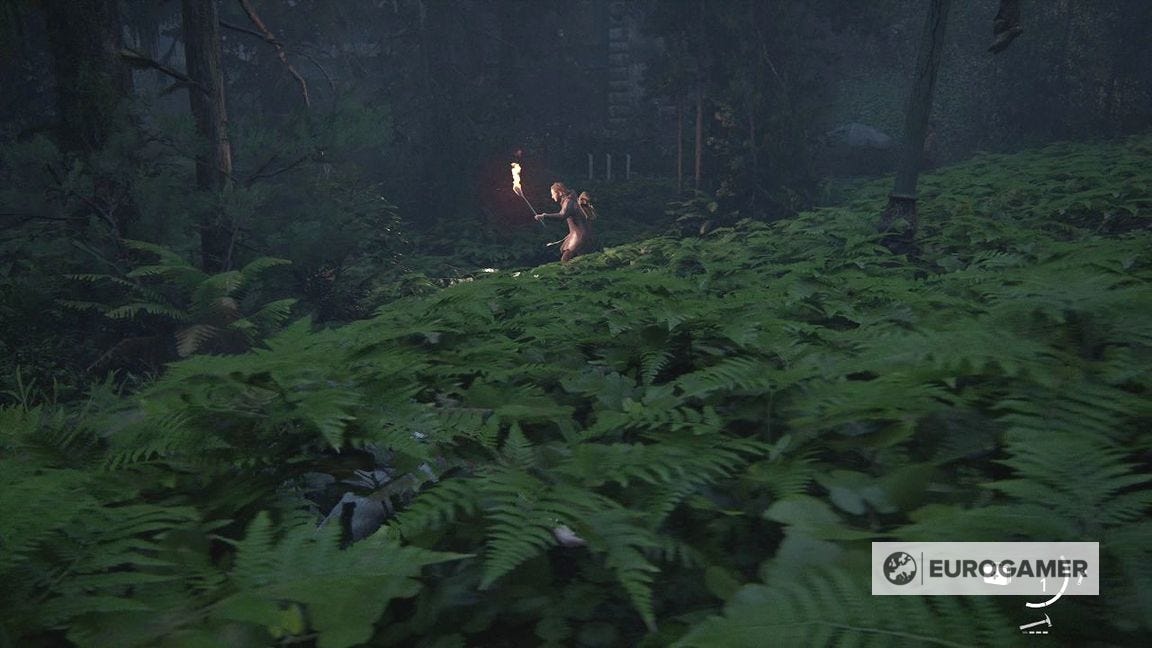
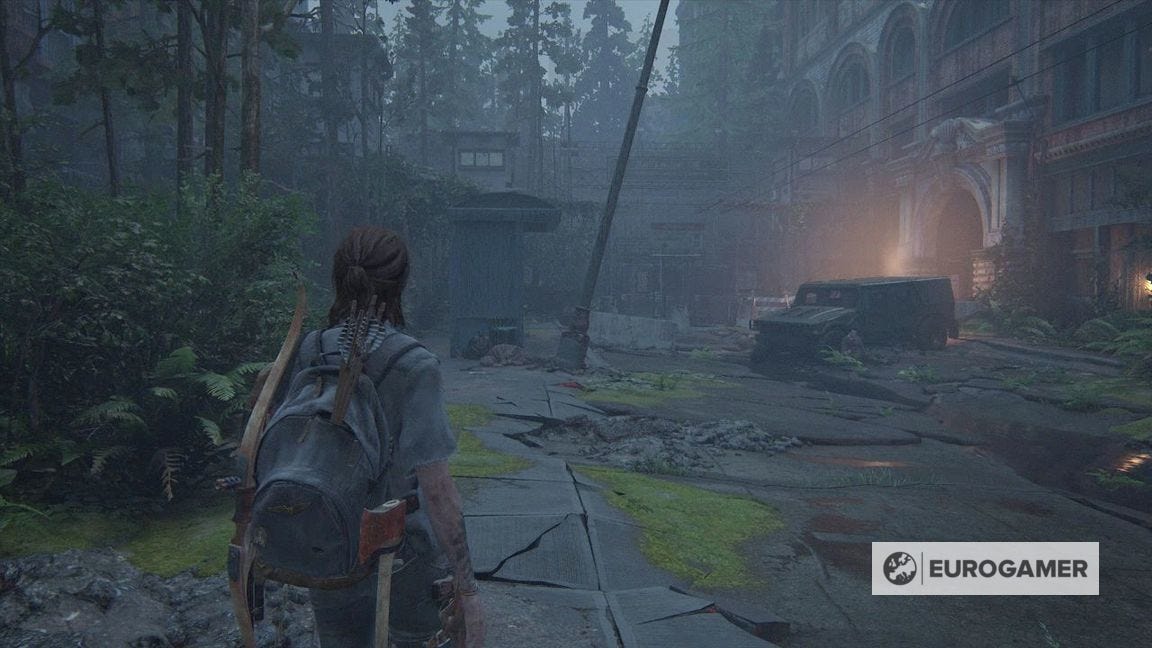
With the foliage here, it's fairly straightforward to press on to the street at the end (where the glowing of fires is).
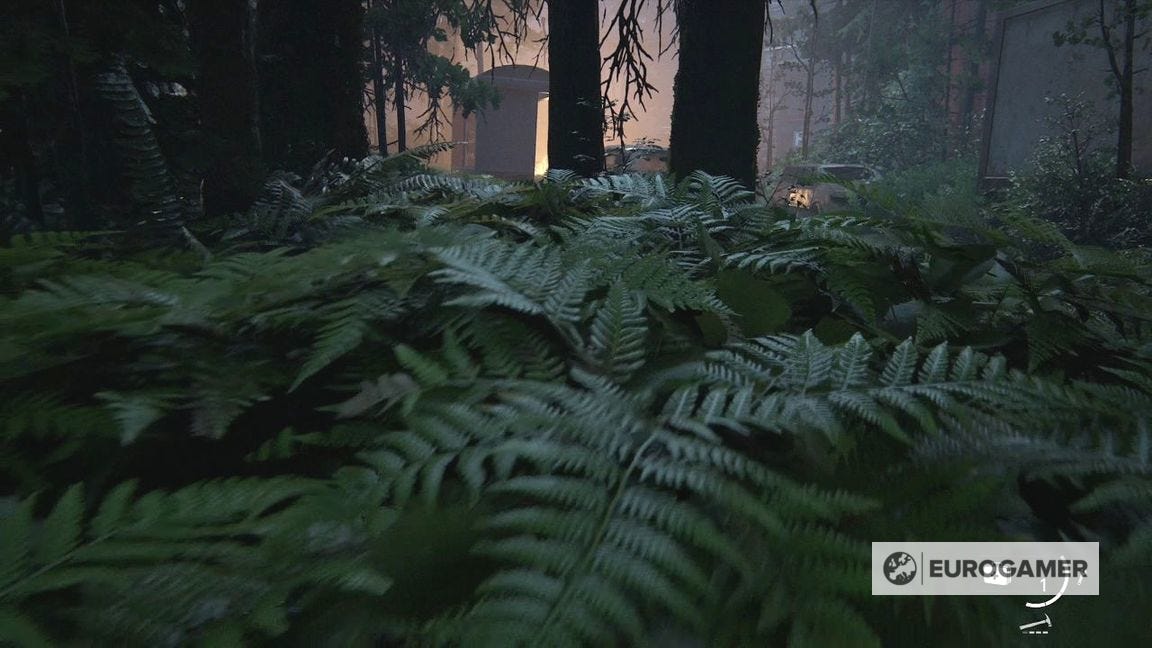
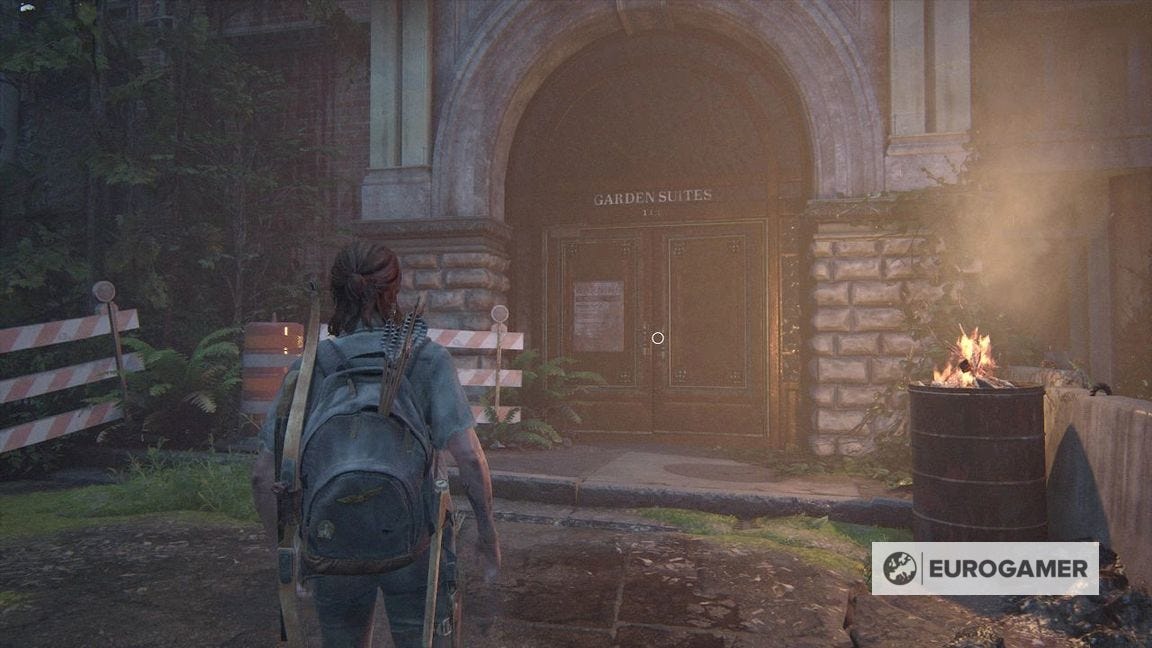
In the corner is a quarantine gate and the Garden Suites, which is your goal.
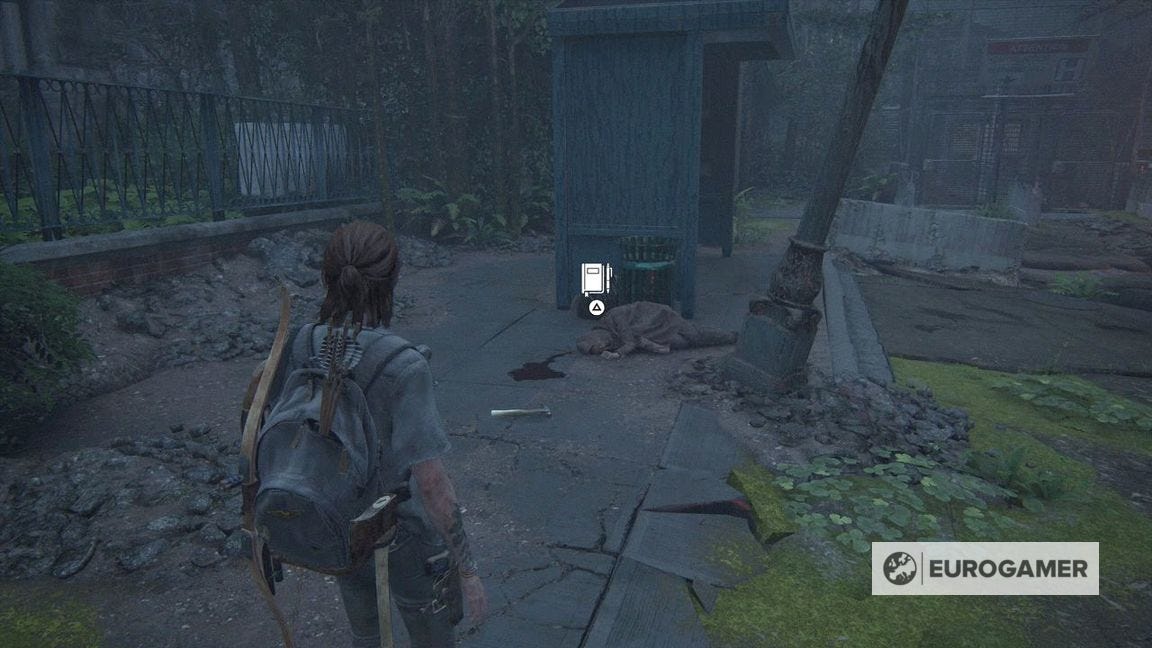
Before you enter, check the corpse by the bus stop on the left for a Journal Entry.
When ready, enter the Garden Suites.
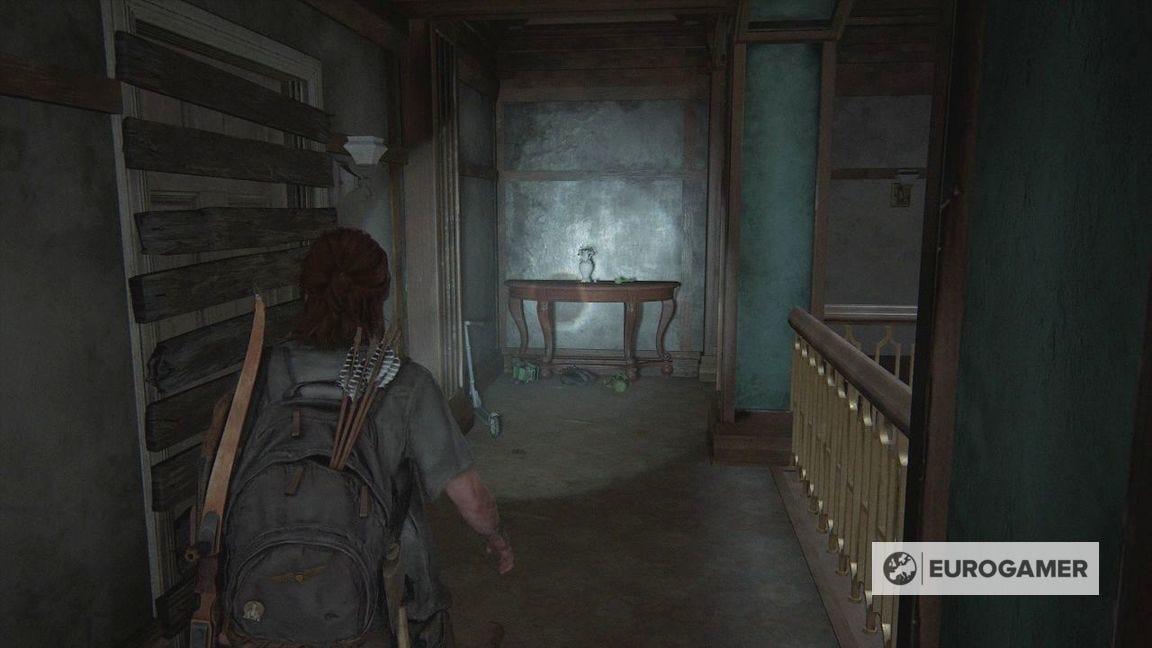
Garden Suites explored in The Last of Us Part 2
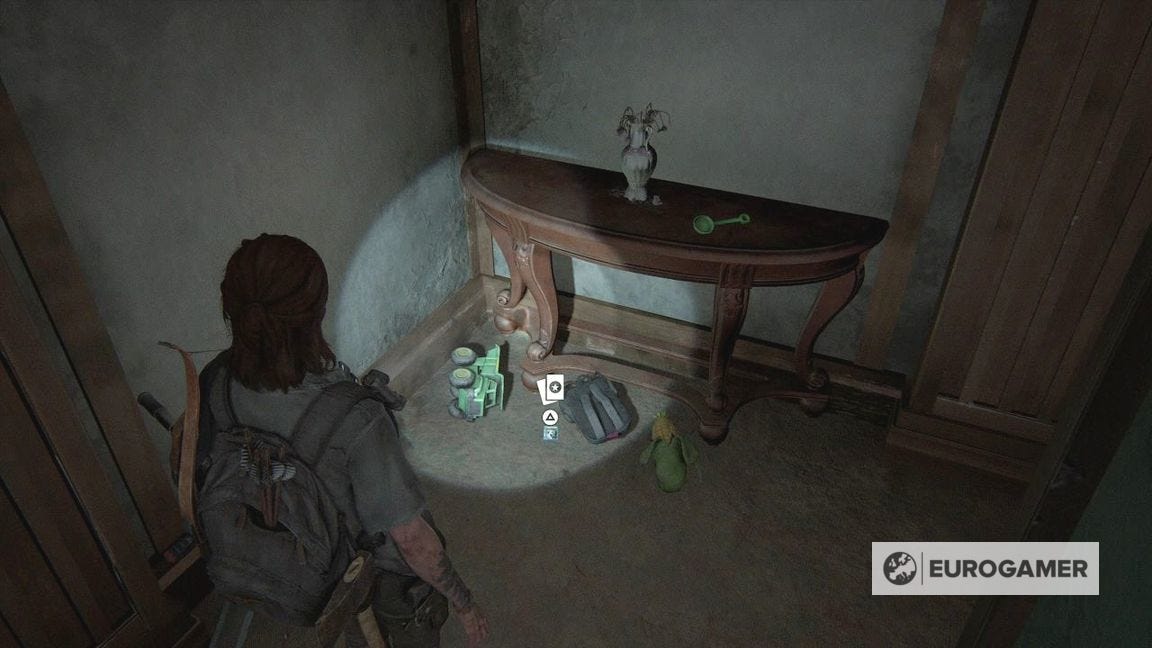
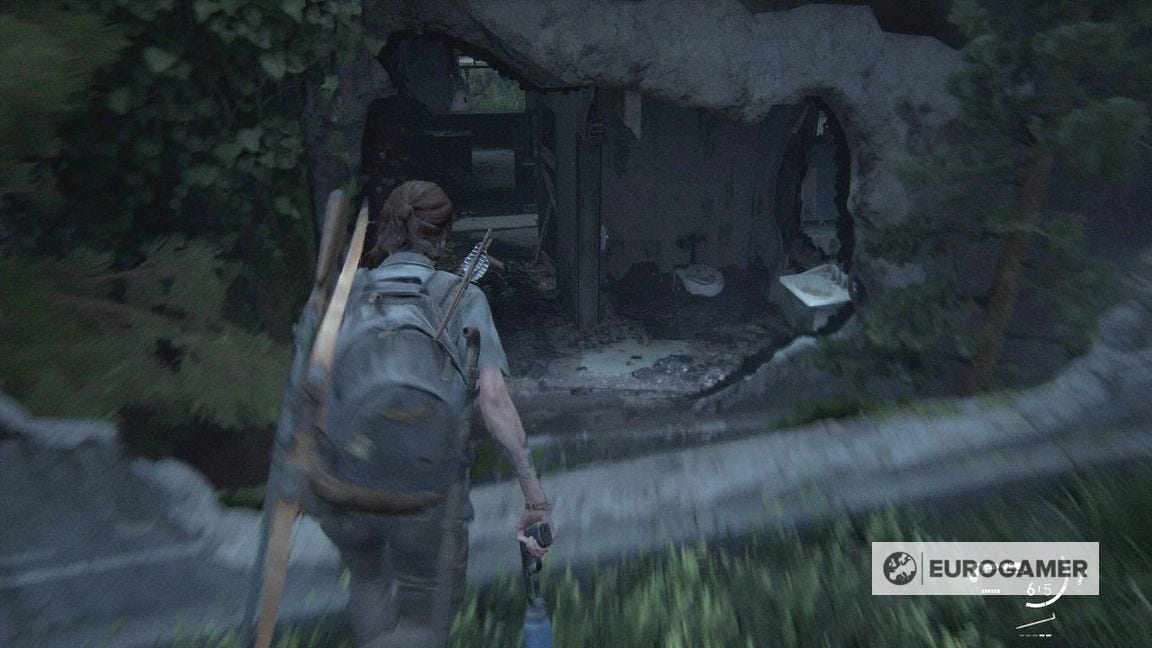
Head up to the floor above. Before going into apartment 201, get the Doppelganger Trading Card from the back corner, on the ground next to the table.
Search the apartment for supplies, then go up and out of the window and up a level of the fire escape to the apartment.
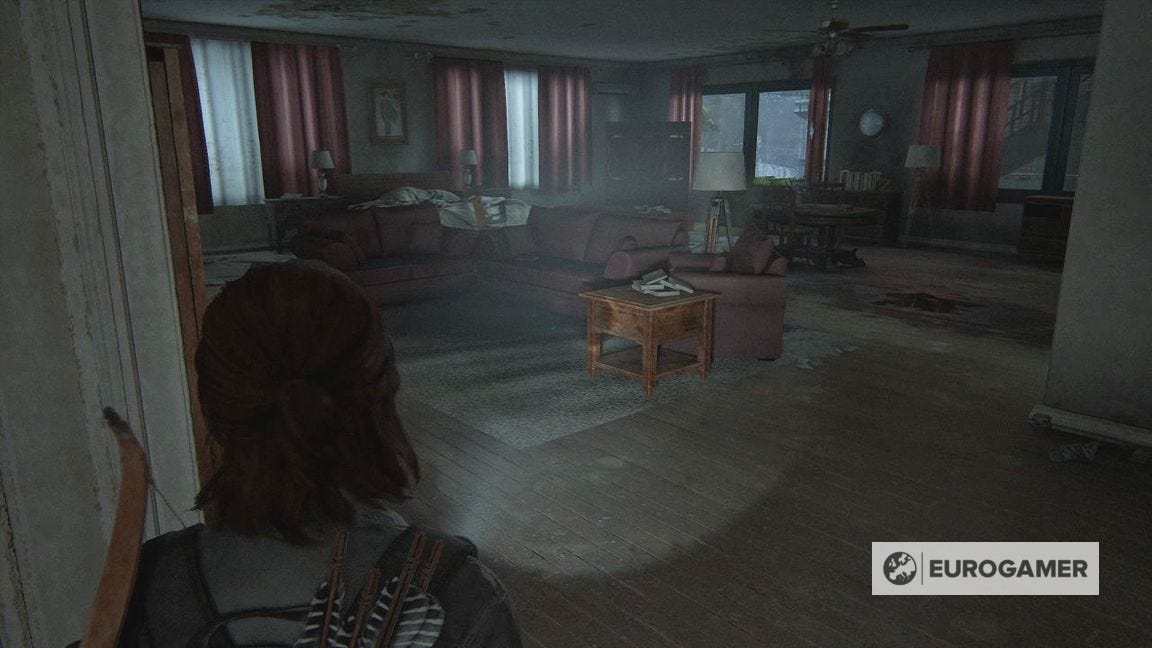

You have to enter it via the window as the door is locked.
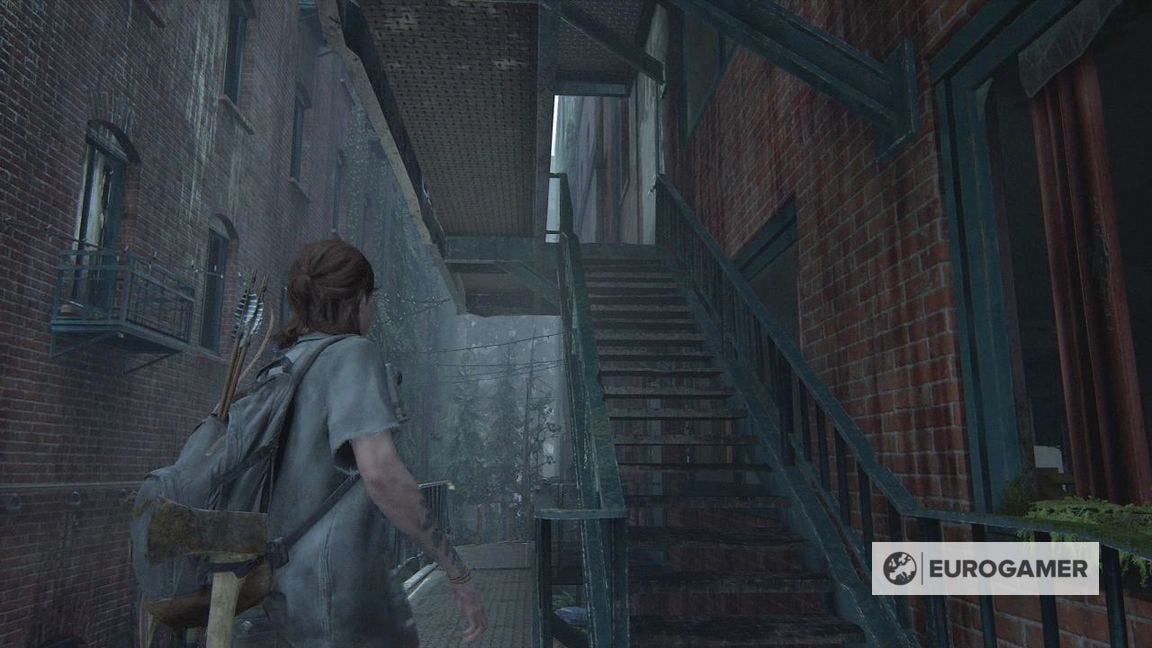
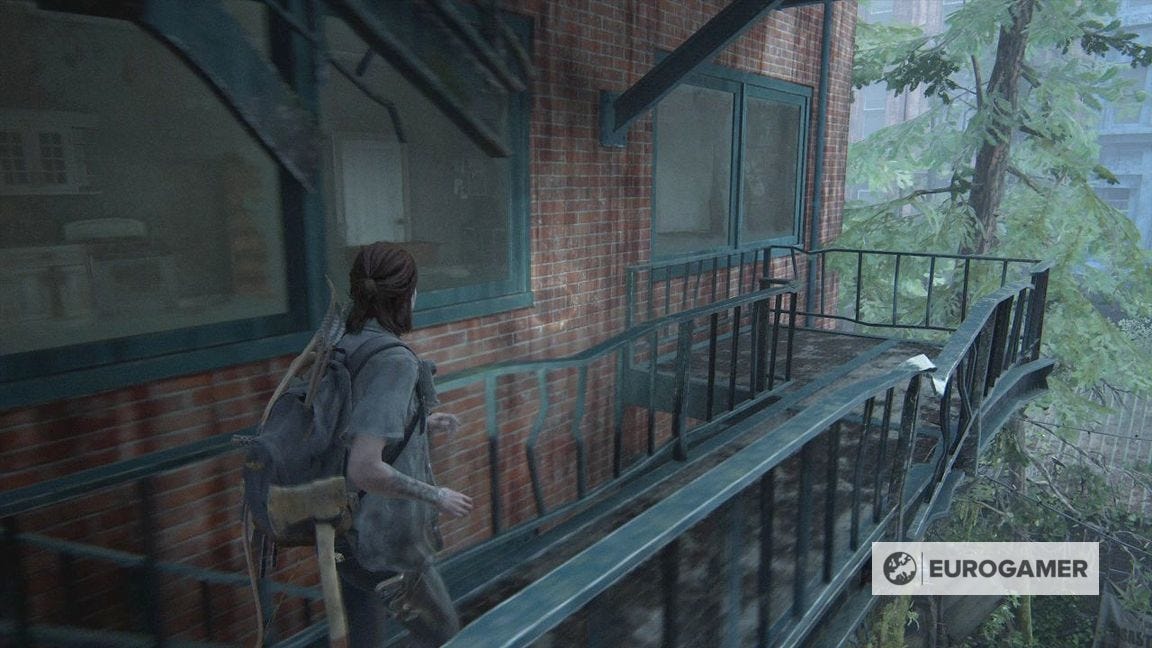
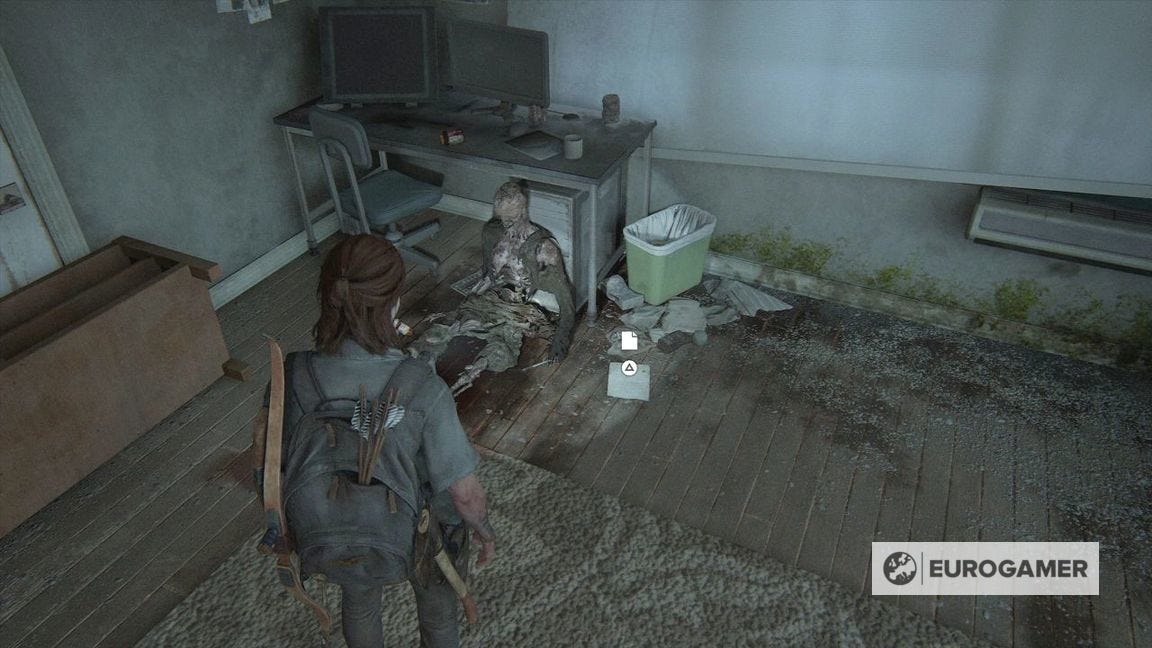
Search the corpse to the right for the Dying Husband's Plea Artefact.
Drop down from this fire escape and continue along the trail on the other side of the quarantine gate.
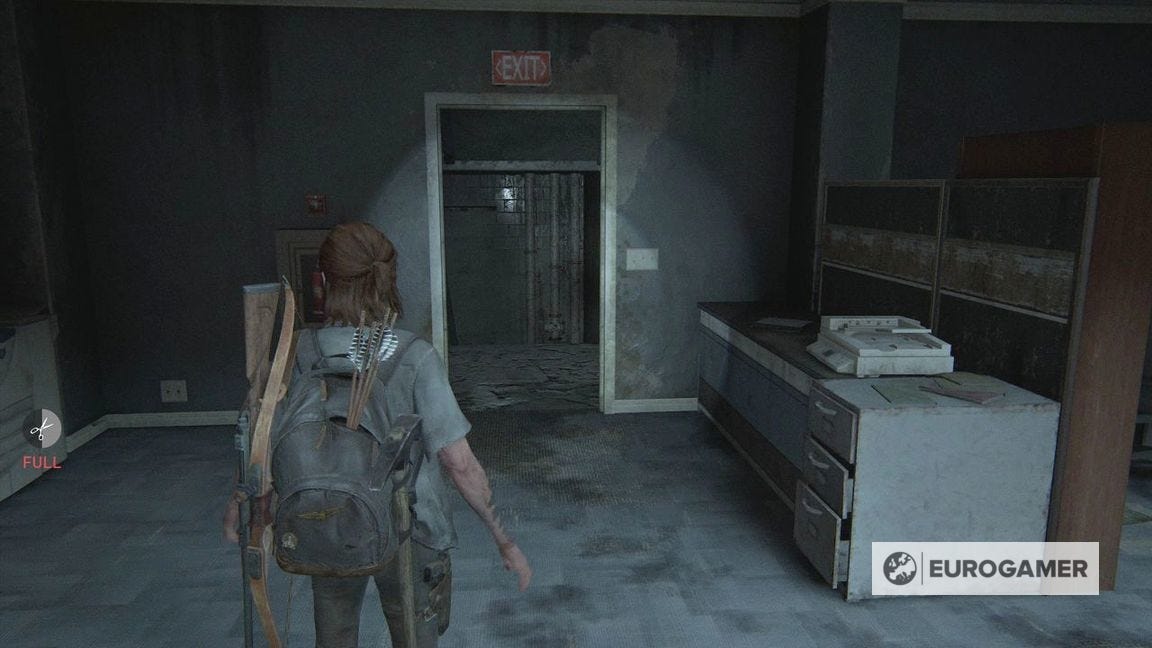
The Park continued, car park and Merci in The Last of Us Part 2
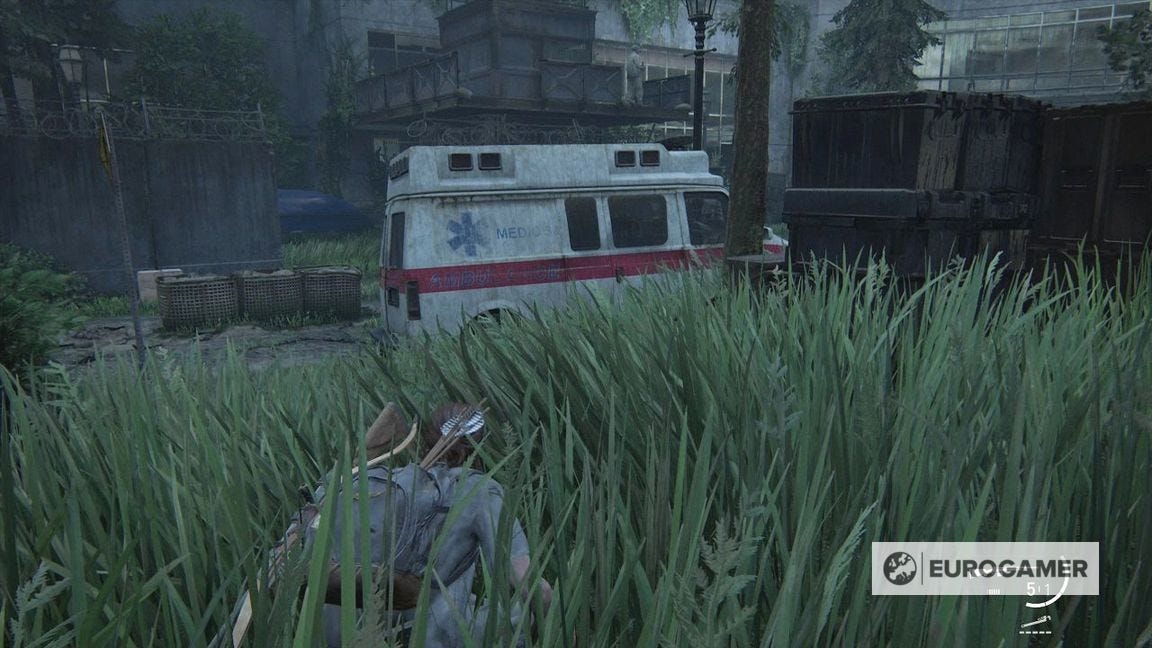
After squeezing through, you'll be back in an overgrown section.
After the grizzly scene, you need to avoid the enemies by crouching. Press on through this park, past a ditch and to a car park.
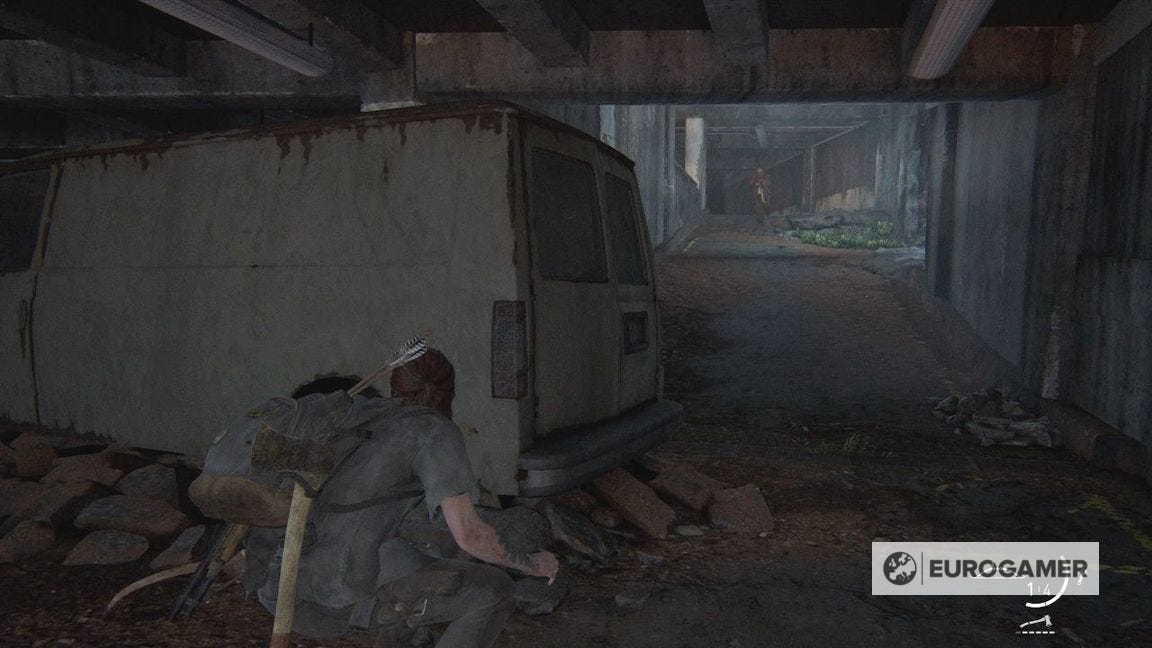
Get to the top level of the car park now to a street area.

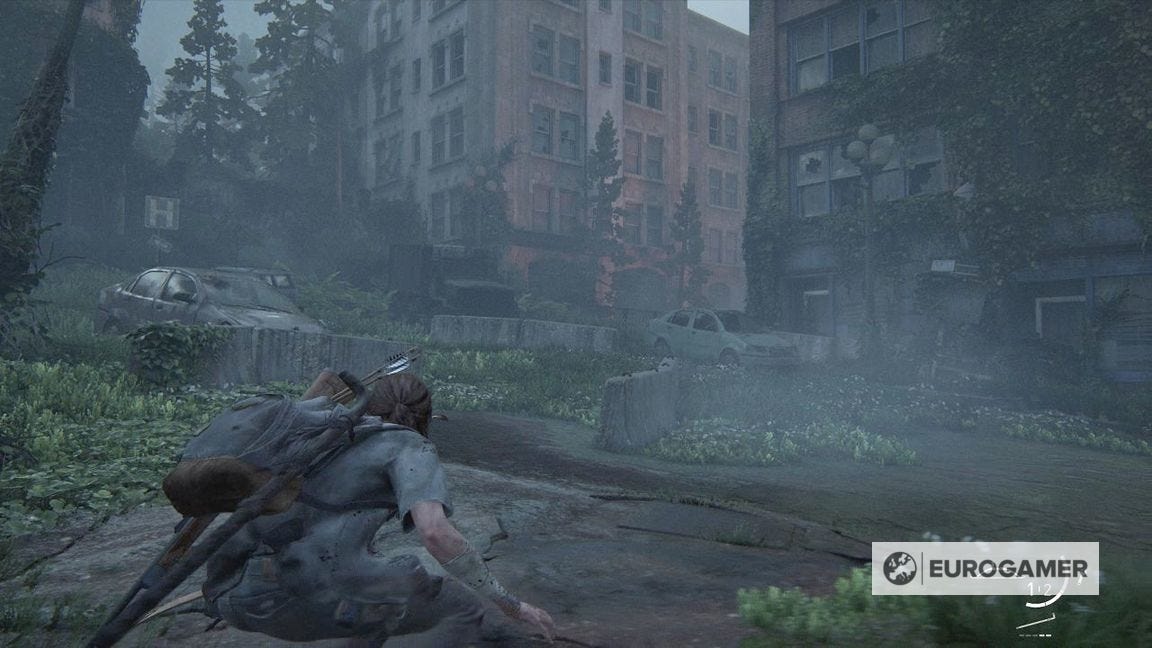
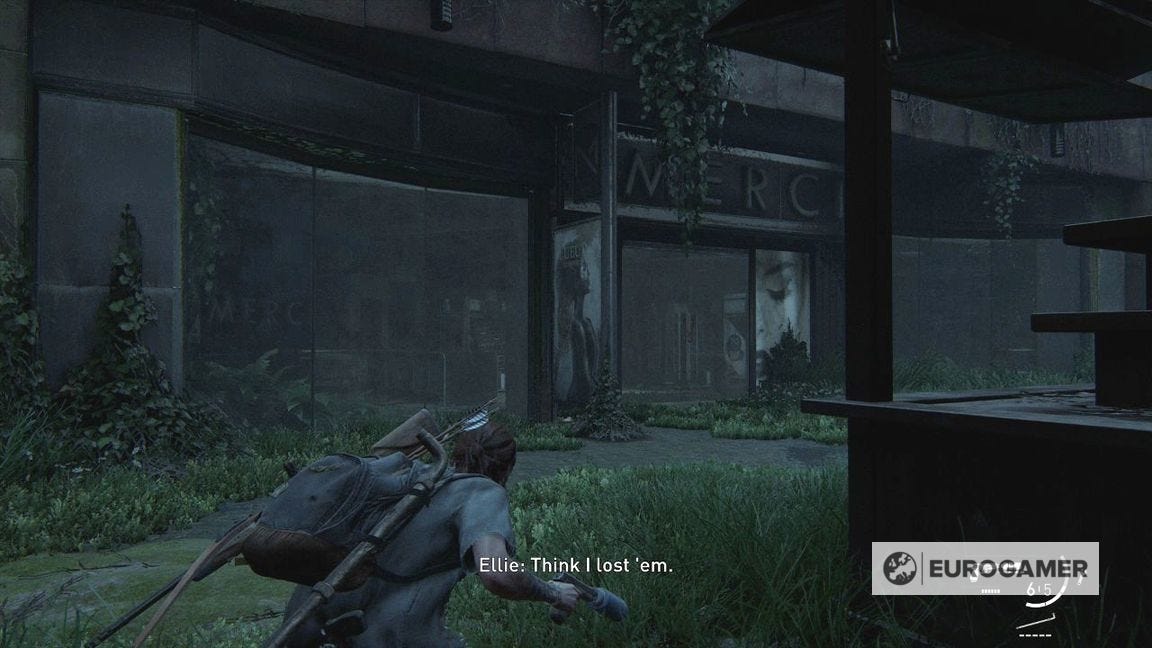
Stick to the left and past the vehicles. When the enemies drop down ahead, you can run and jump into the building to your left.
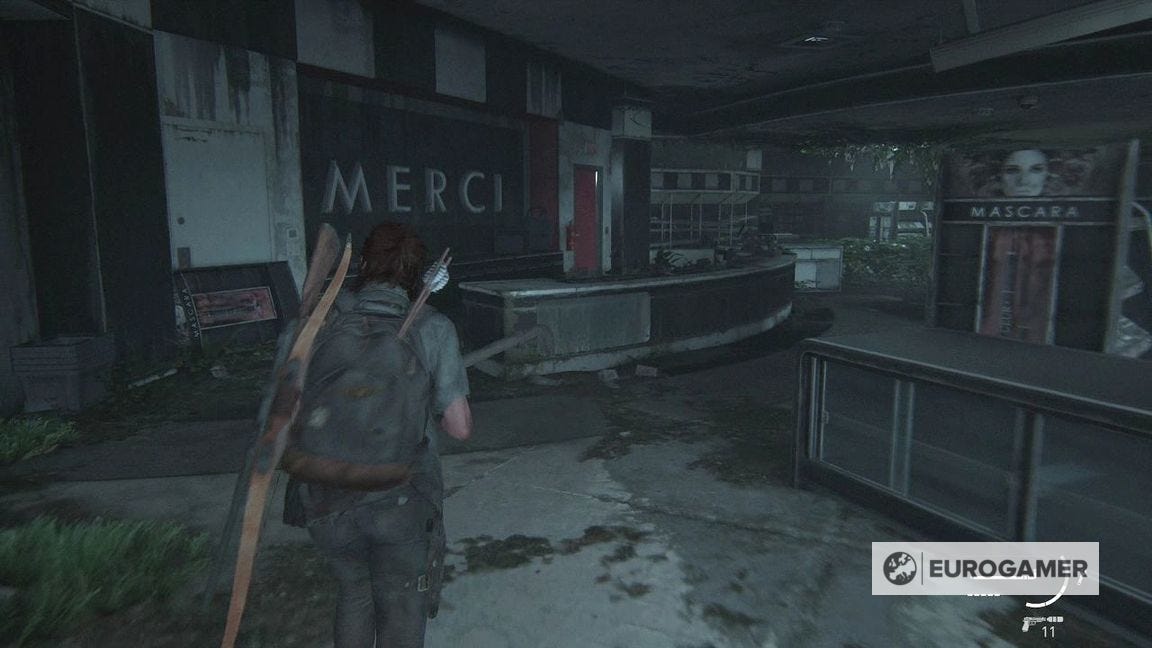
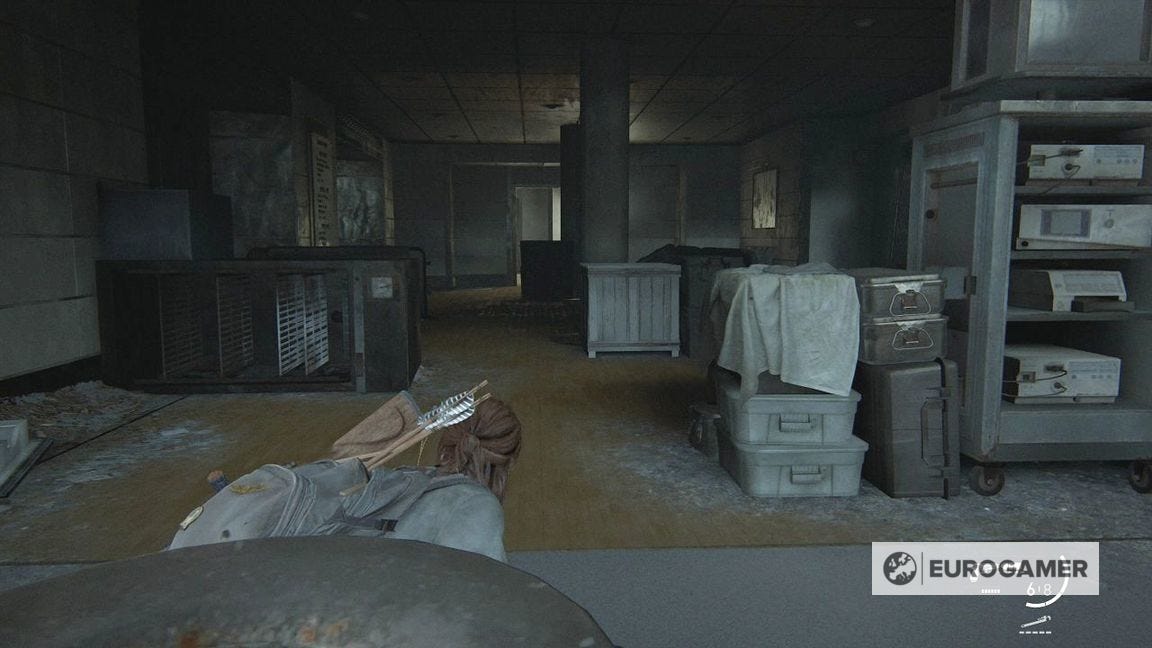
Here is an area of shops. Break into the one closeby named Merci.
Go through the door at the end.
You'll now have a forced encounter with a Seraphite with a sledgehammer. Dodge and exchange blows until they're dead.
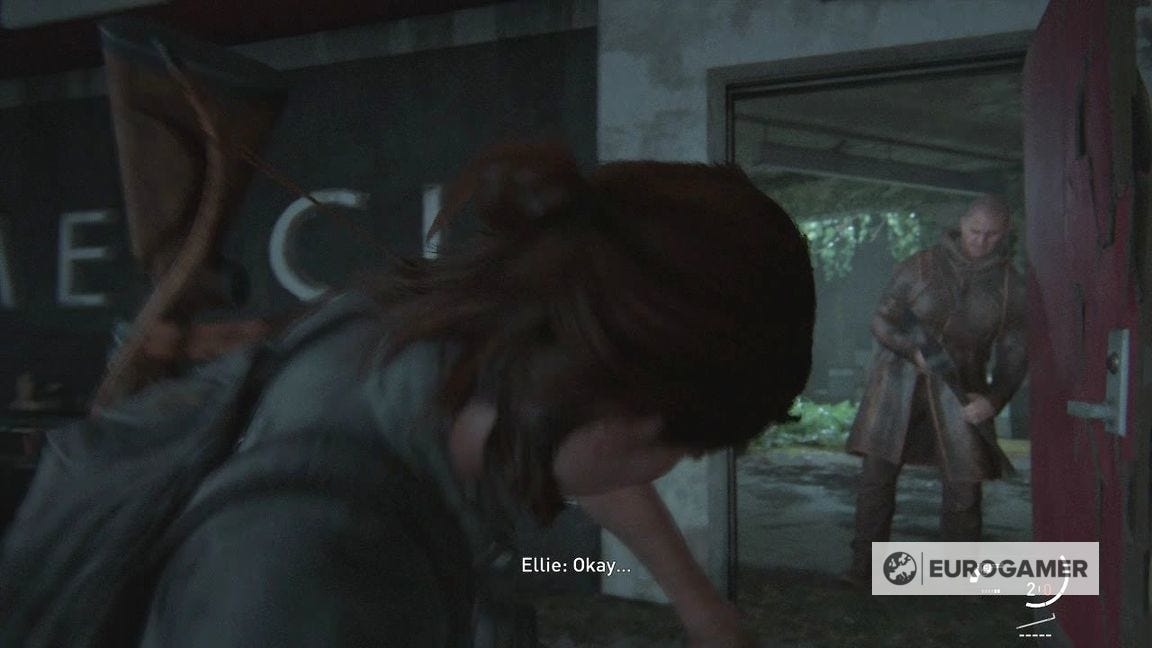
More enemies will flank you from front and back.
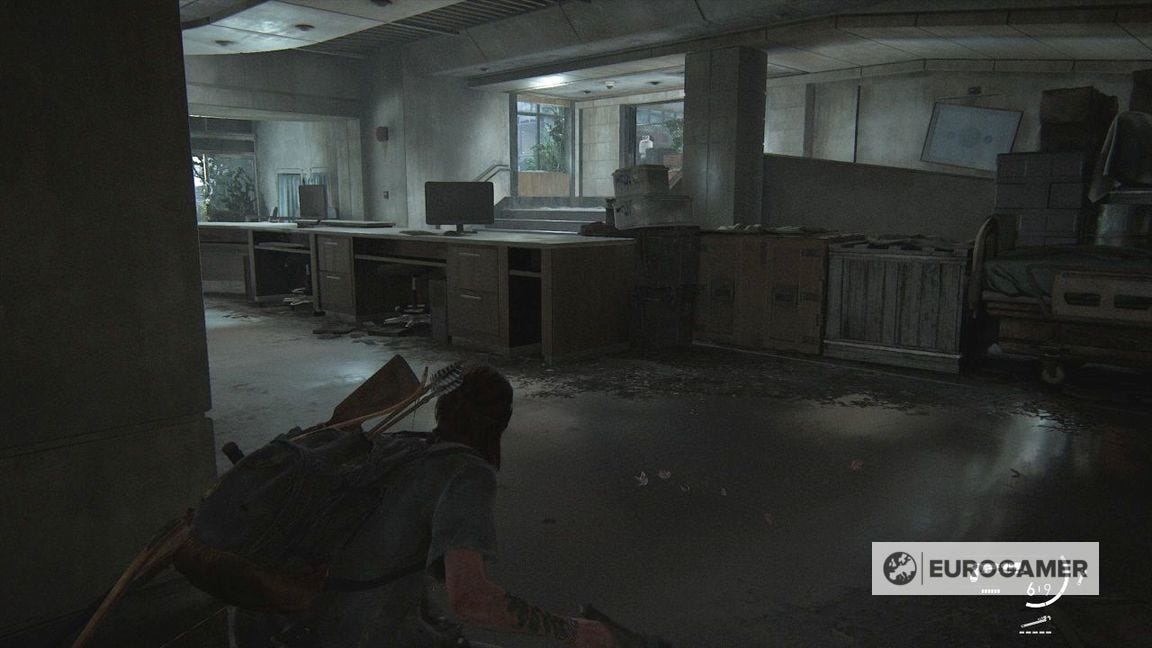
Once cleared, proceed into the backroom, then through the doors into a collapsed office-like area across two floors. Grab all the supplies you can as you go.
Go to the stairwell in the corner and up to the roof.
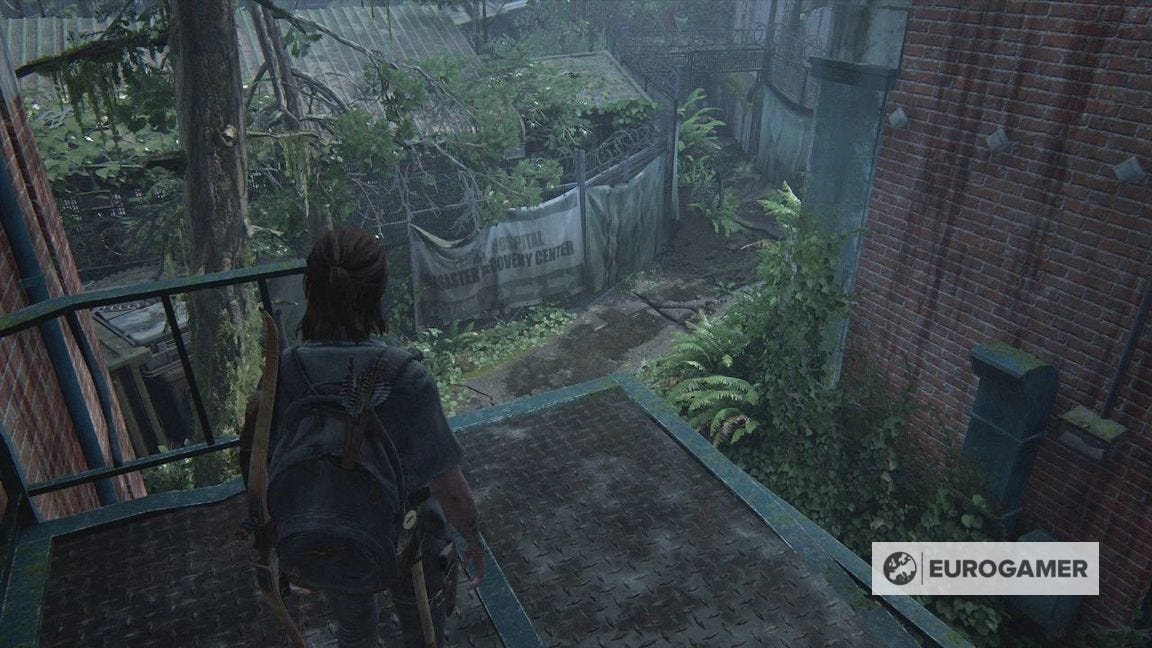
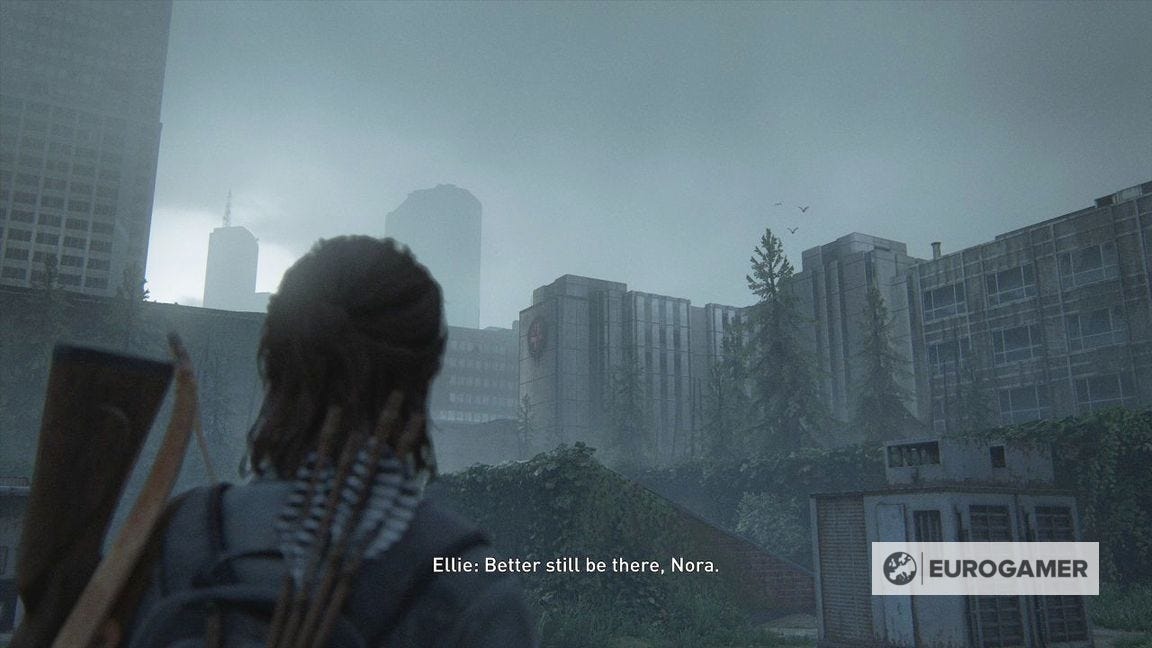
After the cutscene where you see the hospital much closer now.
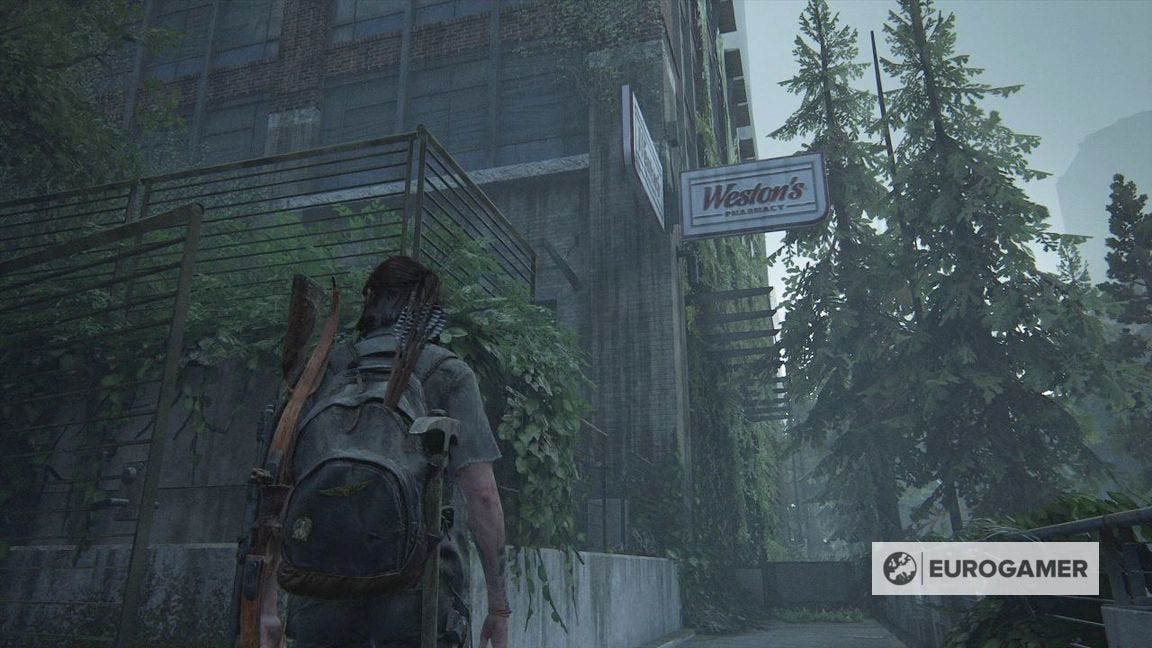
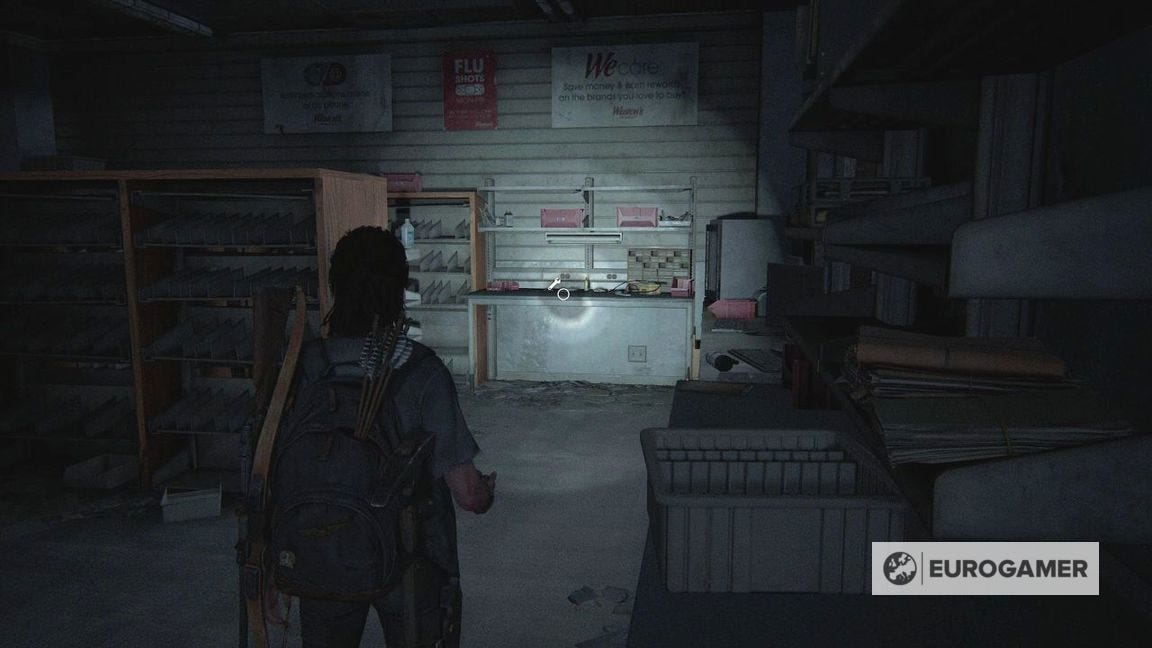
Drop into water and straight ahead is a stairwell leading to Weston's Pharmacy.
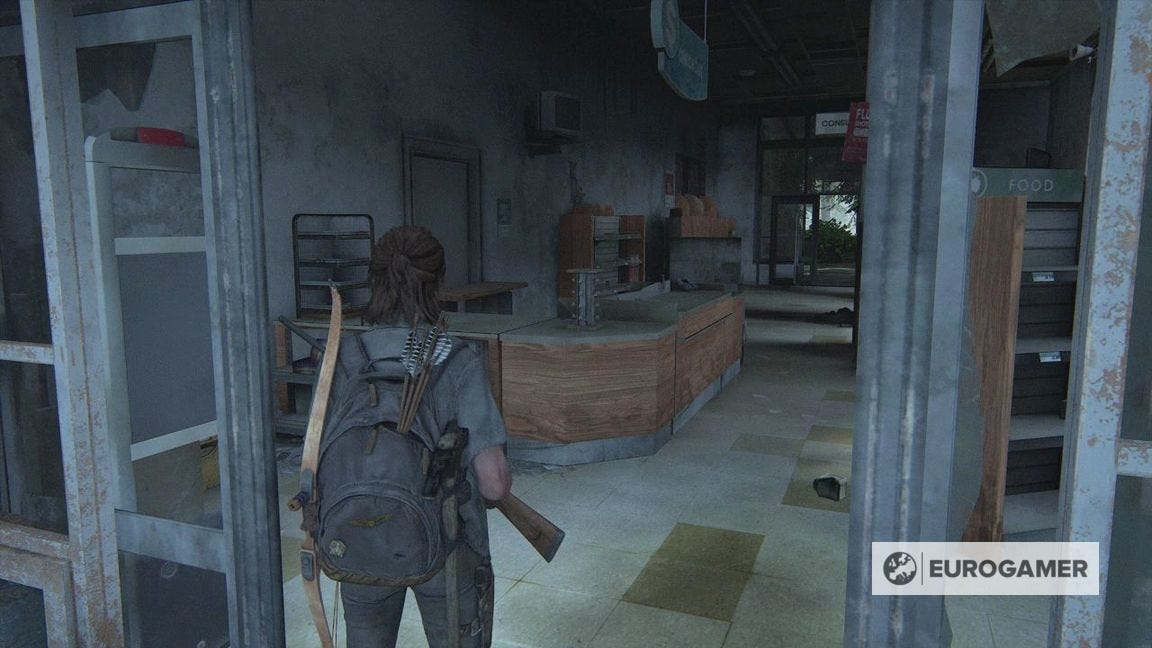
Enter through the front, and grab the Bhat M'Andaar Trading Card as soon as you enter to the left.
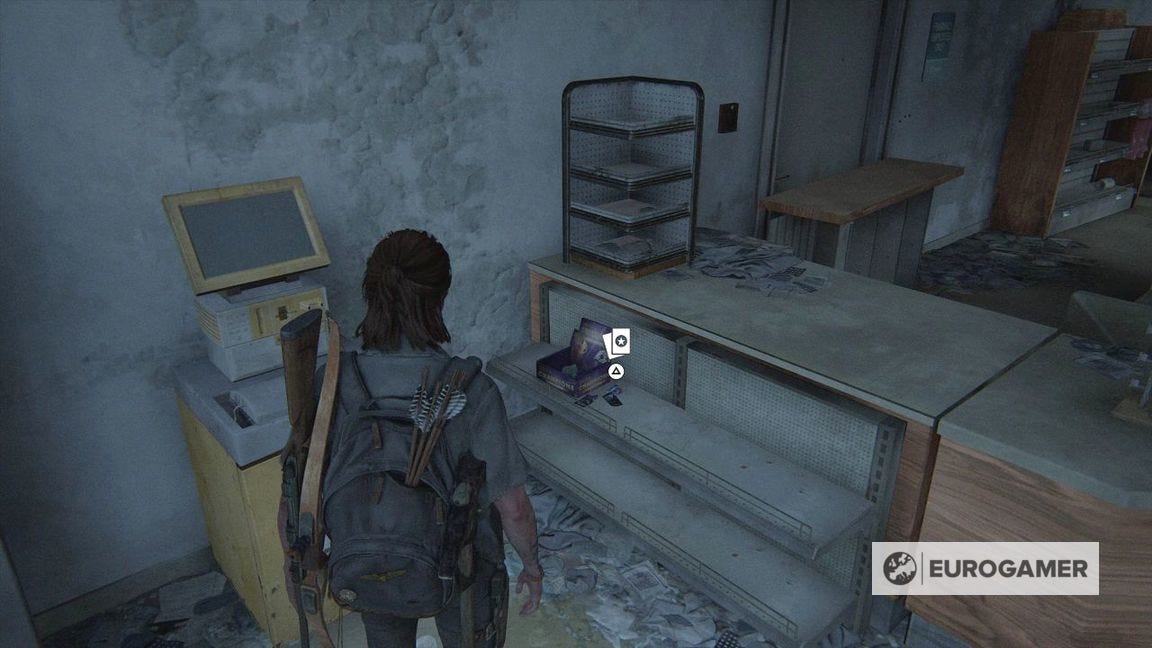
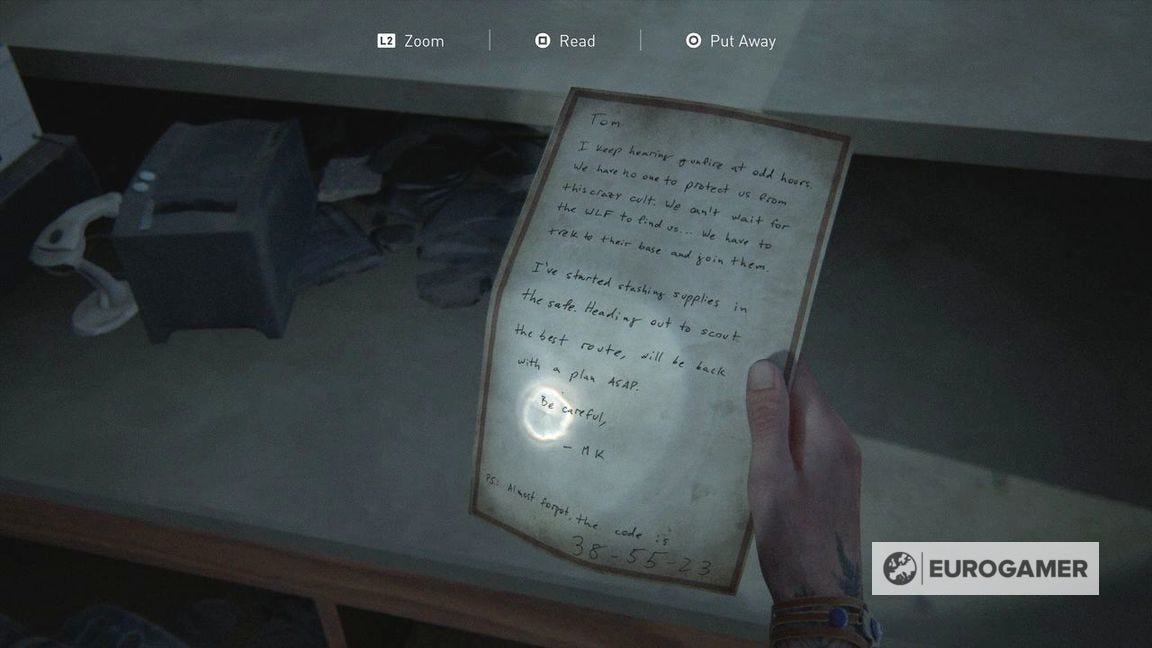
Next, grab the Pharmacy Note Artefact from behind the counter. This features a safe code - you'll need it in just a moment.
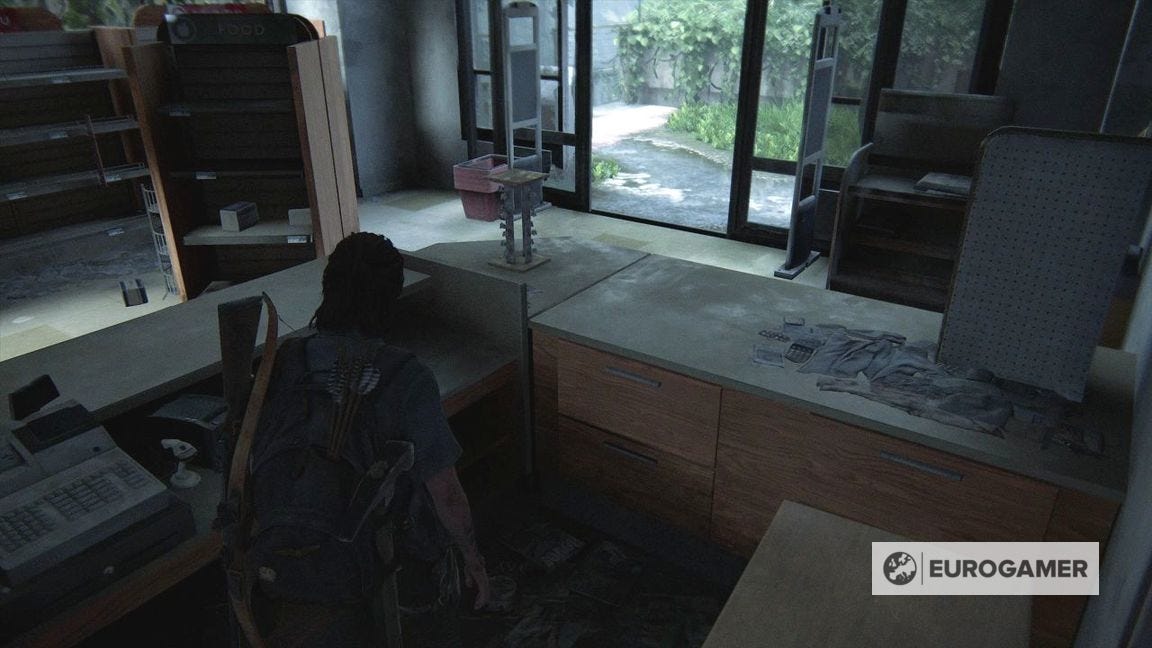
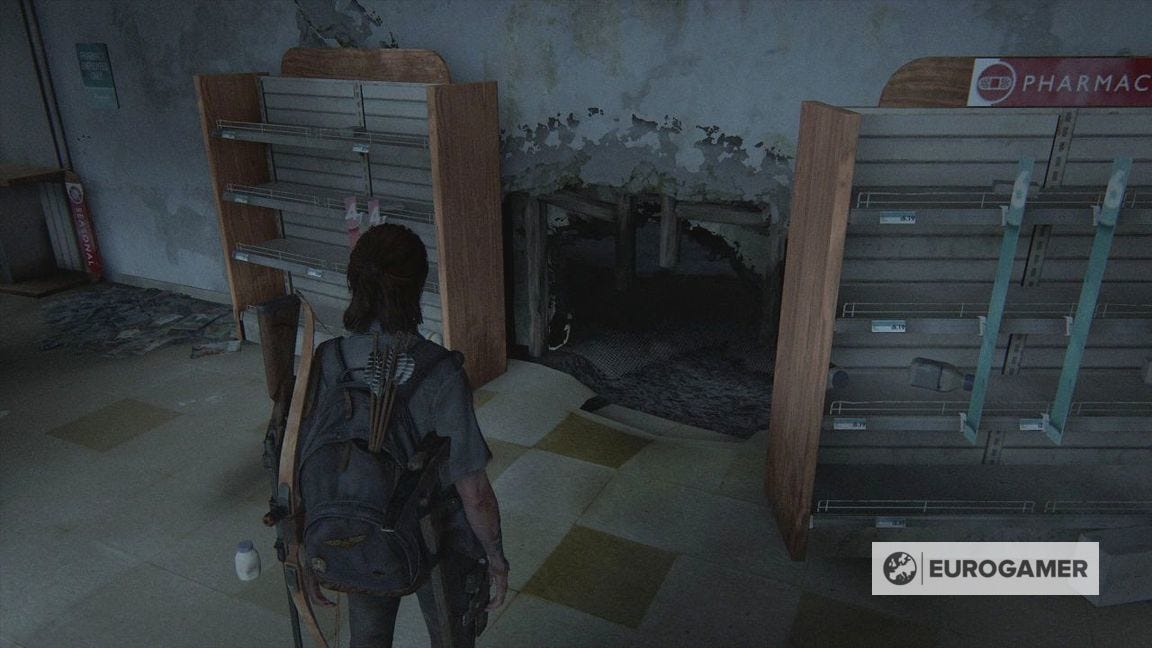
Crawl through the hole in the wall to the side to find the safe.
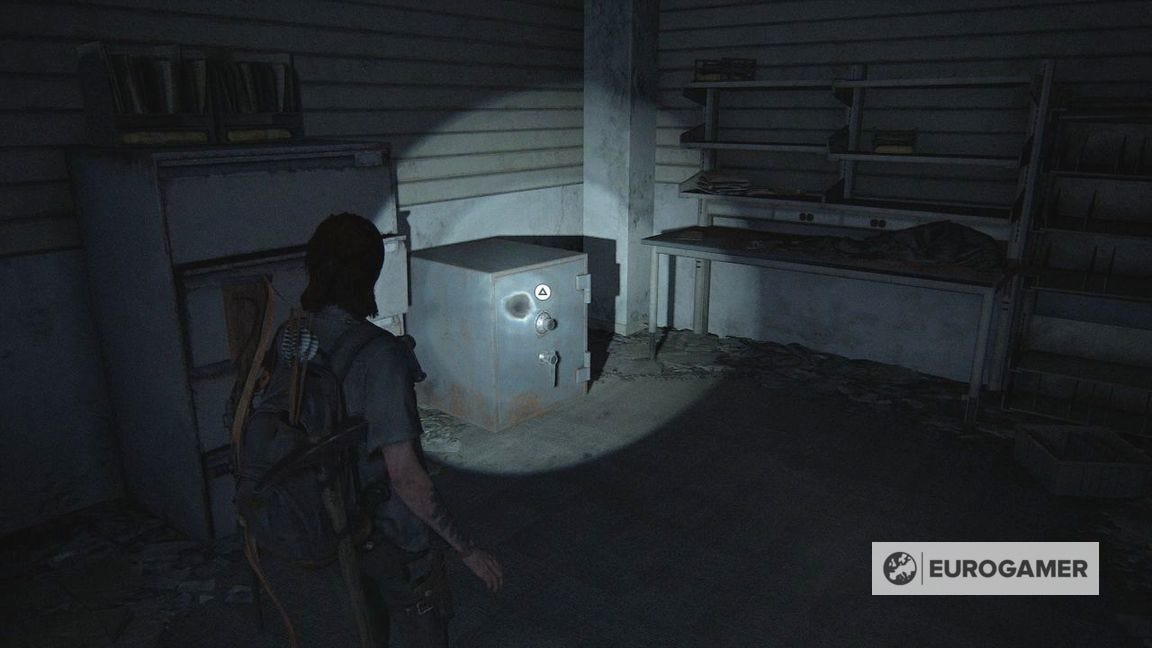
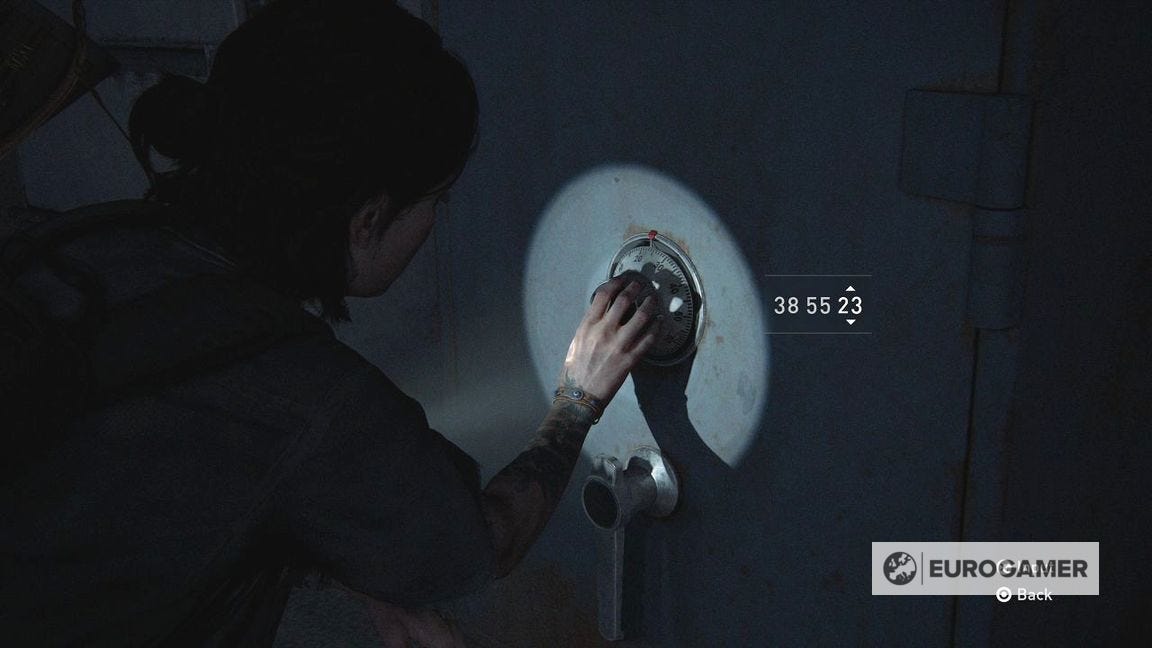
Enter safe code 38-55-23 to access various supplies within.
There's also a Workbench in this room on the other side.
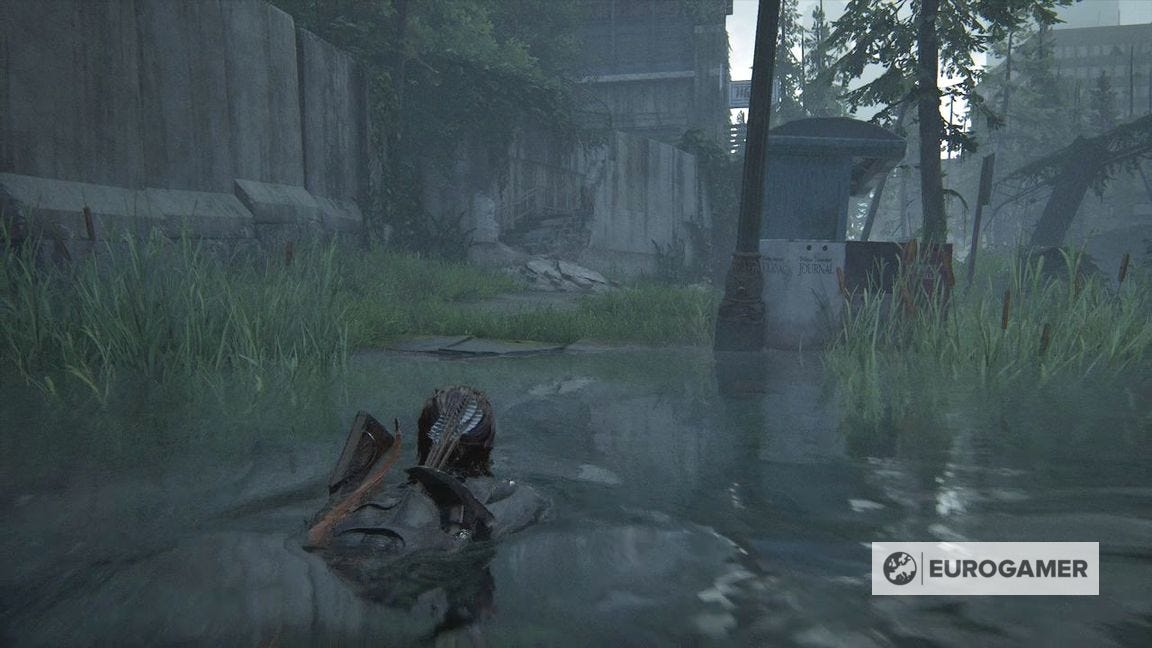
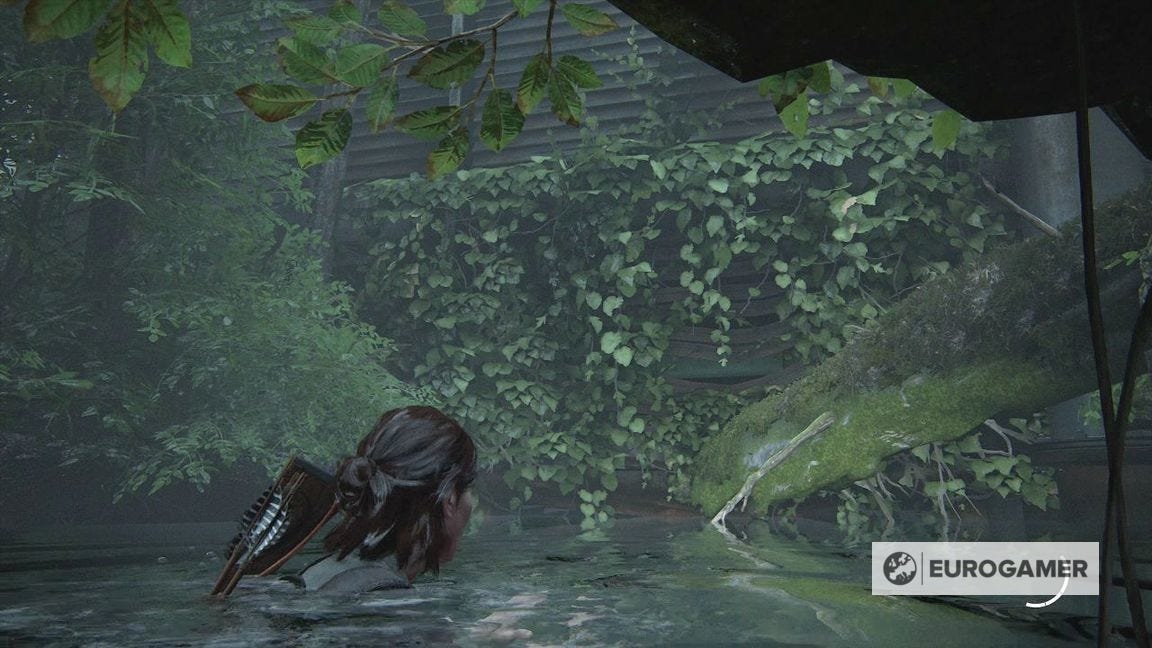
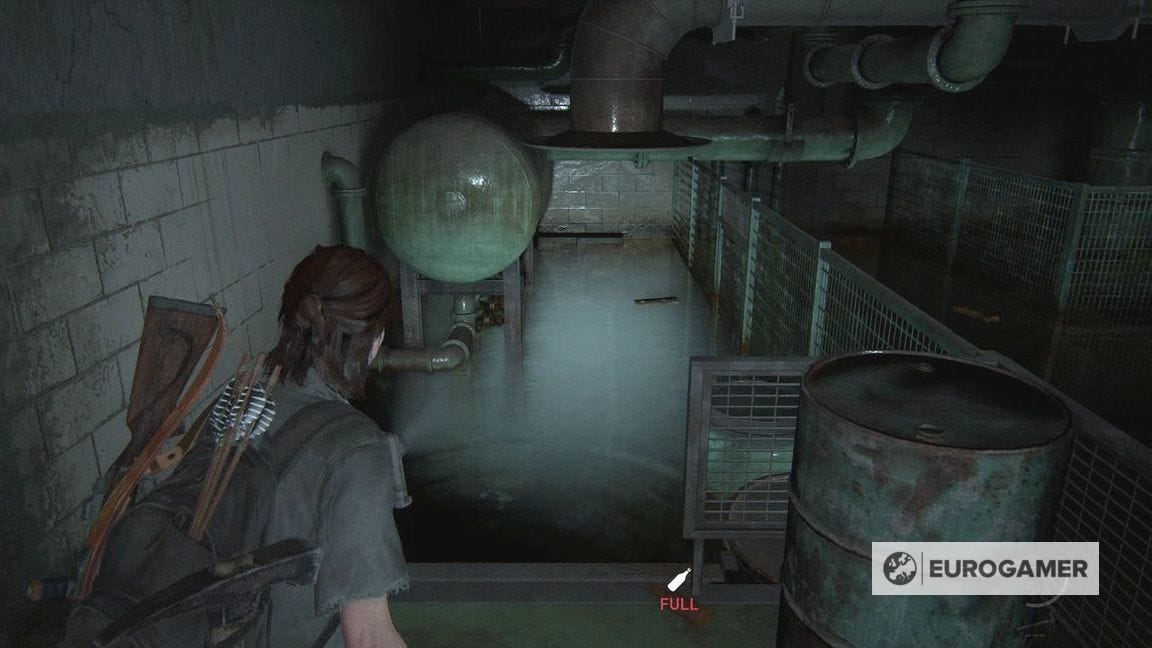
Go out the other side of the Pharmacy and down, into the water.
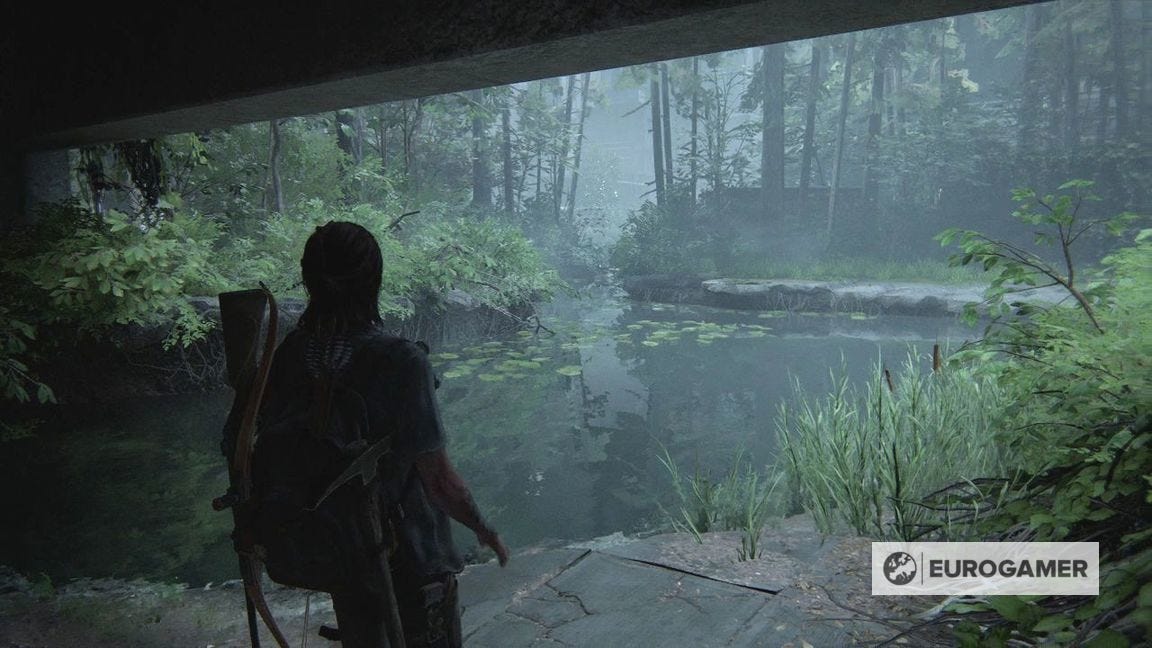
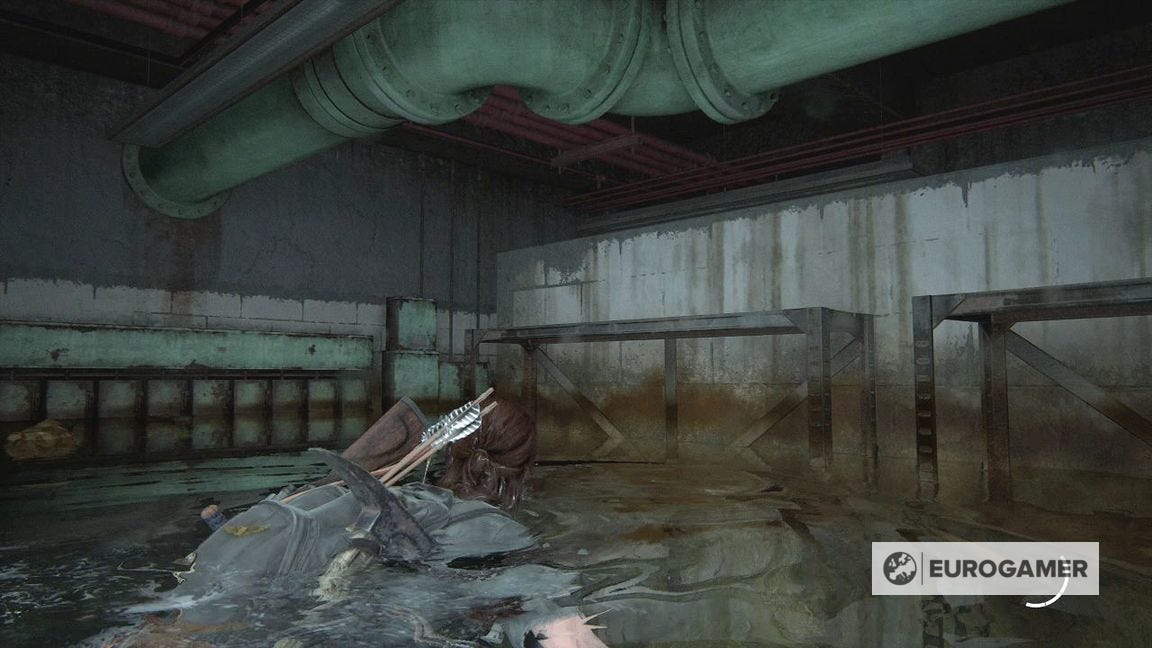
Go straight ahead. When you hear a conversation, dive under the fallen tree to your right.
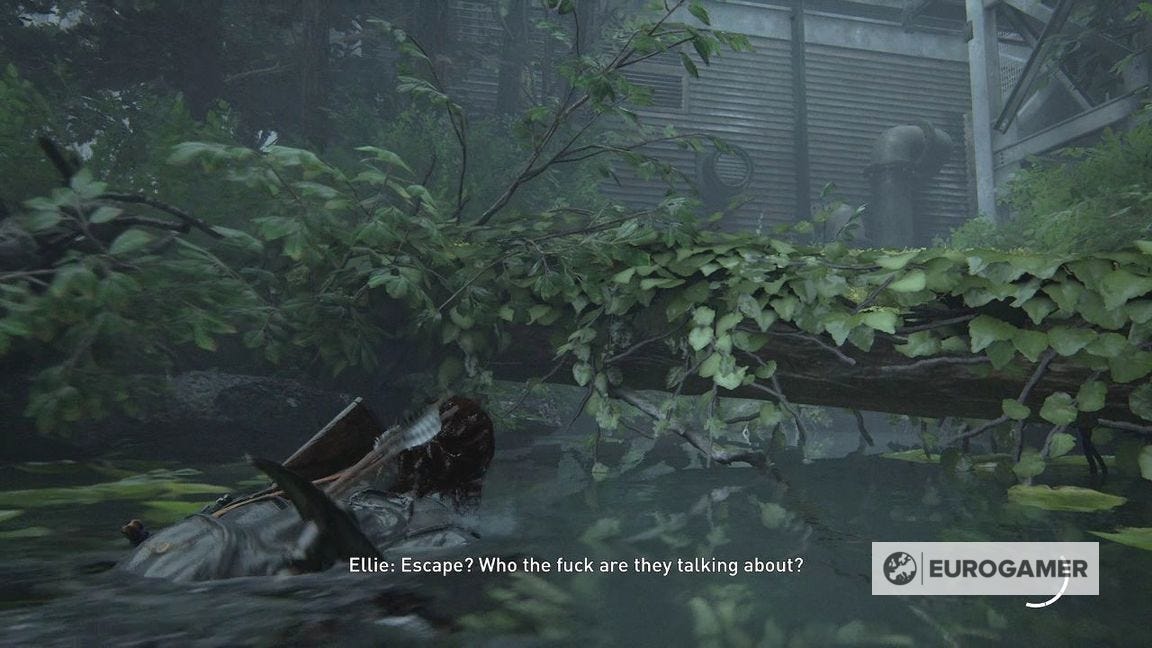
You need to dive again afterward under the wall to reach a basement area.
How to enter the Hospital in The Last of Us Part 2
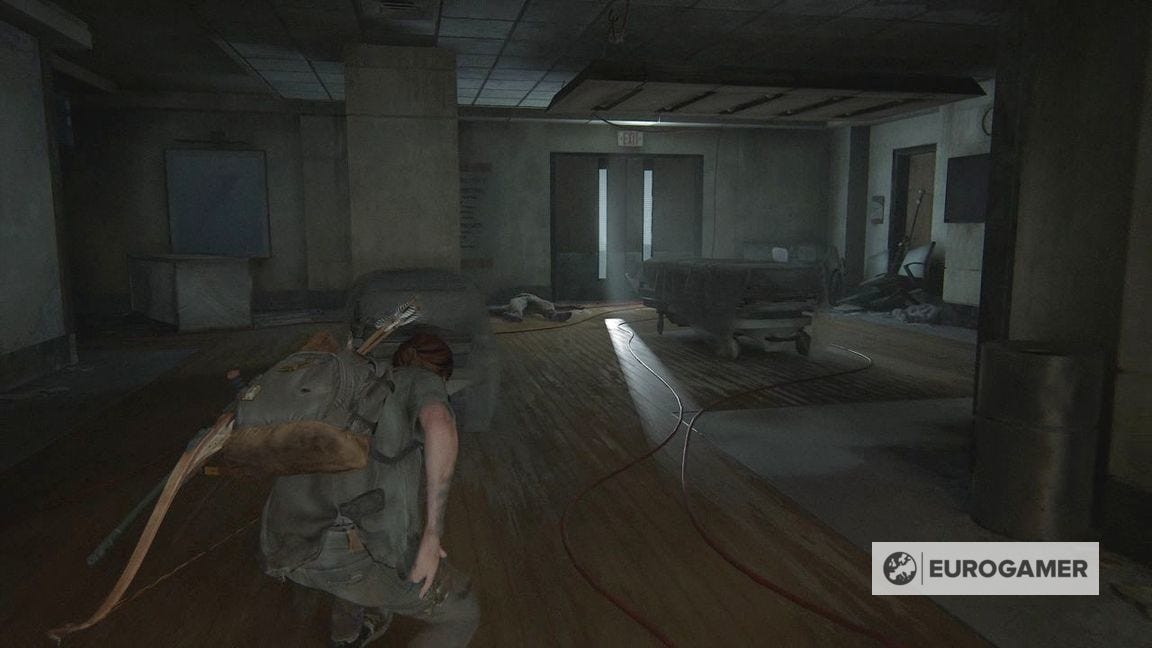
Continue going through this linear section and after the cutscene with the Vita owner, scour the area for supplies.
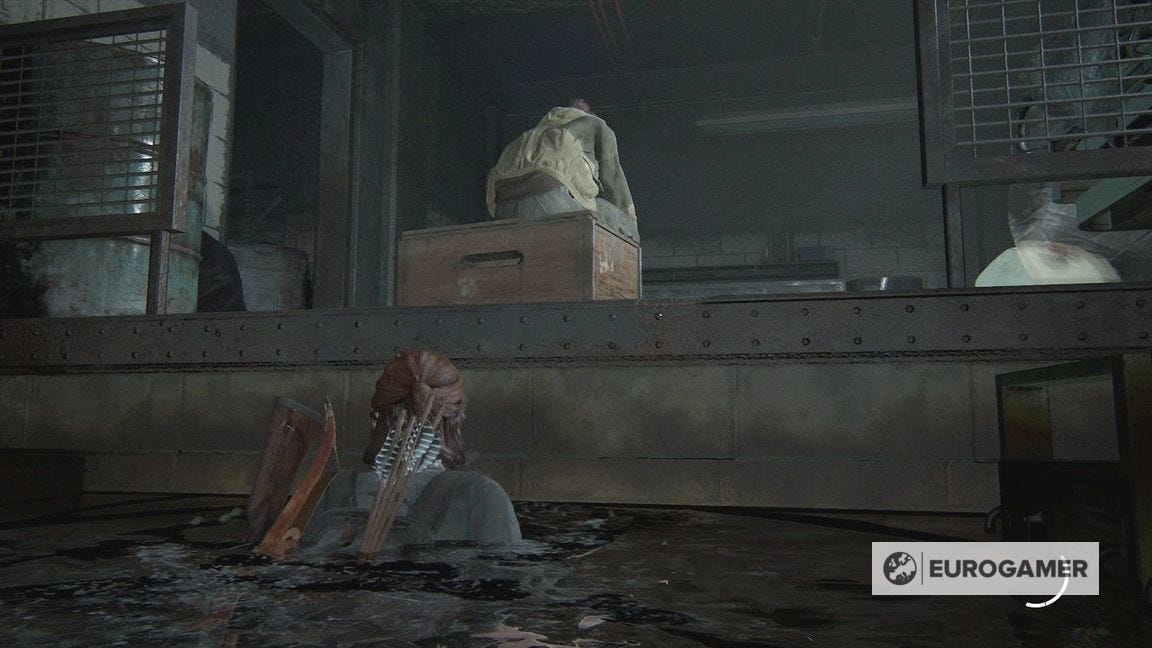
If you need a melee weapon, there's an easily missed wrench you can pick up in the corner if you dive back into the water on the other side of the fence.
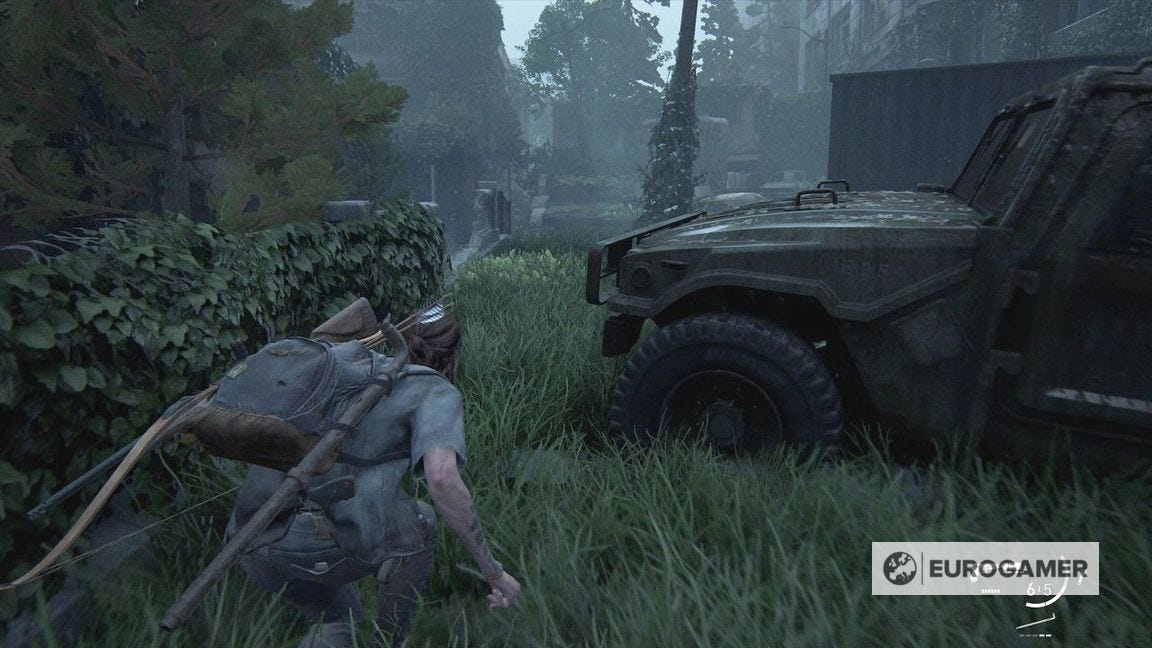
Continue on until you are outside and meet various soldiers.
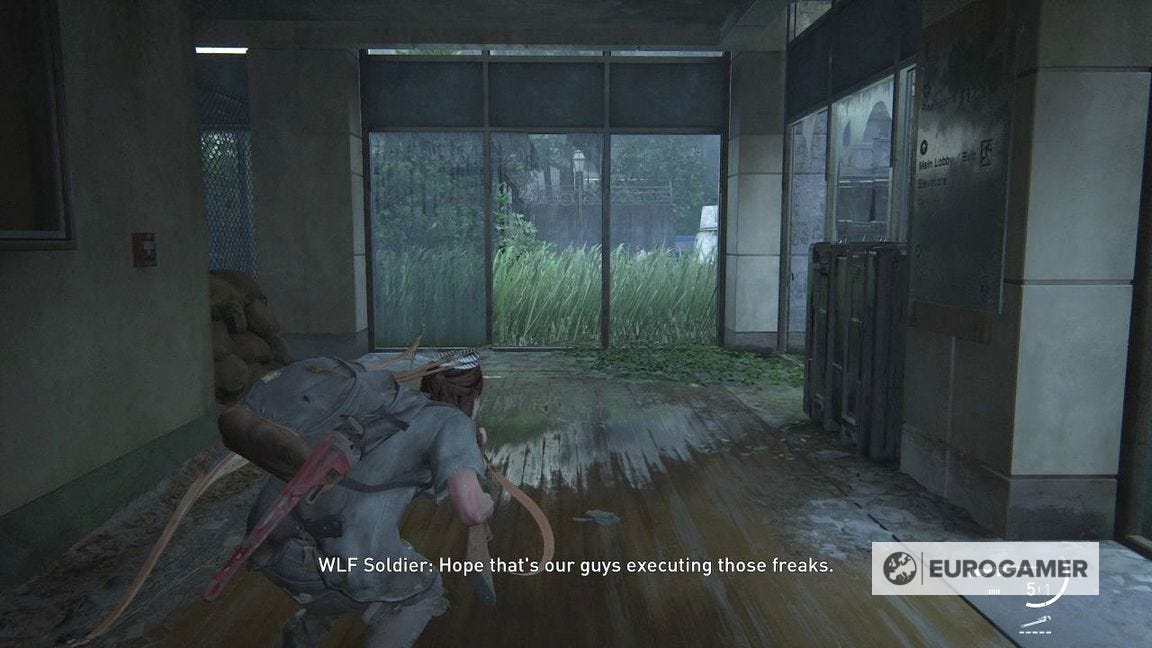
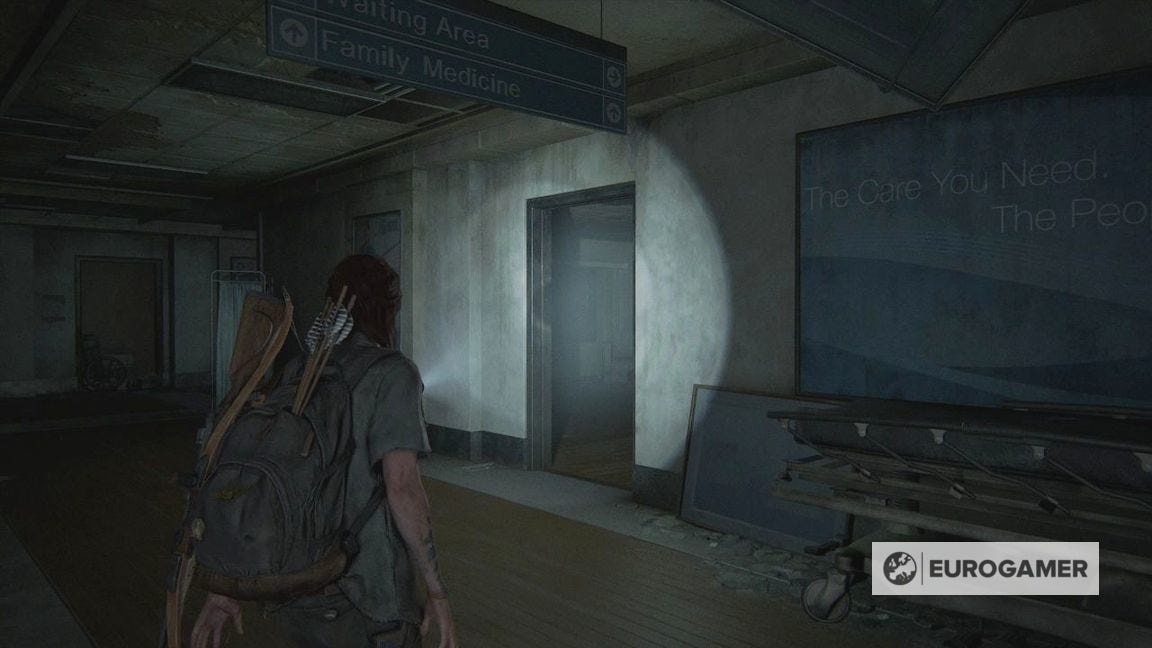
The aim here is to enter the building ahead, then make our way through the corridors in a far left direction.
We found it easiest to go right here, round the tent, through the holes in the walls and make our way through the rooms.

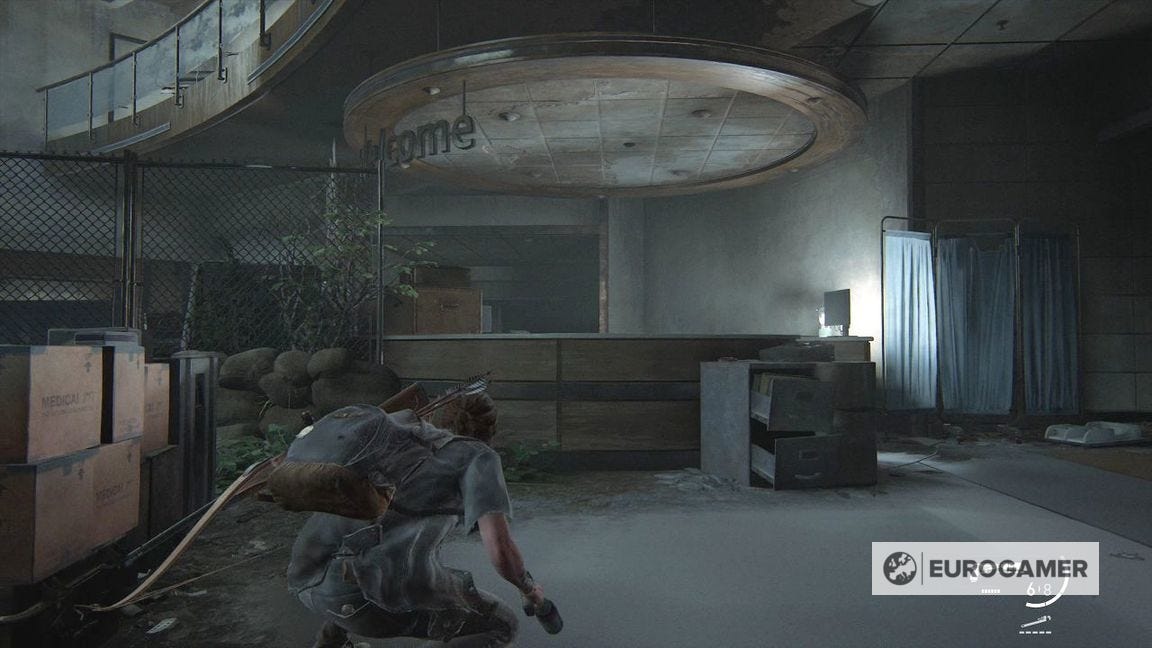
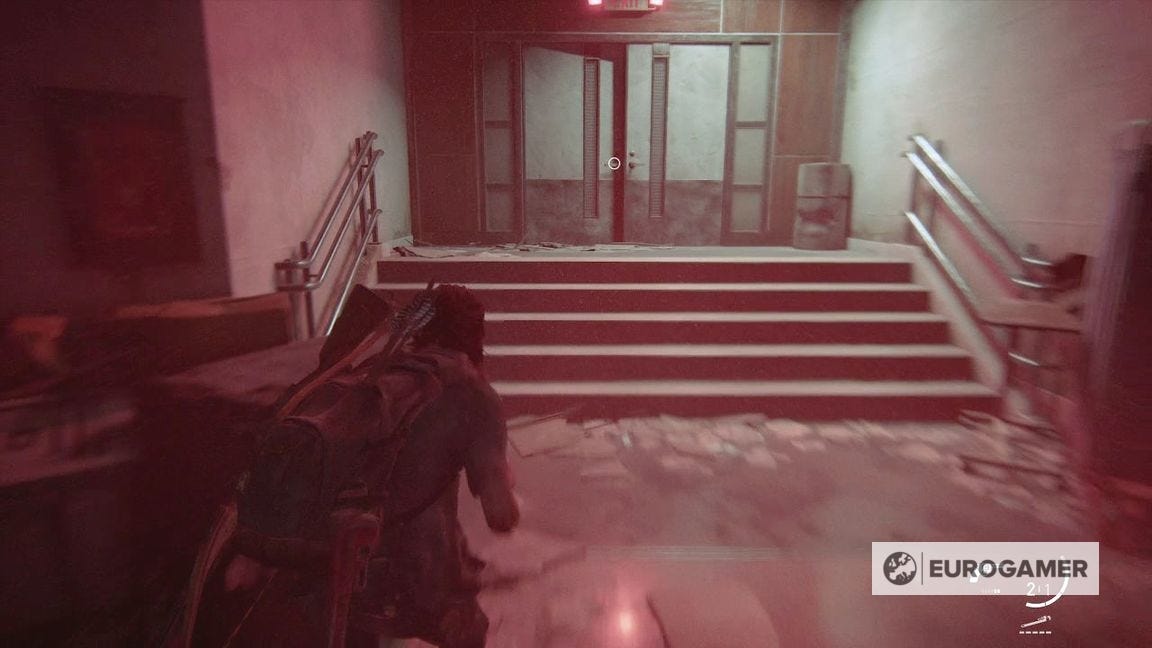
You know you're in the right direction when you come to the welcome desk.
Take the corridor here, round the corner, and at the end are double doors you can take.
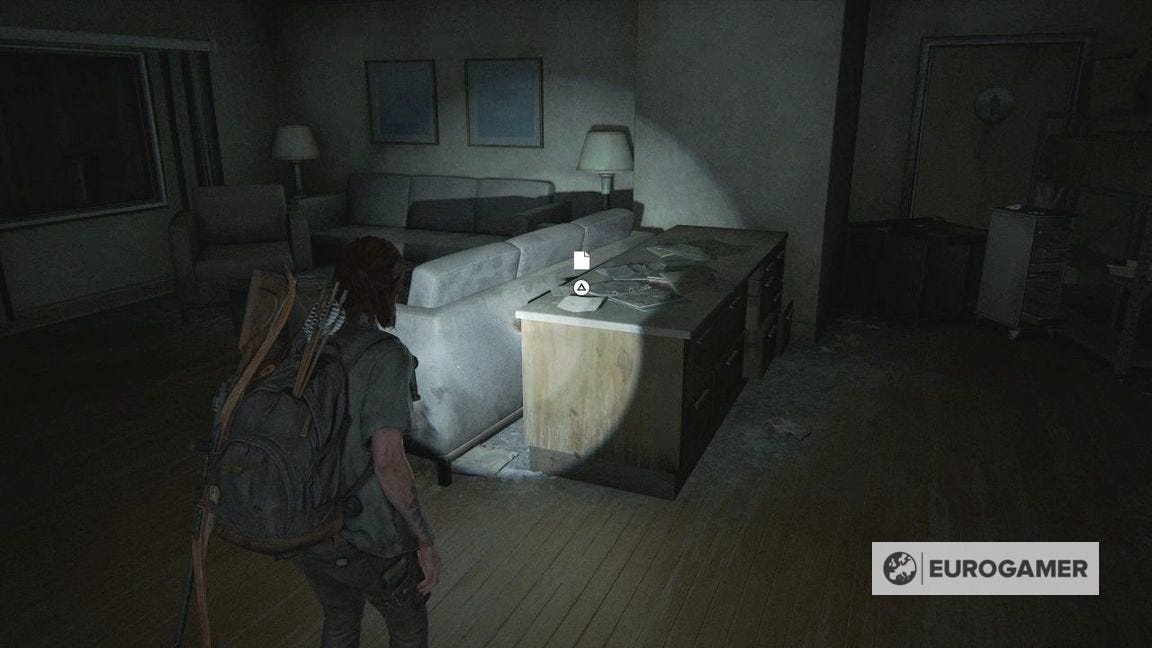
Go upstairs to the dimly lit floor. Go to the first room on your right and check the desk for the Hospital Supply List Artefact.
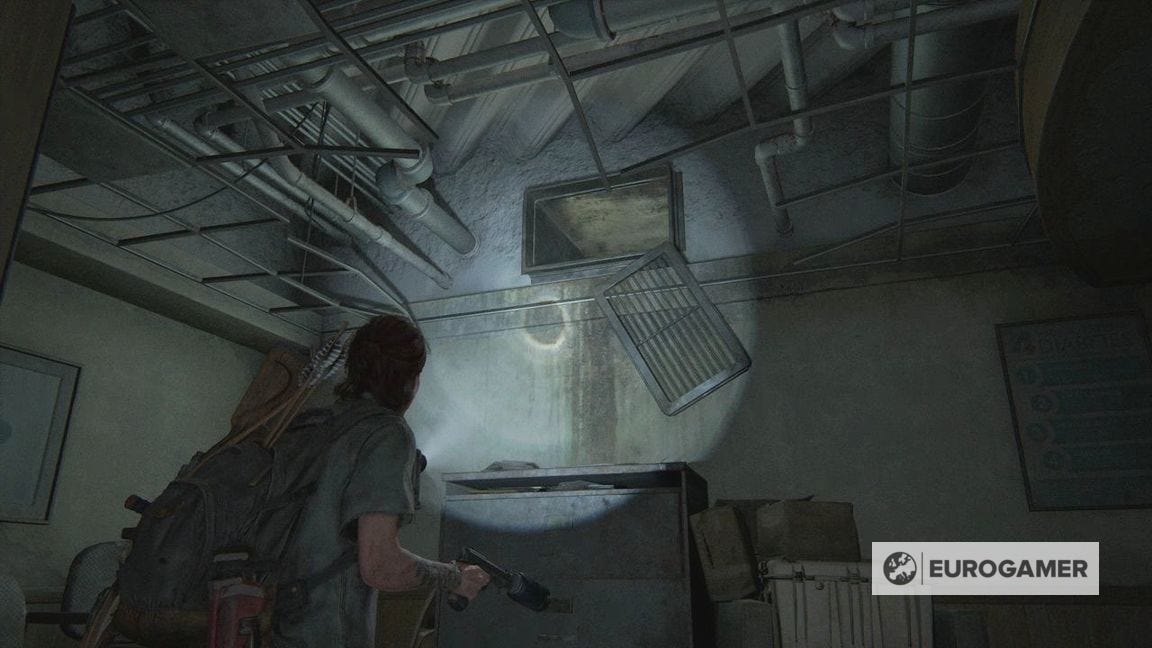
Continue round the corridor and into the room at the far left. Go through the vent then drop down the other side.
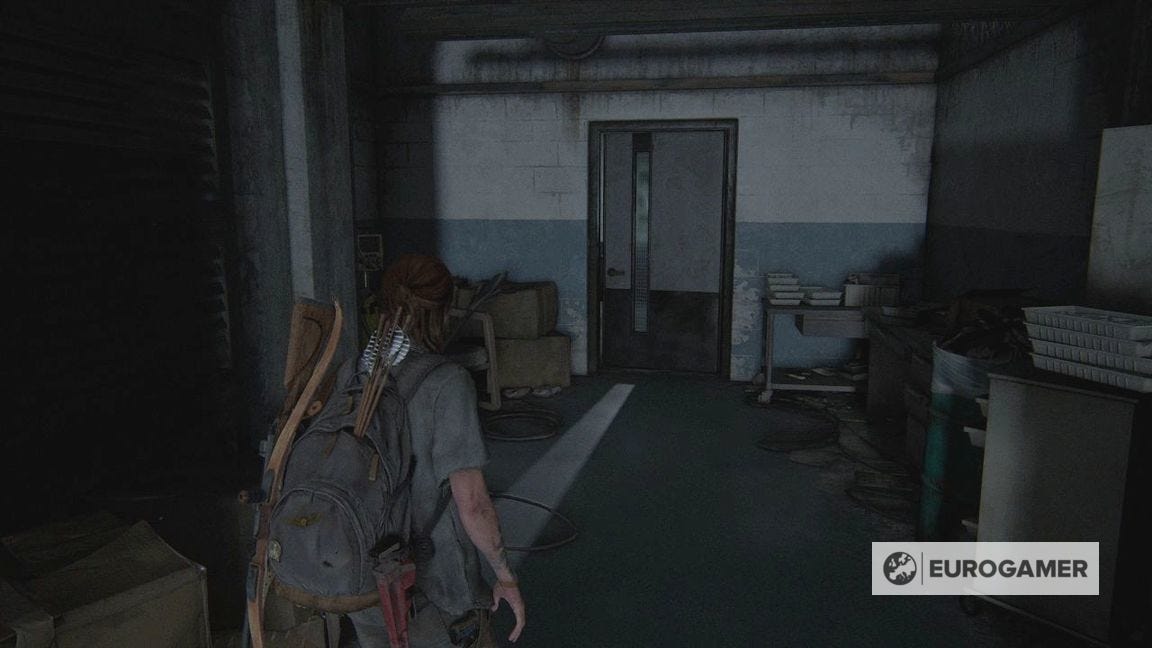
Before opening the door, there's some supplies in this corridor you can grab.
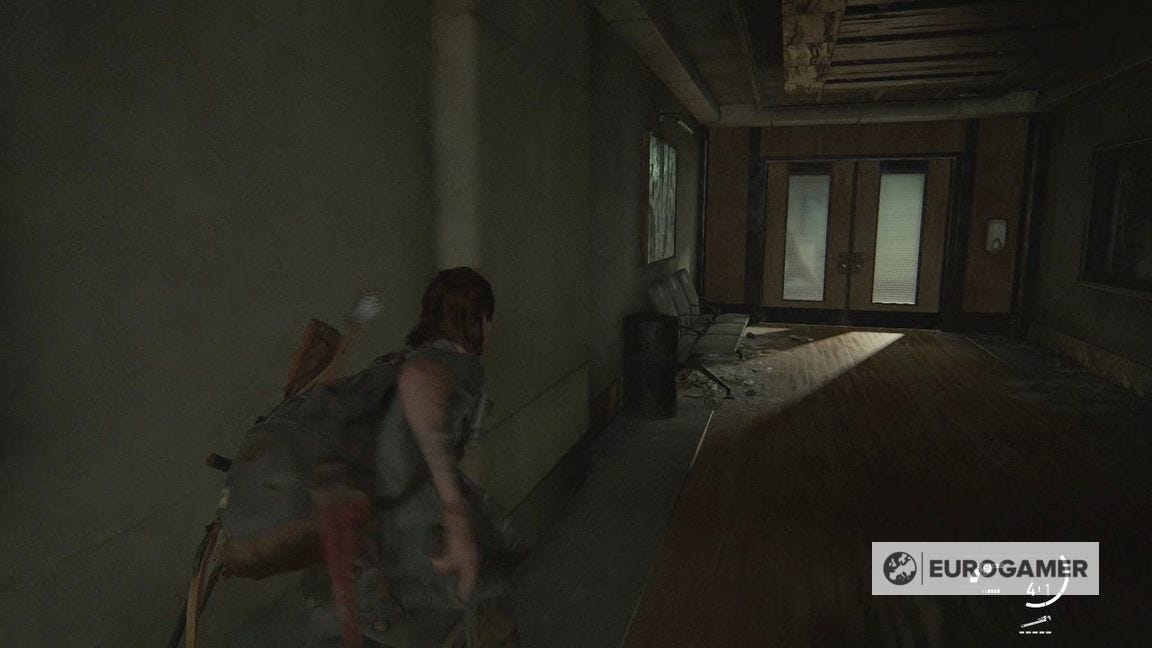
After the cutscene, give chase. It's fairly linear. Early on Nora will lock the door behind her; to continue pursuing, smash the windows to your right.
Eventually, you'll drop down into a red-tinted basement. If you fire your weapon, infected will appear and distract the soldiers.
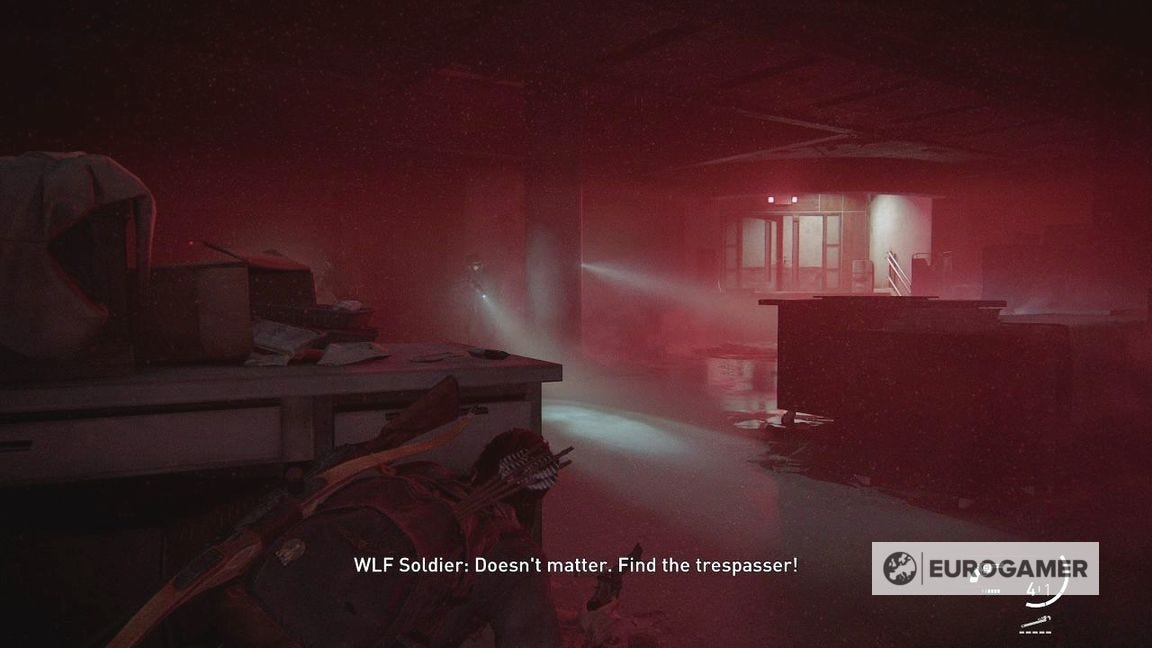
Use this opportunity to go through the doors after Nora.
Continue going a little further now to the cutscene and the end of the chapter.
Short, story-driven chapter St. Mary's Hospital is next, then Seattle Day 3 and the Road to the Aquarium follows.