The Last of Us Part 2 - The Flooded City: All items and puzzle solutions
How to complete the The Flooded City chapter and find everything along the way.

The Flooded City follows on from The Last of Us Part 2's Road to the Aquarium section.
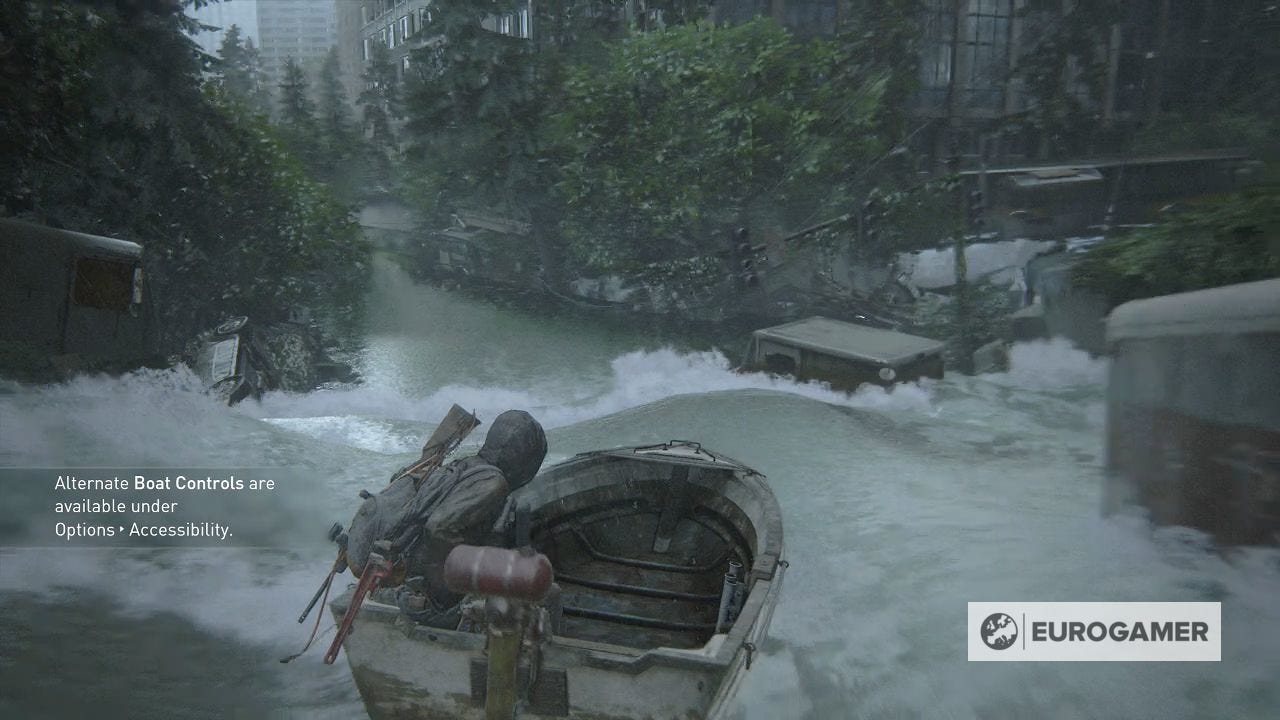
This is the second part of Seattle Day 3, and involves a semi-open area you traverse by a newly acquired boat.
There's the usual roster of easily missed items along the way - which this page explains how to find.
On this page:

Looking for help in other areas of the game? See our The Last of Us 2 walkthrough and collectibles hub.
Exploring the first building in The Flooded City
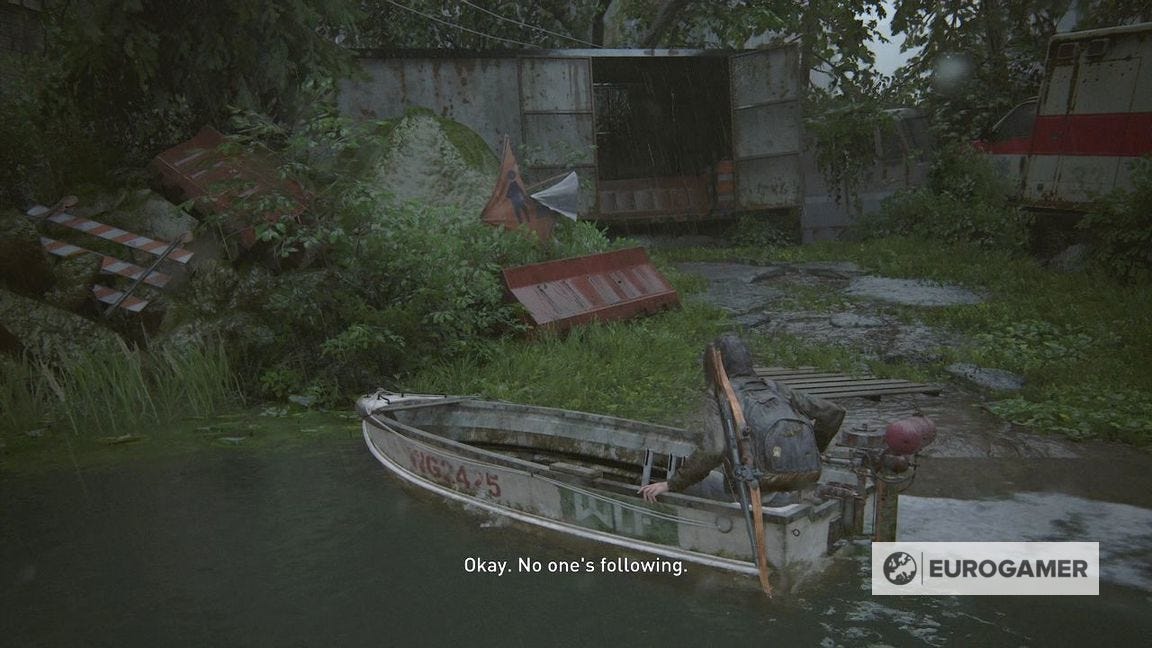
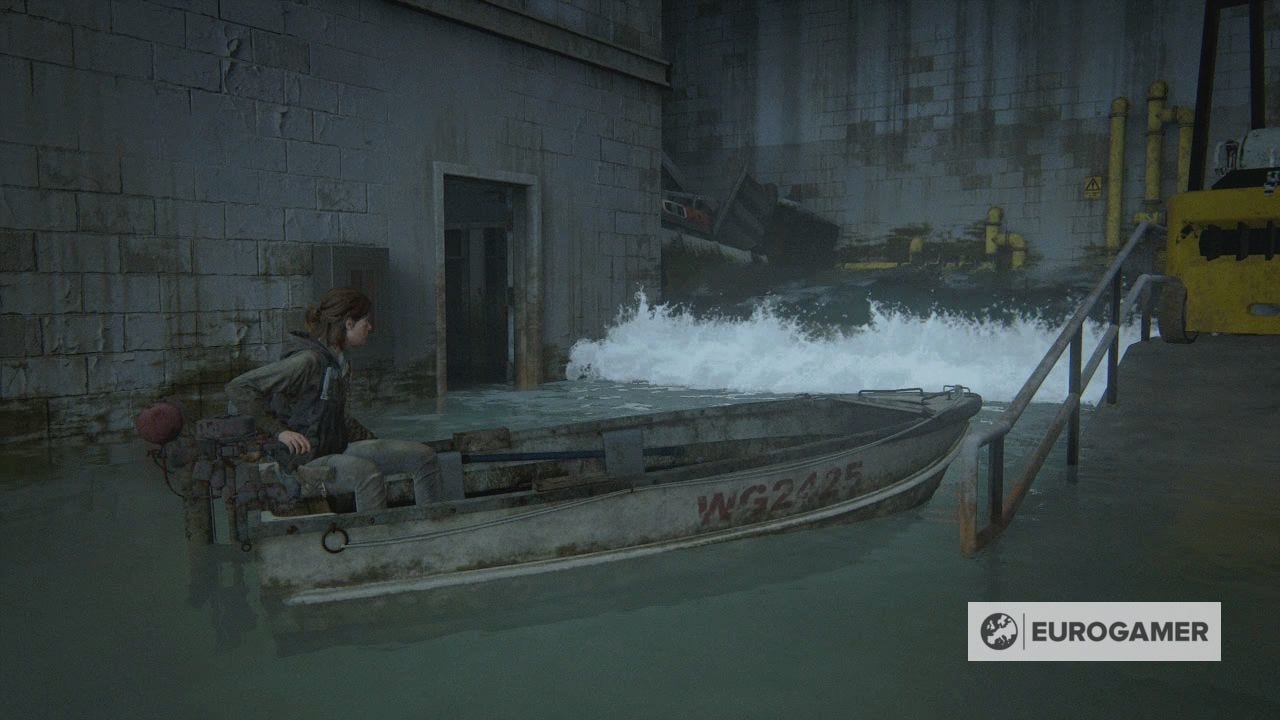
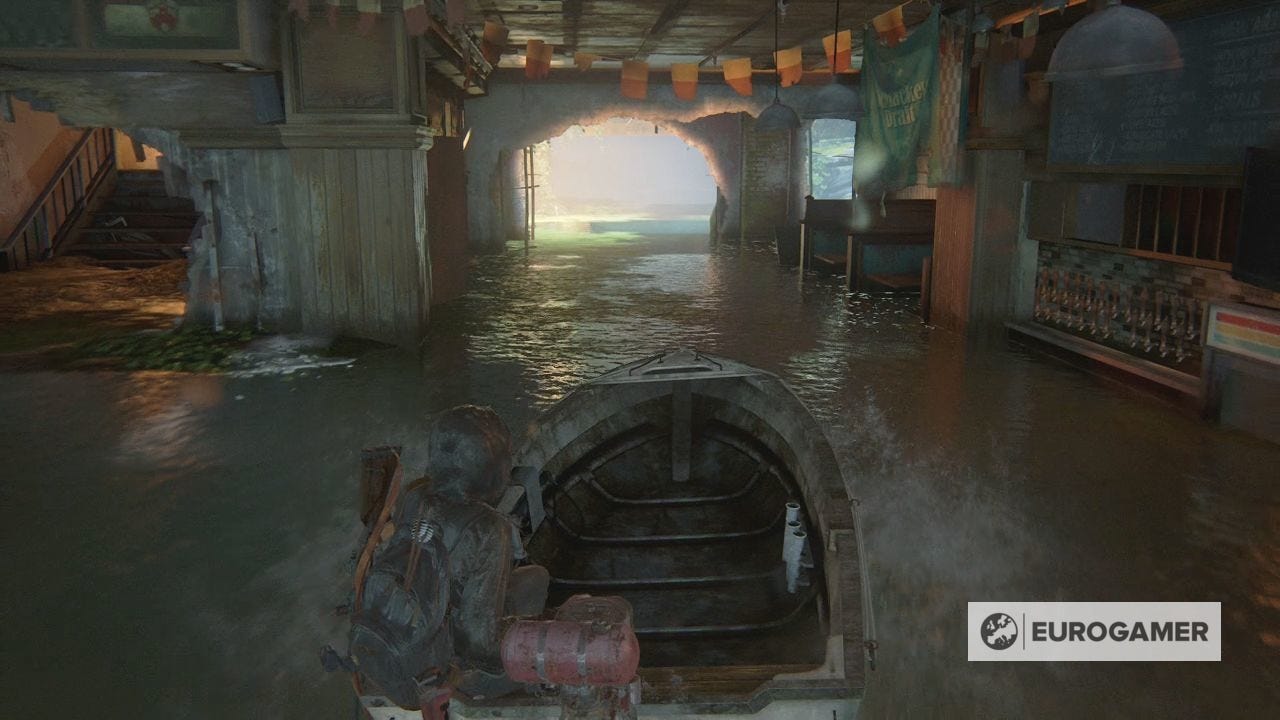
Once you leave the building with the boat in Road to the Aquarium, you'll be in a small secluded area.
You can park up on the right bank and explore the lorry for supplies.
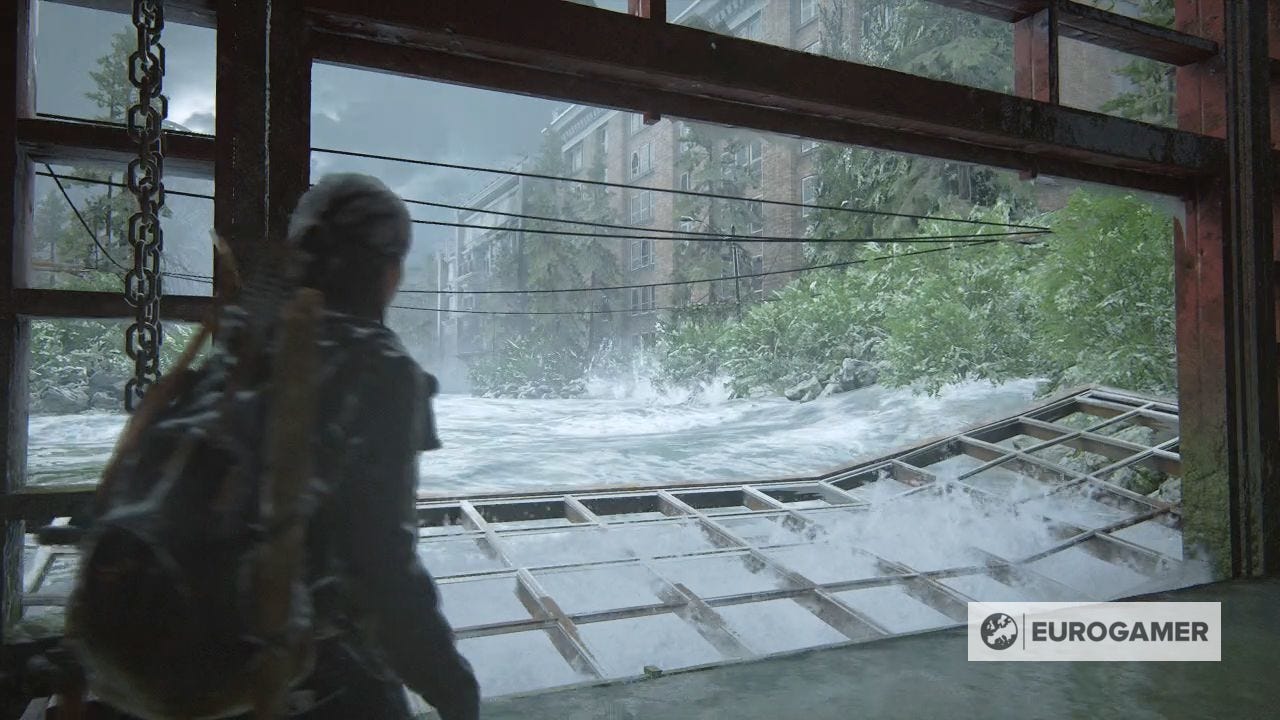
To proceed, find the partly submerged fence in the water, and drive over it.
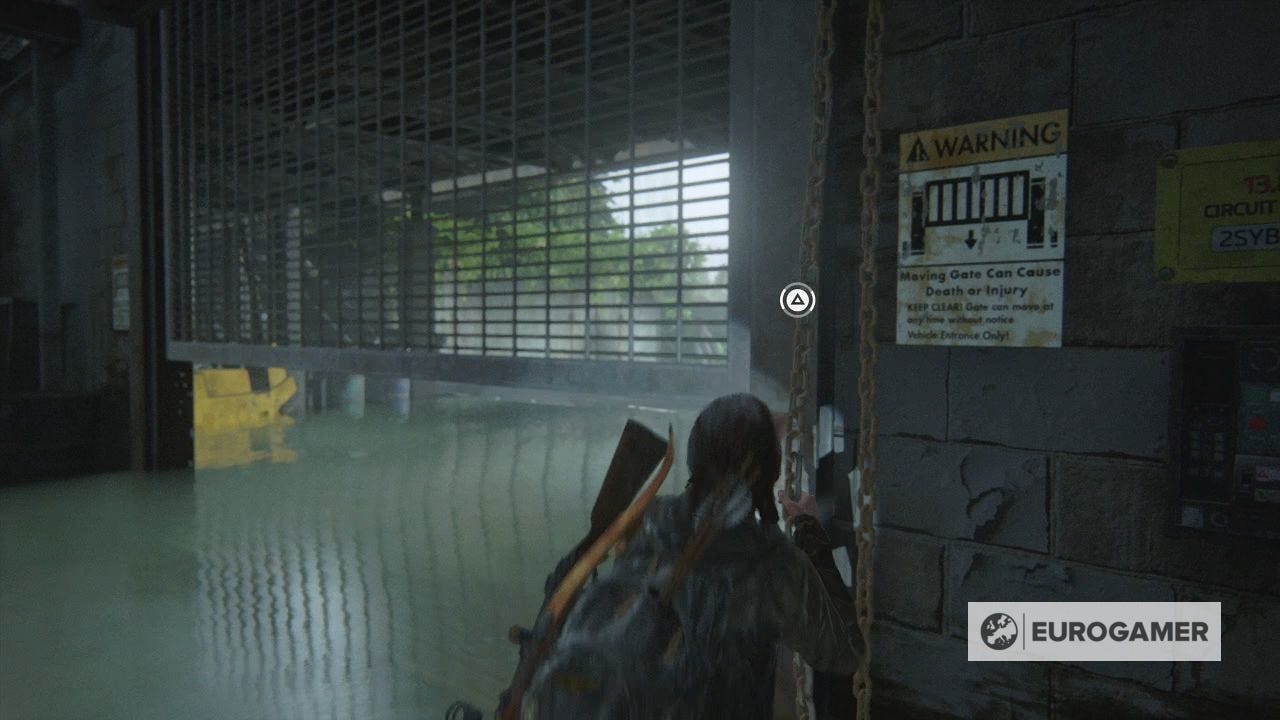
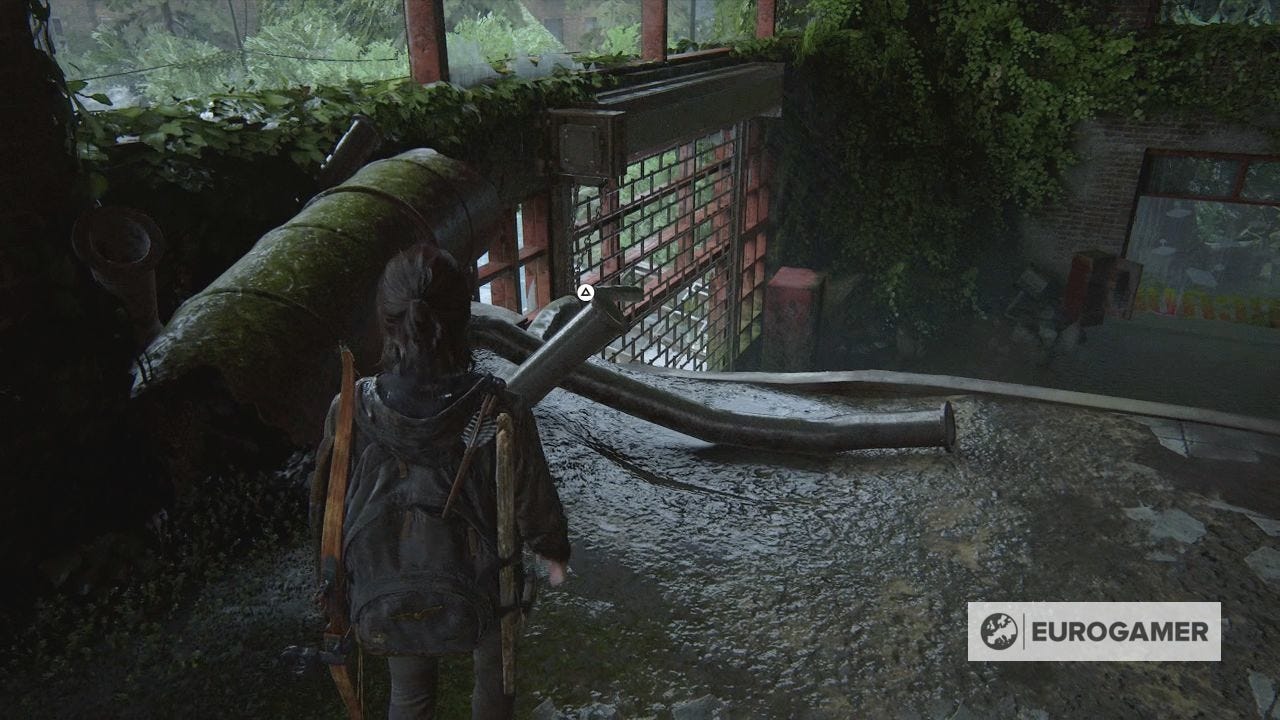
Go through the building until you need to you're forced to stop by a gate.
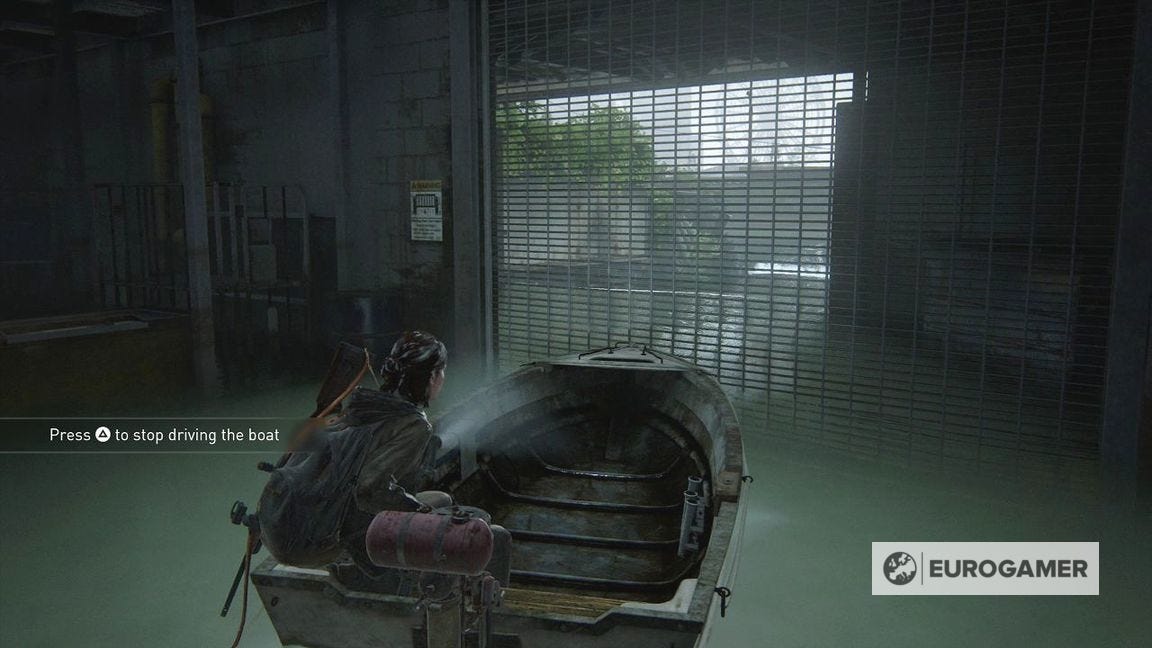
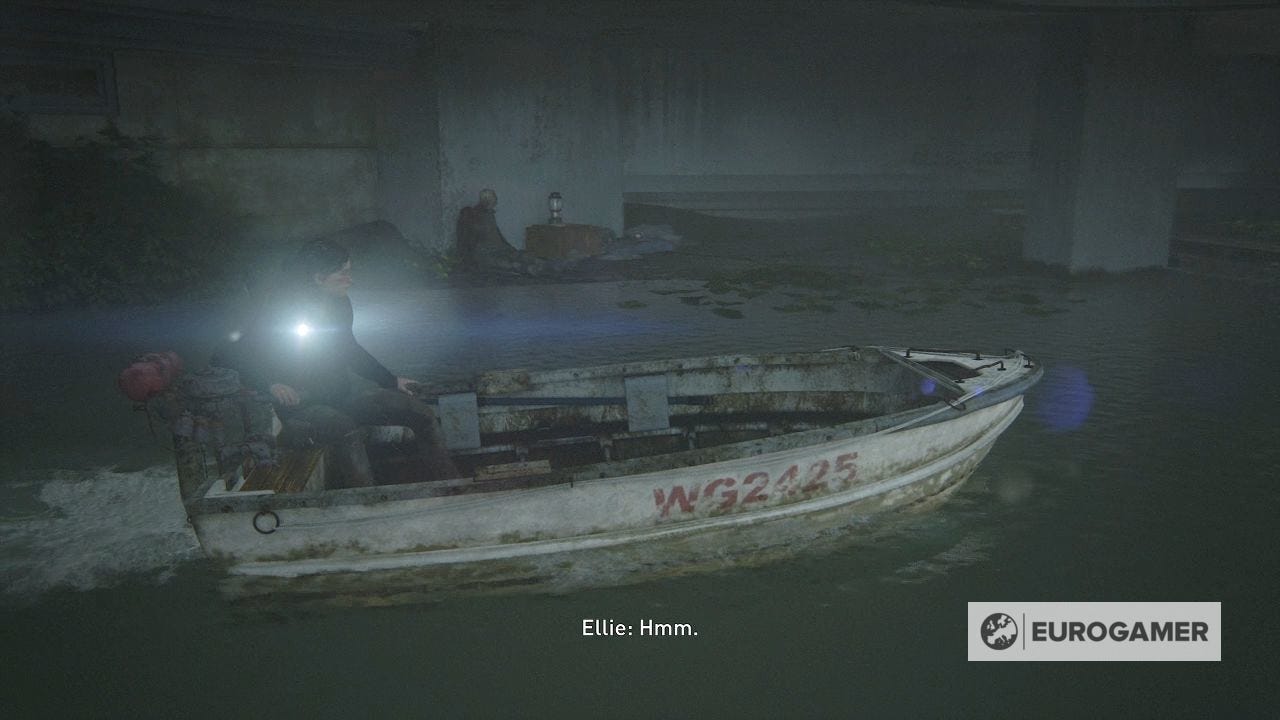
You can open the gate with the chains to the right, but there's a bunch of items to find here. Get off your boat by pressing the Triangle button to begin exploring.
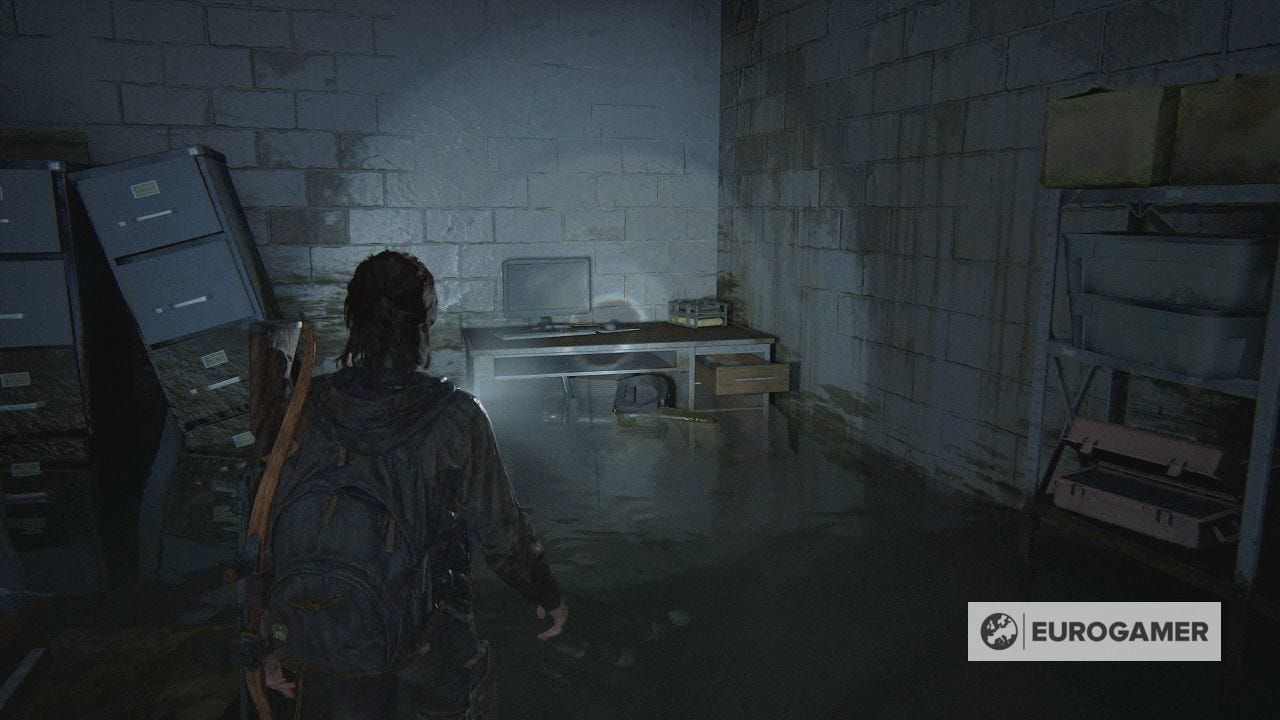
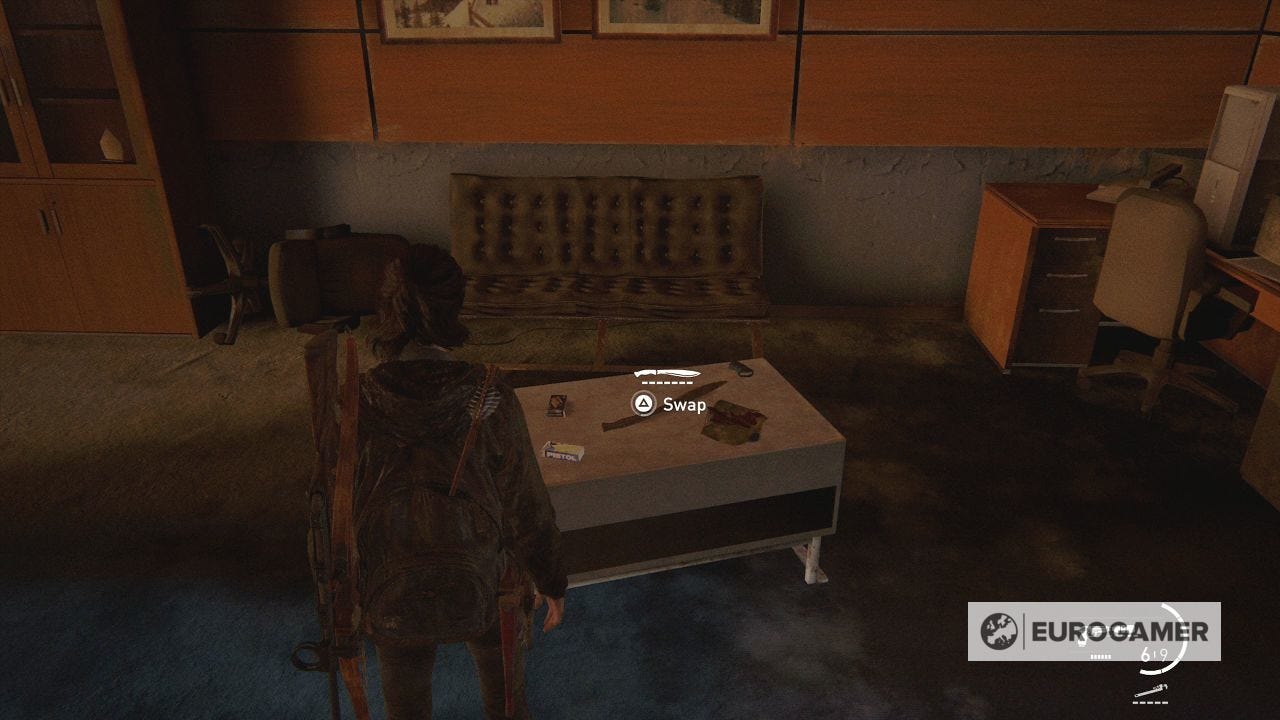
First, go back to where the water drops down, and there's a doorway on the left.
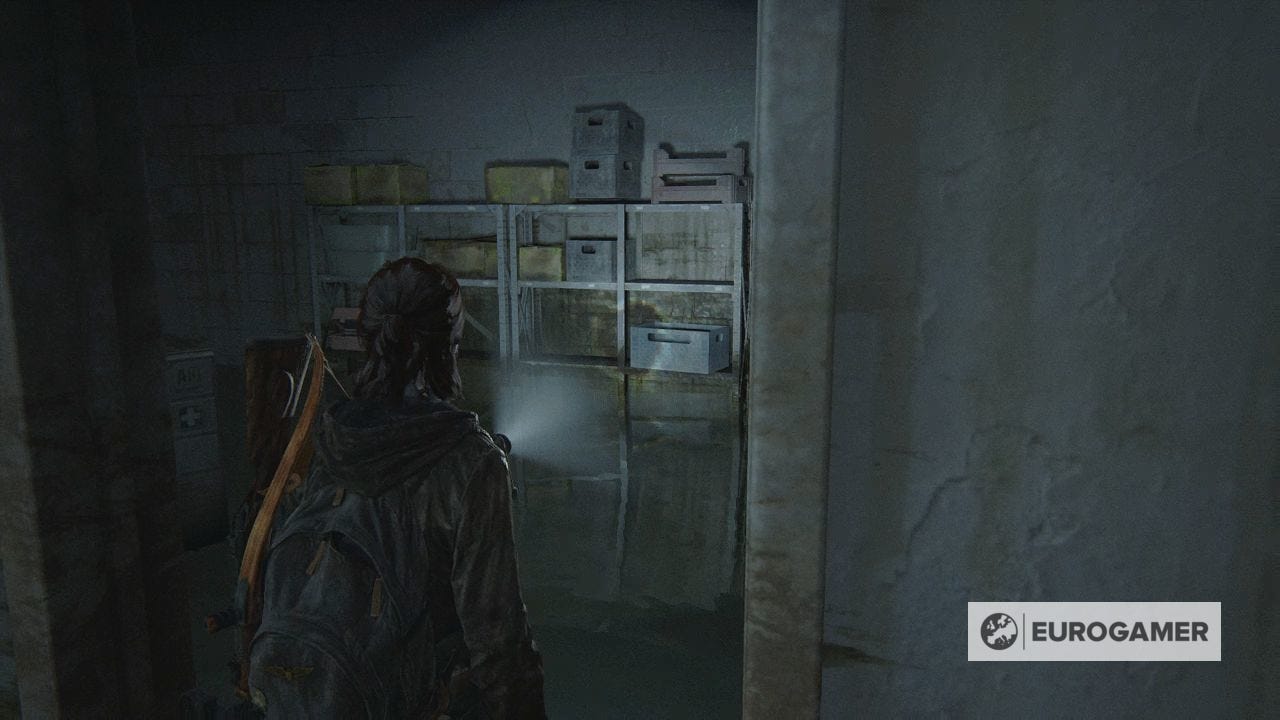
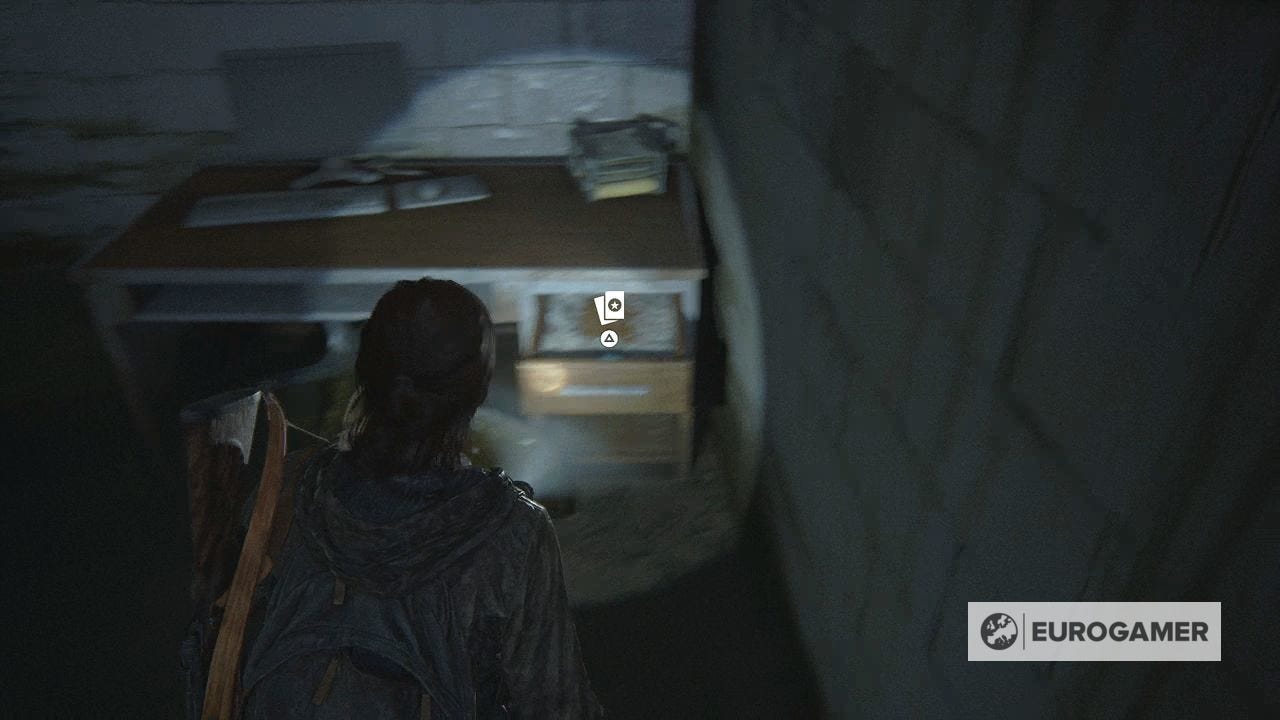
There are various supplies here, including the Seff-L'ho'pid Trading Card in the corner desk drawer.
Next, go to the gate, up the stairs, and into the room.

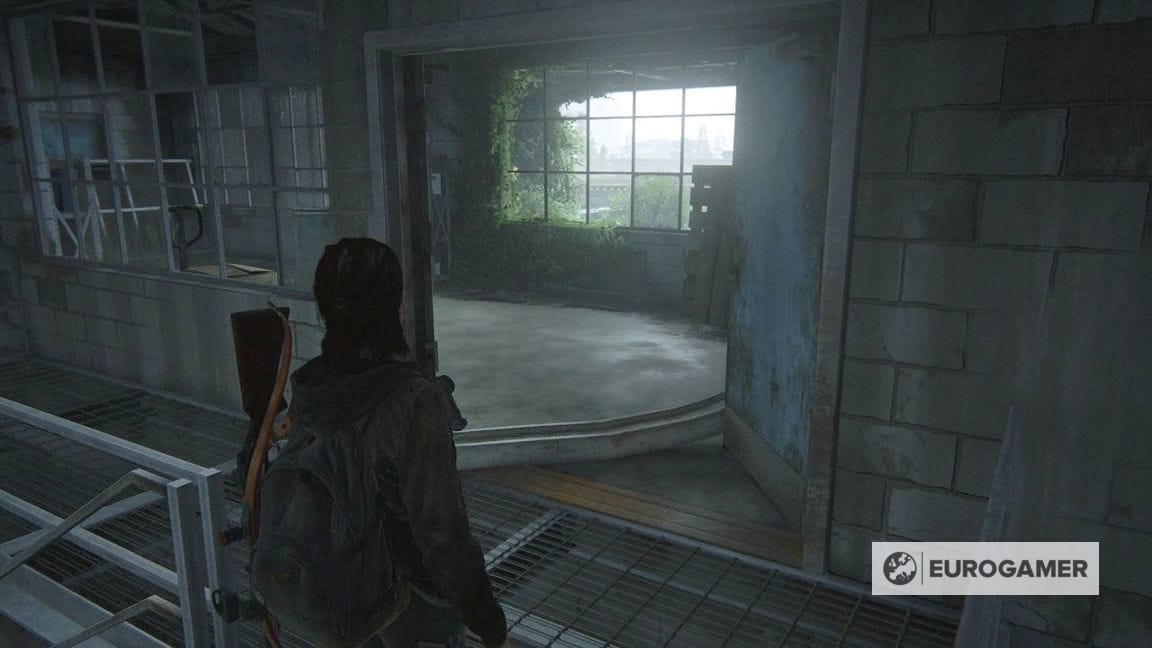
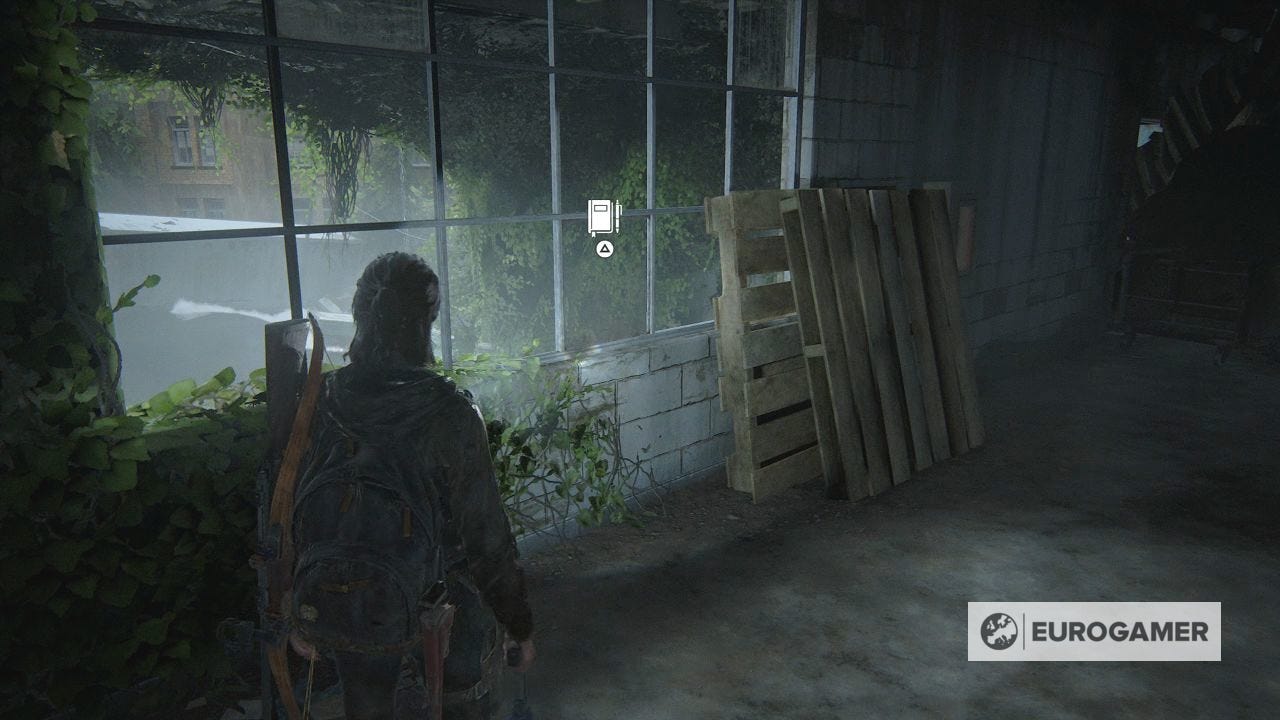
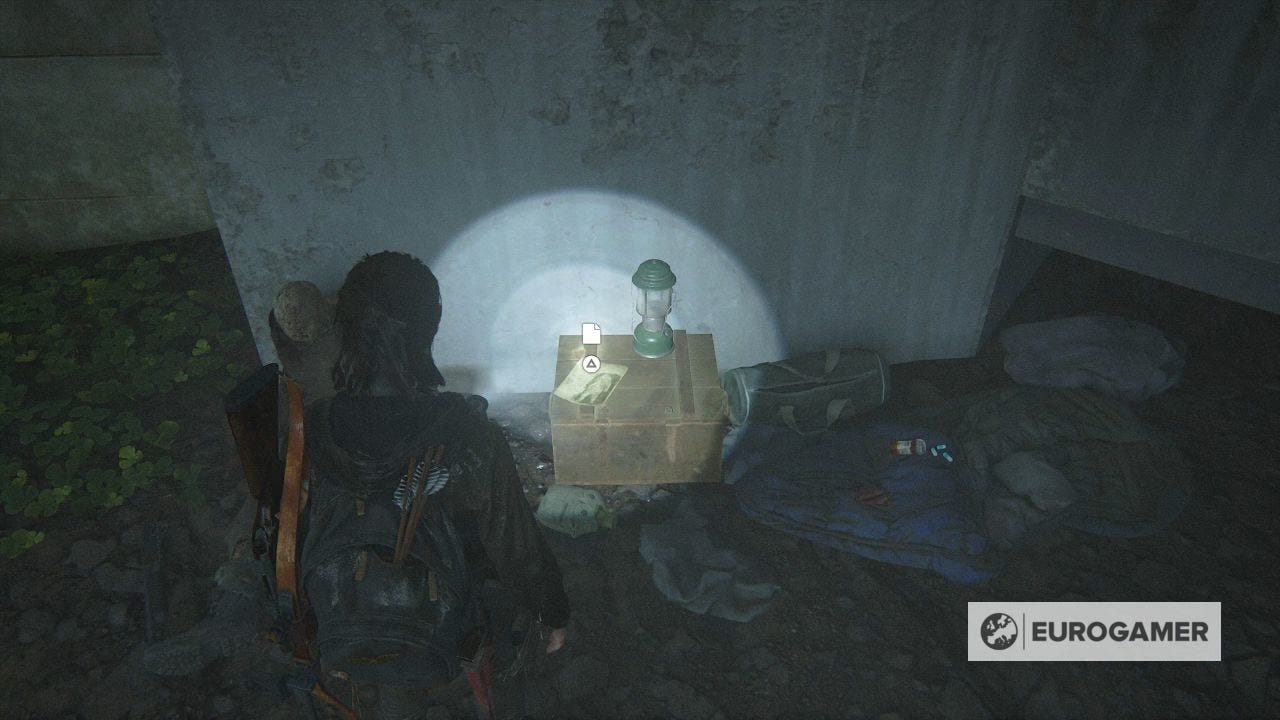
There's a Journal Entry by the window.
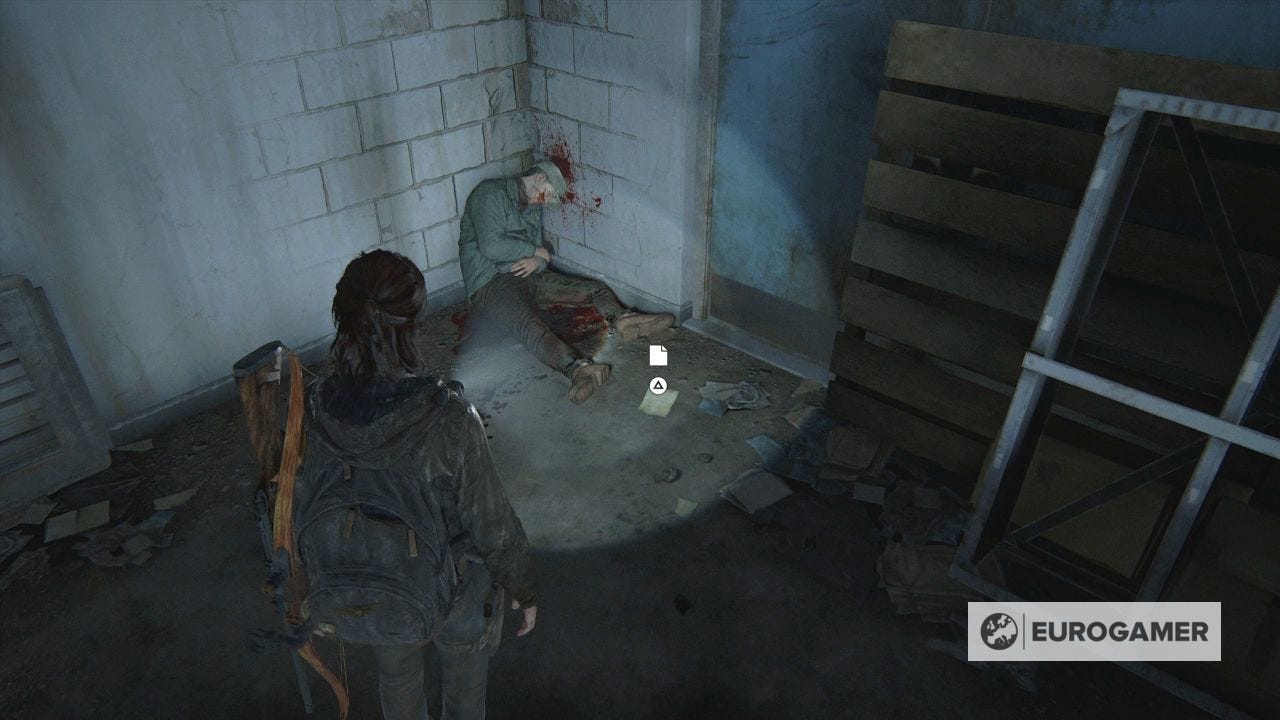
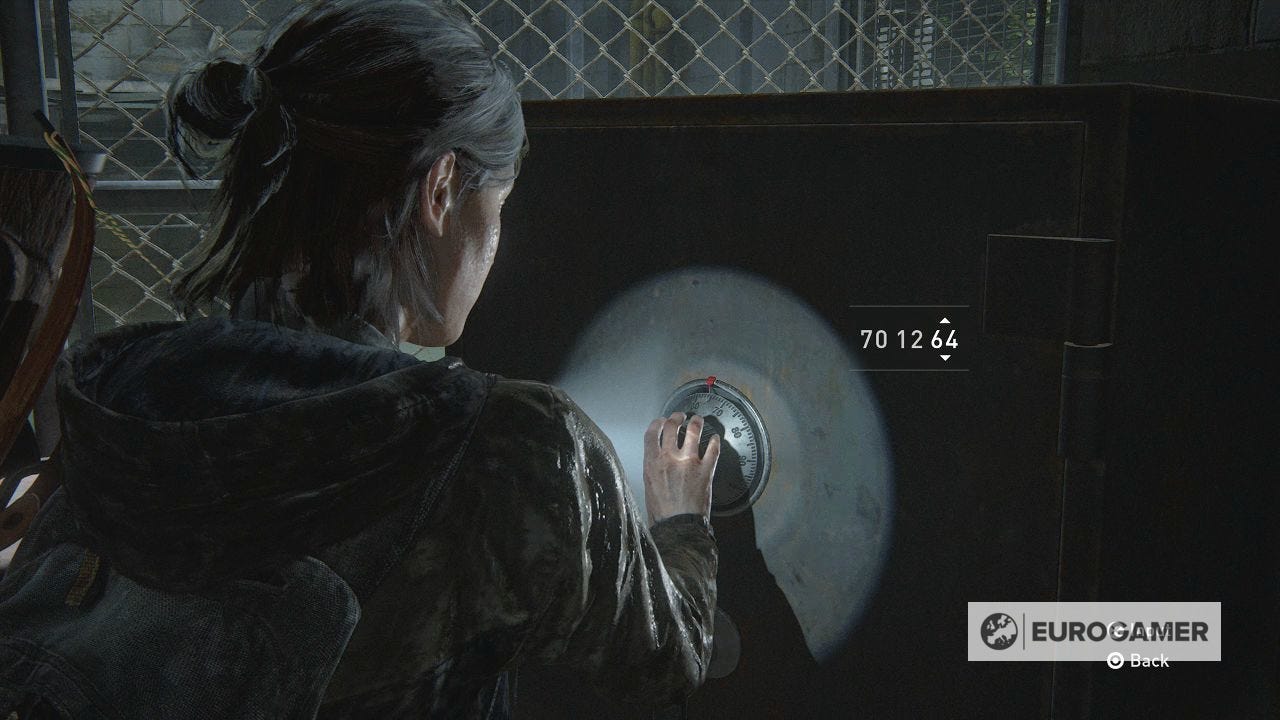
Next, investigate the corpse in the corner for the Stash Note Artefact. You learn a safe code - 70-12-64. You'll be needing it in just a moment
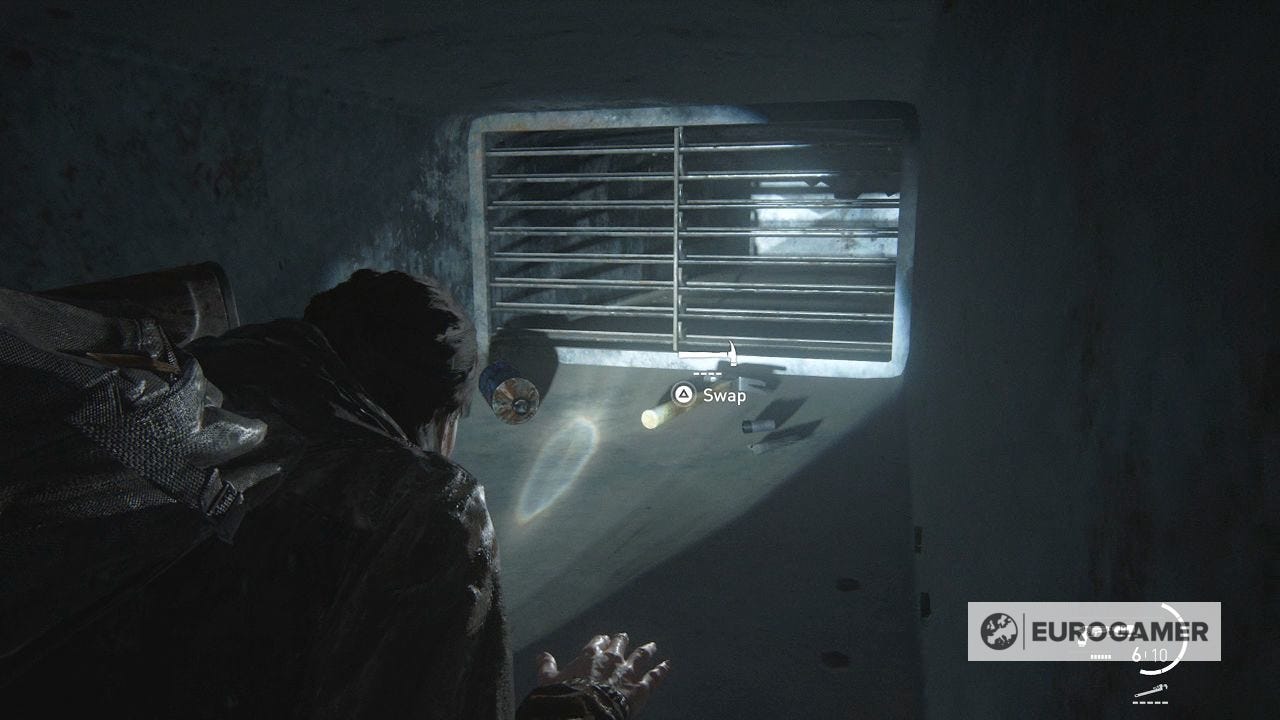
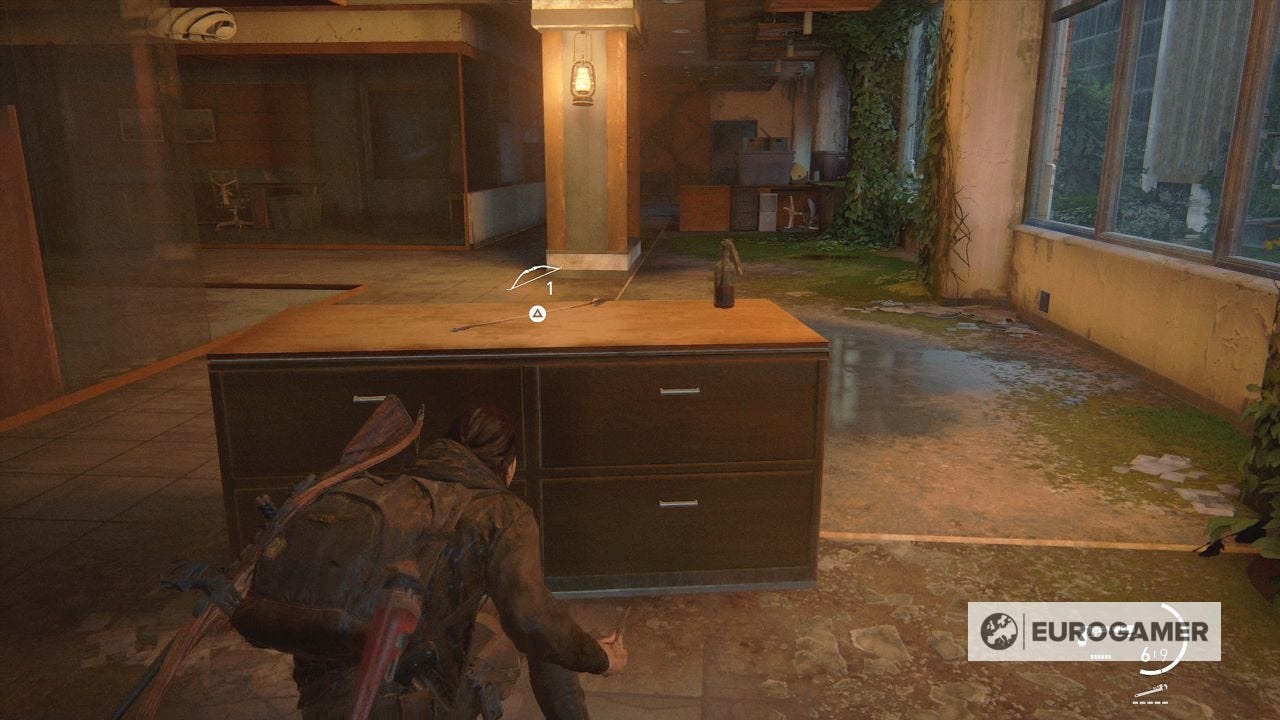
Next, there's a trolley in the far corner.
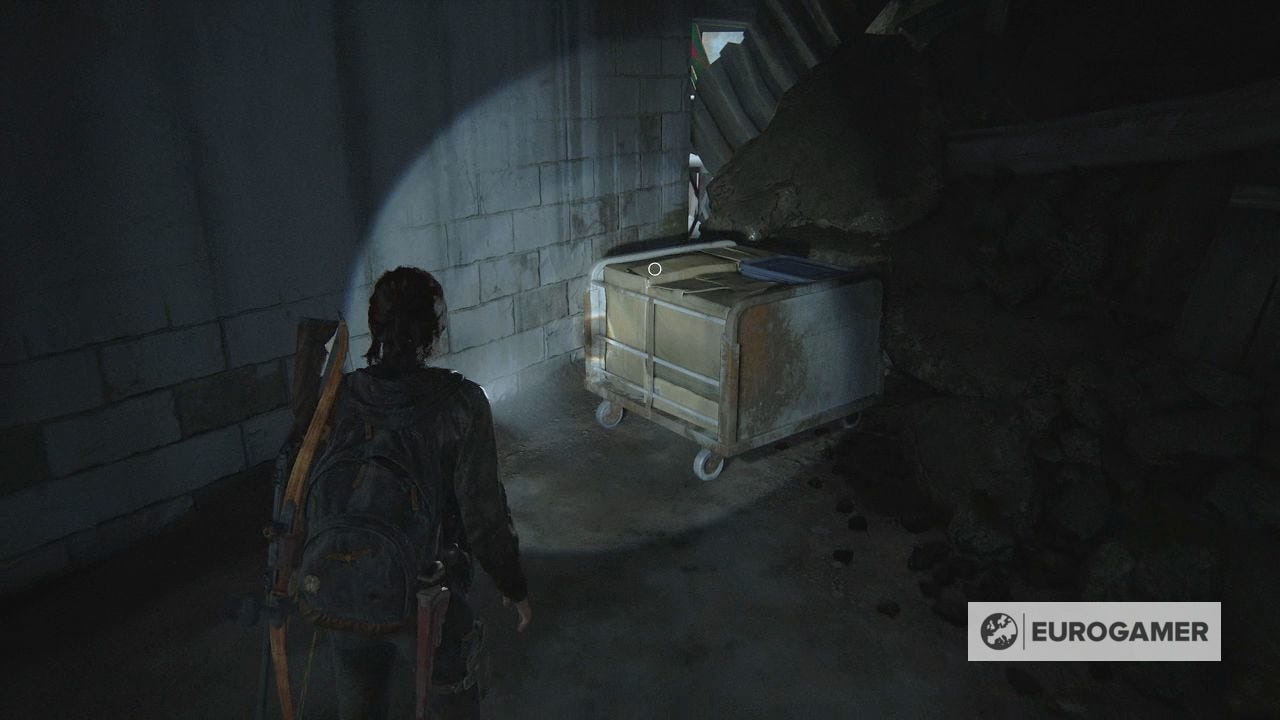
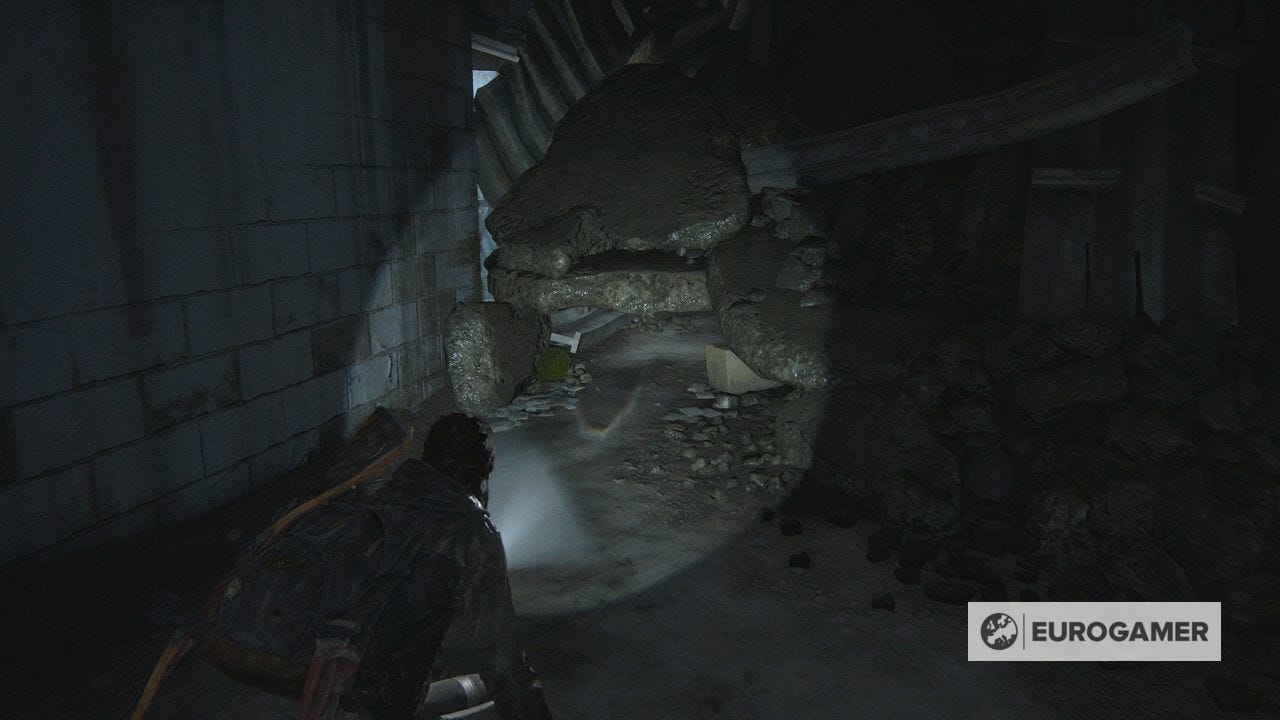
You can move this to find a gap in the debris. Before you go through, move the trolley to the vent in the corner, giving you various supplies.

Crawl through the debris where the trolley was to drop down into a caged area by the gate.
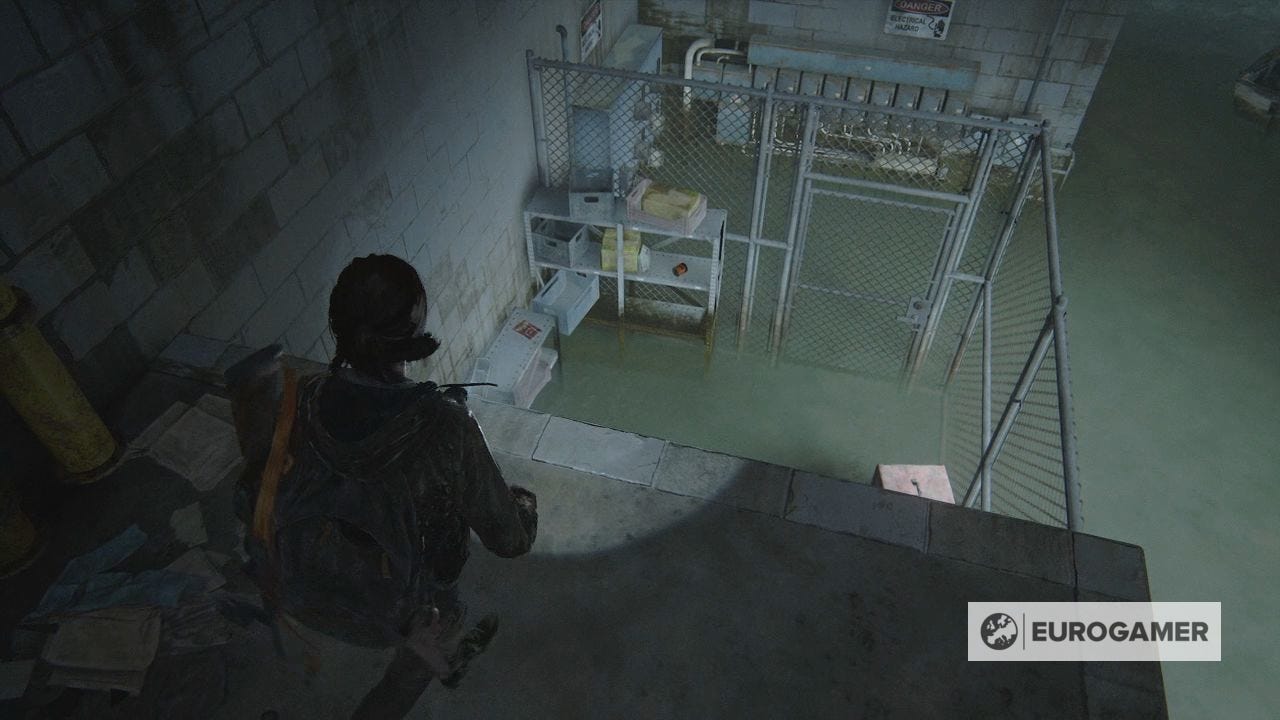
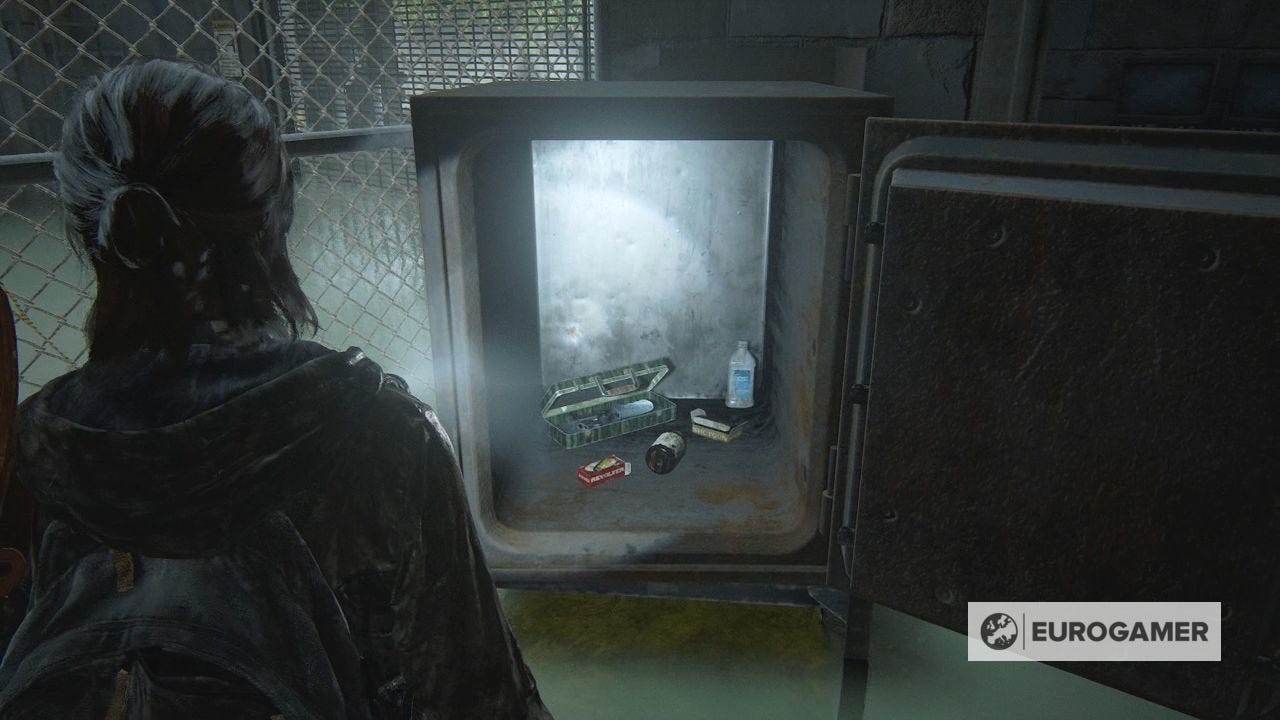
As well as supplies, there's safe here.
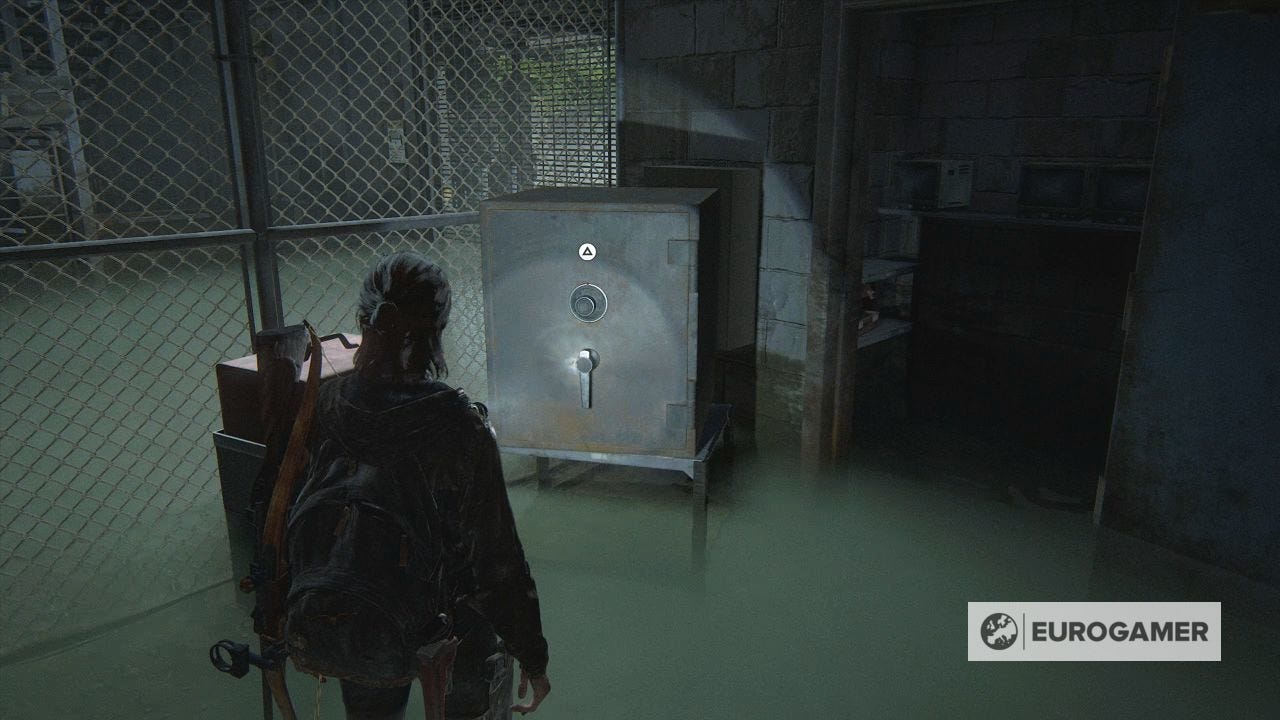
Use safe code 70-12-64 for ammo and some crafting items.
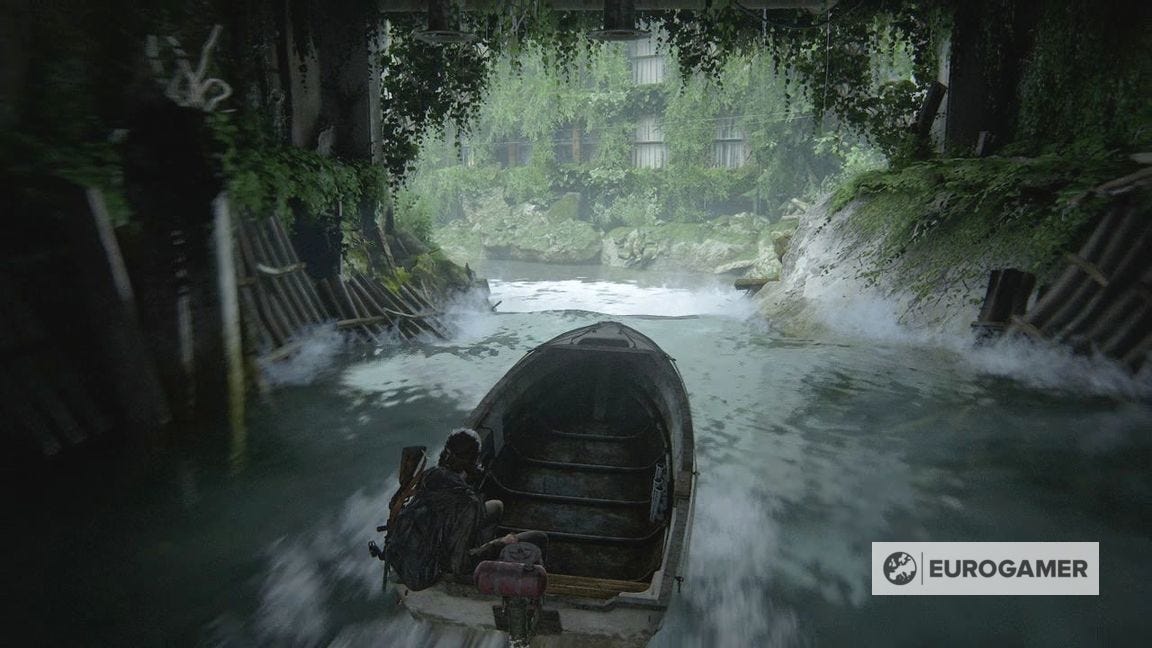
We're now done here - so use the chain to the right of the door and leave on your boat.
Next is a to a semi-open area. The end goal is to drive through the Kingsgate Brewing Co building at the end, but there's a bunch of places you van visit before then.
Seattle Sleep Warehouse, Carthy Hotel and train rope puzzle in The Flooded City
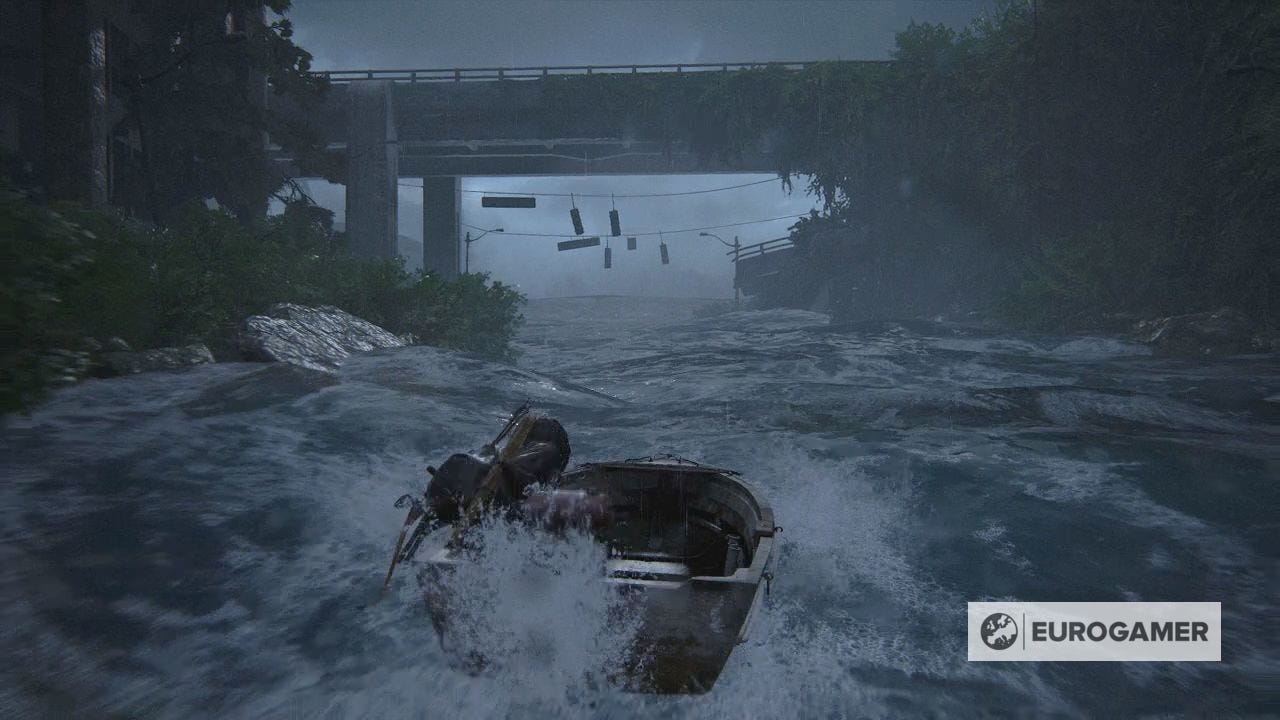
Drive down the rapids, and you'll come to the Seattle Sleep Warehouse building to your left.
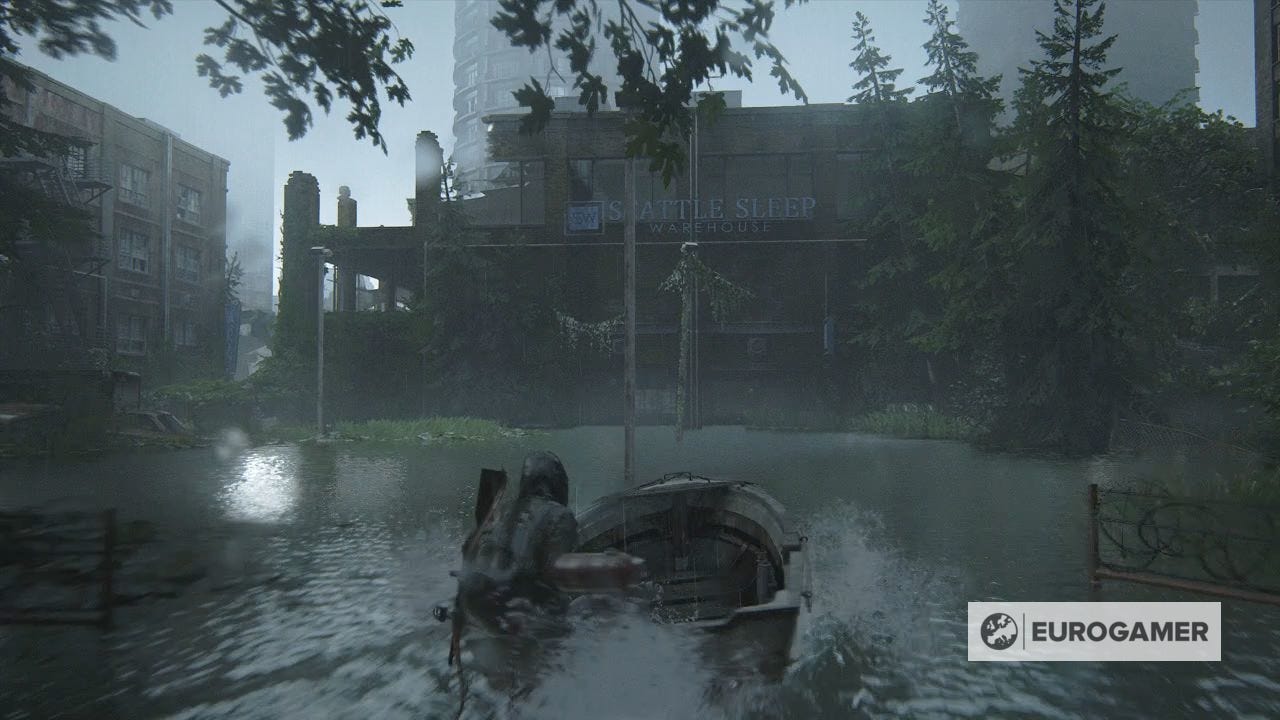
You can drive underneath but not enter it. Instead, go along the outside of the building to the left, where you can jump out onto the bank just before you pass the Warehouse, and enter another building.
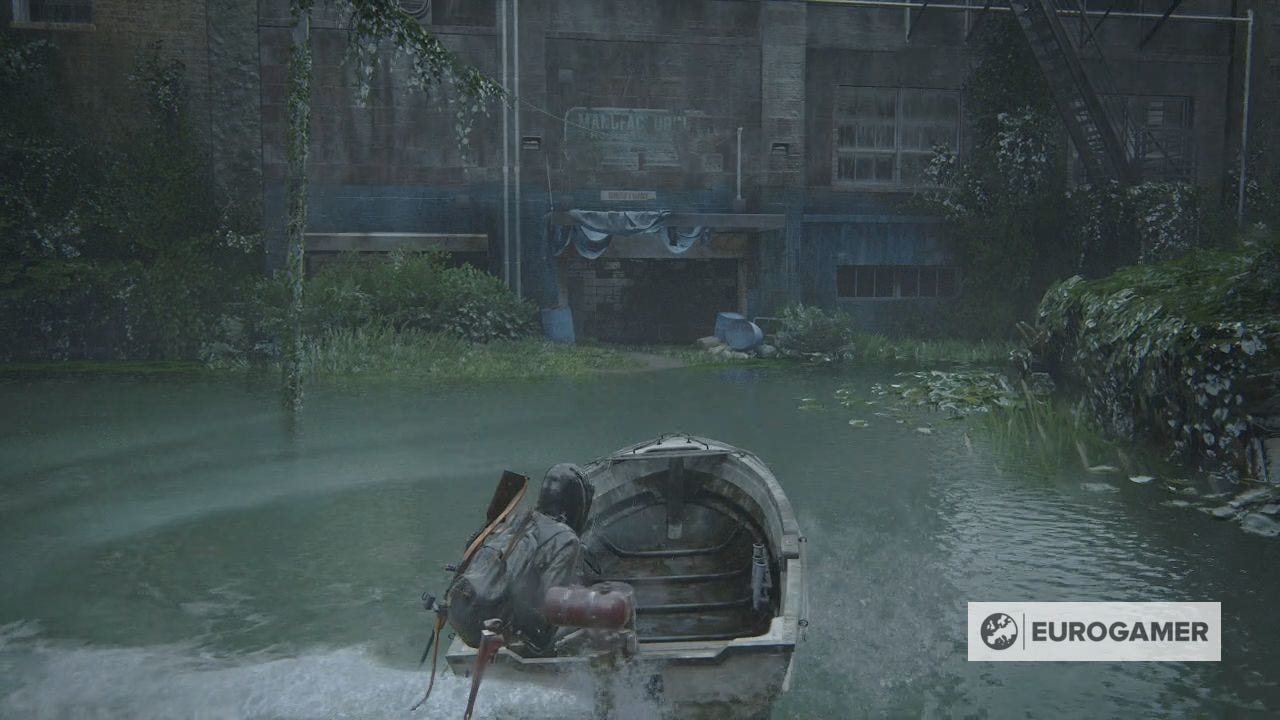
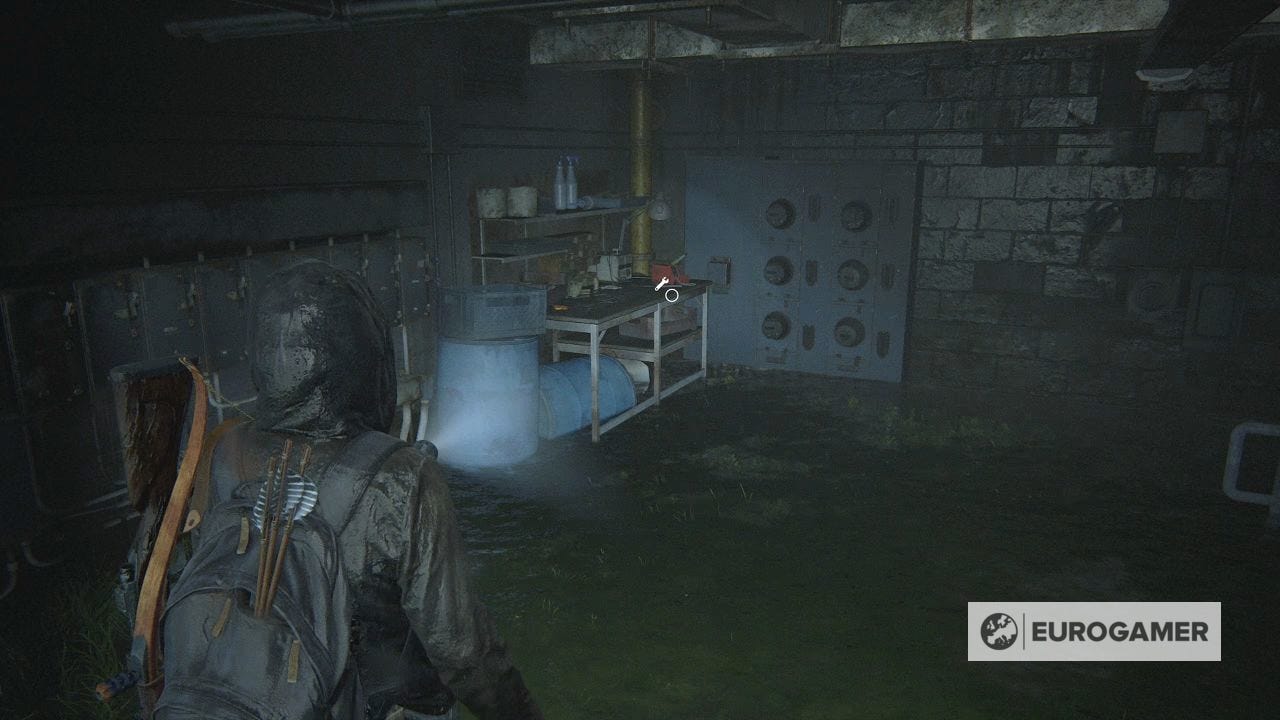
In this submerged building is a Workbench in the corner.
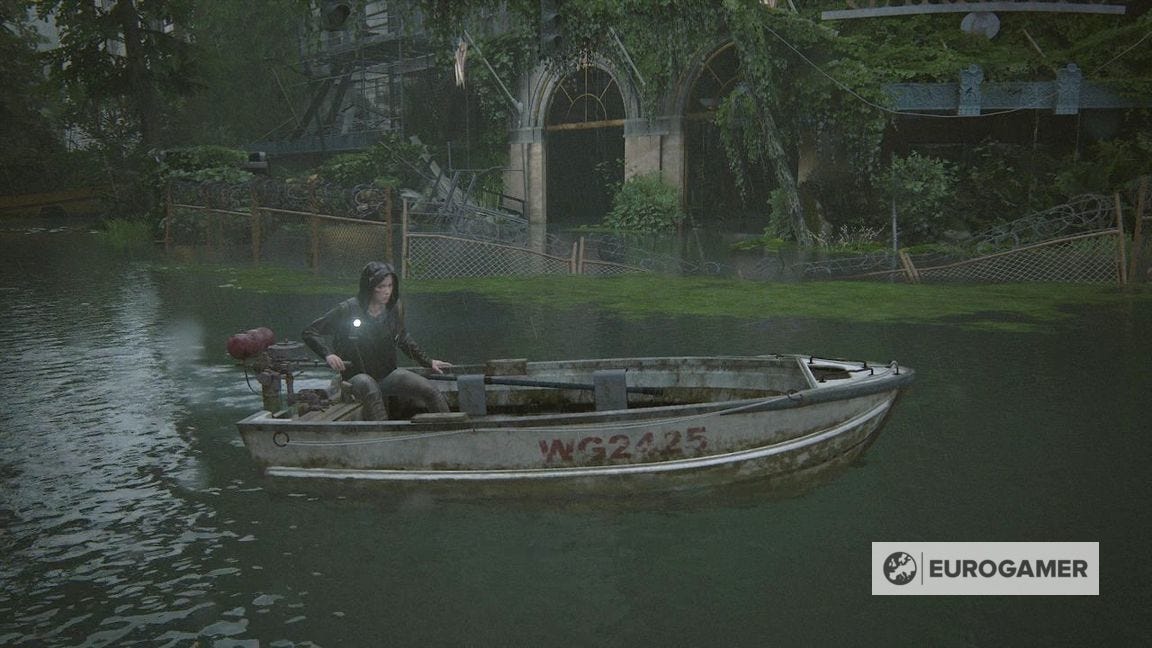
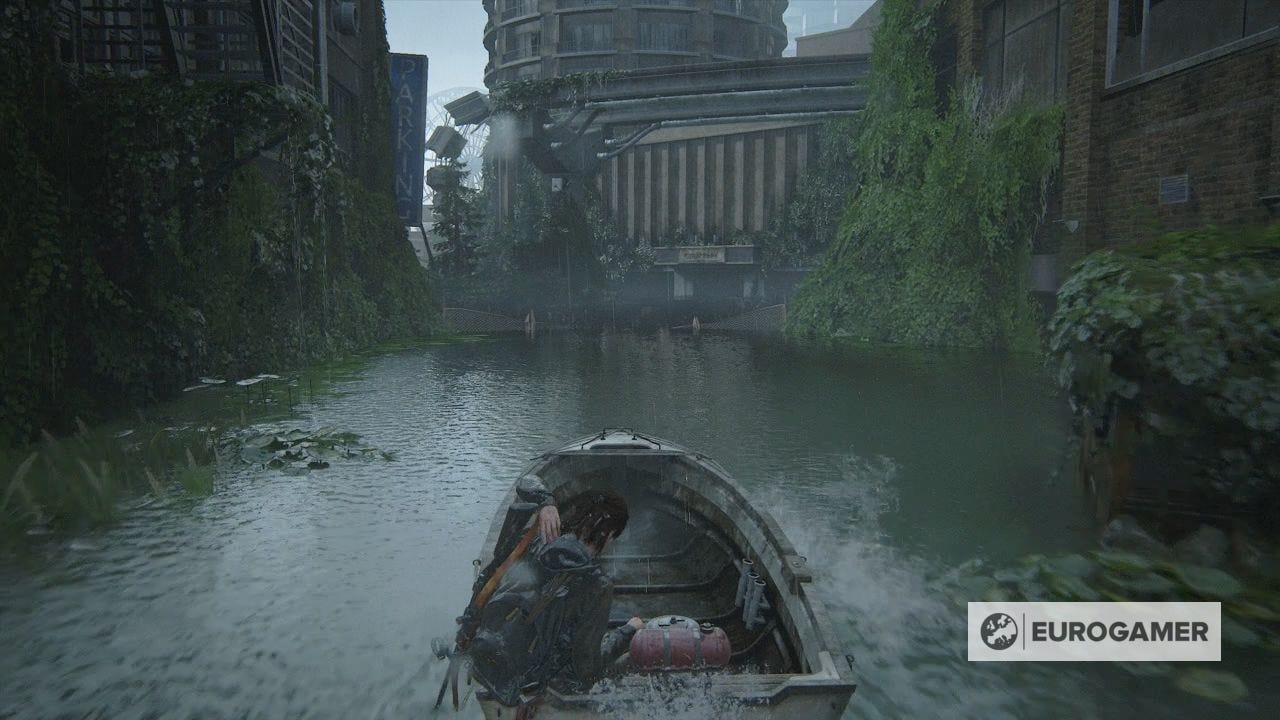
Get back in the boat and continue past the Seattle Sleep Warehouse. Straight ahead is Carthy Hotel.

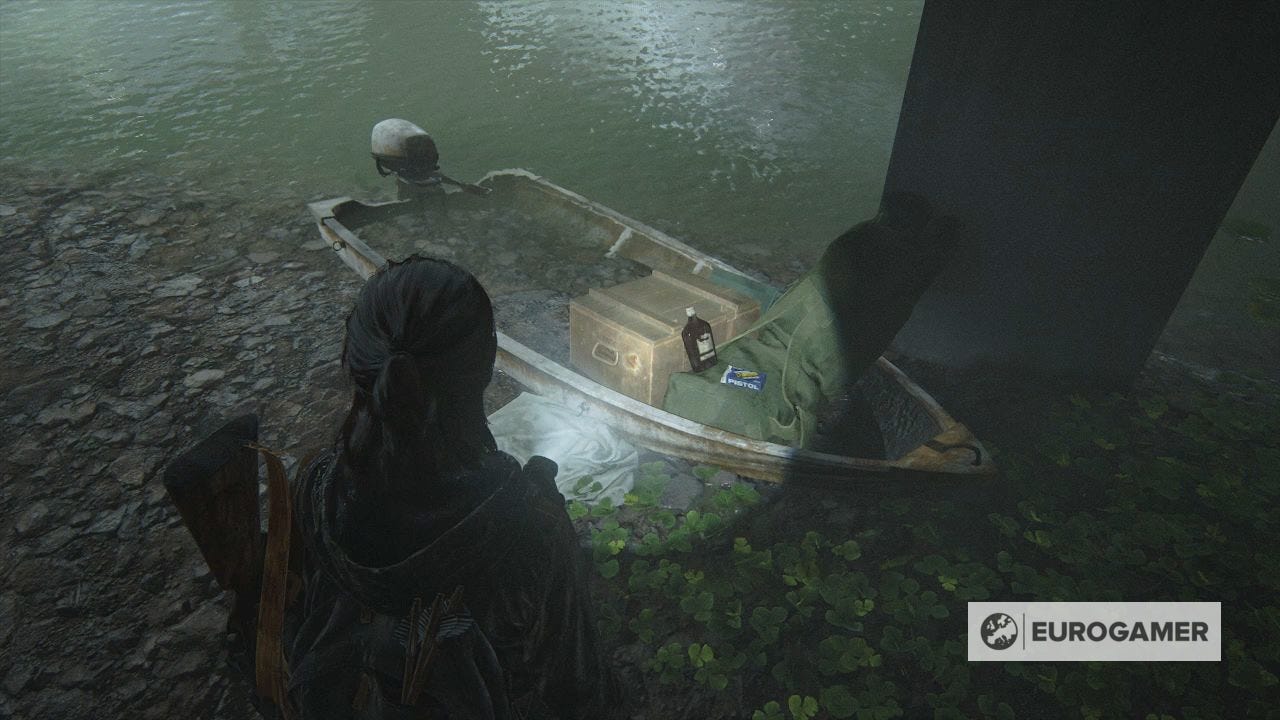
Drive underneath and to the right is a bank with a corpse. Next to it is the Shamber Note Artefact.
There are also supplies and ammo here, including on a boat by the column behind.
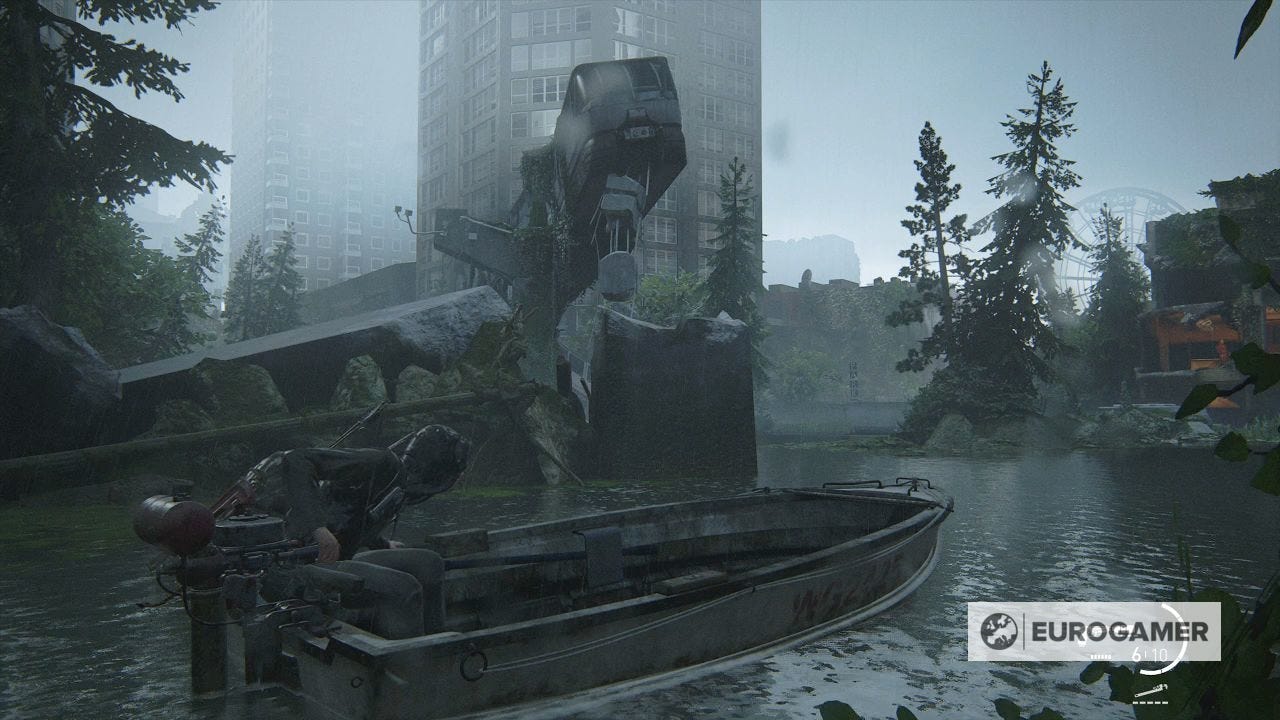
Drive onward until you come to a multi-tiered building ahead, which sees a boat pull up and fighting start.

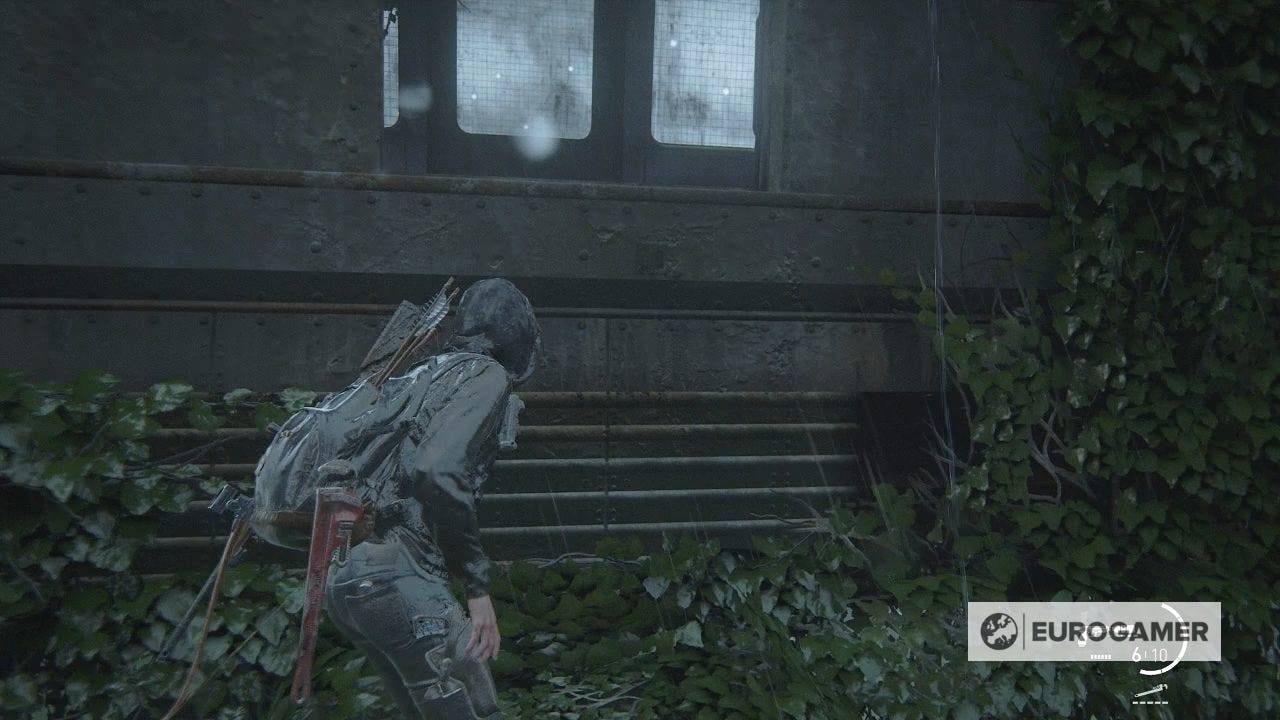
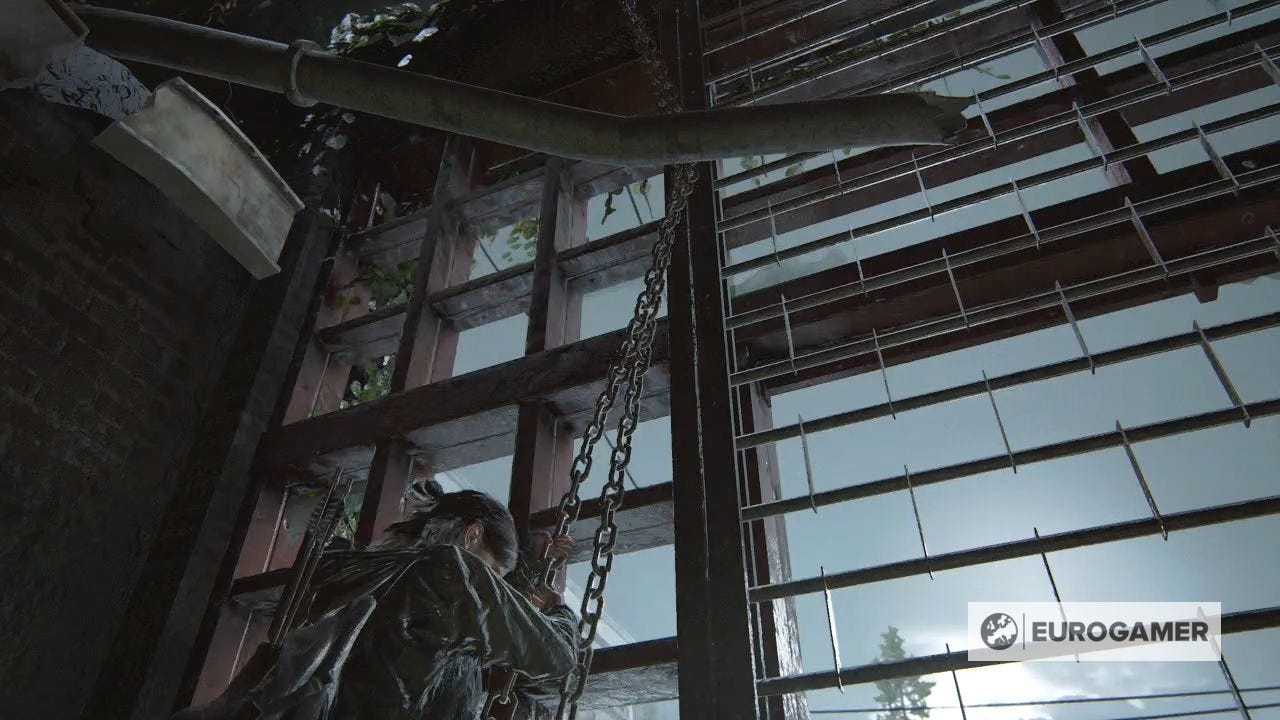
Ignore it for now, and stick to the left (you shouldn't get spotted) until you can climb out onto an island with a train carriage you can climb into.
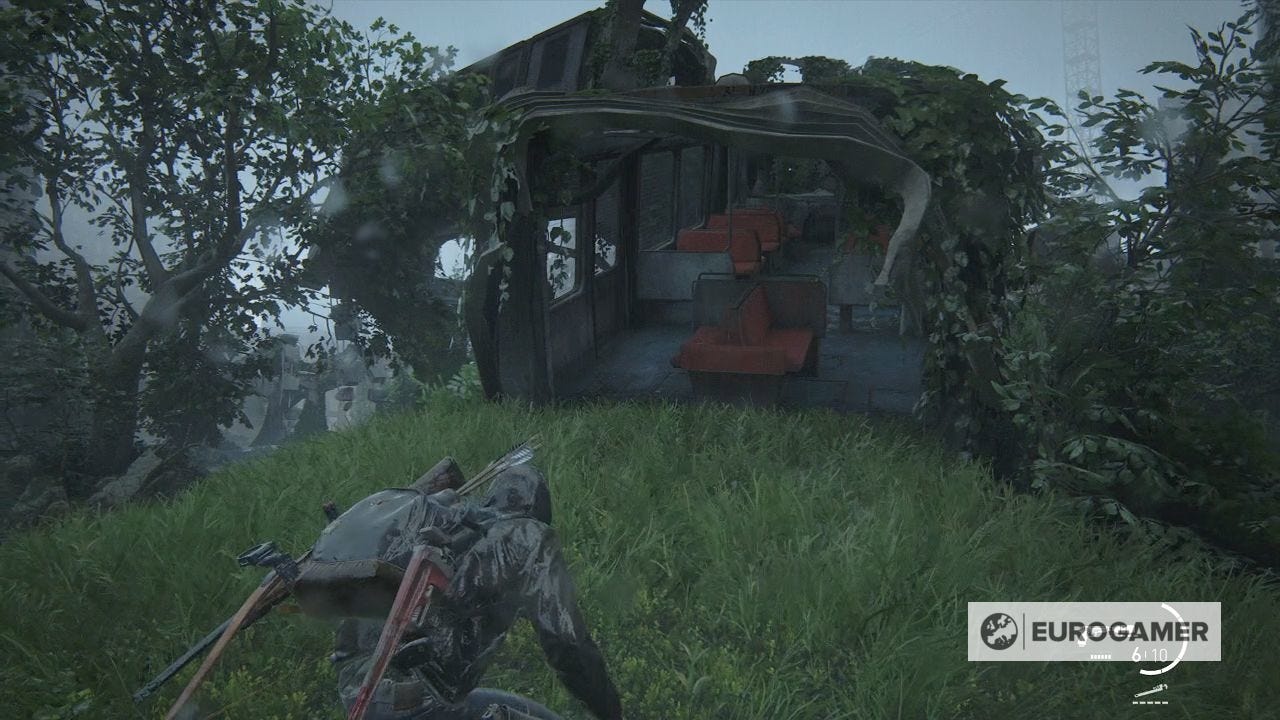
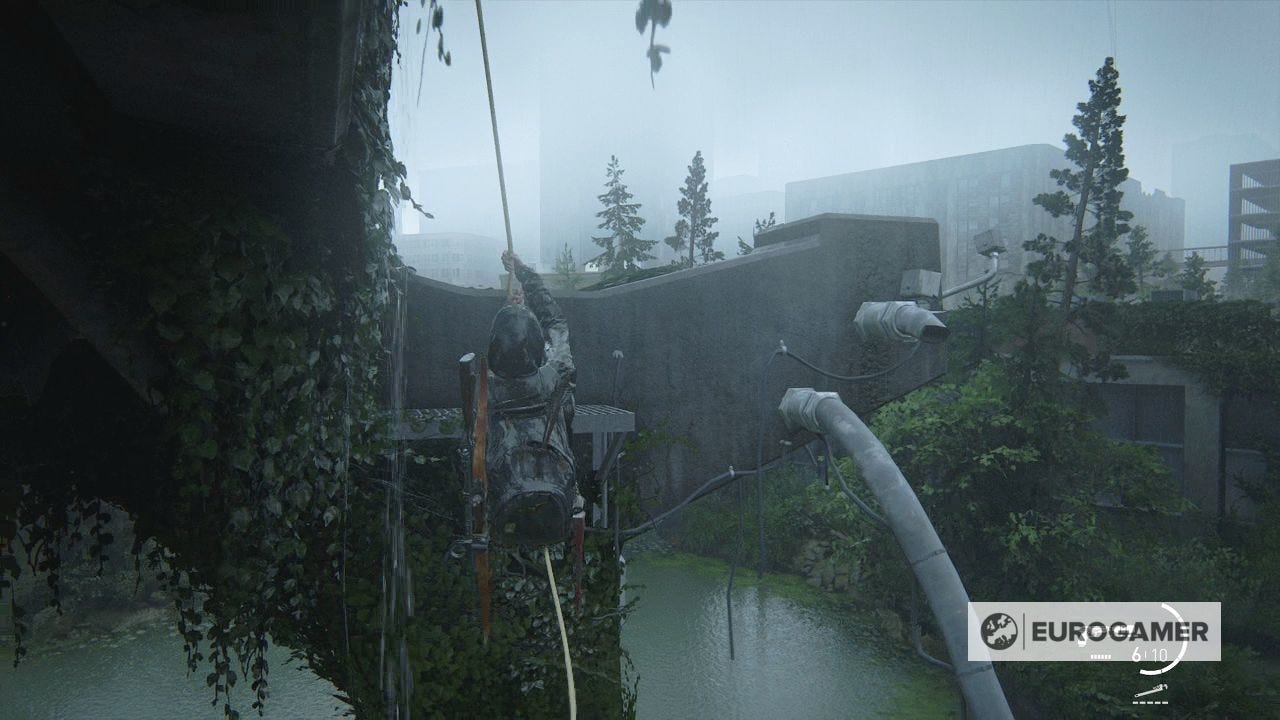
Climb up until you see a rope. Grab it, drop out the right door, and swing over to the platform.
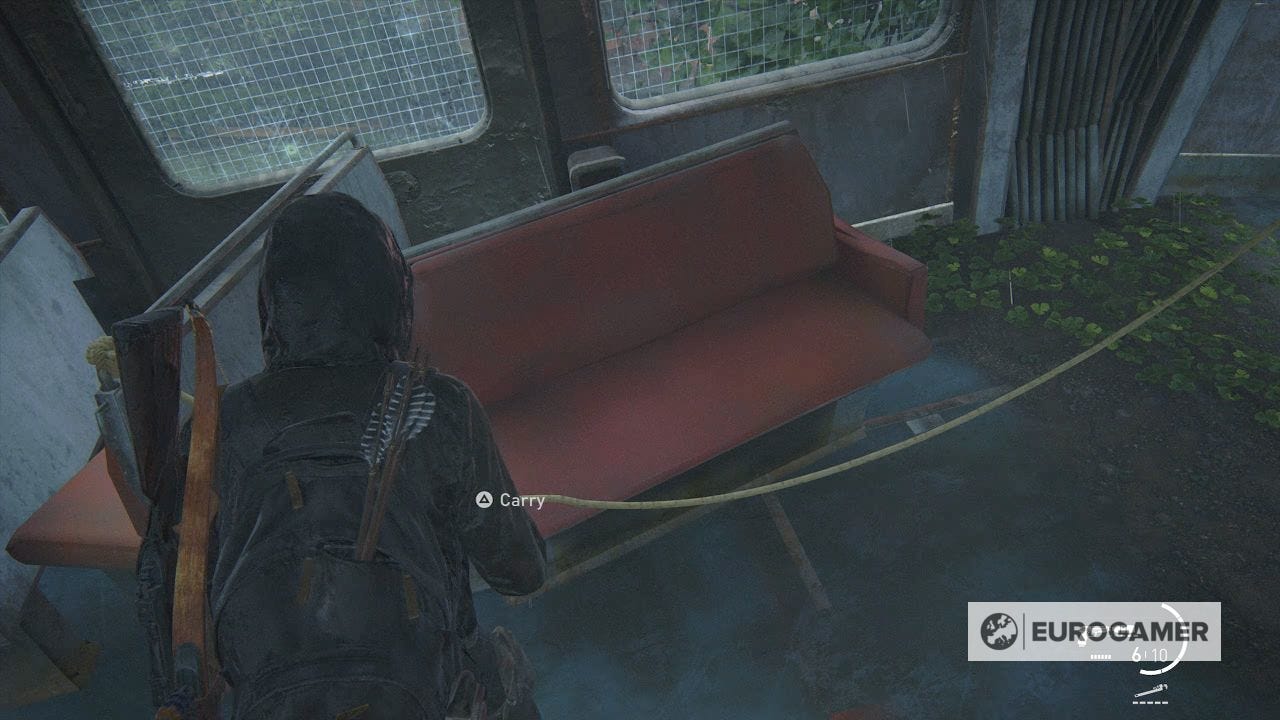
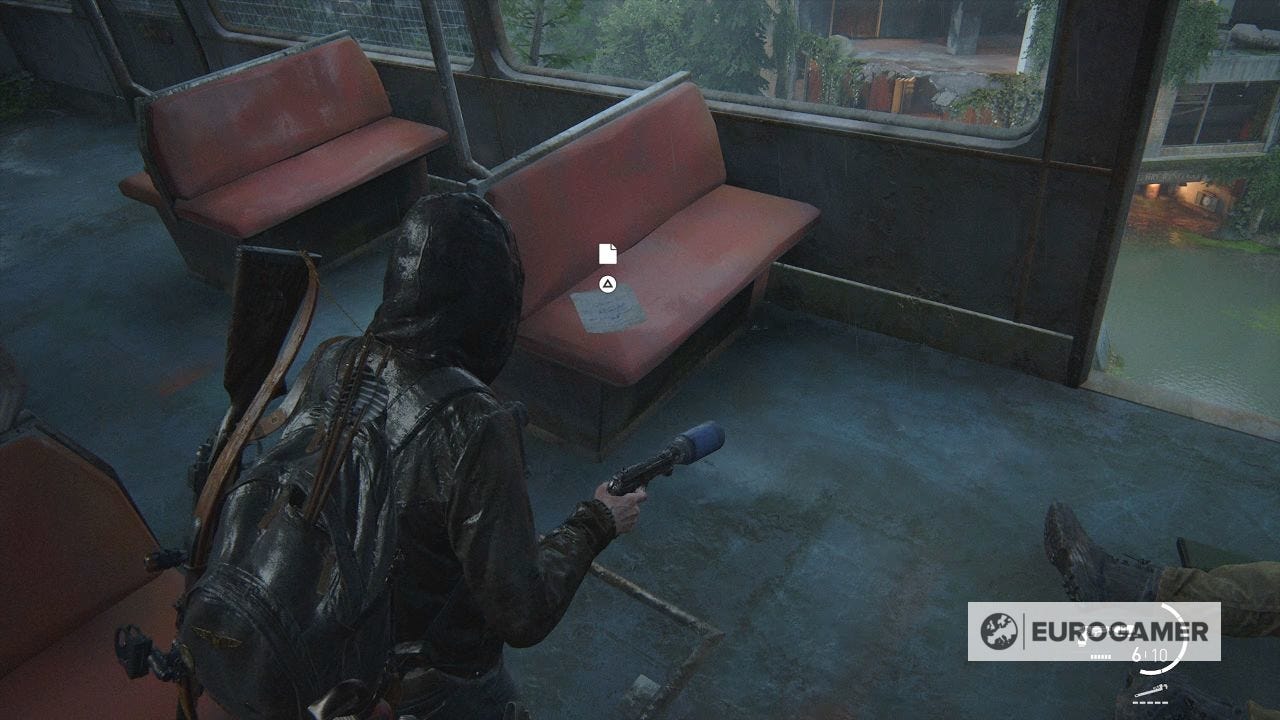
Now climb into the open window.
There are various supplies here, as well as a corpse. Grab the Sniper's Note Artefact from the seat.
Kingsgate Brewing Co in The Flooded City
While you are here, you can look down at the Kingsgate Brewing Co. building below. This is our next destination, and you can probably see several patrolling guards.
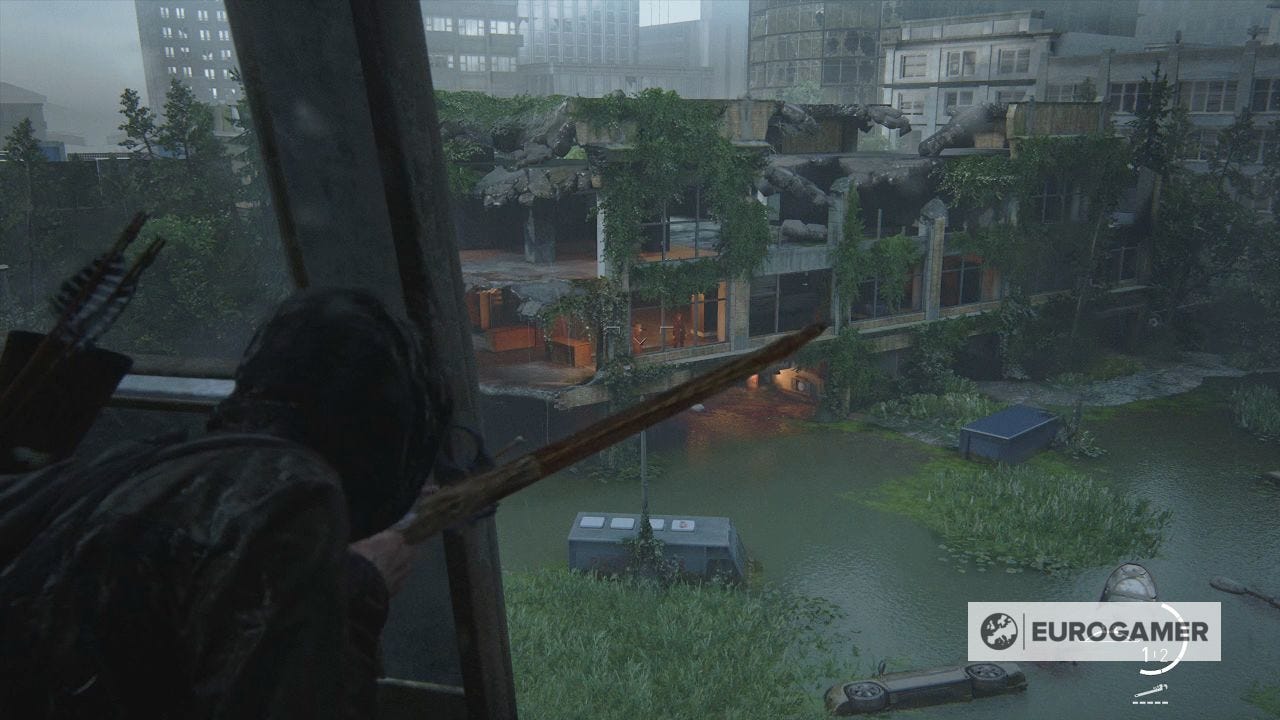
Use this opportunity to take a few out with your bow from a safe distance.
Also, if you want a fast and enjoyable way of getting back to your boat - you can leap from the train carriage into the water below!
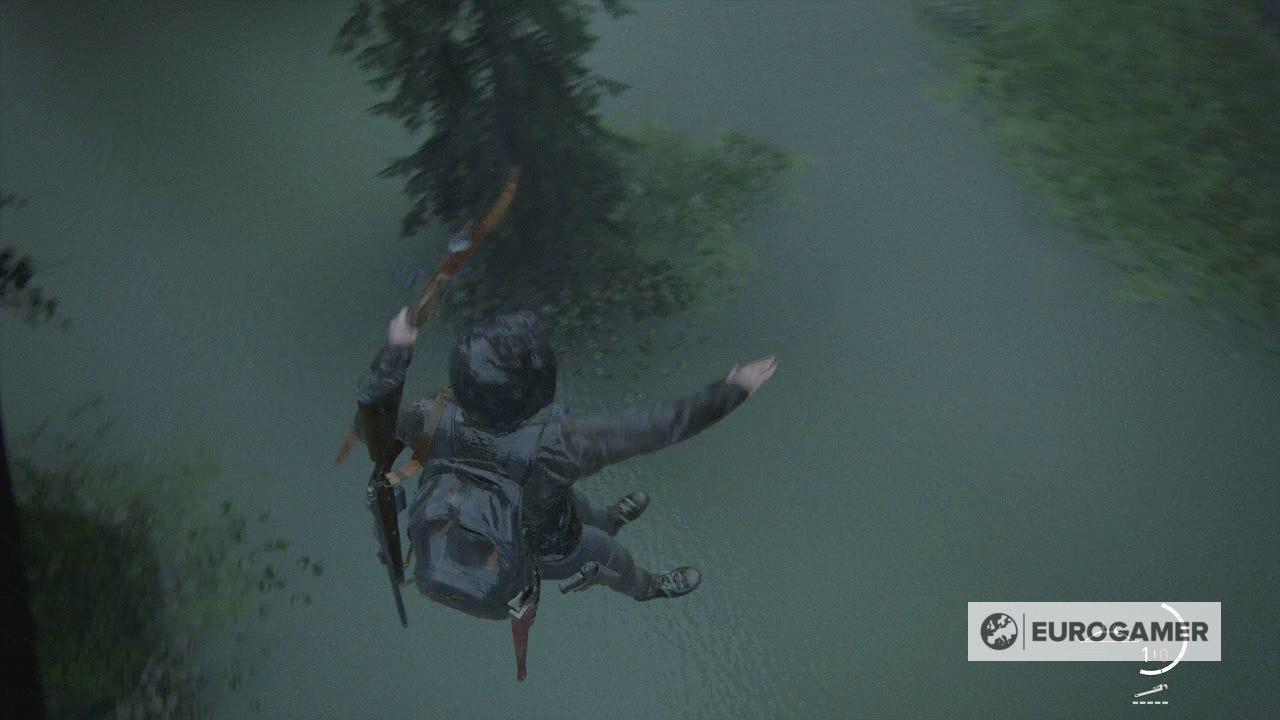
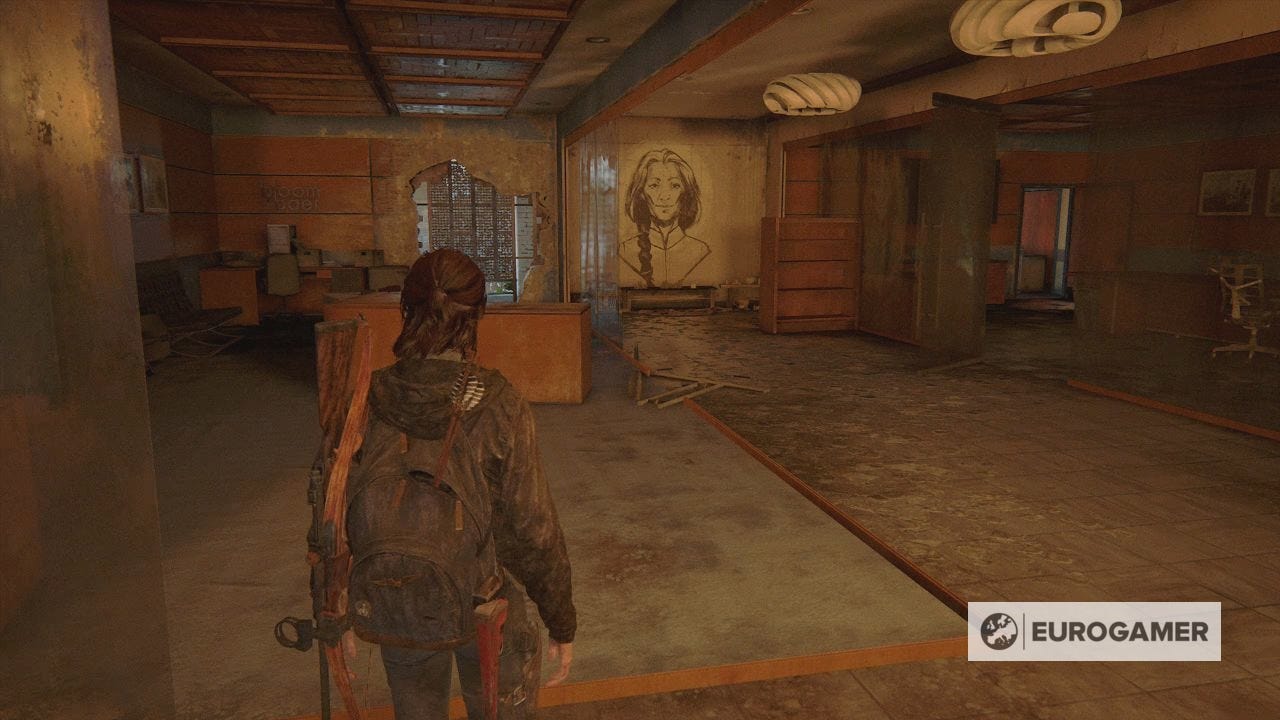
You'll want to fully explore this building, as there's various crafting supplies and ammo deposits to be found, so swim over and take the time to clear it out.
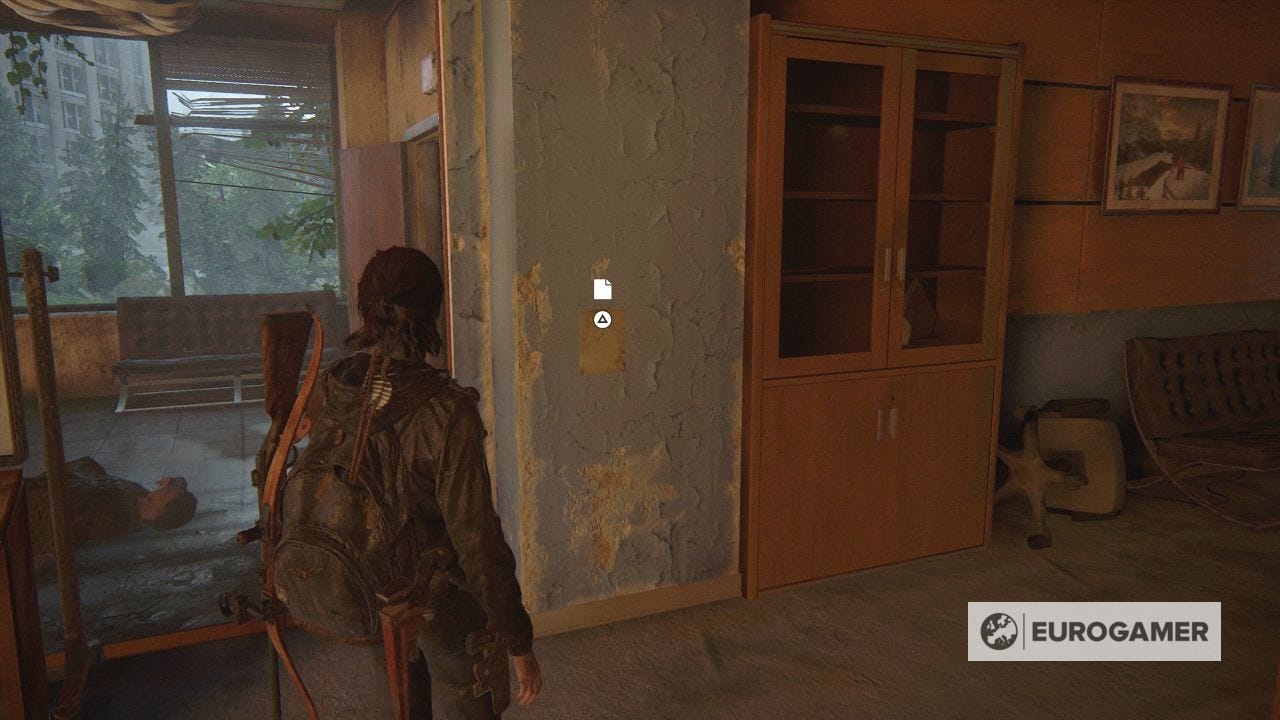
There is also the Encampment Note Artefact on the upper floor. It's on the wall to the left, if you are facing the mural on the back wall.
Once done, get back on your boat and drive underneath and through the Kingsgate Brewing Co building. After a few corners, you'll emerge in front of the W and B Arcade.
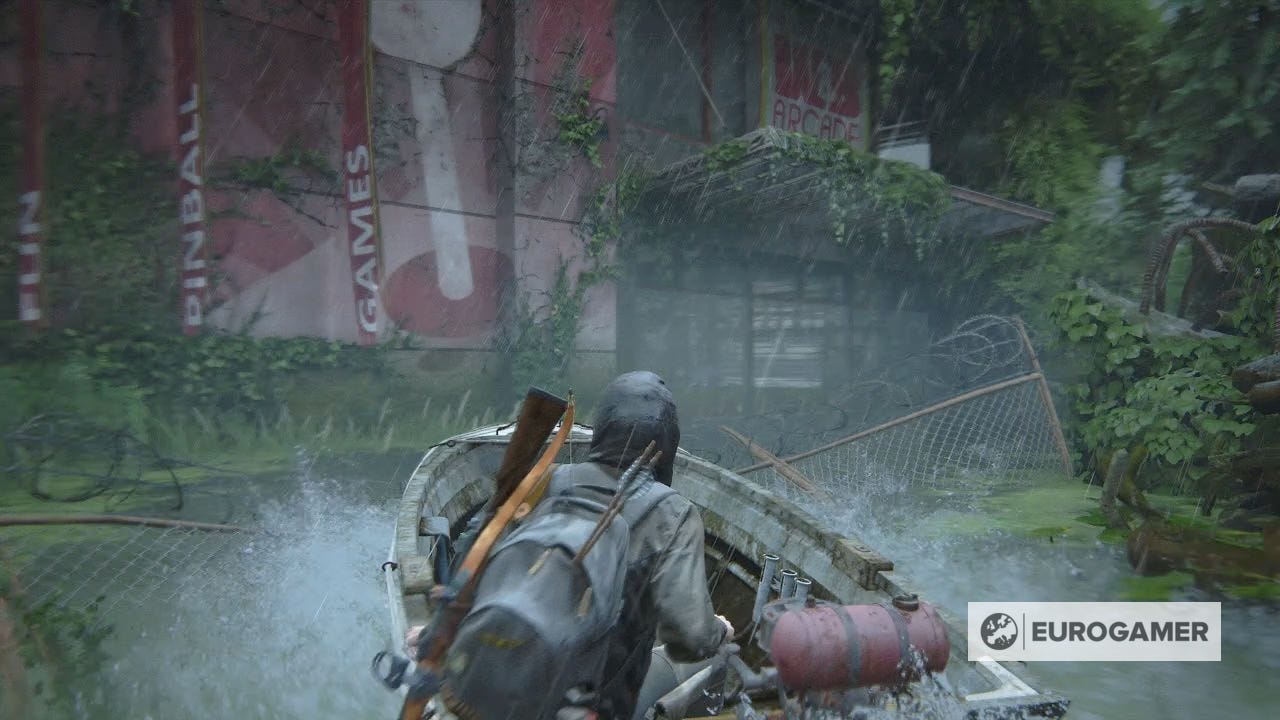
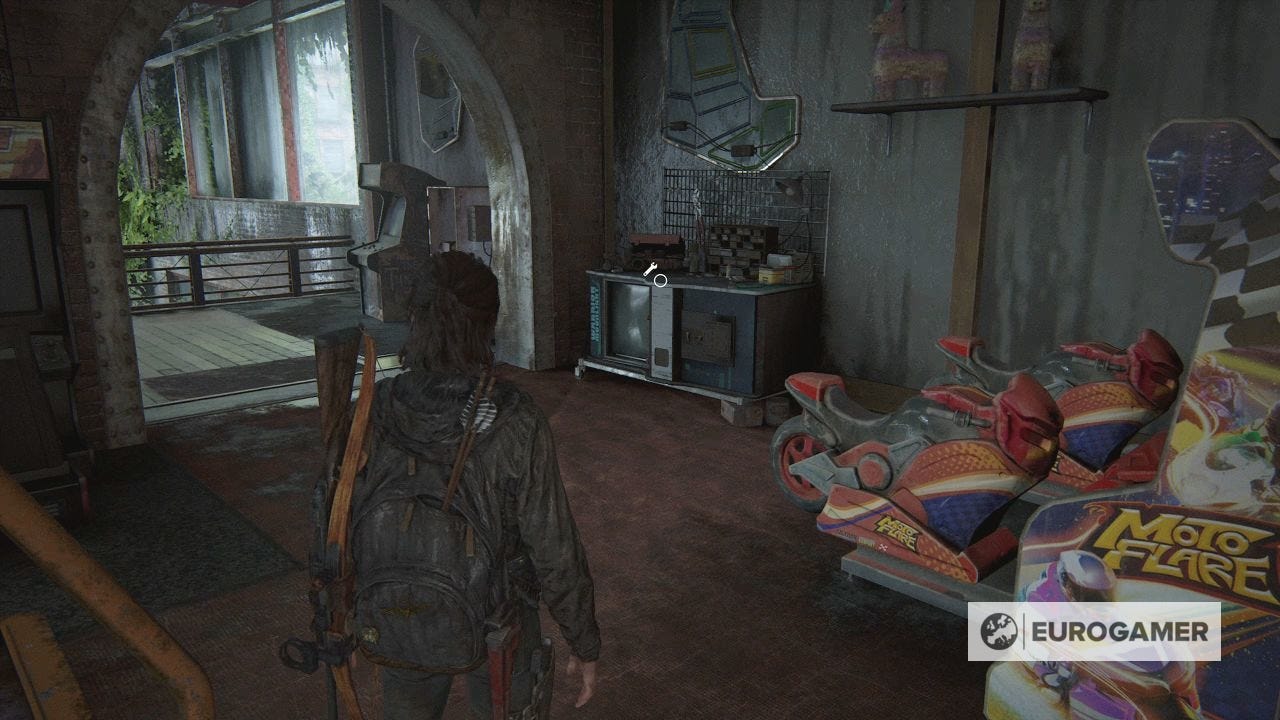
W and B Arcade in The Flooded City
Drive through the window and climb out.
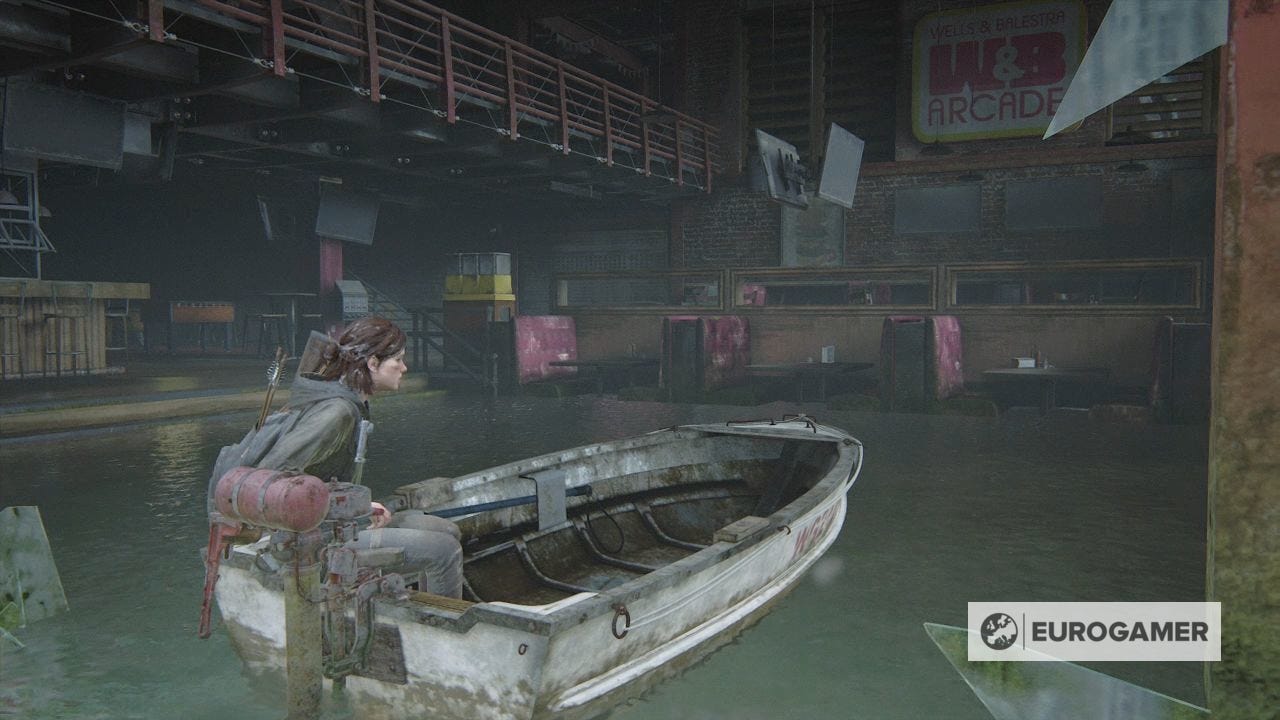
The aim here is to open the gate to the right, but when you try the chain, there is debris blocking it. Let's sort that.
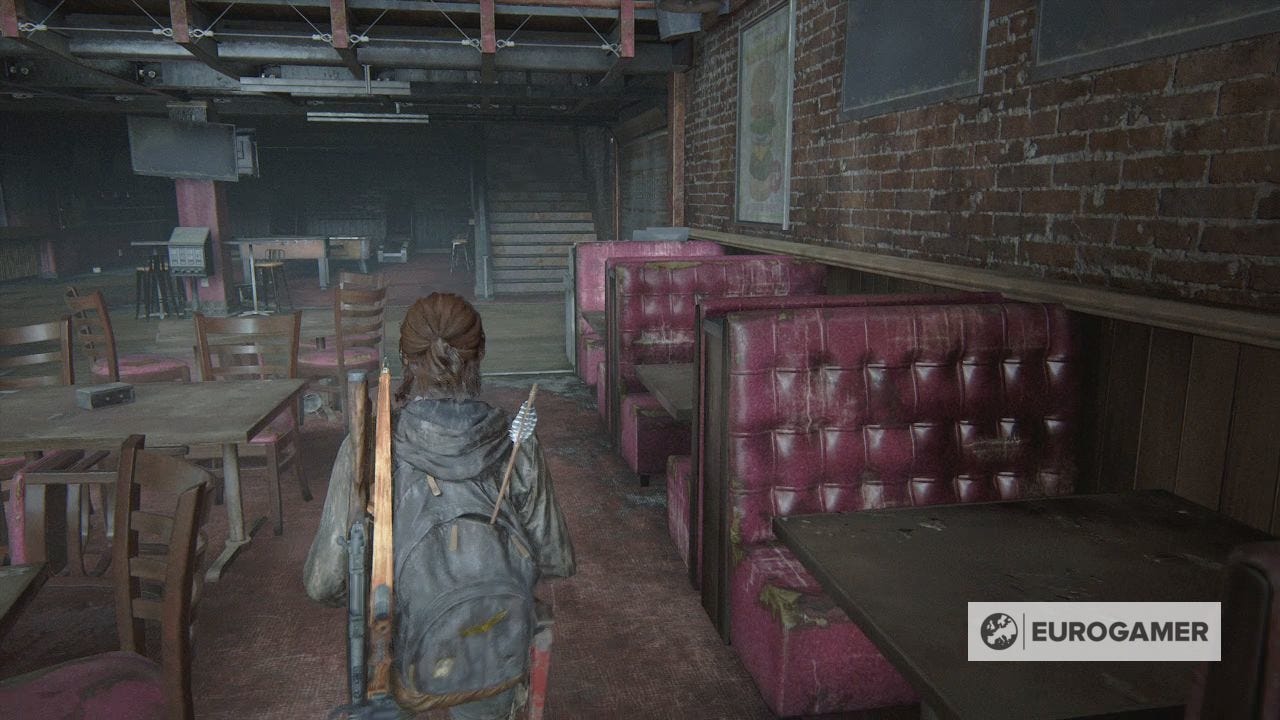
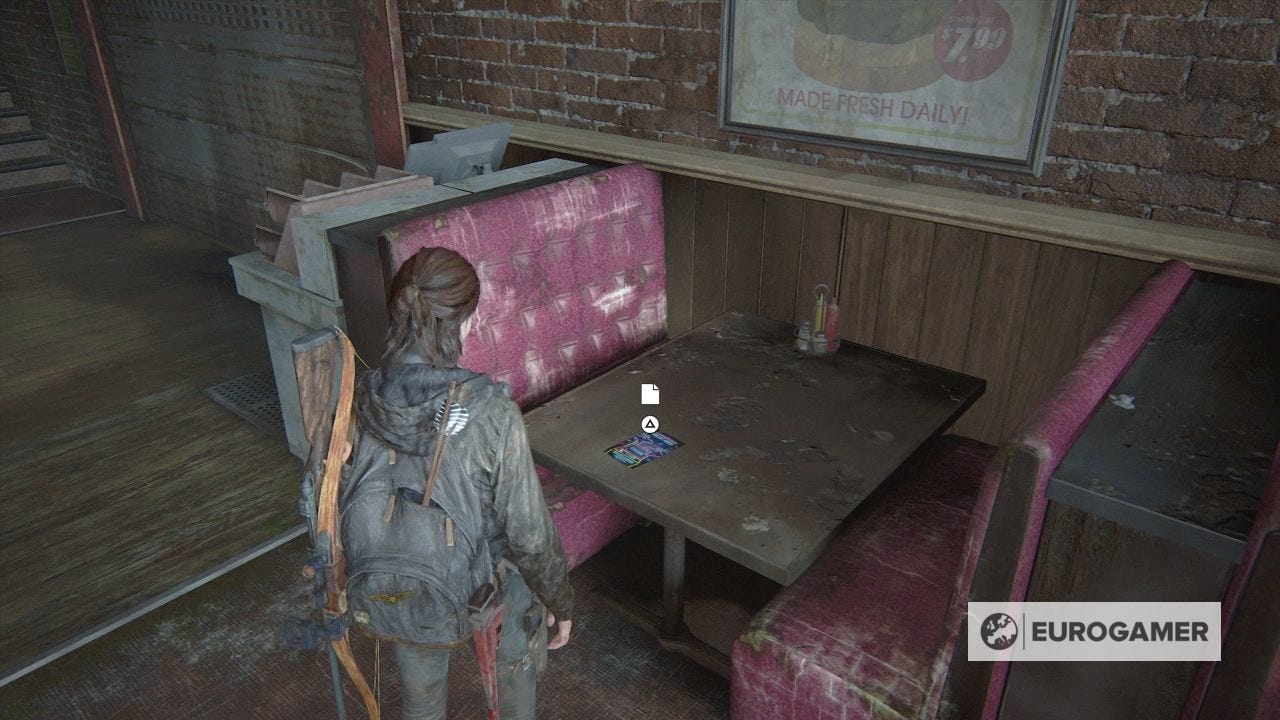
Ahead of the stairs going up, there are some booths. At the last one is the Arcade Flyer Artefact on the table.
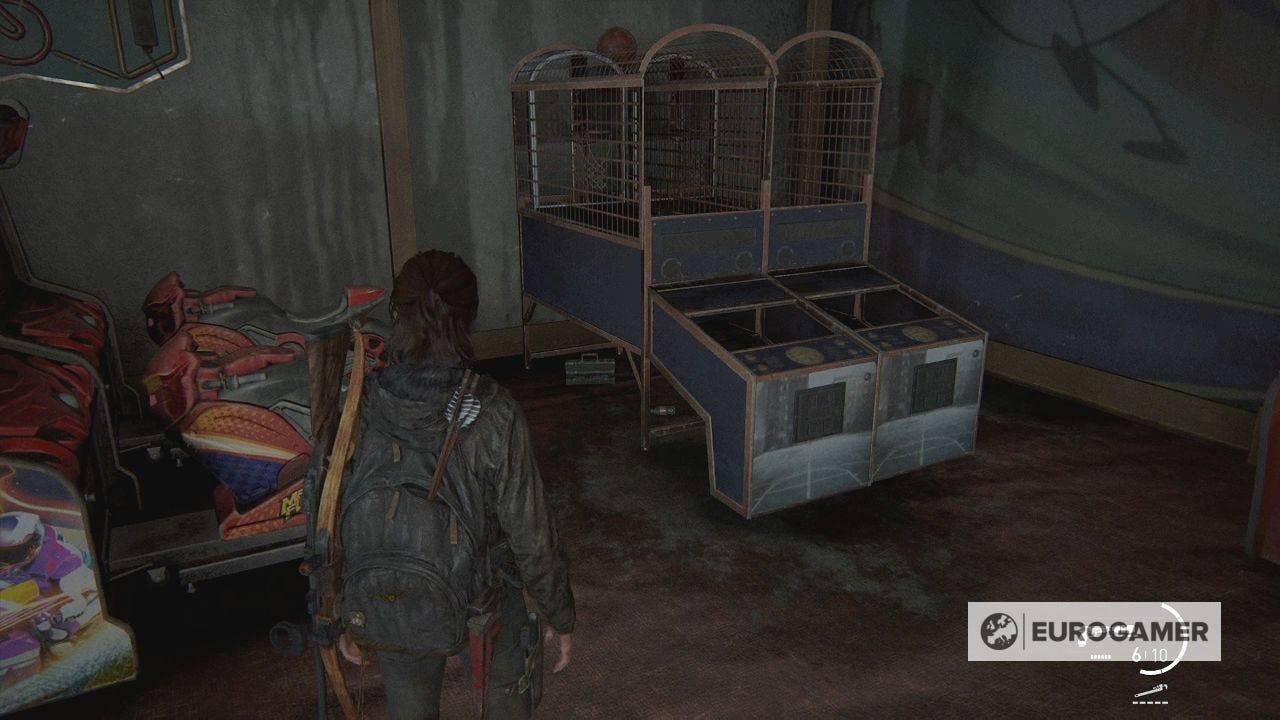
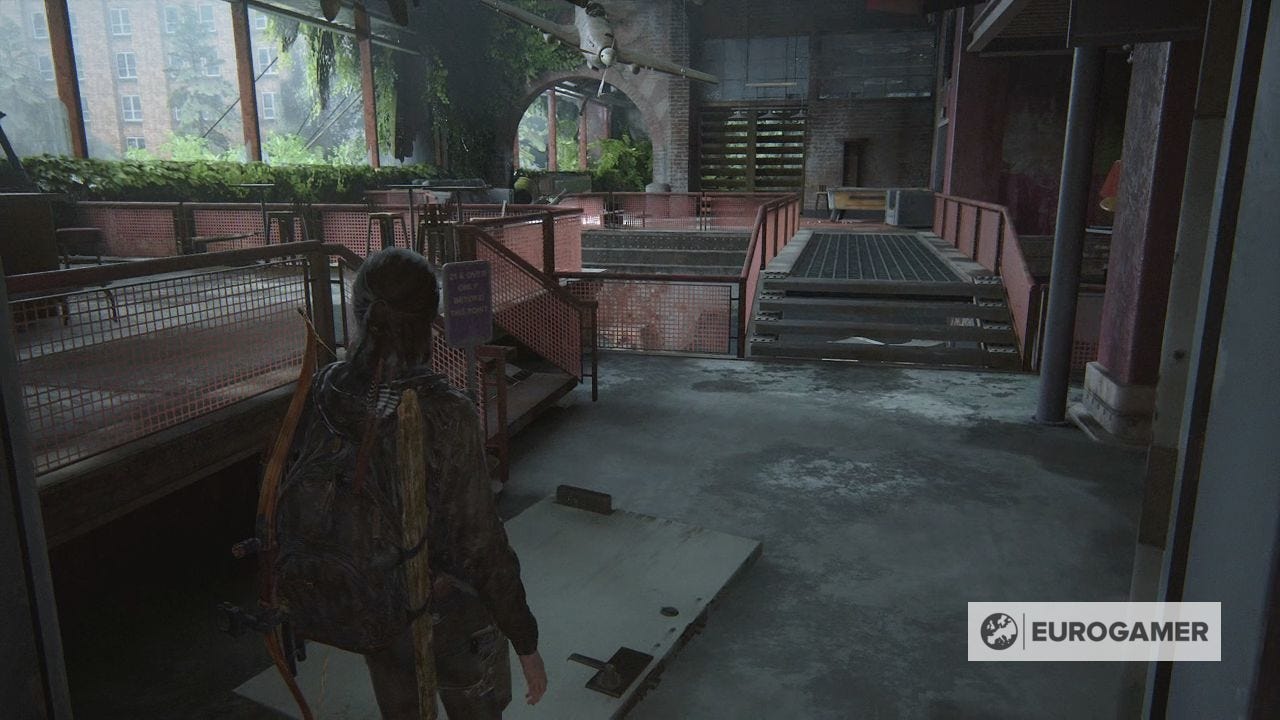
Go up the stairs and search the floor for various supplies - including crafting materials, some of which are hidden underneath the basketball games in the corner.
There's a Workbench location in the far corner, too, before the archway.
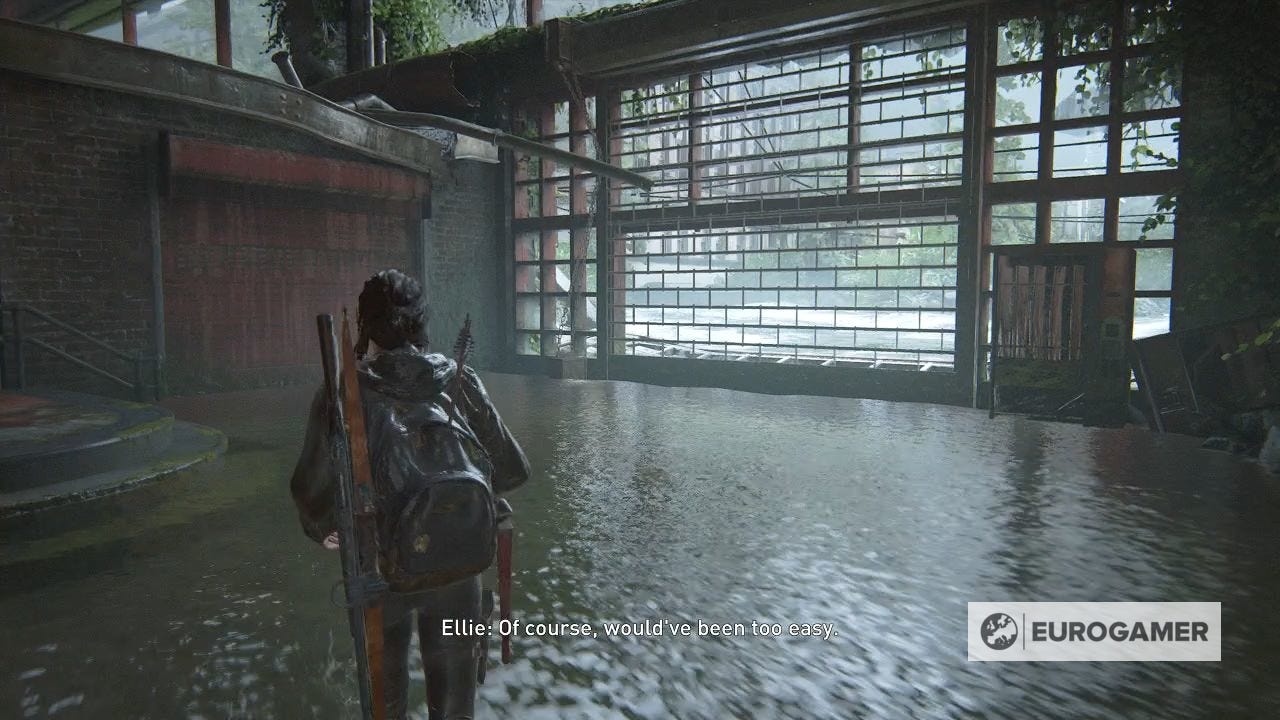
Once done, head through the archways to the long corridor. There's a locked door at the end, with a window above it.
Move the trolley at the opposite end towards it.

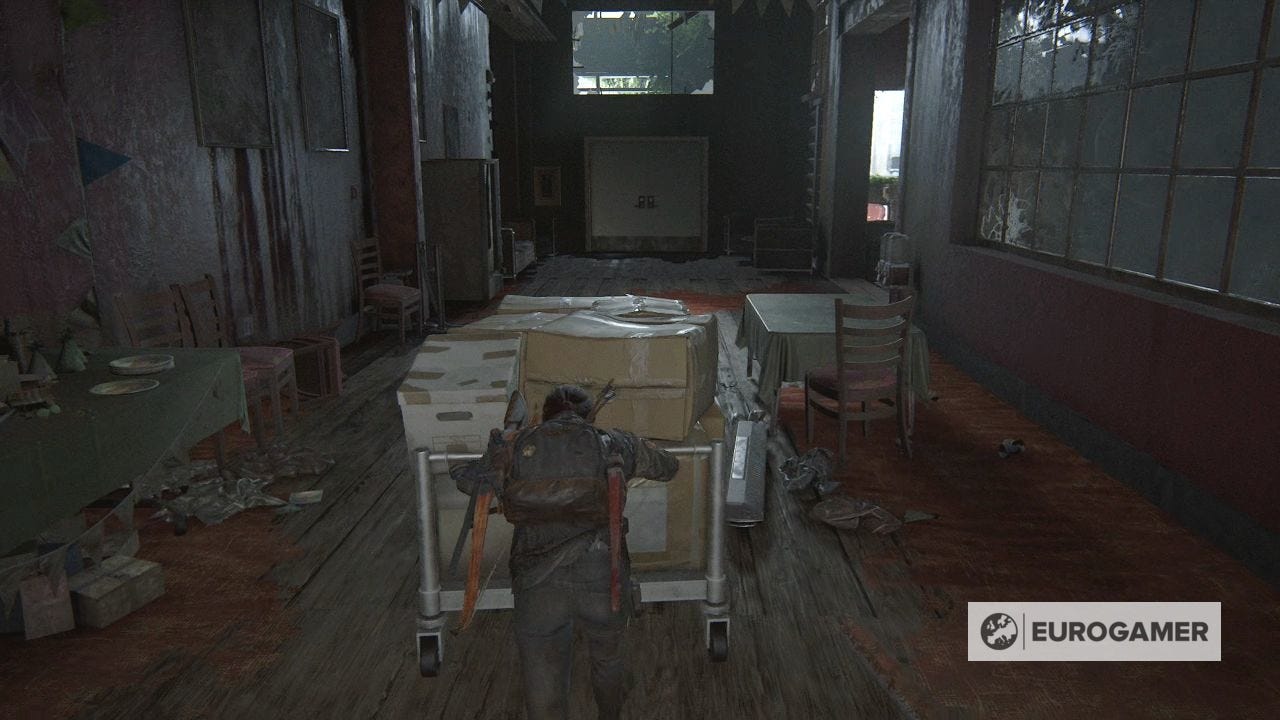
Before you can make it, you fall through the floor and face a Boomer.
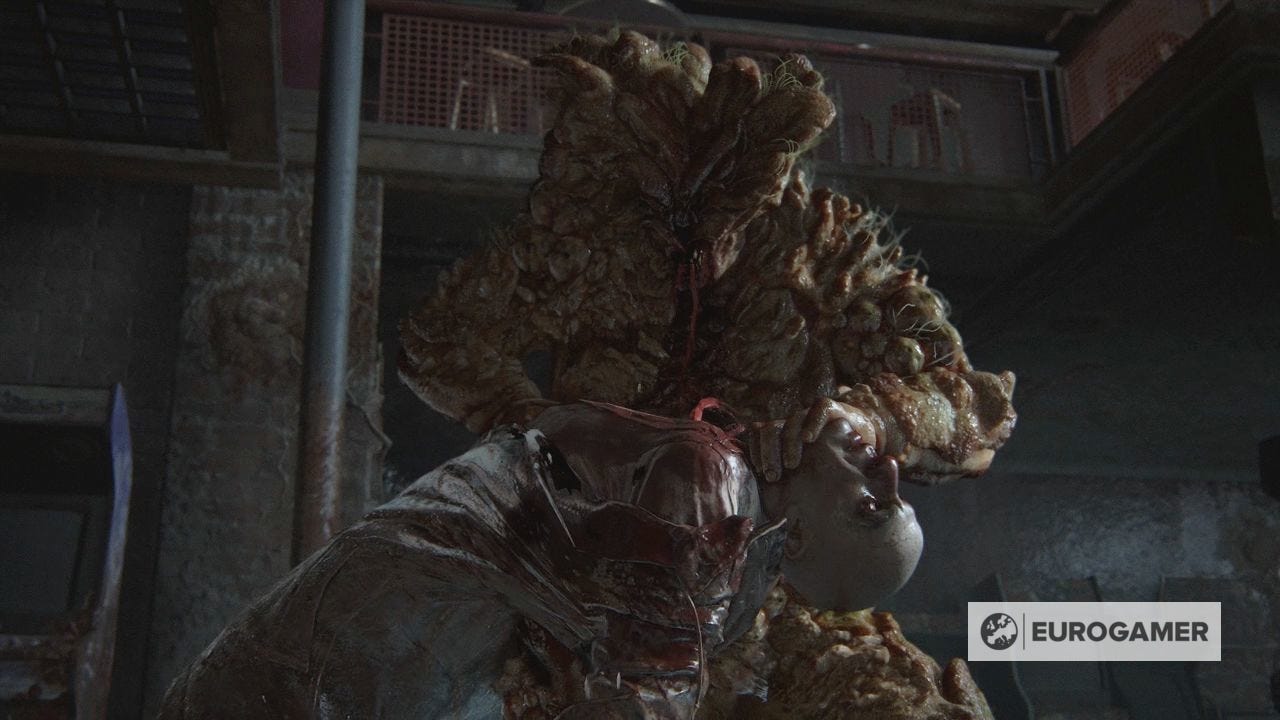
You know what to do here - keep your distance, dodge when it gets close, and use explosives and Shotgun blasts to keep it at bay.
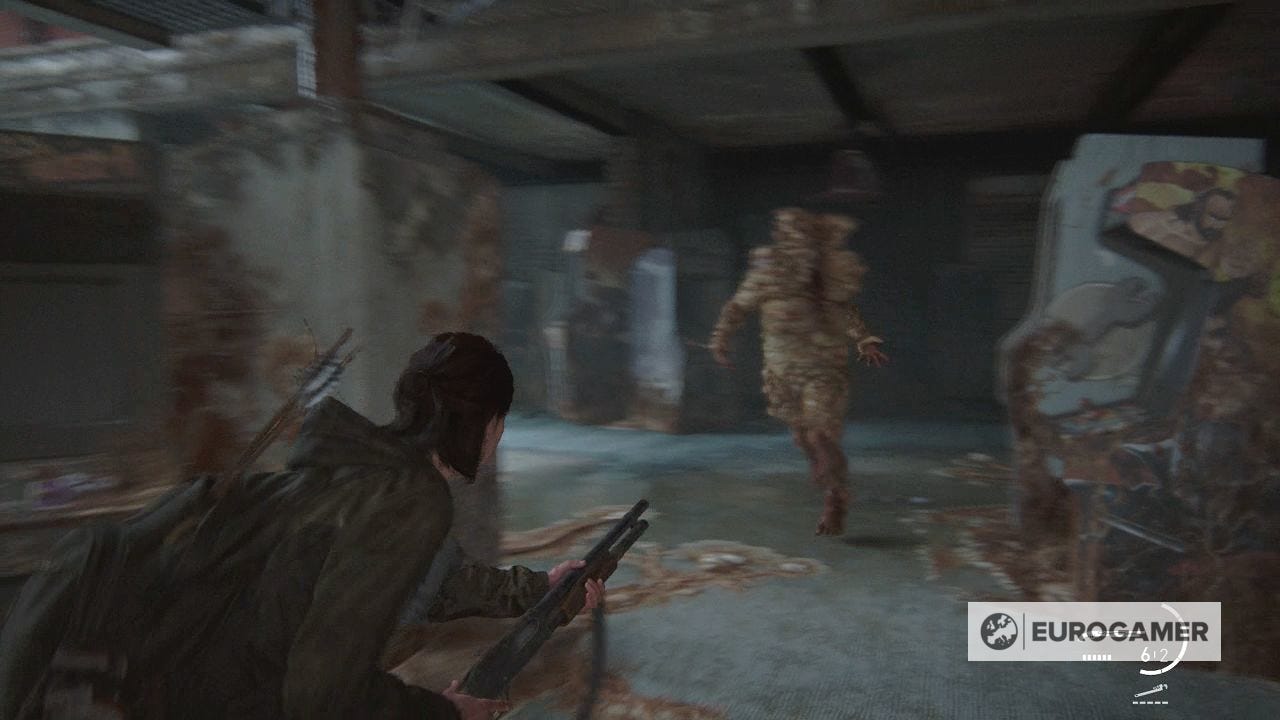
Other infected will join the right, so take them out quickly before you are overwhelmed.
Once done, grab any supplies you need, and investigate the shutter underneath the Prize Zone in the corner.
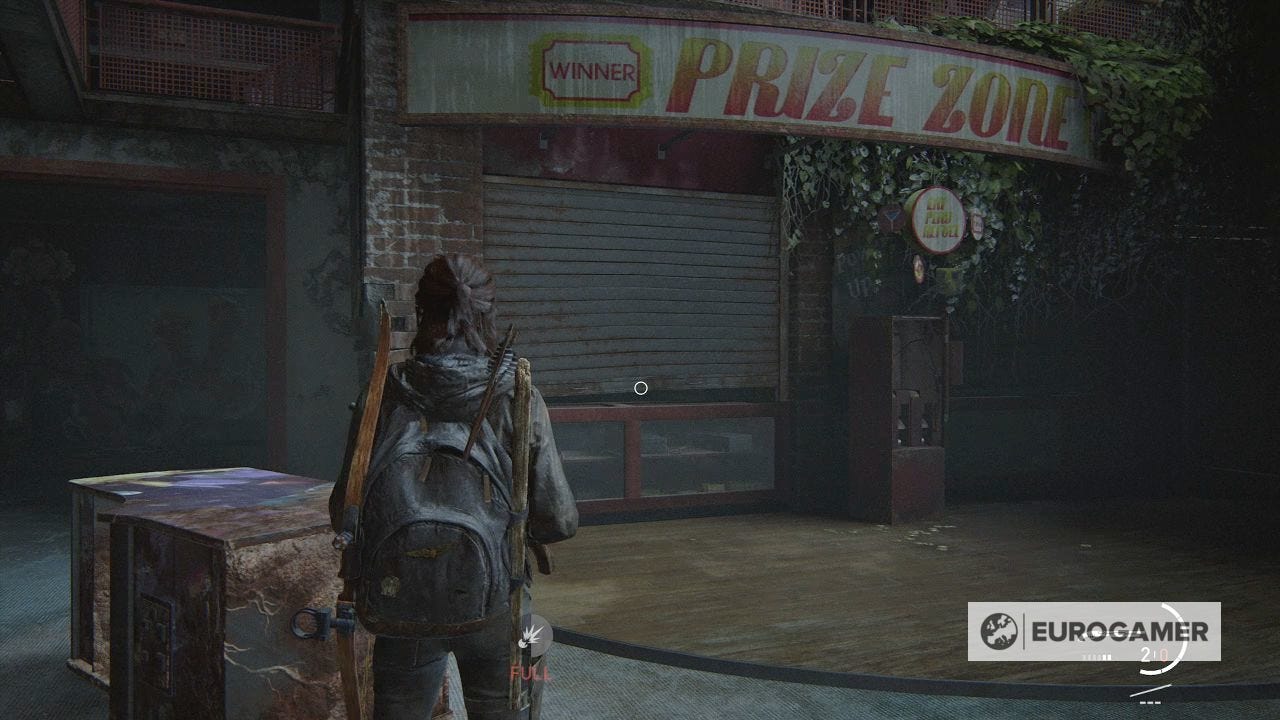
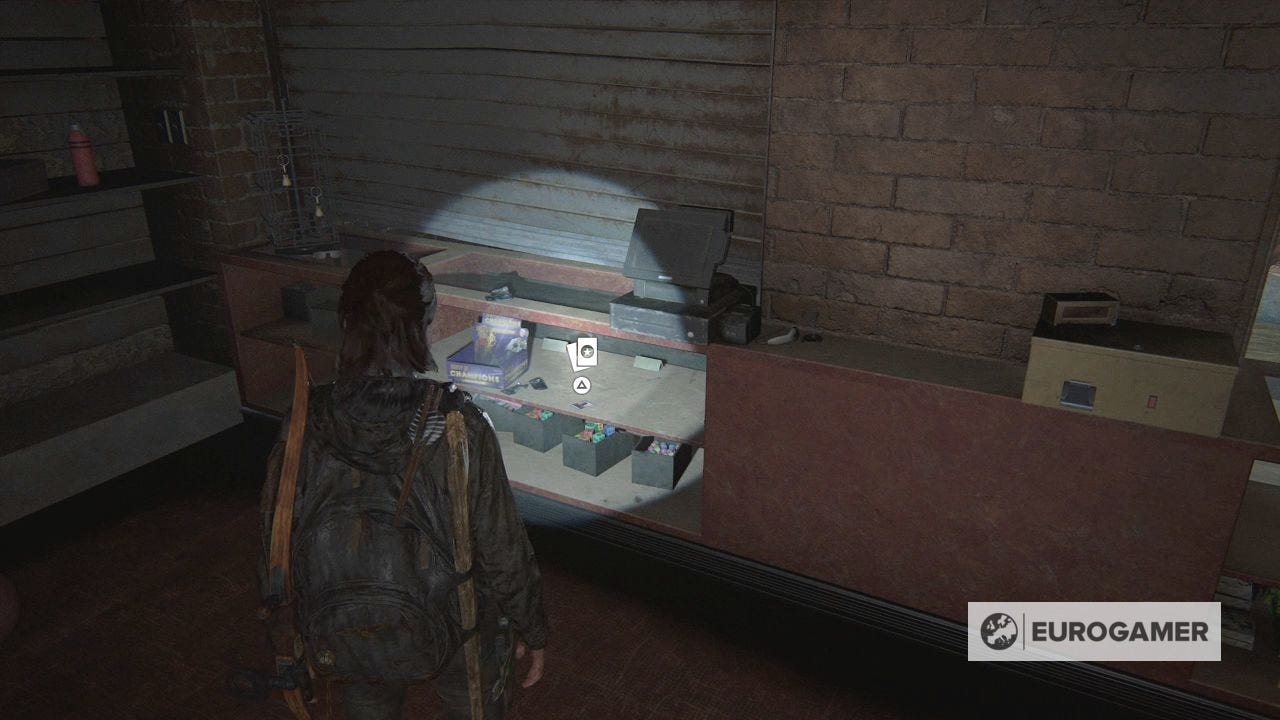
After you open the shutter and jump over the counter, turn right. There is a Khazakh Bright Trading Card to be found.
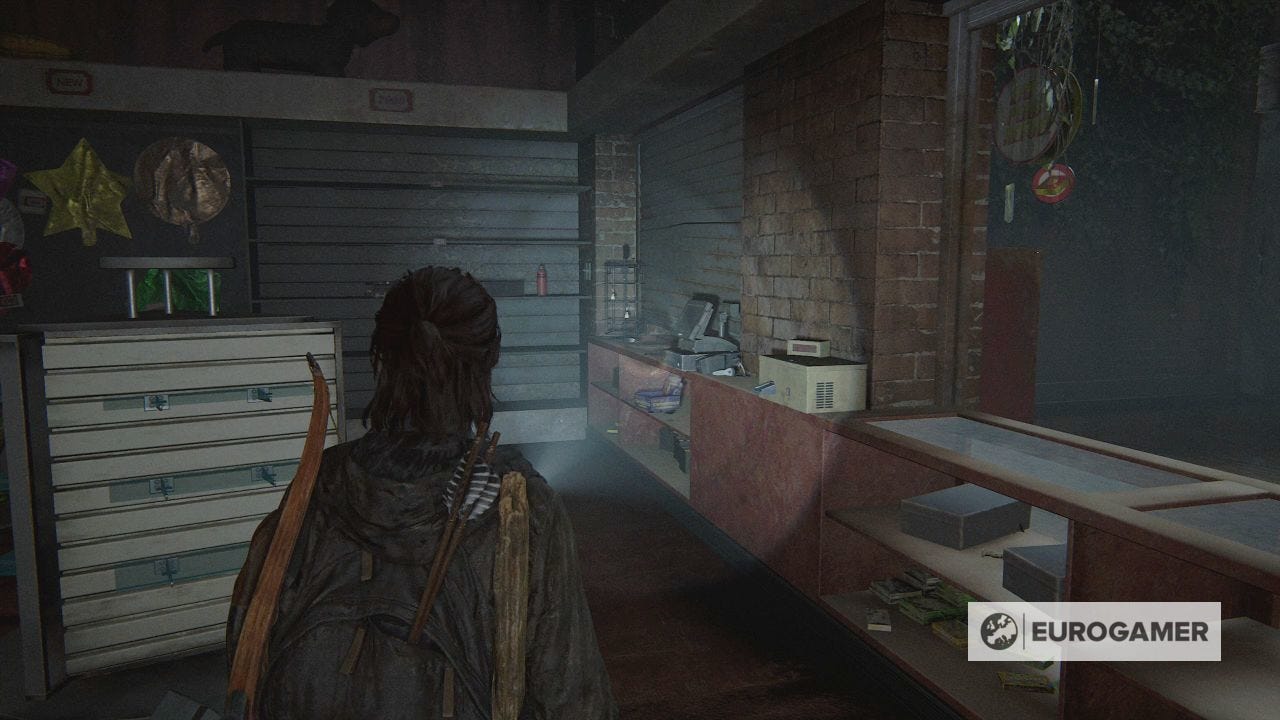
Go upstairs. Turn right to find the PC Cafe area at the end.
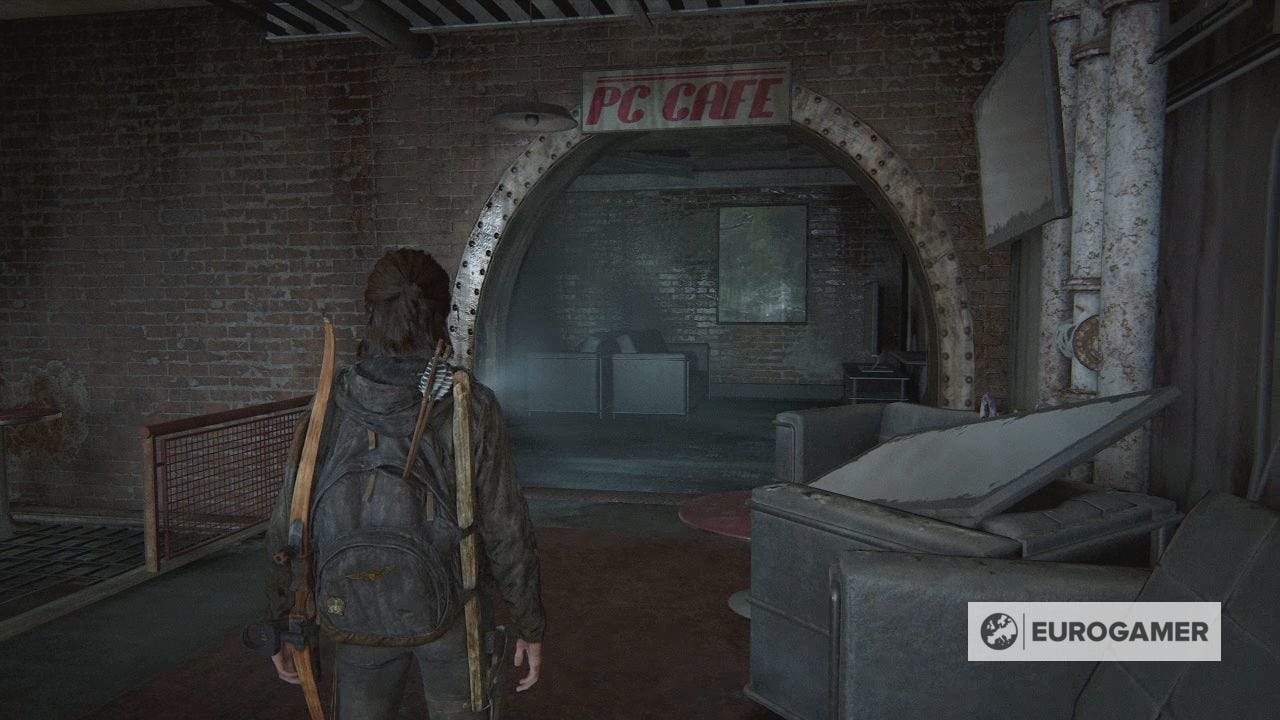
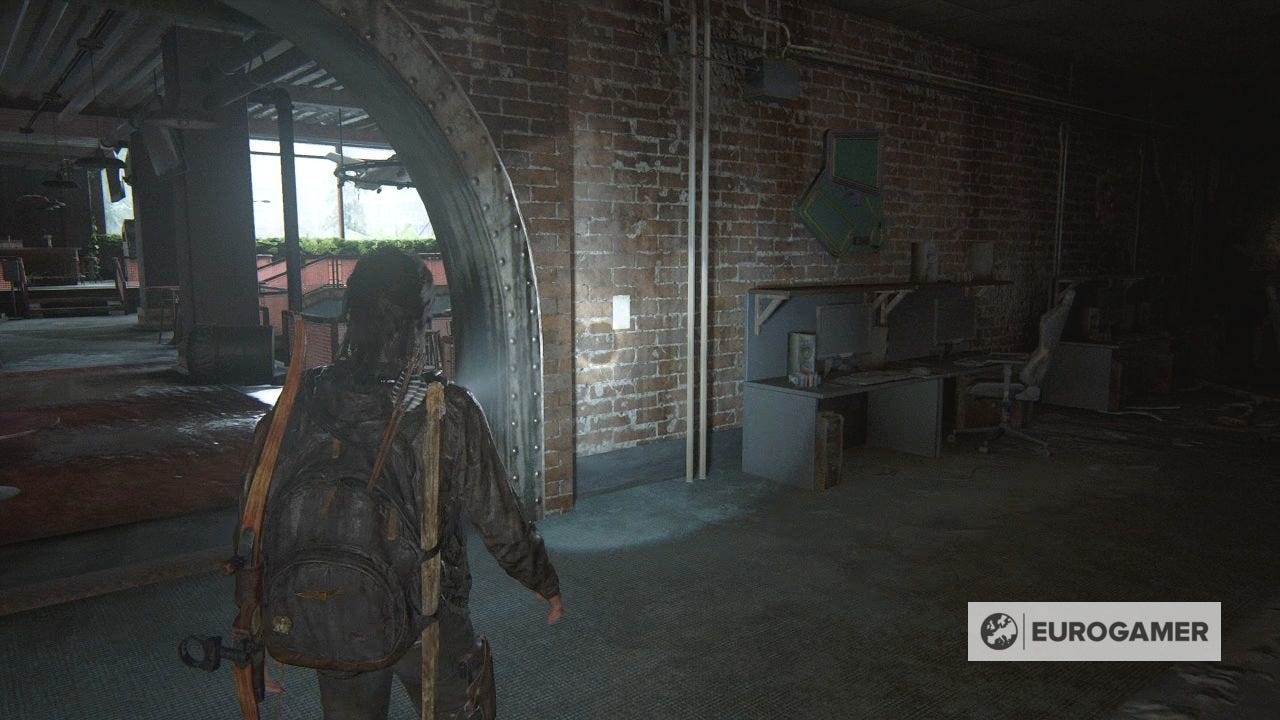
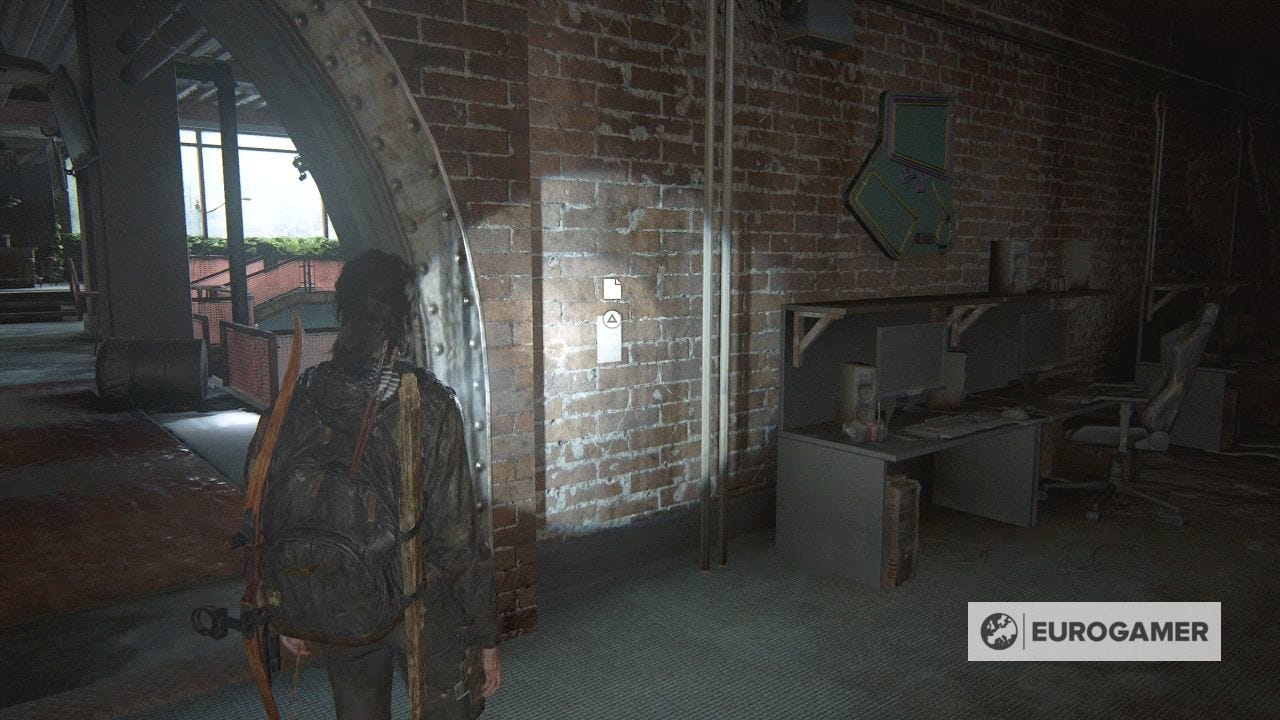
As soon as you enter, look on the wall to the left for the Arcade Note Artefact.
Now go across the walkway where you'll find the debris blocking the gate chain.
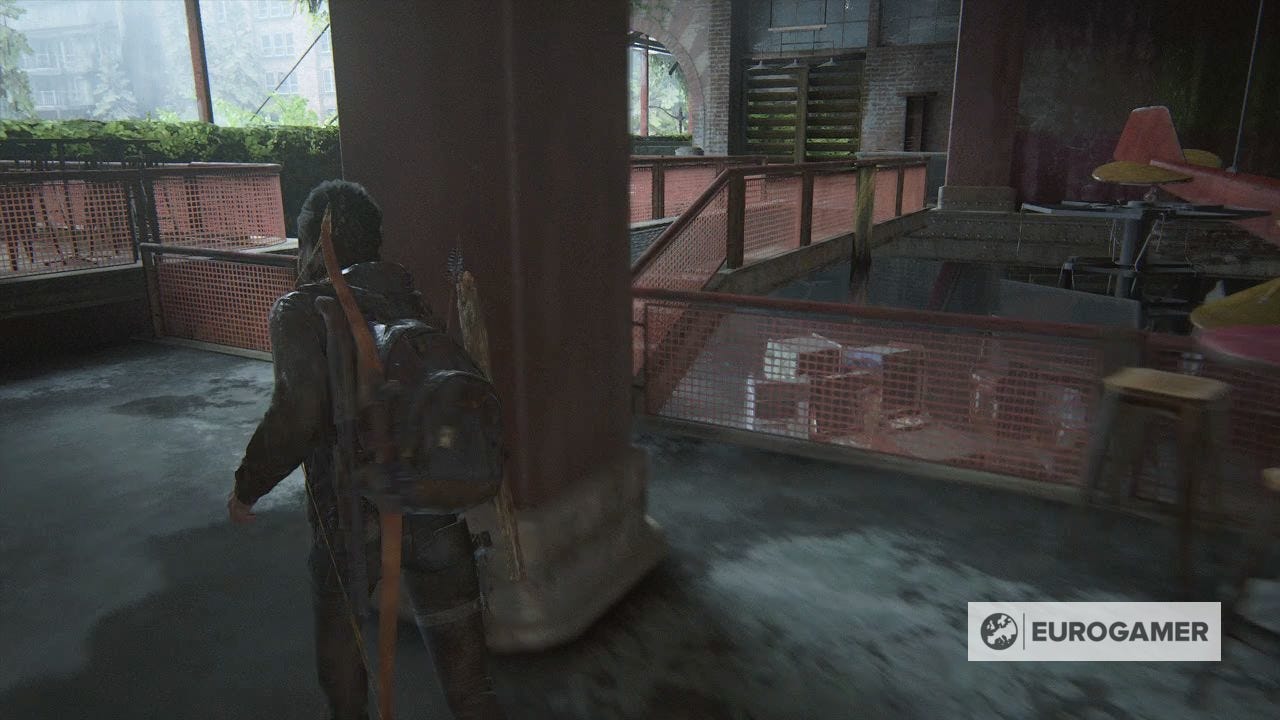
After the button prompt, drop down and use the chain. Now ride out on your boat.
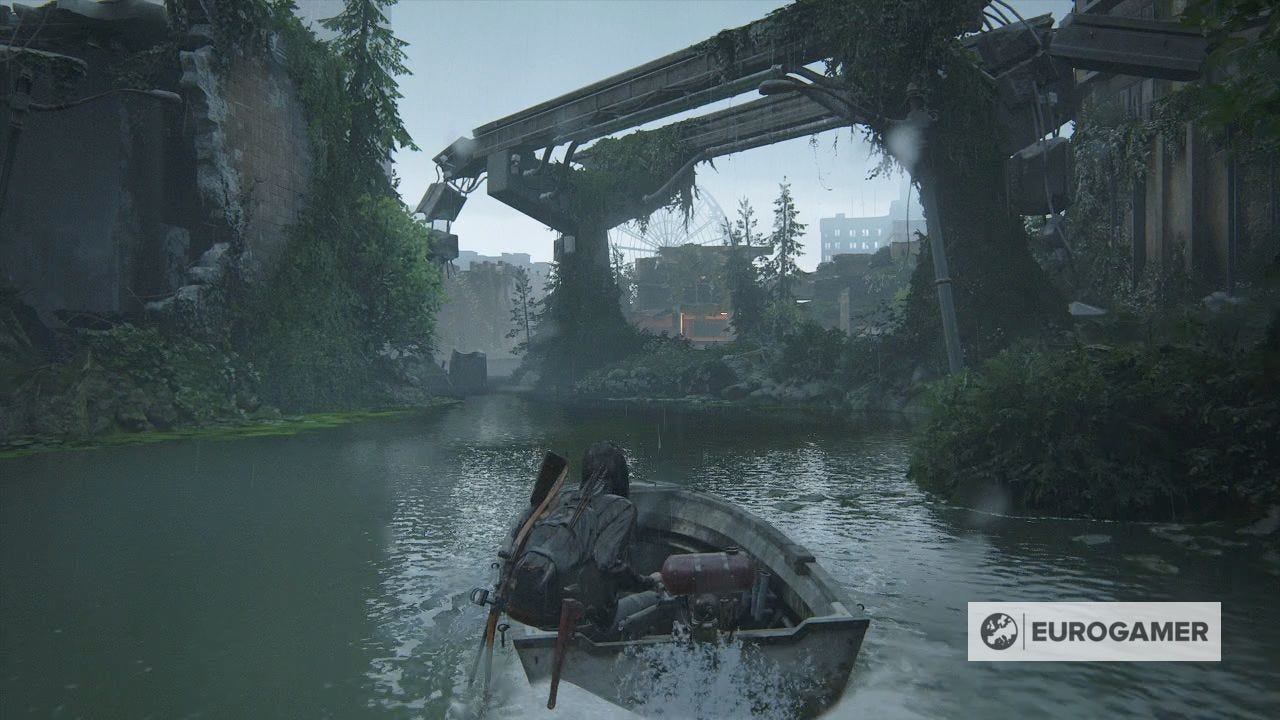
Follow the linear route out to sea, and towards the wheel in the distance.
Now begins the Infiltration chapter.