Stellar Blade An Eye for an Eye, a Tooth for a Tooth side quest walkthrough
How to reach the Ruins in The Great Desert.
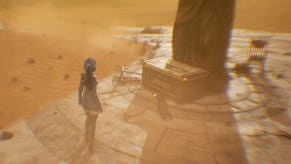
An Eye for an Eye, a Tooth for a Tooth quest in Stellar Blade will take you to the Great Desert and task Eve with exploring some ruins engulfed by the sand to regain a set of precious items for a remorseful Xion Sentinel.
However, as with many Stellar Blade side quests, it sounds easier than it is. You can't simply enter the ruin building at ground level, that would be too easy. Instead, you need to take Eve to new heights and find a creative way of getting where you need to be.
With that in mind, we're here to show you how to complete An Eye for an Eye, a Tooth for a Tooth quest in Stellar Blade.
On this page:
How to start the An Eye for an Eye, a Tooth for a Tooth quest in Stellar Blade
To start the An Eye for an Eye, a Tooth for a Tooth quest in Stellar Blade you need to have completed the main story quest in Matrix 11.
Then, to start the quest, look for the Sentinel in Xion at the exclamation point we've marked on the map below - they aren't too far from the Cradle.
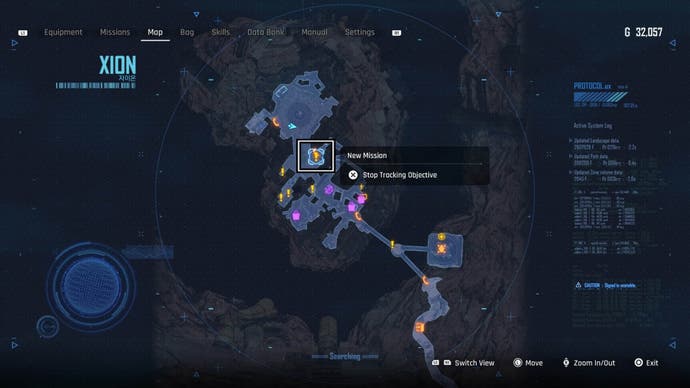
Speak with them to learn that they're living with extreme guilt for abandoning their squad in The Great Desert and they want you to retrieve their memories. This is the sign that the An Eye for an Eye, a Tooth for a Tooth quest has begun.
How to reach the Ruins in the Great Desert in Stellar Blade
To reach the Ruins in the Great Desert in Stellar Blade you need to head east from the Tetrapod's landing site to a cluster of ruined buildings amongst the sand.
We've marked the location on the map below for you too:
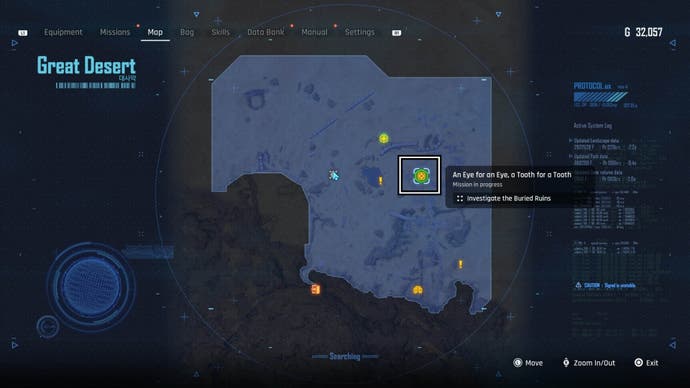
When you're near the marker look for the West of the Ruins Legion Camp. If you're not sure if you've found it, check your map after interacting with the camp to find out its name.
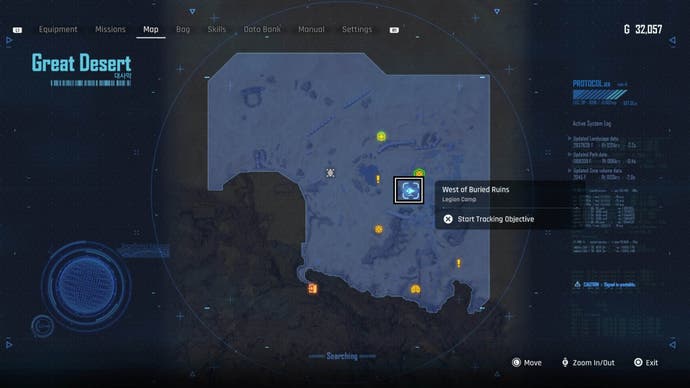
Then, face the camp and look to the left. You should be able to see a gap between the buildings her highlighted by a fallen lamp. Go through here to the other side.
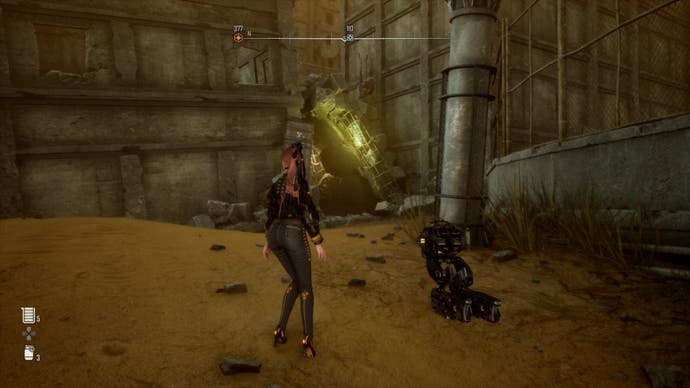
Follow the path to your right and then slightly around to the left, you should then see a building in front of you with a large corner section of it missing. These are the ruins you need to get to, but you need to take a detour to actually get where you need to be.
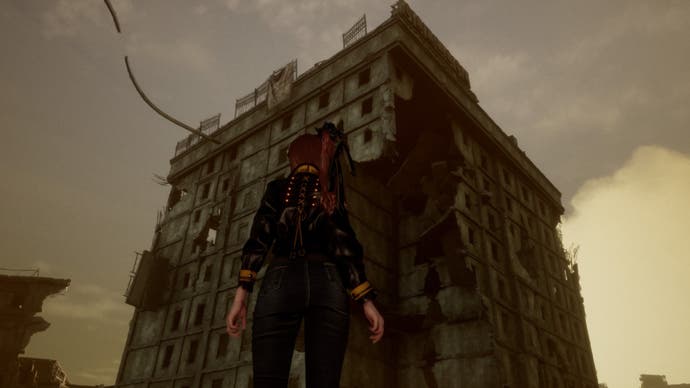
Face the Ruins and then look left, you should see a schoolbus against a building here with a purple glowing arrow above it. Climb the ladder against the building here to get to the rooftop.
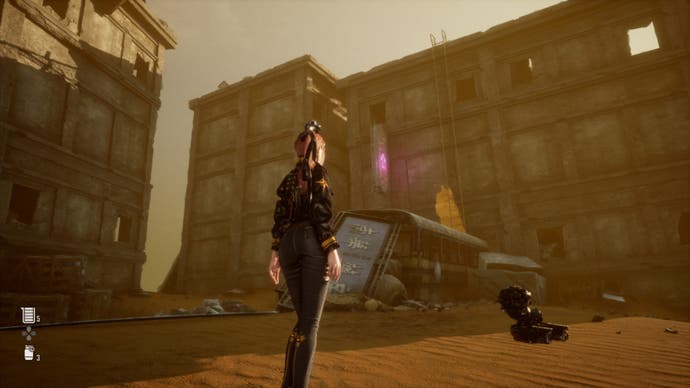
Once you're on the rooftop head to the left towards the large arrow sign, then turn left again and jump across to the next building.
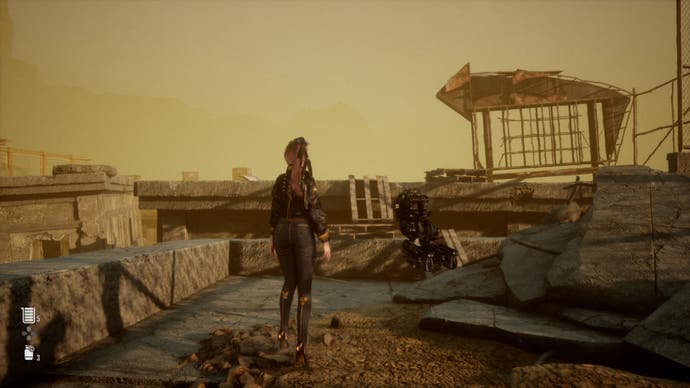
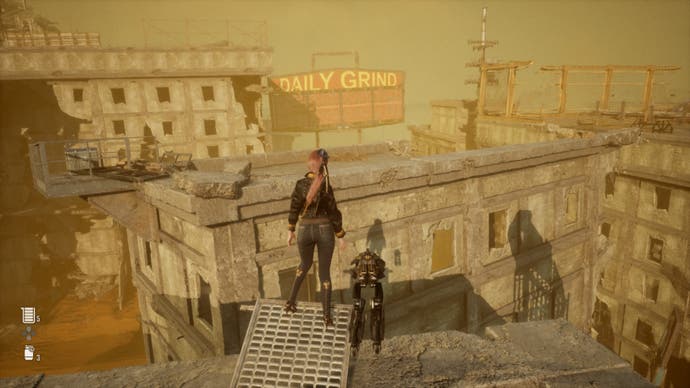
On the next rooftop head to the right and jump across to the next roof that's filled with crates.
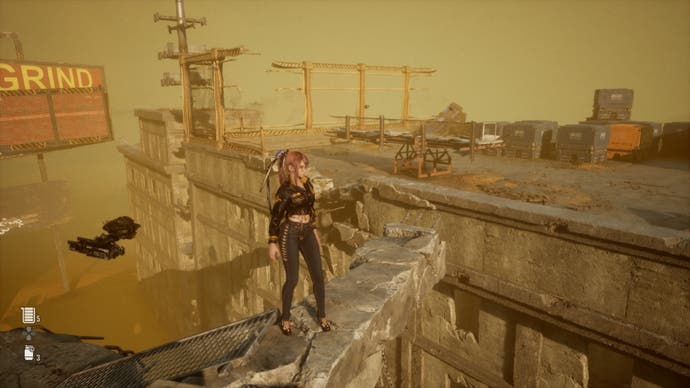
Once you're here you need to find the seesaw device and make sure that it's balanced so that the highest point is facing an antenna with a pole on it.
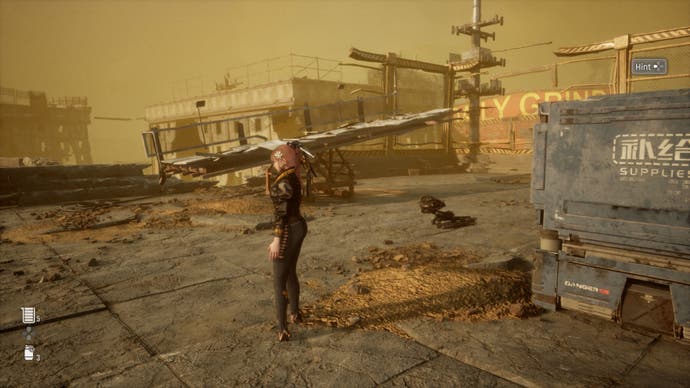
Then, pull out the yellow crate with R2 and use L to move it so it's wedged against the lowered side of the seesaw to stop it moving when Eve stands on it.
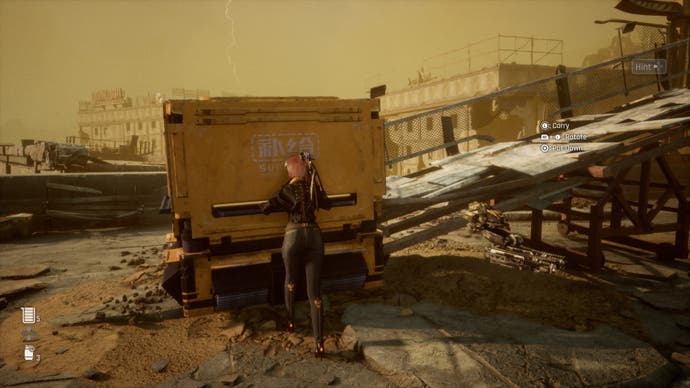
Once you've stopped it moving, run along the seesaw then jump and dash so that Eve grabs onto the pole. Then, swing and jump across to the next rooftop.
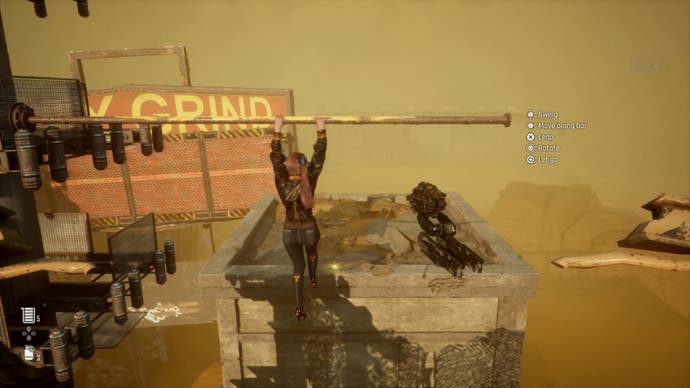
On this rooftop head towards the large red sign and then drop down to the smaller rooftop just below you. Then, you need to wall run along the red sign quickly and press X at the end to jump off towards the next building. As you jump aim for the wall climbing holds.
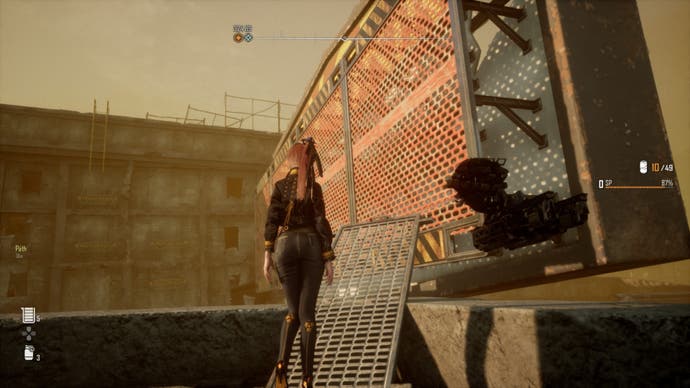
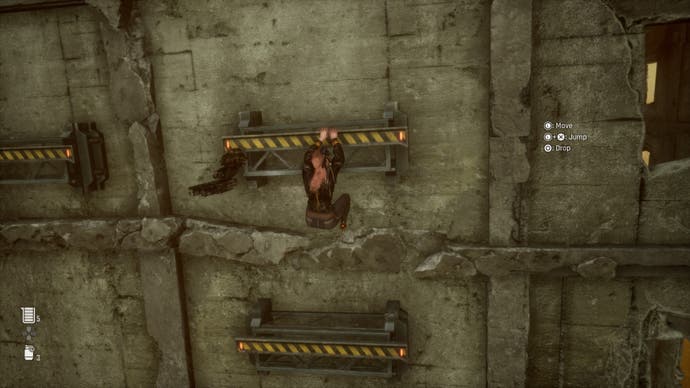
Then, follow the climbing path upwards and onto the roof. Once here, head directly opposite you and release the rope device here so you have another way to get up to this roof if you fall off.
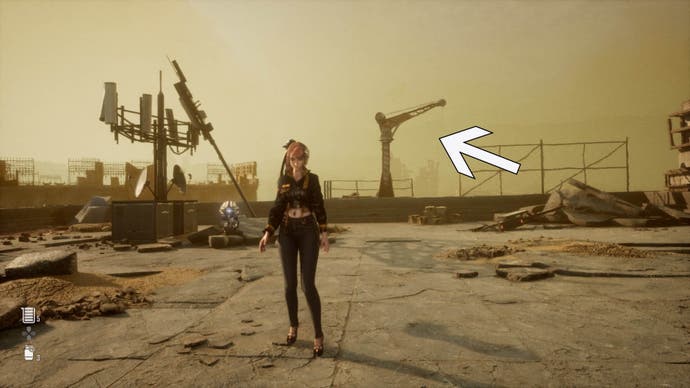
From rope device head to your left and stand on the edge of the building here. You should be able to see a beam sticking out of the building here. Carefully jump down onto it and follow the path laid out by it across to the Ruins rooftop.
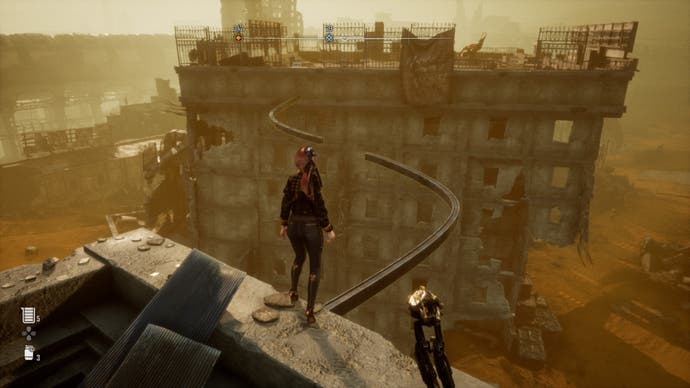
Get ready, as soon as you reach the rooftop a fierce boss battle will start with a familiar Naytiba, an Abbadon only this one has decided it can wield lightning!
How to defeat Great Desert Abbadon in Stellar Blade
This Abbadon is stronger than the one you first faced on Eidos 7 and it has decided it can now wield lightning attacks quite efficiently. Fortunately, by this point in the story Eve will have unlocked every skill tree and multiple powerful attack options.
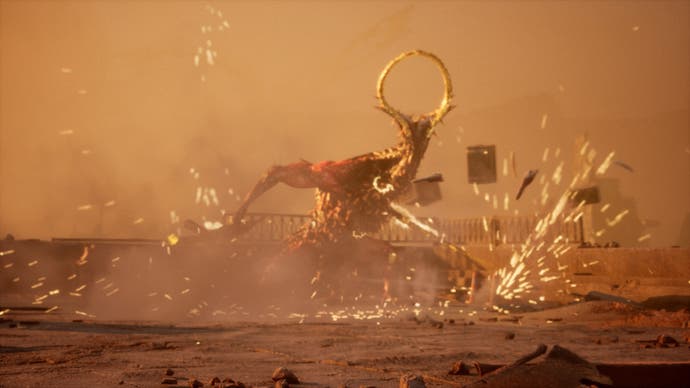
If you're struggling, here are our top tips for defeating this Abbadon variant:
- Dodge all yellow attacks - When Abbadon glows yellow it's a warning sign that they're going to do heavily damaging attacks that are hard to block. Once you see this telltale glow, make sure you're far enough away from the Naytiba so you can safely jump, dash and dodge yourself to safety.
- Dodge all lightning attacks - Abbadon will use several types of lightning attacks and we strongly advise dodging all of them. You can attempt blocking them if you think you can, but they deal a lot of damage in a single hit - if you get it wrong, Eve will be killed.
- Use Tachy's Abilities - We saved this flurry until Abbbadon's health was halfway down but you can use it at any point in the fight. Tachy's abilities deeply hurt this Naytiba, and we can't say they don't deserve that.
- Use Beta Skills - Lightning Rush and Infinite Rush in particular really hurt Abbadon, especially if you've got the skill that allows you to do an instant follow-up attack.
- Block Slice attacks - Abbbadon will slice at you with its sword-like arms as its general attacks and you can easily block these as they're remarkably simple to anticipate.
- Keep your distance - If you get caught in a corner there is a good chance this Naytiba will just pummel you. Press down on R to track them with the camera, this allows you to see their every move and keep Eve at a safe distance.
- Watch for Purple and Blue Glows - If you've unlocked them, which we strongly recommend doing by this point in the story, use Blink and Repulse whenever the opportunities present themselves. Watch Abbadon and when they glow either purple or blue, then Eve's sword is glowing the same, excecute these moves to get the upperhand.
- Don't forget your Drone gun - Shotgun Shells and Explosive Rounds work particularly well on this Naytiba, especially if you find yourself uncomfortably close to them.
- Use Shock Grenades - If you do find that you're too close to Abbadon and need some time to get away or heal, throw down a Shock Grenade to briefly knock them back.
- Burst Skills - Don't forget your burst skills either, though you will need to time this between the Naytiba's heavy attacks as they can take a moment to excute. However, the reward is worth it as they seriously damage Abbadon.
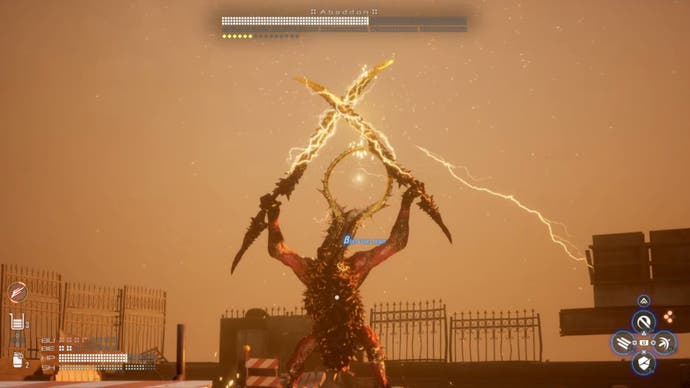
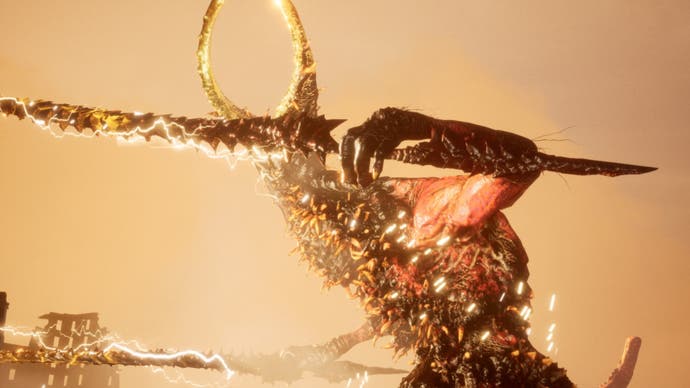
Once you've beaten Abbadon collect all of the items and memory sticks it drops, then go back to Min on Xion to finish this quest, though we must warn you the rewards aren't anything special.
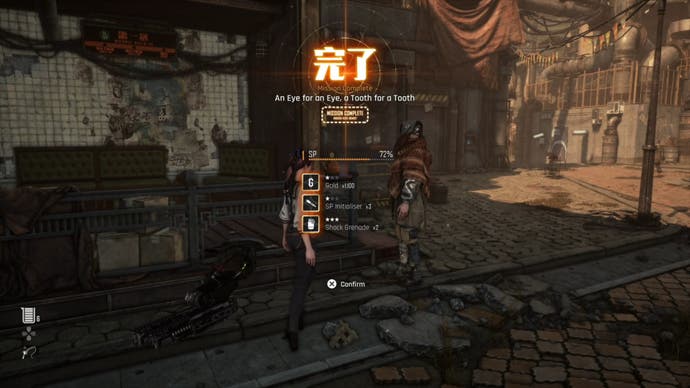
Stellar Blade An Eye for an Eye, a Tooth for a Tooth quest rewards explained
These are the rewards for completing the An Eye for an Eye, a Tooth for a Tooth quest in Stellar Blade:
- SP
- x1,100 Gold
- x3 SP Intialiser
- x2 Shock Grenade
- Any of the items Abbadon drops when you defeat them
We don't blame you if you're disappointed with these, we certainly were!
That's it for now! If you're looking for more Stellar Blade content, check out our page listing all of the outfits and how to get them. Also, we've got a Lost Ark walkthrough and a Recruit Passcode Specialists walkthrough for later quests.


