Starfield: Back to Vectera walkthrough
How to rescue Barrett and get a new companion.

The main quest 'Back to Vectera' in Starfield starts after completing the previous quest 'The Old Neighborhood'.
We're supposed to return to Vectera and keep an eye out for Barrett after Argos Extractors goes out of business there. You'll remember Barrett from the introduction, when the pirates unexpectedly attacked after finding the first artifact.
Back to Vectera
In the Frontier we go up to orbit and to the mission list, where we select the current quest and set a course for Vectera. The Argos Extractors Mining Outpost is unlocked as a fast travel point and can be accessed on the fly.
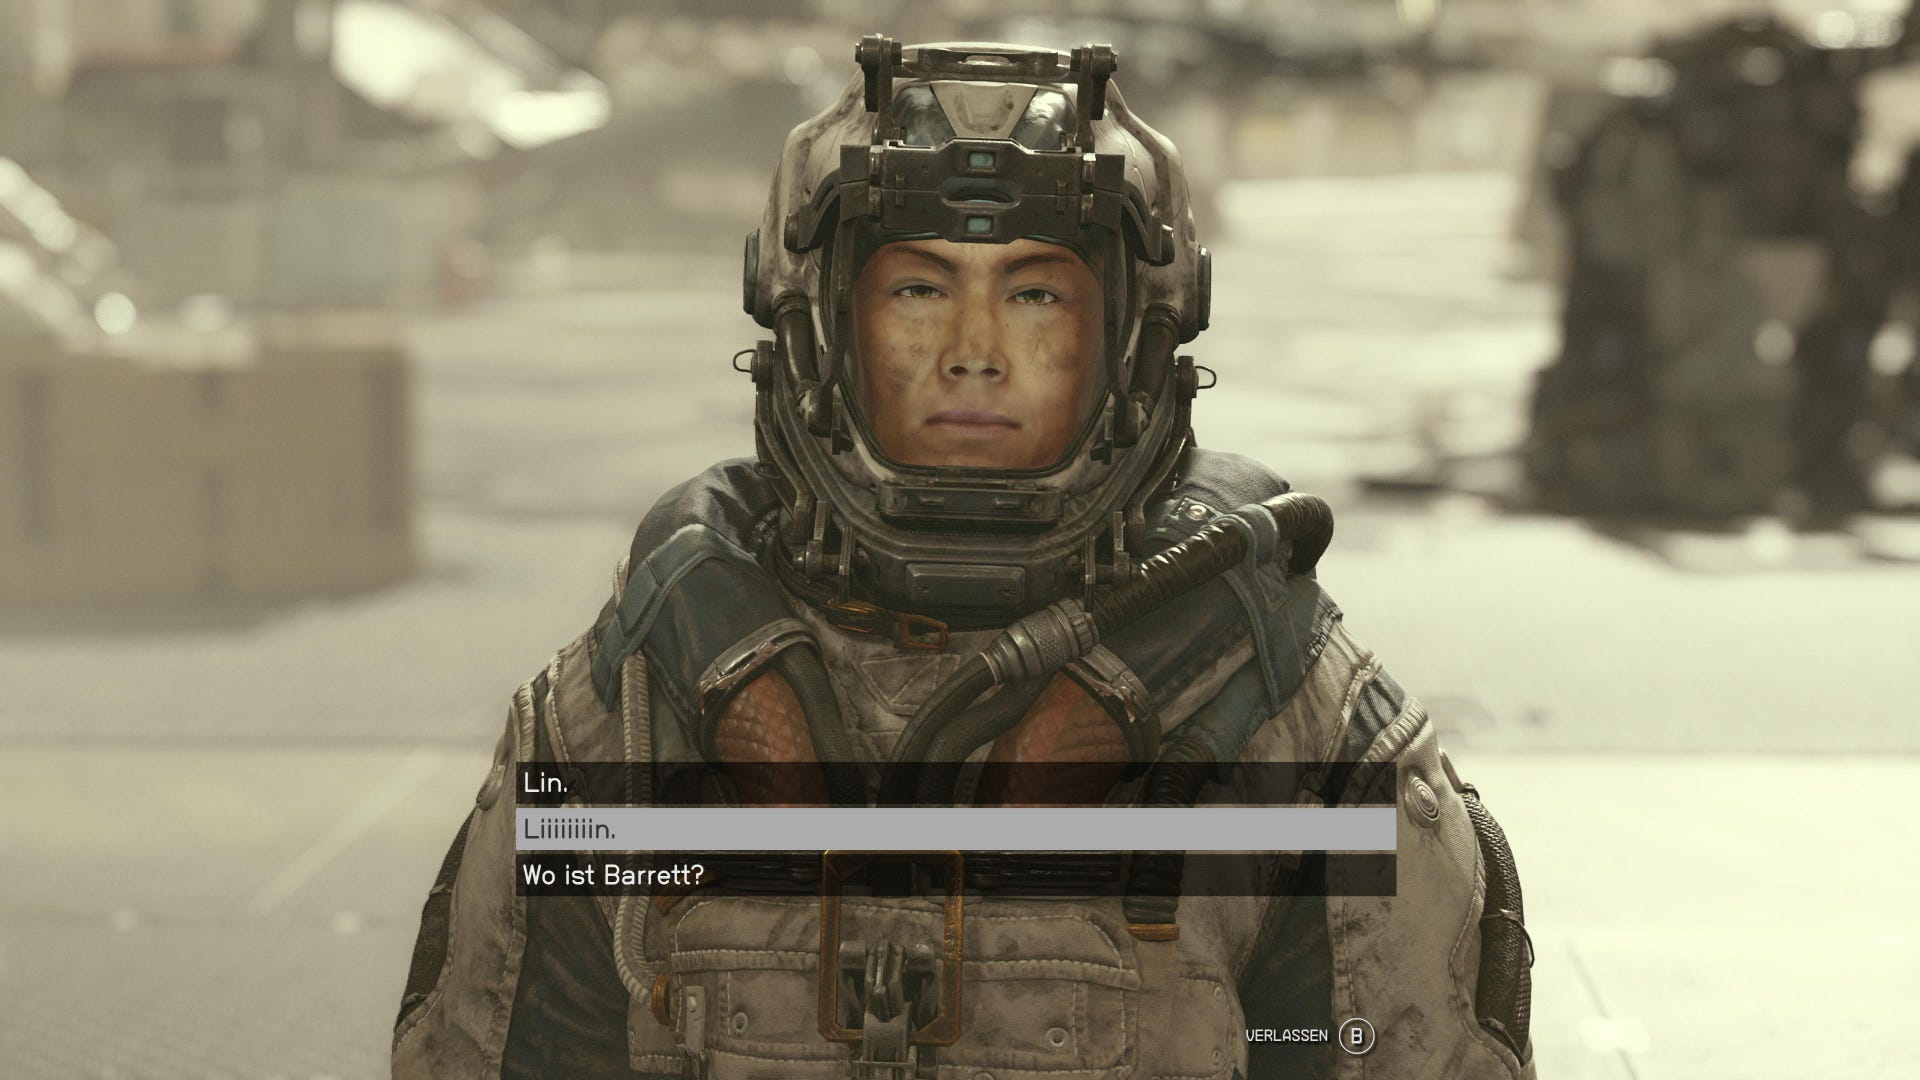
Speak to Supervisor Lin and let her tell you about the pirates' recent attack, which didn't go so smoothly this time. Barrett got lost in the confusion and was taken away by the attackers.
Fix the comm computer
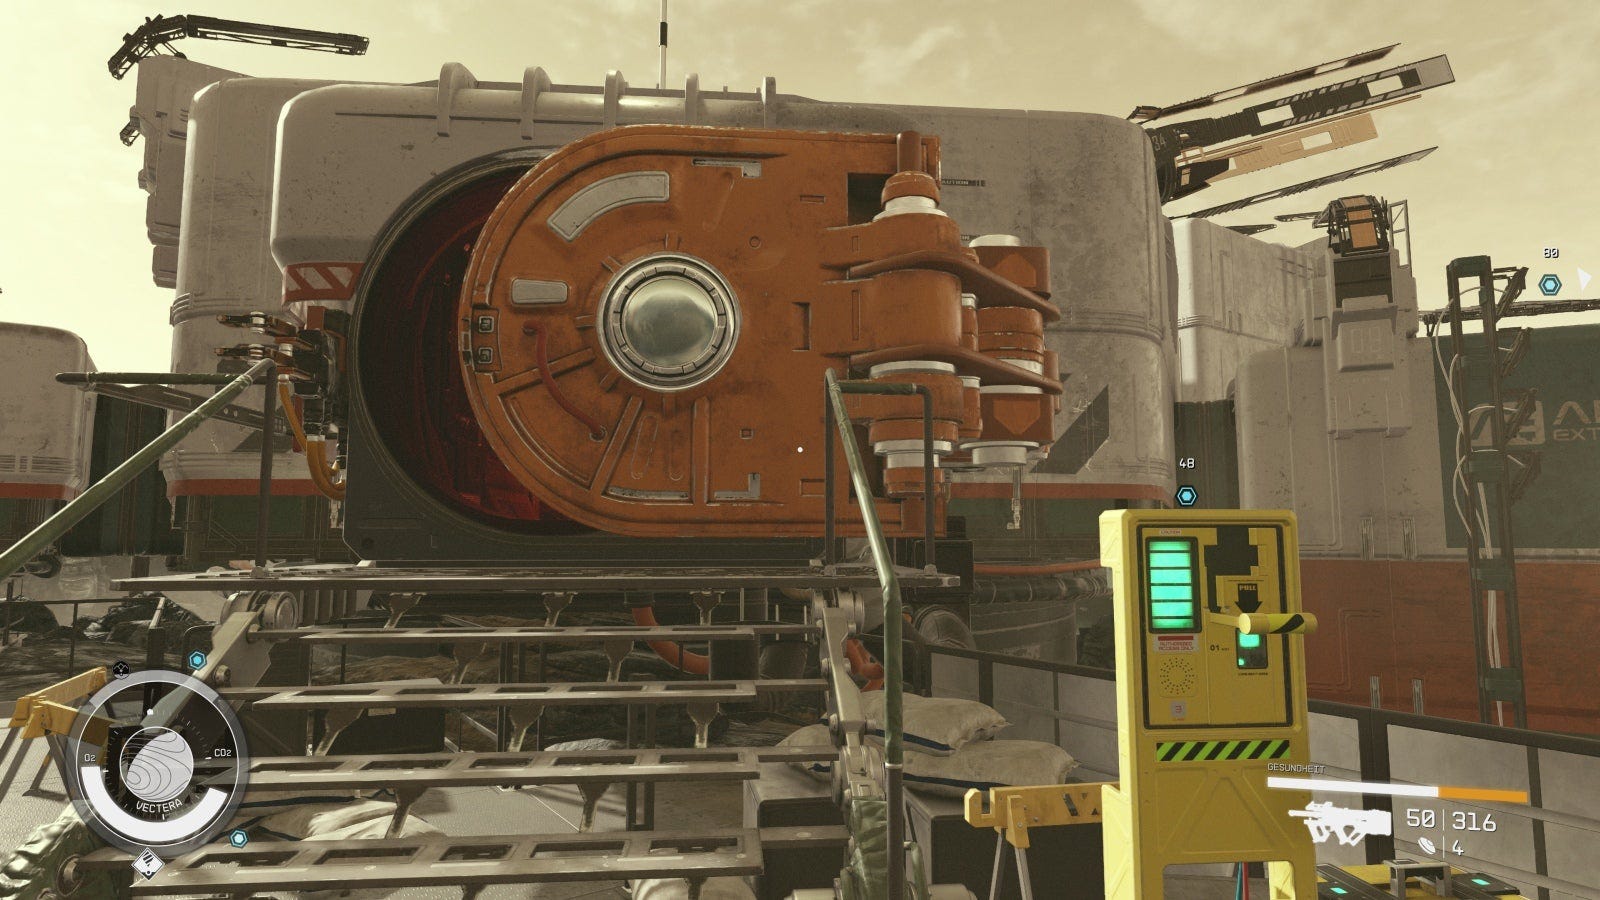
The computer in the comms building might be able to tell us exactly where he went. Follow the marker to the building and open the entrance gate with the switch next to it.
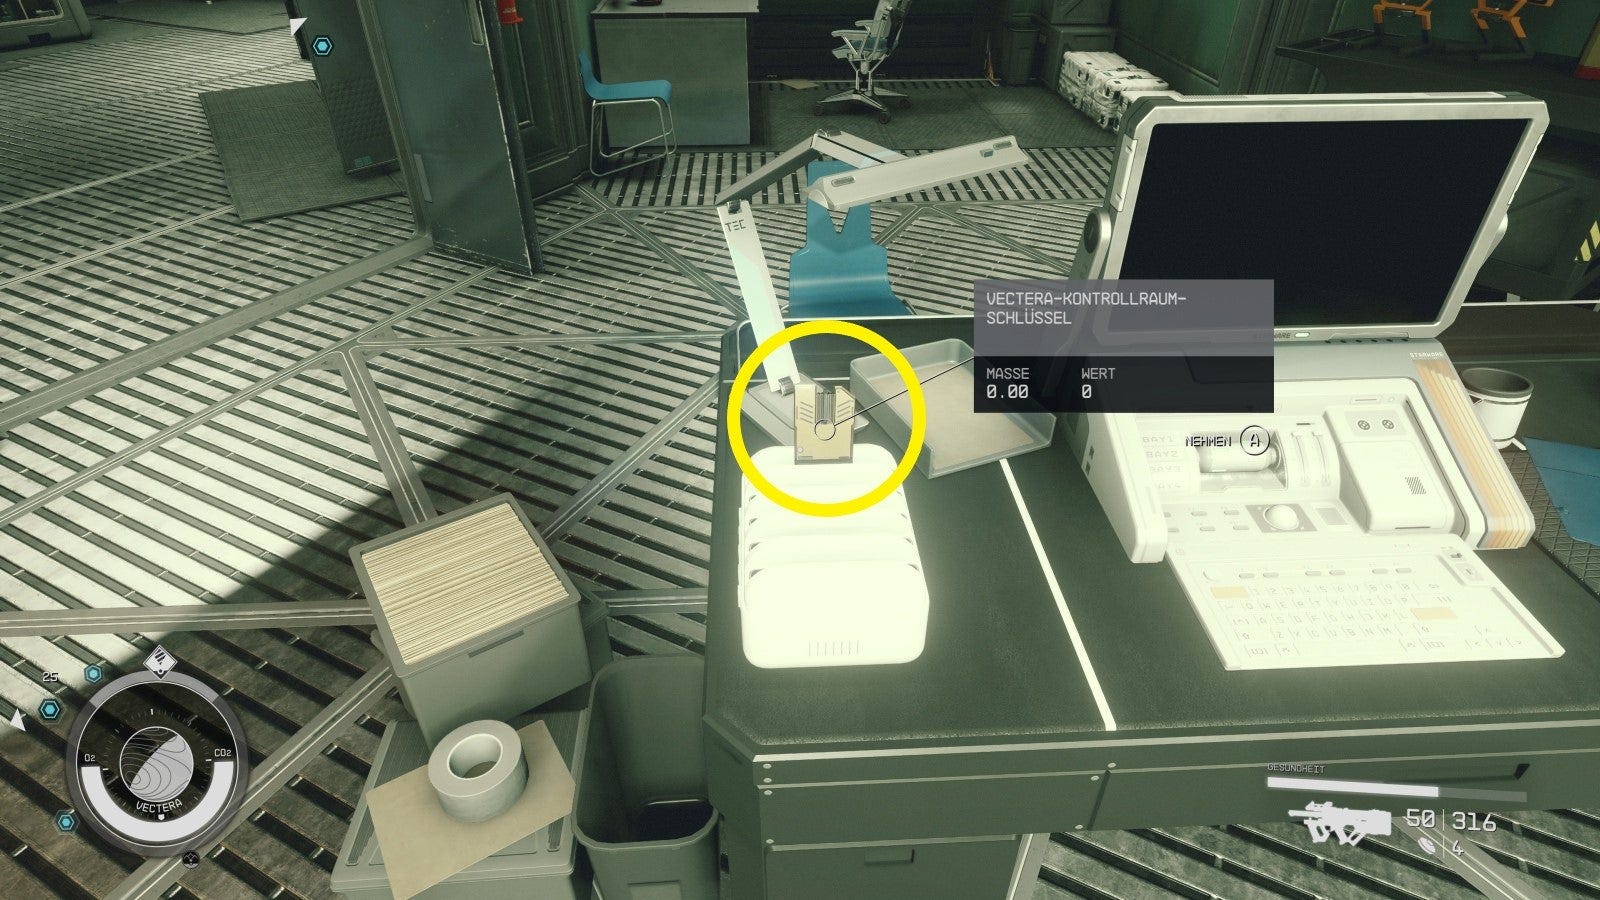
First go to the office on the left and take the Vectera Control Room Key from the desk (it's easy to miss):
Then cross the complex in the direction of the marker and you will find the right door for the key. Alternatively, it can also be opened with lock picking at the beginner level (see lockpicking in Starfield).
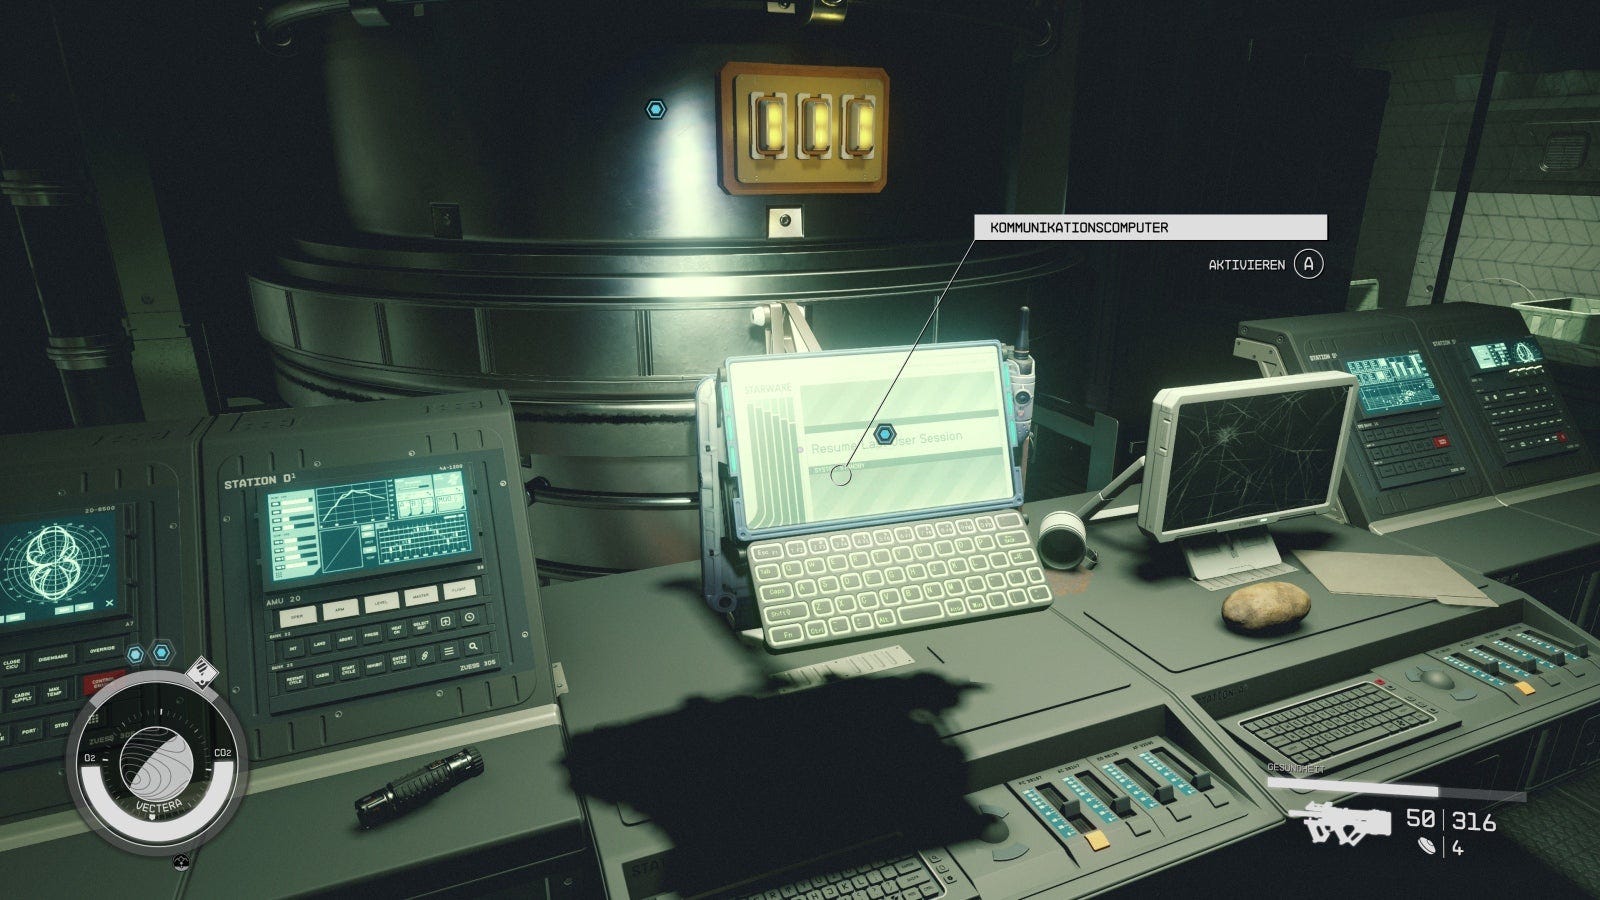
Behind it we find the communications computer, but it has no power. Click on it and first select the middle dot 'Search for energy source'. This starts an optional target.
Optional: Obtain three power cells
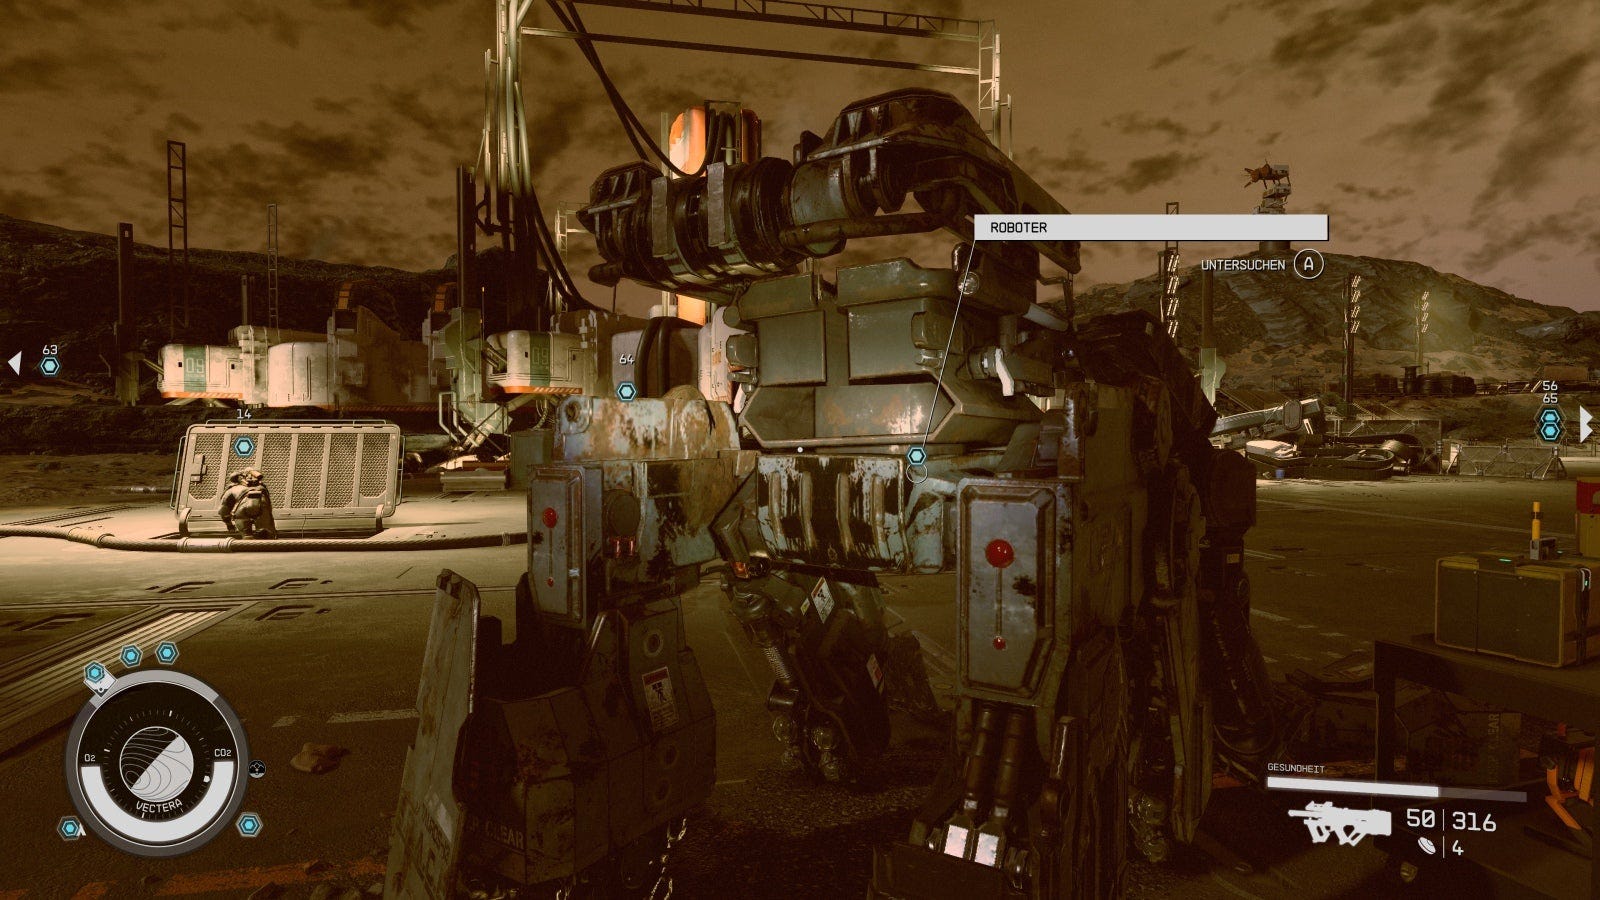
We get three blue markers outside the complex, which we follow one after the other. This robot has an energy cell:
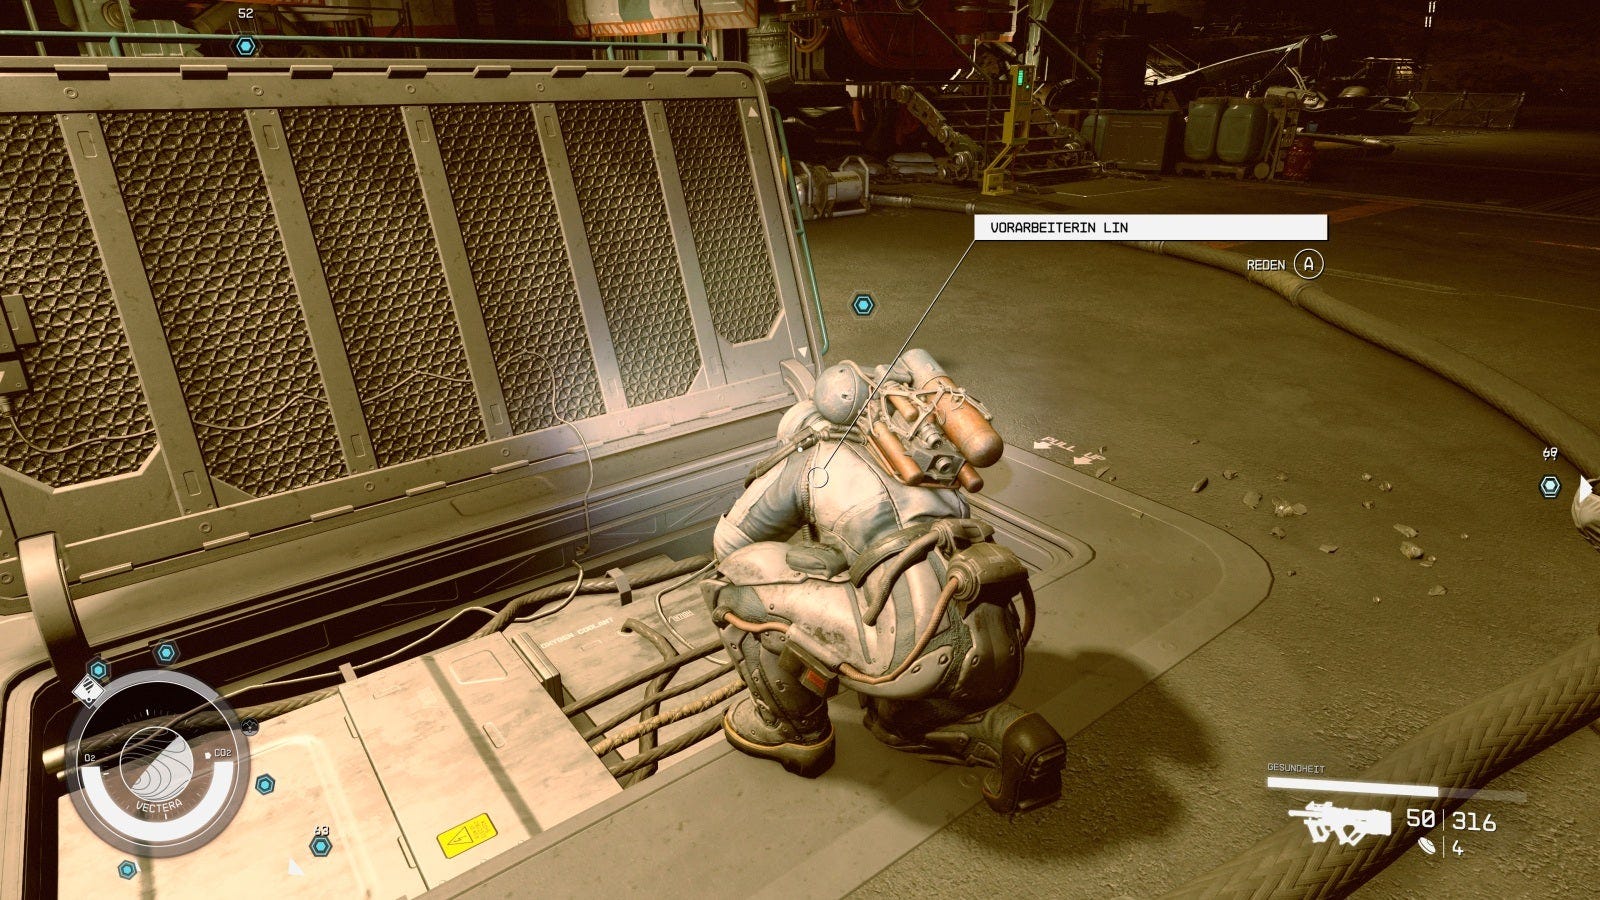
The next one isn't far away. Talk to Supervisor Lin next to it, she'll give you the second cell:
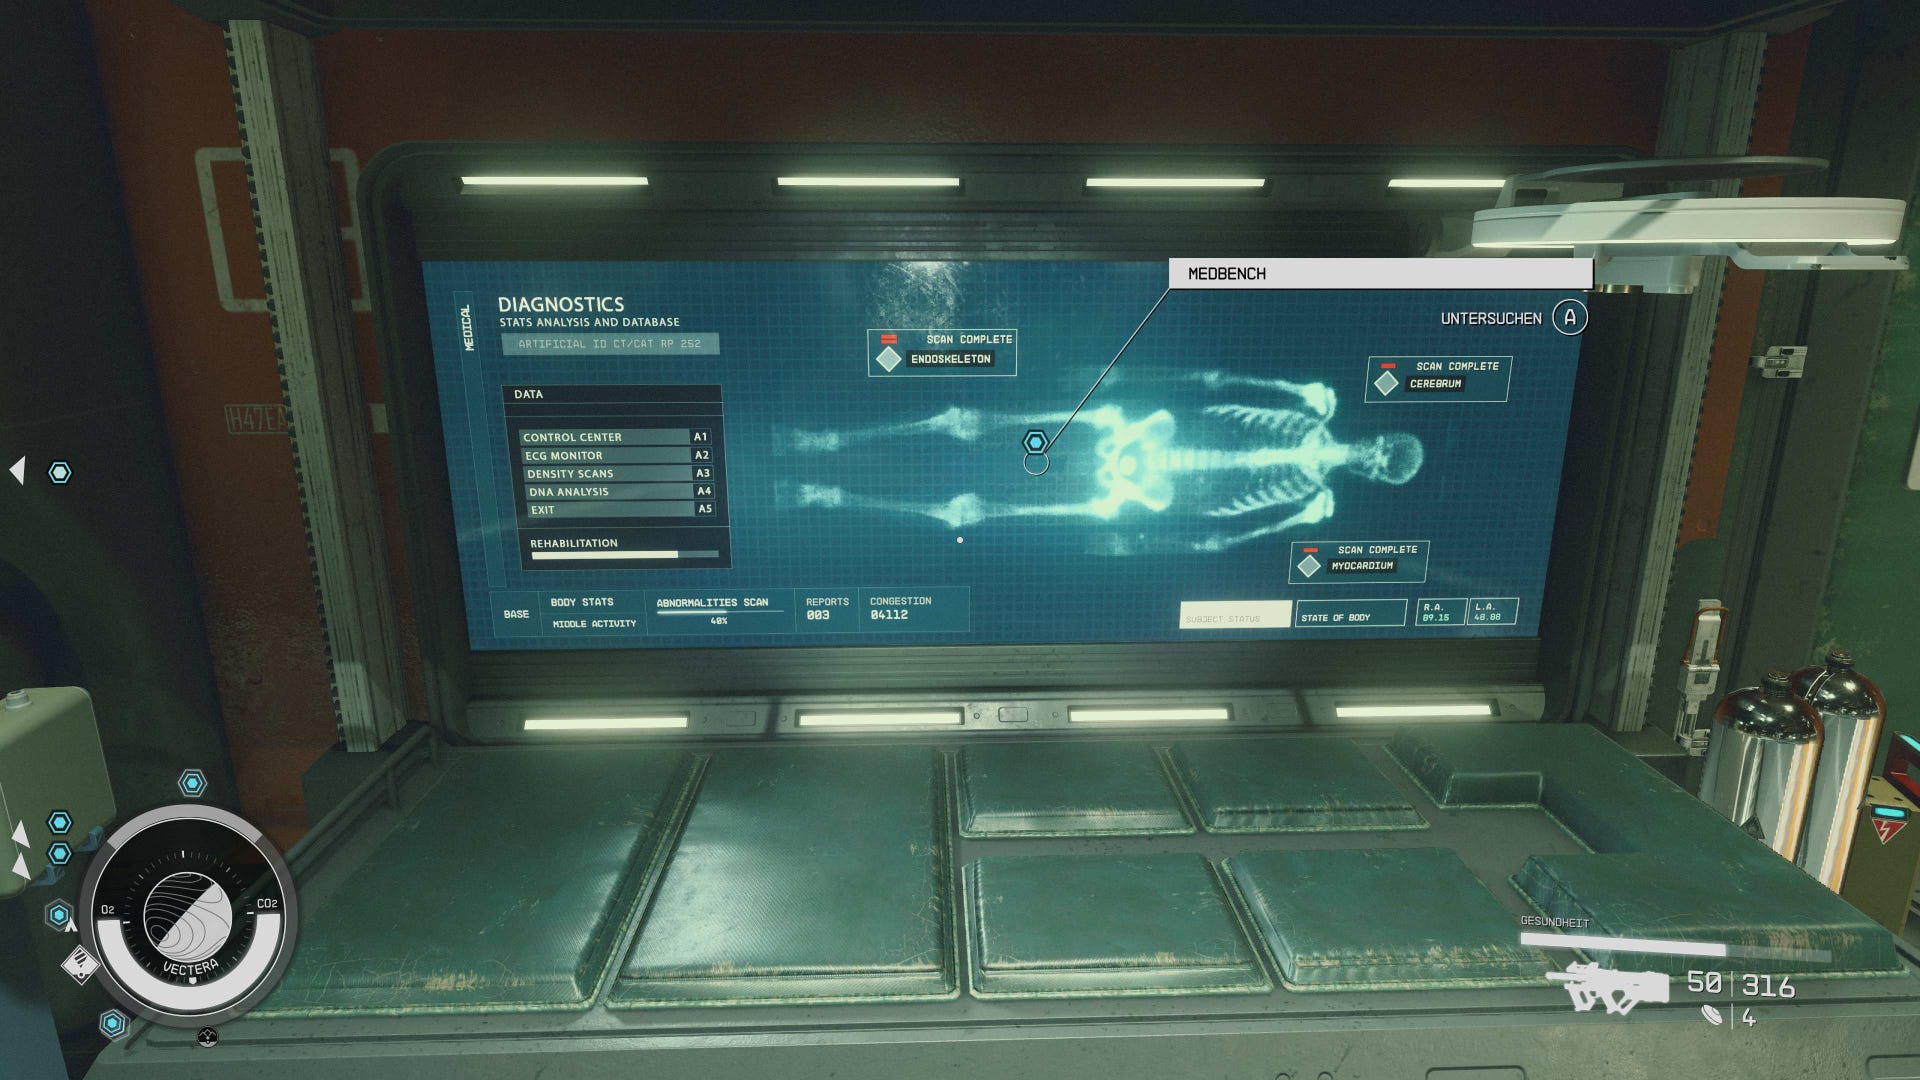
The third energy source leads us into the building next to it. Follow the marker to 'Medbench', a bench for medical purposes in the back area. It can be searched for the cell:
Fix the comm computer
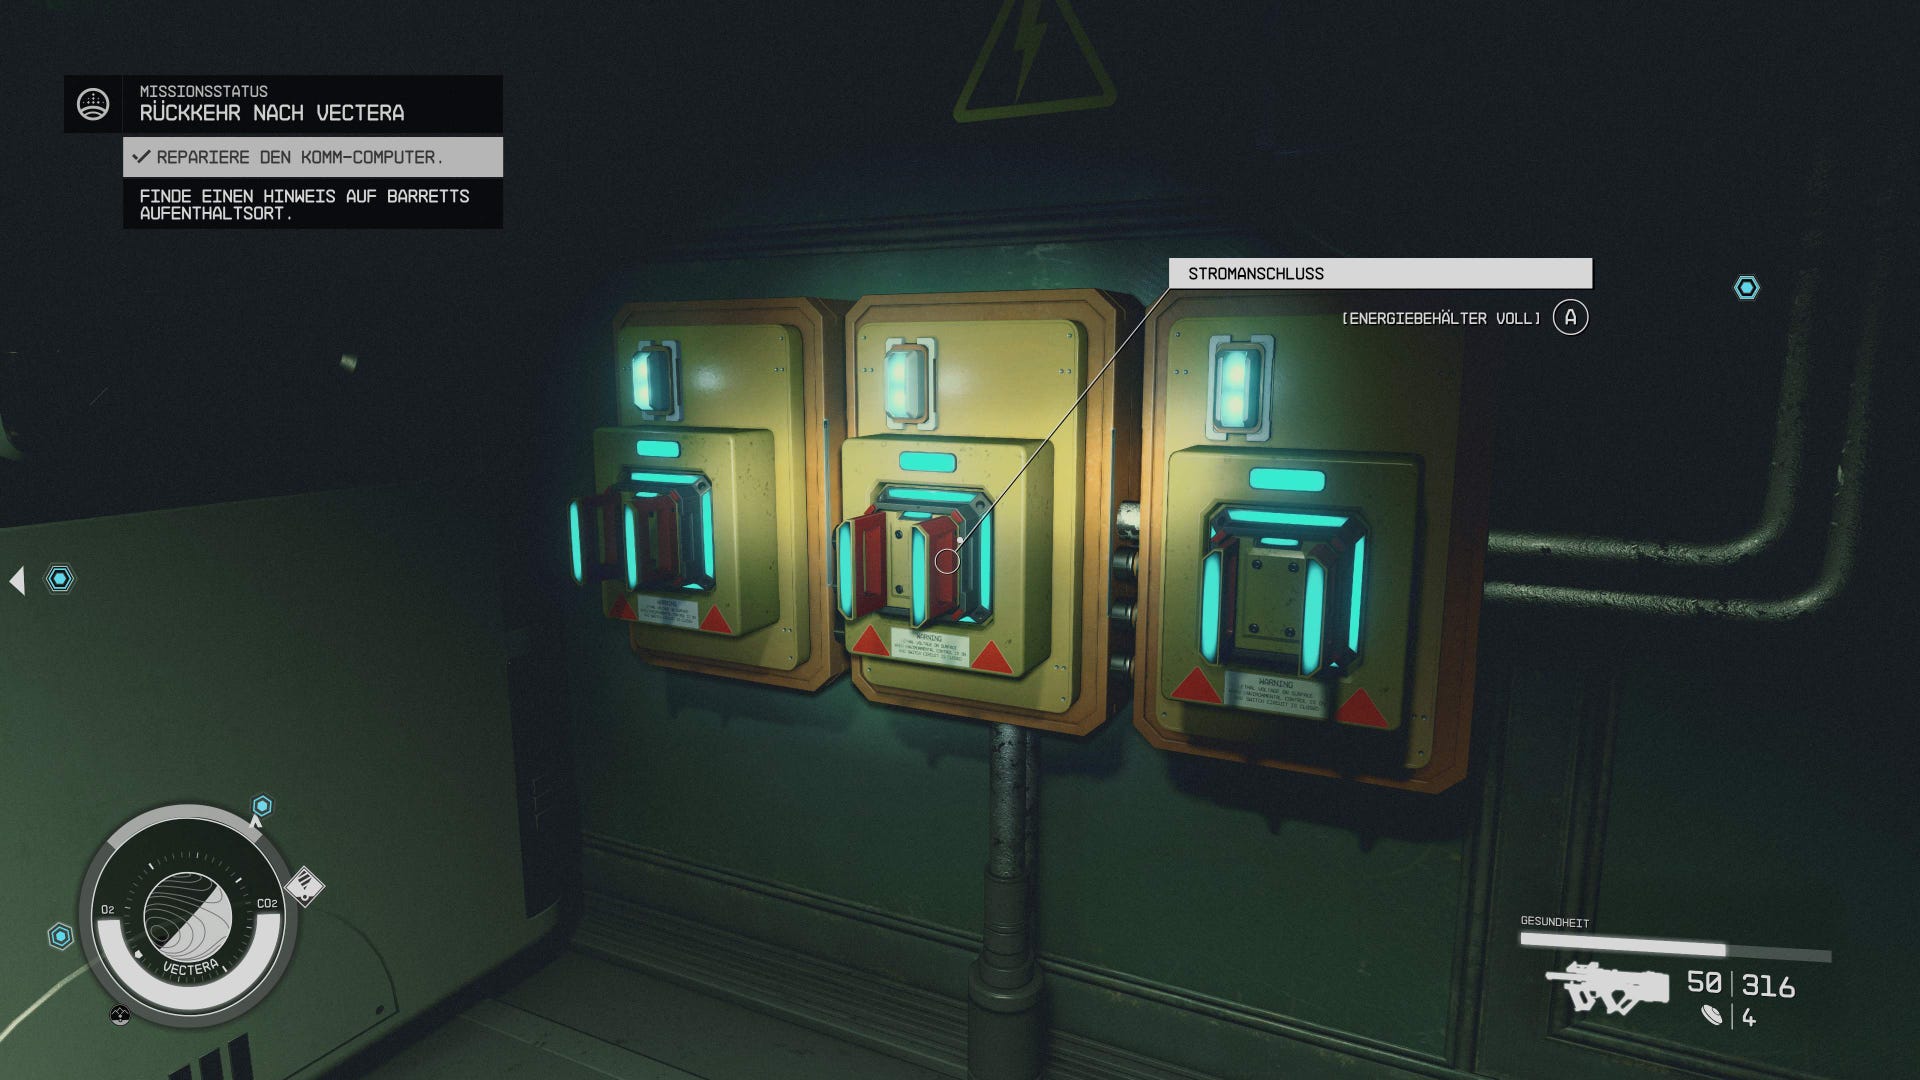
Now that we have everything we need, head back to the room with the computer. Before doing this, place the three energy cells in the power sockets on the wall in order to solve the situation in the best possible way.
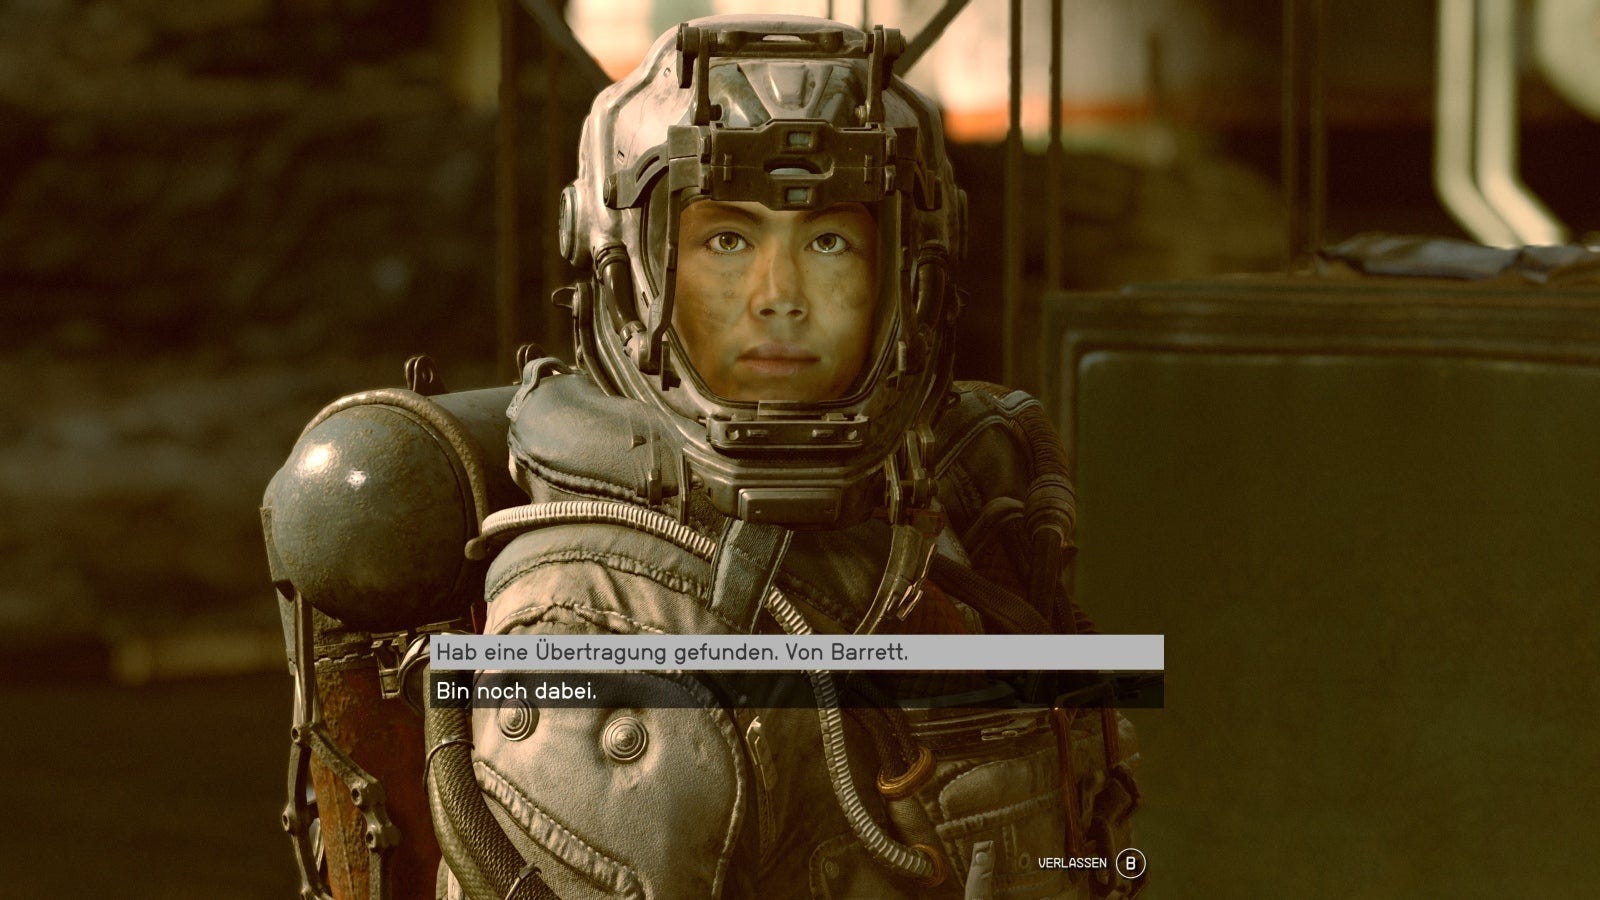
Click on the operational sensor array and you will find two intact entries in the system, of which only the emergency transmission provides important clues as to the whereabouts of Barrett and Heller.
We get the interstellar coordinates and a new goal in this quest.
Return to Lin
Report back to Lin about the find on the computer. On the other hand, you can recruit Supervisor Lin as a crew member right away, and you don't even have to do much convincing to do so. This would fulfil the optional objective.
She also sends us the coordinates with which we should find the pirates' ship in order to rescue the two folks who have been kidnapped.
Note: The names of the planets you must travel to will vary depending on the playthrough. The first time we were sent to Danra, the second save to Altair Va. It makes no difference to the progression of the quest.
Journey to Danra
Use the Frontier to lift off and set a course for Danra via the mission log. Upon arrival, you can locate a crashed ship on the planet's surface, here it is:
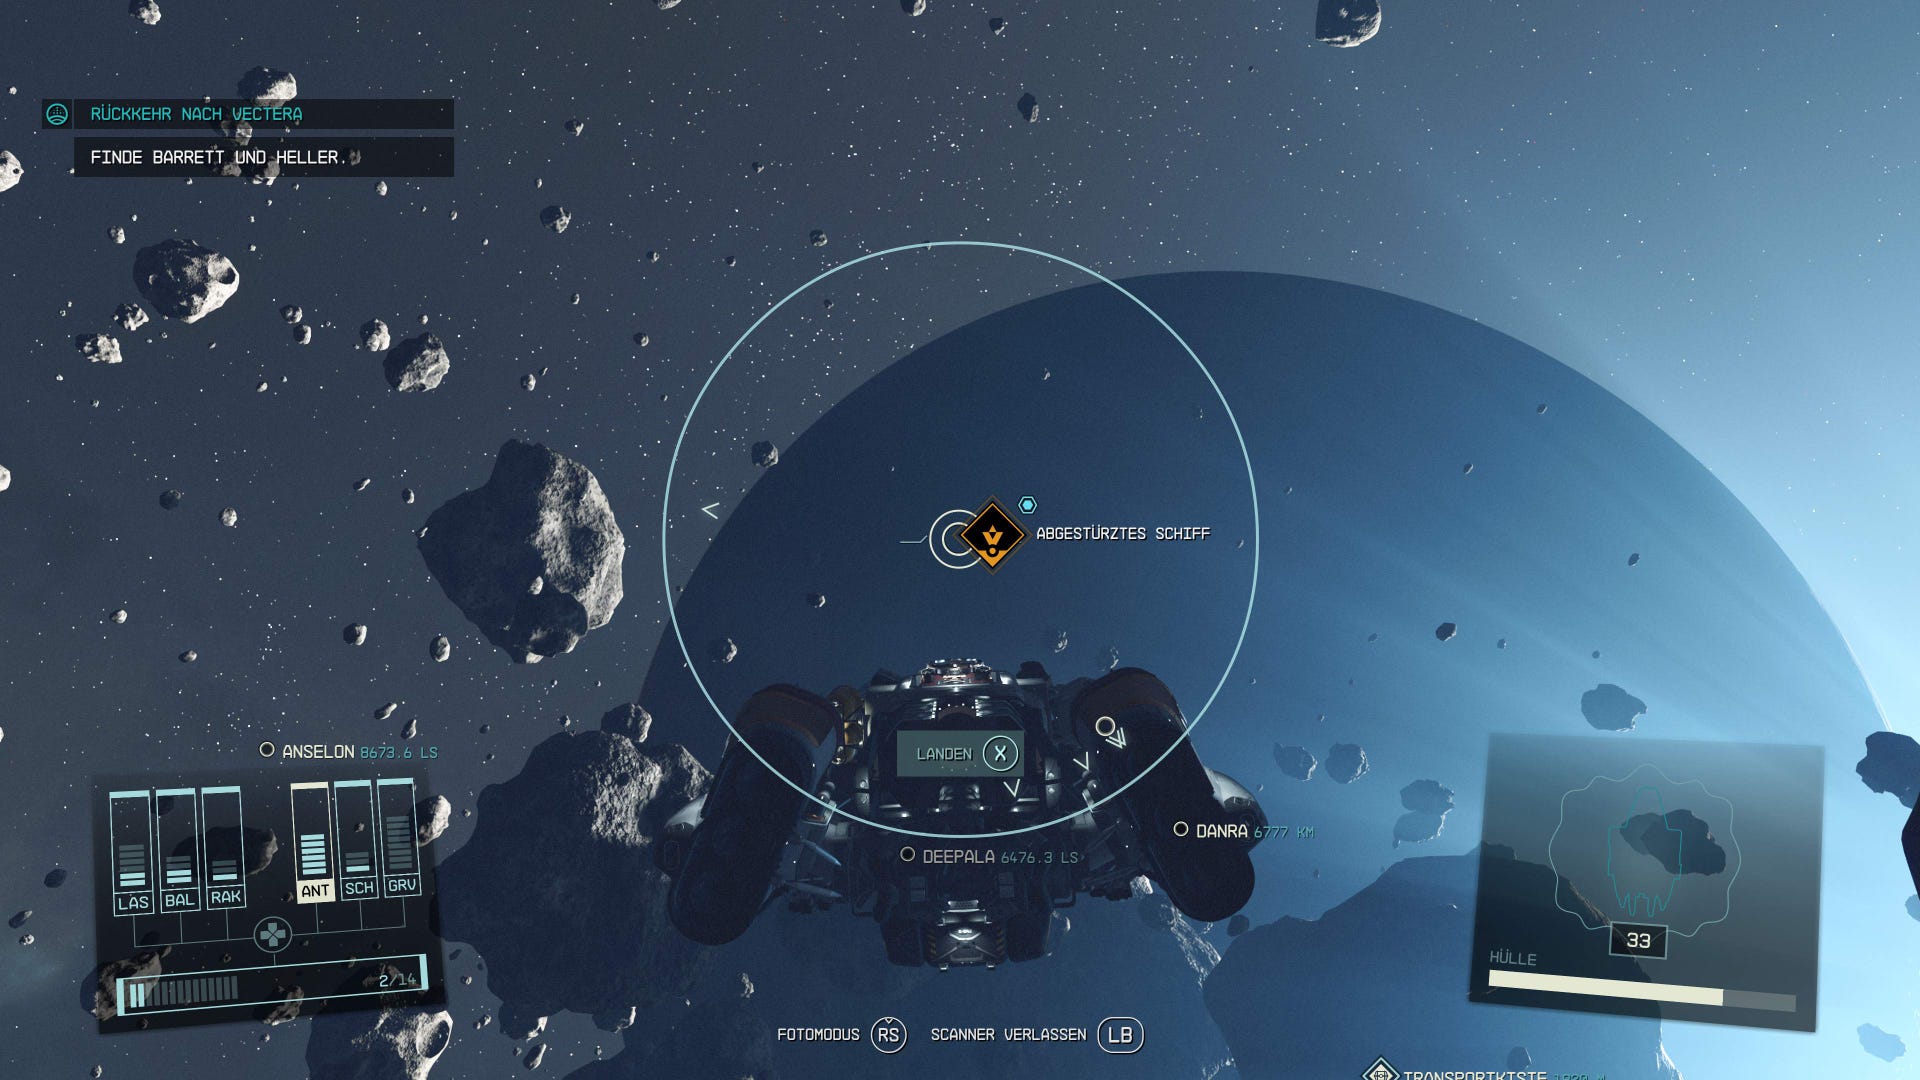
Land there and enter the barren wasteland, which doesn't exactly look life-friendly. Follow the marker to the crashed ship about 400 meters away.
Find Barrett and Heller
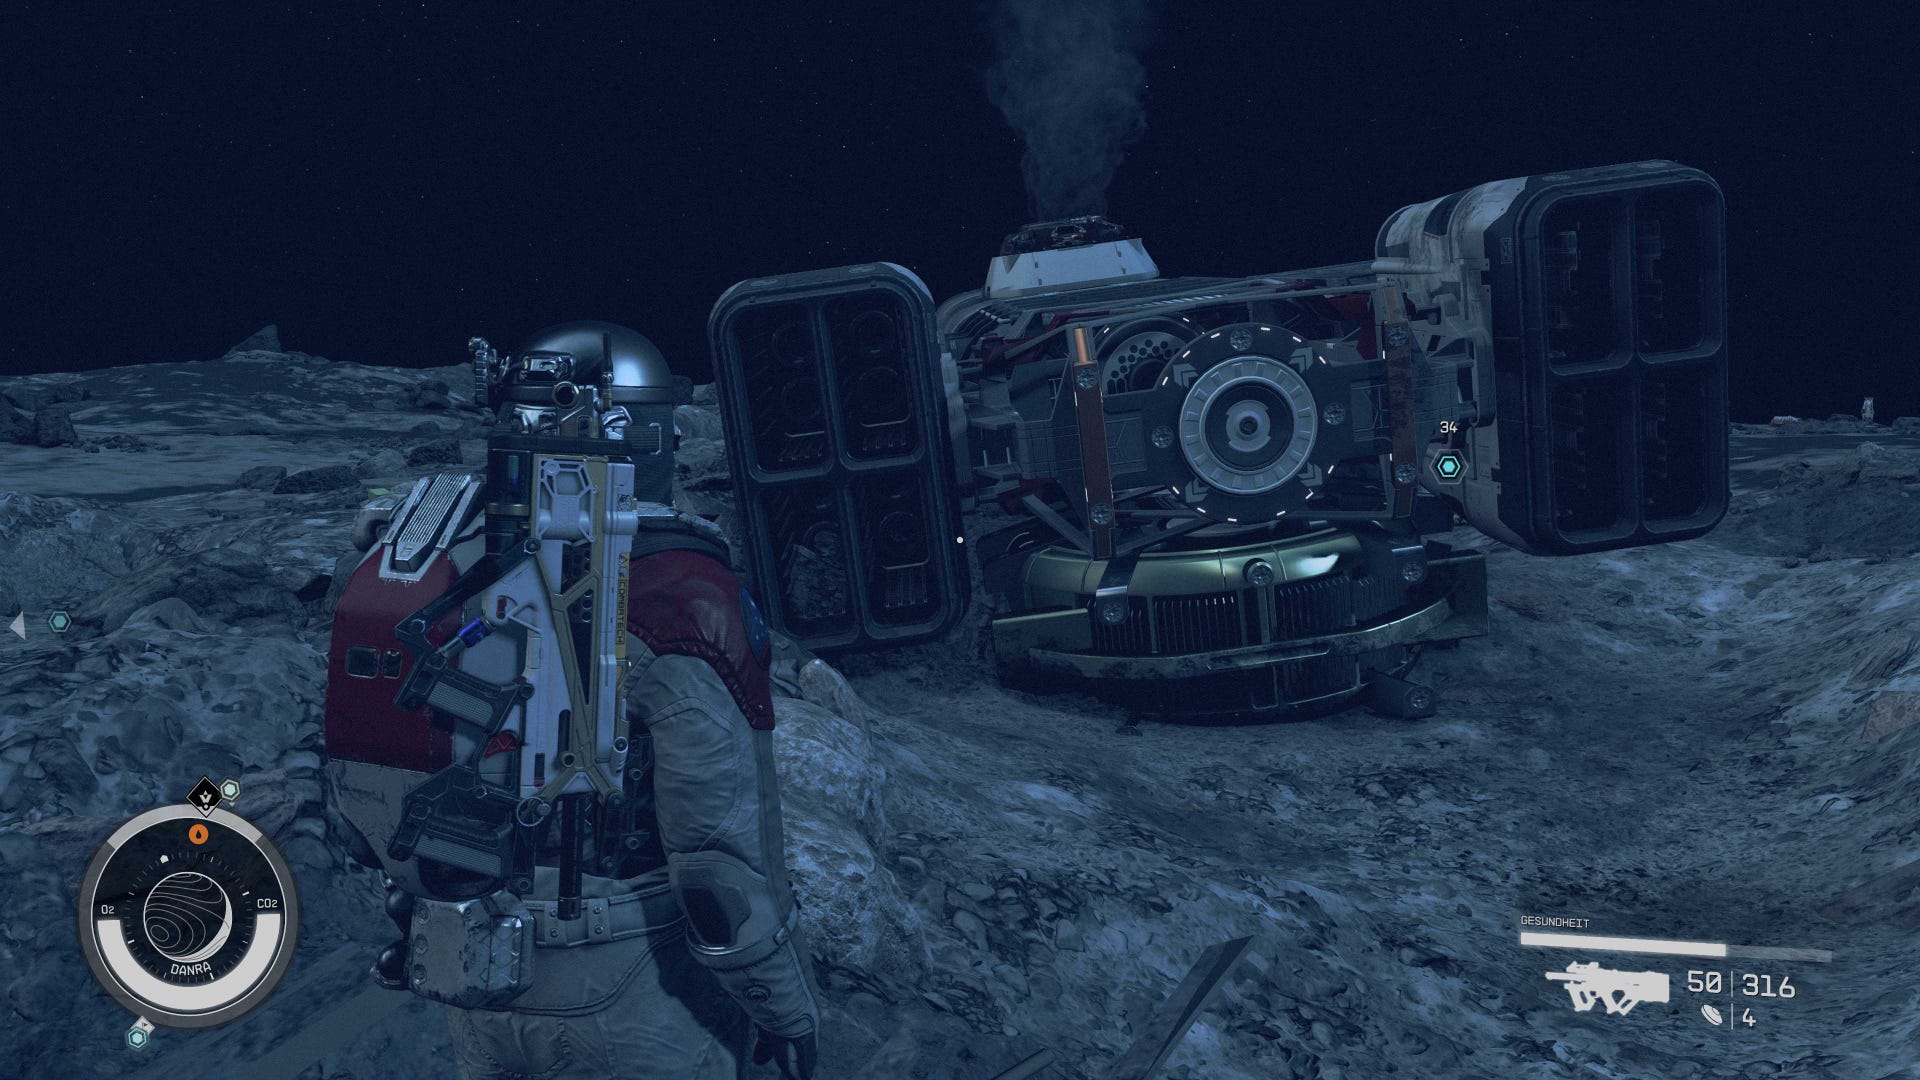
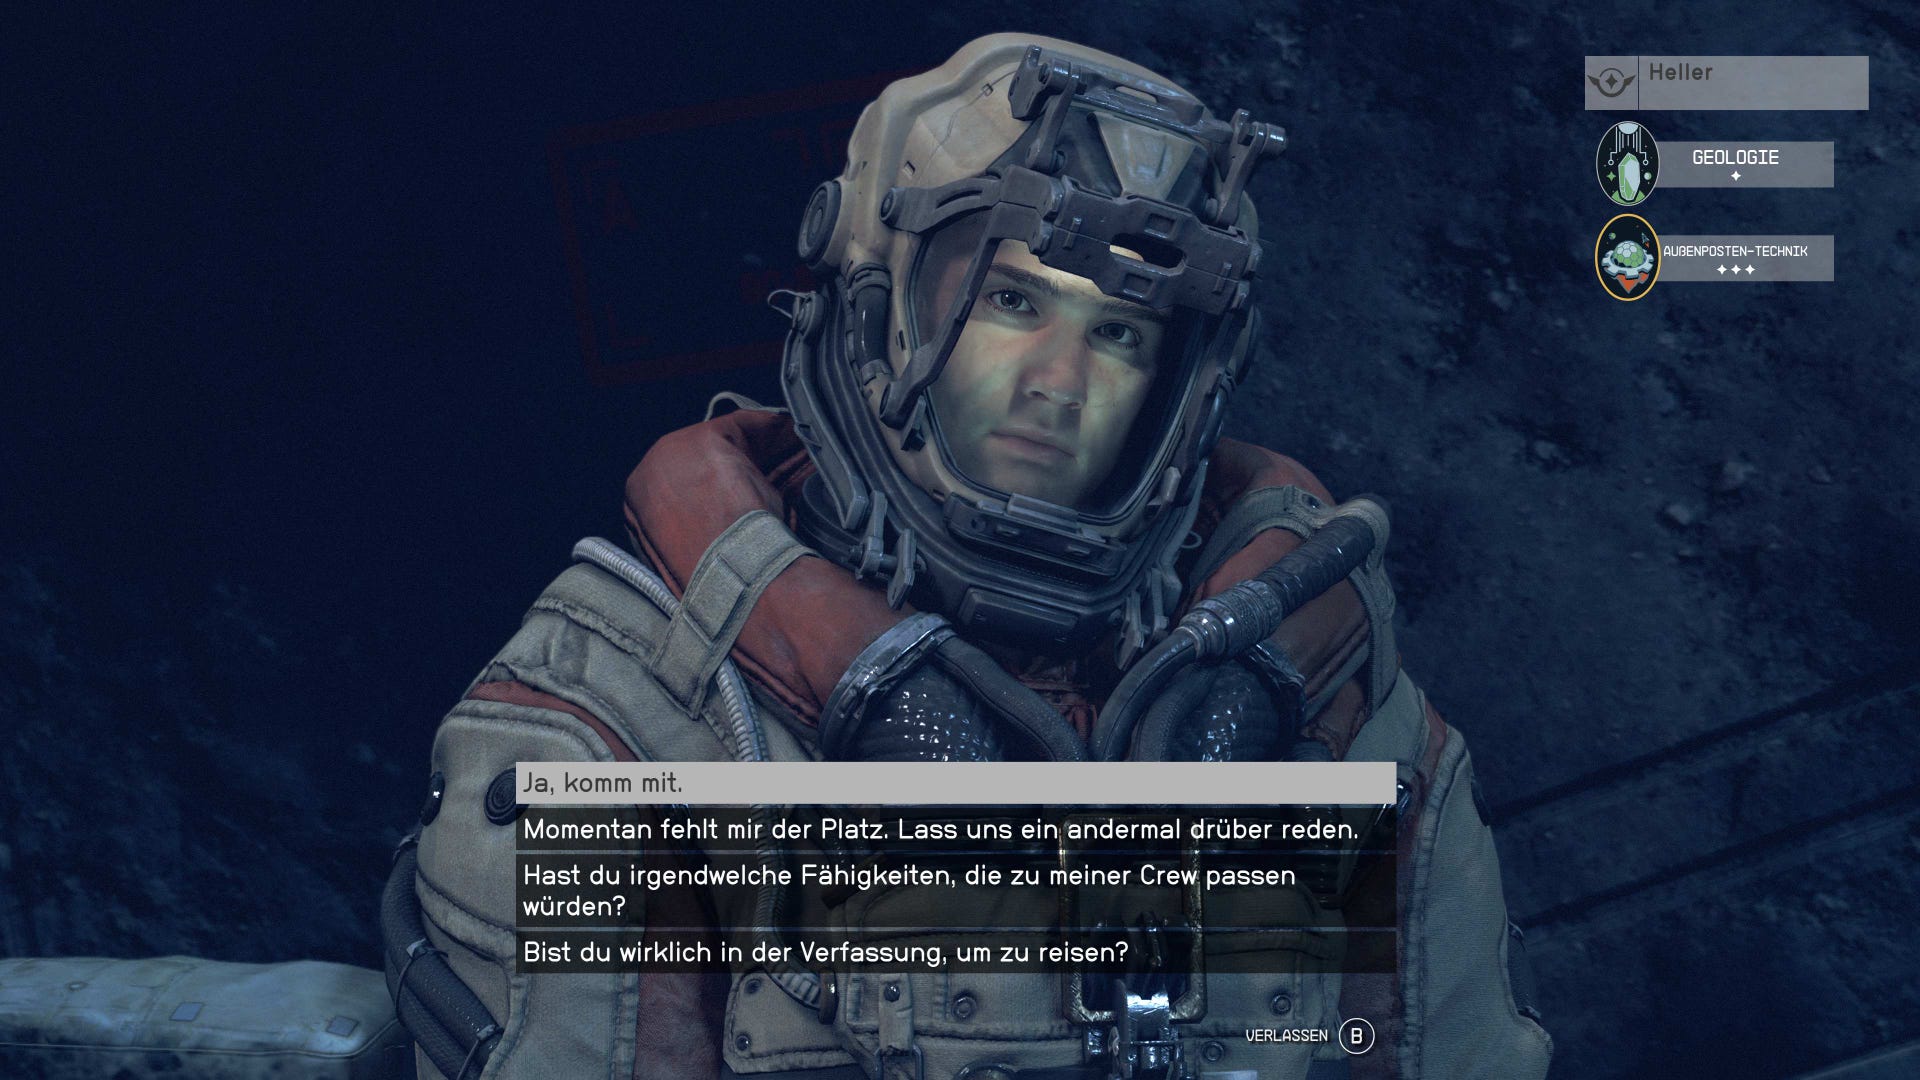
Since nobody notices us on the way, we reach the ship in no time at all. Heller lies ahead, badly injured but still able to provide a rough reconstruction of what happened.
He even gets back on his feet afterwards and can be recruited on the spot as the next crew member.
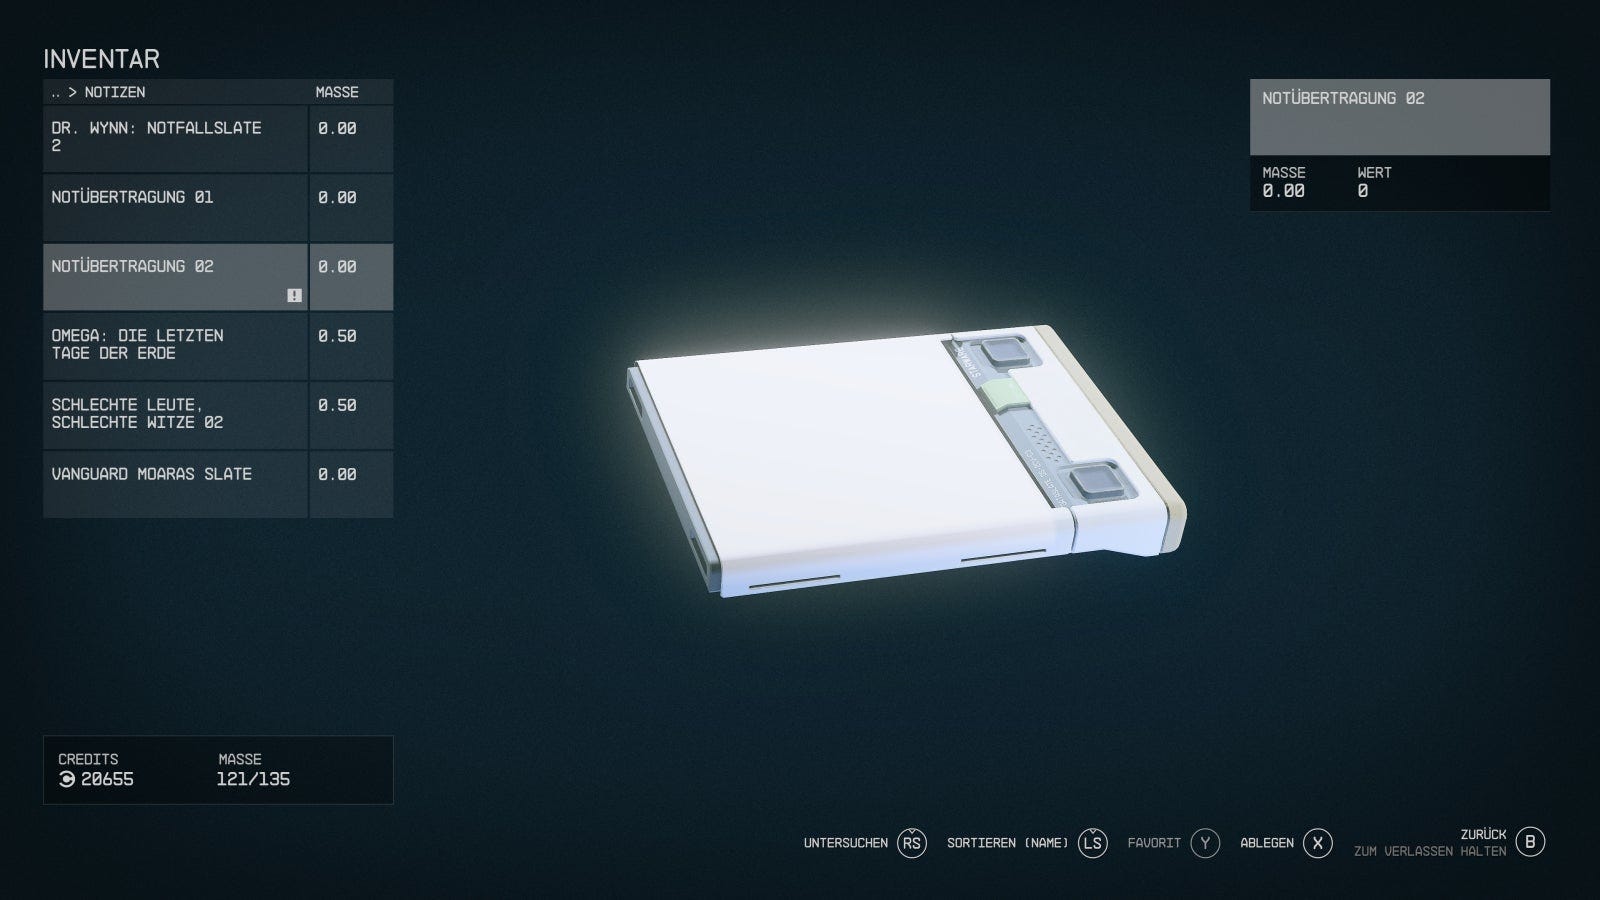
Listen to Emergency Transmission 02
The transmission that was given to you is in the inventory with the notes. This would give us new coordinates on Bessel III, where Barrett was apparently taken by the pirates.
Return to the ship and give this desolate place the cold shoulder.
Travel to Bessel III and rescue Barrett
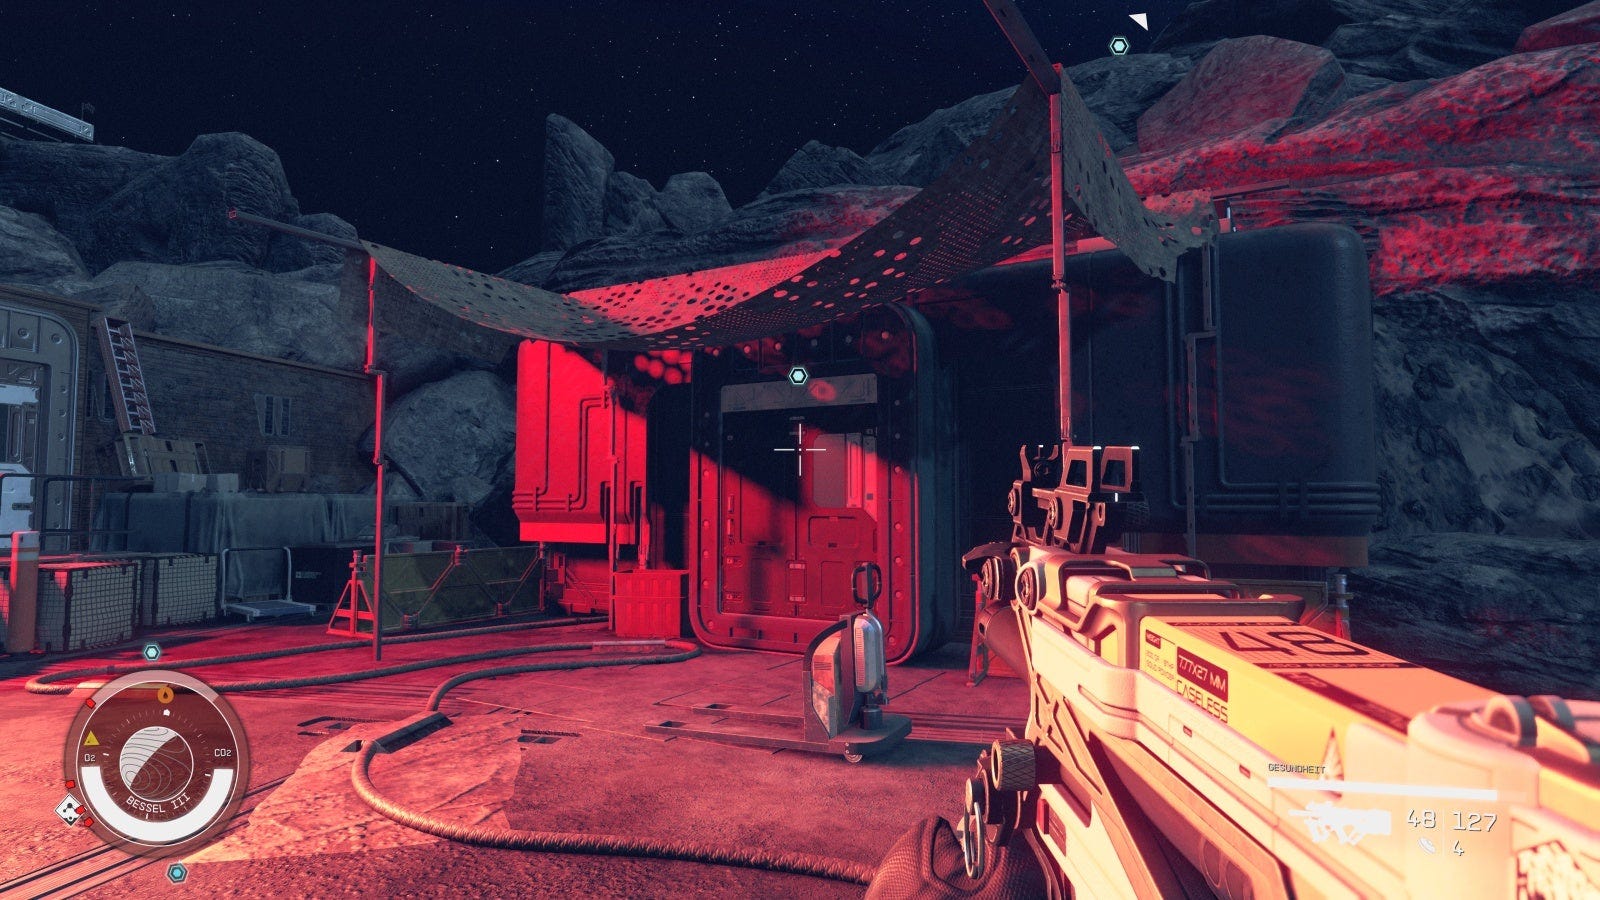
The jump takes you to the required Bessel III region, where you have to land at the Looted Research Post and check things out.
The landing is only 90 meters from Barrett's signal. You can see the entire enemy camp from the hill:

Don't enjoy the view for too long or the guys will get suspicious and notice you. Once you give away the element of surprise you can no longer choose from where you want to attack the outpost. A dozen or so enemies await us over several floors, plus cannons on the roofs, so it's better to stay out of sight for as long as possible.
The resistance is not to be underestimated, so plan the infiltration well. Then head to the marked building, the Crimson Fleet Outpost.
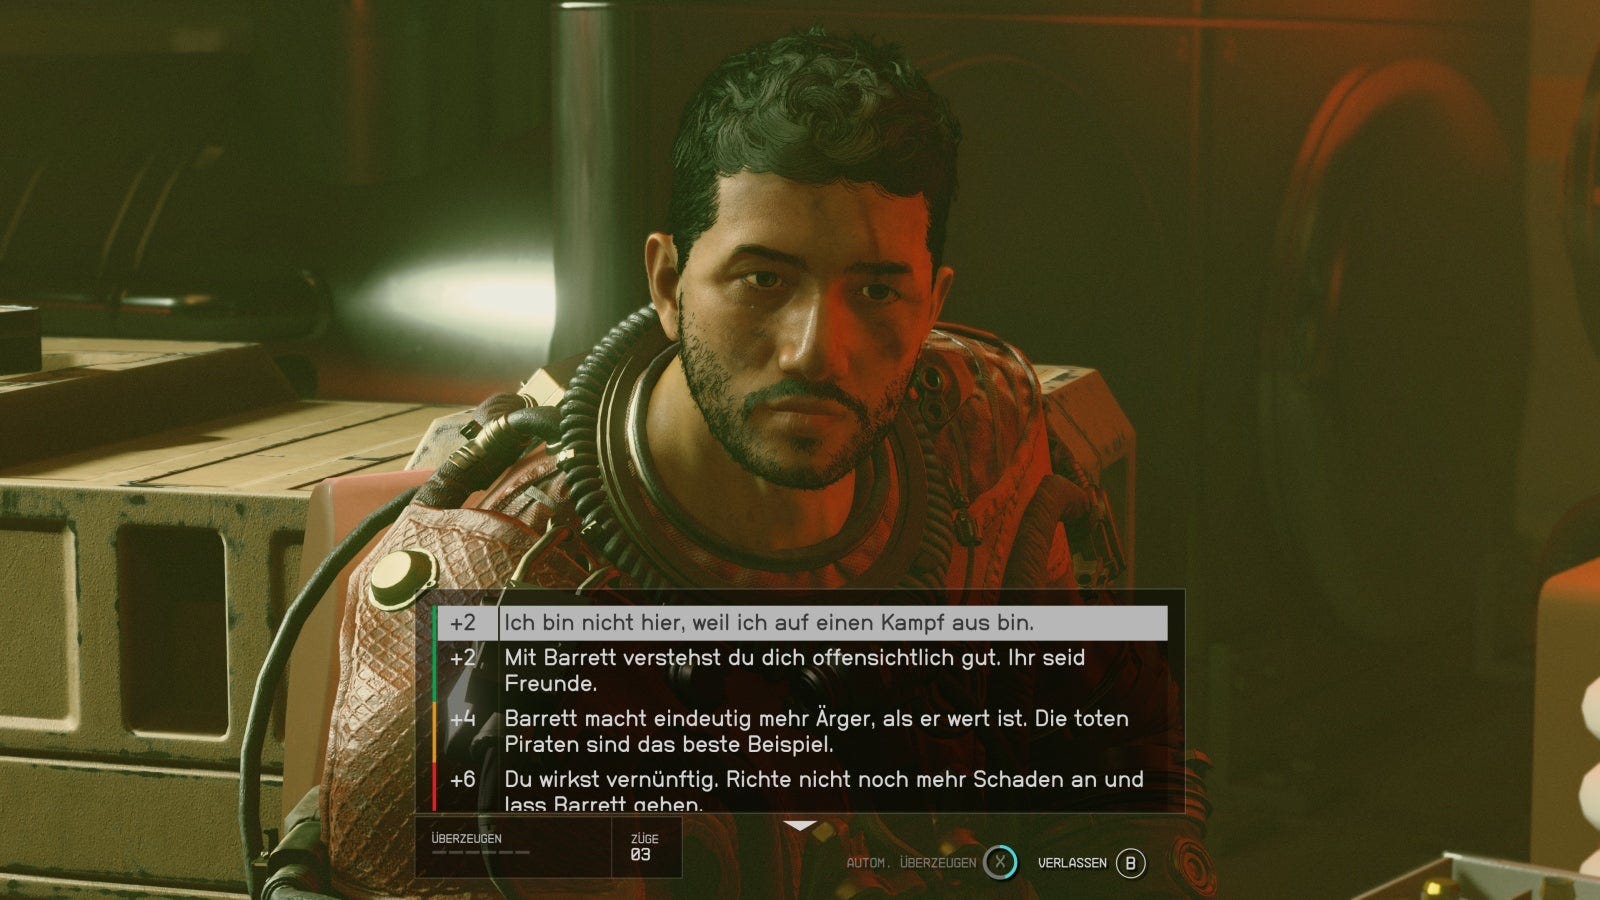
Just follow the path down here and you'll run into Barrett, who's not as bad off as one might think. He has befriended a pirate named Mutty Matsura.
They don't want to let him go so easily. The situation has the following possibilities:
- Convince Matsura that Barrett has suffered enough.
- Pay 4000 credits in ransom money.
- Let Sarah speak up and get the matter off the table discreetly.
- Attack Matsura and kill him to take Barrett.
Return to the Lodge
Either way: Barrett is free and we can leave the outpost together with him. Fast travel to the ship, return to the Lodge and complete the quest.
We get 6000 credits and Barrett as a new companion and crew member.
Back to the table of contents: Starfield walkthrough