Red Dead Redemption 2 Gunslinger locations and how to duel in the Gunslingers quest
How to track down all Gunslinger locations and what to do in the Gunslingers mission.


Red Dead Redemption 2's Gunslinger quest will take you to a total of five Gunslinger locations around the map, and they feature a unique duelling mechanic for you to master, too.
They're relatively simple, but it's possible to get stumped early on when trying to find their locations in the first place, and then again things can get a little dicey once you find them and need to take on the related 'activities' that they each entail.
Here then, we'll outline all five Gunslinger locations, how to find the Gunslingers themselves, and how to duel when the situation arises, too.
On this page:
- Red Dead Redemption 2 Gunslinger locations and Gunslinger quests explained
- The first Gunslinger location - Flaco Hernandez
- The second Gunslinger location - Emmet Granger
- The Third Gunslinger location - Billy Midnight
- The fourth Gunslinger location - Black Belle
- The fifth Gunslinger Location - Slim Grant
- How to duel in Red Dead Redemption 2: duelling system explained

Red Dead Redemption 2 Gunslinger locations and Gunslinger quests explained
There are five Gunslingers for you to track down in total, but to start with, you'll only be hunting down four.
How to start the Gunslingers mission
To begin the mission, if you haven't already, first head to Valentine, at any point after you set up camp and reach Chapter 2.
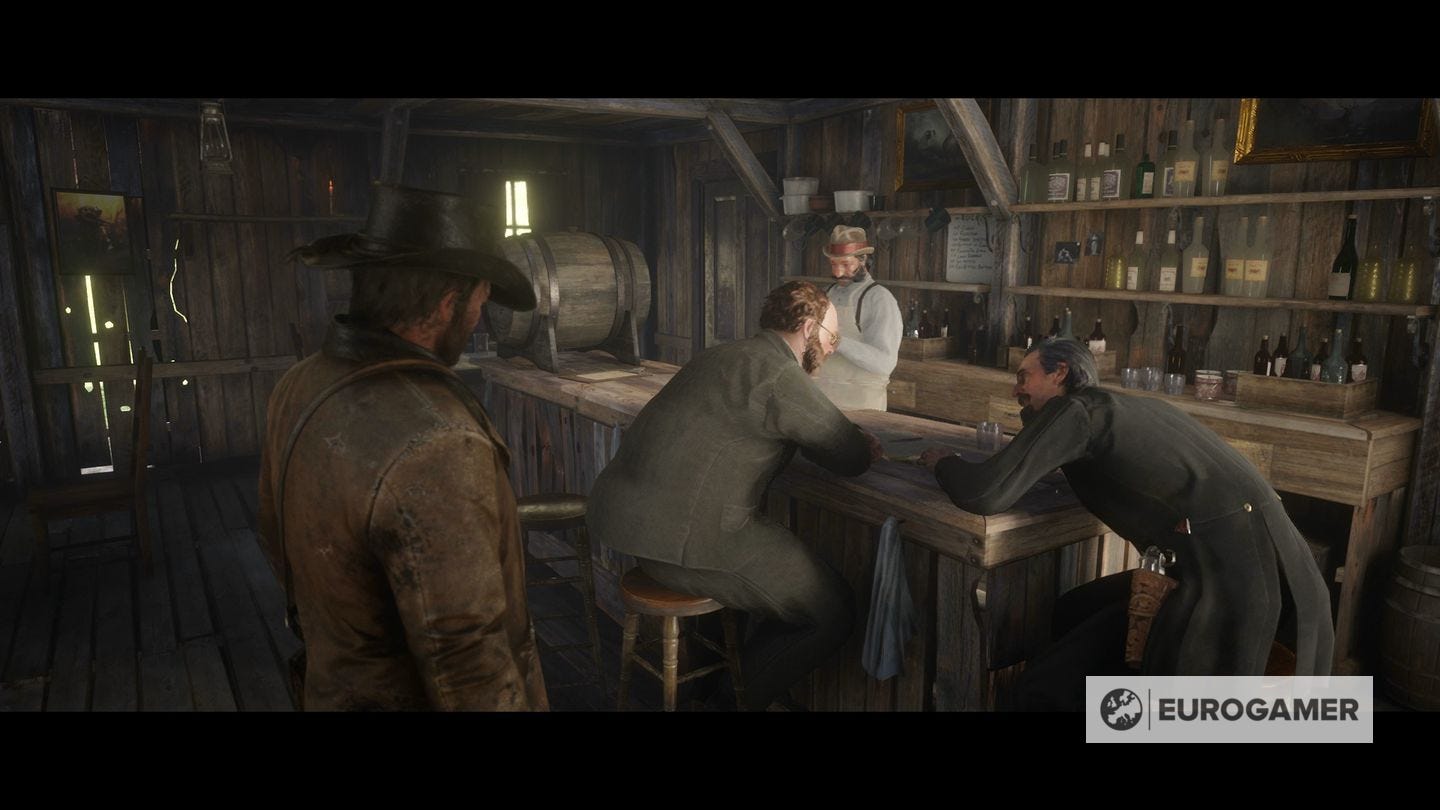
There are two Saloons in town there - you want to head to the smaller one, on the east side of town, to find your questgiver, a Stranger named Theodore Levin, who's currently at the bar getting flustered with a passed out gunslinger of his own.
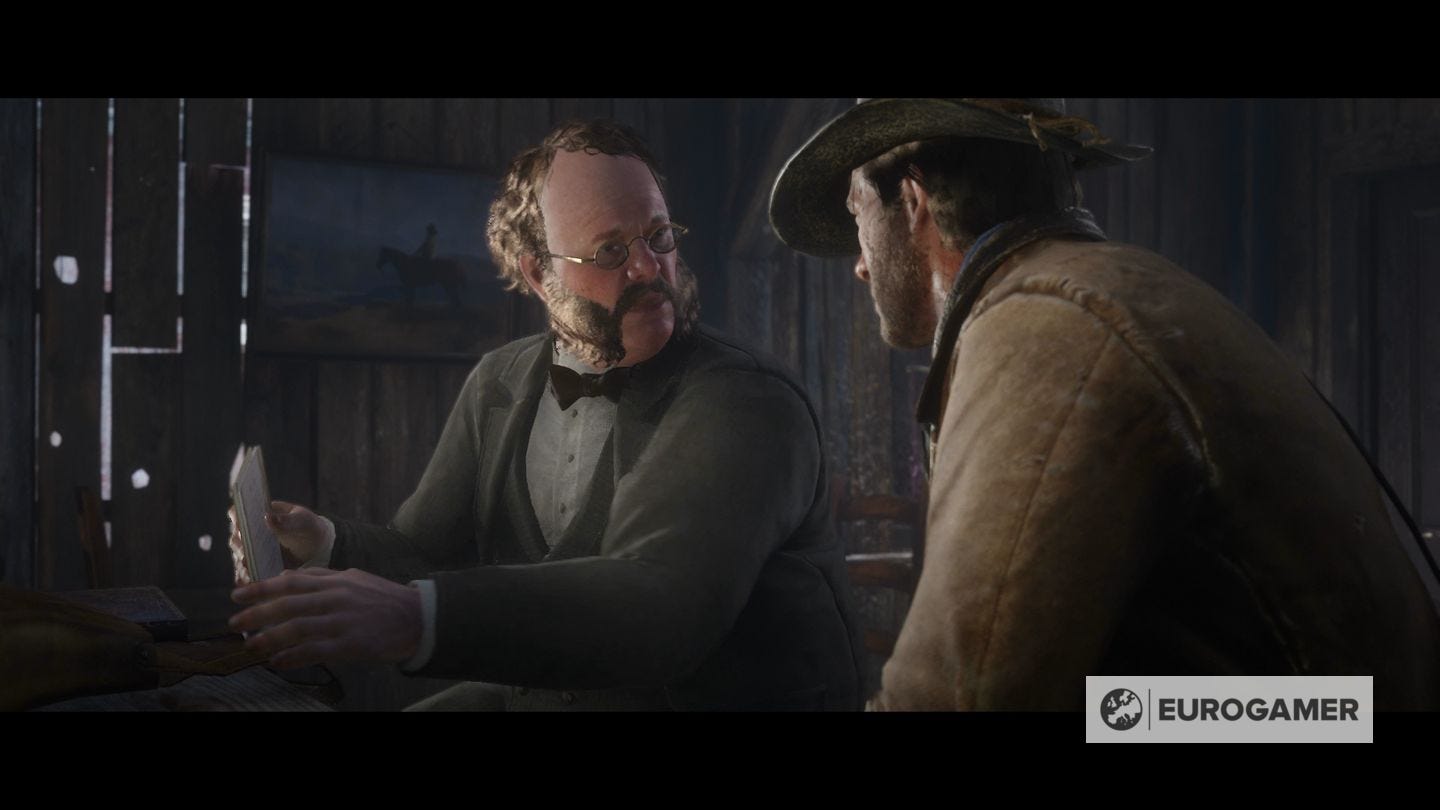
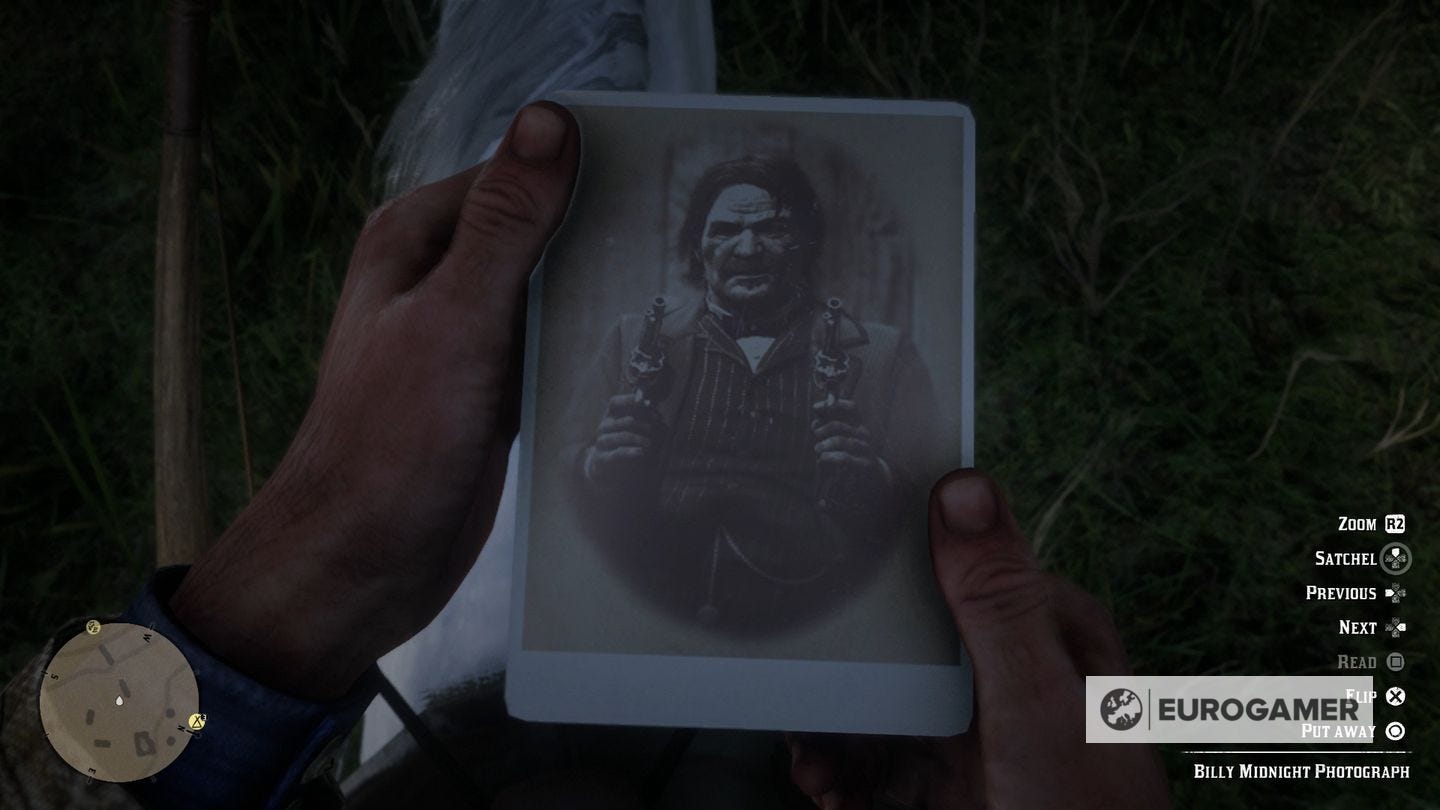
Accept the Gunslinger quest from him and he'll give you four photographs, one for each gunslinger - Flaco Hernandez, Emmet Granger, Billy Midnight and Black Belle. You need to go and get them to talk about that drunk gunslinger Calloway's past. The issue is most of them don't fancy talking - and whenever that's the case, you need to kill them.
Below, we'll run through them in the order the makes the most sense given their locations, so that if you do them in one go you're not doing too much charging back and forth across the map.
The first Gunslinger location - Flaco Hernandez
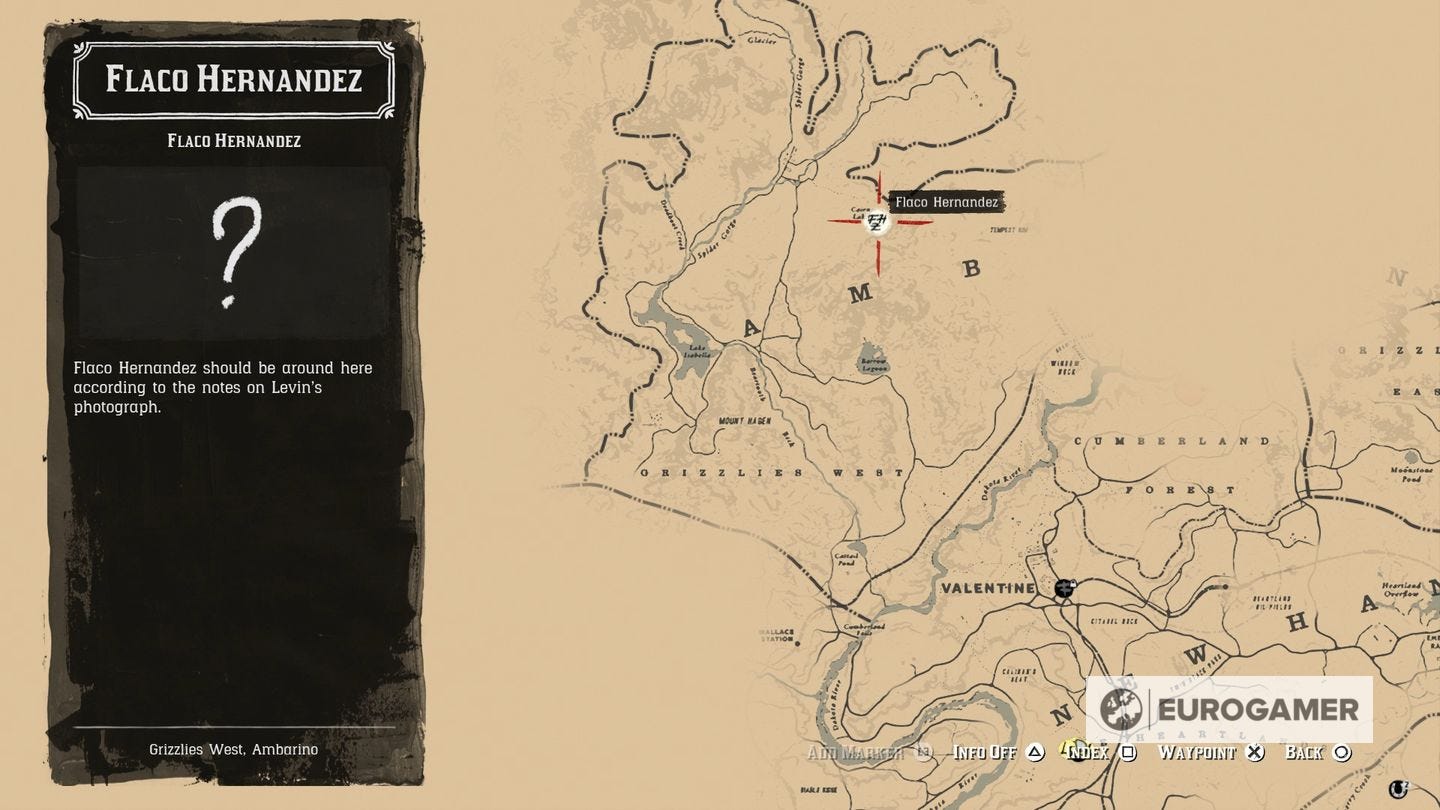
The first Gunslinger, Flaco Hernandez, is perhaps the least friendly of them all. He's located up in the north-west corner of the map.
Specifically, he's by Cairn Lake, just south-east of Colter, where your story began. It's worth quickly noting as well that this is the same spot where you can find the first Poisonous Trail Treasure Map that takes you to some mighty rich rewards, but it's not necessary that you do this mission first - as we explain in our Poisonous Trail guide, the map is under the bed in his cabin whether you take on the Gunslinger mission or not.
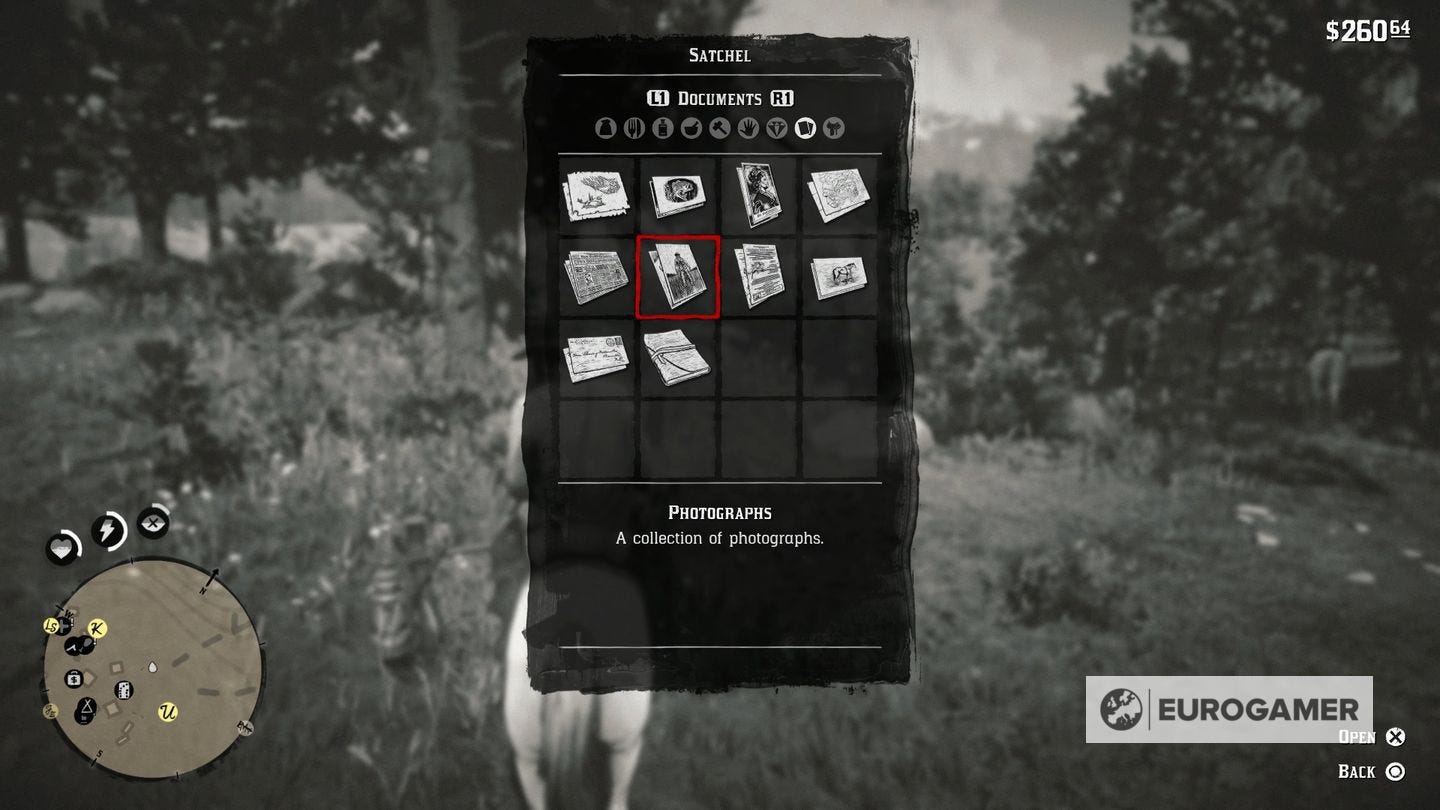
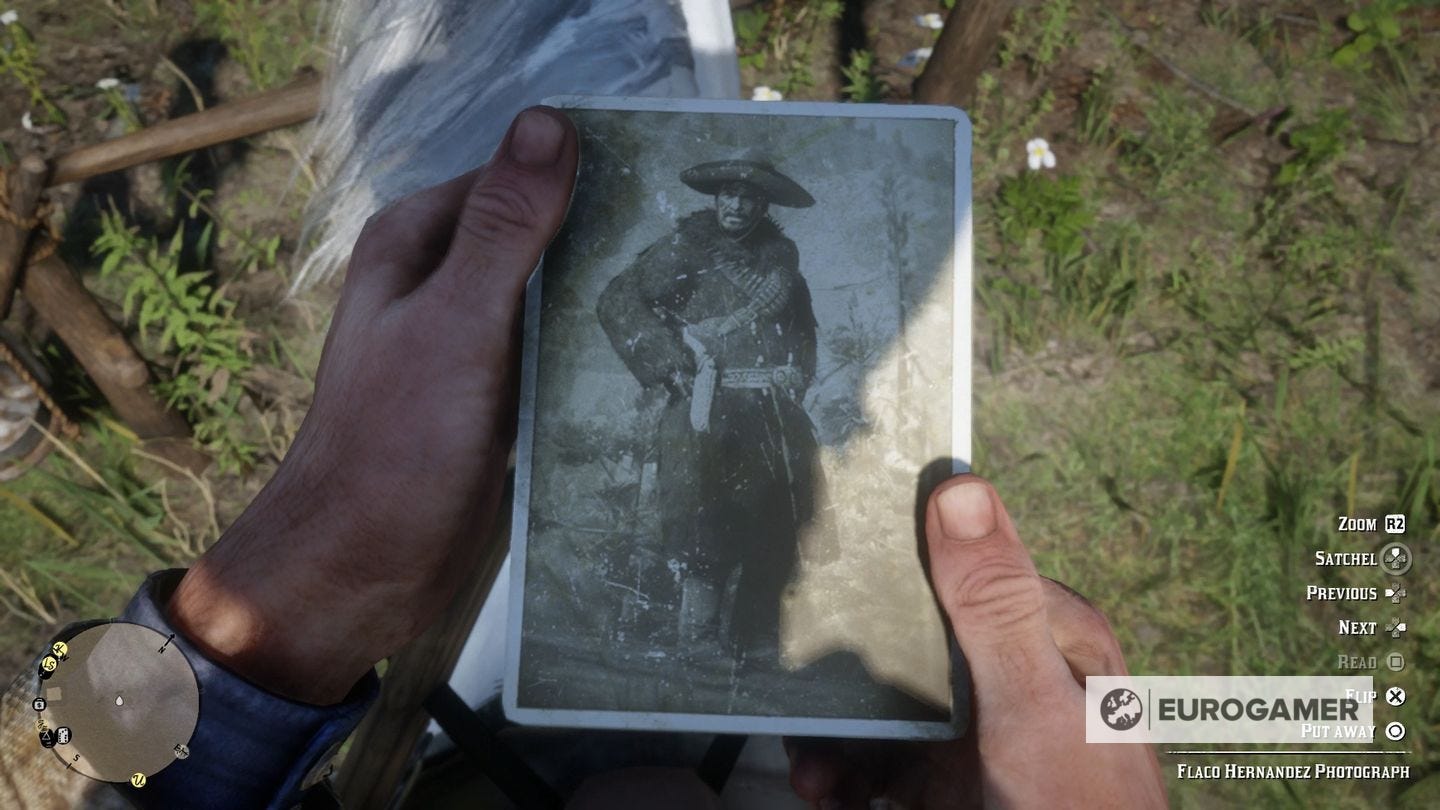
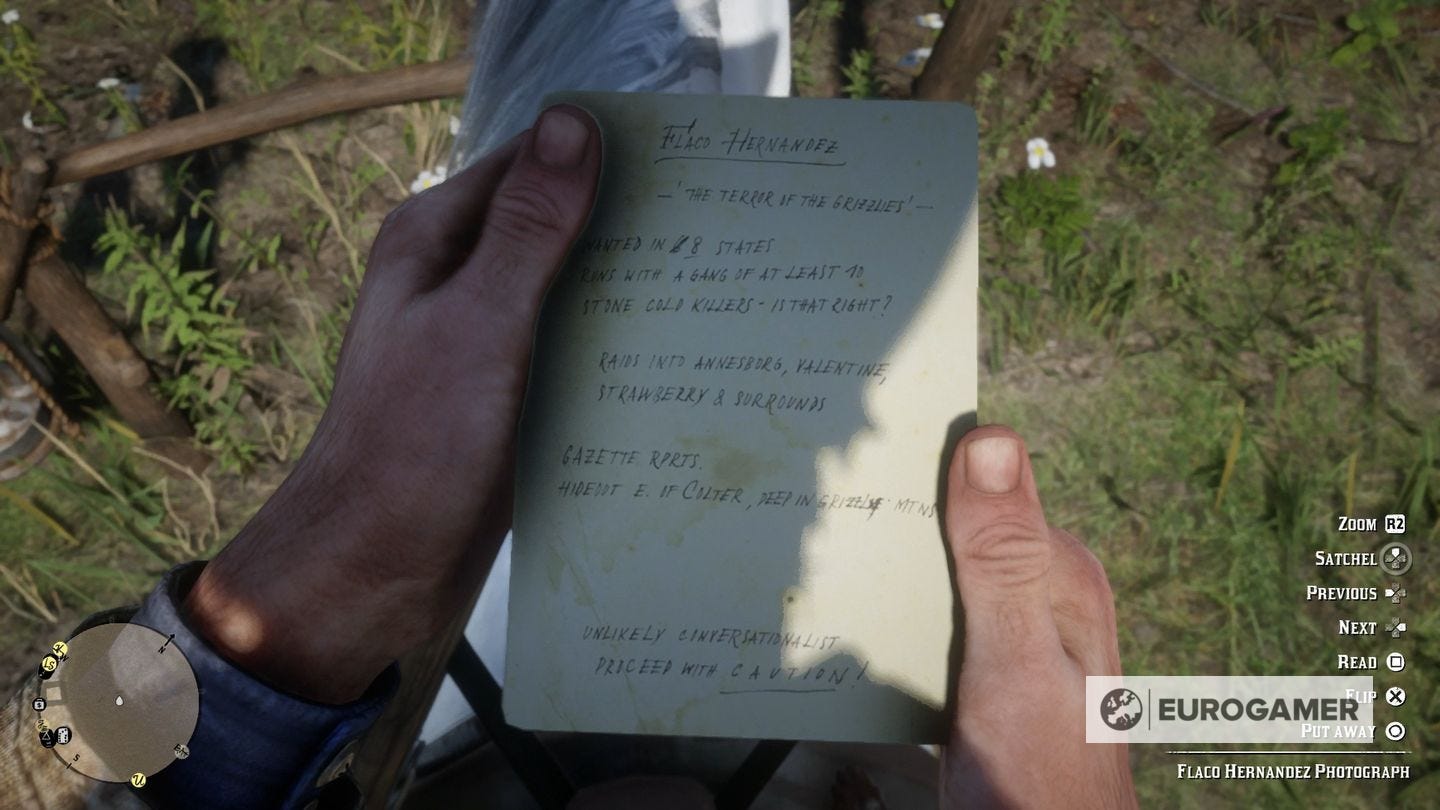
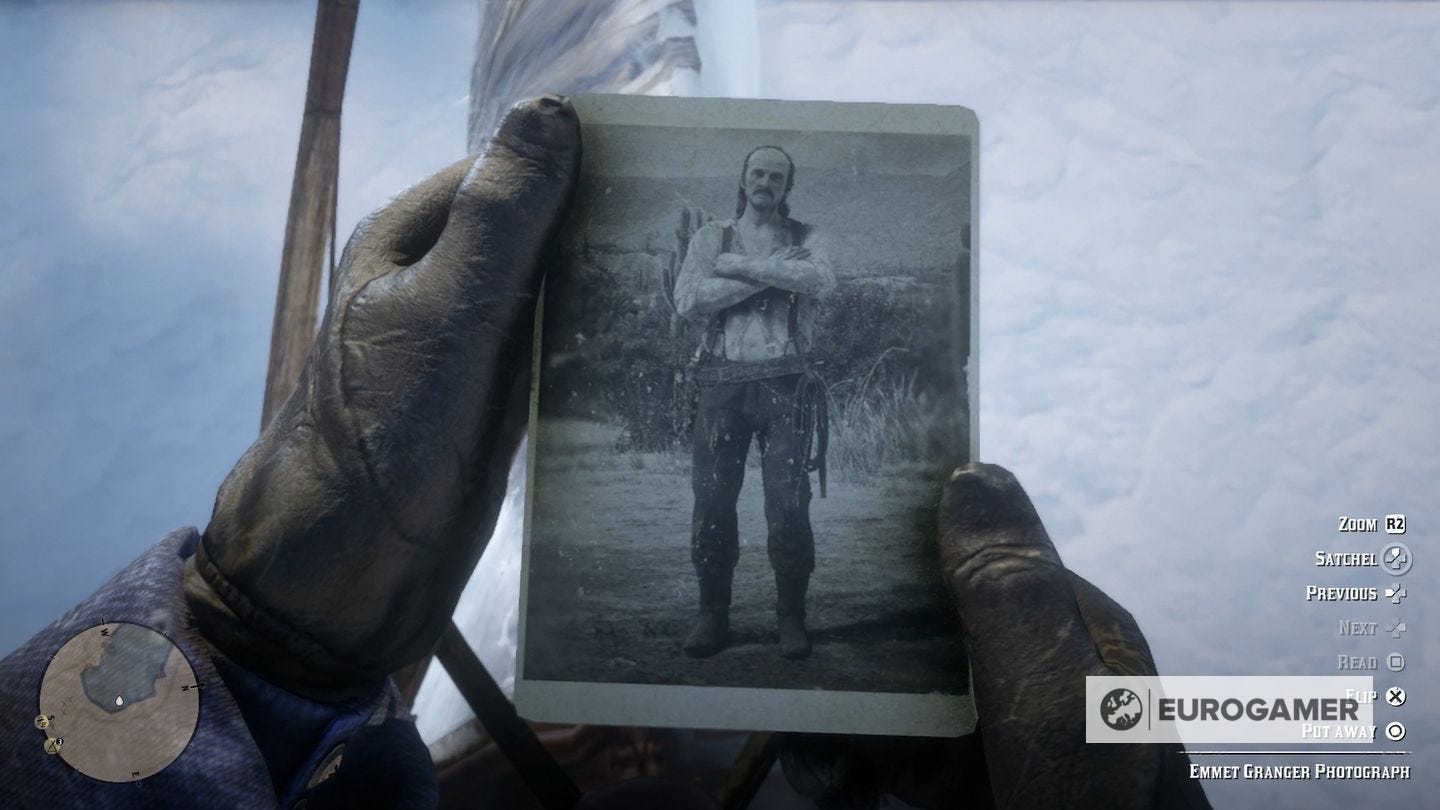
Either way, for Flaco and his posse to be there, you need to actually trigger his appearance on the map. To do that, you need to inspect his photograph. Head to the Documents tab of your satchel and select the photographs, then Flaco's, and then press X/A to flip over the photo and read the info on the back - turning it over will mark his location on your map, and now he'll appear by the lake when you head there.
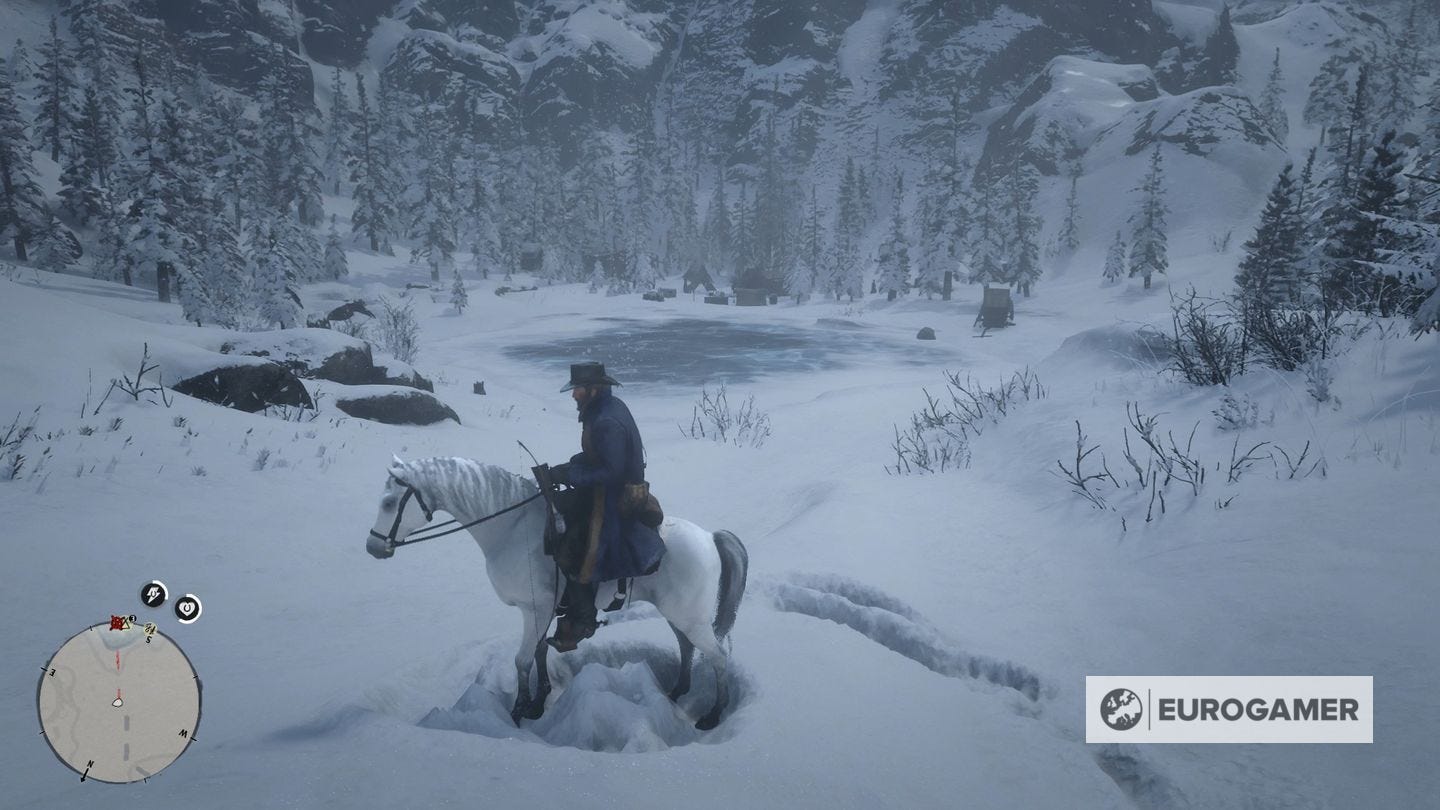
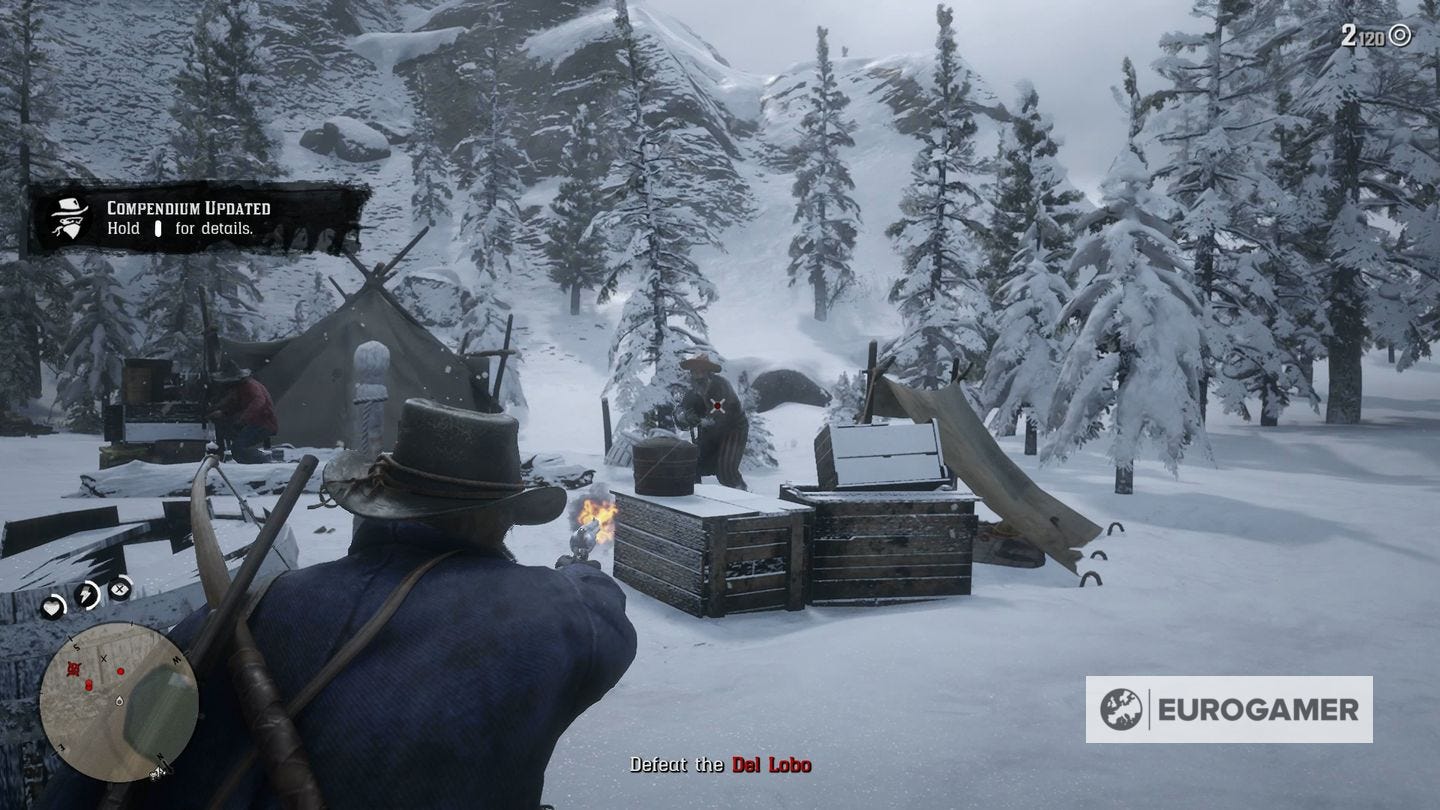
Wrap up in some warmer-than-usual clothes and head up to the little frozen lake. You need to take out the handful of goons waiting outside first - we snuck up to some cover and then took out as many as possible by surprise - and then, when they're all dead, Flaco will start calling out from his cabin.
Walk up to the cabin and call him out when prompted (hold L2/LT, then press Circle/B), and he'll stride out. After a short cutscene, you'll need to beat him in a Duel. More on how exactly you do that in the section on Duelling just down below.

Once he's dead, you need to take a picture of the body to confirm the kill - but before you leave, remember to pick up his gun!
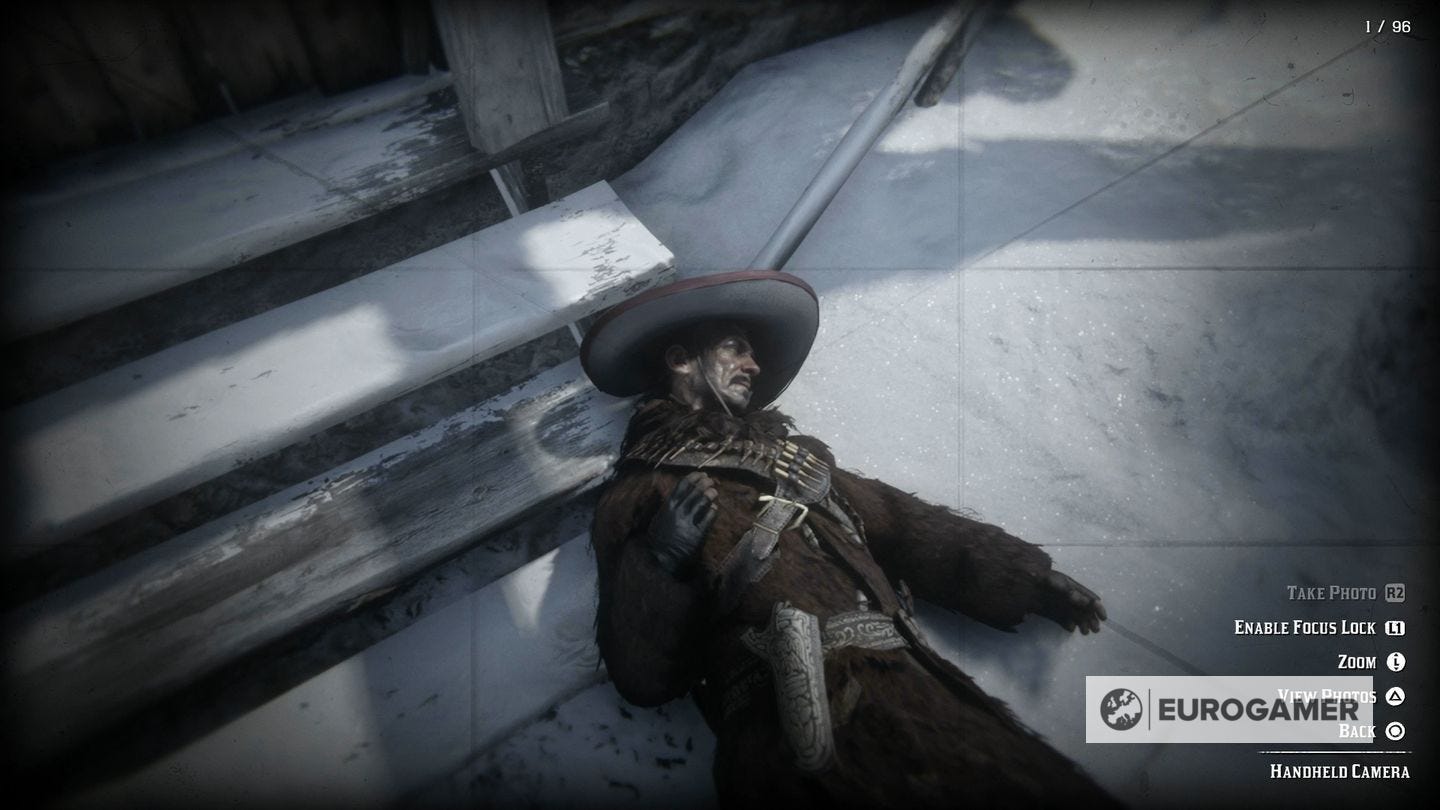
As soon as you leave the nearby area the unique weapon will disappear and you won't be able to get it again.
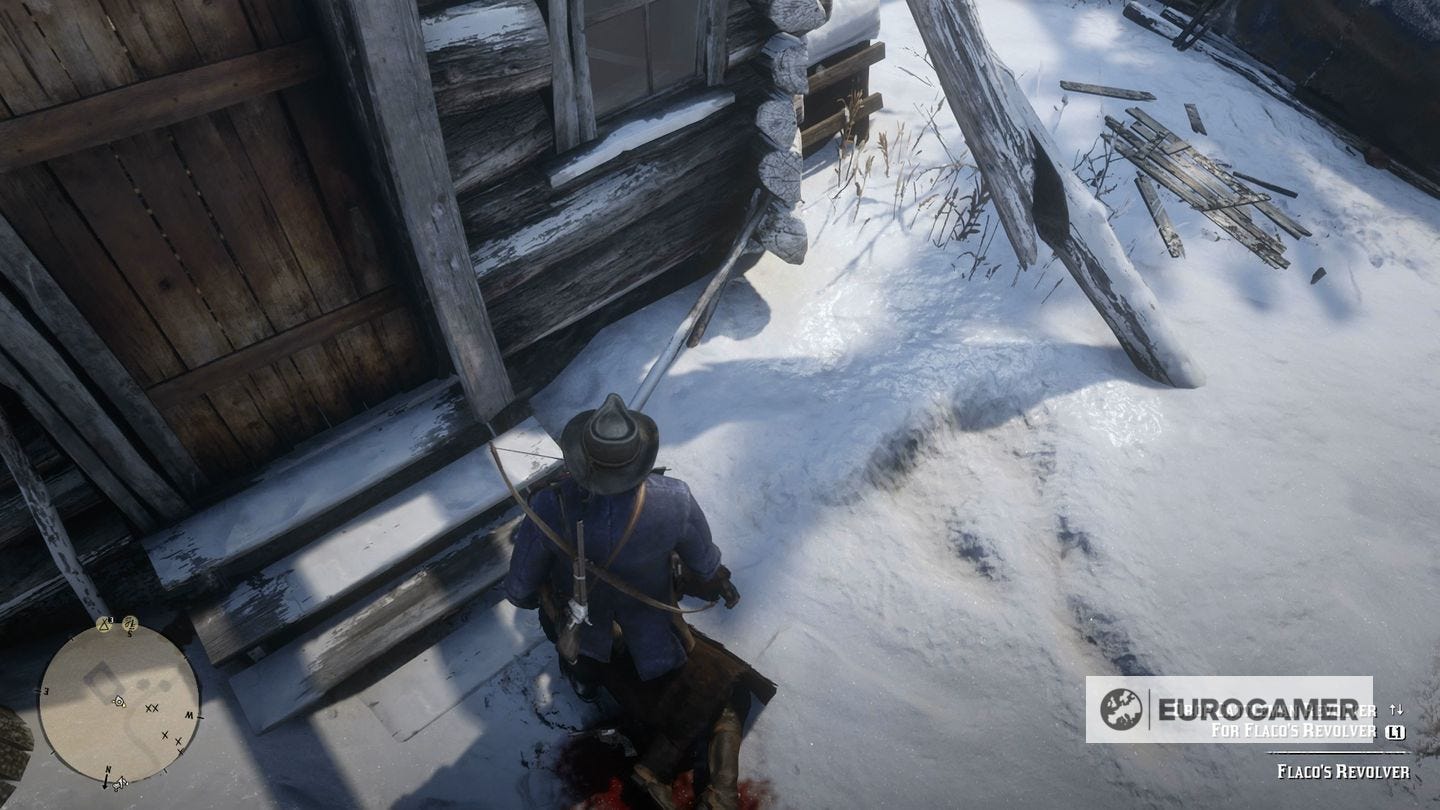
Even though the option is to 'swap' it with the weapon of your own, picking it up will add it to your inventory and won't remove the one you swapped it with, so don't worry. Just make sure you grab it right away to avoid missing out.
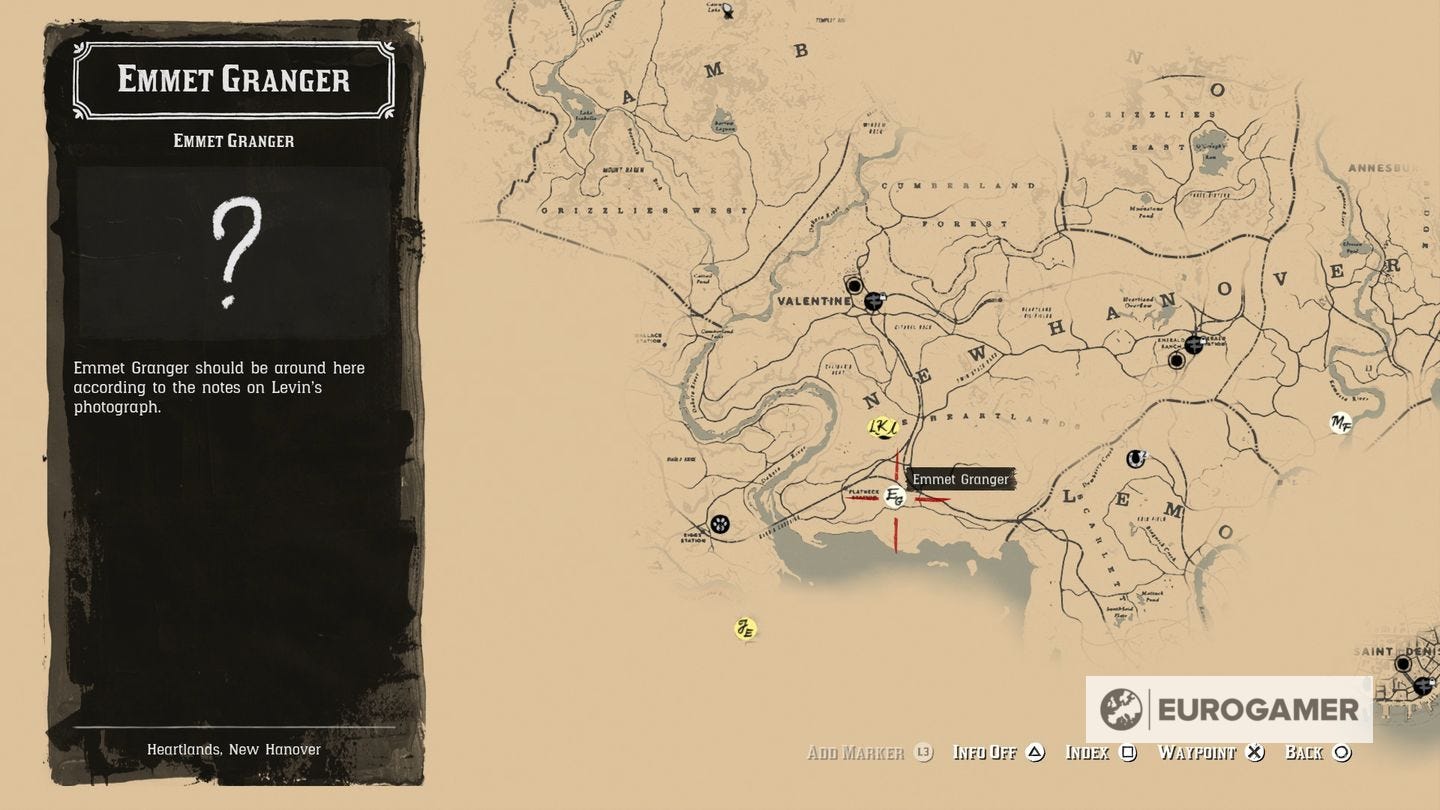
The second Gunslinger location - Emmet Granger
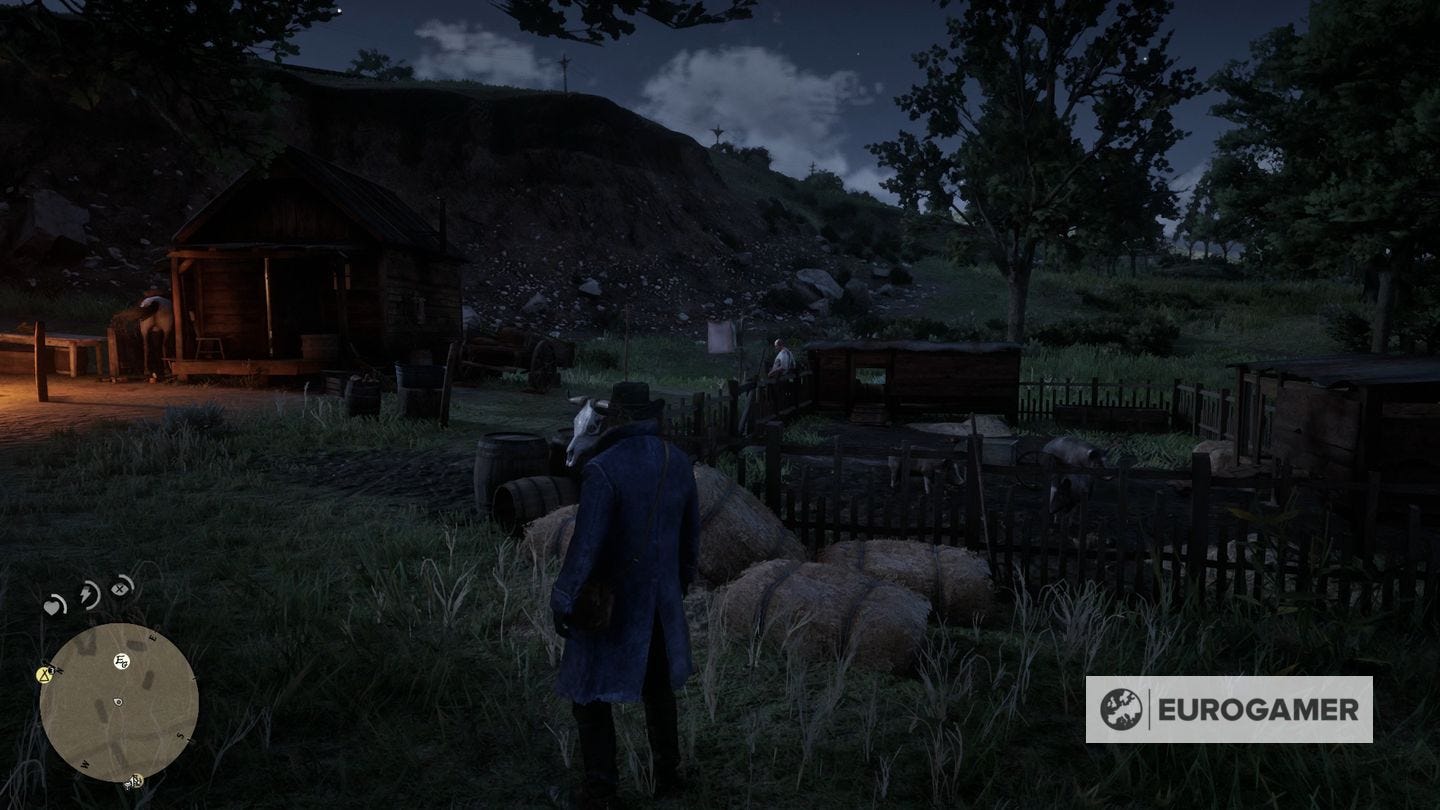
Next in line is Emmet Granger, who's hiding out a long way south and slightly west of your location, by Flatneck Station.

You'll find him alone, unlike Hernandez, with nothing but a little ranch of pigs to look after. After some conversation - you can approach him peacefully this time - he'll give you a lovely task to complete before he'll say anything about Calloway.
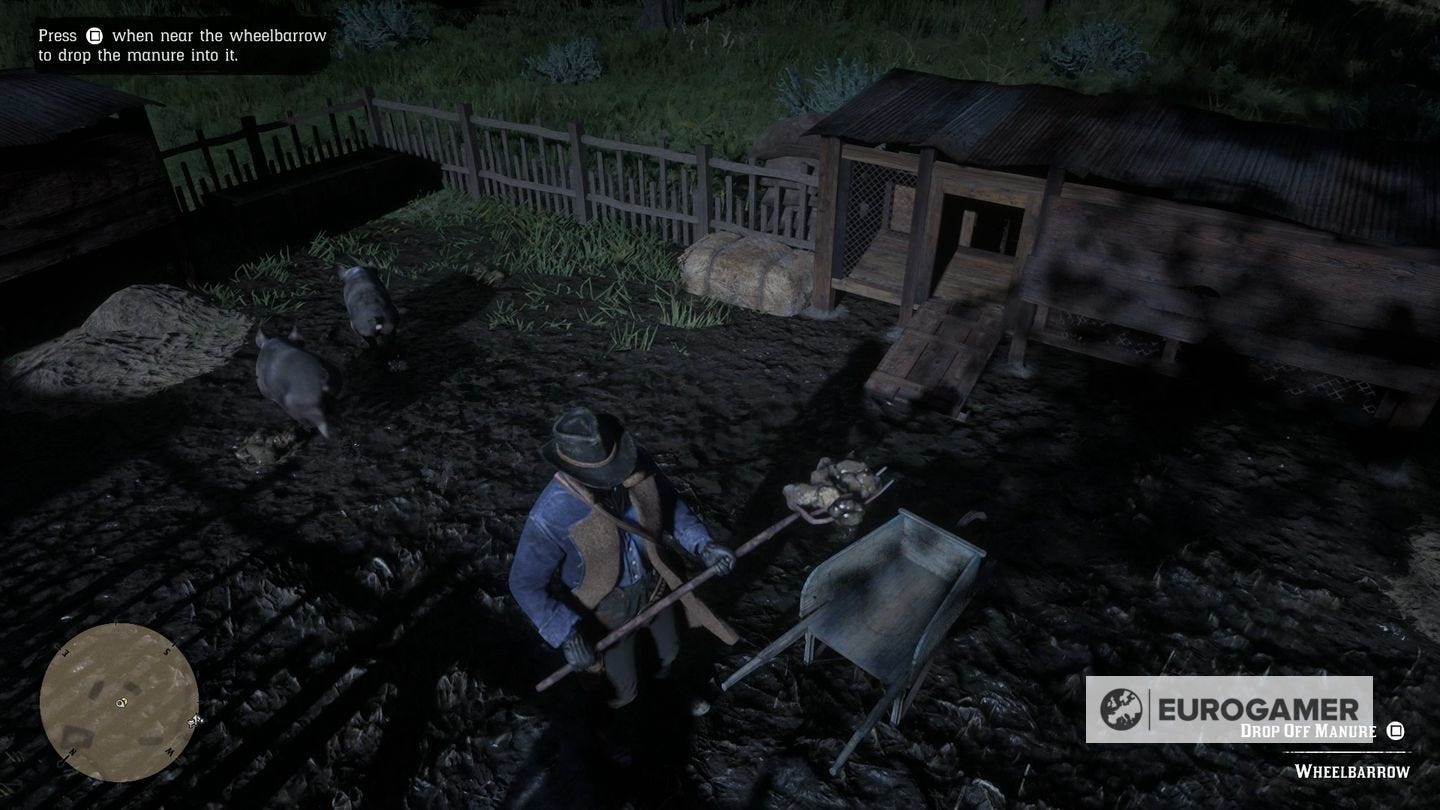
It's shovelling poo! You need to pick up the fork, walk into the pigsty and pick up three mounds of poo, conveniently marked on your map, and put them into the wheelbarrow nearby. Once you're done, there's another conversational cutscene.
After that, you'll need to go place some dynamite in the nearby manure pile - simple enough, just follow the very short-distance waypoint - and then it's time for that inevitable duel.
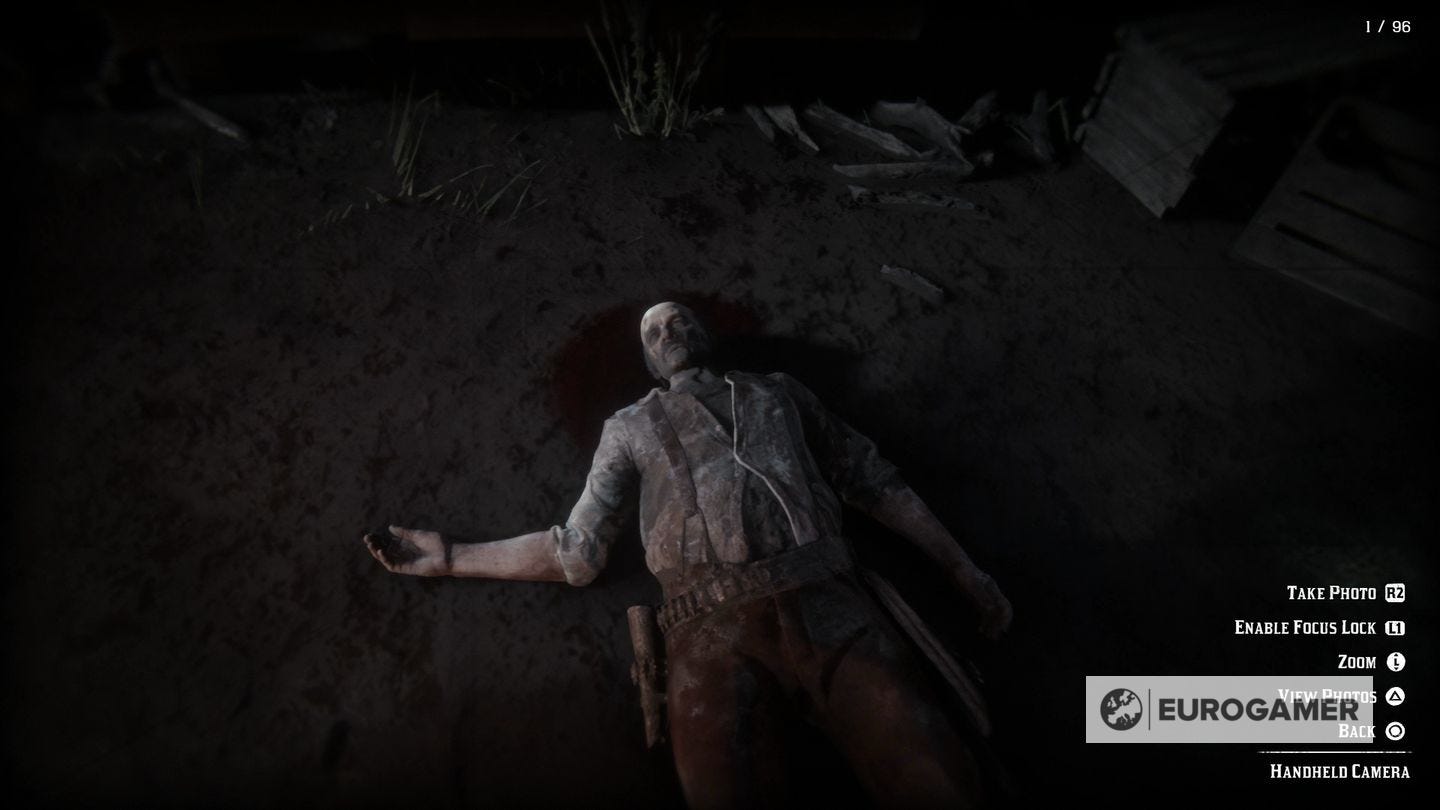
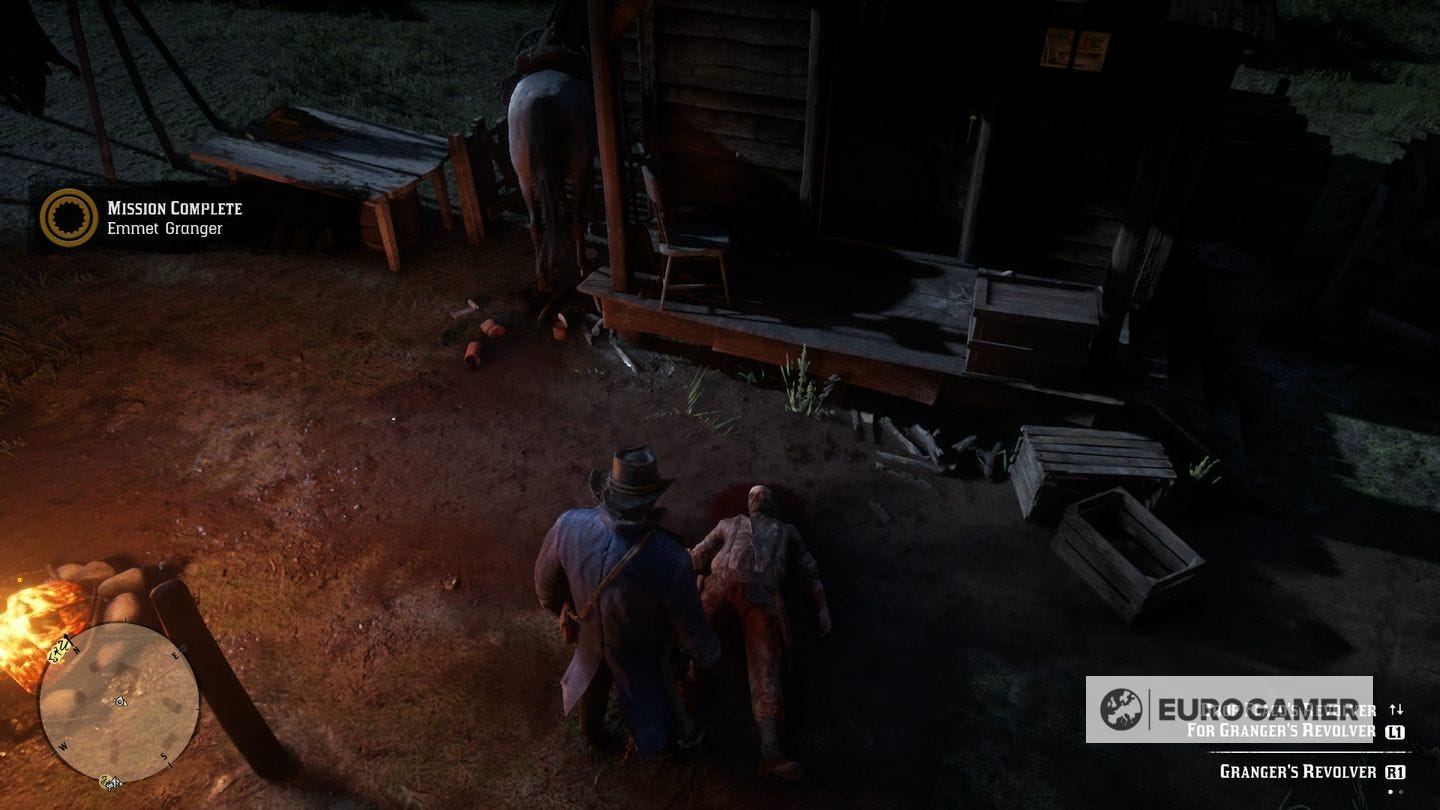
As with Flaco Hernandez, you need to take a picture of the body, and then... remember to pick up his gun!
The Third Gunslinger location - Billy Midnight
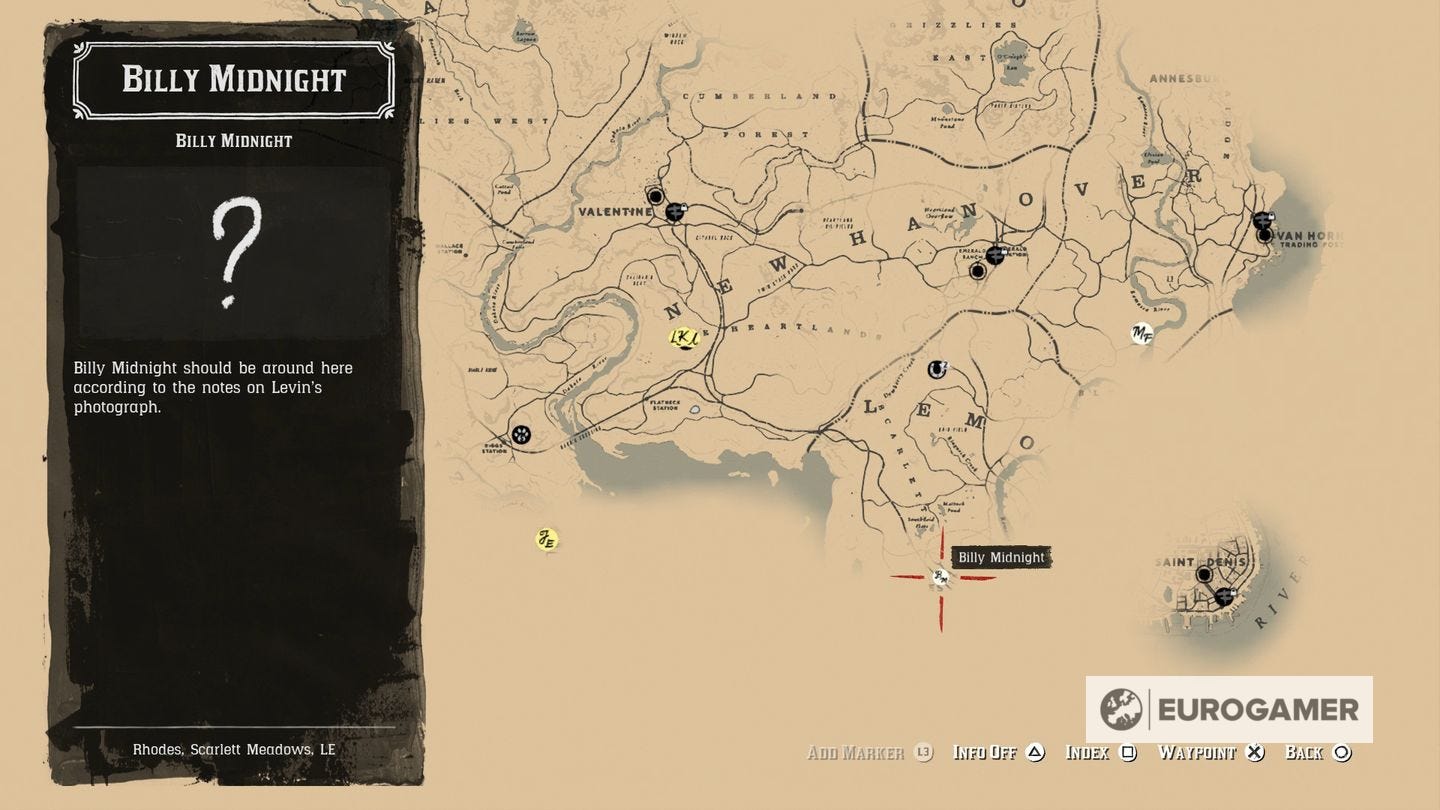
Billy Midnight isn't too far from Emmet Granger, thankfully.
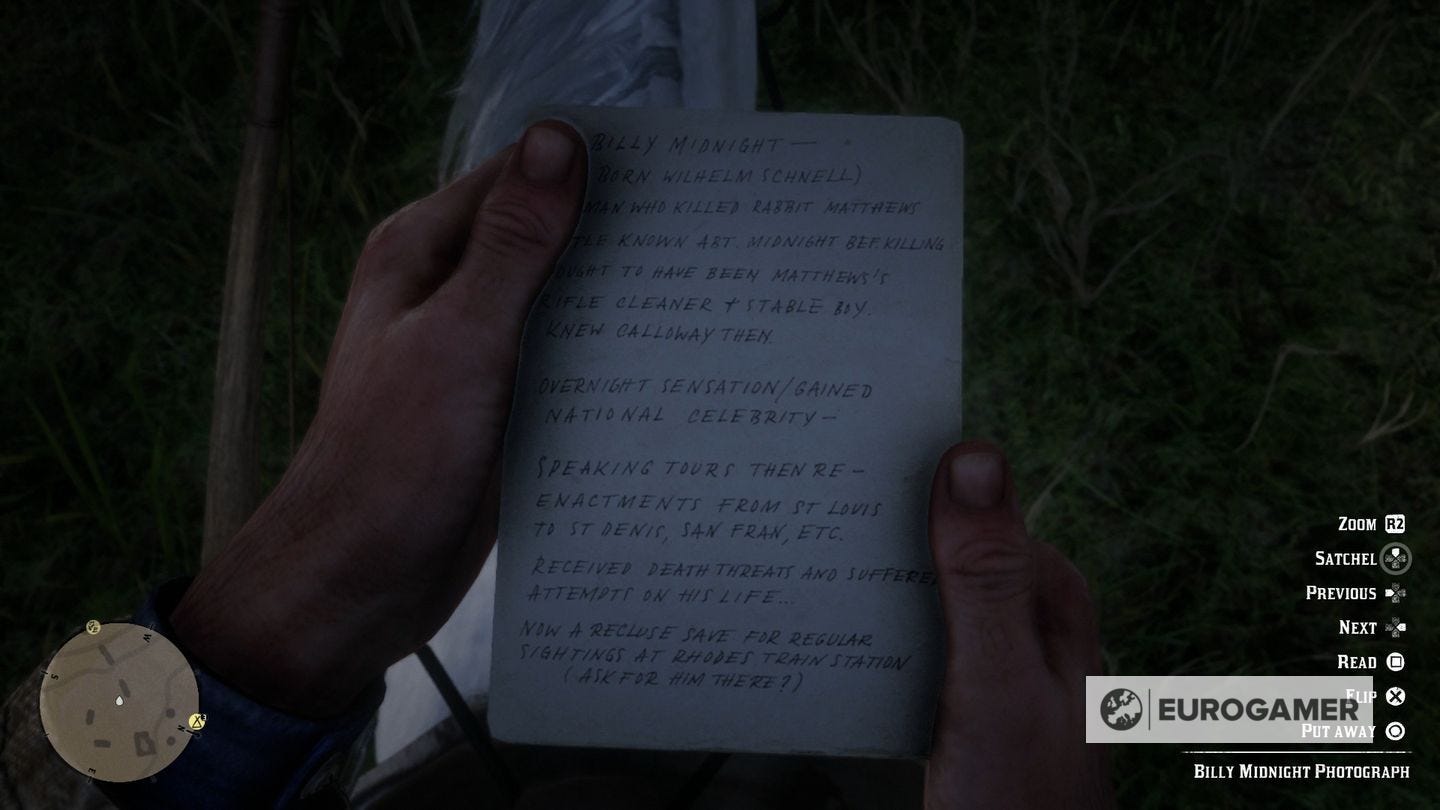
Inspect the back of his photograph and then head to Rhodes Railway Station, which will be marked on your map for you once you've read the back of his picture.
Head inside and talk to the Clerk.
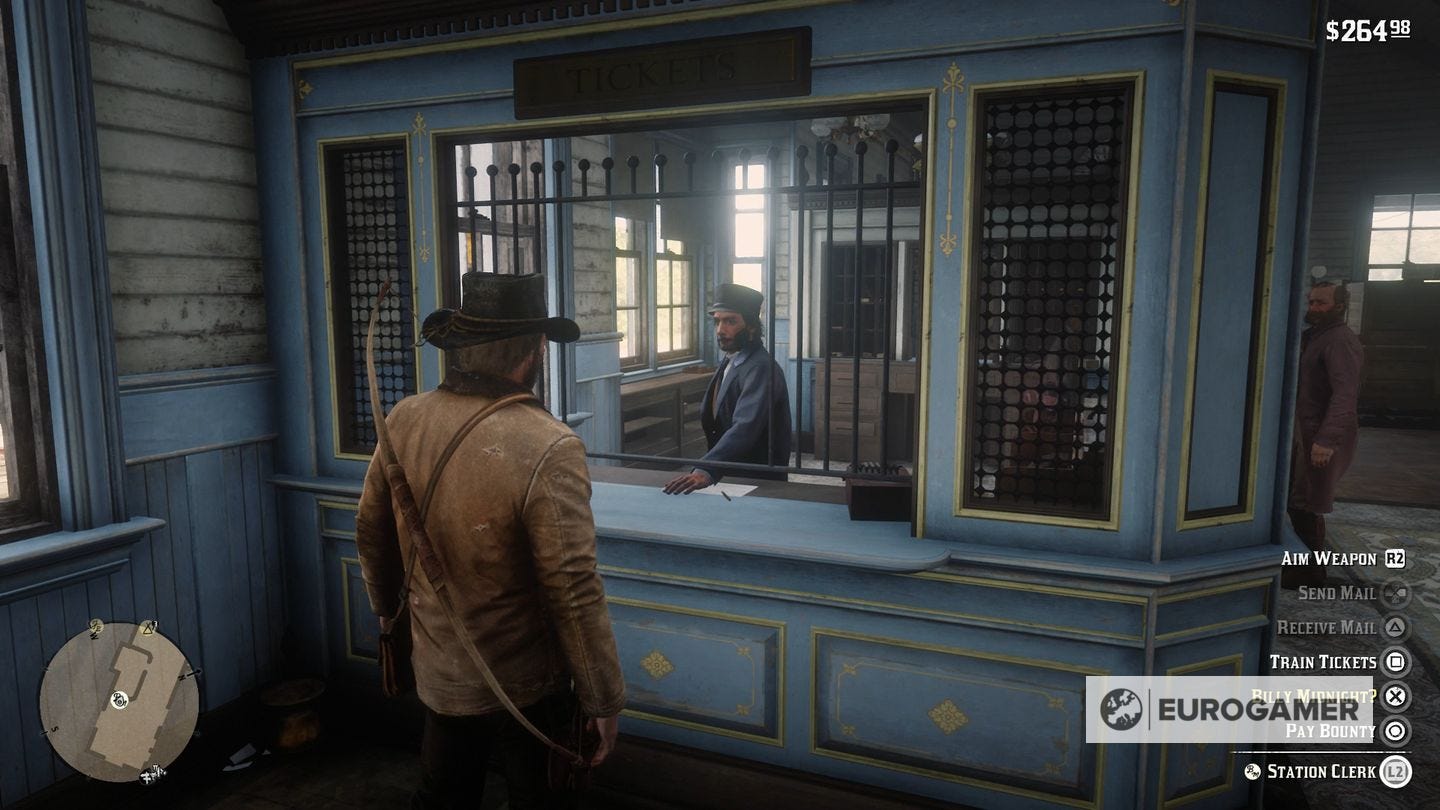
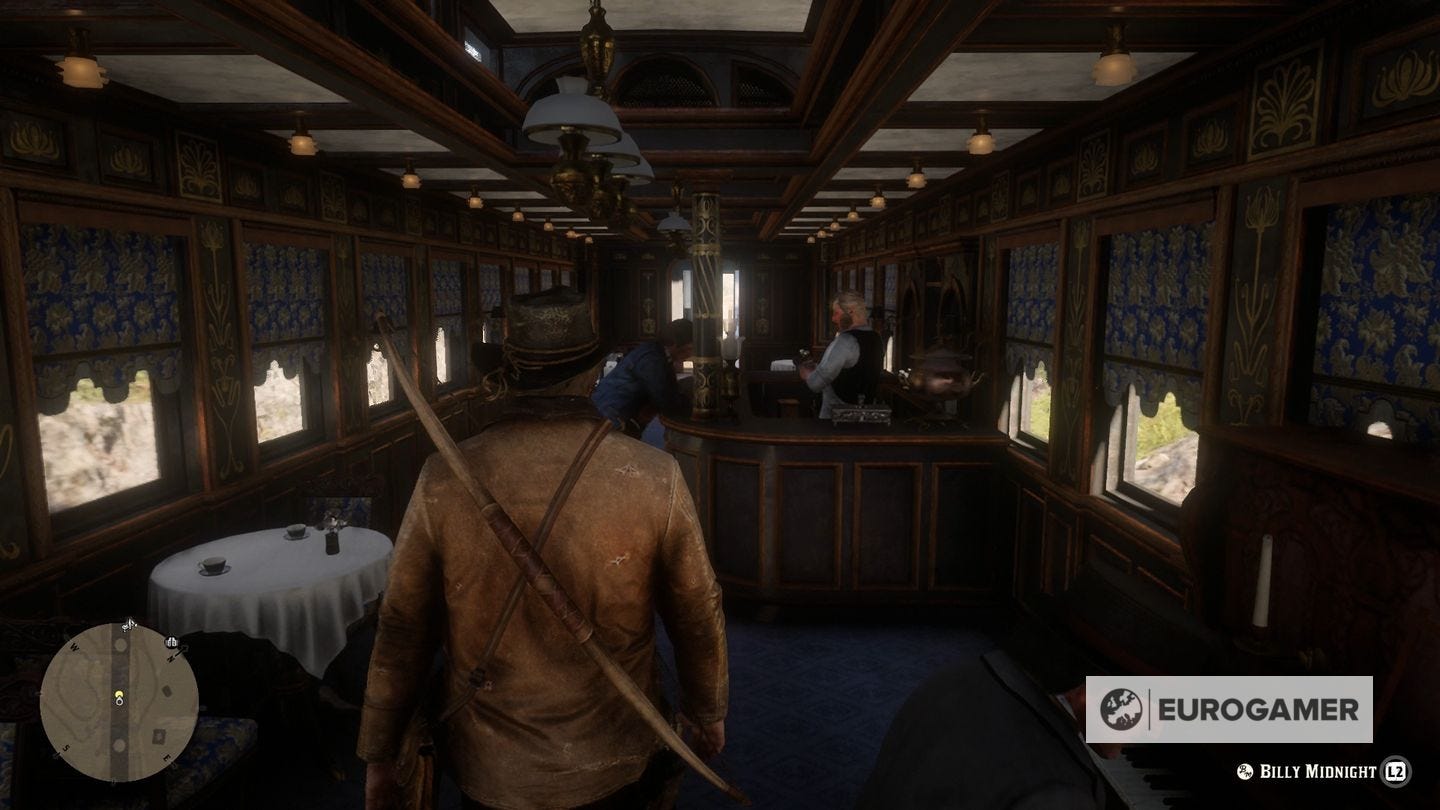
He'll instruct you to wait outside for a train and see if Midnight's on board - one should turn up just as he says that, so stroll outside and hop on board, then work your way towards the bar cabin, at the back of the train, where you'll find him.
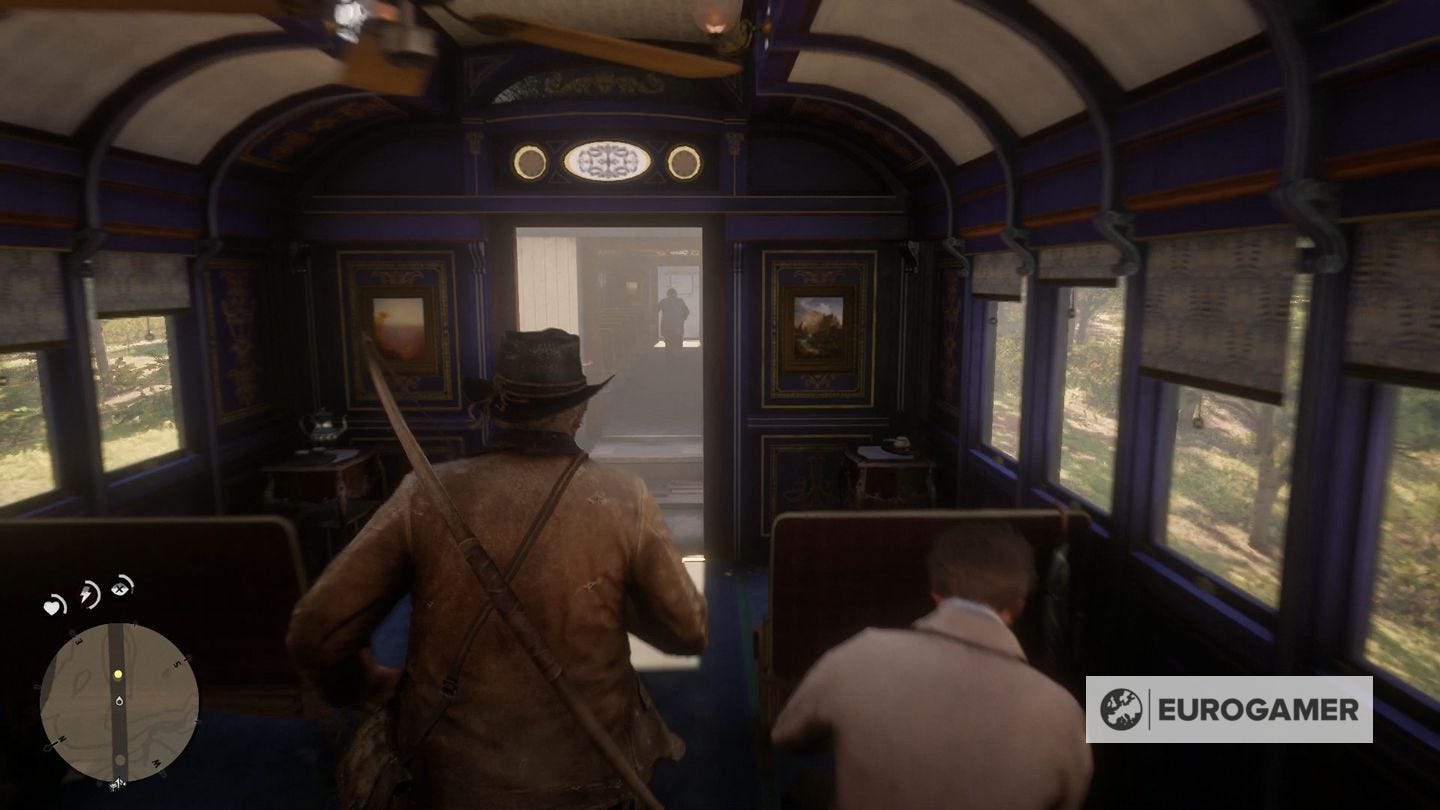
He runs away when you approach - back the way you came - so chase him and eventually you'll face off on the roof of the train near the front, for your third duel.
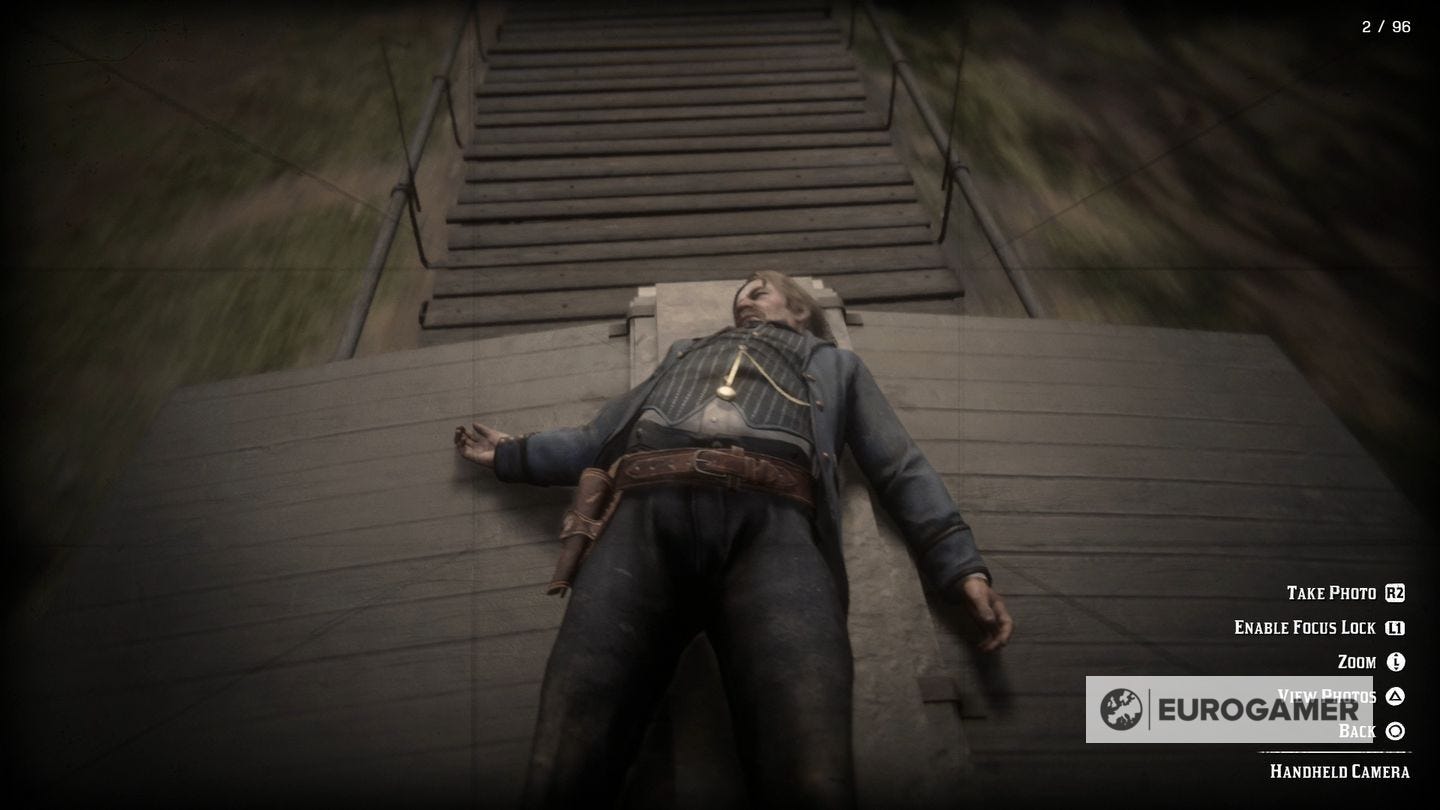
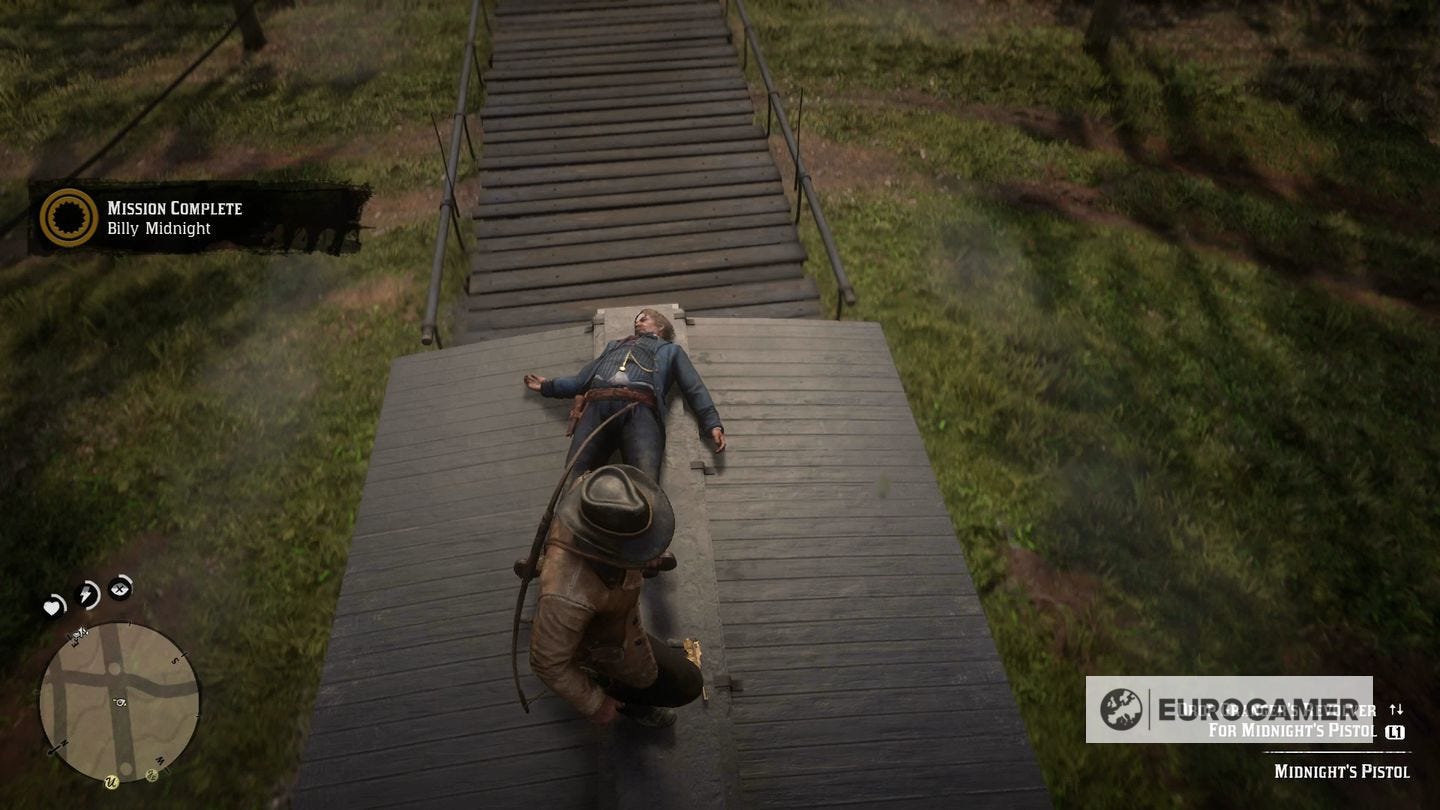
Once again, take a photo of the body, and remember to pick up his gun!
The fourth Gunslinger location - Black Belle
The last of the four Gunslingers that you received photographs of, Black Belle again isn't too far from the previous gunslinger, thankfully.
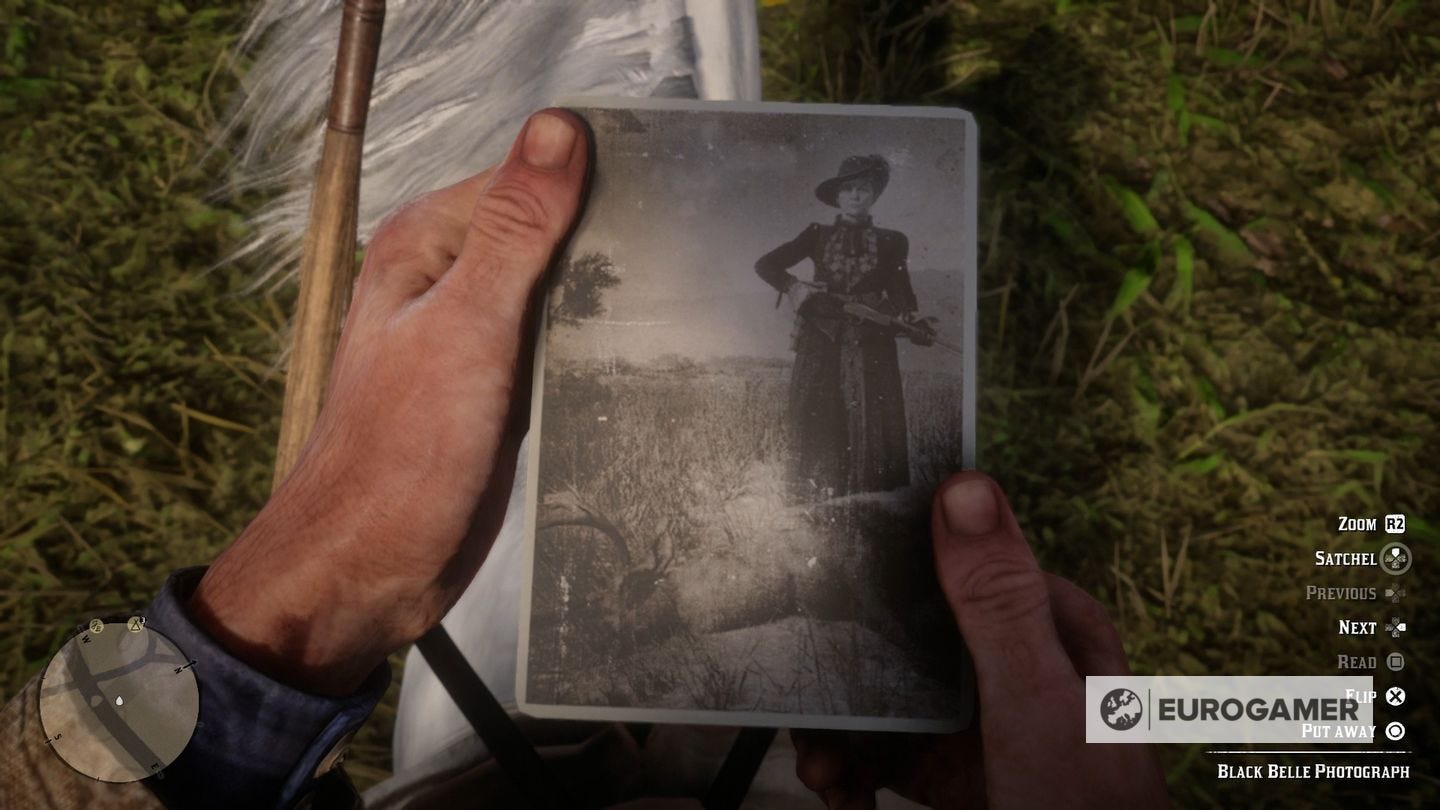
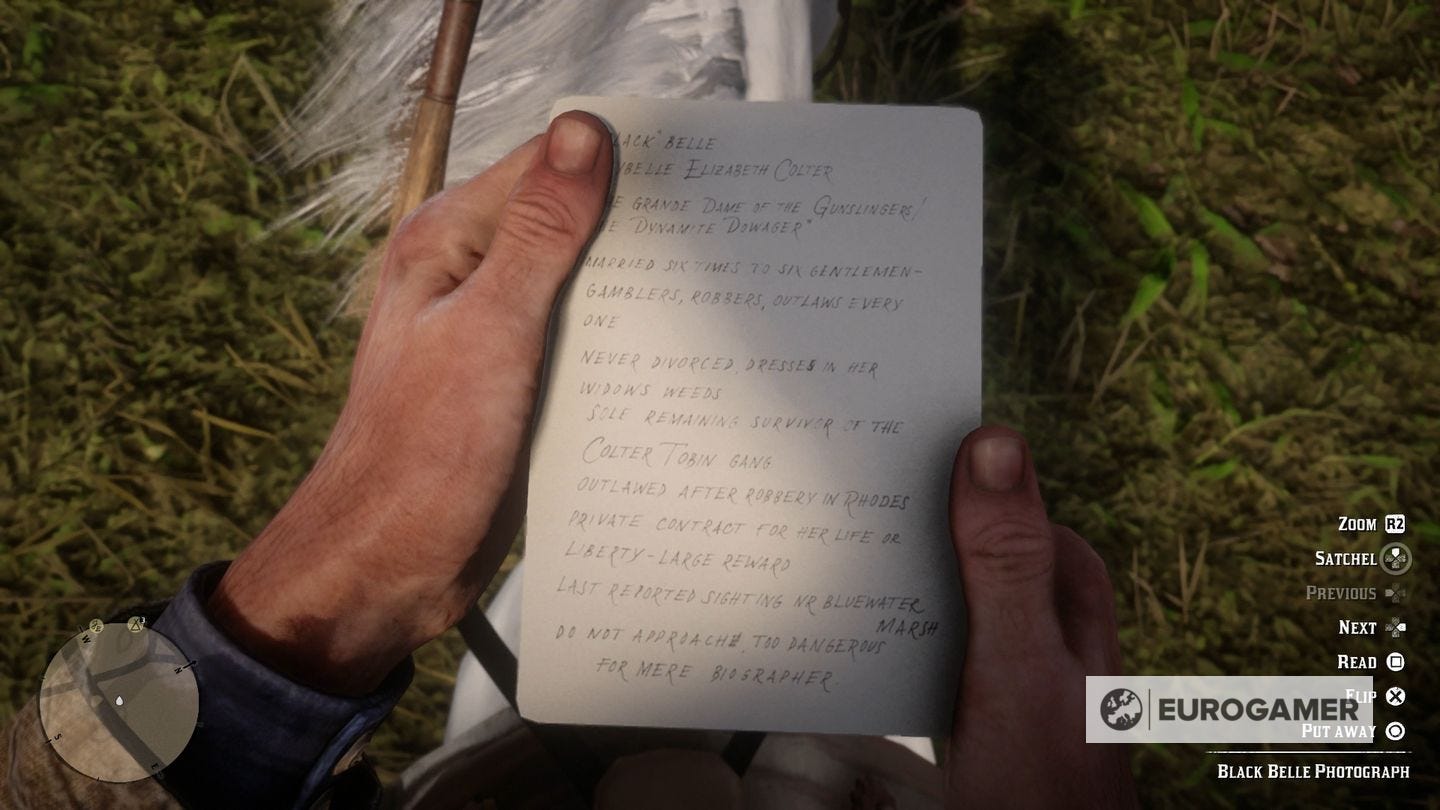
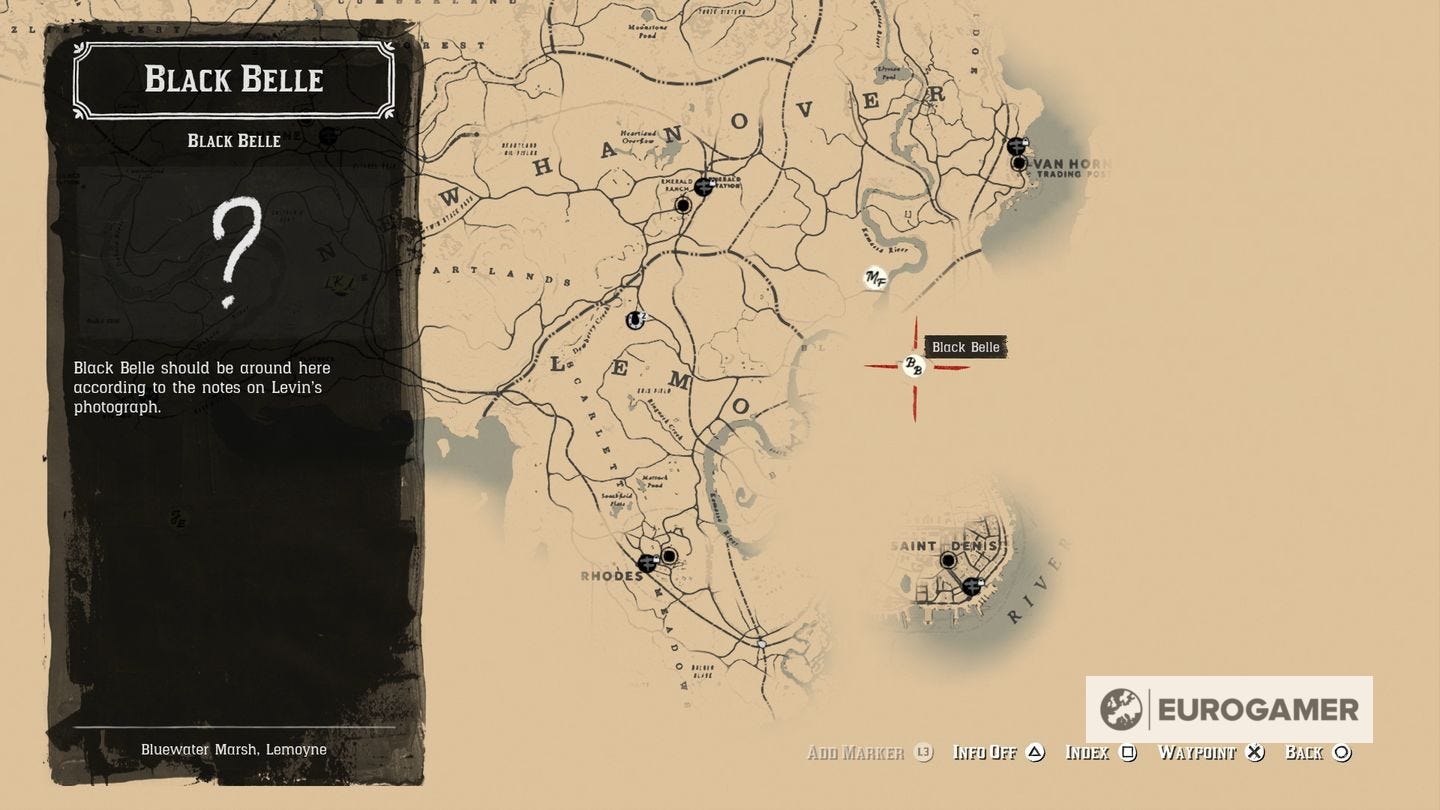
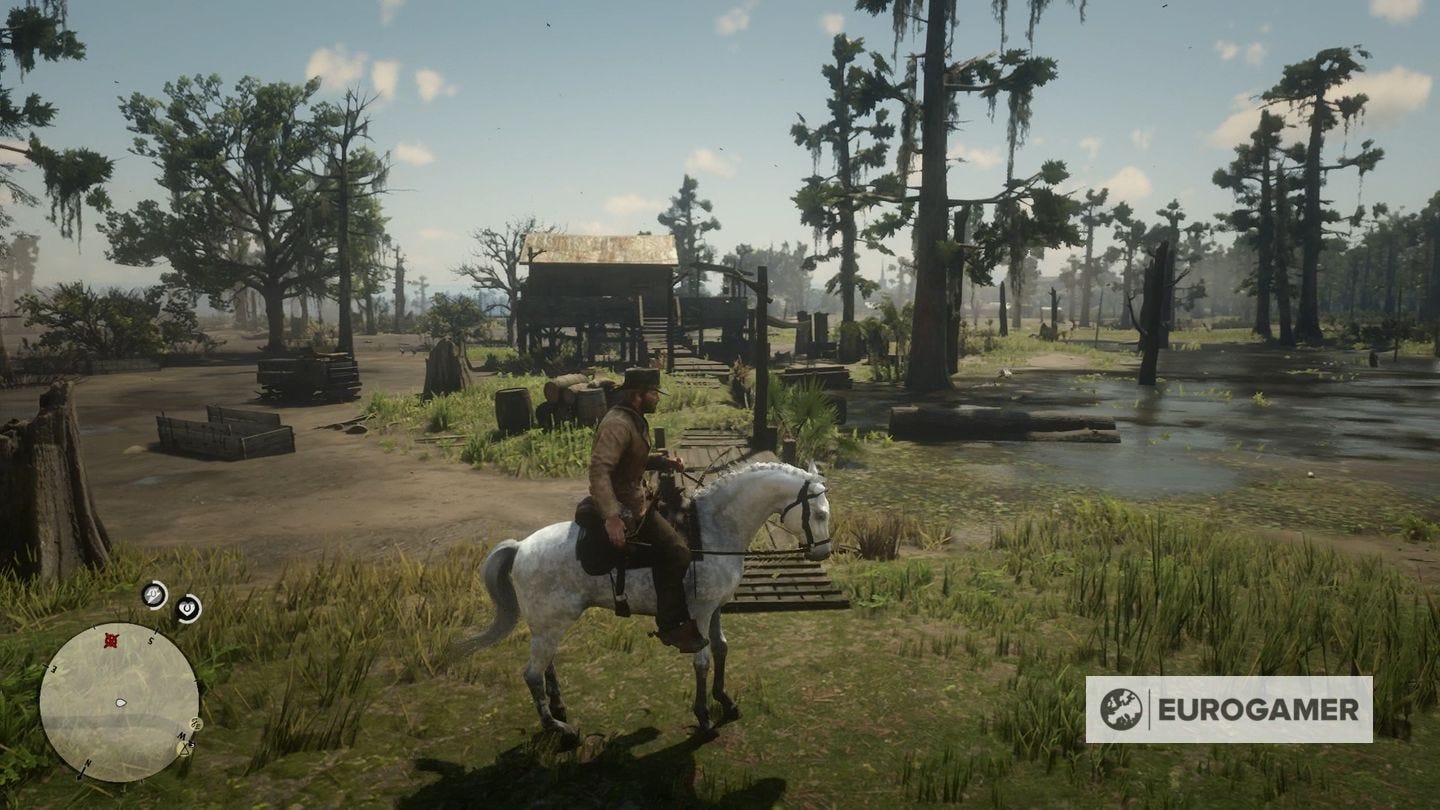
Read the back of her photo and head to the area marked on your map once more - a cabin in Bluewater Marsh - and be ready for a fight.
As you approach, you'll enter another cutscene and, this time, you'll be helping the gunslinger instead of trying to kill her.
Several waves of Bounty Hunters will attack. First, you need to detonate the bridge as they approach - Belle will tell you when, so just wait for the first Bounty Hunter to stroll up onto the raised walkway and press the button on her signal.

You then need to fight off about a dozen more - some of which will attack the cabin from the rear corner as well - and soon enough they'll roll up with a genuine Gatling Gun mounted on a cart. Pick off the person firing it with a headshot.
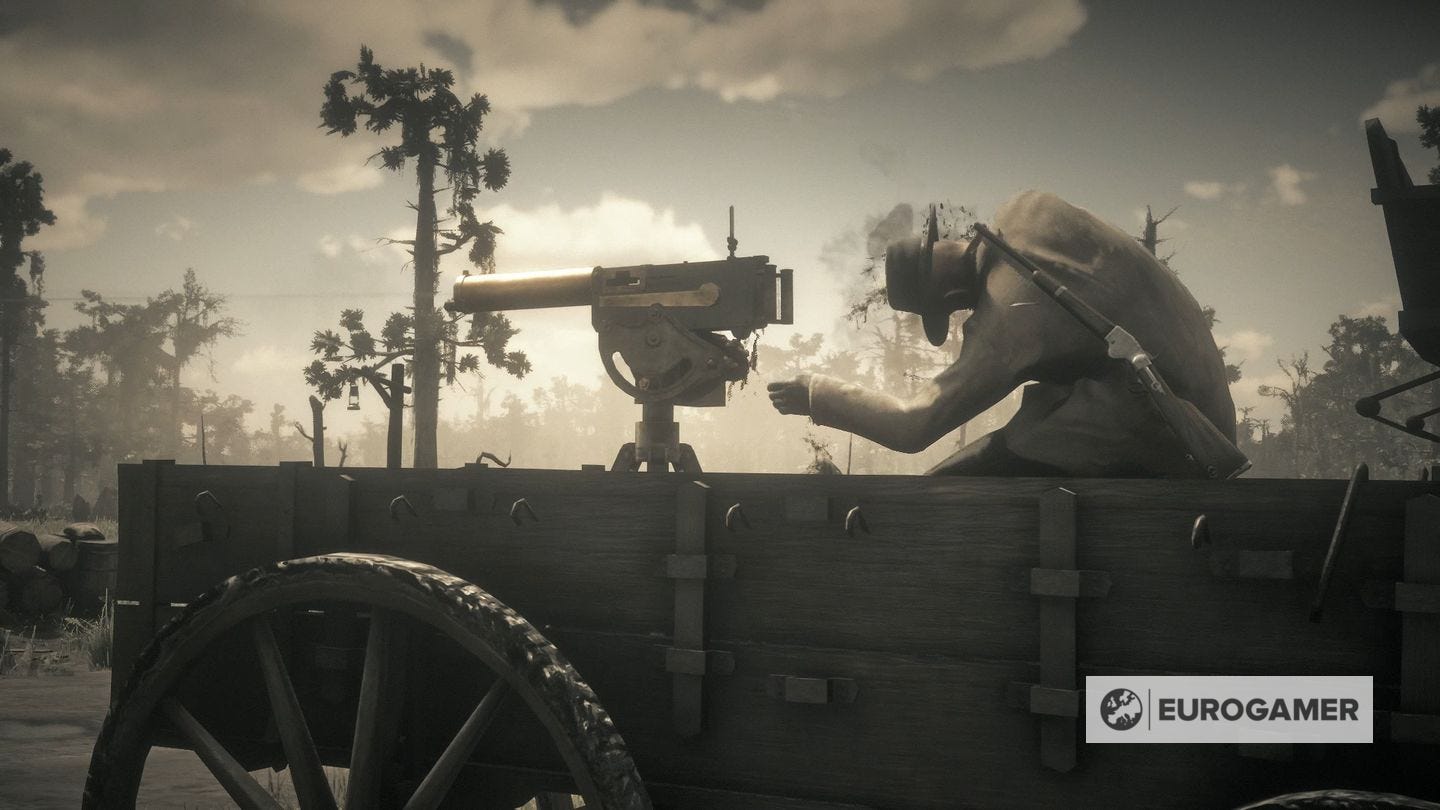
Finally, some more will work their way onto the ramp - use the second switch to blow them up, and you should be done.
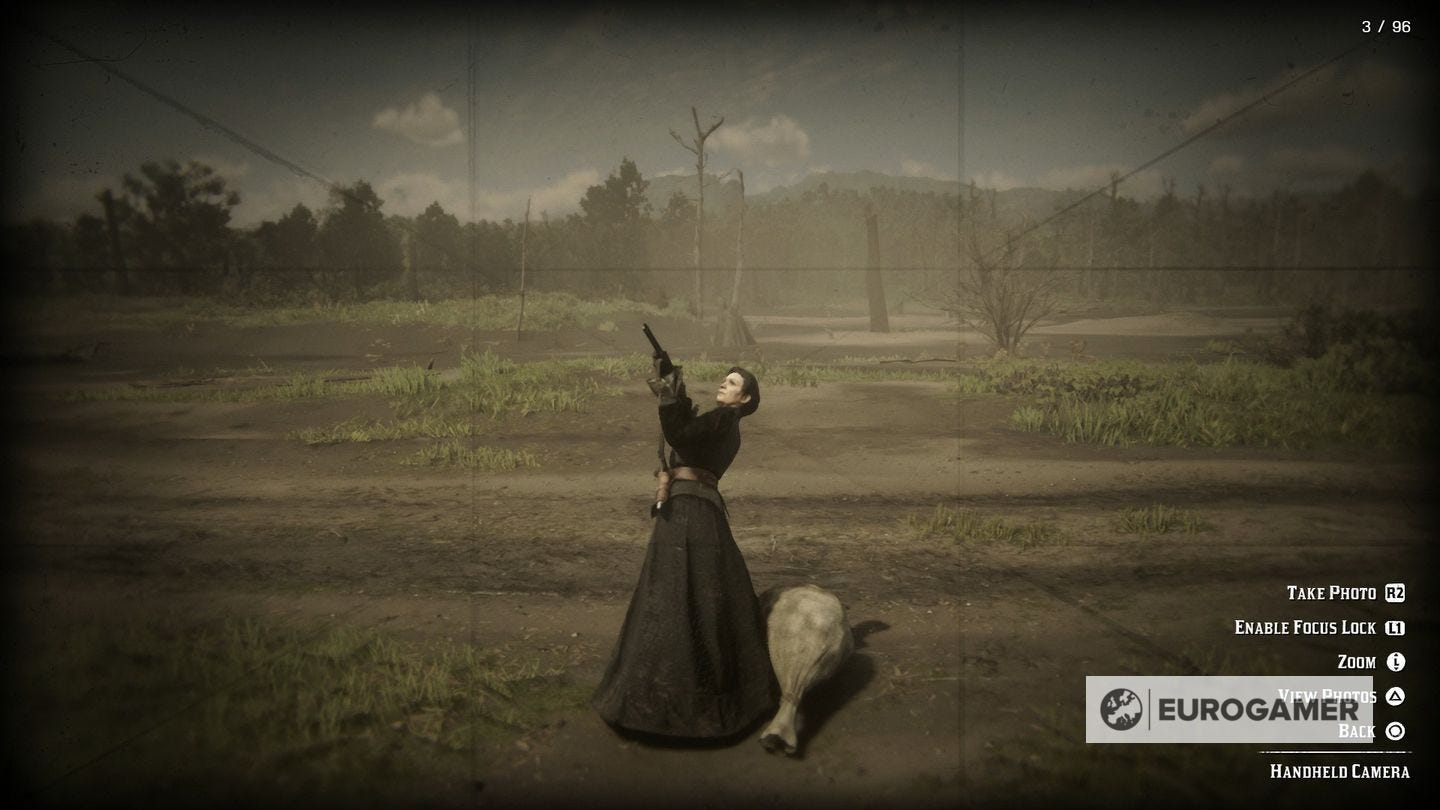
There's no gun to take this time, but you'll still need to take Black Belle's picture as she poses for you.
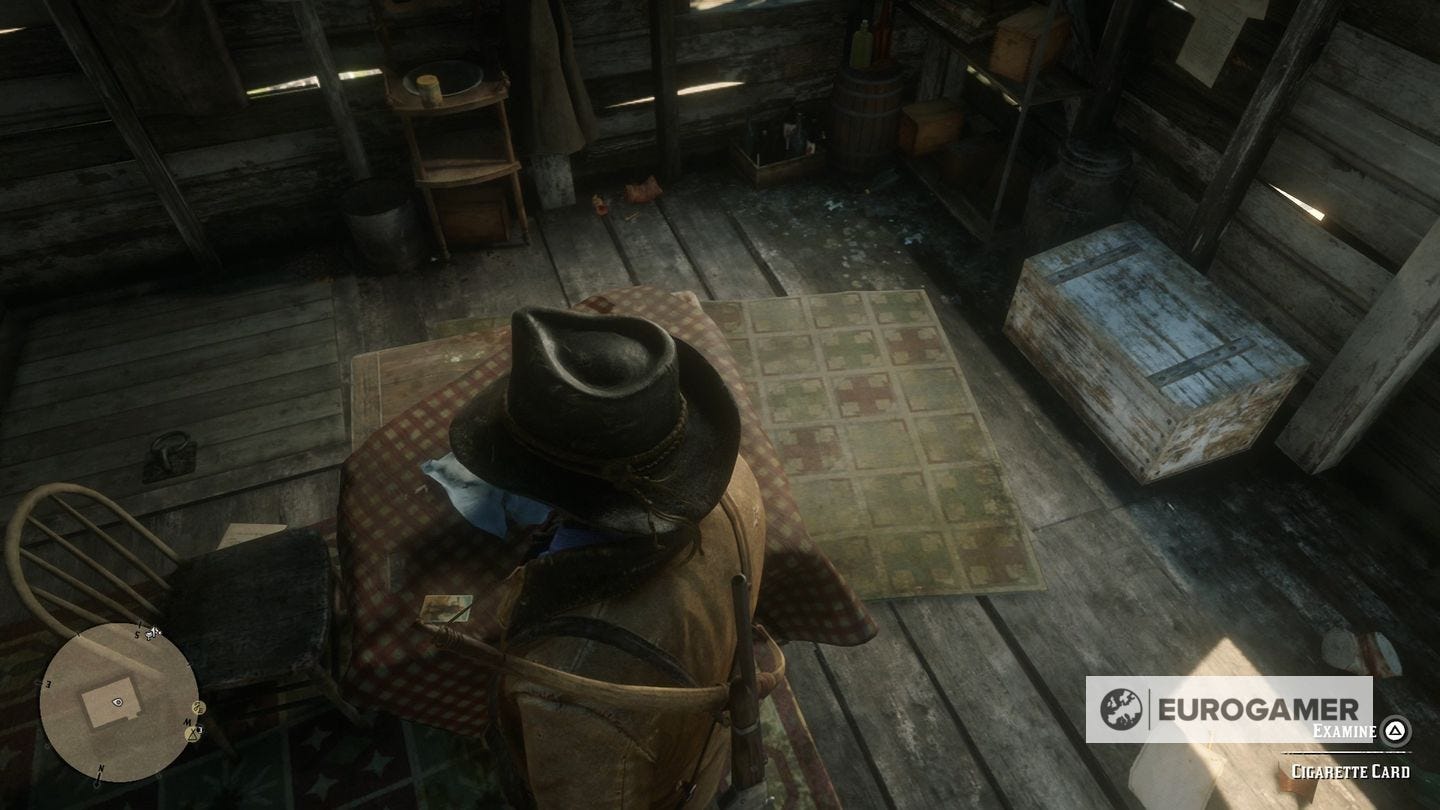
There's also a Cigarette Card on the table inside - and another in a Premium Cigarette Pack in a drawer in there too - plus, plenty of high-value gold and silver loot to be had from the bodies scattered around, so make sure you search them all!
With that, your initial task is done - you've questioned, killed, and photographed all the Gusnlingers on your list - but the mission isn't over yet. To finish it off, there's one last Gunslinger to hunt down, but it'll only trigger once you complete the Chapter 4 mission A Fine Night of Debauchery, too.
The fifth Gunslinger Location - Slim Grant
Once you've finished A Fine Night of Debauchery in Chapter 4 then, you can pick up the final part of the Gunslinger quest - starting with a conversation with the bartender back at that saloon in Valentine. Ask after Calloway and Levin and he'll tell you they went to Saint Denis.
Head to the waypoint in Saint Denis and talk to Calloway and Theodore Levin there, and they'll send you off to go find someone called Slim Grant for Calloway to kill. Gran is now State Marshall, and is based up at the Sheriff's office in Annesburg, which is up in the north-east corner of the map, on the coast.
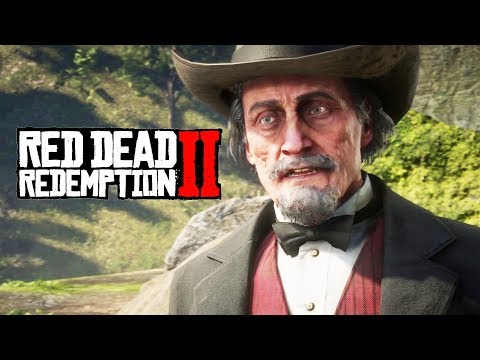
The Lawman you find there says that Grant is off looking for bandits - only he's not been seen for days. Head to the nearby bandit camp that's marked on your map, west of town, to go find him. The video above details what you need to do if you're struggling.
Grant will be tied up there - kill the bandits, put him on the back of the horse and head to the new waypoint nearby to deliver him to Levin and Calloway. There, a cutscene will unfold.
You then have one final duel to tackle - and there's also a final weapon dropped, so, for the last time: remember to pick up his gun!
How to duel in Red Dead Redemption 2: duelling system explained
Duelling isn't the most well-explained system in Red Dead Redemption 2, but knowing how to duel is going to be essential for these gunslinger quests - as well as for some other occasions along your journey in the game, too.
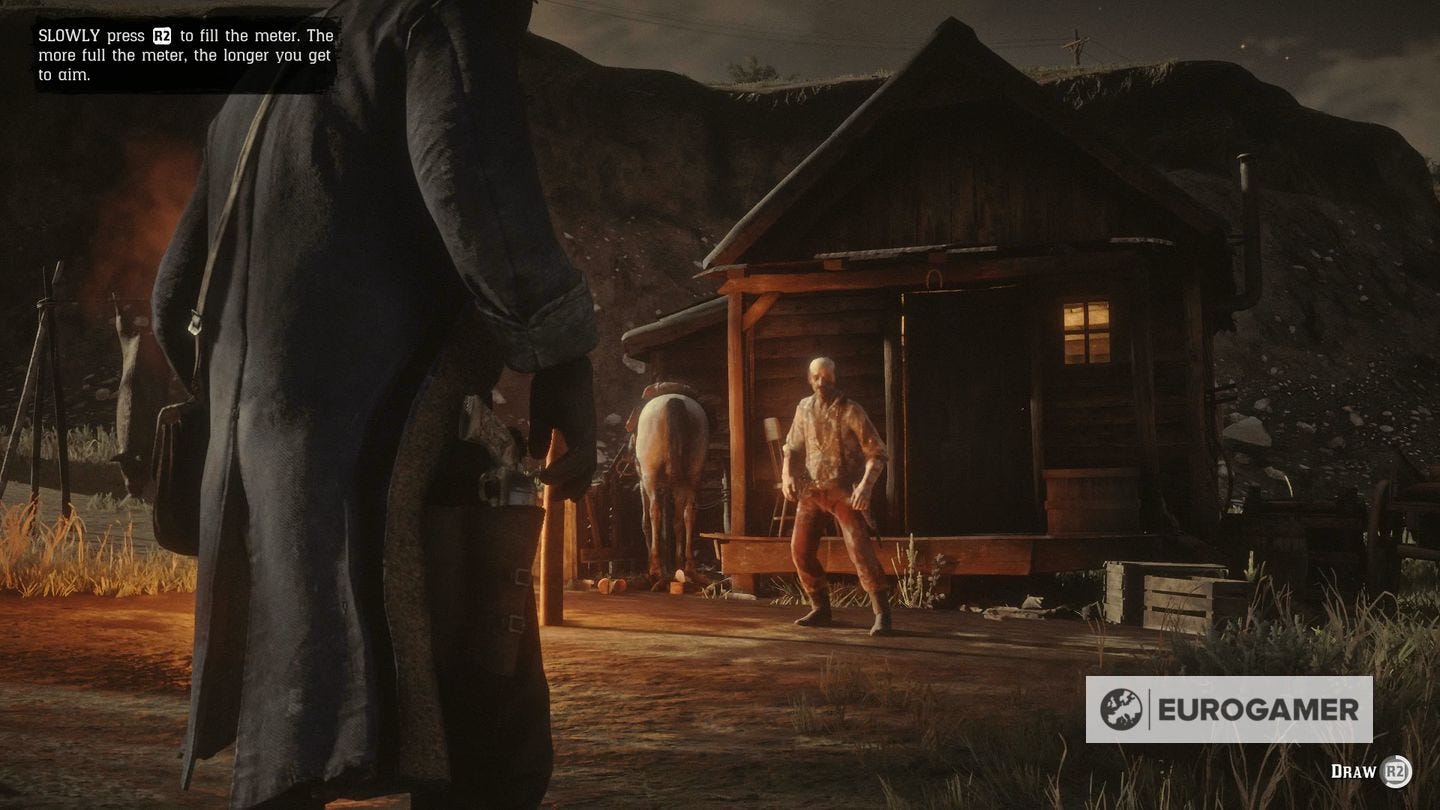
Duels are broken down into three stages: drawing, aiming, and shooting.
Duel stage 1: Draw - Once the camera frames itself behind your hip and your hand starts hoverring over your gun, you're in the draw stage. You need to hold R2/RT lightly - about half-way compressed - to charge up a meter in the bottom right of your screen. The heavier you hold it the faster the meter will fill, and you're aiming to fill the whole thing.
Duel stage 2: Aim - When the meter's full, you'll enter the 'Aim' stage. Keep R2/RT half compressed. Time will slow down, and you can move the reticule to their head or chest if you want a kill, or their hand if you want to disarm (this is only really used in specific cases).
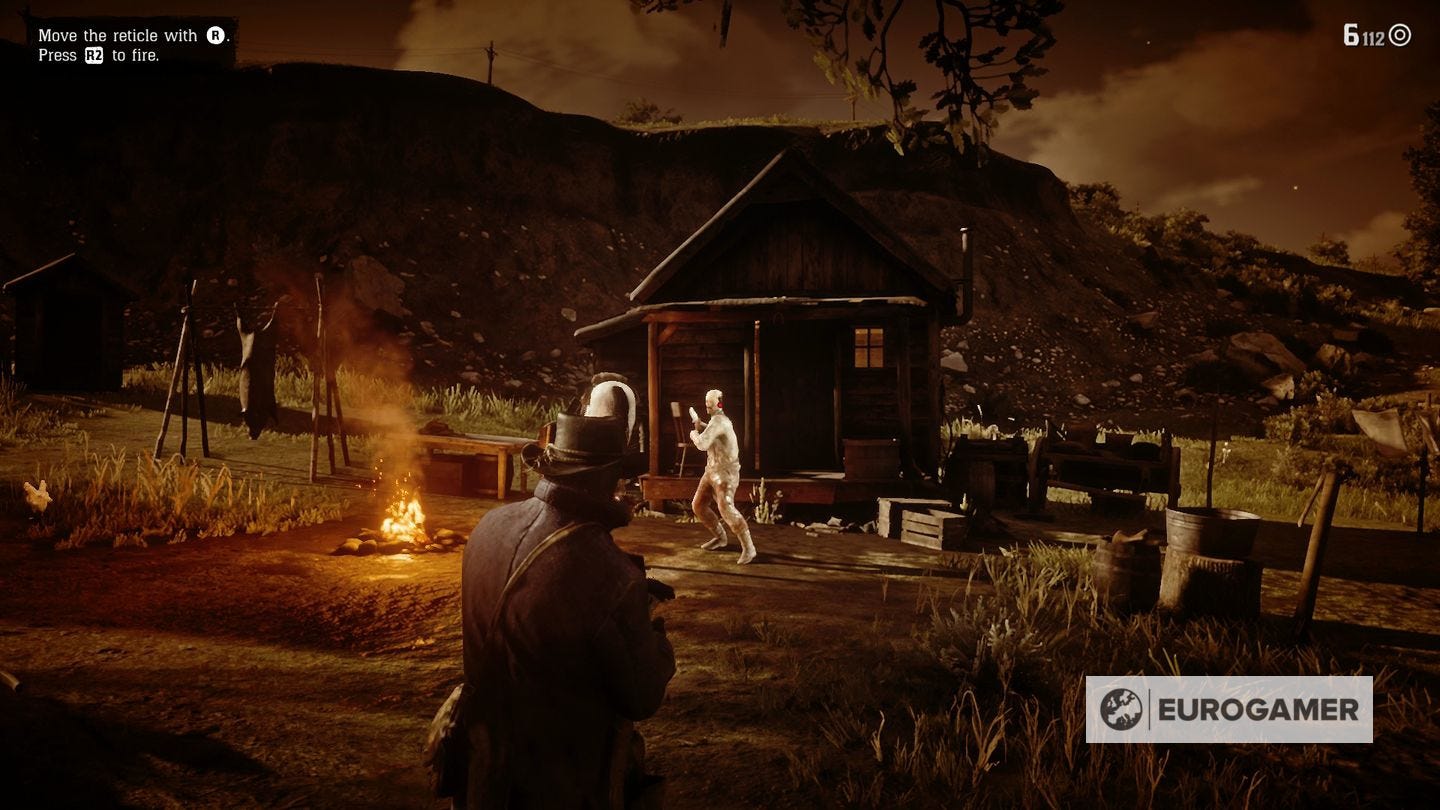
Duel stage 3: Shoot - When you've lined up the shot, fully press R2/RT to fire, shooting your opponent.
If you fail any of those stages - say by pressing down on R2/RT too hard during the Draw stage, or not pressing it hard enough so you don't charge in time - you'll likely miss your oponent who'll dodge and shoot you, killing you in return.
So, remember: half-press R2/RT and keep it there until the bar fully charges, then in the slow-motion phase line up the shot while keeping it pressed, then press R2/RT all the way in once you've got it lined up to shoot them. Simple! Sort of.