Modern Warfare 3 KV Inhibitor loadout, best class build and how to unlock KV Inhibitor
How to upgrade this semi-auto sniper to more consistent get one-shot kills.
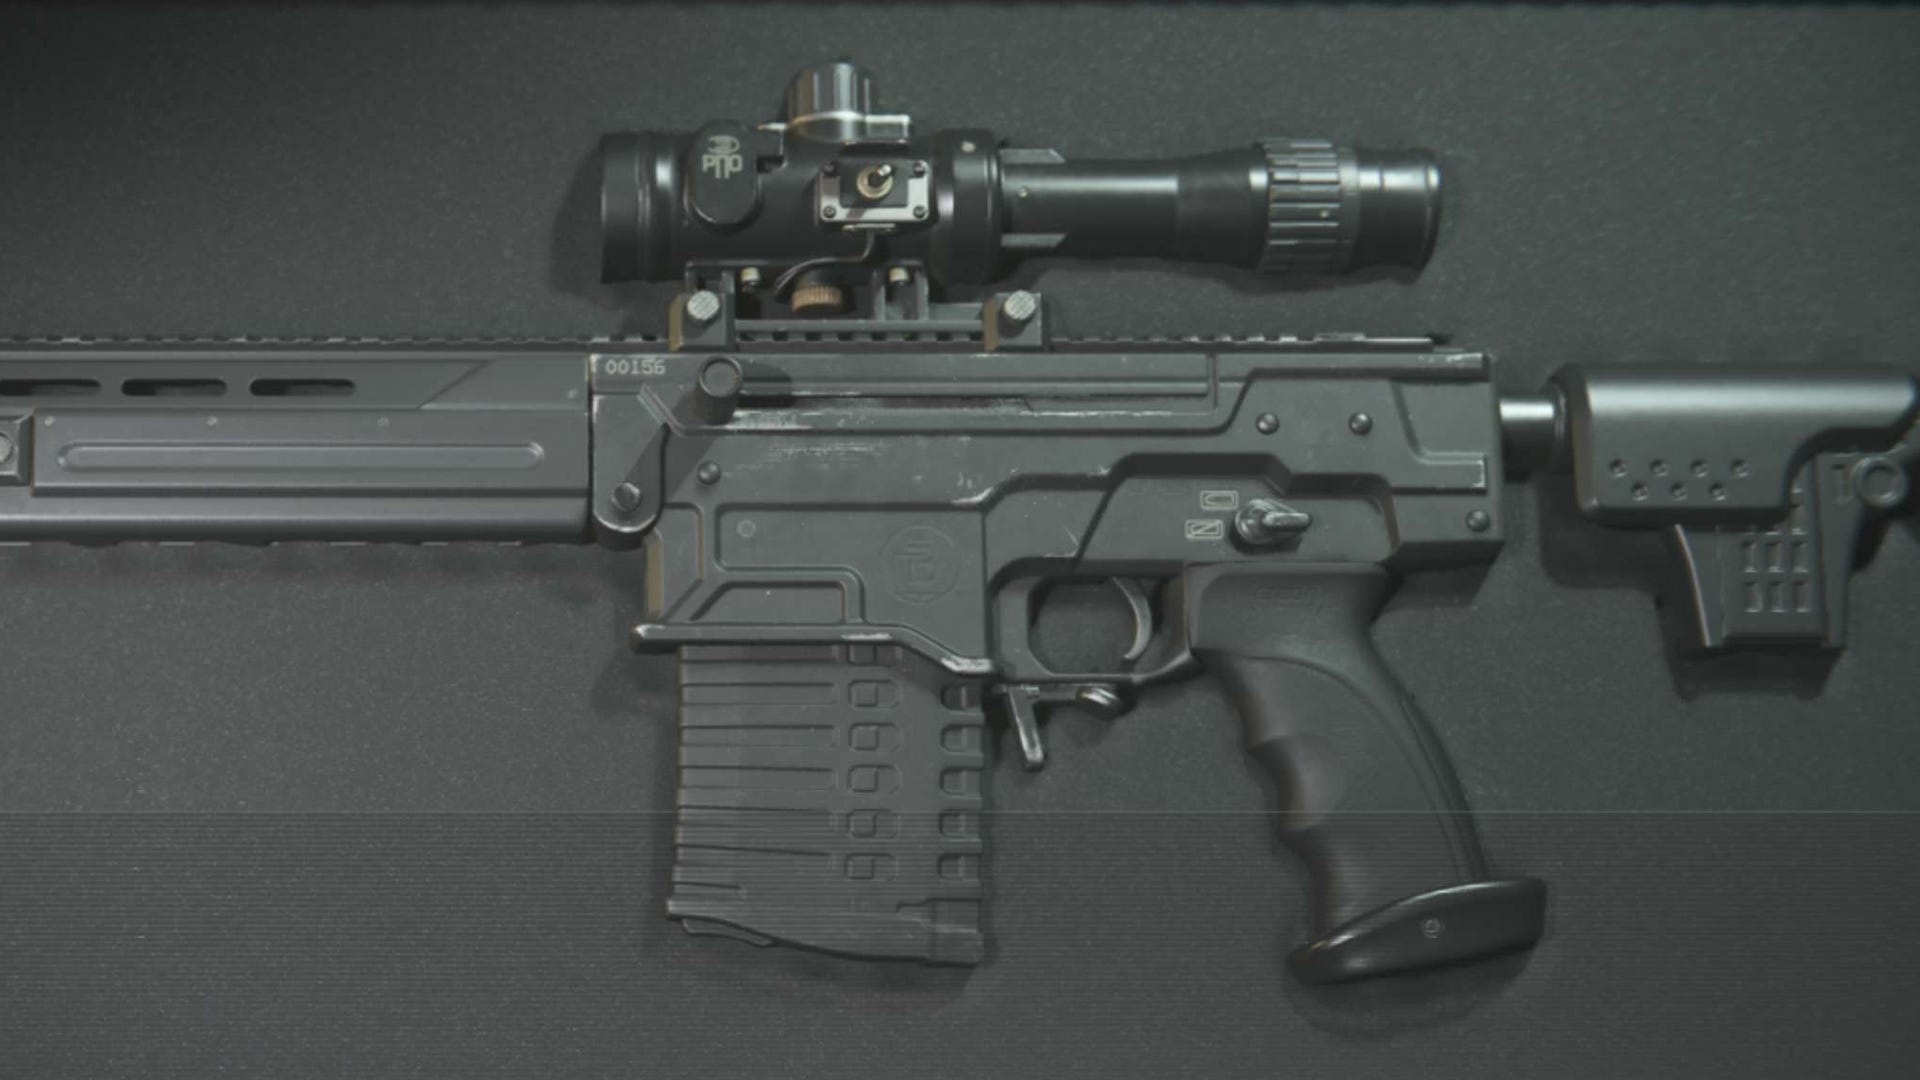

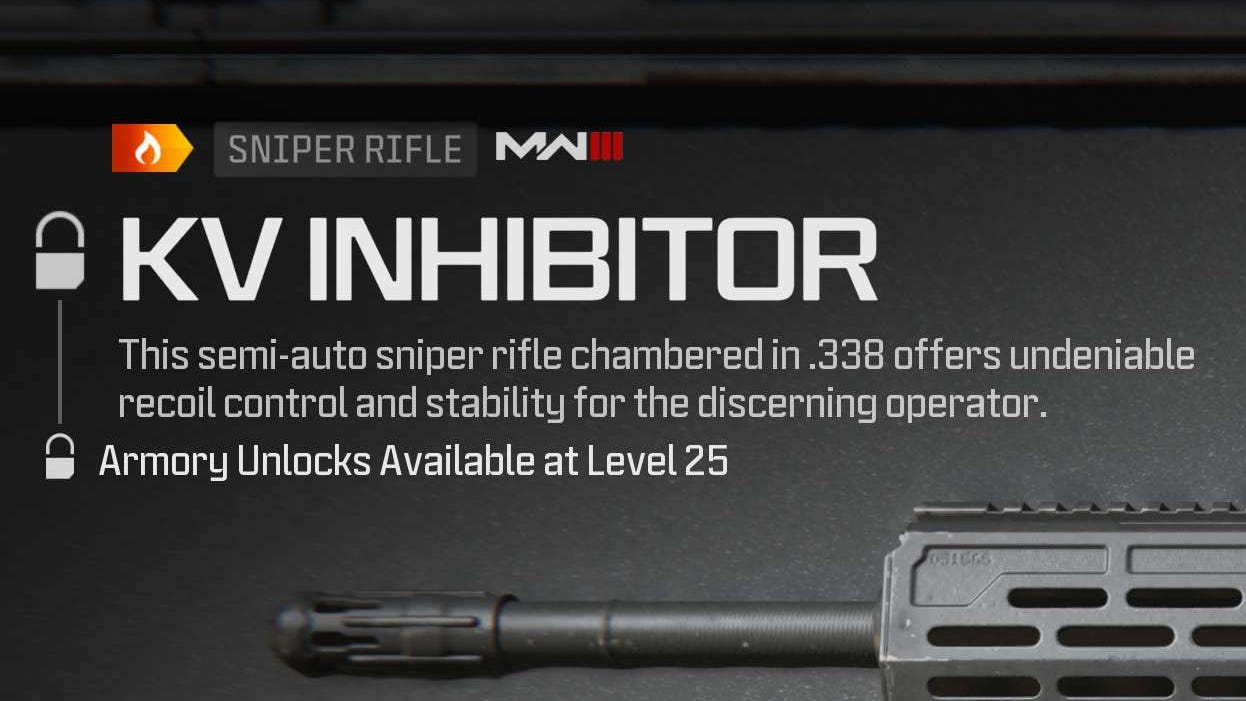
The KV Inhibitor is a new sniper rifle as part of Modern Warfare 3’s new suite of firearms.
After being a popular pick in the beta, it’s one players are looking out for at launch too as the meta begins to form in Modern Warfare 3.
In itself, it’s a semi-automatic rifle that with some attachment tweaking, can be deadly with cross-map one-shot kills.
In this guide, we’ll be running through how to unlock the KV Inhibitor in Modern Warfare 3, the best attachments to use for the gun, as well as the best class build that compliments this long range rifle.
On this page:
How to unlock the KV Inhibitor in Modern Warfare 3
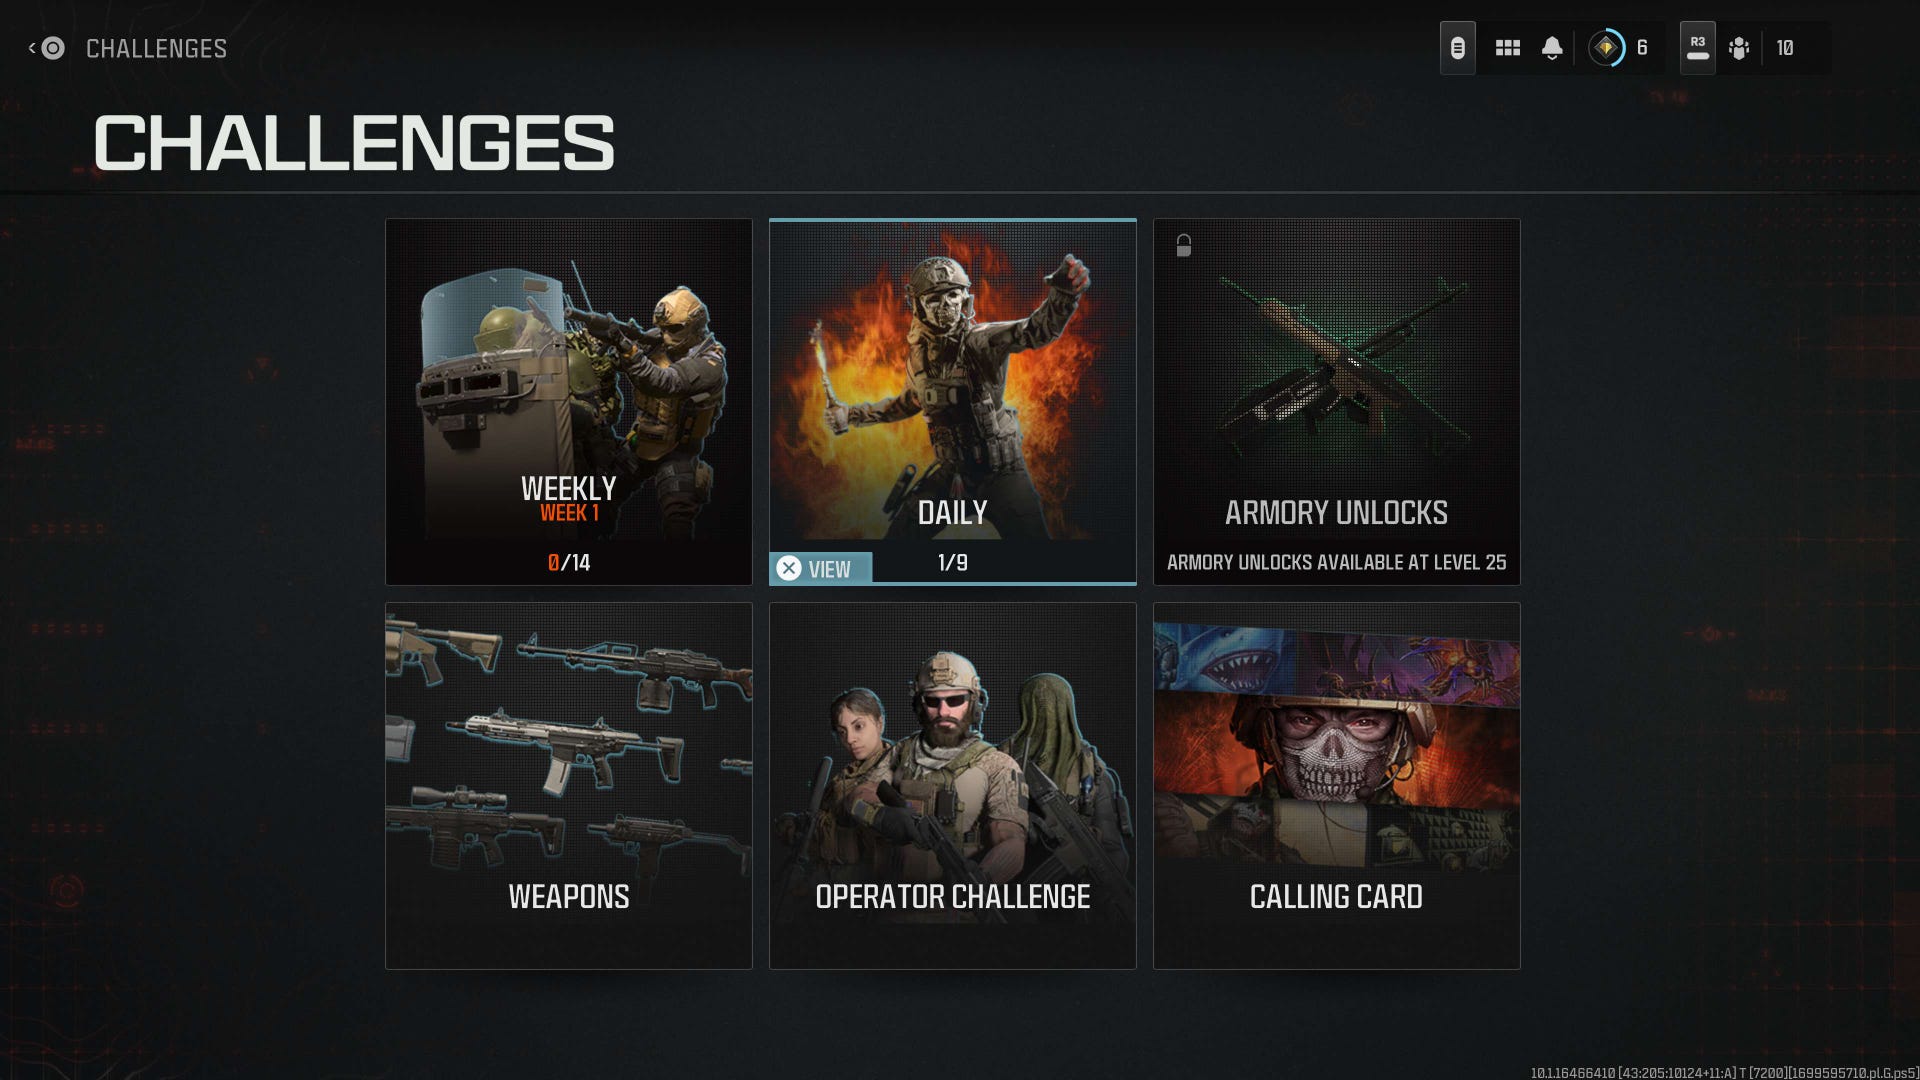
The KV Inhibitor is unlocked via the Armoury - to access this, you'll need to earn XP and reach player level 25.
To earn XP, all you need to do is play Multiplayer matches, completing objectives and netting kills in-game, as well as checking off various challenges and more.
Once you’ve reached level 25 and the Armory becomes available to view, you’ll be able to pick specific weapons and equipment that you want to unlock, completing daily challenges to open them up for your own use - the KV Inhibitor is one of the many guns to unlock with this system.
Once unlocked, you’ll be able to use and customise the KV Inhibitor with various attachments within your own custom classes.
Modern Warfare 3 KV Inhibitor best loadout and attachments
Since the KV Inhibitor is a long range weapon, that’s exactly what we’re going to be looking at boosting the effectiveness of - in particular, we want to increase the chances of one-shot kills which I found could sometimes be hit and miss when using the base version of the weapon.
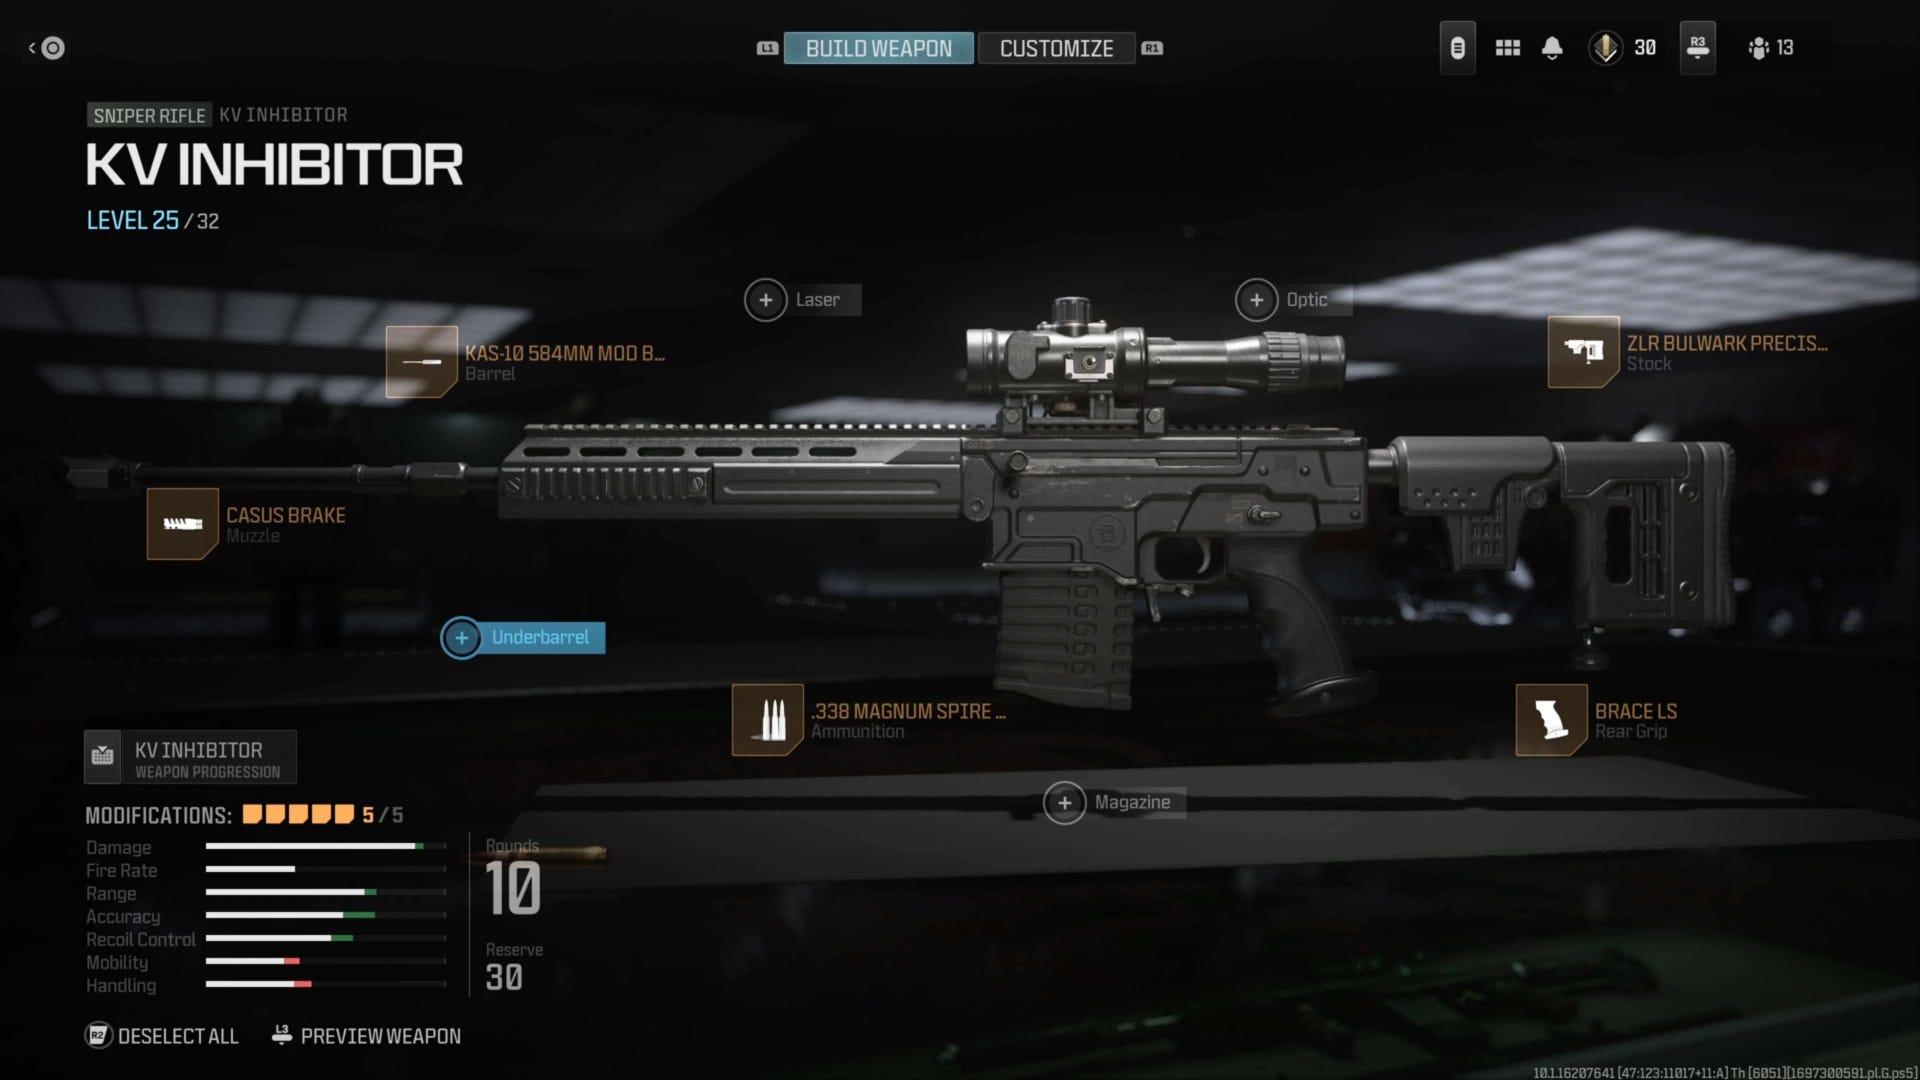
Before detailing the pros and cons of each attachment, here’s a high-level view of the five we’re recommending for the KV Inhibitor:
- Barrel: KAS-10 584MM Mod Barrel
- Muzzle: Casus Brake L
- Rear Grip: Brace LS
- Stock: ZLR Bulwark Precision Stock
- Ammunition: .338 Magnum Spire Point Rounds
Perhaps this build’s most important component, the first attachment we’re looking at is the KAS-10 584MM Mod Barrel. With this equipped, you’ll be gaining a medium boost in bullet velocity and range, as well as reduced aiming idle sway and greater recoil control.
It does have reduced sprint to fire and movement speeds, as well as an increased hipfire spread and less firing aim stability, but half of these won’t impede the more tactical approach we’re taking with this build, and really, the standout boost here is the increased bullet velocity and range.
Paired with the .338 Magnum Spire Point ammunition’s boosts to bullet velocity and damage range too, it’s going to help you land one-shot kills much more often than the gun otherwise does without the extra attachments.
Looking at the third attachment we’re recommending for the KV Inhibitor, the Casus Break L will provide more accuracy thanks to improved horizontal recoil and firing aim stability. Alternatively, if you’re looking for even less recoil, the BVM-338 is a good alternative since it’ll reduce vertical recoil as well as horizontal recoil.
It’s worth noting both do have reduced ADS speed however, with the latter having some extra aim-idle sway as well, and so these are good to keep in mind if you’d like to scope-in quicker.
To ensure more accurate aiming - both in general, and if under fire - the Brace LS Rear Grip is going to help here thanks to its large boosts to flinch resistance and a decreased aiming idle sway. It does impact Aim Down Sights (ADS), aim-walking, and general movement speed, but these will be less impactful once again due to the playstyle.
The trend of accurate ADS attacks only continues with the ZLR Bulwark Precision Stock thanks to even more reductions to aiming idle sway and gun kick control, as well as increased firing aim stability and recoil control.
There are further decreases to ADS, aim-walking, and general movement speeds though, and so if you find there's too much reduced mobility, it might be worth swapping some attachments to adjust this.
From my time with this build however, I didn’t find the speed reductions too egregious, and of course there are always various perk and gear options that will be able to offset some of the reductions mentioned, as we'll get into in the following section.
As a final note, if you’re wondering how to unlock any of these attachments, all you need to do is navigate to the relevant attachment slot’s menu within the Gunsmith screen, then find the attachment you’re looking for, and it’ll detail its unlock requirements under its name in the upper left of the screen.
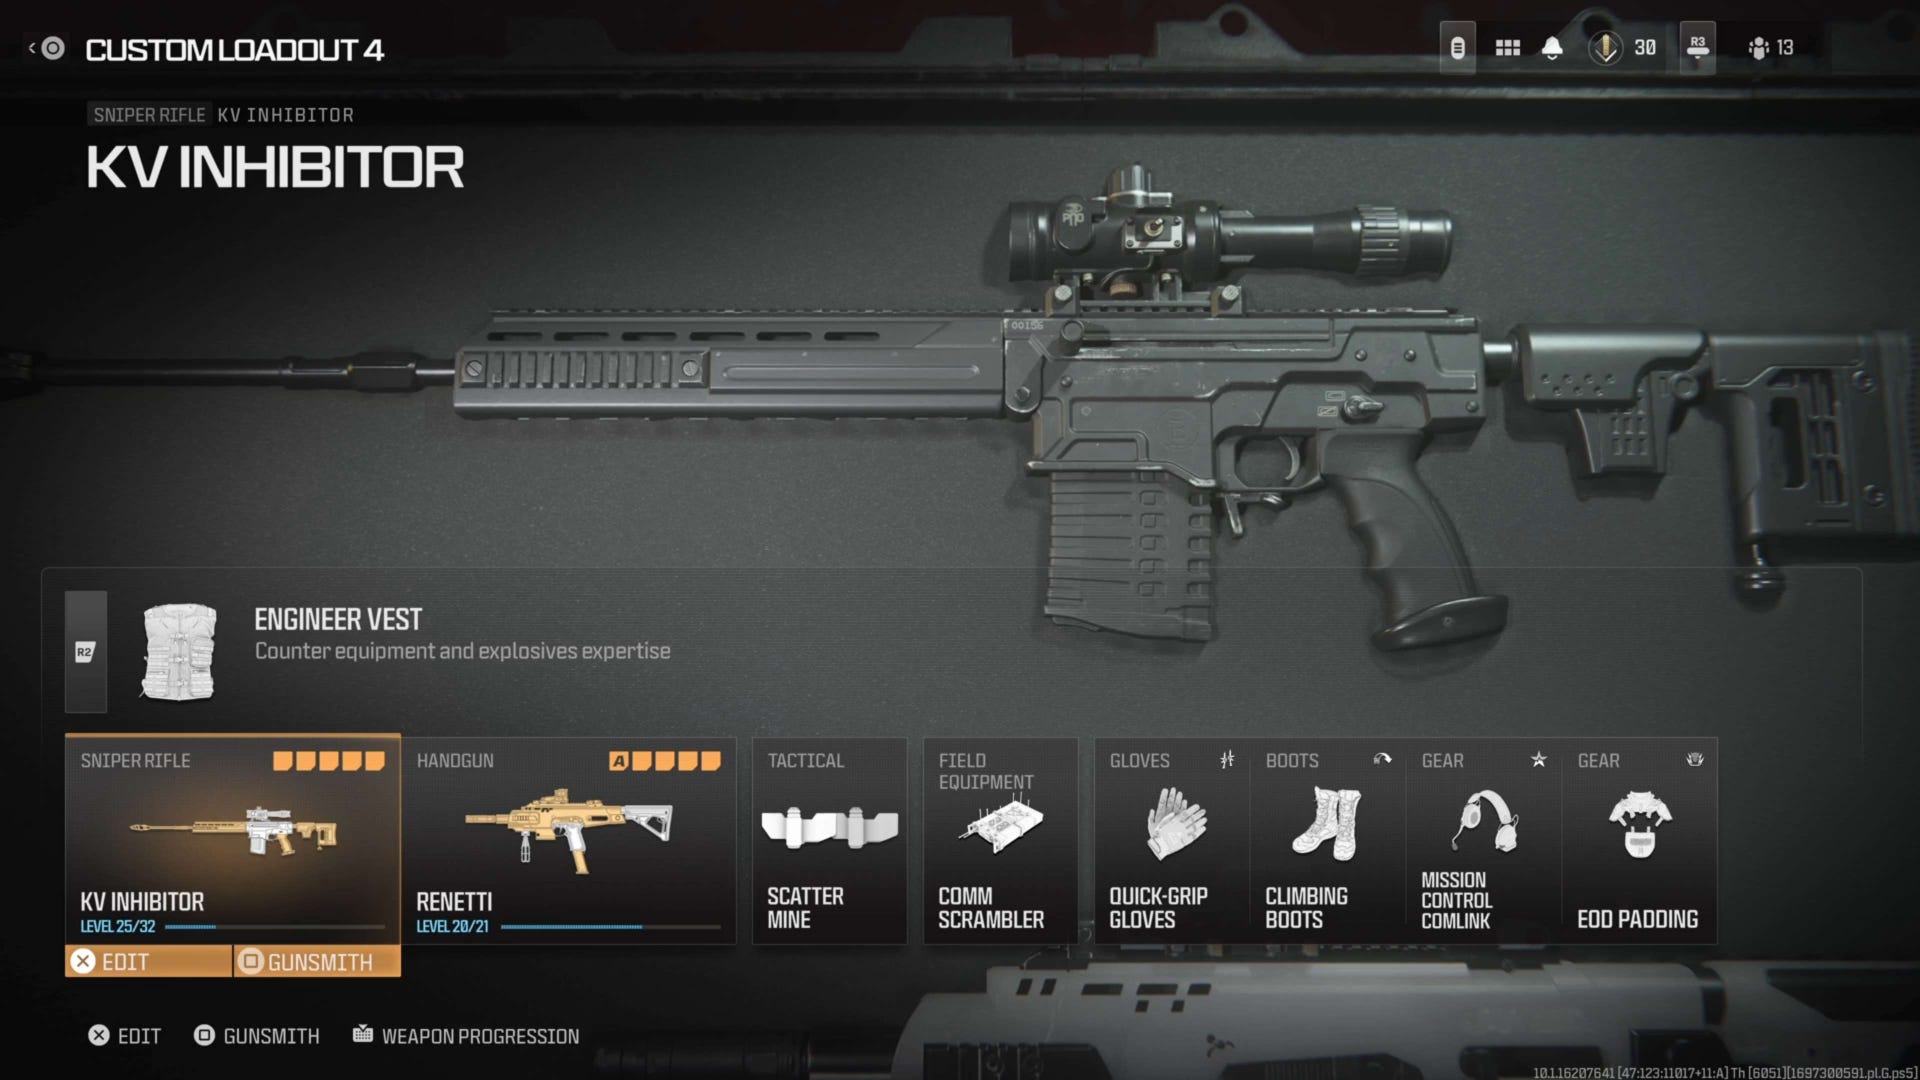
Modern Warfare 3 KV Inhibitor best class build, vest, perks, gear, and equipment
With this weapon being inherently intended for long-range playstyles, that’s an aspect the rest of the class needs to support and workaround with perks that amplify the gun, and a secondary that’ll help fill in with a close-quarters option.
You can ultimately go two ways with this class, building it with more of a team-support-focused role, or something more offensive with a second primary - your vest choice will spearhead the core playstyle of this build.
Before diving into all the specifics, here’s the full rundown of the entire supporting equipment and perks we’re recommending you pick with the KV Inhibitor:
- Vest: Engineer Vest OR Gunner Vest
- Perk 1 - Gloves: Quick-Grip Gloves
- Perk 2 - Boots (Engineer Vest Only): Lightweight Boots
- Perk 3 - Gear: Mission Control Comlink (Or Ghost T/V Camo)
- Perk 4 - Gear (Engineer Vest Only): EOD Padding
- Secondary Weapon: Renetti w/ Jak Ferocity Carbine (Or Striker SMG w/ Gunner Vest)
- Field Upgrade: Portable Radar (Or Dead Silence)
- Lethal: Scatter Mine
- Tactical (Gunner Vest Only): Throwing Knife
Starting off, as mentioned there are two ways you can go with this class, and the Vest is a core part of what will dictate that - we’ll run through our recommended approach for perks for each of our two recommended Vest selections first, then move onto the other equipment you can take to bolster the playstyle.
If you’re going with the Engineer Vest - which results in a more mobile playstyle - you’ll be able to spot enemy equipment, field upgrades, and killstreaks through walls, and by ADS-ing, you can mark them for teammates. This vest will also grant a faster Field Upgrade charge.
With the Engineer Vest, you’ll have a selection of four perks - we recommend picking the Quick-Grip Gloves, Lightweight Boots (or Climbing Boots if you find you’re climbing a lot to reach sniper perches), as well as Mission Control Comlink and EOD Padding.
The Quick-Grip Gloves are handy thanks to a quickened weapon swap speed, and pair nicely as the two core mobility perks with the Lightweight Boots, which let you move faster. Depending on your killstreak choice, you can up your support game, and net them even faster by 1 kill (or 125 score if that’s how you’ve selected to earn them) with Mission Control Comlink. Finally, EOD Padding will grant damage resistance against explosive damage from enemy equipment and killstreaks.
Alternatively, if you’re picking the Gunner Vest - which will allow for a more offensive playstyle - you’ll have a reduced number of perks, but the ability to carry a second primary weapon, enter matches with full ammo, and quicker reload speed.
Focusing primarily on perks, we recommend taking Quick-Grip Gloves, and Ghost T/V Camo - the former will be essential with longer weapon-swap times due to the second primary weapon you’ll be carrying, and the latter will help keep you undetectable on enemy radars as you move about the map, utilising your second primary weapon to sweep through the map.
Speaking of, let’s talk about the weapons to take as a secondary for both vests - if you’ve picked the Engineer Vest, then the Renetti handgun with the Jak Ferocity Carbine Conversion Kit is your best choice.
If going with the Gunner Vest, we’d recommend the Striker SMG, ideally equipped with a suppressor to help mask your map movements, which will pair nicely with the Ghost T/V Camo.
When it comes to equipment, you can mix and match based on what works for you, but we have some recommendations that can complement your Vest choice.
In terms of the Field Upgrade slot, we’d recommend picking either the Portable Radar - particularly if you’re running the Engineer Vest, since this will allow you to ping the nearby area of enemies - or Dead Silence, a strong piece of kit that you might find pairs better with the Gunner Vest loadout we discussed.
When it comes to Lethal and Tactical equipment, it’s once again very much up to you.
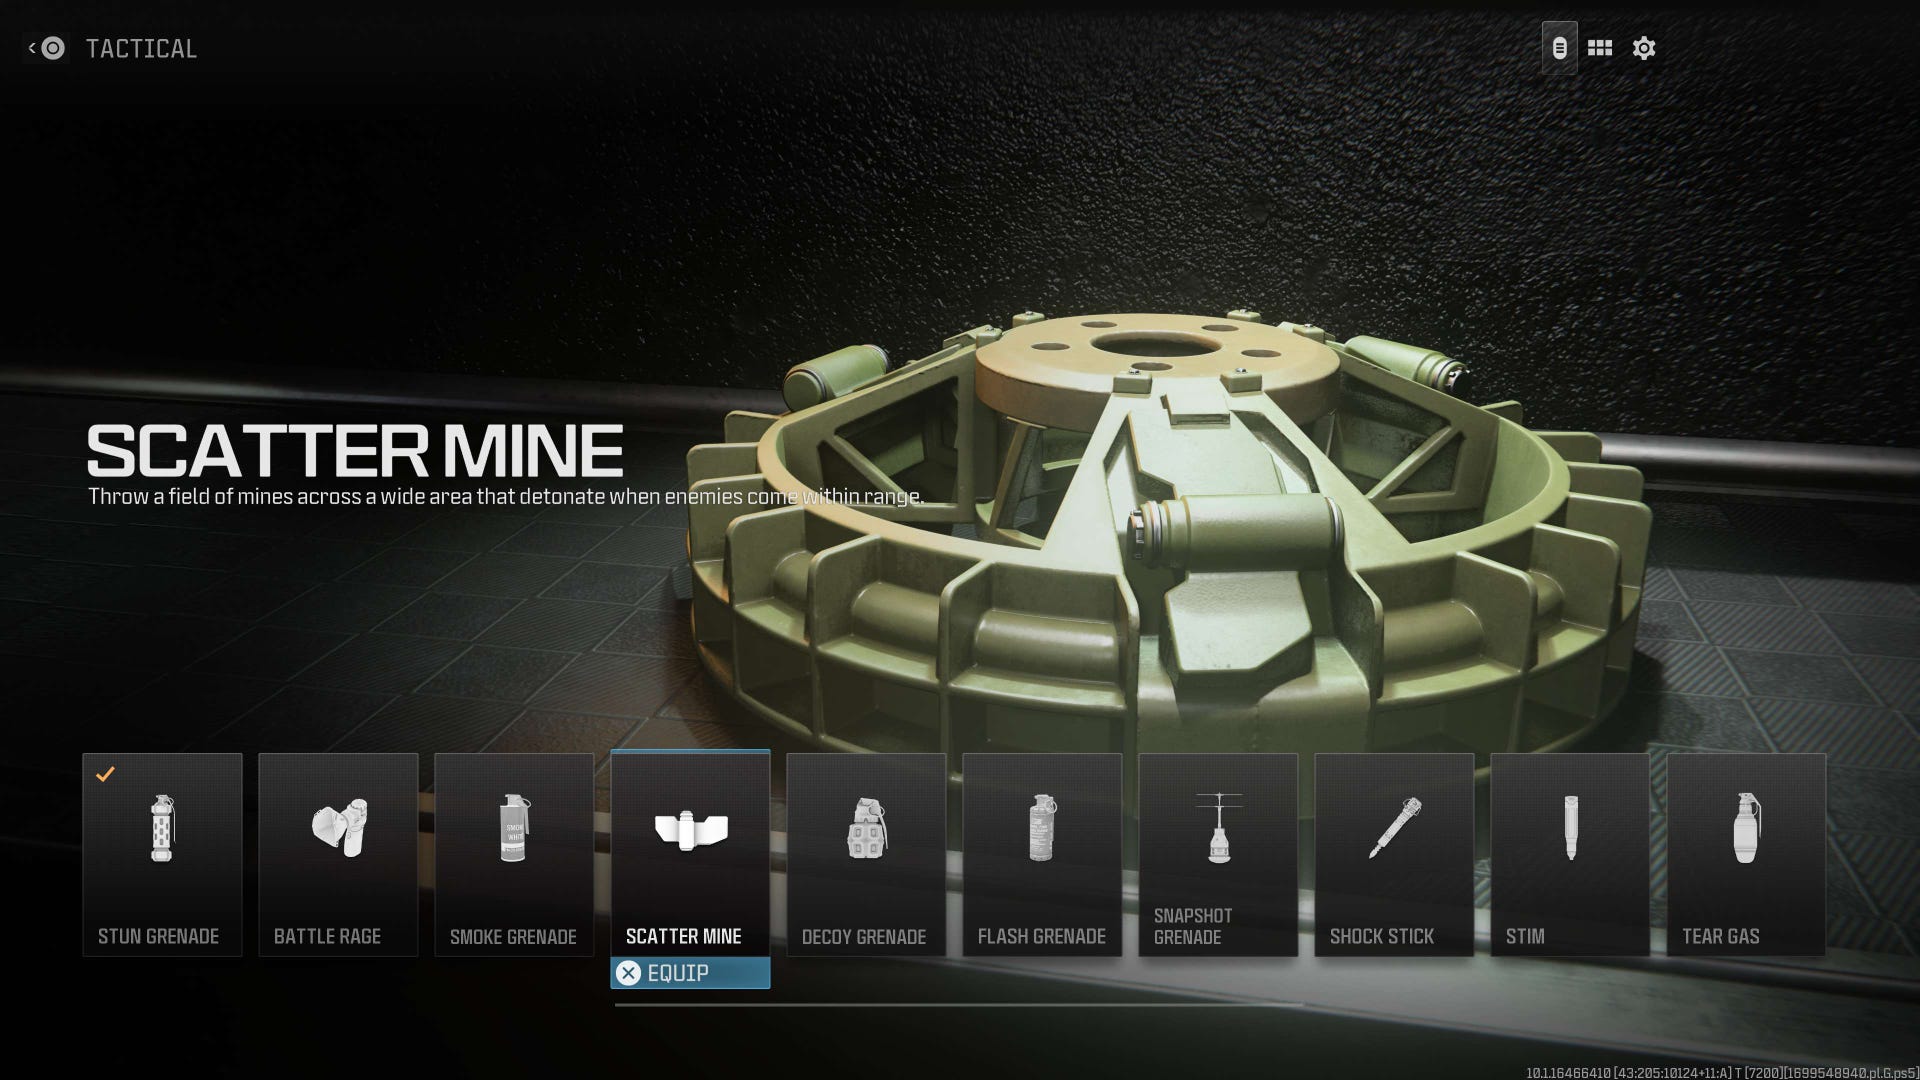
Tactical-wise, you’ve got a couple of good options for stealth such as the EMD Grenade - which can reveal enemies on your team’s minimap - or the Smoke Grenade which can help cover your movements or block sightlines temporarily. There’s also the Scatter Mine which can be placed and will detonate when enemies enter their radius - a good defensive option.
It’s worth noting that if your’e running the Engineer Vest, you’ll actually be able to carry two of whichever Tactical equipment you pick.
As a tradeoff however, you won’t have access to a choice of Lethal equipment, and so if you’re looking to keep that, you’ll want to run the Gunner Vest.
When it comes to what to equip in the Lethal slot, it’s very much about what best works for you – since the Gunner Vest will have a bit more of an offensive capability backing it up, the Throwing Knife might be a good shout, keeping it focused on a stealthier approach.
As always, there are a plethora of options and you’re free to tweak it how you like, particularly with the multitude of playstyles available, and in how you’re able to offset certain aspects with other parts of your build.
If you're on the hunt for more from Modern Warfare 3, be sure to check out the other guides we've got, with rundowns on various campaign hints and tips like the Crash Site weapon and item locations, mission list and rewards, and more. For extra guides on Multiplayer, be sure to check out our best guns guide, as well as various loadout guides just like this one.