Destiny 2 Ascendant Anchor locations: Where to find all patrol and Shattered Realm Anchors
Where to find the patrol and Shattered Realm mission collectables up to Week 6.


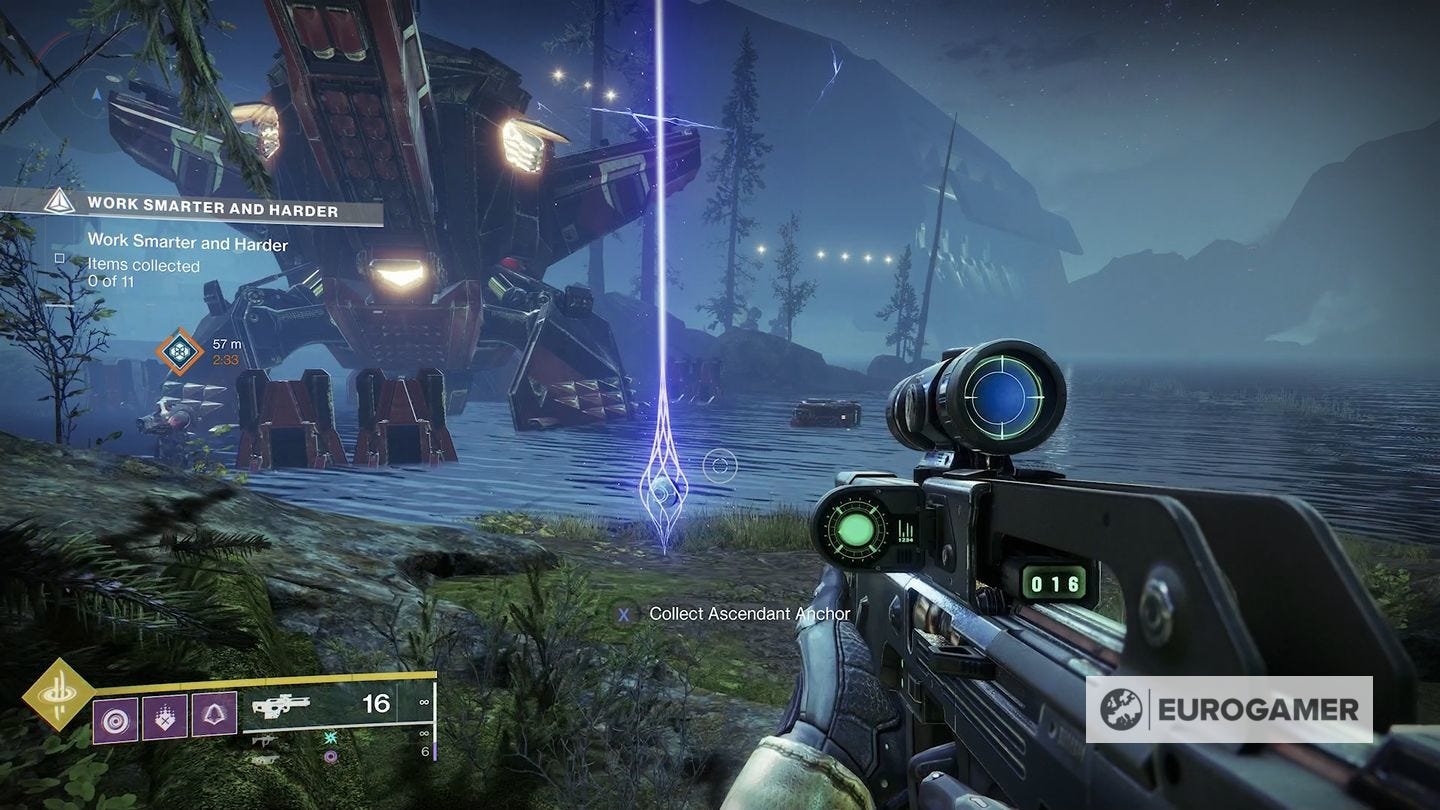
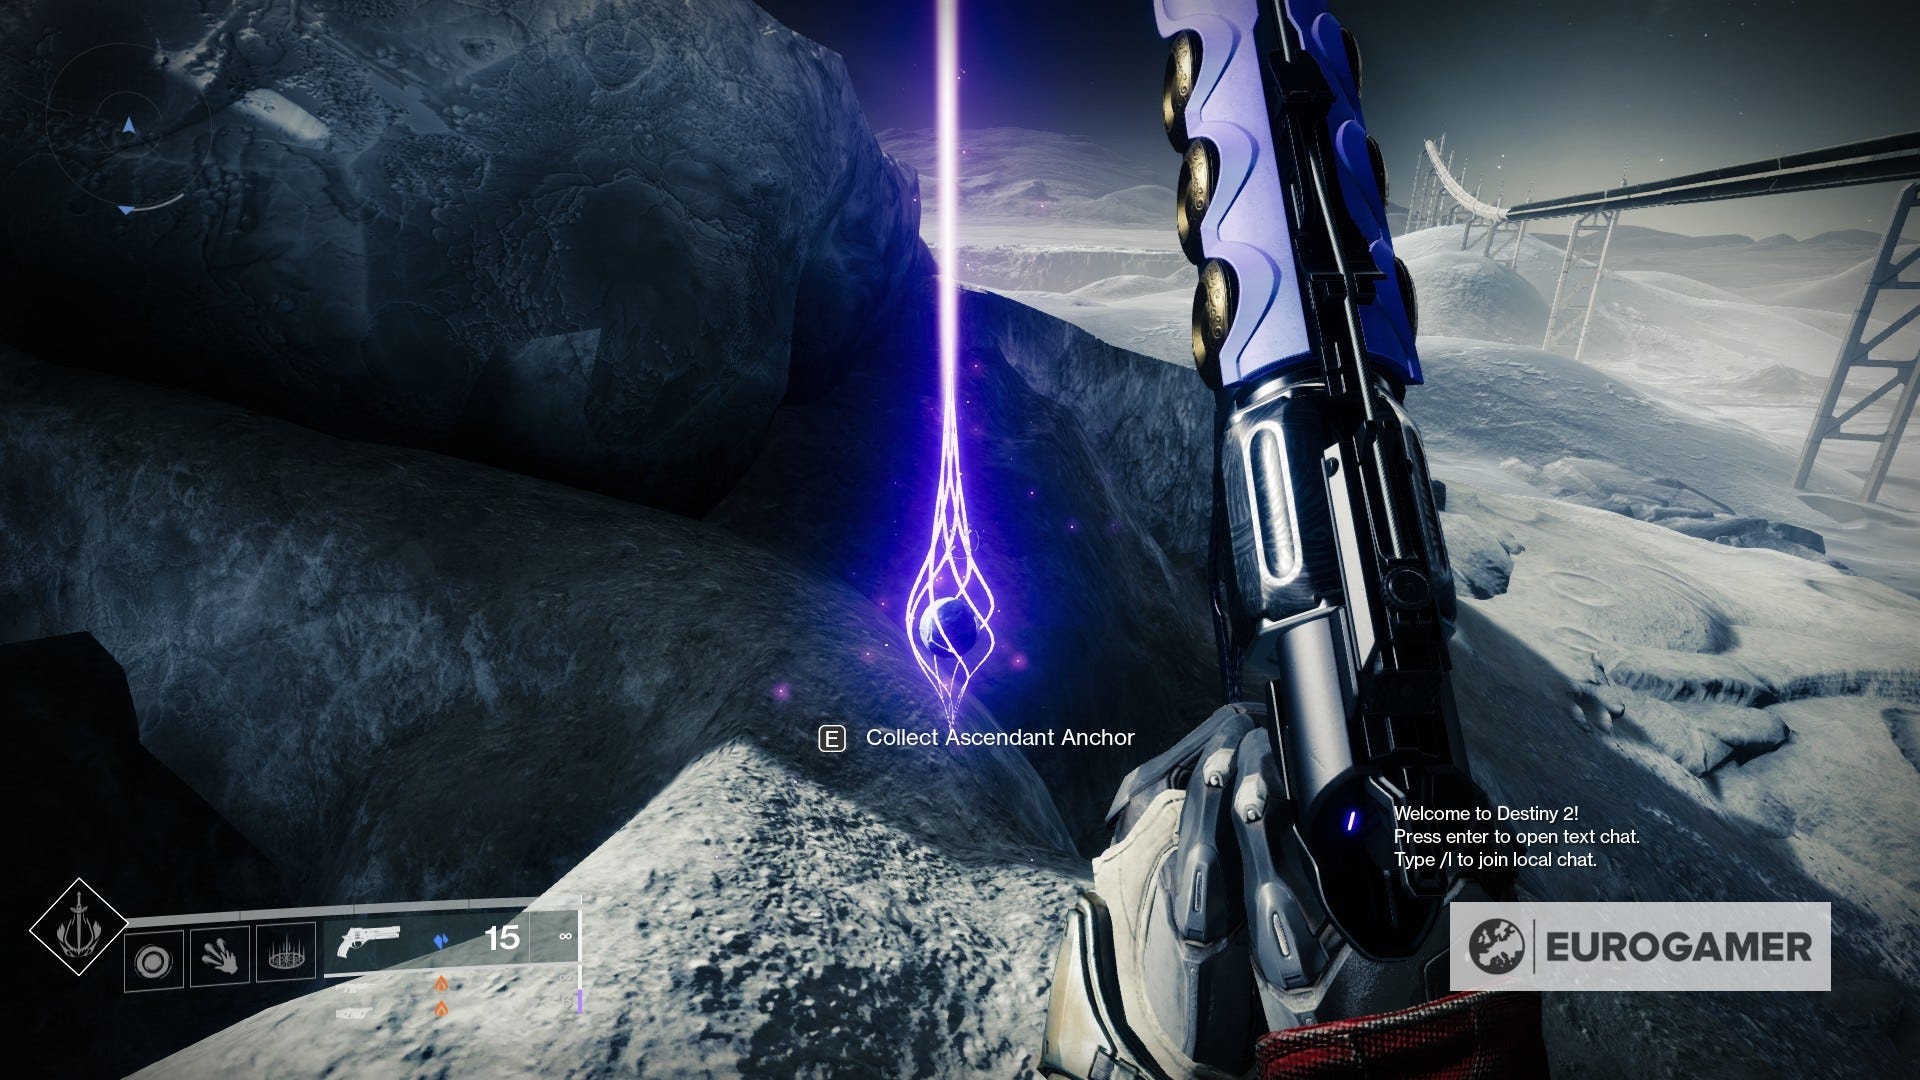
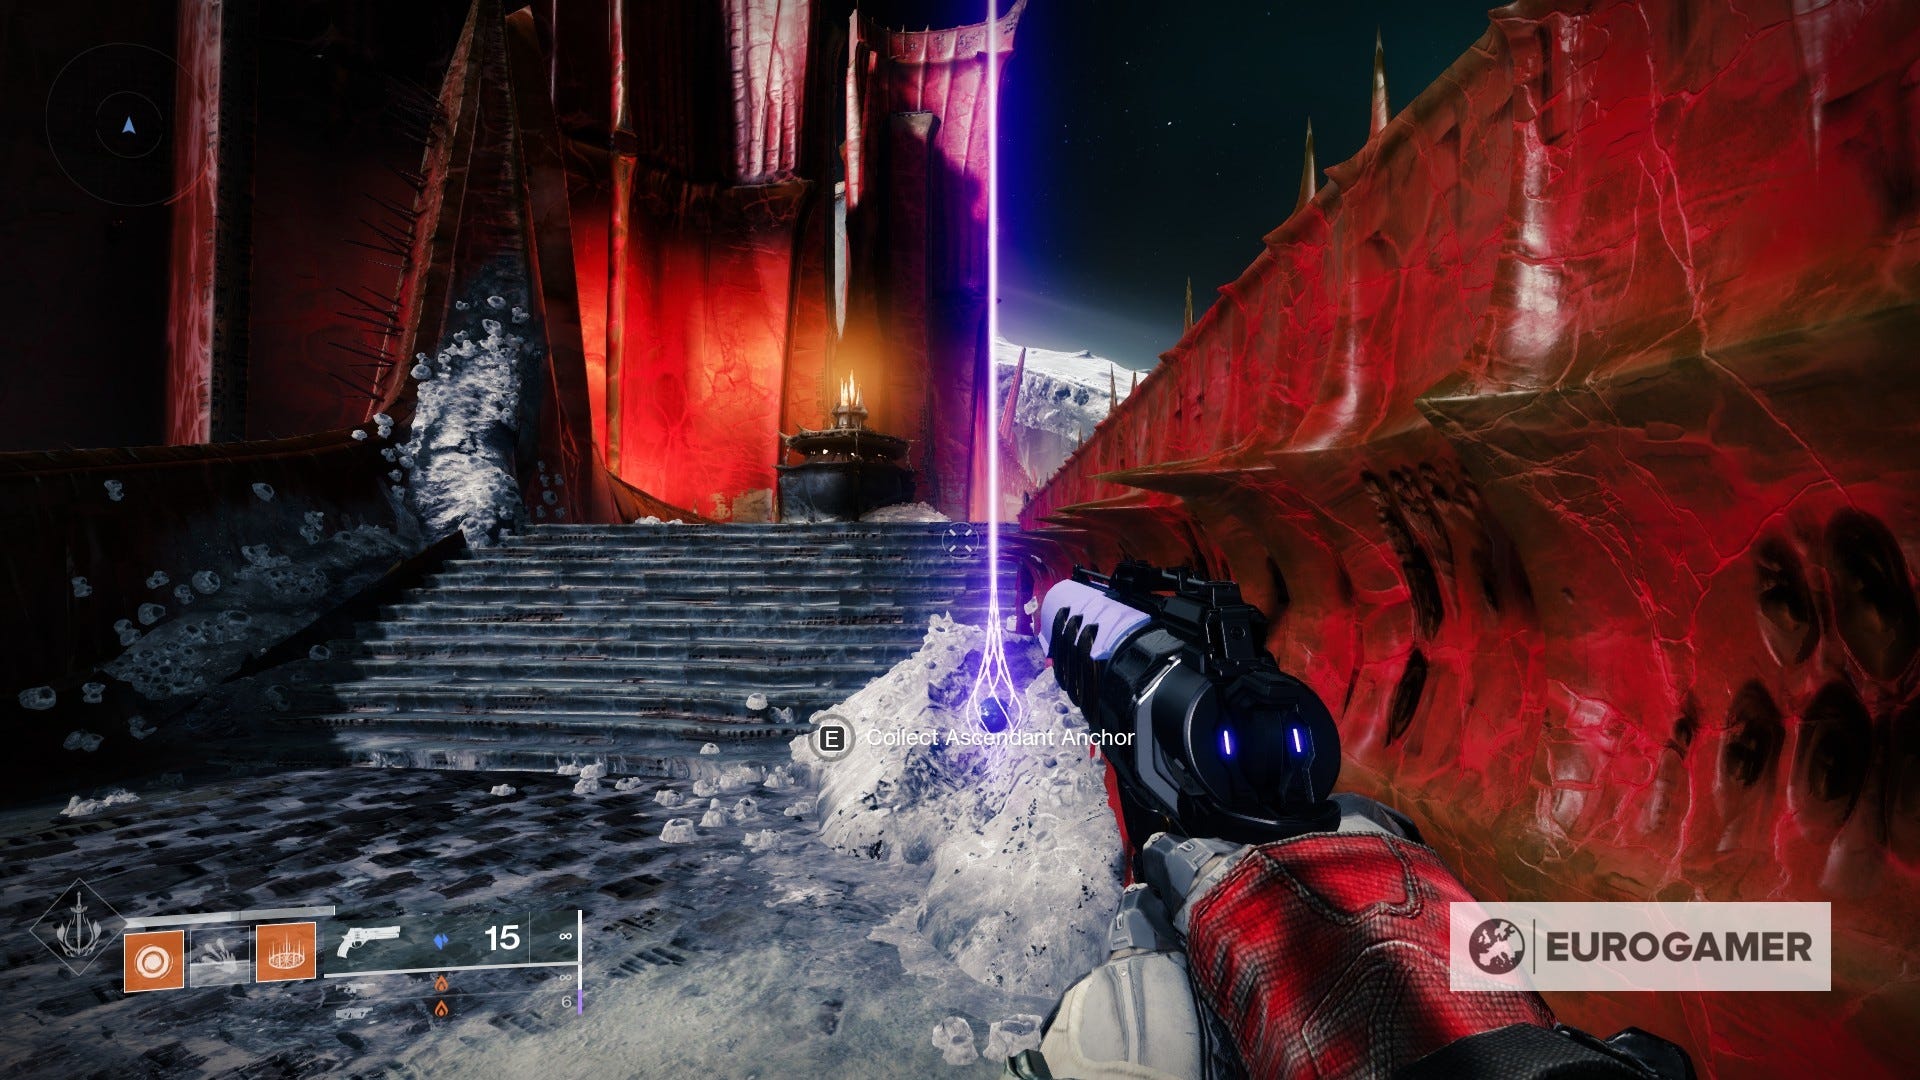
Destiny 2's Ascendant Anchors is a collectable introduced in Season of the Lost, running between August 2021 to February 2022.
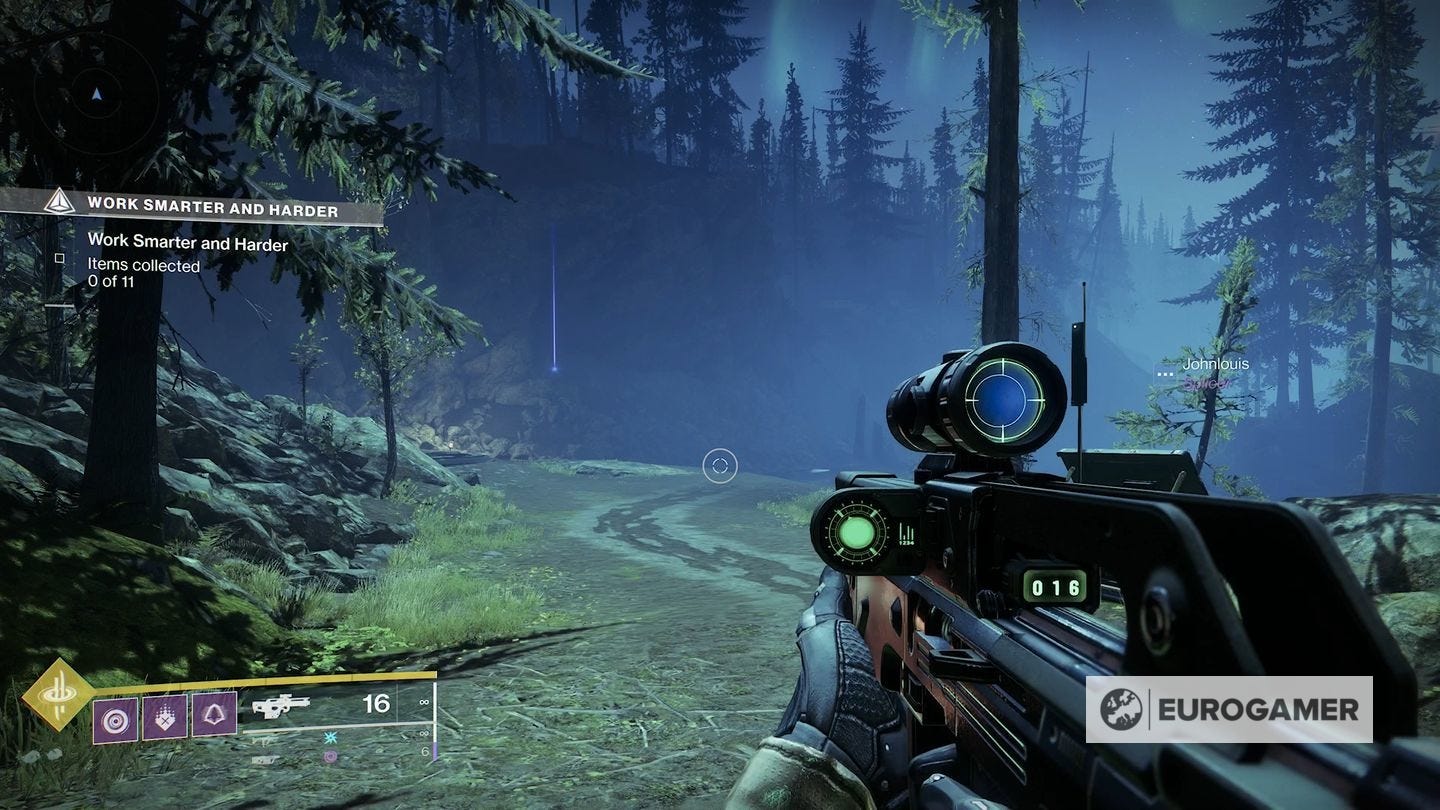
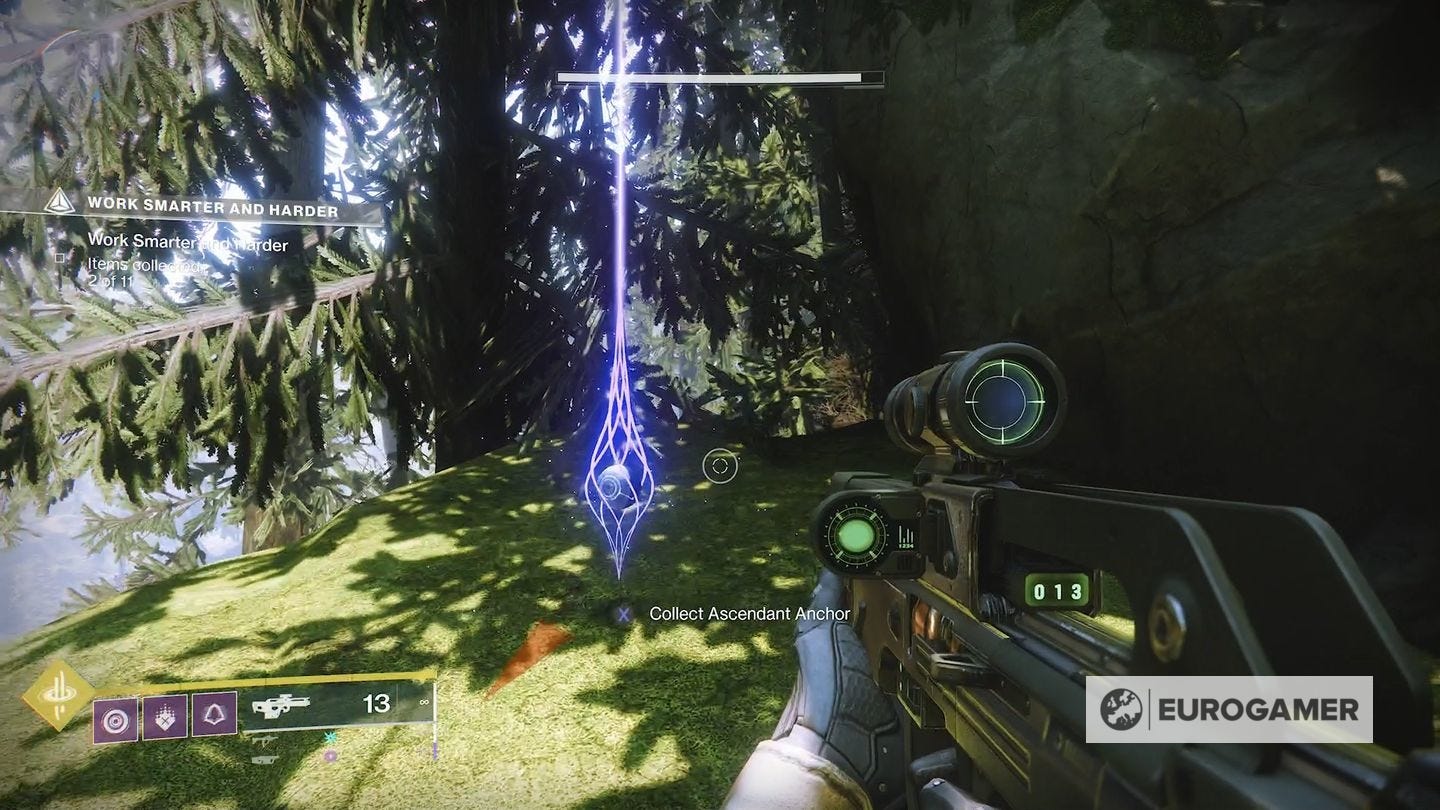
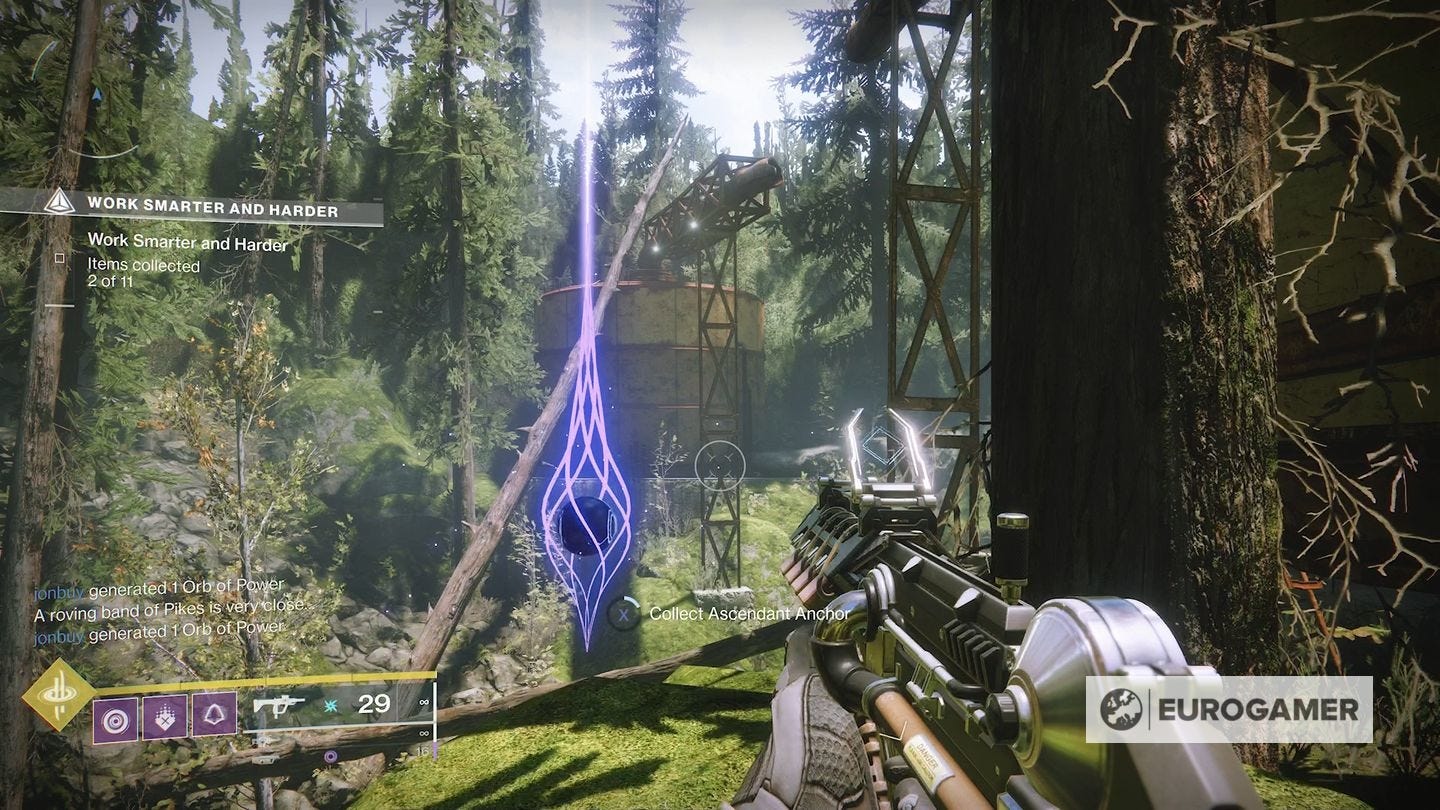
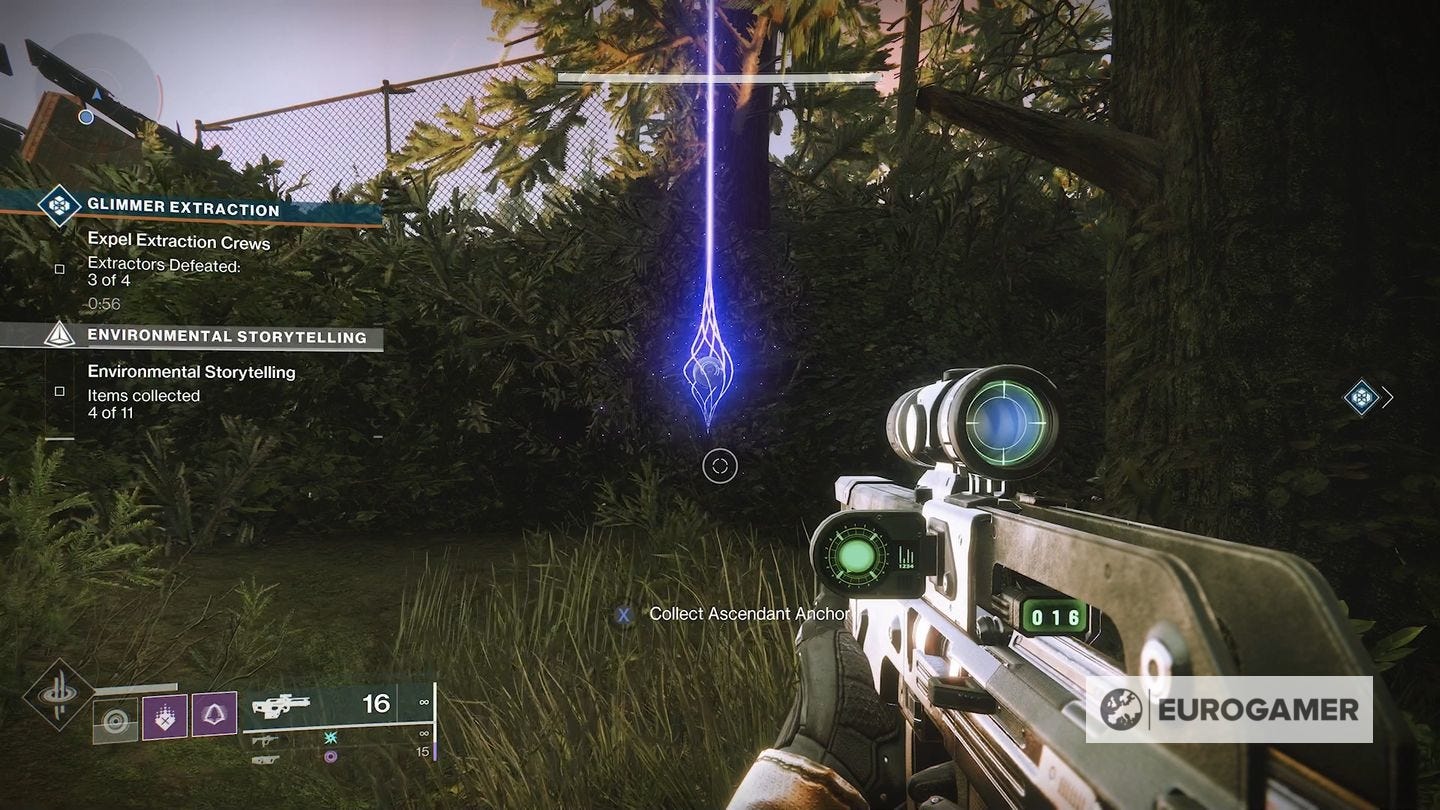
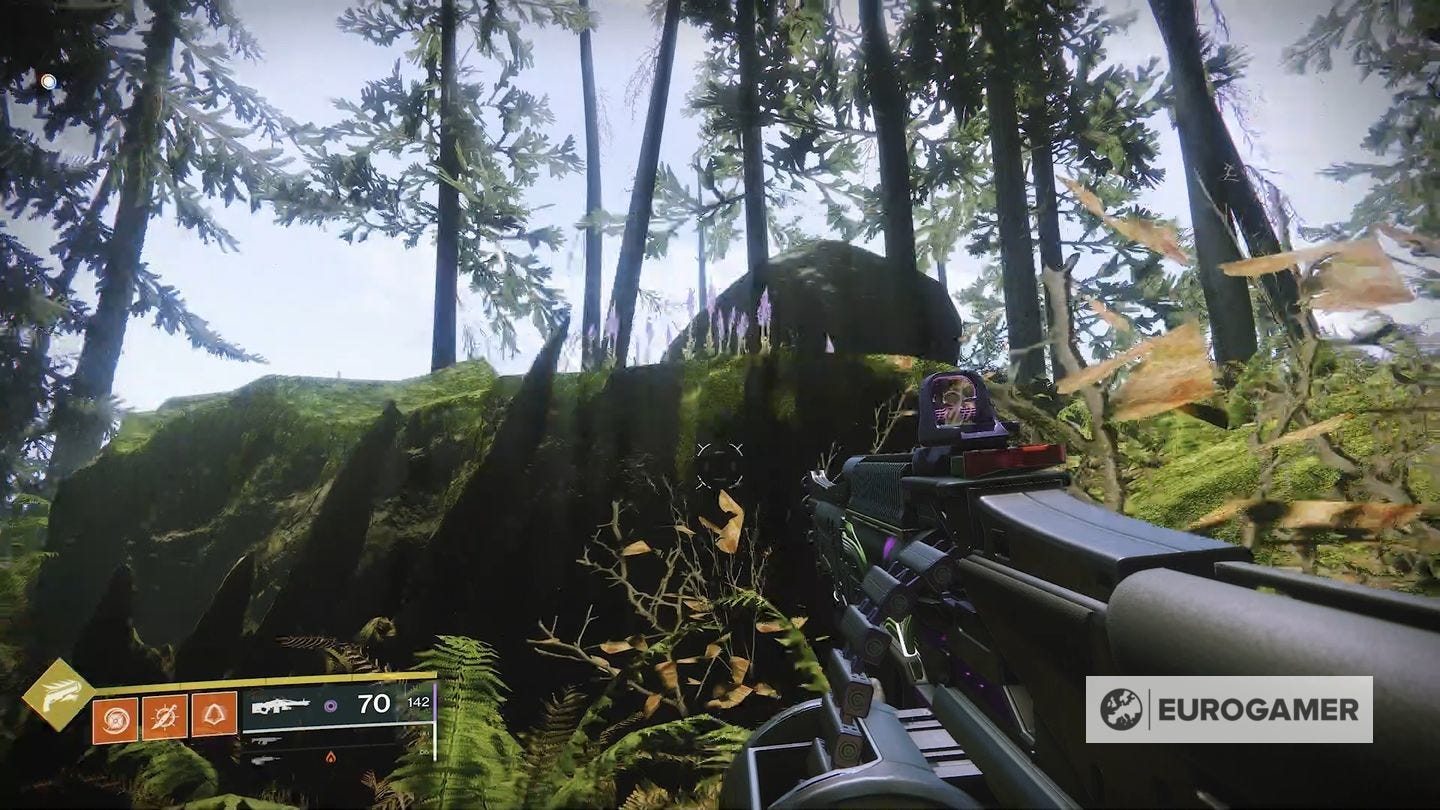
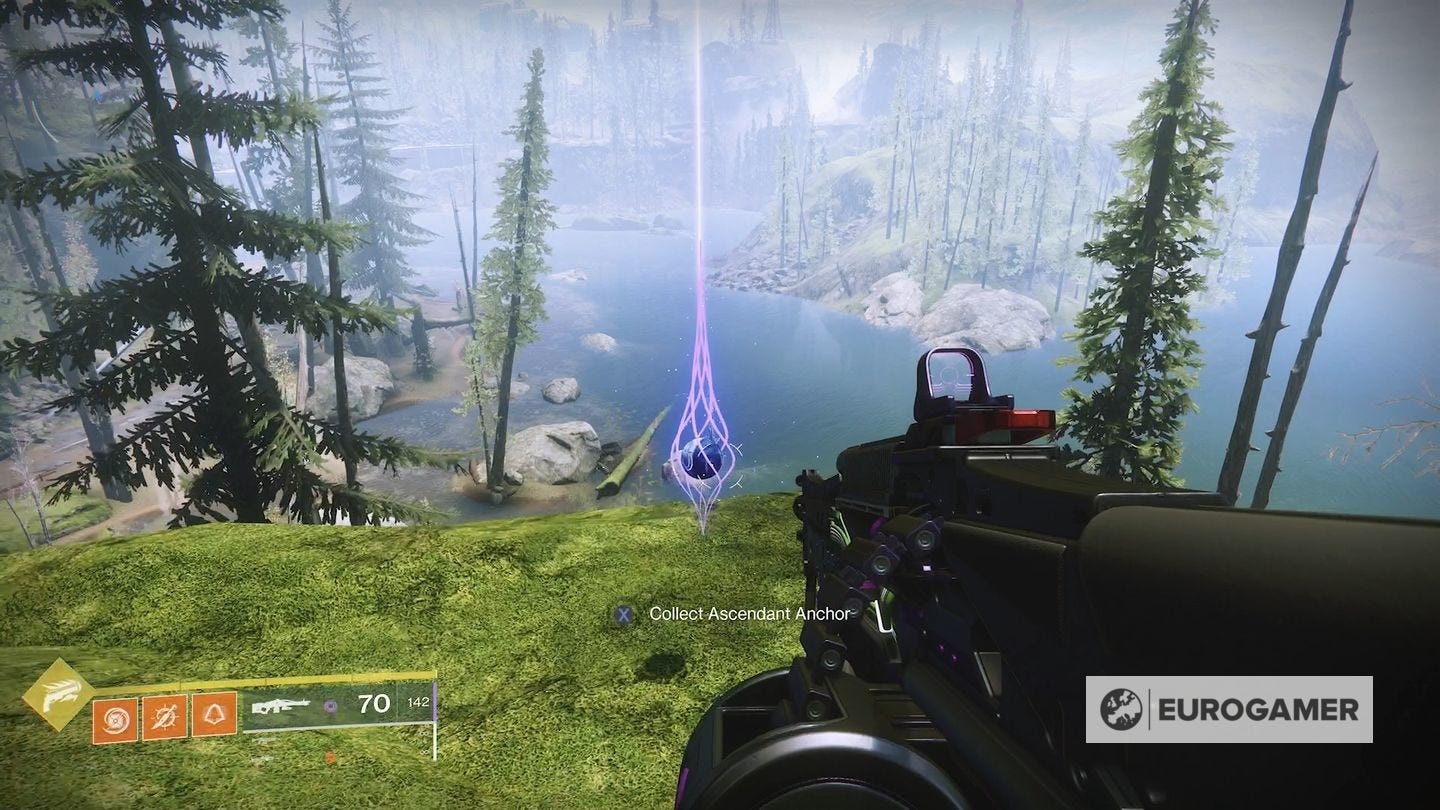
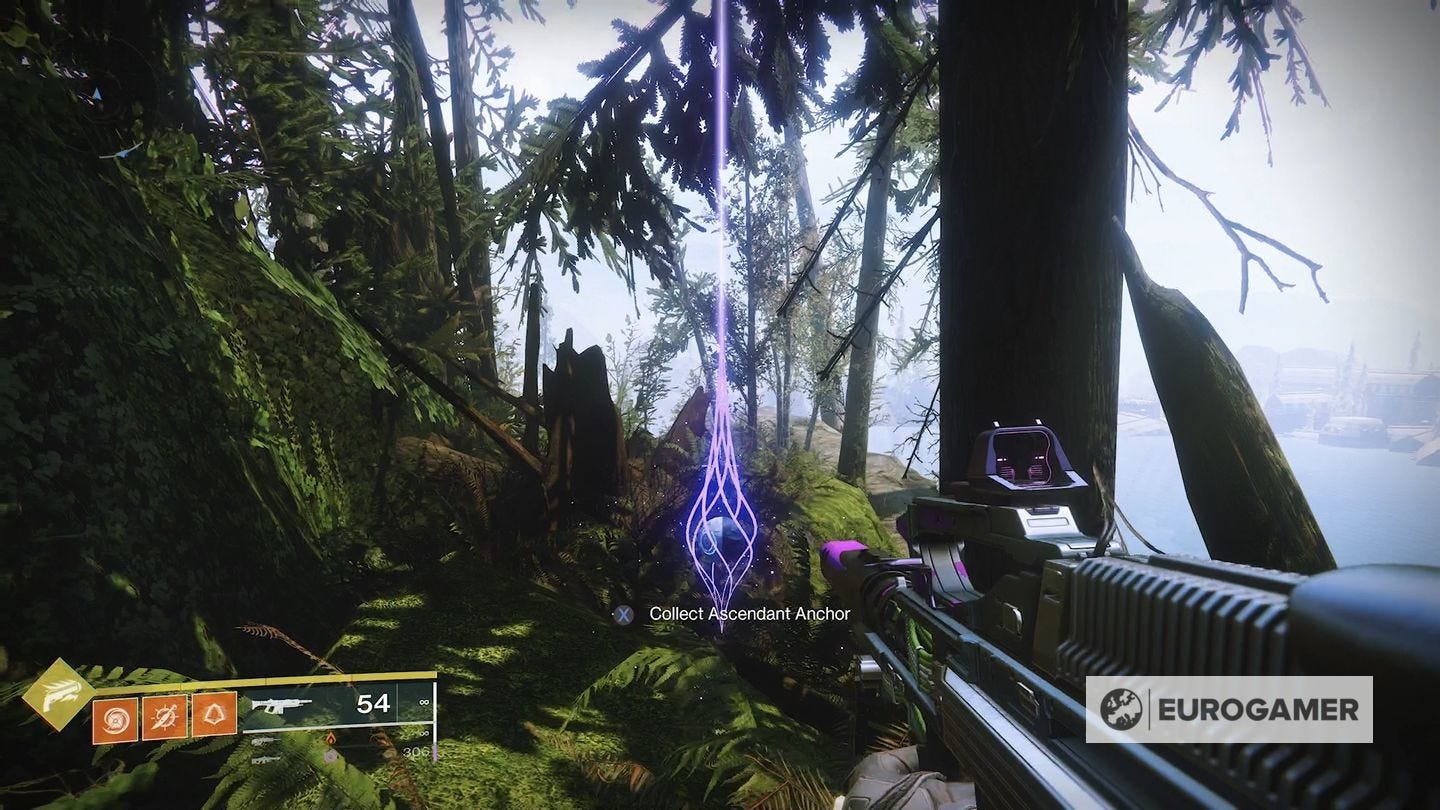
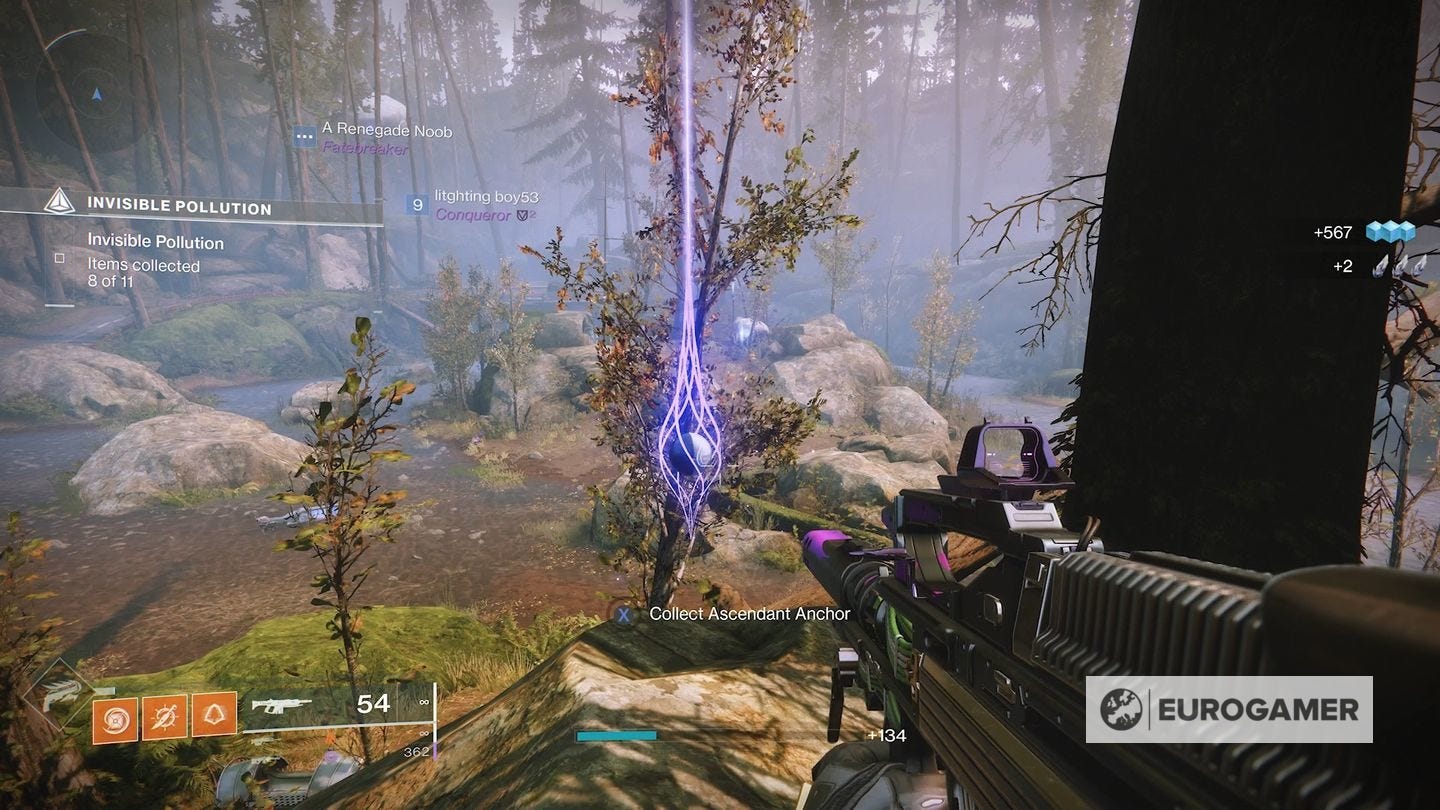
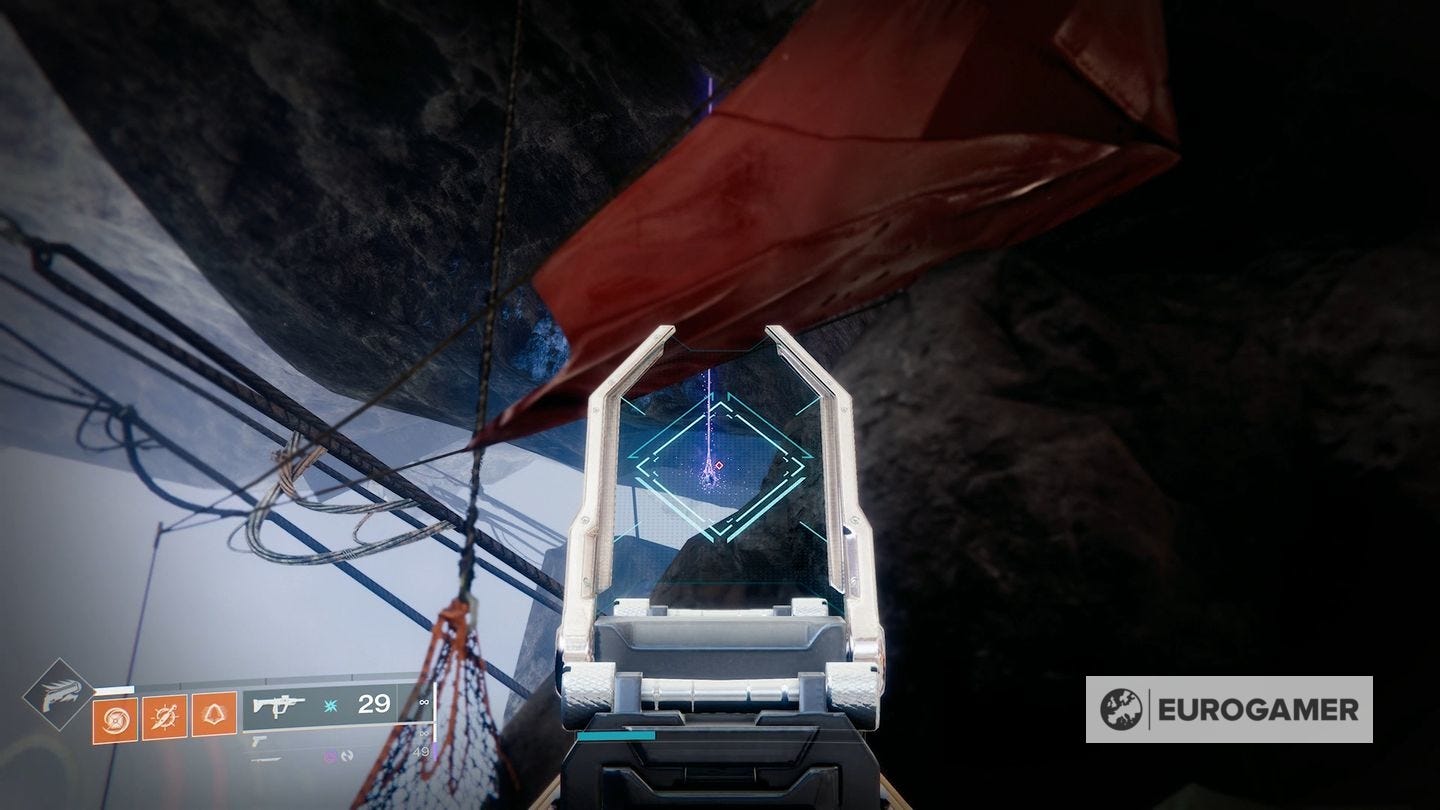
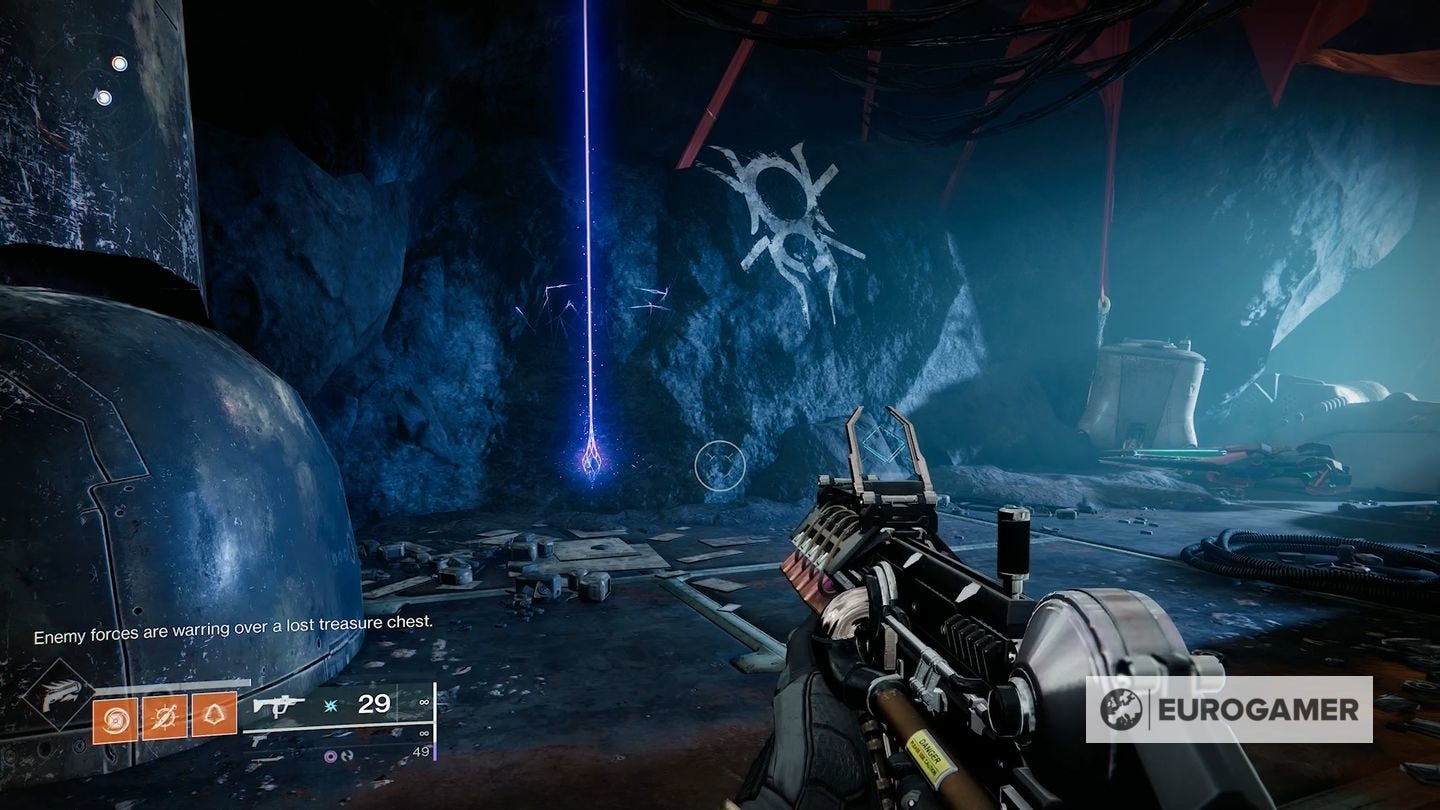
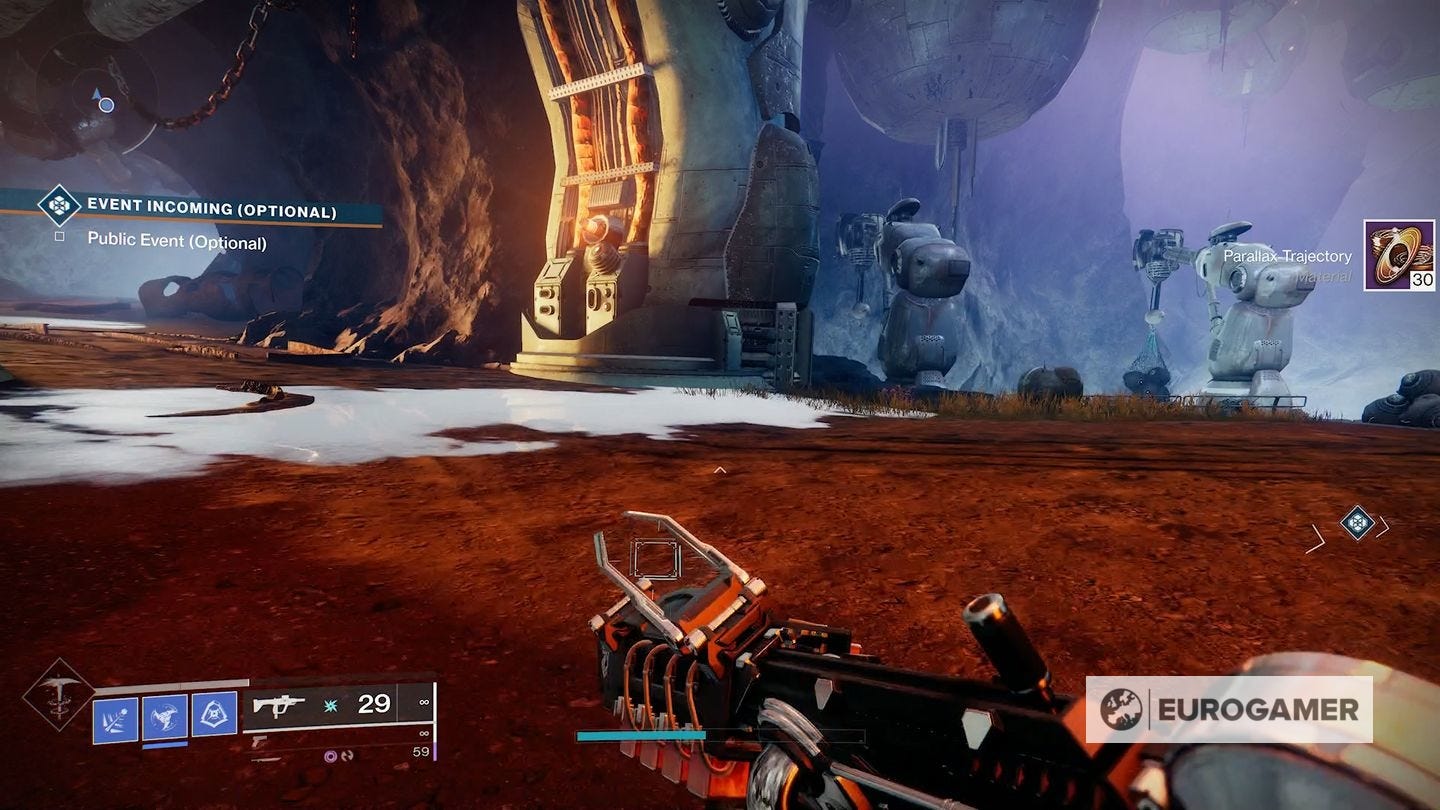
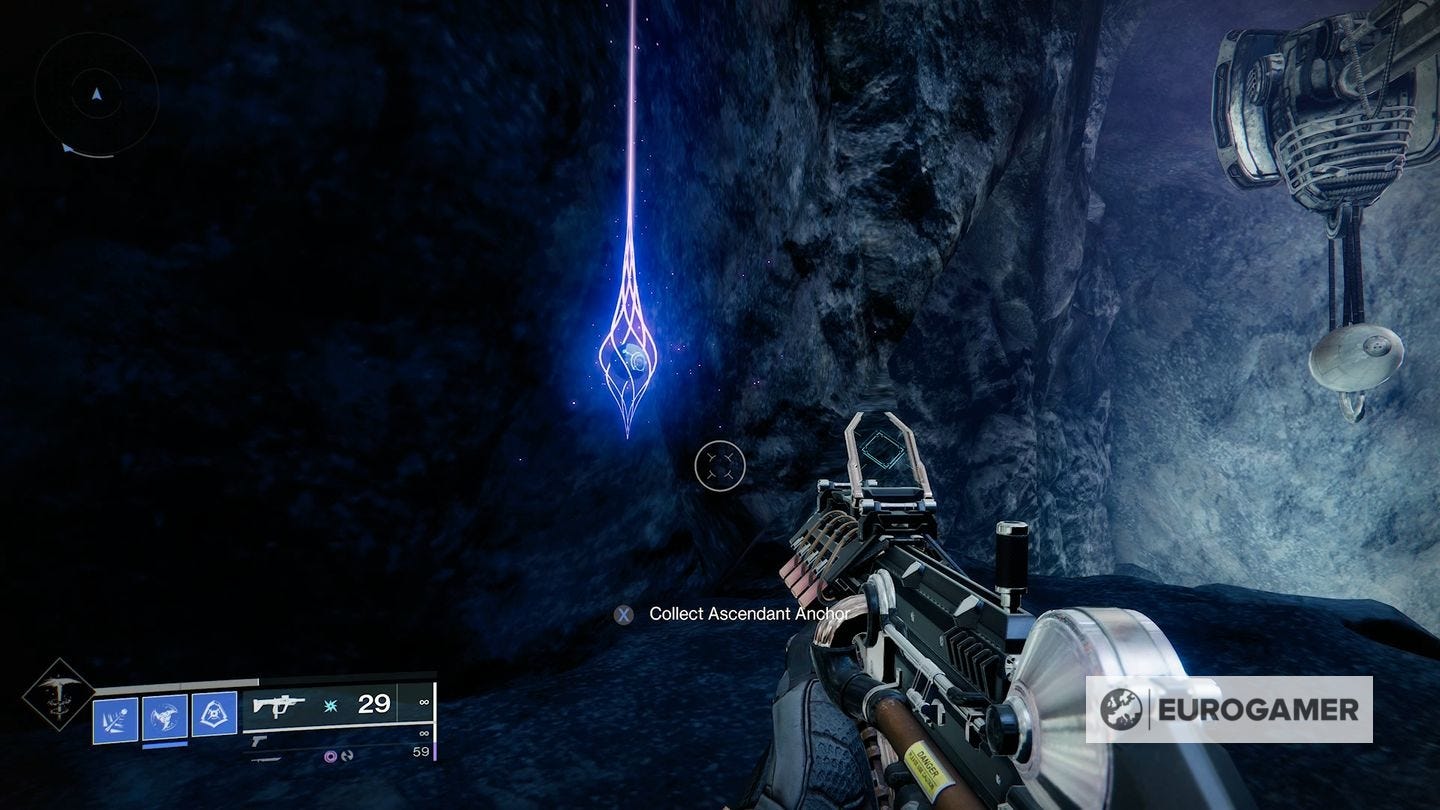
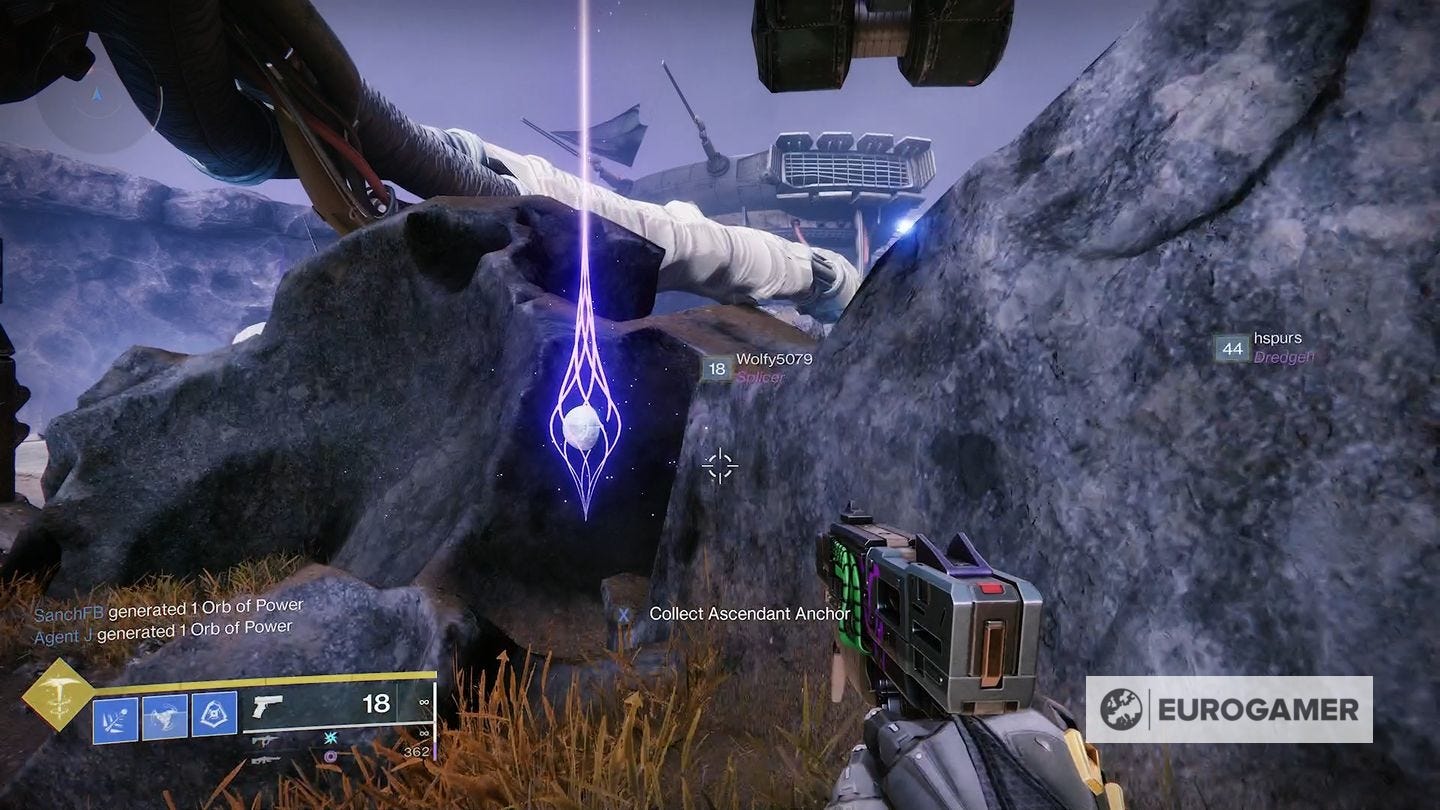
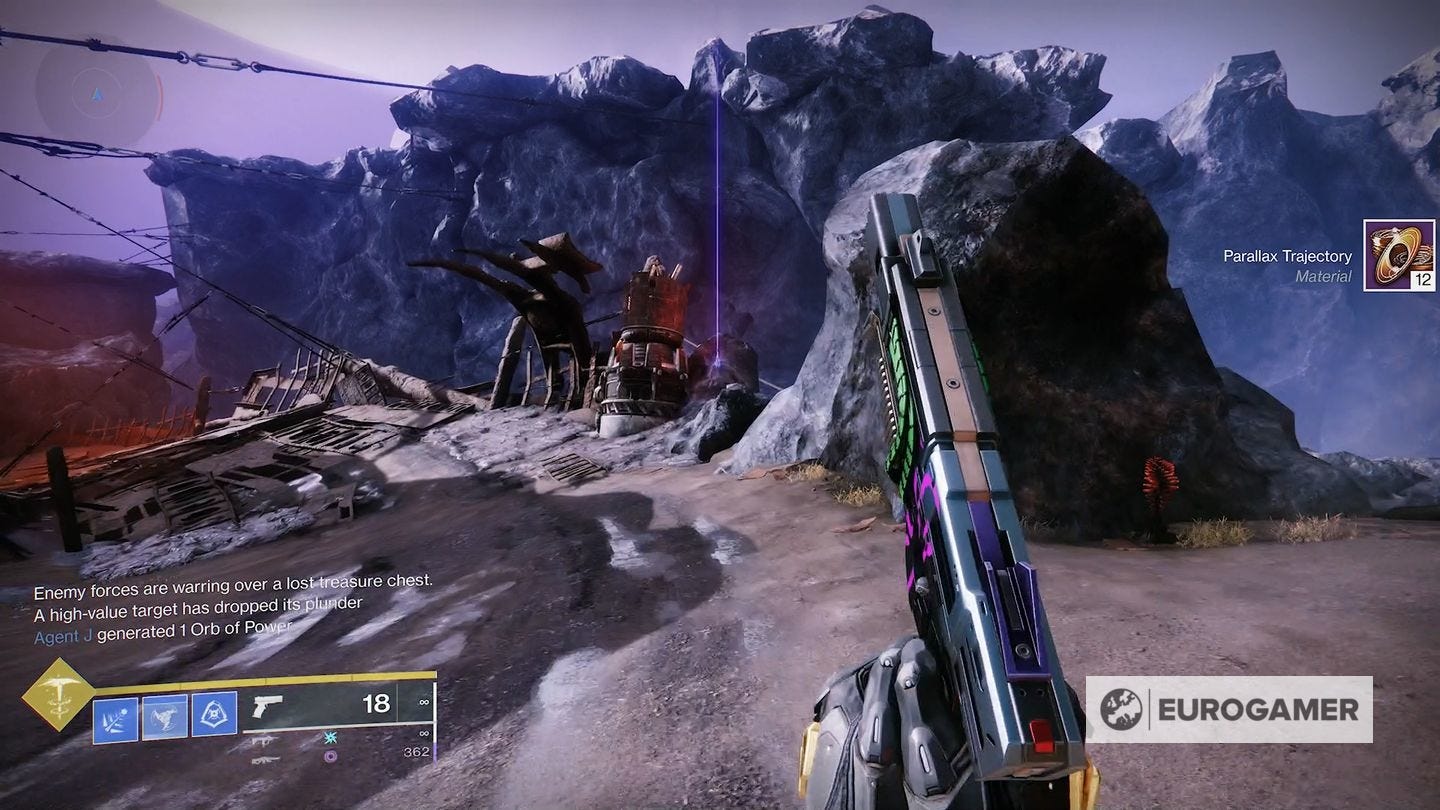
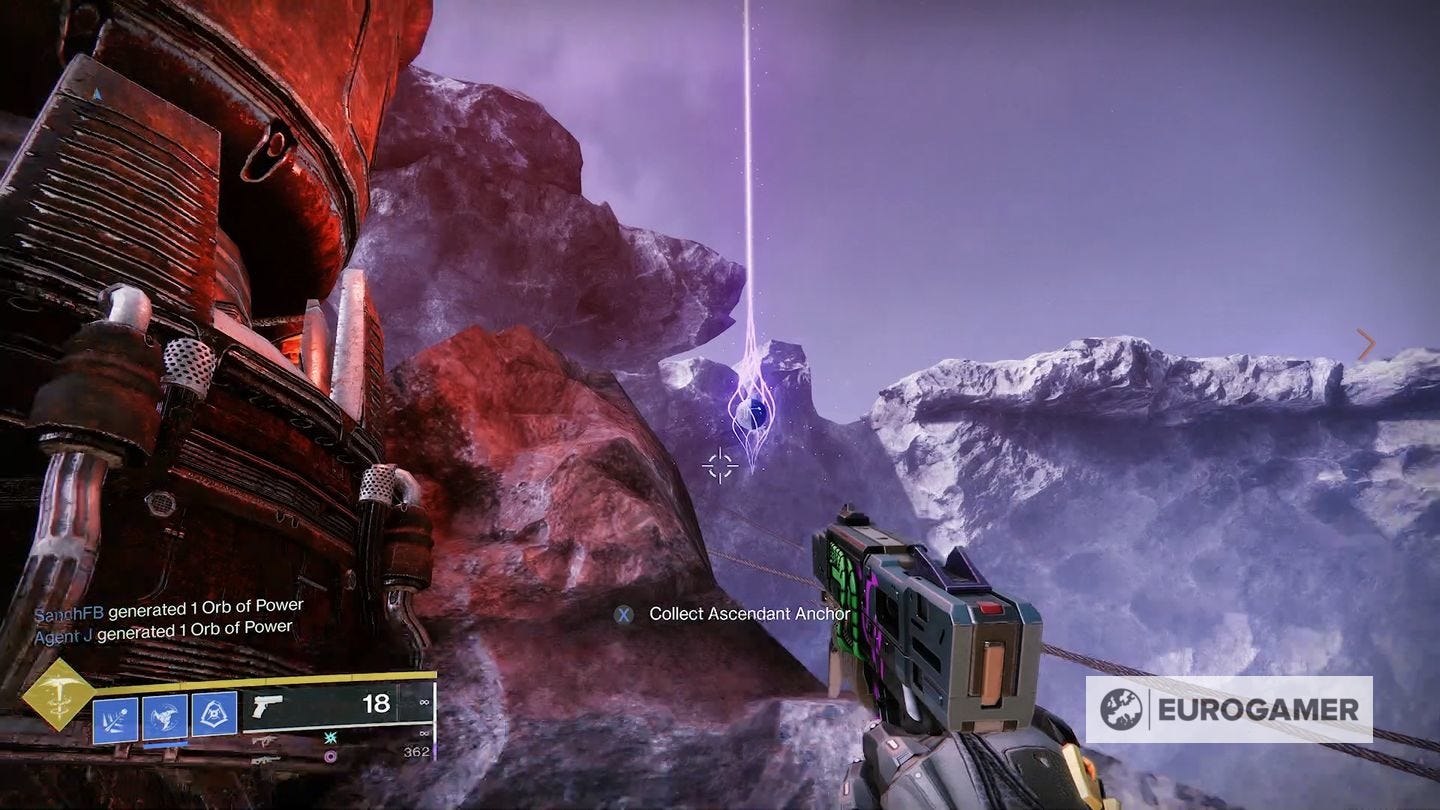
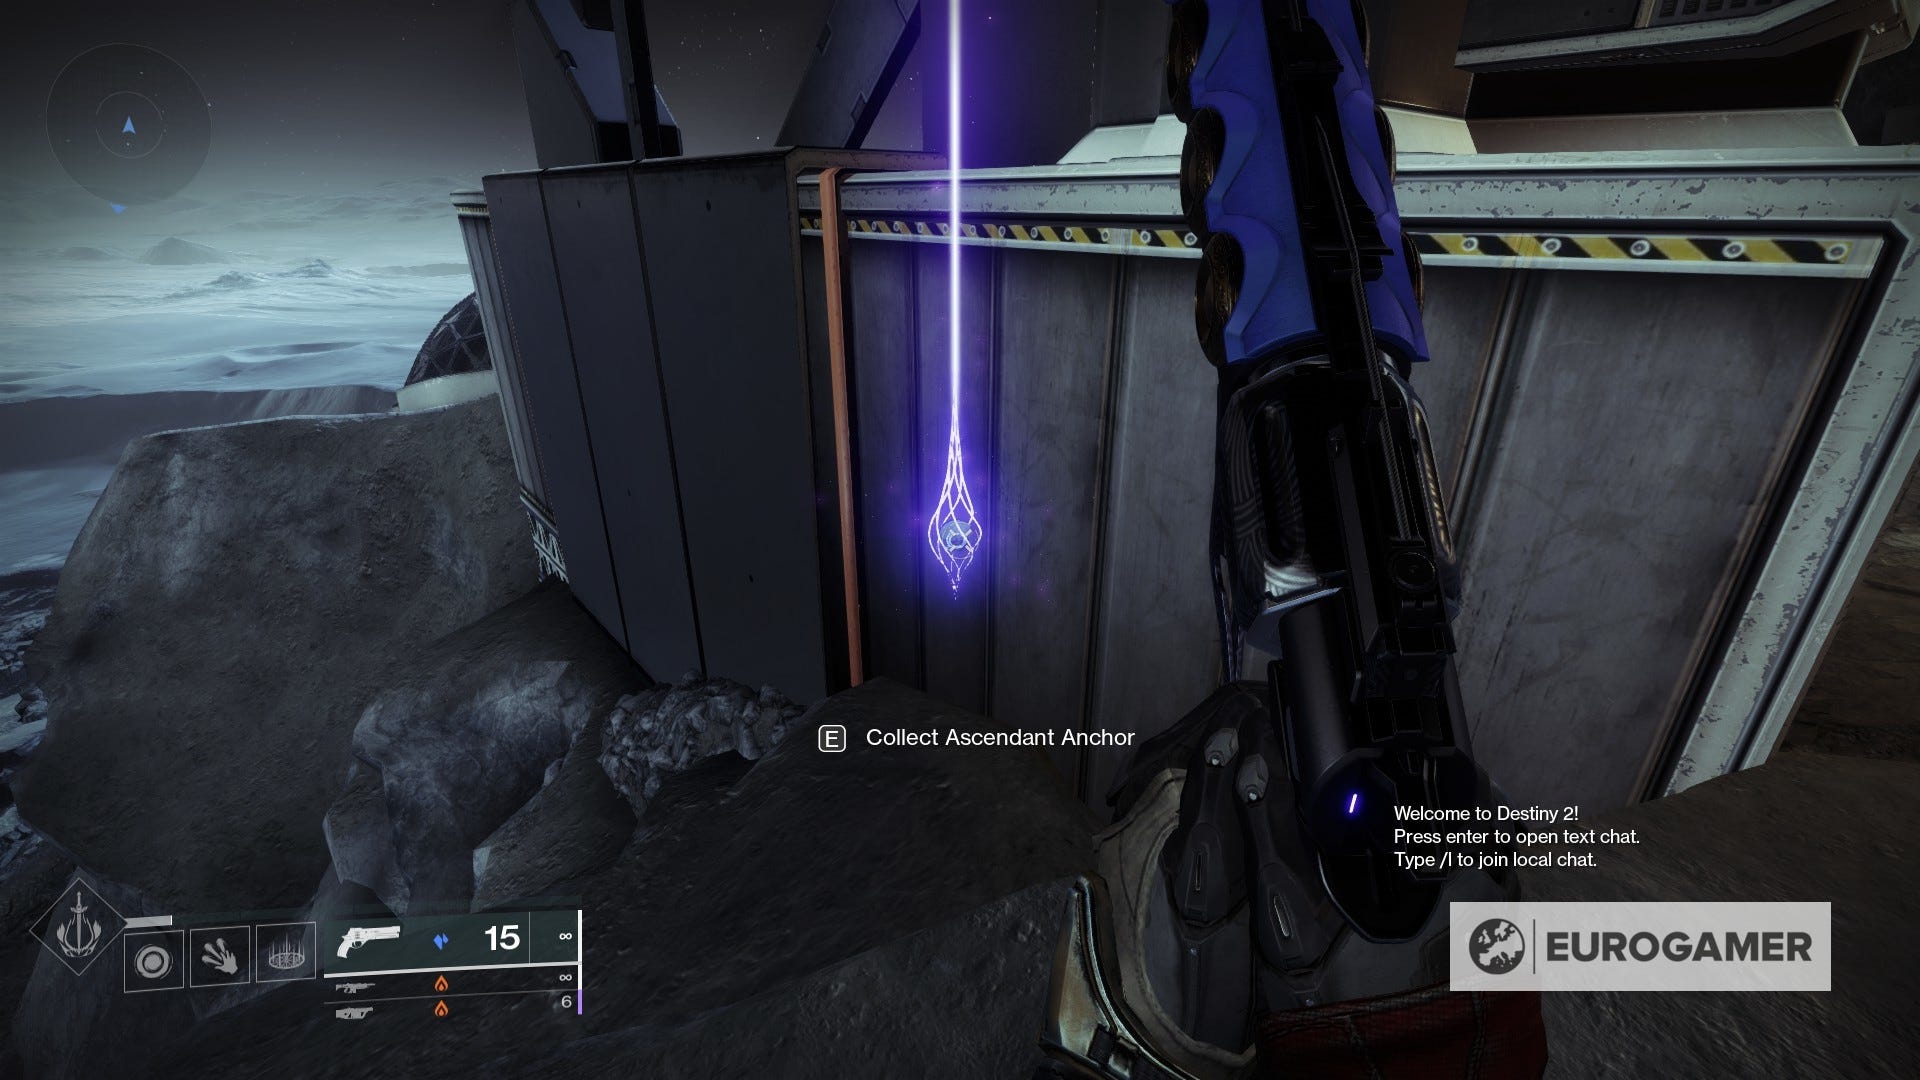
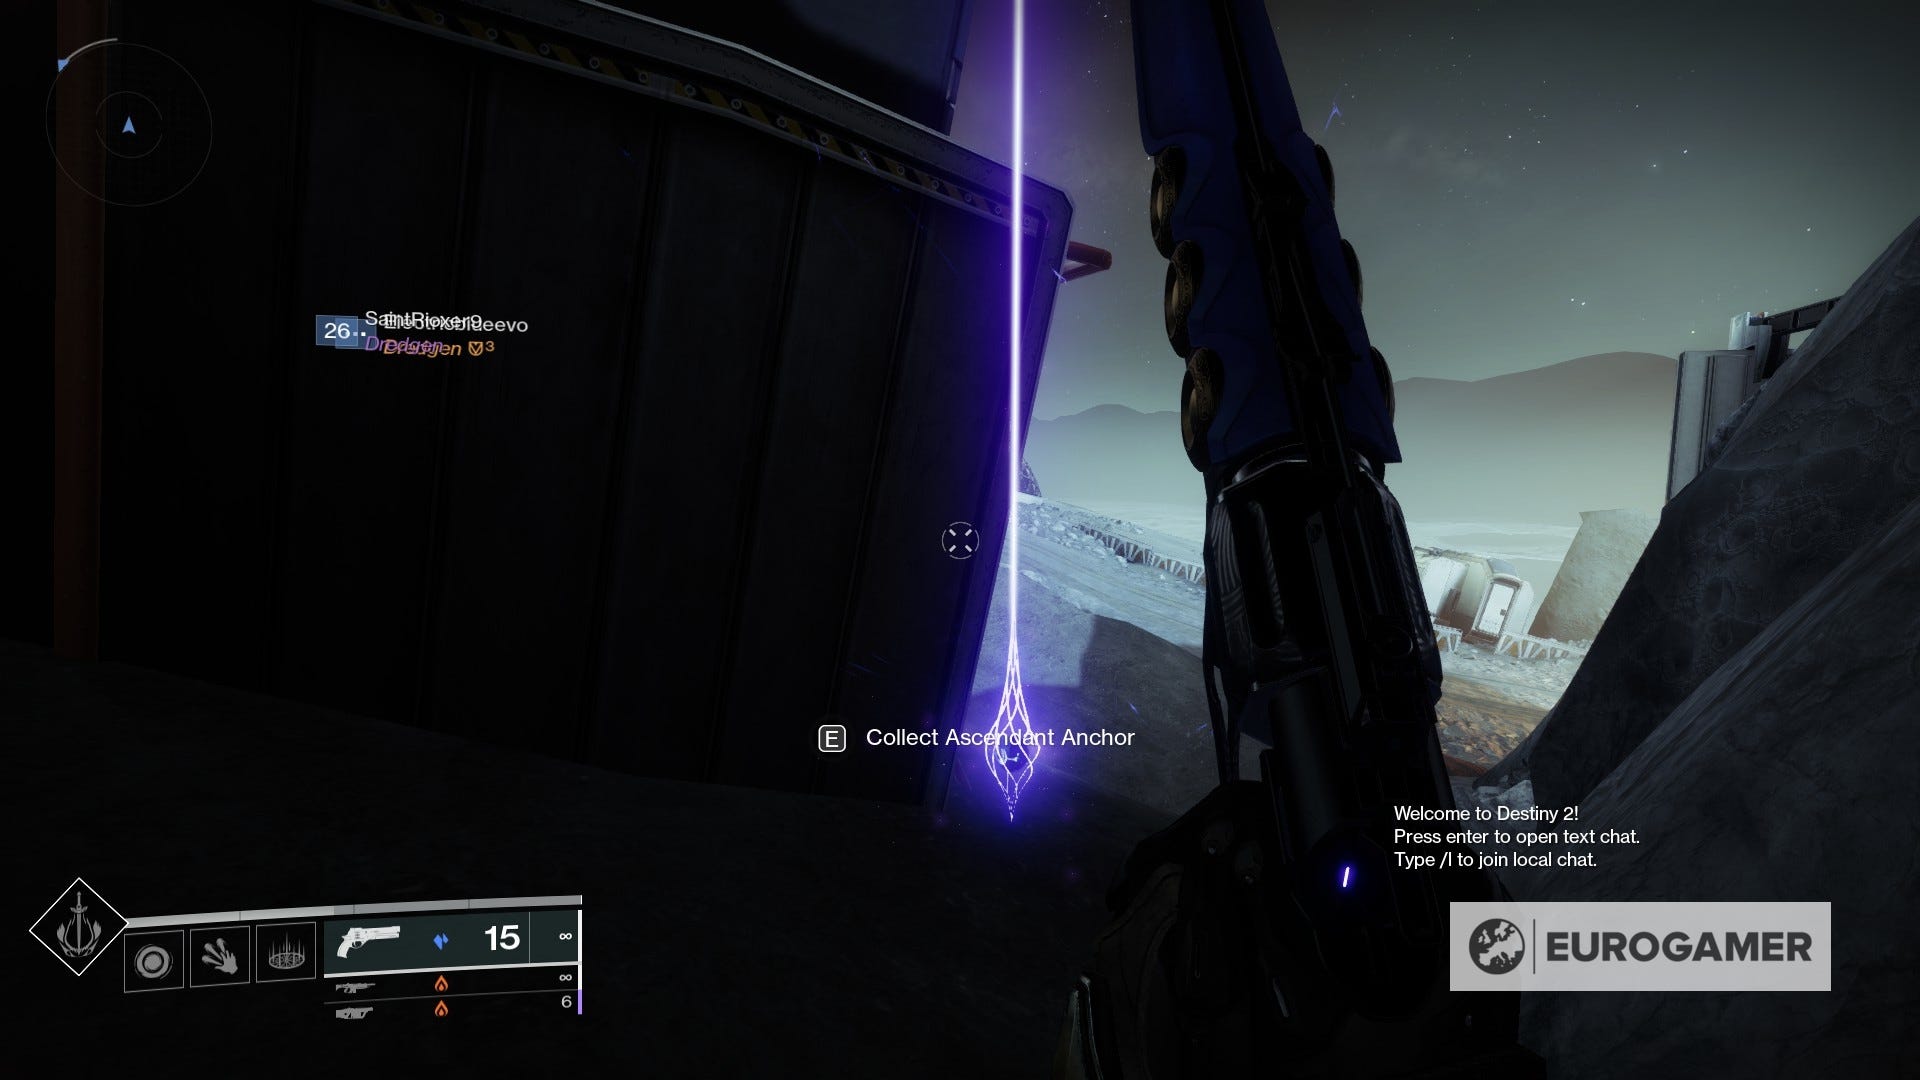
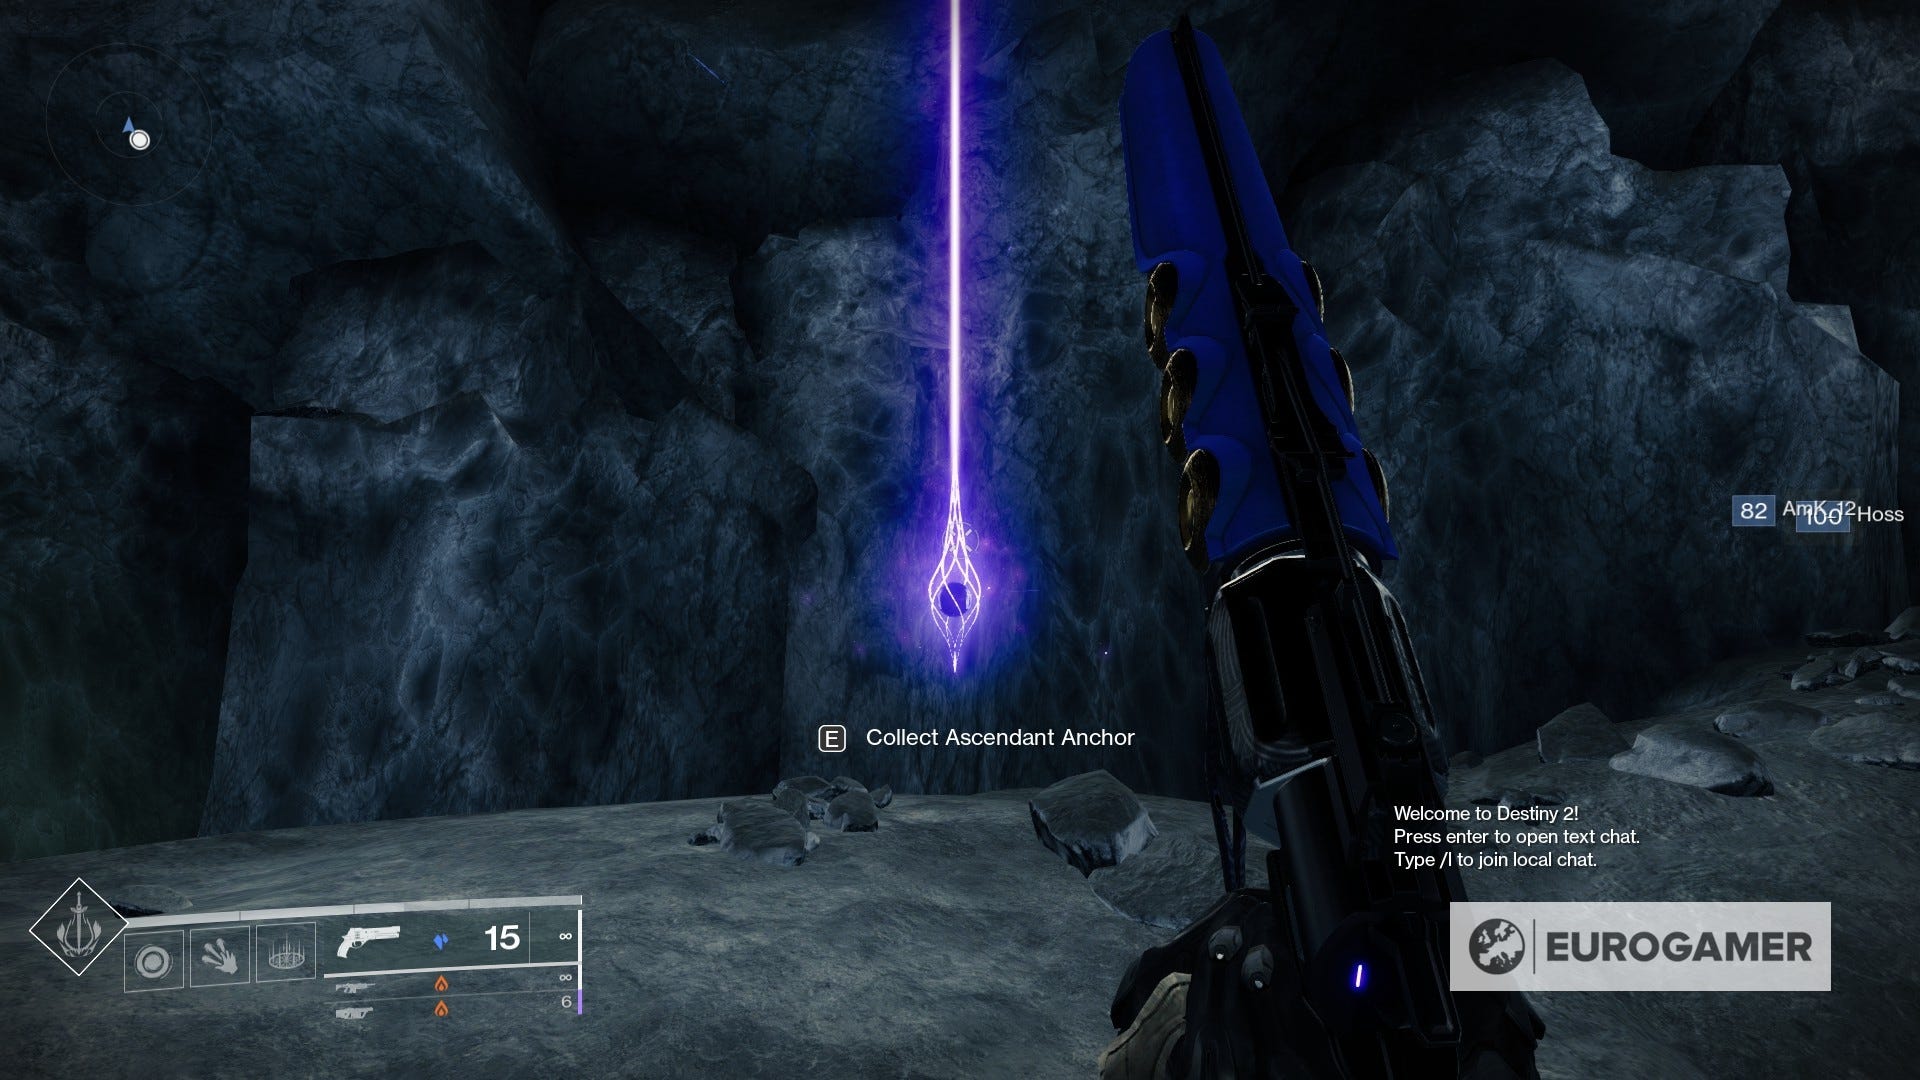
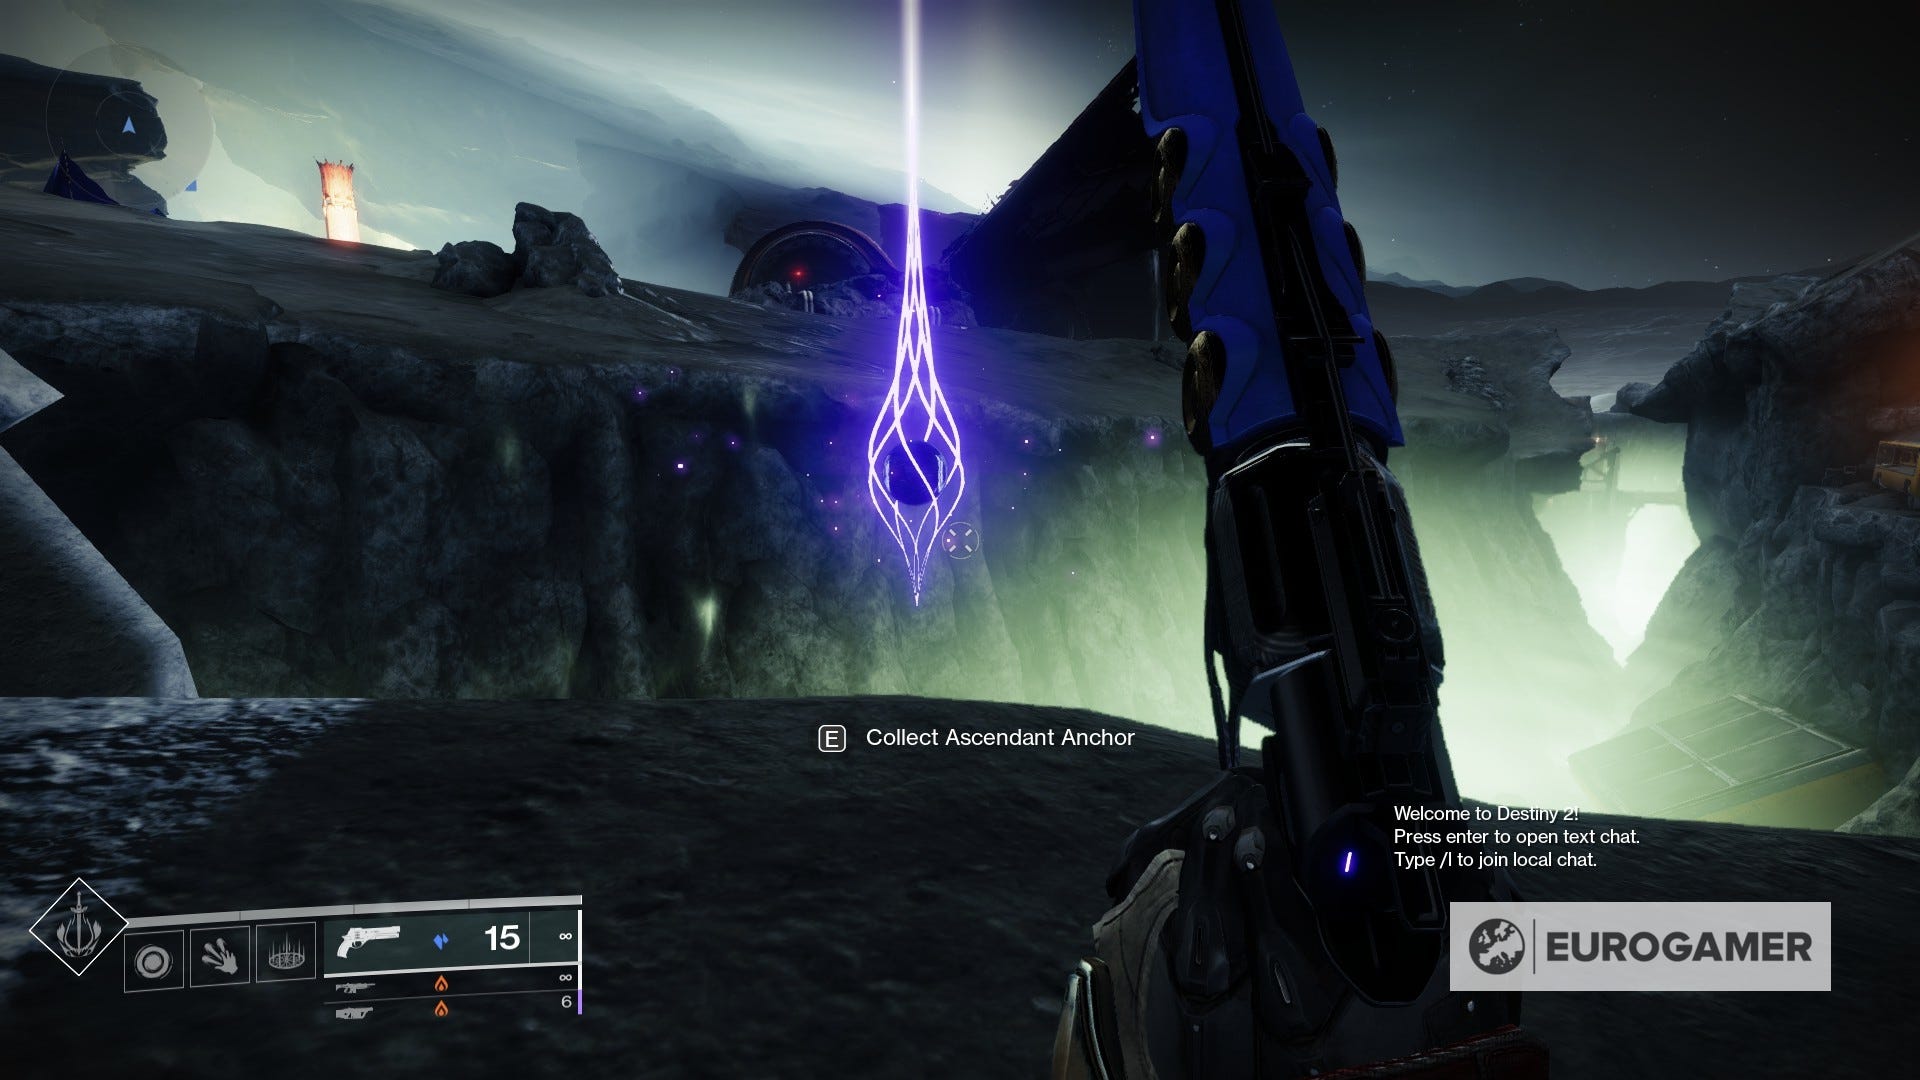
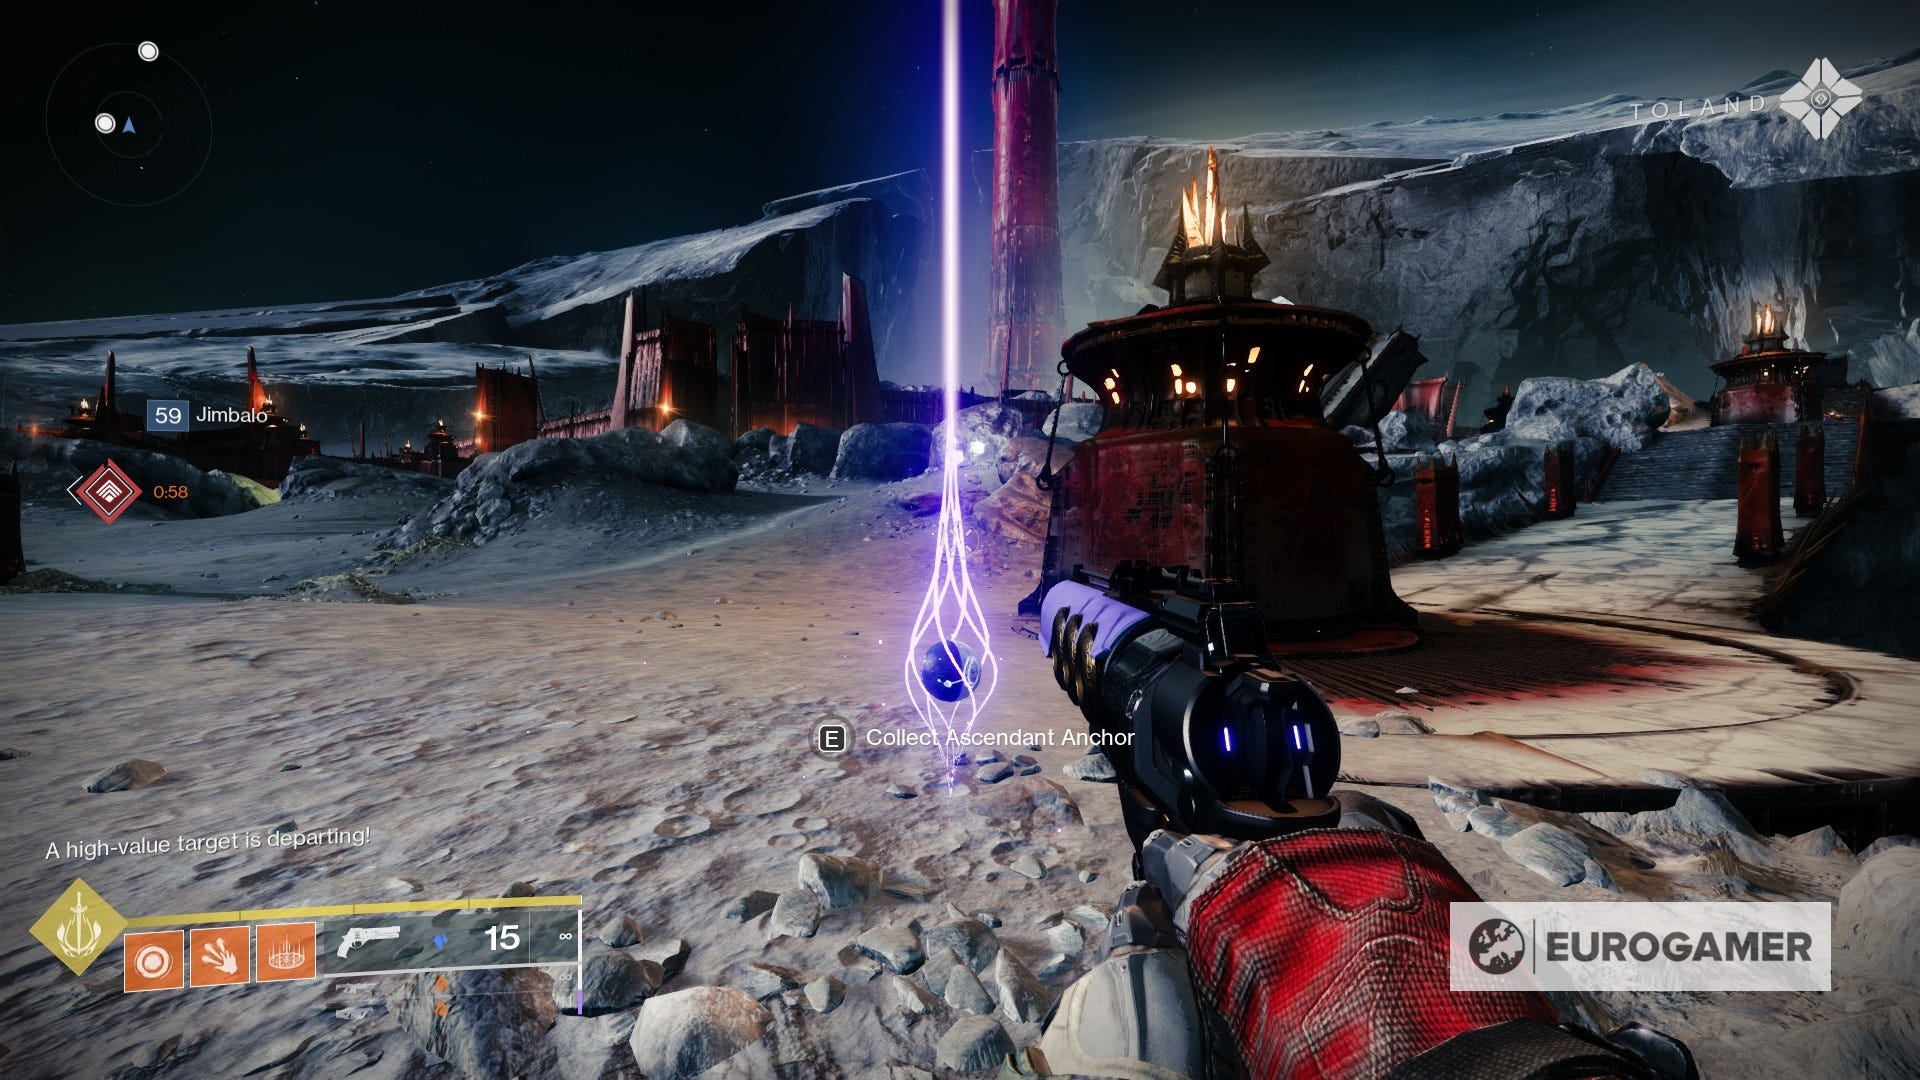
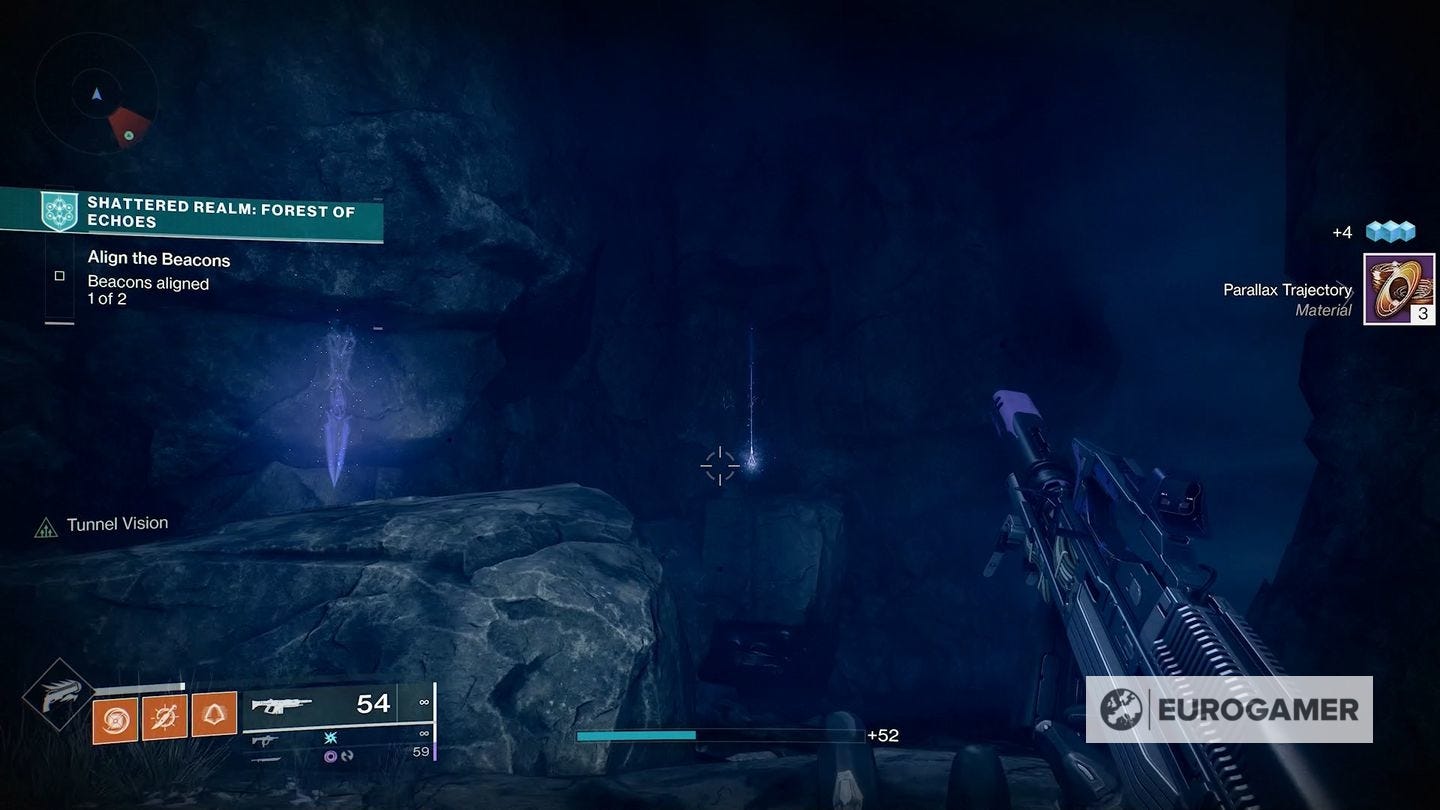
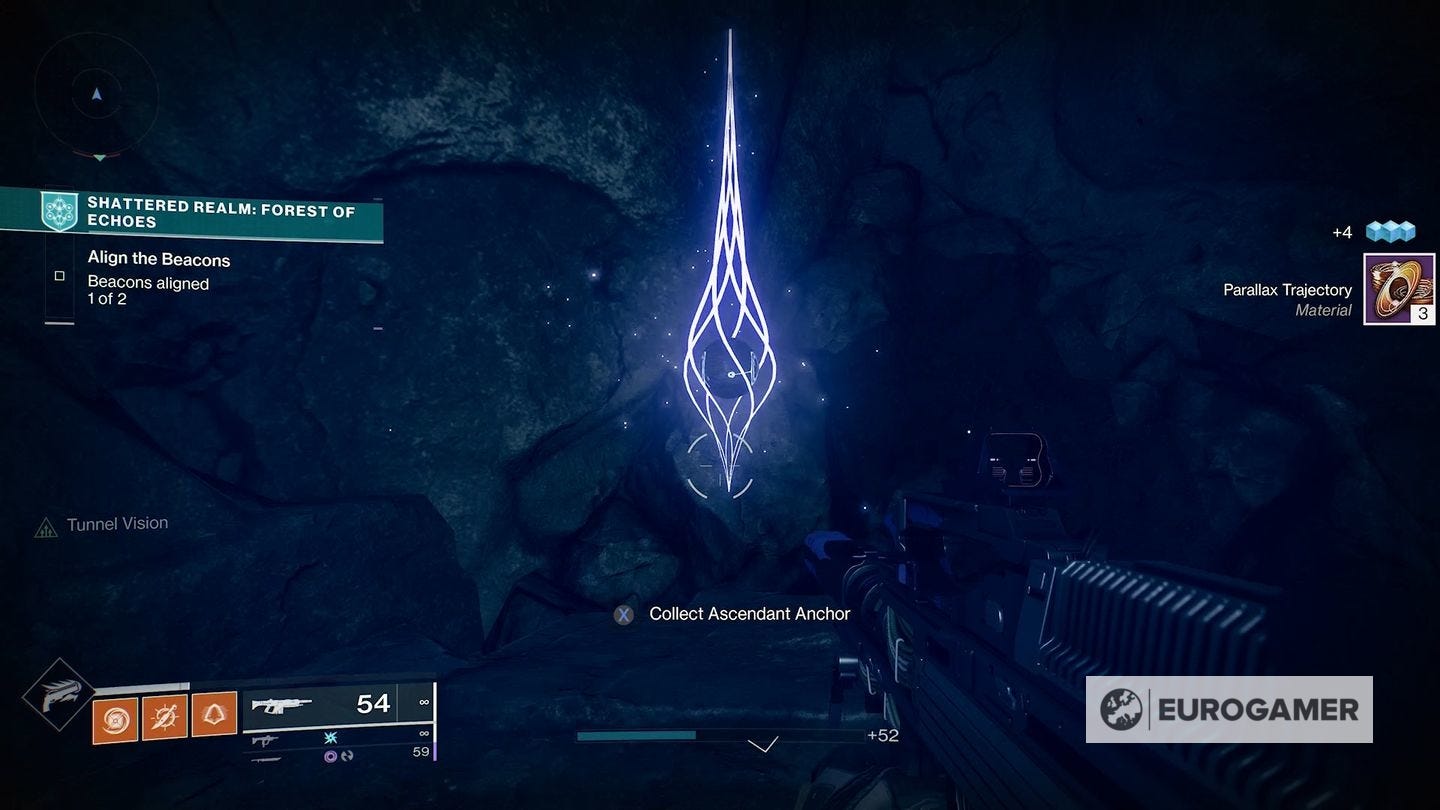
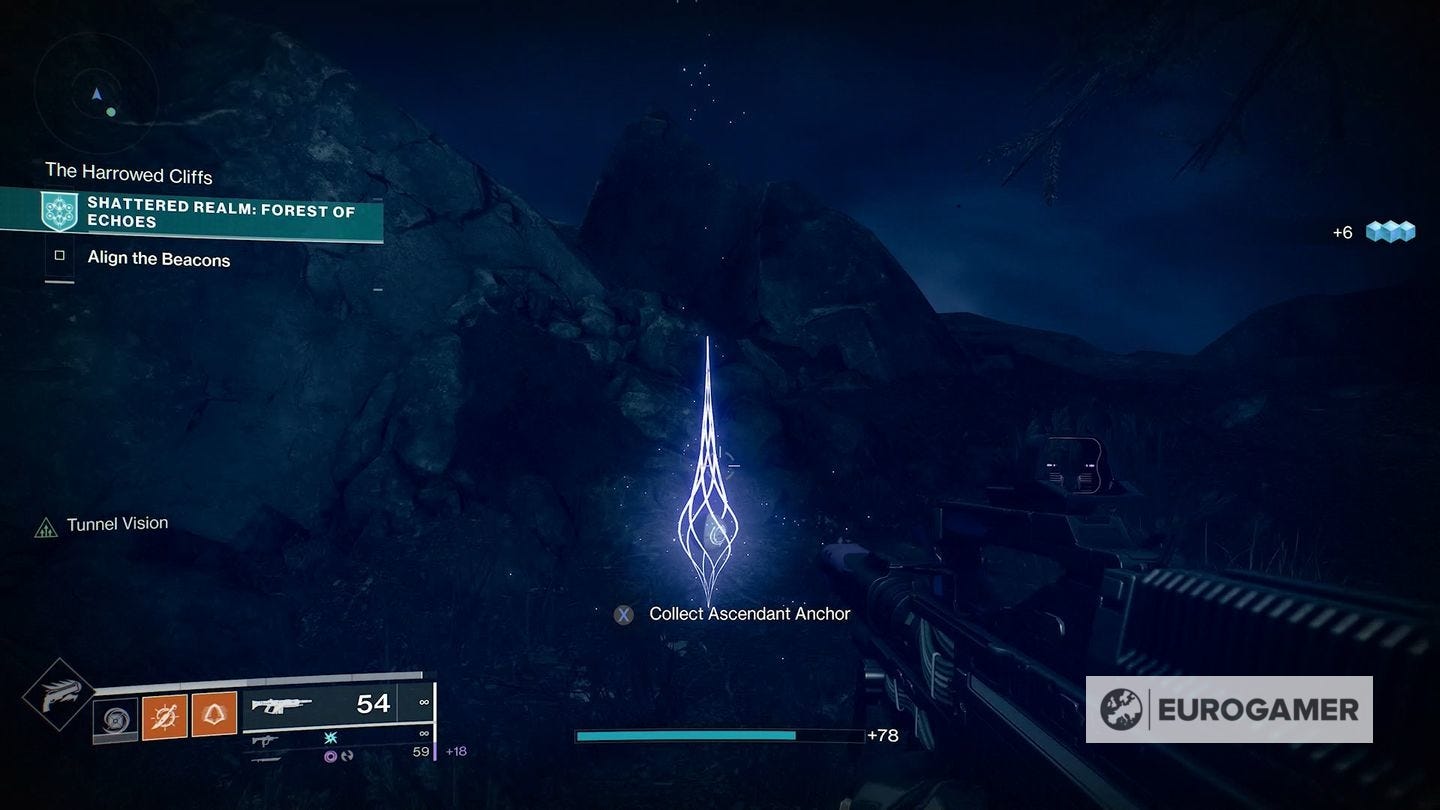
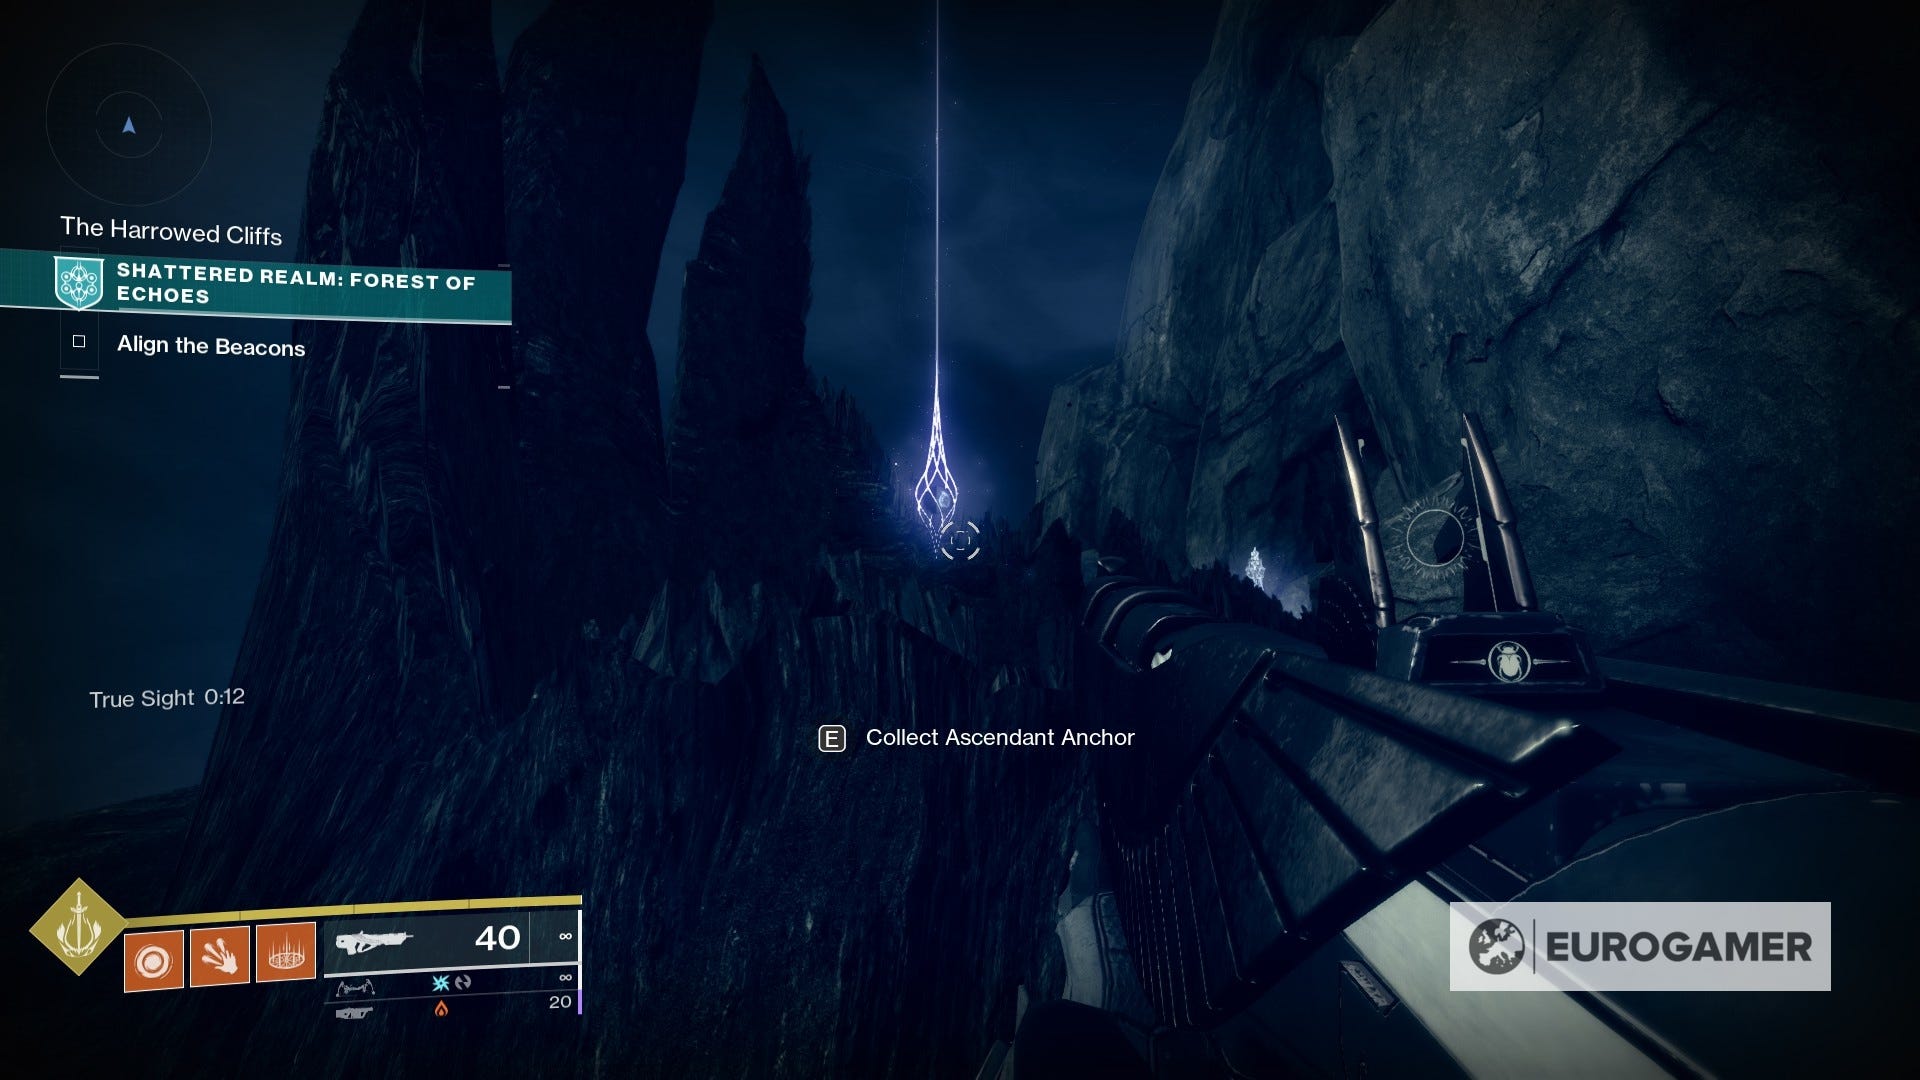
These are purple objects which can appear in Patrol zones and the Shattered Realm, and are visible from afar thanks to a glowing purple light.
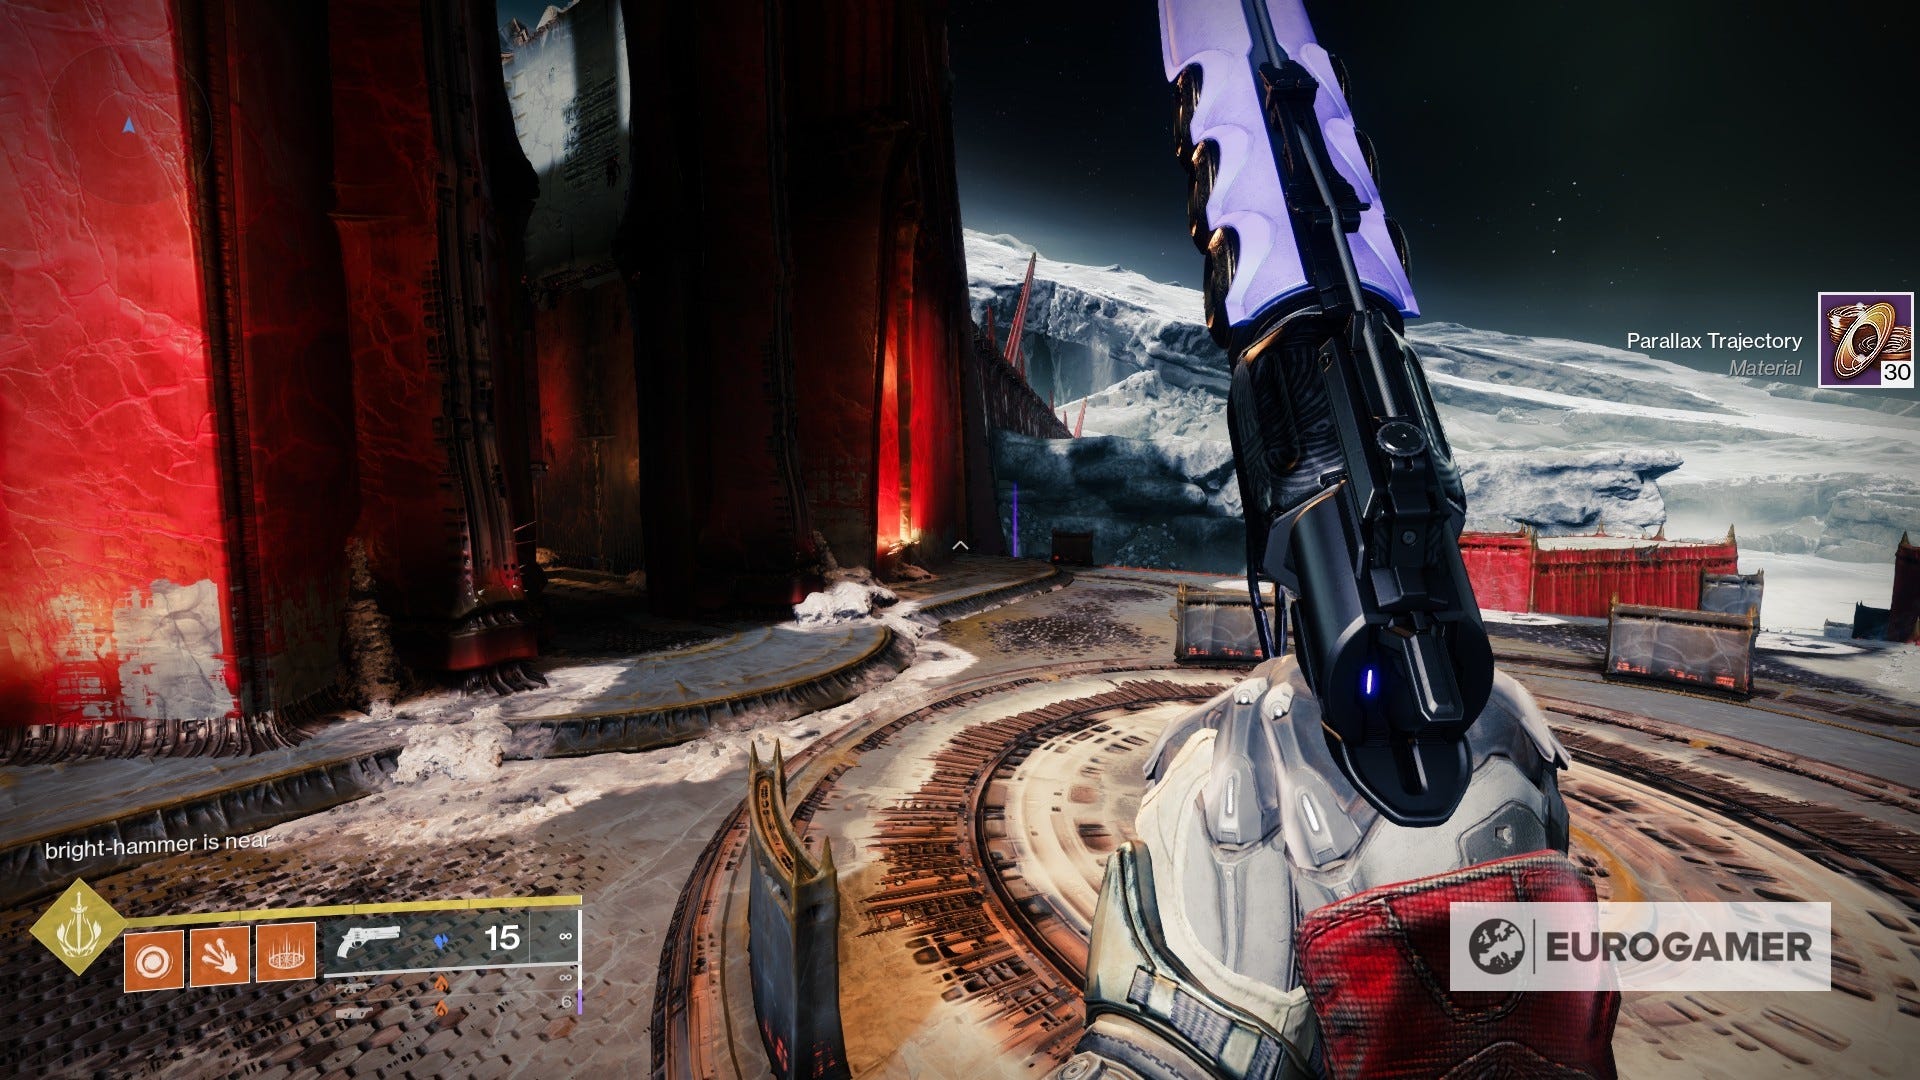
That said, some are easier to find than others - and with each one found, you earn a small amount of Parallax Trajectory.
Reaching certain milestones of Ascendant Anchors found will also earn you Seasonal Milestones - such as Ascendant Ballast.
On this page:
- How the Ascendant Ballast quest in Destiny 2 works
- EDZ Patrol Ascendant Anchor locations
- Tangled Shore Patrol Ascendant Anchor locations
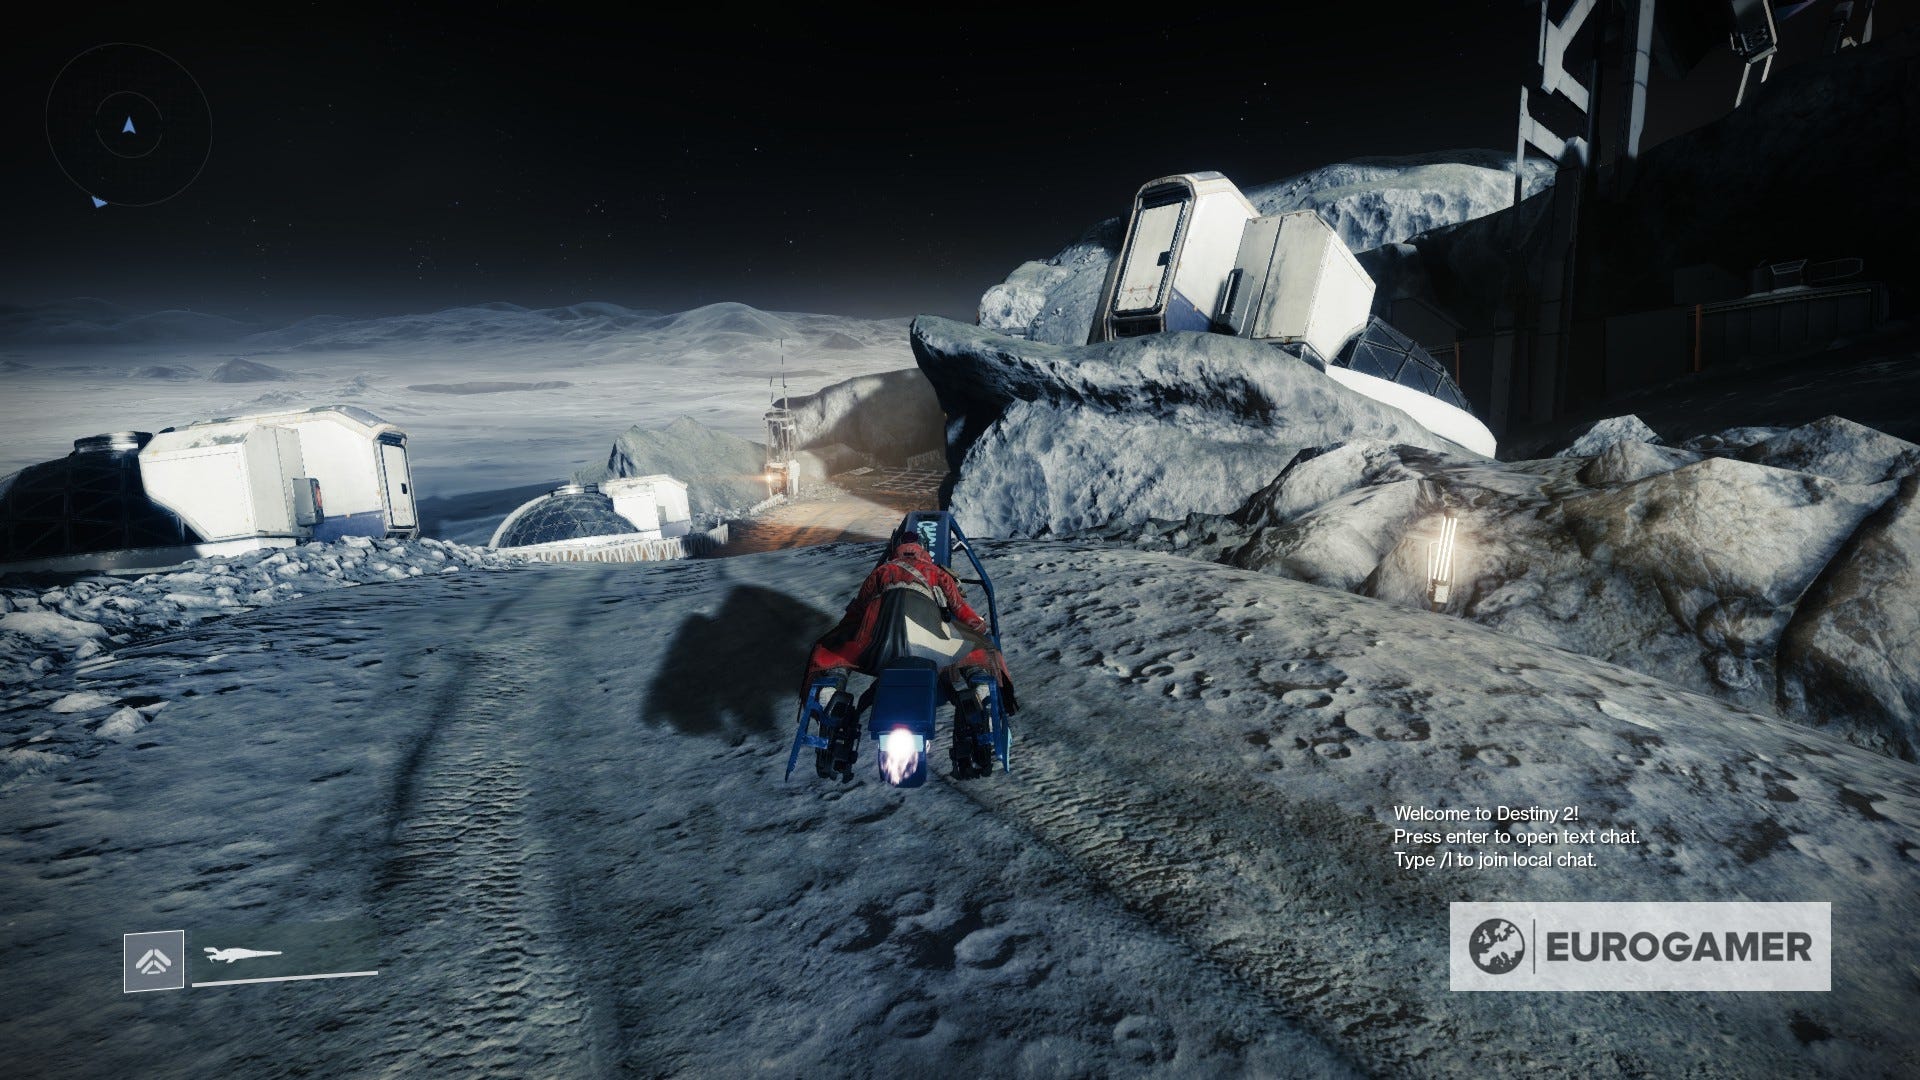
- Moon Patrol Ascendant Anchor locations
- Shattered Realm - Forest of Echoes Ascendant Anchor locations
- Shattered Realm - Debris of Dreams Ascendant Anchor locations
- Shattered Realm - Ruins of Wrath Ascendant Anchor locations

How the Ascendant Ballast quest in Destiny 2 works
Ascendant Anchors are introduced to you as part of the weekly Wayfinder's Voyage questline, with a step that has you visit one of the patrol areas.
This quickly moves the questline to a Shattered Realm mission, but is designed to show that Ascendant Anchors are available in the Patrol area for that week - on a rotation between the EDZ, Tangled Shore and Moon.

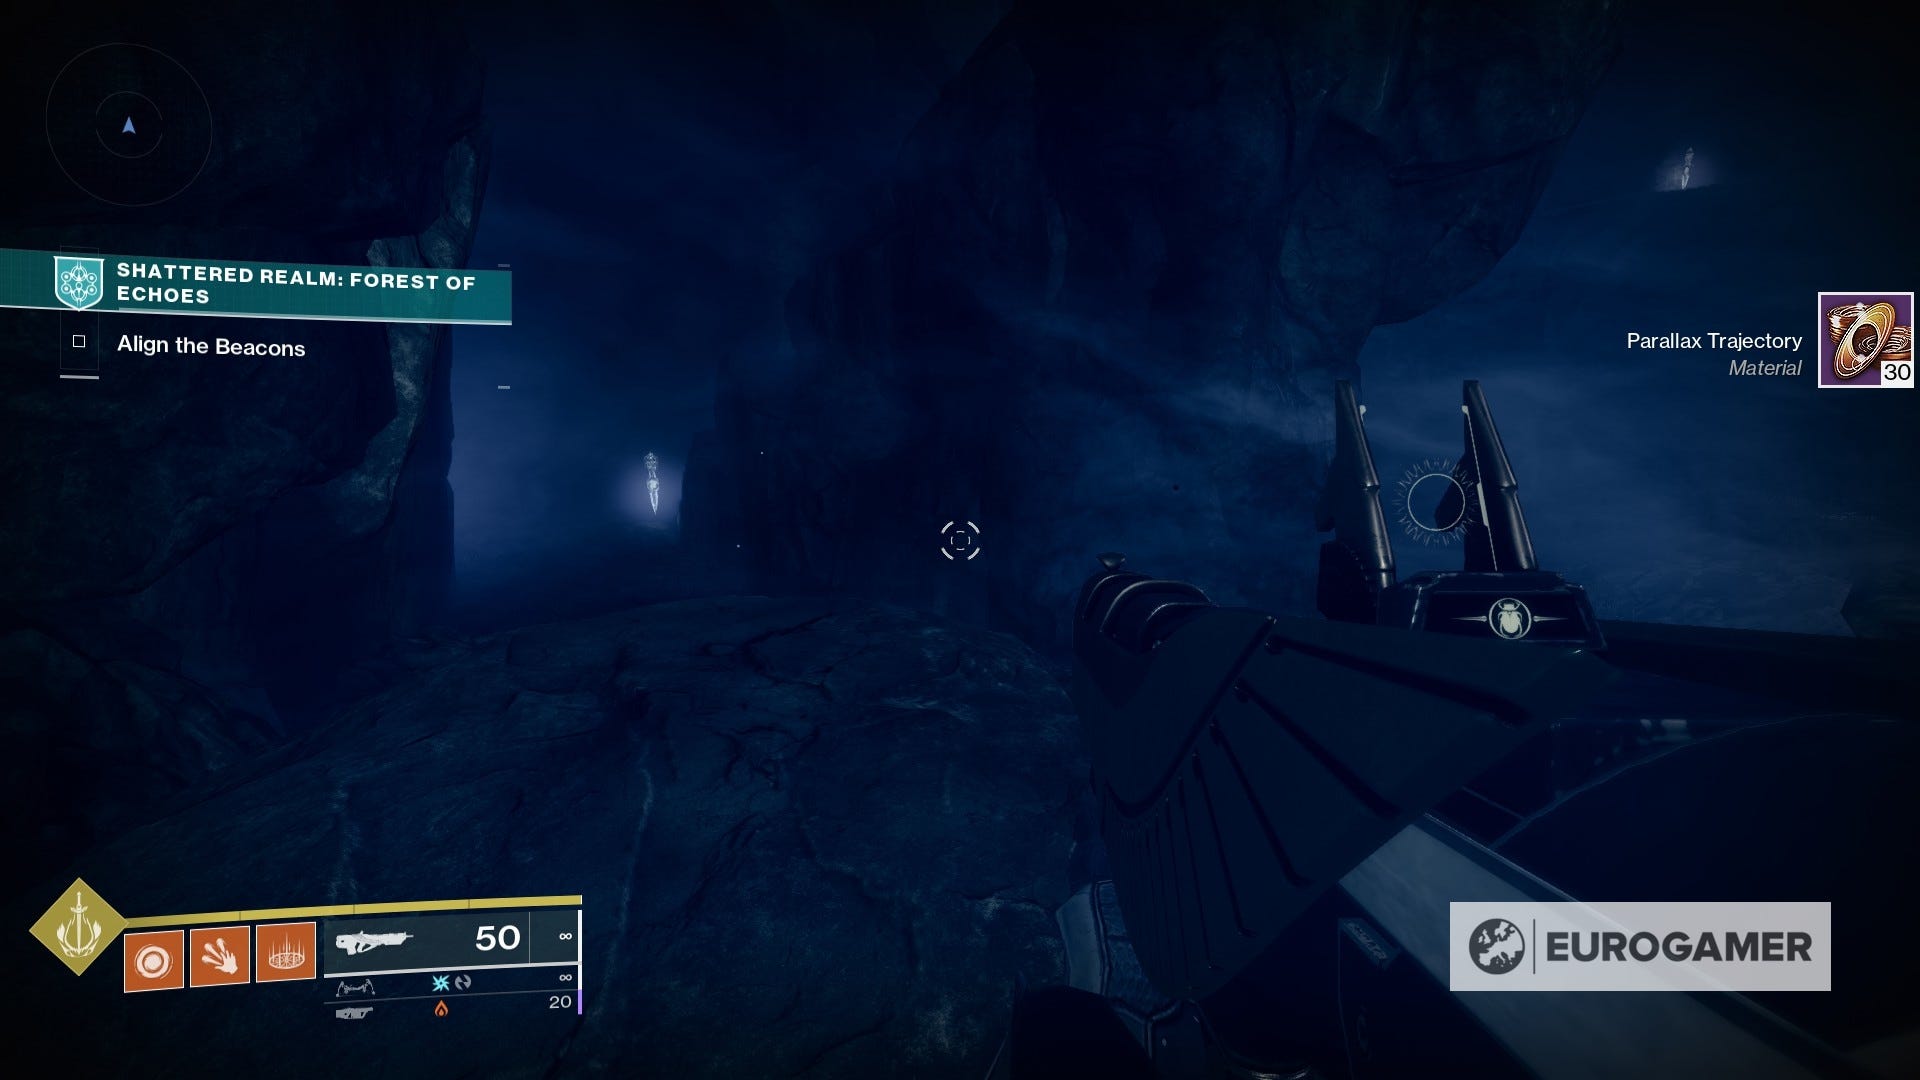
Each one found with give you 30 Parallax Trajectory, which isn't a lot - but will add up if you go hunting for every available location. They reset, too - meaning you can visit the same patrol area multiple times in a season once it's back on rotation to pick up their location.
The real end goal of finding Ascendant Anchors is Seasonal Milestones. Not only are there some for collecting Parallax Trajectory across the game, but the Ascendant Ballast quests in particular have you find a certain number from Patrol destinations and the Shattered Realm.

EDZ Patrol Ascendant Anchor locations
The following were made available on Season of the Lost's debut. They will appear every three weeks on rotation around other two Patrol zones, and will reset when they return back on rotation - allowing you to collect them multiple times per season.
Trostland Ascendant Anchors (5 total)
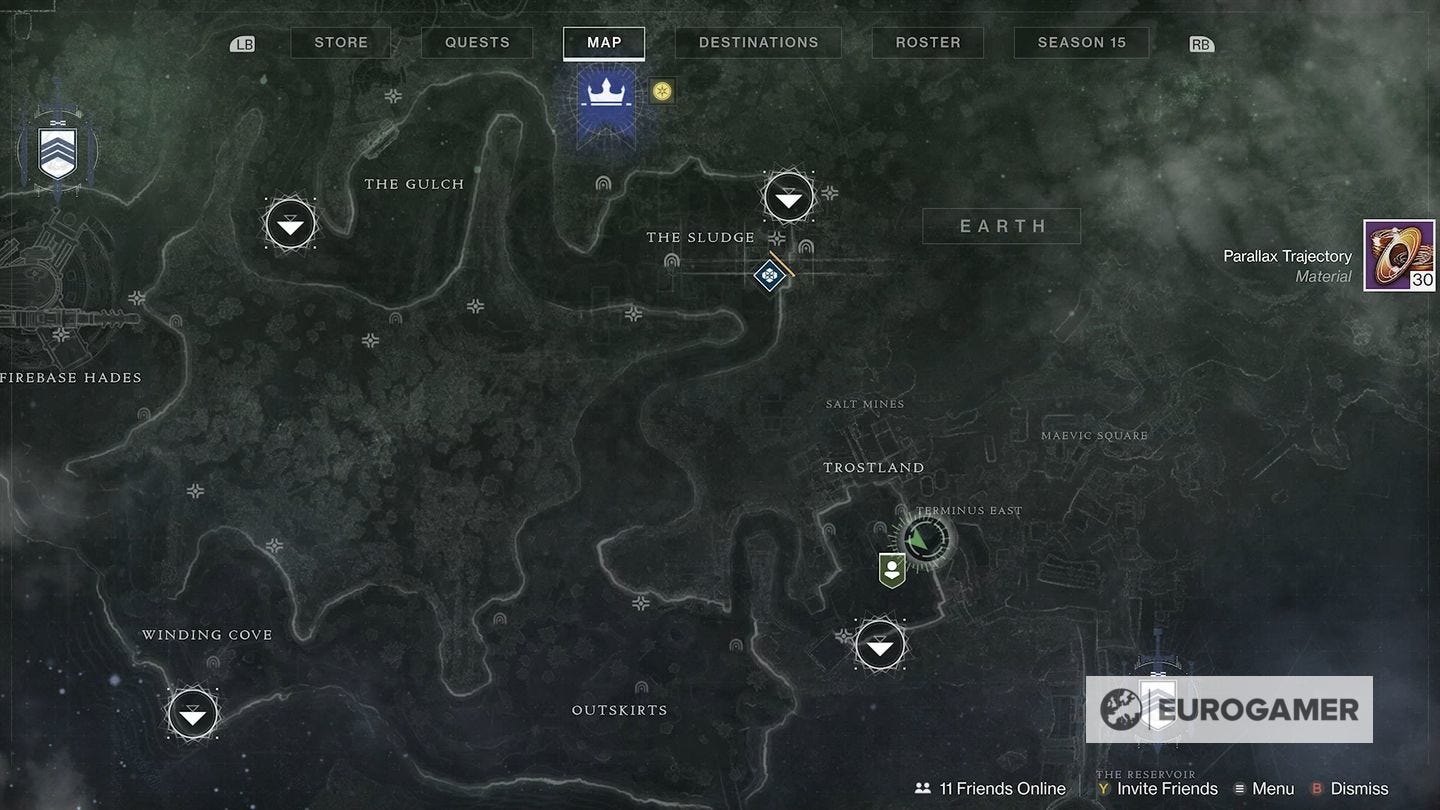
1. The first will be right in front of you from the Trostland landing zone fast travel point.

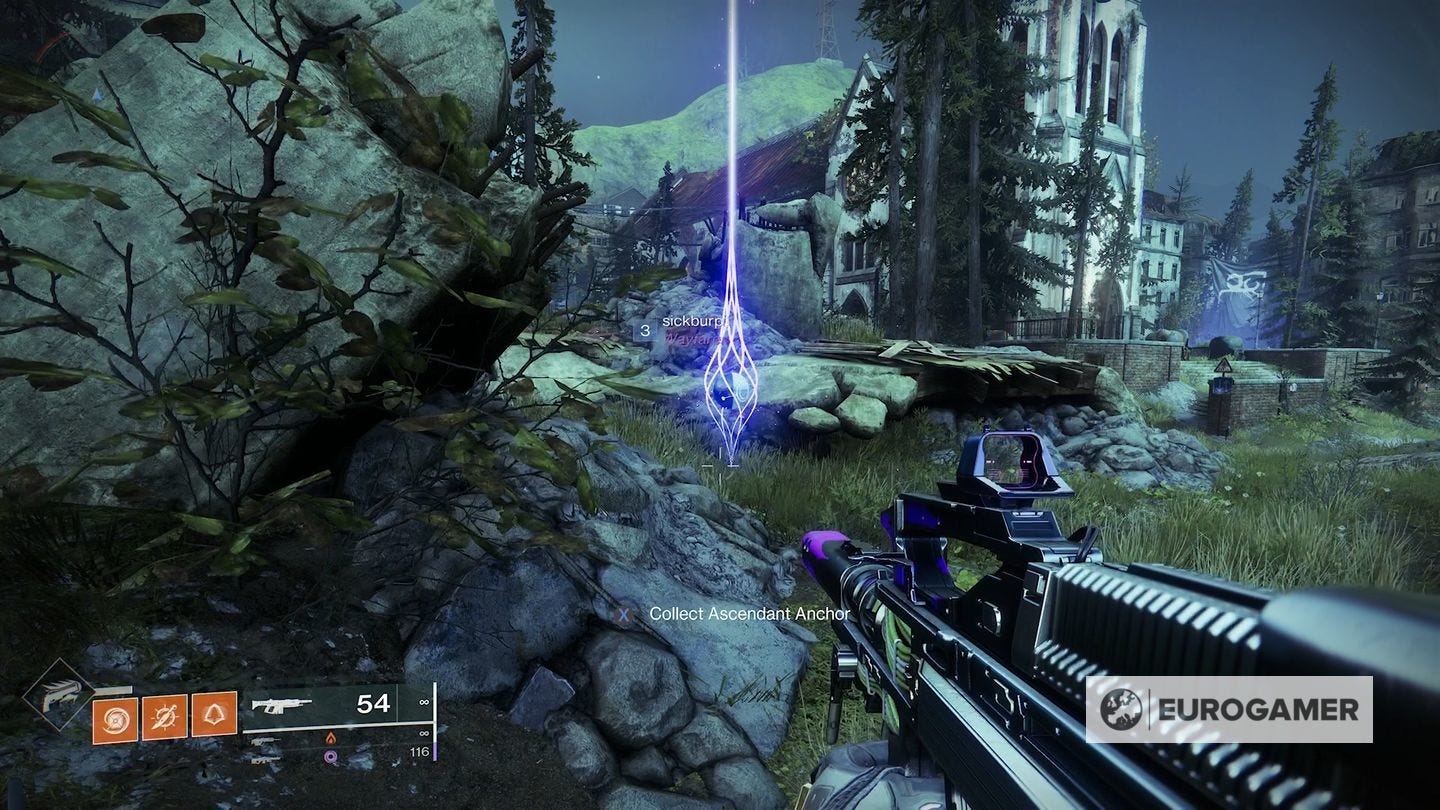
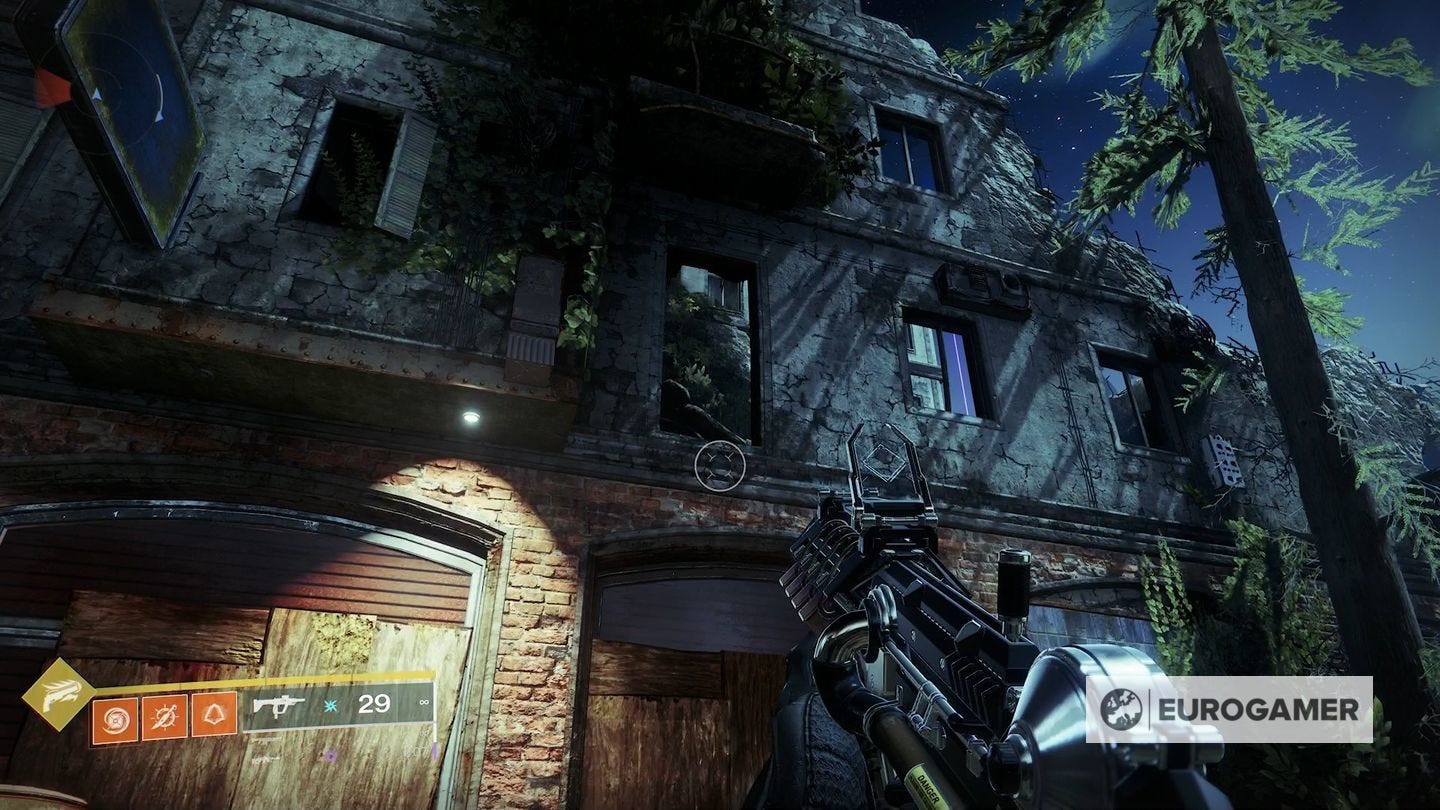
2. To the west of the church where Devrim Kay is located is a building on the corner with the upper floors destroyed. You should see the telltale purple beam of light from a distance.

Jump up and grab the Anchor.

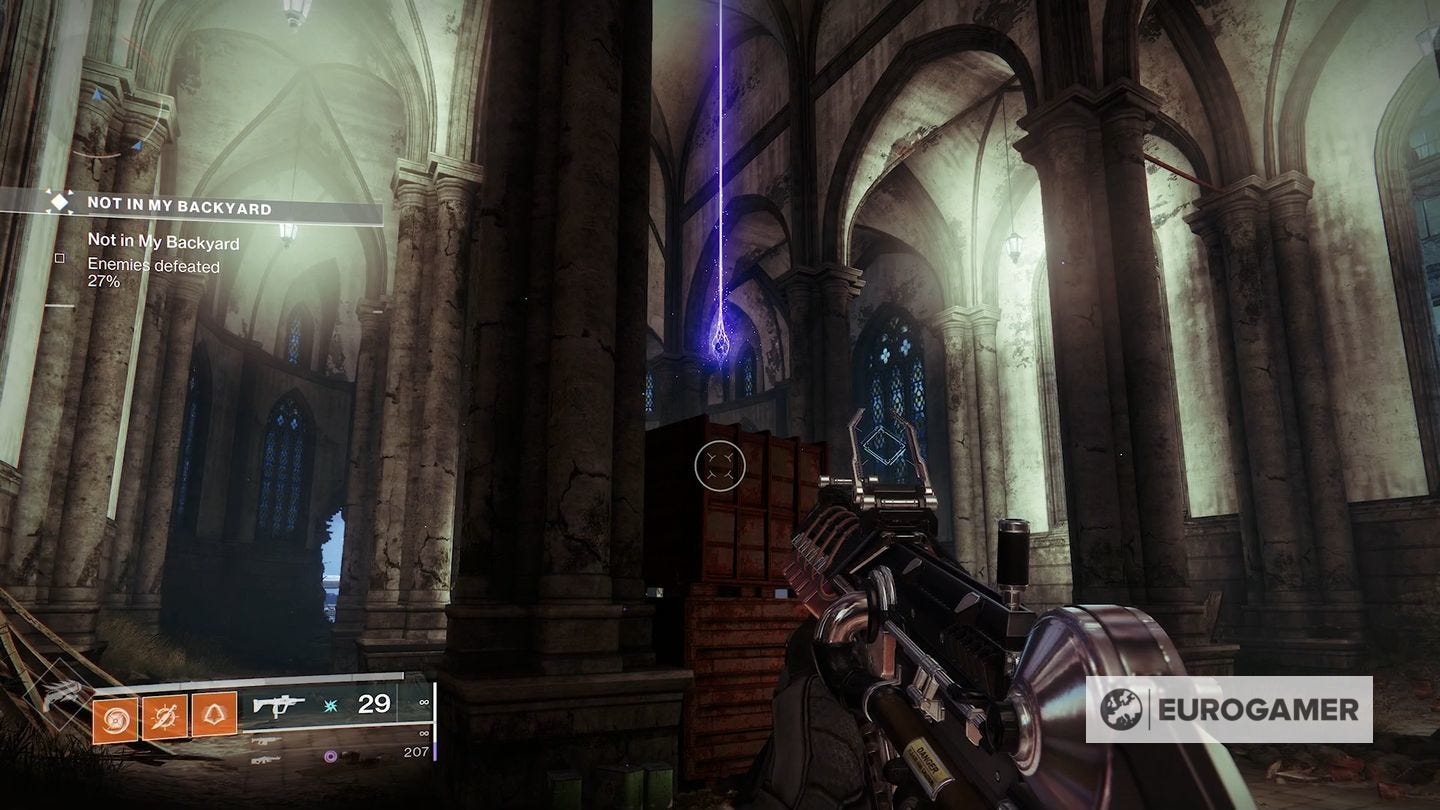
3. There is one inside the church itself that's in the middle of Trostland, on top of some crates.

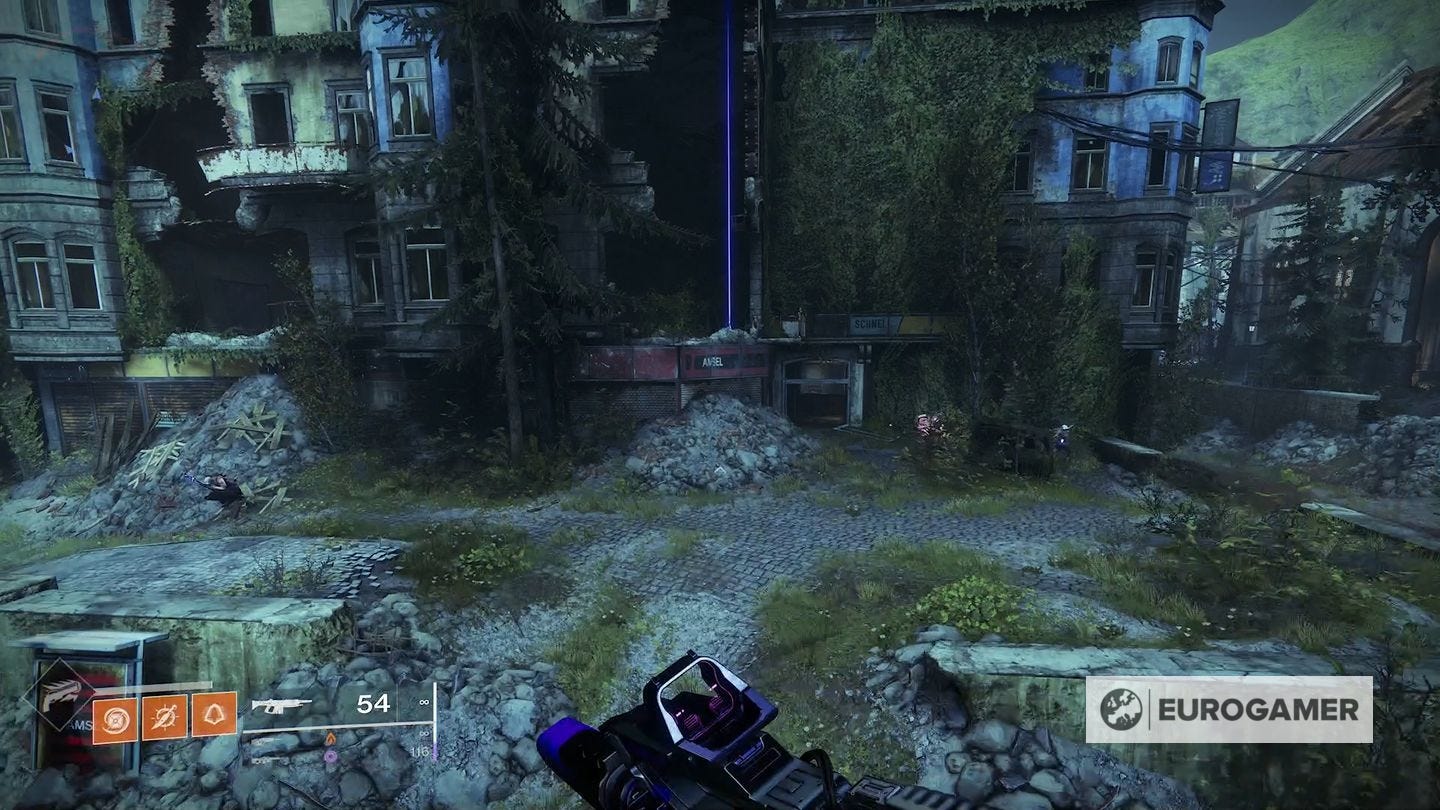
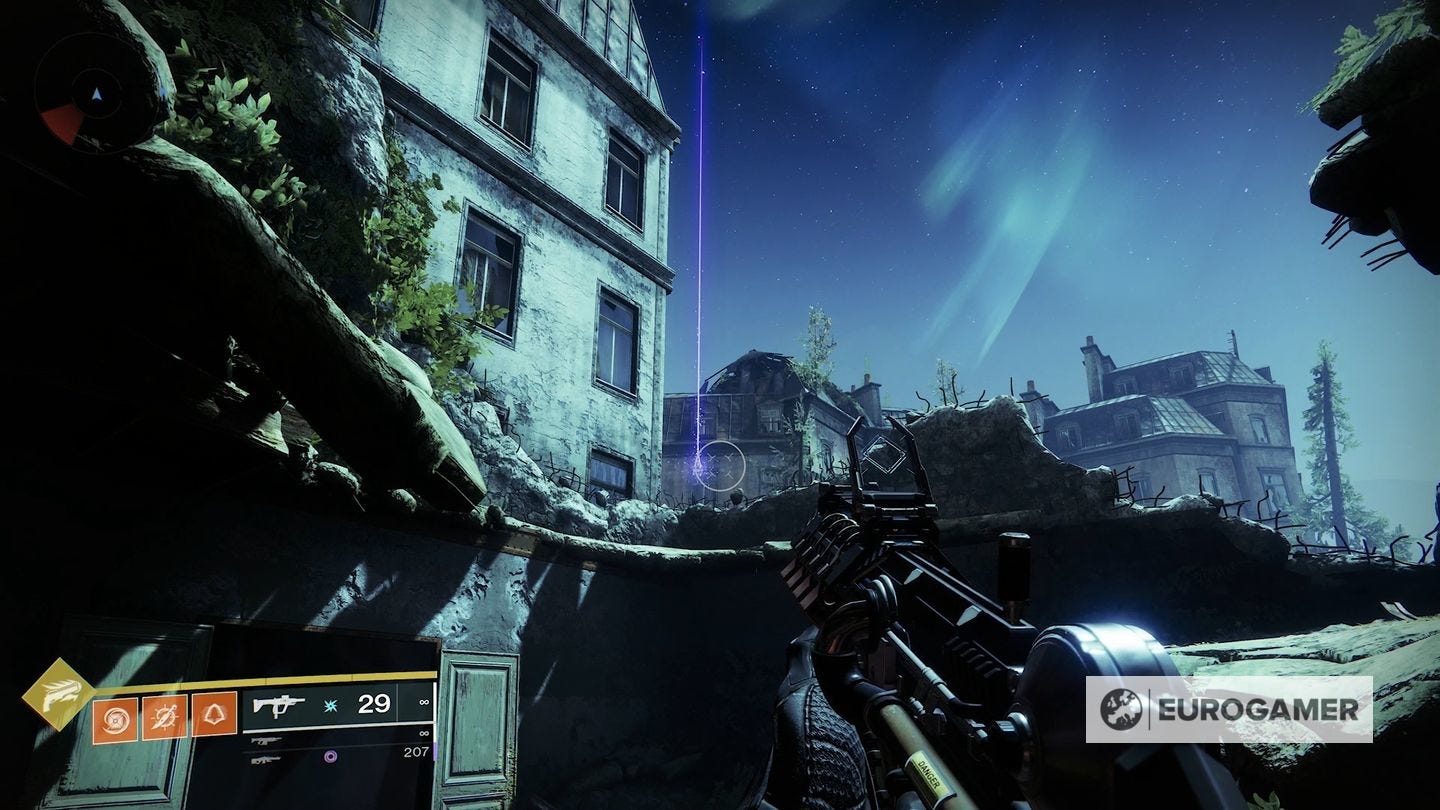
4. To the east of the church, on the route away from Trostland towards Terminus East, will be an Anchor visible on top of a destroyed building. To reach it, follow the face of the buildings north opposite the church to see a window.

Leap up, then up again towards the Anchor.
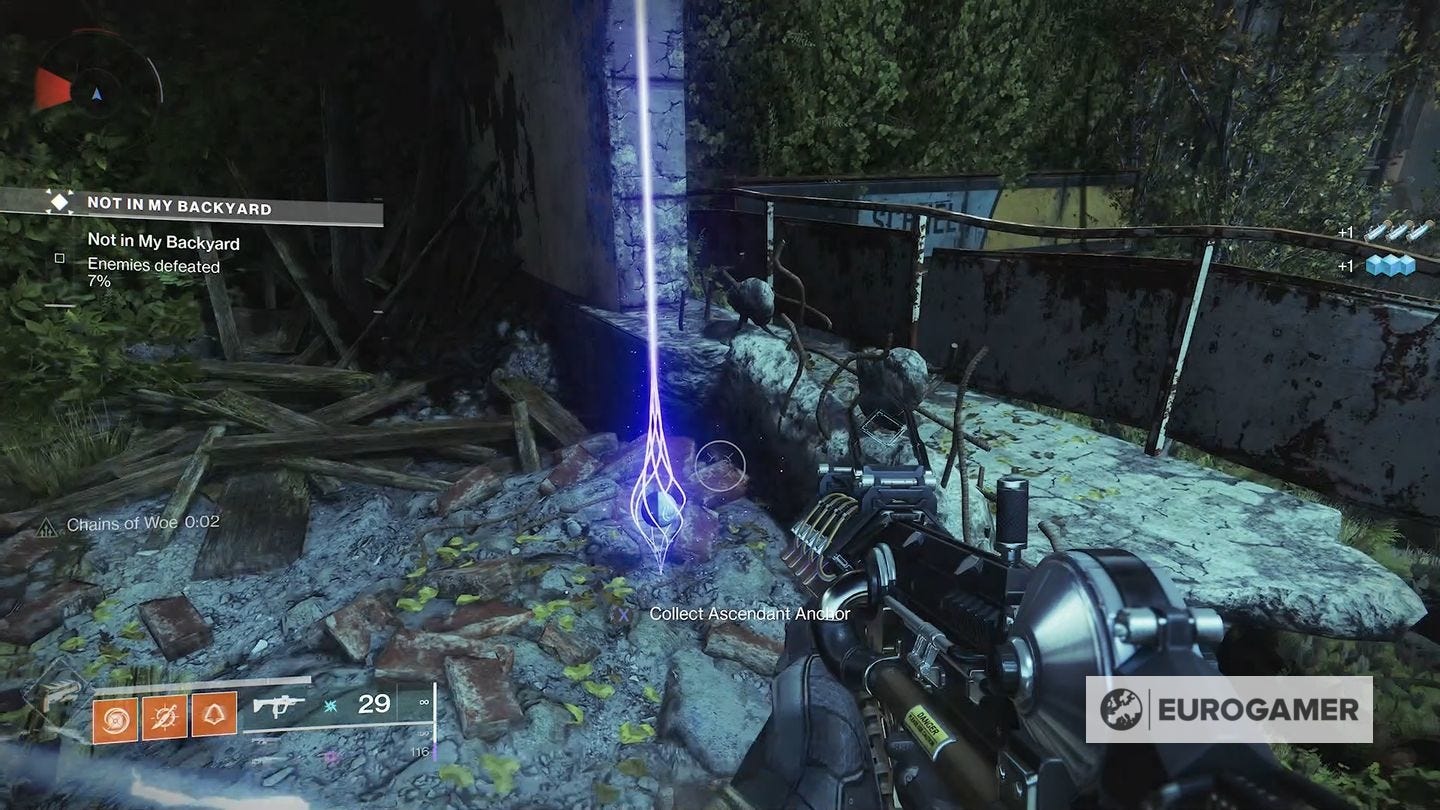
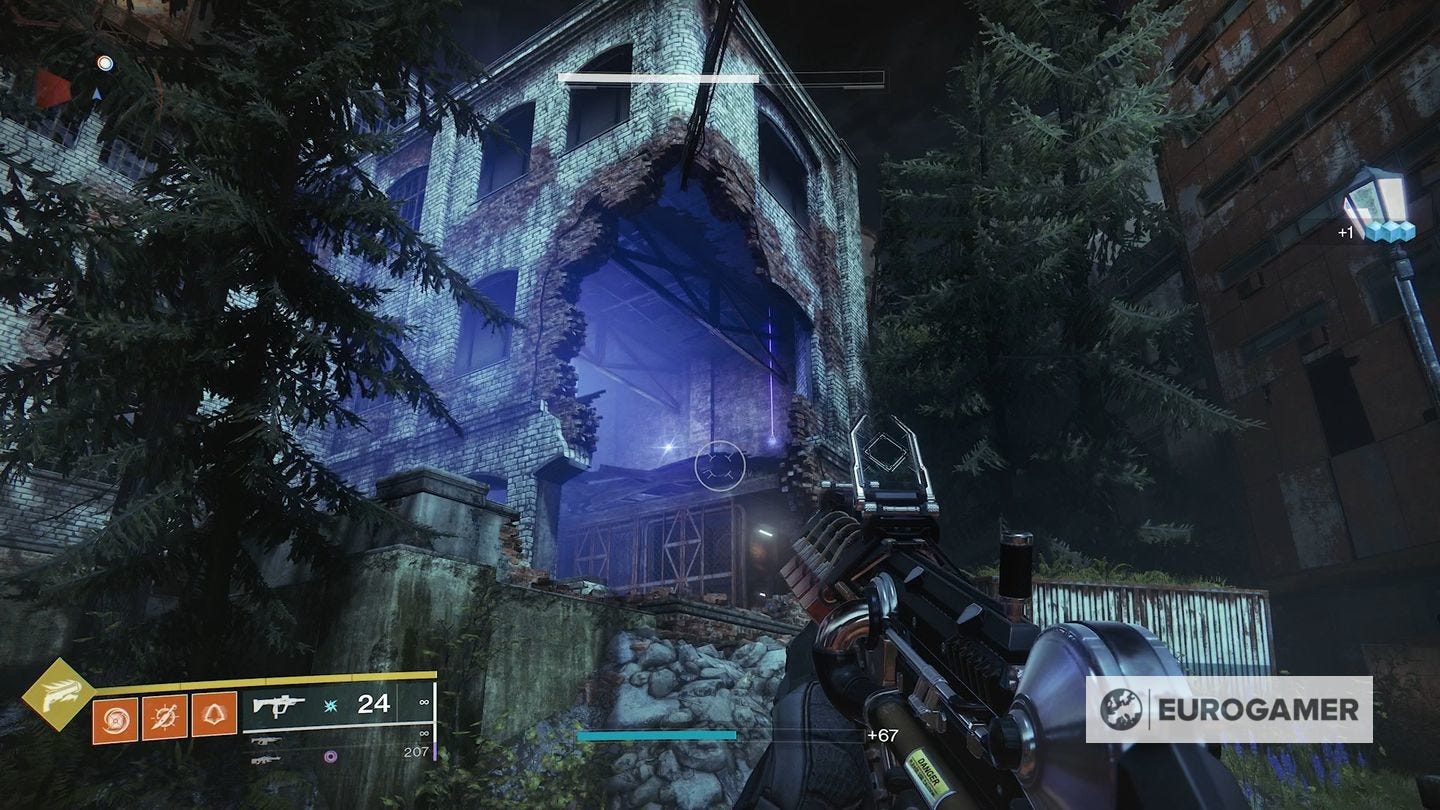
5. North-east from the church is a destroyed building on the corner. From the correct position, you can see the Anchor on the second floor. Leap up and collect it.
Sunken Isles Ascendant Anchors (5 total)
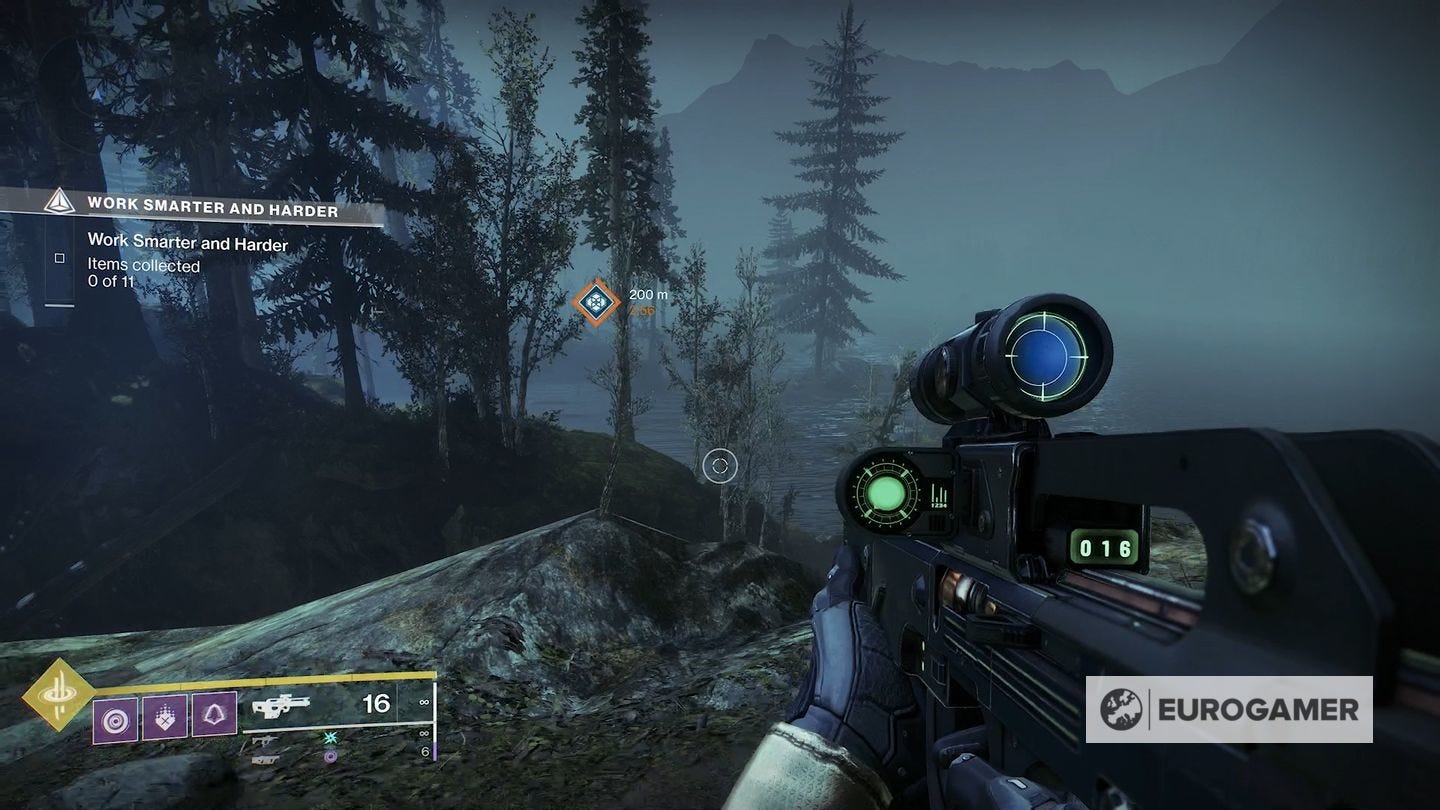
1. From the fast travel point, walk a few steps forward and you can see the Anchor on the hill in the near distance to the south.

2. Head on from the fast travel point, following the track south with the hill to your left. You will see another one visible just opposite the Echion Hold.


3. Staying outside, head to the south-west most point in Sunken Isles, past the entrances to two bases. In the corner, by a channel of water that hits a dead end, is a location.
4. These next two are easiest if you start at the fast travel point. Instead of going south like before, head west (or right), taking the very outside of the area around.
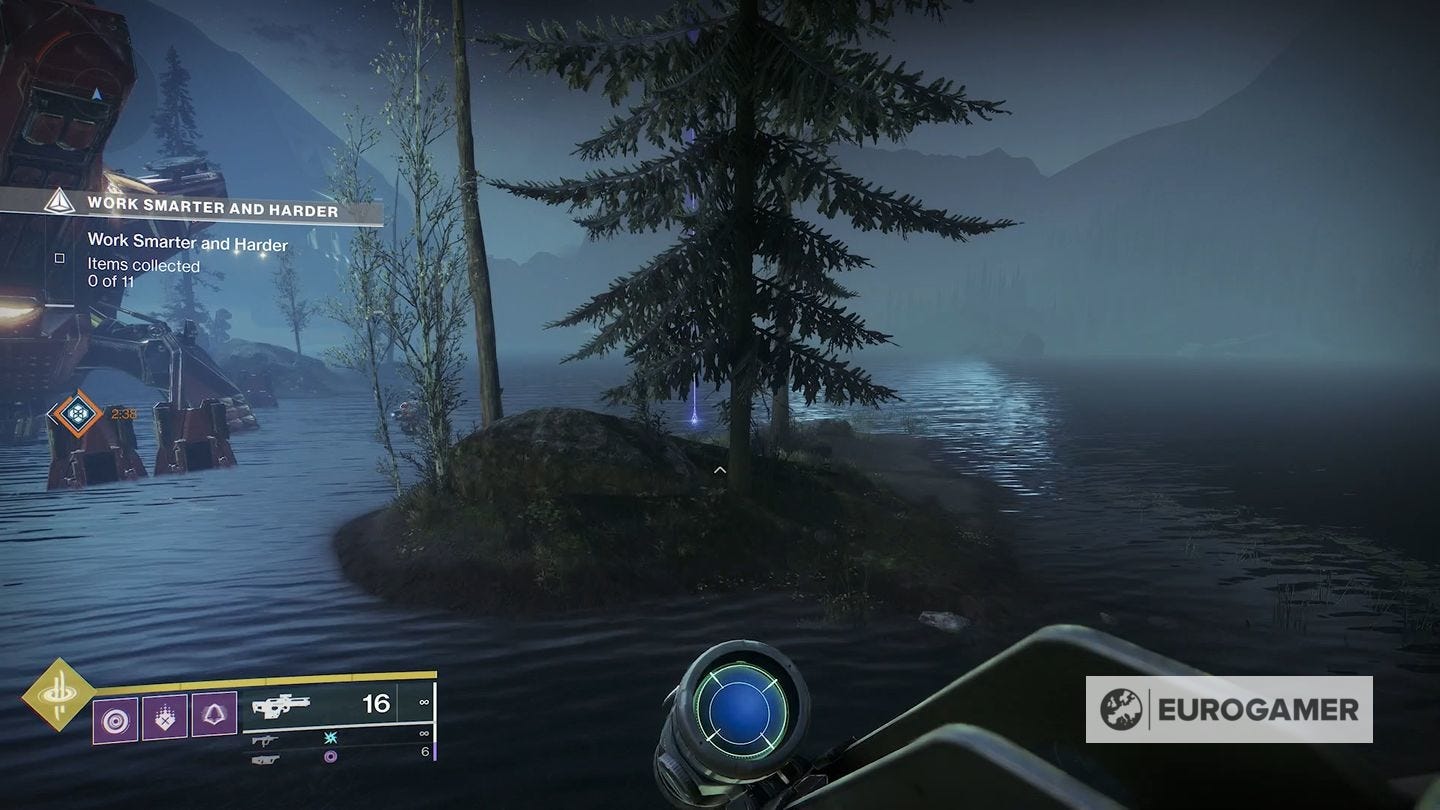
You'll pass some islands - the anchor is on one of them. (If it helps, it will be right next to a possible public event location.)

5. Continue going south-west - just past some lights - until you are at the west-most point while remaining outside. You will see another by a tree and some crates.

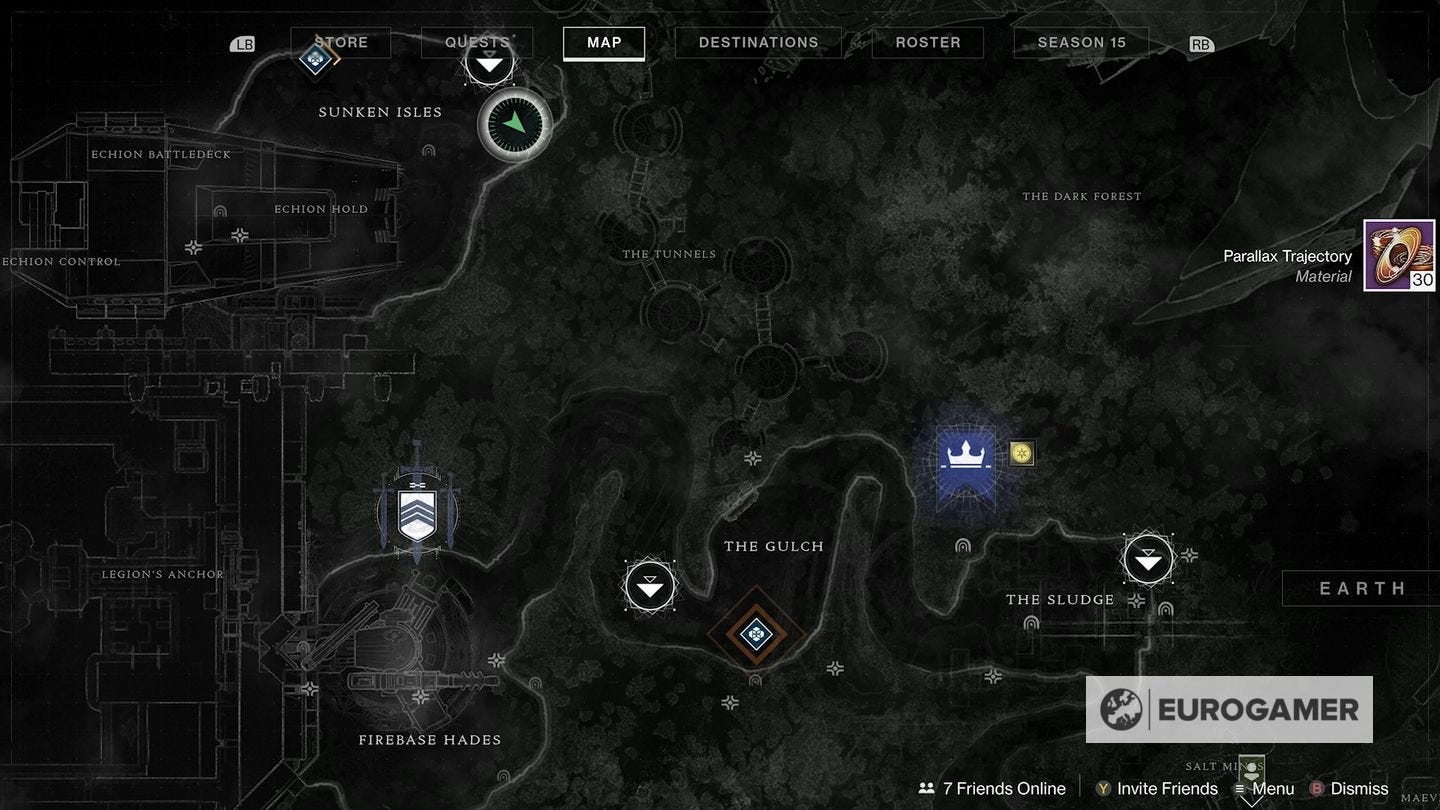
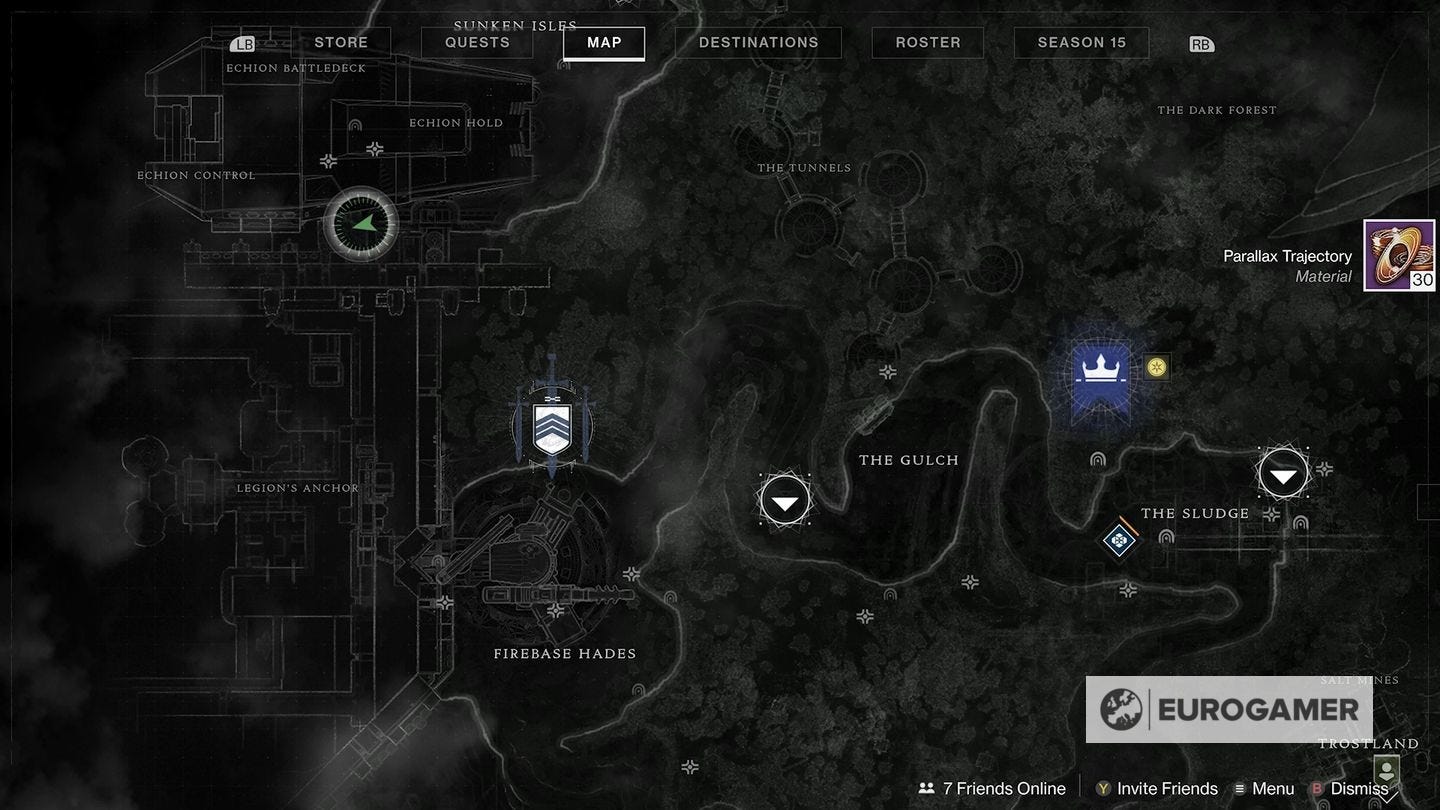
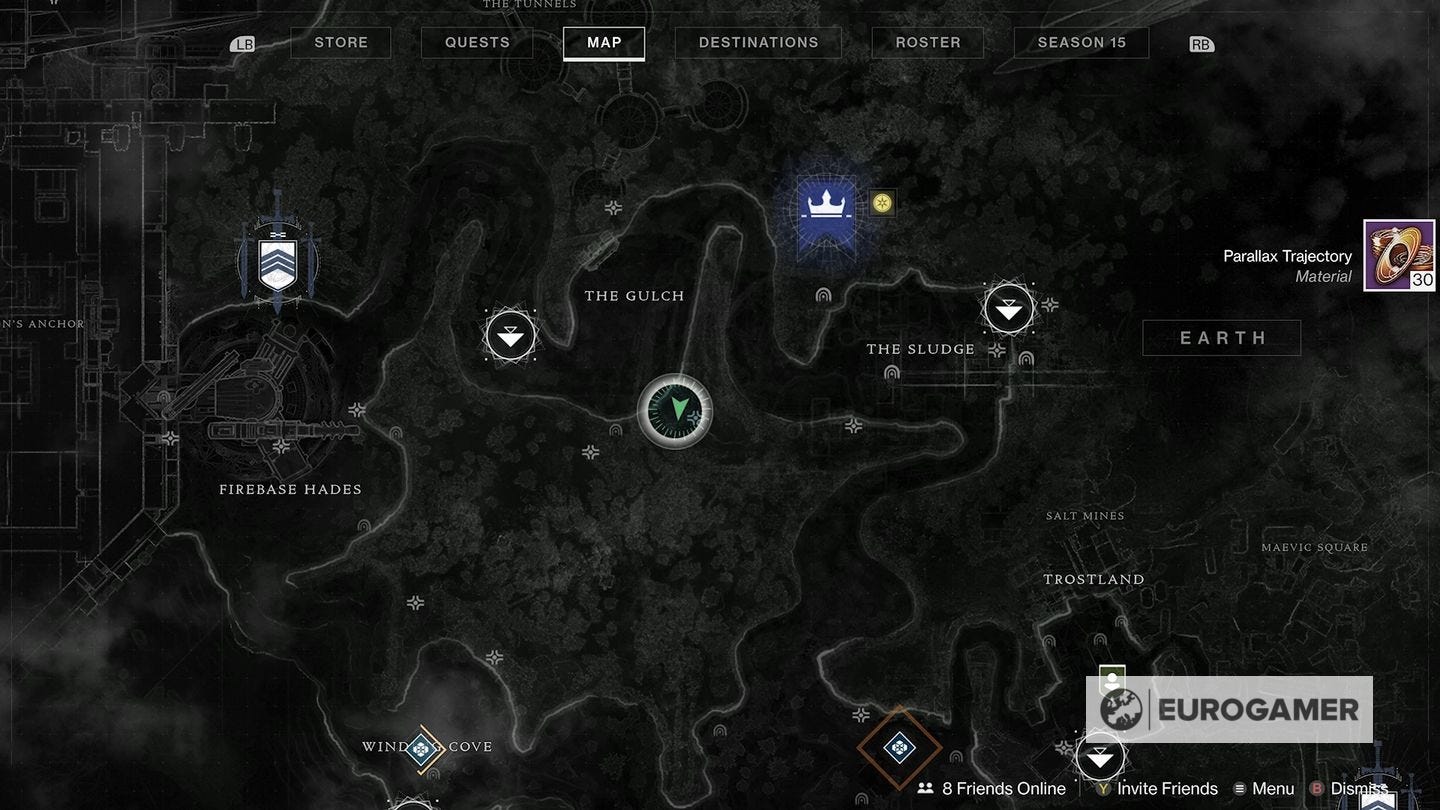
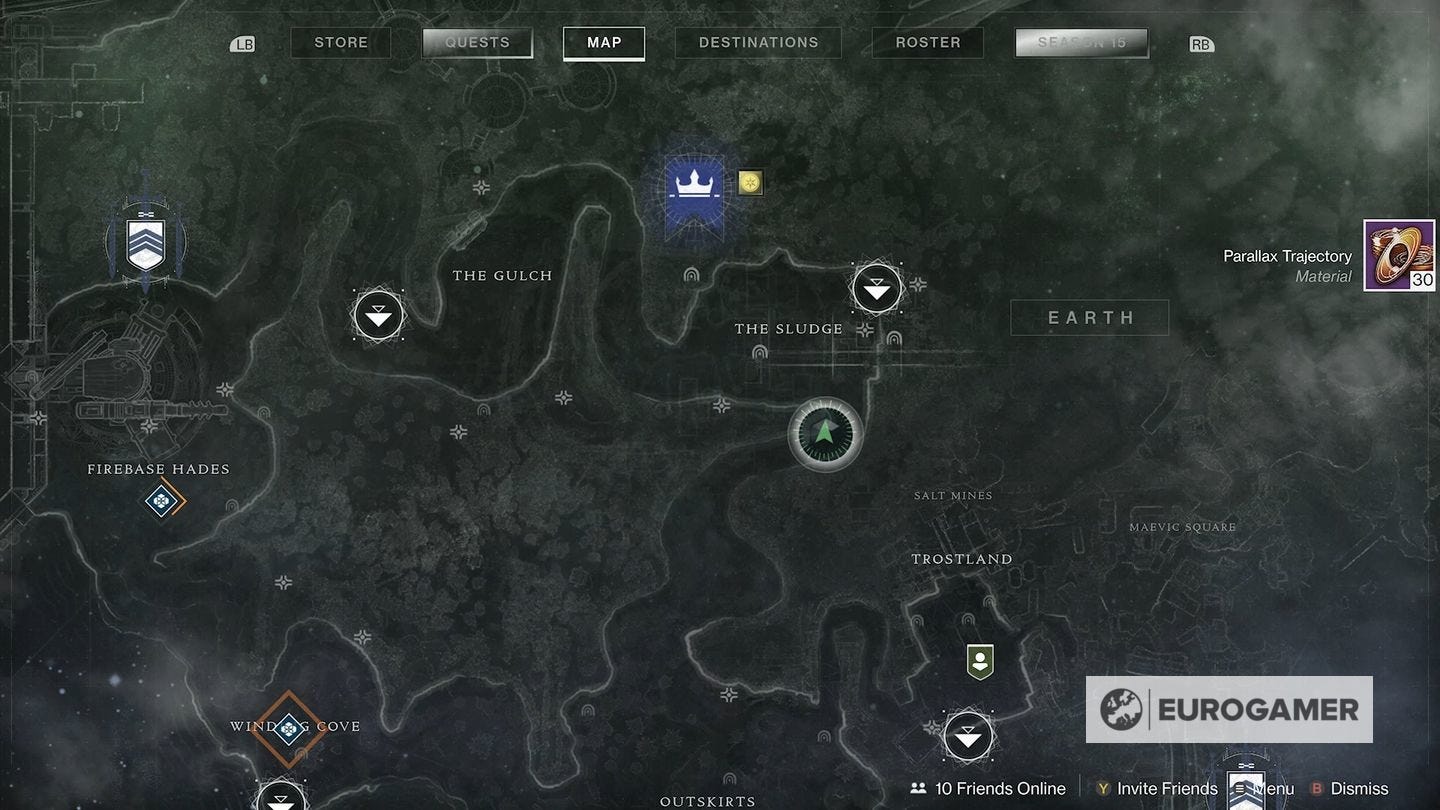
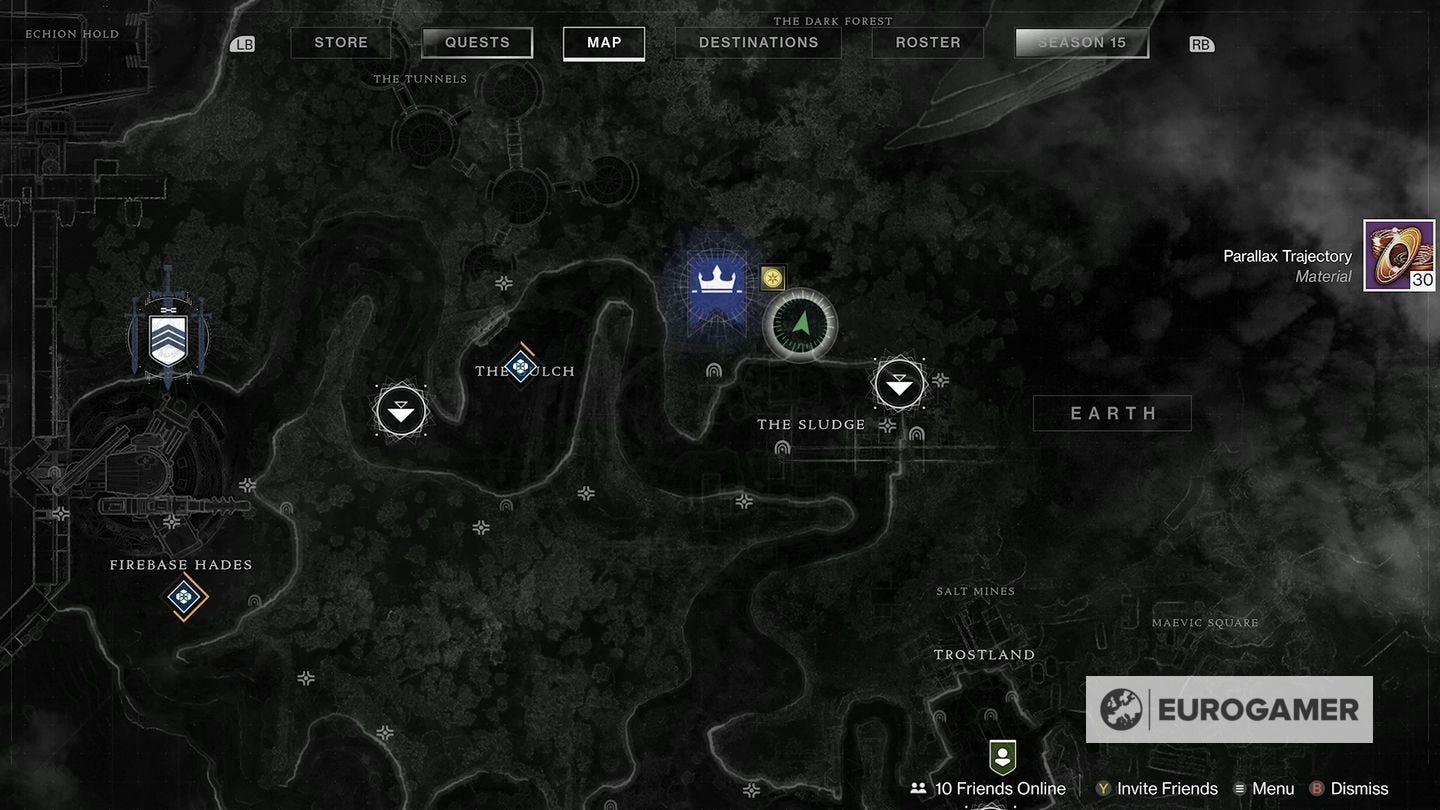
The Gulch Ascendant Anchors (5 total)
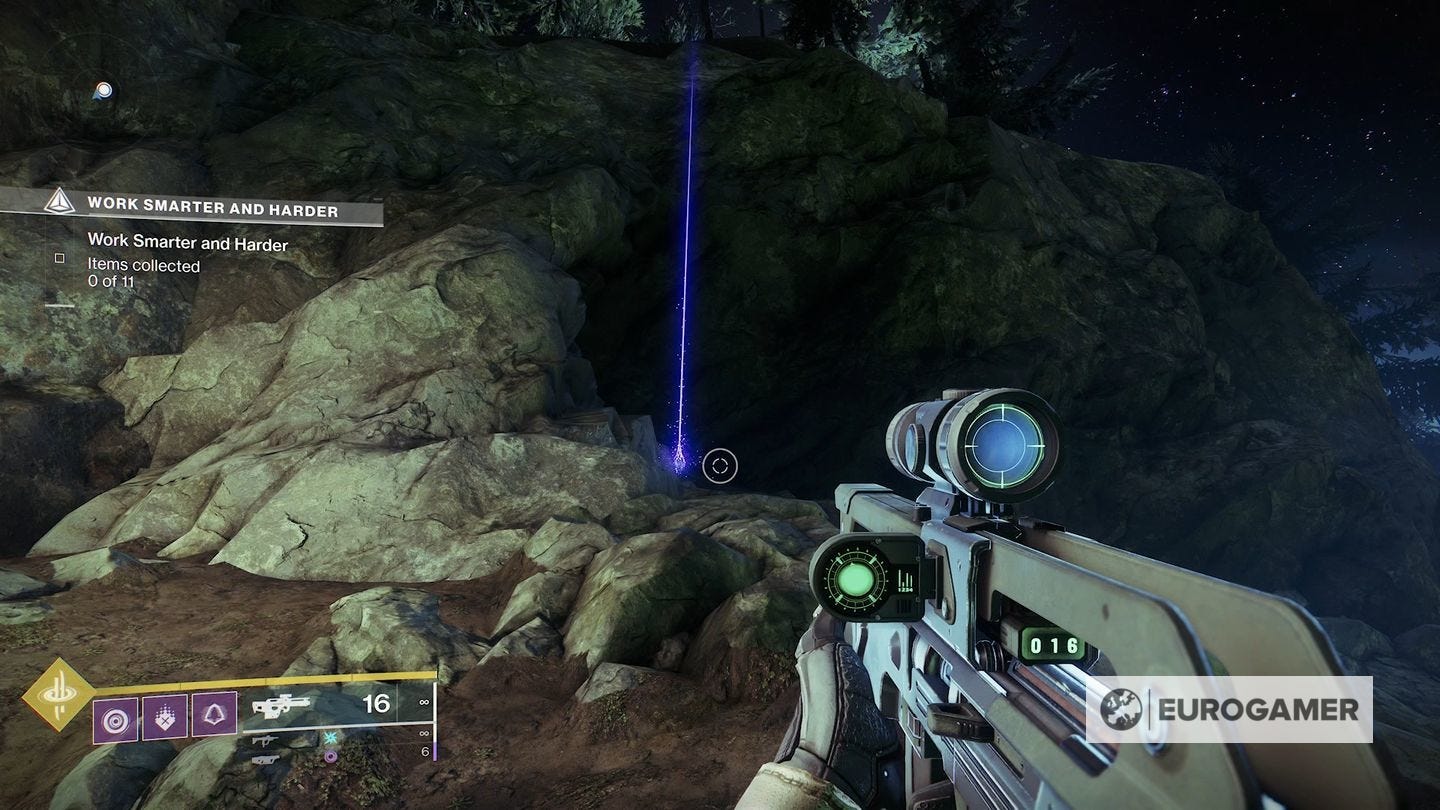
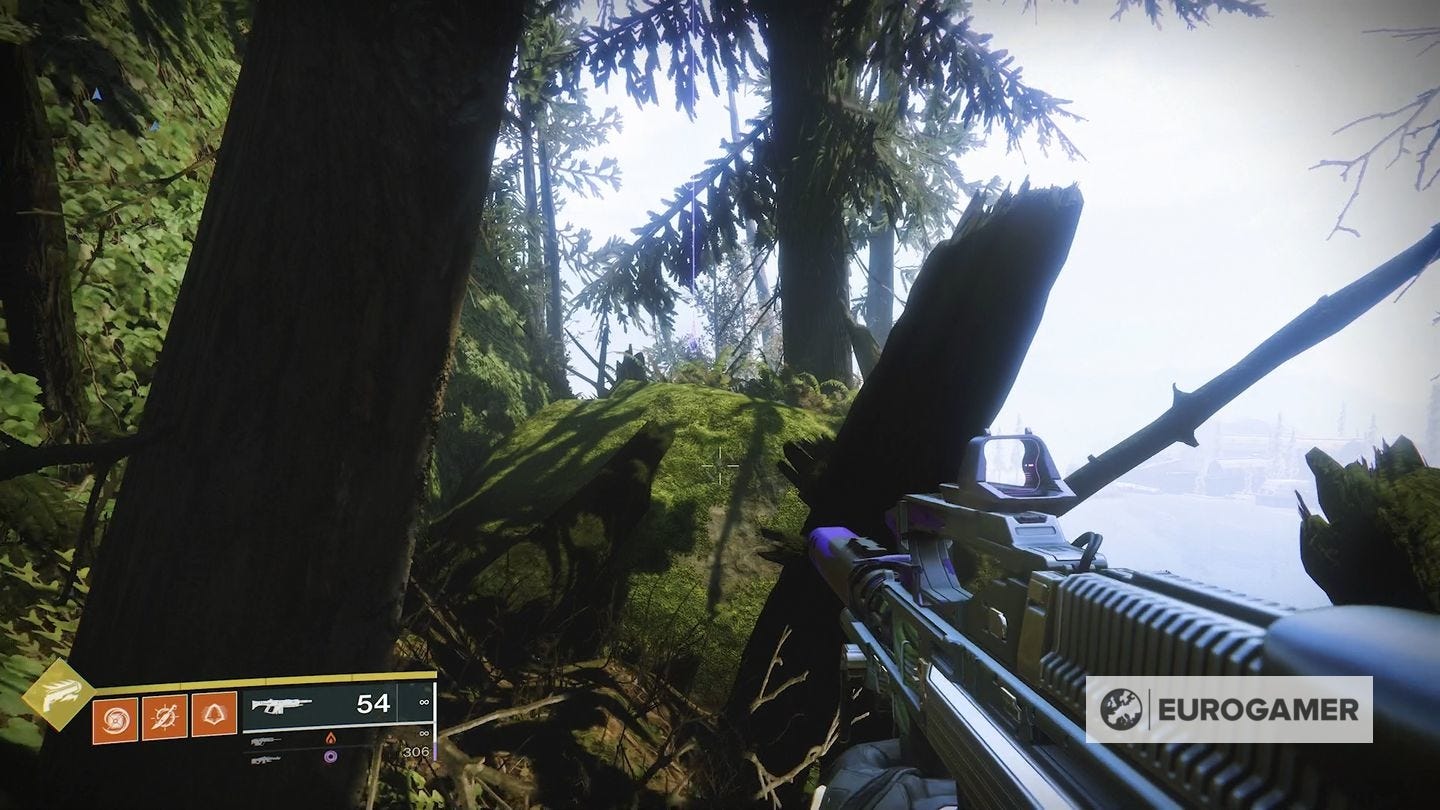
1. This is visible as soon as you load into The Gulch fast travel point. Look to the right and go over the rock.


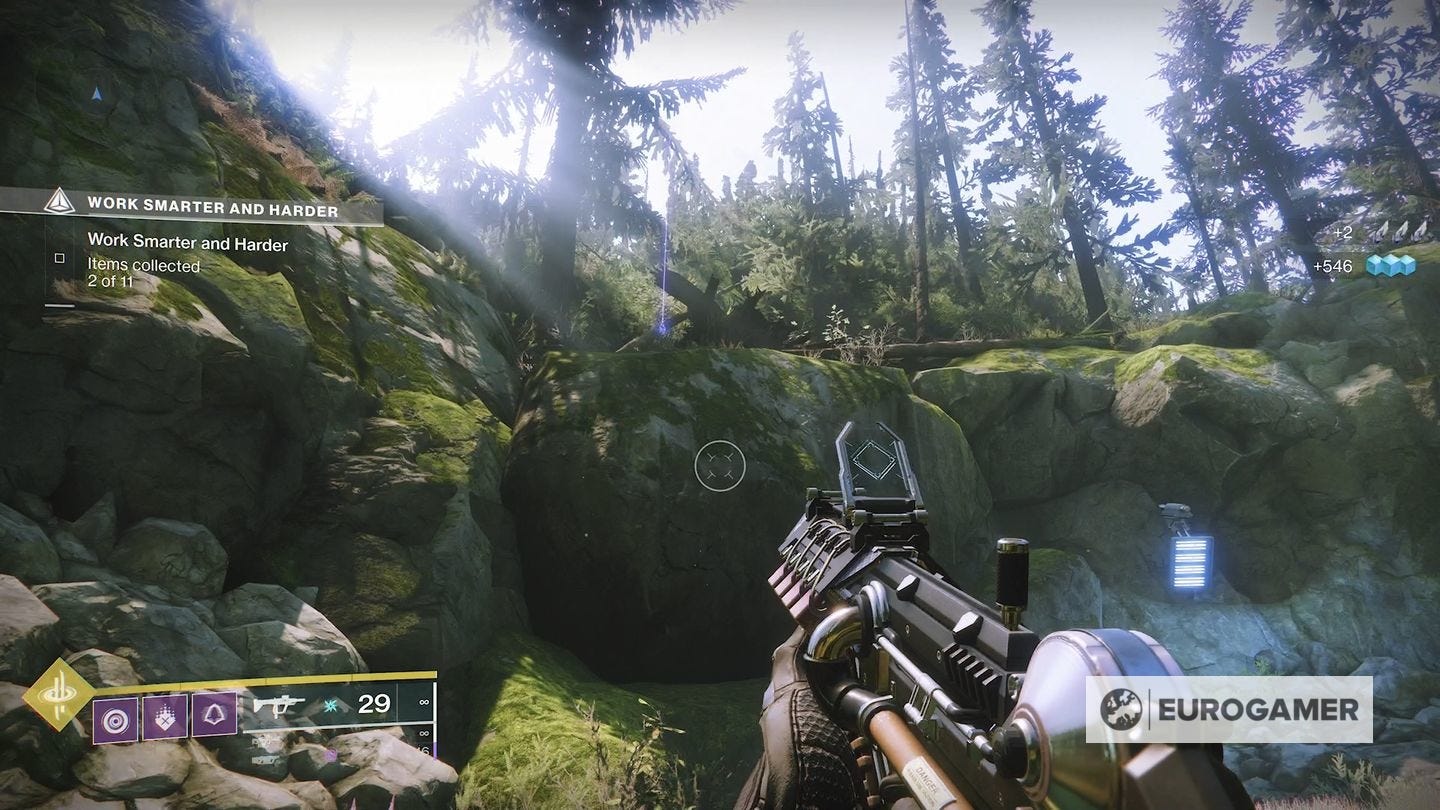
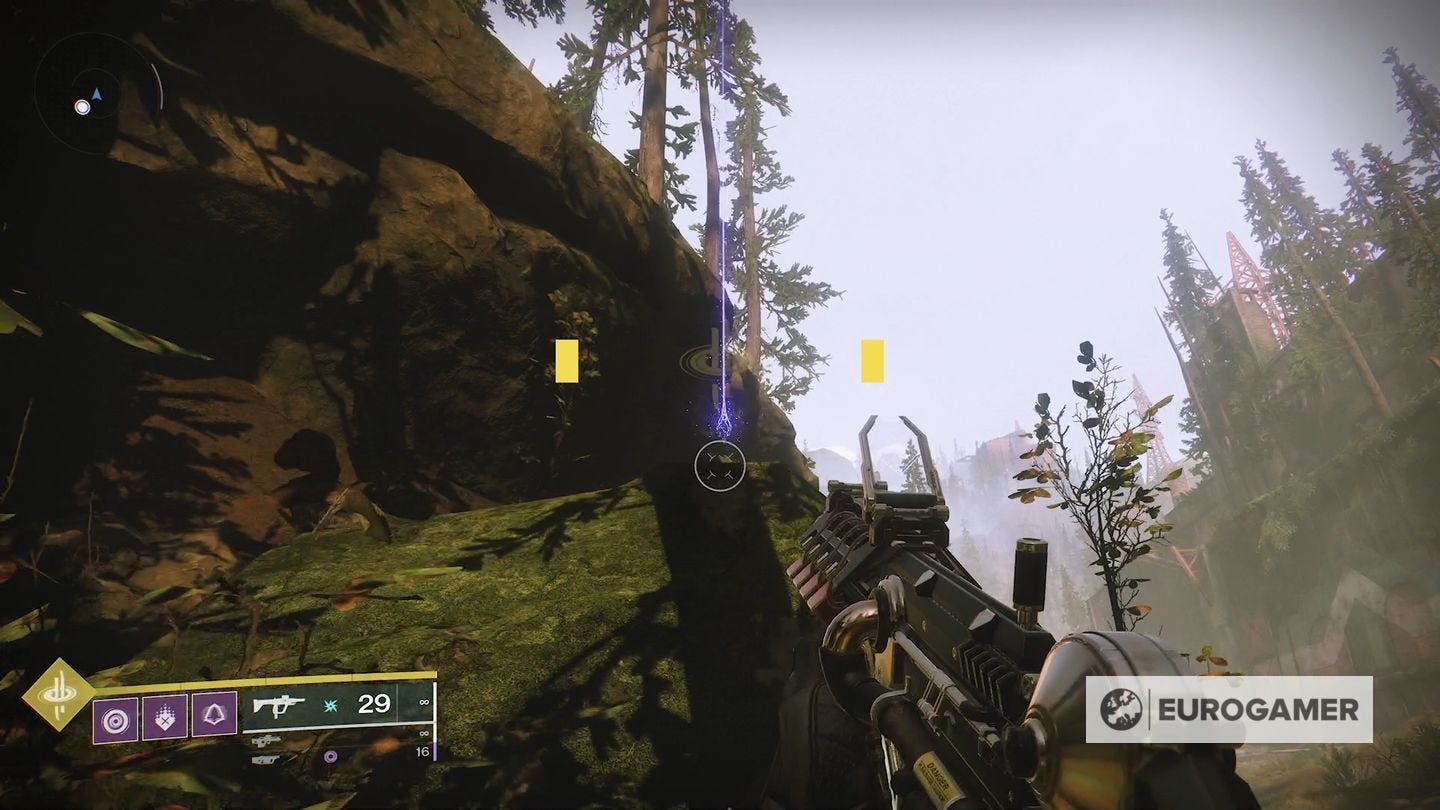
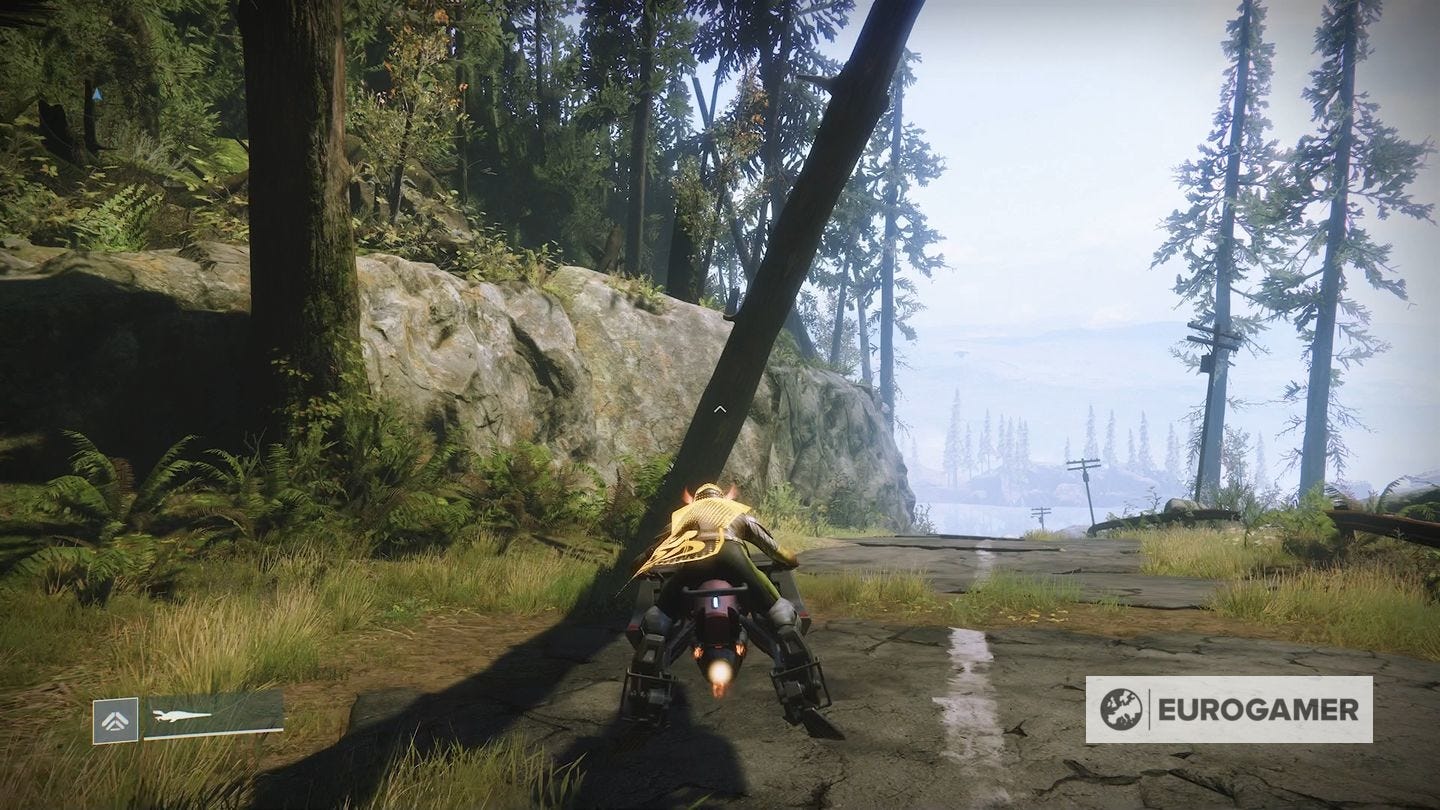
2. From the fast travel point, so south-east to find a road. Next to the overhead sign is truck at the side of the road - if you look past it, you'll see the light of the anchor through the broken trees.
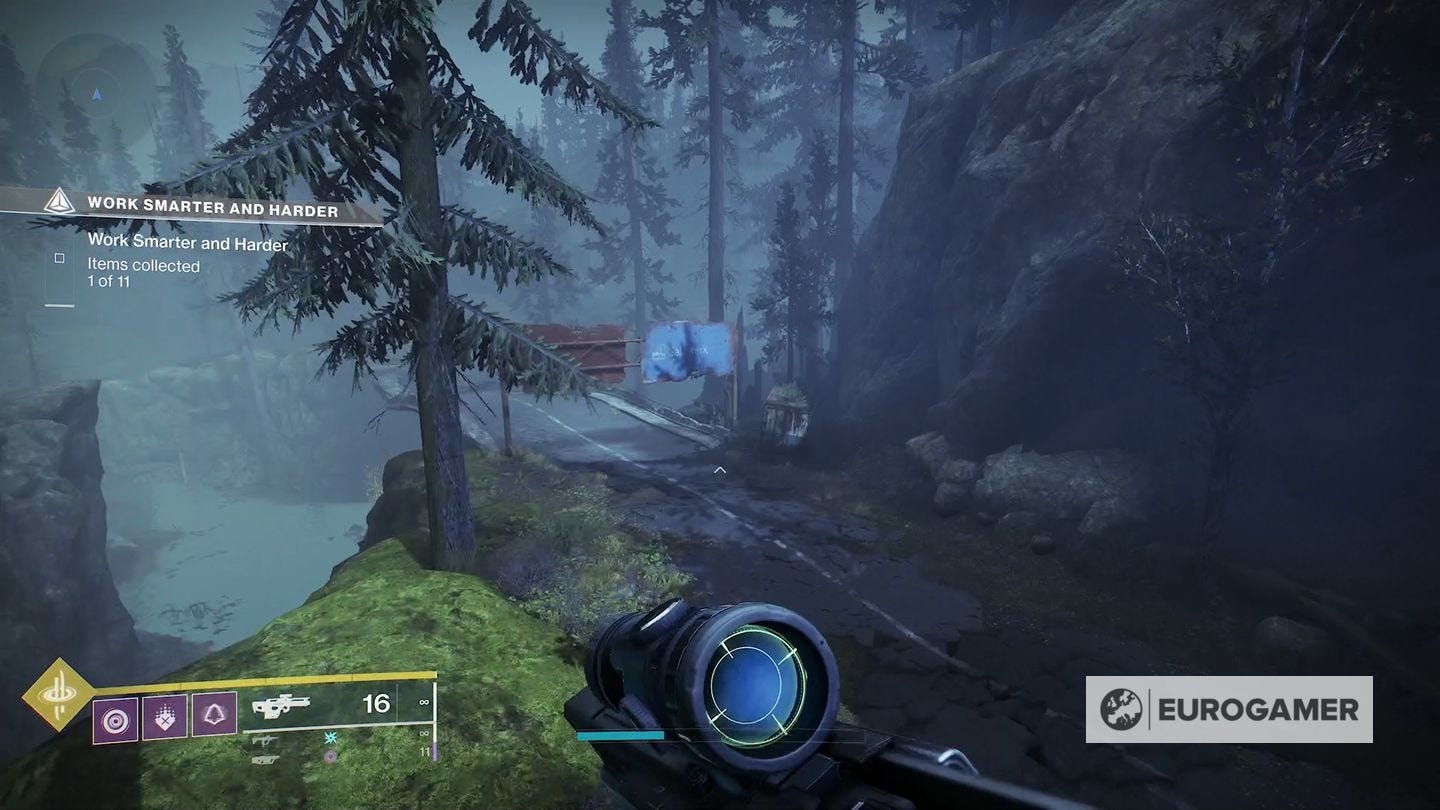

Head through and grab it. (You'll end up at the south-most part of the bend, looking at the map, up a cliff).
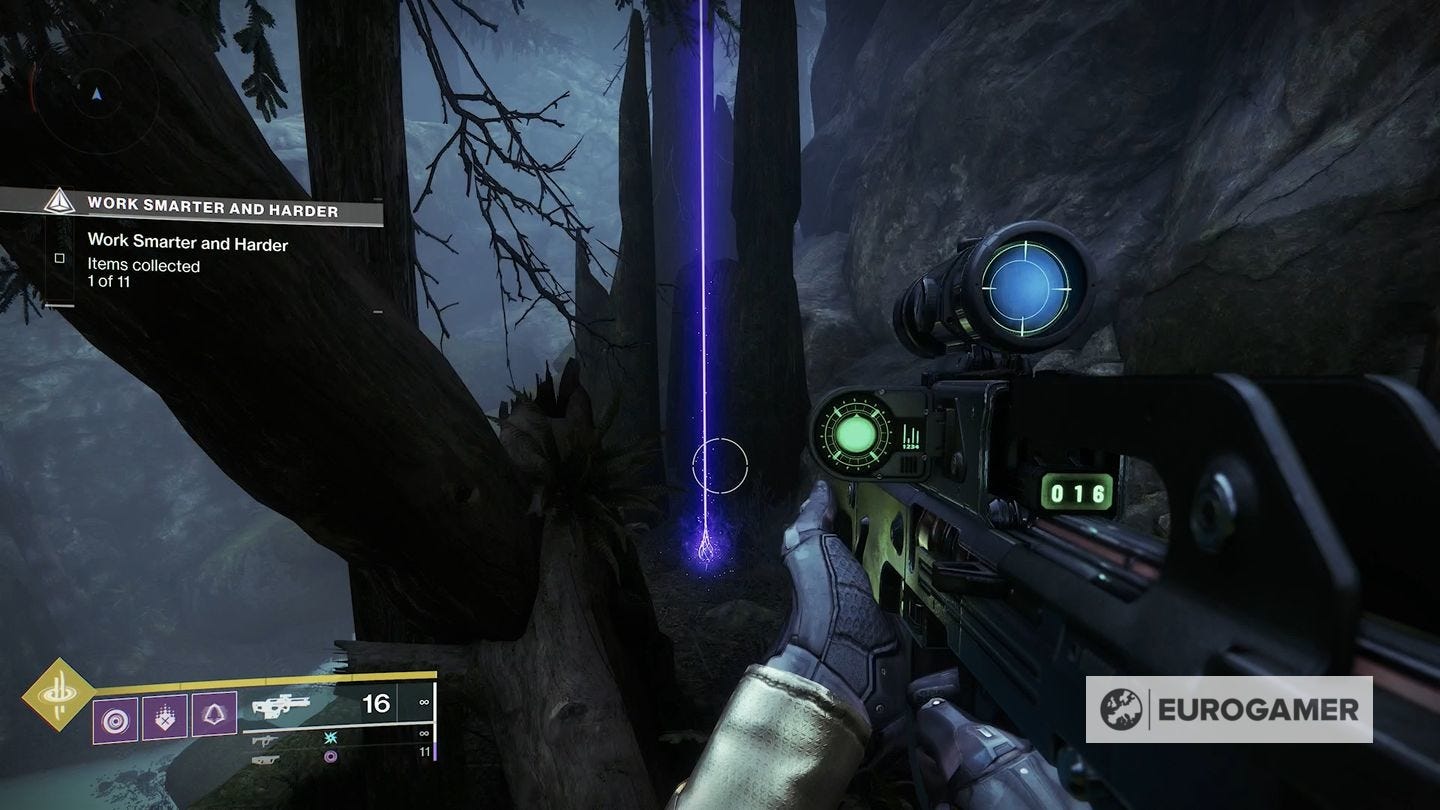

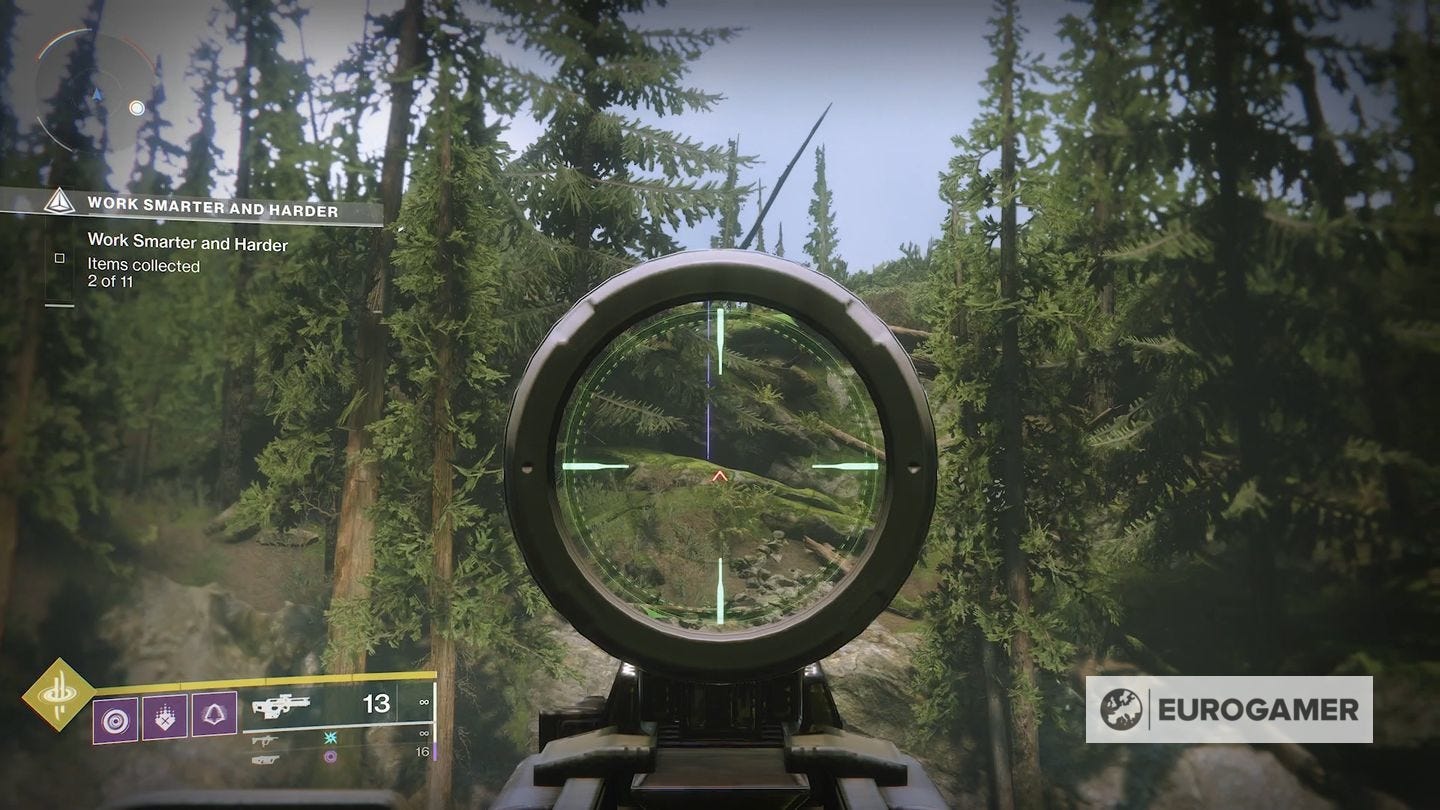
3. The next one is also on the south bend. From the previous Anchor, you can actually see it if you look through the valley.
You can make your way here via that path ahead, or by going back to the road and taking it until the right turn after the bridge.


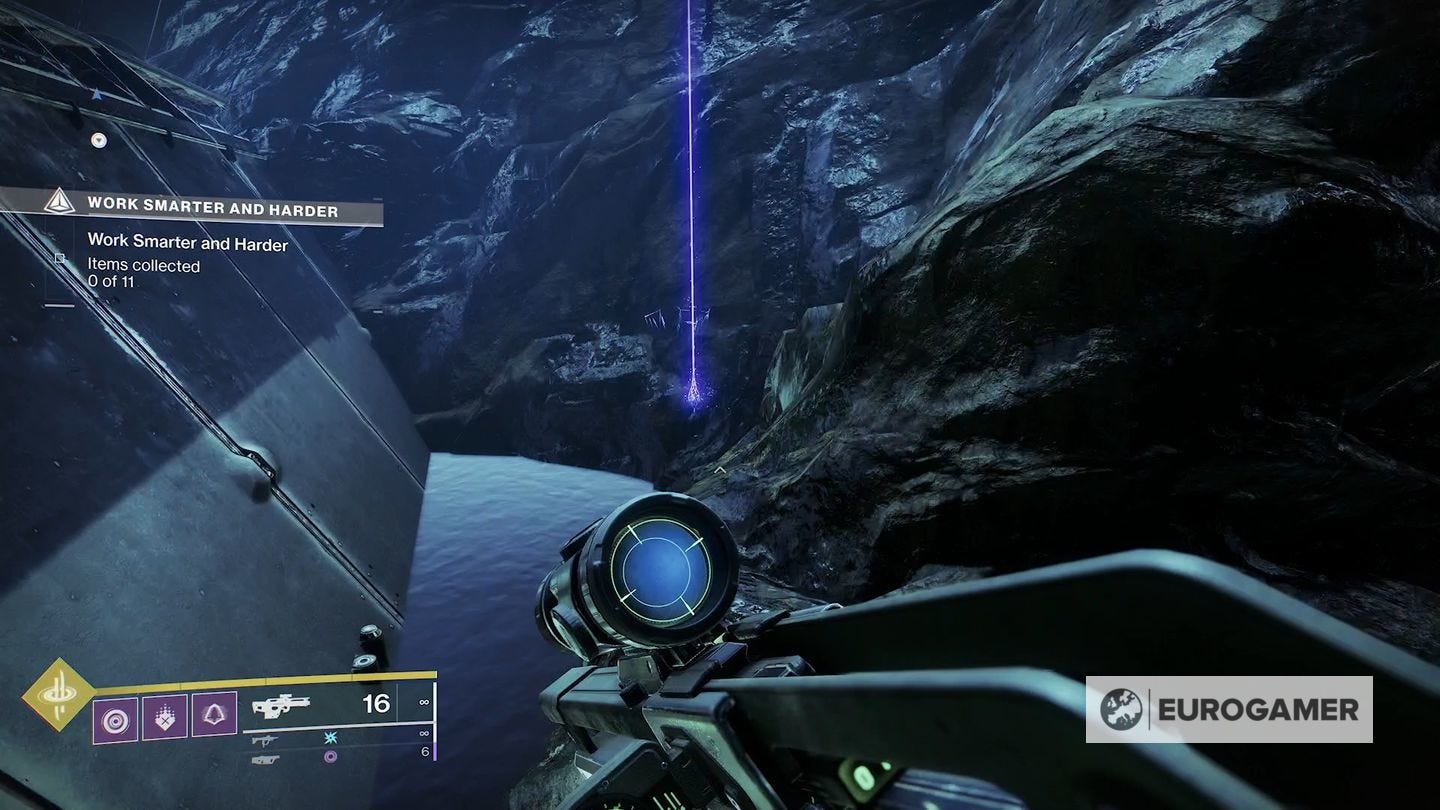
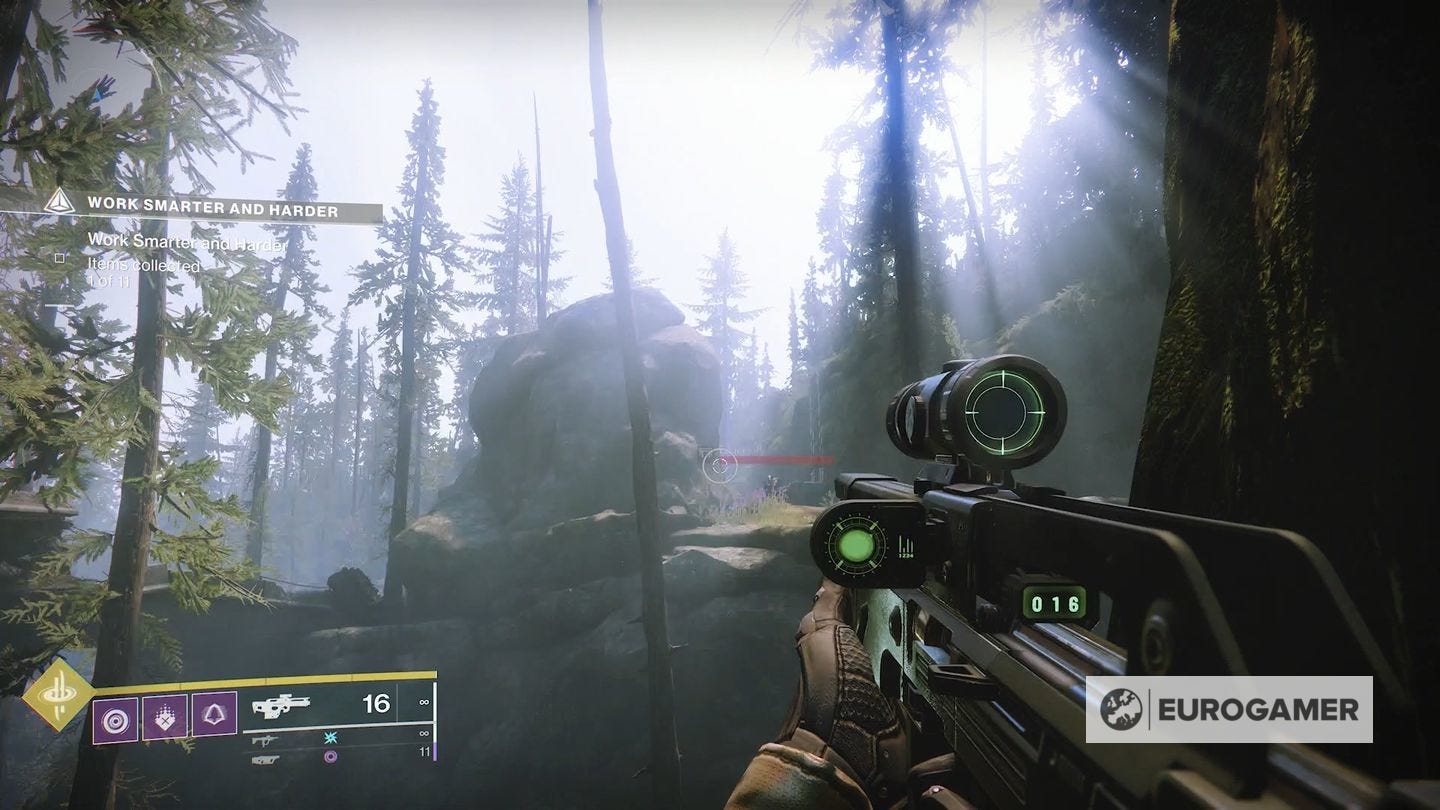
4. In the north of the area is a large tunnel. If you go east and continue looking at that north side, you'll see the anchor up the cliff.


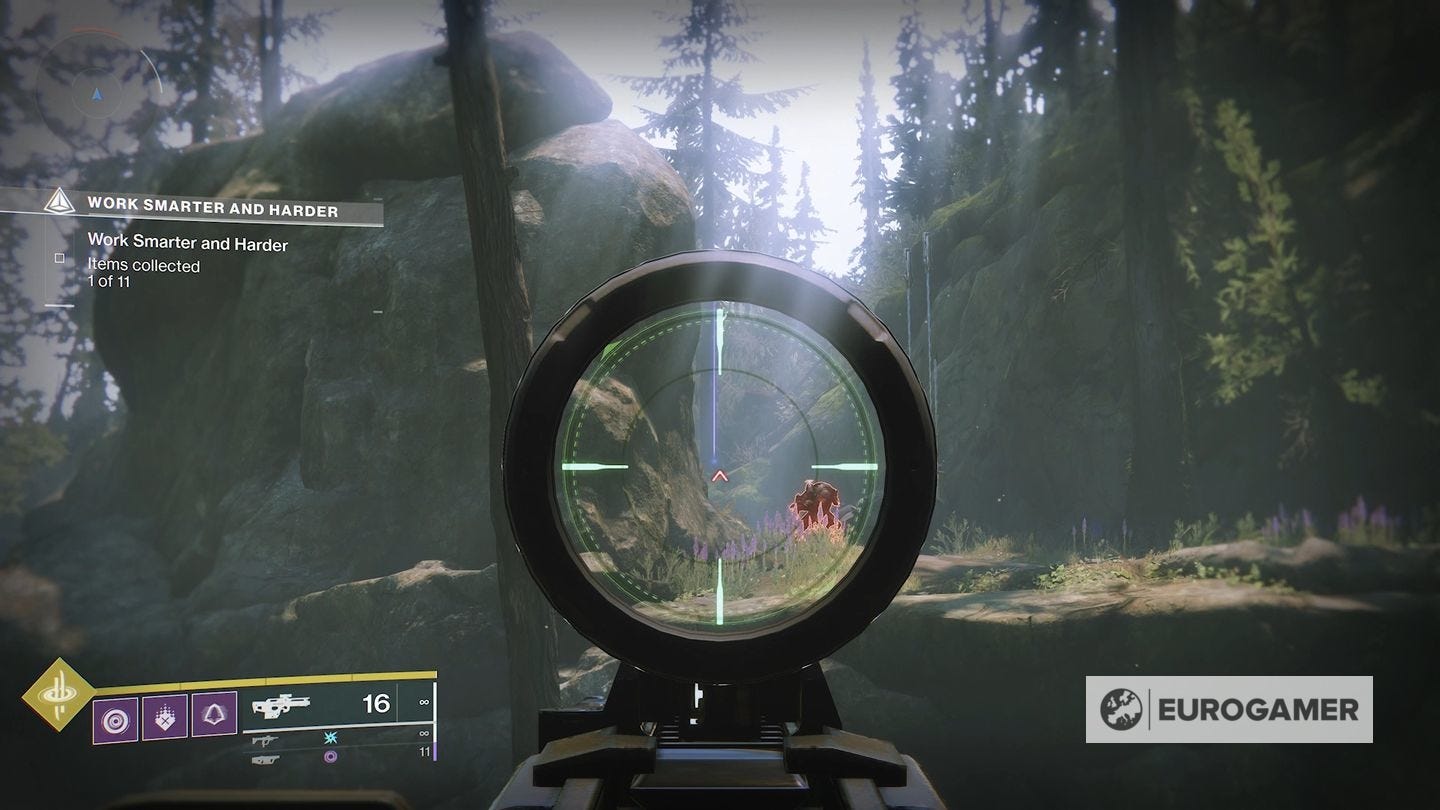
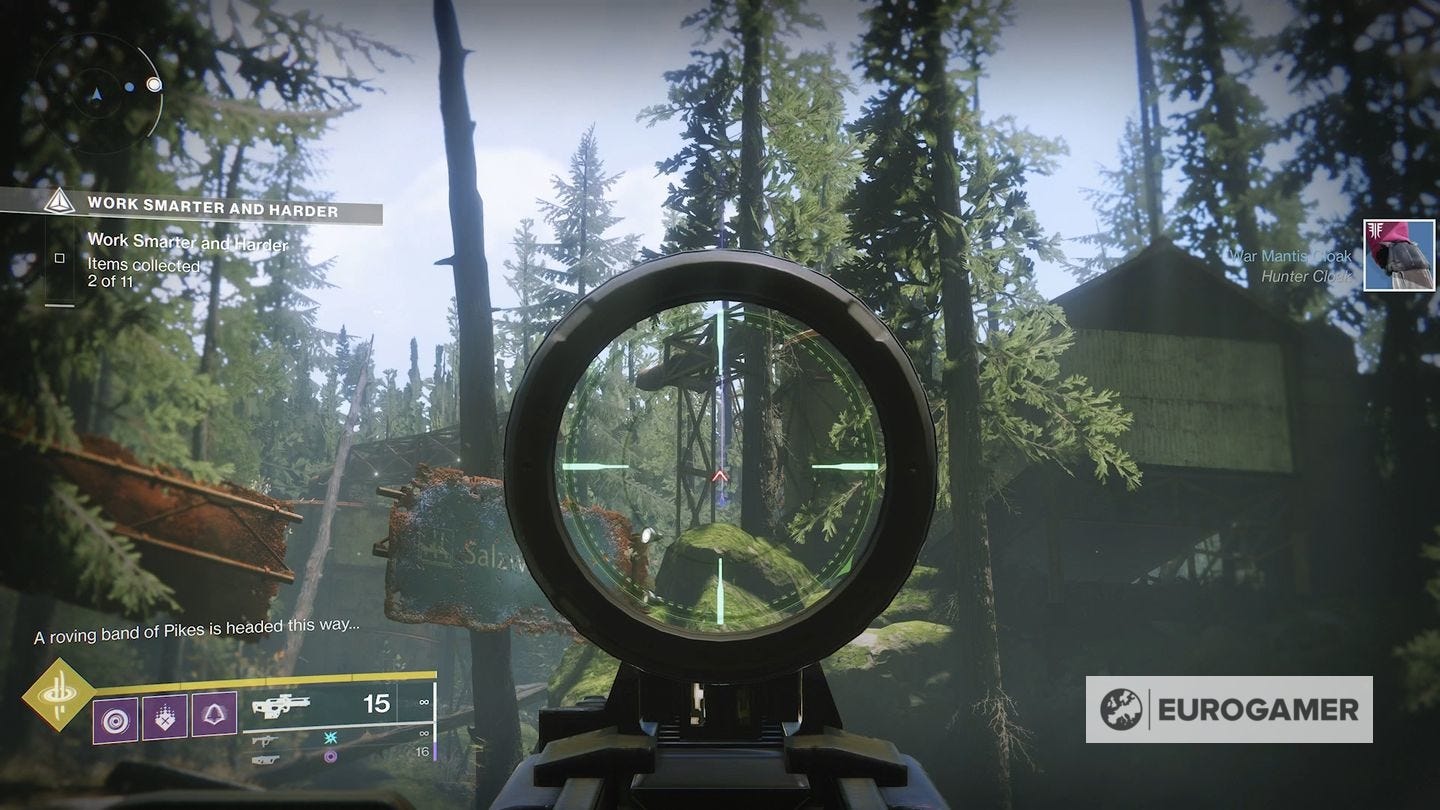
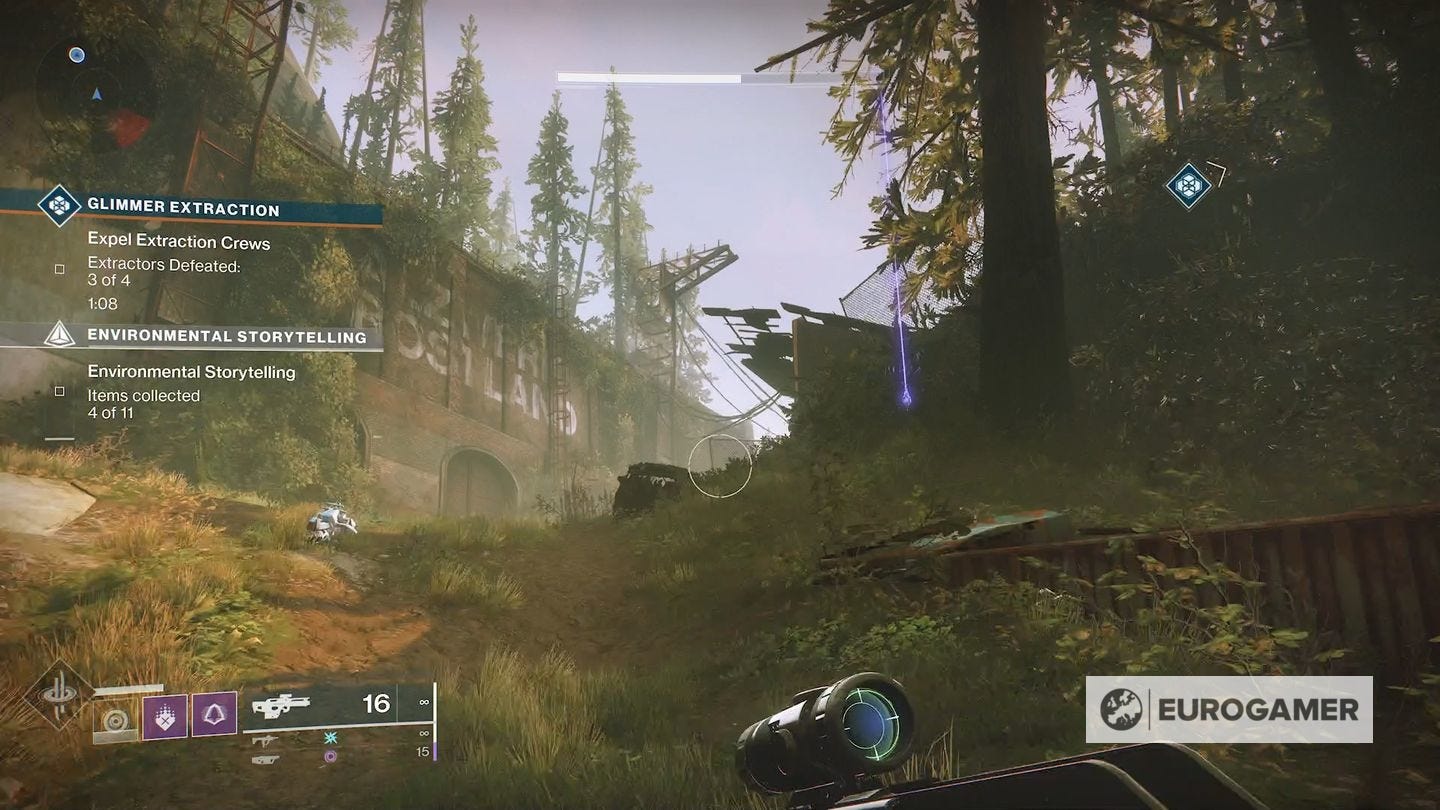
5. Head east towards The Sludge. On the first bend as you leave, you'll see it high up on the inside on a rock next to a water tower.

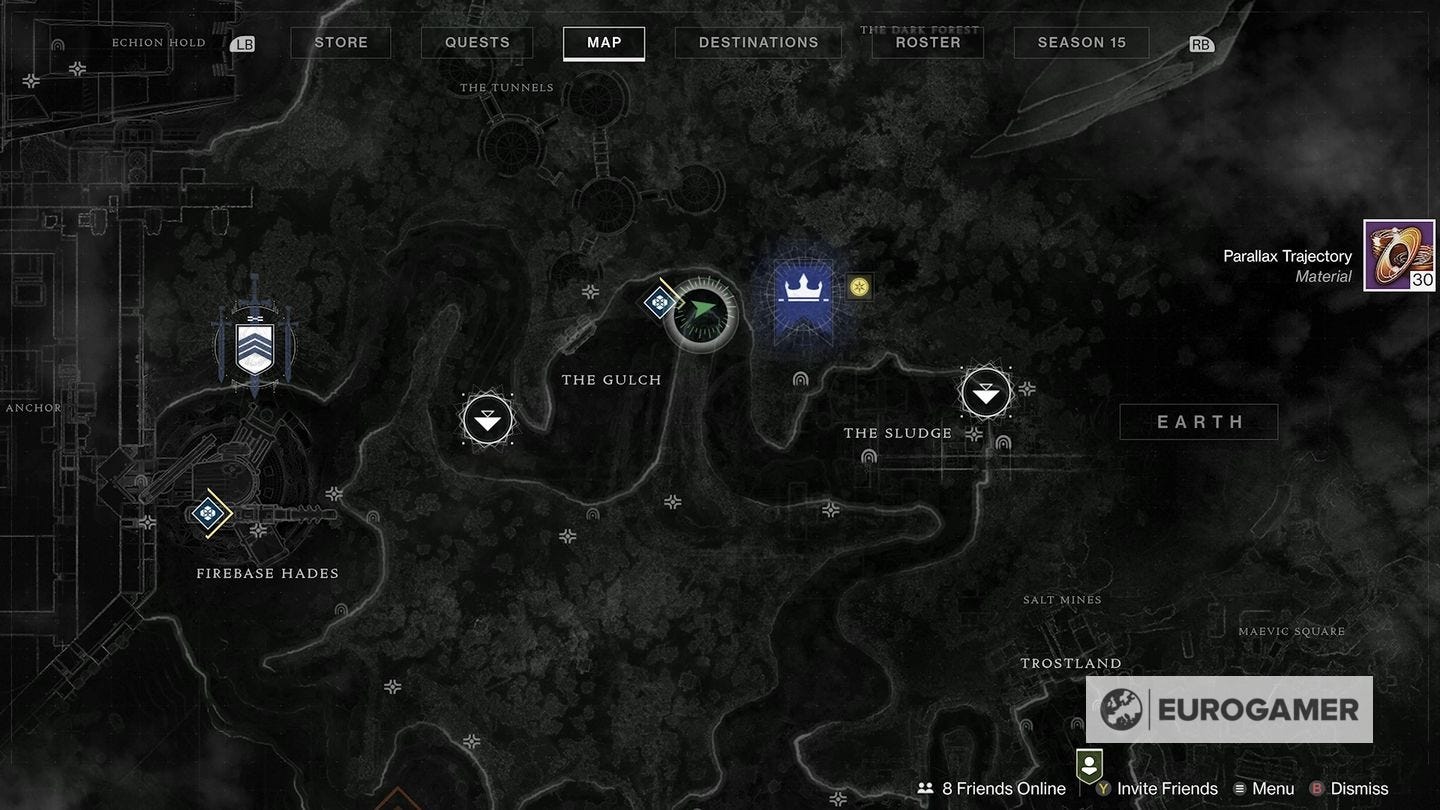
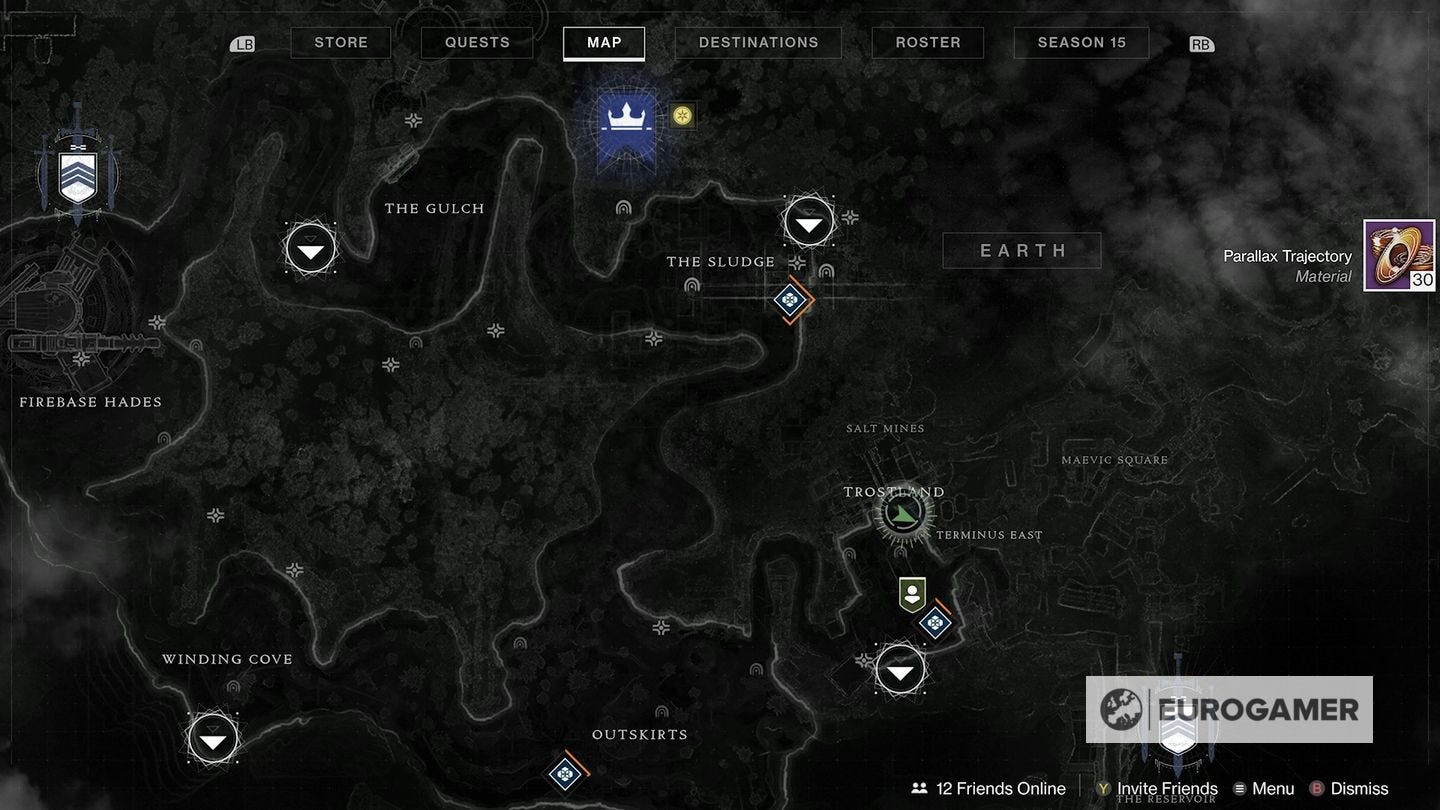
The Sludge Ascendant Anchors (4 total)
1. Travelling from The Gulch, on the inside of the bend before you enter the area, it'll be on a rock.
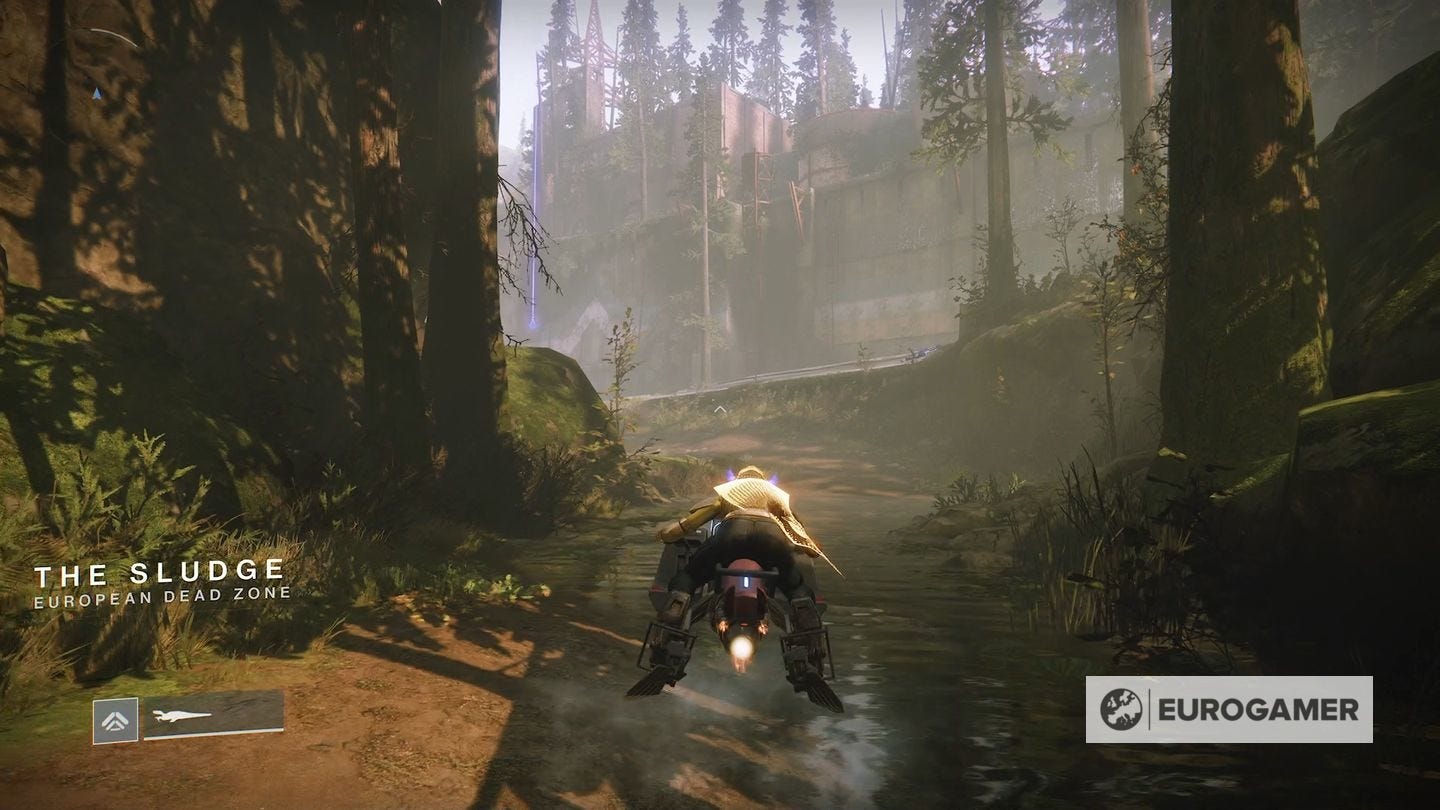
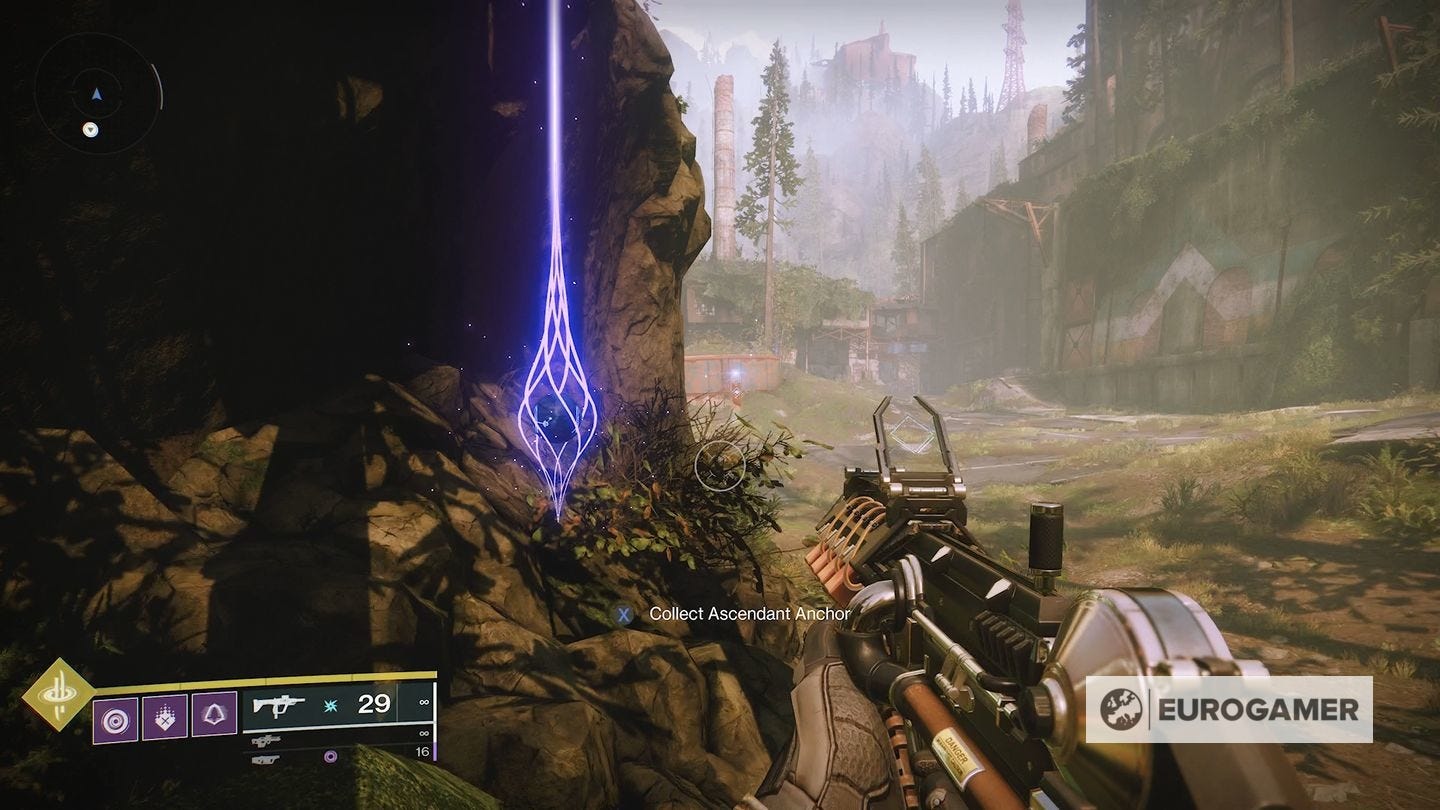
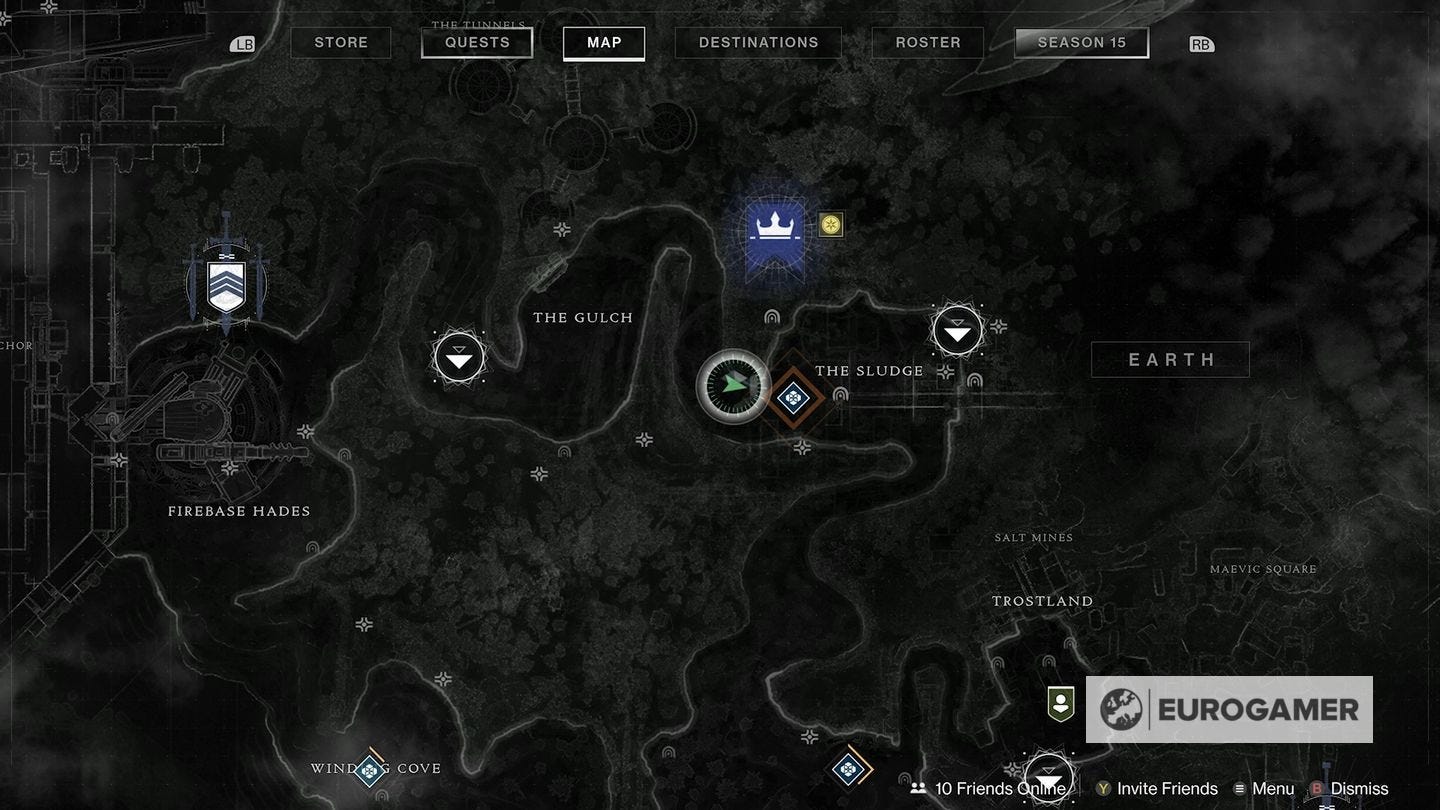
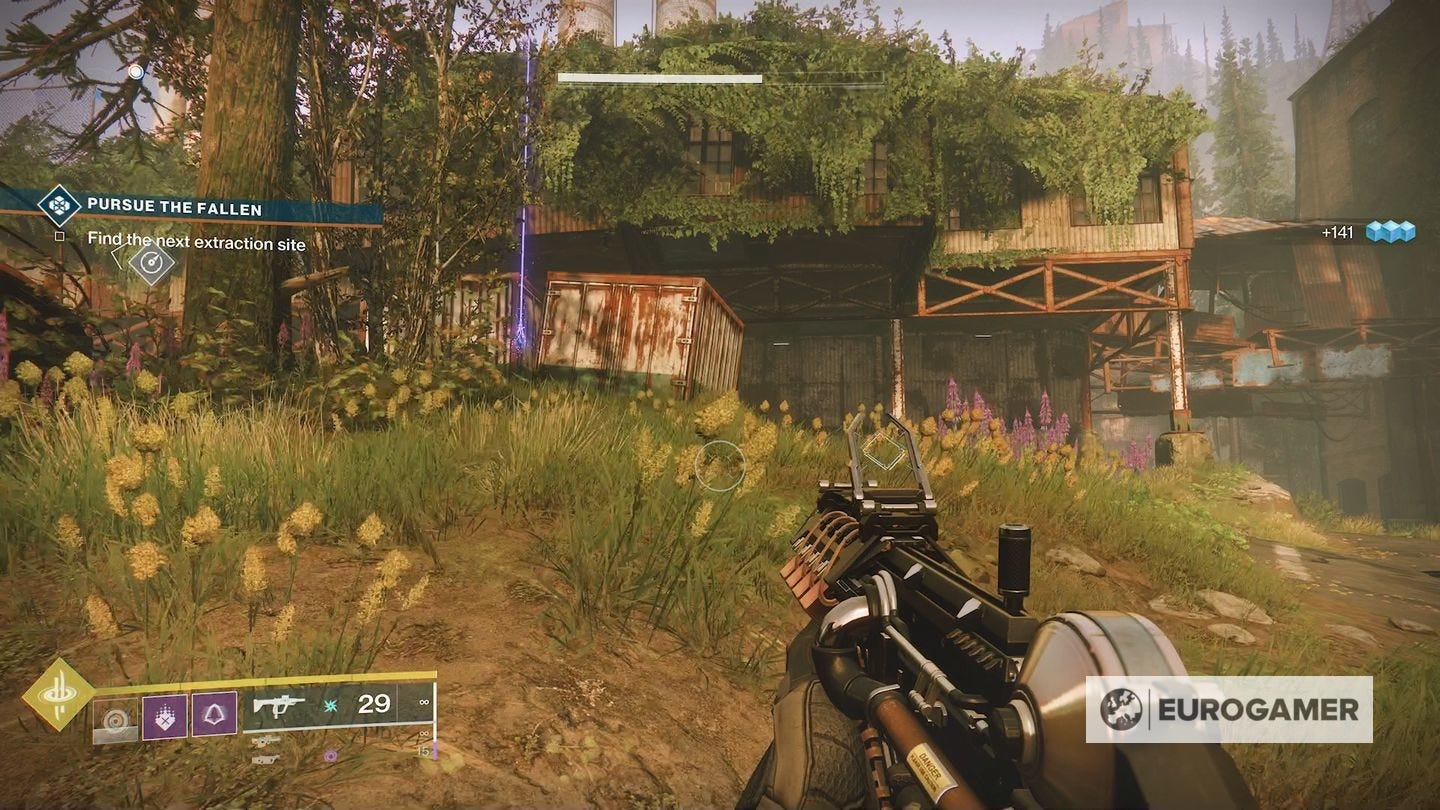
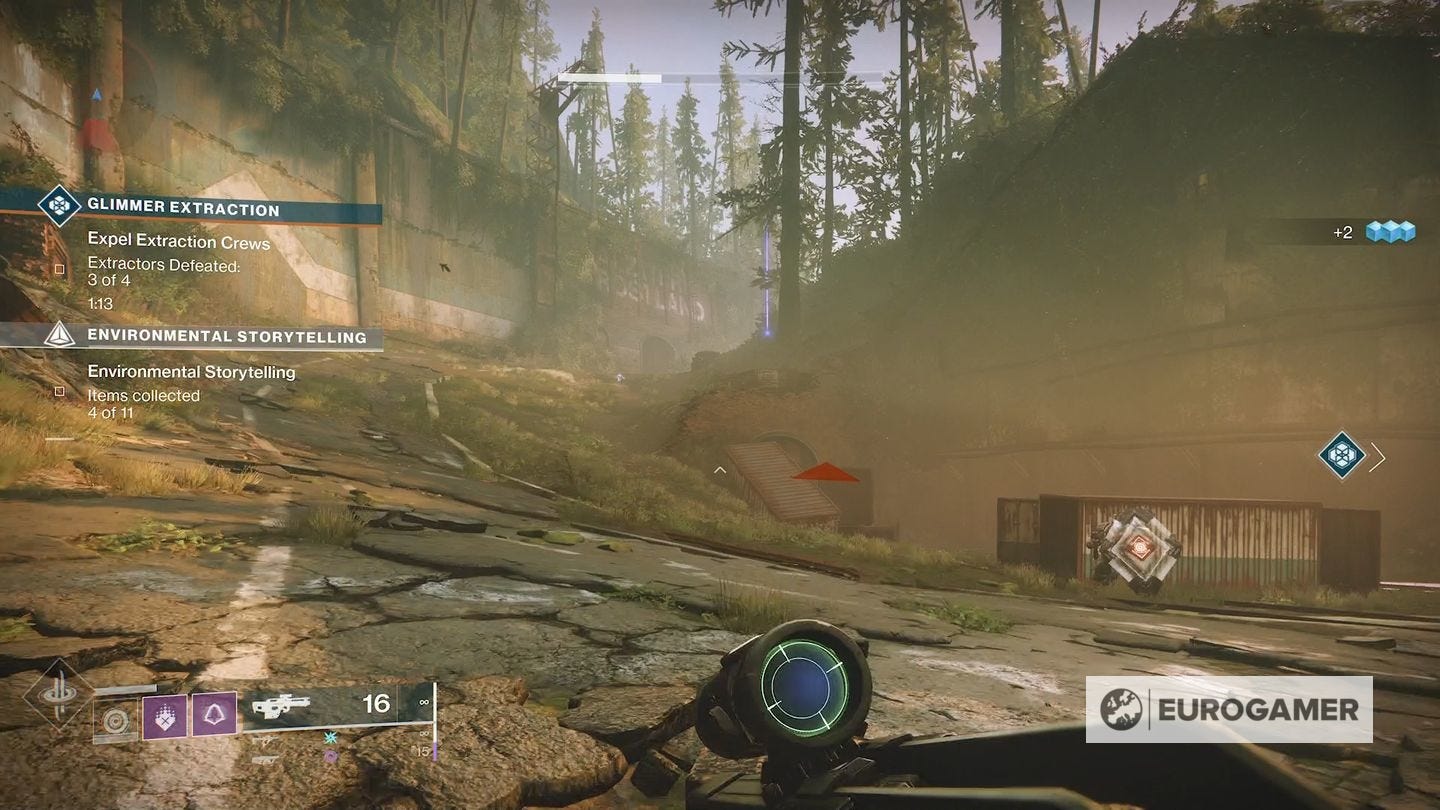
2. Just in from the east-most road into The Sludge is an anchor by some rusted containers, and next to a possible public event site.


3. Take the road south from The Sludge to the Outskirts, and it'll be on the inside corner as you leave.
4. In the north of The Sludge is a path leading to a cavern out of the area. It'll be clearly visible on the left.

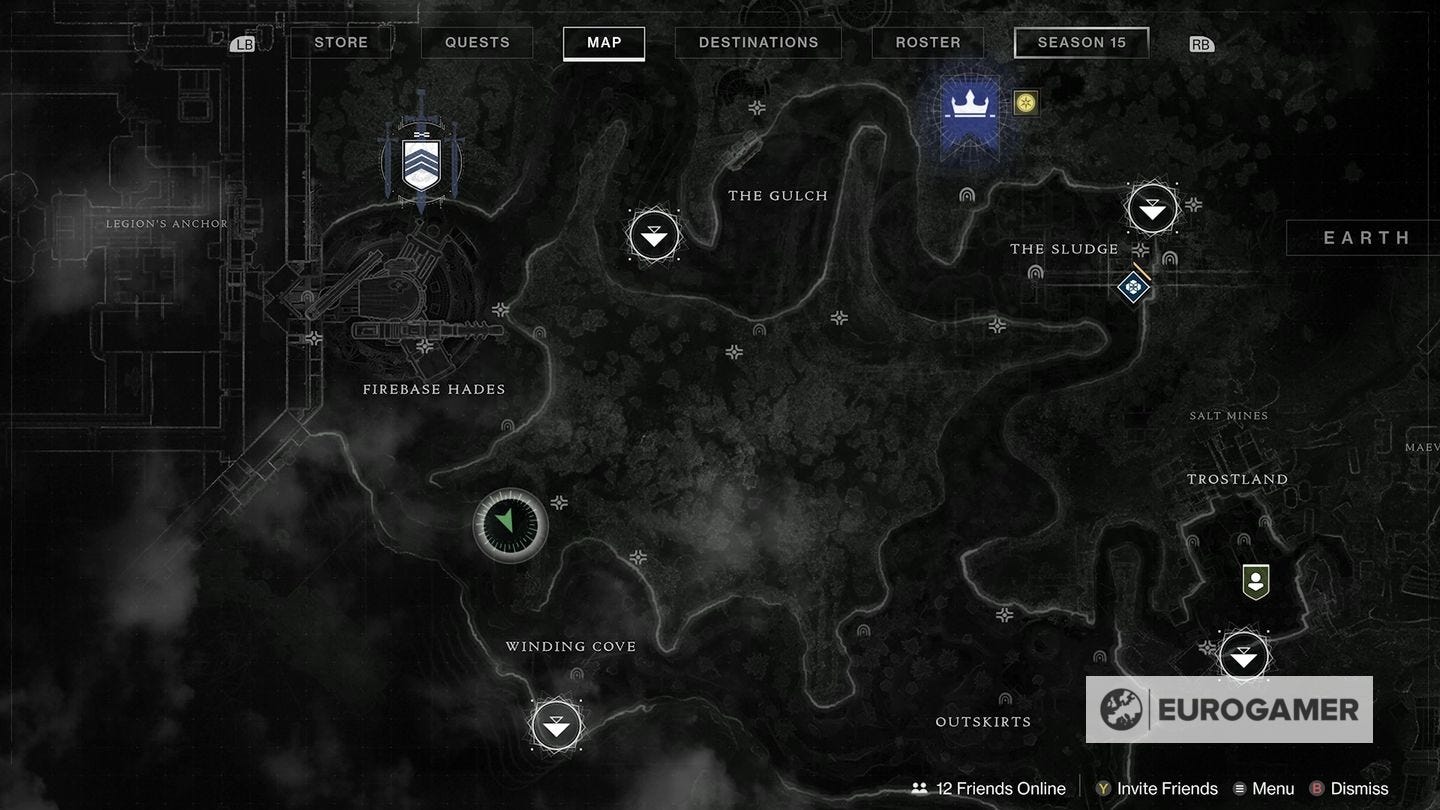
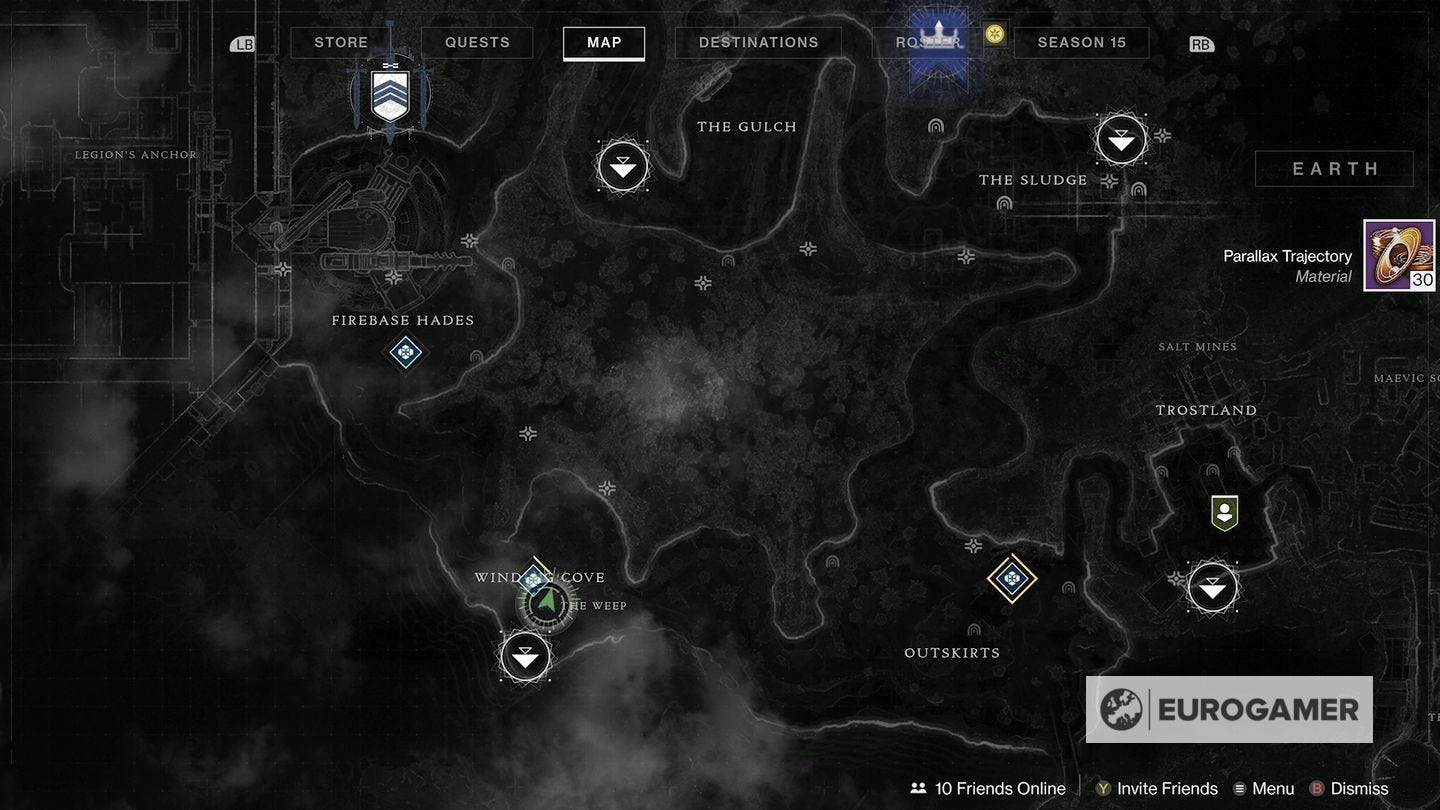
Winding Cove Ascendant Anchors (4 total)
Most of these are on the side of the road running between Outskirts and Firebase Hades.
1. Starting from Outskirts and going west, in the north-west corner there is a dirt path going back on yourself to the south.


On the outside corner are some rocks. Leap up them, and go to the edge.
Here is where you'll find the anchor.

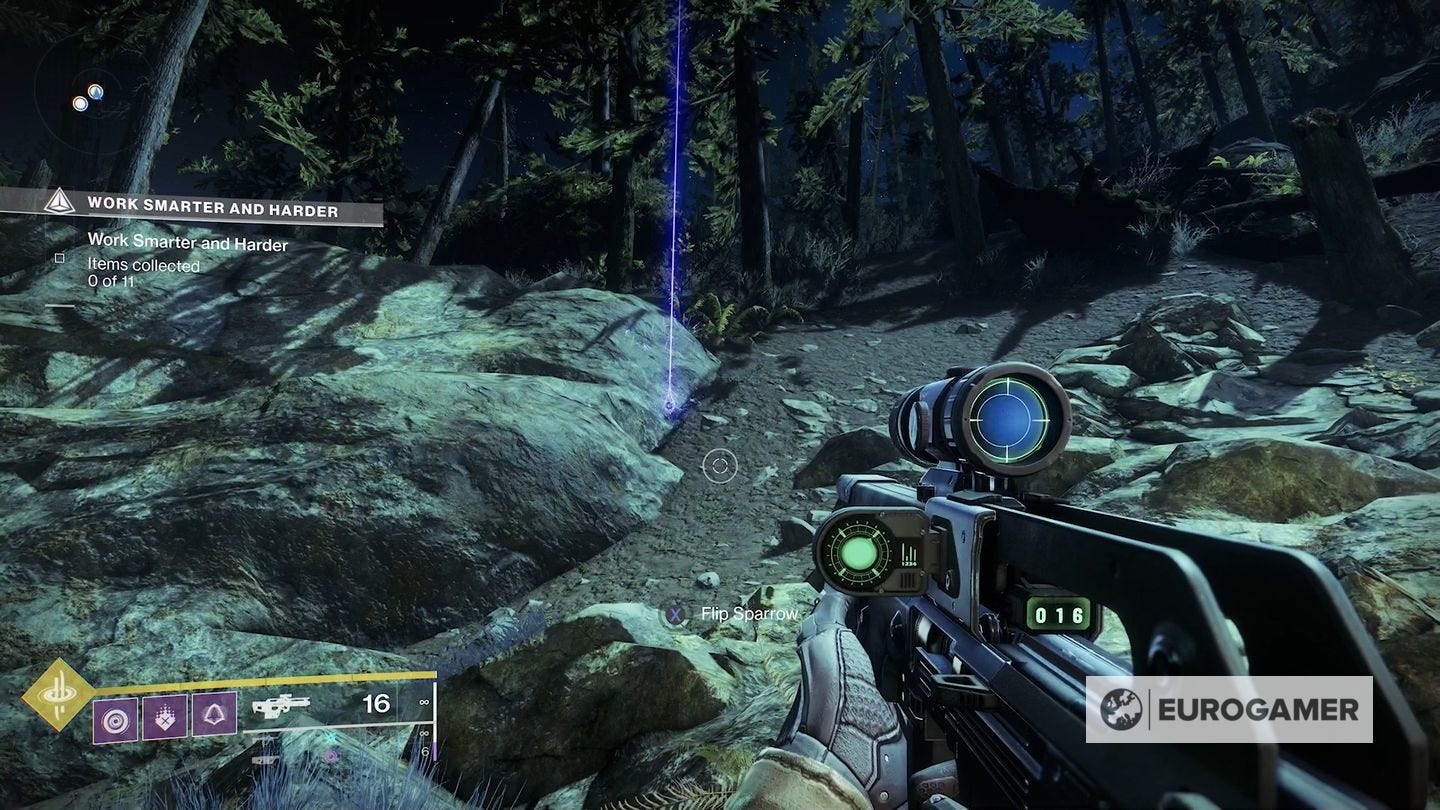
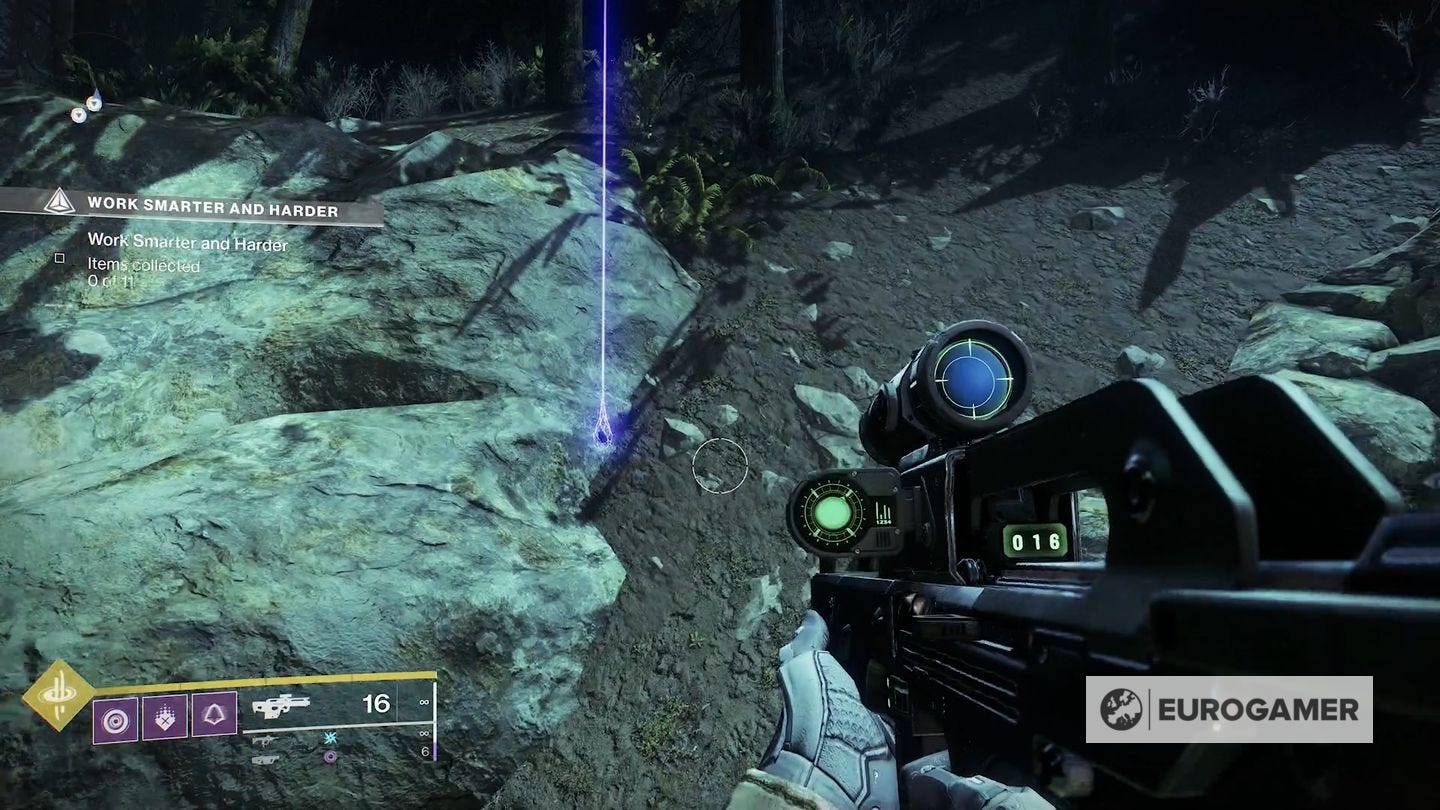
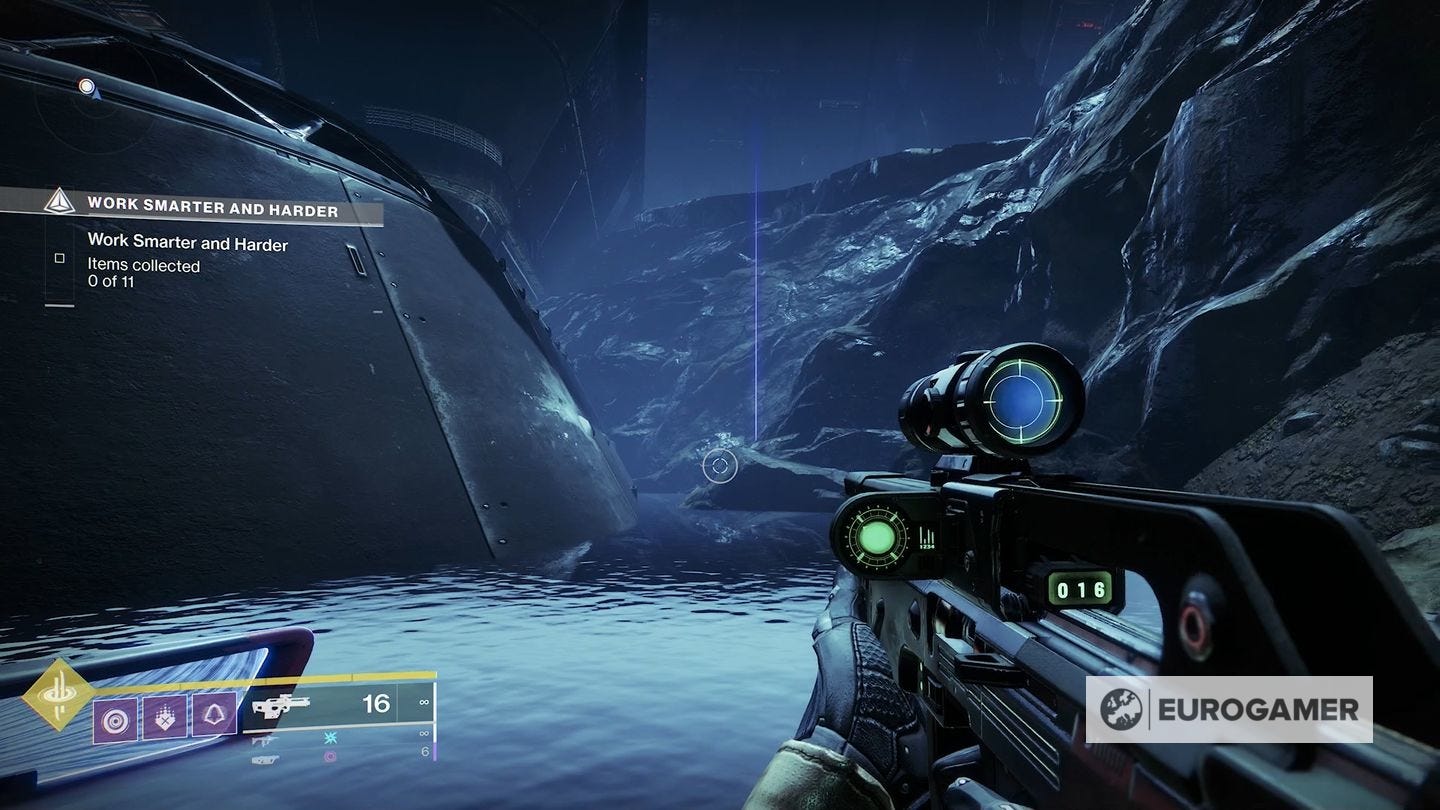
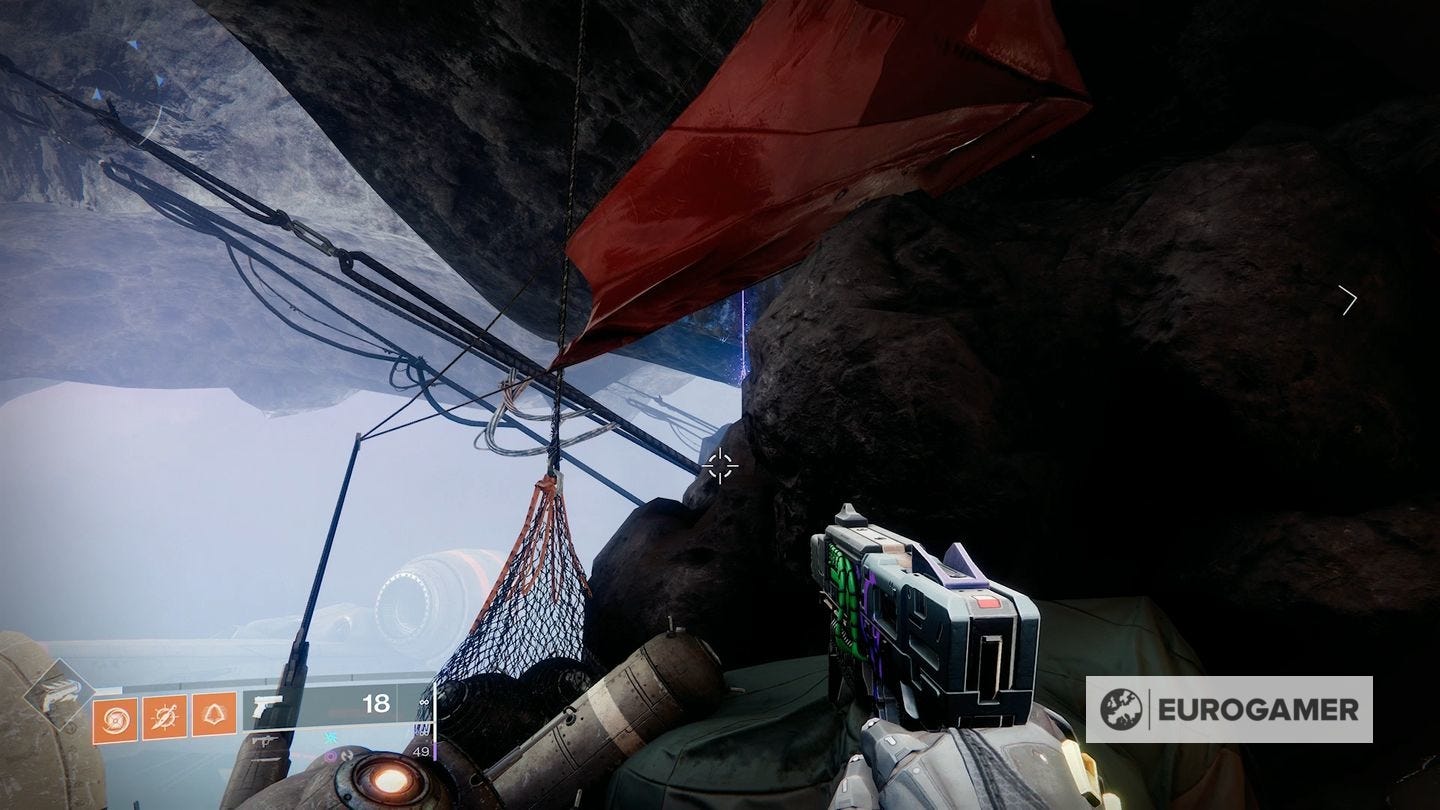
2. In the north-west corner of the main area of the Winding Cove, above the road, is a ship embedded high in the cliff. An Anchor is next to it to the left - it should be visible enough from the road.
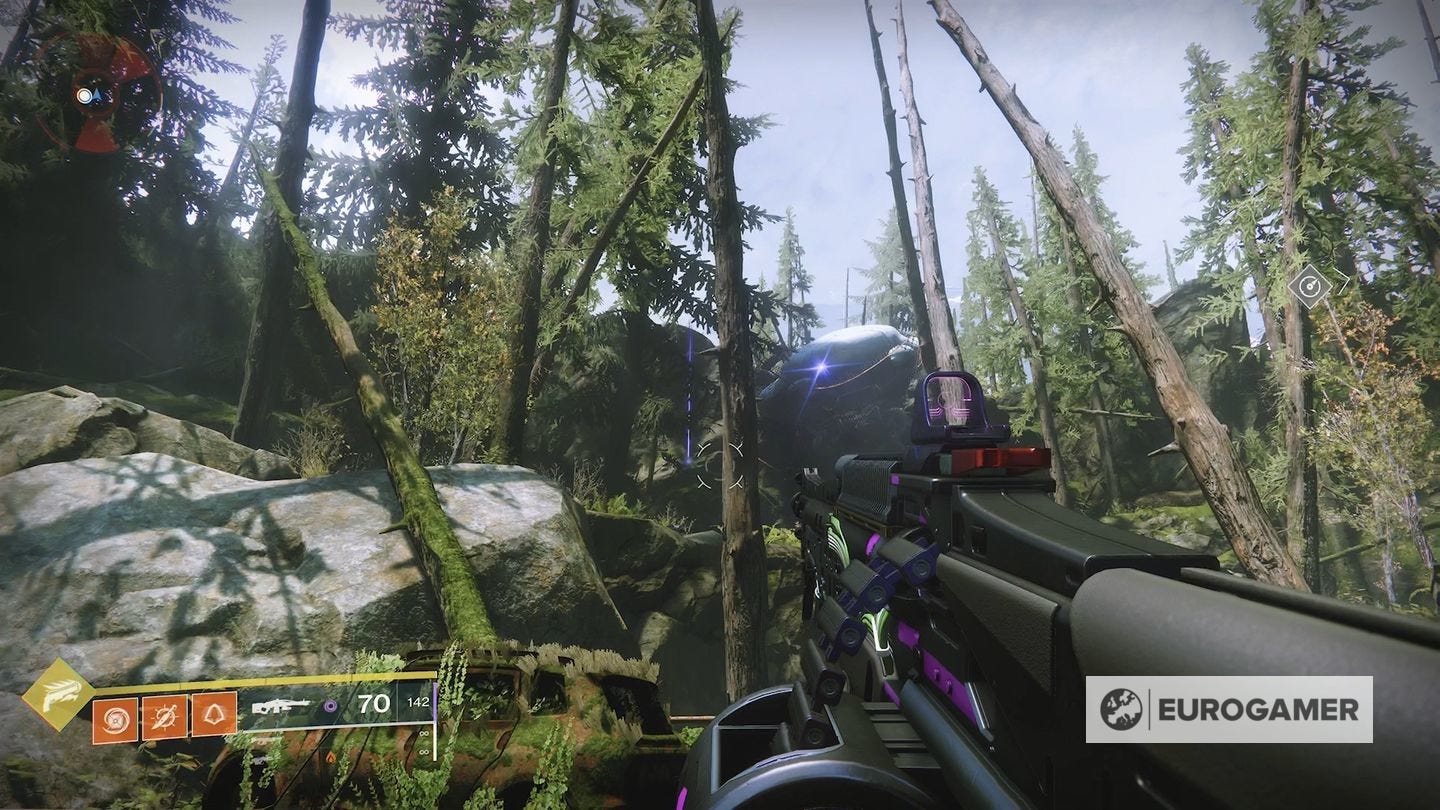
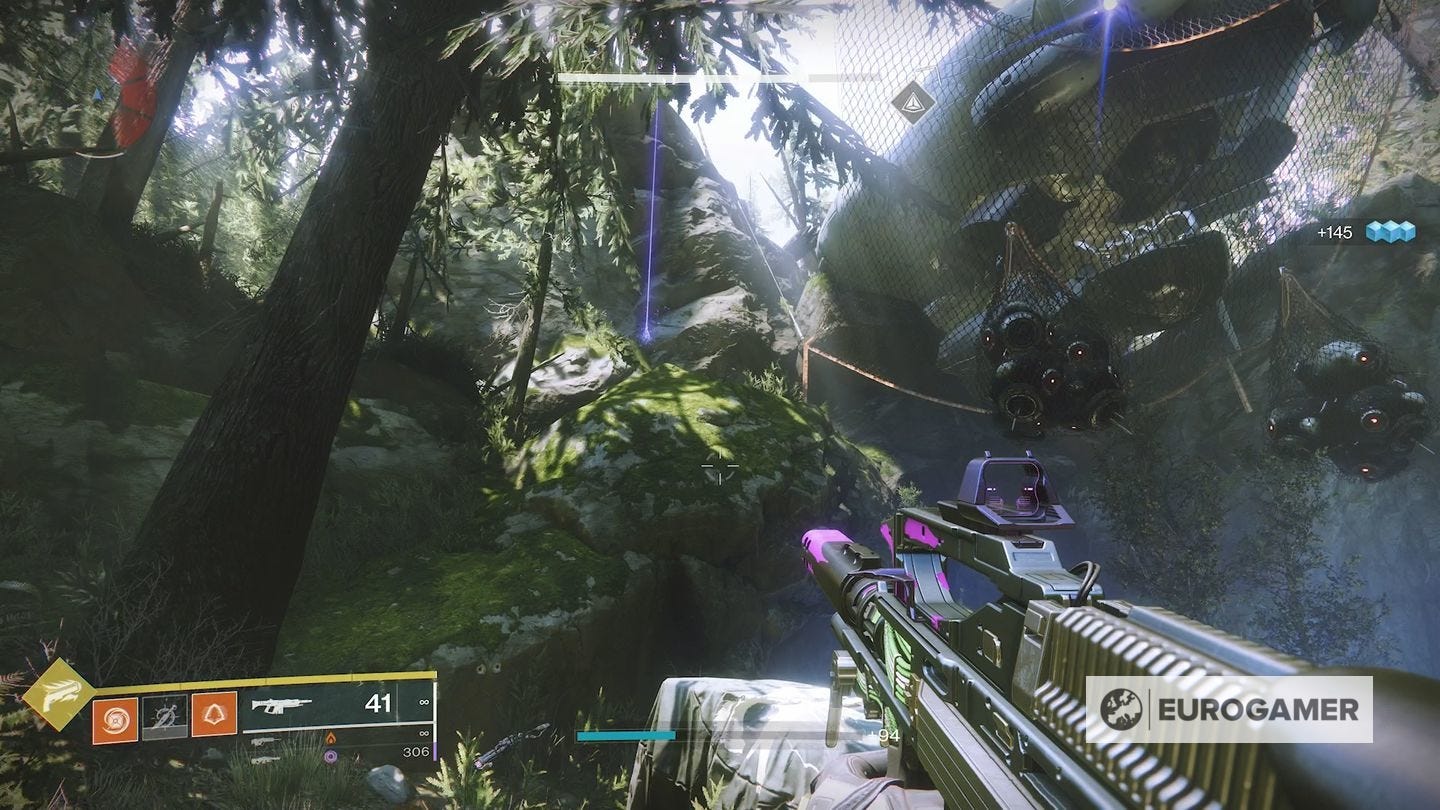
Take the path to the north from the road and climb up the rocks to reach it.


3. On the far west side of the road, leading out of Winding Cove towards Firebase Hades, stop as the road turns, and climb the rocks high above on the inside corner to the south (essentially doing the same as you did on the east side - doubling back on yourself with the higher path).
There isn't a path, but you can go across the rocks and broken trees to find an Anchor to the south.
4. Finally, go to the Winding Cove fast travel point. On this 'island', just to the north on top of the rocks, is the Anchor.
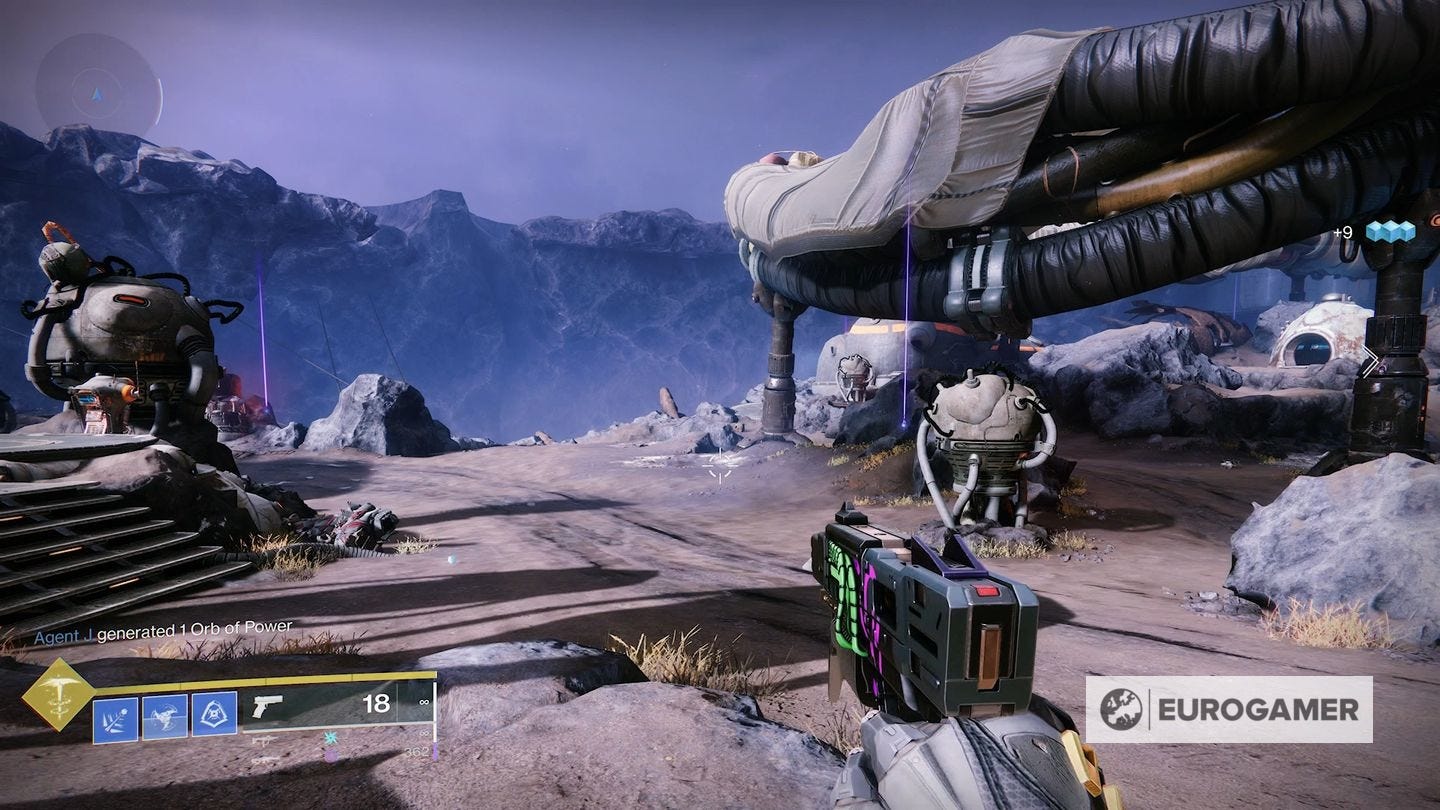
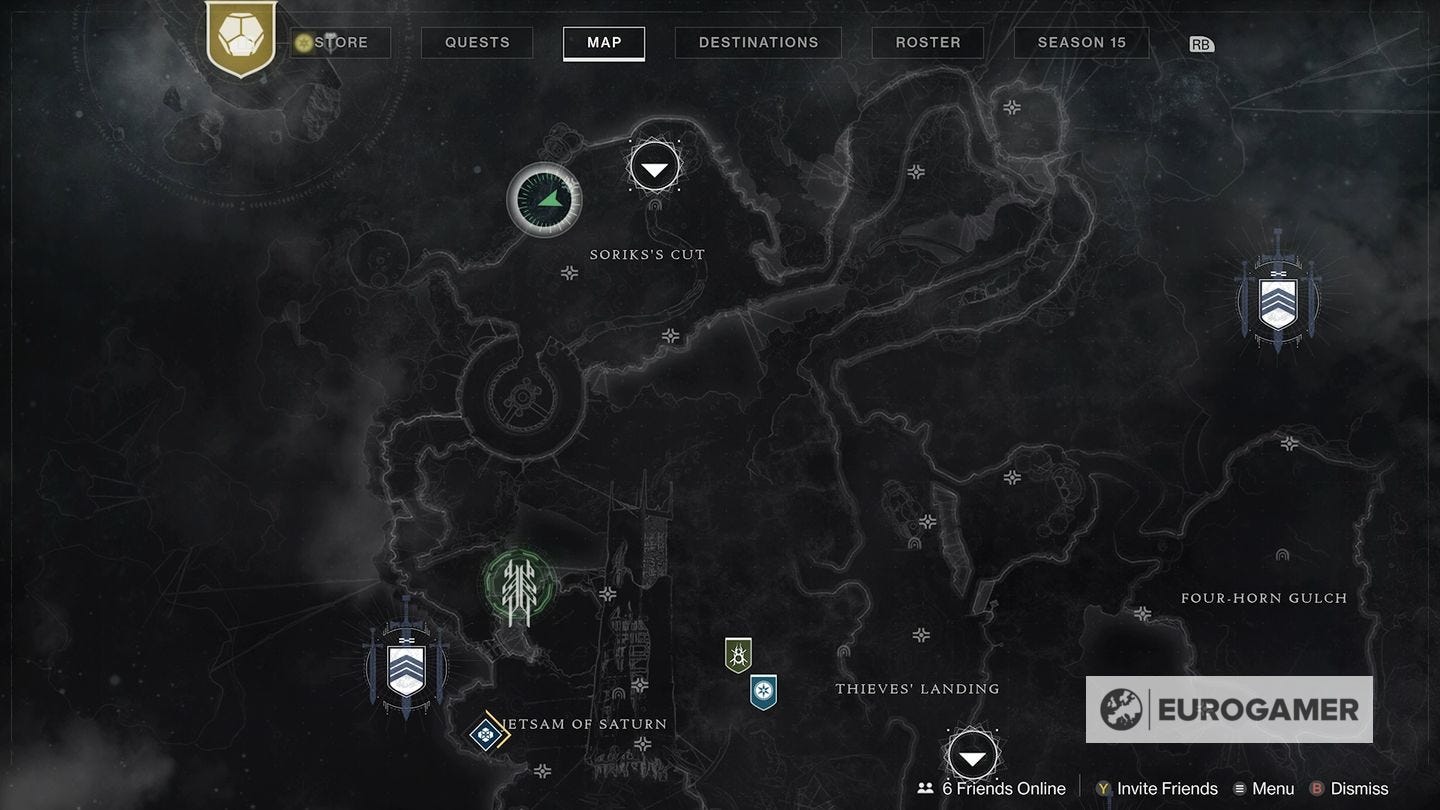
Tangled Shore Patrol Ascendant Anchor locations
These will appear every three weeks on rotation around other two Patrol zones, and will reset when they return back on rotation - allowing you to collect them multiple times per season.
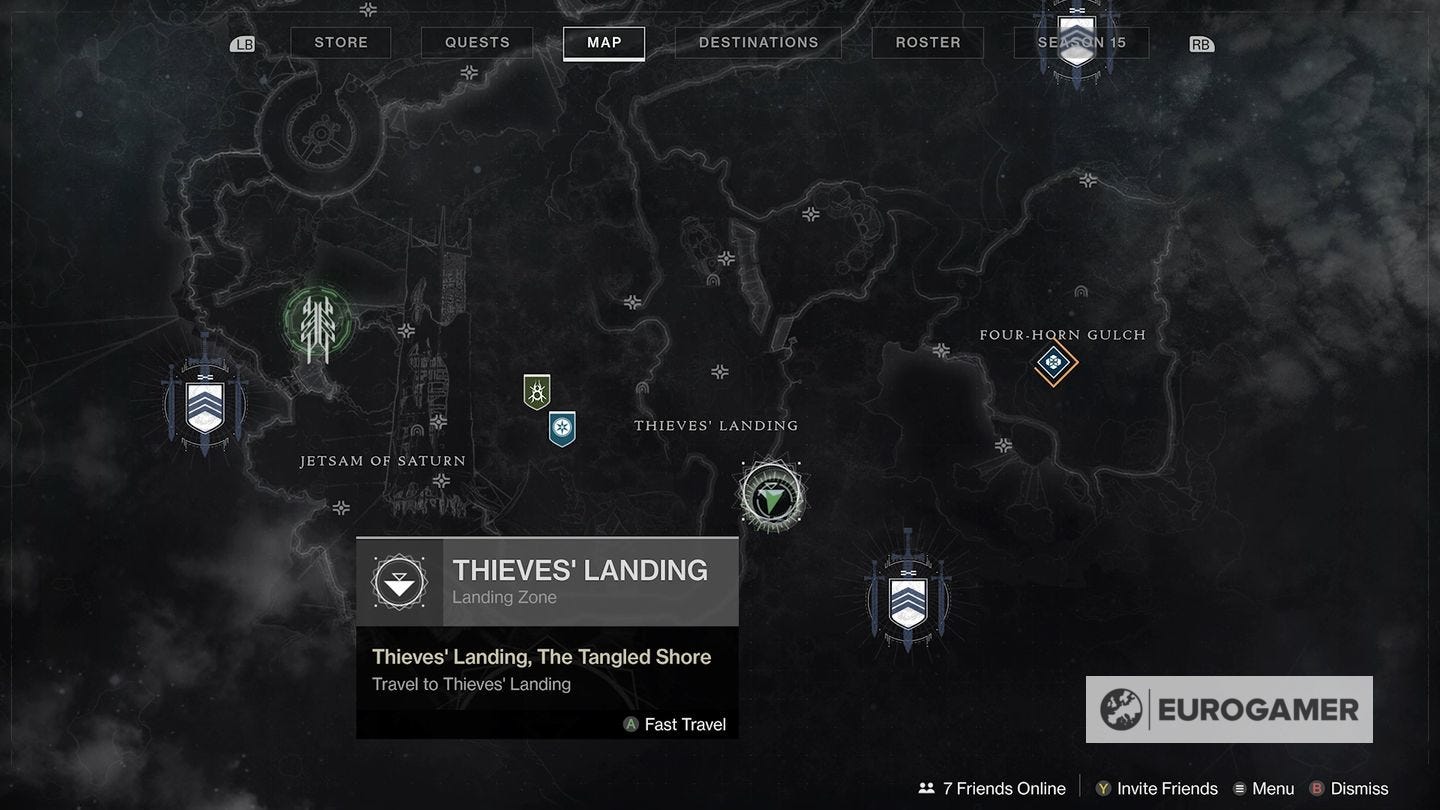
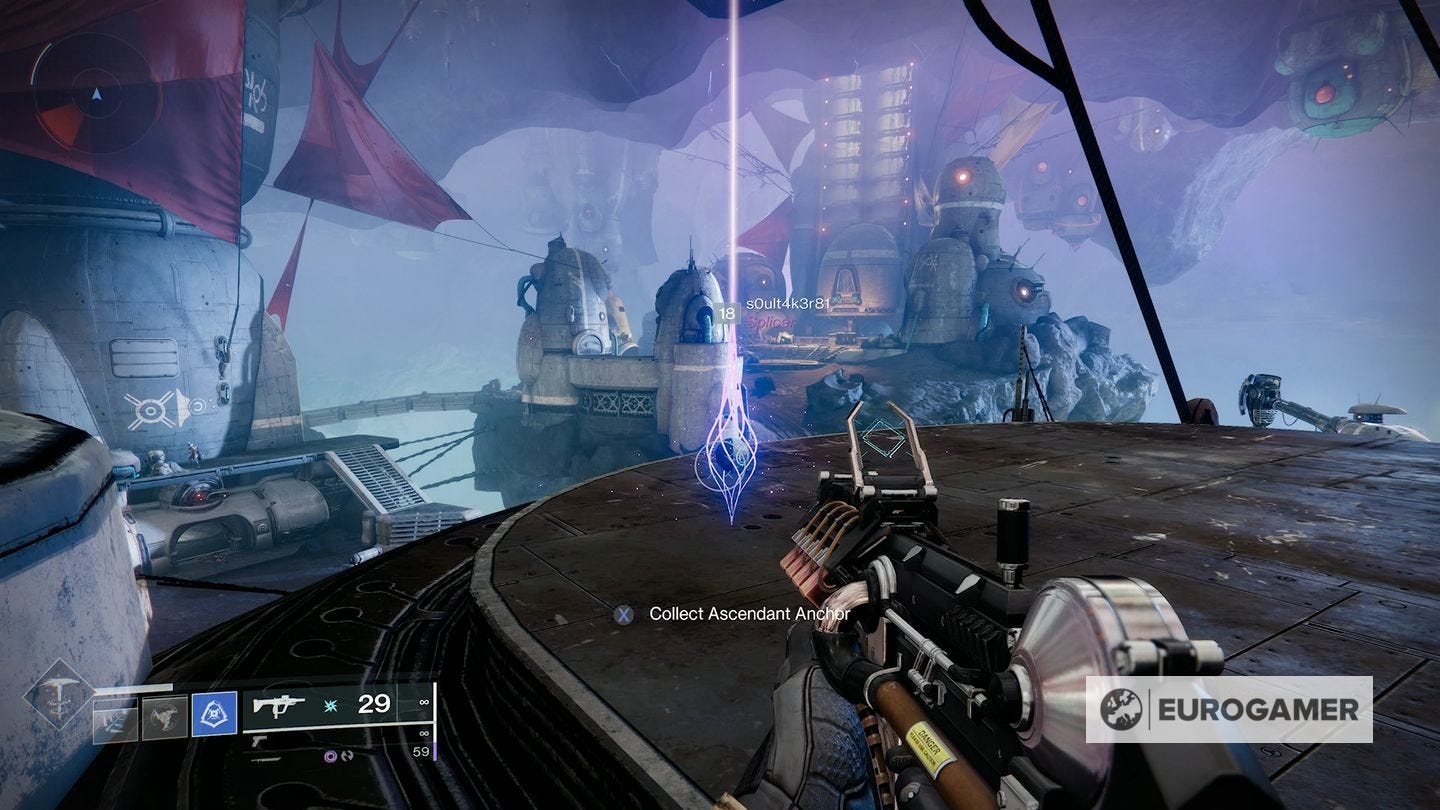
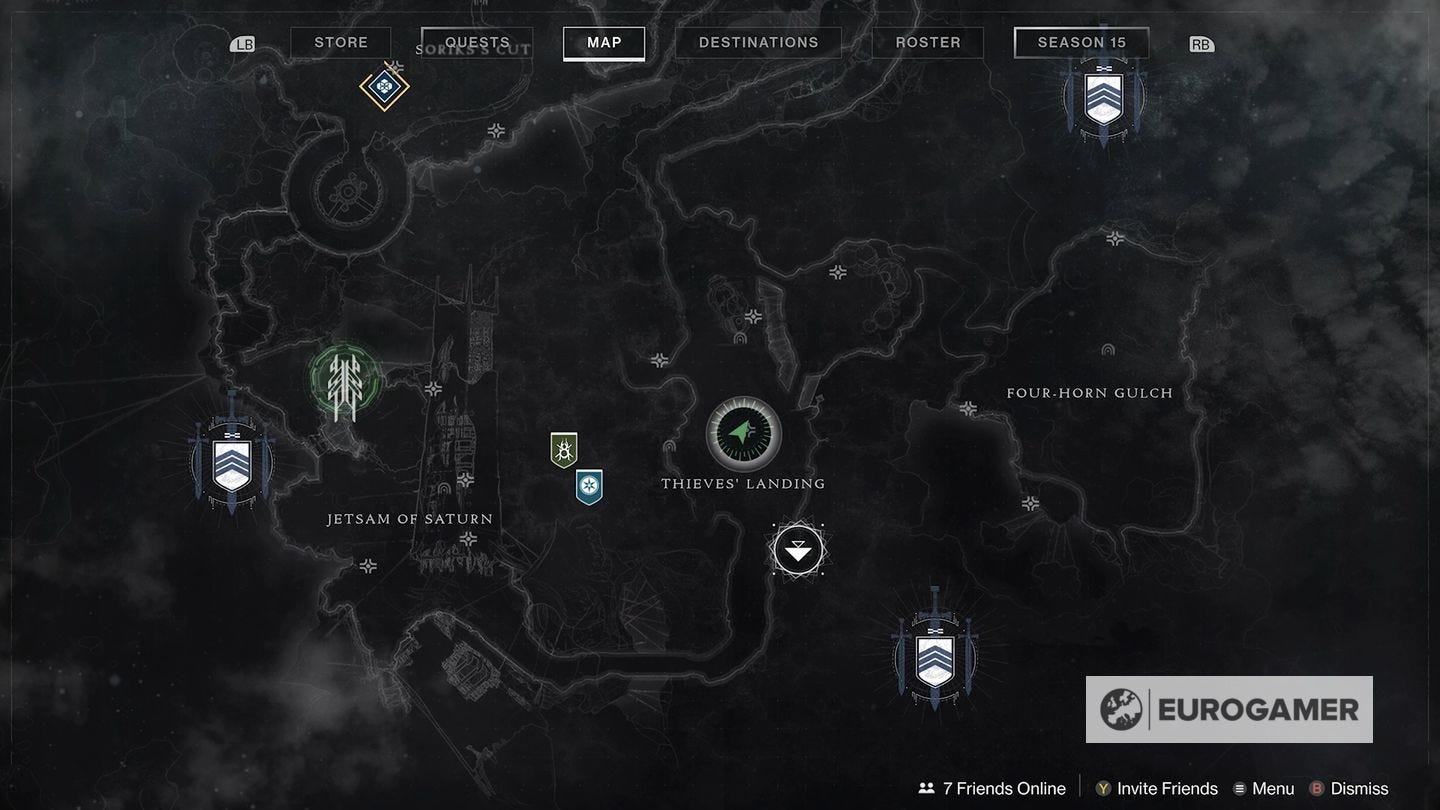
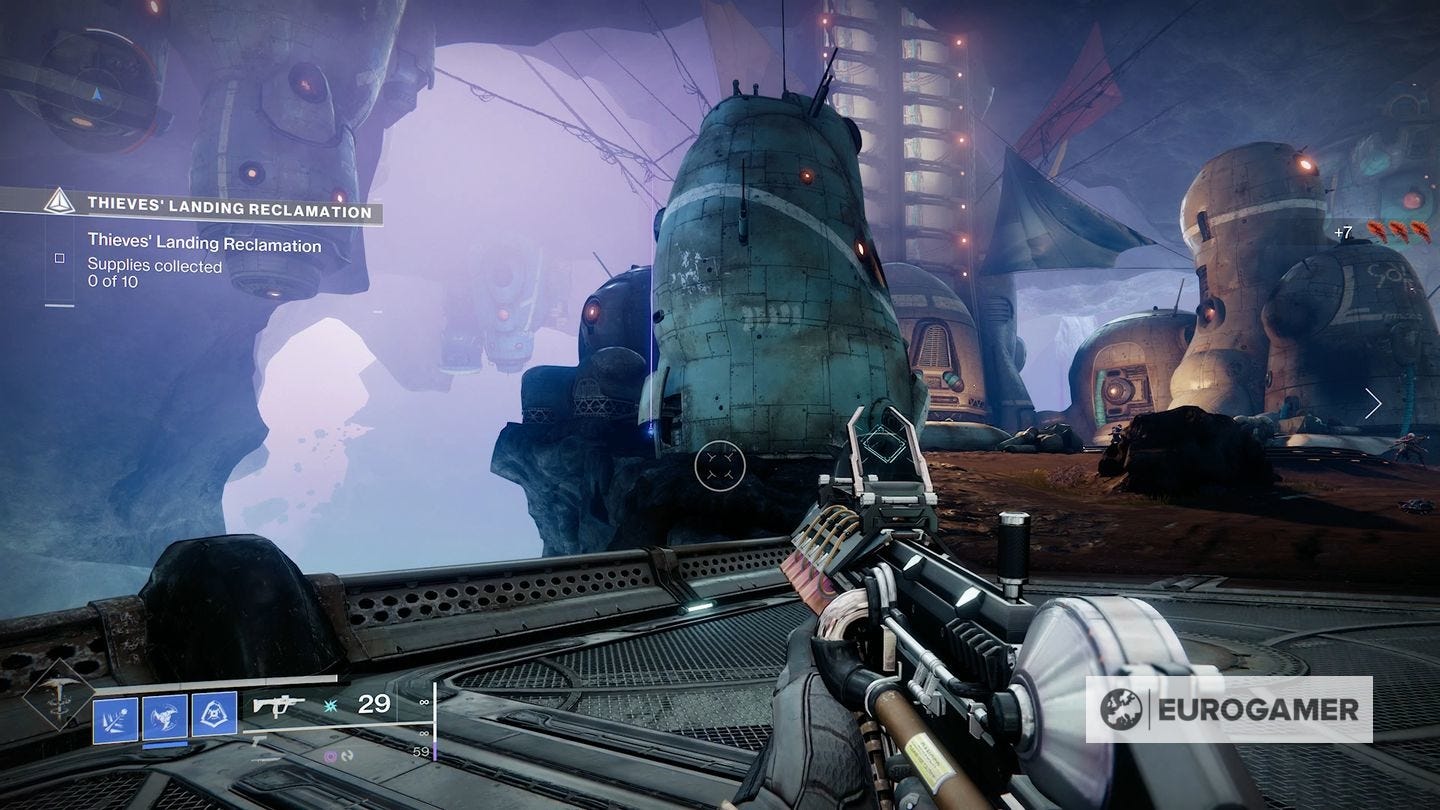
Thieves' Landing Ascendant Anchors (8 total)
We're going to collect these from the fast travel point in a clockwise direction.
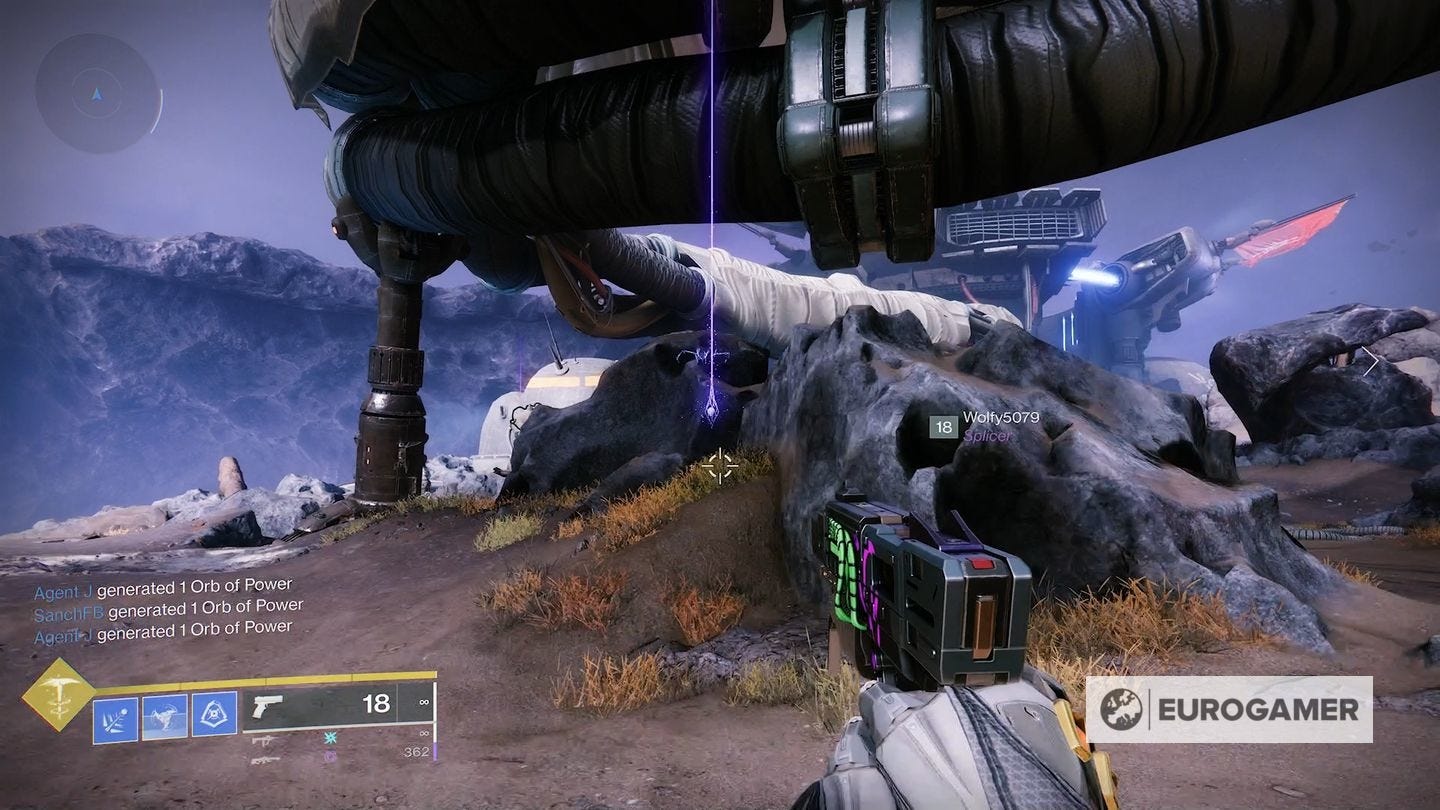
1. From the fast travel point, turn around and look east, round the rock. You should see it just above.
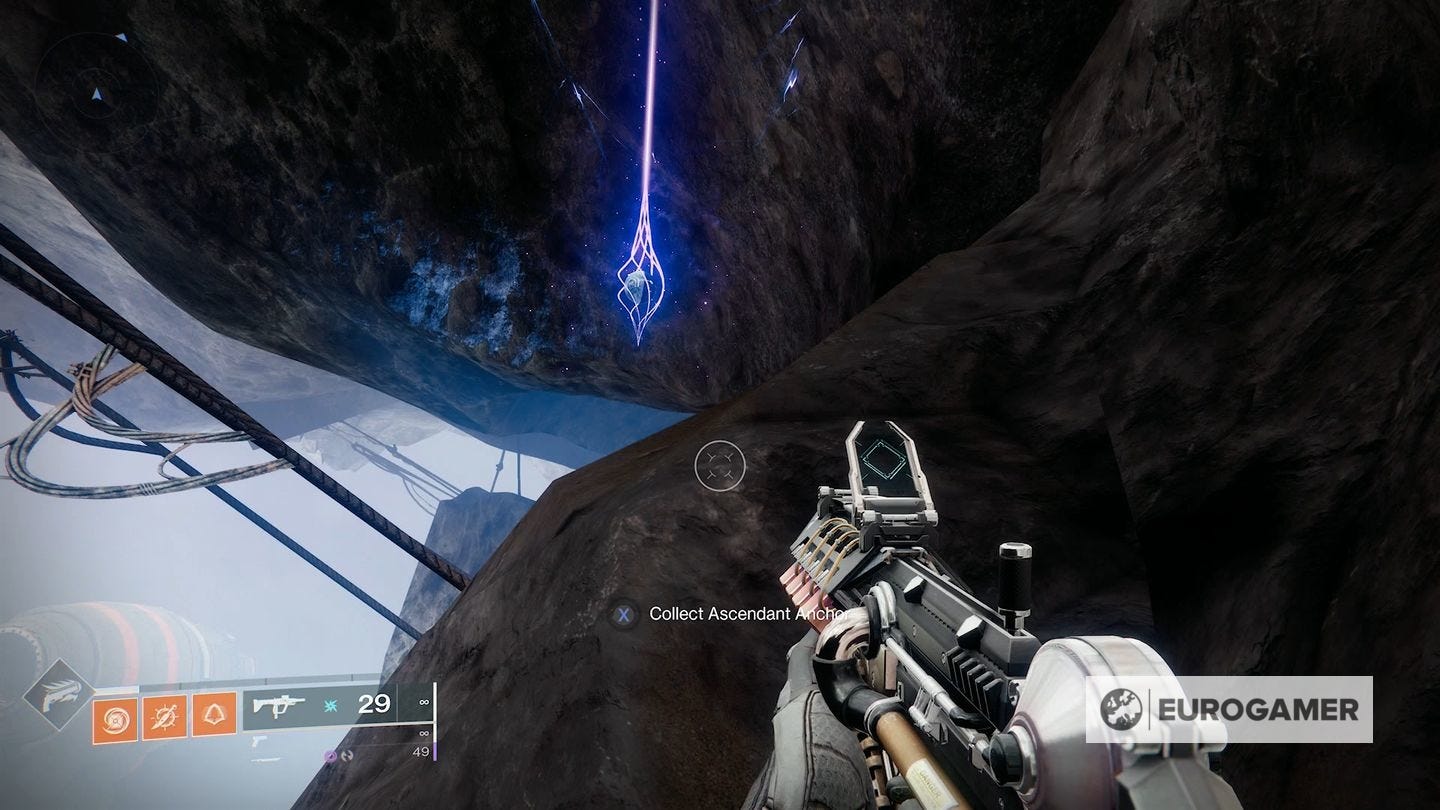
2. From the fast travel point, now go round the corner in the other direction, turning left so you're facing south. Another will be behind the rock there.

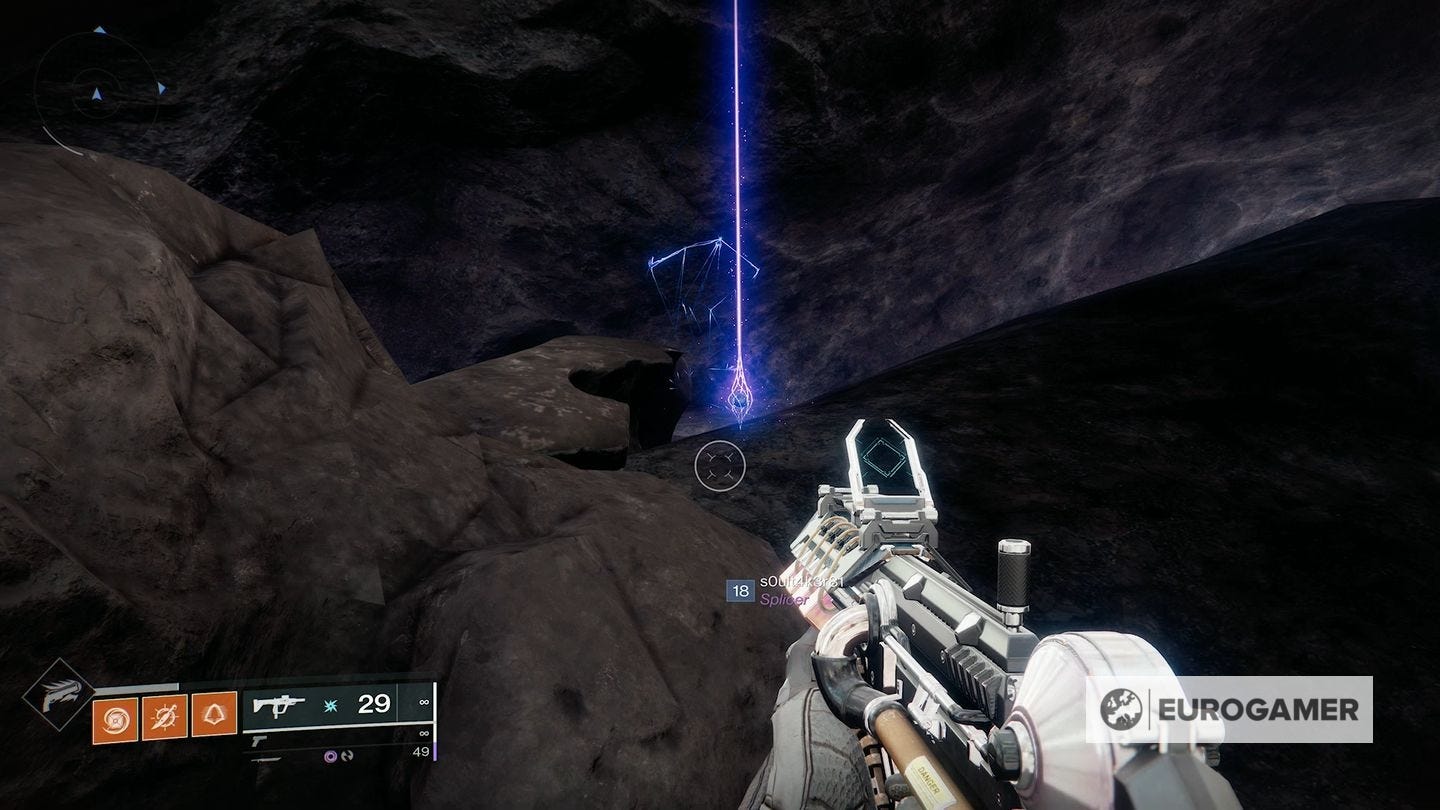

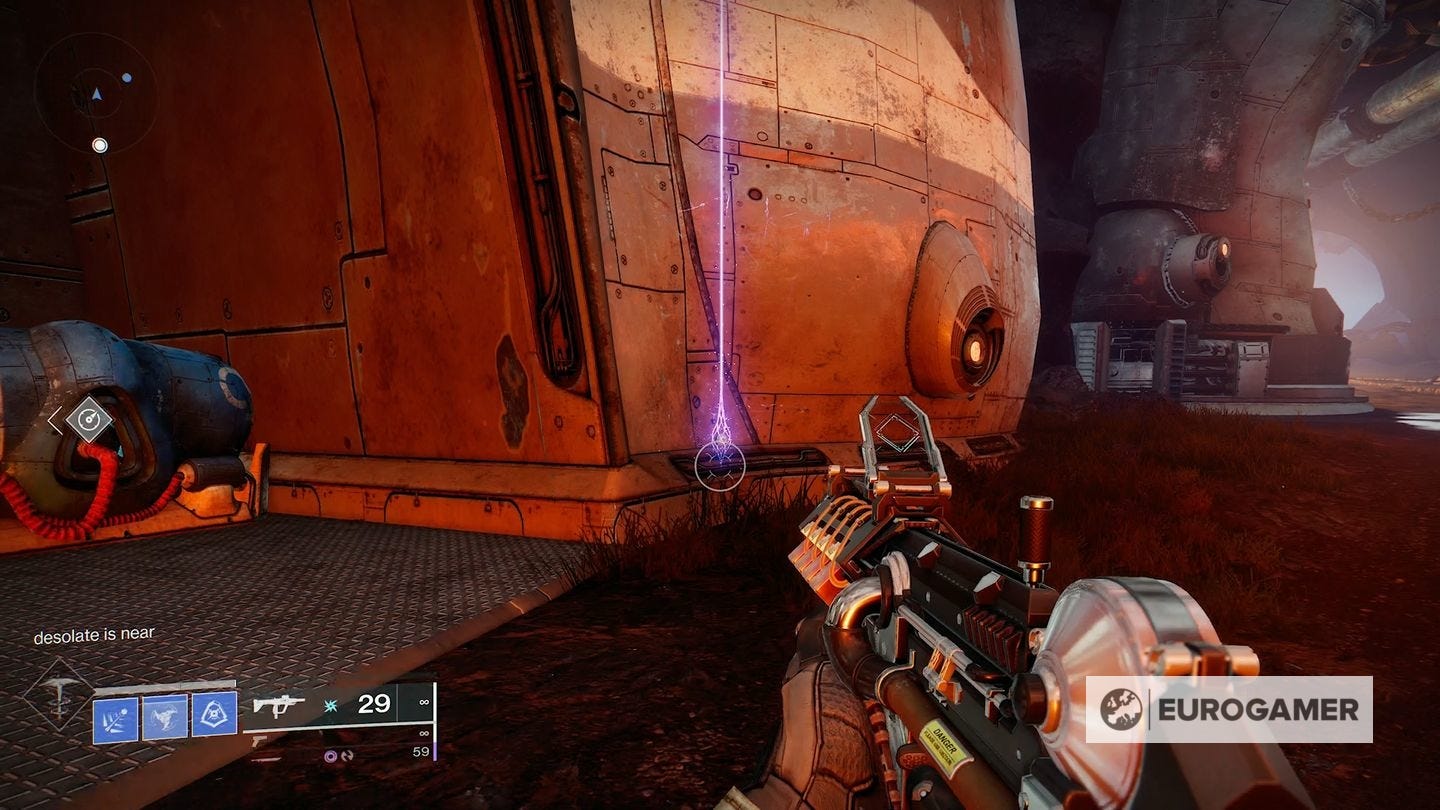
3. Head to the entrance of Spider's Lair, which is in the south-west corner of Thieves' Landing. You'll find it on the left as you approach.


4. As you go north through Thieves' Landing, there will be a building in the middle of the area, which will be on your right. The Anchor is situated on the roof.
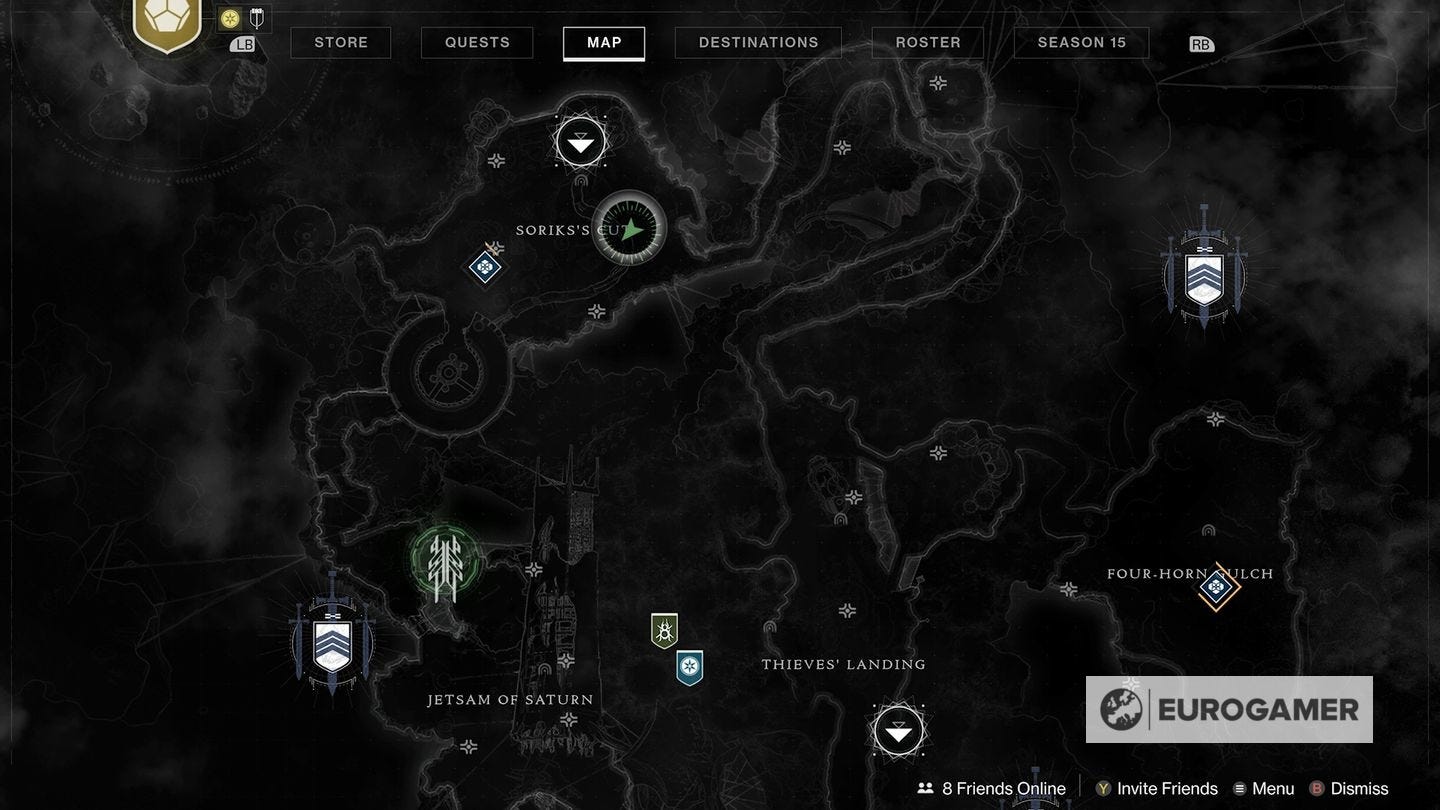
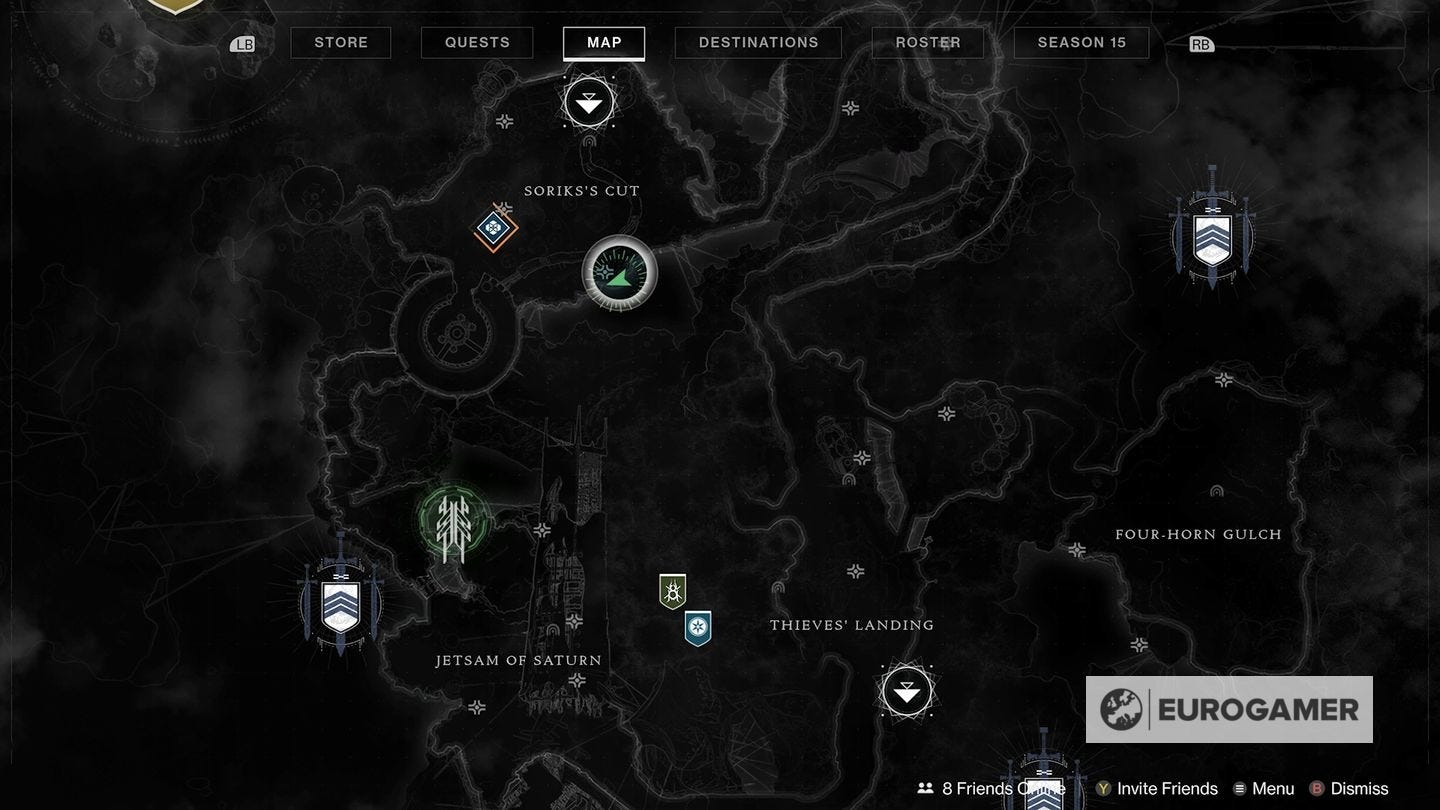
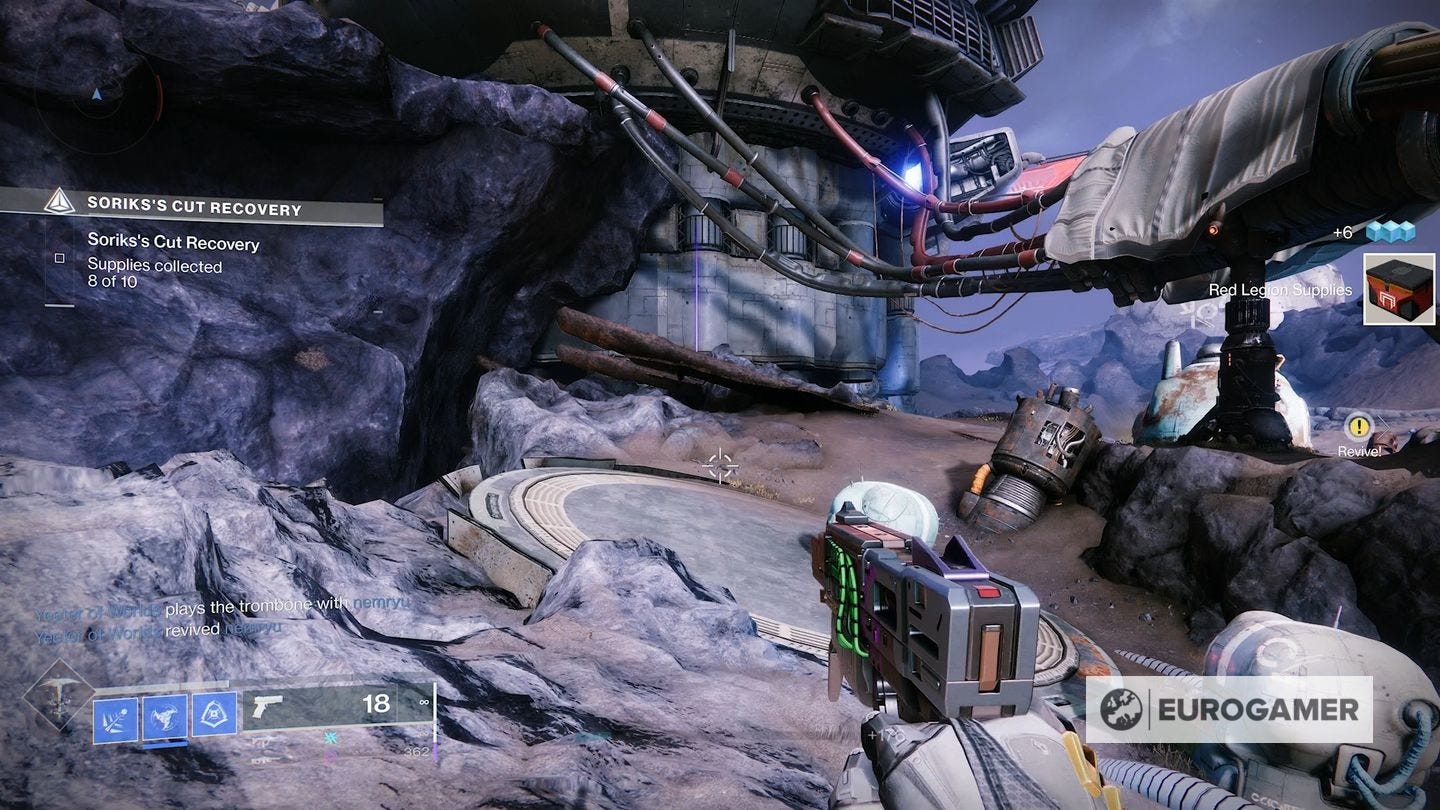
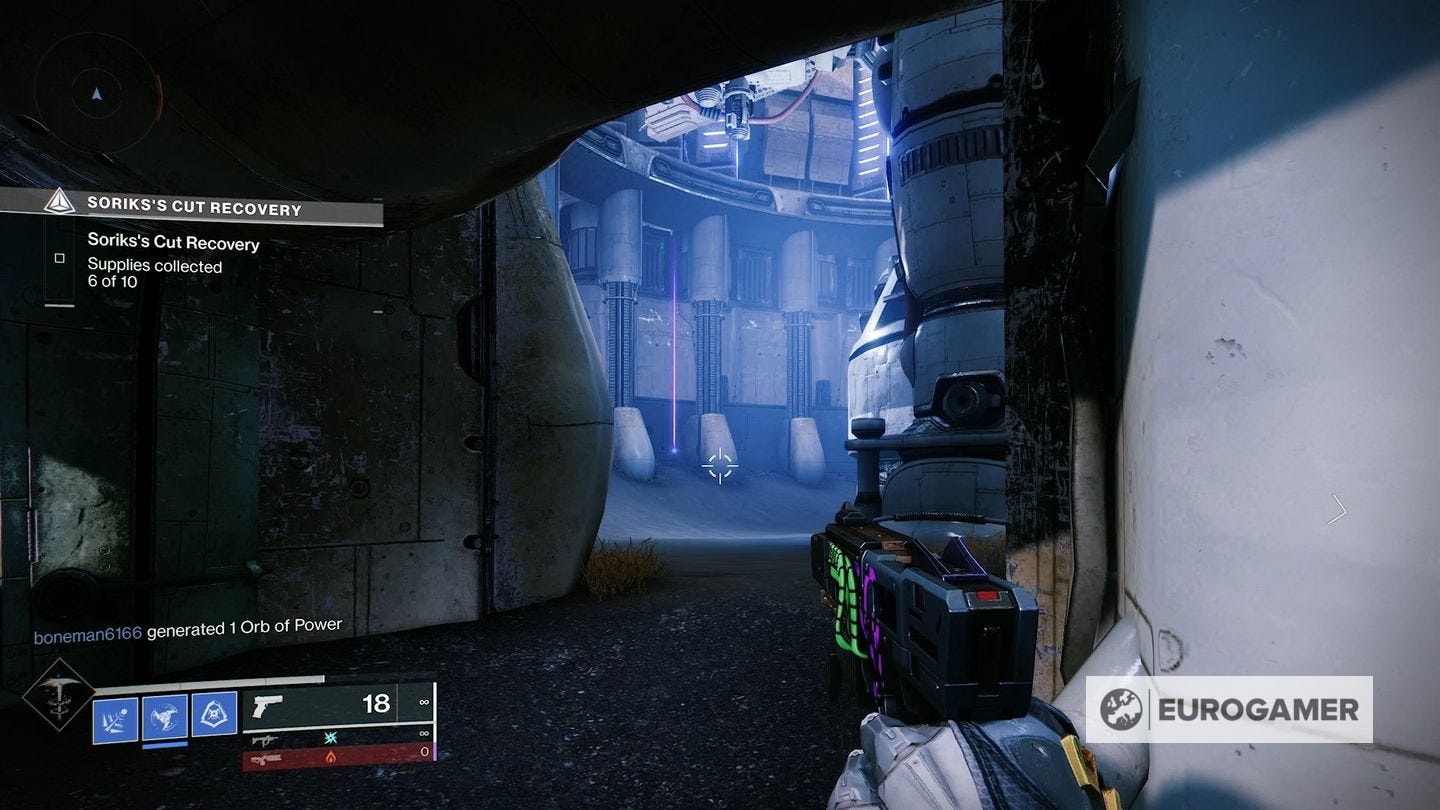
5. In the far north, on the road to Sorik's Cut, there is an Anchor out in the open on the left side of the road.

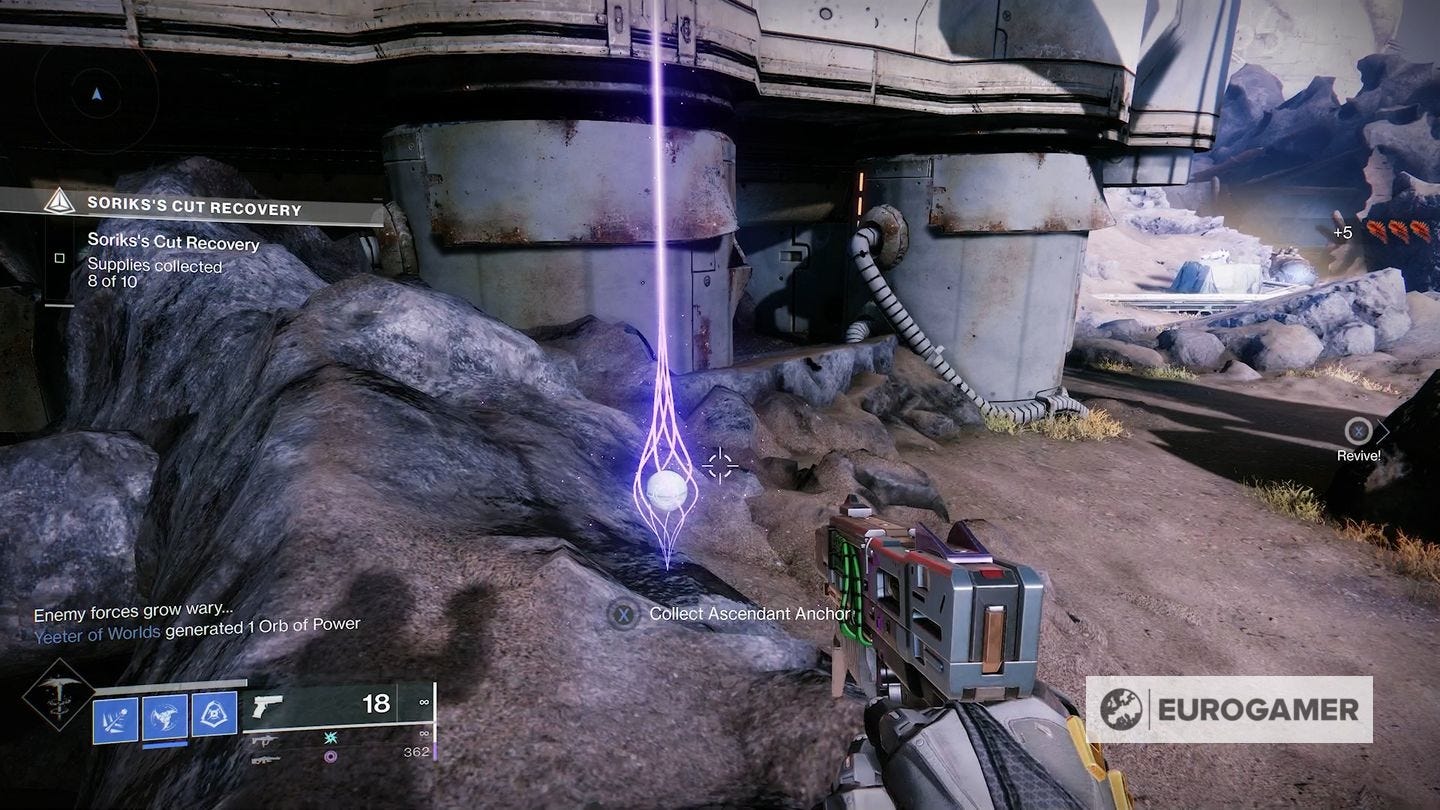
6. In the far north, on the other side of the road leading to Sorik's Cut, is another Anchor a little more hidden, on the right by a column and some rock.

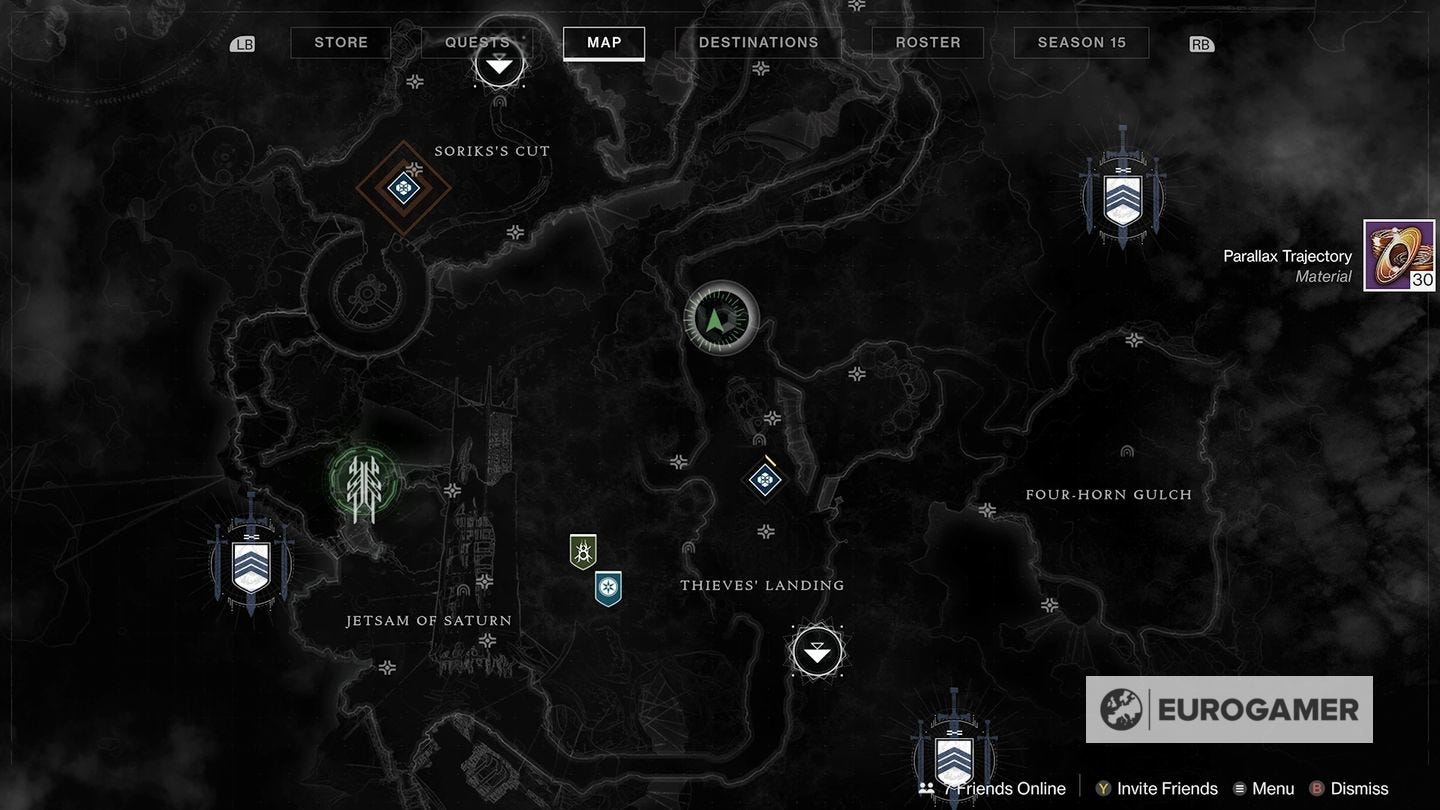
7. On the east side there is an area across a set of bridges just before some elevators that take you to Four-Horn Gulch. If you take the north bridge, you can see the Anchor on the cliff edge next to a building on the left.

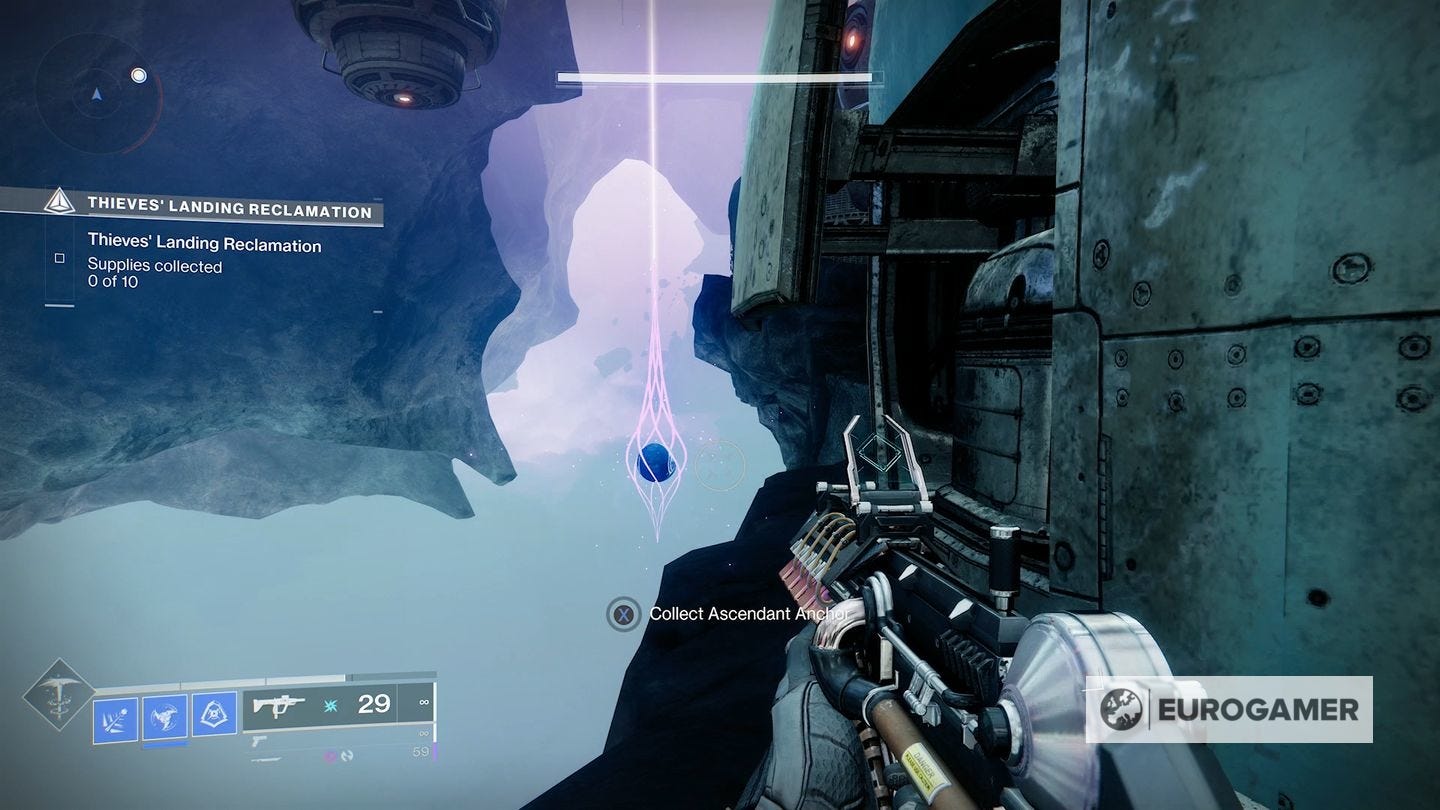

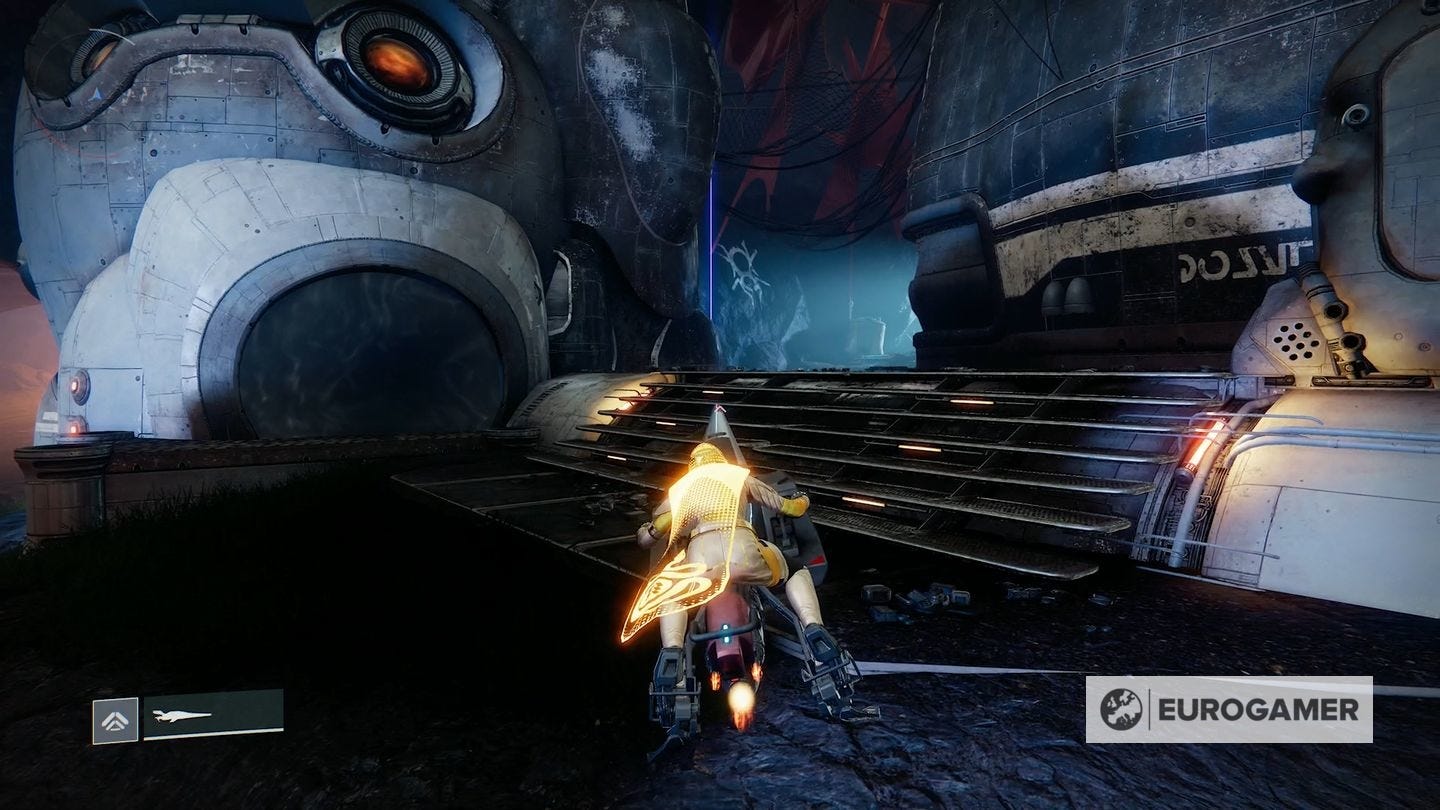
8. Head to the elevators that take you to Four-Horn Gulch on the east side of Thieves' Landing. Looking to the right, you can see the Anchor's light in the distance. You must leap up the ledge to reach it.


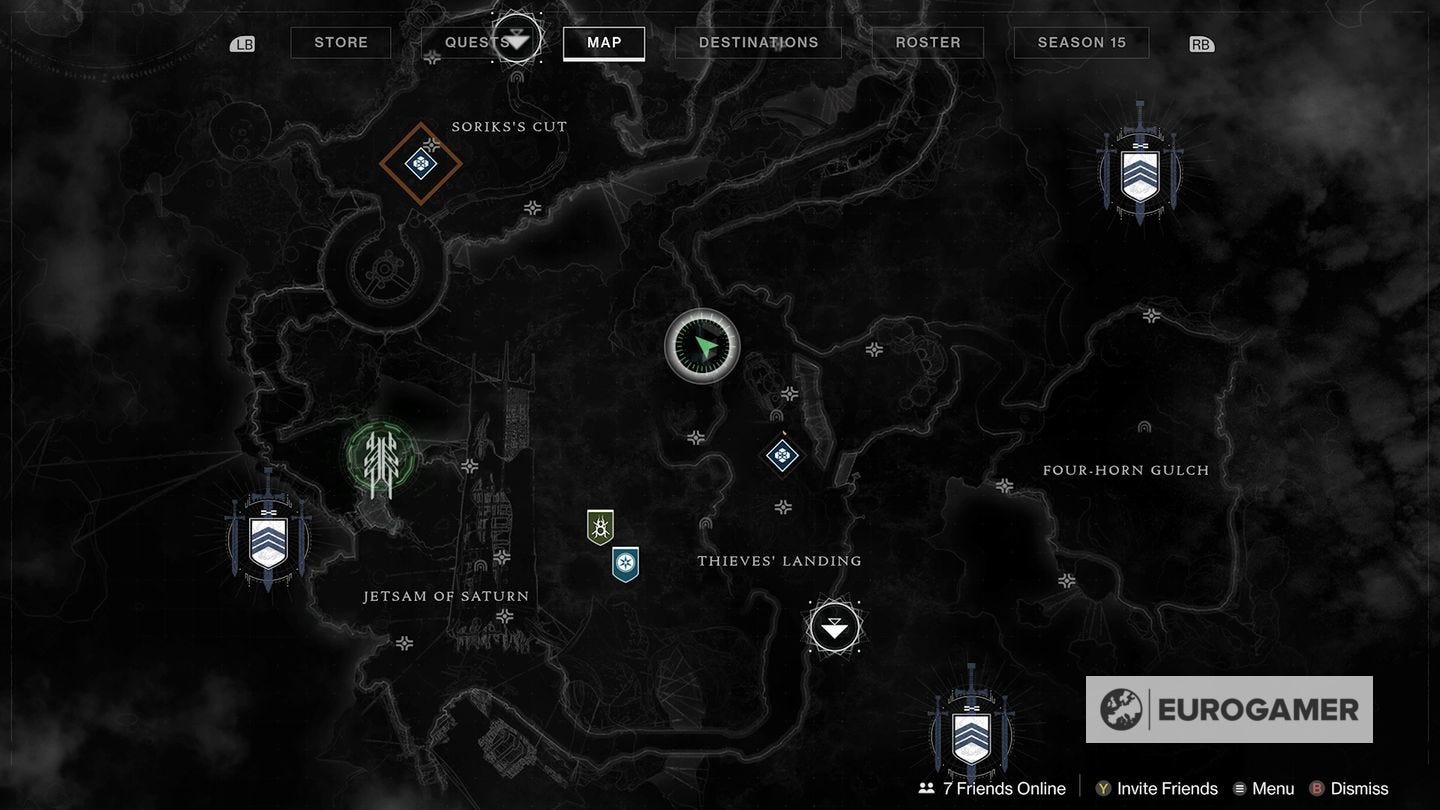
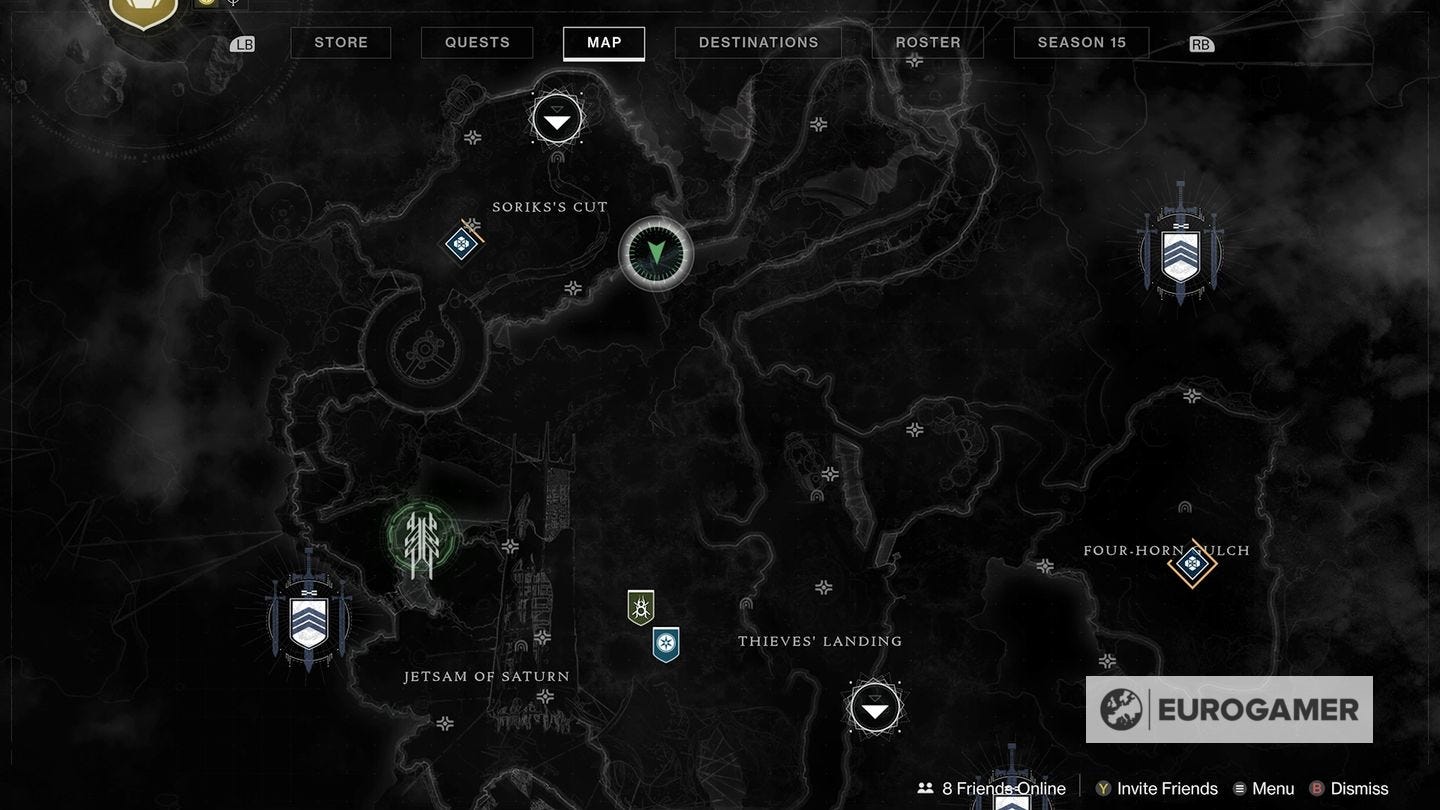
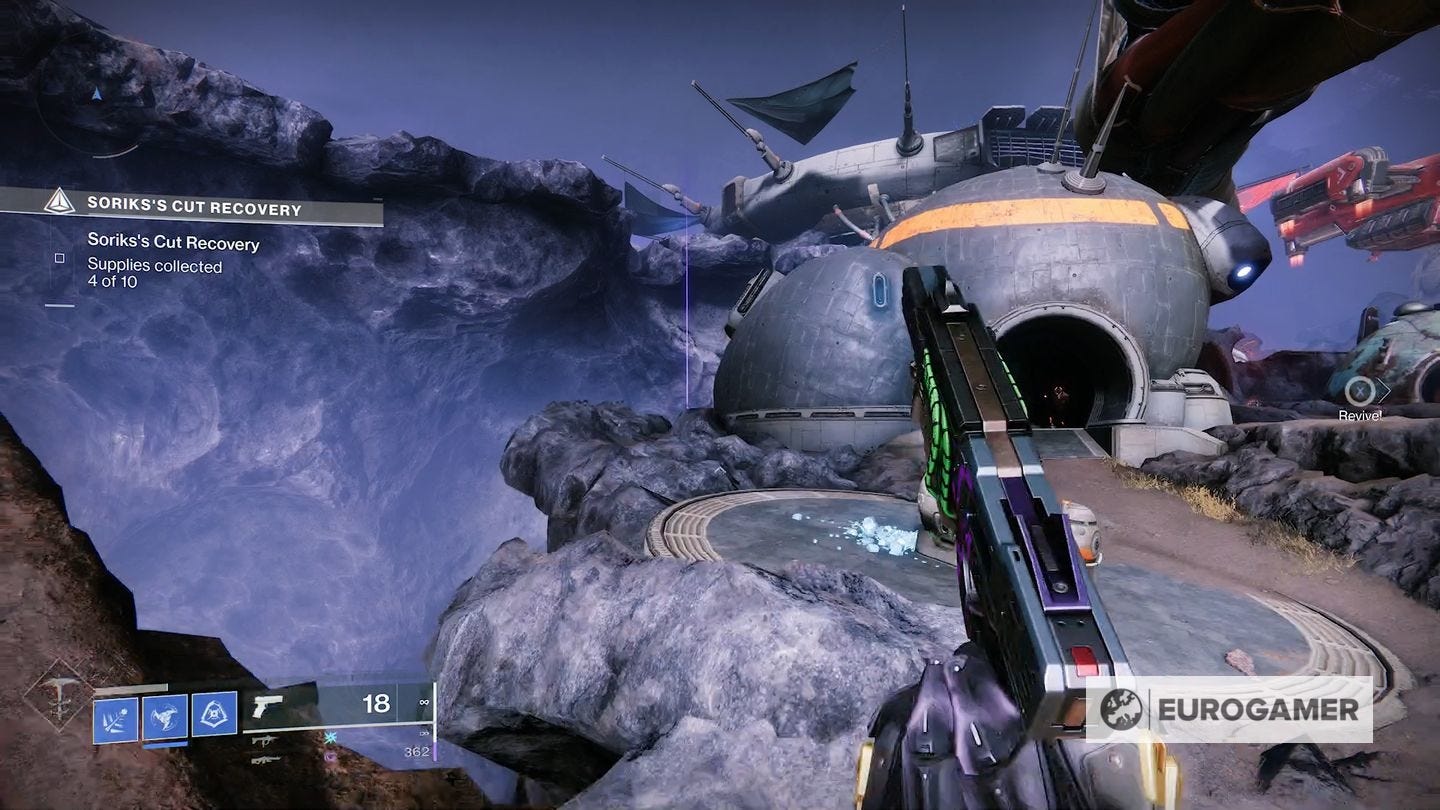
Sorik's Cut Ascendant Anchors (8 total)
We're going to collect these from the fast travel point in a clockwise direction.
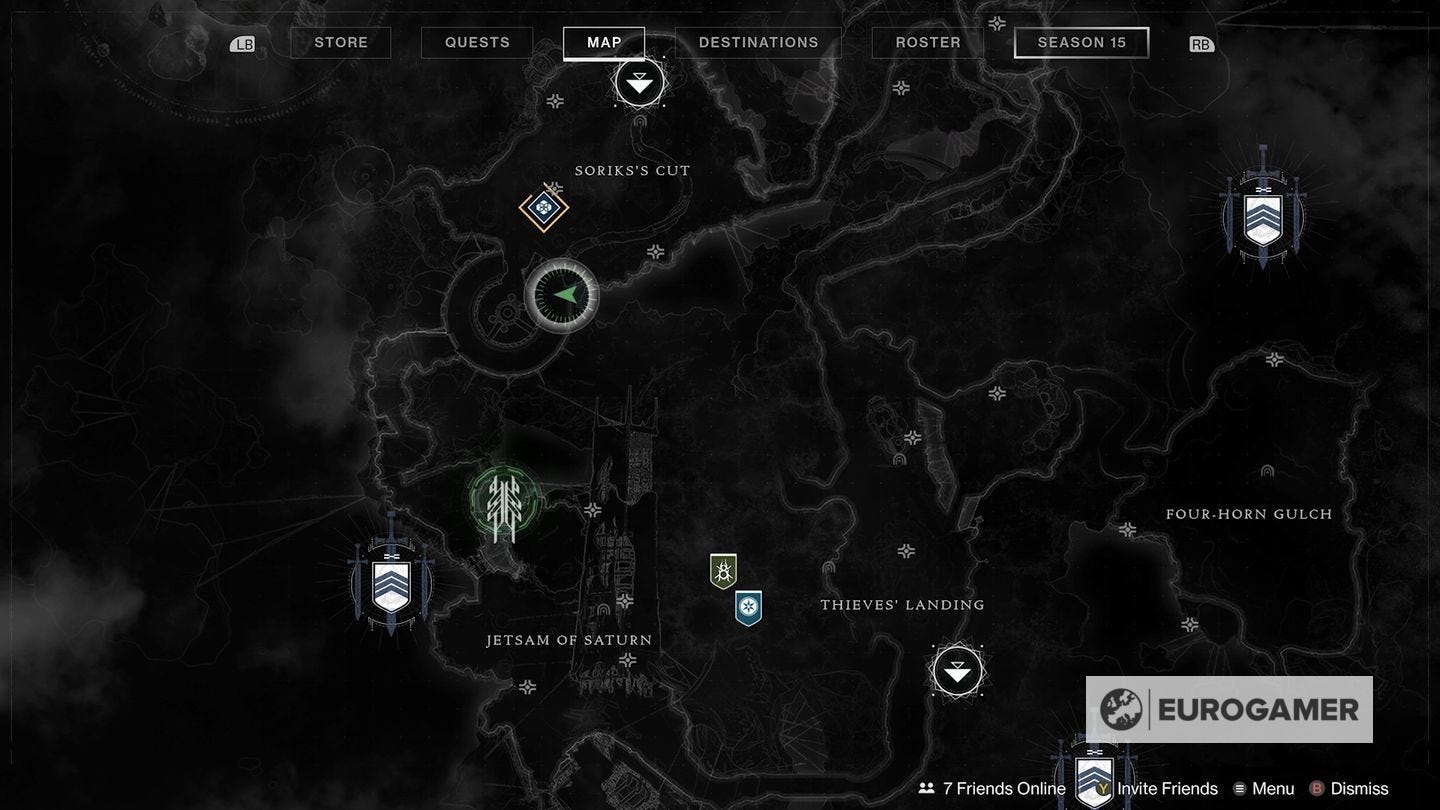
1. From the fast travel point, go left (or east on the map) and you'll see the Anchor round the corner.

2. Running from the fast travel point is a dirt road going south. Head down here and you'll see an Anchor on the right, at the end.
3. To the south-east is a bridge leading out of the area. The Anchor is on the right side.
4. Continue along this southern edge, going west, to find an Anchor behind a small building at the very south.


5. Going south-east from here - keep the edge of area to your left - and next to the giant circular structure is an Anchor.

6. Go into this southern, circular structure to find one out in the open on the south side.


7. Going north out of the circular structure, hug the left cliff face for an Anchor among the rocks.


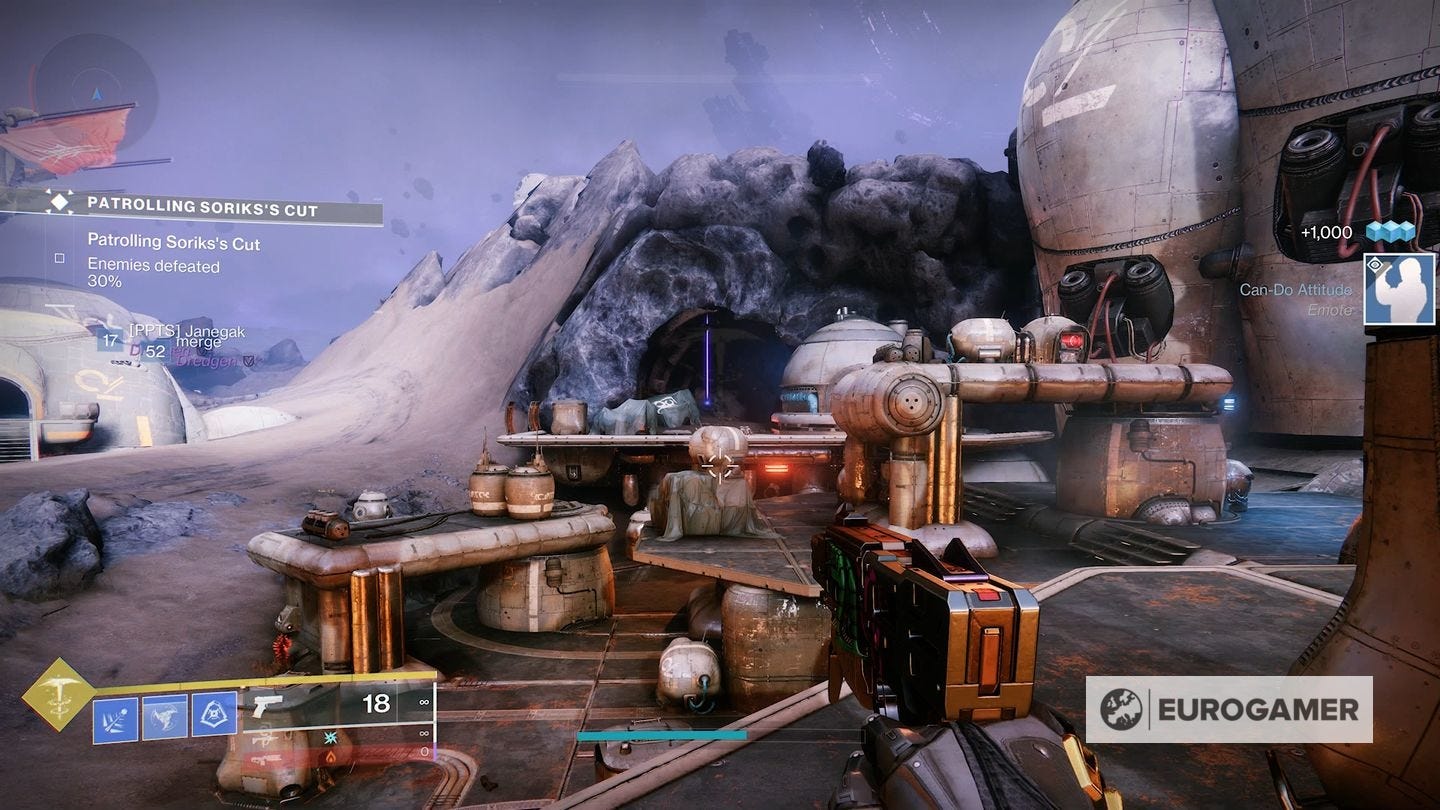
8. In the north-west - or directly west of the fast travel point - is a series of platforms in front of a cave. In the entrance is the Anchor clearly visible.


The Season of the Deep is here alongside the Into the Depths quest. You can know go fishing too! Don't forget to keep an eye on the Lost Sector and King's Fall challenge rotation schedule!
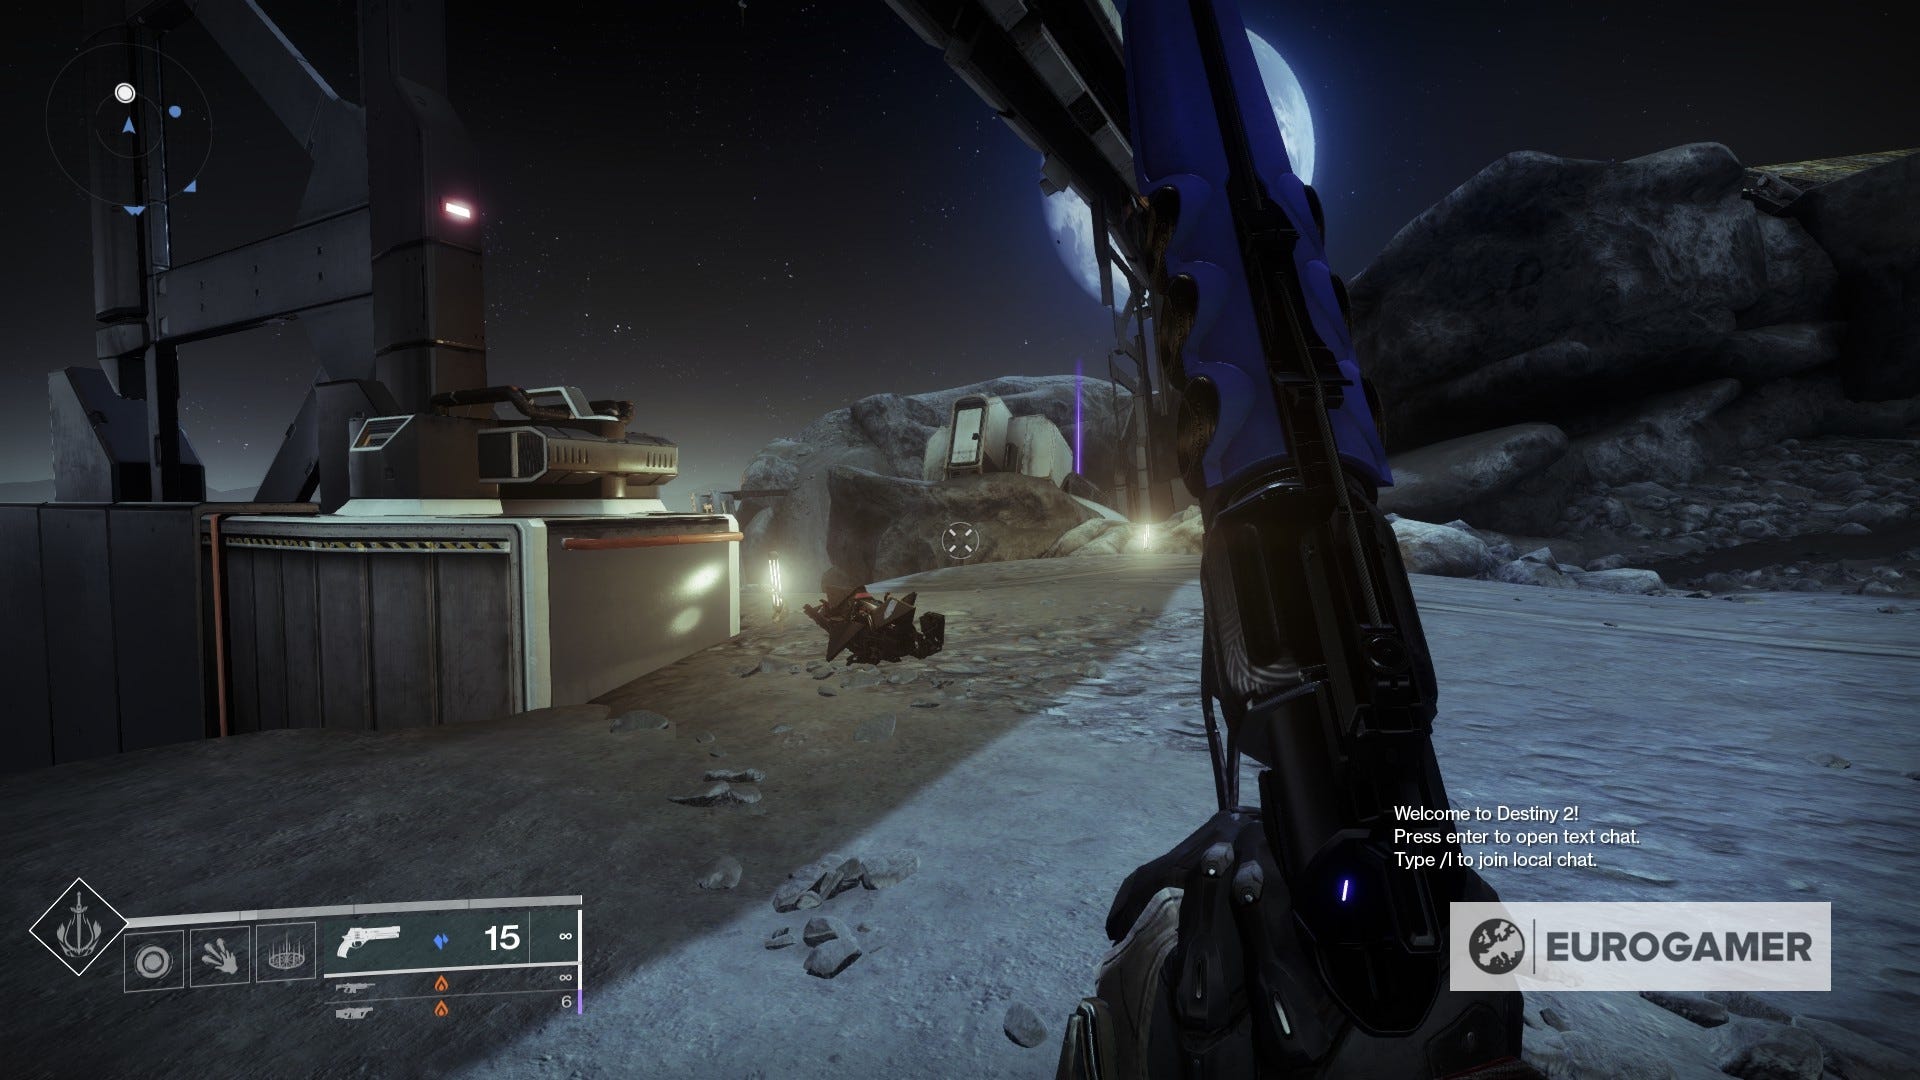
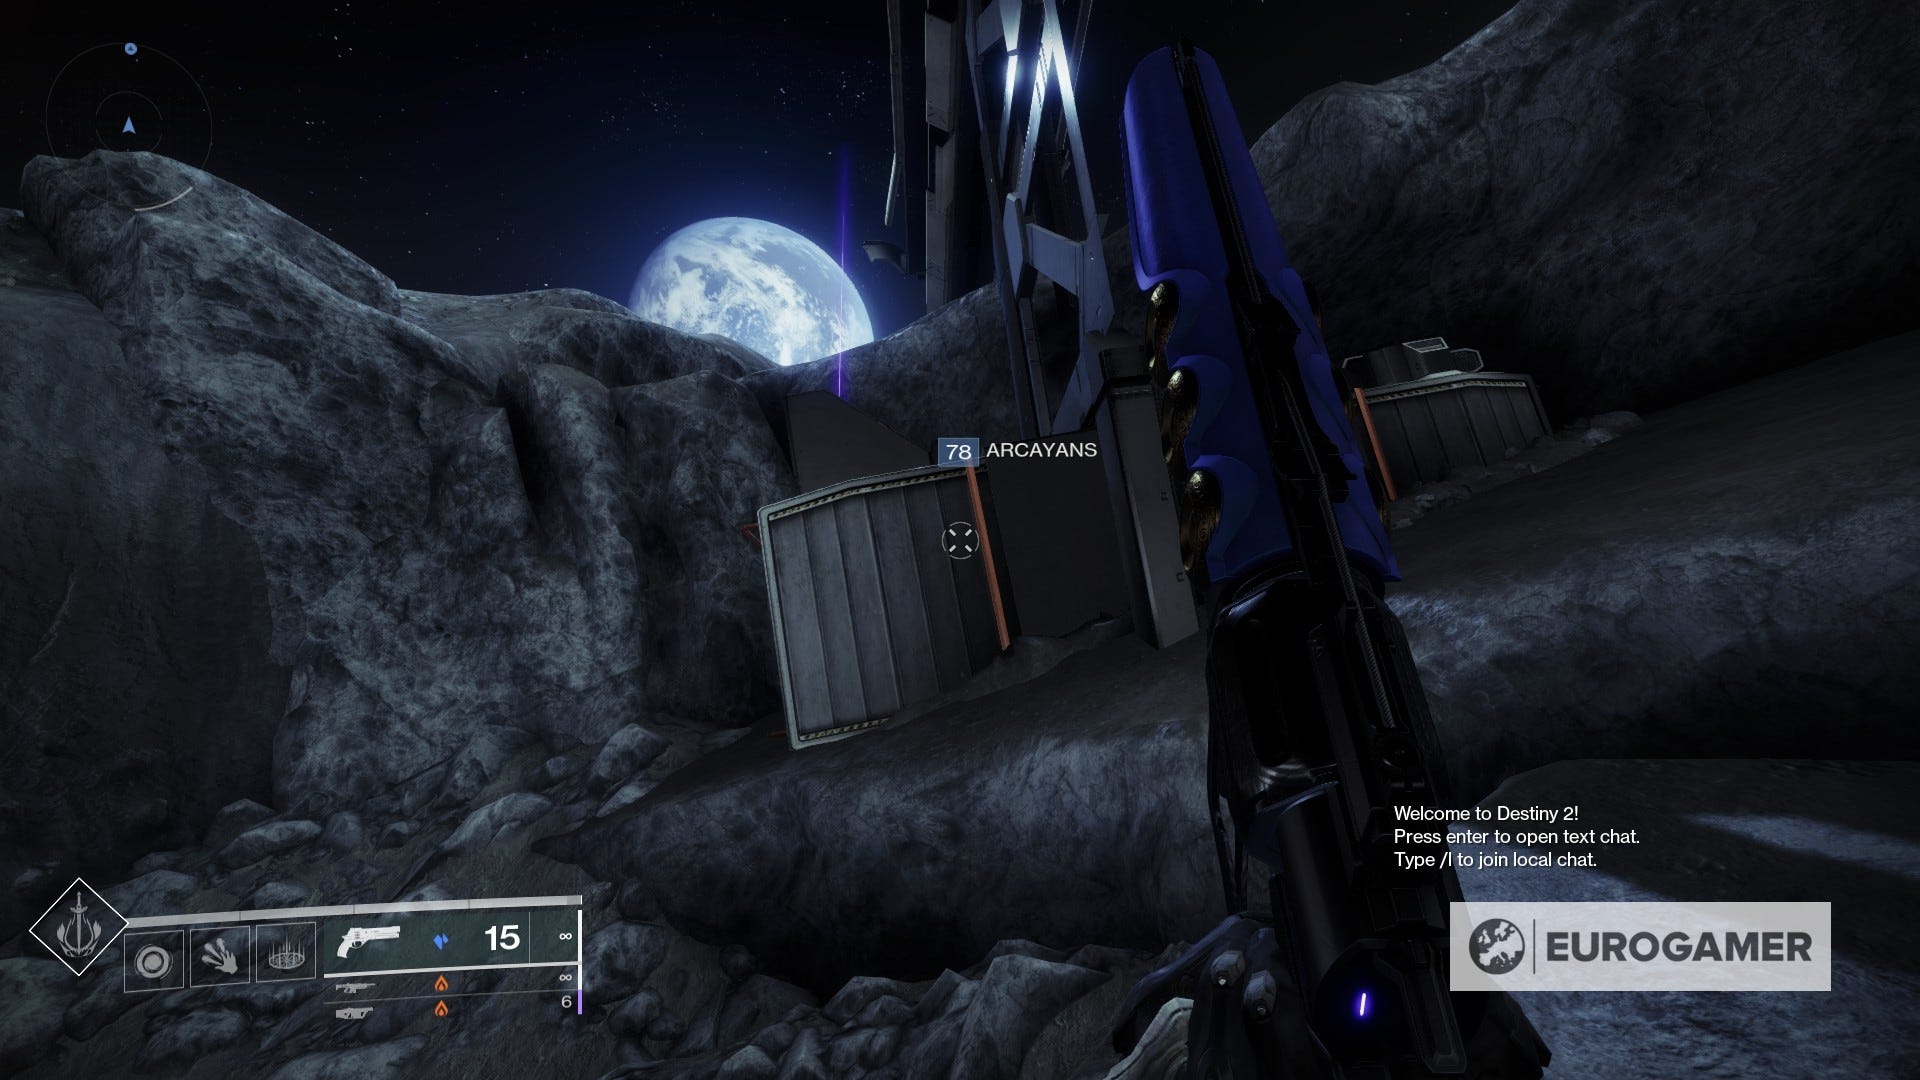
Moon Patrol Ascendant Anchor locations
These will appear every three weeks on rotation around other two Patrol zones, and will reset when they return back on rotation - allowing you to collect them multiple times per season.
Sanctuary Ascendant Anchors (5 total)
We're going to collect these from the fast travel point in a clockwise direction.
1. The first one is right to your left from the fast travel point in Sanctuary, next to the first bridge pillar you see in the vicinity.
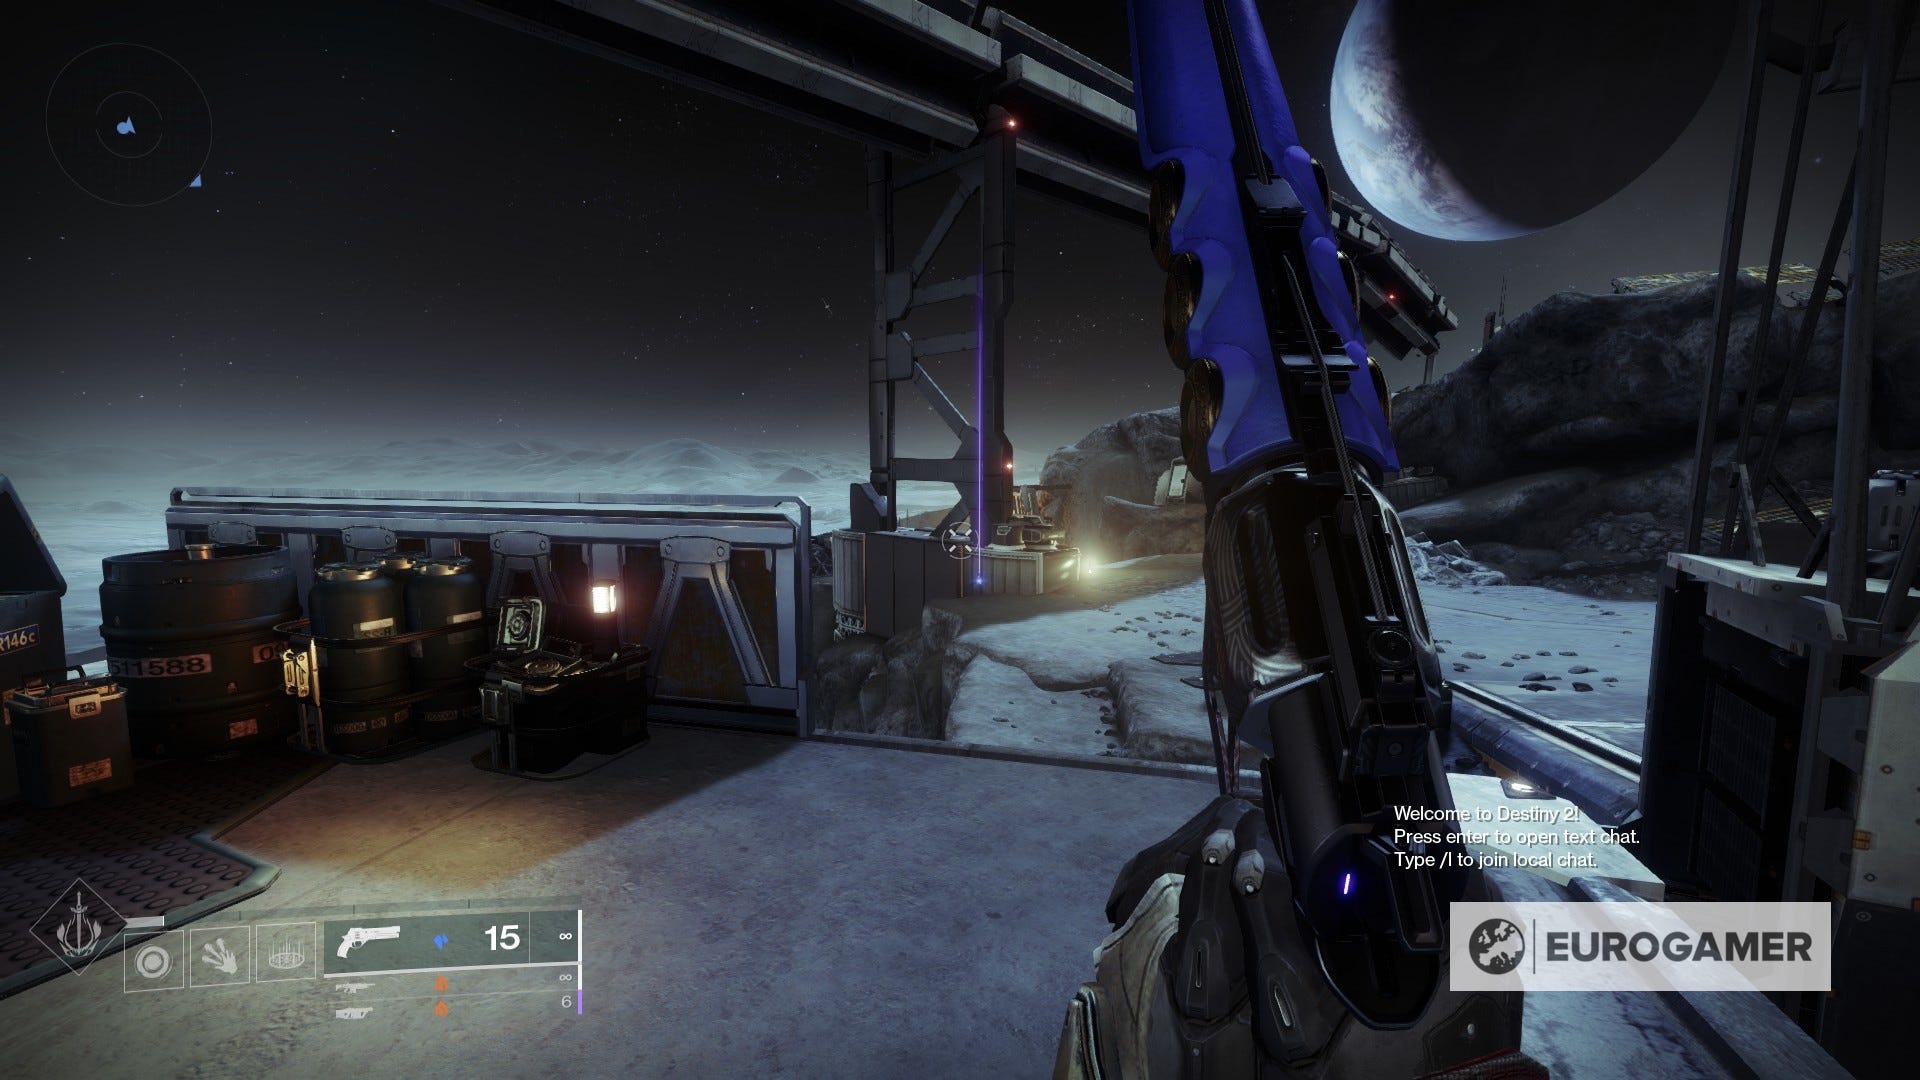
2. From there, keep heading straight until you get past the white abandoned outpost. There's another one hidden behind the bridge pillar right before the elevation.
3. Taking the white abandoned outpost as reference, head to its left and follow the path there (which is the connection between Sanctuary and Archer's Line). You will stumble upon the anchor about halfway there.
4. Return to the white abandoned outpost as reference, but head to its right this time around. Keep moving forward until you stumble upon the cliff to find another anchor.

5. Taking the fast travel point as reference, you will see an anchor to the right on the path to Anchor of Light.

Sorrow's Harbor Ascendant Anchors (7 total)
We're going to collect these from the fast travel point in a clockwise direction.
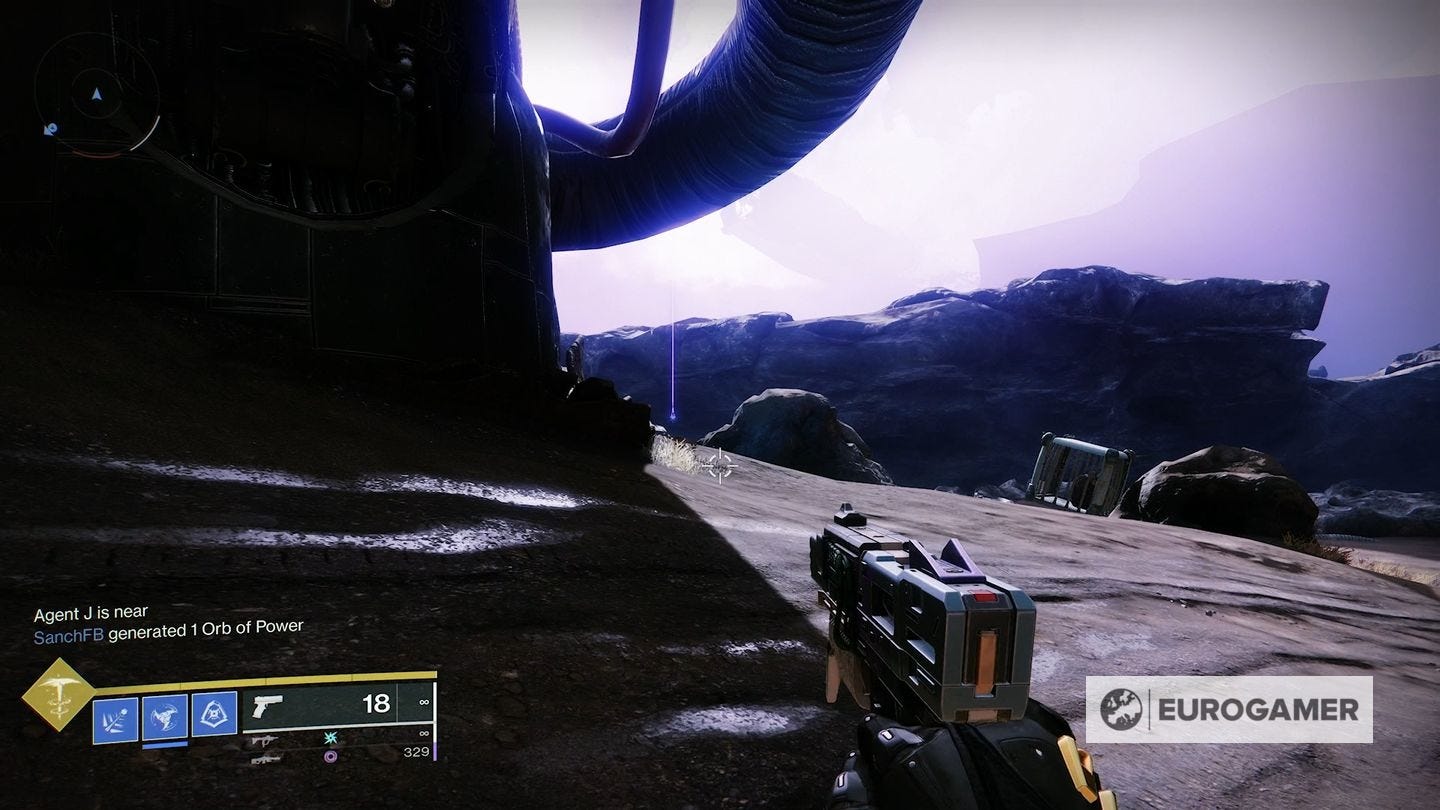
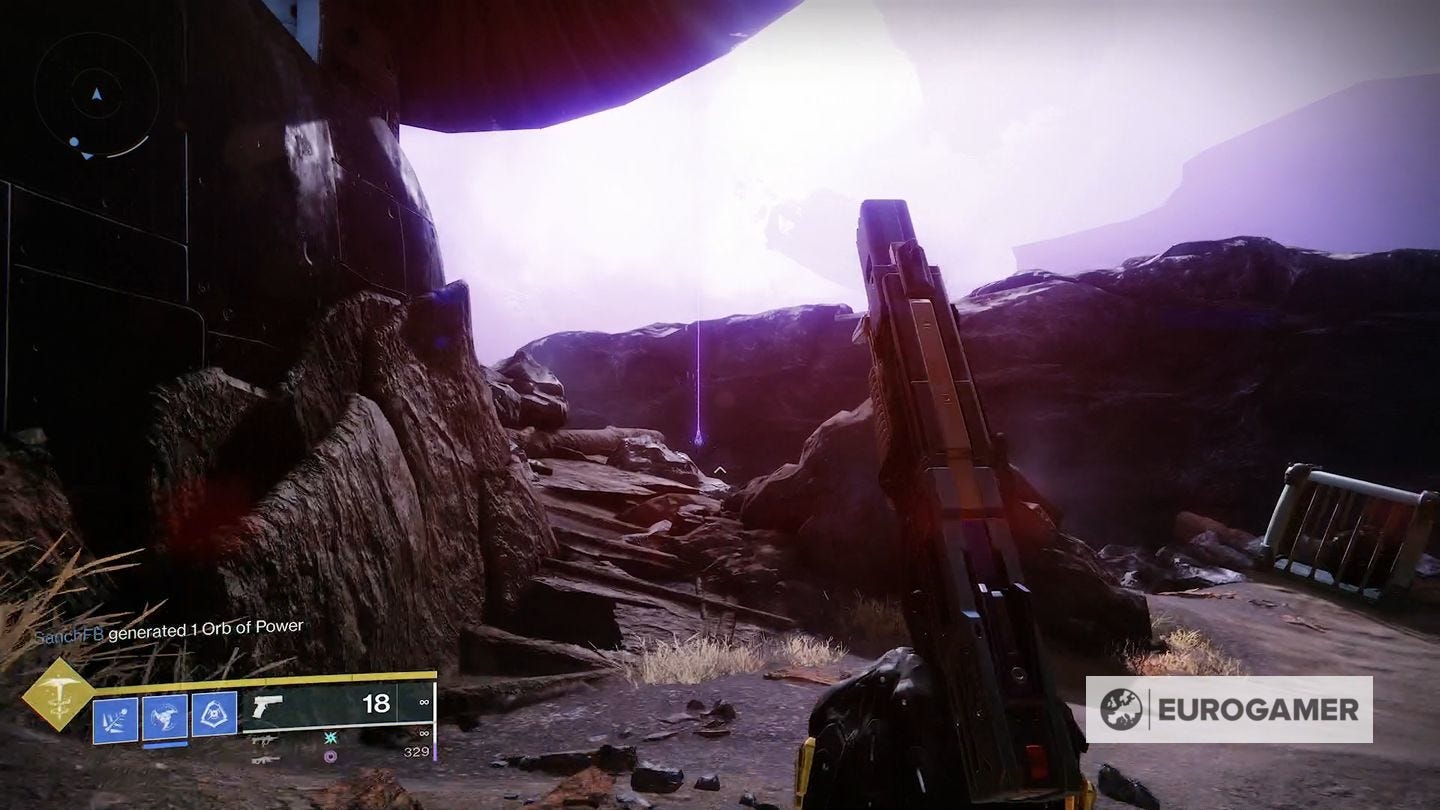
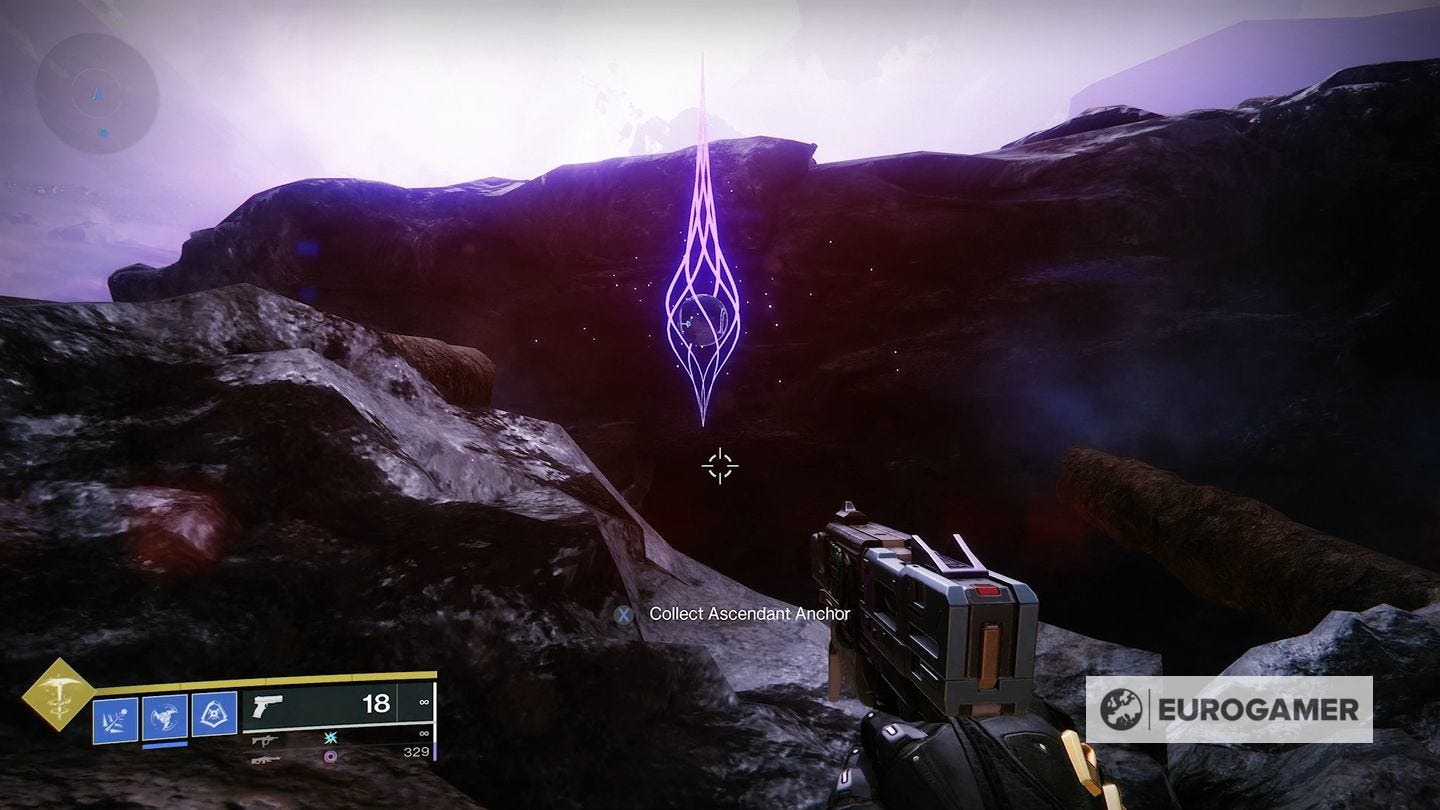
1. The first one can be seen from the fast travel point. For it, you'll have to head straight sticking close to the left side of the area until just before the first staircase. The anchor is behind a huge space boulder.

2. From there, use the staircase and you will notice the second anchor right away. Get past the first ring and head towards the second staircase, sticking close to the left side once more.


3. Don't leave the area just yet, and instead continue heading forward and past the first pyre to find another anchor.

4. Now, you're going to get past the massive gate and continue moving forward until you stumble upon the fourth anchor.

5. From where you just grabbed the anchor, use that path (sticking to your left) and head backwards (so, in direction to the initial fast travel point) to find another one.
6. Now, exactly from where you're standing, you're going to want to head all the way to the corner in front of you. Heading towards the direction of the fast travel point again, stick to the left side (don't fall!) until you get to the first ring. Then, follow the path on your right, get past the rings and you will end up in front of the anchor.
7. Lastly, once more from the spot where you just grabbed the anchor, head towards the fast travel point using the path ahead of you - getting right past the ring and slightly further from the massive rocks in the vicinity.

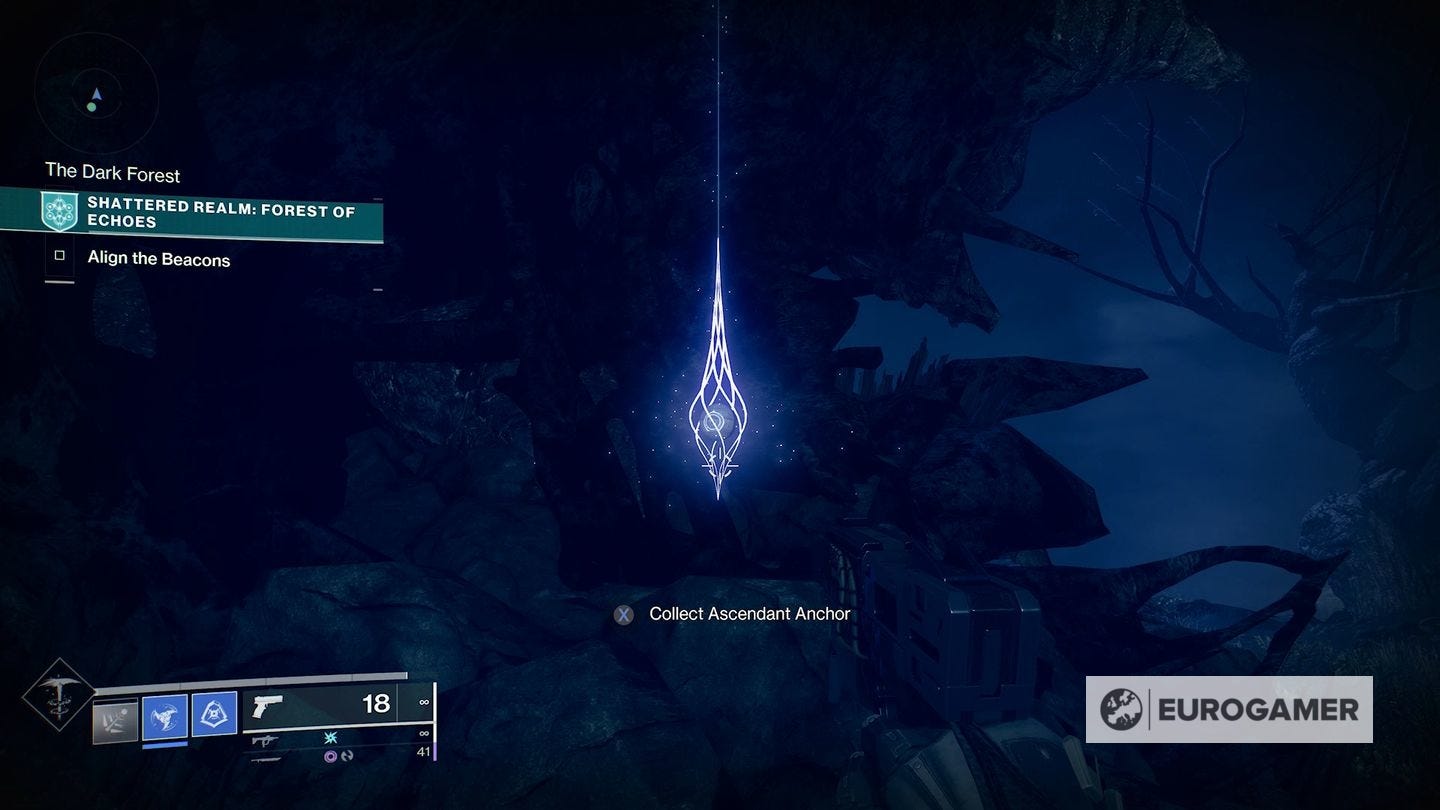
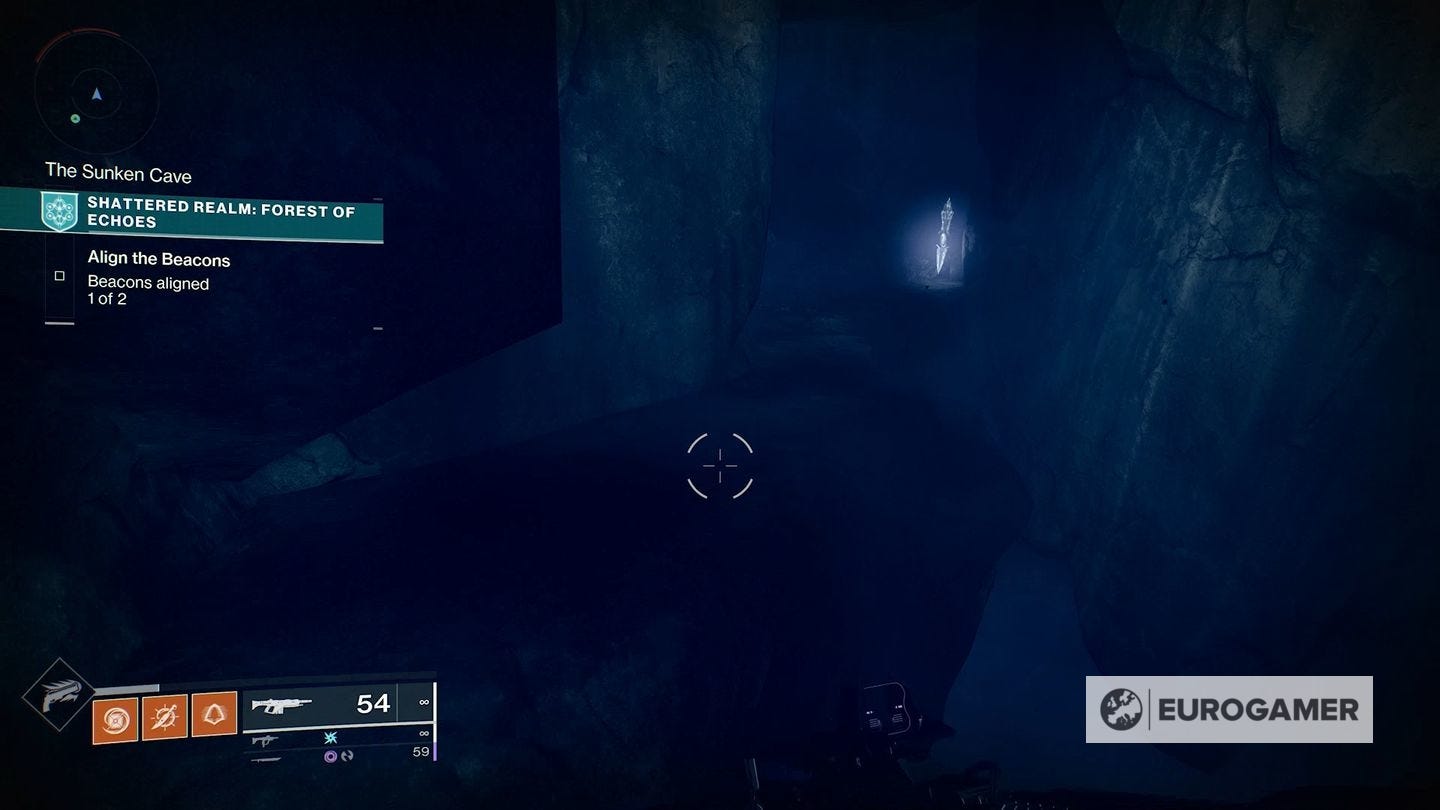
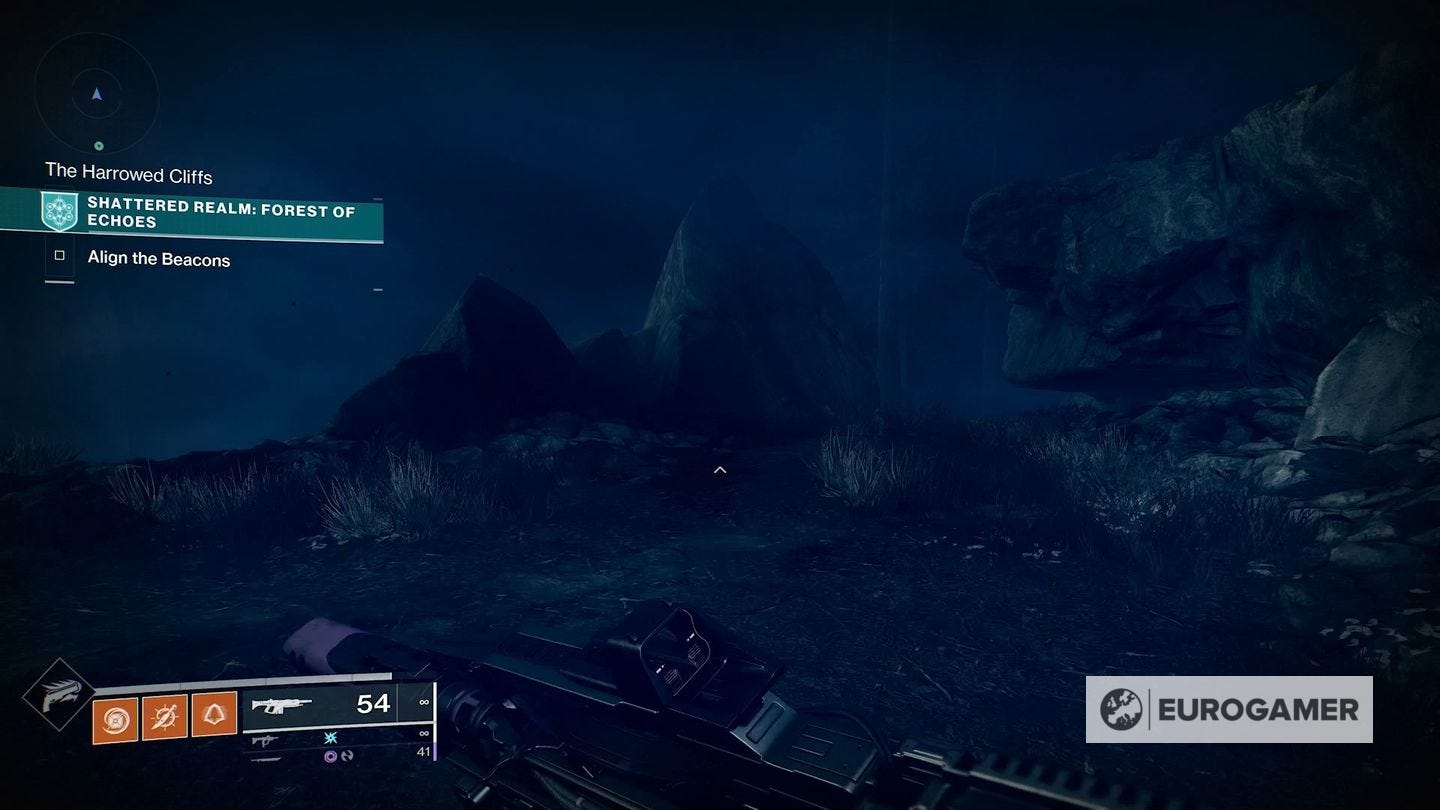
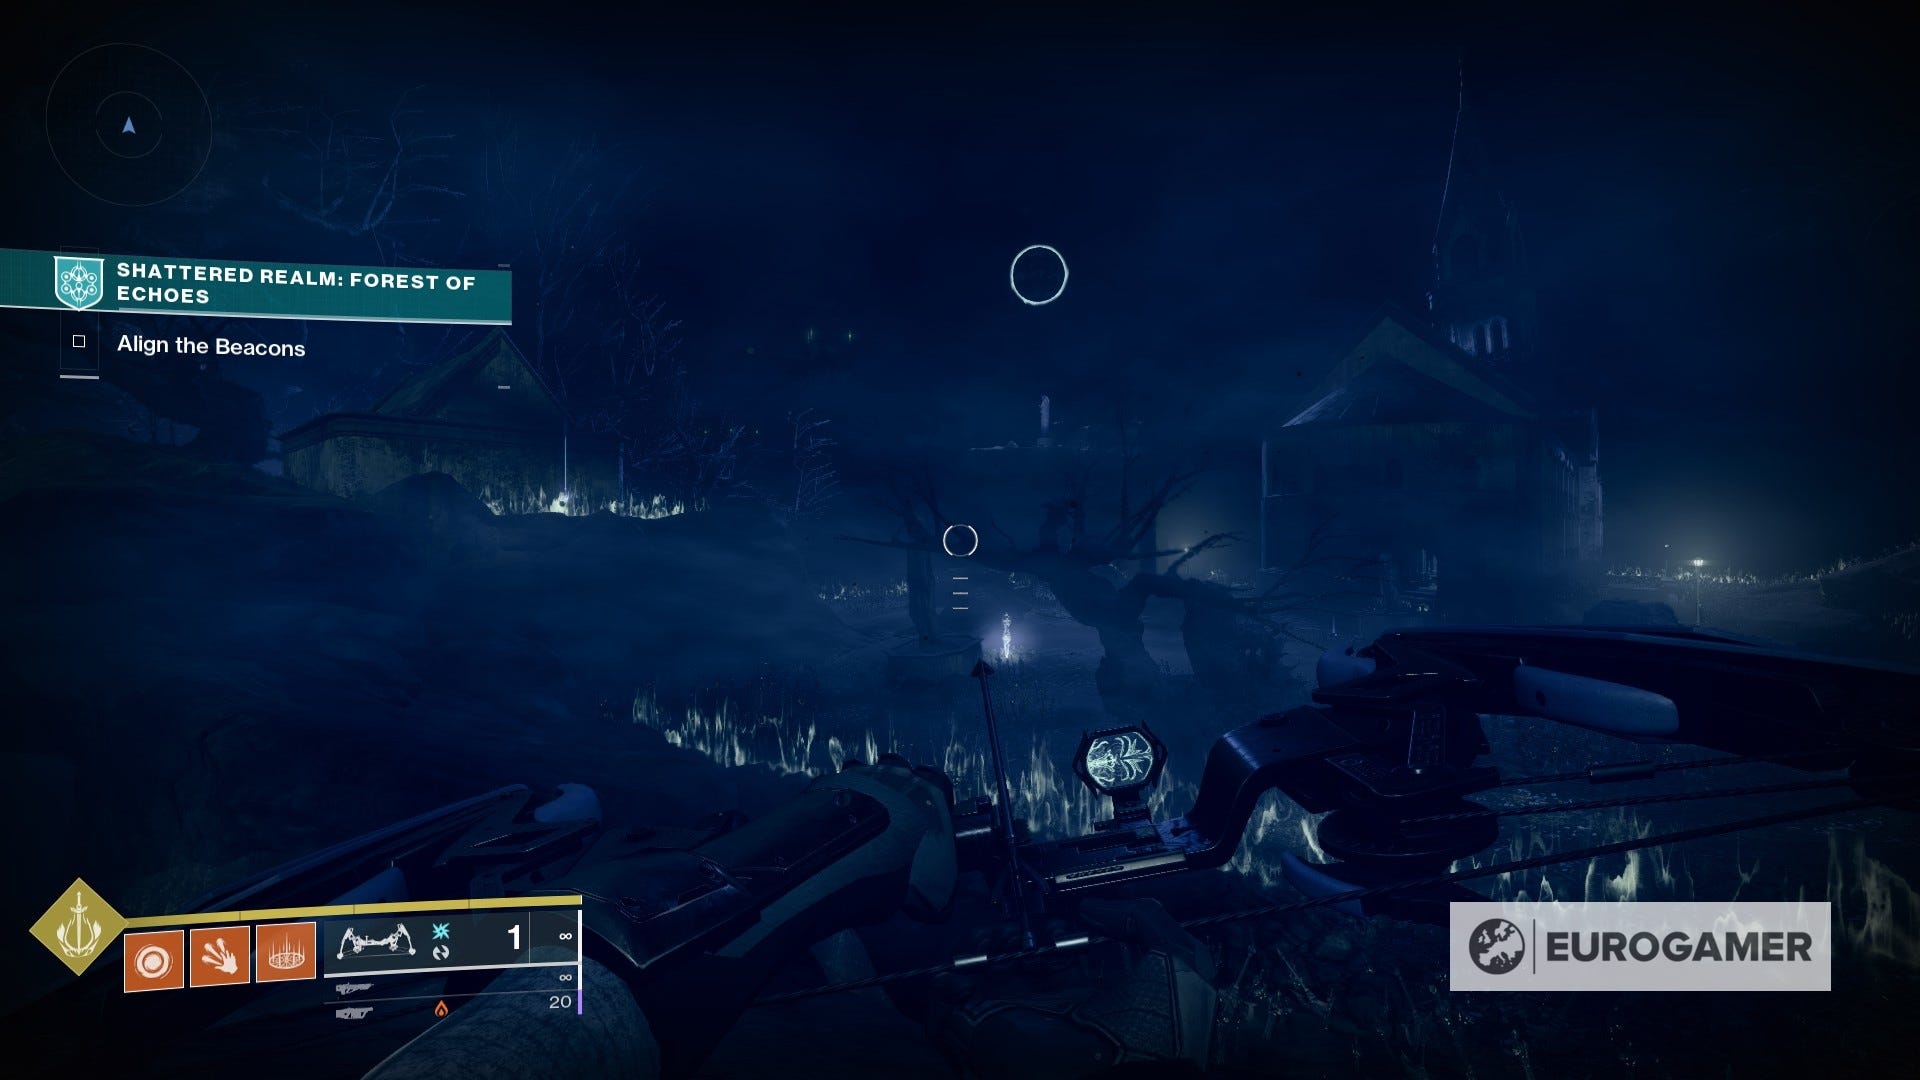
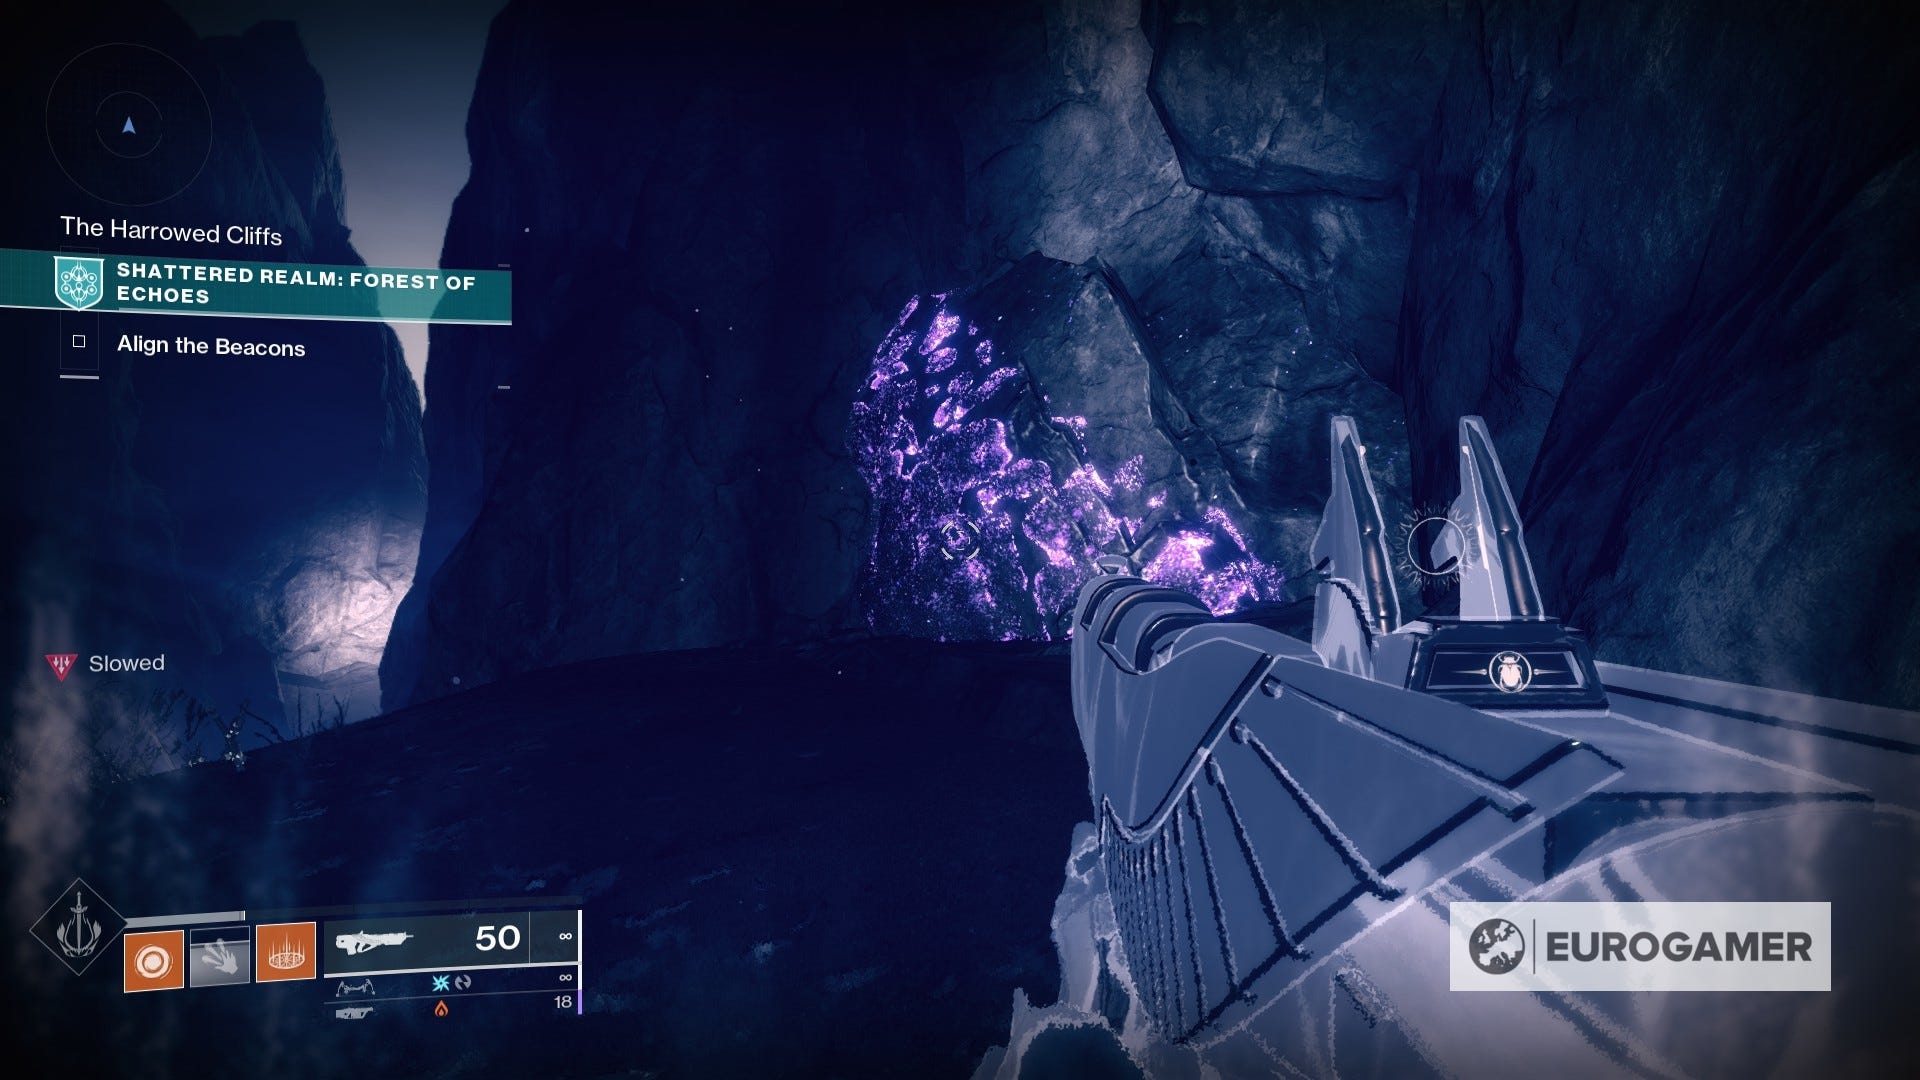
Shattered Realm - Forest of Echoes Ascendant Anchor locations
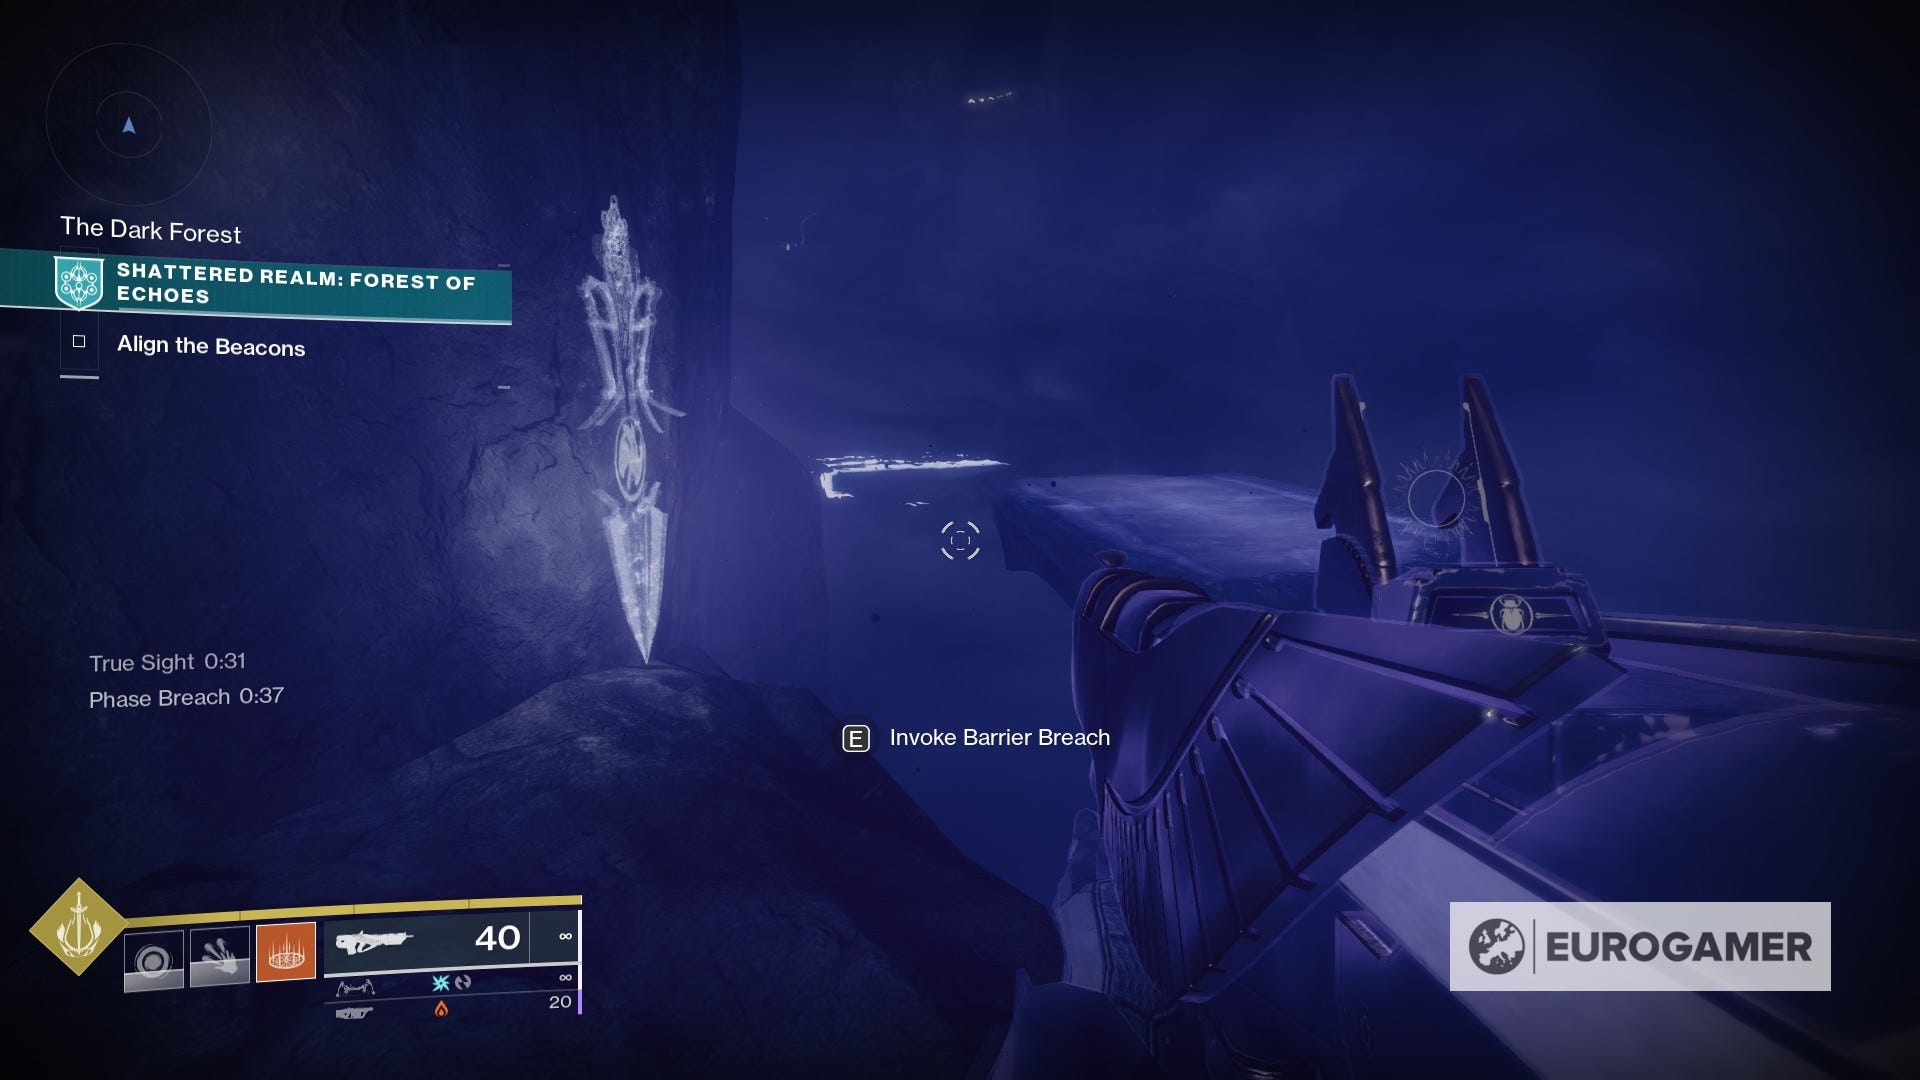
The following were made available during Season of the Lost's first week. Not many of these require the Barrier Breach ability to access, which is unlocked when you complete the Shattered Realm: Forest of Echoes mission for the first time. This is also useful so you understand the layout of the location better when searching for Anchors.
These will appear every three weeks on rotation around other two Shattered Realm missions, and will reset when they return back on rotation - allowing you to collect them multiple times per season.
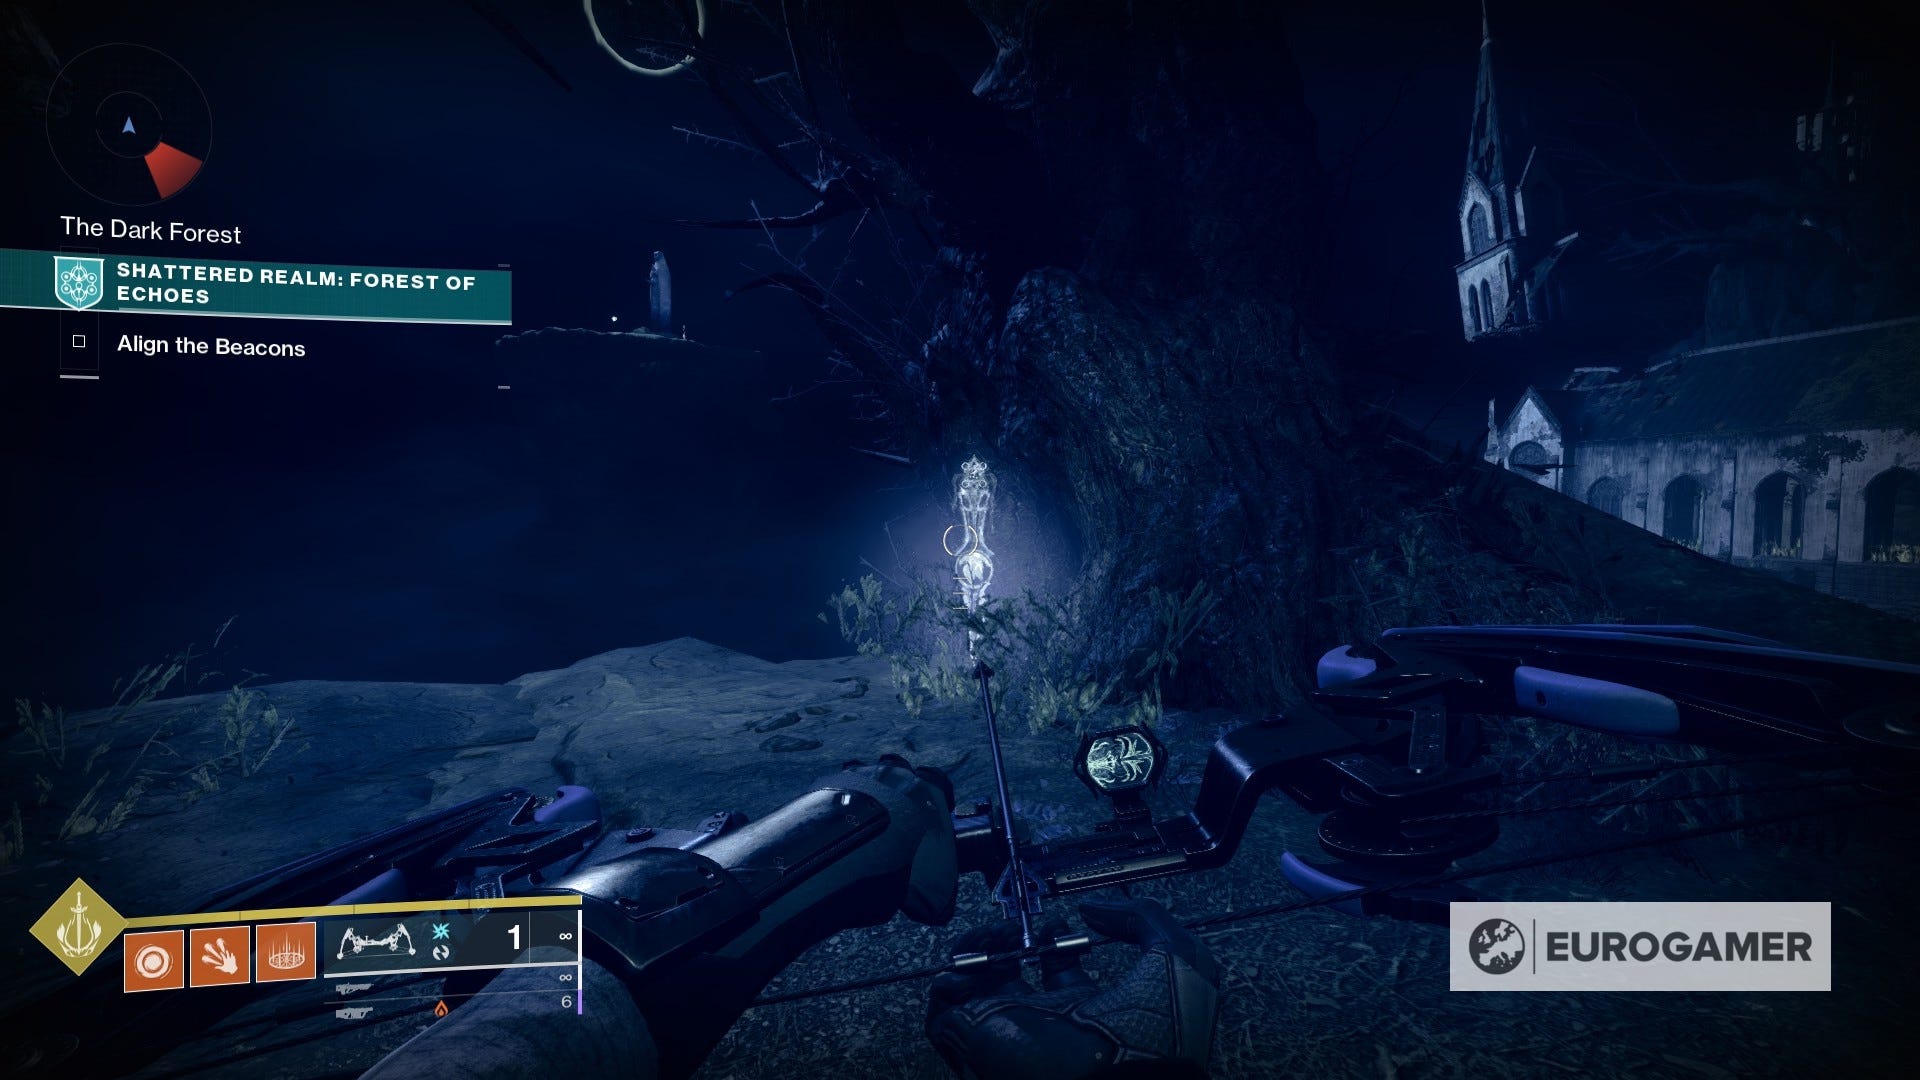
1. The first anchor you'll find is as you approach the church and the first beacon, at the base of a tree not far from the catacombs.

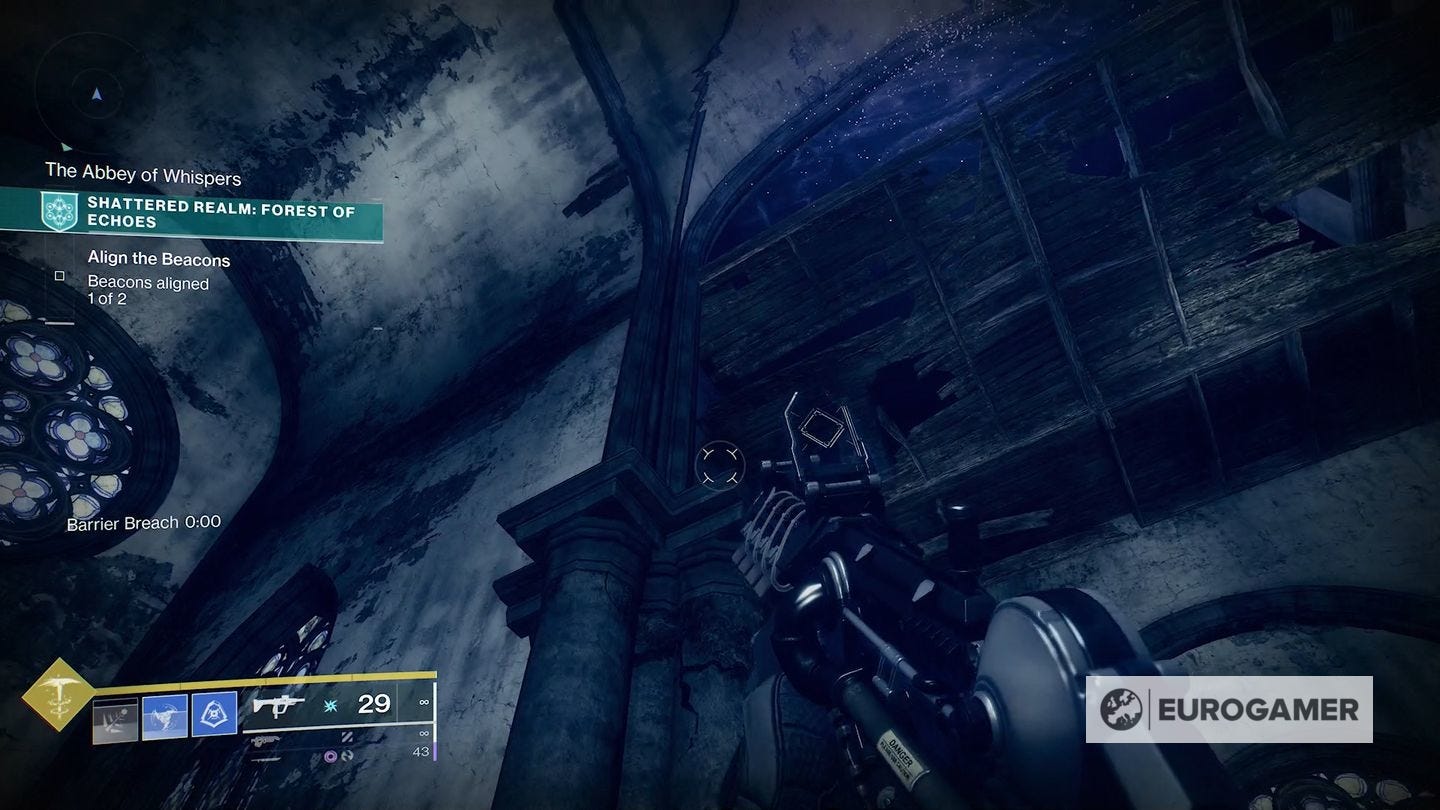
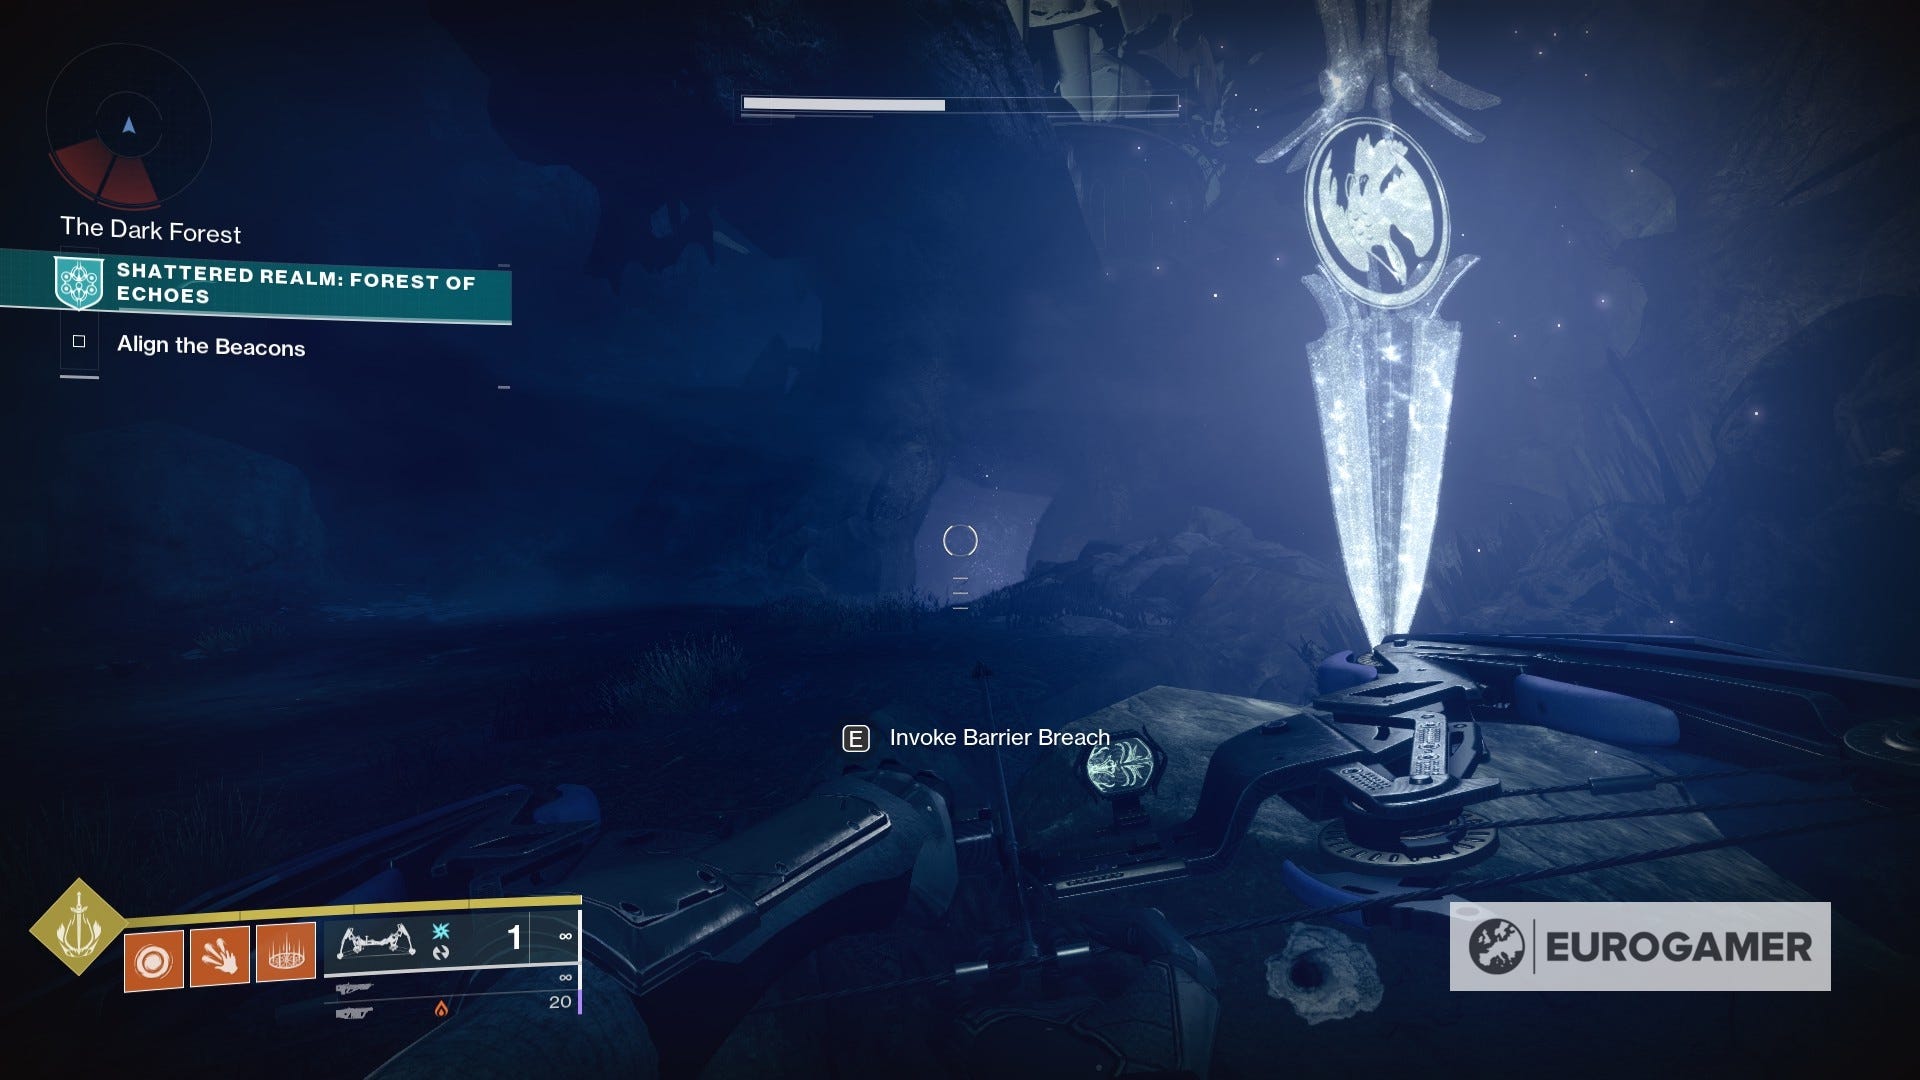
2. Head to the church, which is where you'll find the first beacon. Once the encounter is over, turn back to the entrance and use the Barrier Breach in the corner.
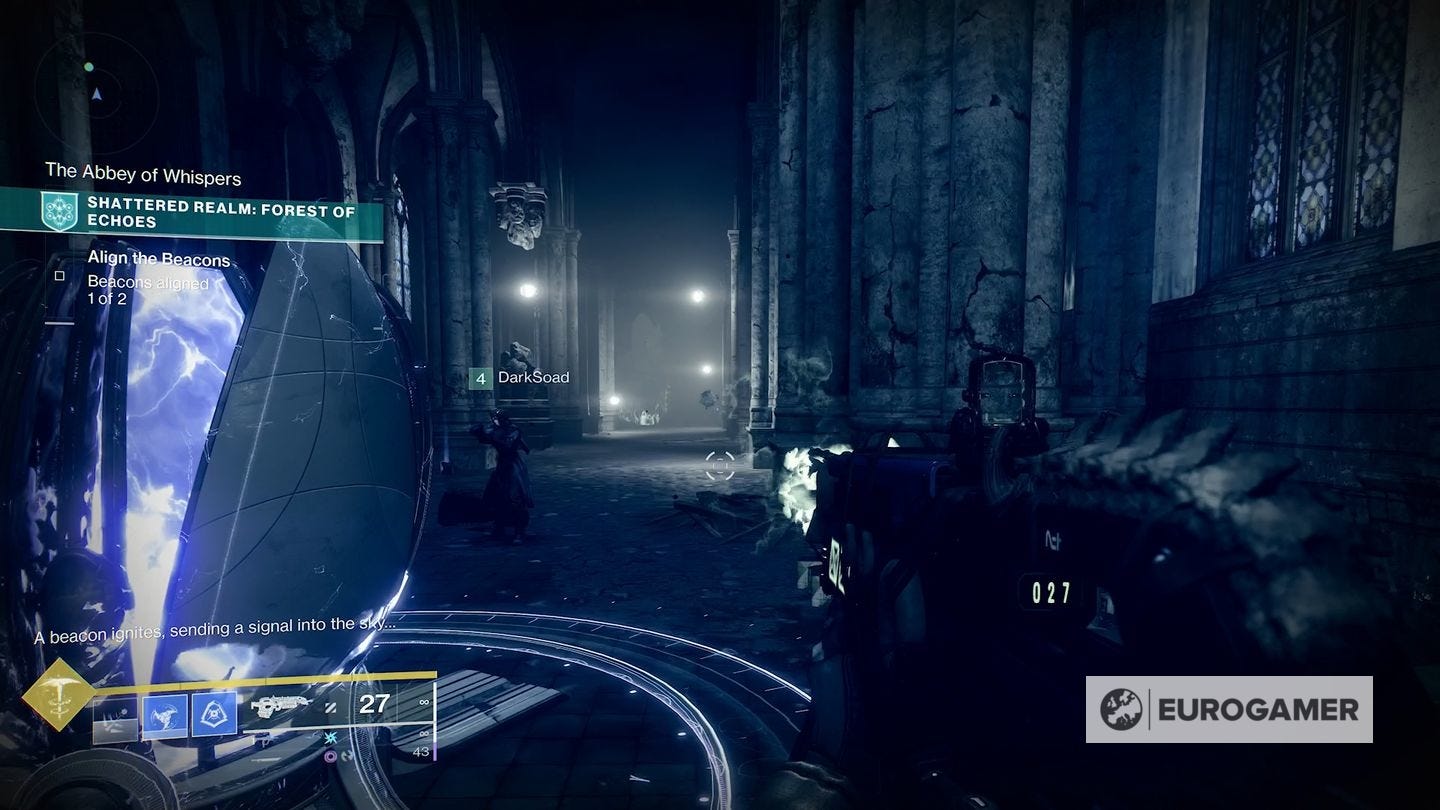

Then quickly return to the beacon, and use it to leap up onto the support underneath the barrier, and then enter. The anchor is here. Now exit by jumping from the roof.

3. From the church, go to the far side ('away' from where you entered the level) where there is a series of ledges going up, with some Taken rings in the far distance. You can see the Anchor just up the steps.
(If you are doing Trivial Mysteries, this is on the steps leading up to the Ruins.)

4. Near the church, up a ledge (in the direction of the second beacon) is a small building leading down to the catacombs. The anchor is round the back.

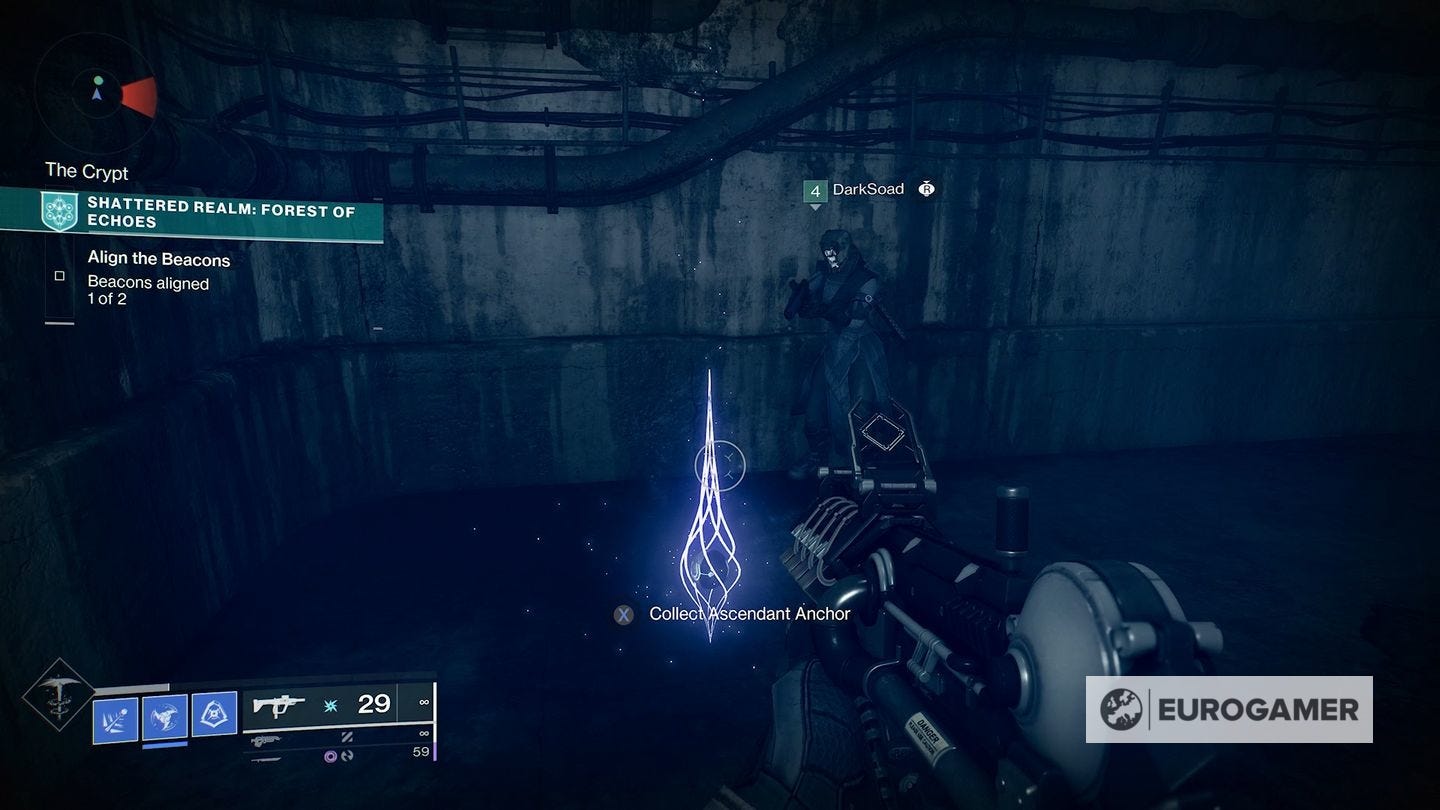
5. Near the catacombs entrance is a Barrier Breach you can use. Activate it, then enter the catacombs, dropping down then hugging the left wall and following the route round. You'll then find it ahead.
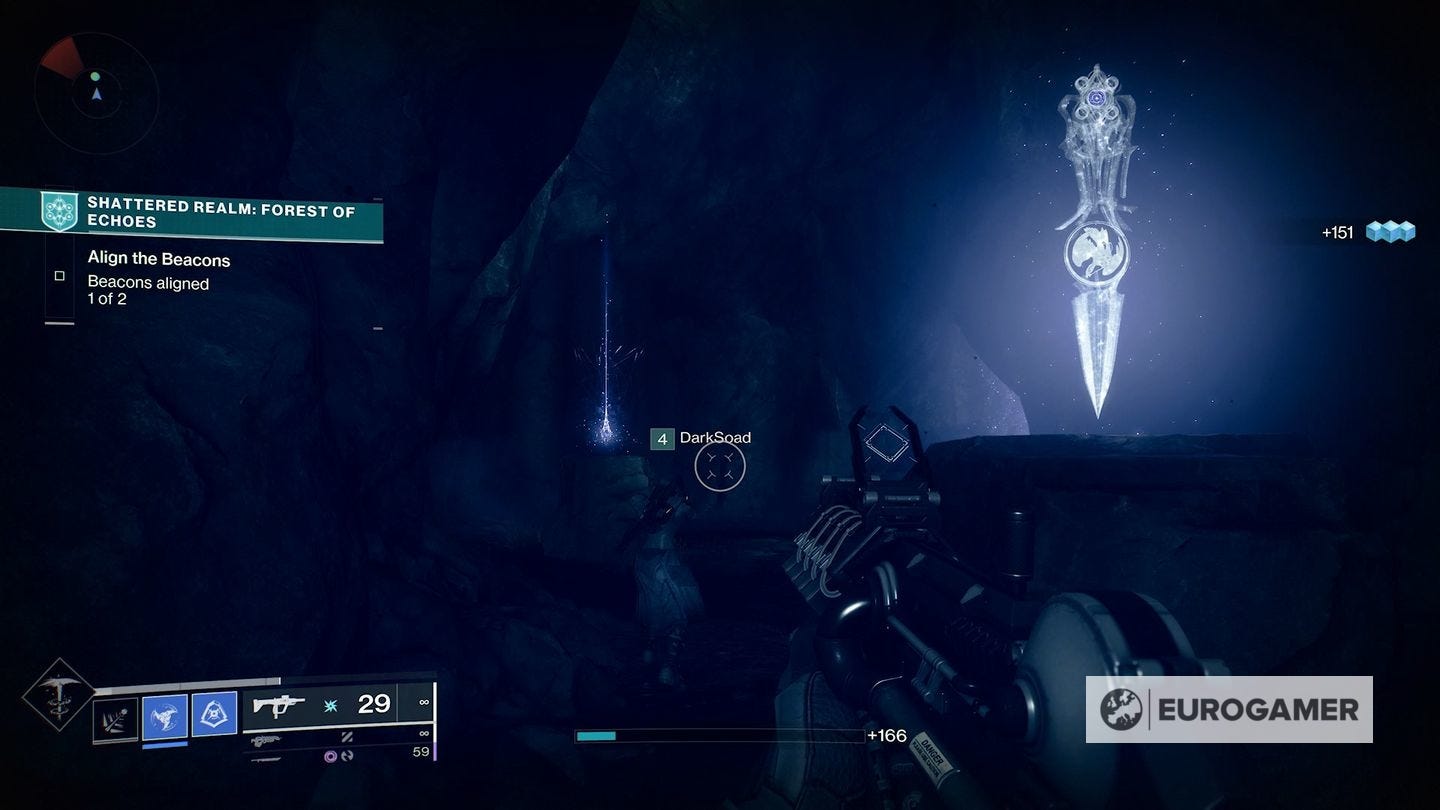
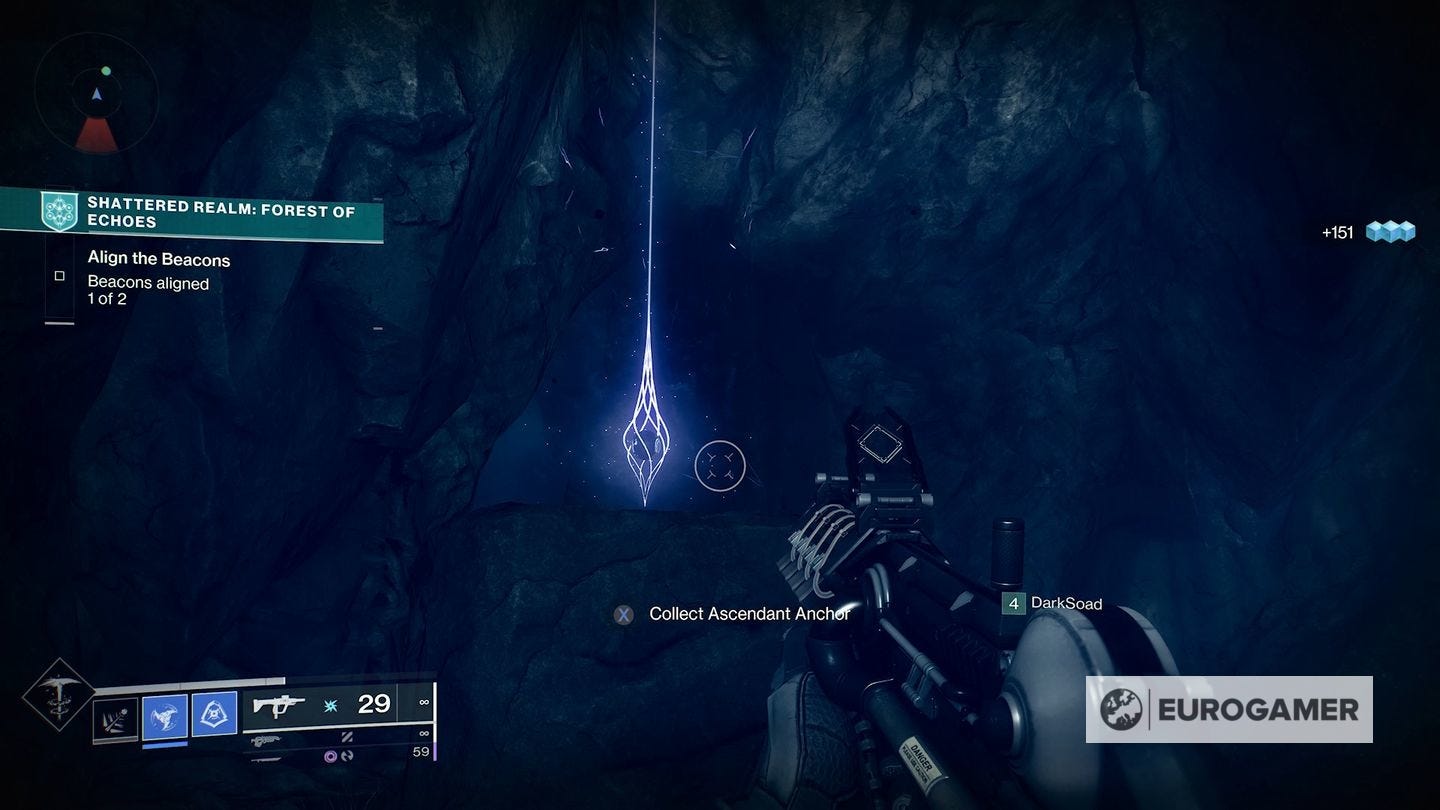
6. Return to the area with the anchor at the base of the tree, which is back past the catacombs. At the far end is a barrier blocking a cave.

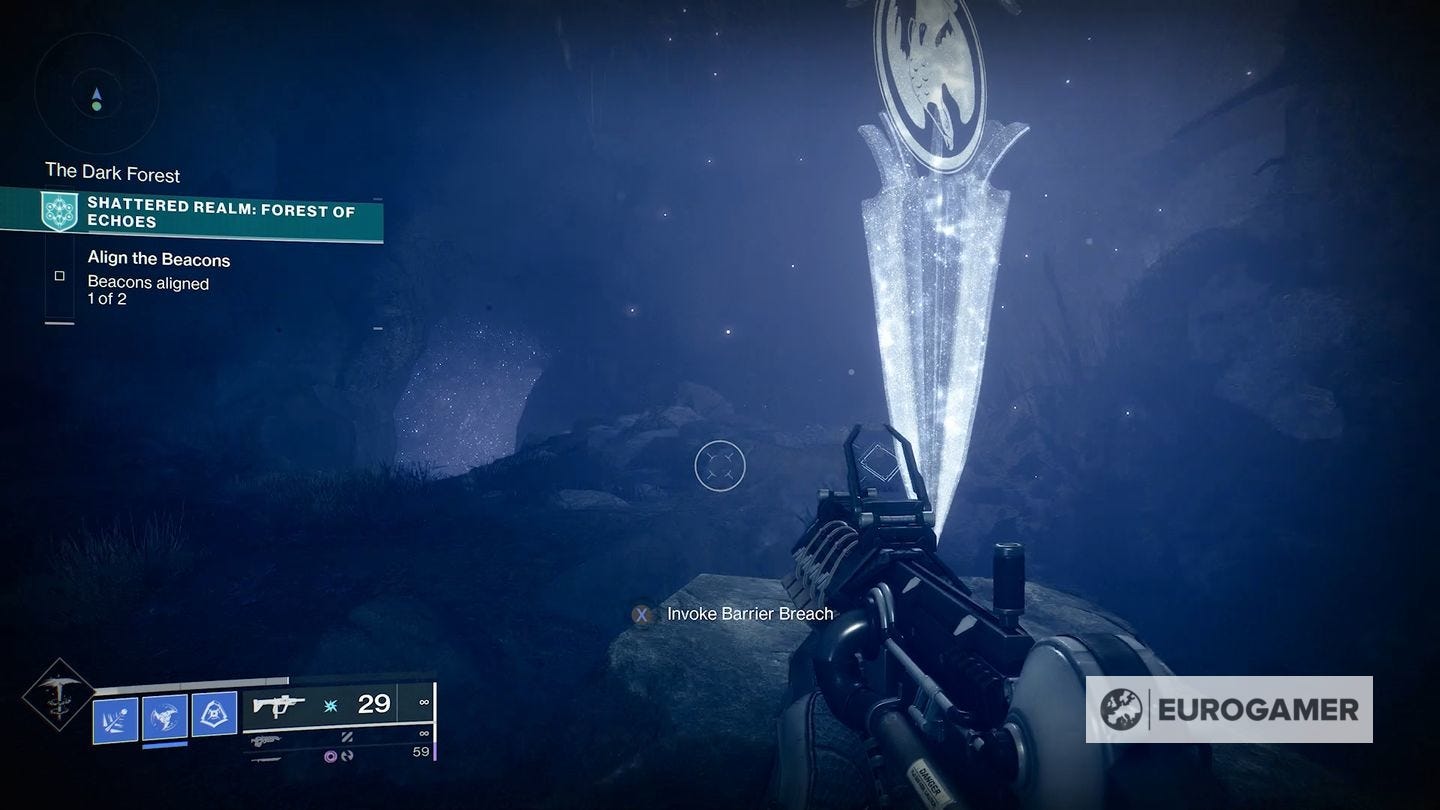
Use the Barrier Breach nearby to drop down, where it'll be on a rock at the end.
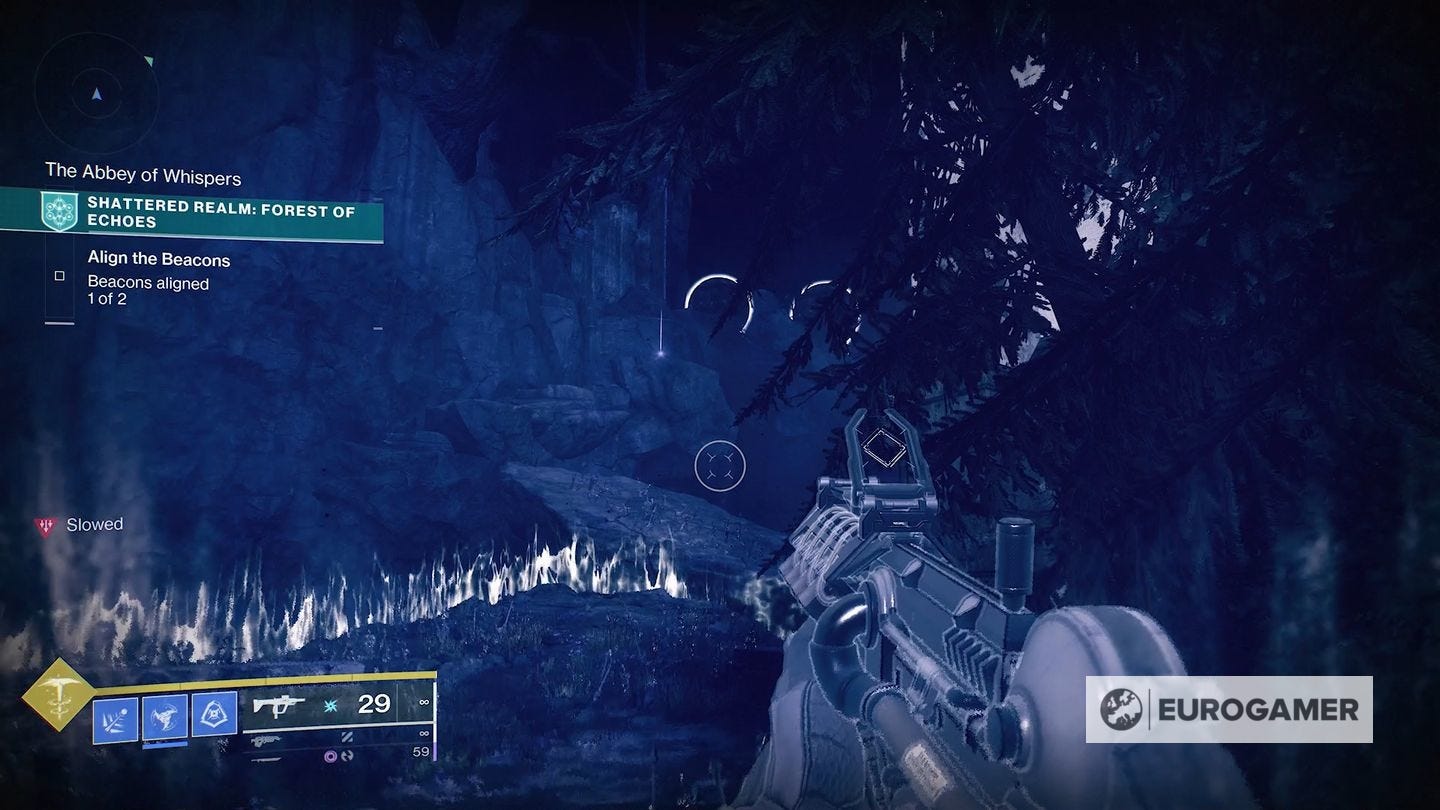
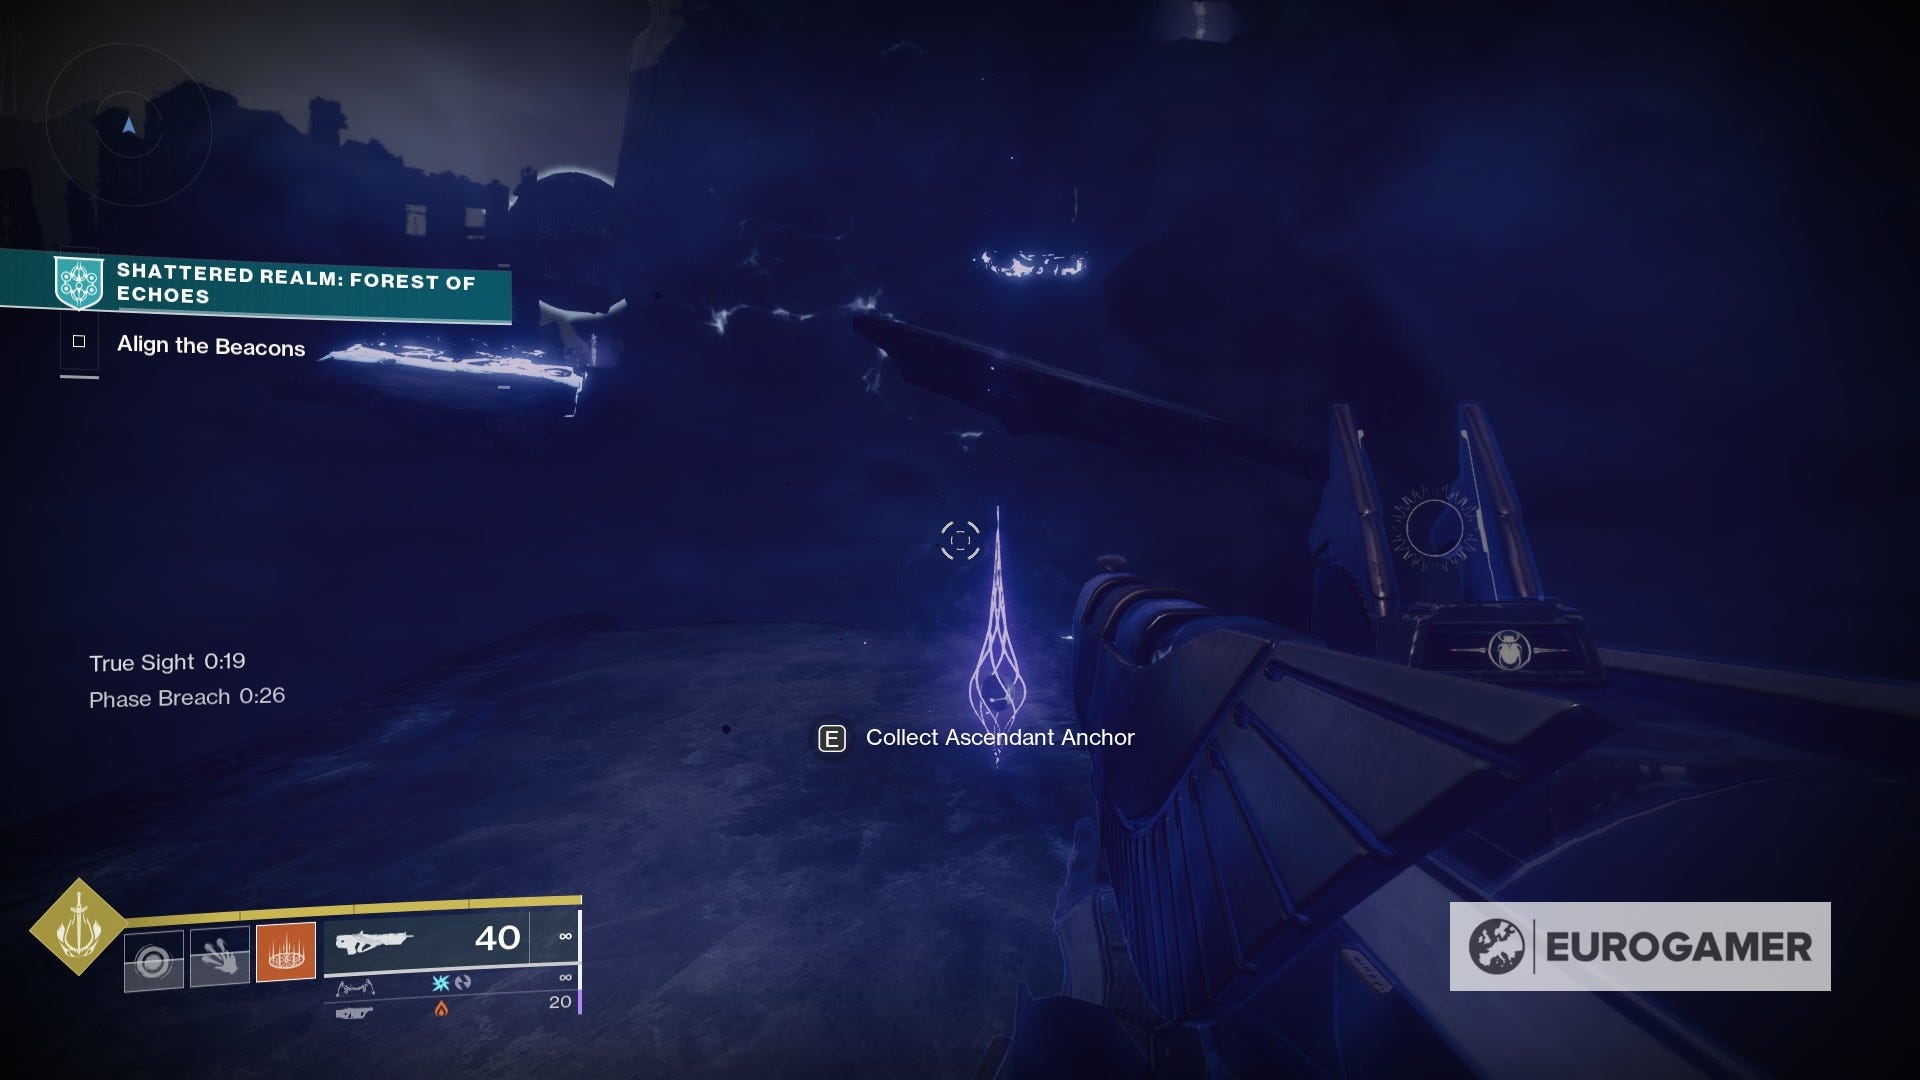
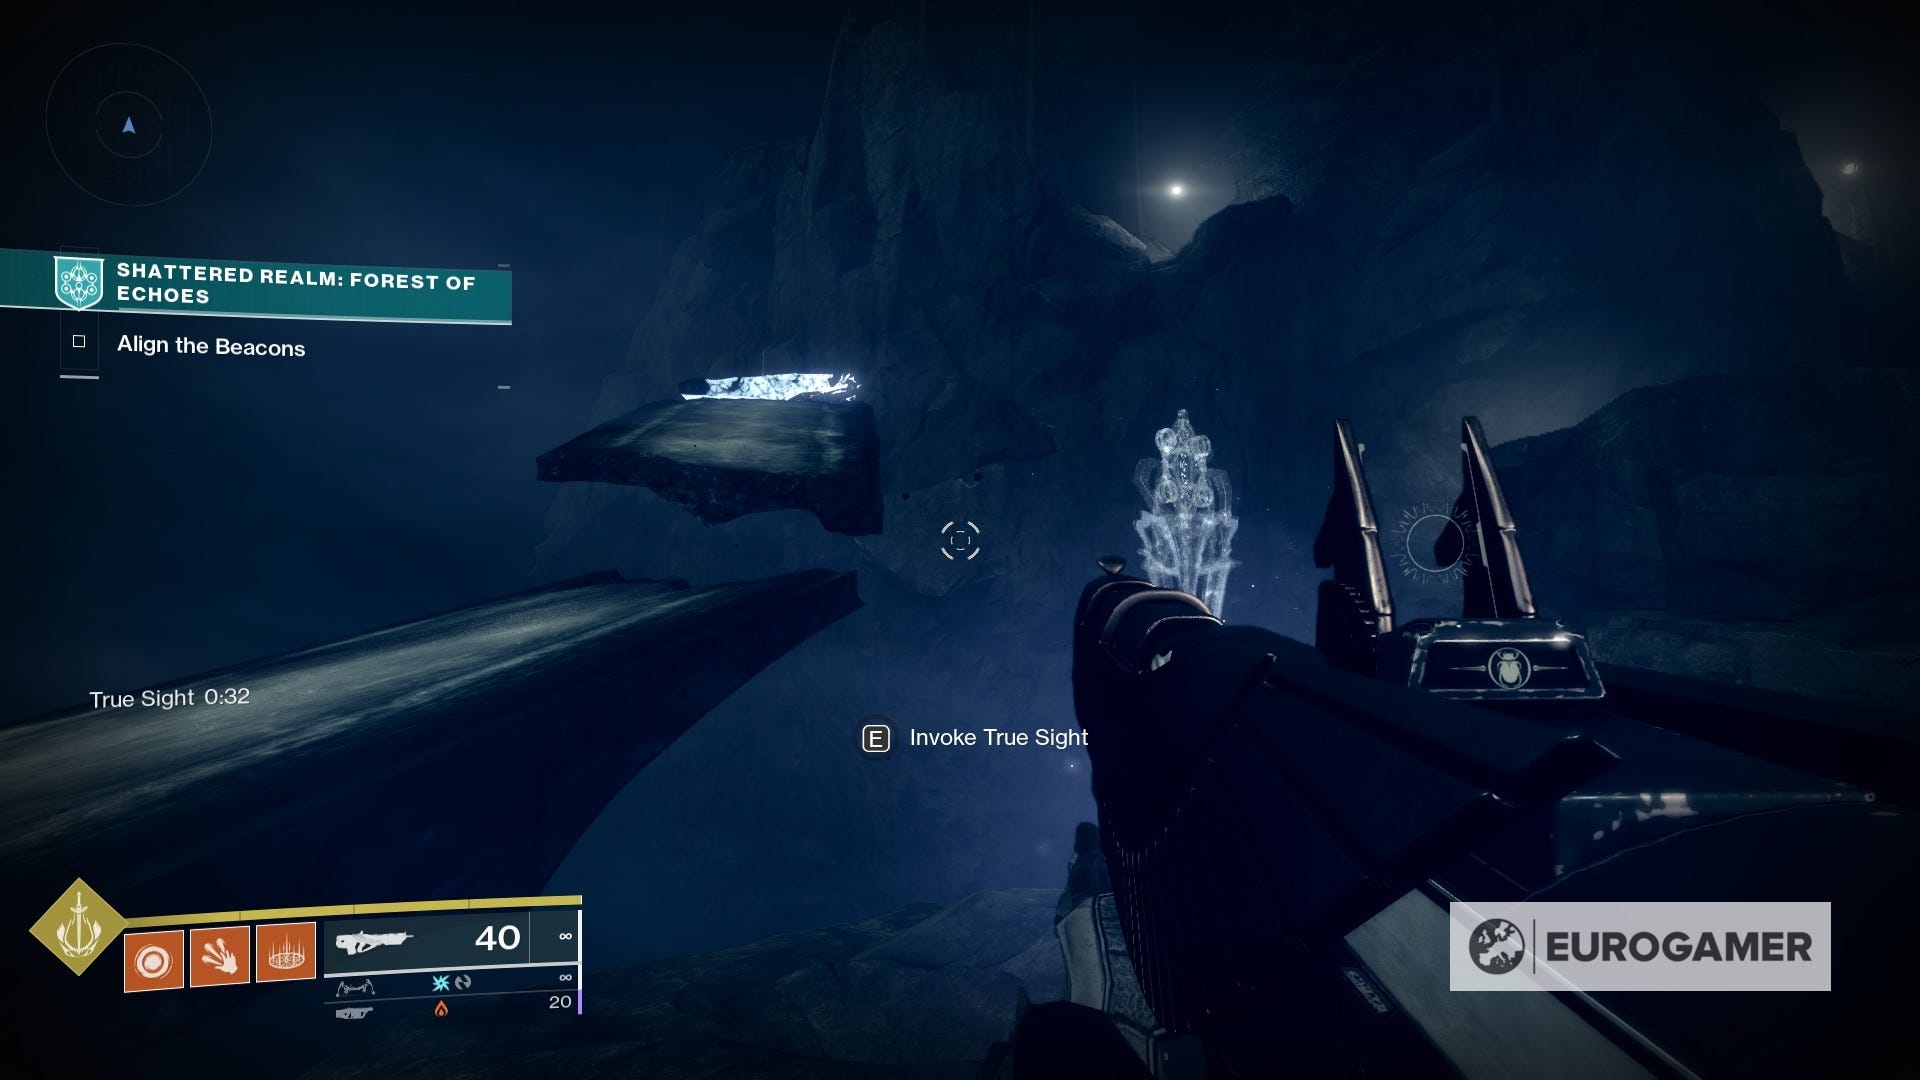
7. Now proceed to the next beacon; as a reminder, from the catacombs, follow the cliff edge going back, and you'll see a large tree and then series of floating platforms and a ruined structure in the distance. Go over there.
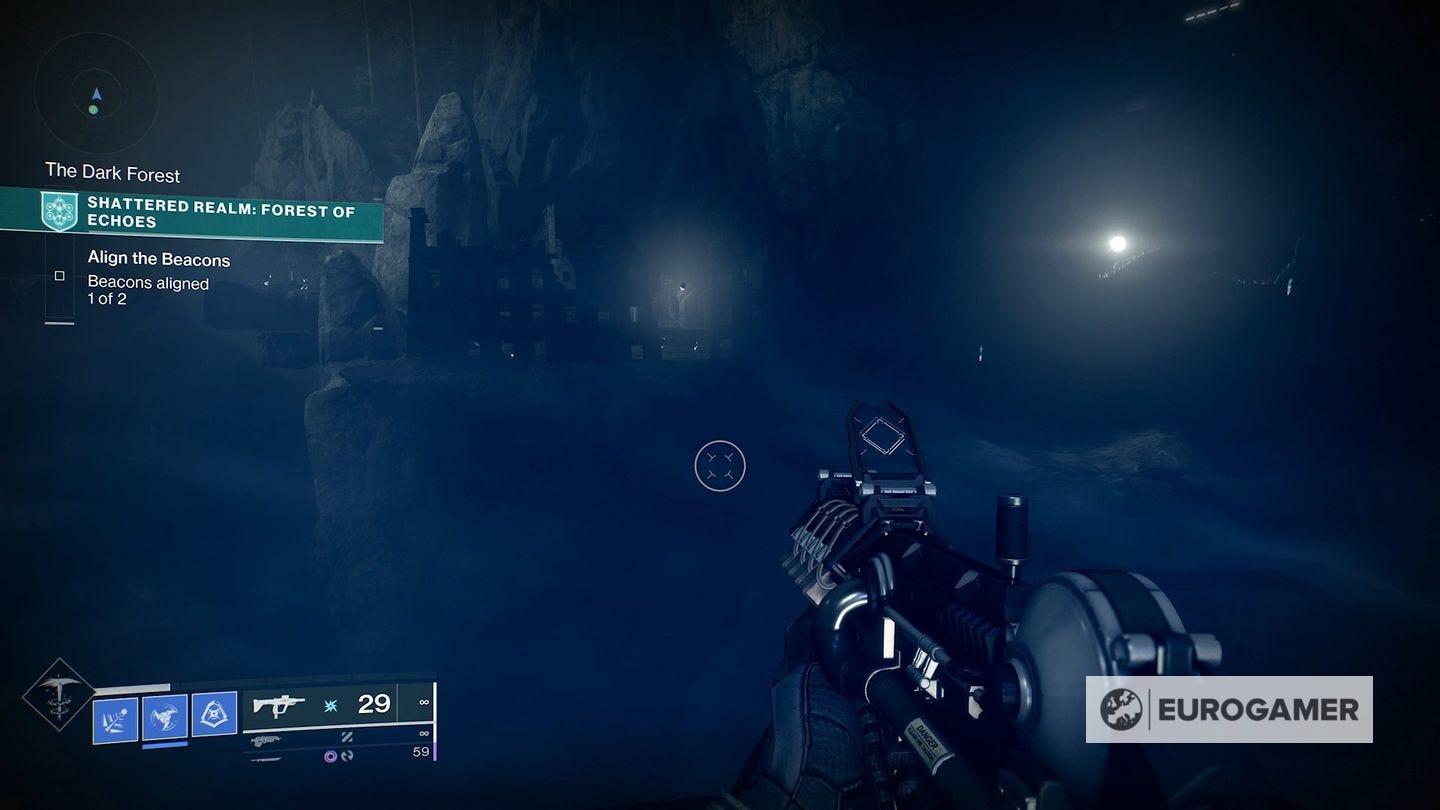
Once you are in the ruined structure, leap up and right to the top corner to find the Anchor.


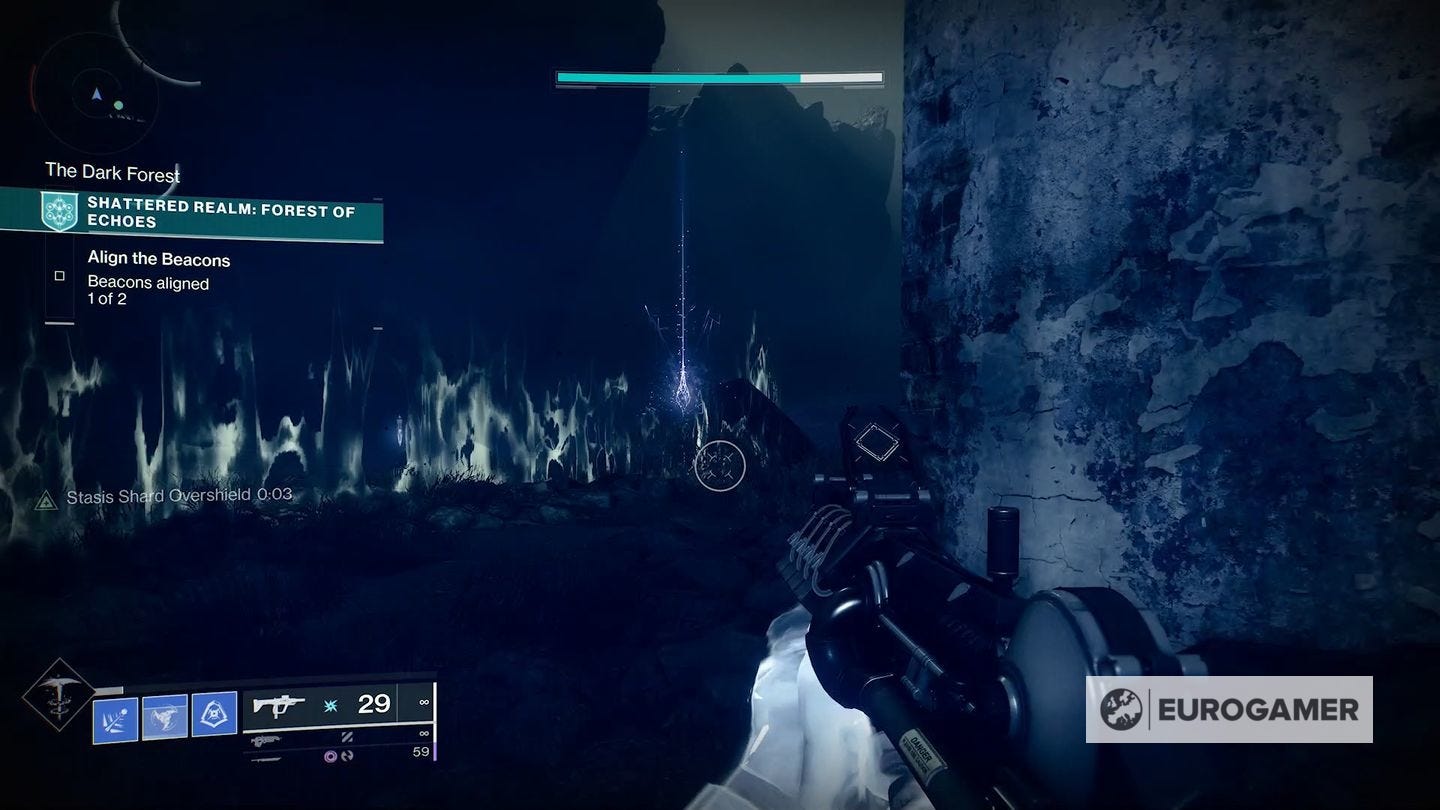
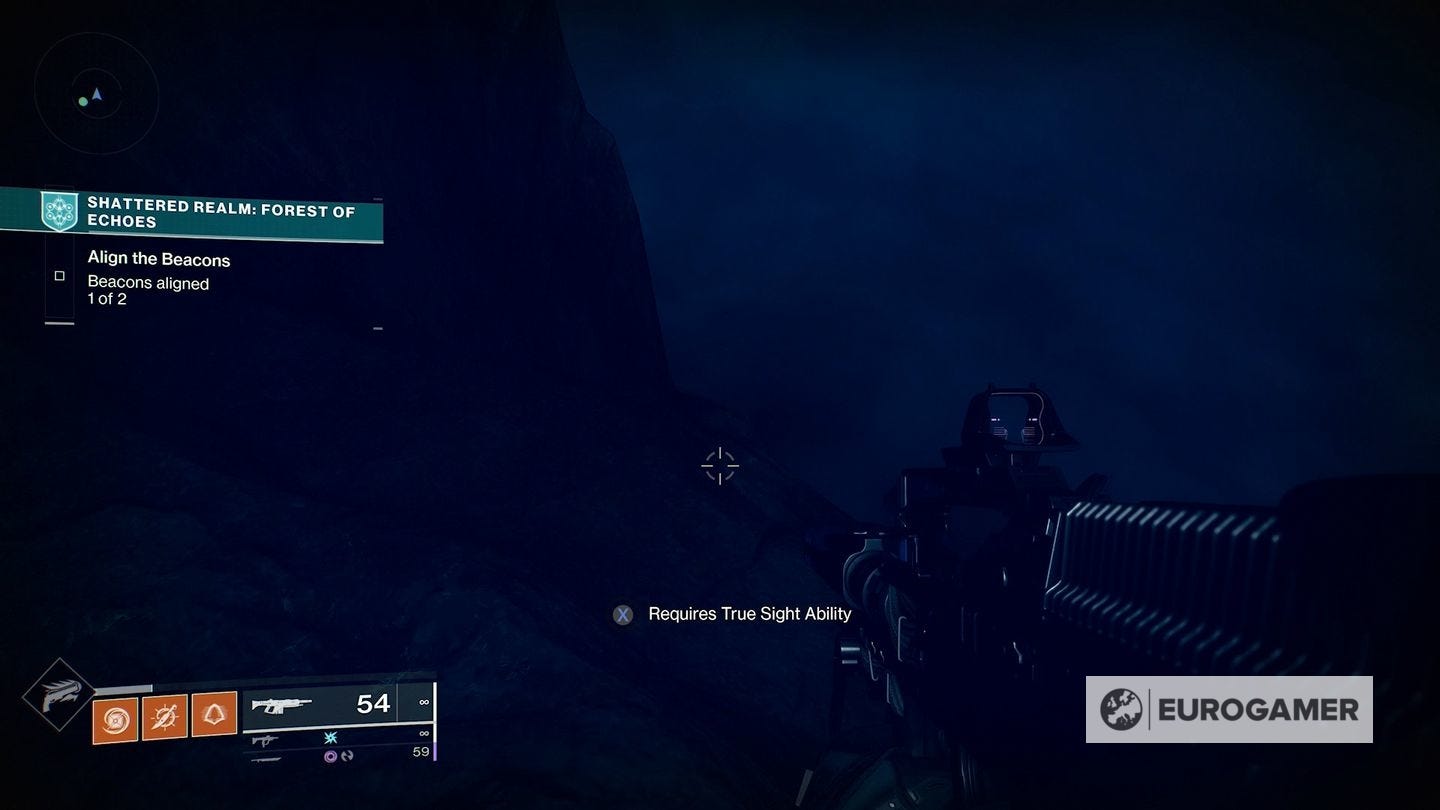
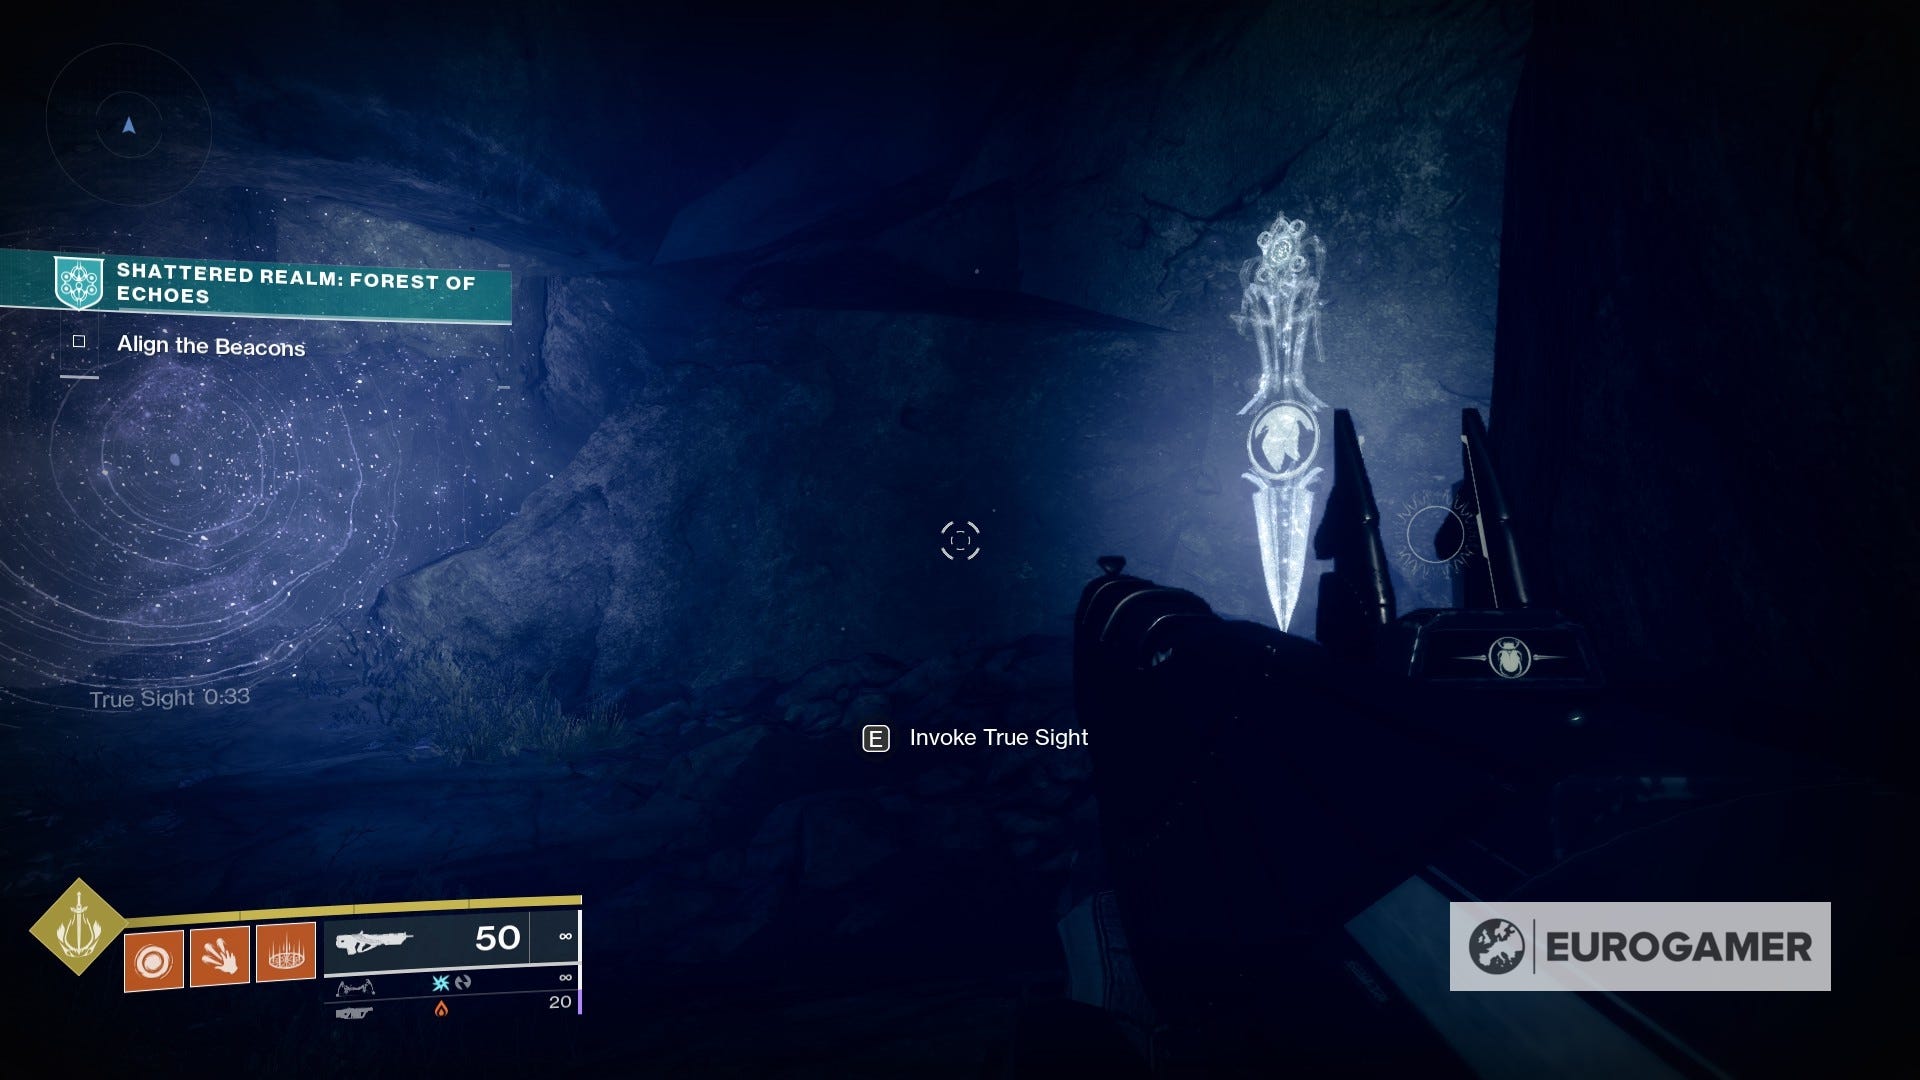
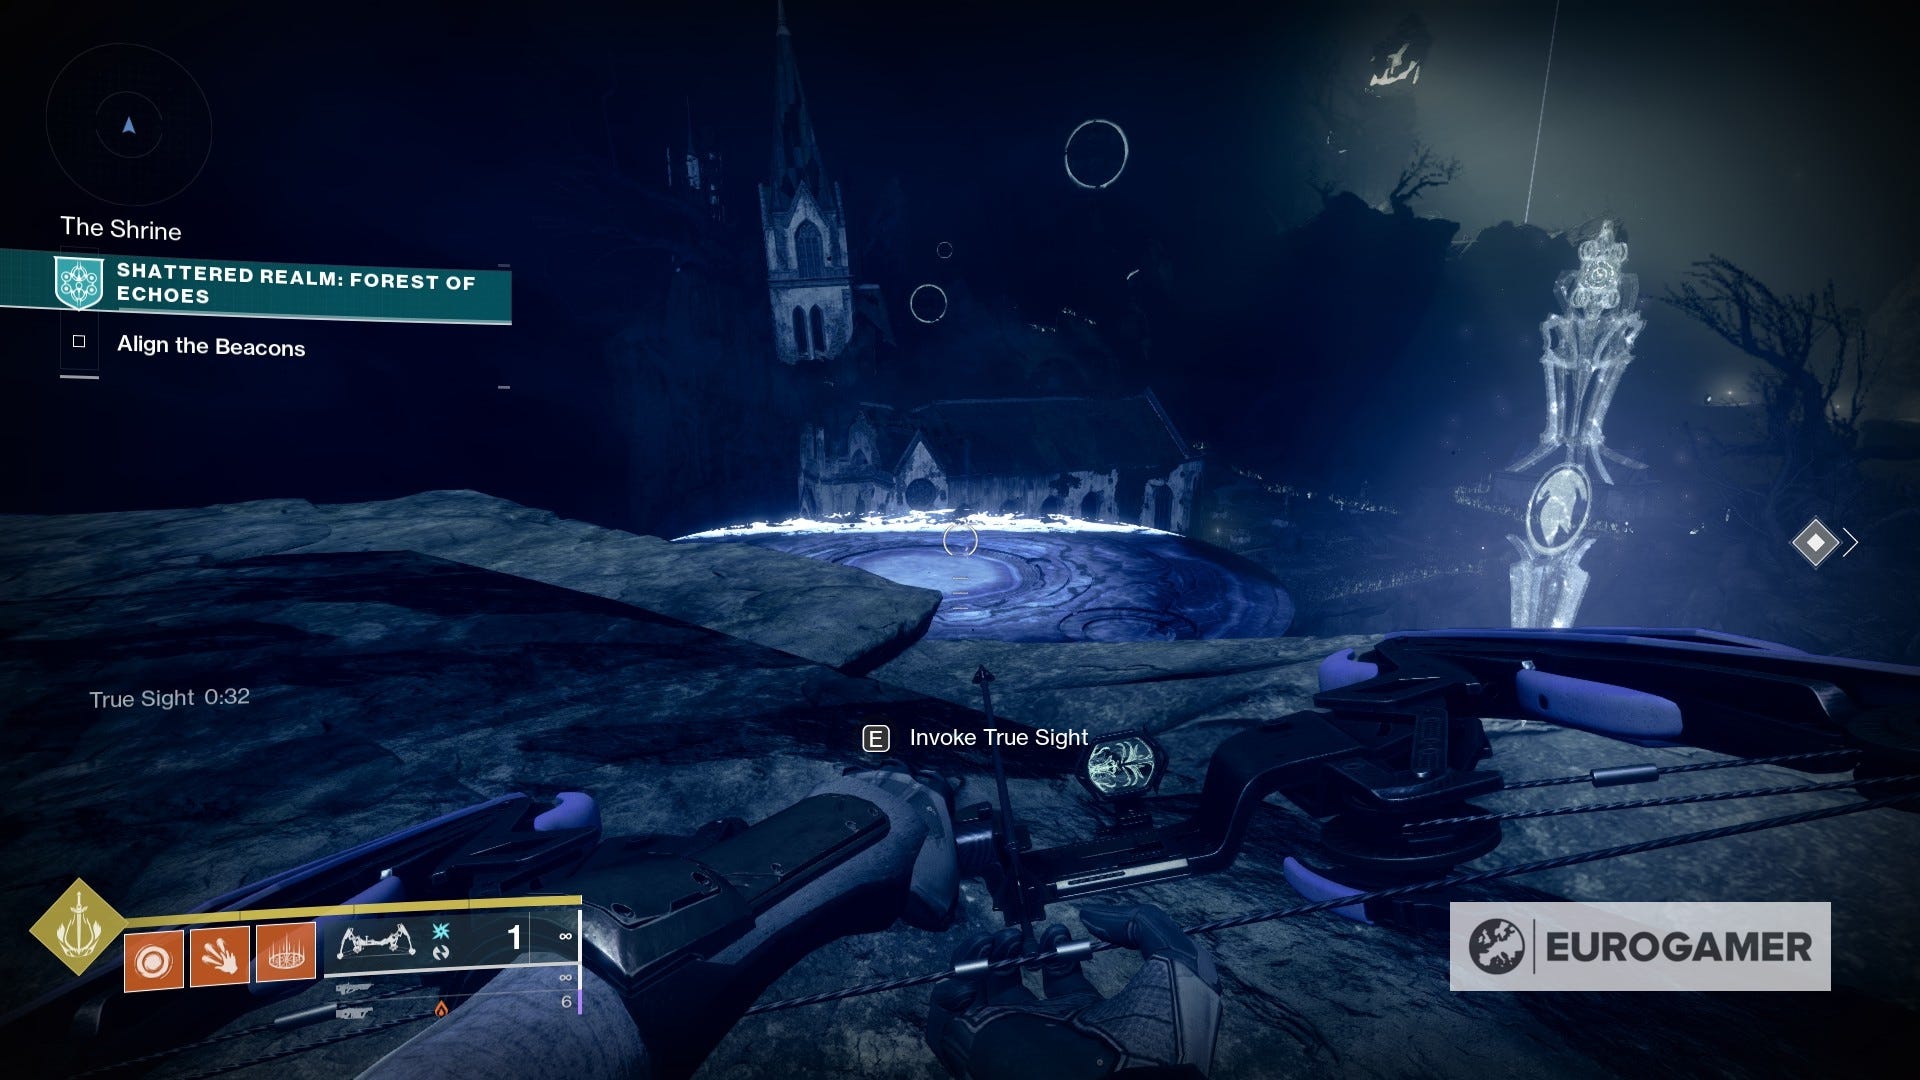
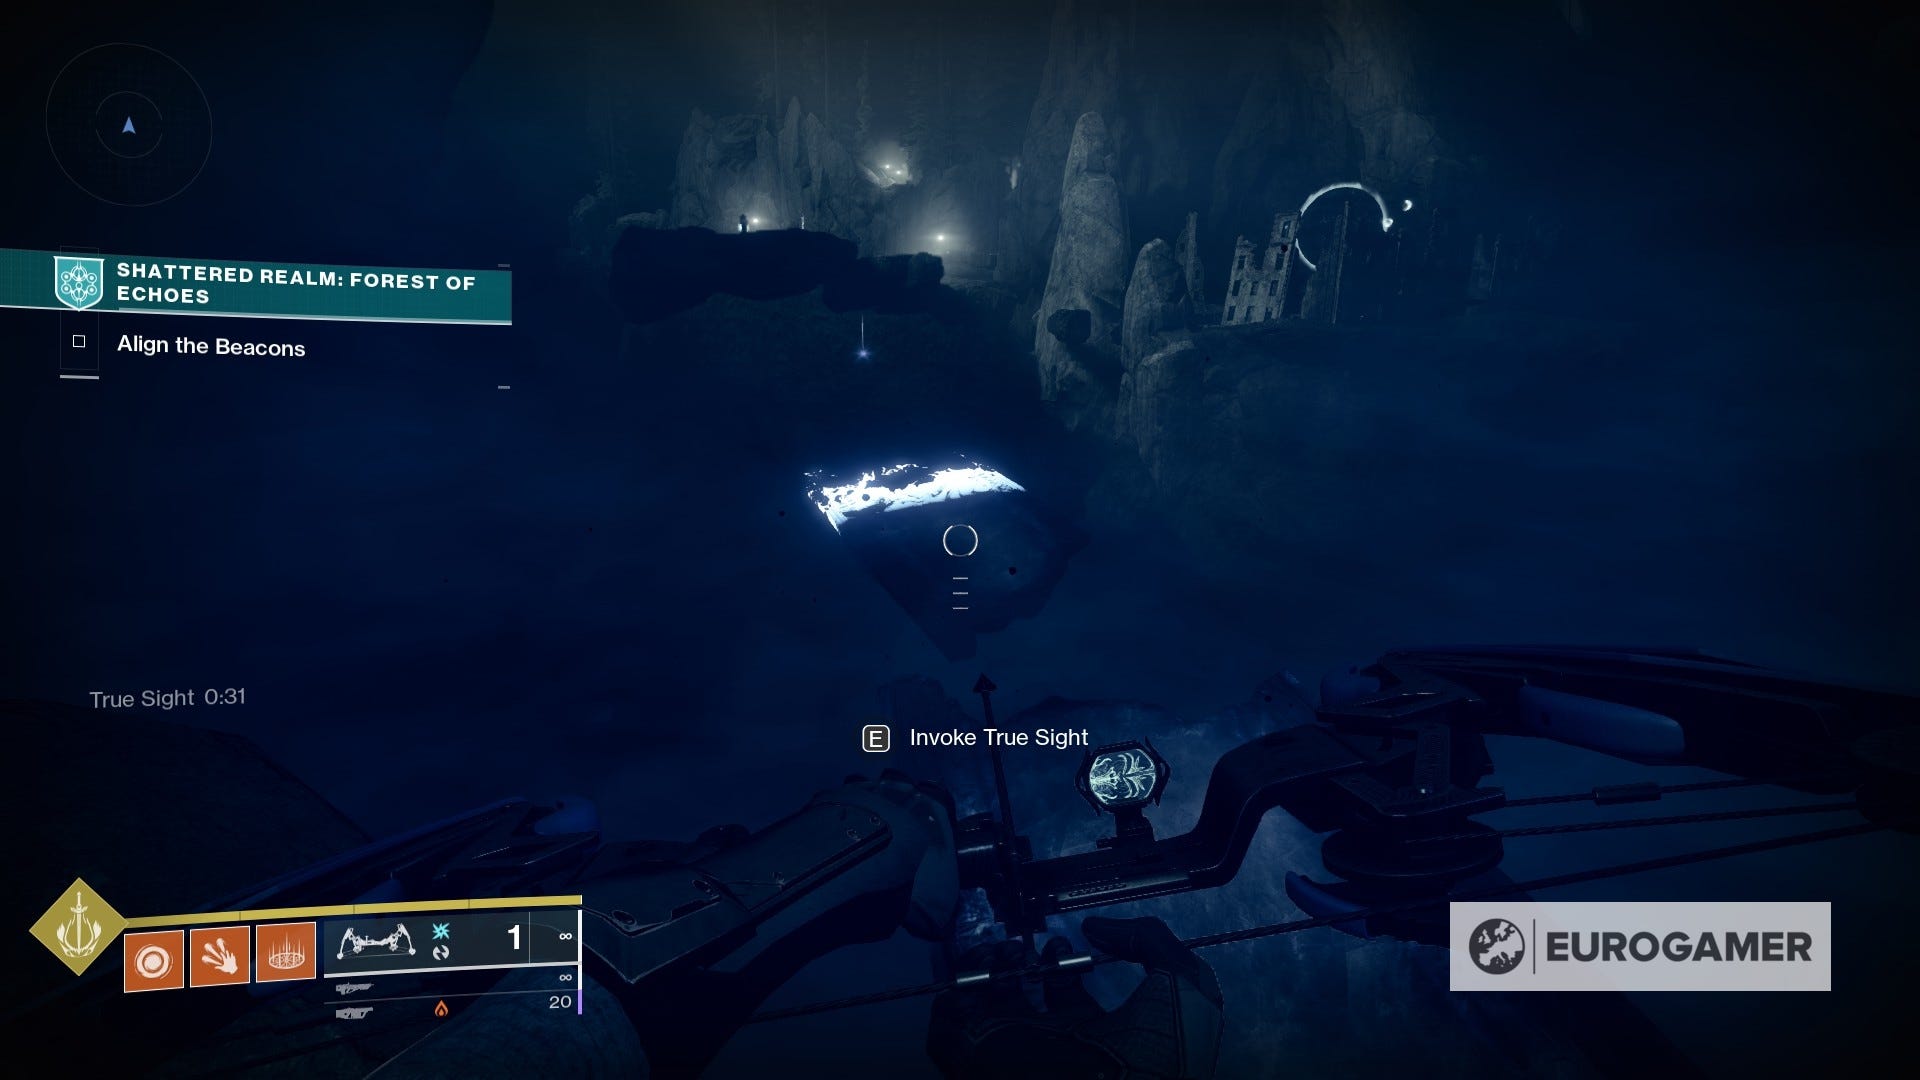
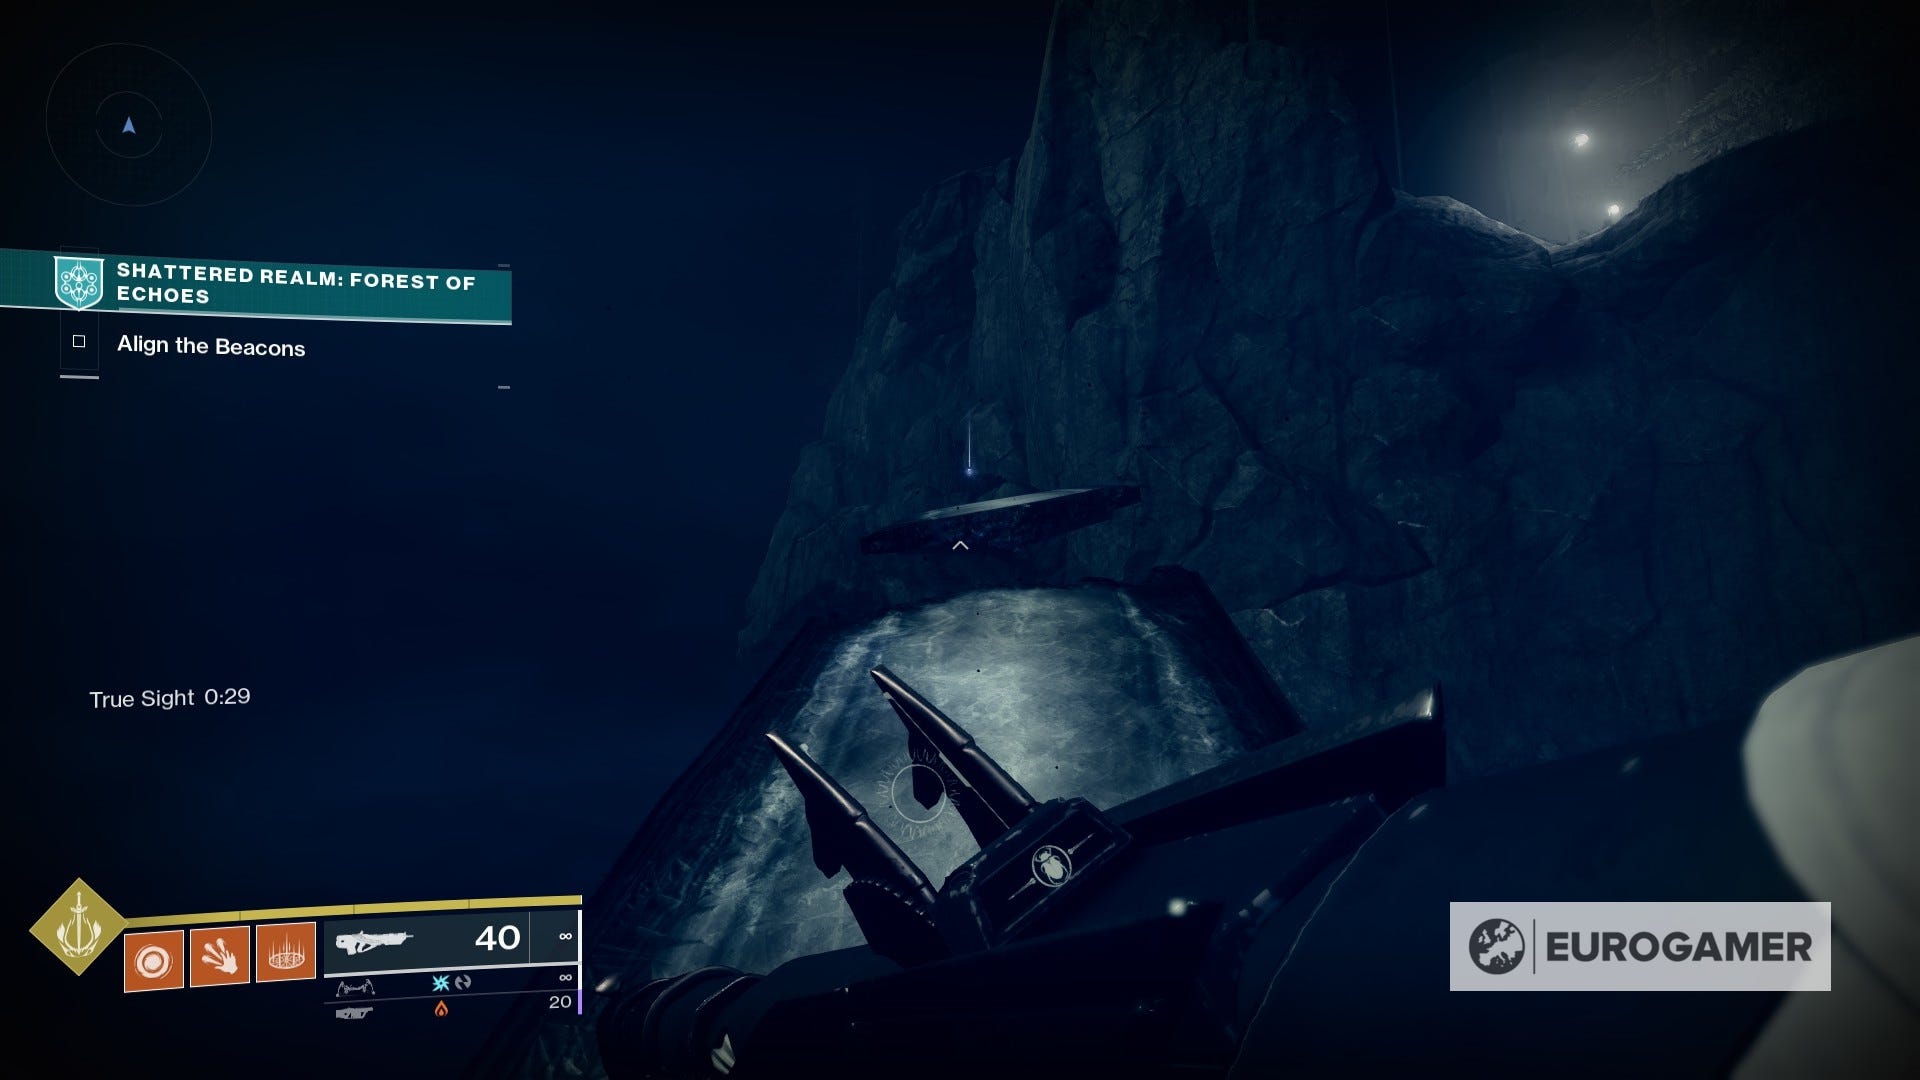
8. When you are at the ruined structure where the previous anchor is, go to the cliff edge on the right side from where you enter, where you'll see a True Sight ability marker.
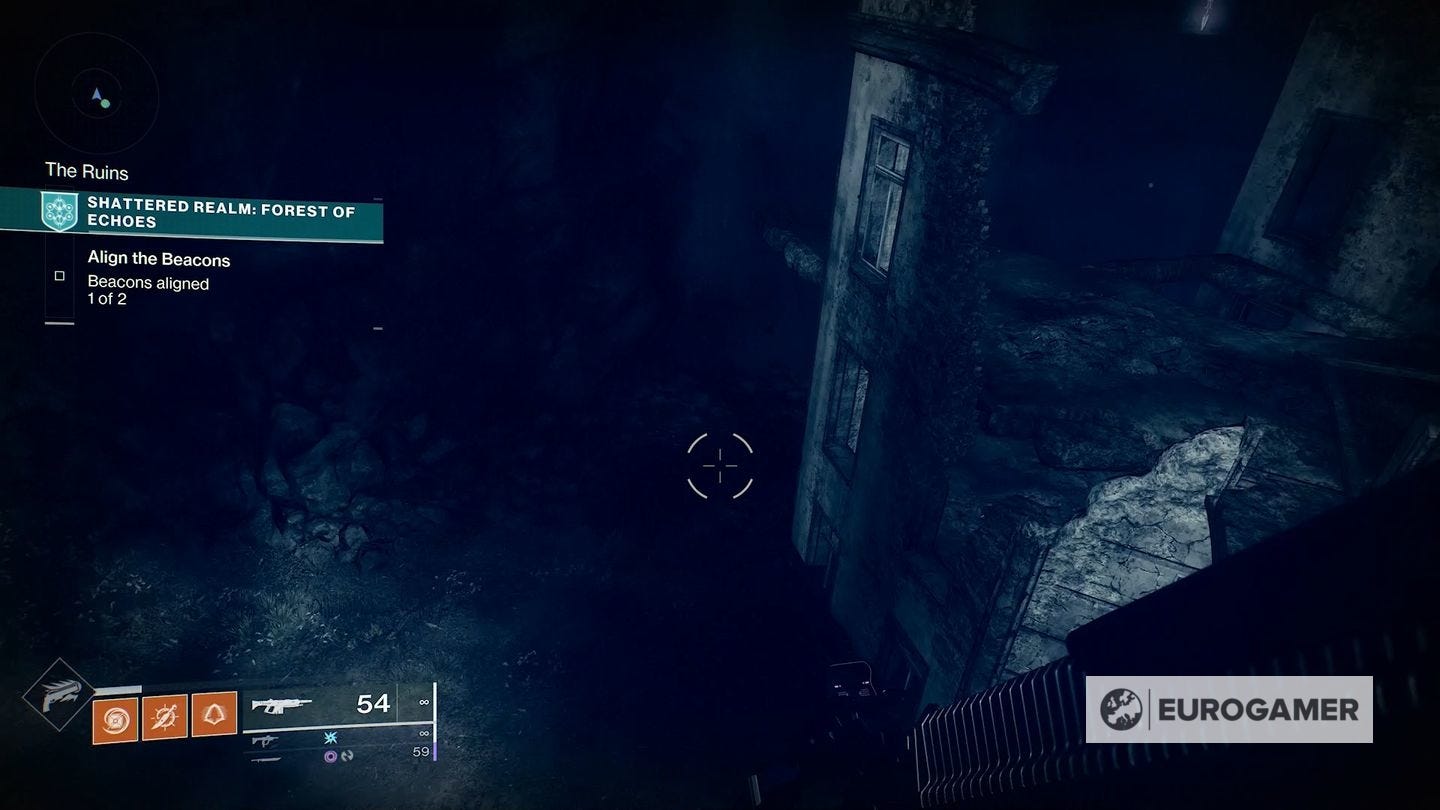
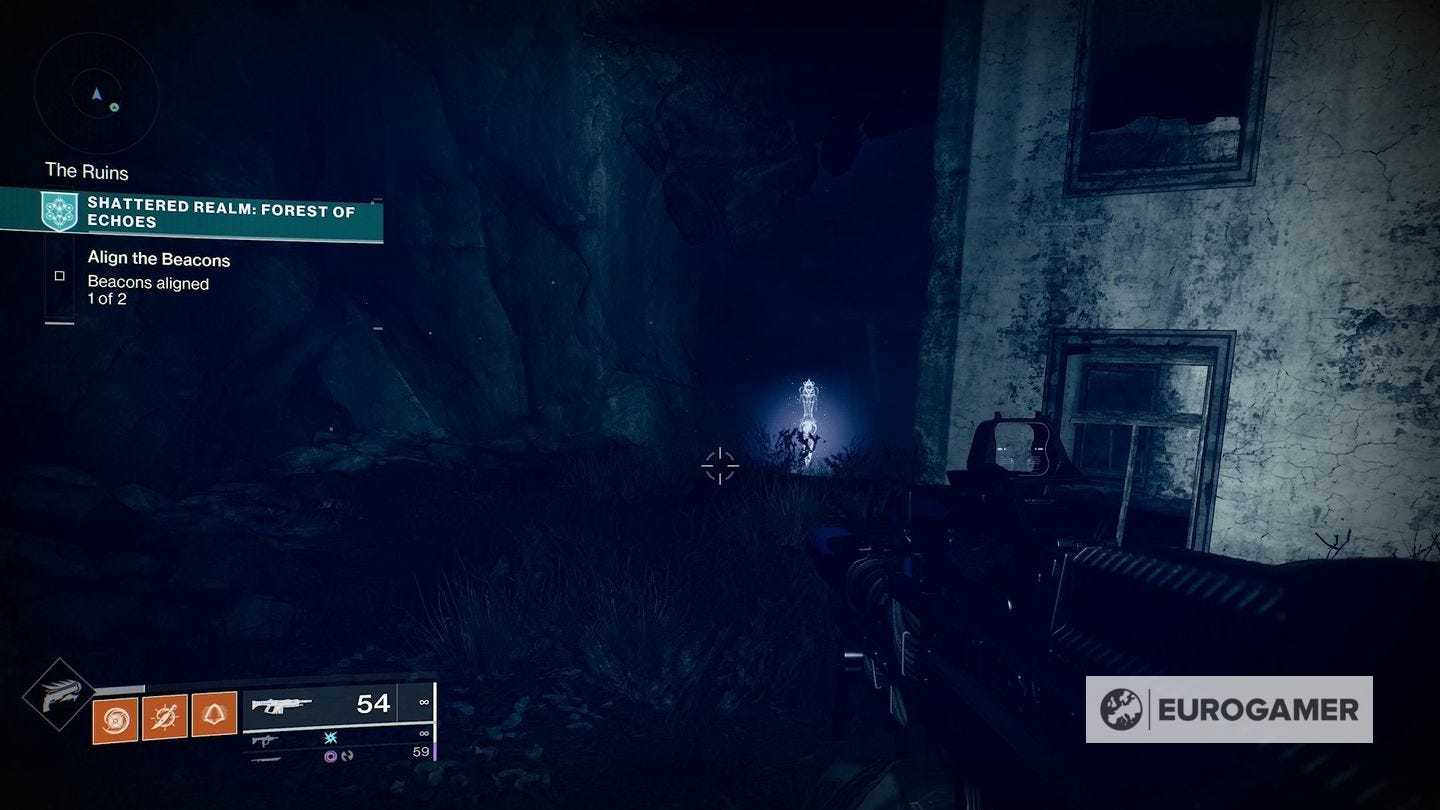
You can drop down the cliff here, and follow a path to a cave.
The anchor is on a rock here.
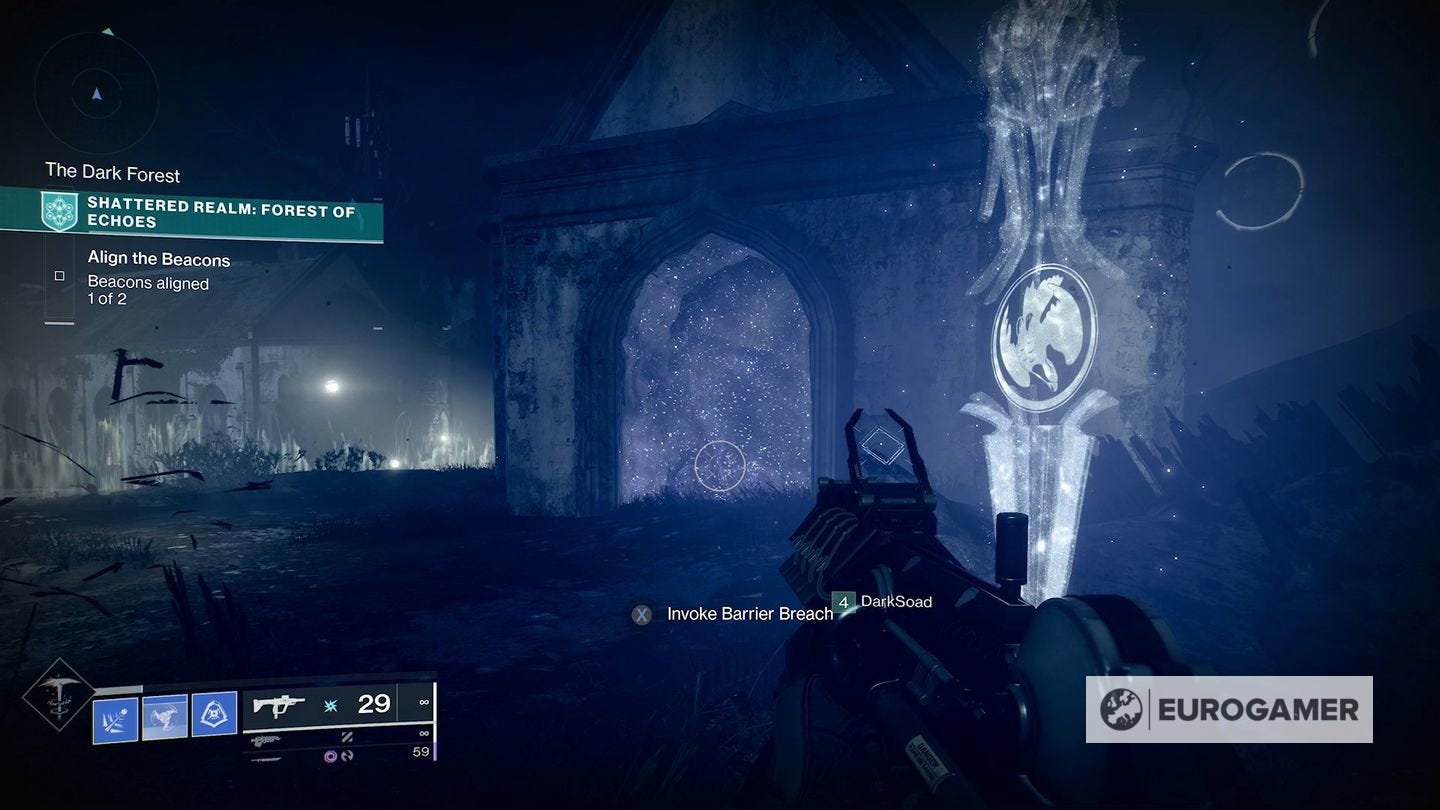
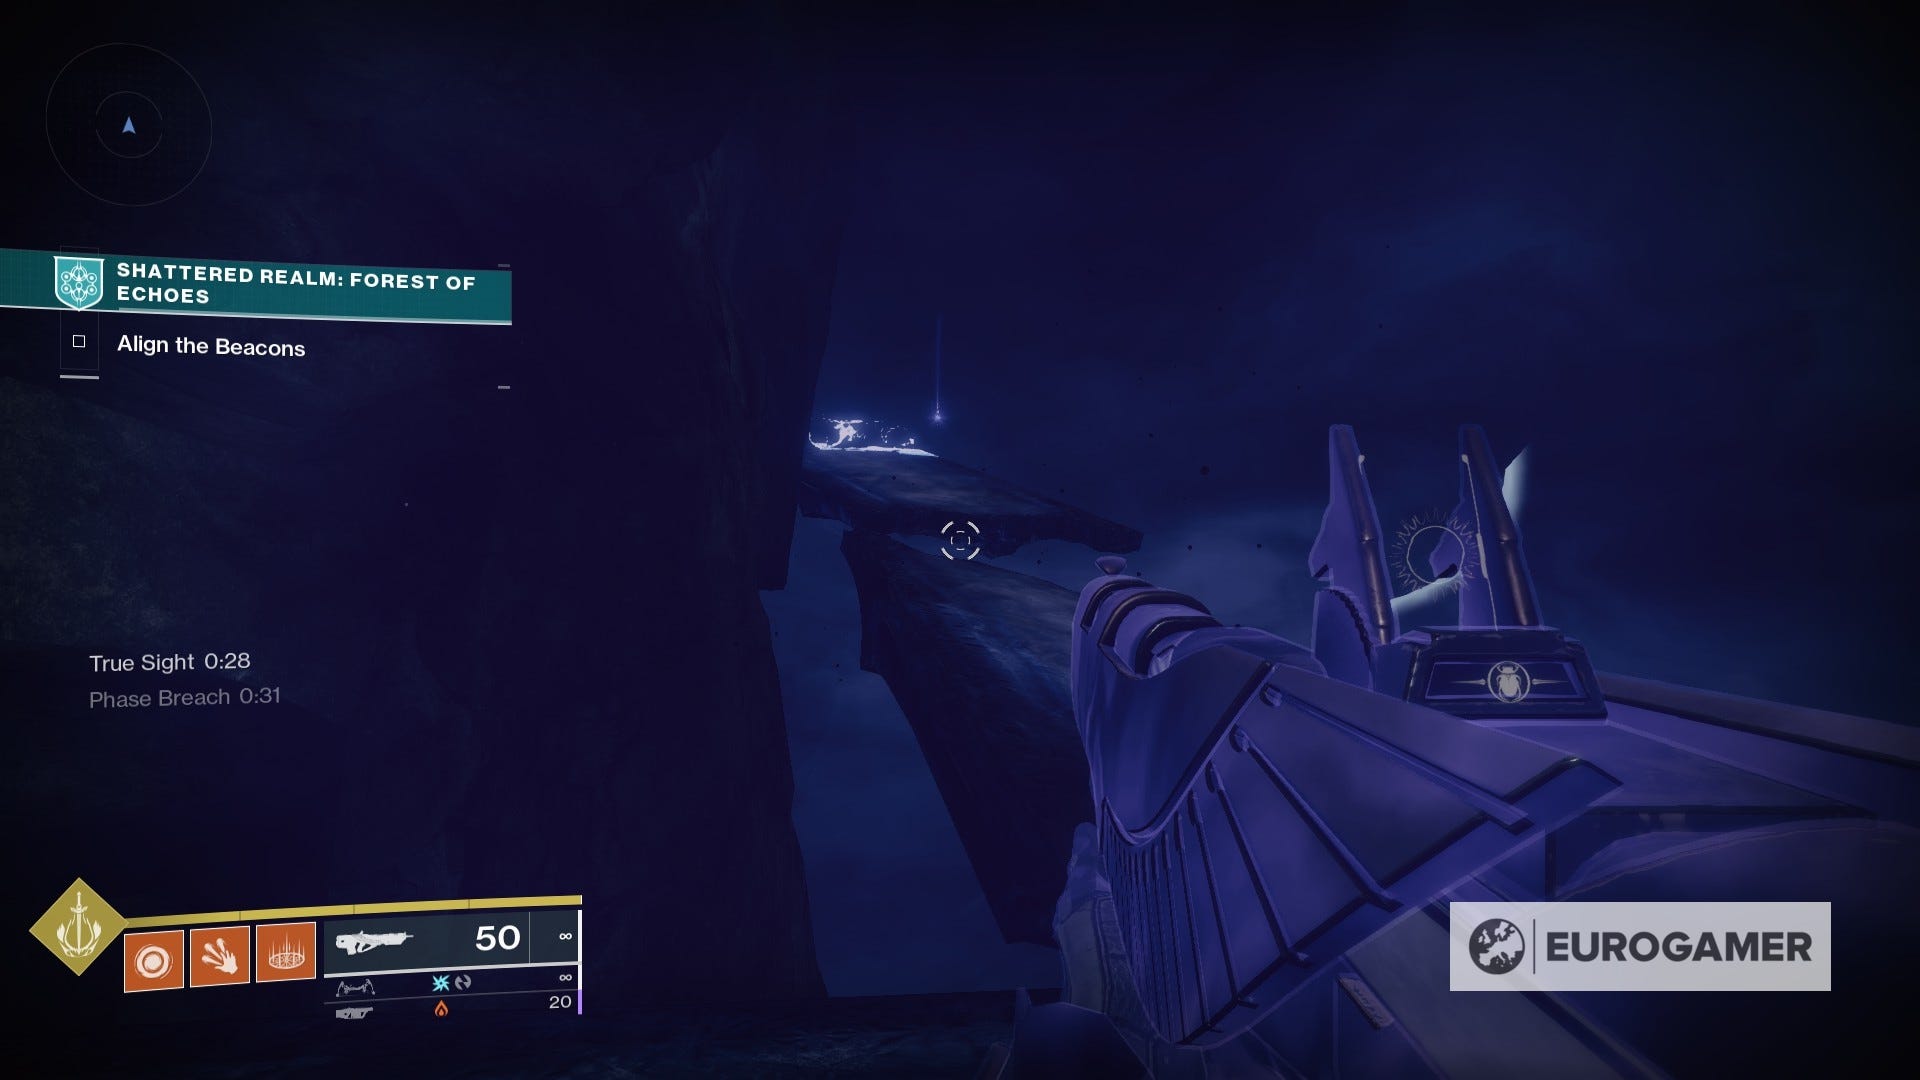
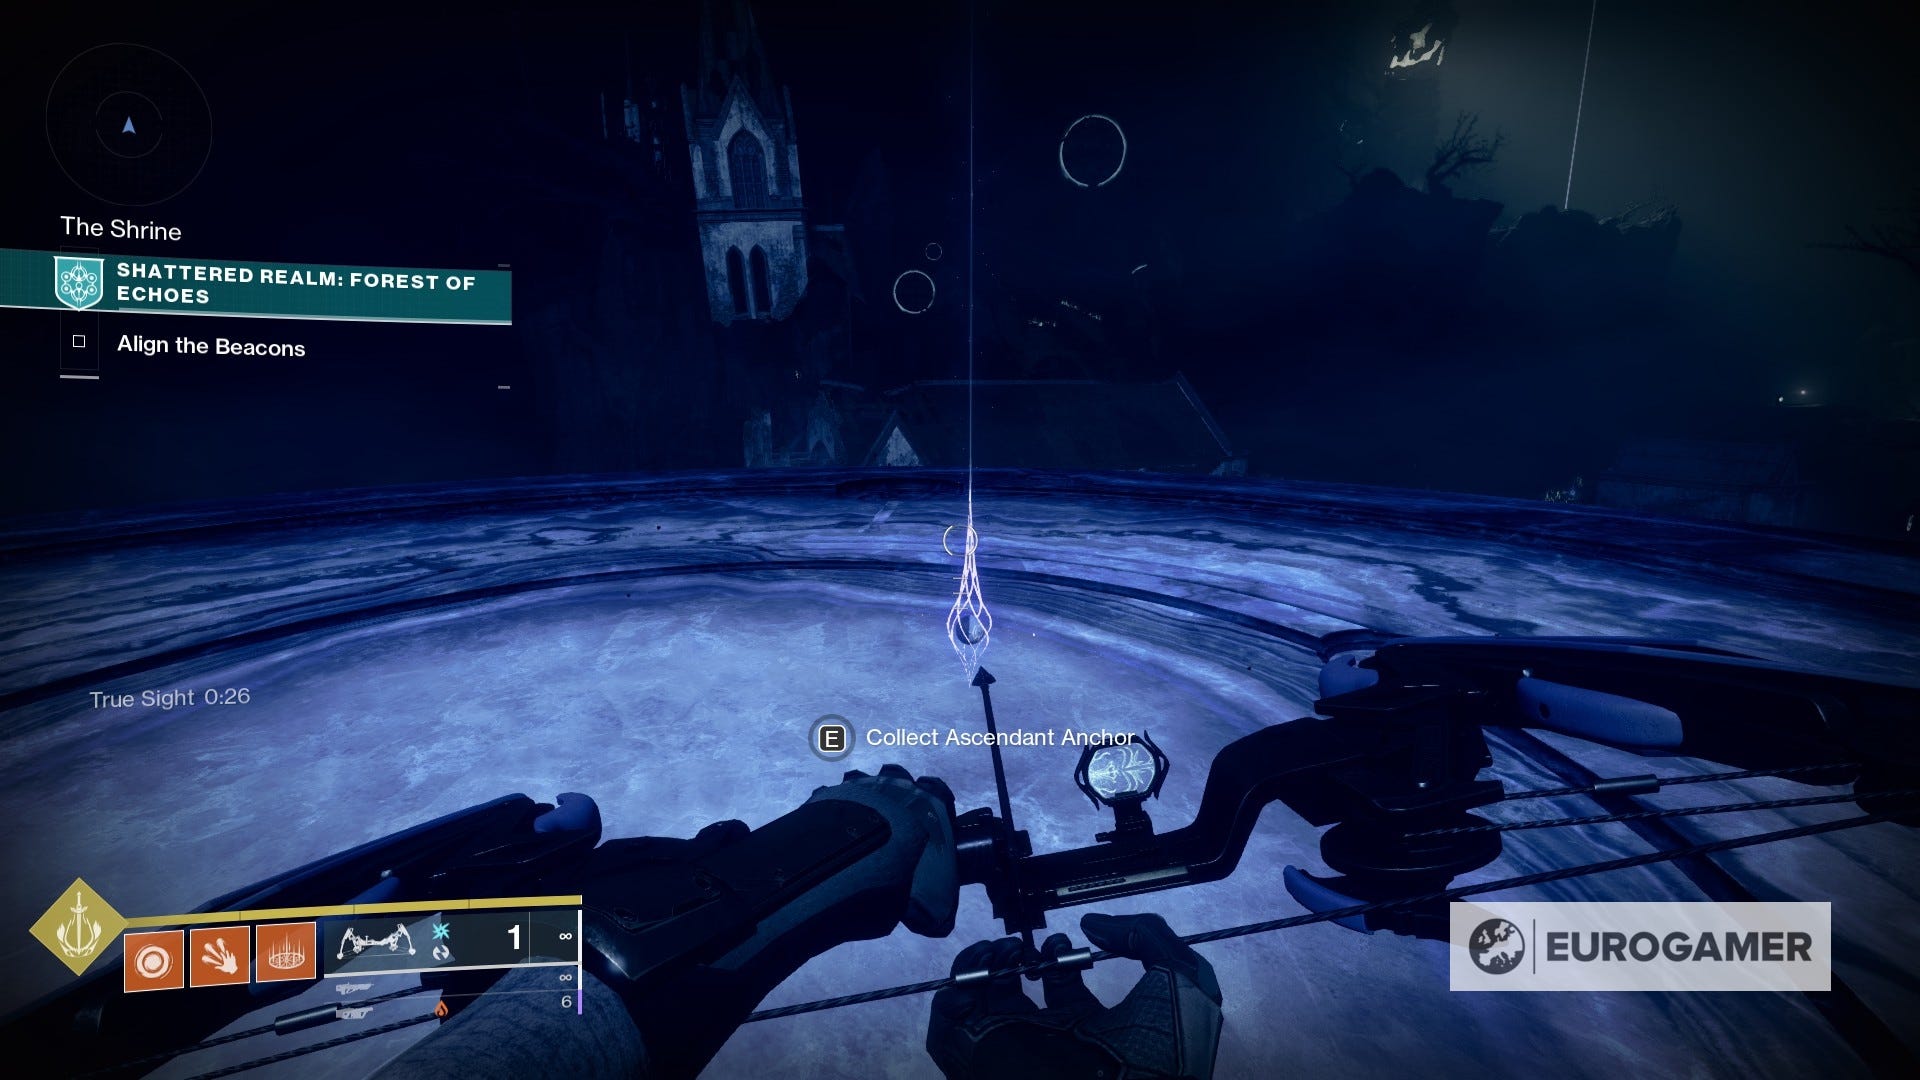
9. Don't leave the area just yet! Instead, activate the Barrier Breach device that is pretty much next to your current spot, head towards the barrier on the other side of the cave, and activate the True Sight device as well.

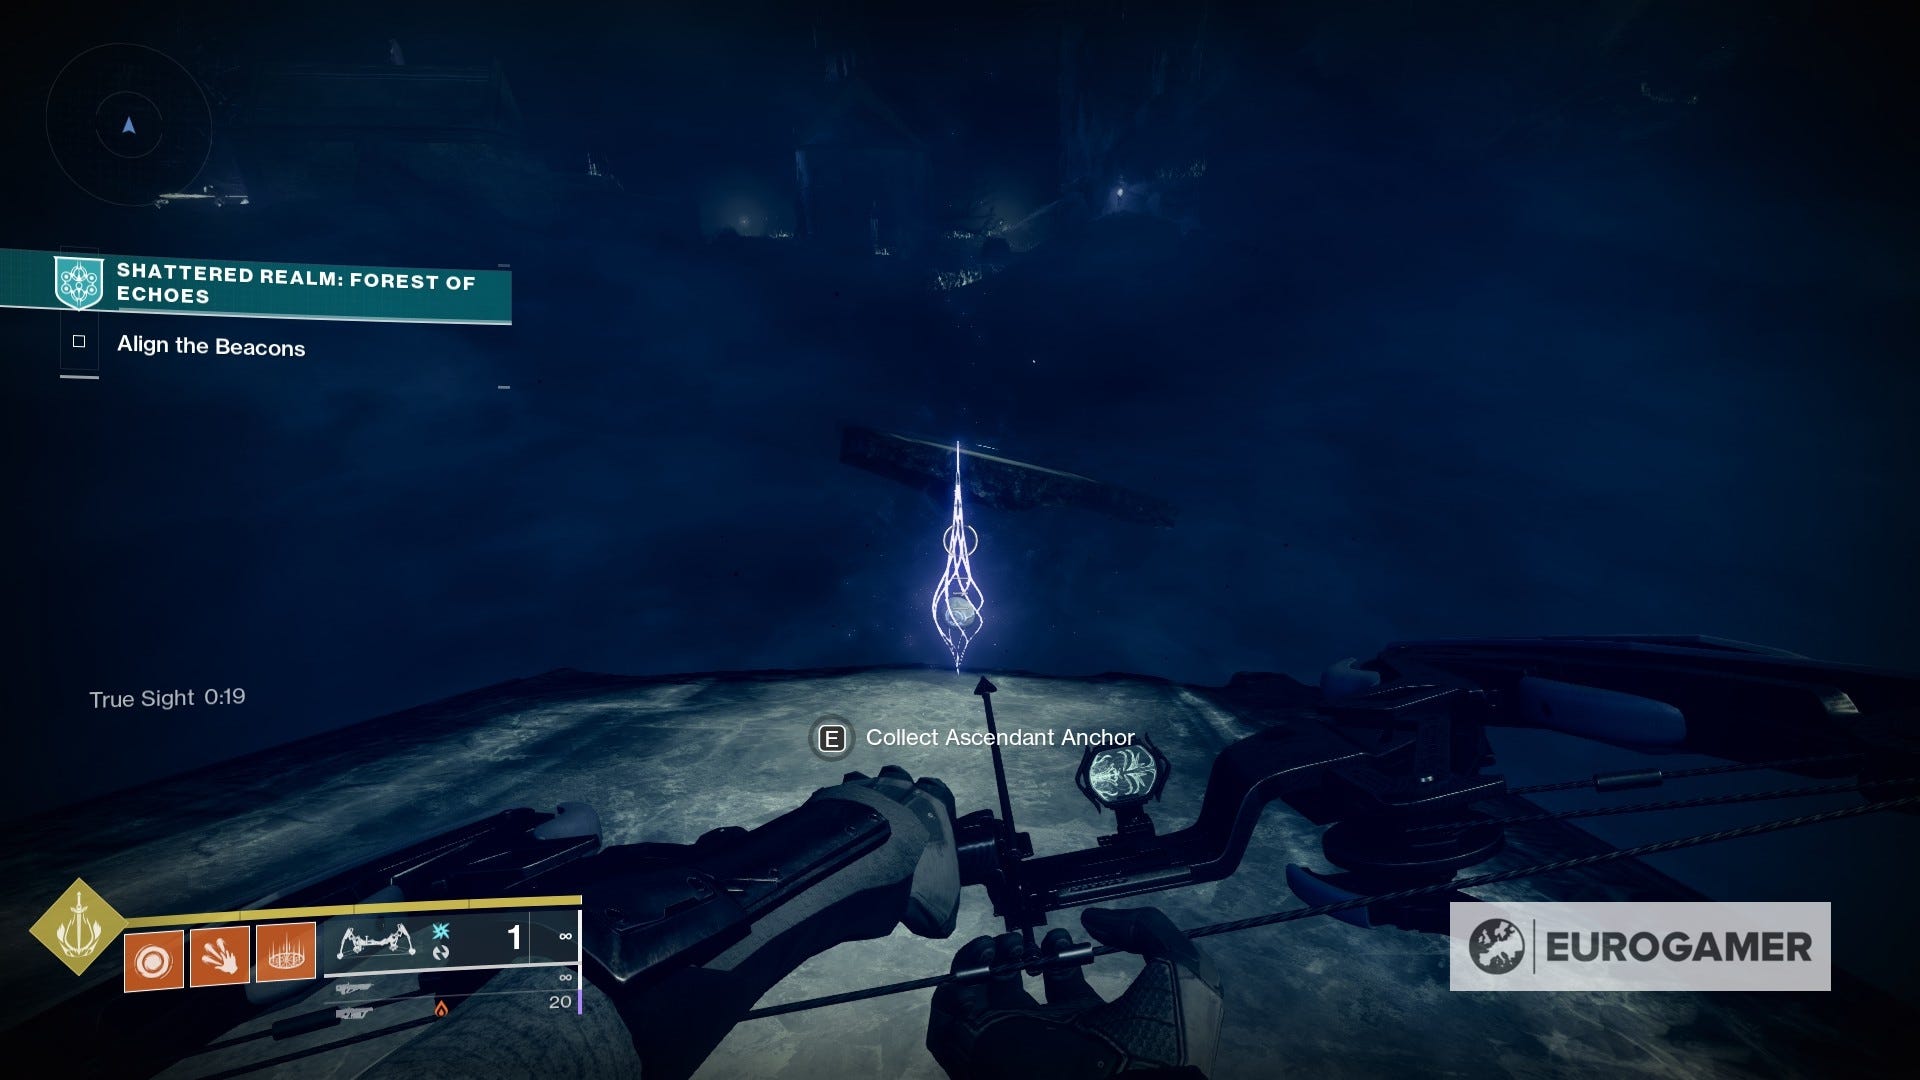
Hop outside and follow the floating path upwards to grab another anchor.

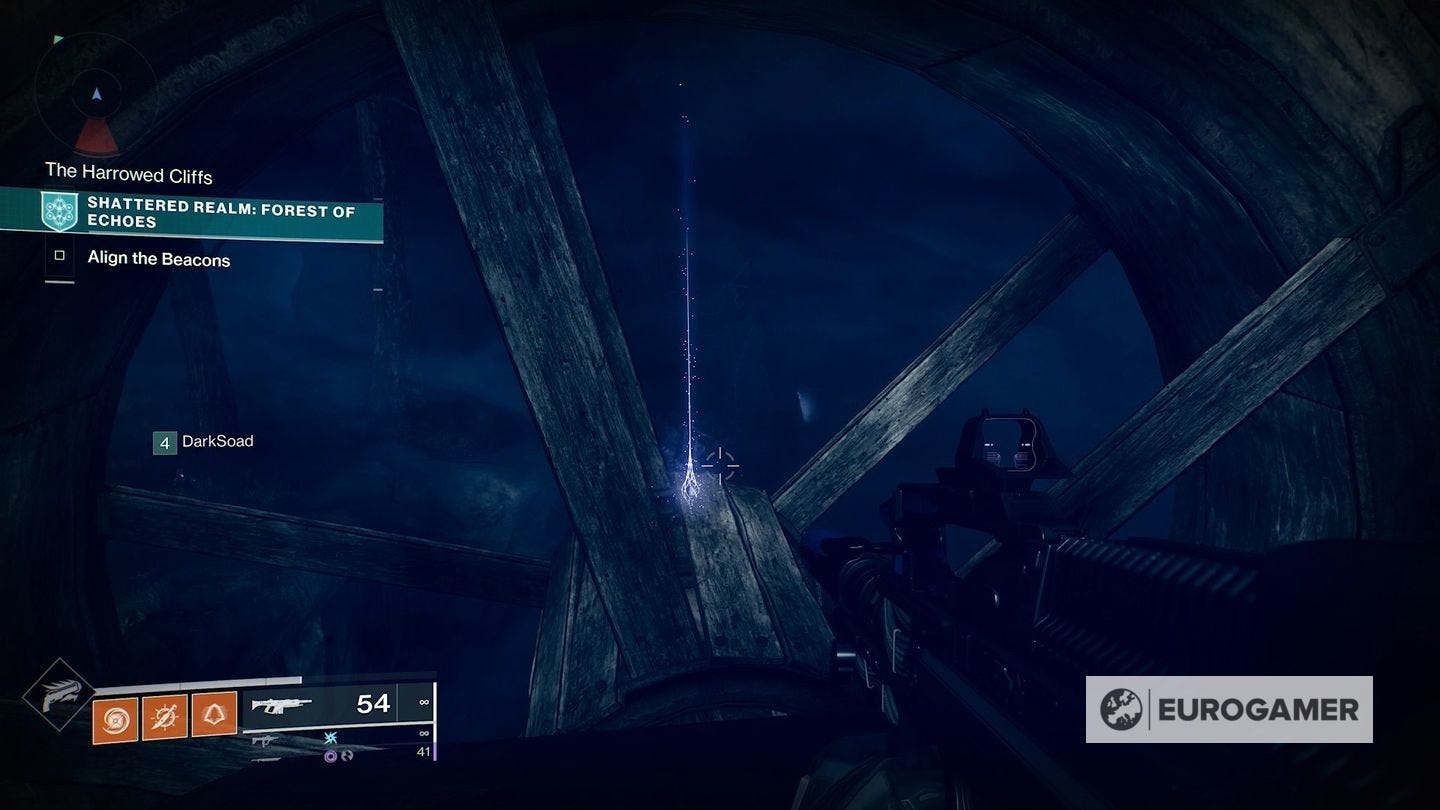
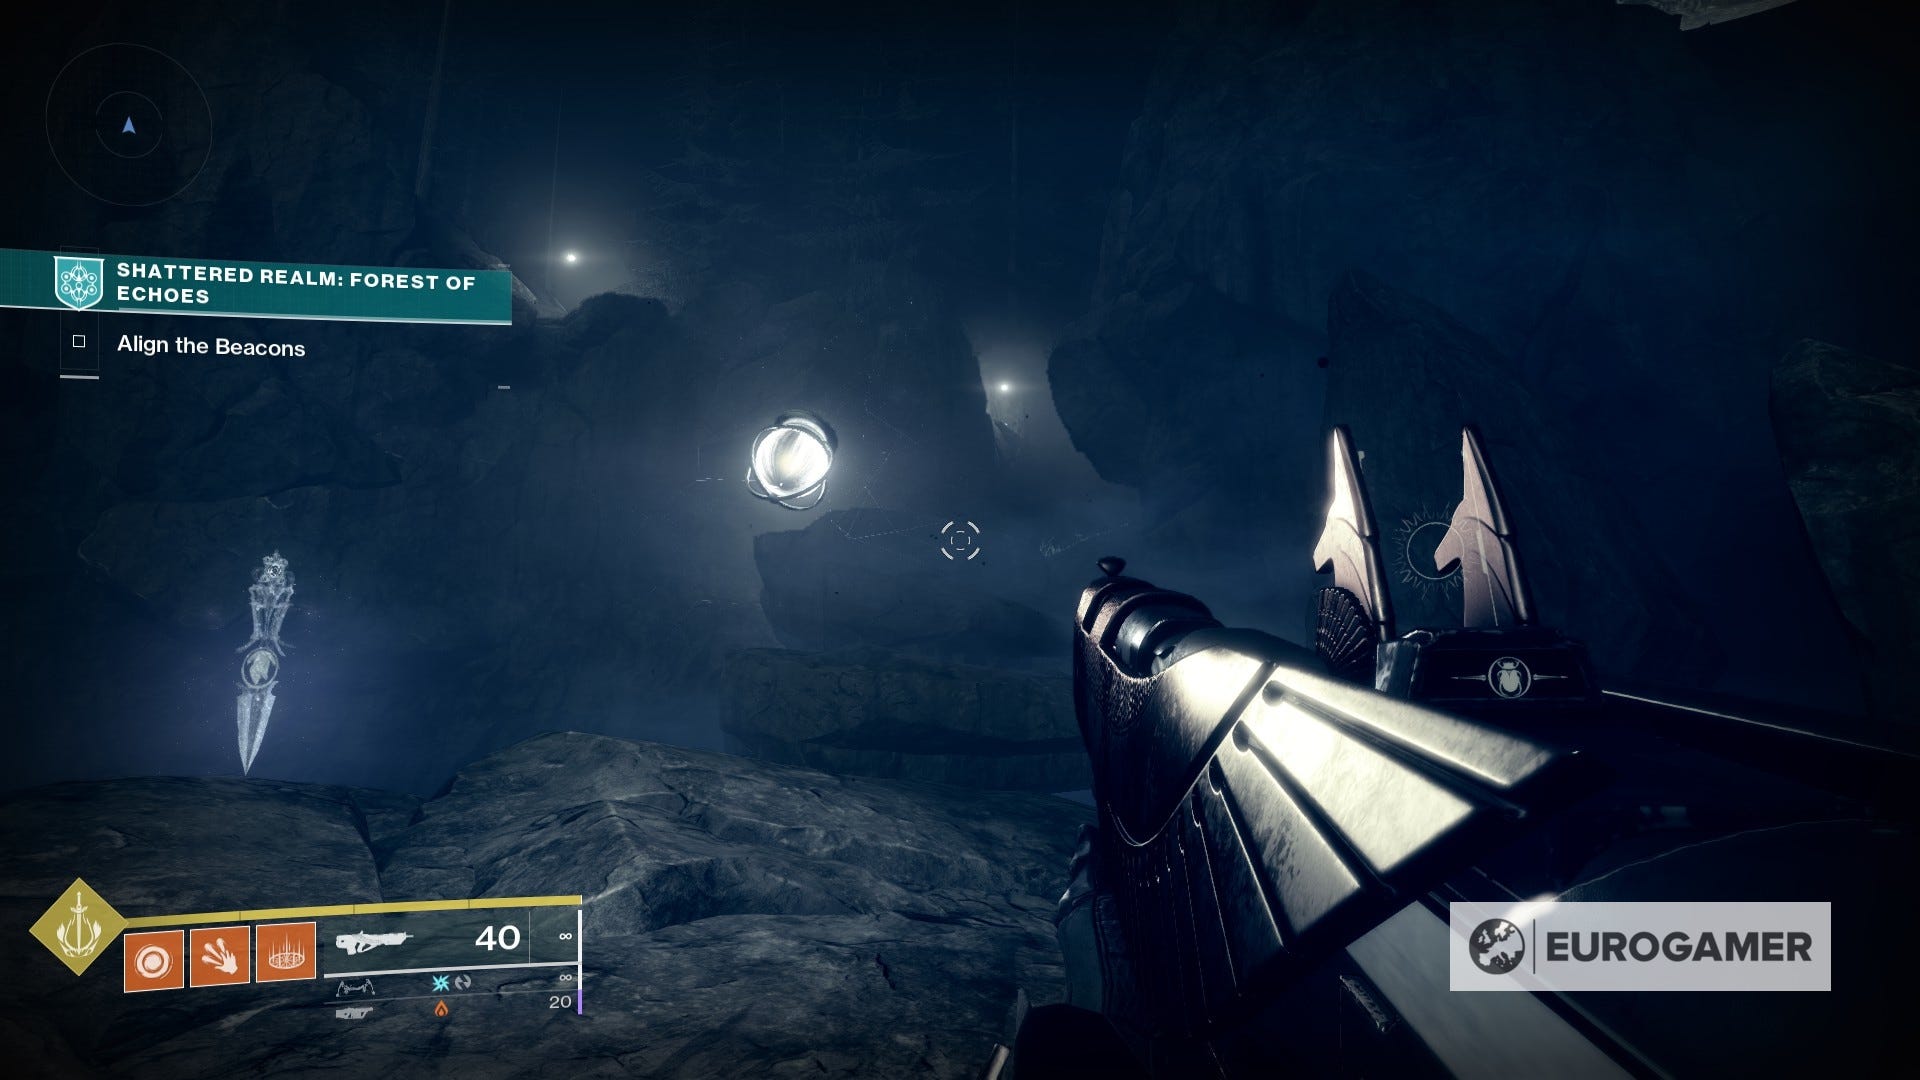
10. Head to the second beacon location. Here to the side is the Mill area, with a giant waterwheel. The anchor is in the middle of the wheel, which you can access by jumping up and past the rocks.

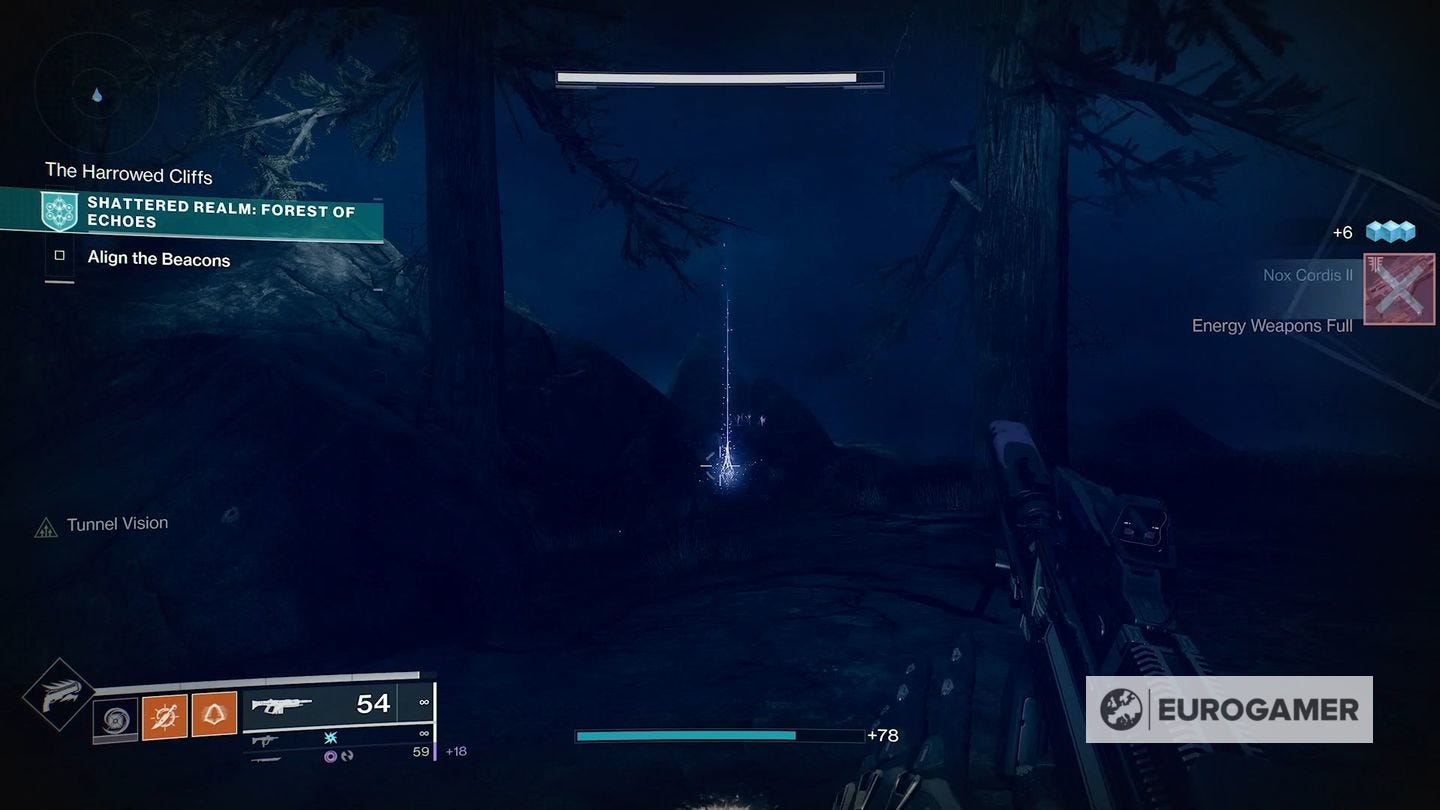
11. From the second beacon, look directly behind it, with some rocks above (you will be looking in the right direction when you see several Taken orbs in the far distance stacked on top of another).
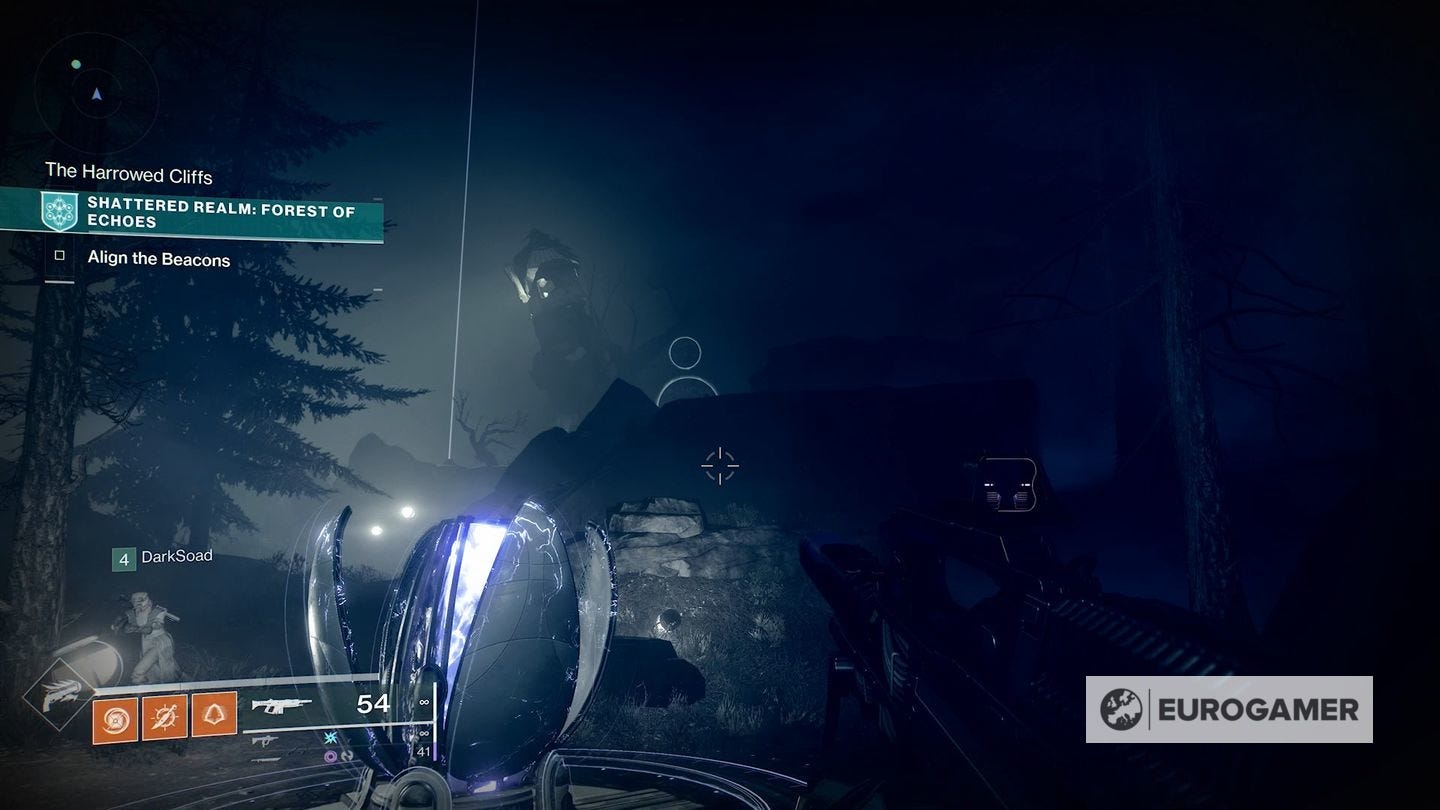
You'll come to a flat cliff top. Go right here, and you'll see an area far down below, with three objects you can interact with, and the anchor at the far side.
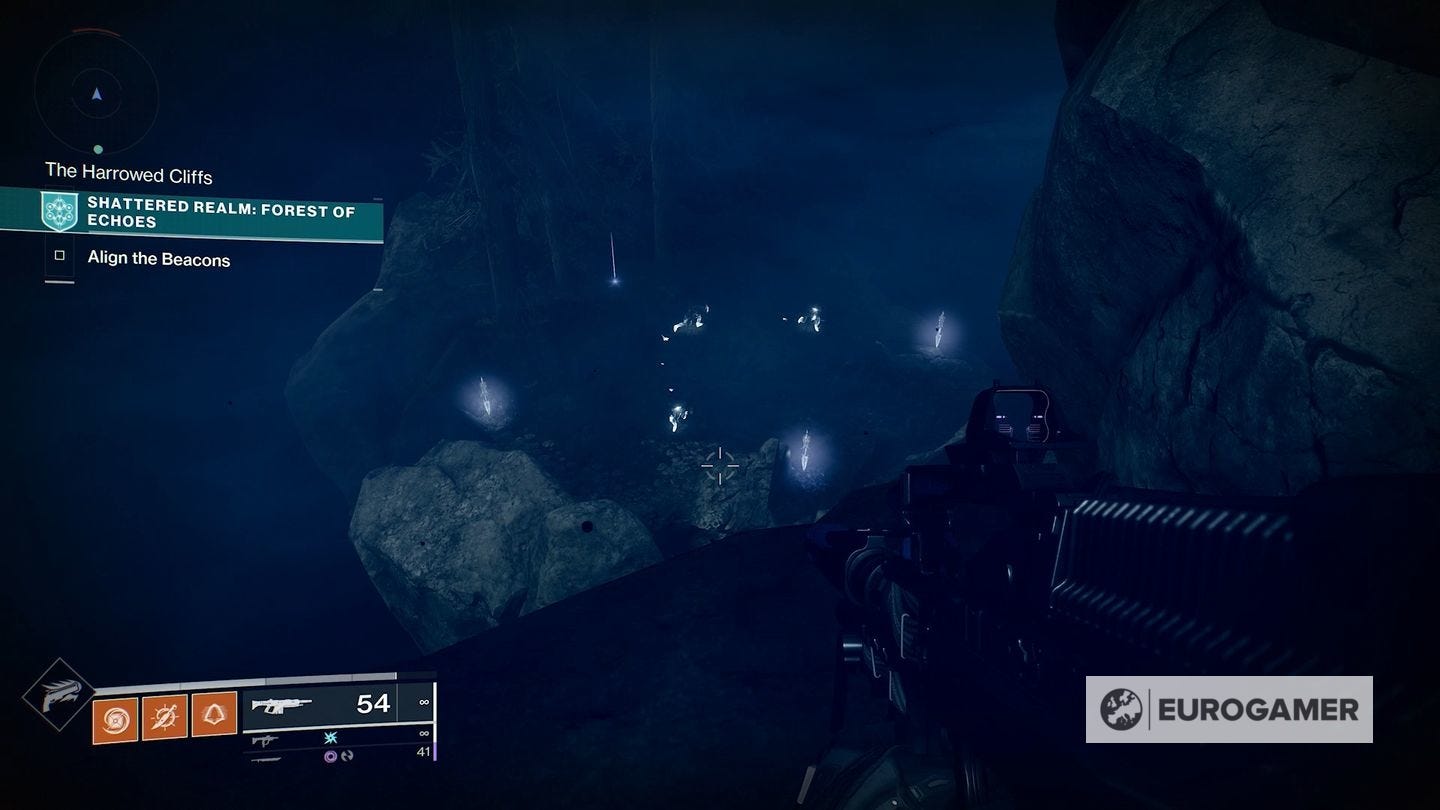
This is the same route you need to go for the Hallowed Cliffs Trivial Mystery, if that helps narrow it down.
The following were made available during Season of the Lost's fourth week. It's recommended that you had previously unlocked Barrier Breach, True Sight, Safe Passage and Barrier: Enhanced Breach, all part of the Wayfinder's Voyage questline, as well the Ager's Scepter quest A Hollow Coronation to obtain the exotic weapon.
In addition, you're going to need the Ascendant Sight Wayfinder's Compass upgrade, which will make for additional Ascendant Anchors to appear in the Shattered Realm
12. For this one, you're going to head all the way back to the Forest of Echoes starting point. Use the True Sight device on the left side close to the cliff, follow the floating path upwards to the shrine, and then jump over to the plateau in direction of the church to grab the anchor.

This is the same route you need to go for the Enshrined Trivial Mystery, if that helps narrow it down.
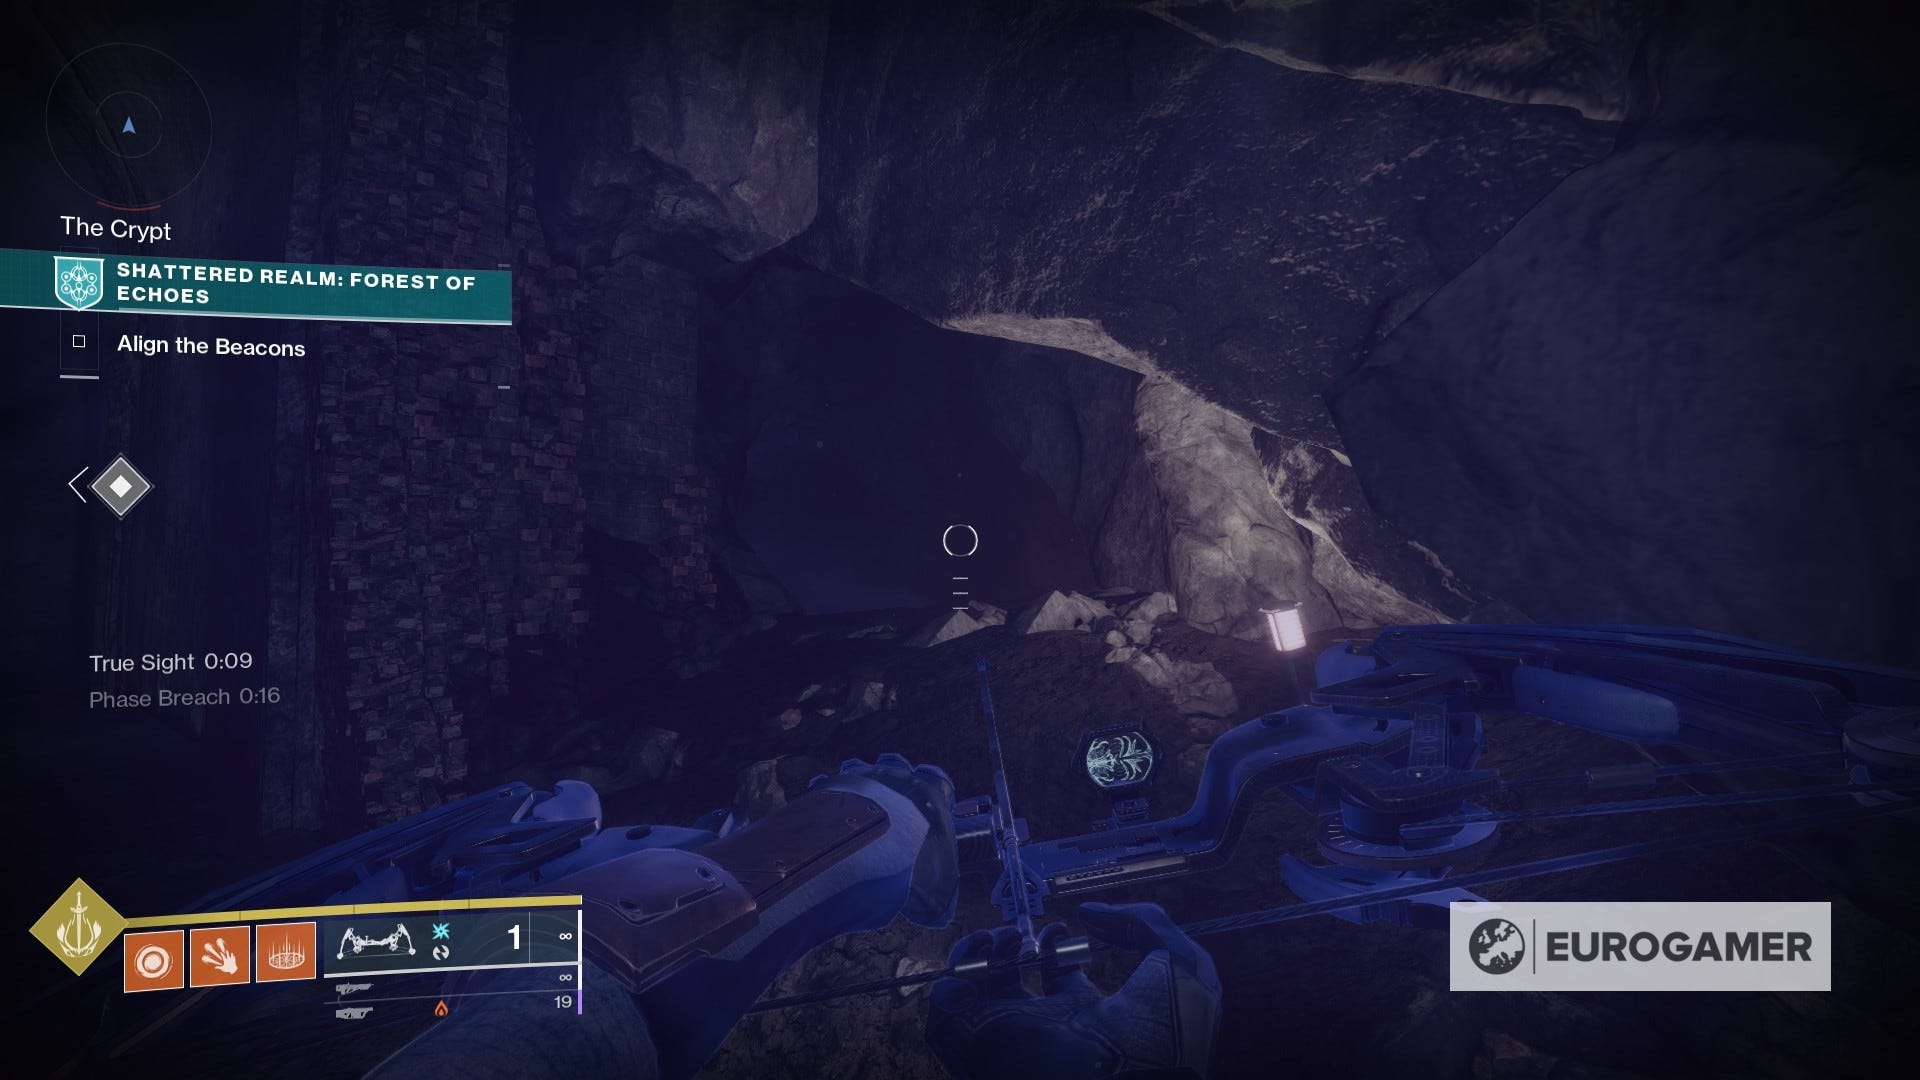
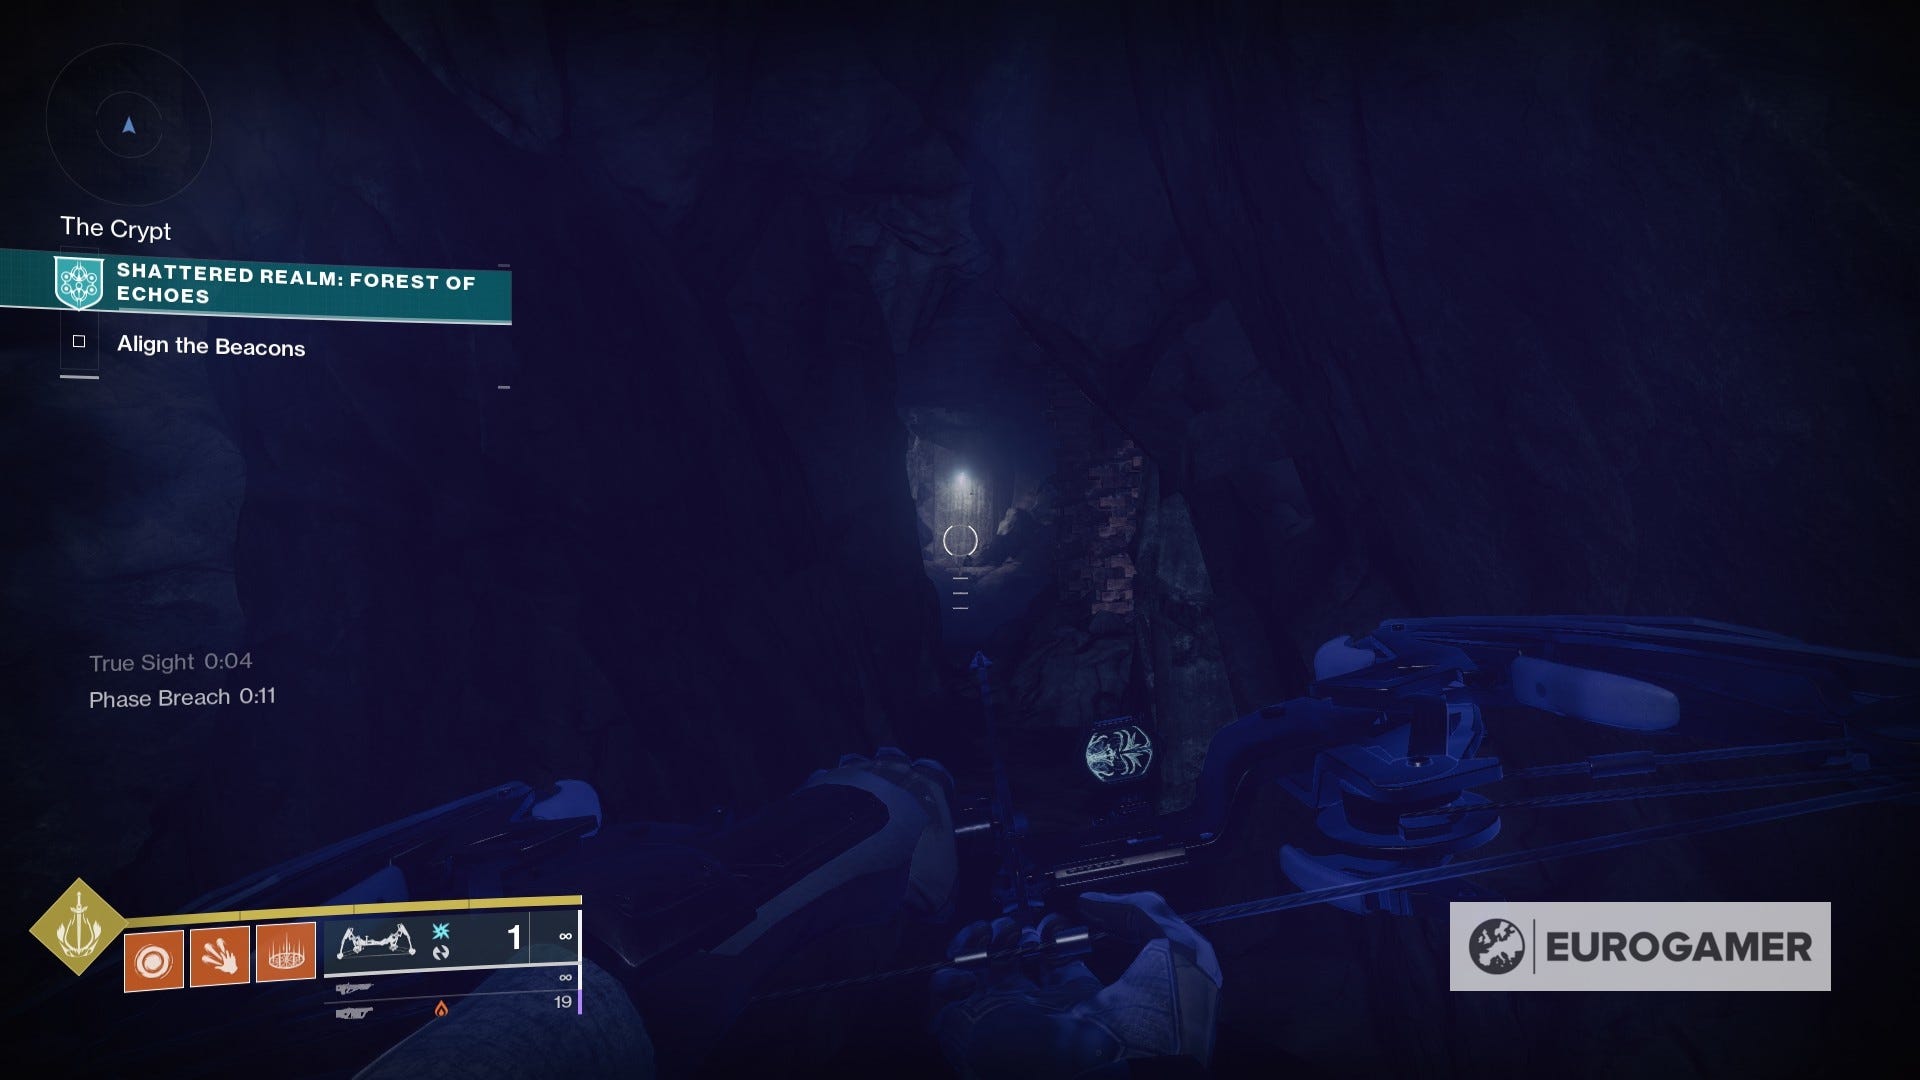
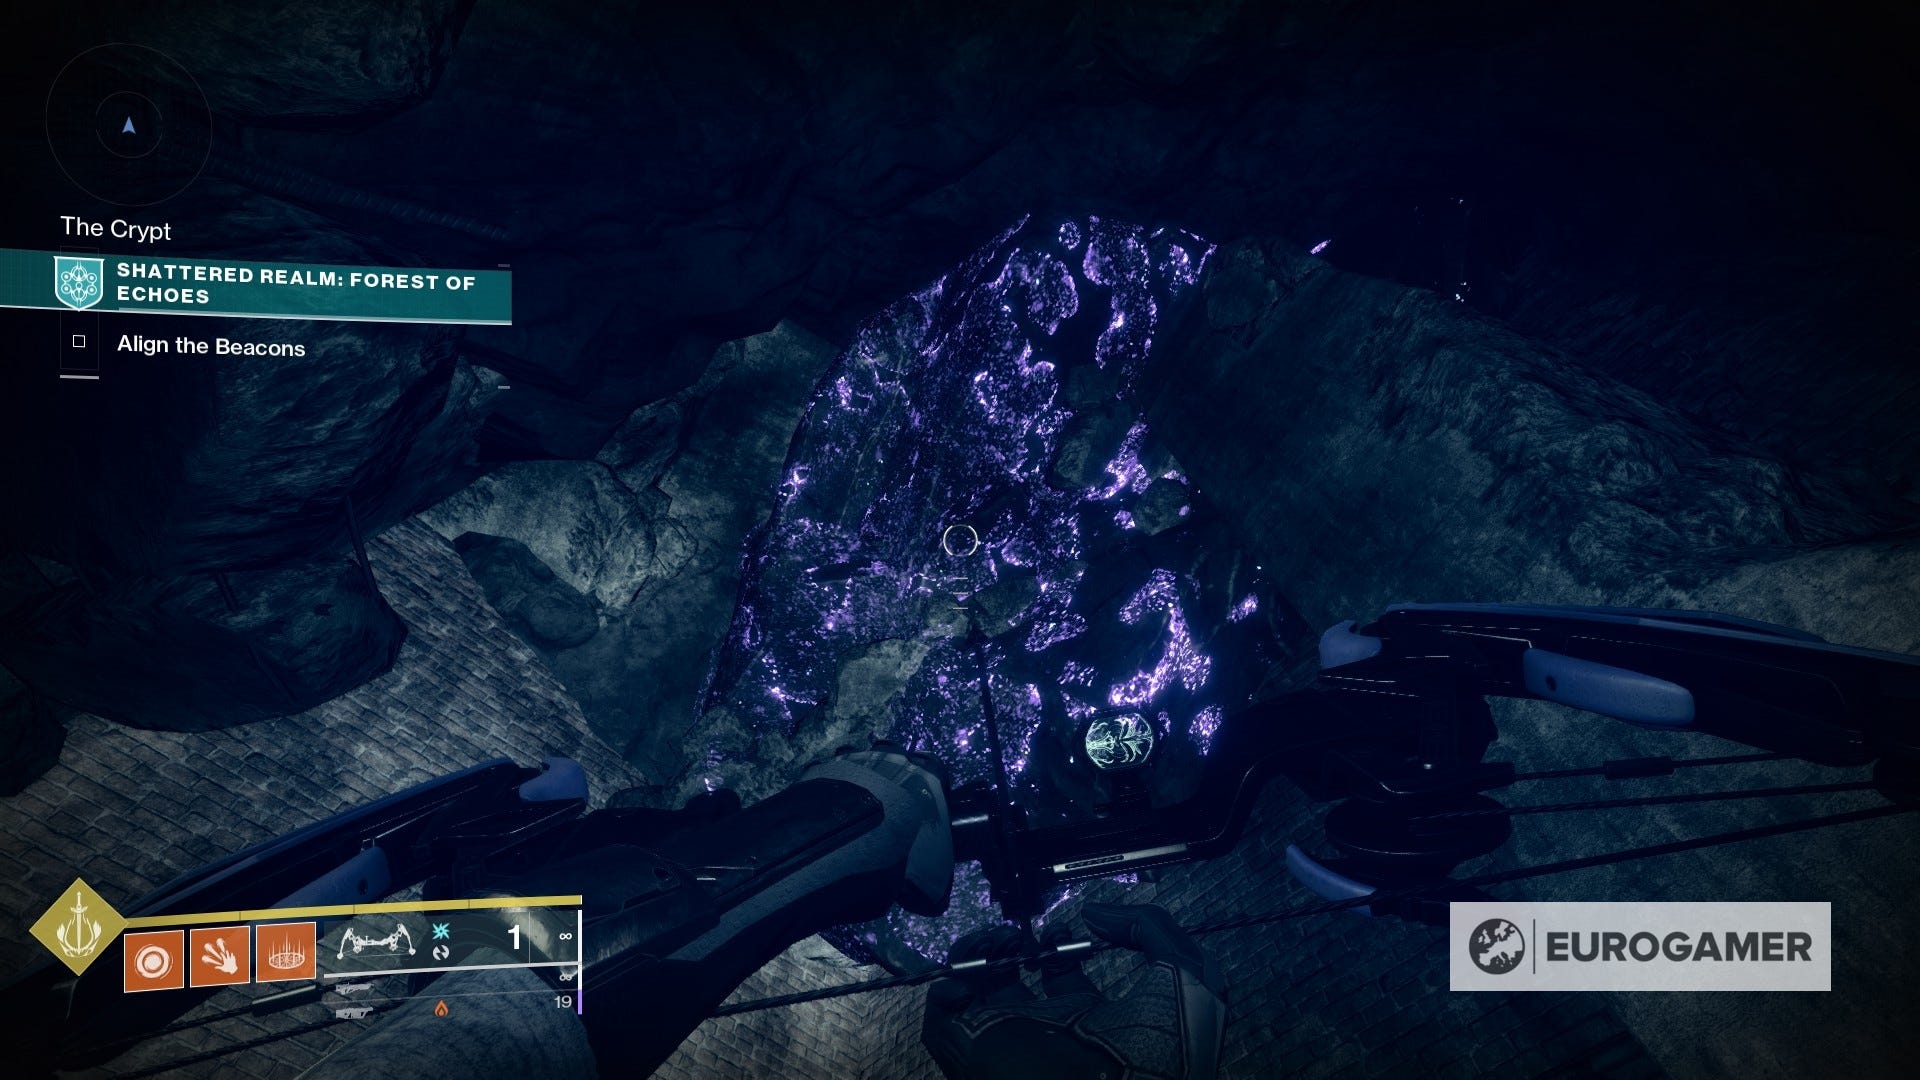
13. From the Crypt, which is located close to the church and requires Barrier Breach to enter, head all the way to the dead end with the two devices (Barrier Breach and True Sight). Instead of heading outside the barrier, take the corridor that is just in between them. Halfway through you will notice a glowing rock on the ceiling - shoot at it with Ager's Scepter to unveil a hidden anchor inside.

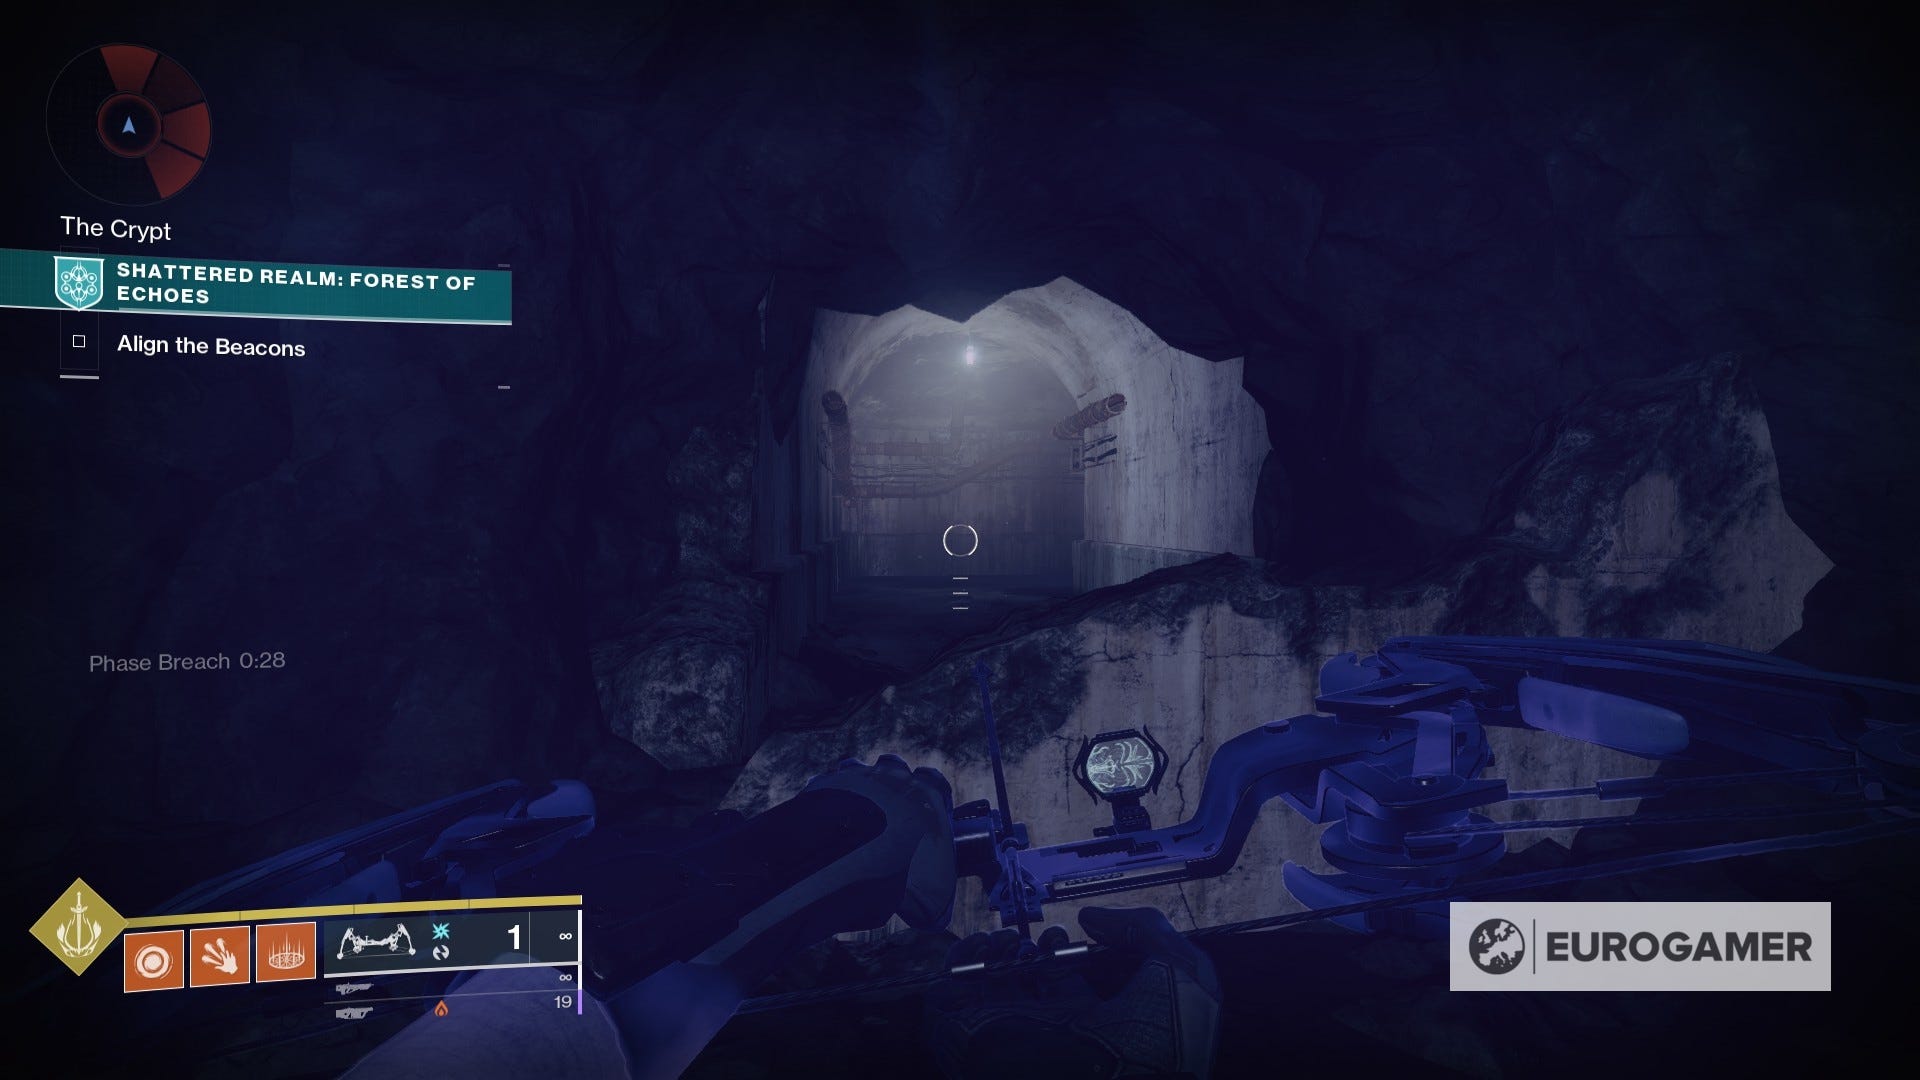

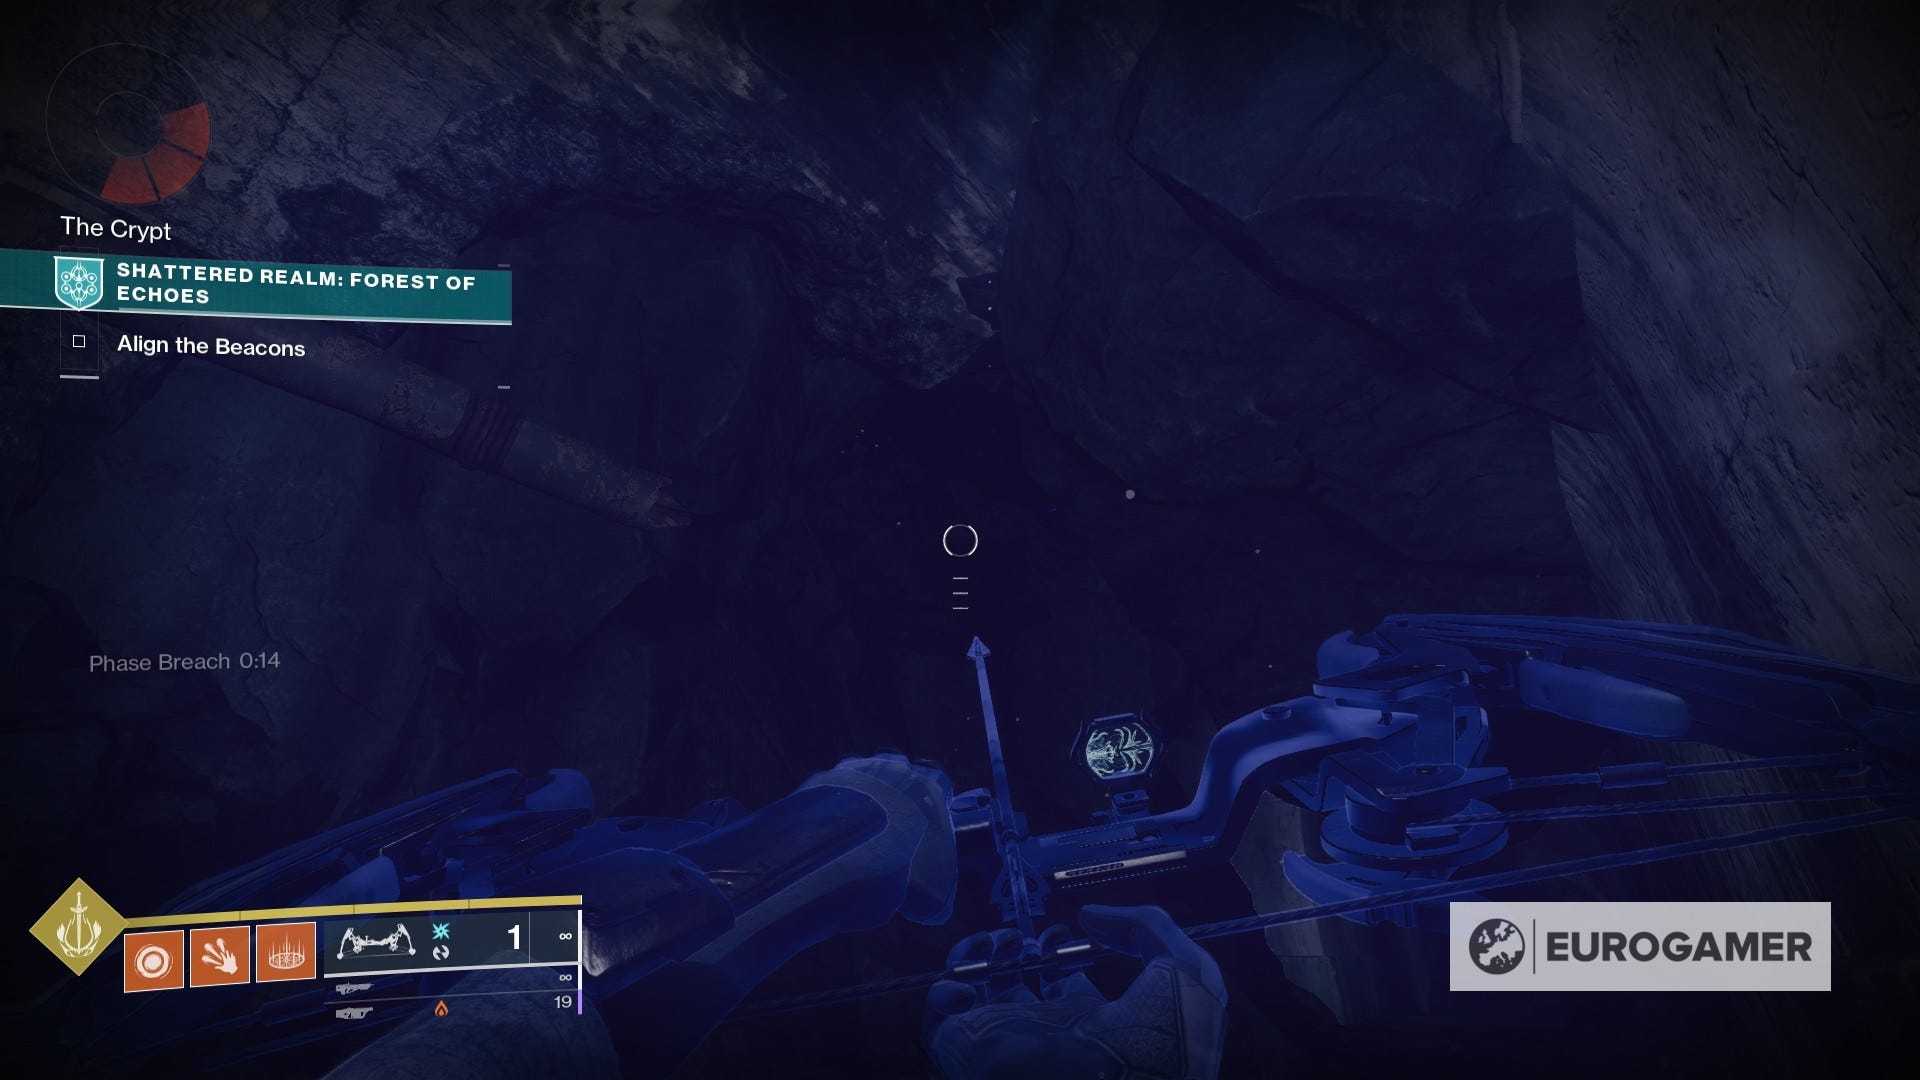
This is the same route you need to go for the Laid to Rest Trivial Mystery, if that helps narrow it down.
14. After completing The Dark Ritual Ascendant Mystery, head inside the cave that has a lantern in the entrance, located fairly close to the chest. Go all the way inside the corridor and once in the illuminated room, look above for another glowing rock on the ceiling. Use Ager's Scepter to break it and grab the anchor inside.

15. From The Courtyard, close to a cliff that overlooks both the church and the crypt, you'll find a True Sight device to use. Activate it to unveil a floating path and grab the anchor at the end.

16. From the Forest of the Echoes' starting point, there's an entrance to a massive tree that is blocked by a barrier. Use the Barrier Breach outside, make your way down below to find some enemies as well as a Trivial Mystery, and then head outside. Grab the True Sight device and follow the floating path towards another anchor.

This is the same route you need to go for the Taken Root Trivial Mystery, if that helps narrow it down.
17. In the pathway that you take to get to the second beacon, you will see a True Sight device on top of the largest floating island. Activate it to unveil a path upwards that will take you to another anchor inside a destroyed log.
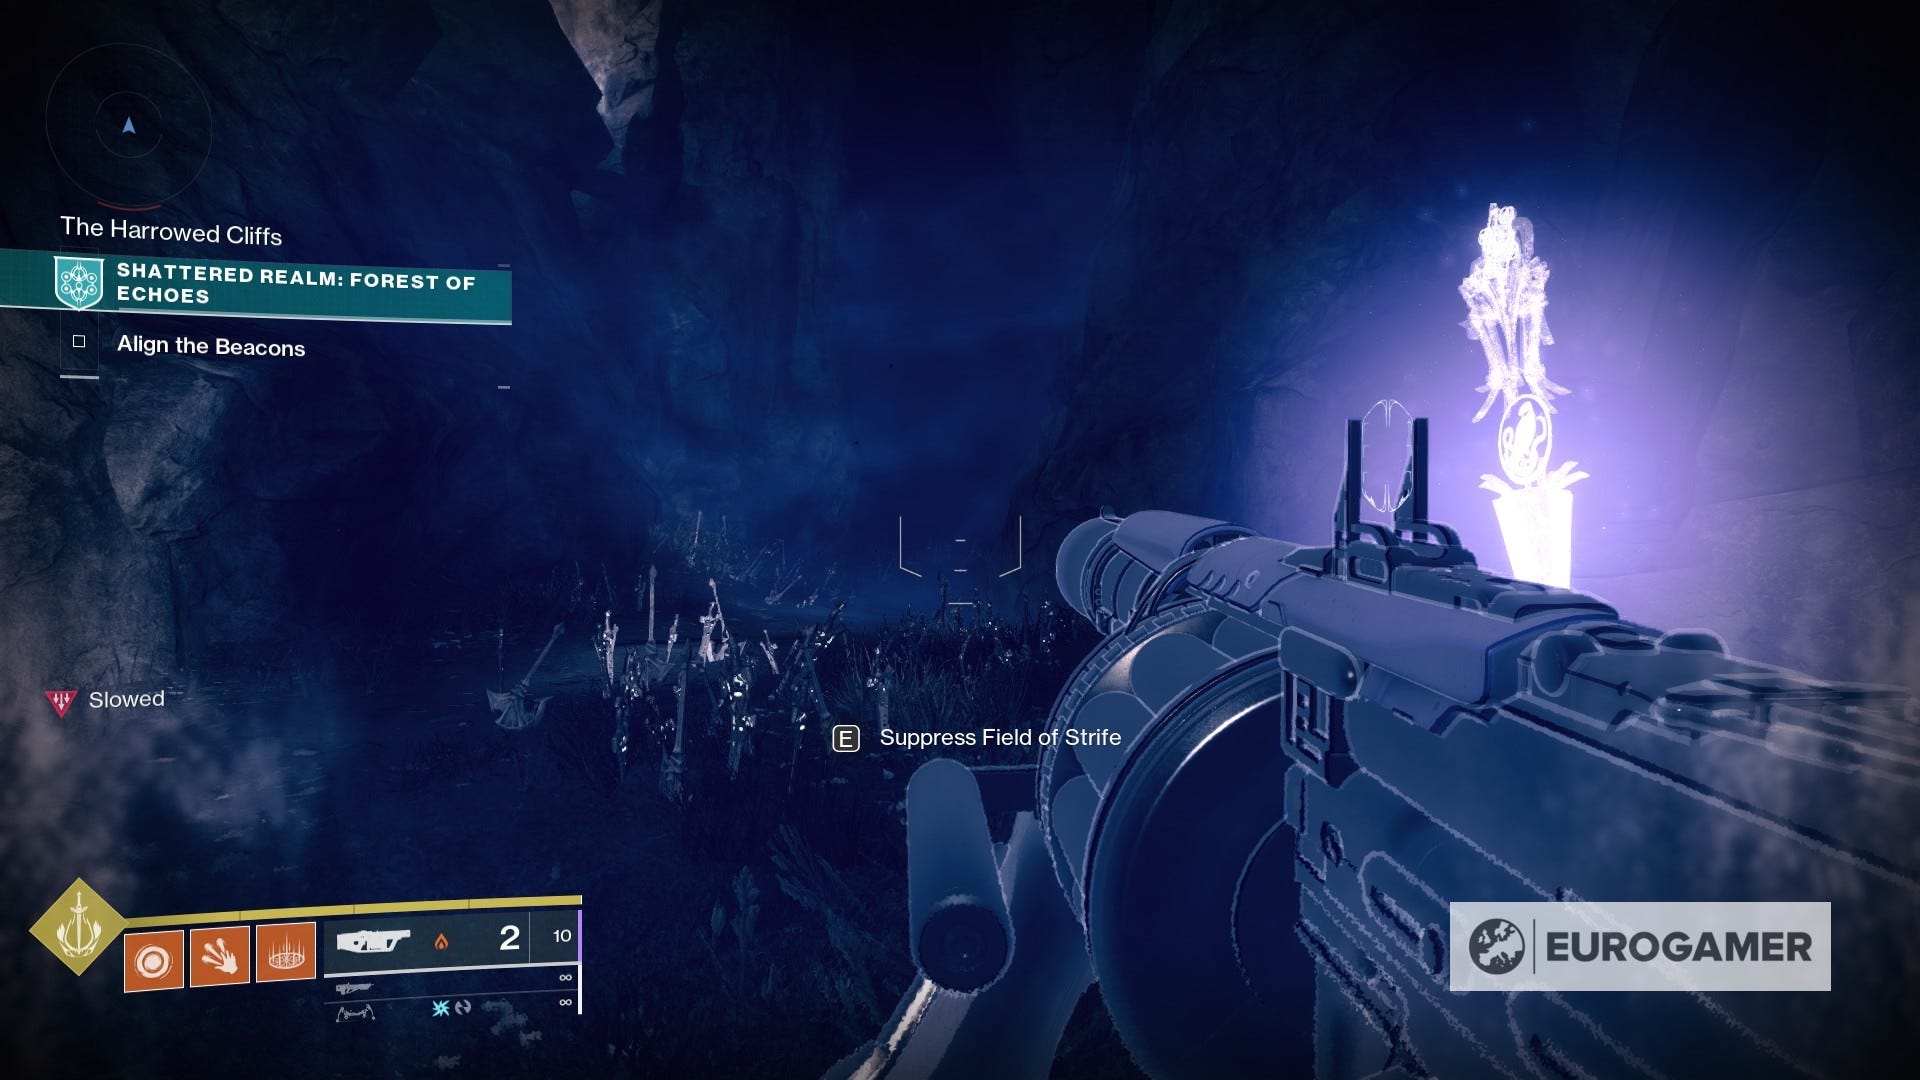
18. As you are heading to the second beacon (throughout the area with the Slowed condition) keep an eye out for another glowing rock on the left side. Once more, use Ager's Scepter to tear it open and grab the anchor within.
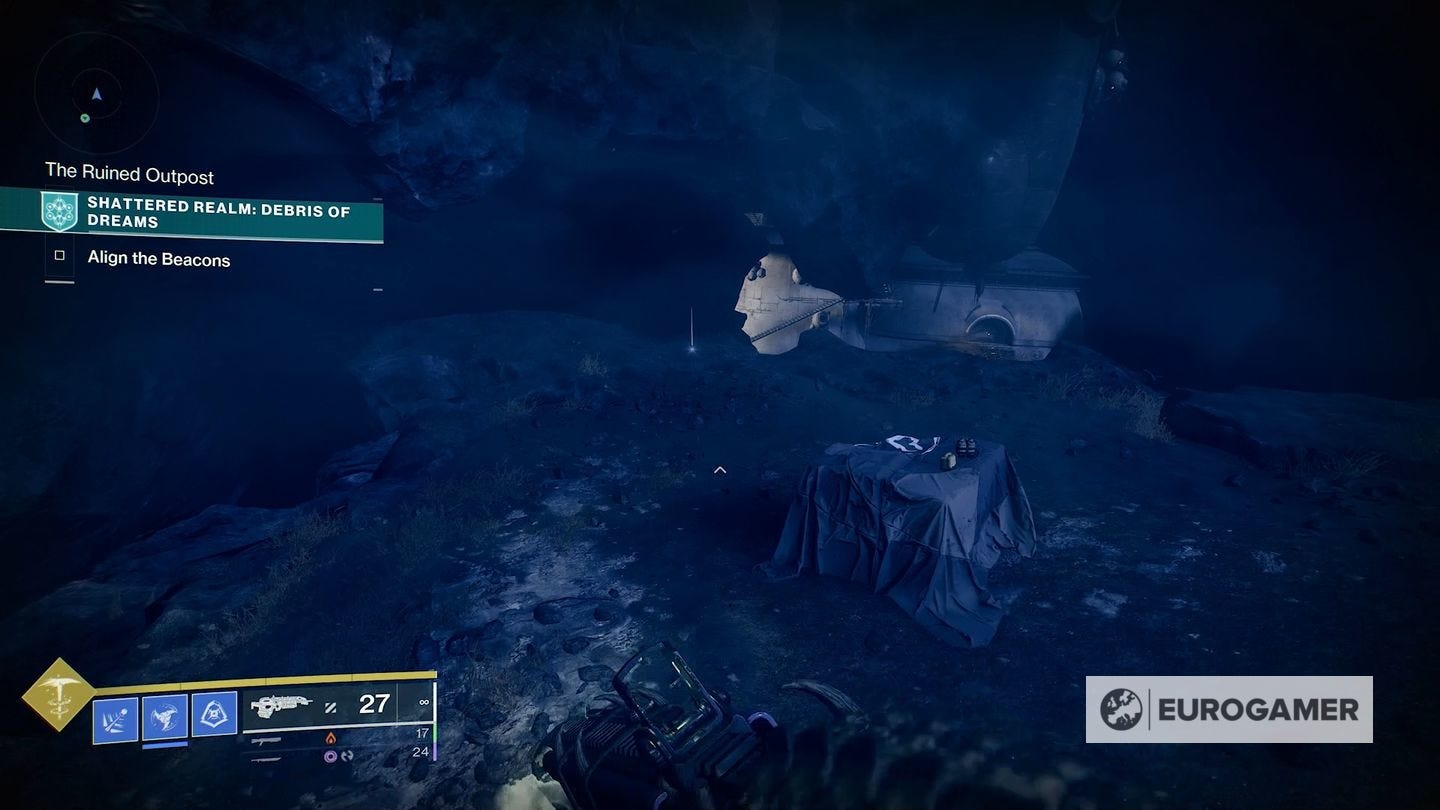
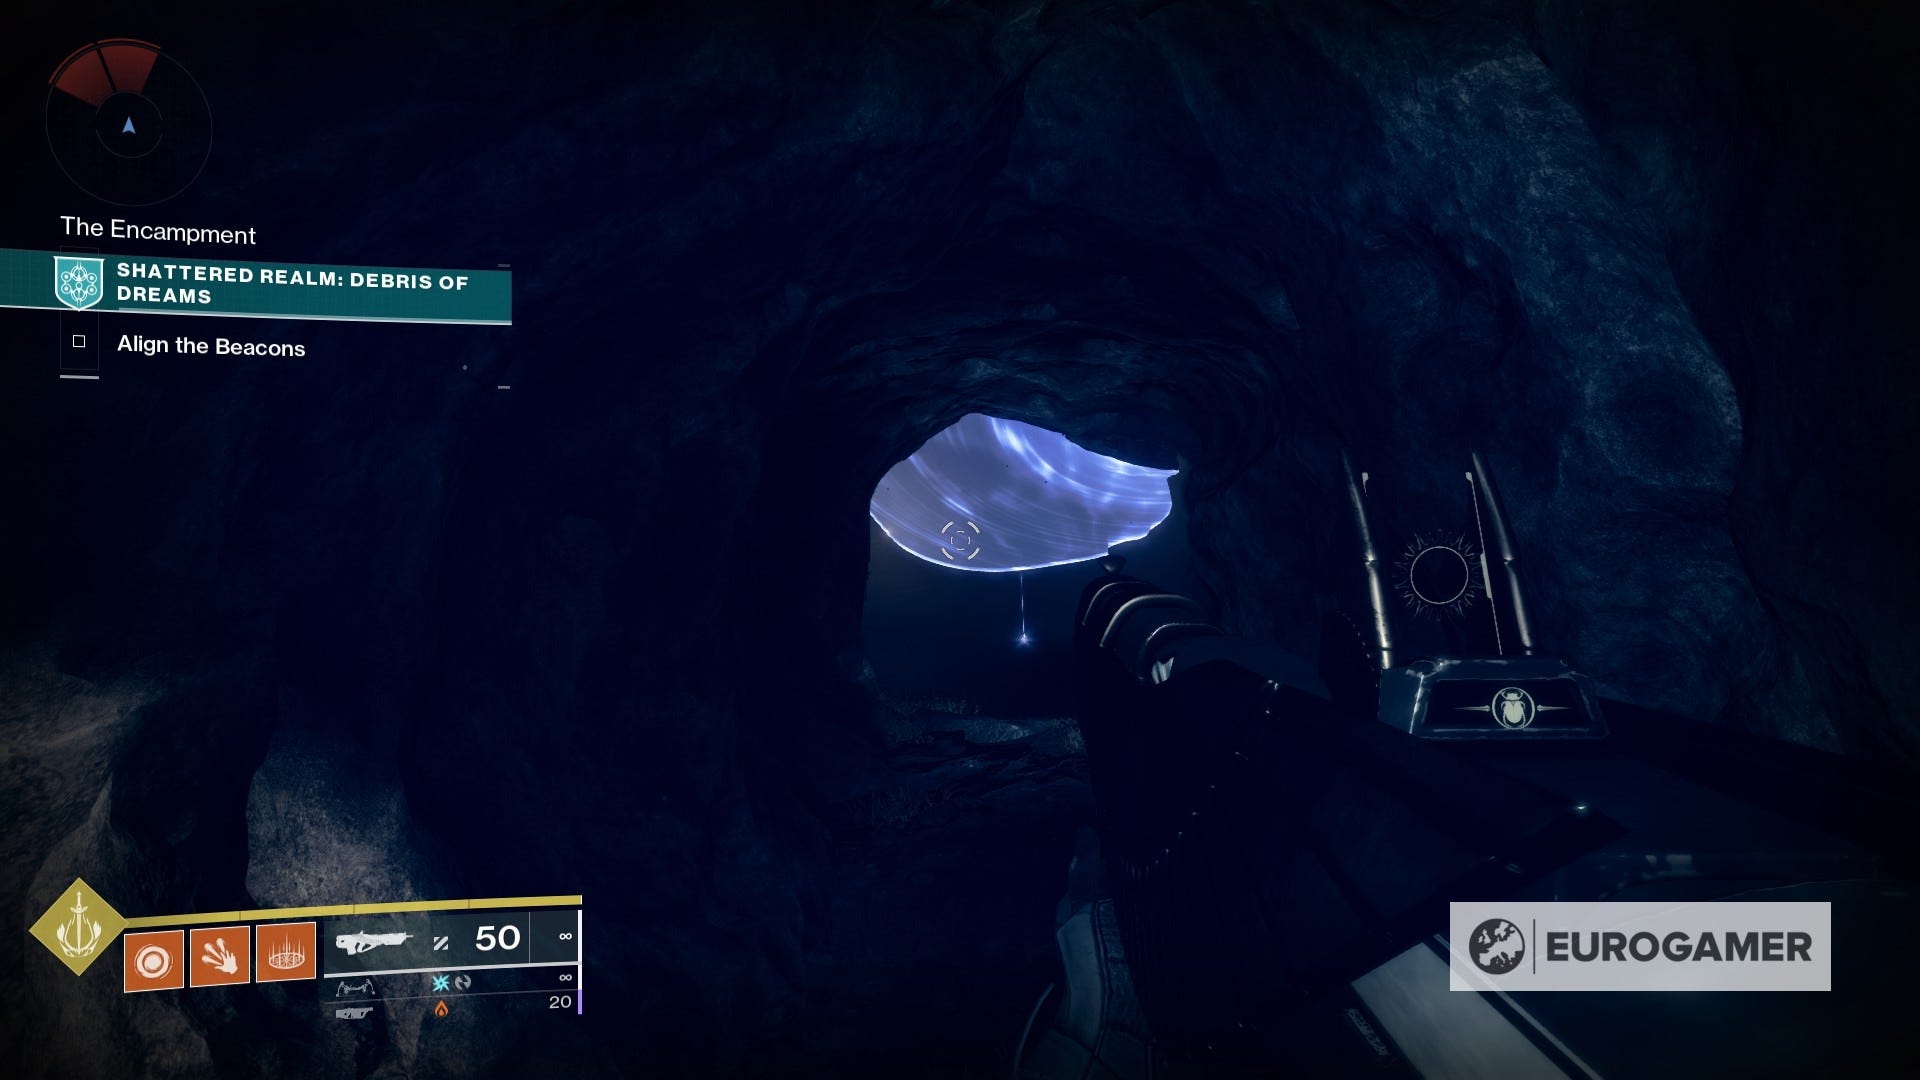
Shattered Realm - Debris of Dreams Ascendant Anchor locations
Some of the following require for you to have all Wayfinder's Compass abilities unlocked, including Barrier Breach, True Sight, Safe Passage, Barrier: Enhanced Breach and Sight: Frequency Echoes.
These will appear every three weeks on rotation around other two Shattered Realm missions, and will reset when they return back on rotation - allowing you to collect them multiple times per season.
The first four Anchors are more easily reached in sequence.
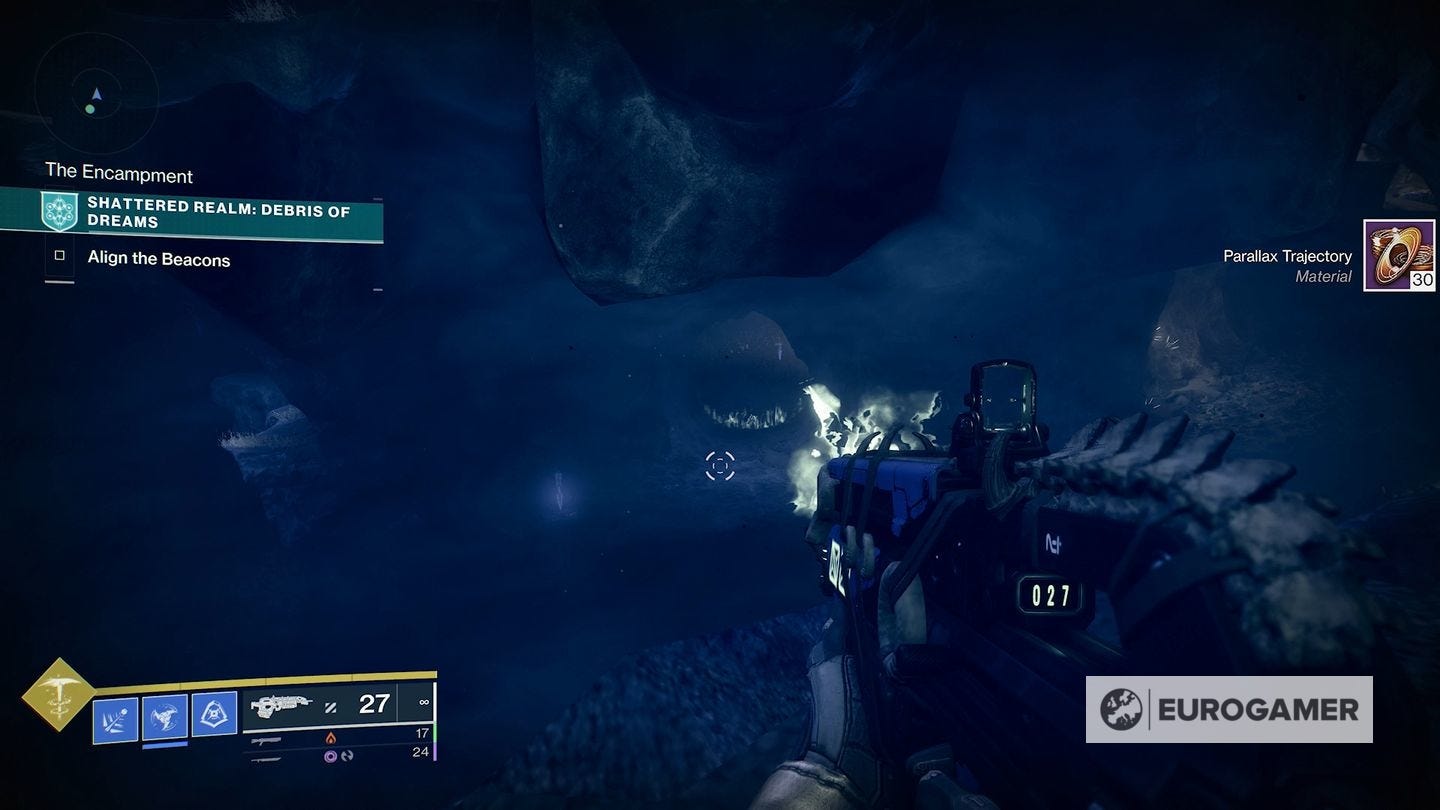
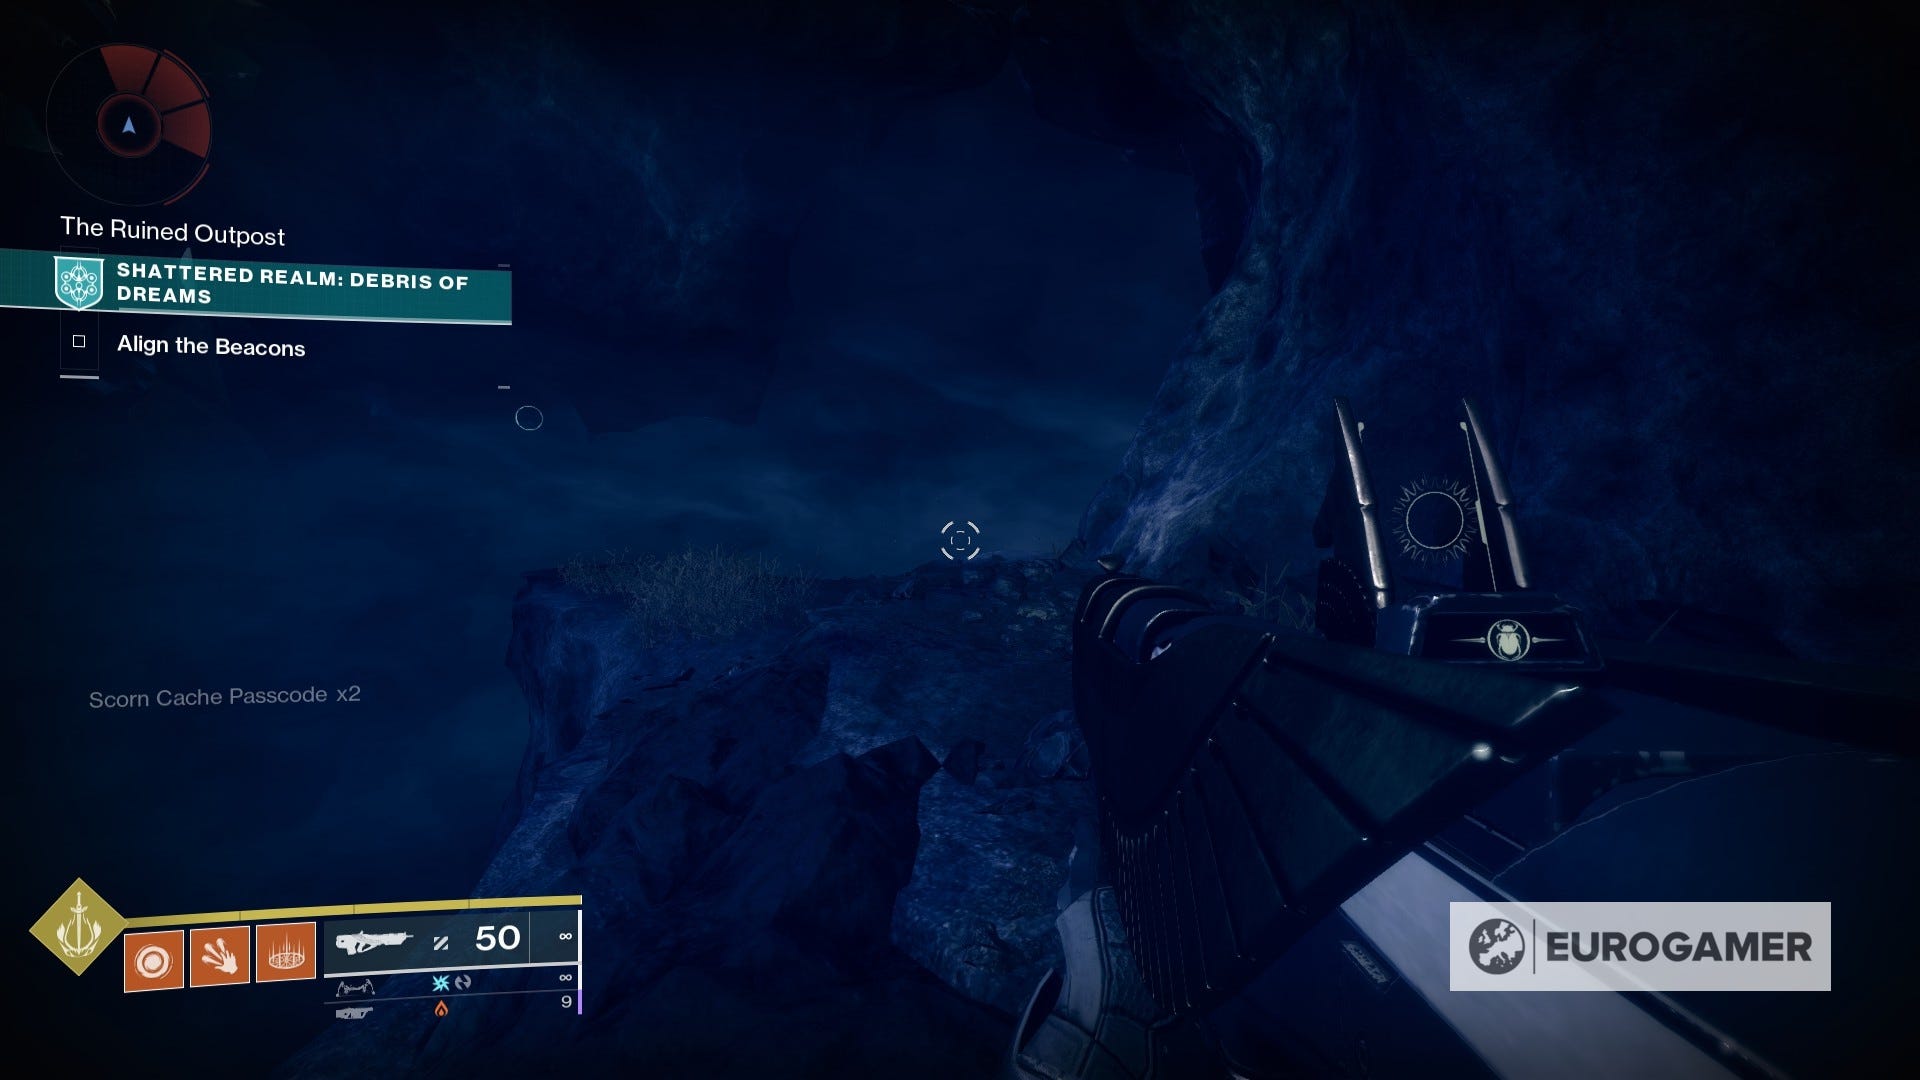
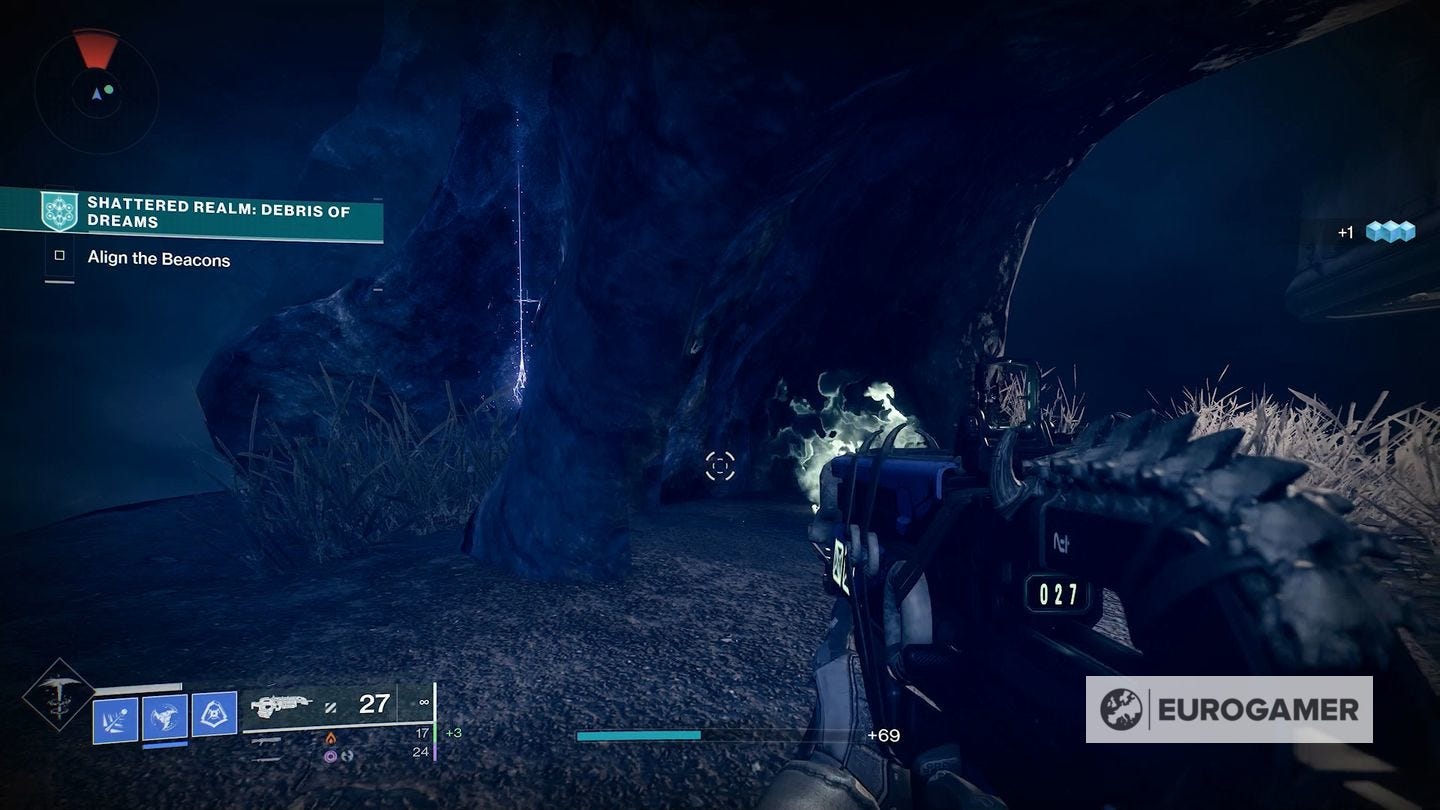
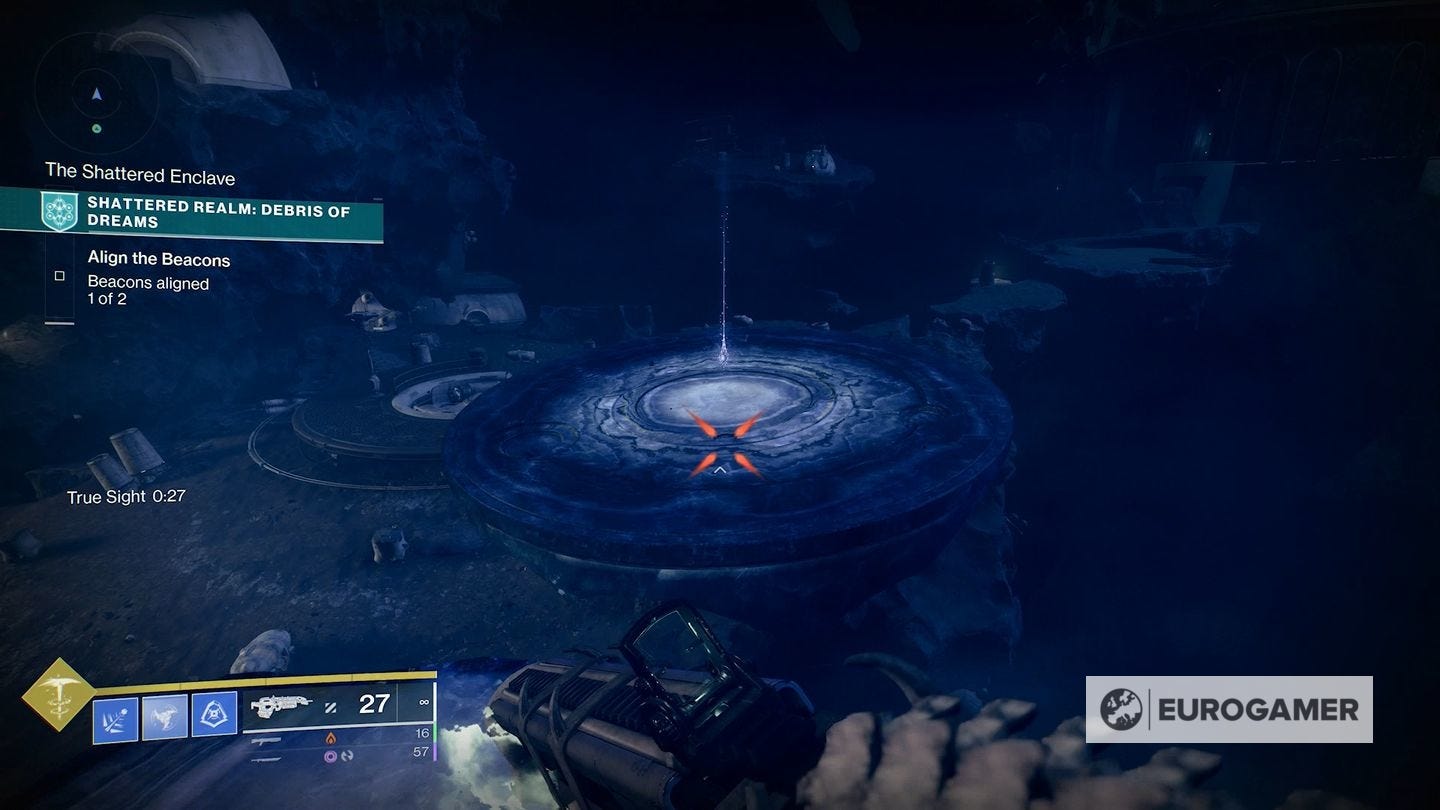
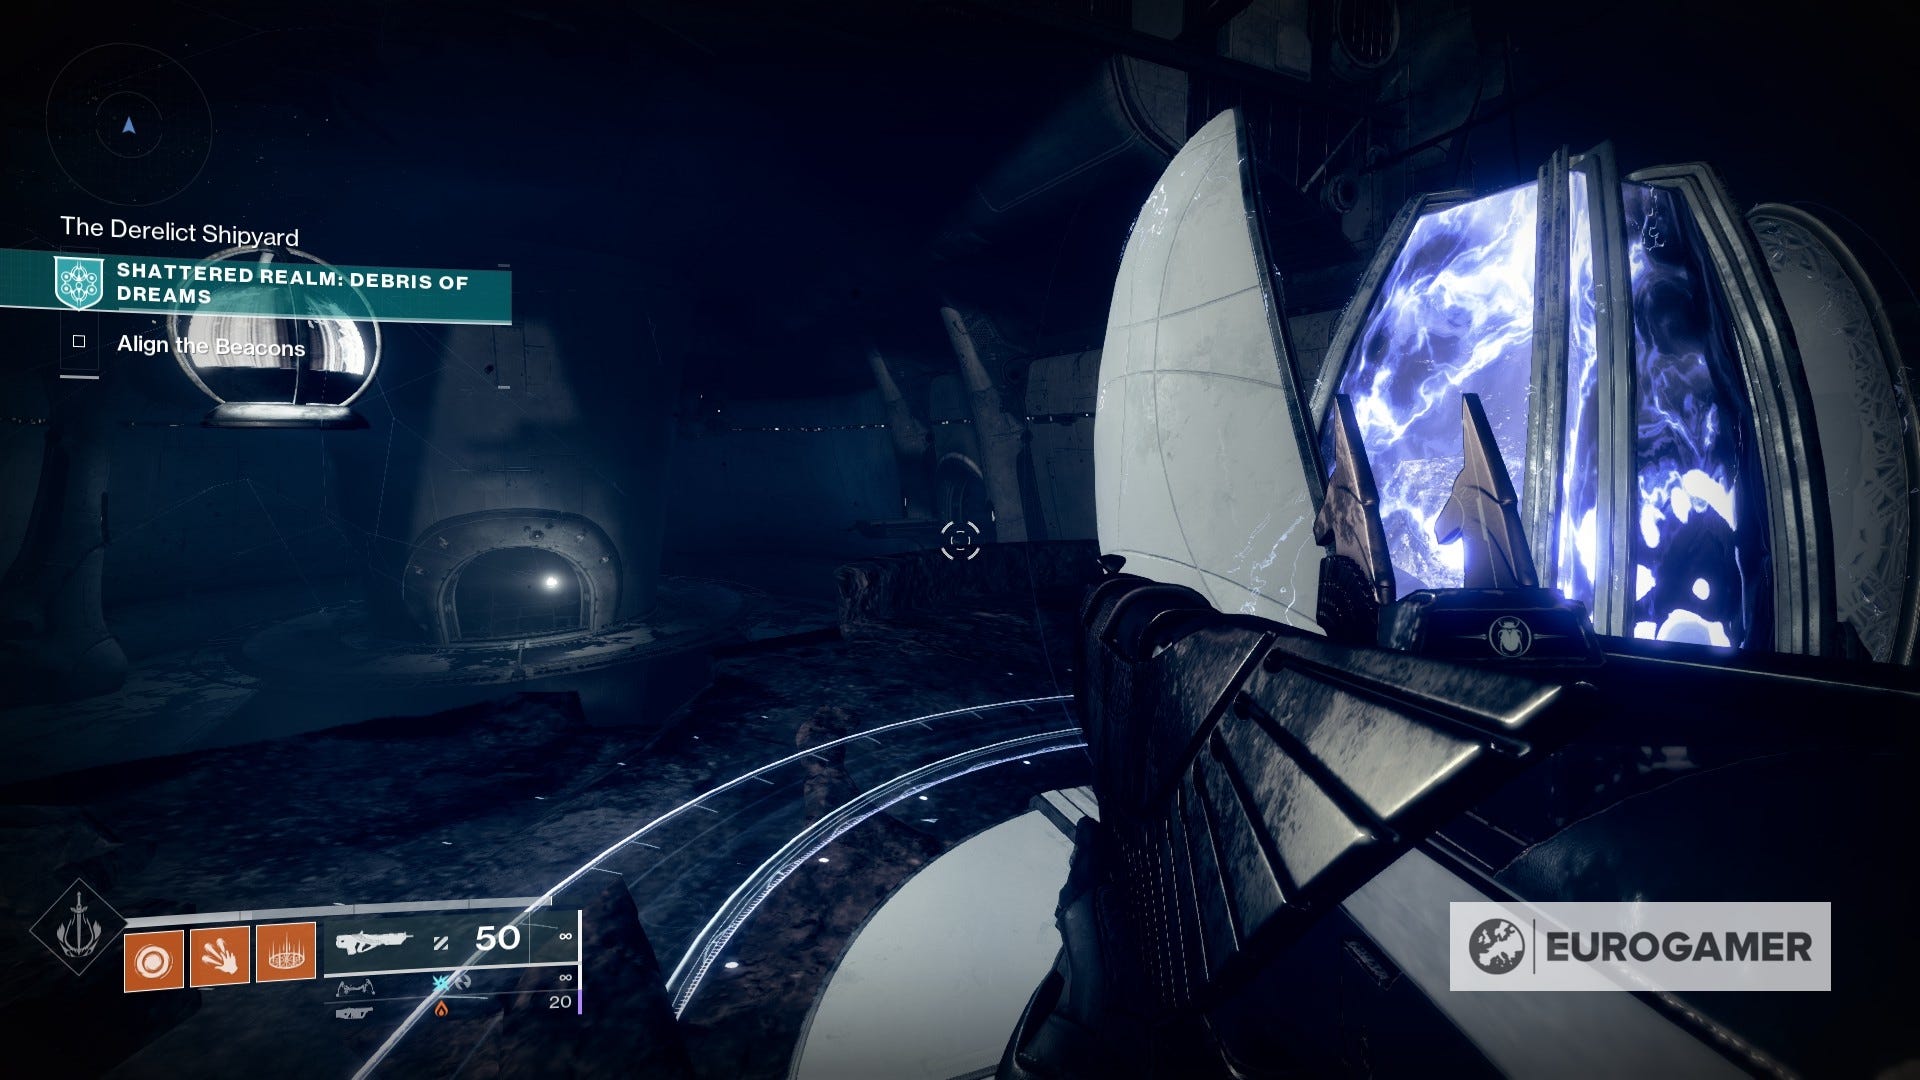
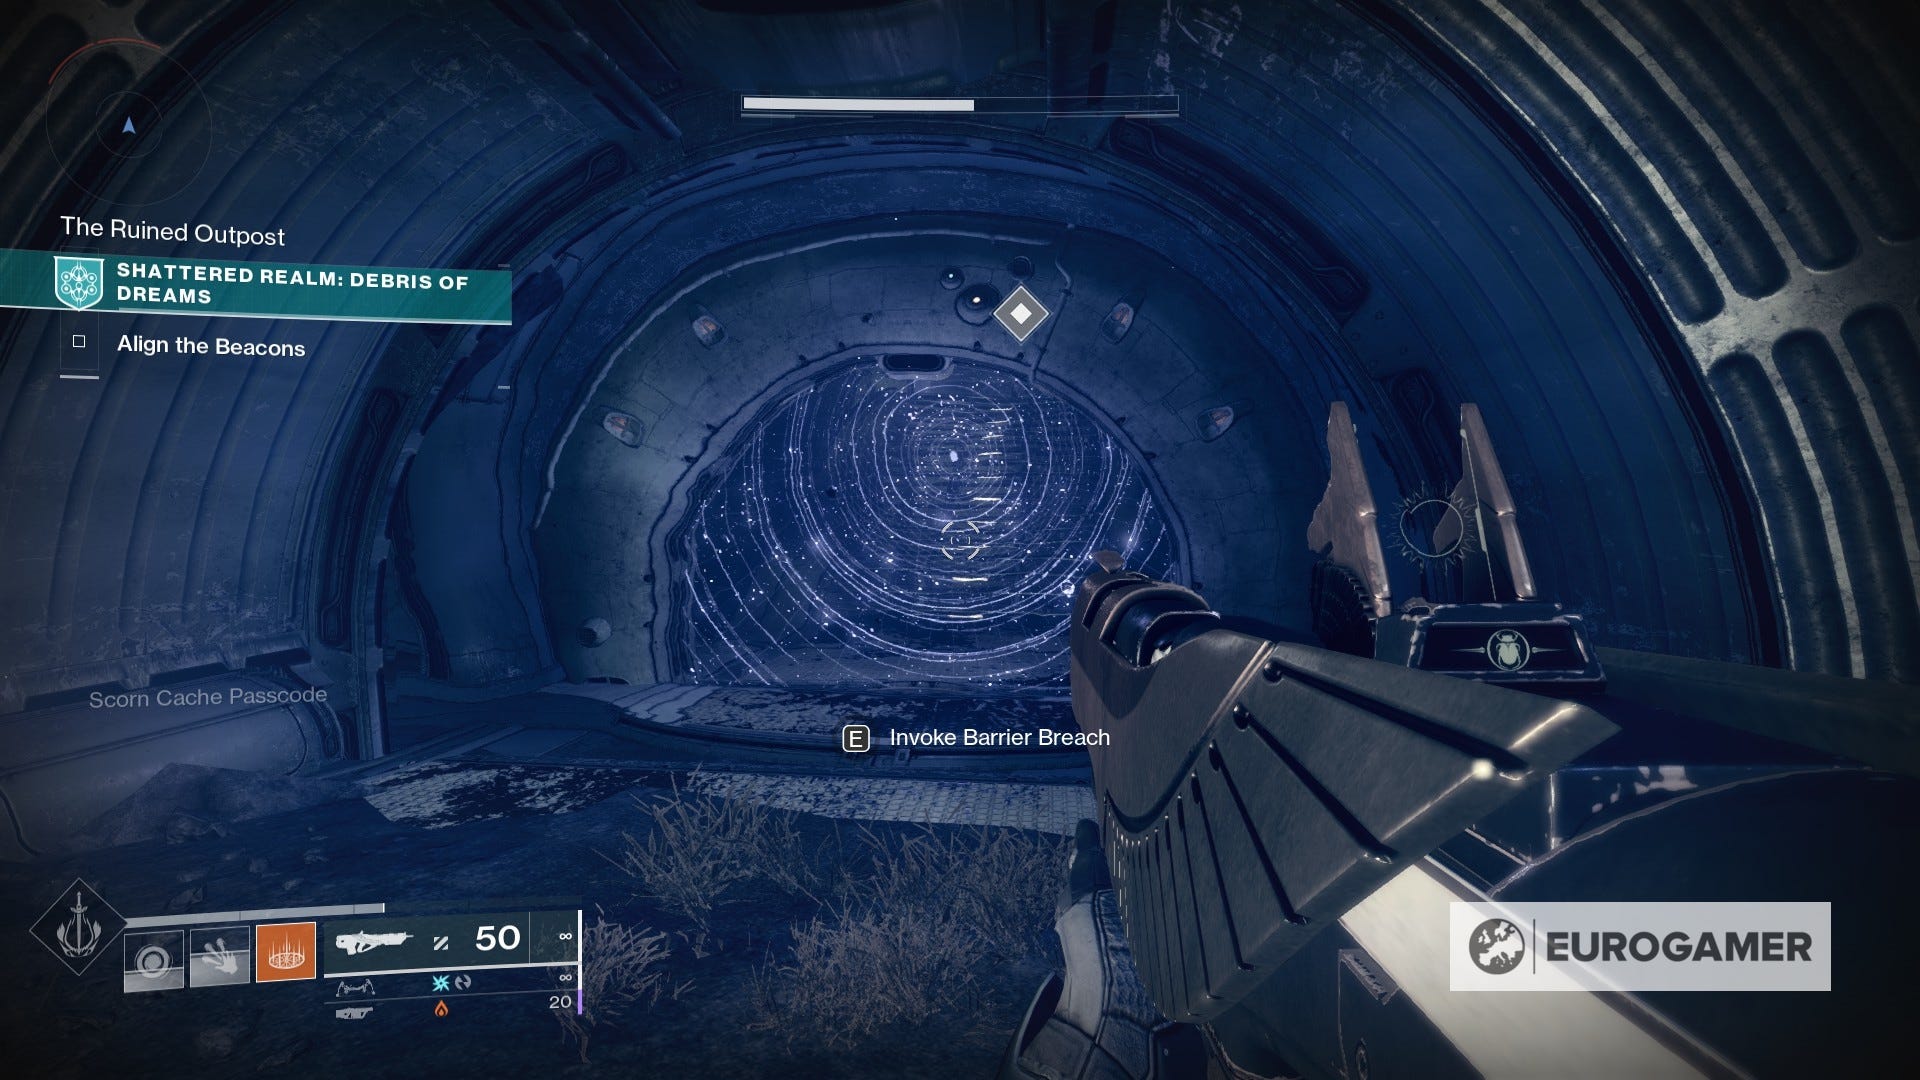
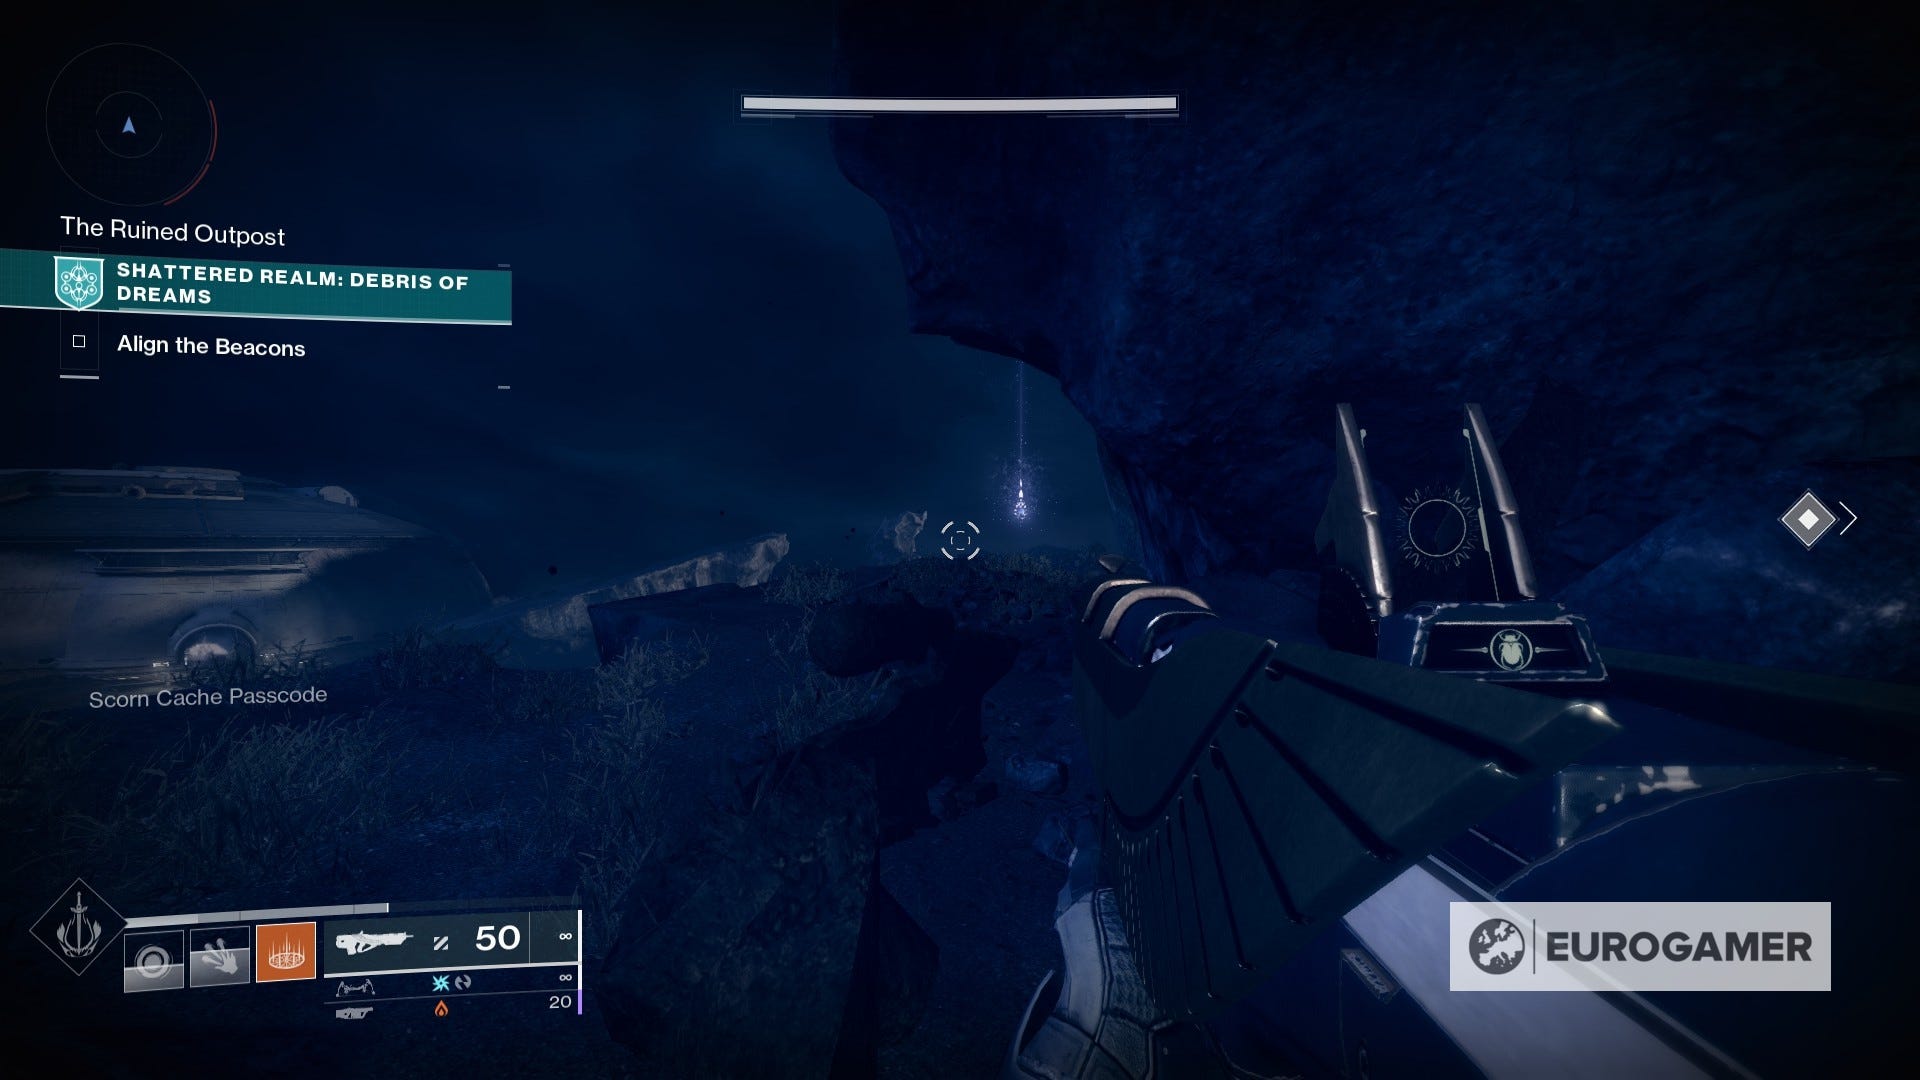
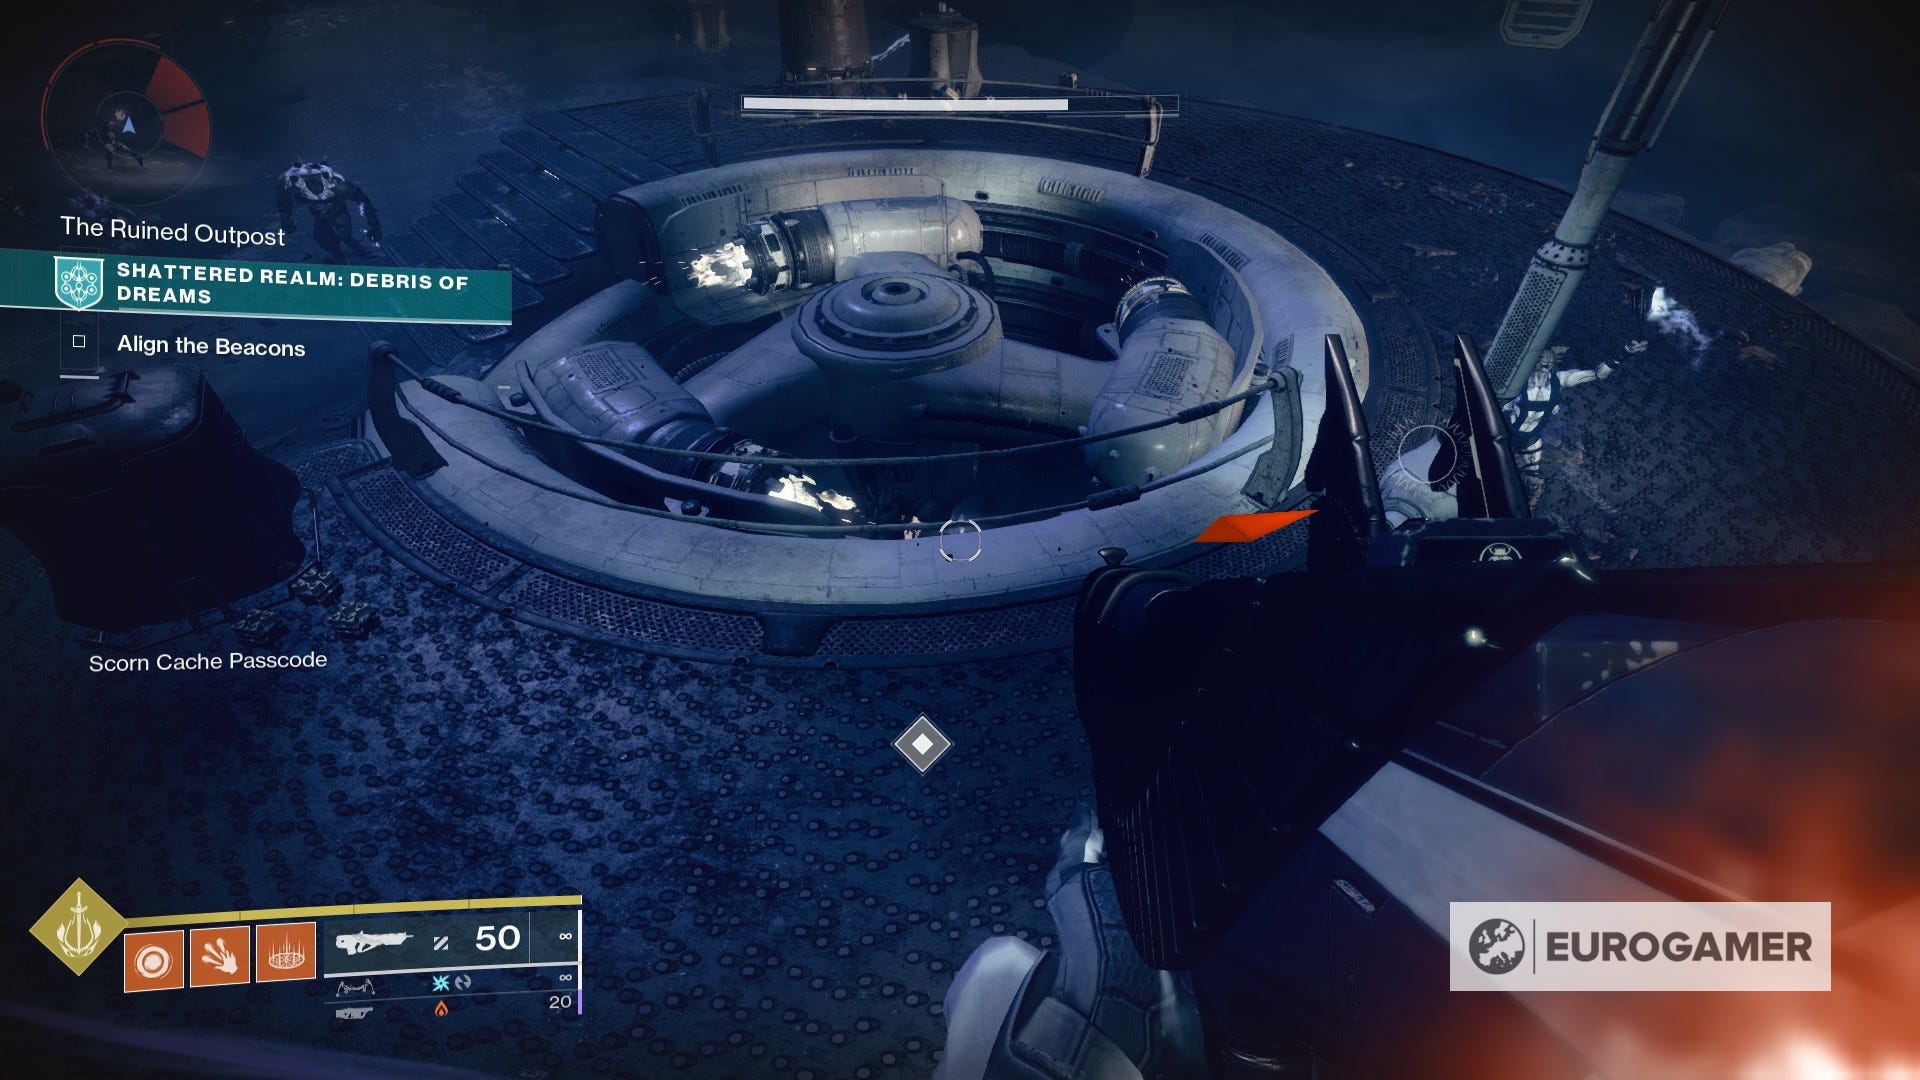
1. Head to the first major 'area' (with the spinning platform in the centre) that leads you off to various directions. From the direction of the first beacon, turn around and go to the other end. At the edge, you should see the Anchor on the cliff ahead.

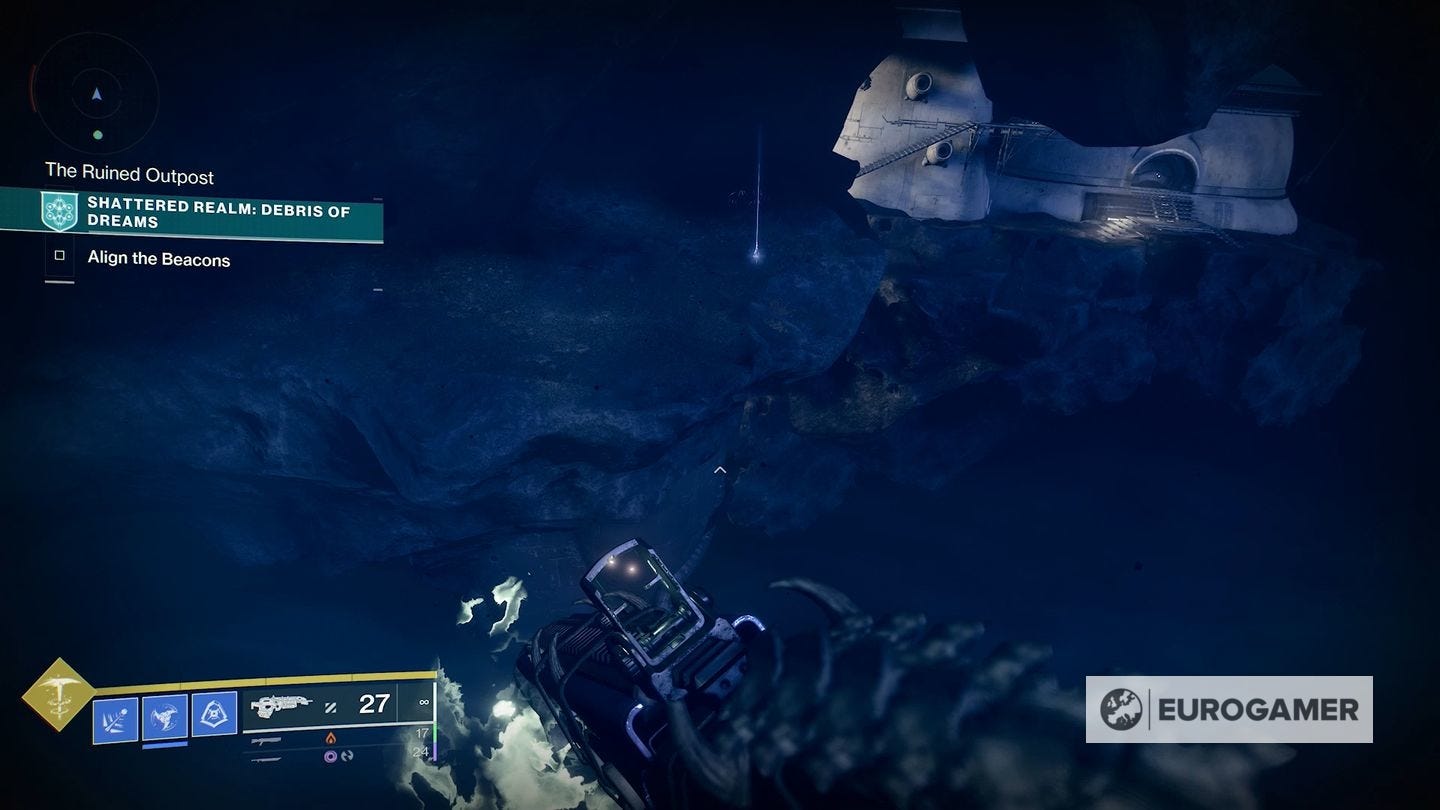
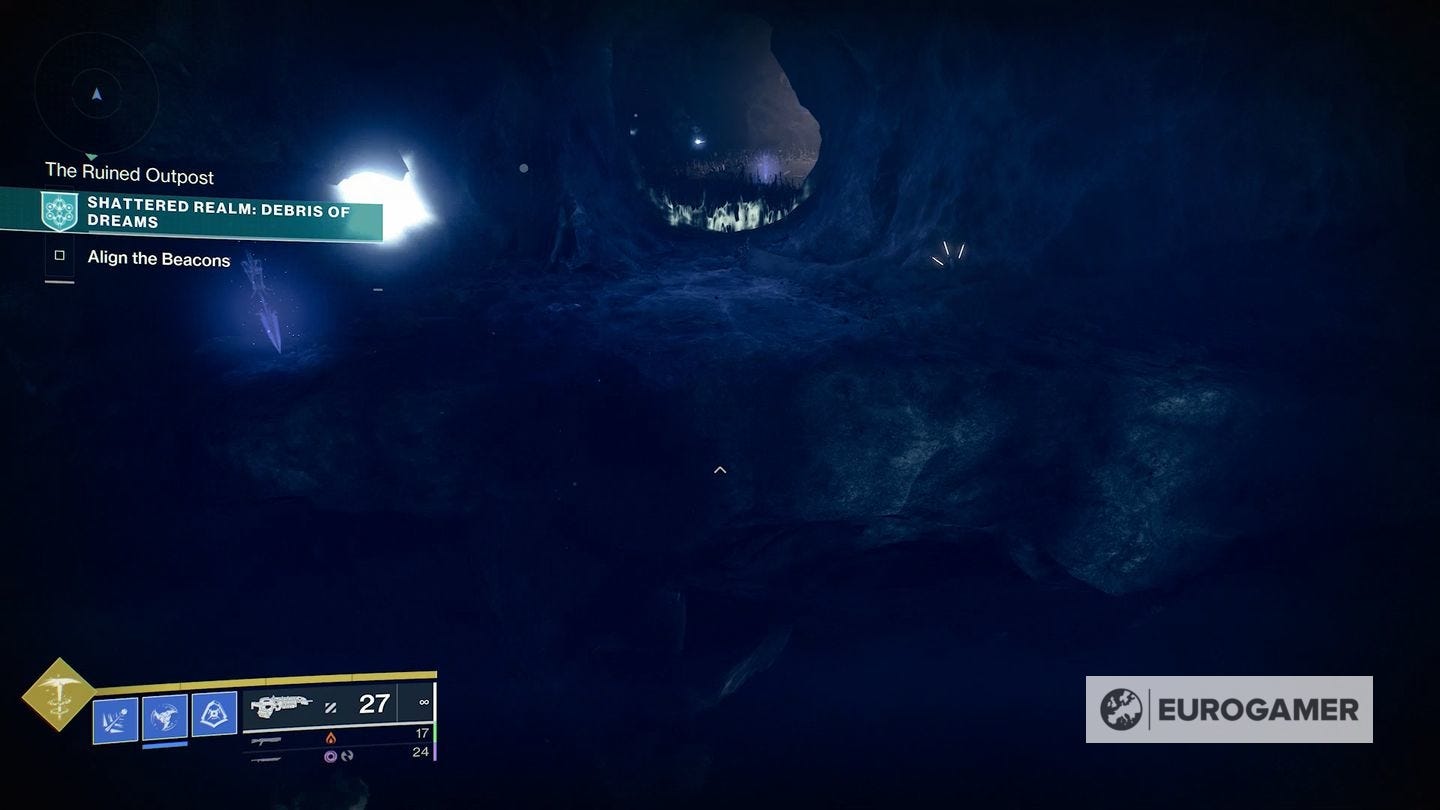
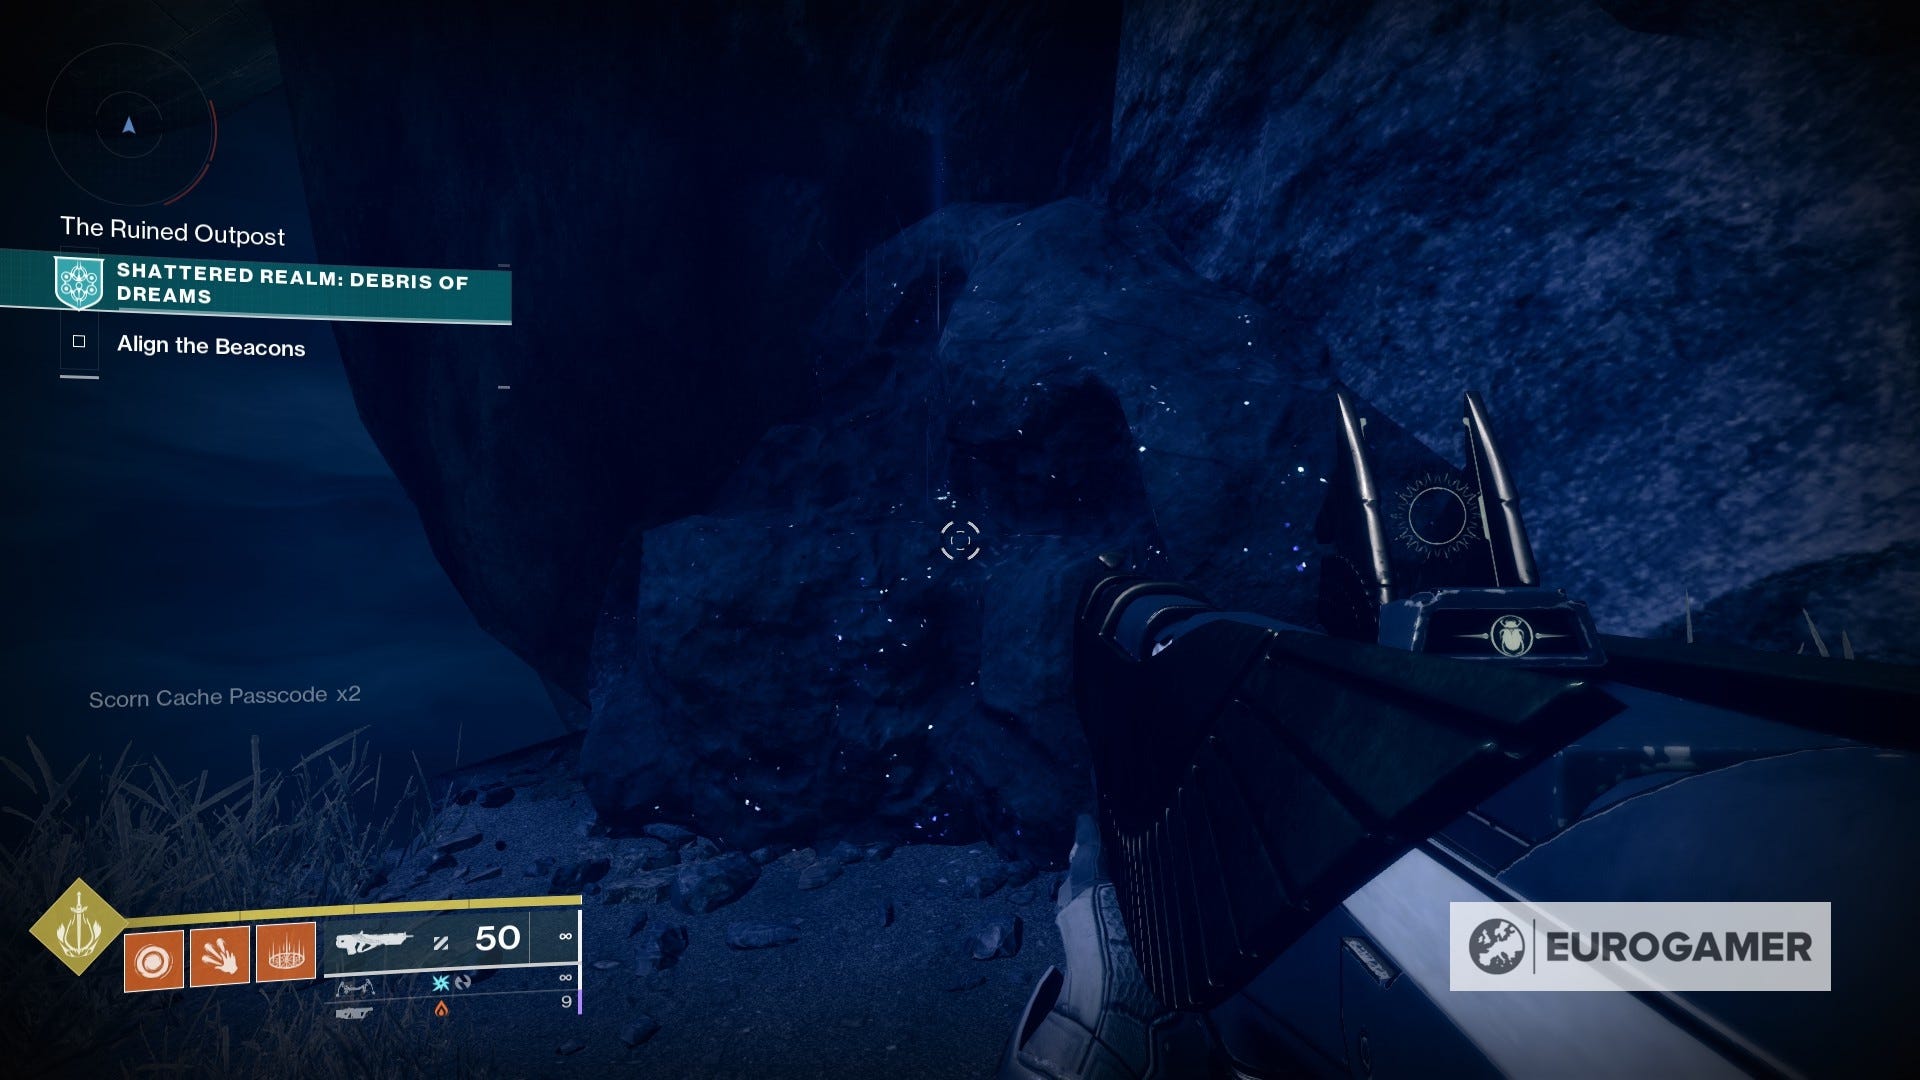
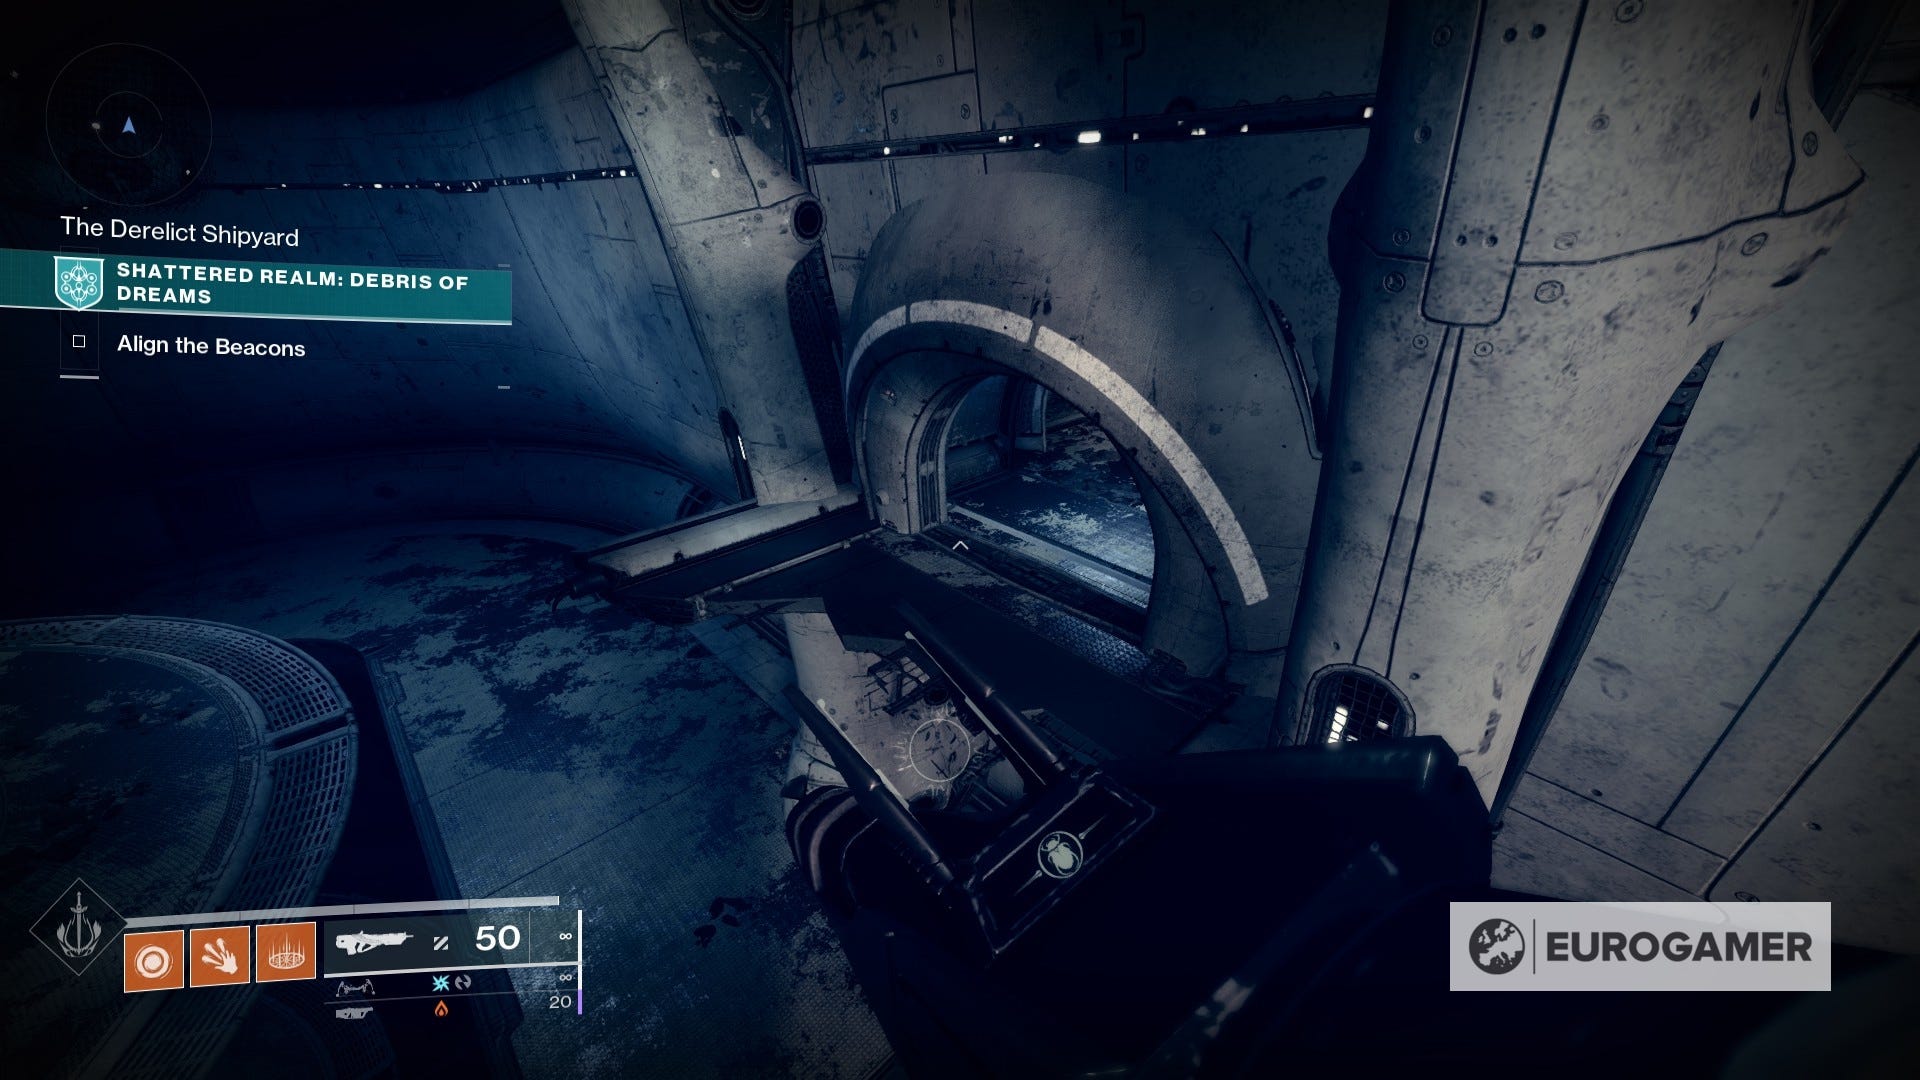
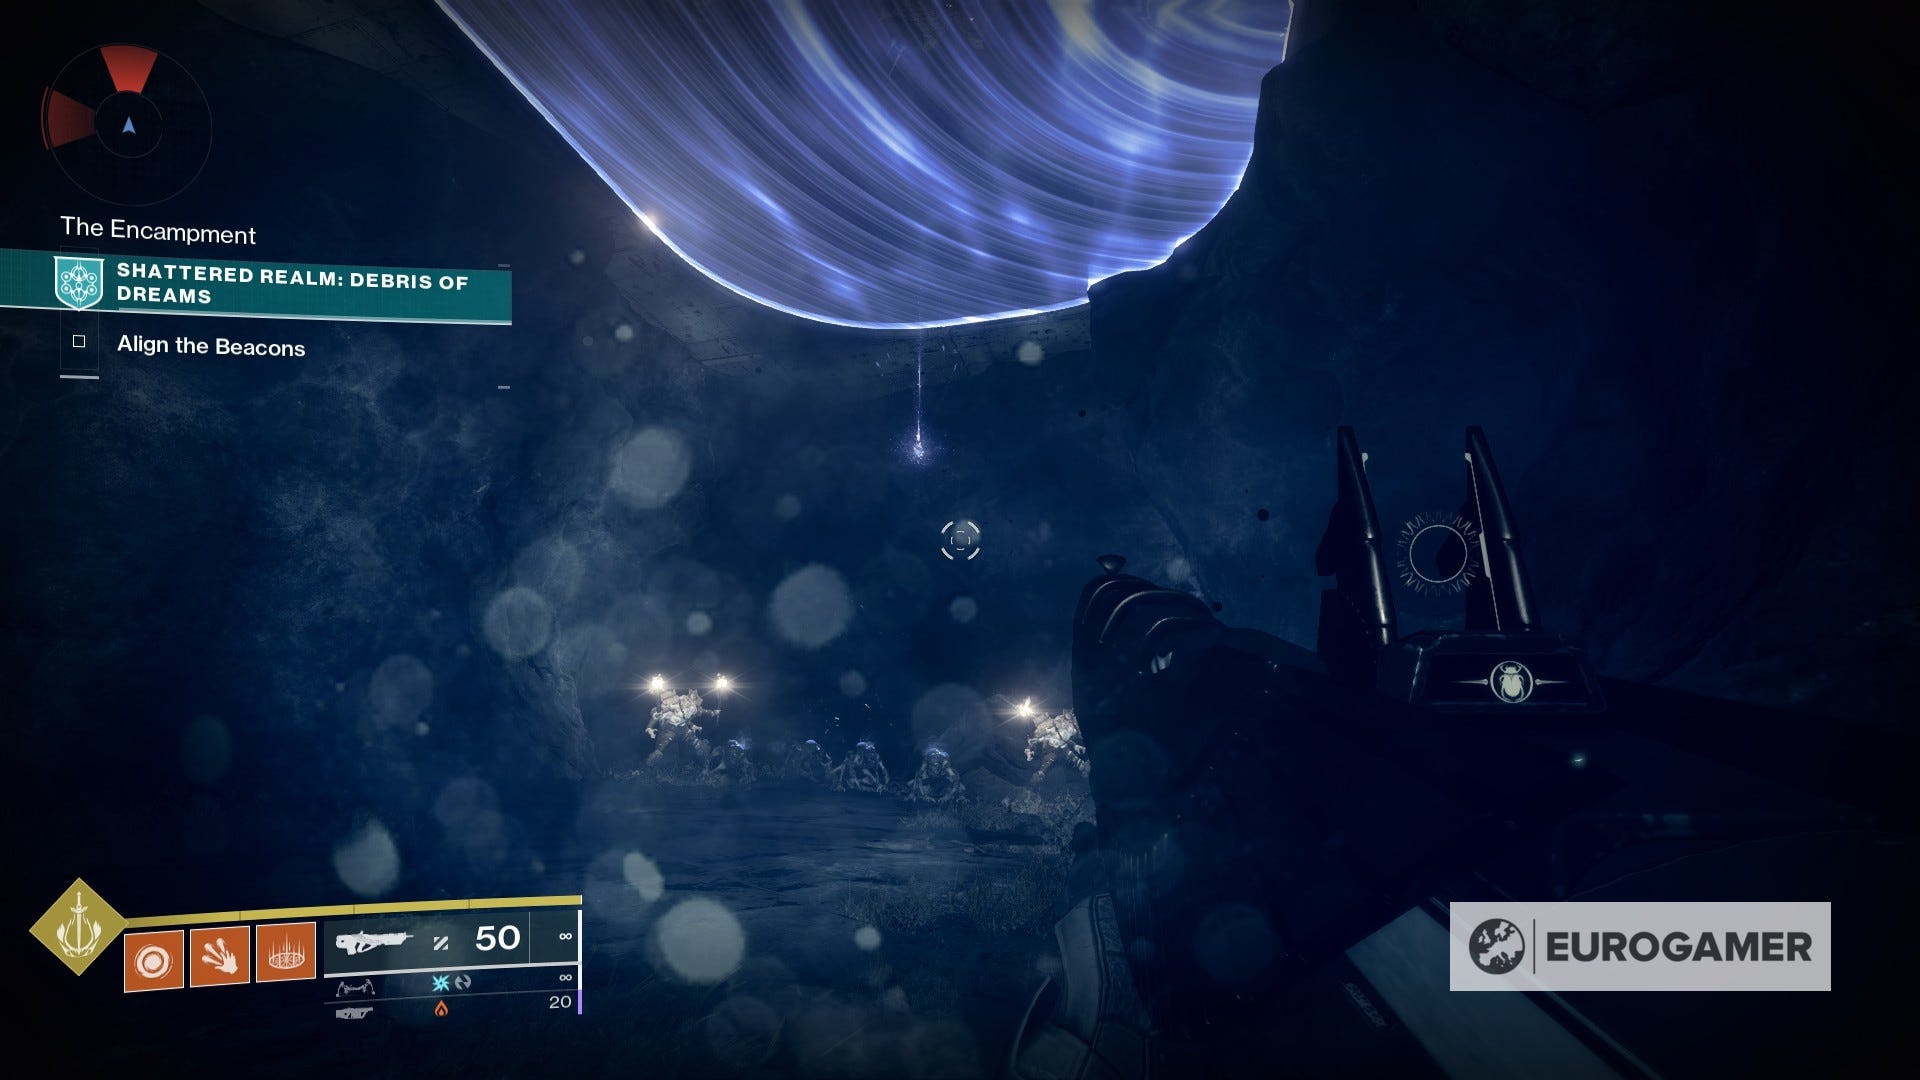
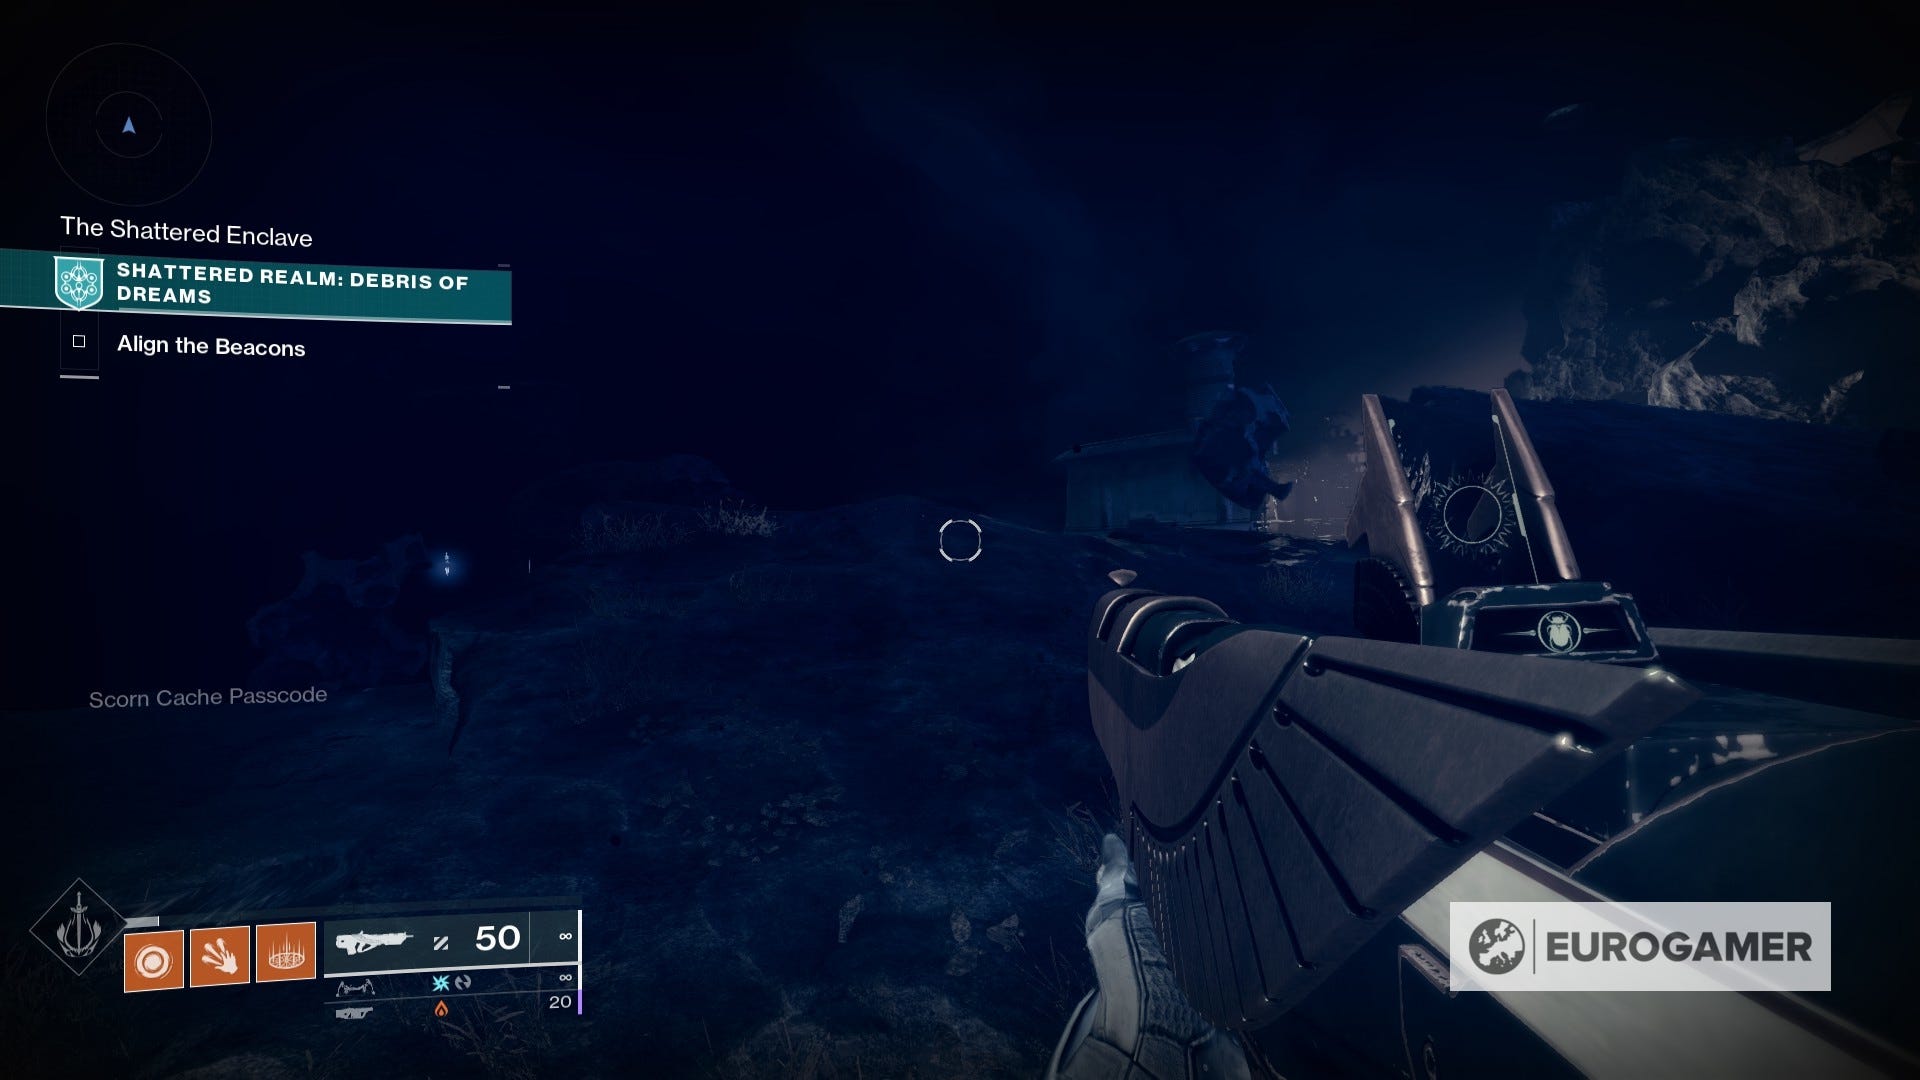
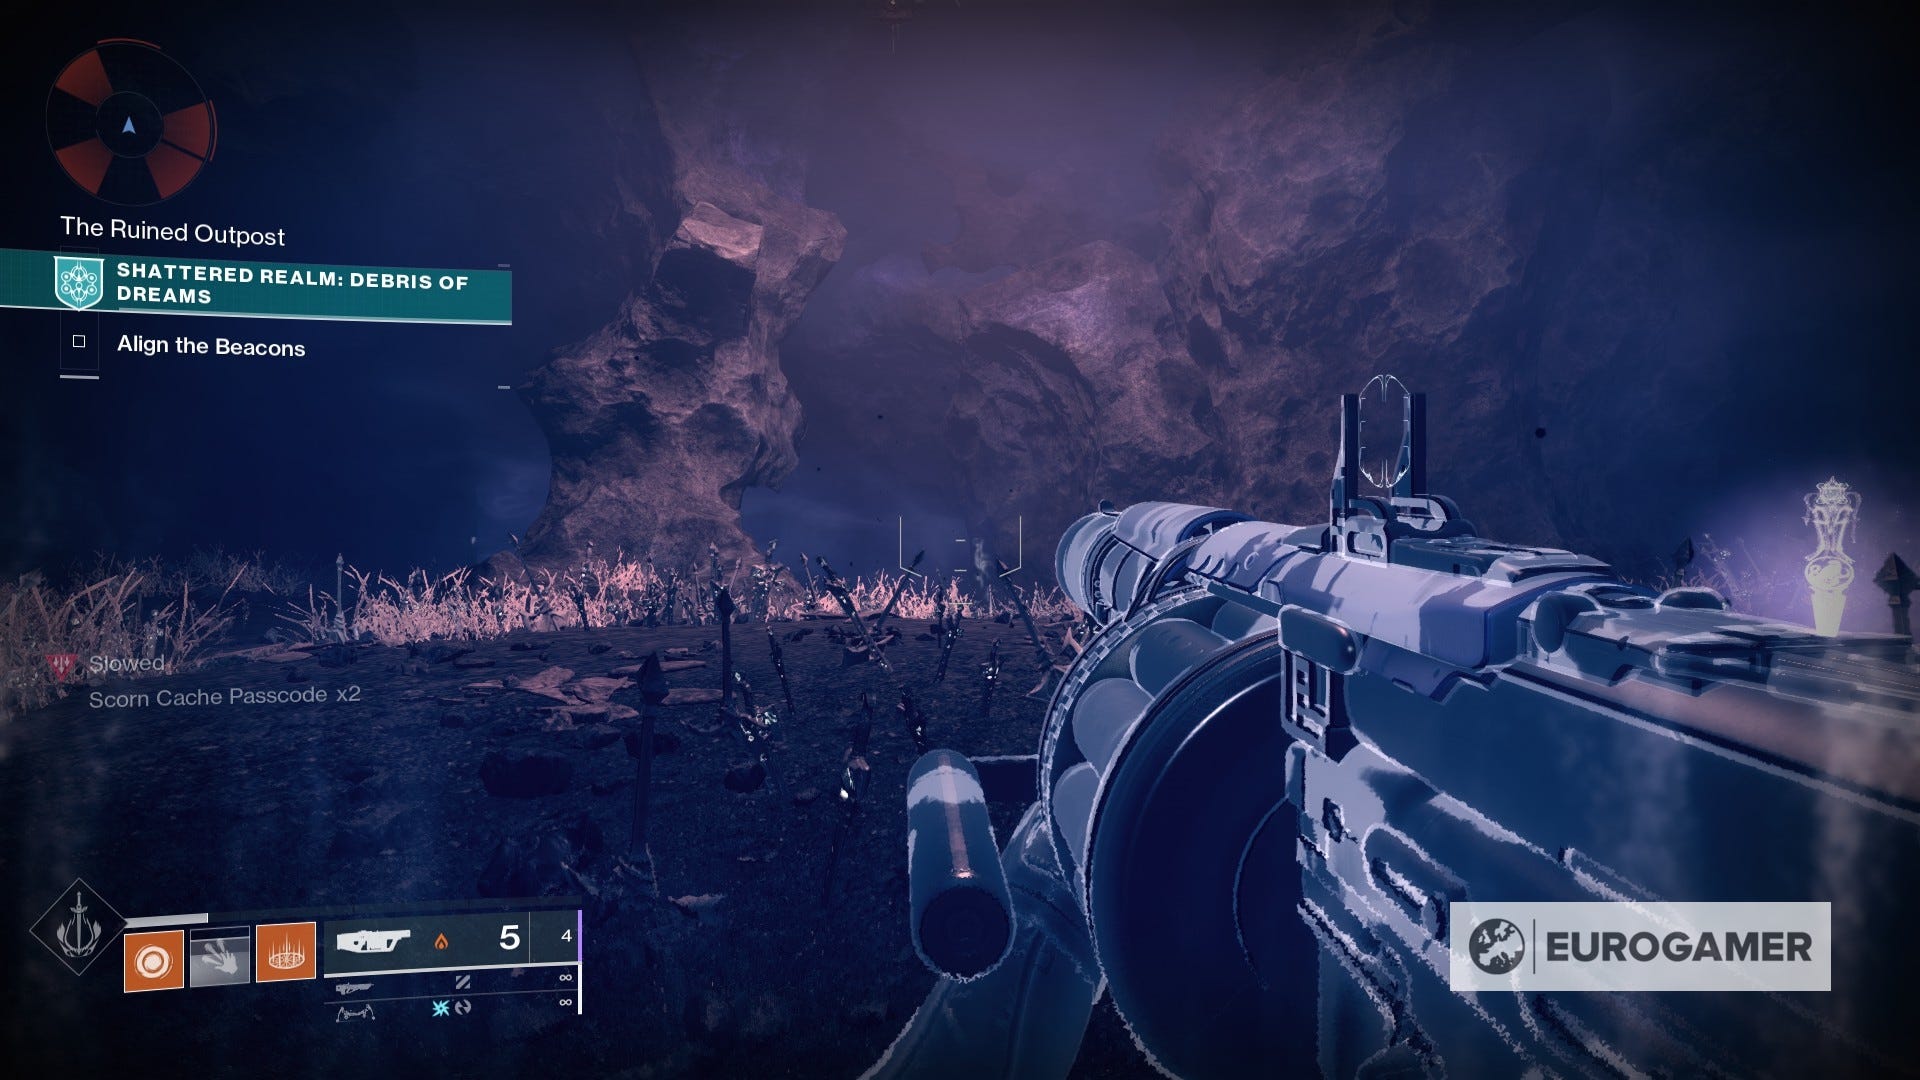
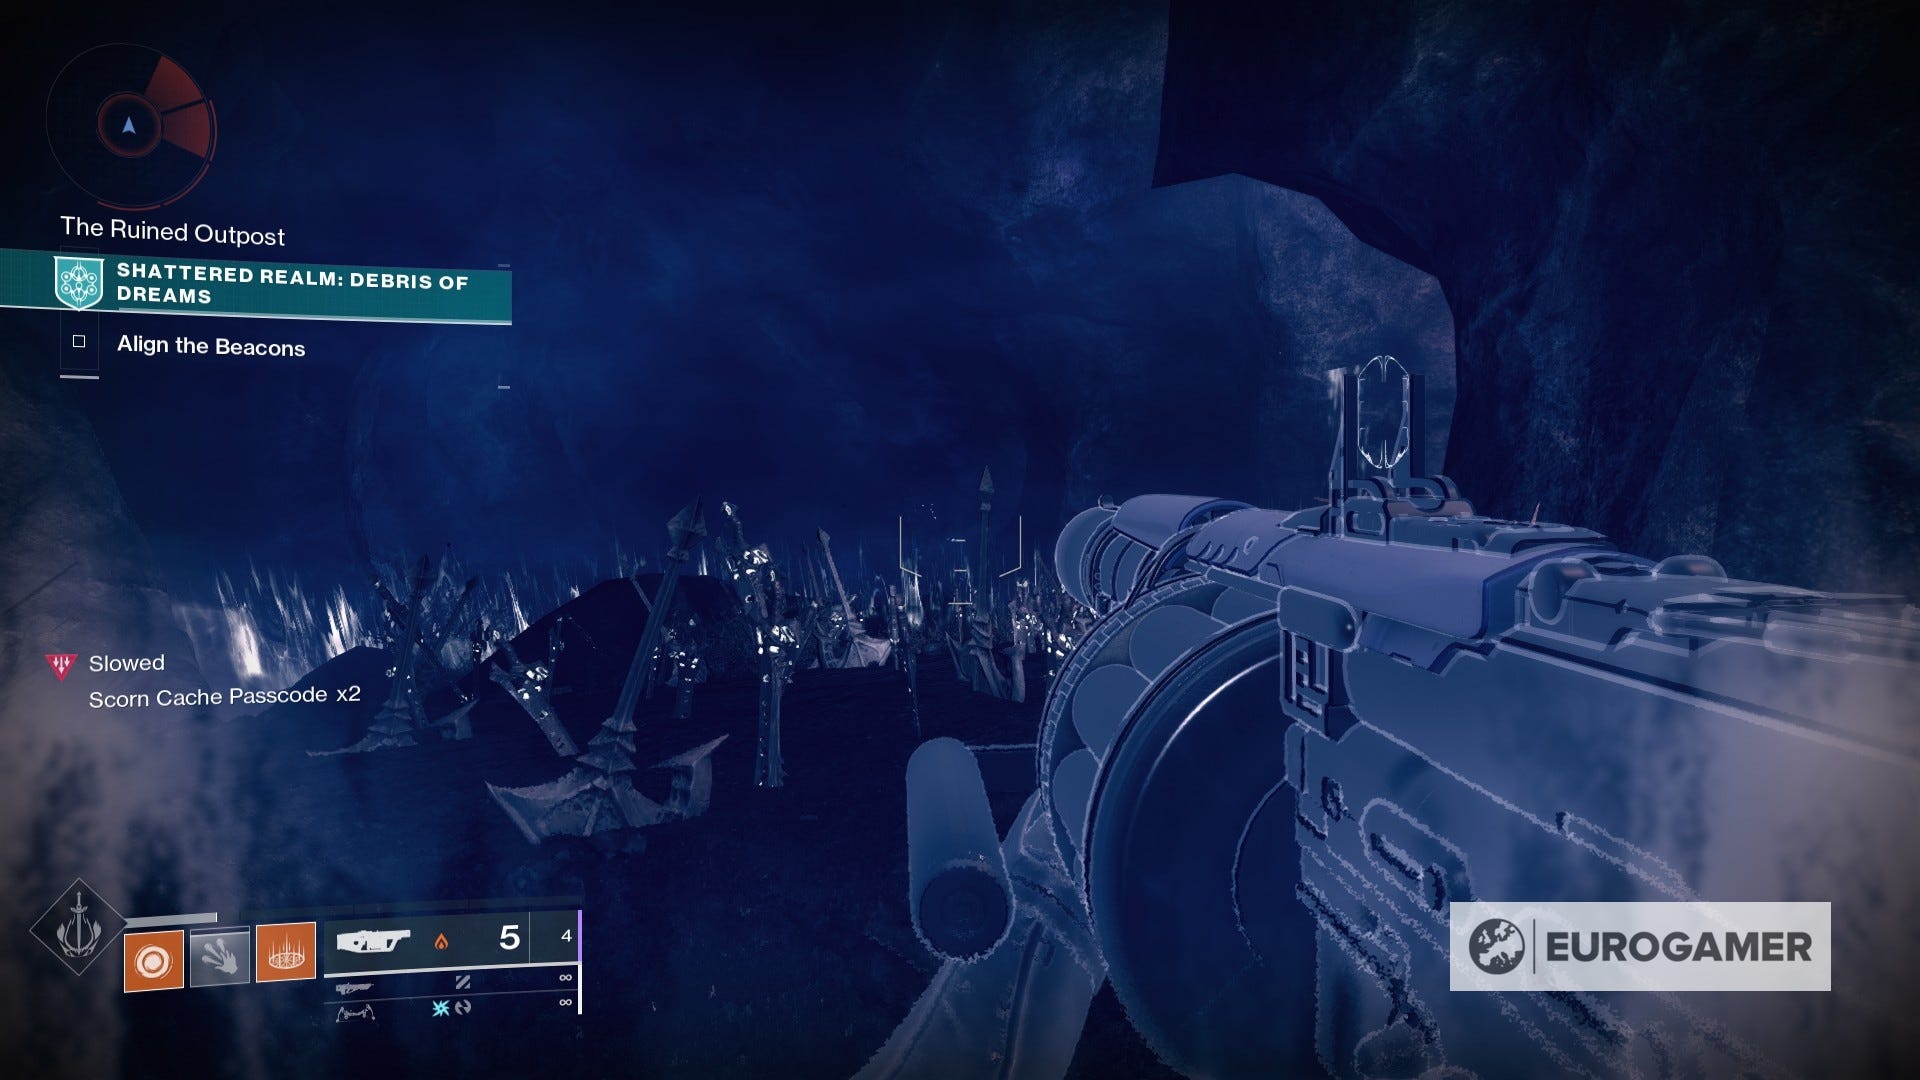
2. From this cliffside Anchor, turn around and you should see some caves below the area you just came from, with some 'slow' areas inside. Jump across, clear the enemies, and hug the left wall so you emerge back outside. The Anchor is on the cliff edge here.
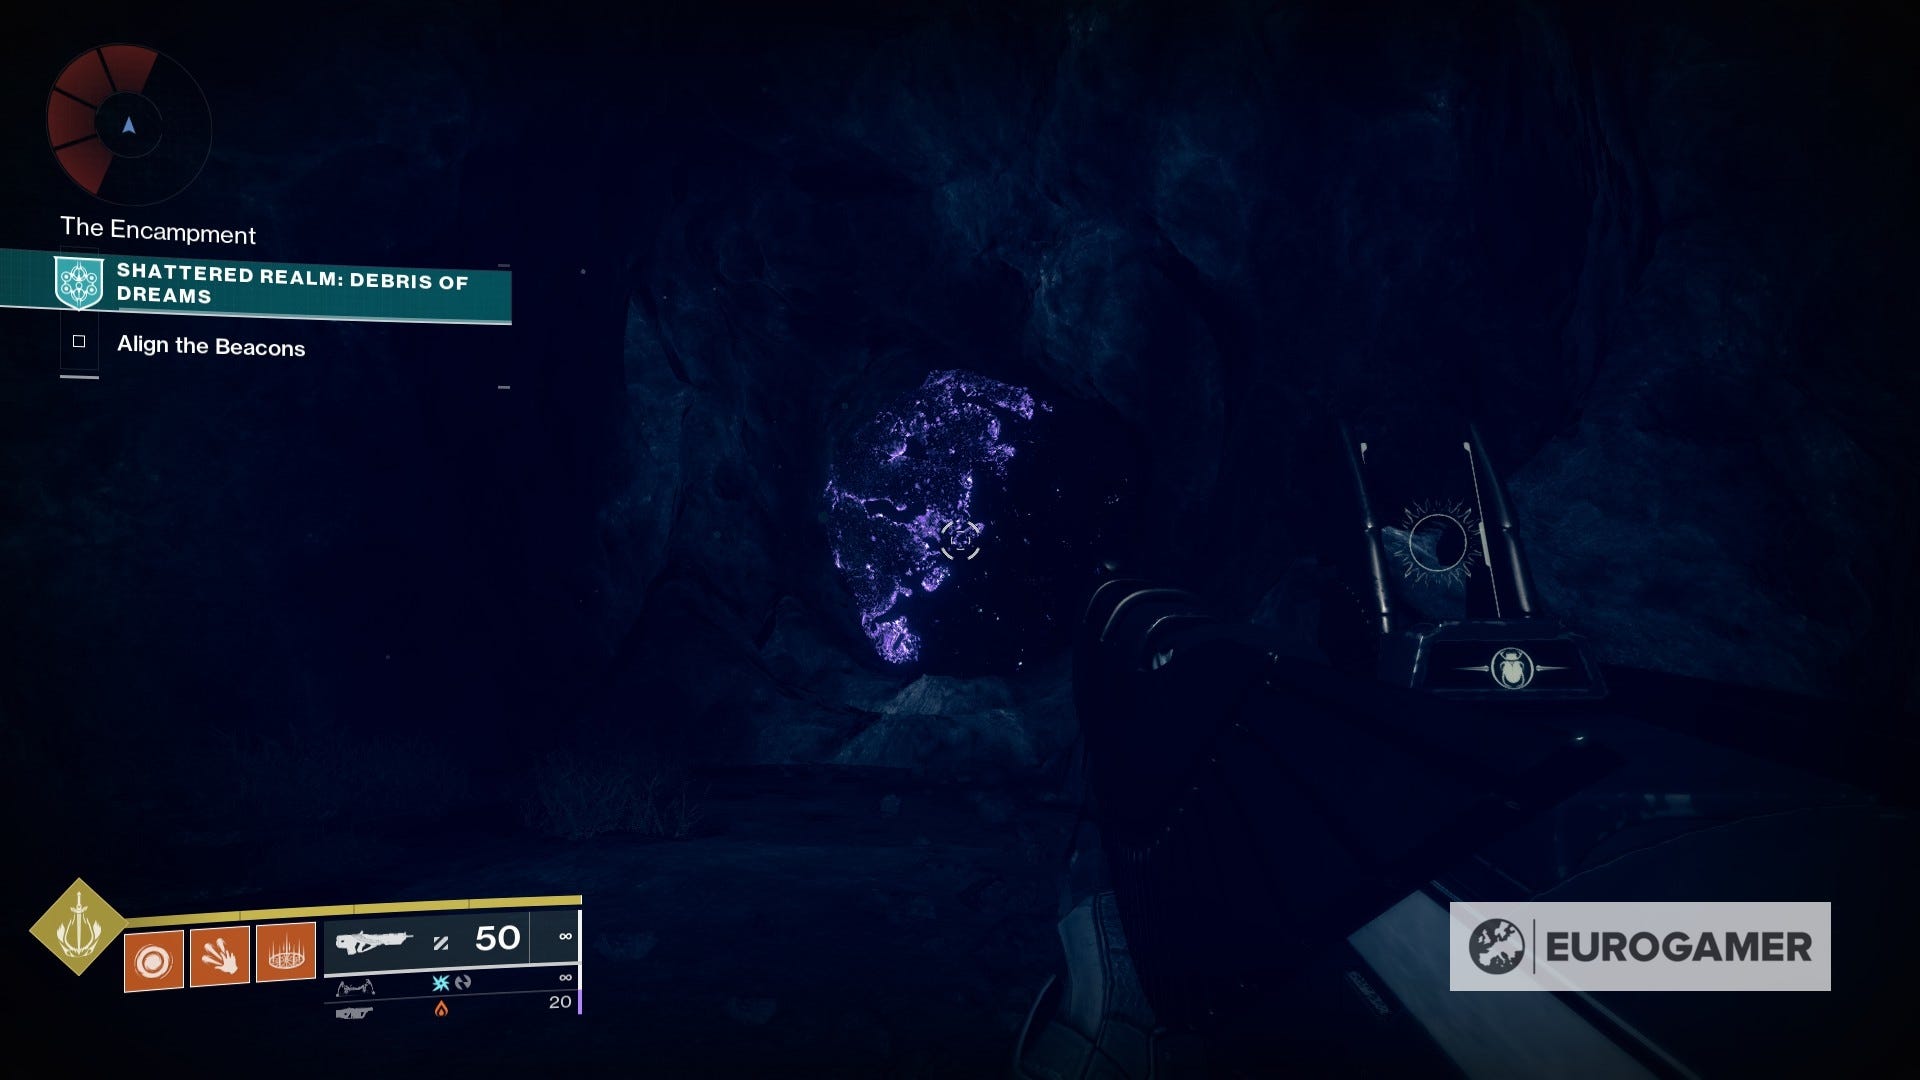
3. From this exact location, keep heading forward to find a glowing rock - you can use Ager's Scepter to destroy it and grab the anchor inside.

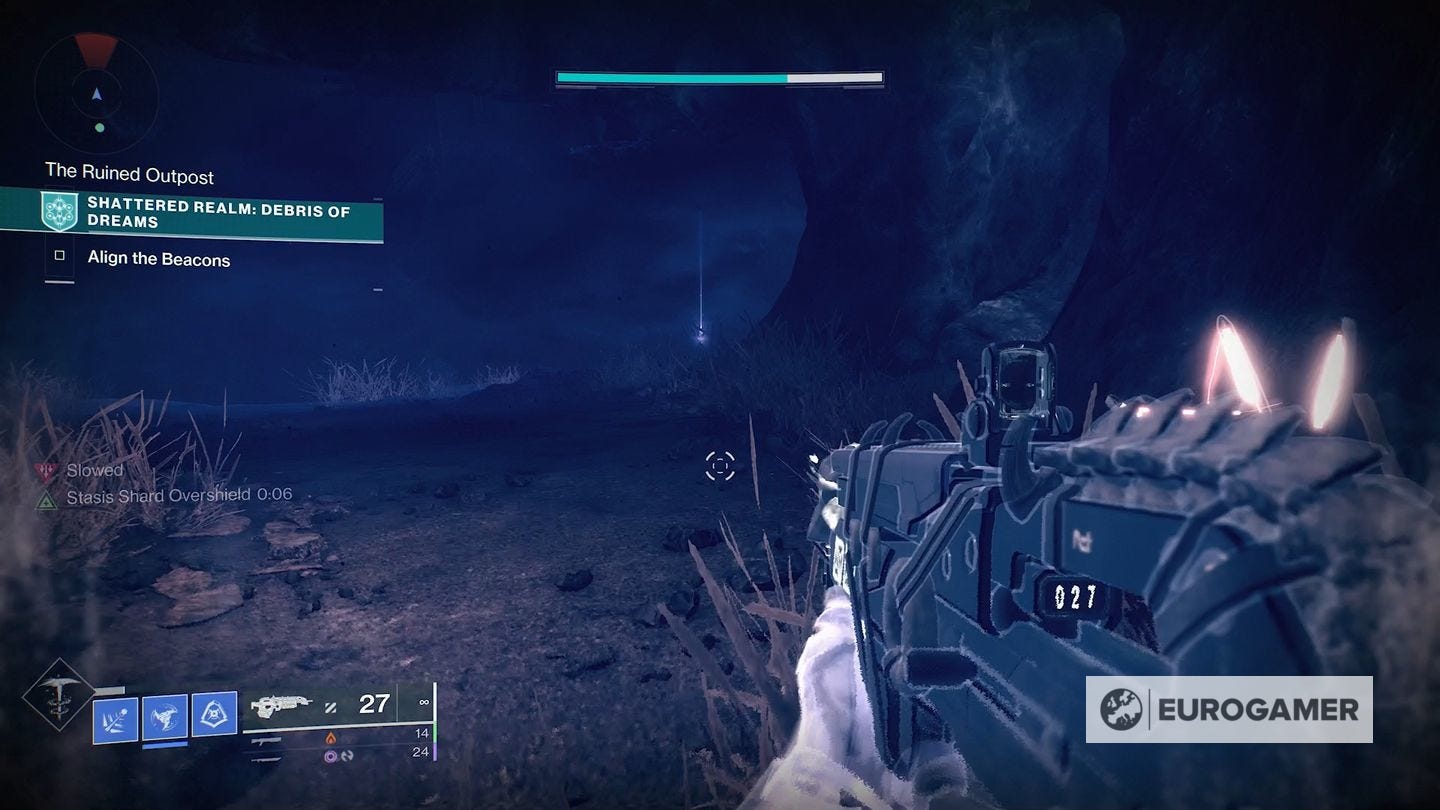
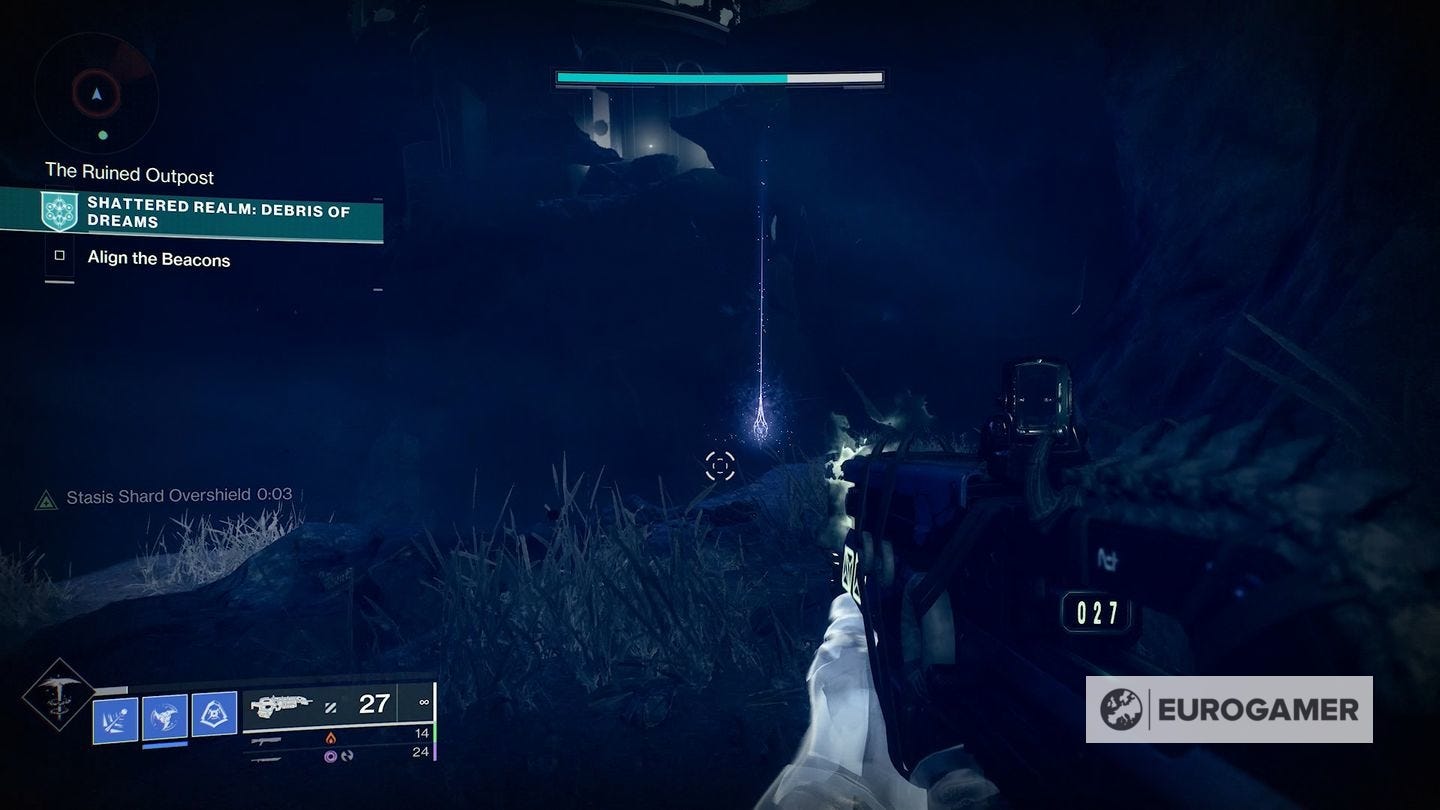
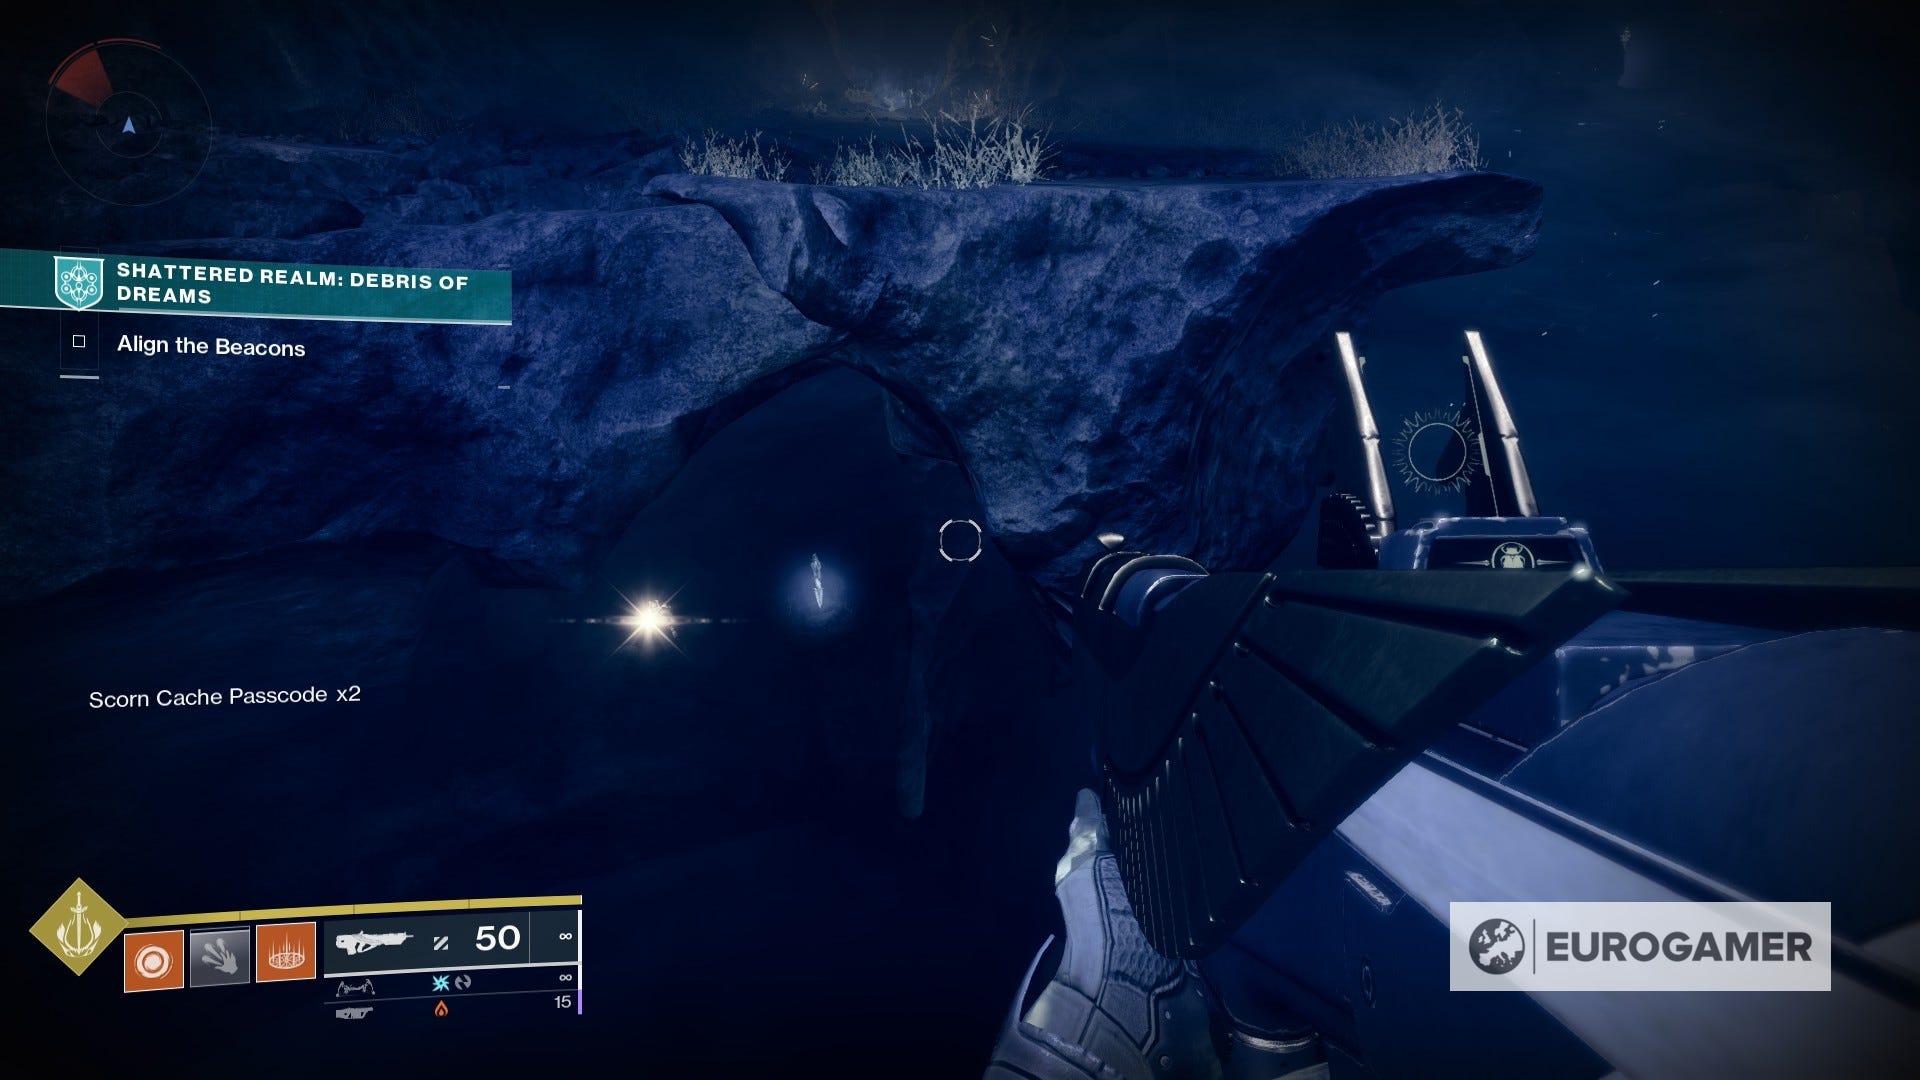
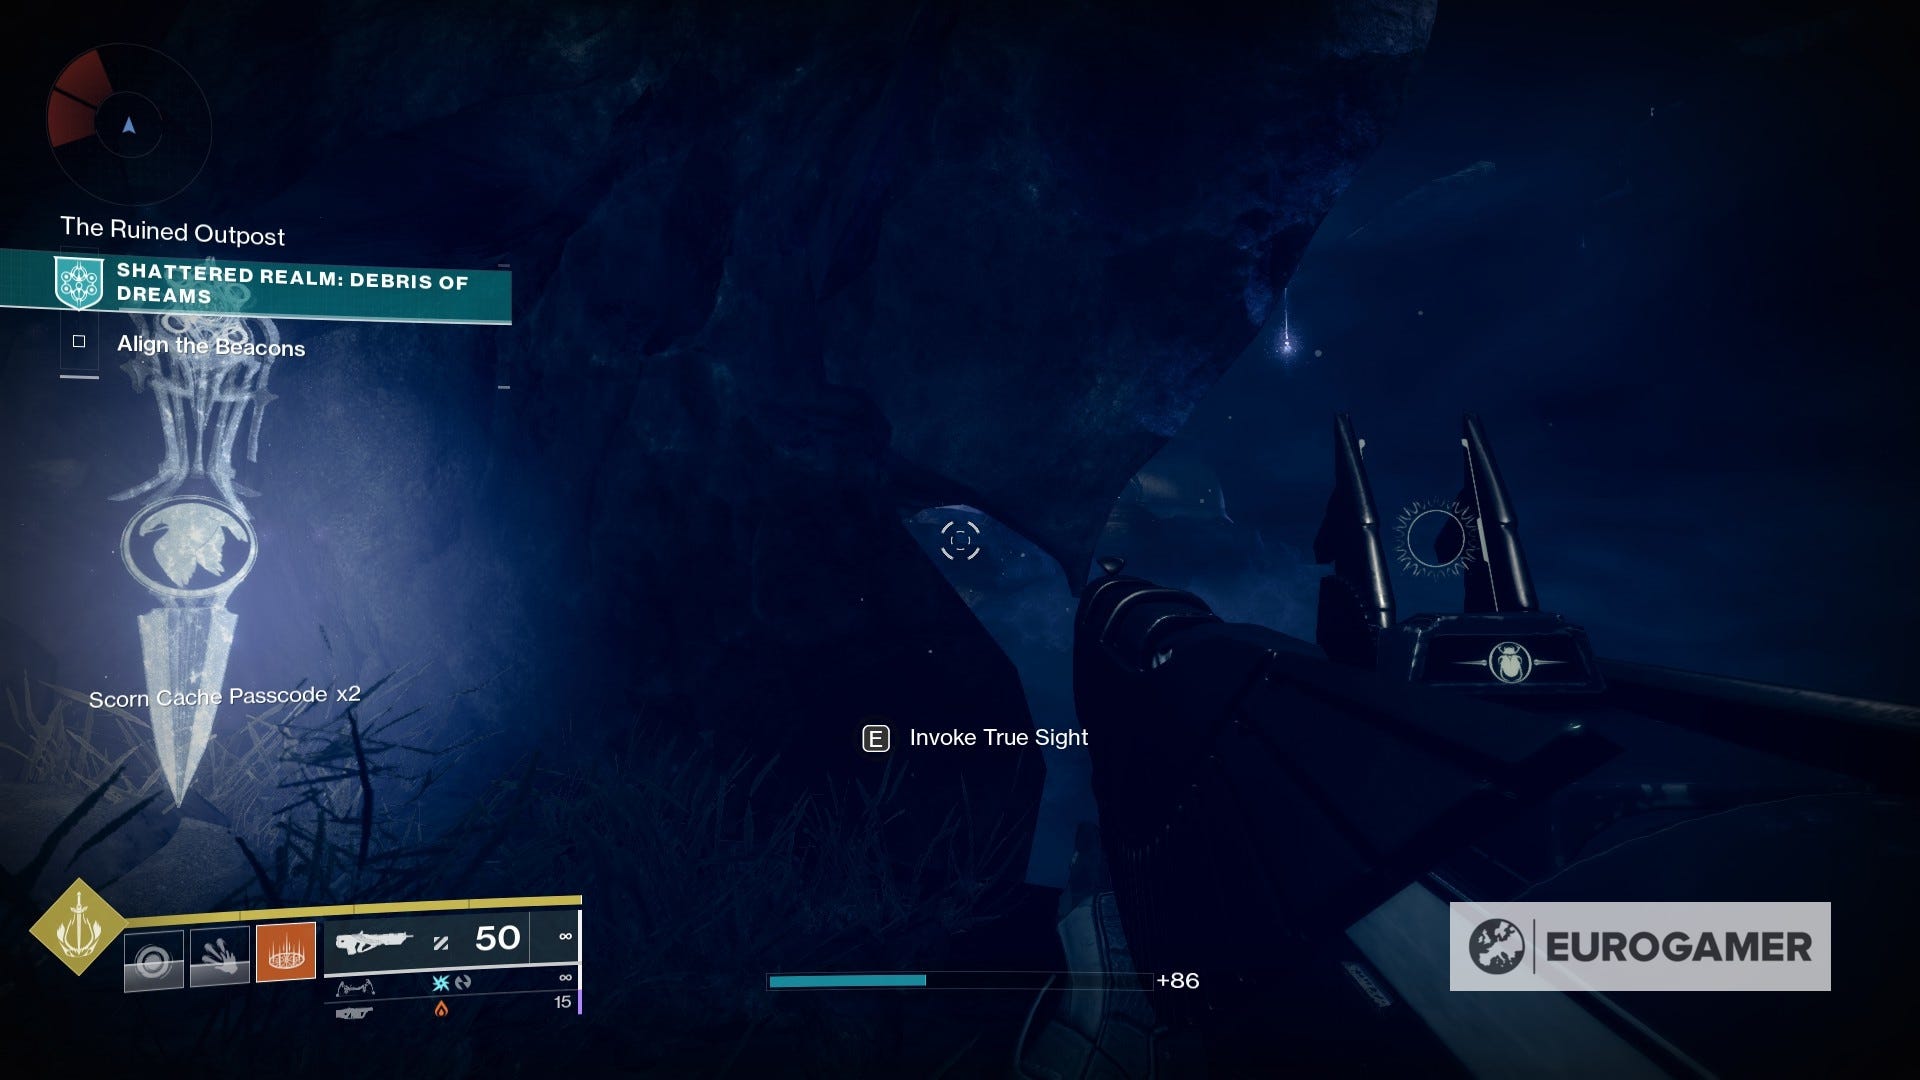
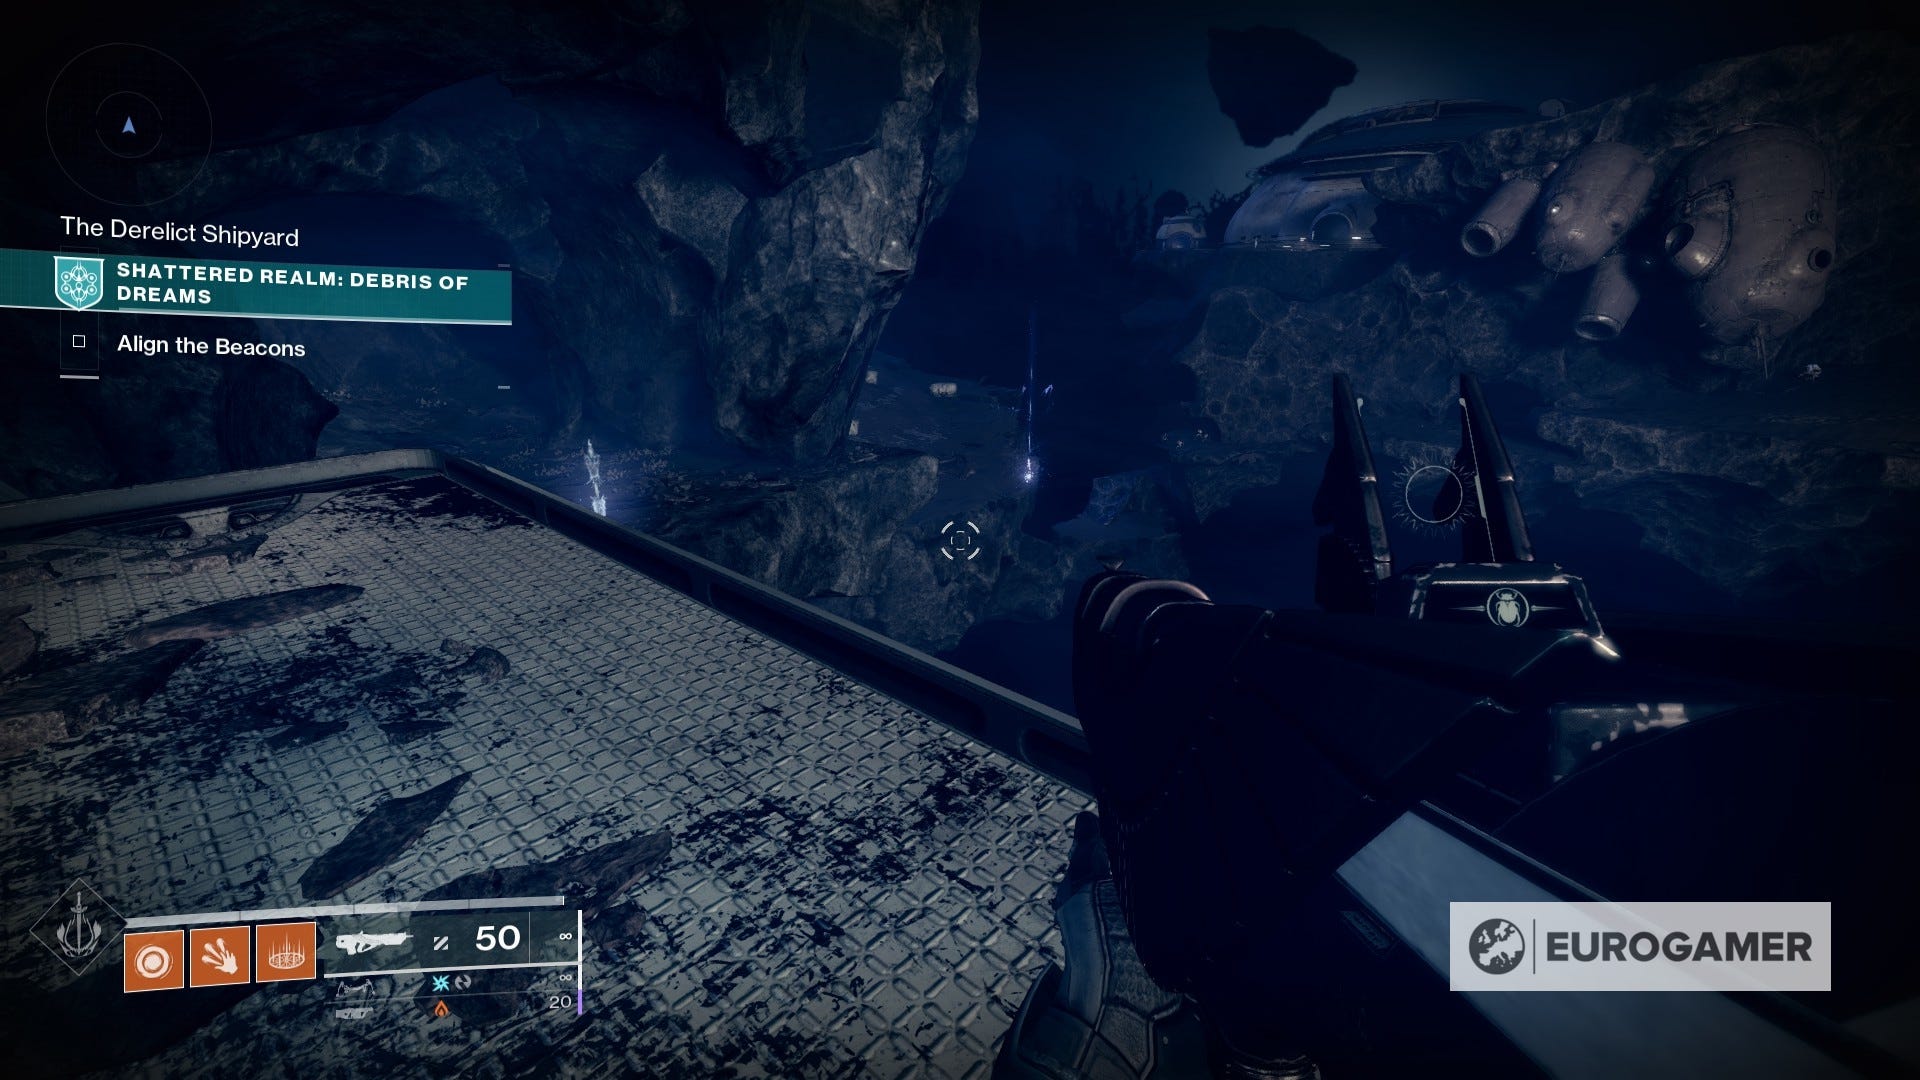
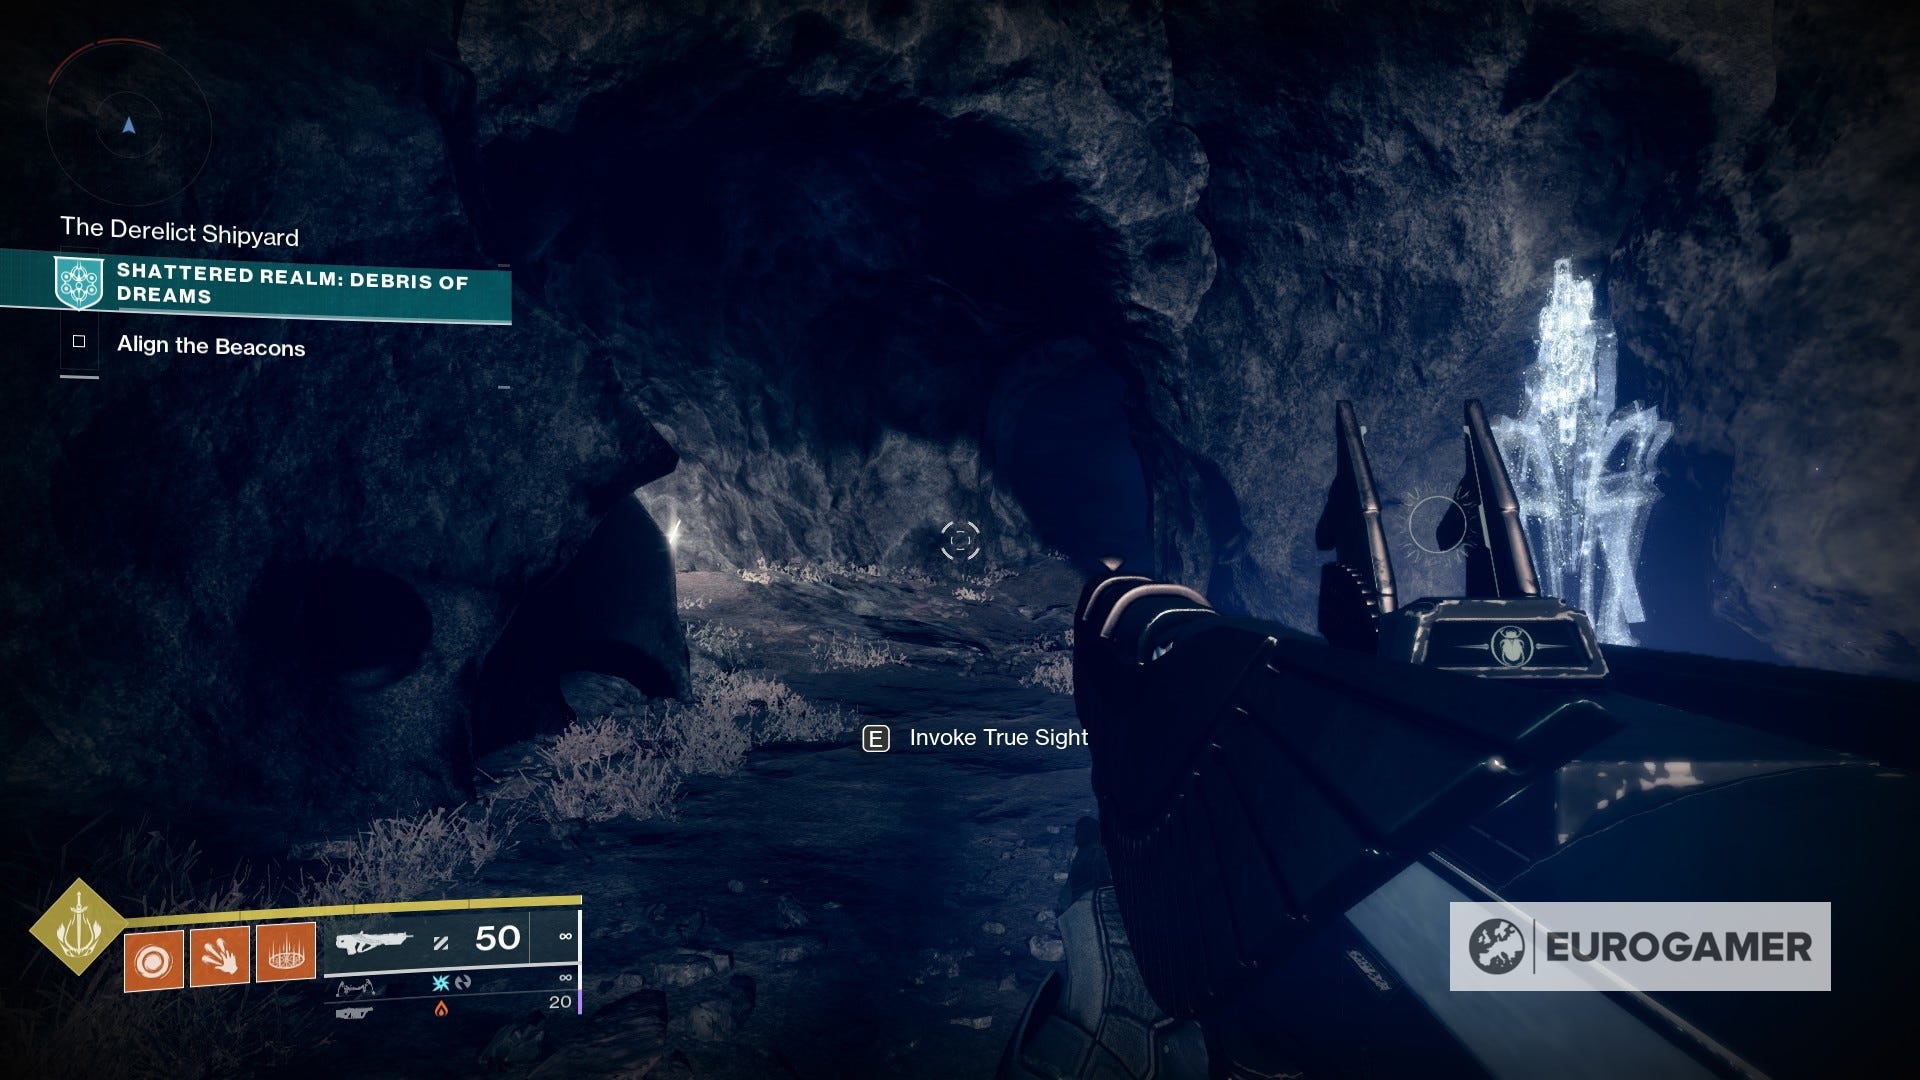
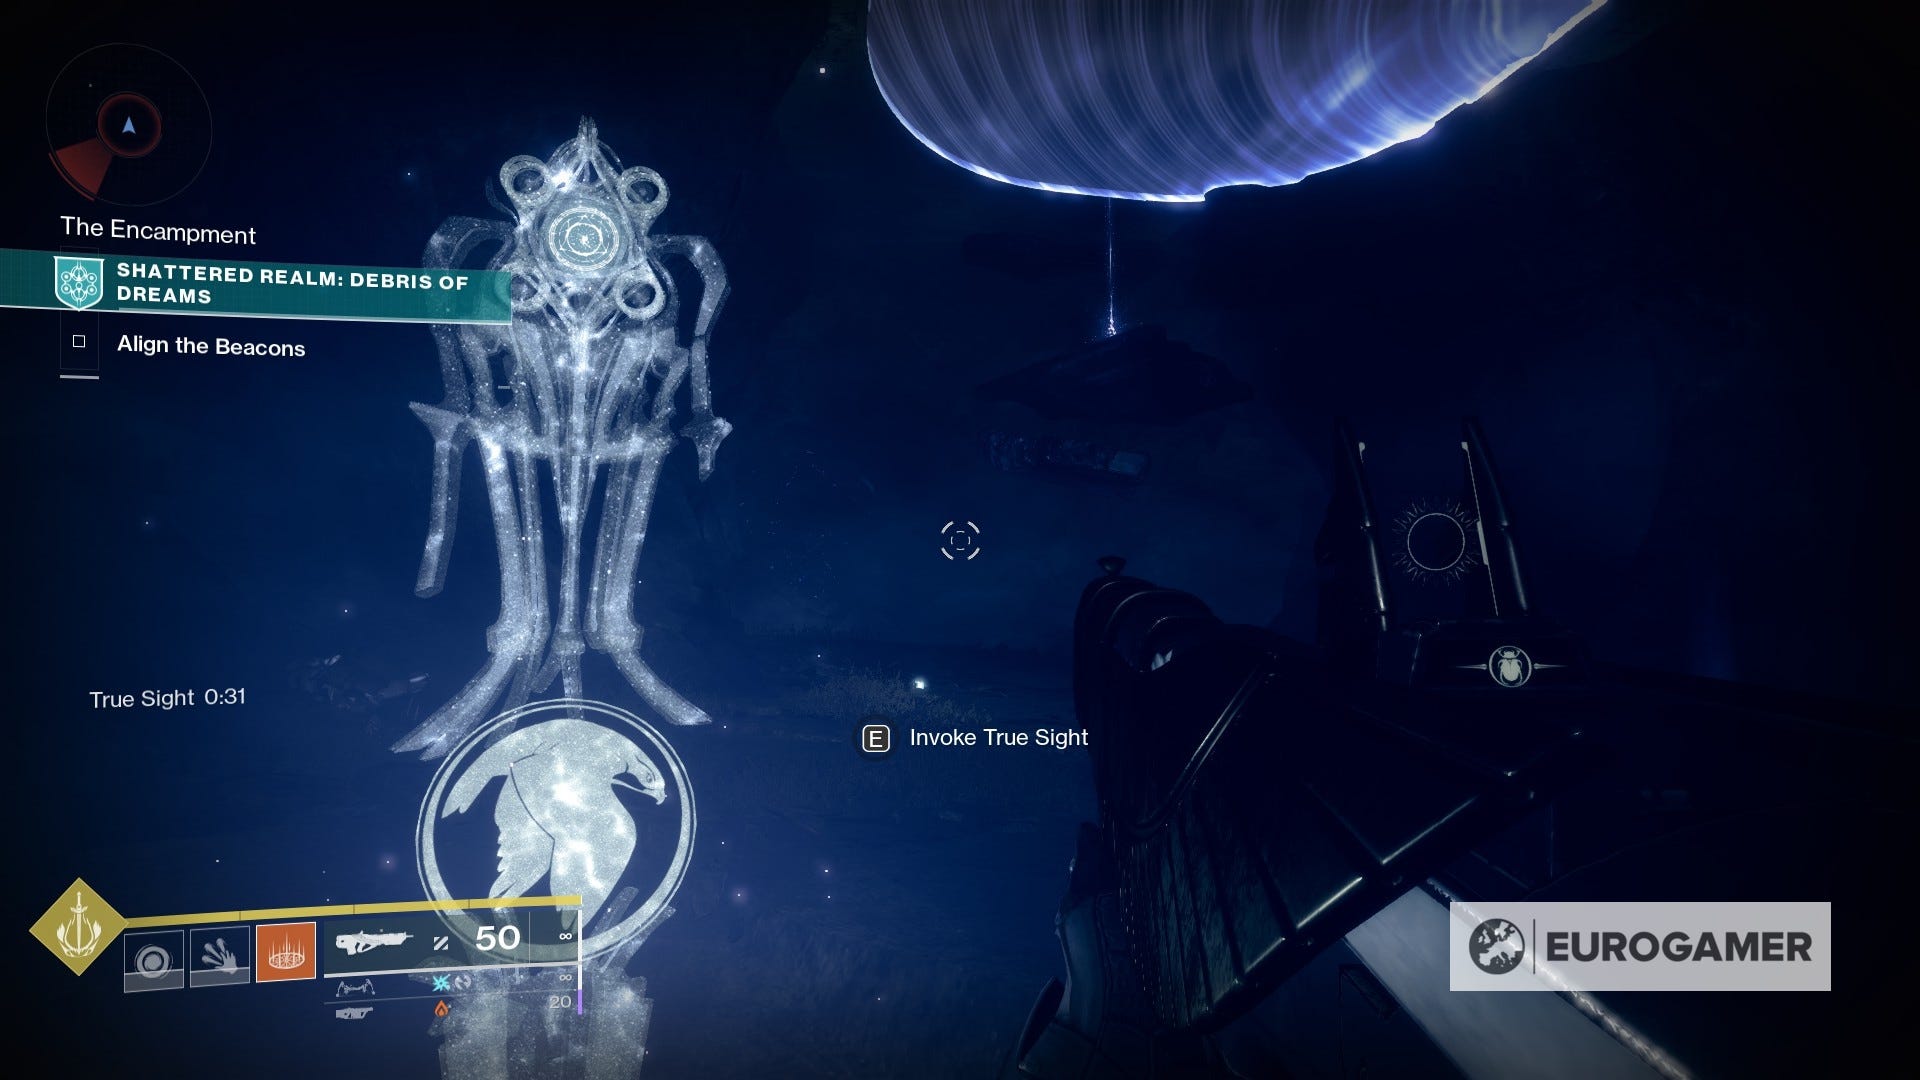
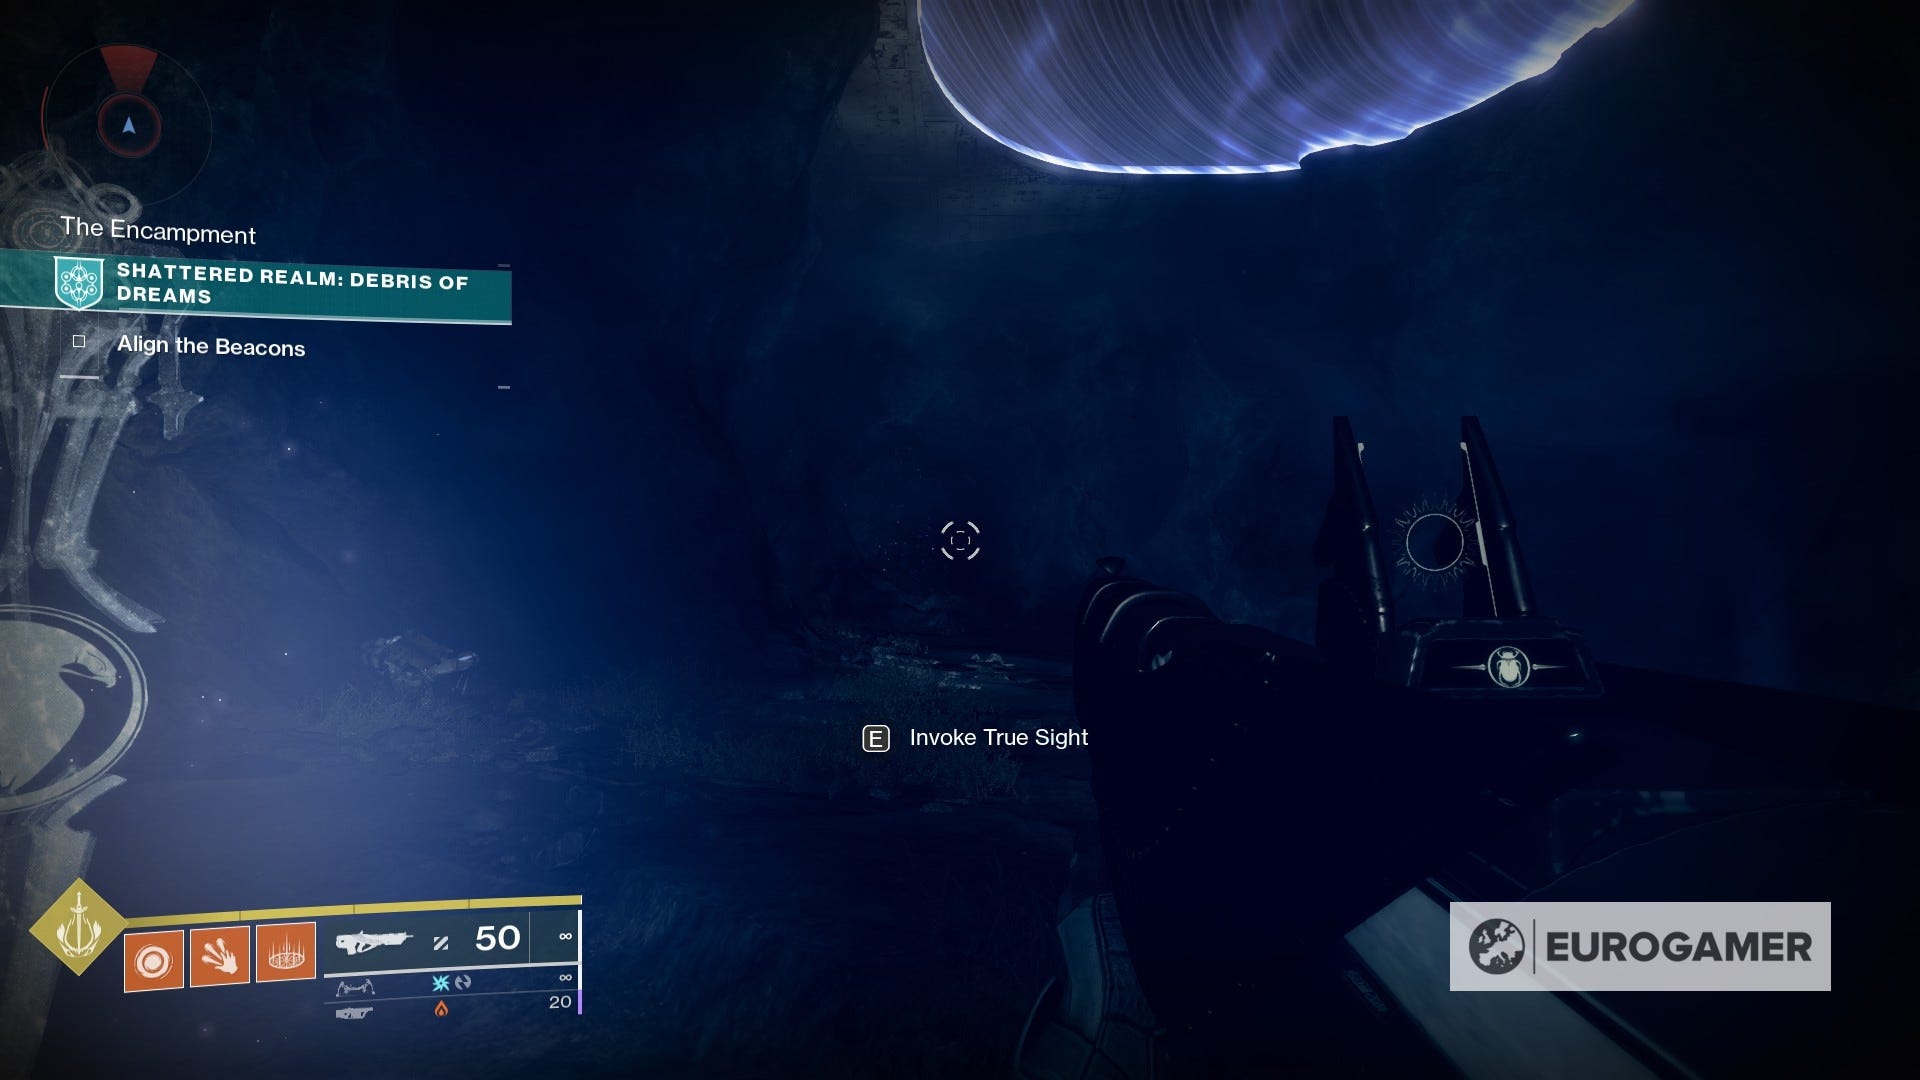
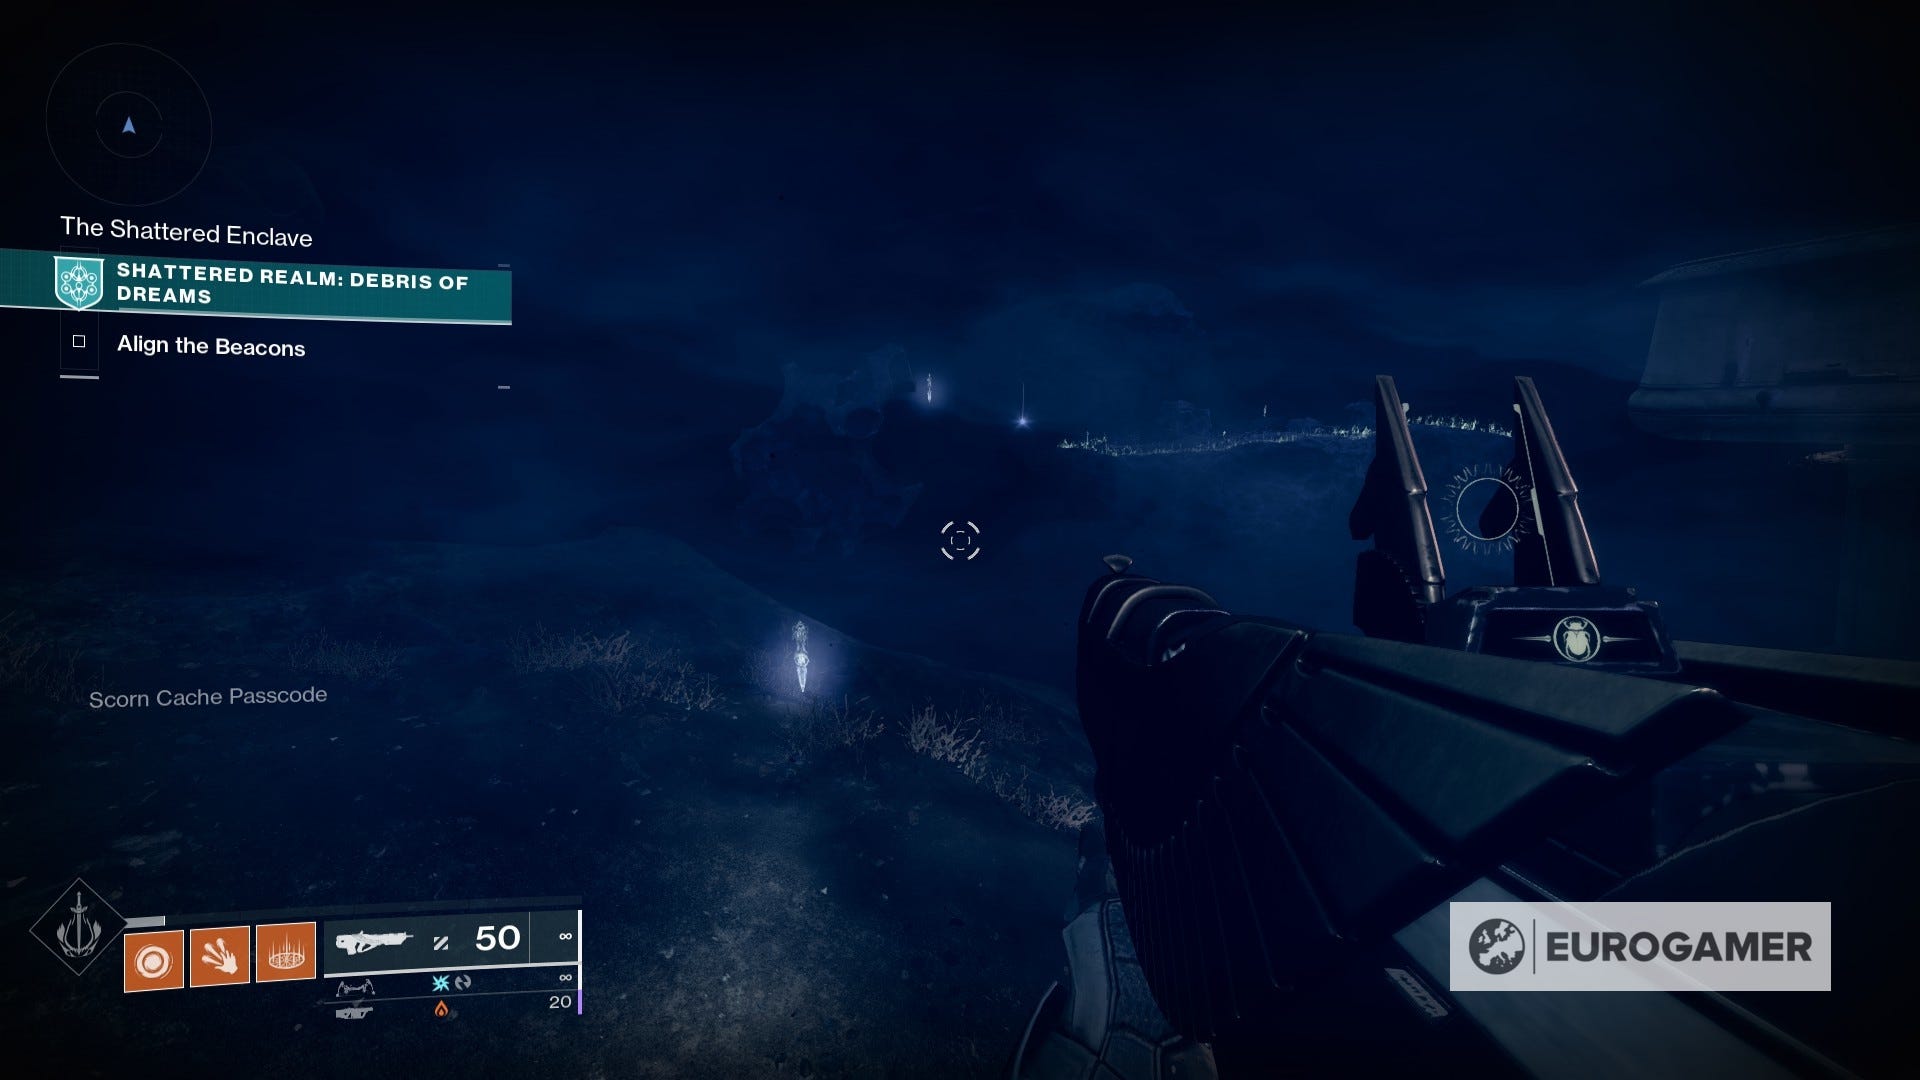
4. Once you've done this, head back to the previous anchor location and look below - you'll notice another anchor floating there. Let yourself fall down to the path below, activate the True Sight device, and use the floating path to grab the anchor.
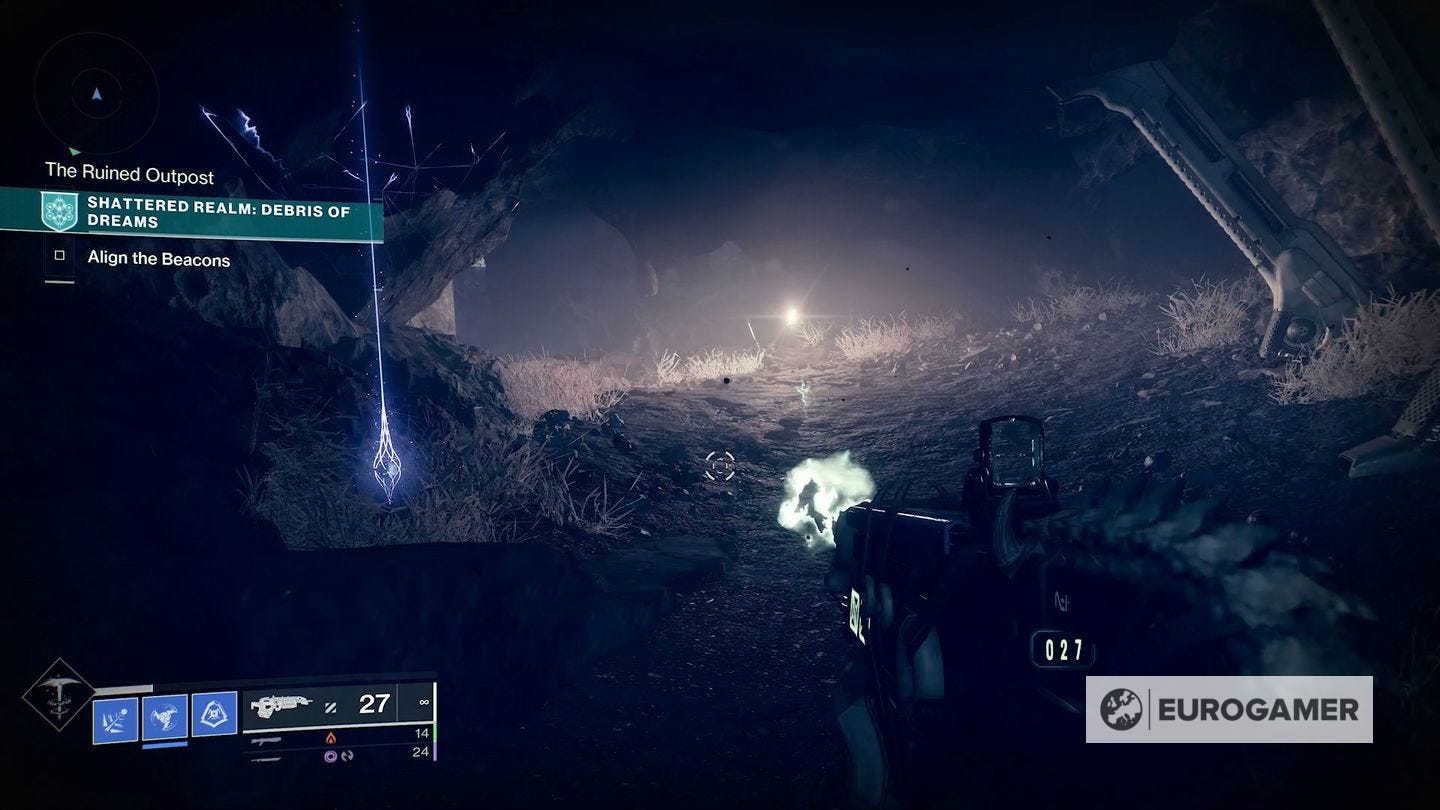
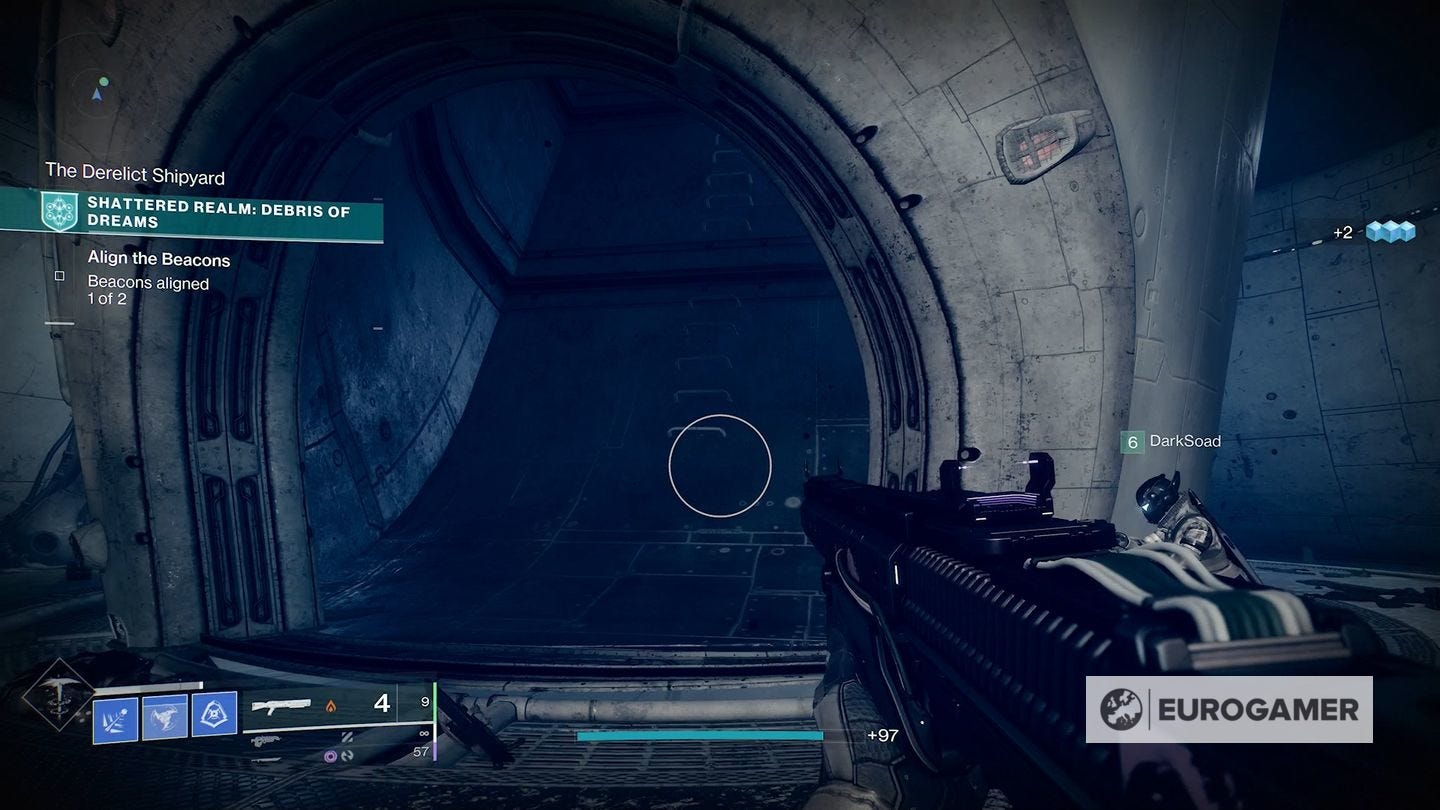
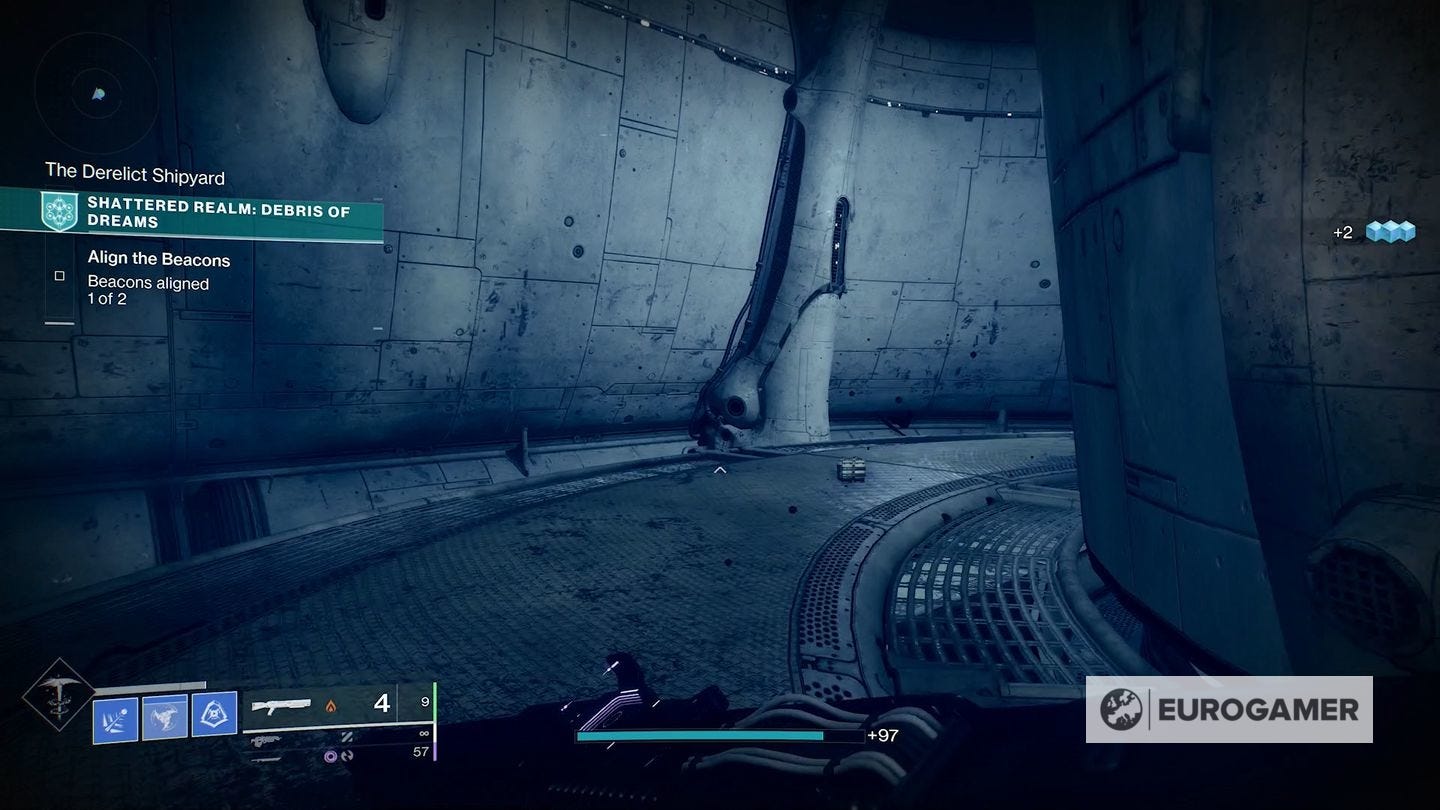
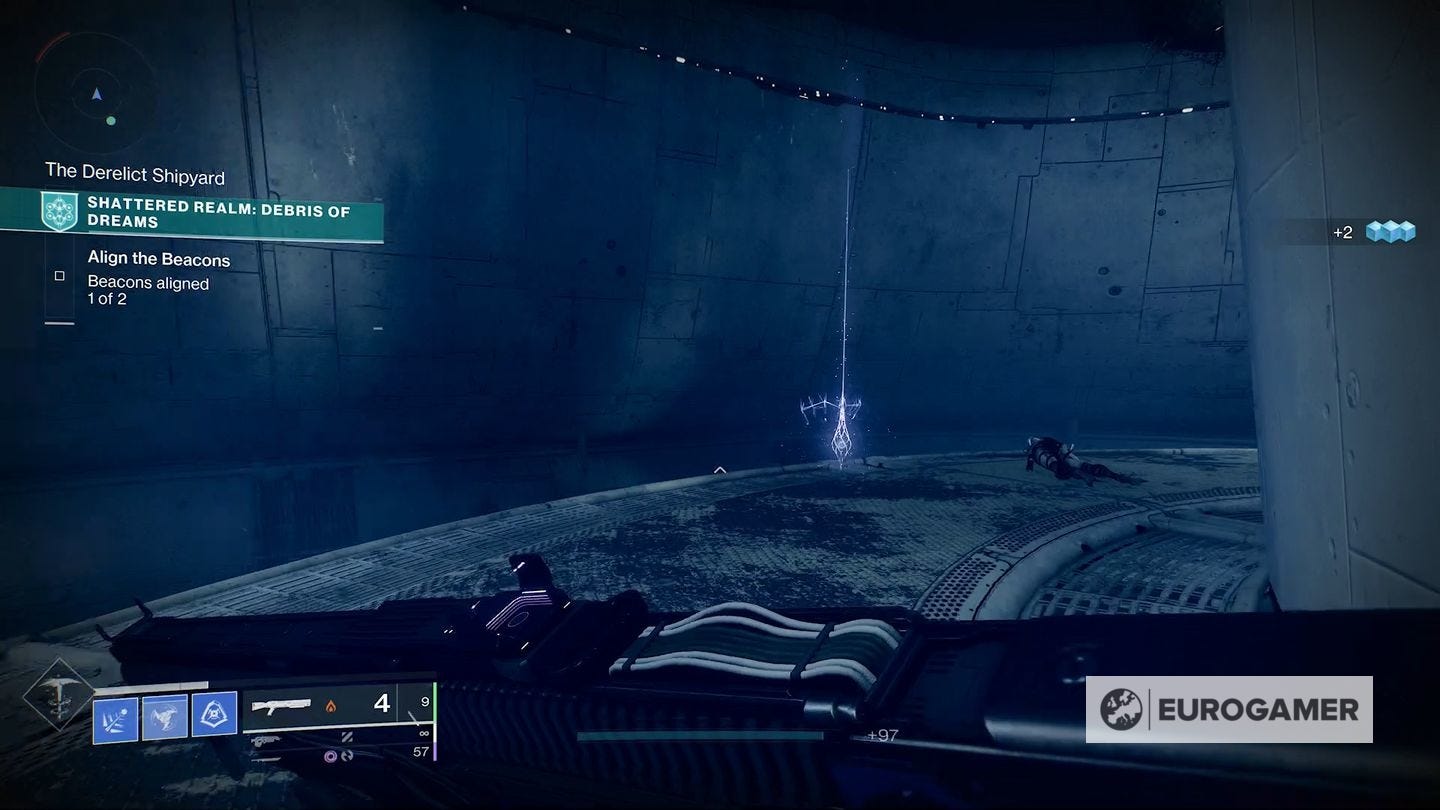
5. Go back inside the cave network, and make your way to the back, to a tunnel leading down. There is an Anchor in this next room to the left side.
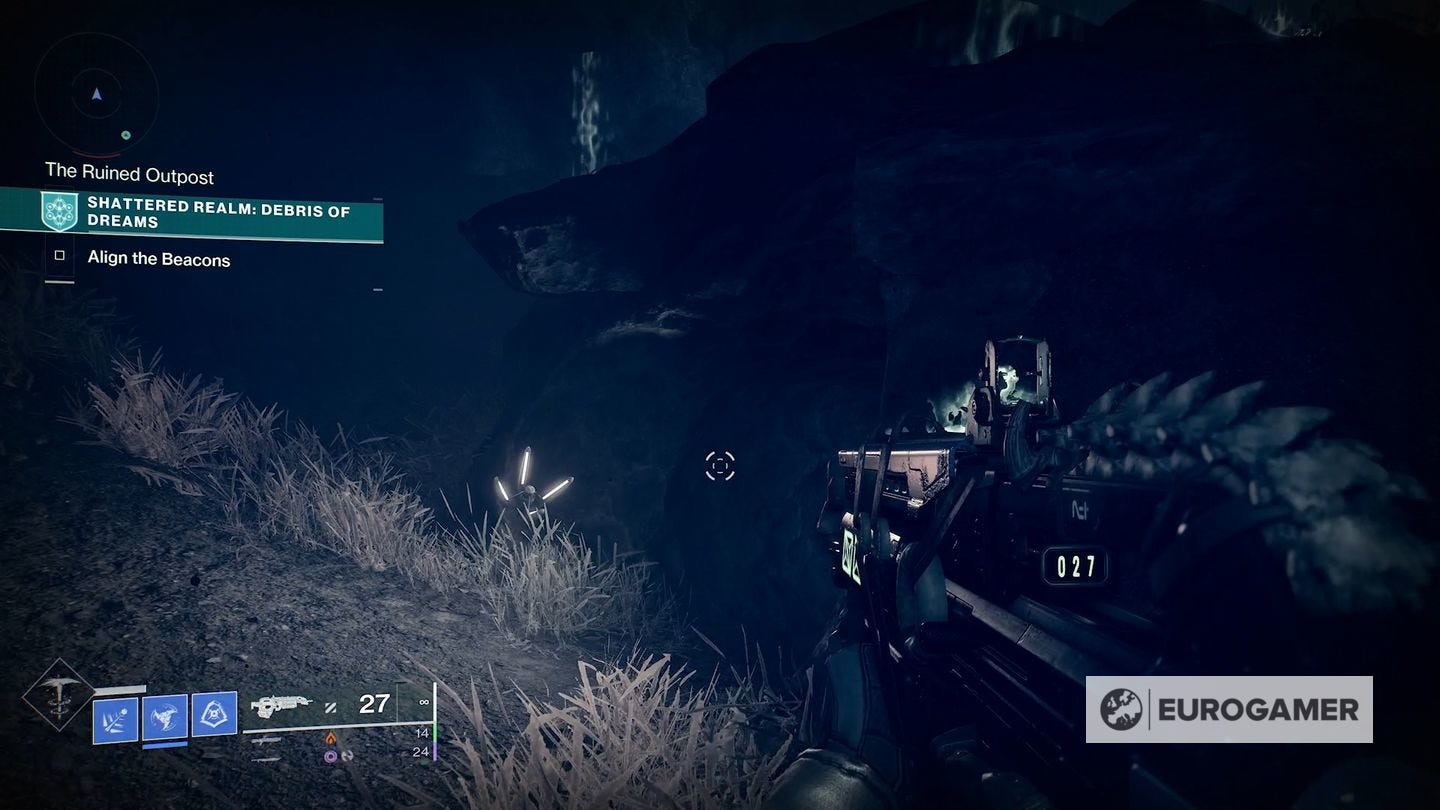

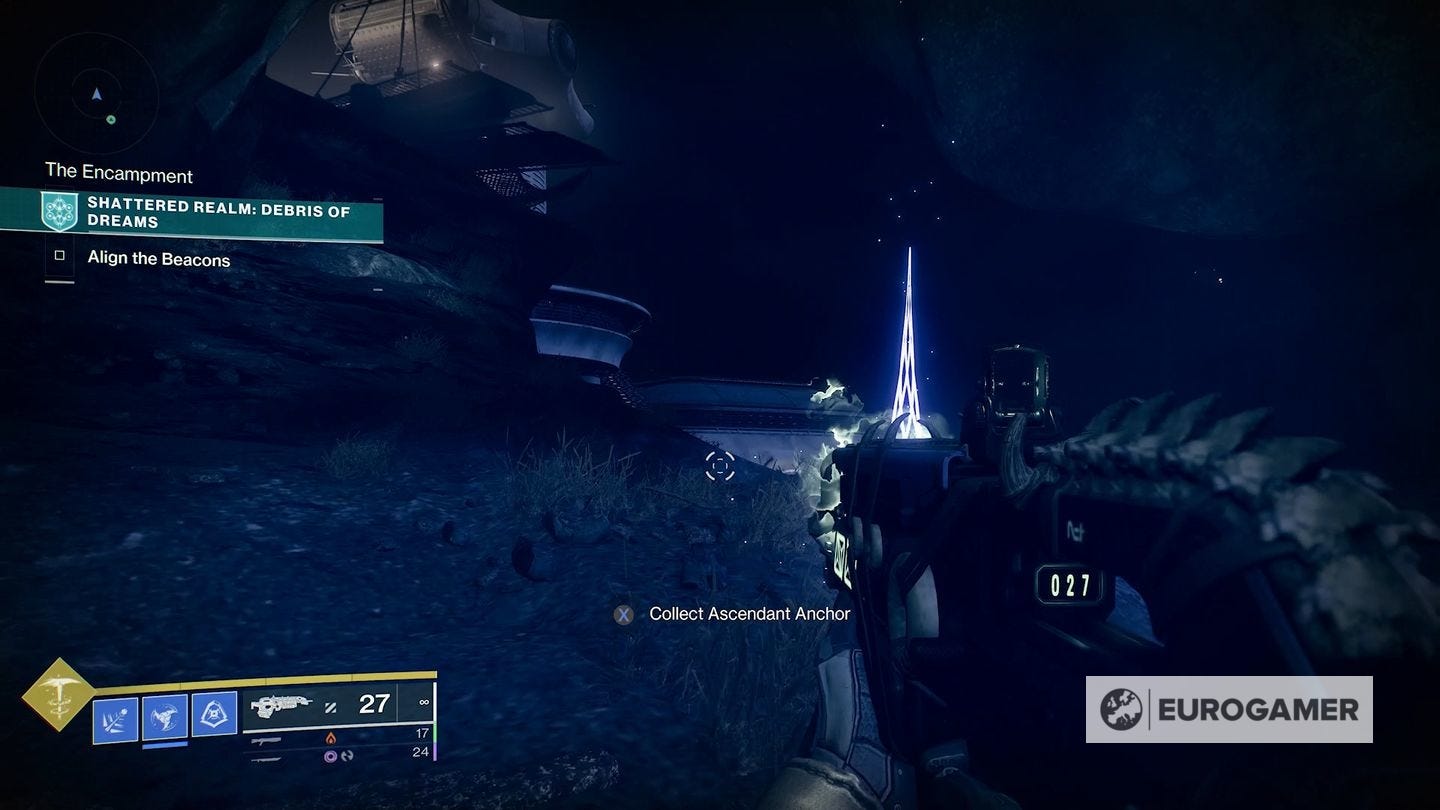
6. From here, continue outside so you emerge at a series of rocky platforms that lead up to the first Beacon location (alternatively - you can just reach this from the main 'spinning' hub area you started at - whichever works). As you climb up, you turn right and go up the hill - before you turn, check left round the corner first to find the Anchor.


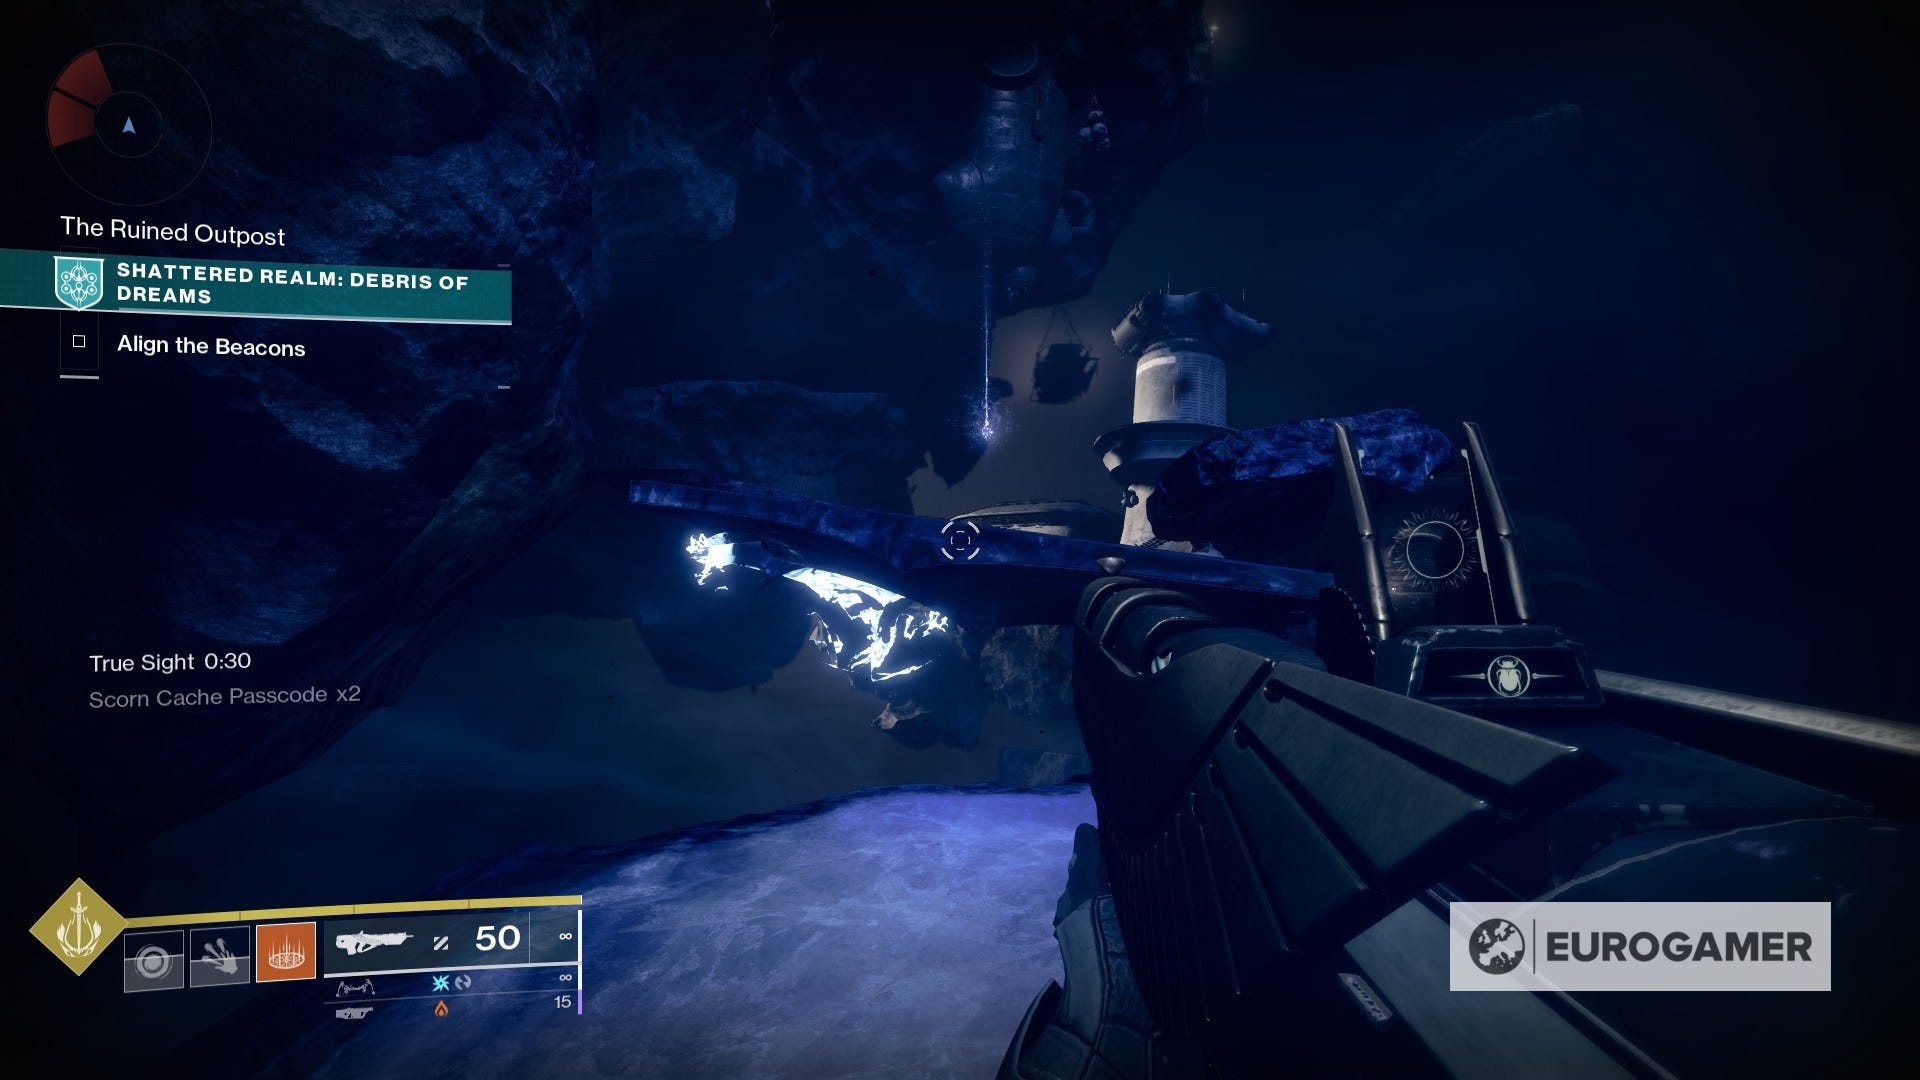
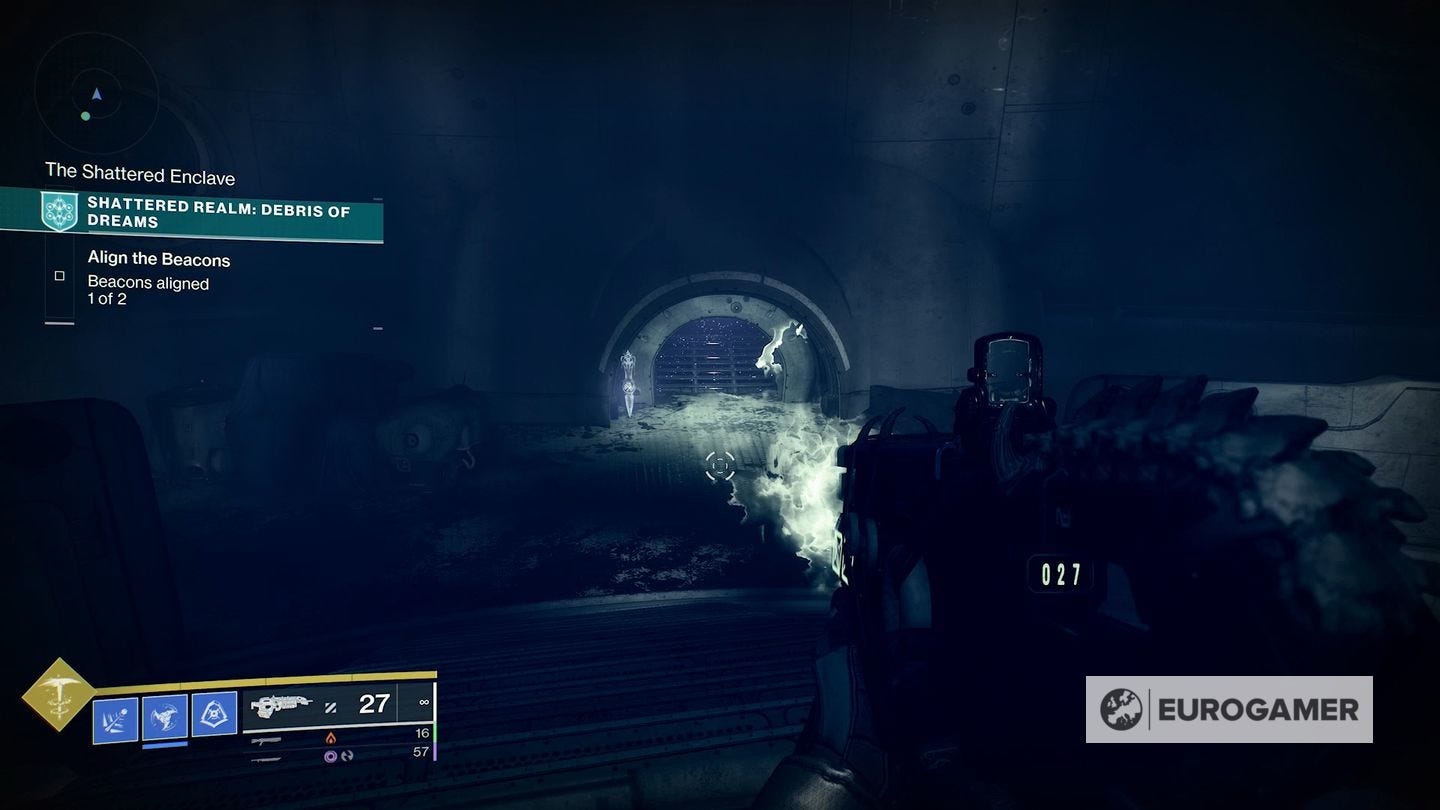
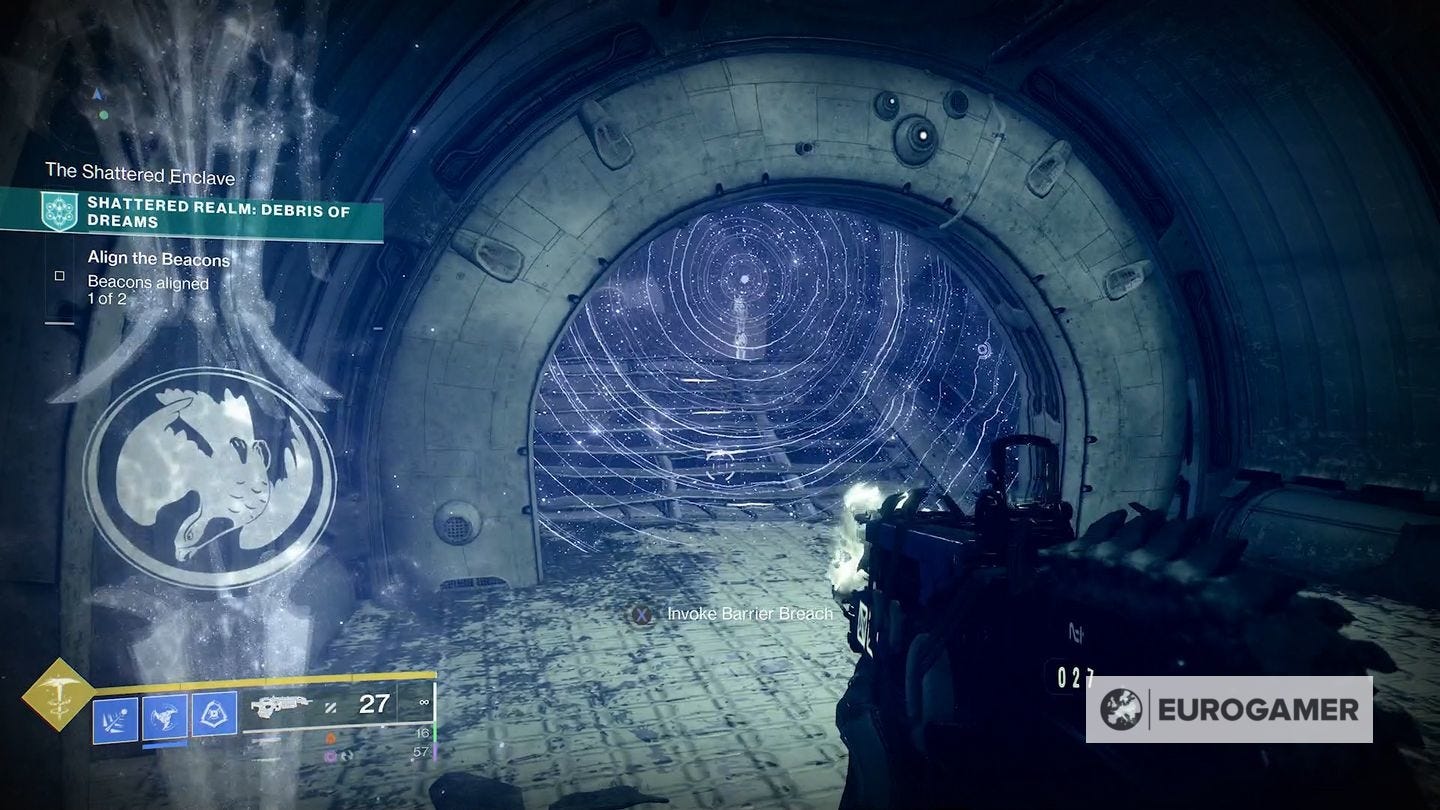
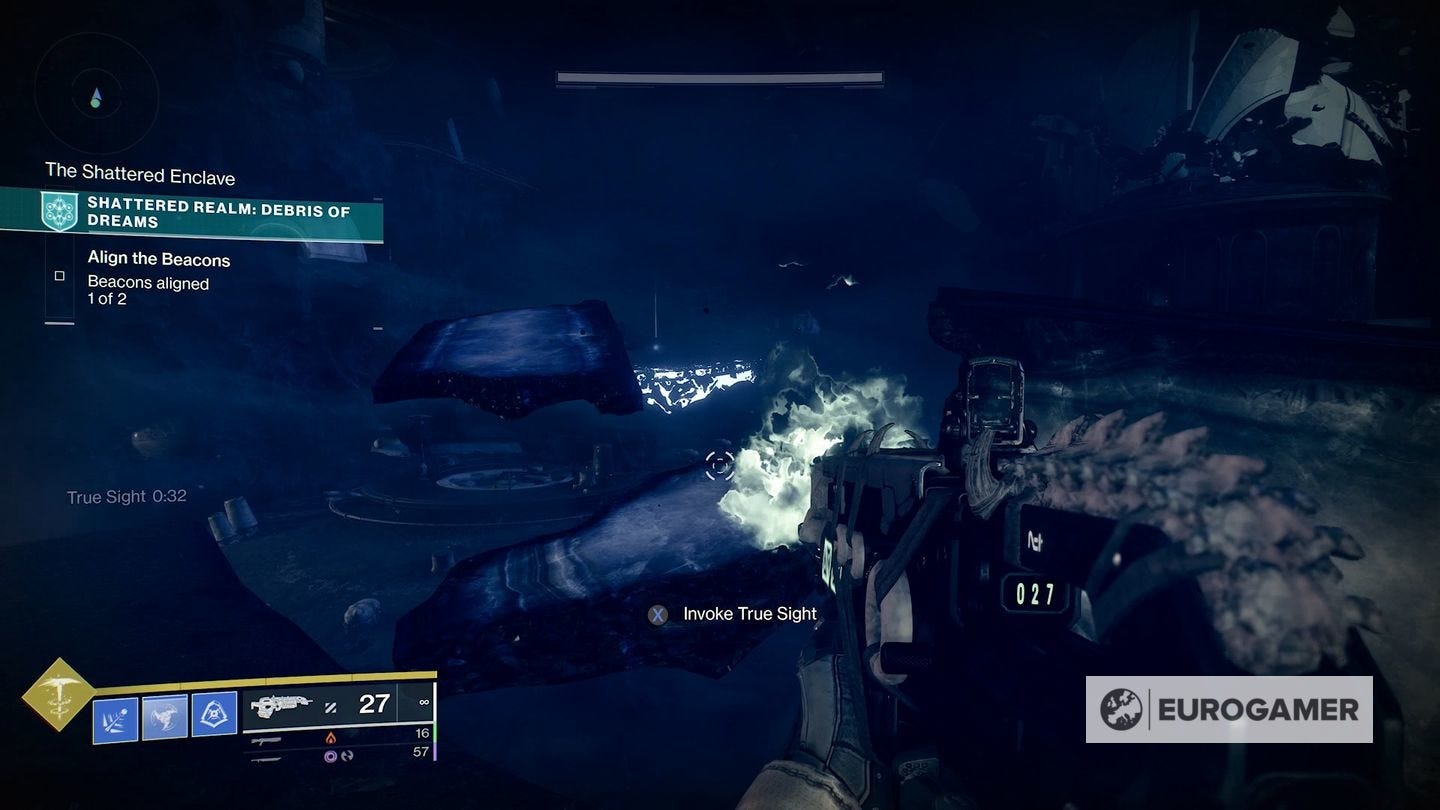
7. From the first Beacon location, there is door to the side with a Barrier Breach. Use it to head outside, where on the edge is a True Sight (you need to have completed the mission once before to activate these). This will generate some platforms, which you can jump across with the Anchor.
8. Go to the area with the second Beacon. Opposite this location, there is a ladder passage with thin ledges that you have to awkwardly jump up, eventually taking you to the third and final Beacon. Don't go up it yet, but at the foot of the ladder passage, go round the back of the platform for the Anchor.

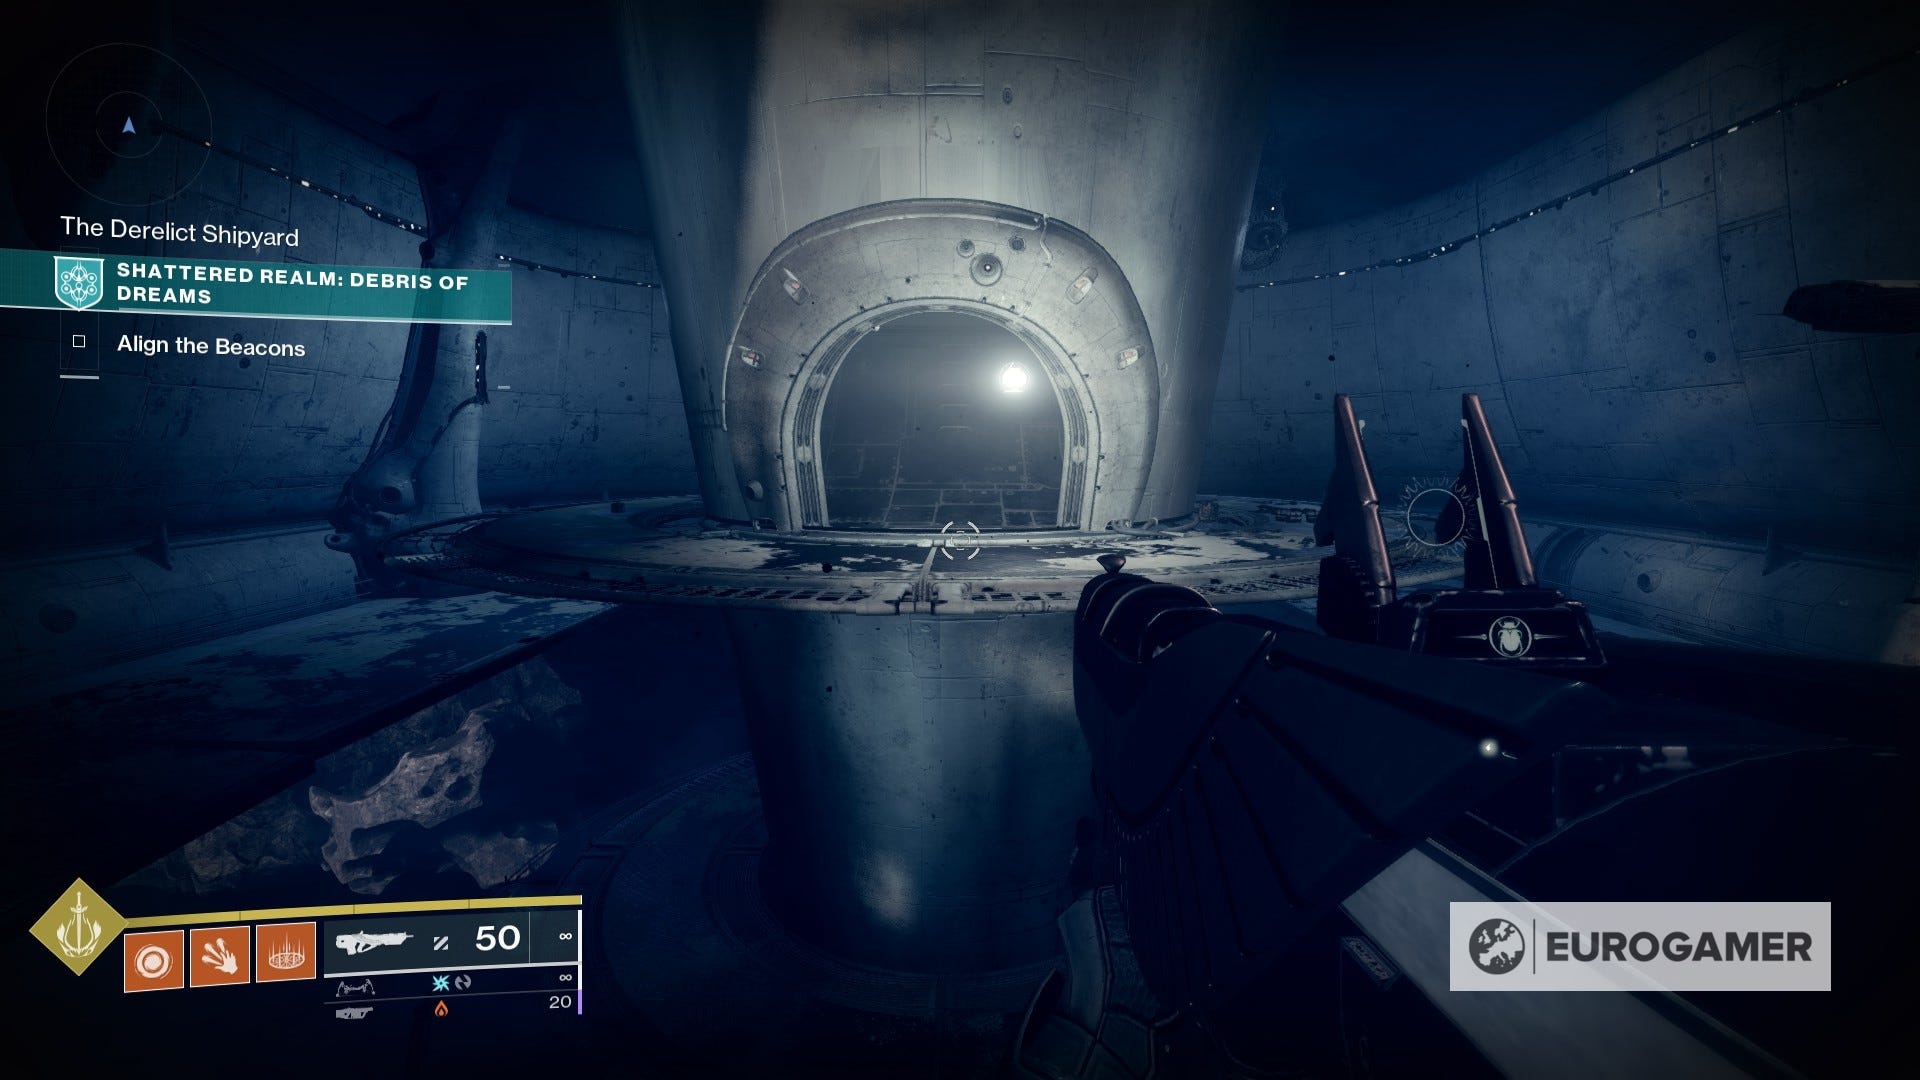
9. From the location of the second beacon, jump towards the big structure inside the destroyed facility, and head to the other end of the door on the right side (which is where you initially came from). There, use the True Sight device and follow the path to grab the anchor.

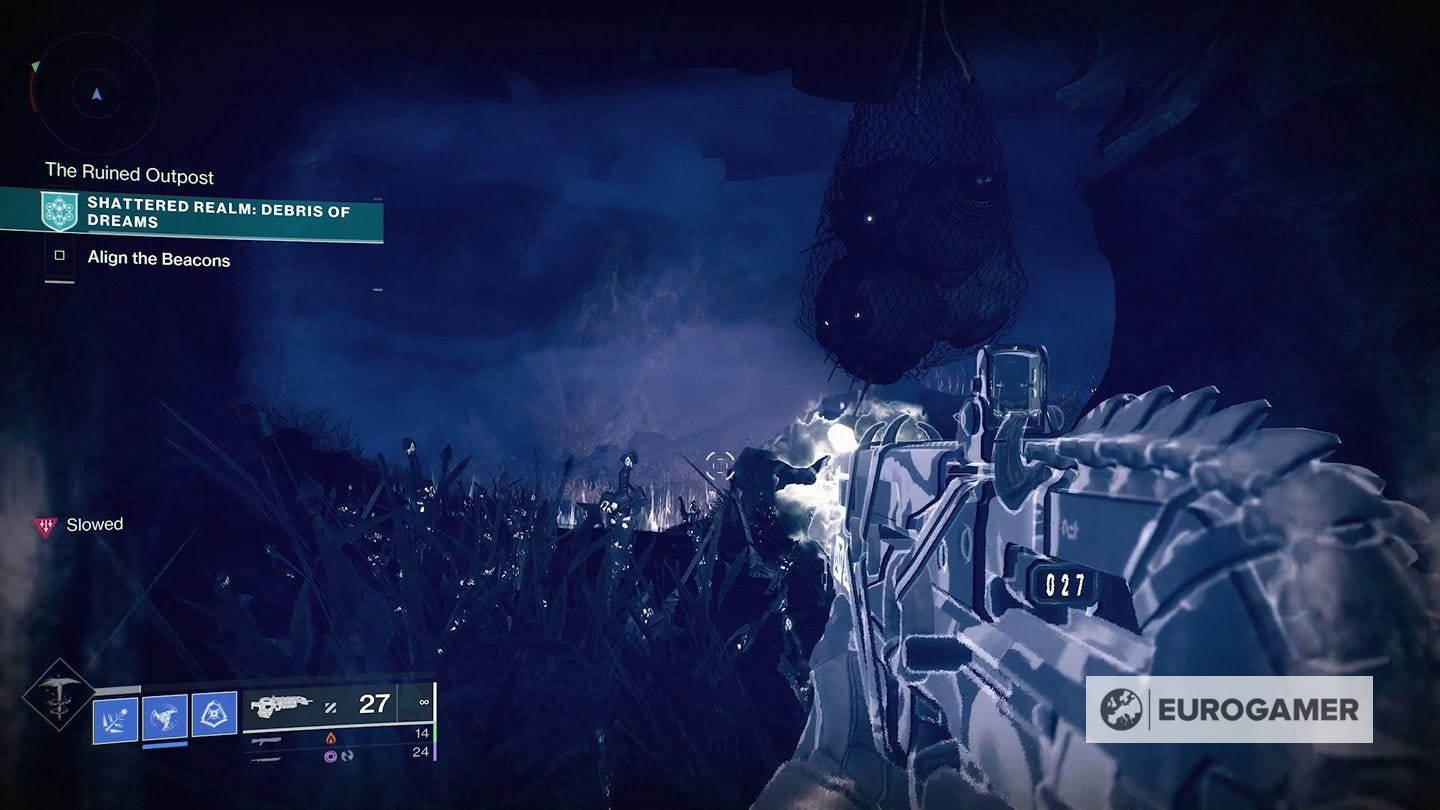
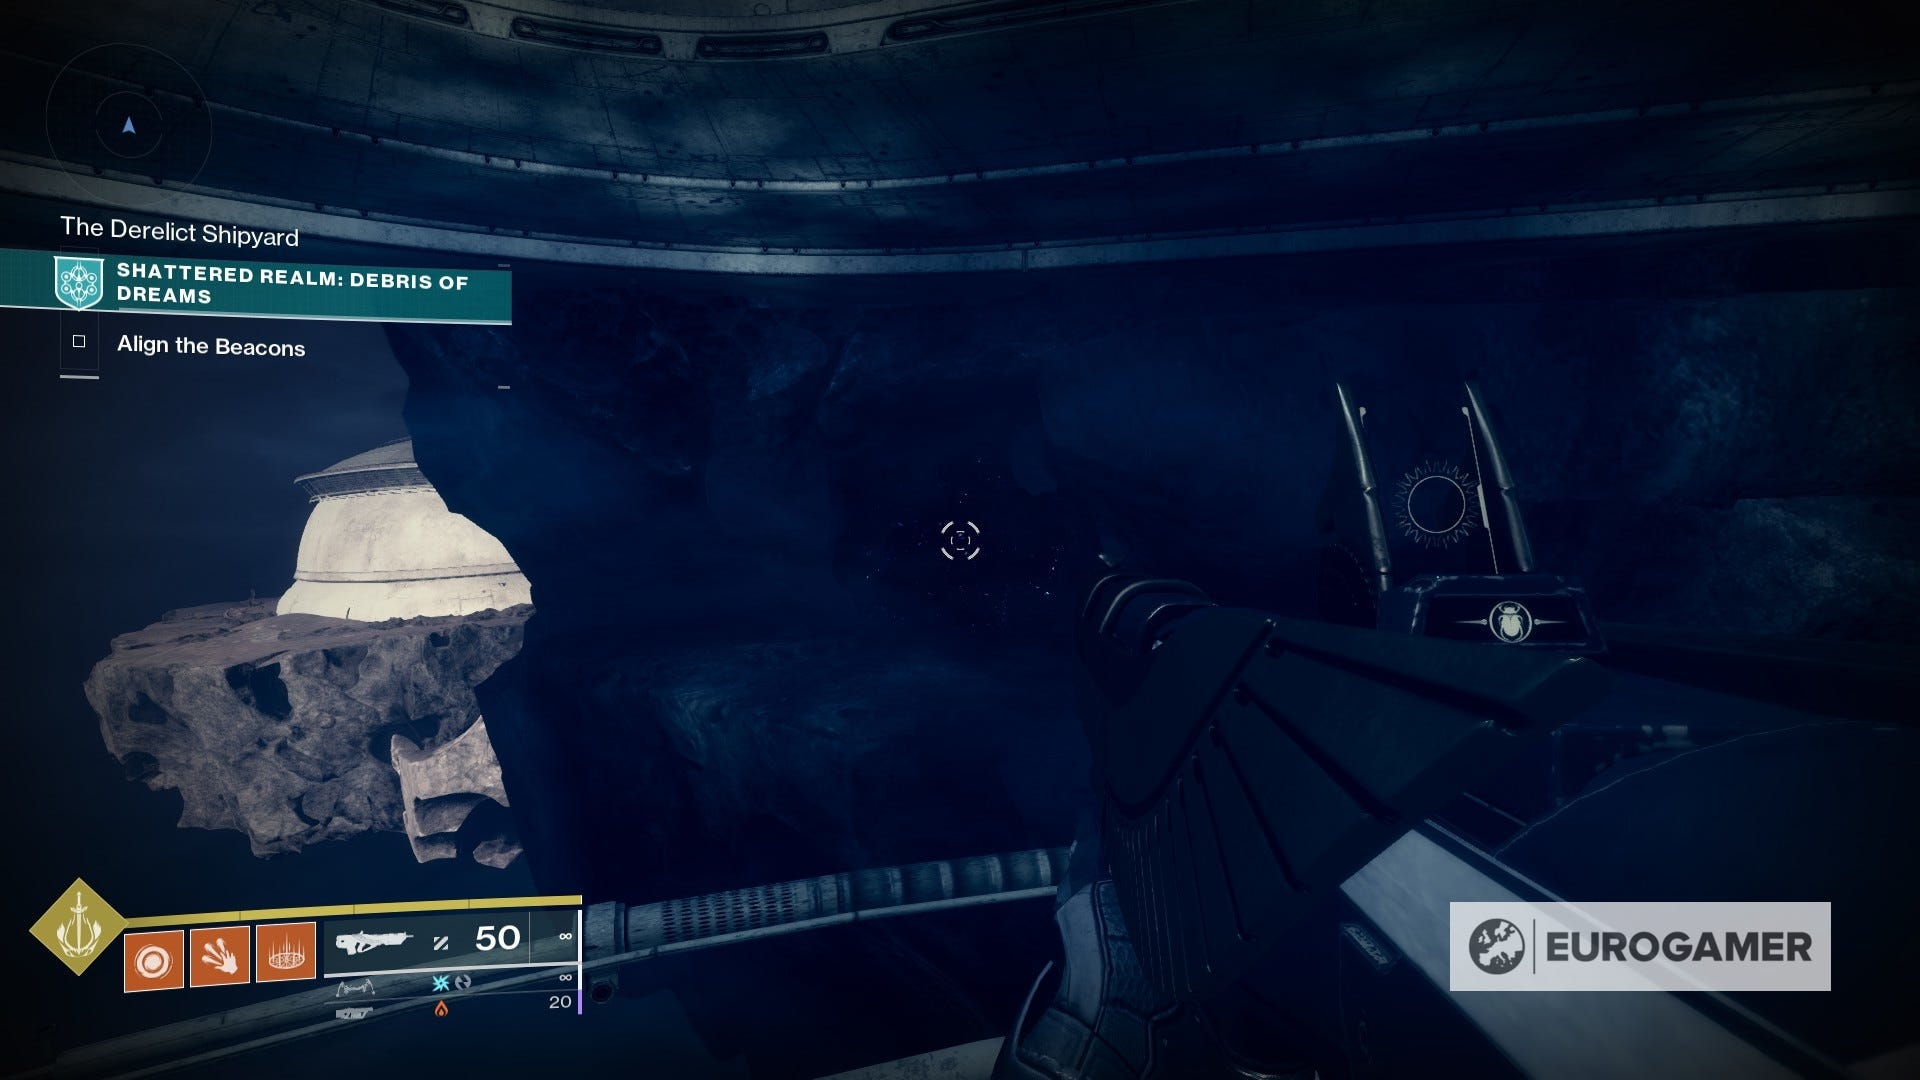
10. Don't leave the area just yet! Make a quick turn and head towards the cave entrance that is on the opposite end of the True Sight device you've just used. If you see the massive barrier on the ceiling, that's the right spot. Kill any enemies inside and use the True Sight device to unveil a path towards the anchor.
11. Nobody move - inside the cave, just on the opposite side of the True Sight device you've just used, there's an anchor behind the glowing rock. You'll have to use Ager's Scepter to destroy it.
12. Head back to the area in front of the second beacon. You're going to head to the 'floor' below of the cylinder-shaped structure, and go around it. On the other side of the gap you'll see another glowing rock that is waiting for Ager's Scepter to open it.

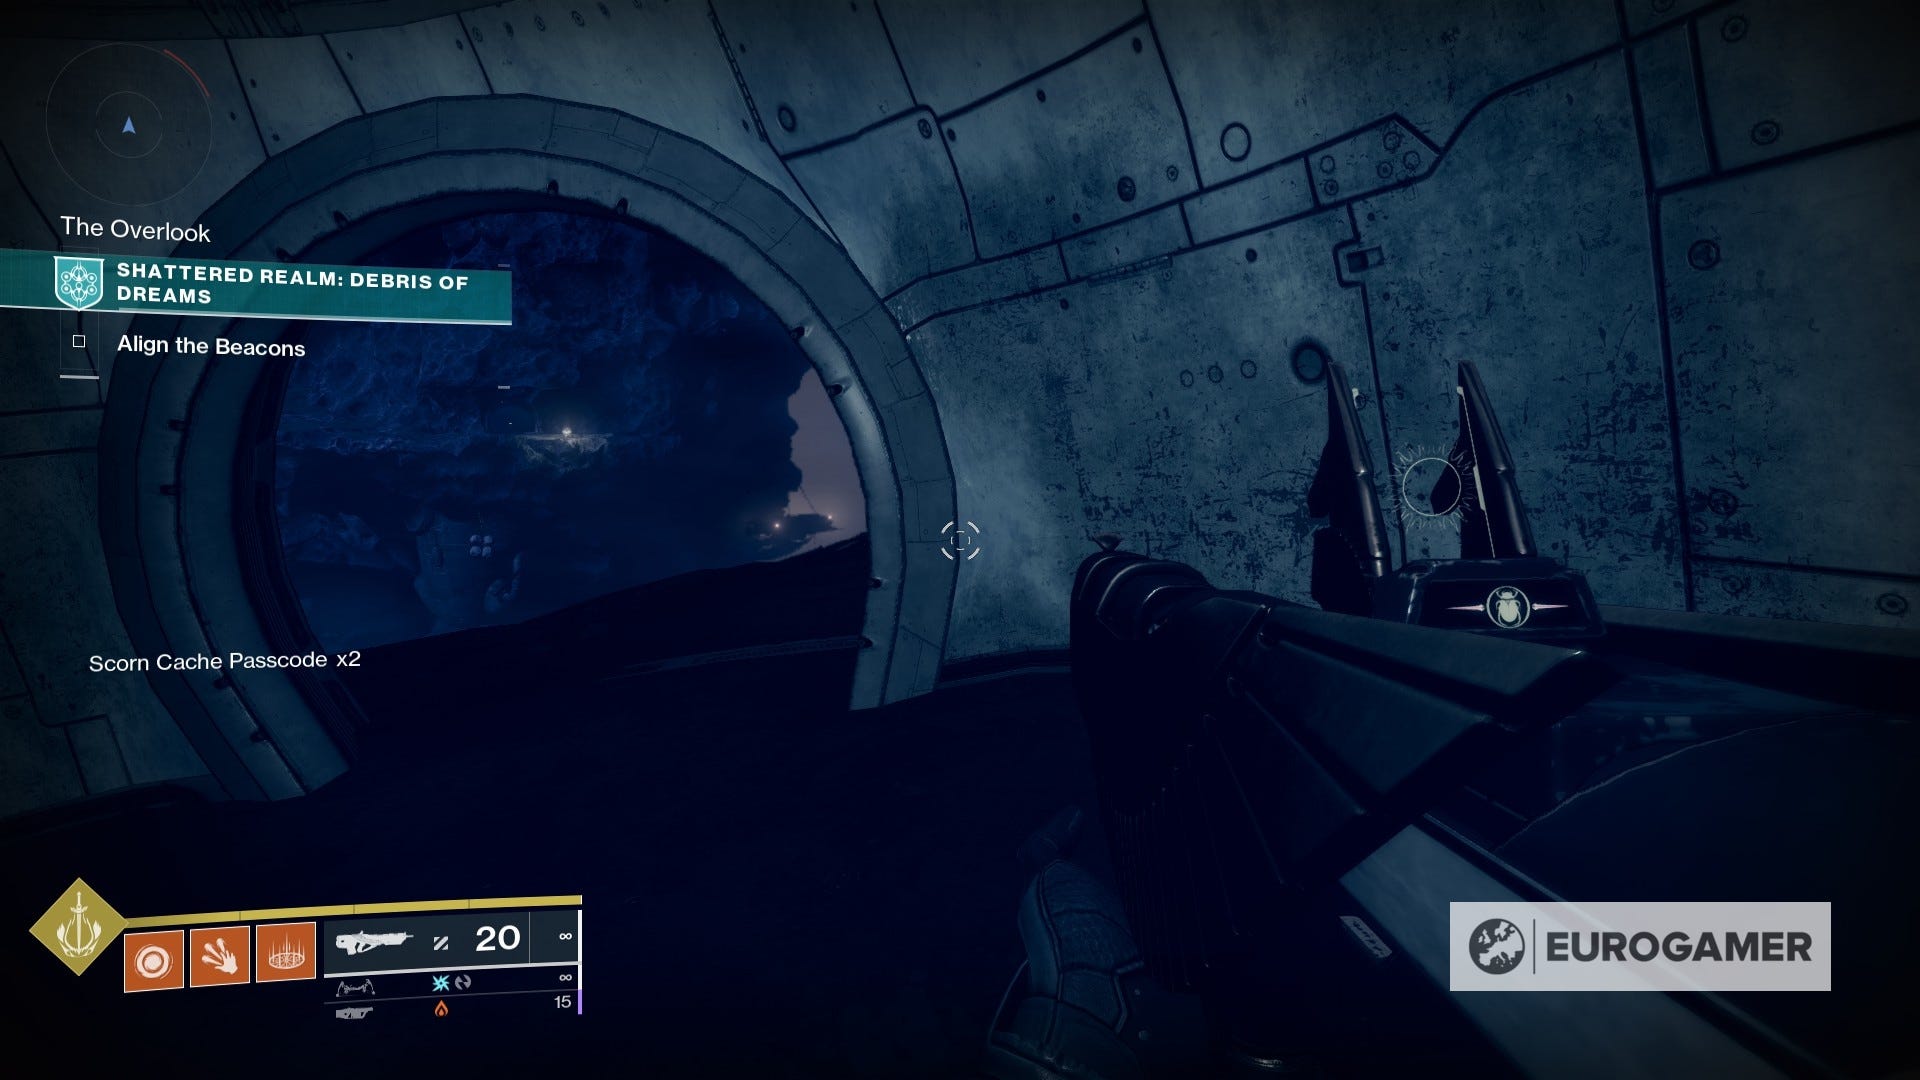
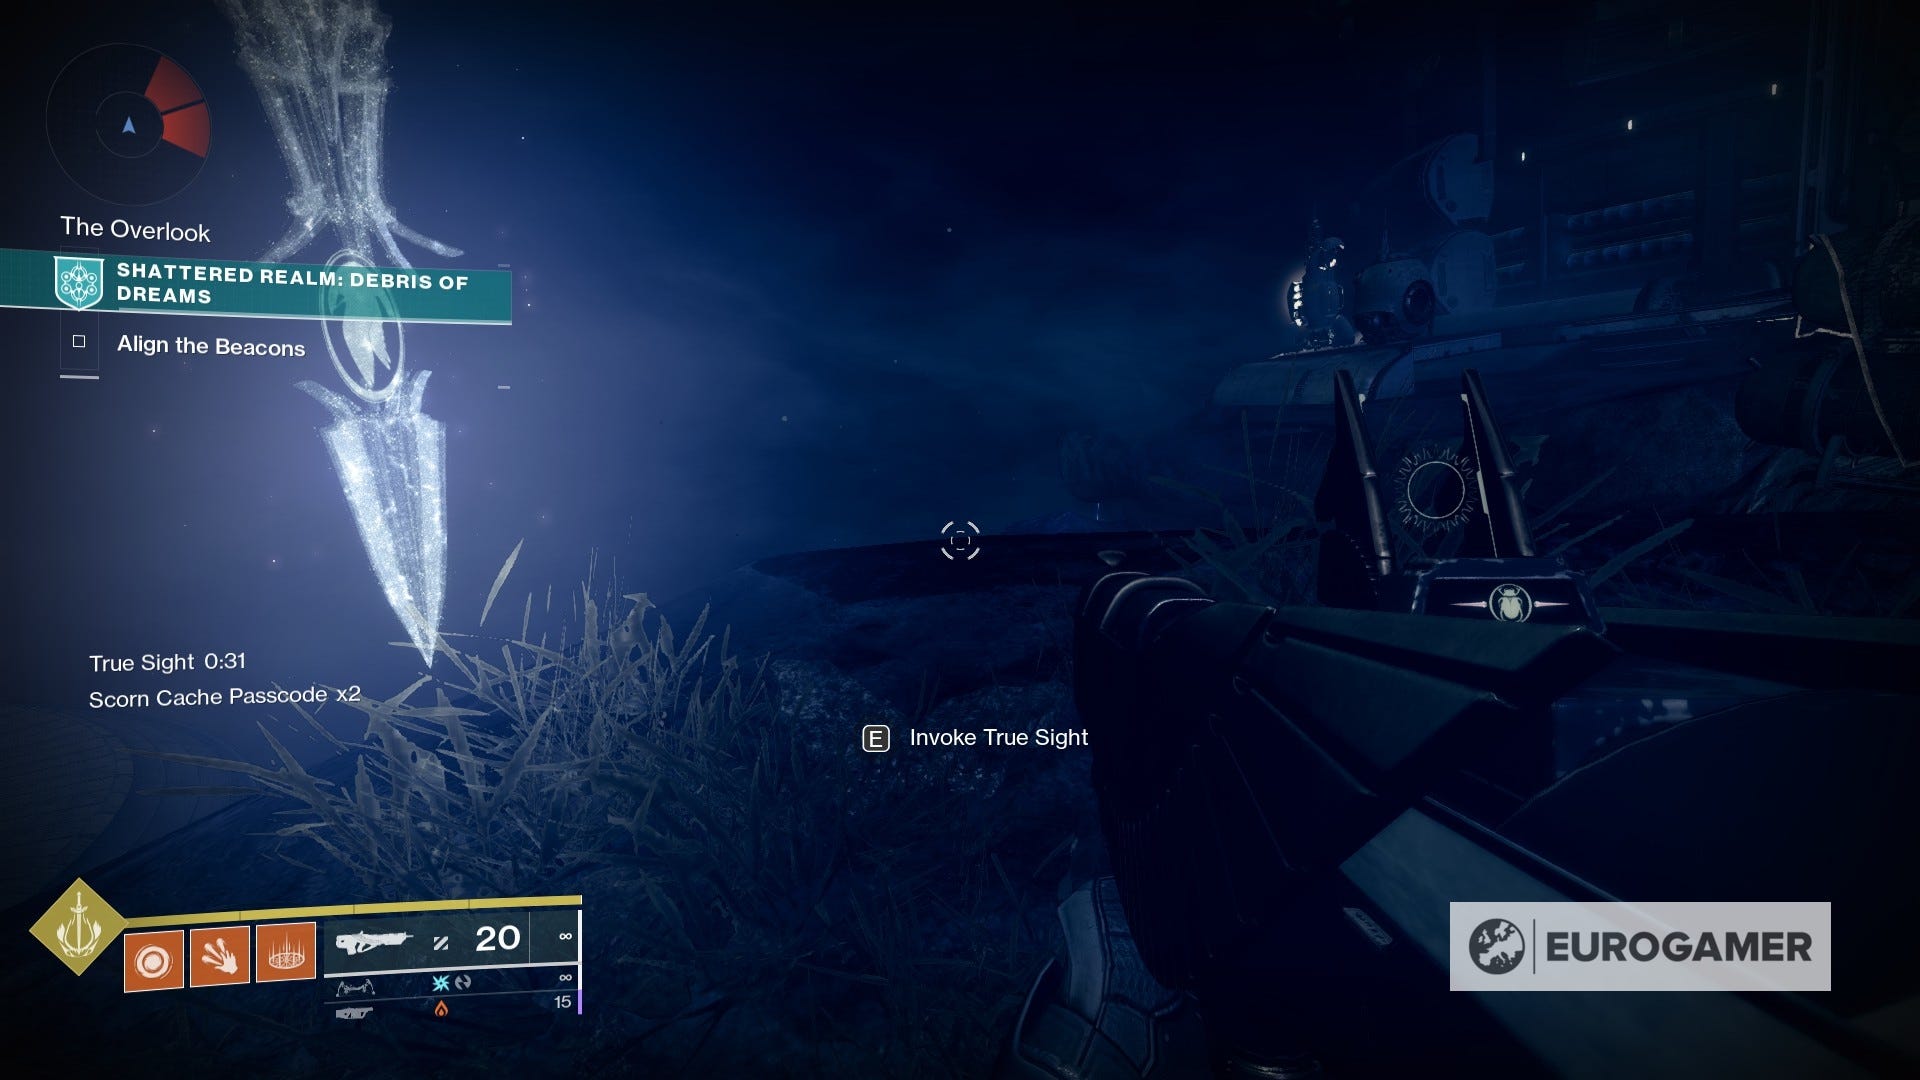
13. Taking the area of the second beacon as starting point, we'll be following the Refined Power Enigmatic Mystery path as reference. Once you're at The Overlook, just head forward and you'll see the anchor halfway through, next to the True Sight device.


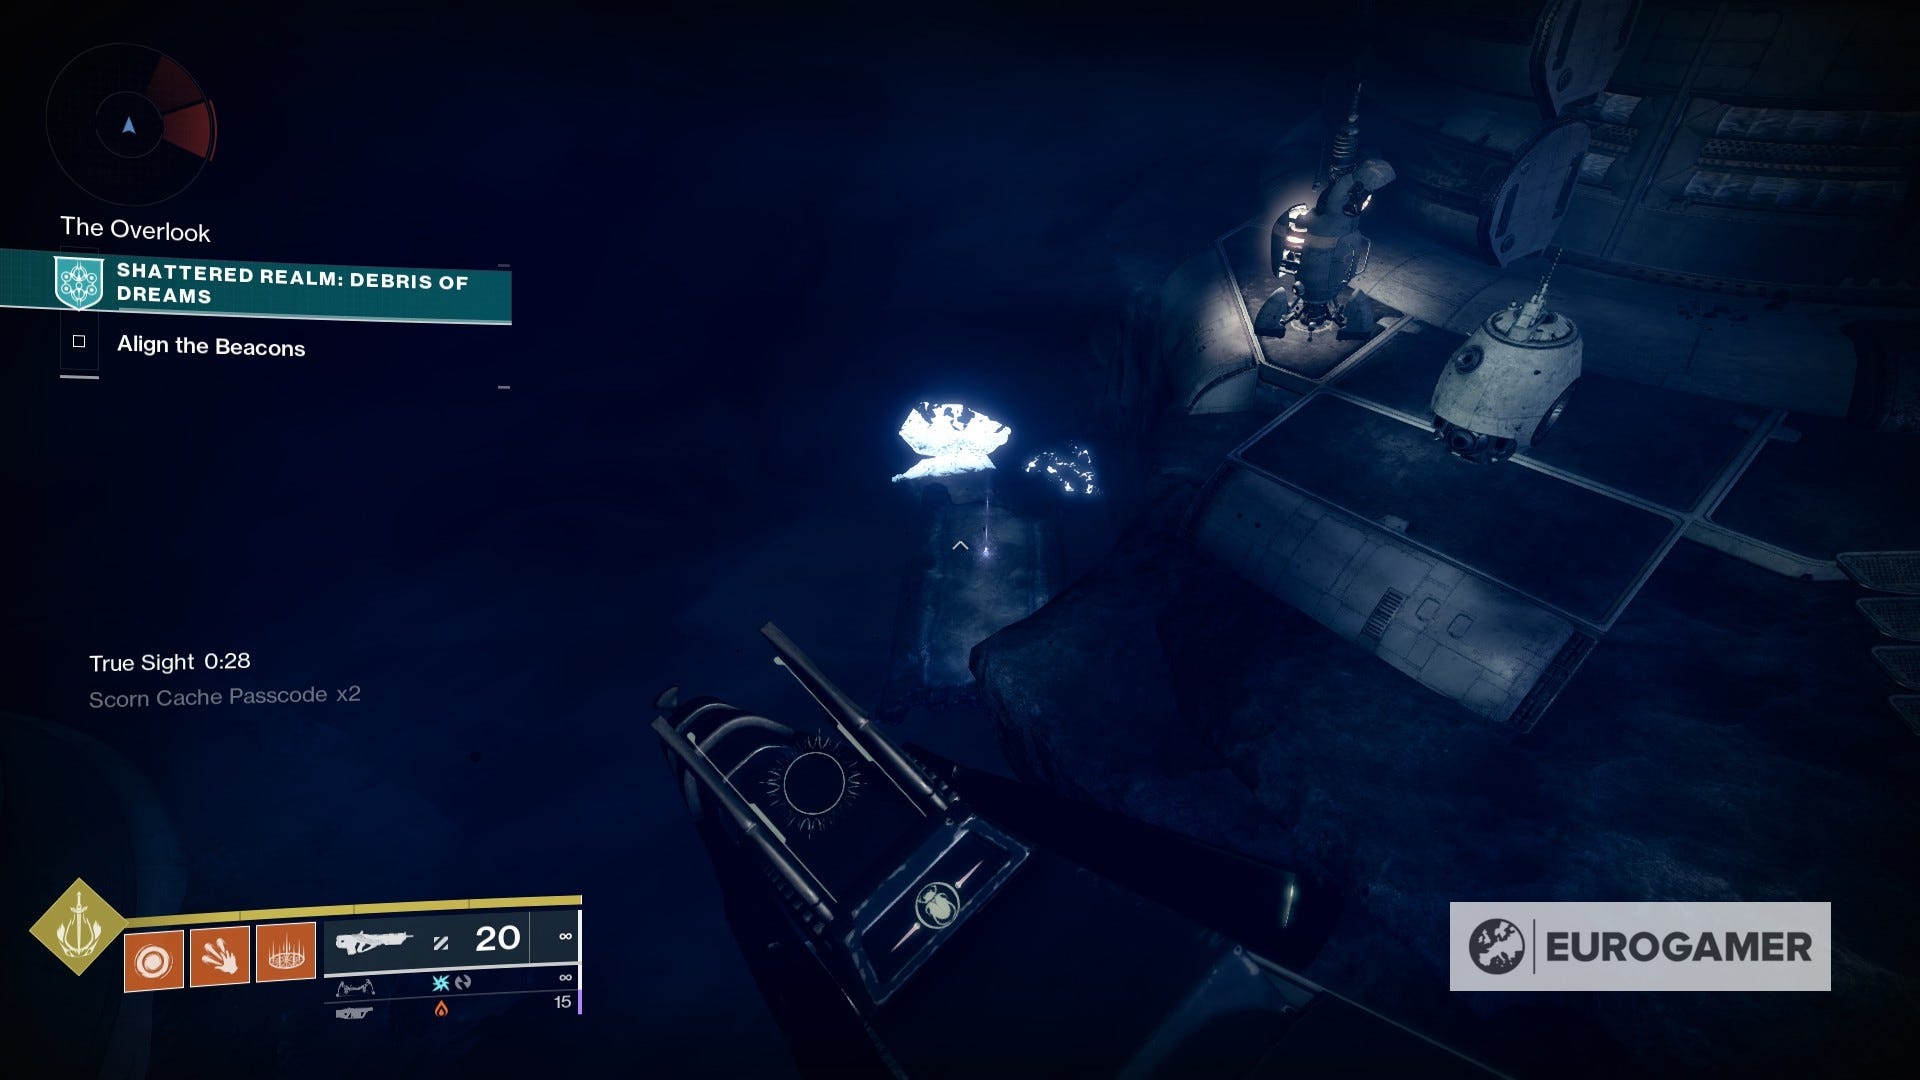
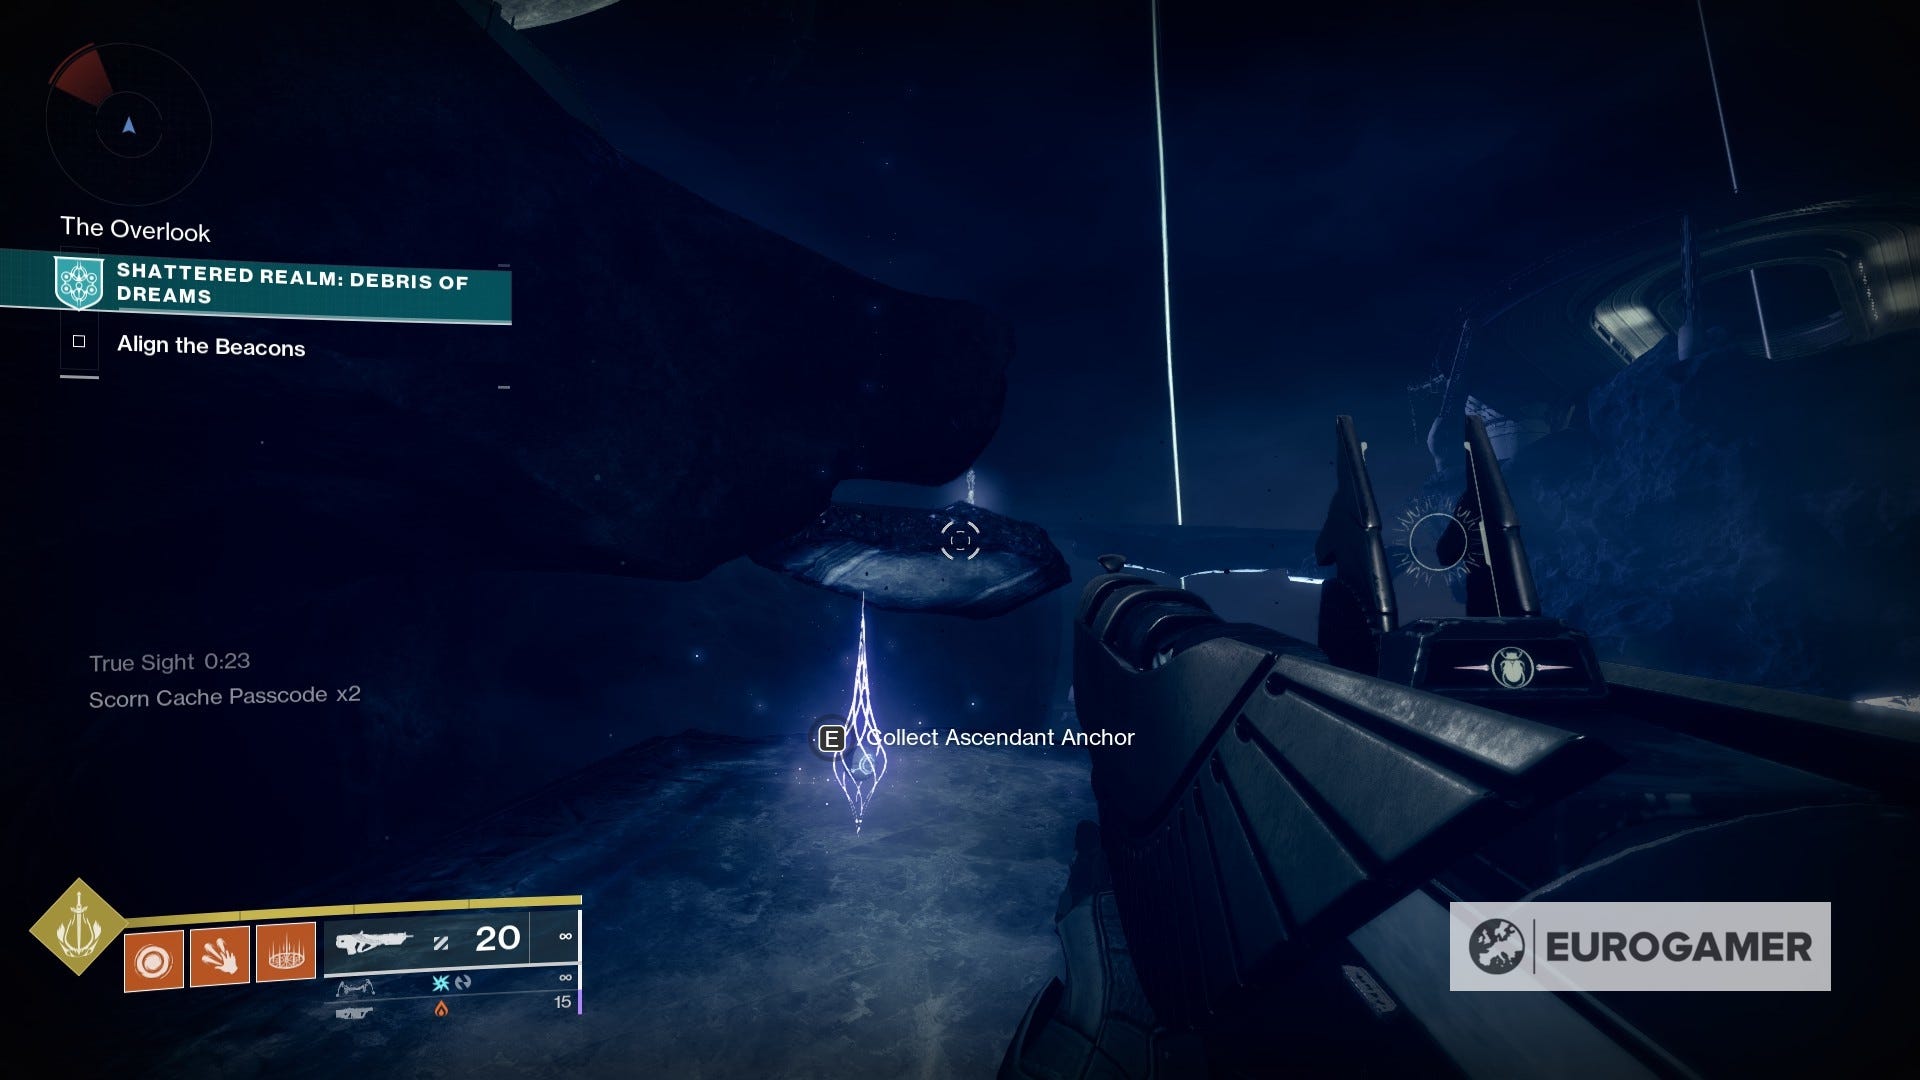
14. Don't leave just yet! Activate the True Sight device to unveil a path that goes around the large structure in the area, below ground level. We'll be heading there by double jumping and following the floating path. You'll find the anchor in one of the surfaces.
15. For this one, we'll be doing the same path for The First Rule Ascendant Mystery. Before or after you fight Kaaskis the Hungerer, keep going just a bit forward from the barrier door to find another anchor.
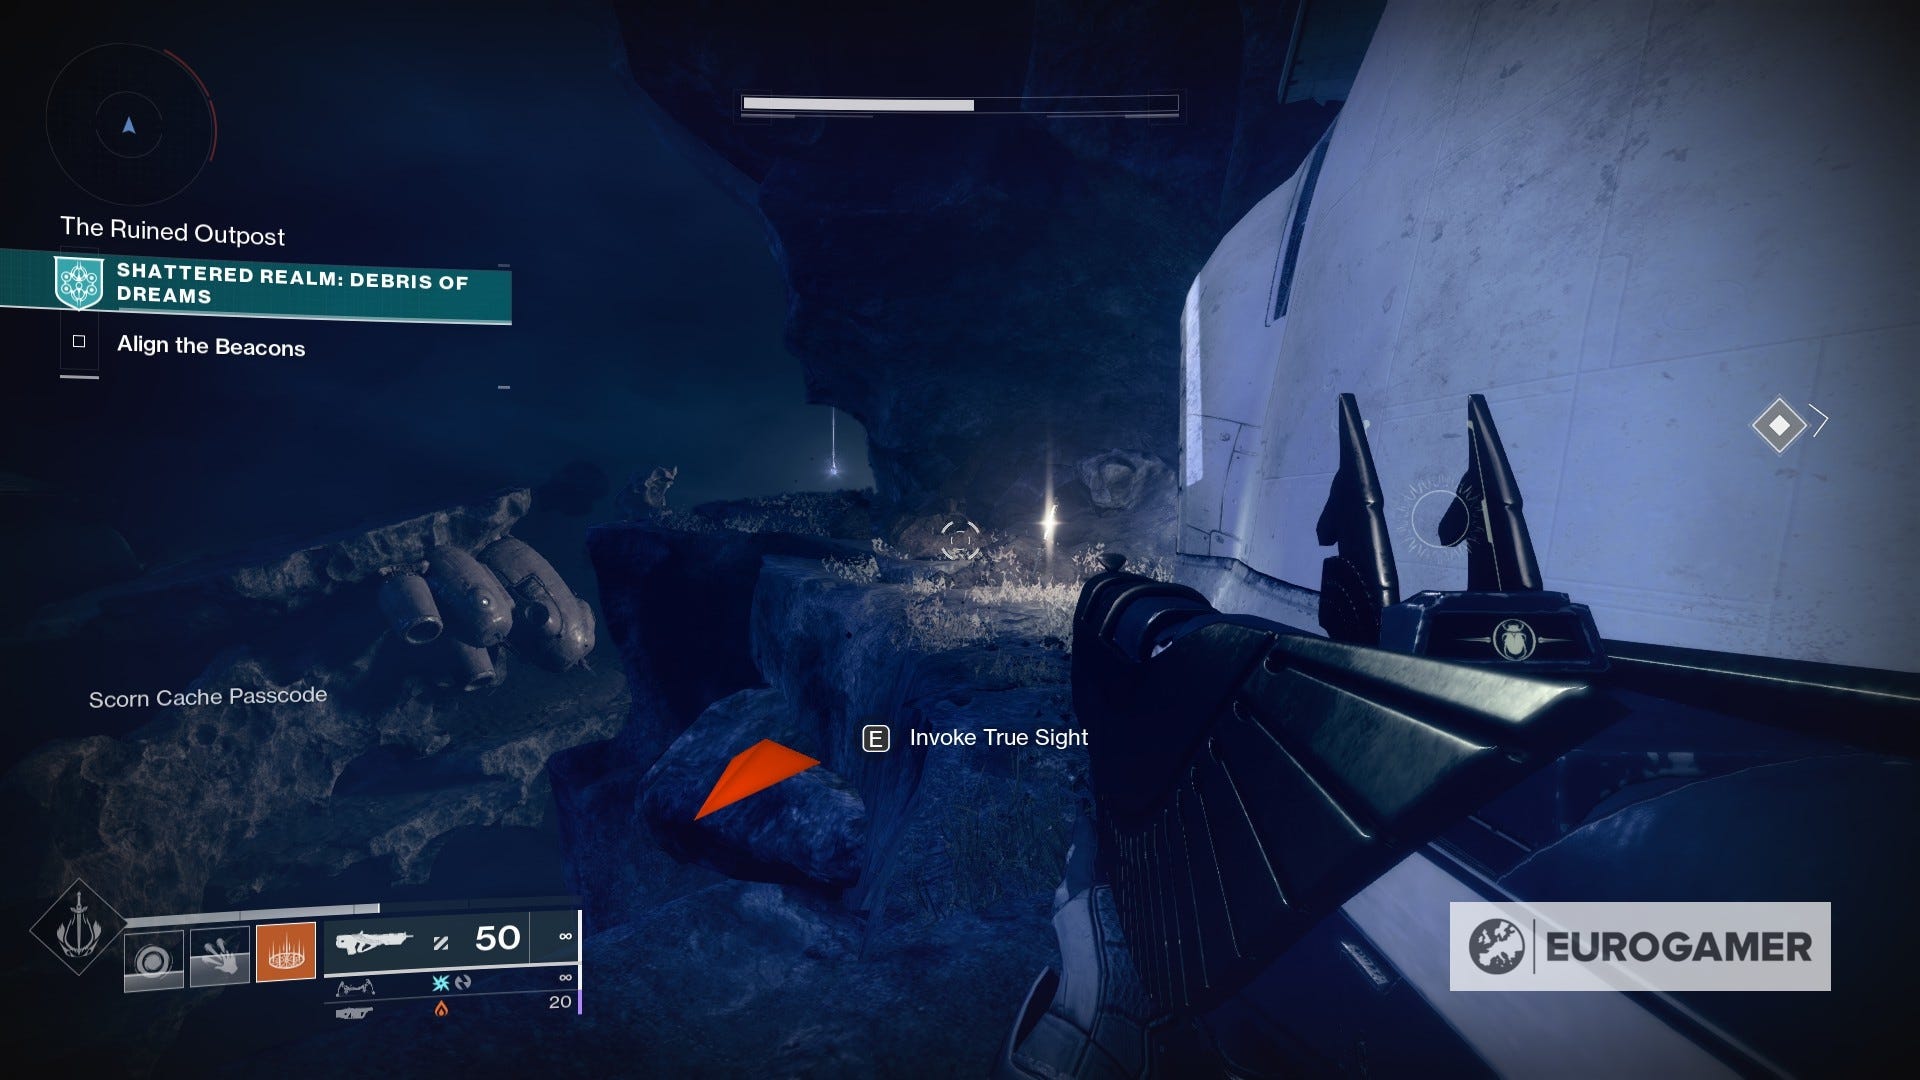

16. From the Harbingers Data Cache location, you will see an anchor on top of the plateau as you're heading to The Vista.


17. For this one, we'll be doing the same path for The First Rule Ascendant Mystery. Before or after you fight Siirnak the Deepwalker, head to the side of the cave that has a lower ground. In there you'll find a glowing rock where you can use Ager's Scepter to destroy it and grab the anchor.

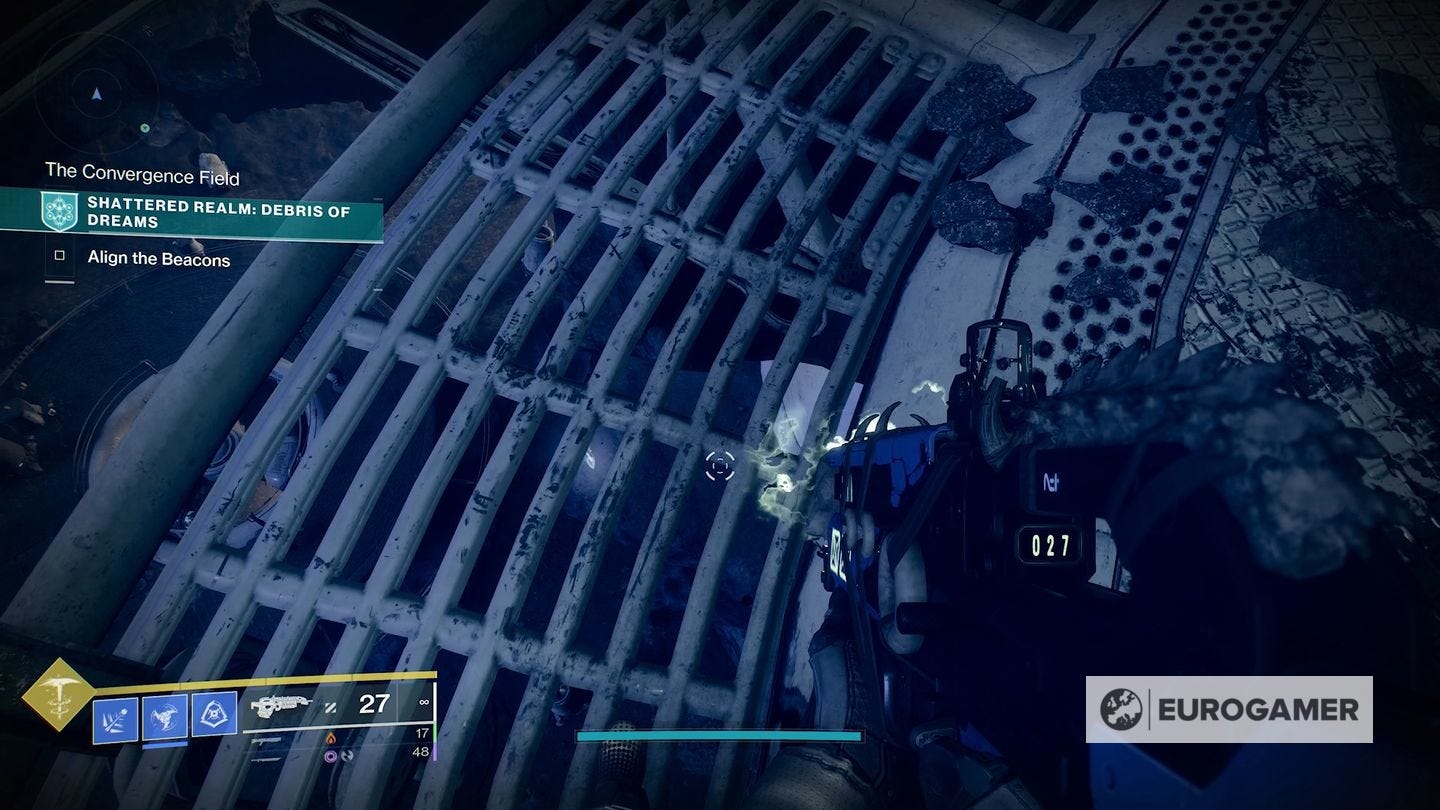
18. Once you have lit the two Beacons, head to the location of the third one. Now go to the far left corner, where there's some railings against the edge. If you look down - you can see through the ground - there is a cliff you can land on. Drop down and the Anchor will be to the side. If you miss the cliff as you fall, then you need to find your way back up again via the awkward ladder opposite the second beacon and through the teleporter again!


More to come in future weekly resets
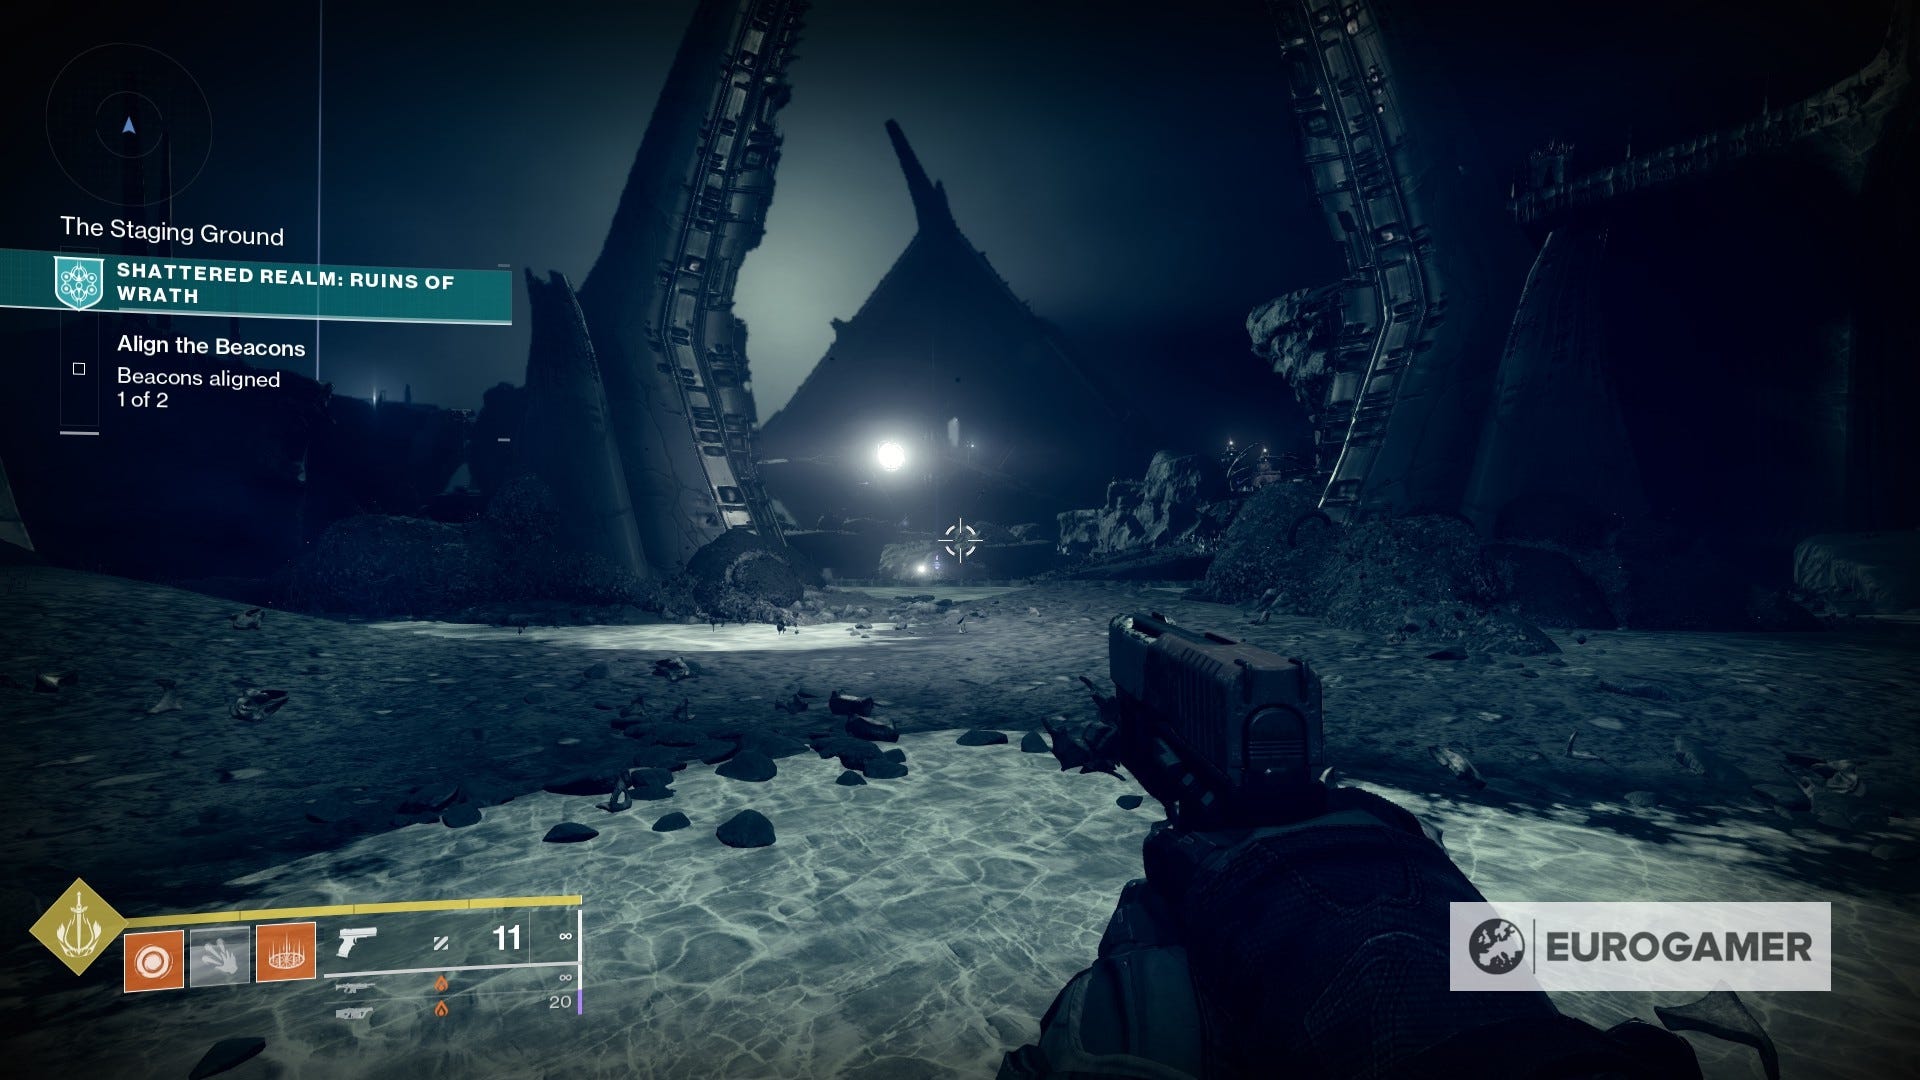
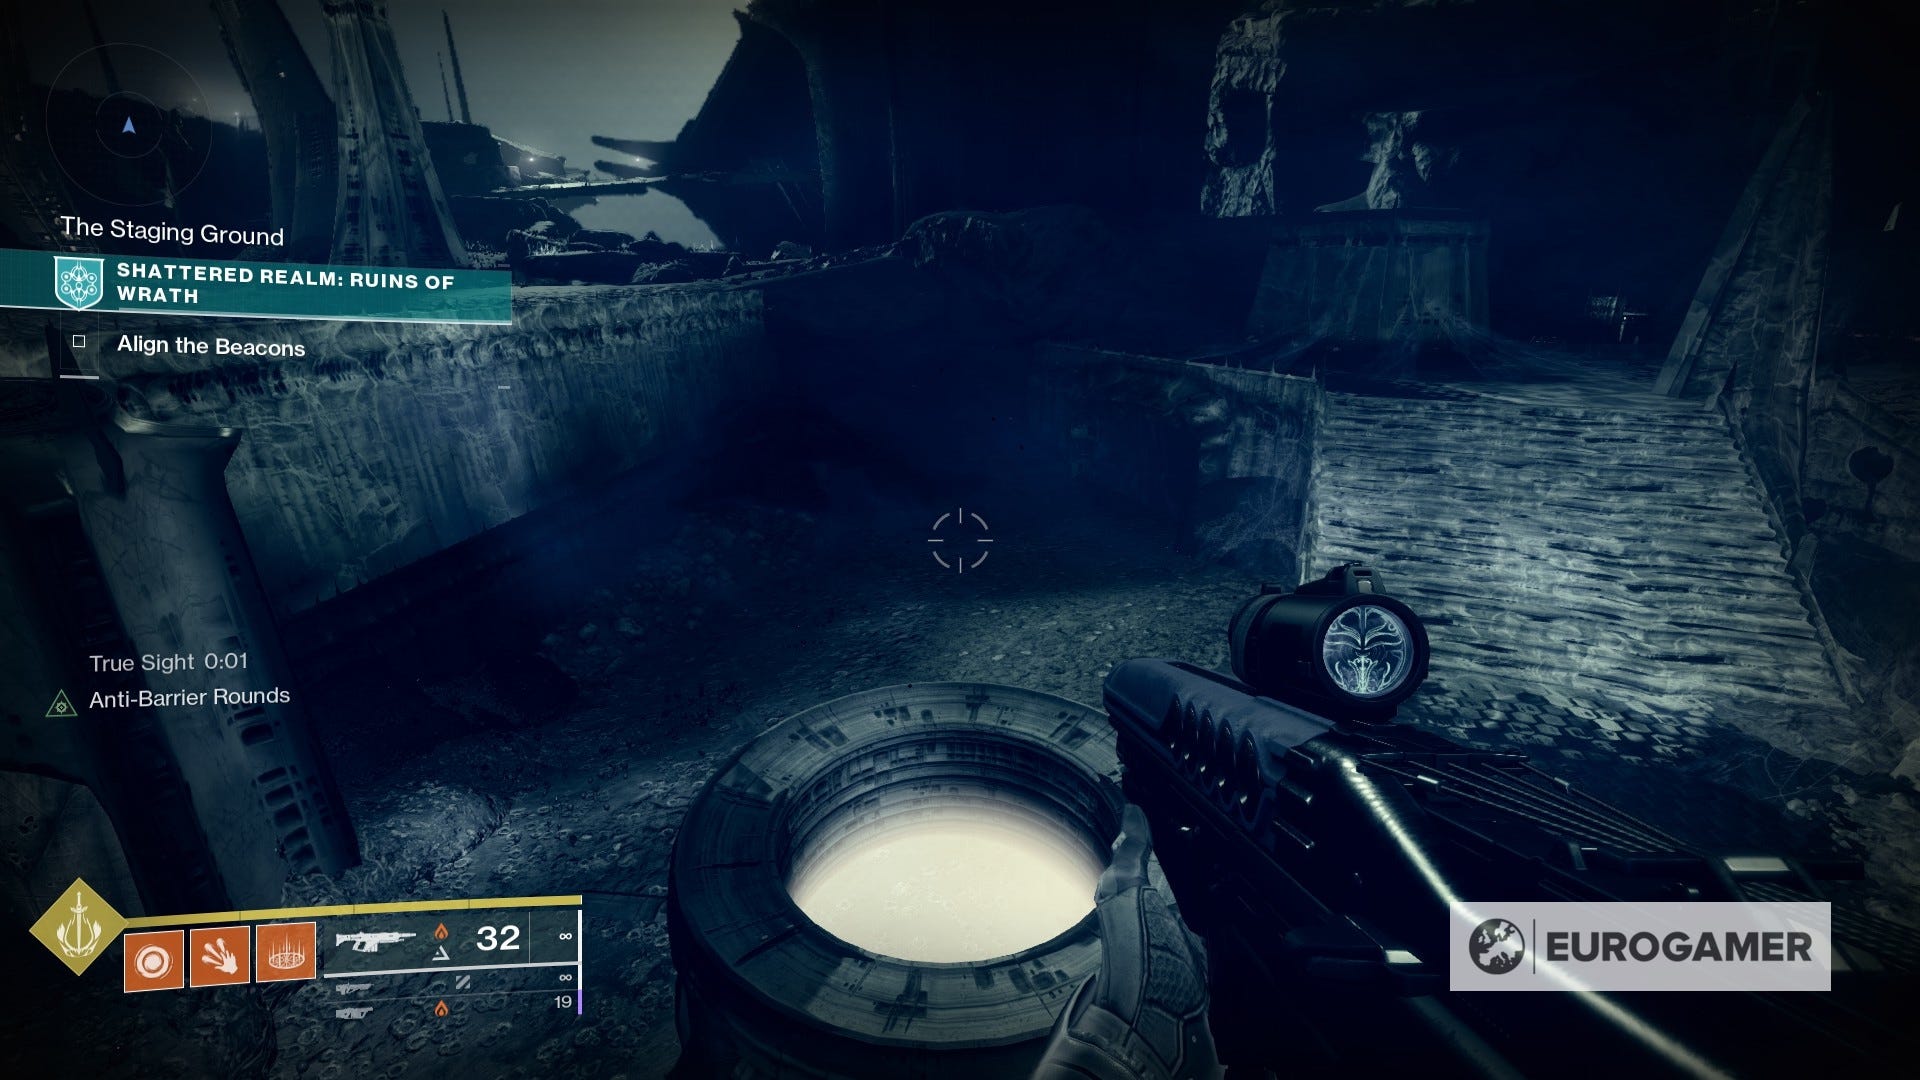
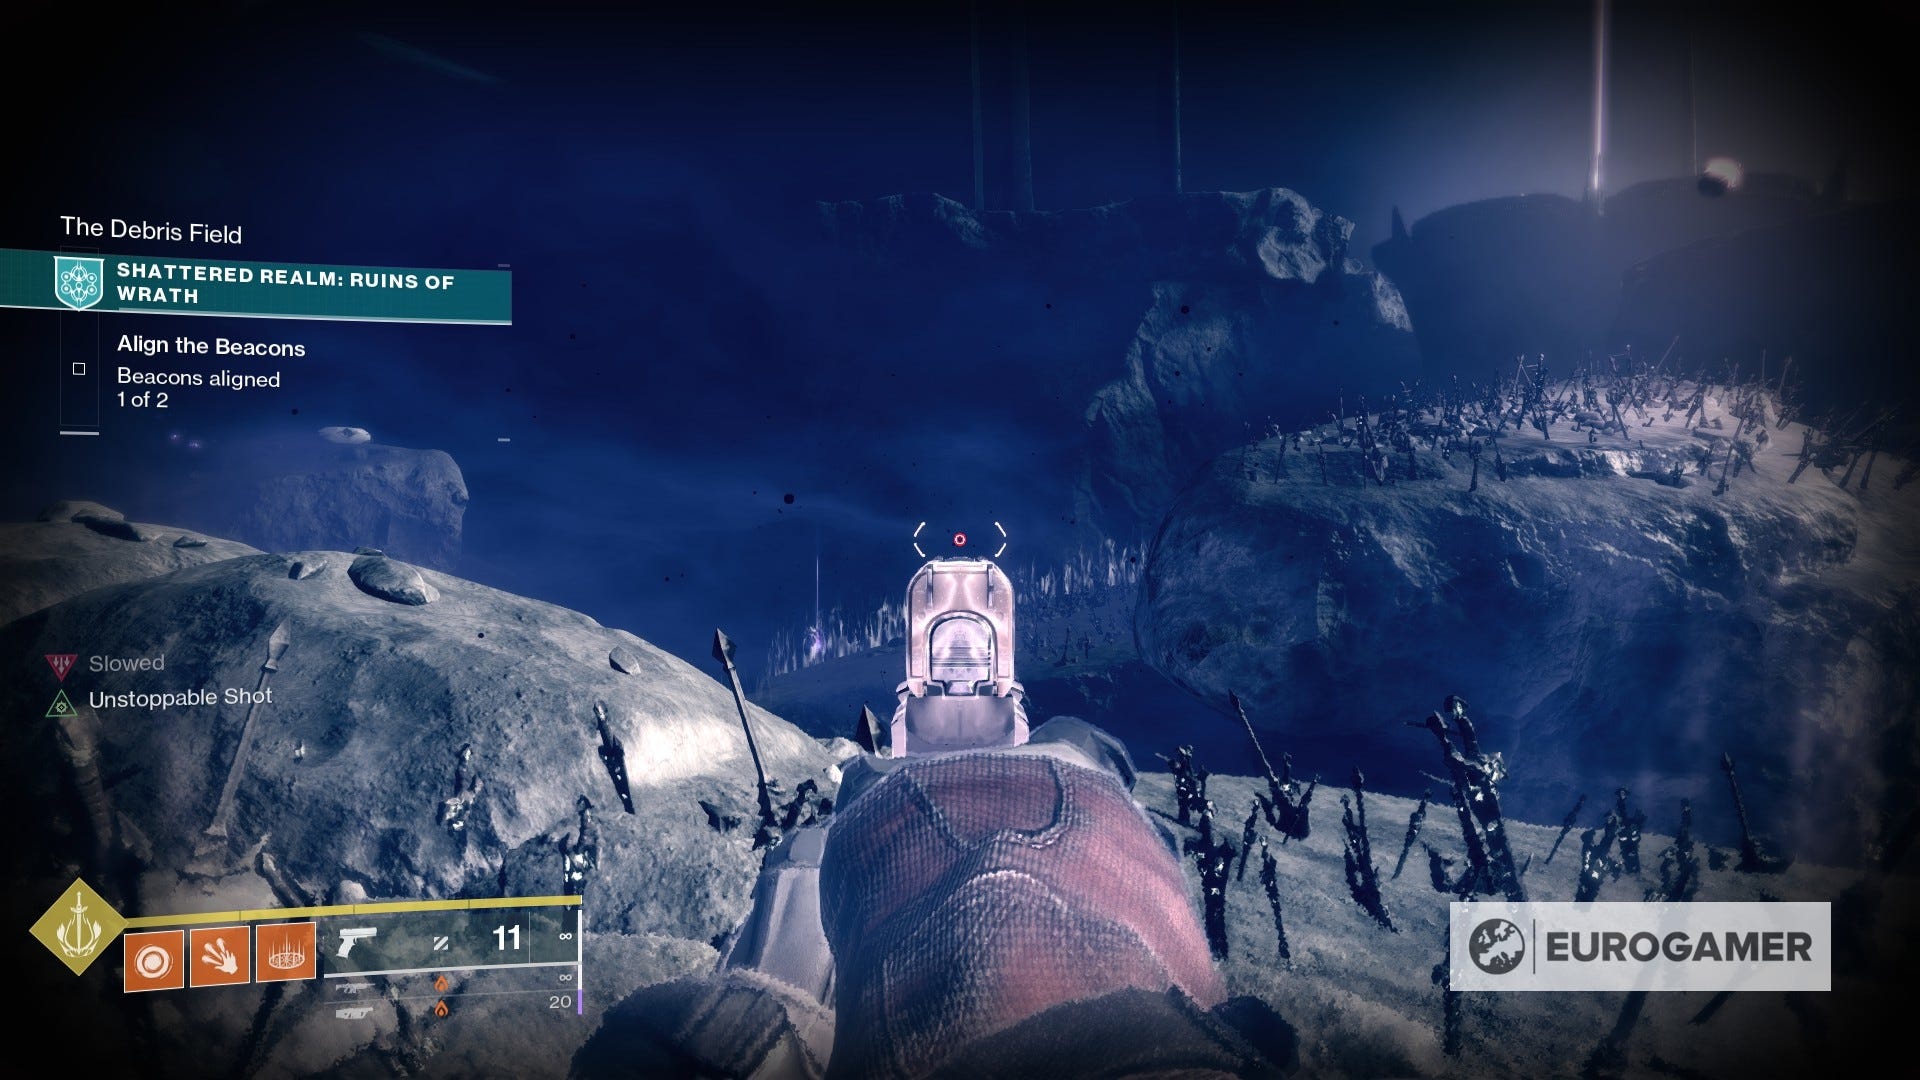
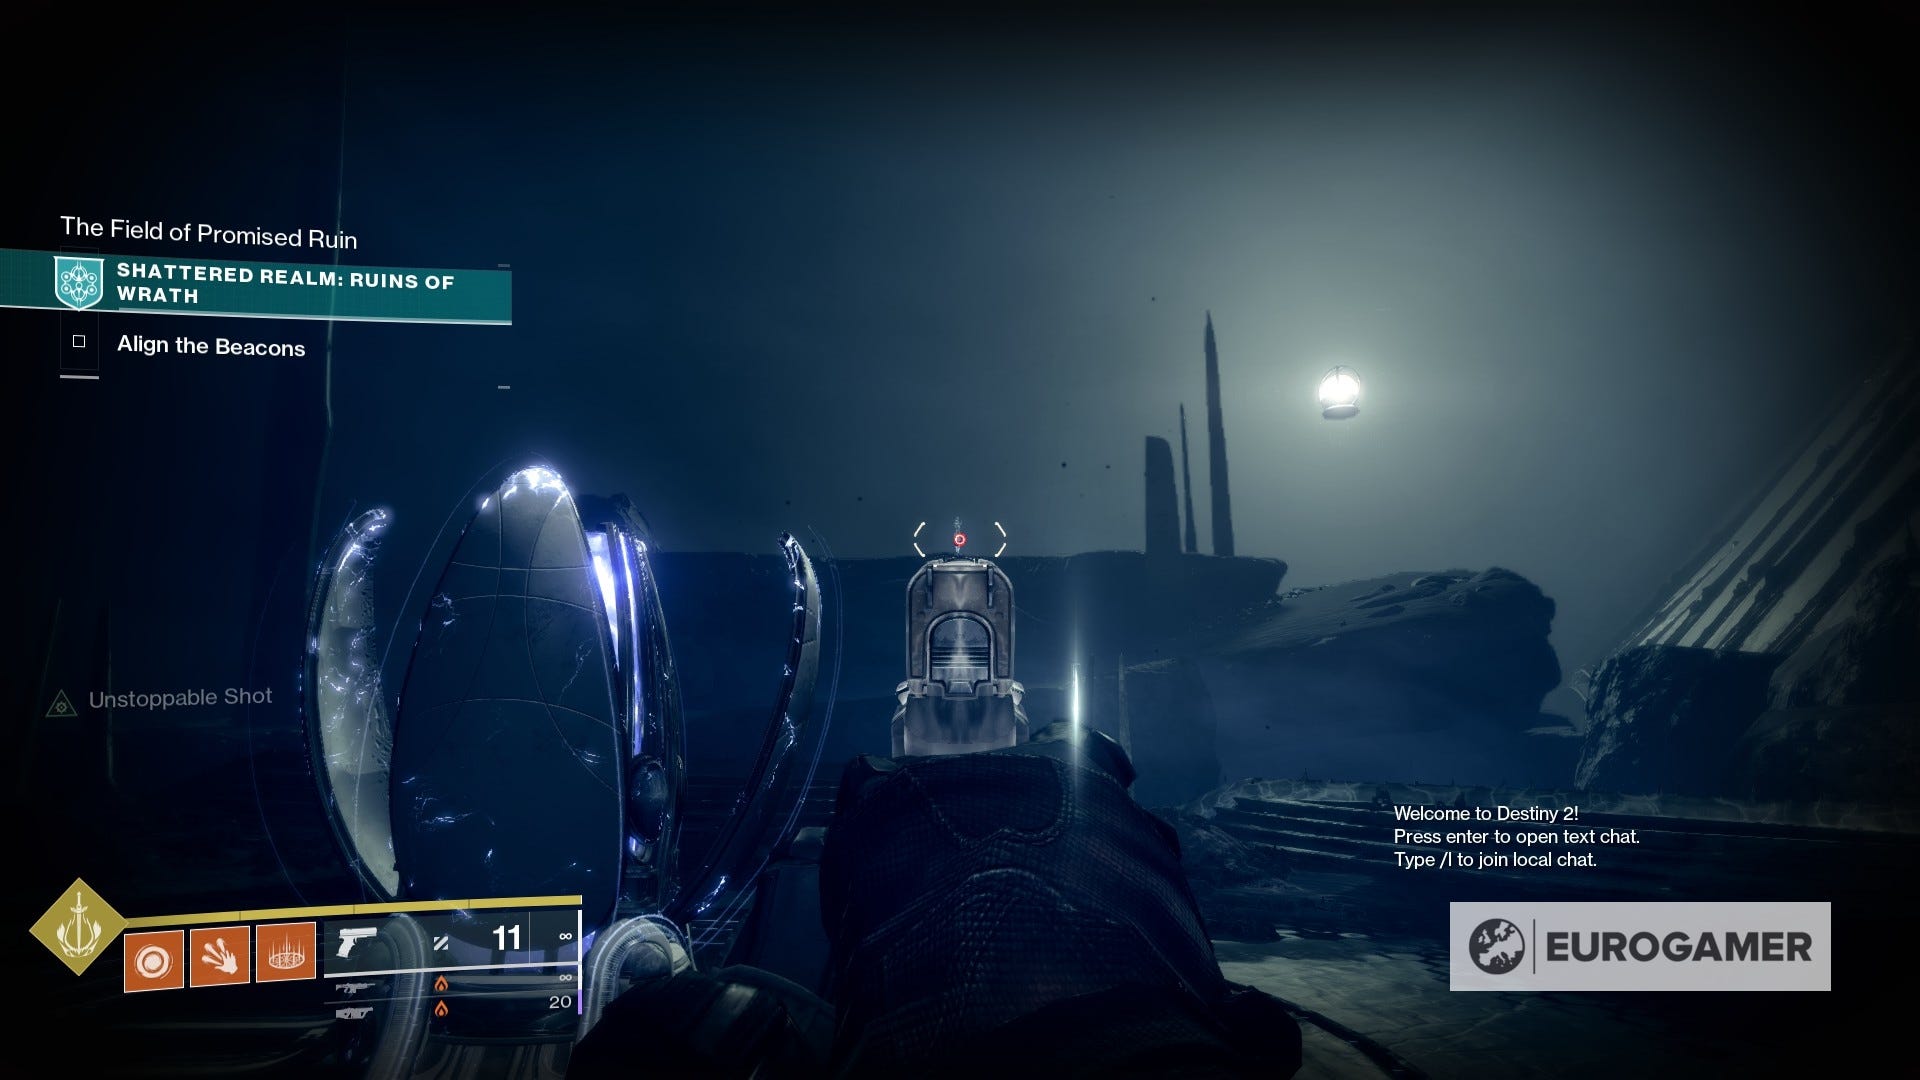
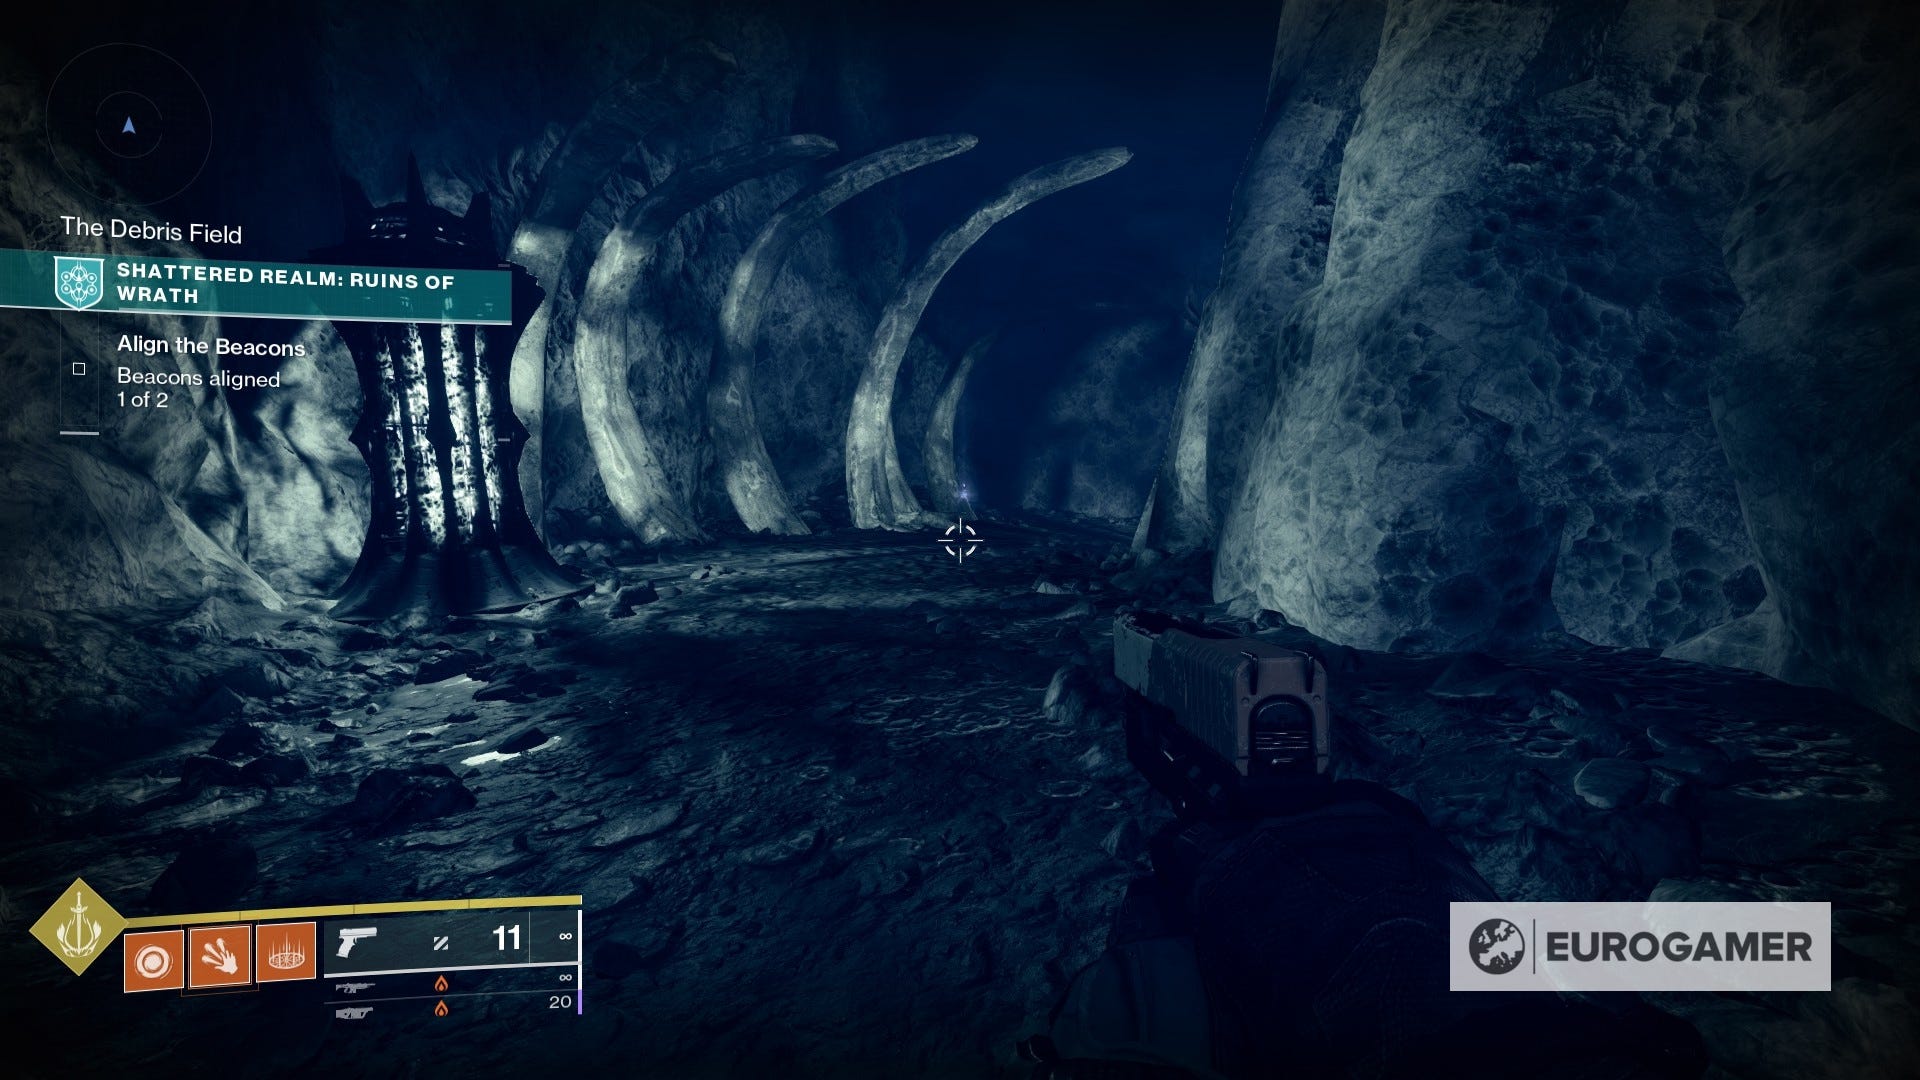
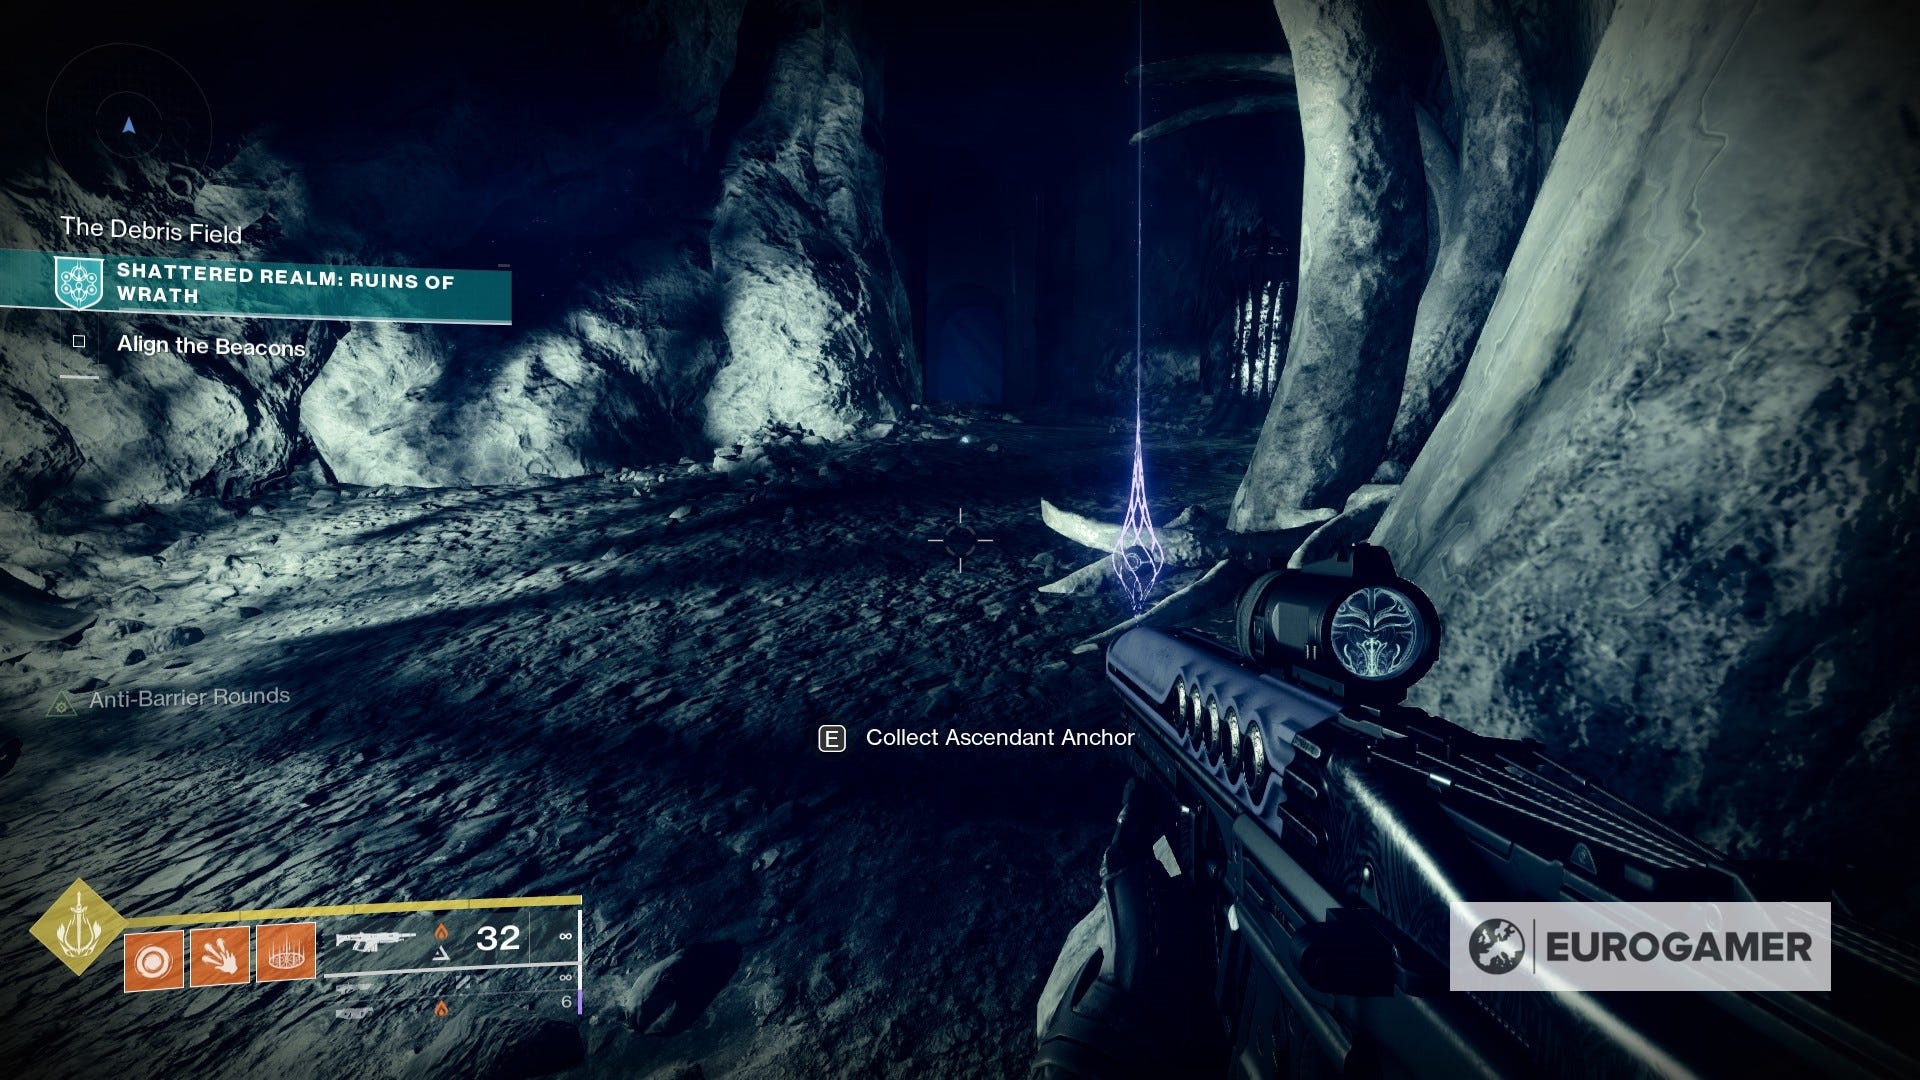
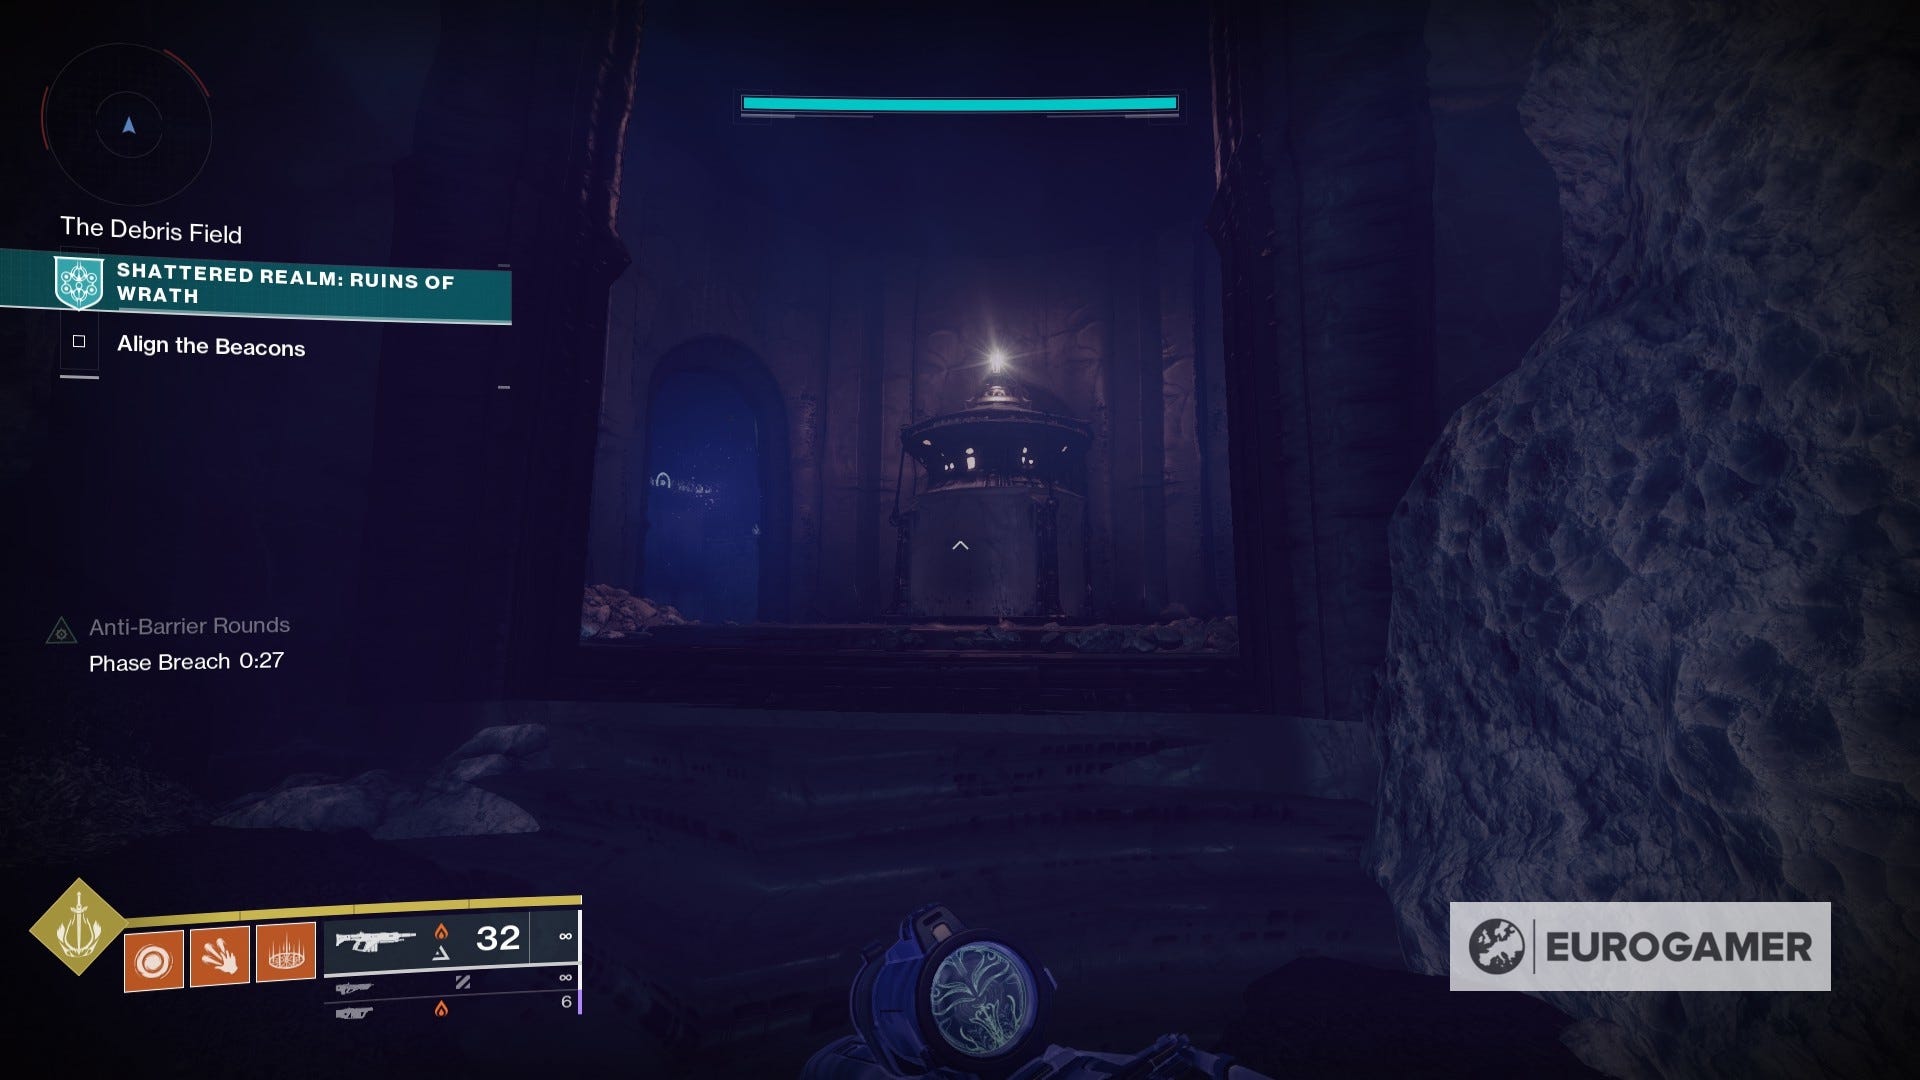
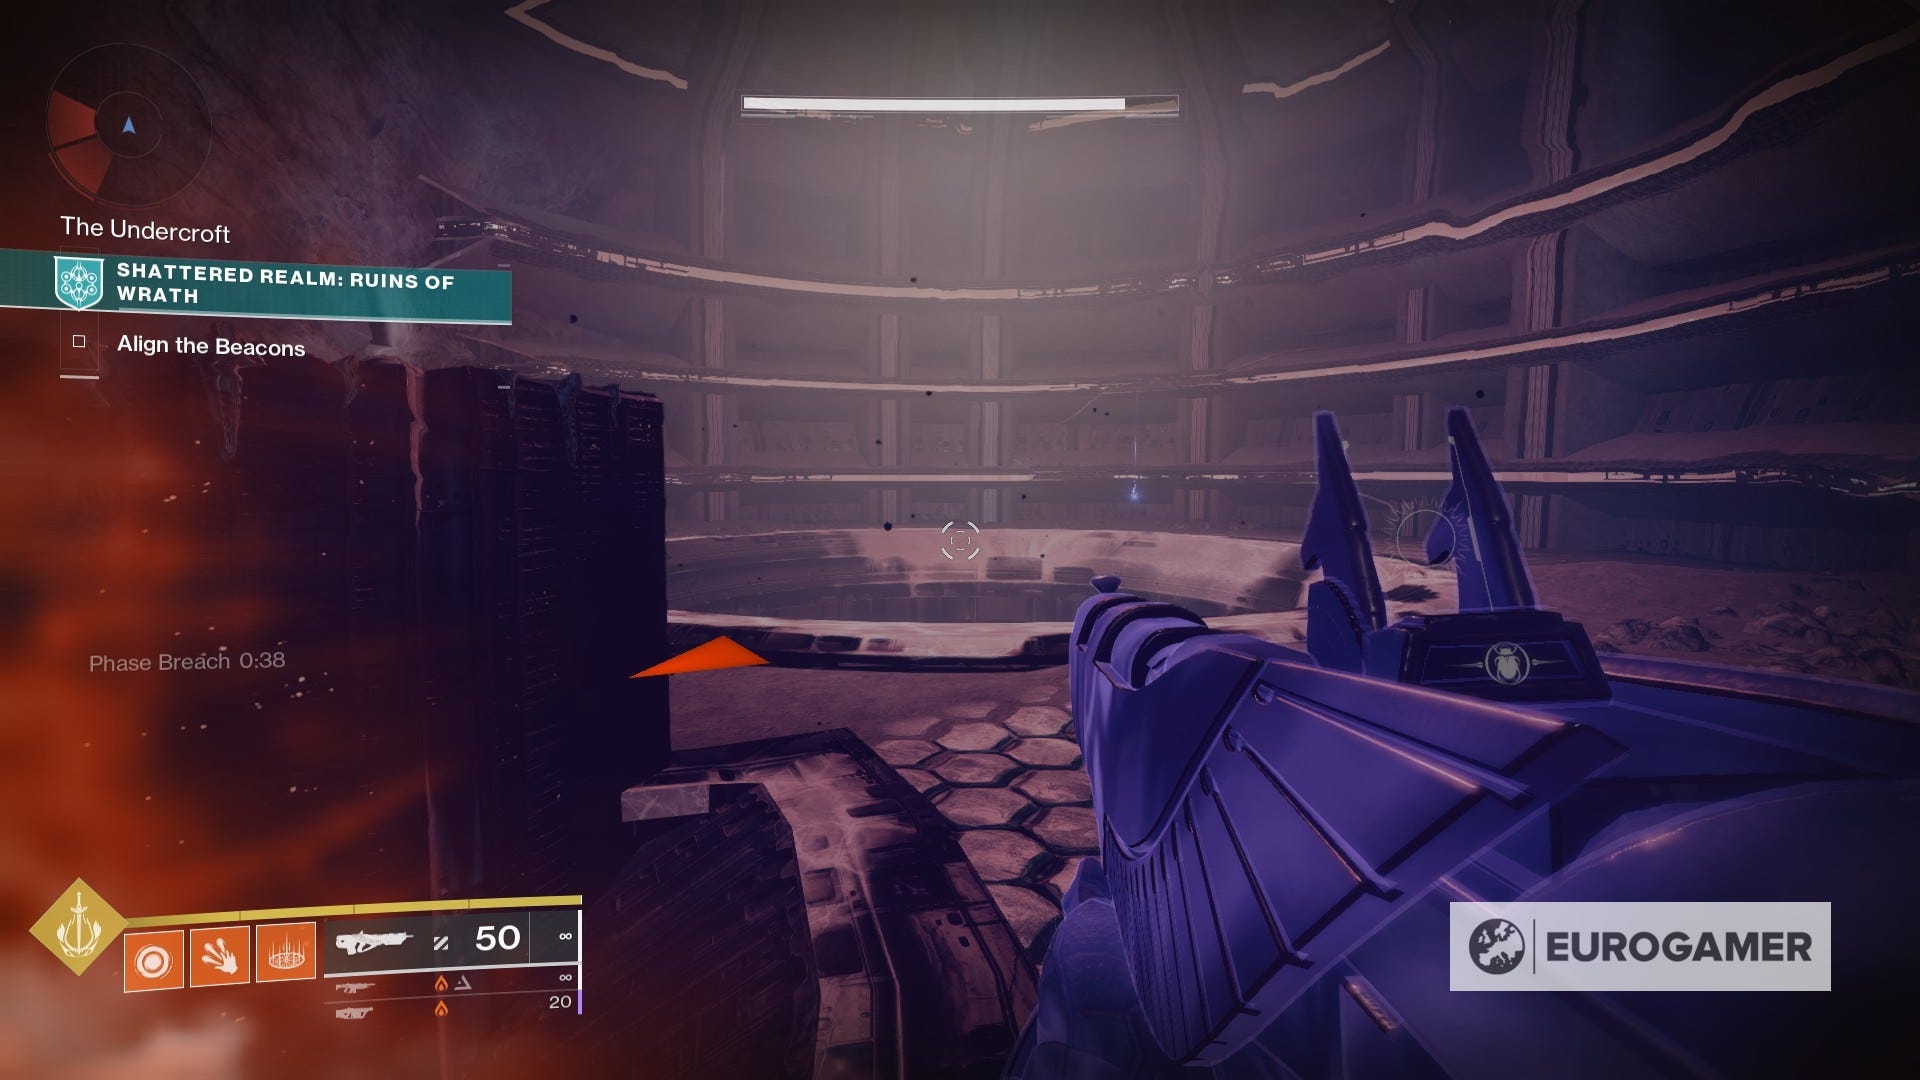
Shattered Realm - Ruins of Wrath Ascendant Anchor locations
Some of the following require for you to have all Wayfinder's Compass abilities unlocked, including Barrier Breach, True Sight, Safe Passage, Barrier: Enhanced Breach, Sight: Frequency Echoes and Safe Passage: Astral Attunement, in addition to the Ascendant Sight upgrade, which will make for additional Ascendant Anchors to appear in the Shattered Realm.
These will appear every three weeks on rotation around other two Shattered Realm missions, and will reset when they return back on rotation - allowing you to collect them multiple times per season.
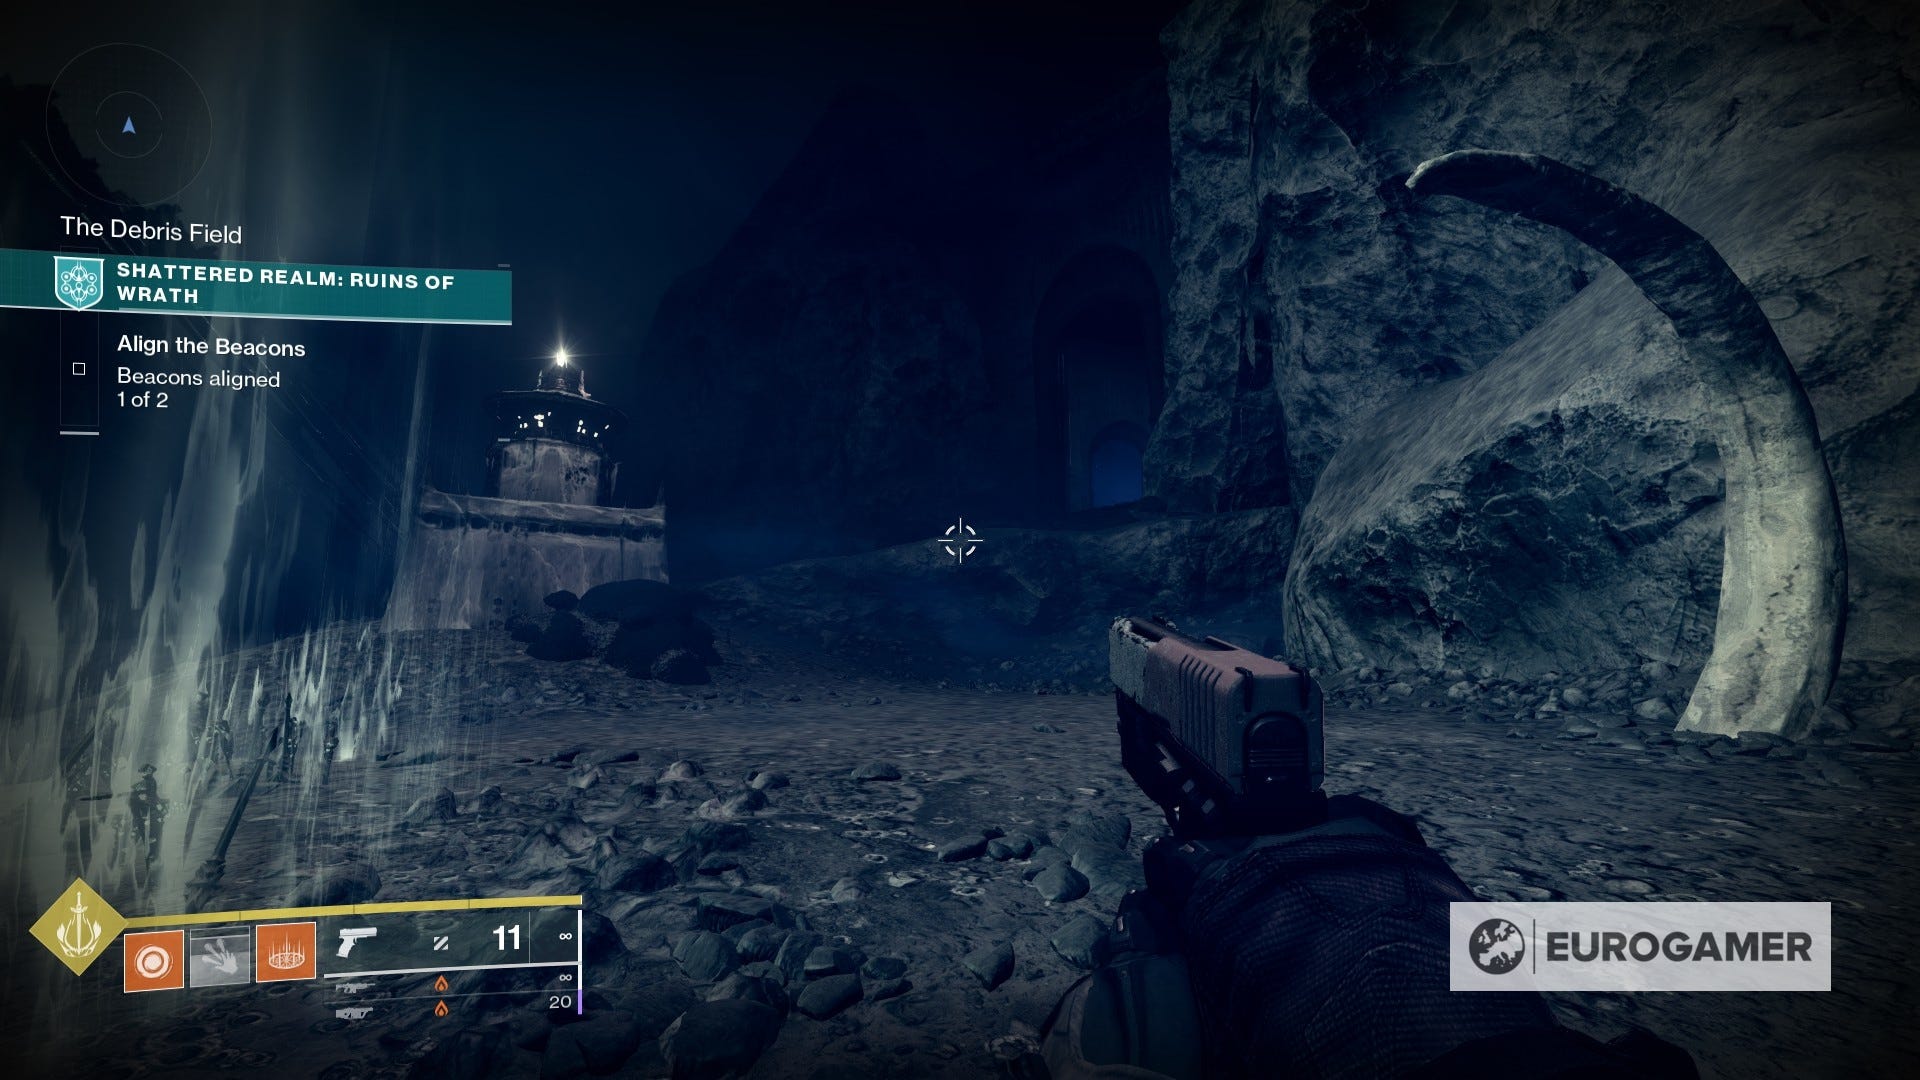
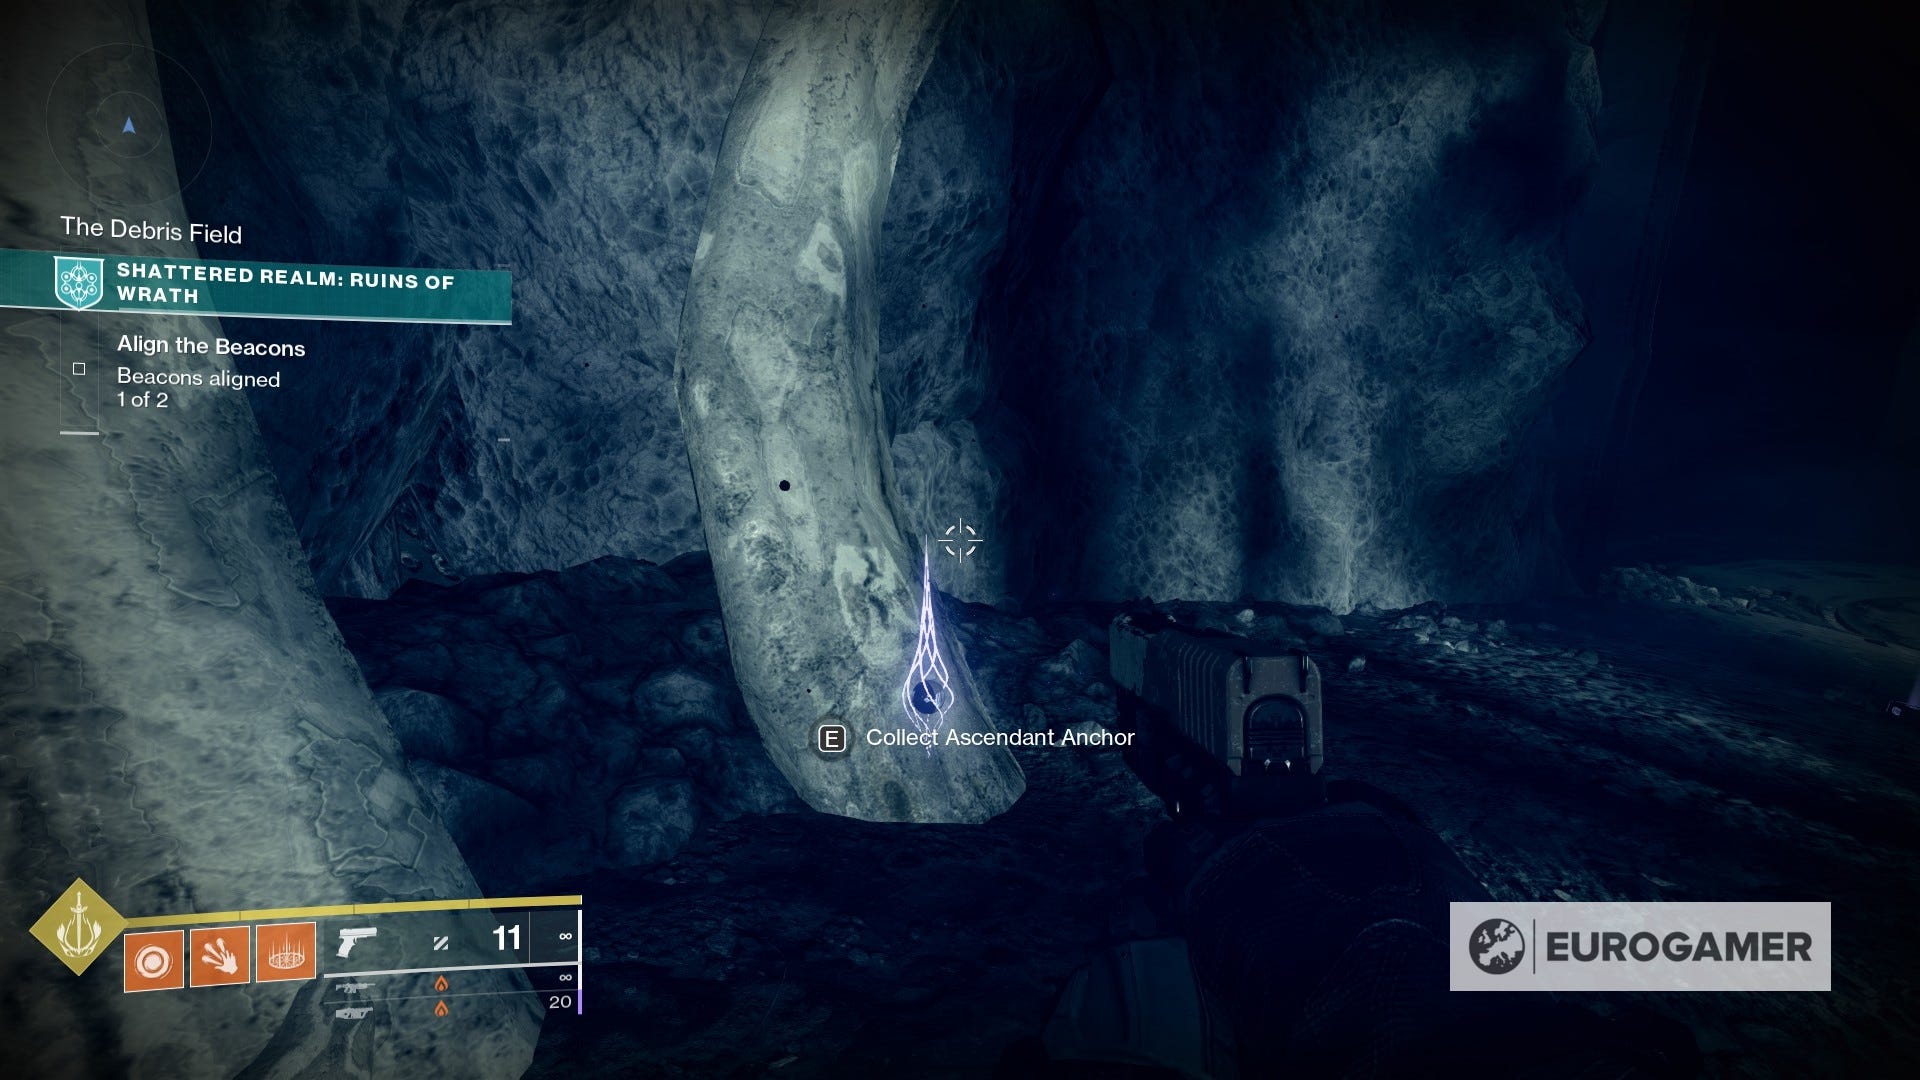
1. Once you fight off all the enemy waves of the first beacon alignment, just head north to grab the first anchor. You can't miss it.

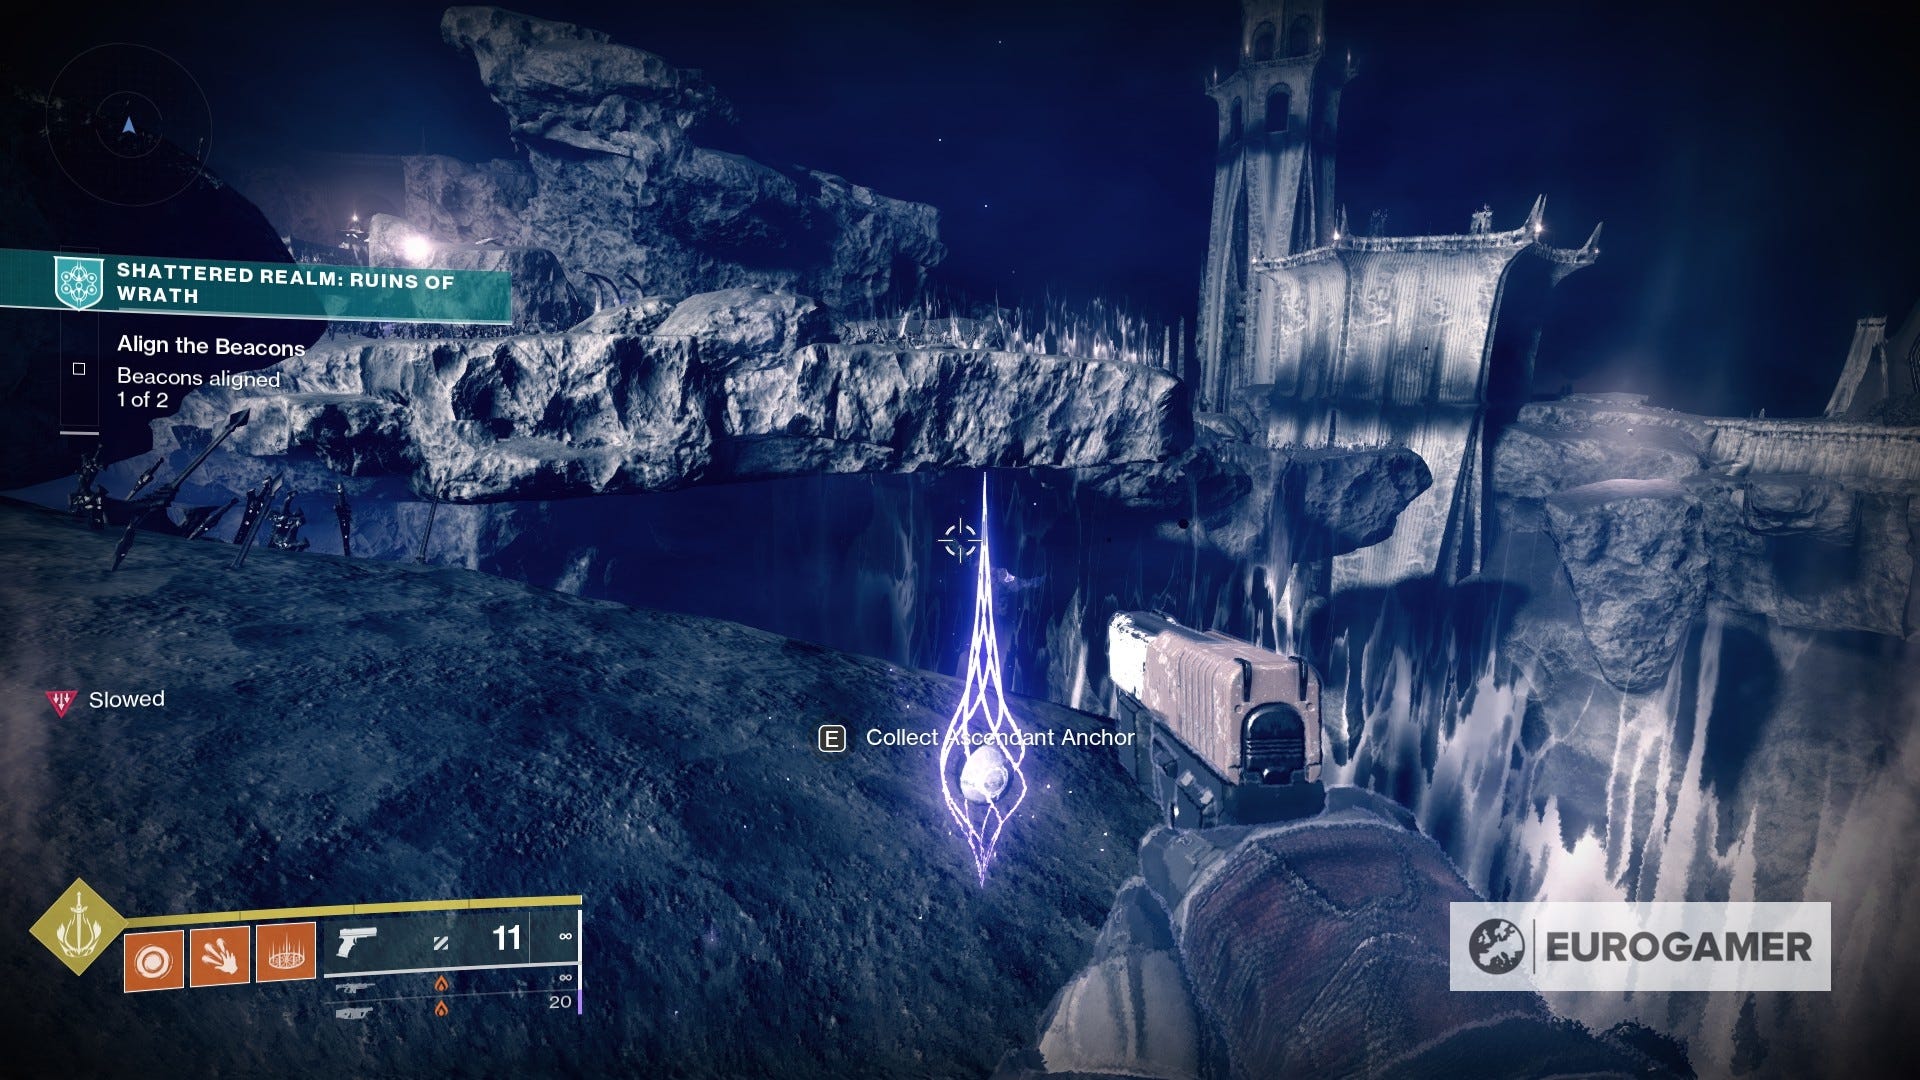
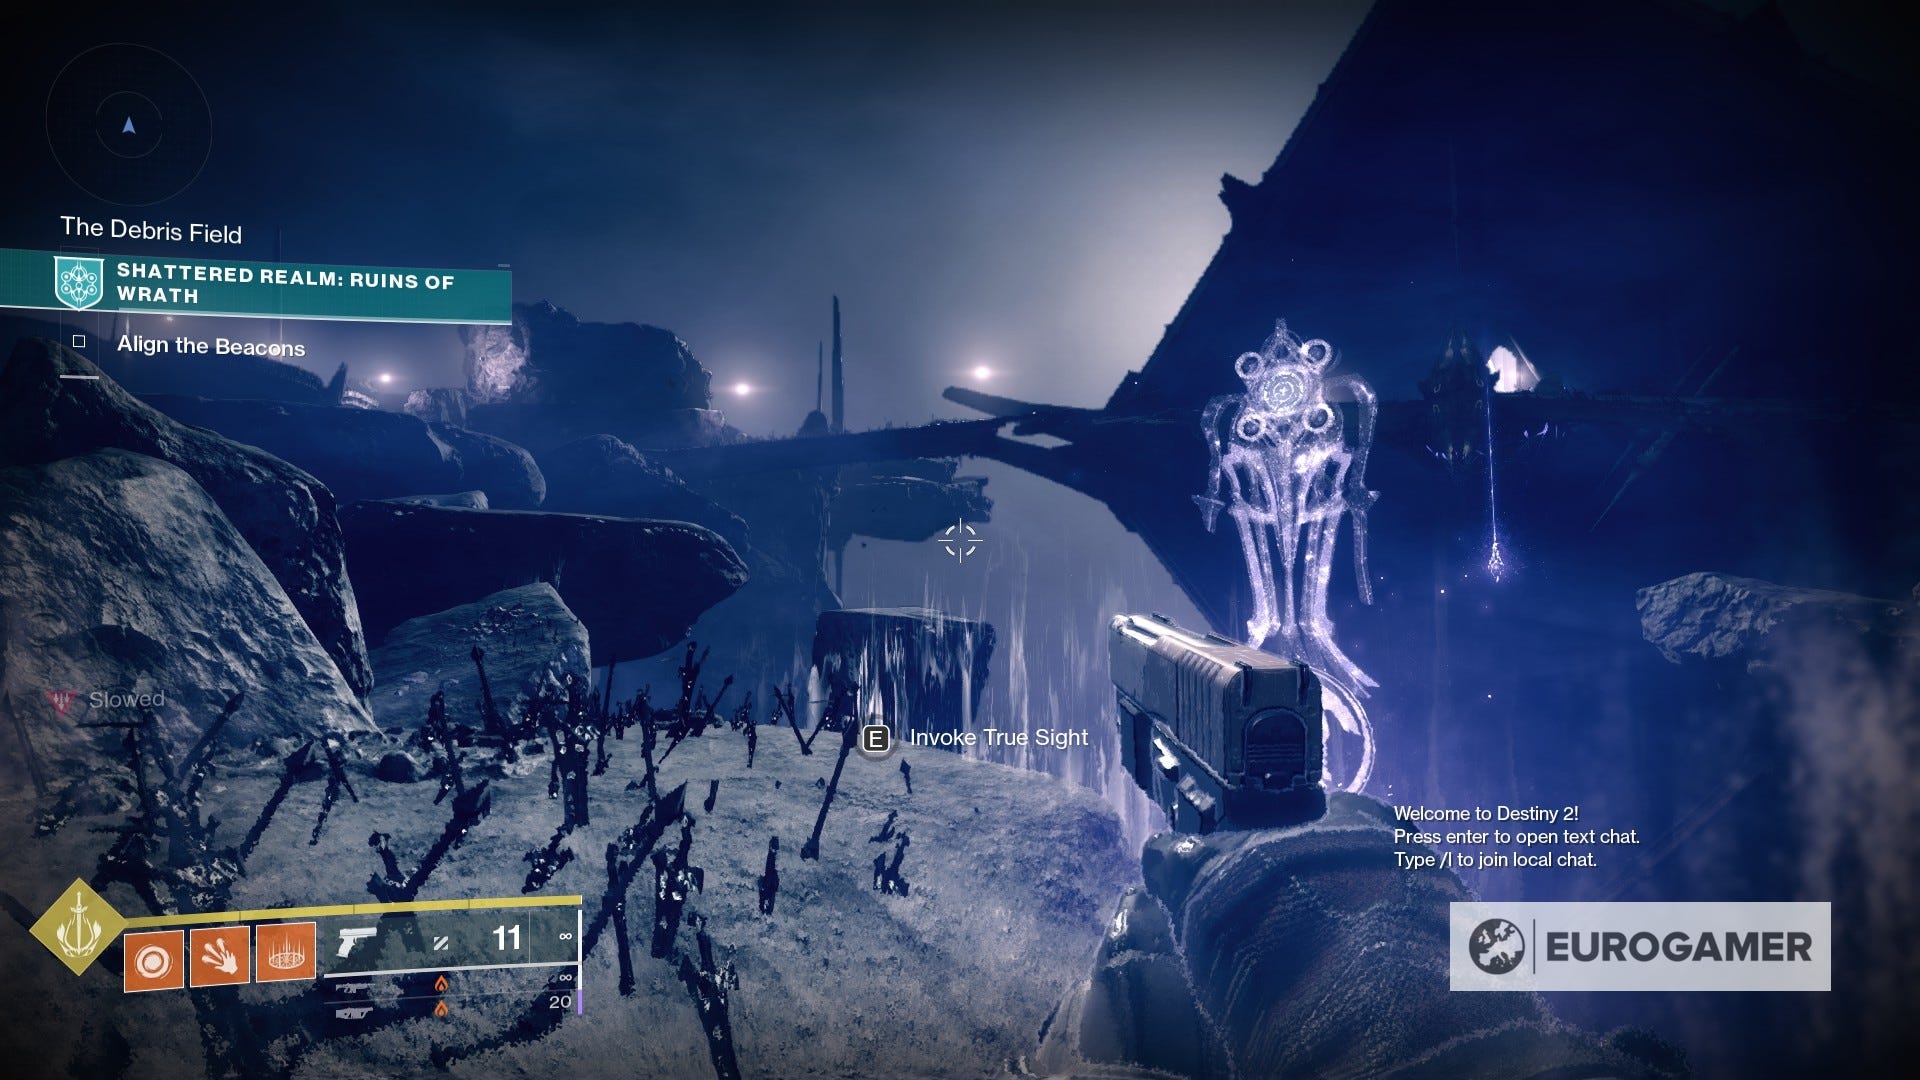
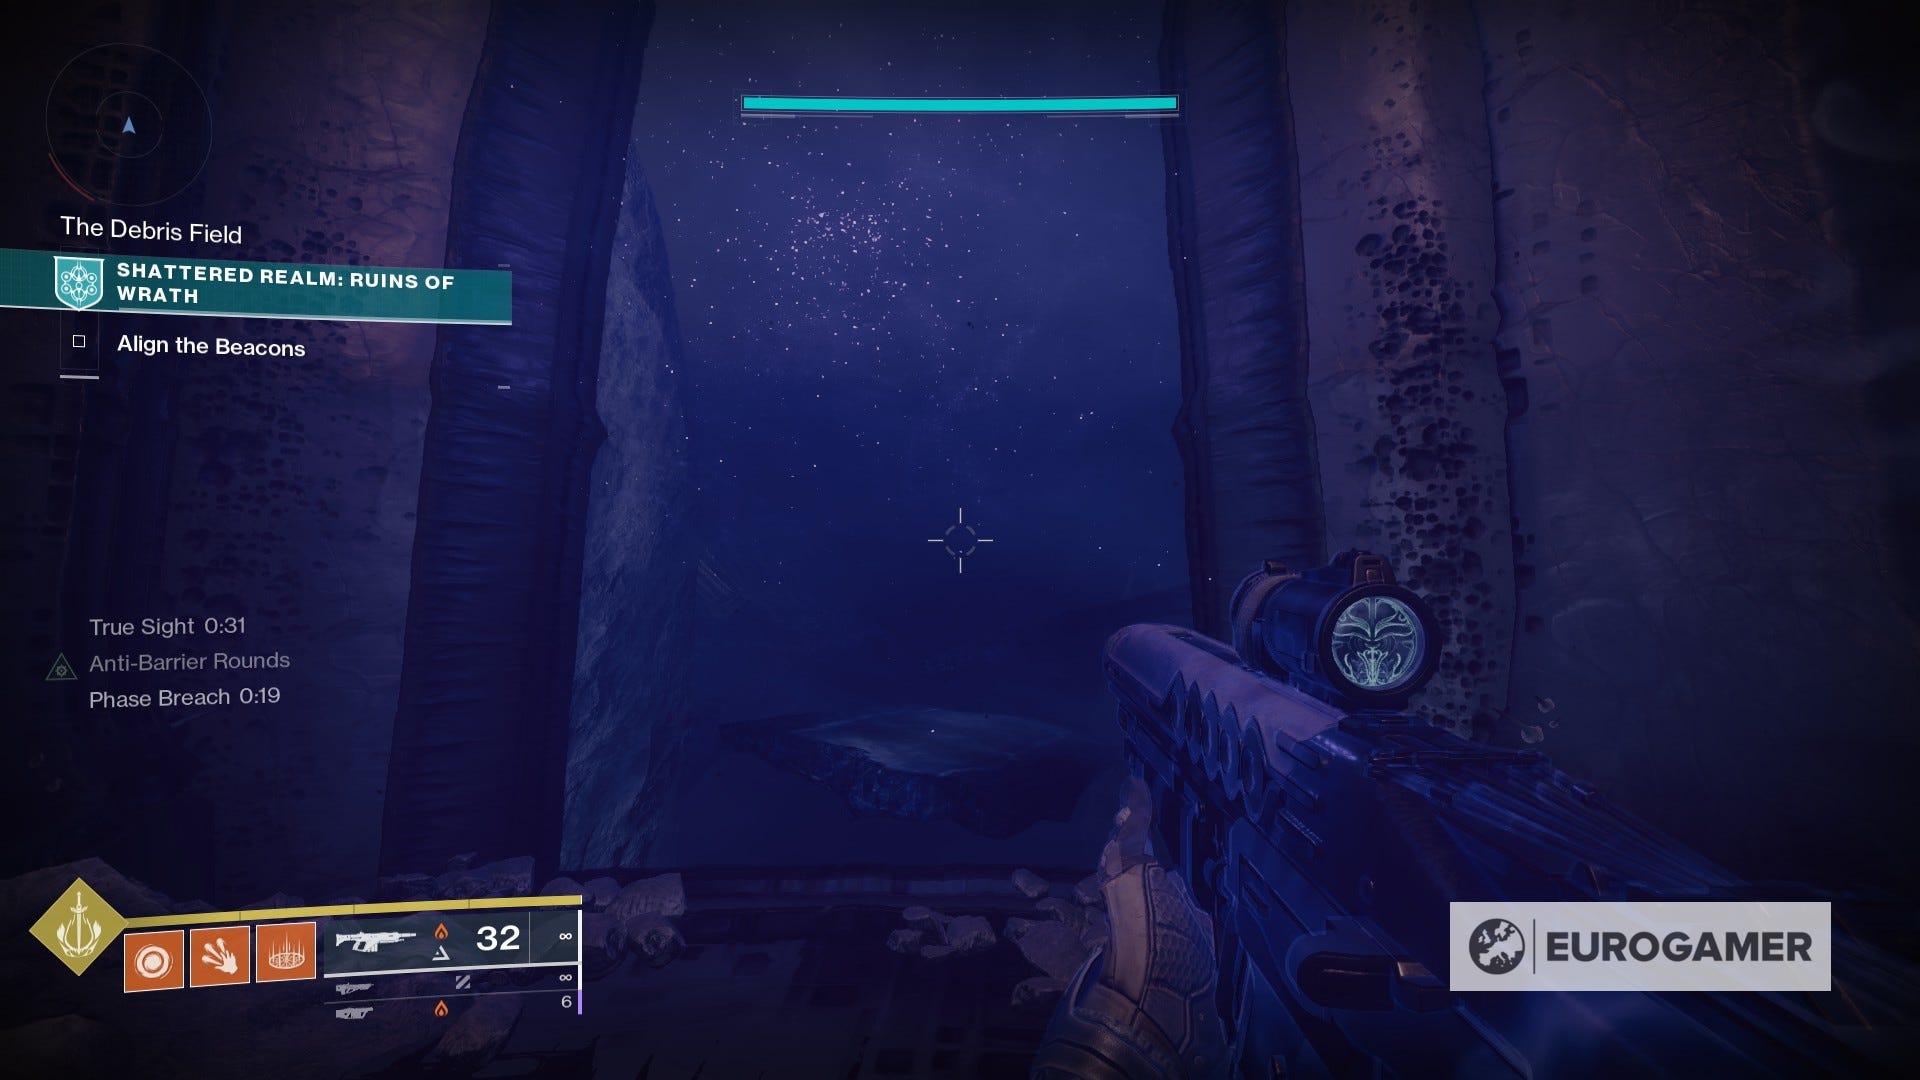
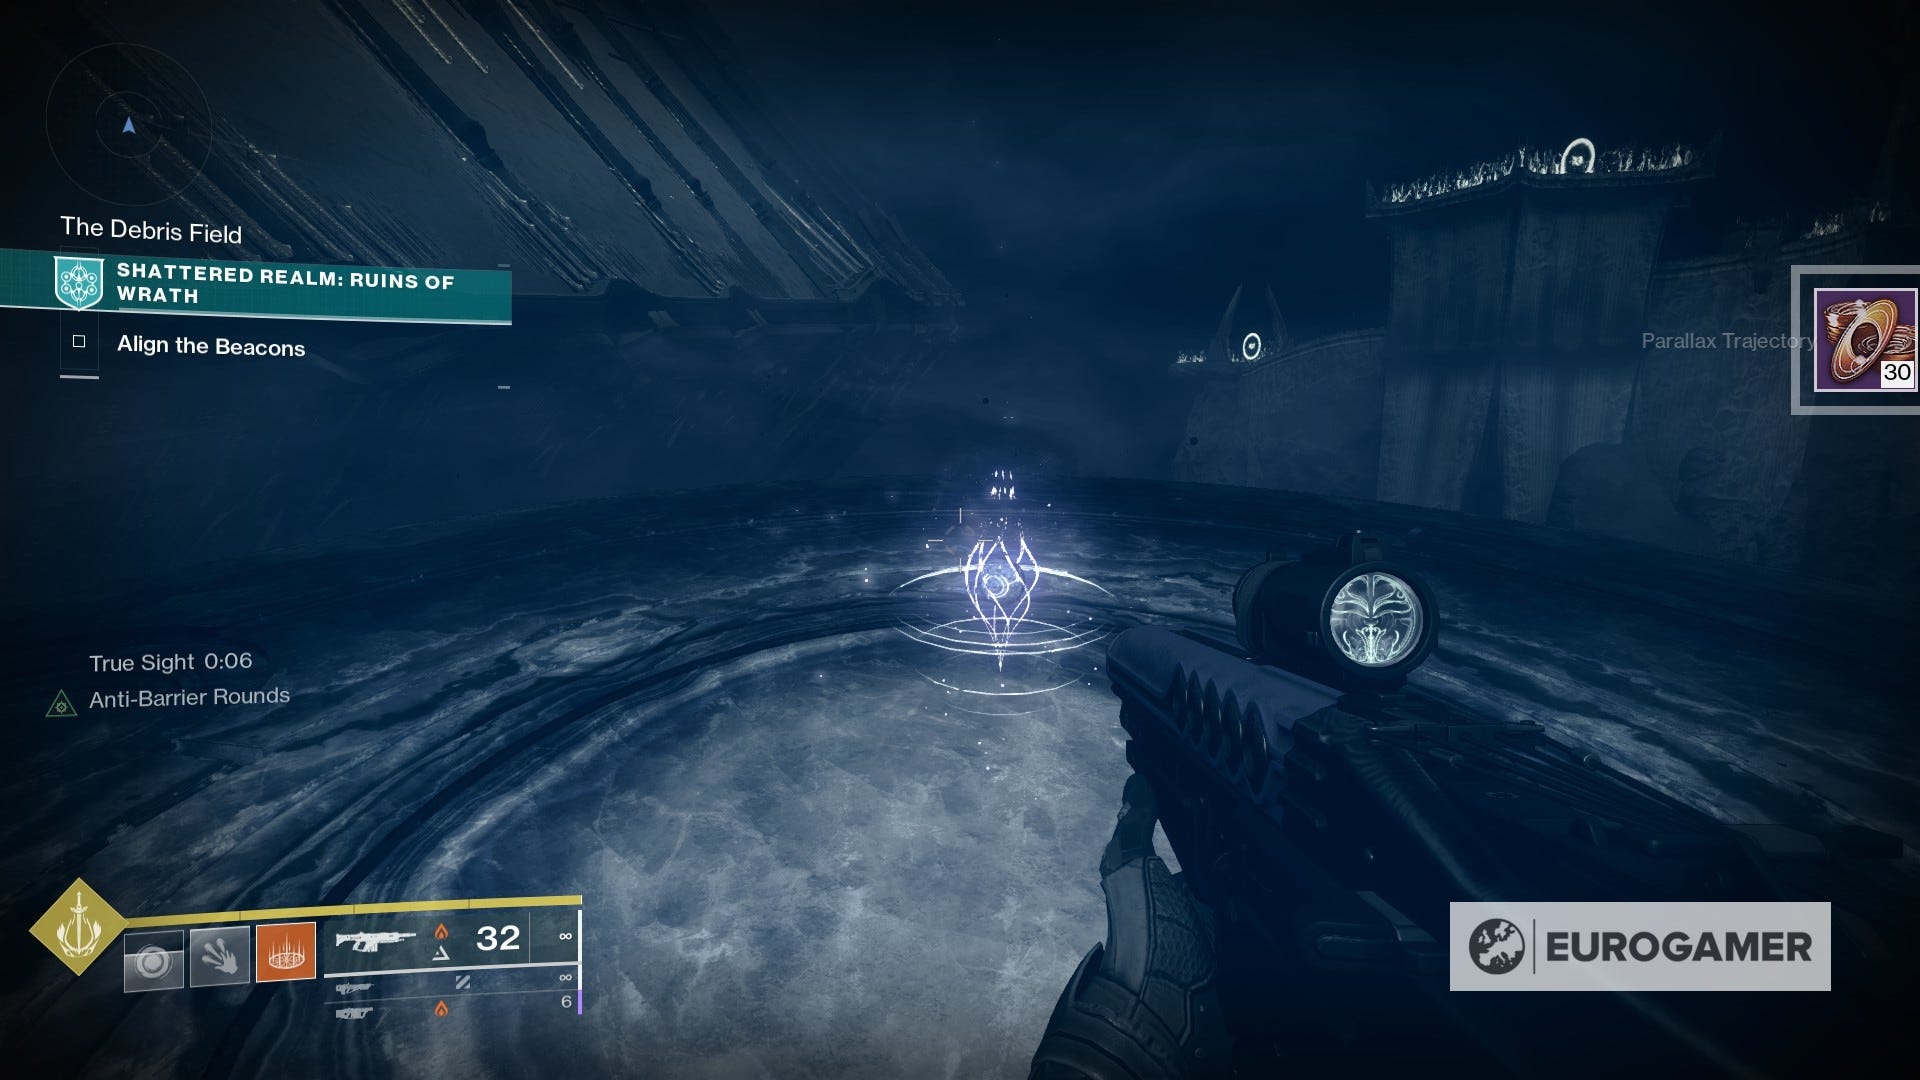
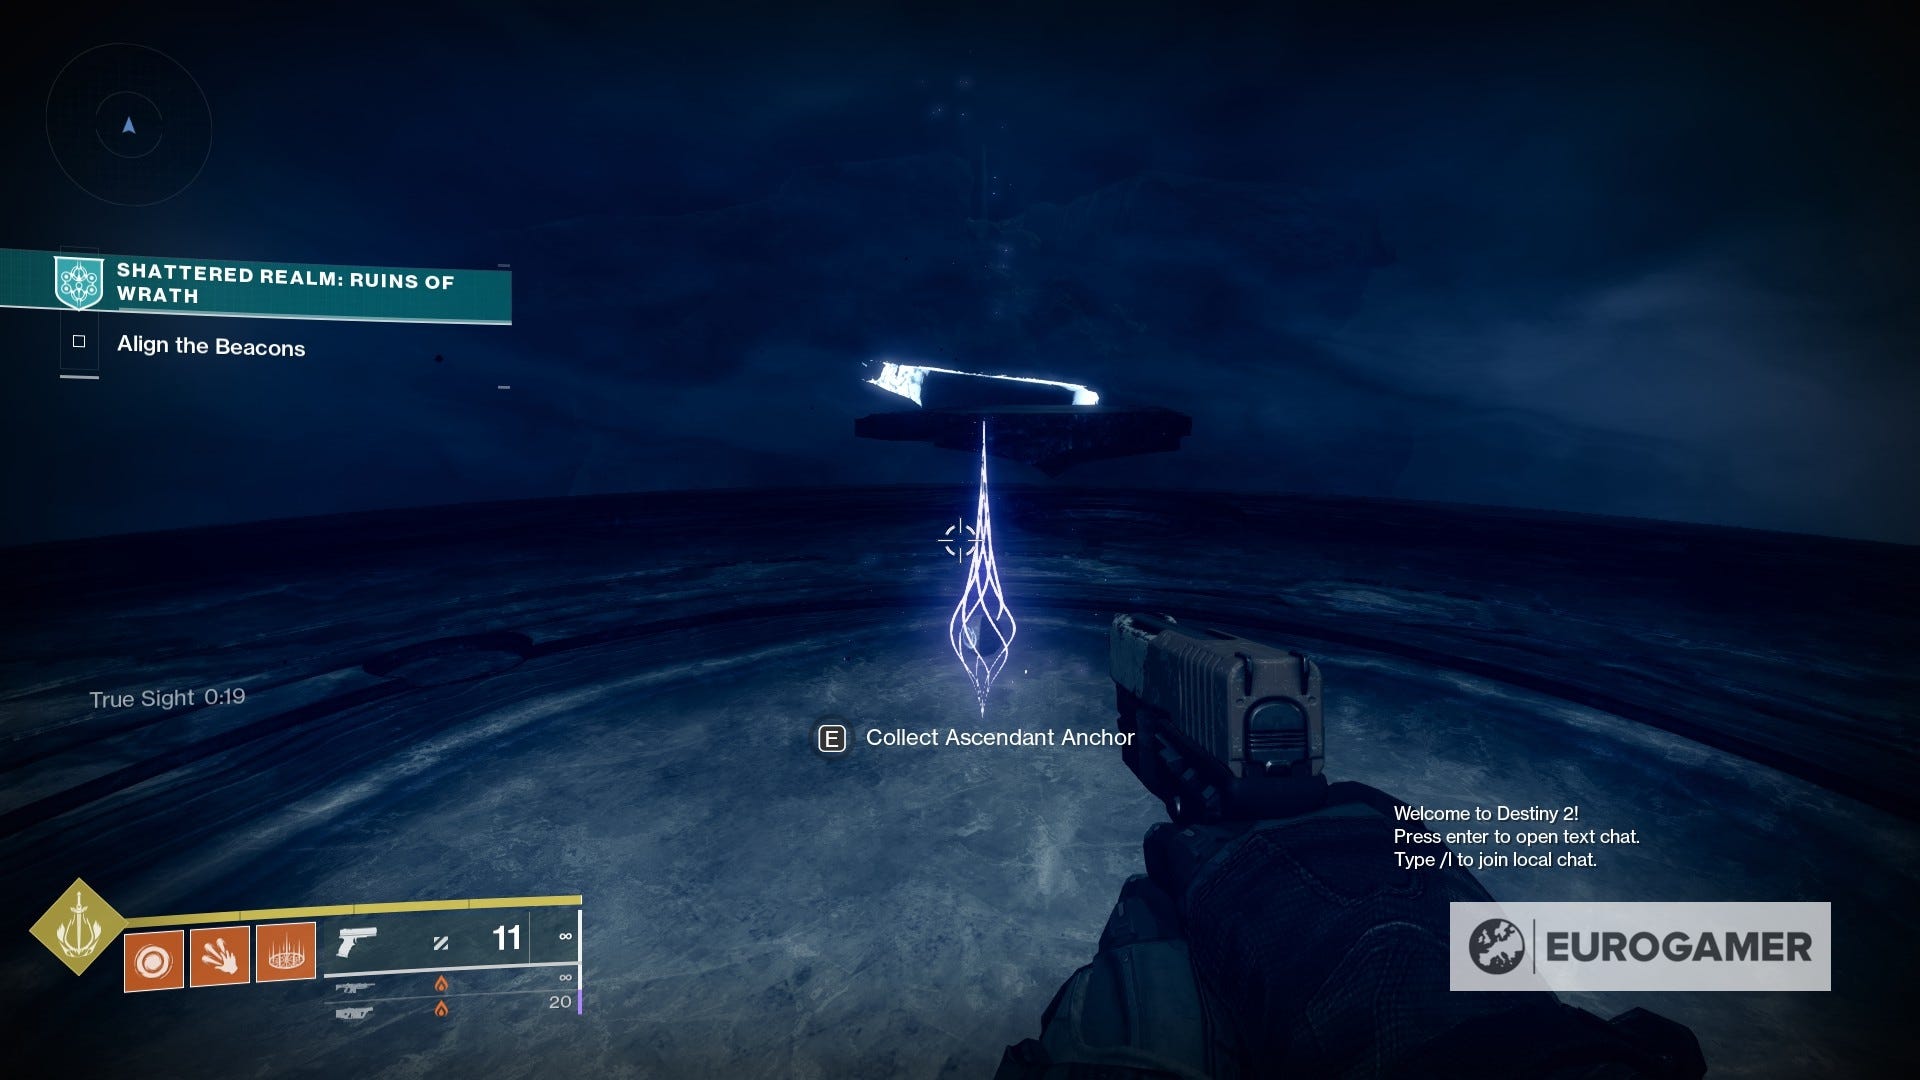
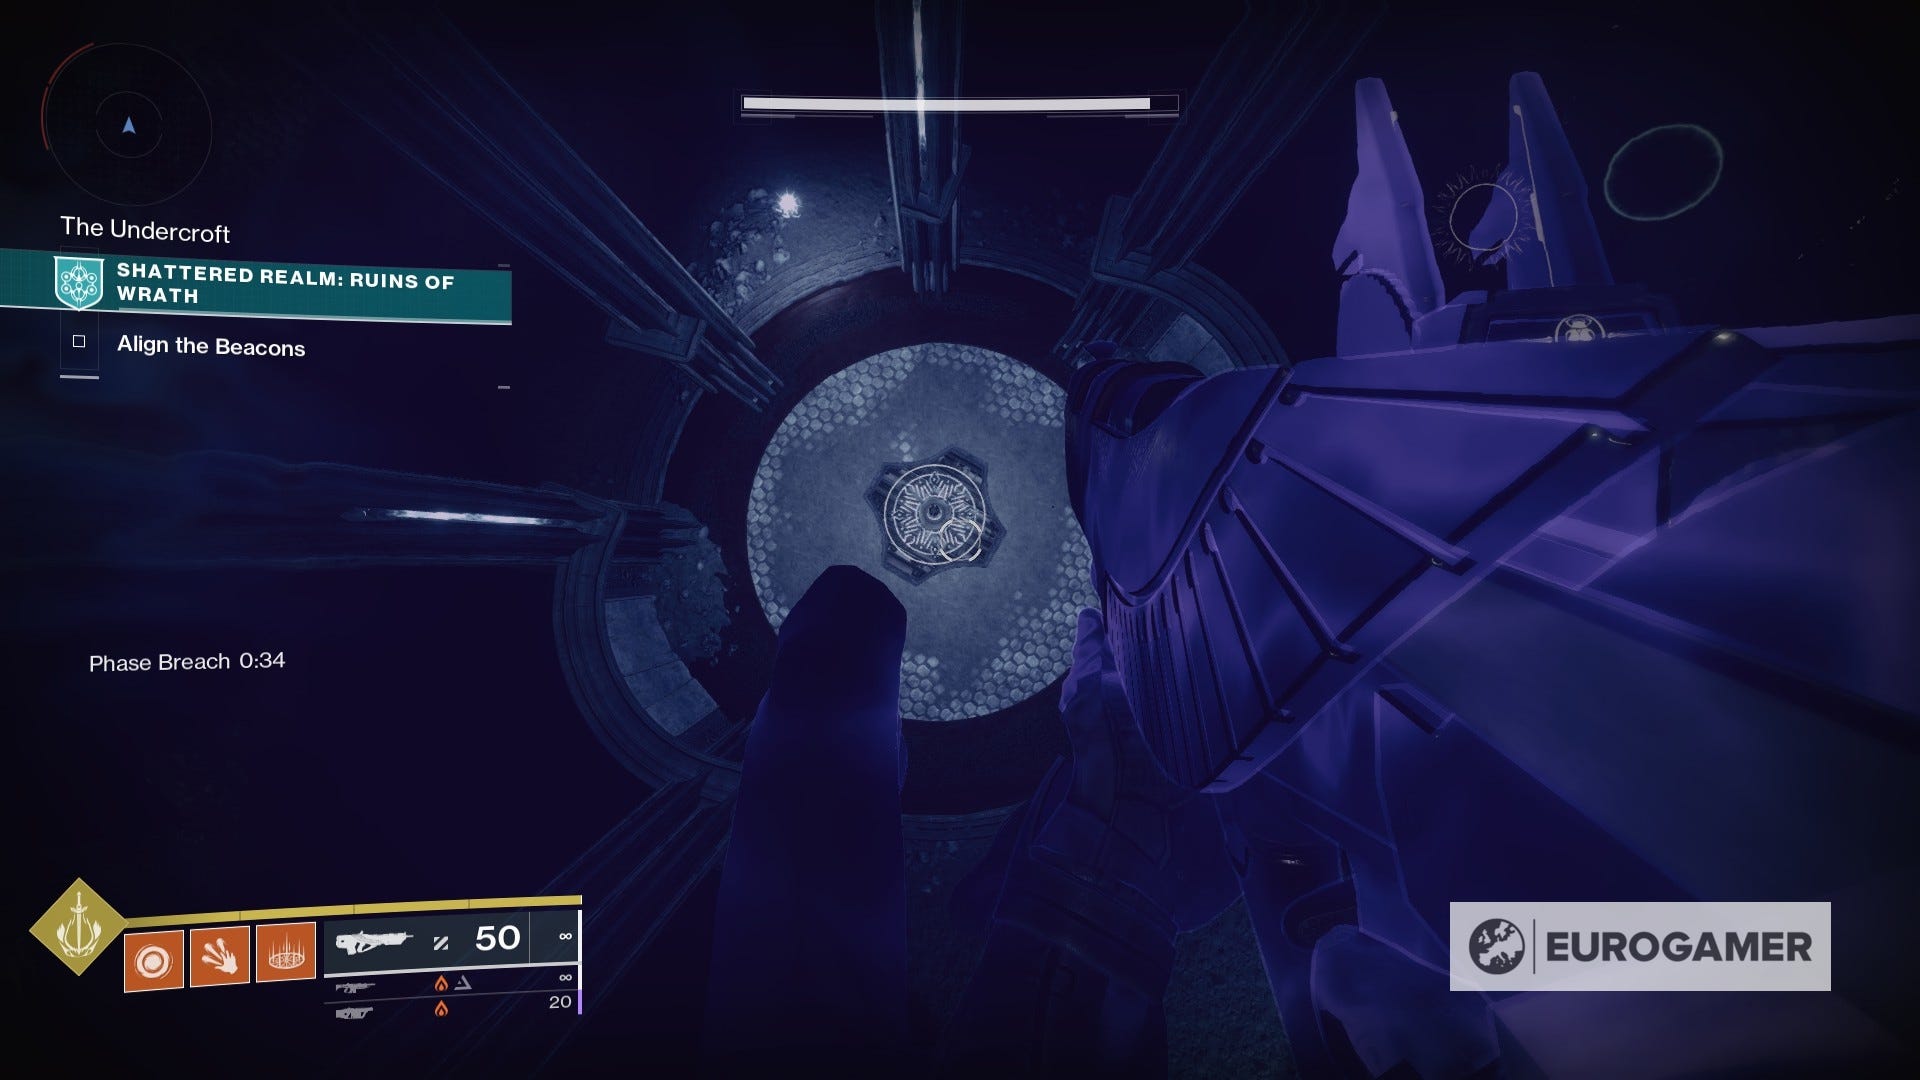
2. From the previous spot, backtrack past the starting point and towards the plateau to use the True Sight device there. Then, follow the floating path to grab the anchor.
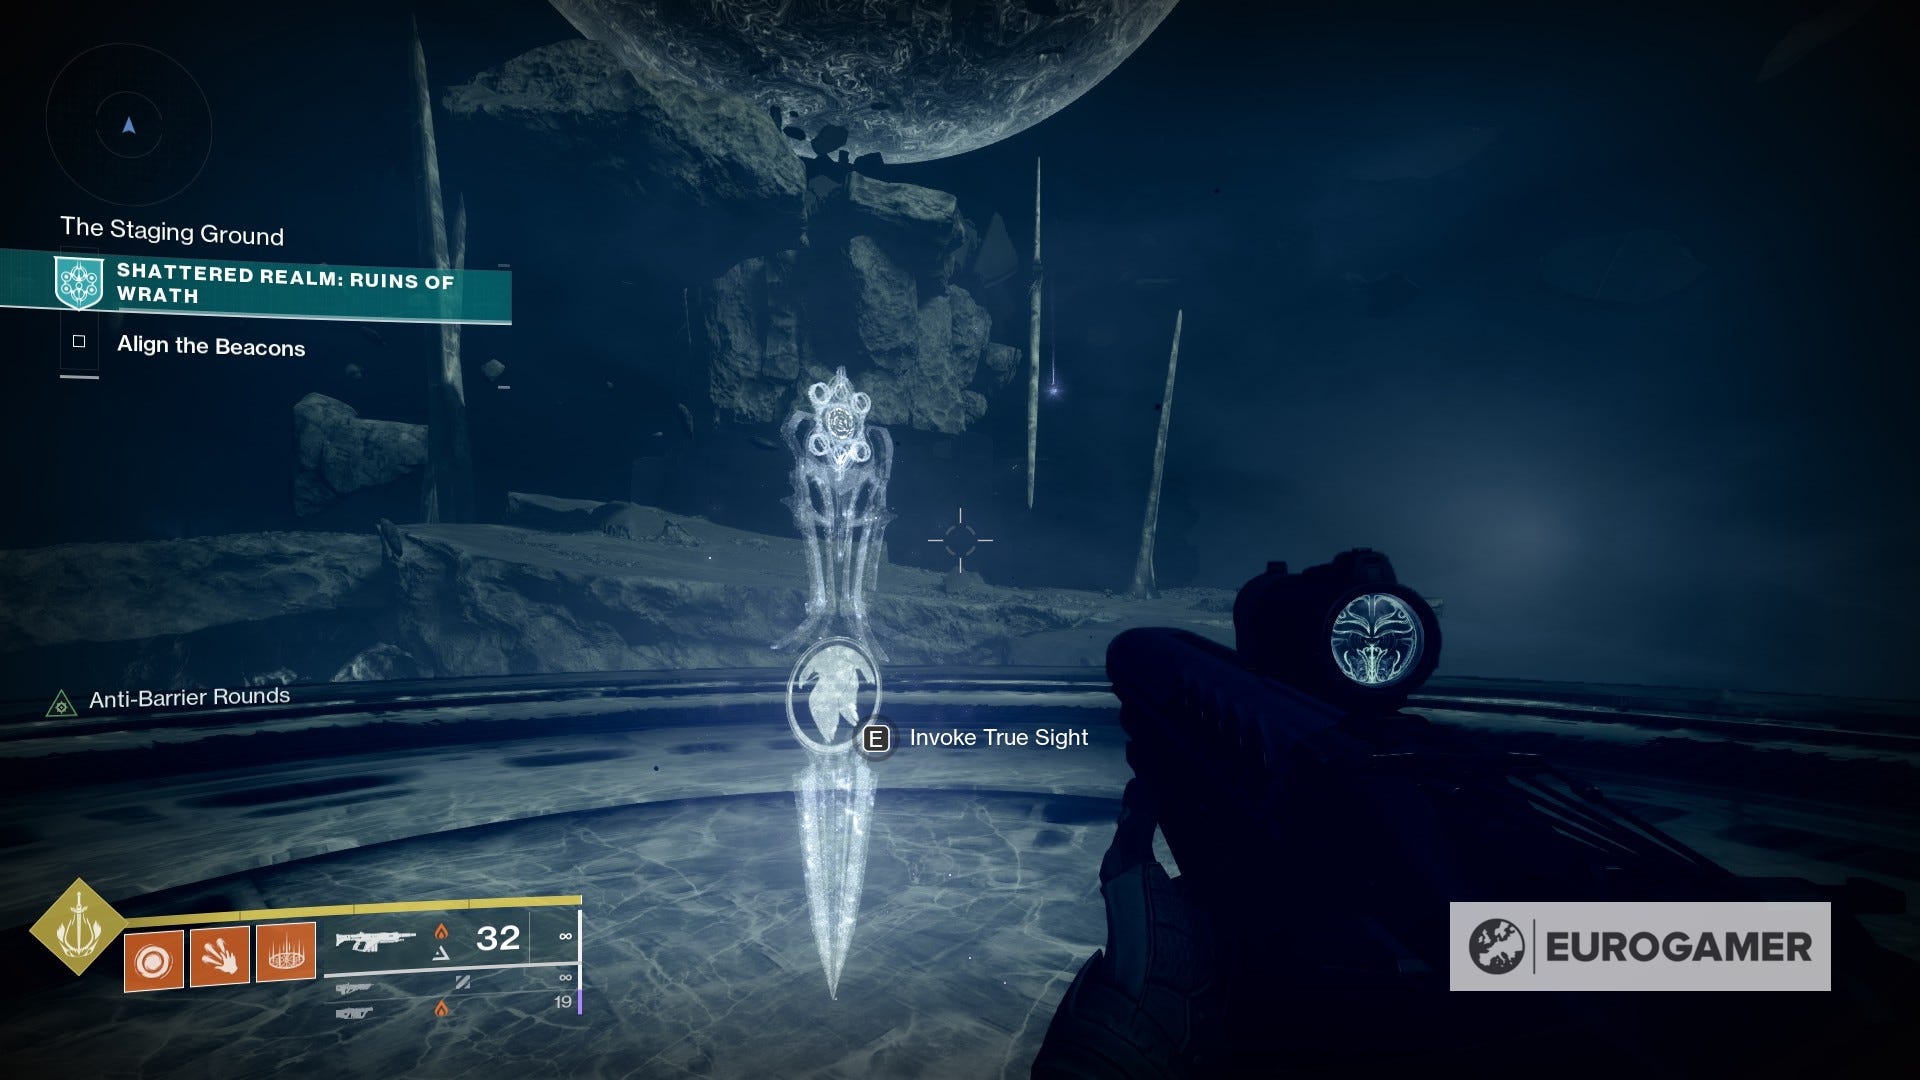
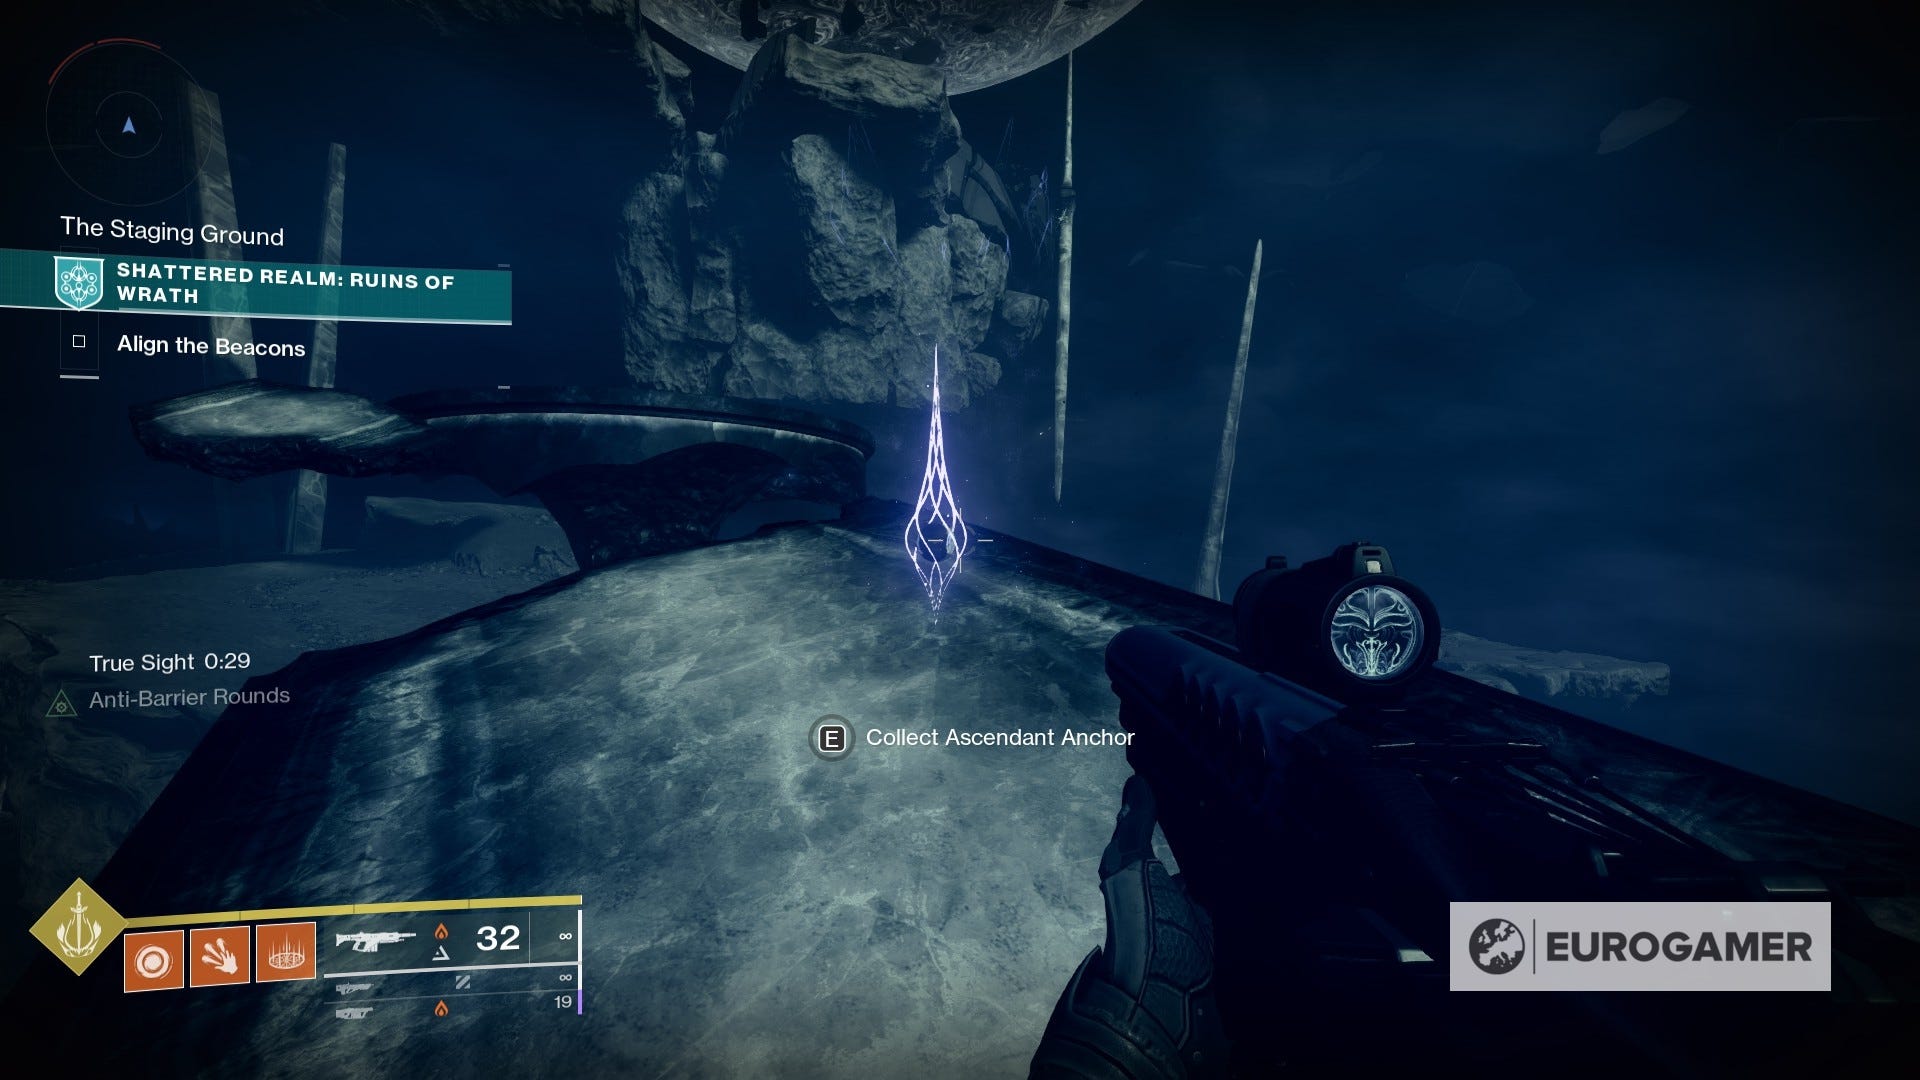
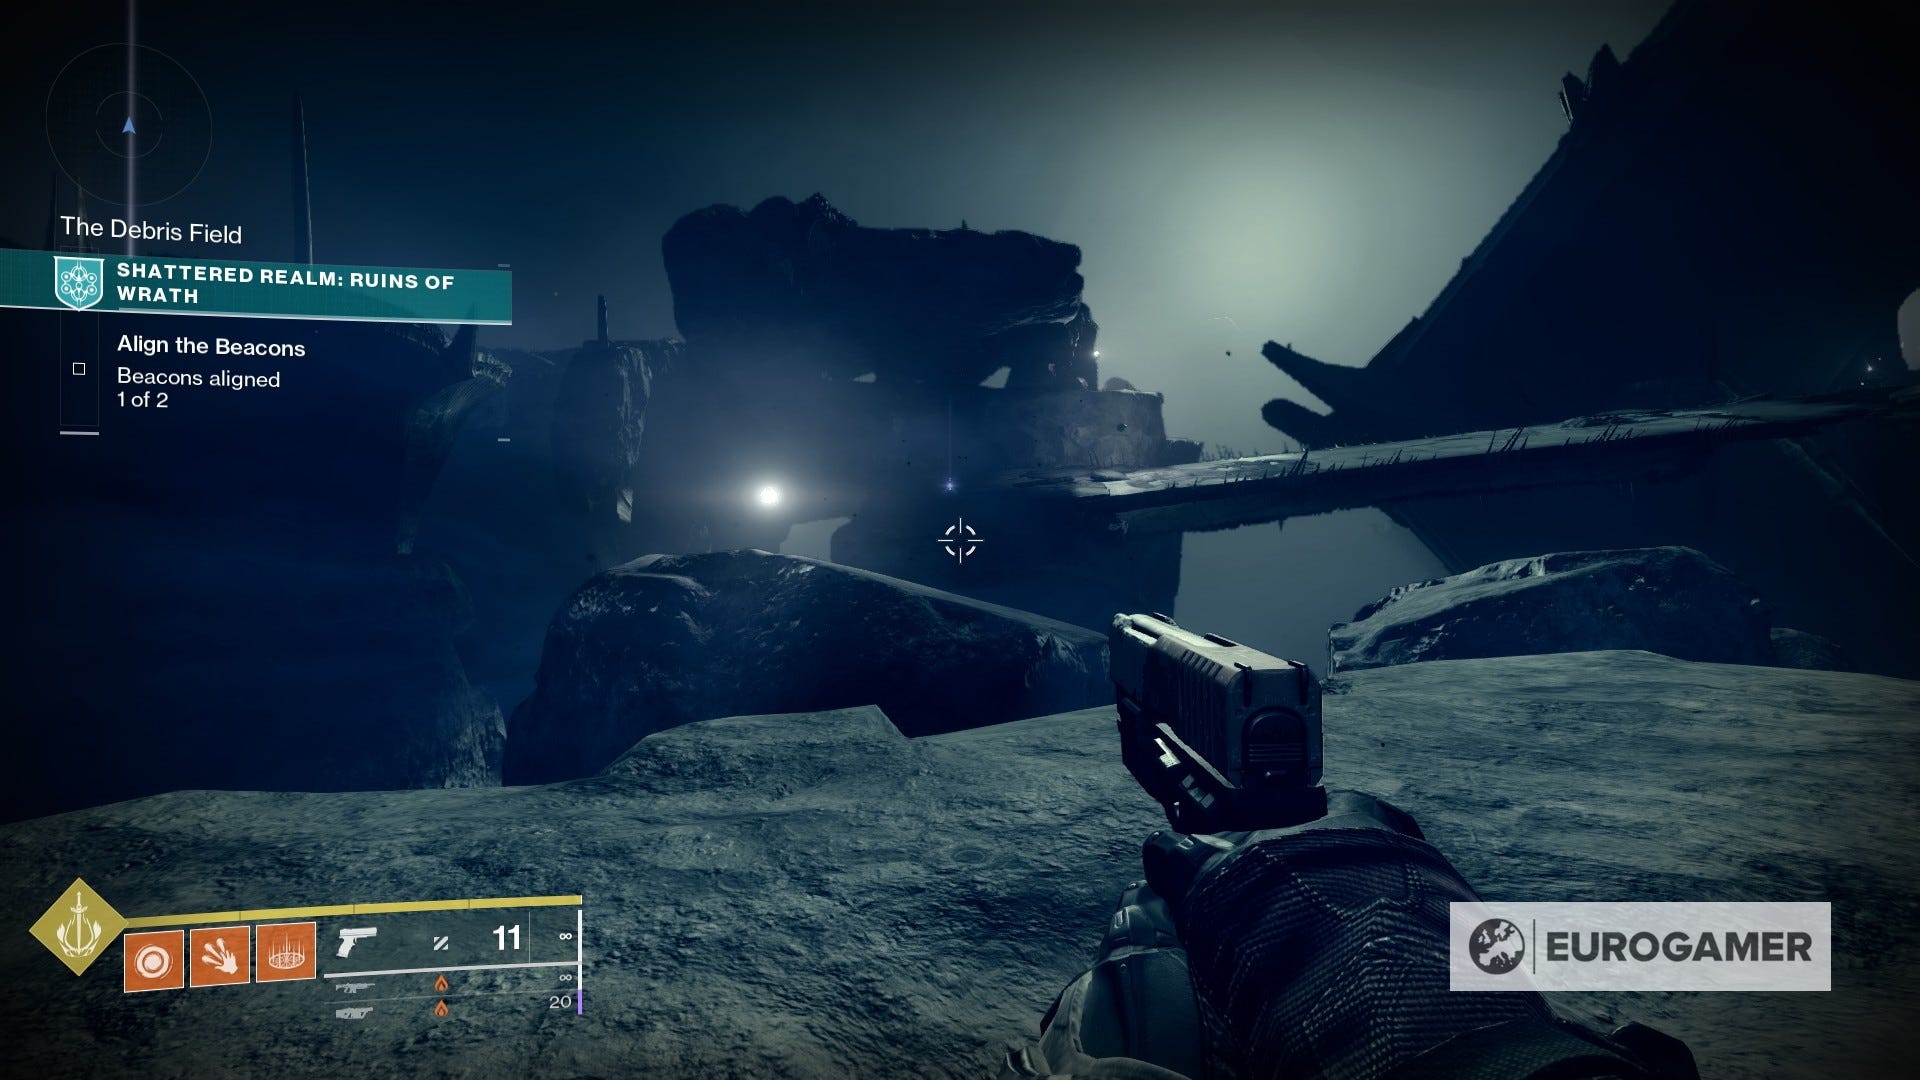
3. Before leaving the area, activate the True Sight device on the left side of the first beacon and follow the floating path for another anchor.


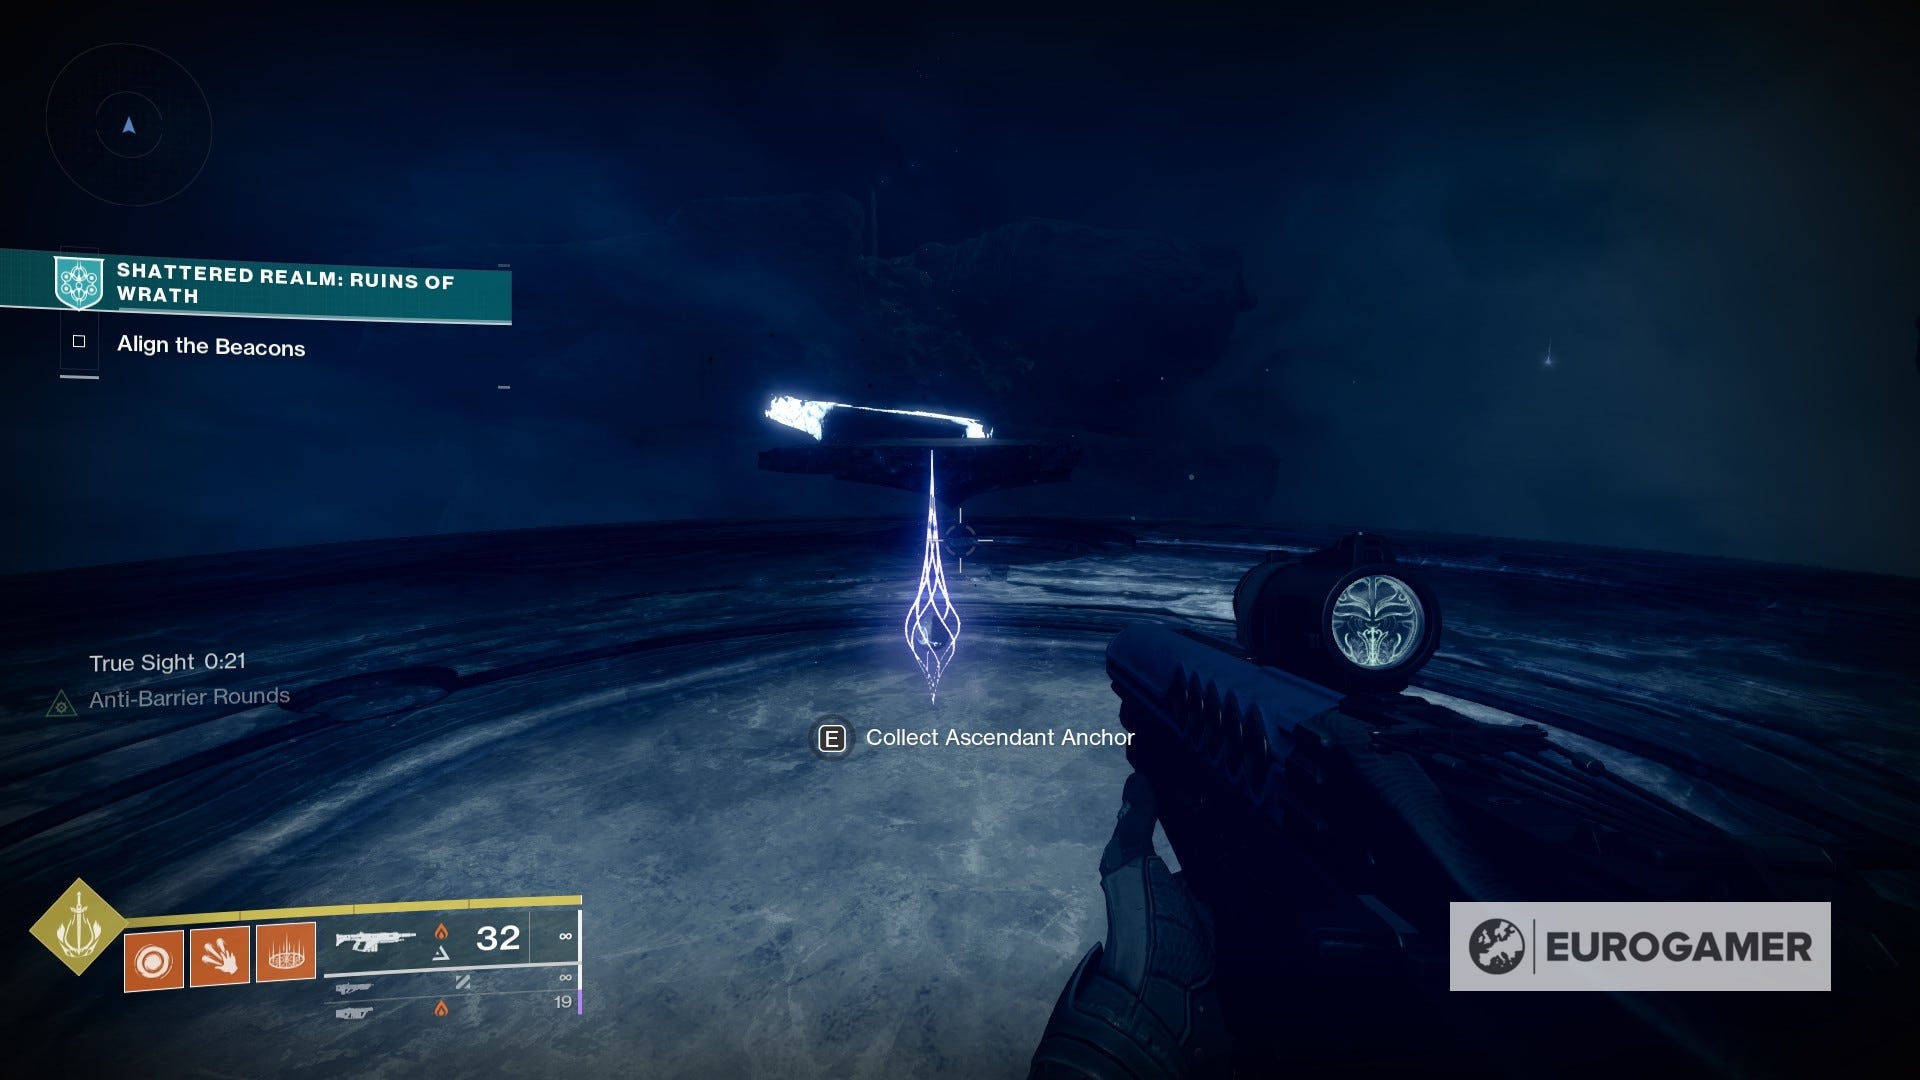
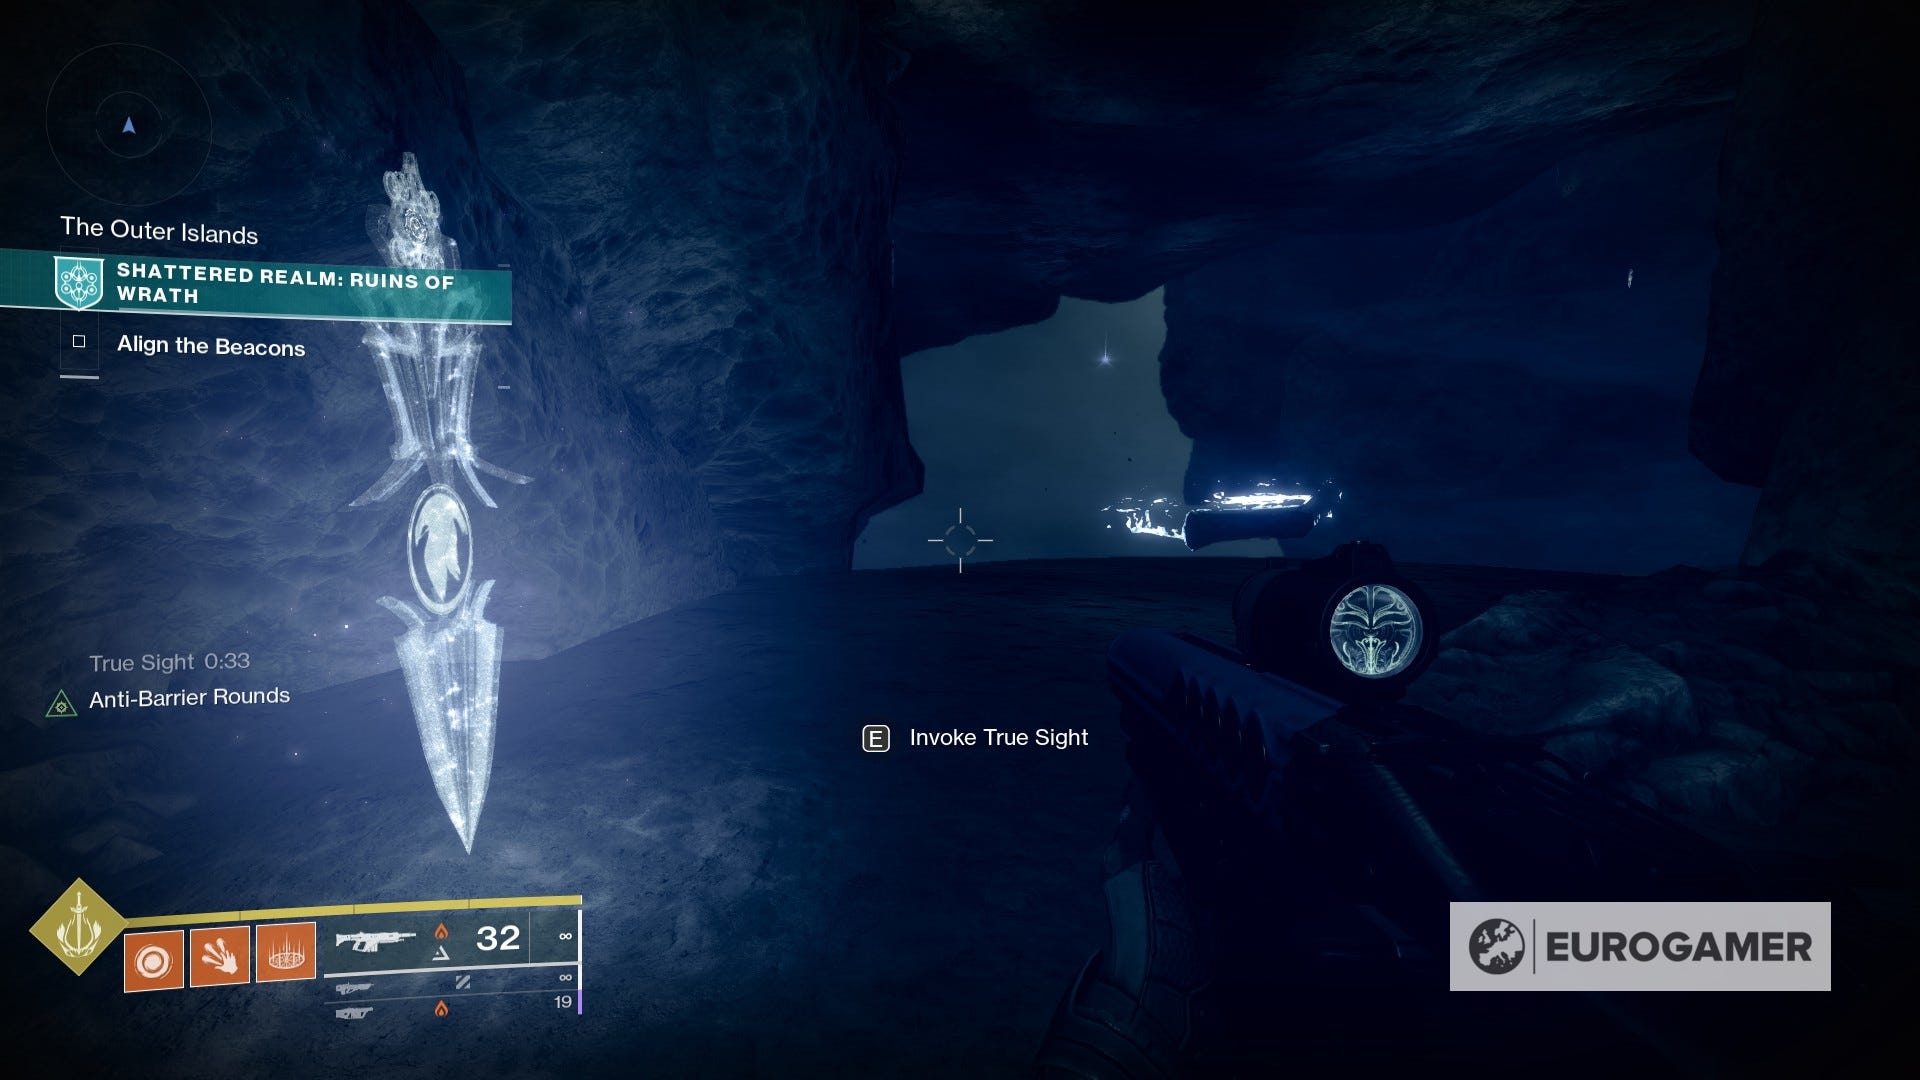
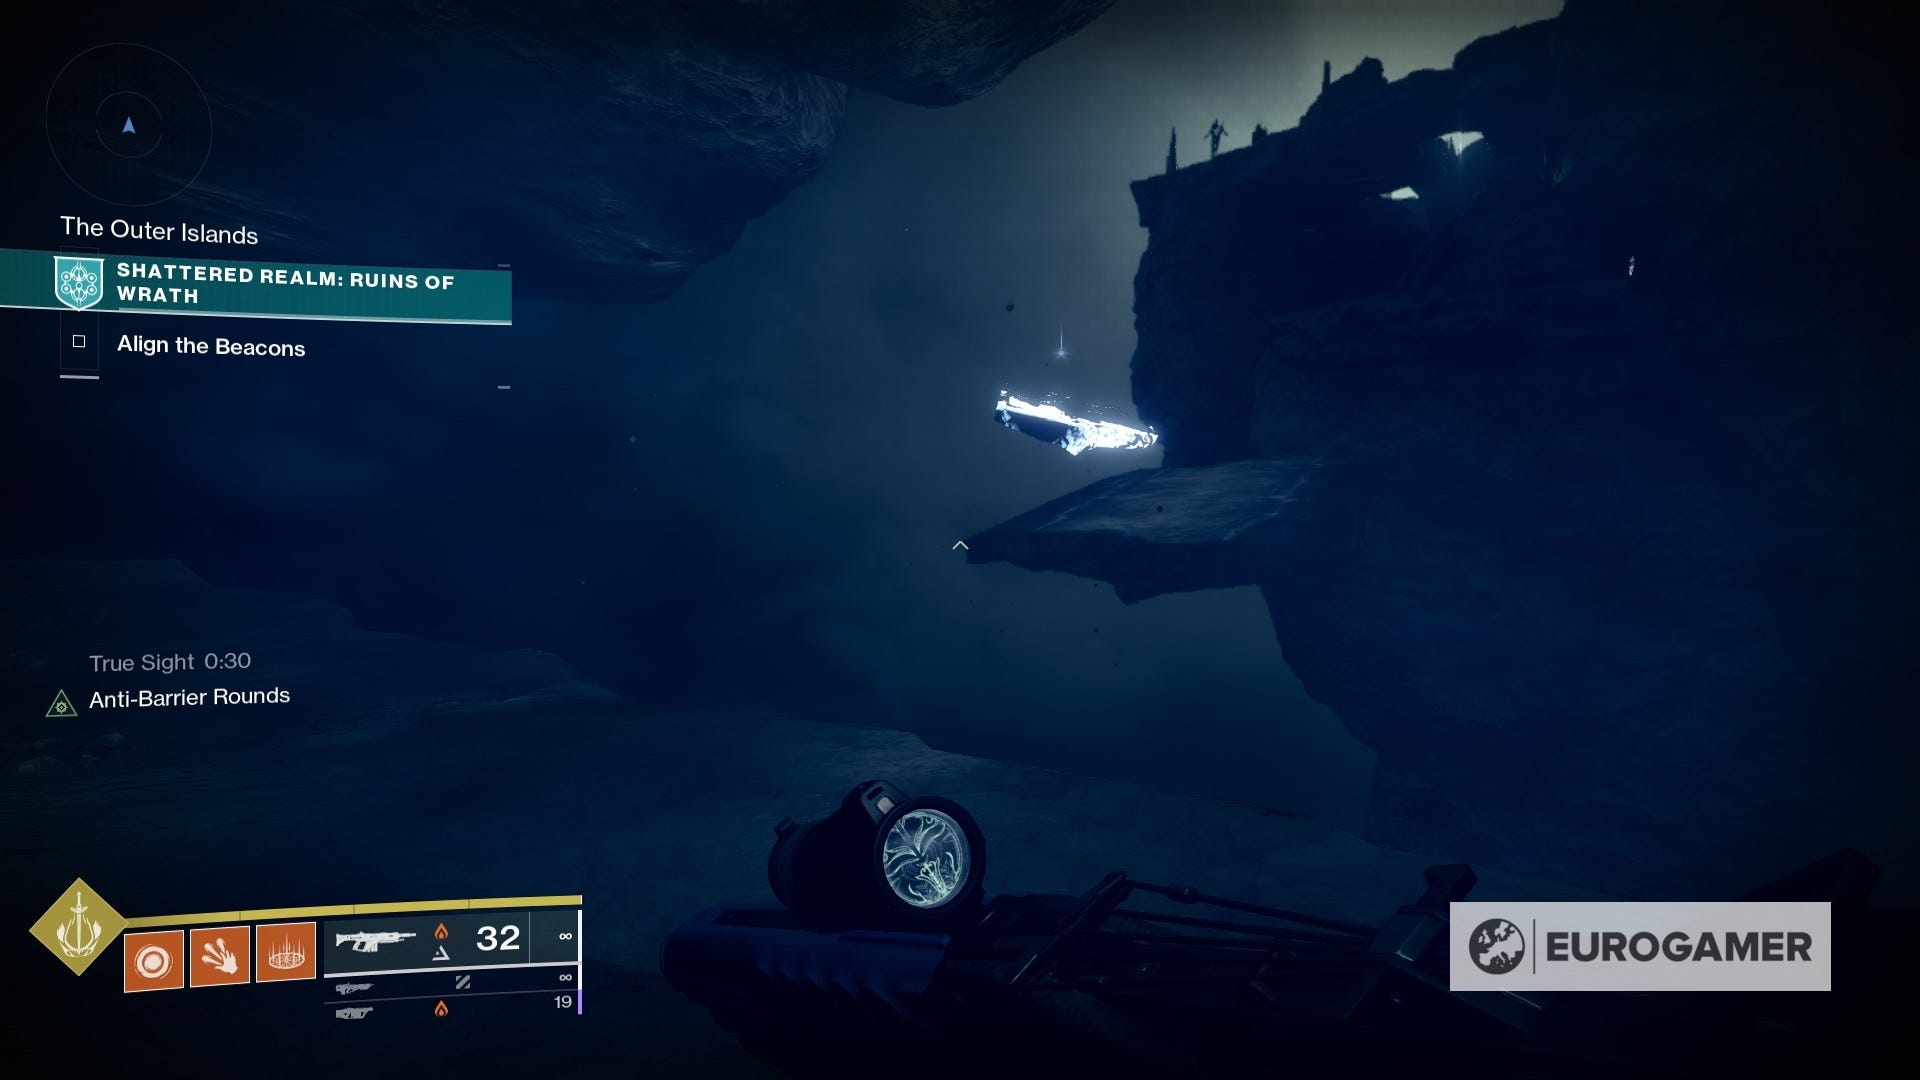
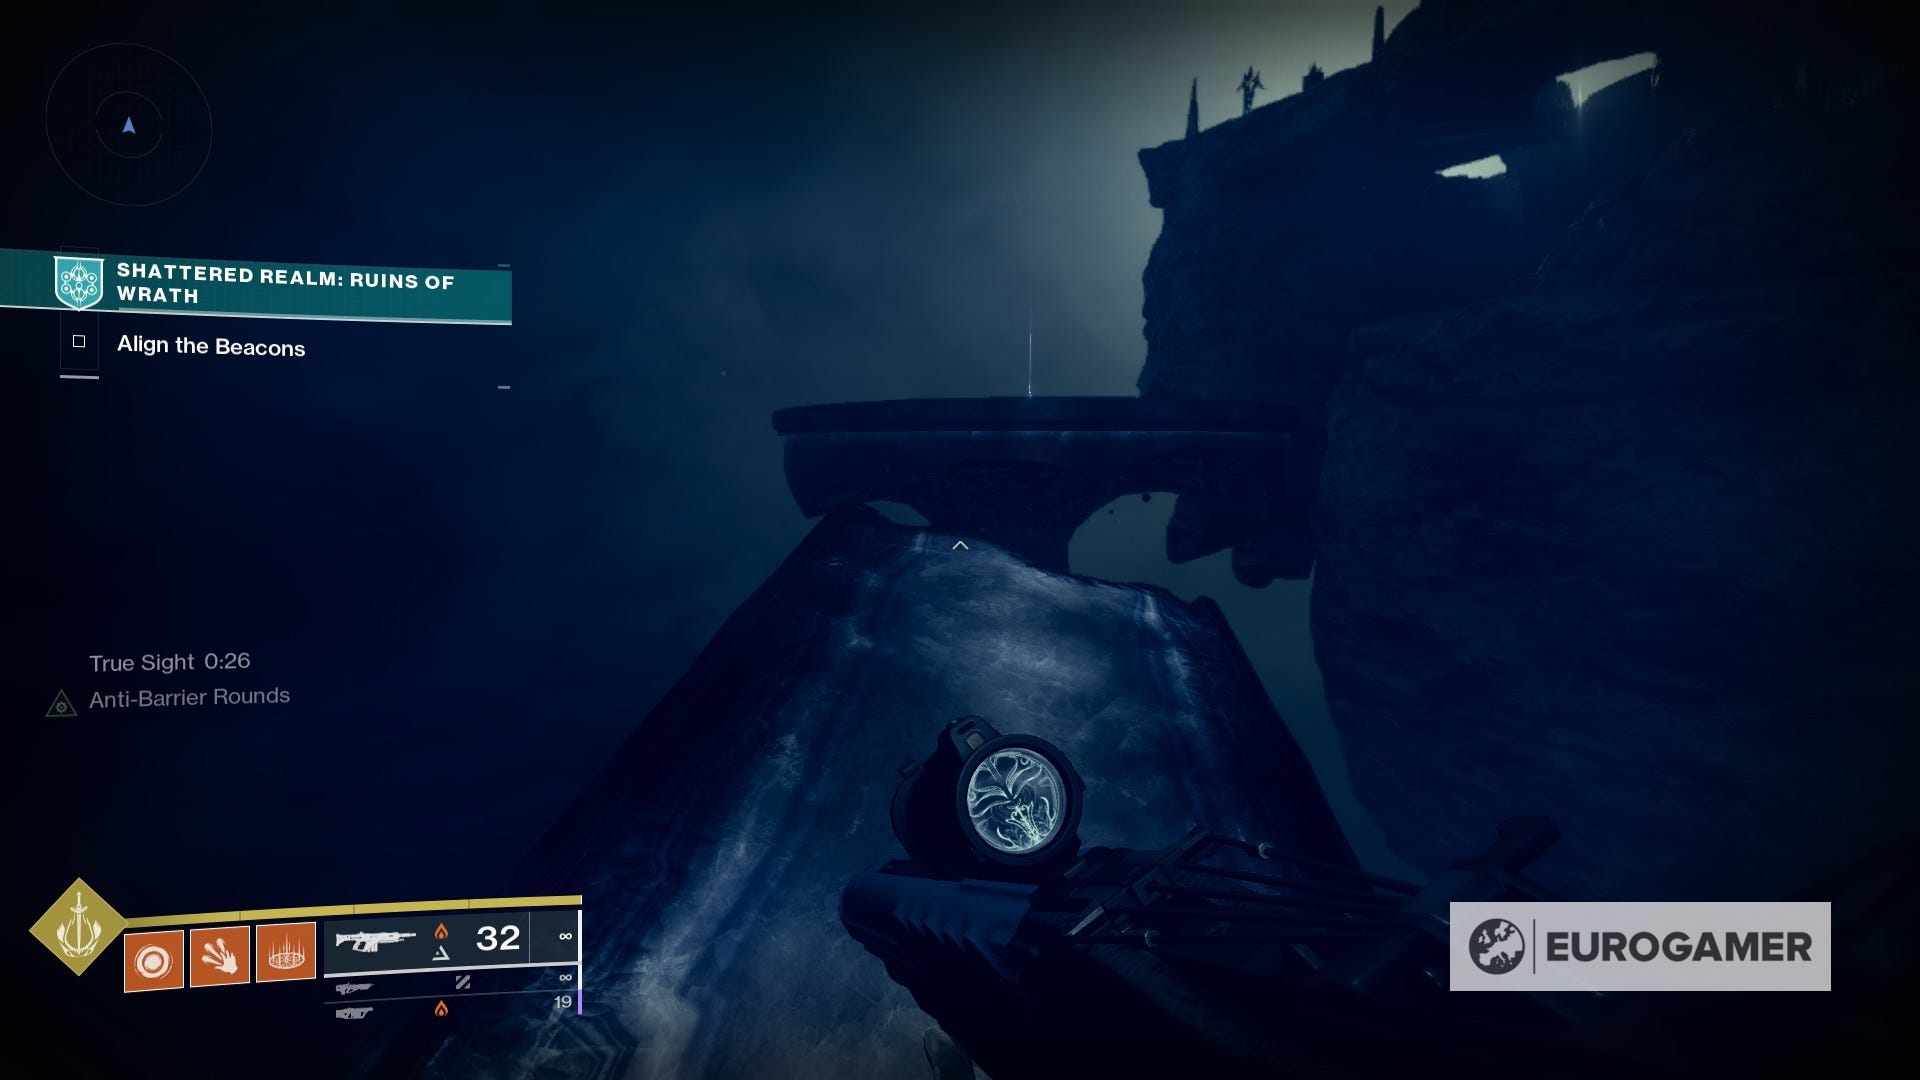
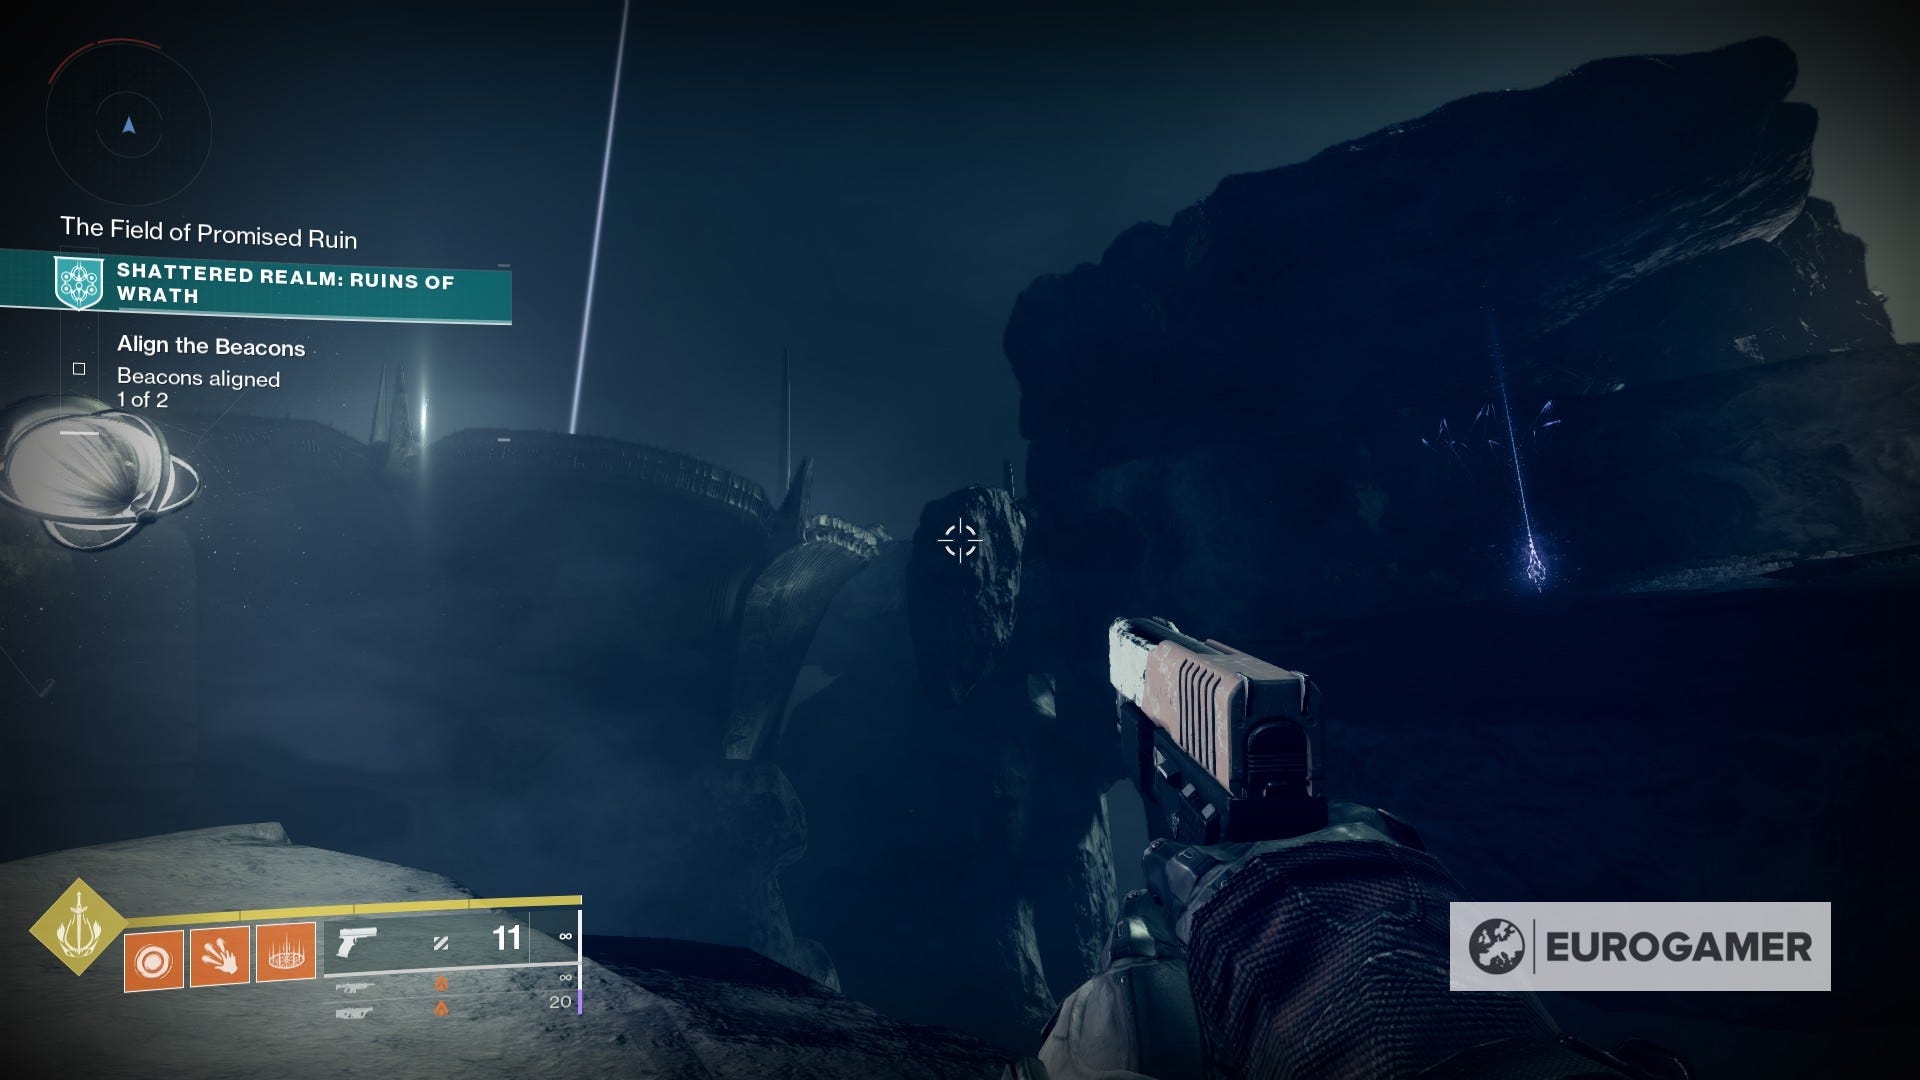
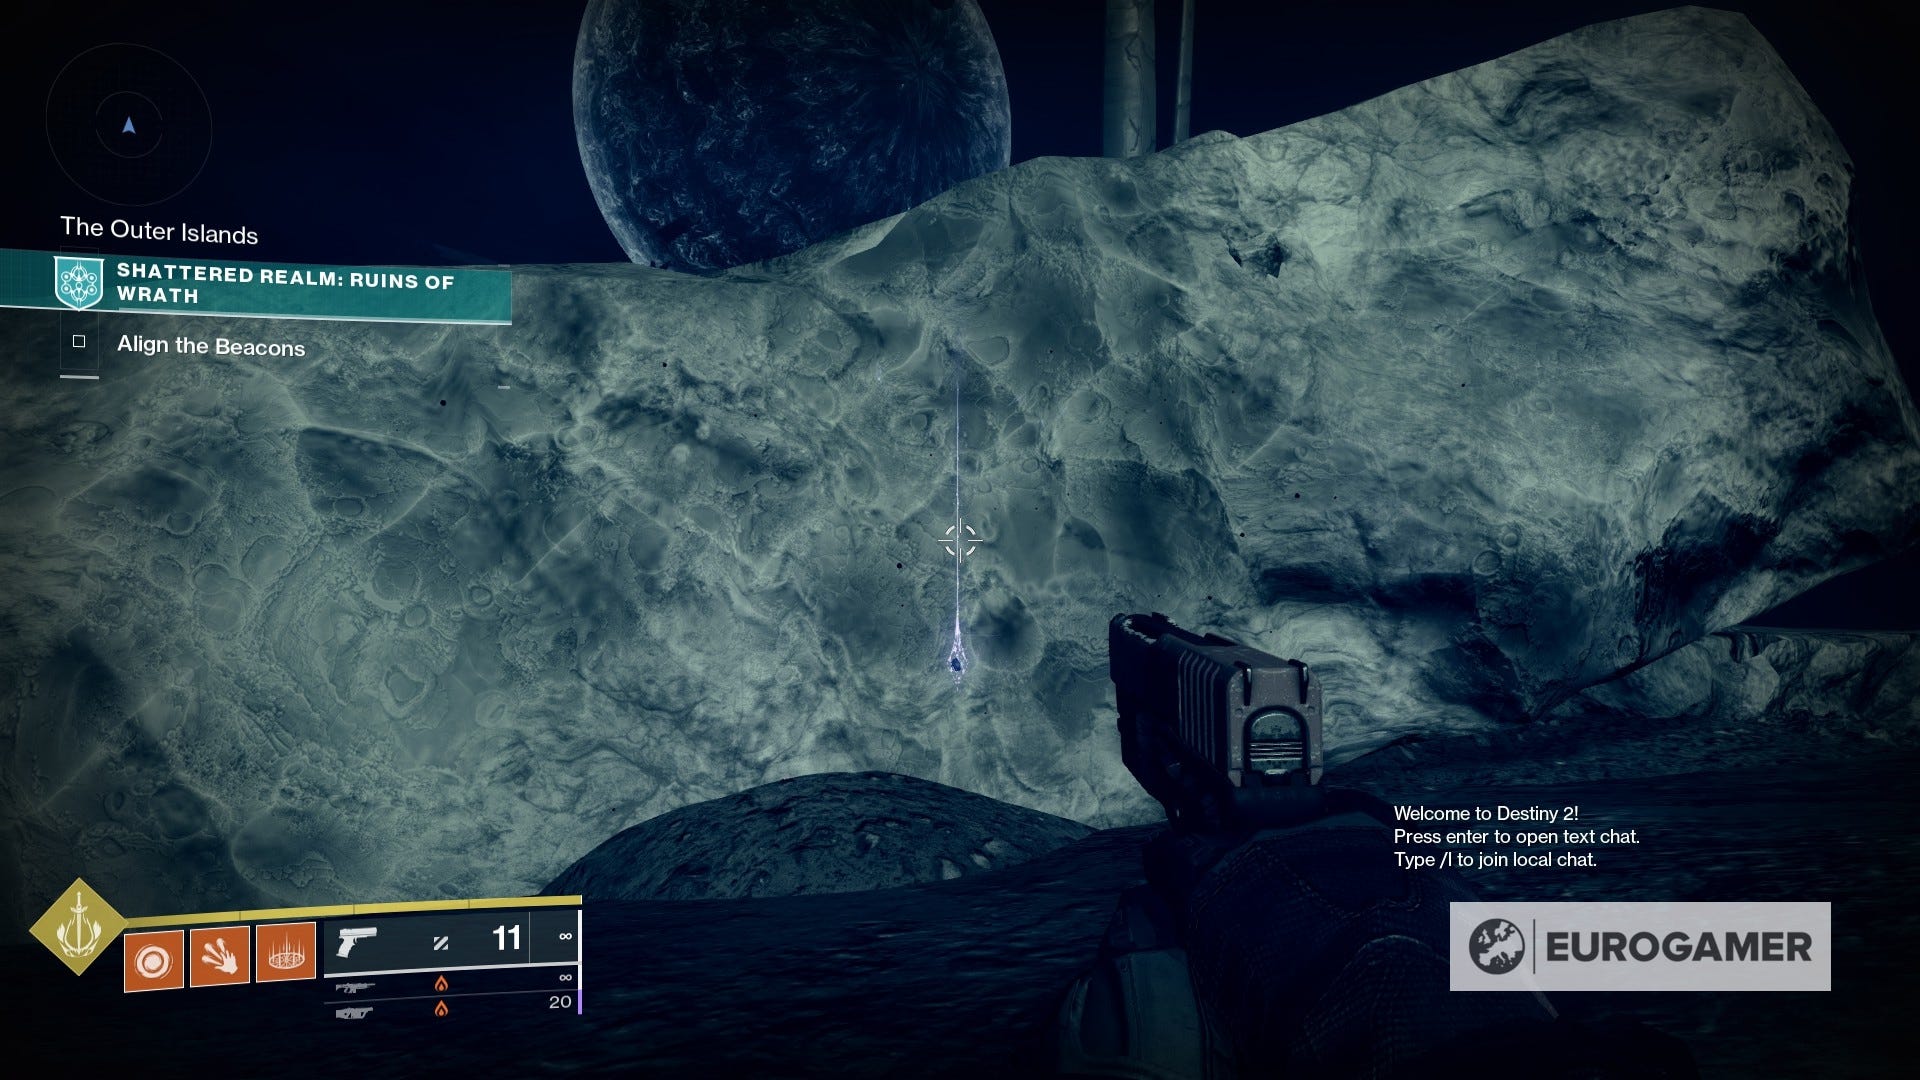
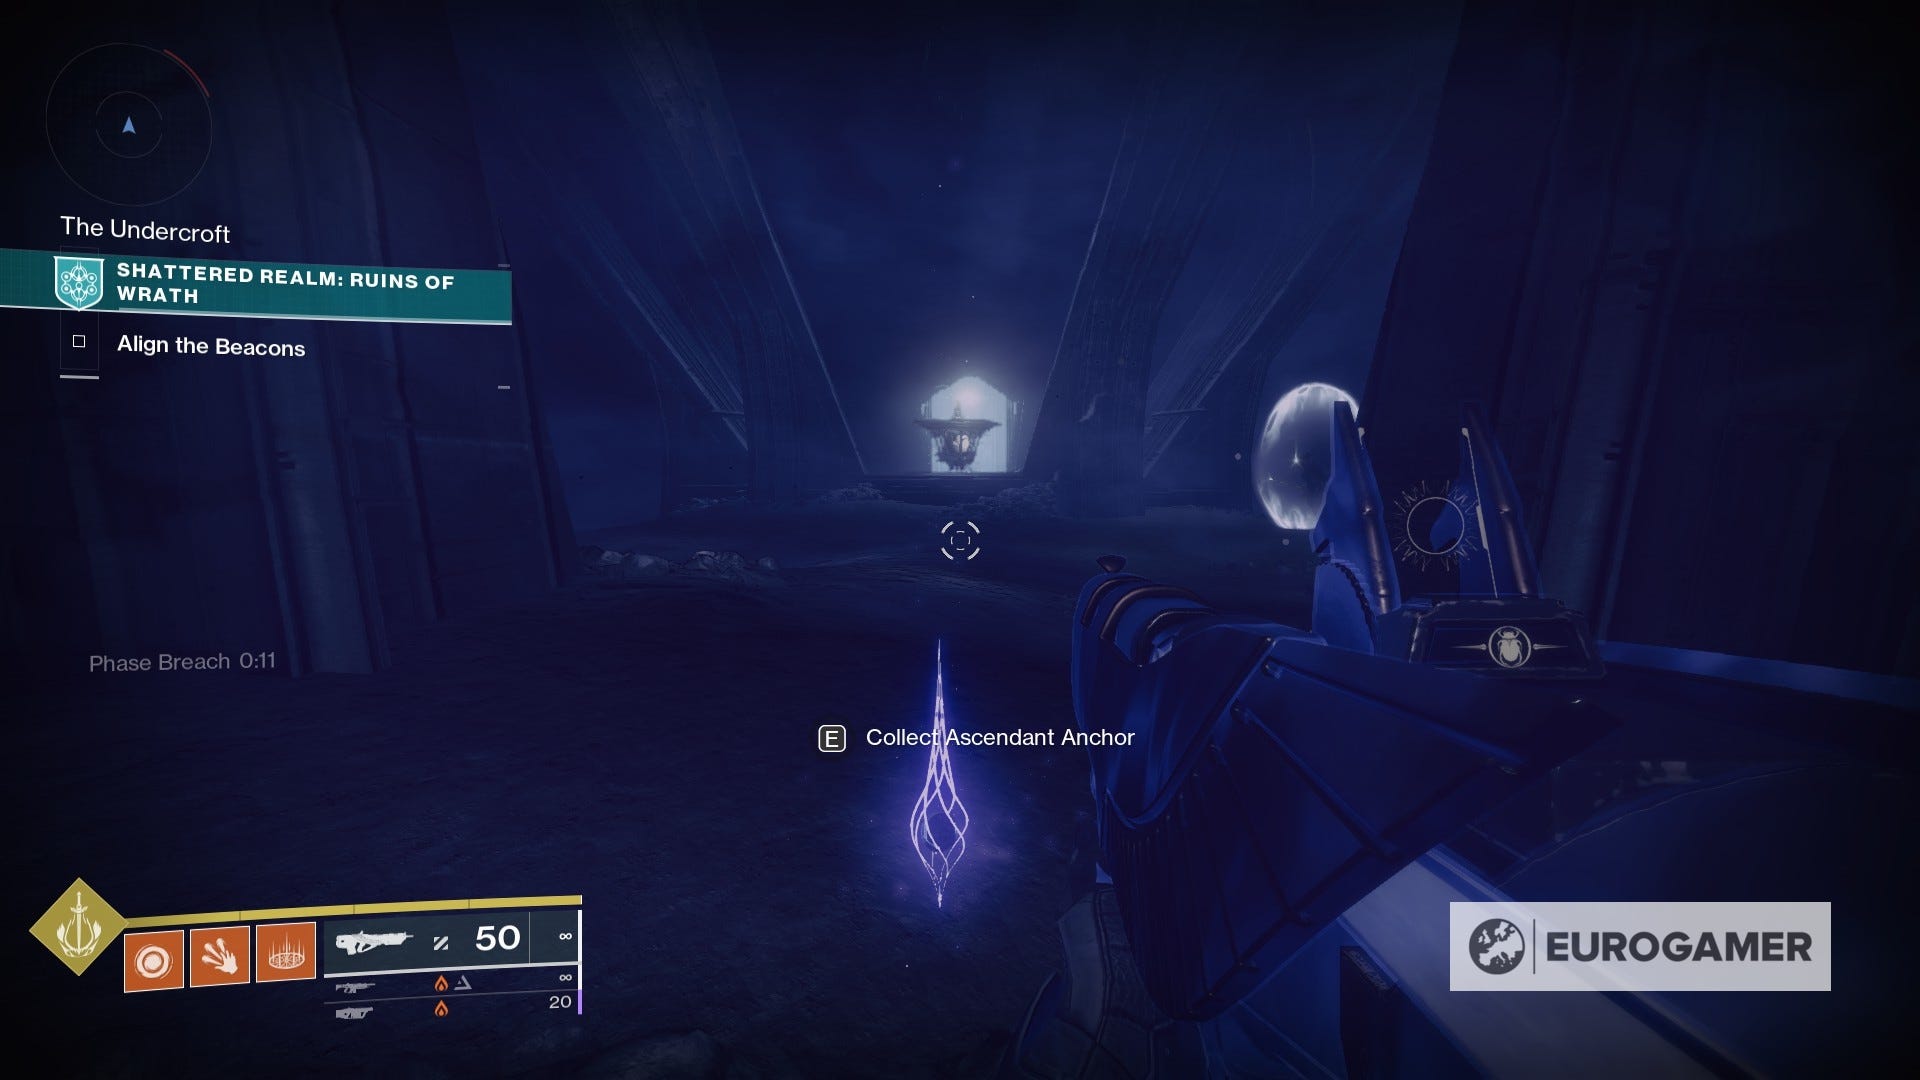
4. After picking up the previous anchor, continue the path towards the other end, which is called The Outer Islands. Activate the True Sight device there and head forward to see another floating path unveil before you - this will take you to an anchor.

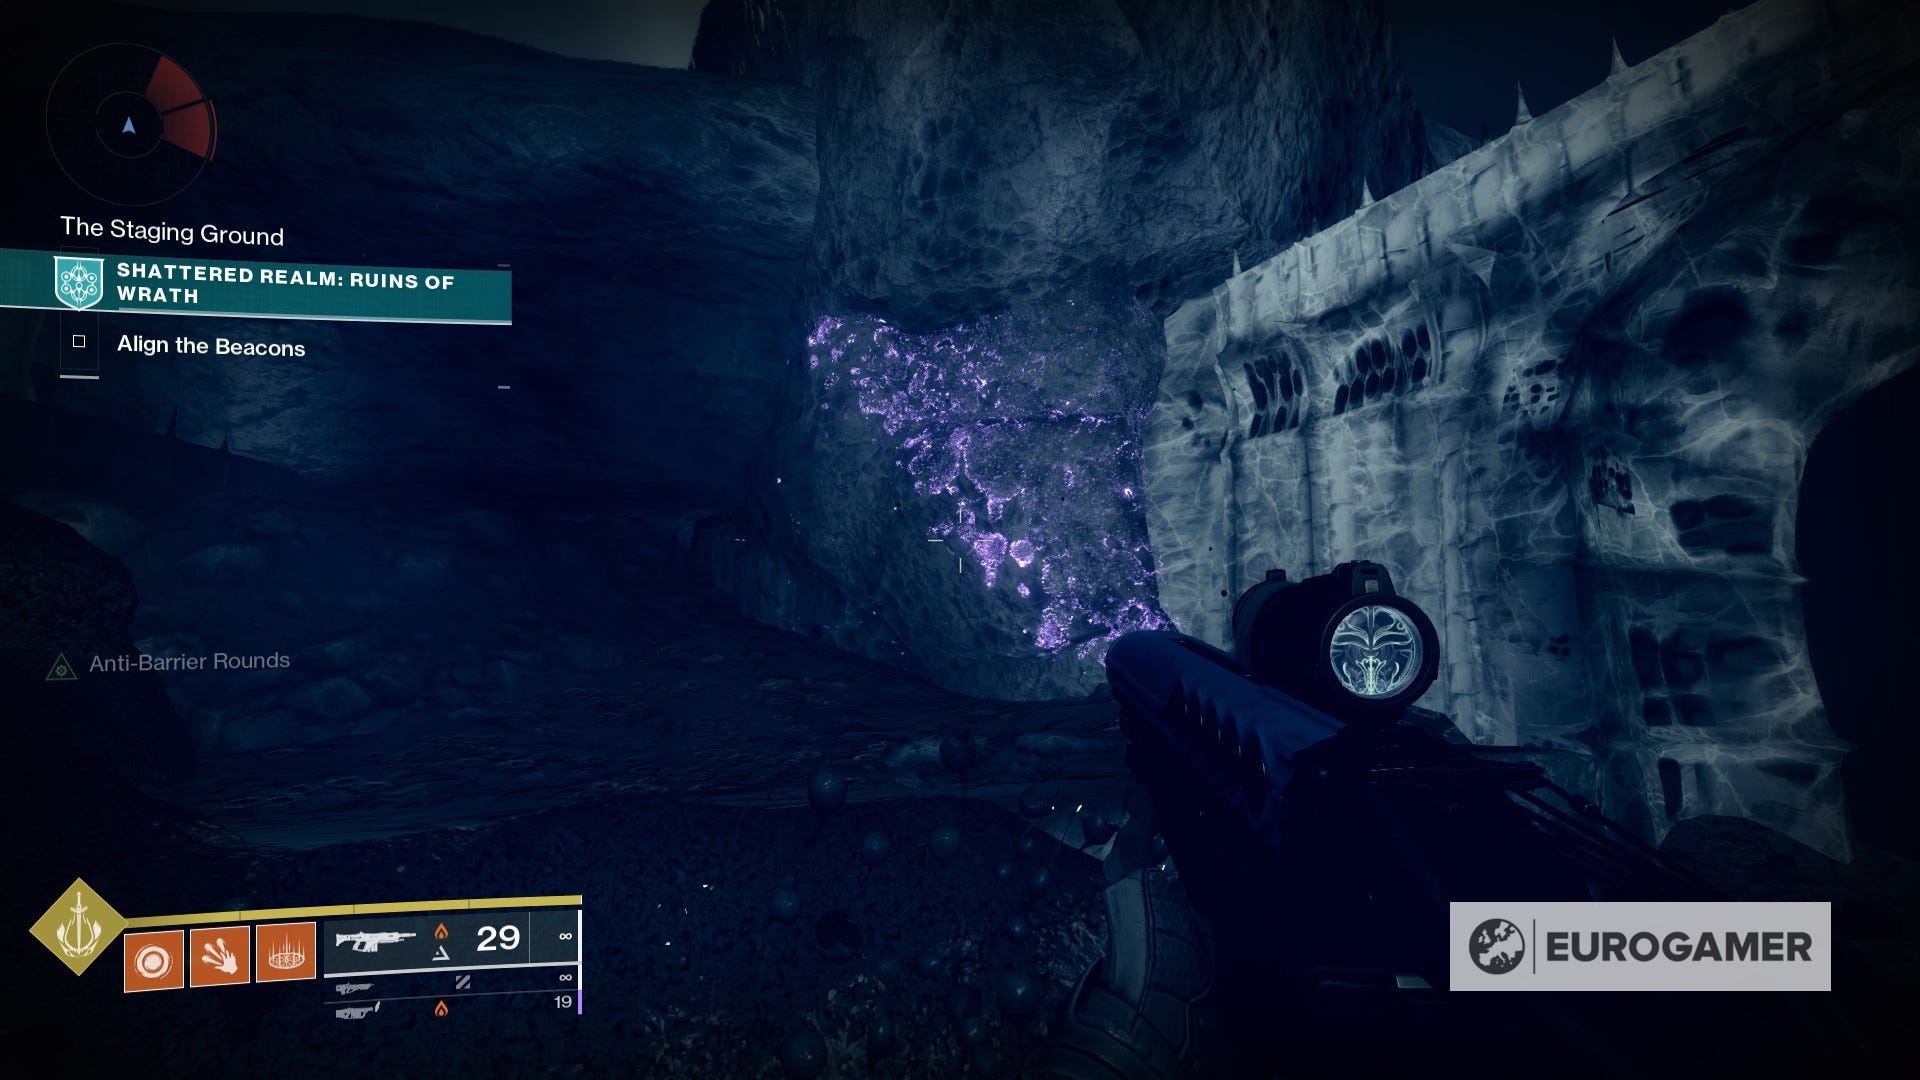
5. Let's return to the location of the first beacon. Now, head to the right towards the castle-looking structure. You will stumble upon a well - from there, head to the corner with the rocks in front of you. Use Ager's Scepter to destroy them and grab an anchor from inside.

6. Let's keep moving. Head to the floating rocks path. You're going to aim towards that second beacon, but before you get there, take a detour to the area on the left to find another anchor.
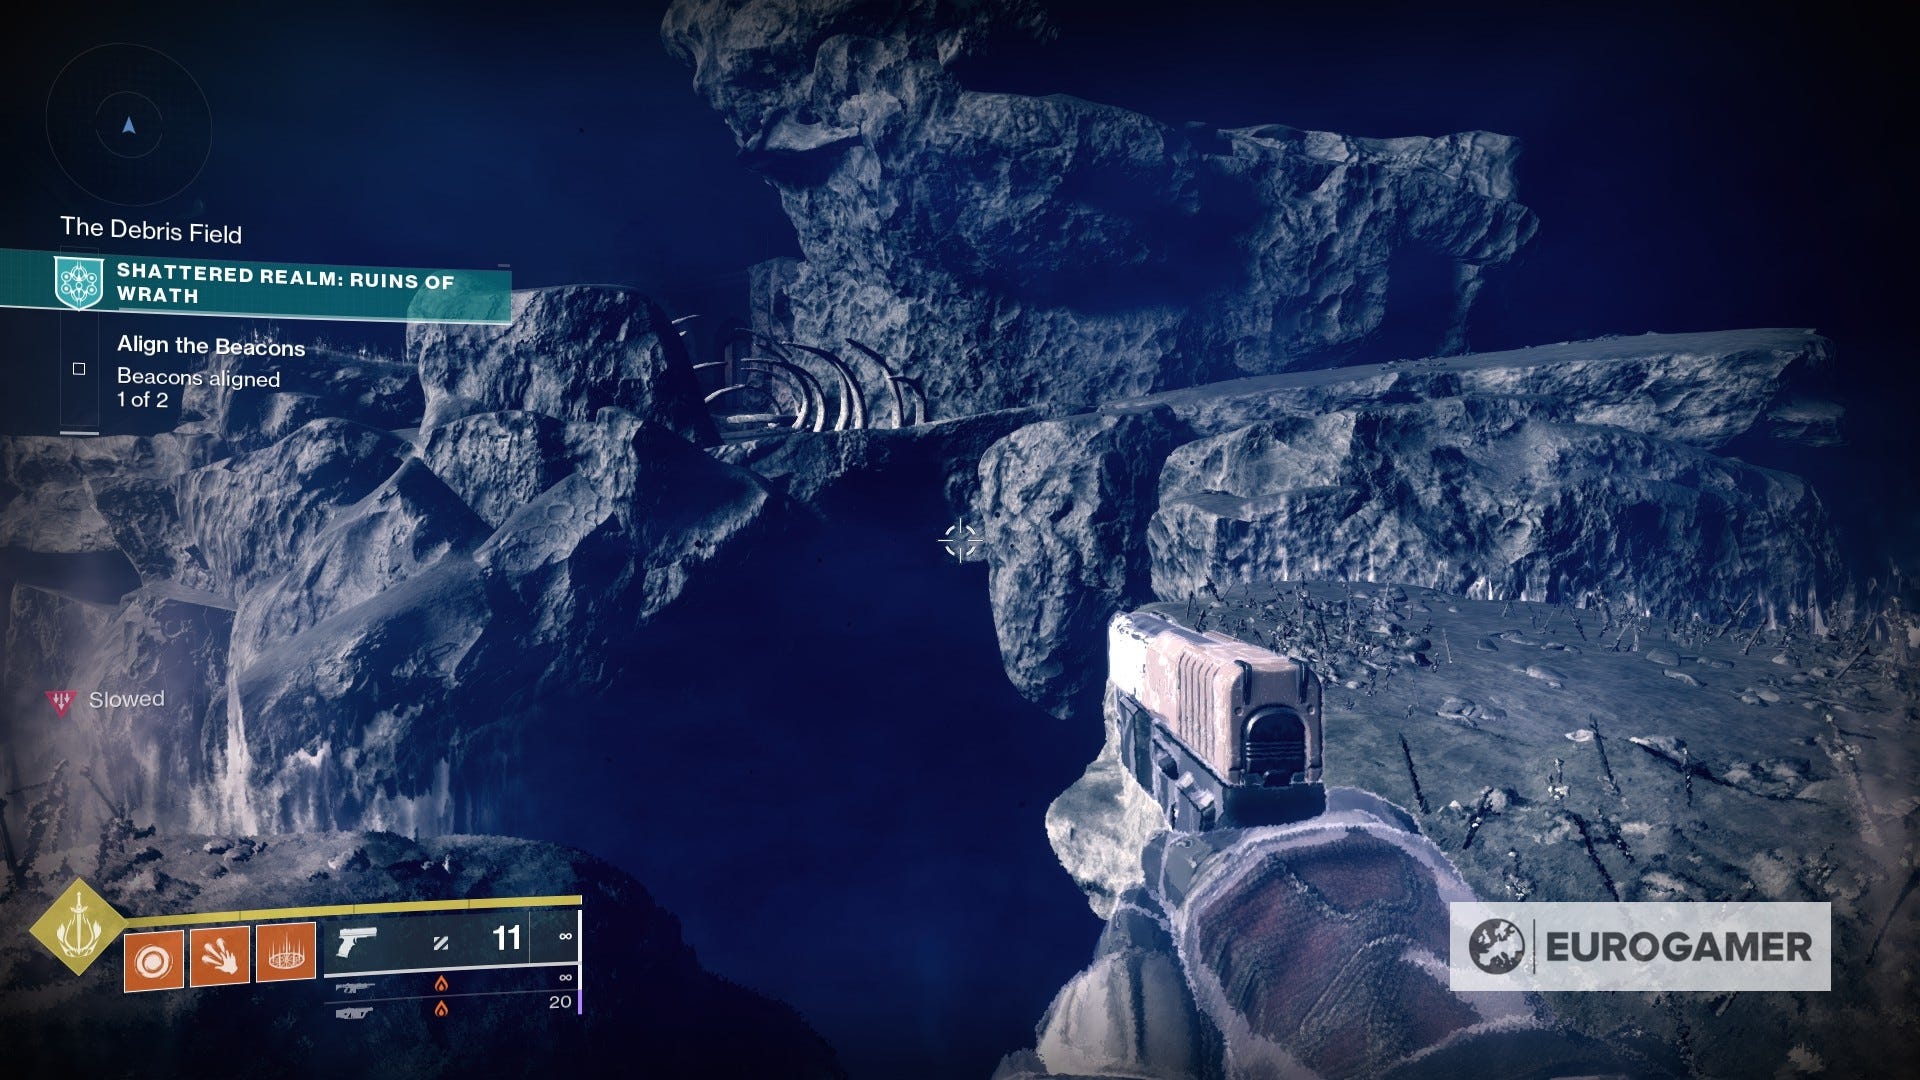
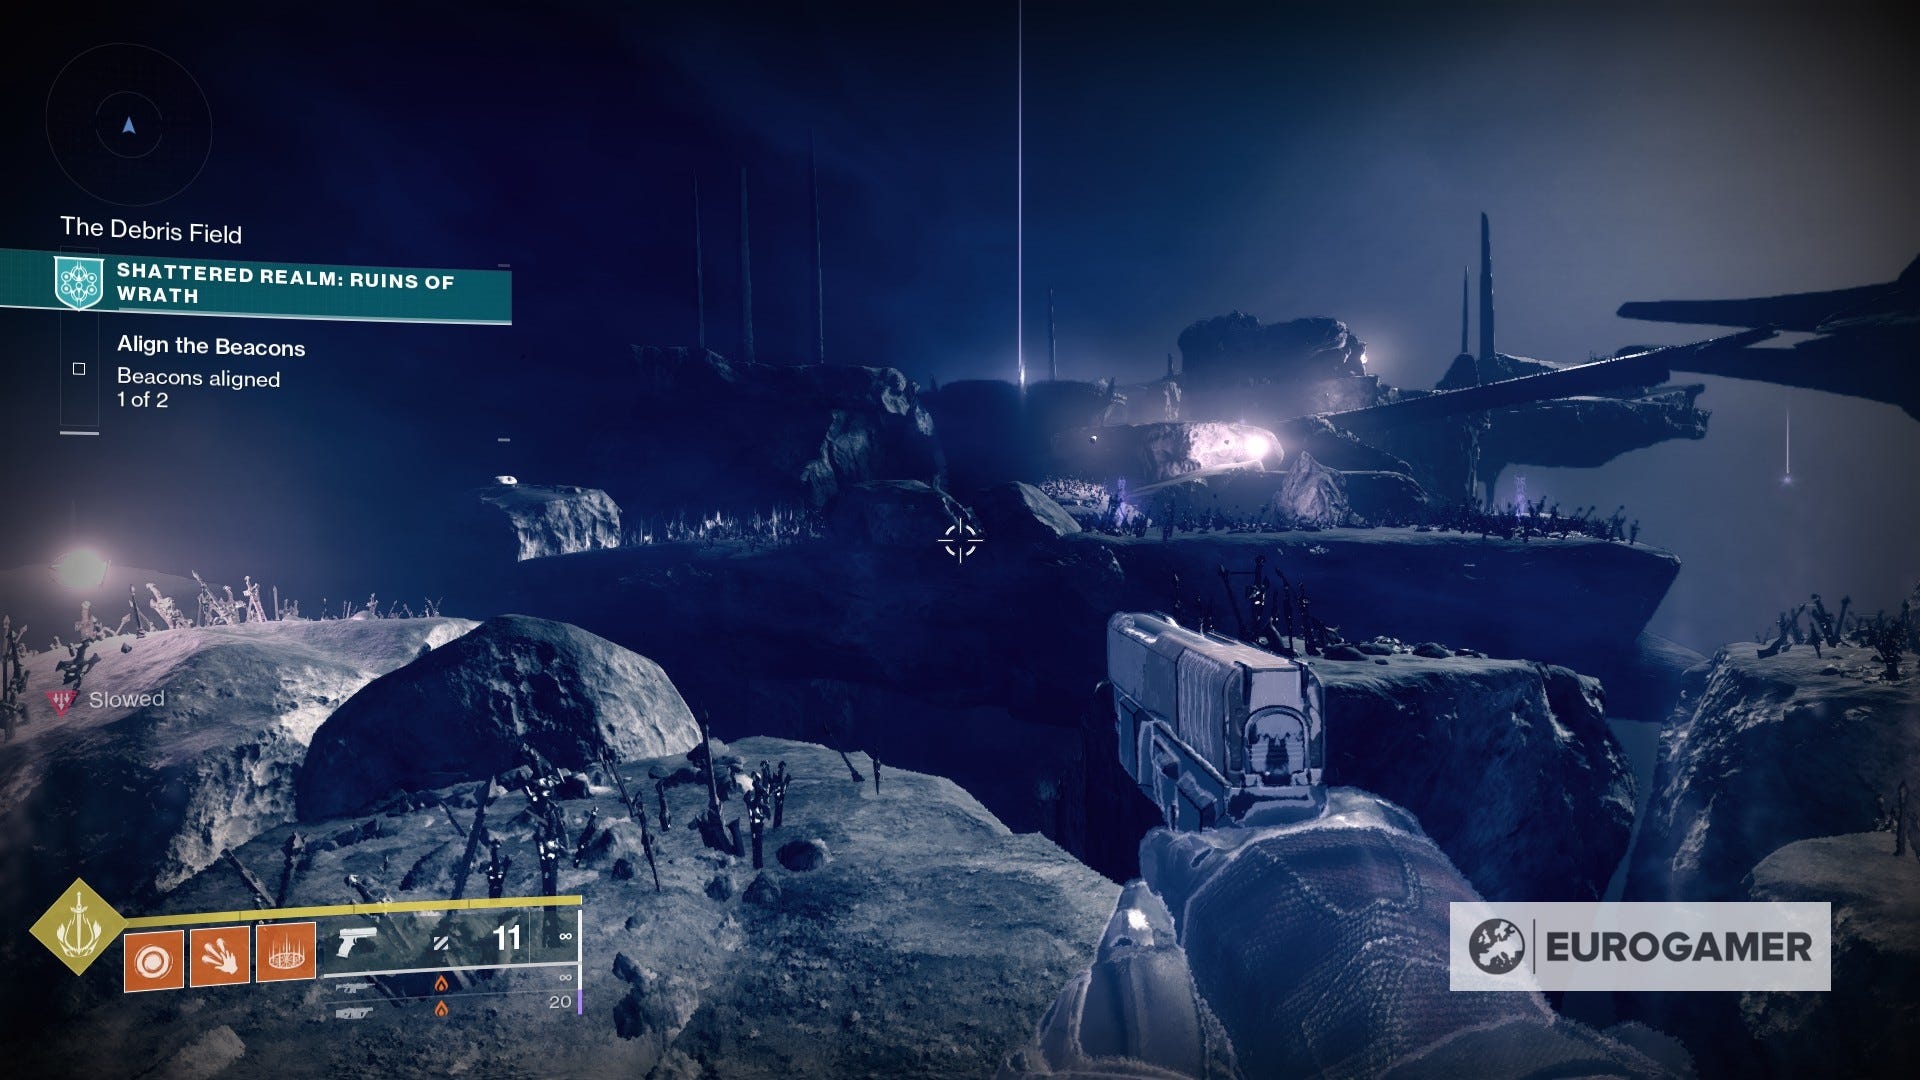
7. From the exact spot where you just grabbed the previous anchor, climb the floating rocks that form a path towards the second beacon, and you'll find the thirdone.


8. From the second beacon location, you will notice a True Sight device across the beacon itself, just on top of the surface that leads to the cliff. Activate it and make your way to the other end. Once you arrive, head to the back to find an anchor.


9. Now, return to the second beacon spot. We're going to start backtracking, starting by heading towards the floating rock path. You may have notice a floating anchor in one of the big surfaces in the middle that was previously inaccessible. Activate the True Sight device and grab it. You can also activate the second device there to use Safe Passage and get rid of the slowed condition for a few seconds.

10. From the previous anchor, head to the right side and climb your way to the path there.


Once you get on a flat surface again and without the slowed condition, keep heading forward past the massive bones and structures on your left. You will see a door in the vicinity with another structure inside - head there and follow the path down below.
About halfway there you'll see the anchor.
11. Don't leave just yet. Instead, keep heading below until you are on the ring. If you look to your left, you will see another anchor fairly close to that spot.

12. From the spot you just grabbed the anchor, you will find a glowing rock on the opposite side. Use Ager's Scepter to destroy it and grab the anchor inside.

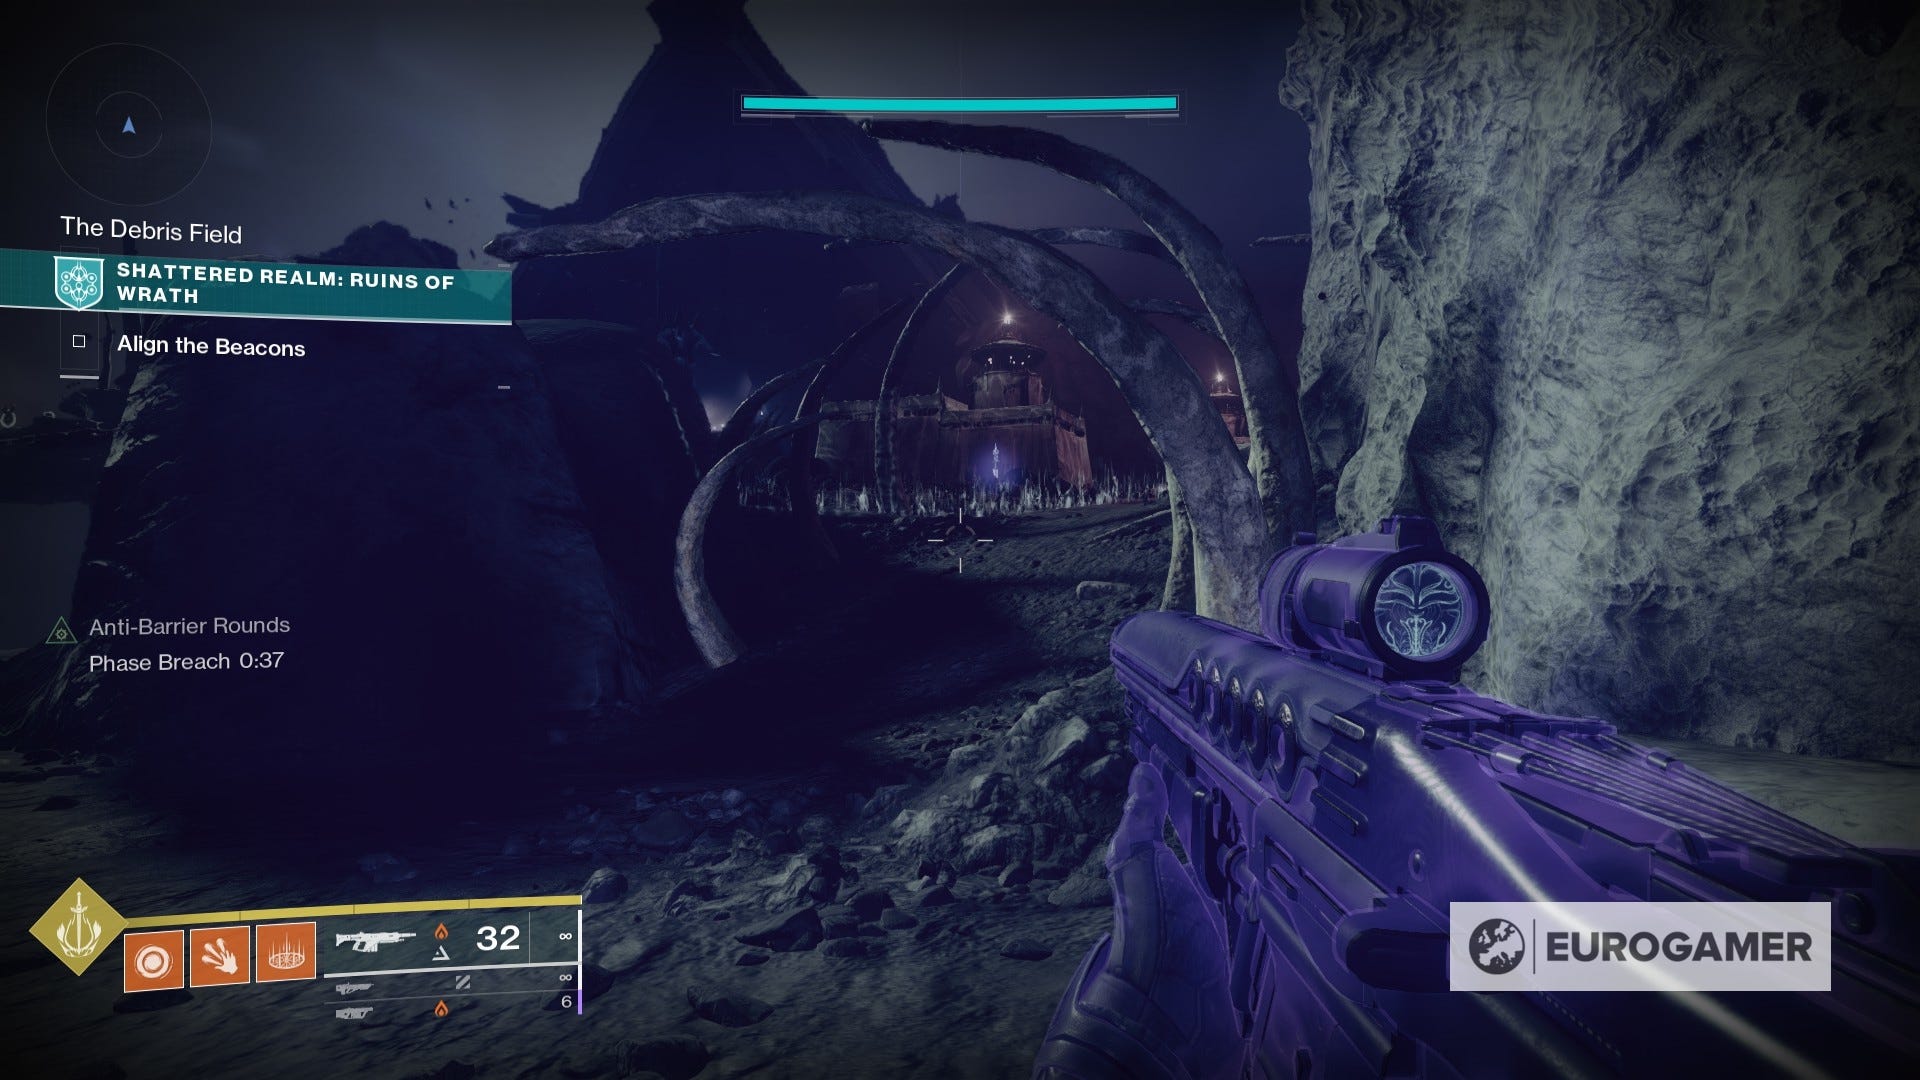
13. Return to the area you just came from and head all the way close to the tower that can be seen from the first beacon location. There, keep moving forward until you stumble upon a True Sight device. Activate it and follow the floating path upwards to grab an anchor. These are the same steps that you need for the Turret Treasure Trivial Mystery, in case it helps.


14. From here, stick to the path to the left - you will see a Barrier Breach device on the other end. Grab it and head all the way back to the room with the big structure in the middle.


There, activate the True Sight device, exit outside through the barrier, and follow the path upwards to grab an anchor.


15. Now, it's time to head back all the way to the first beacon area. To the left of the beacon you will see a True Sight device. Activate it and then follow the floating rocks for another anchor.


16. During the Lord of the Undercroft Ascendant Mystery (accessing the tower to the right of the first beacon location after aligning both beacons beforehand), grab the anchor that is on the other side of the pit in the room with Xivu Arath.


17. Taking the previous spot as a starting point, head down the pit and, once on ground level, grab the anchor nearby.

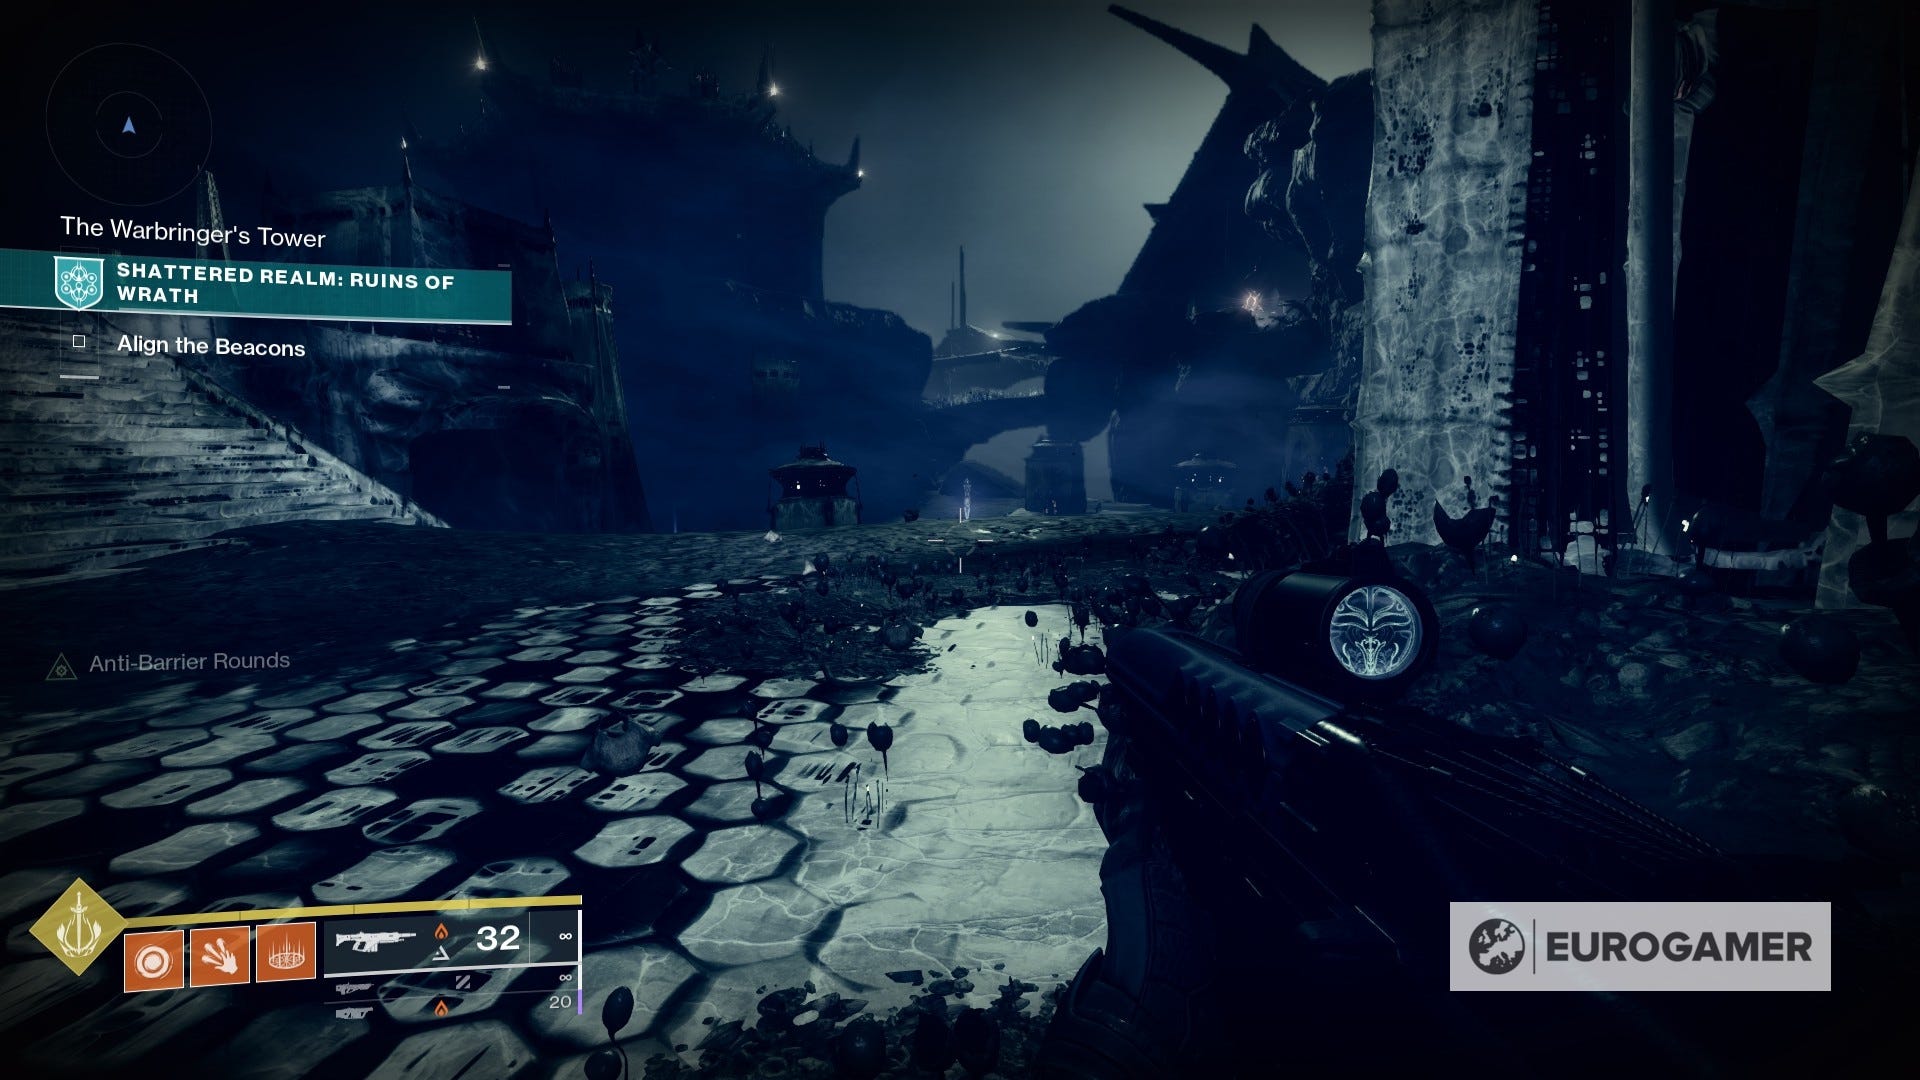
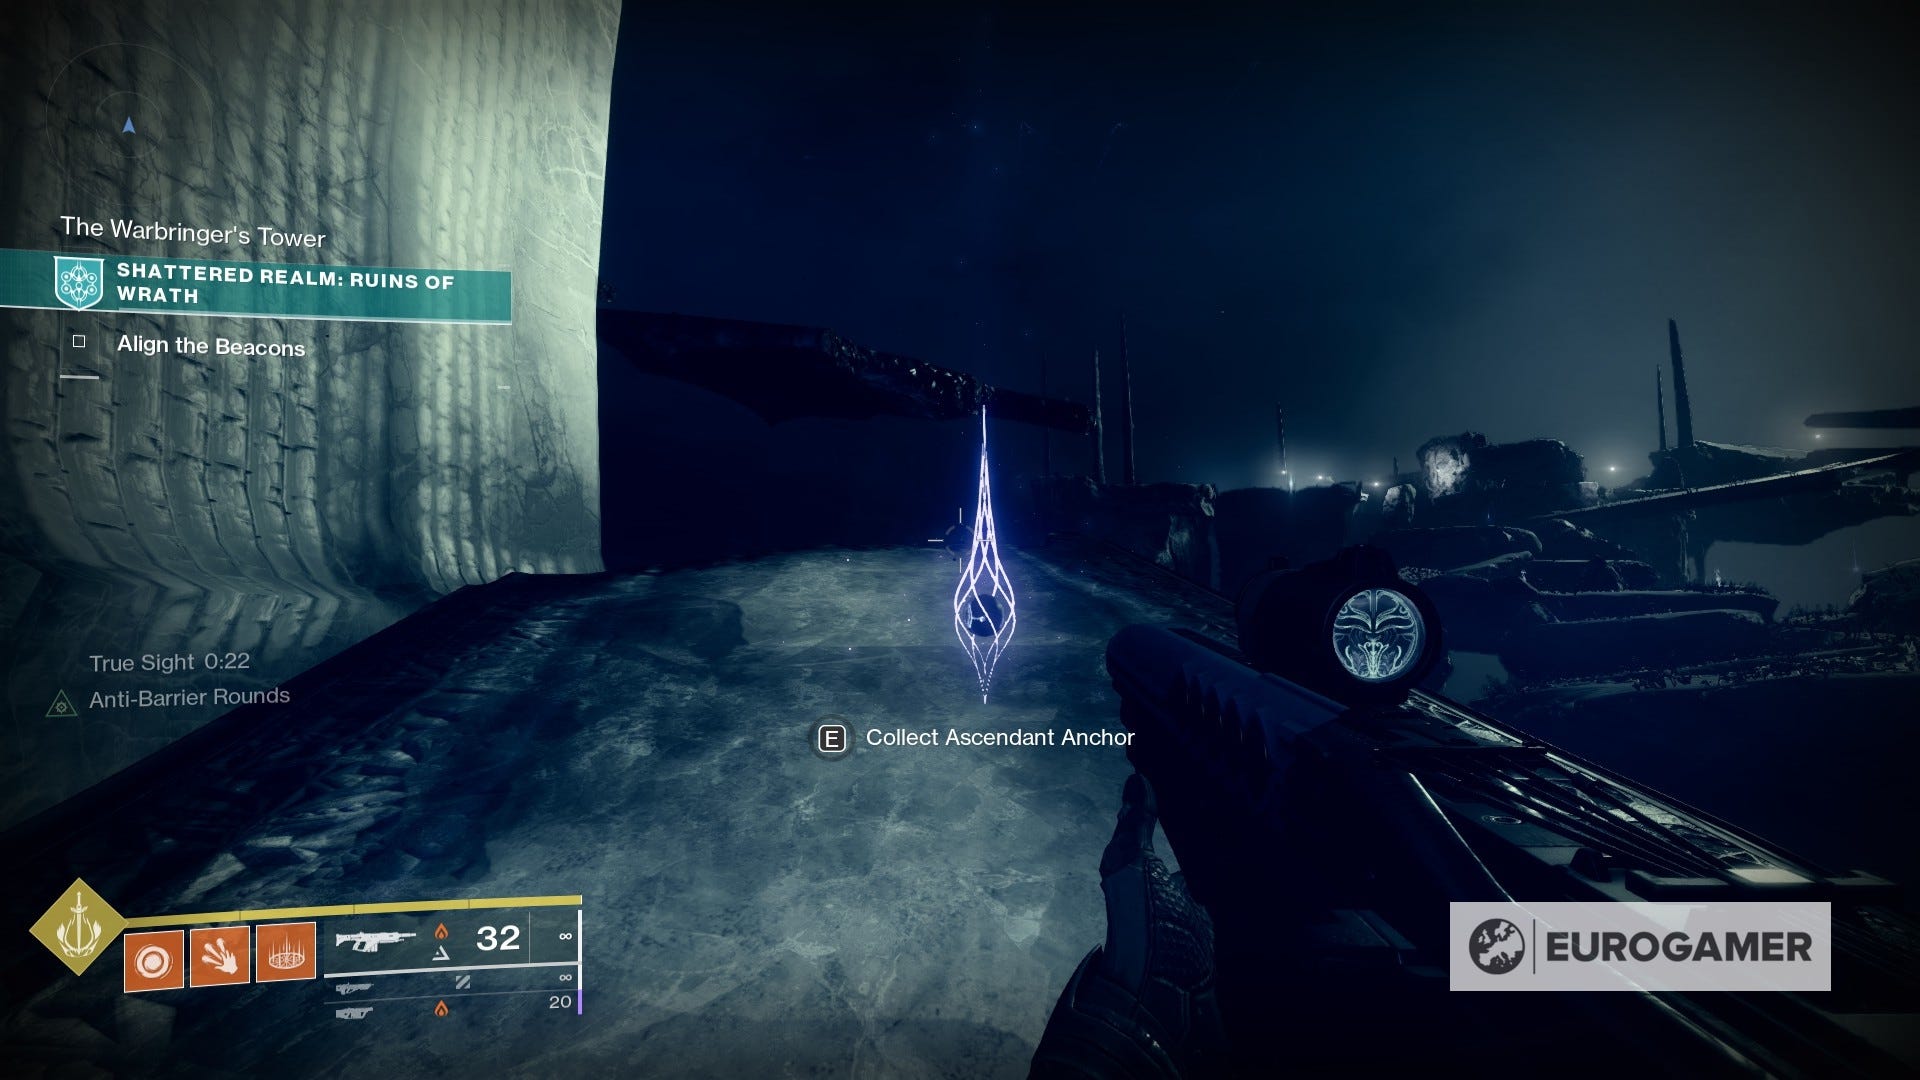
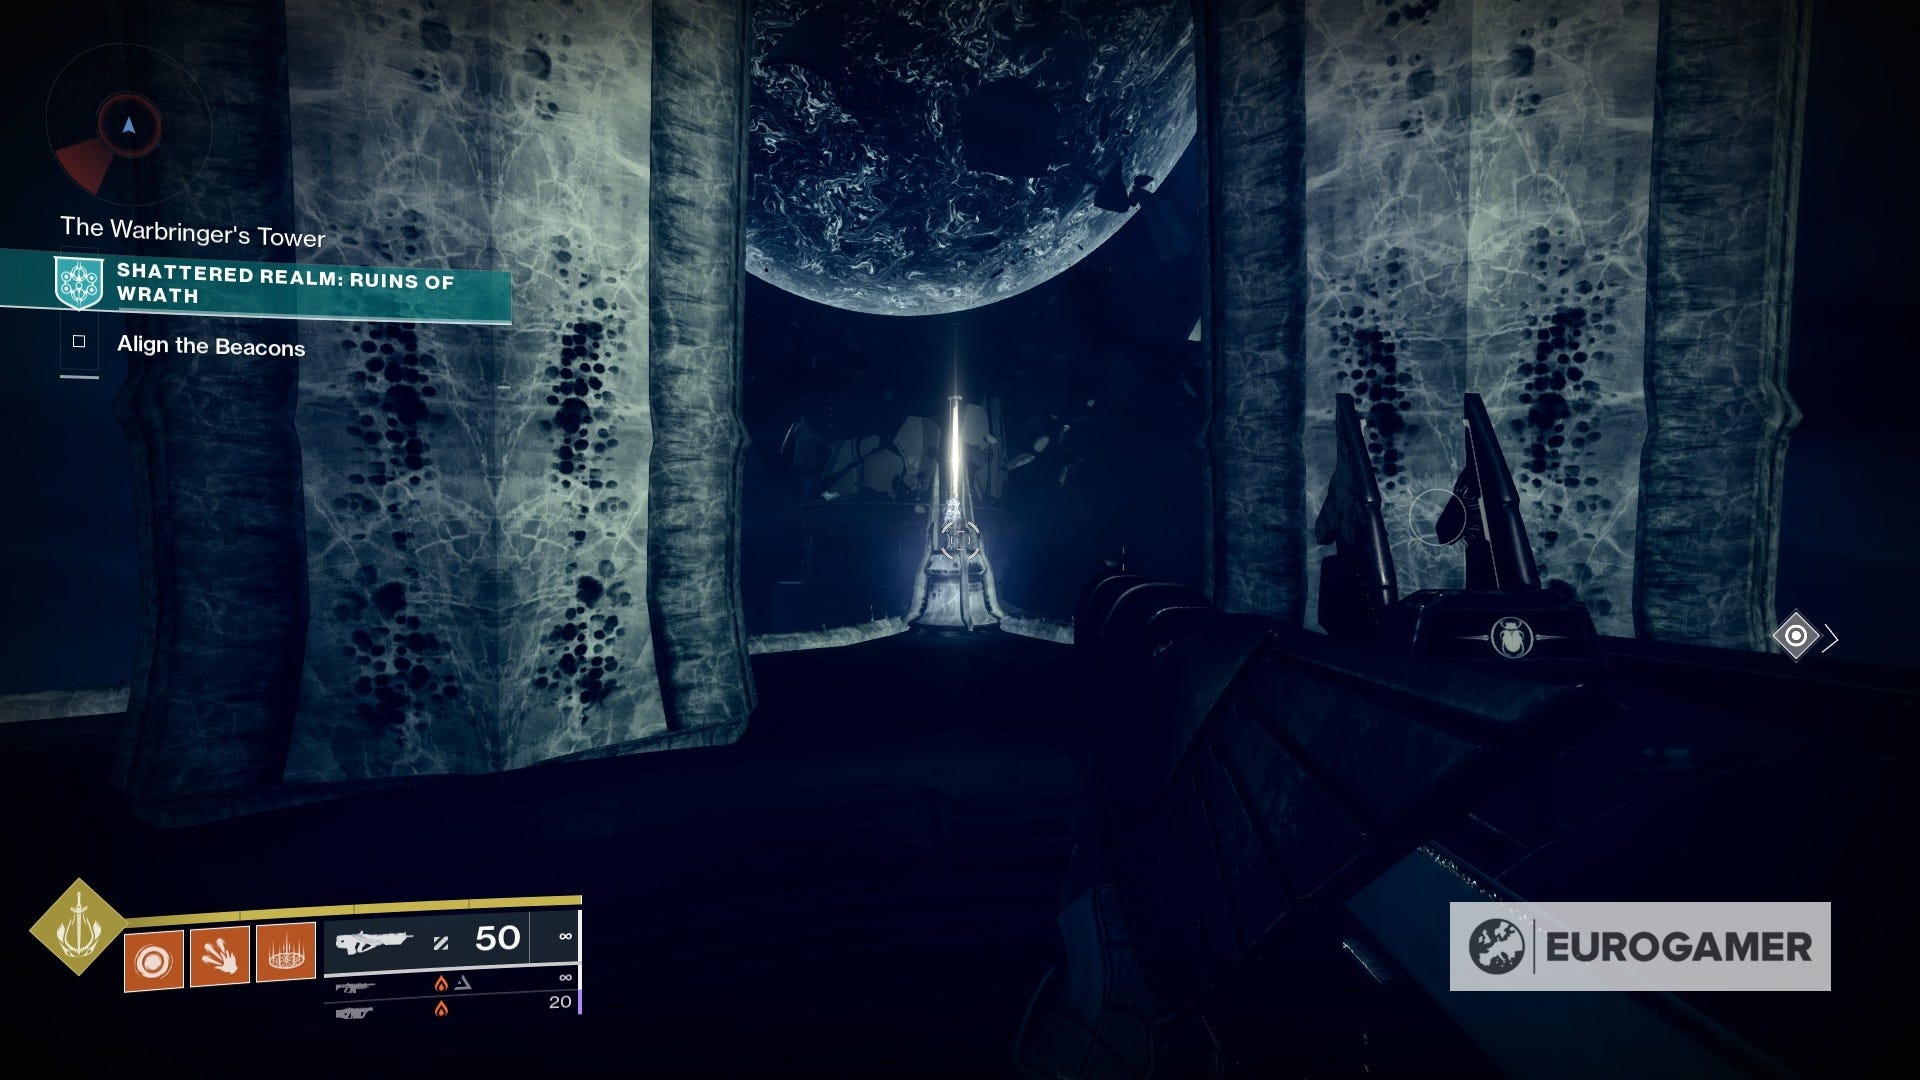
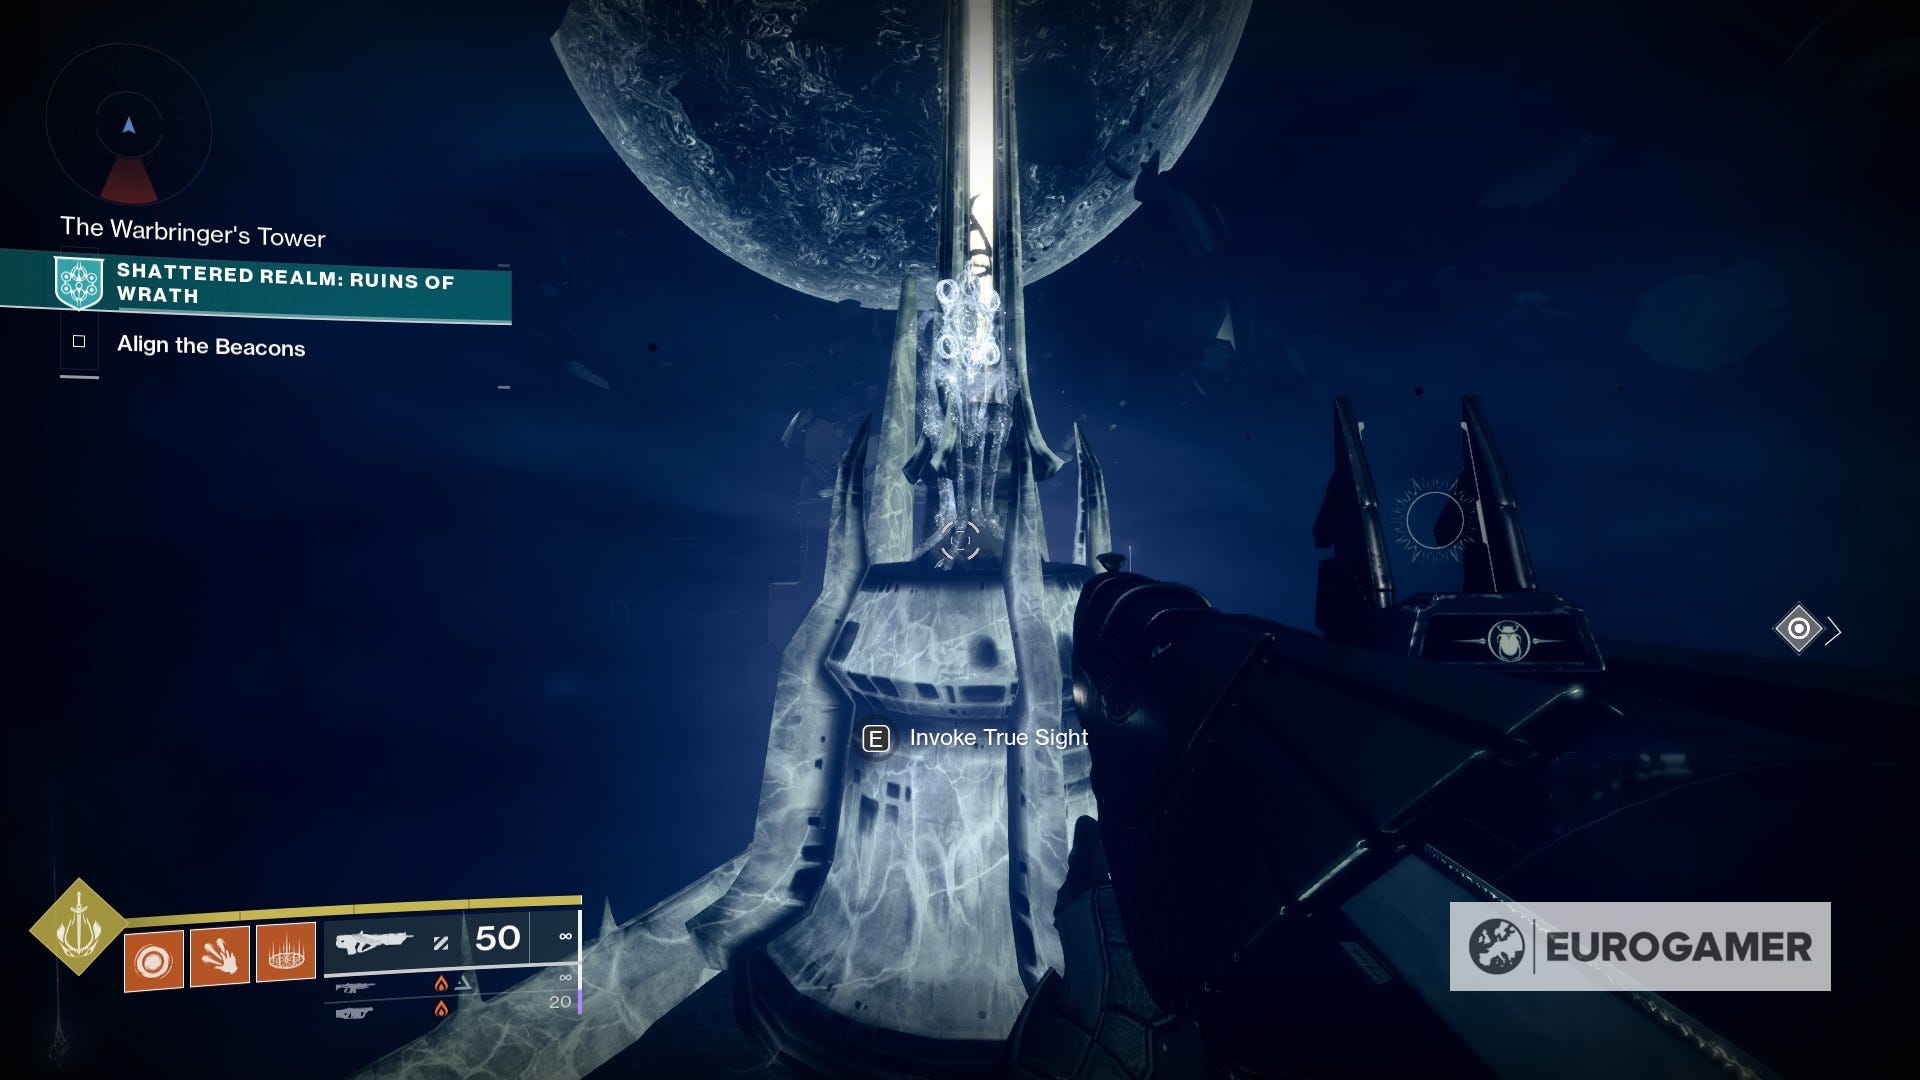
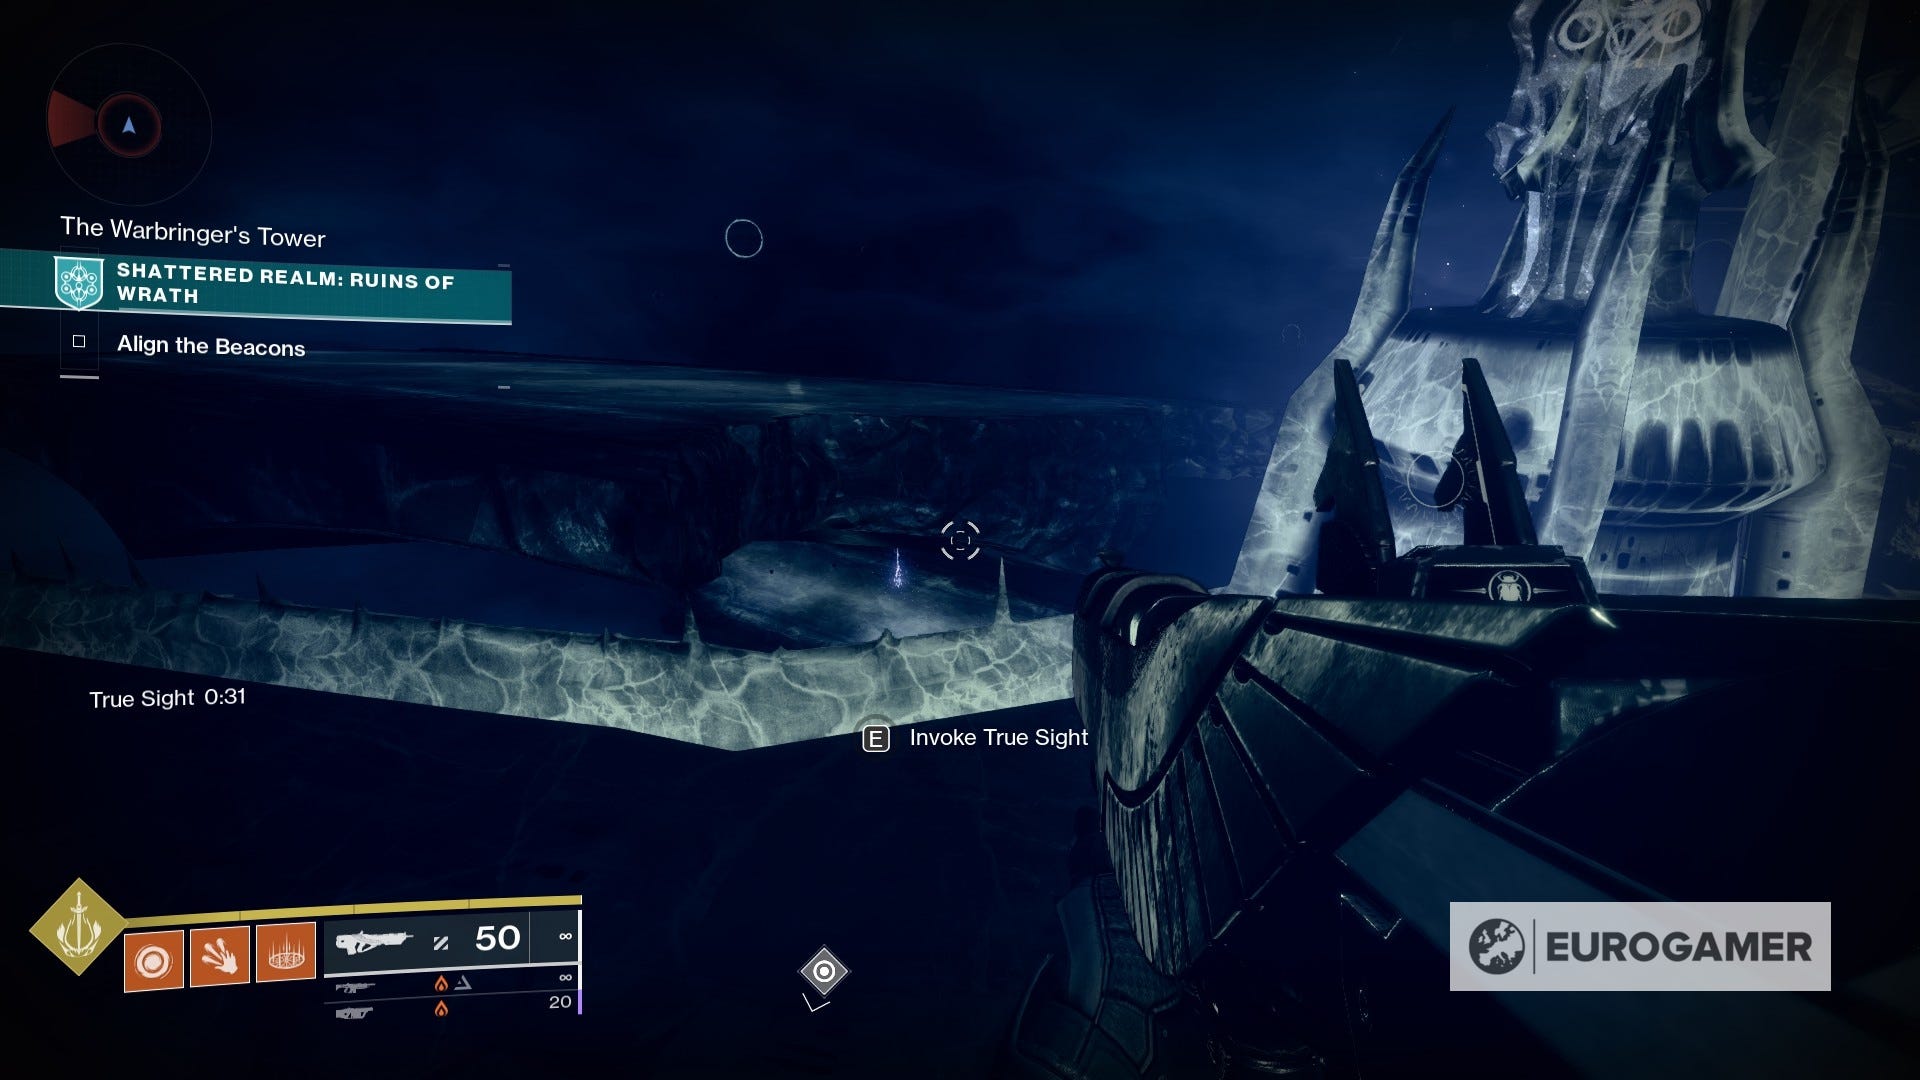
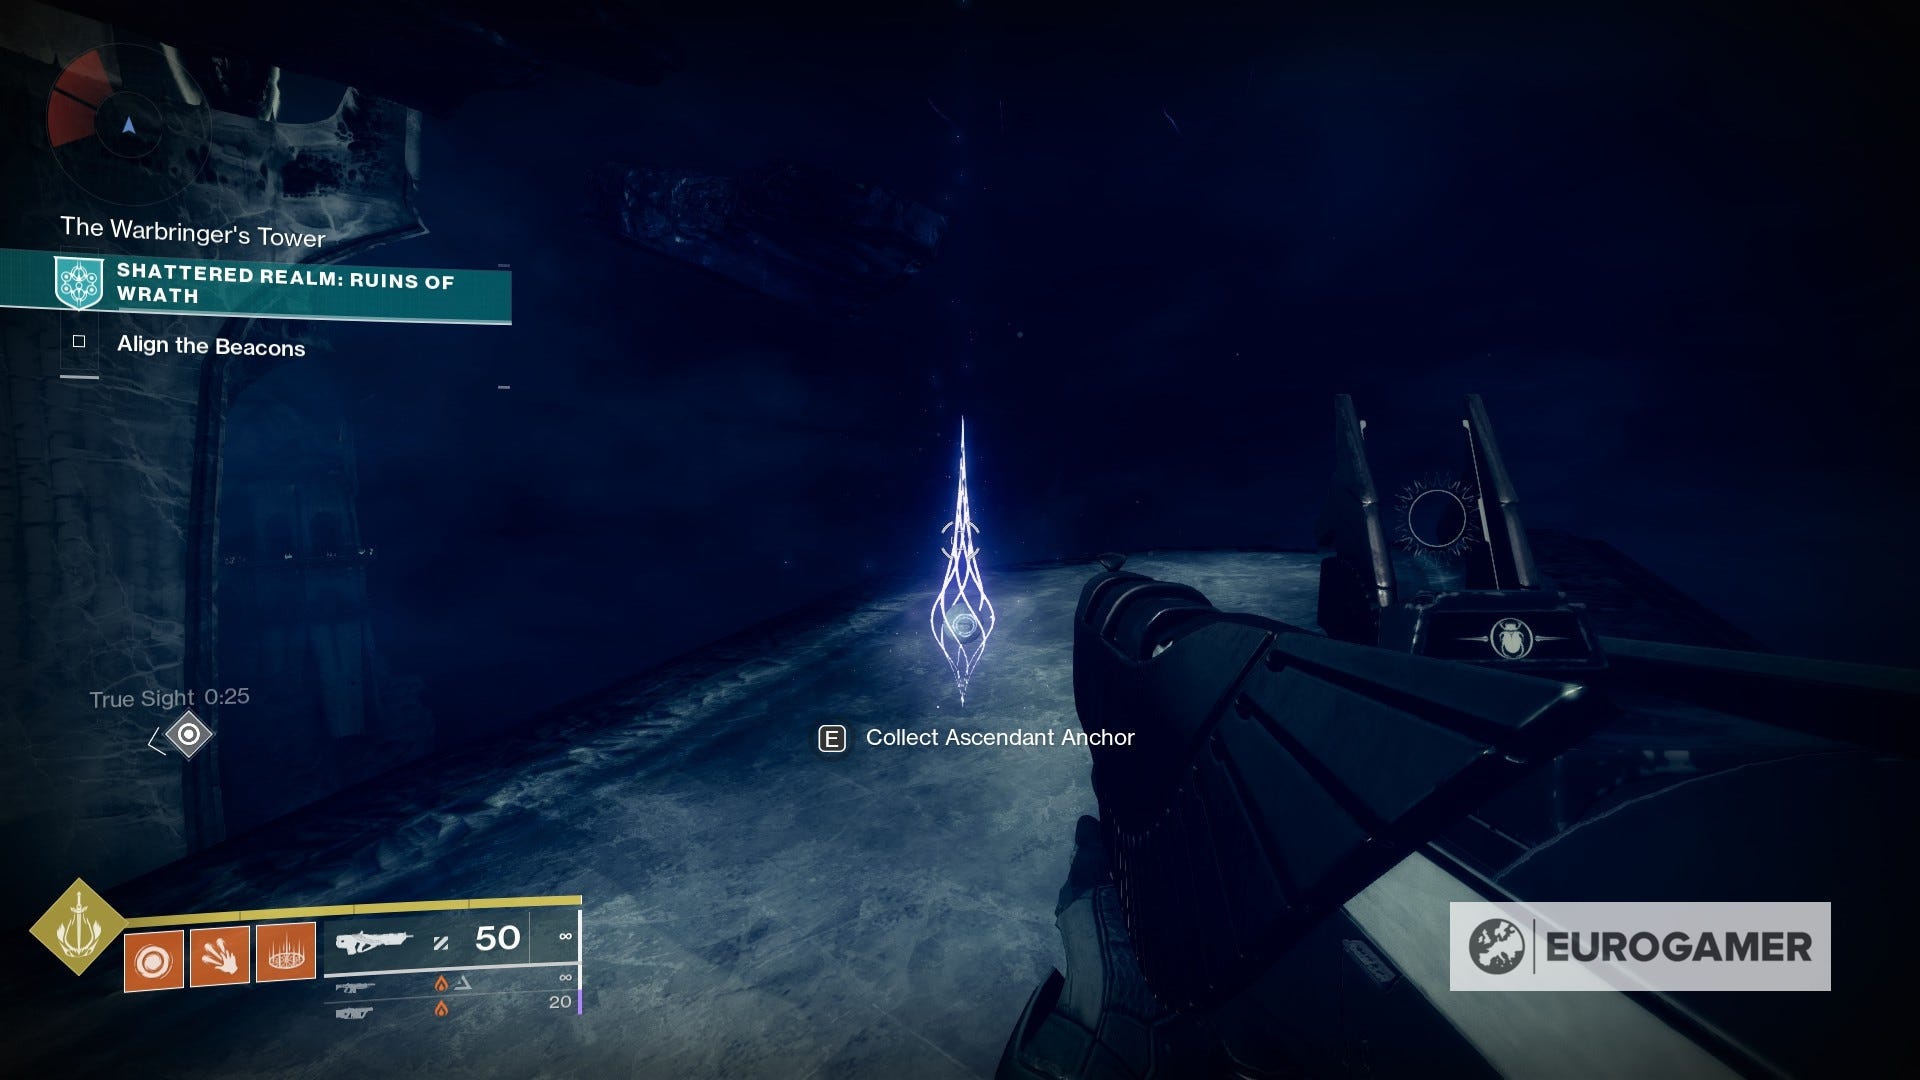
For this one, we'll be following the same path as the Light the Way Ascendant Mystery, since it will take us to the Warbringer's Tower. Upon your arrival, take down the Soulfire Exarch so it doesn't get in the way. Then, you want to look to your left, where you'll notice a True Sight device. Go ahead and activate it. From here, just follow the floating path towards the anchor.
More to come in future weekly resets!