Destiny 2 - Data Cache locations: Where to find Data Caches explained
Where to find all locations up to Week 7.

Destiny 2's Data Caches are location-based chests scattered around the Shattered Realm.
Seeing a debut during Season of the Lost, and working in a similar way to Atlas Skews, they are part of a seasonal activity.
This page explains where to find Data Caches in the Shattered Realm to complete both seasonal challenges and secret triumphs for your collection.
Explainers:
Shattered Realms: Forest of Echoes locations:
Shattered Realms: Debris of Dreams locations:
Shattered Realms: Ruins of Wrath locations:

How Data Caches in Destiny 2 work
Data Caches work in a similar fashion to Trivial Mysteries, Enigmatic Mysteries and Ascendant Mysteries. This is reflected in both the way in which you obtain them and the fact that they come up in some seasonal challenges, as well as being secret triumphs.
In particular, they require for you to have all Wayfinder's Compass abilities unlocked, including Barrier Breach, True Sight, Safe Passage, Barrier: Enhanced Breach and Sight: Frequency Echoes. All of these can be obtained by following the Wayfinder's Voyage storyline. Meaning you won't have to worry about missing any until you're caught up with the seasonal questline up to week 4.
Each seasonal challenge involving Data Caches requires finding a certain number of them to complete; once again it doesn't matter which area of the Shattered Realm you find them from, so feel free to collect any as you go from week-to-week. If you don't see any related challenges, bear in mind that they all have several triumphs attached to them.
Now, let's see where those Data Cache locations are.
In Memory Data Cache location
This Data Cache is found in Shattered Realm: Forest of Echoes - debuting during Week 7 of the season - and is recommended you have unlocked all previous upgrades up to this point, which include Barrier Breach, True Sight, Safe Passage, Barrier: Enhanced Breach, Sight: Frequency Echoes and Safe Passage: Astral Attunement.
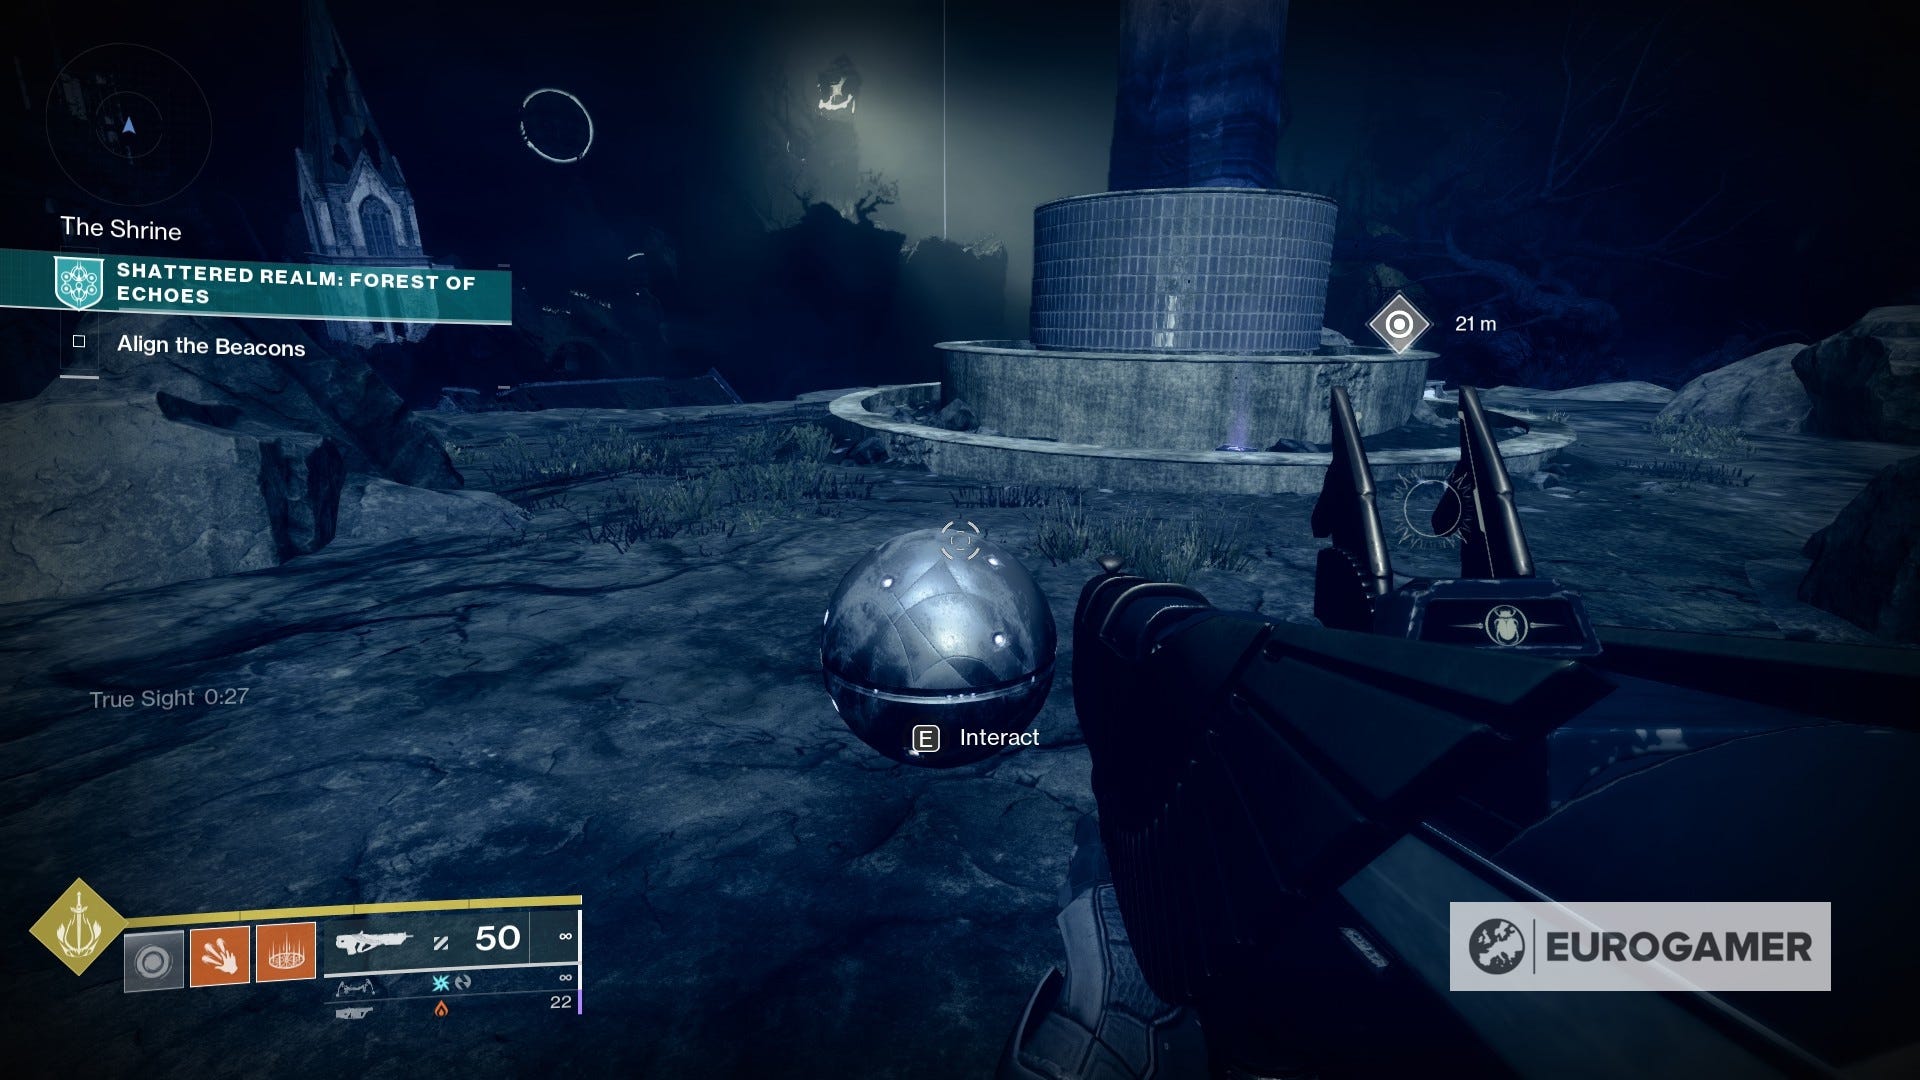
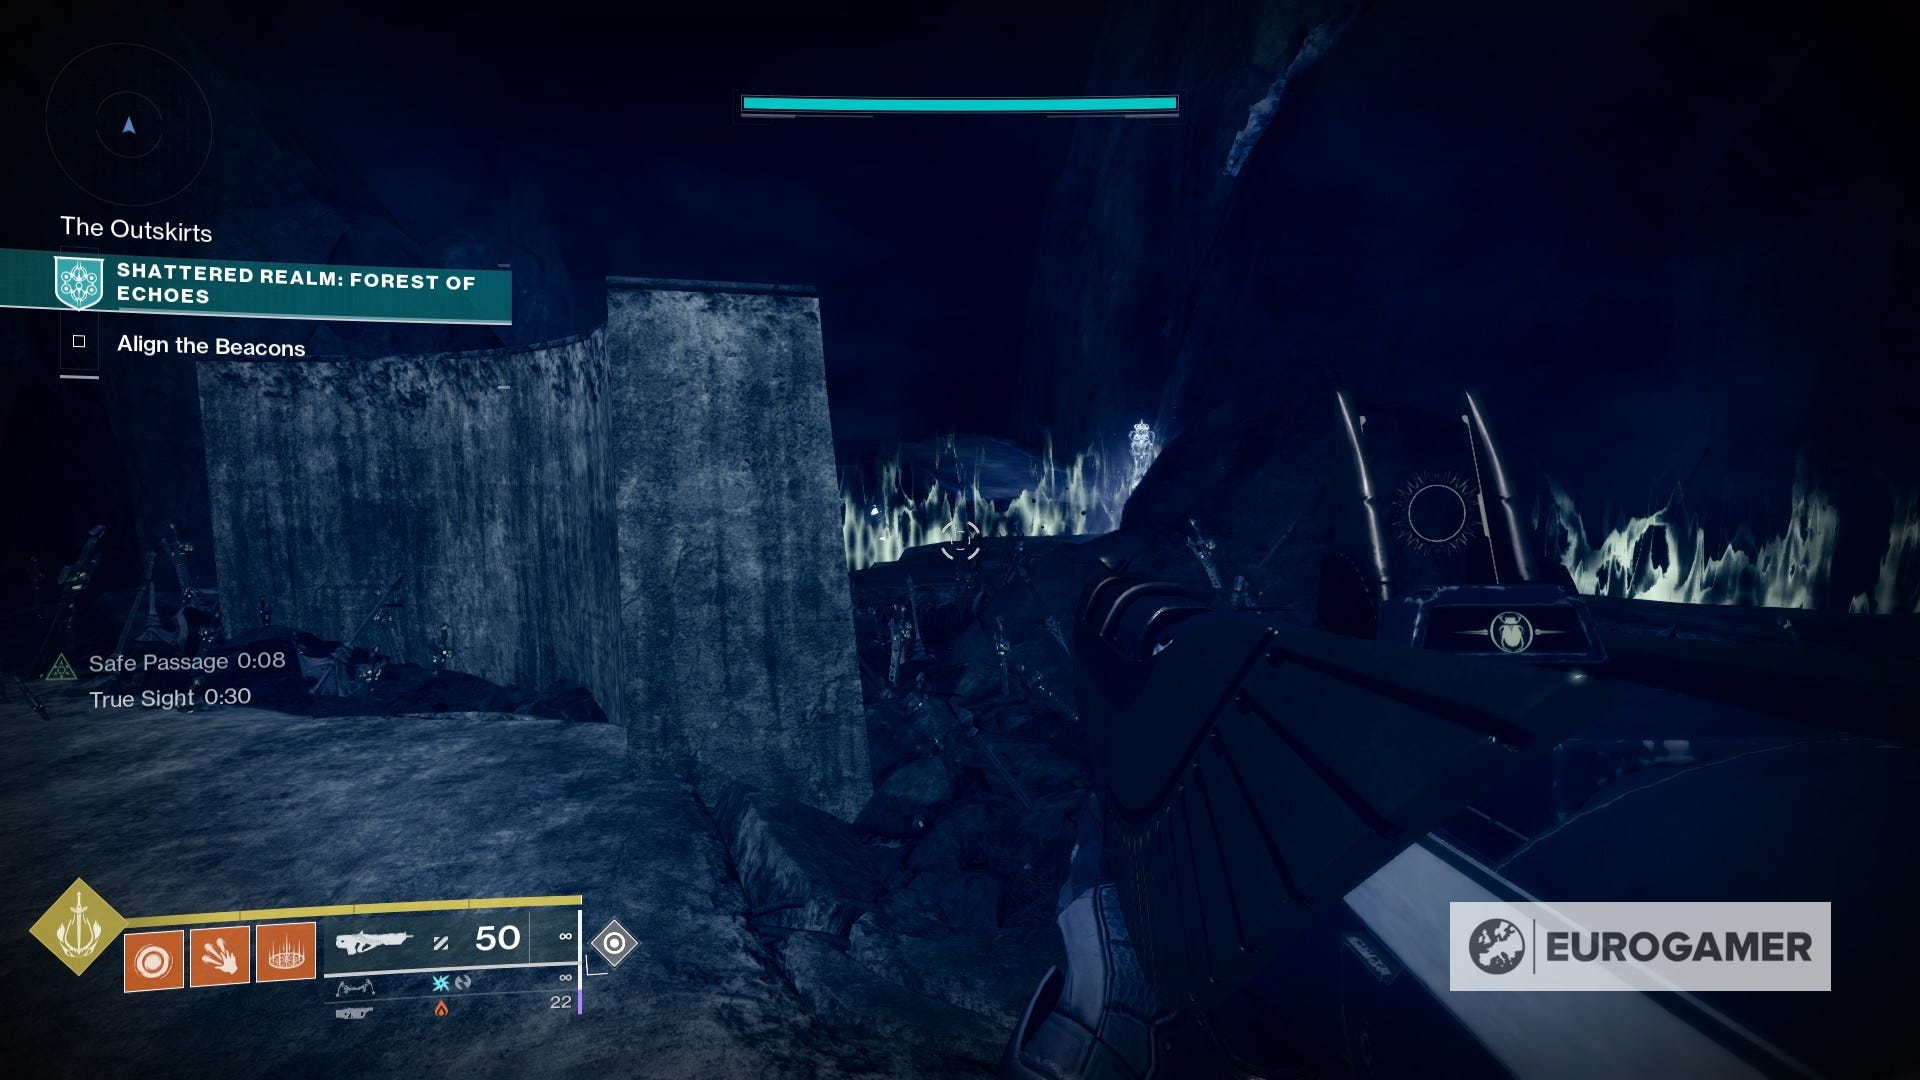
The In Memory can be found around The Shrine area. To access it, it's best if you first complete both beacons. We're going to be taking the exact same path as the Enshrined Trivial Mystery, in case it's helpful.
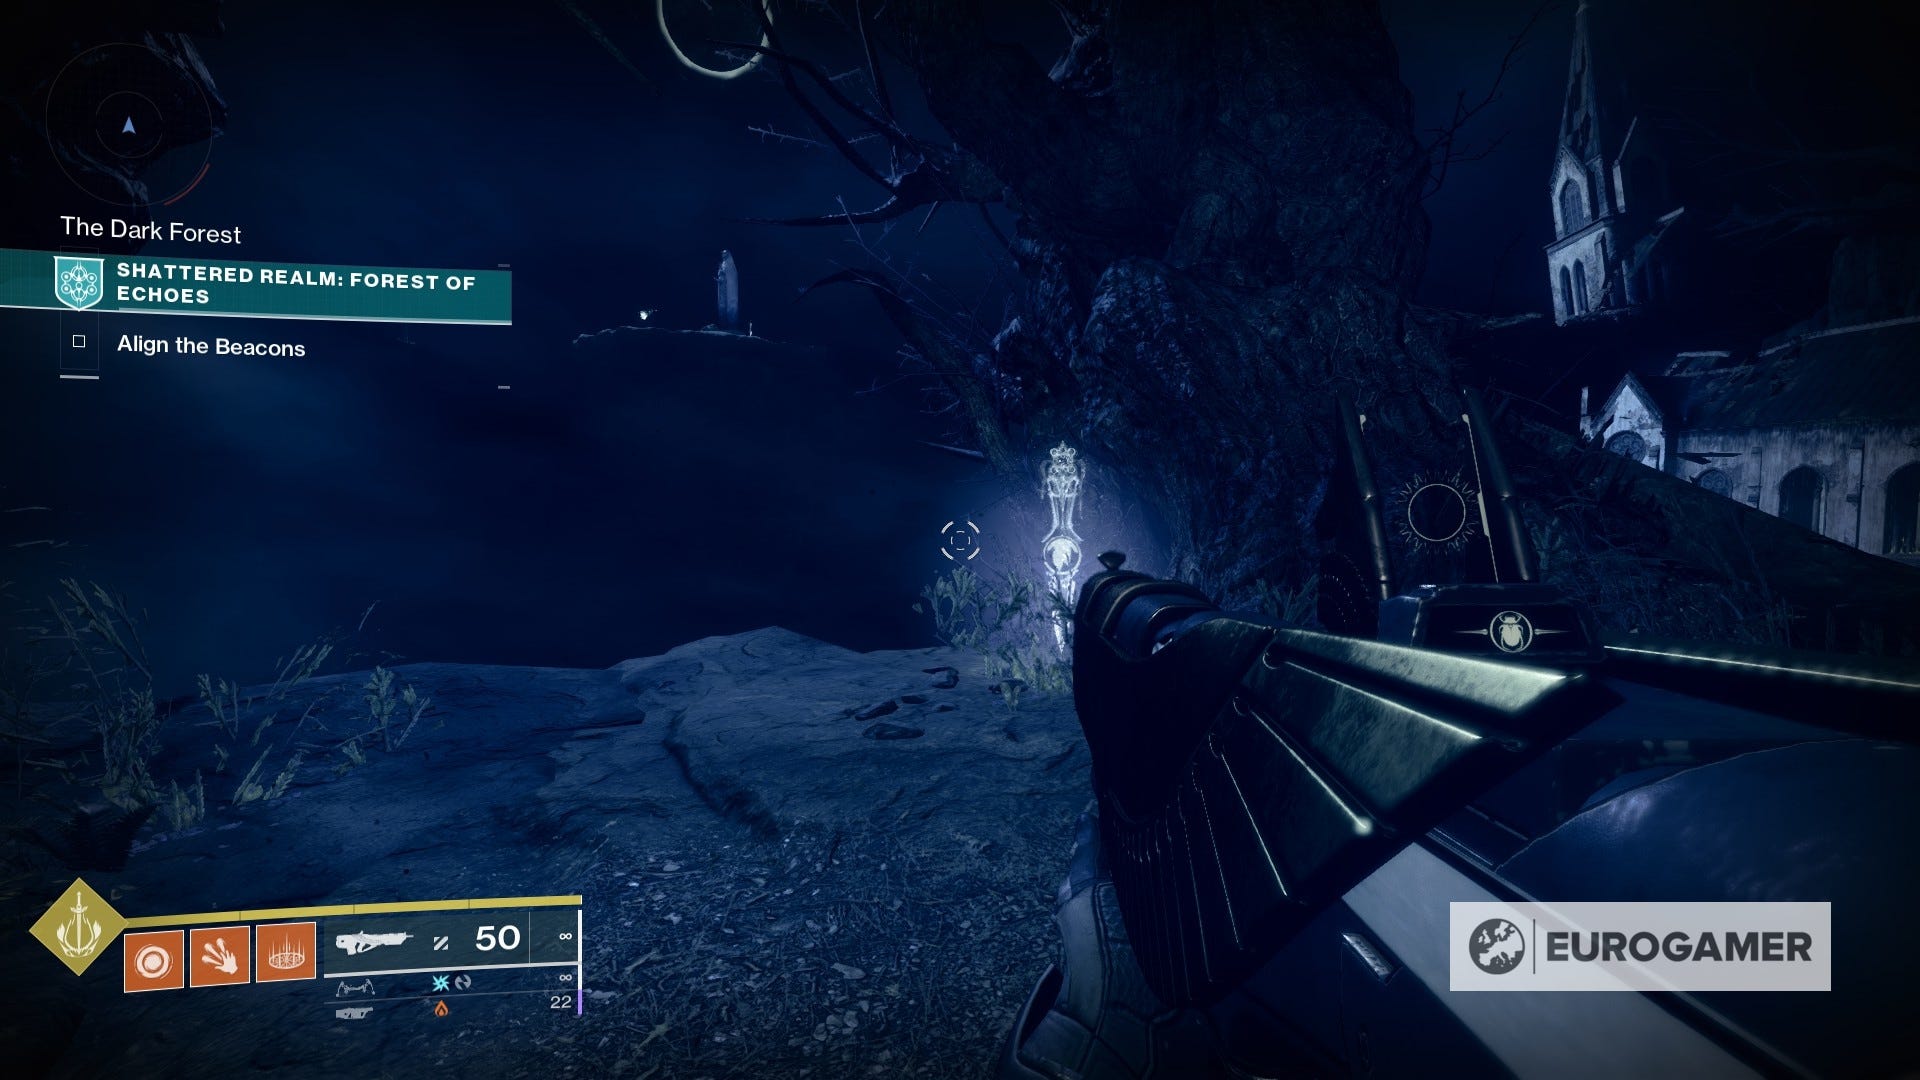
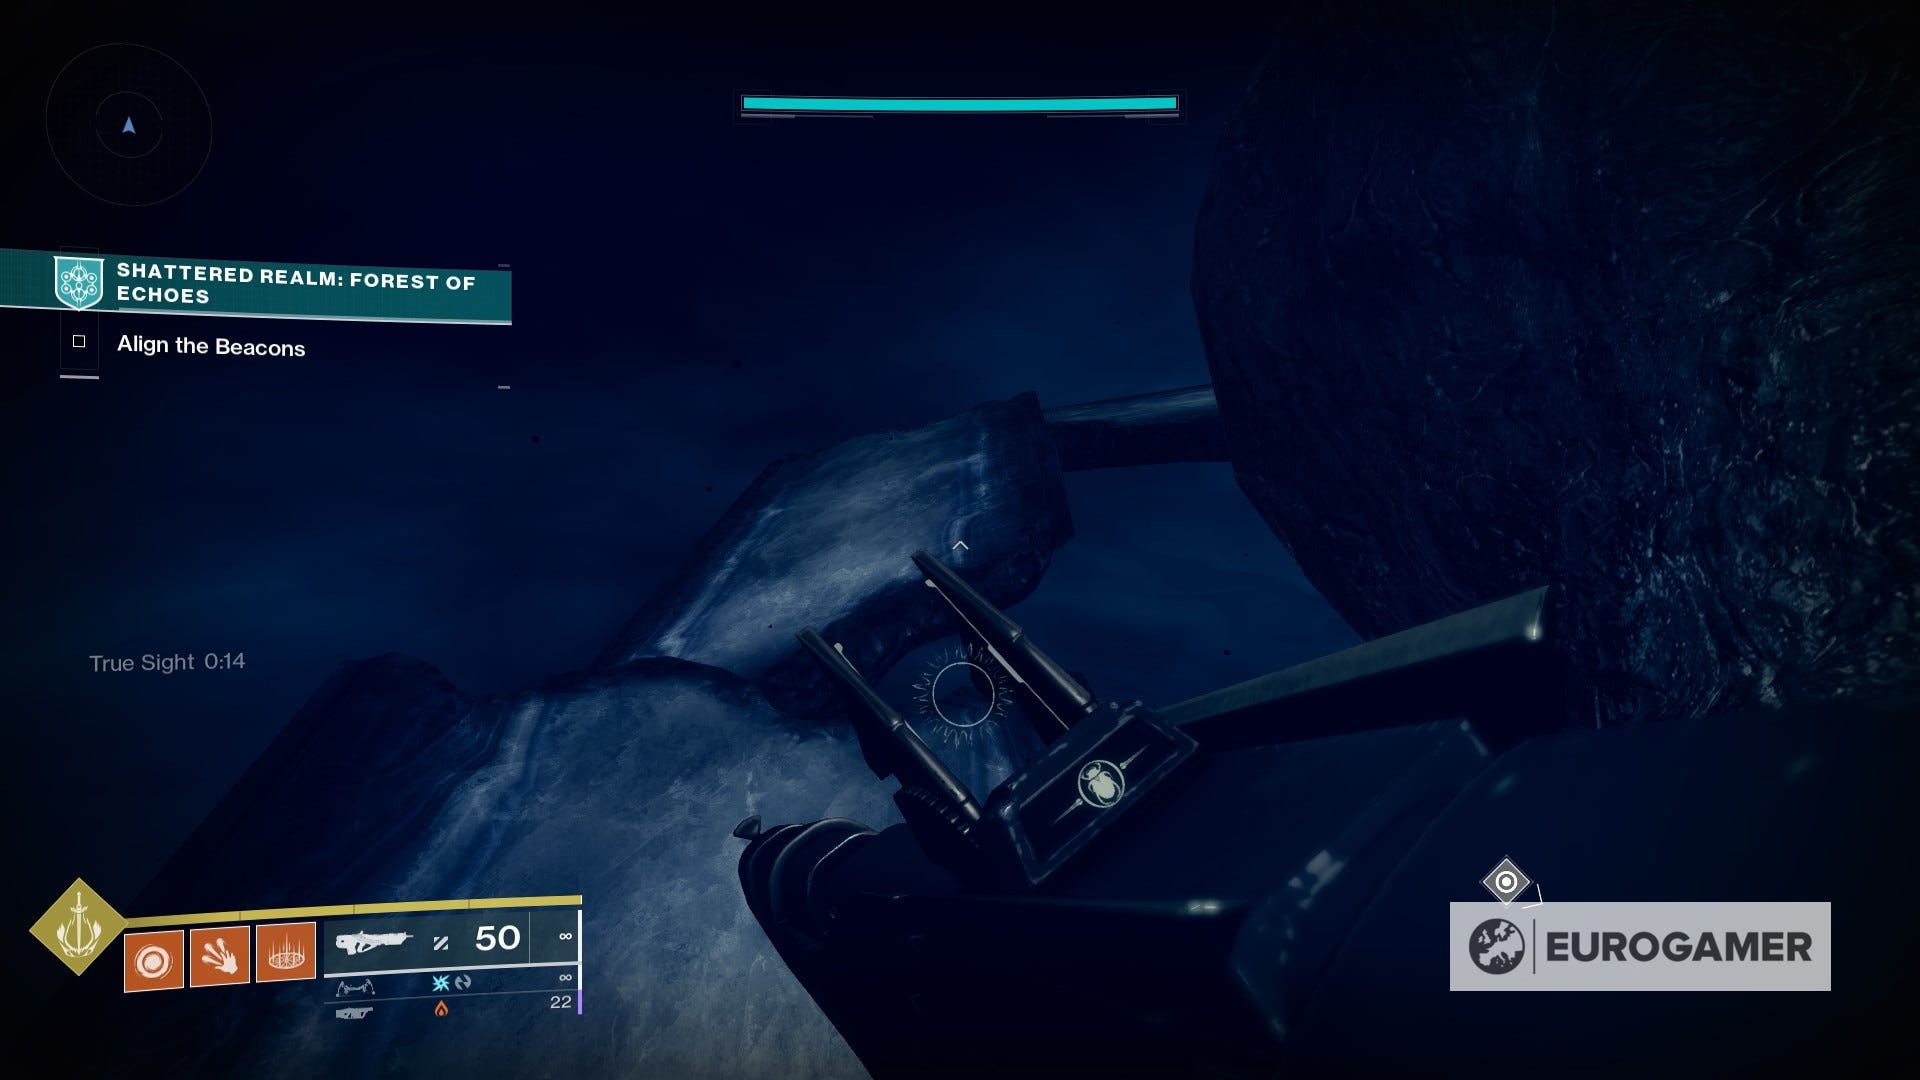
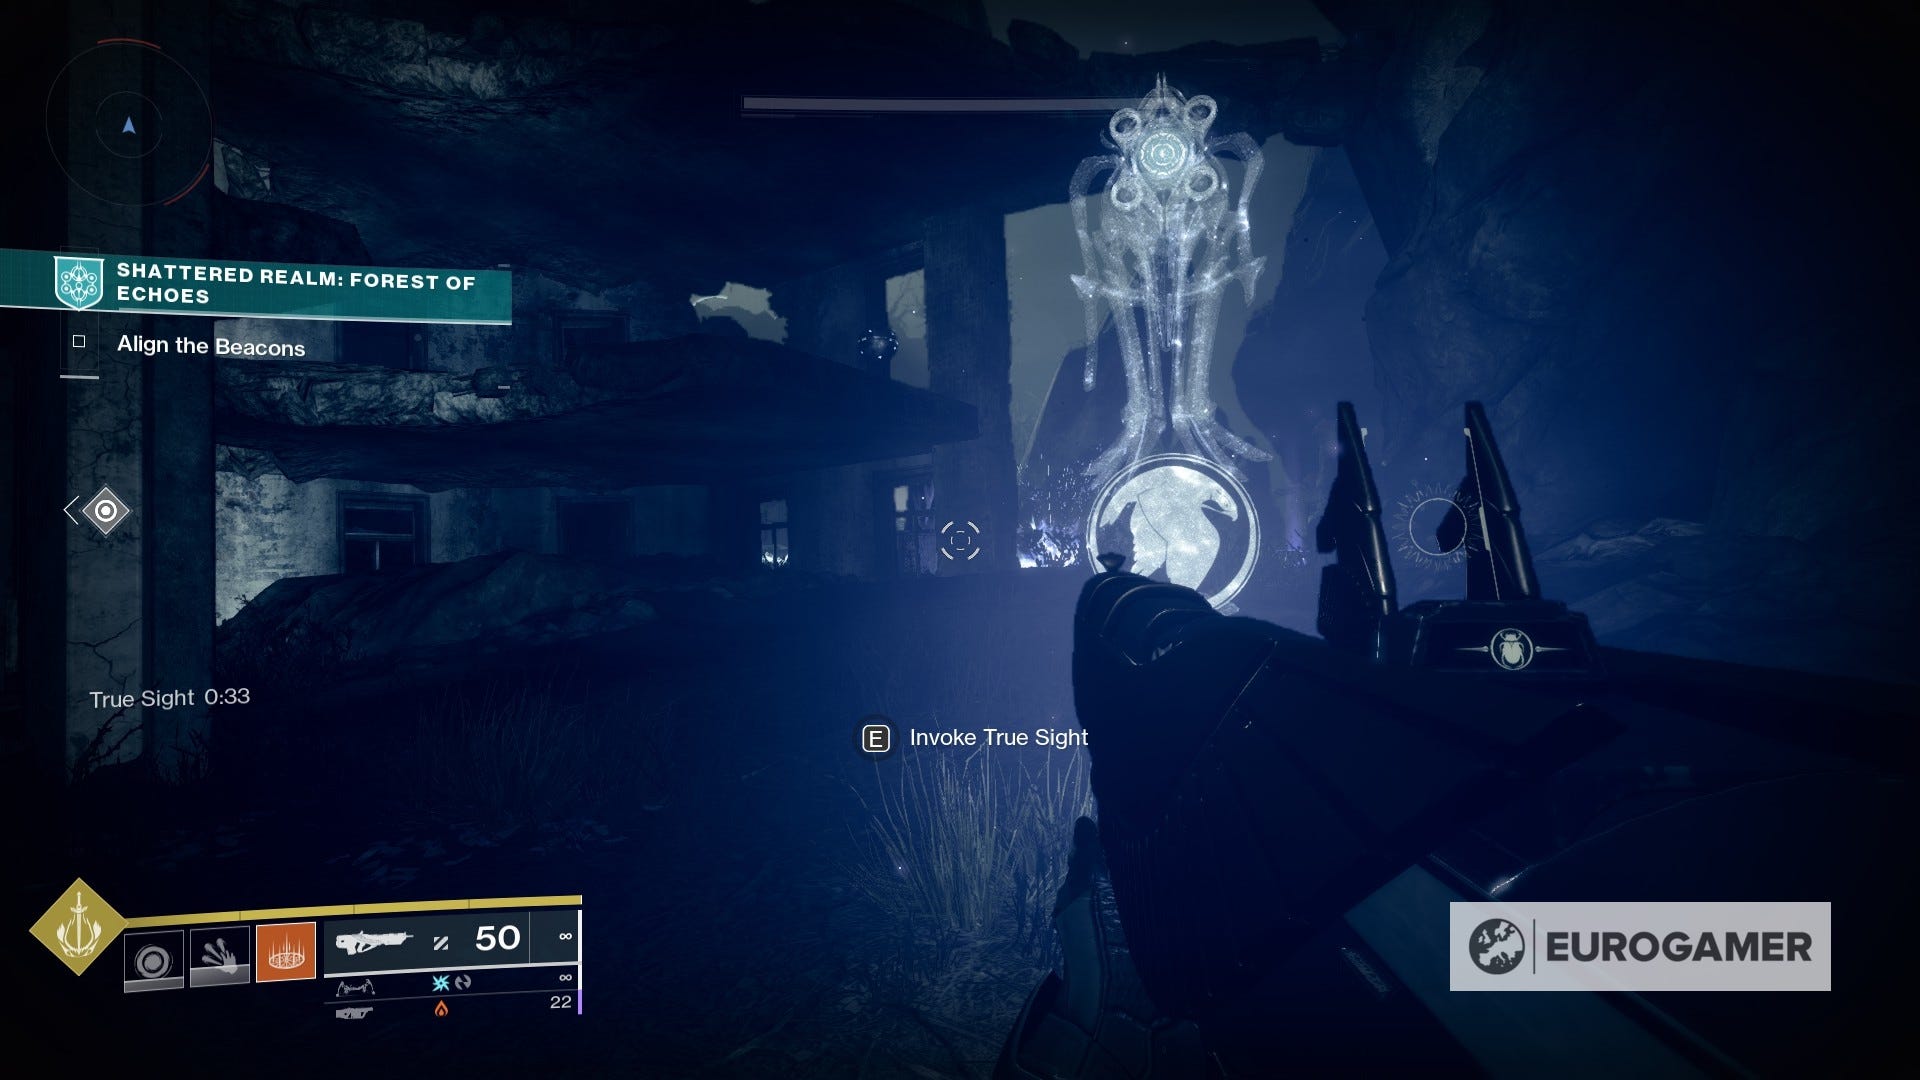
Using the starting location as reference, before heading towards the church, you'll see a True Sight device on the left side, close to the cliff.
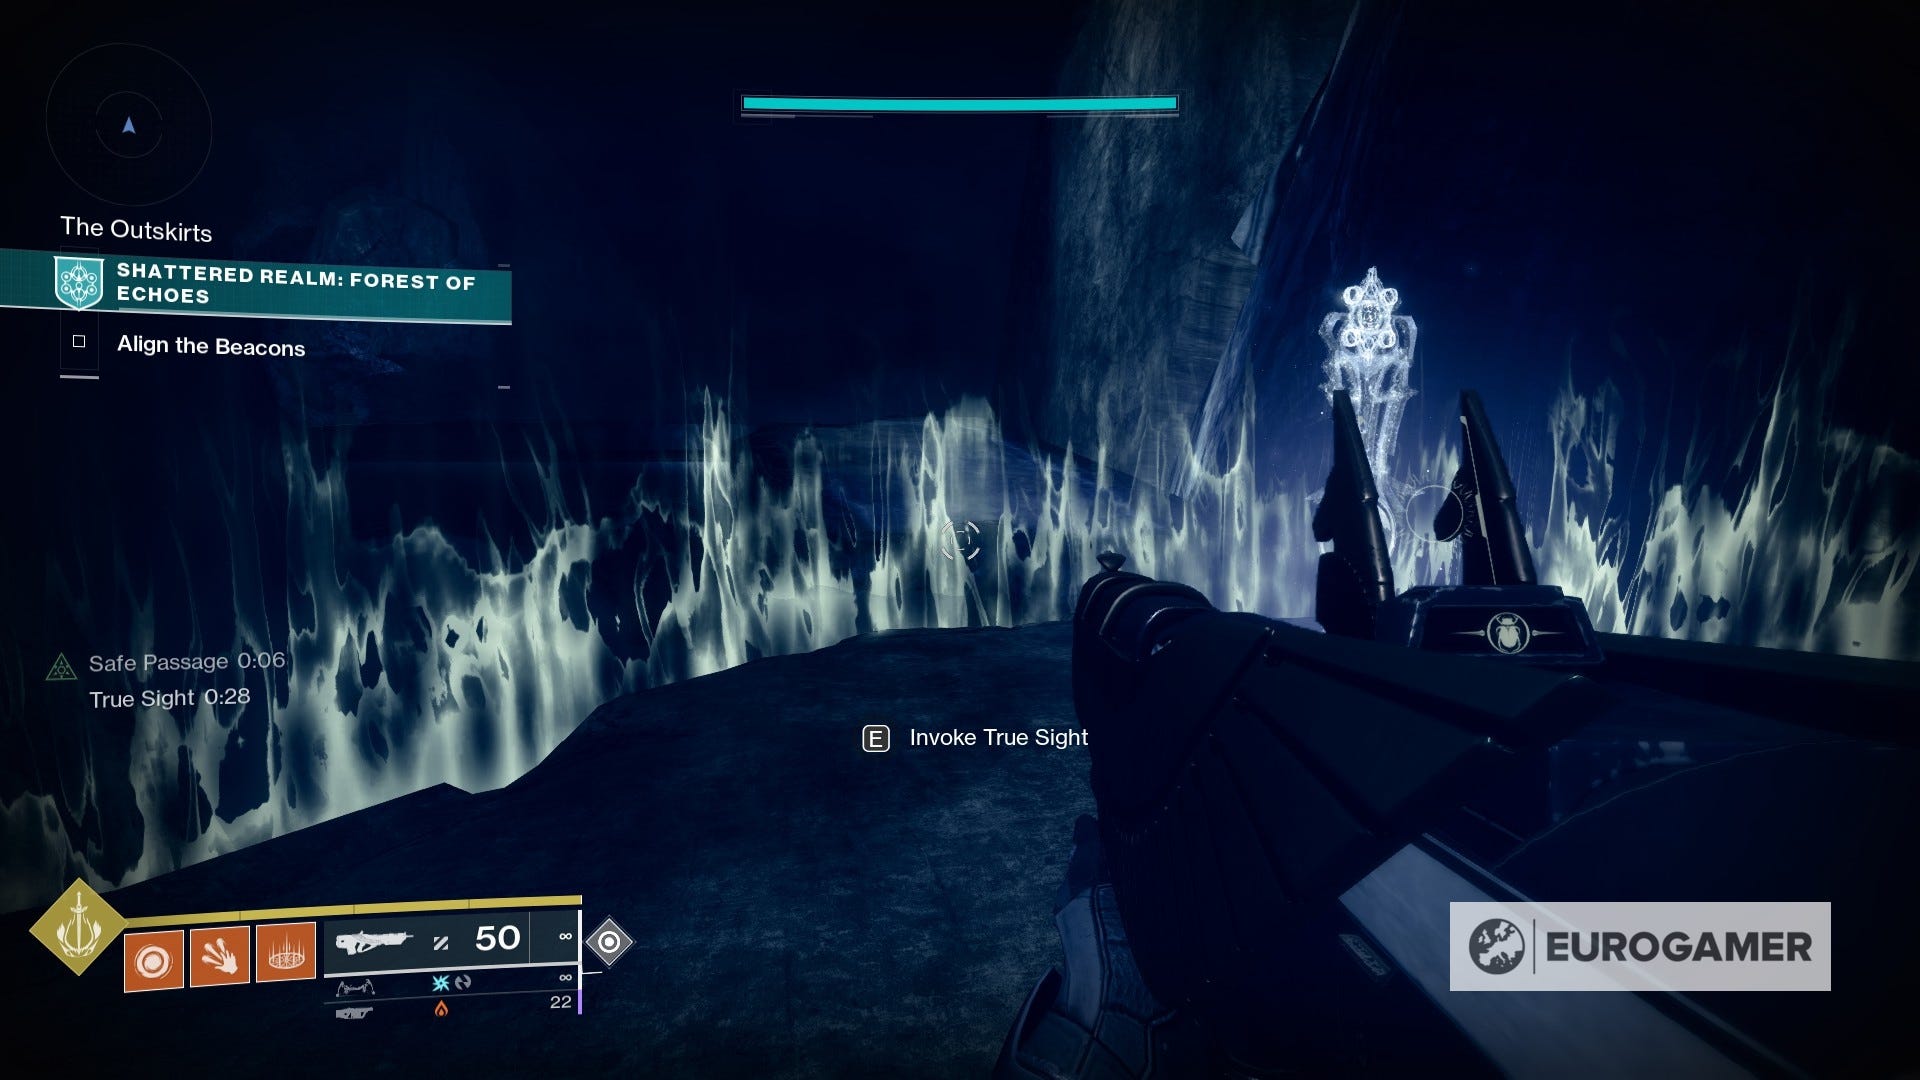
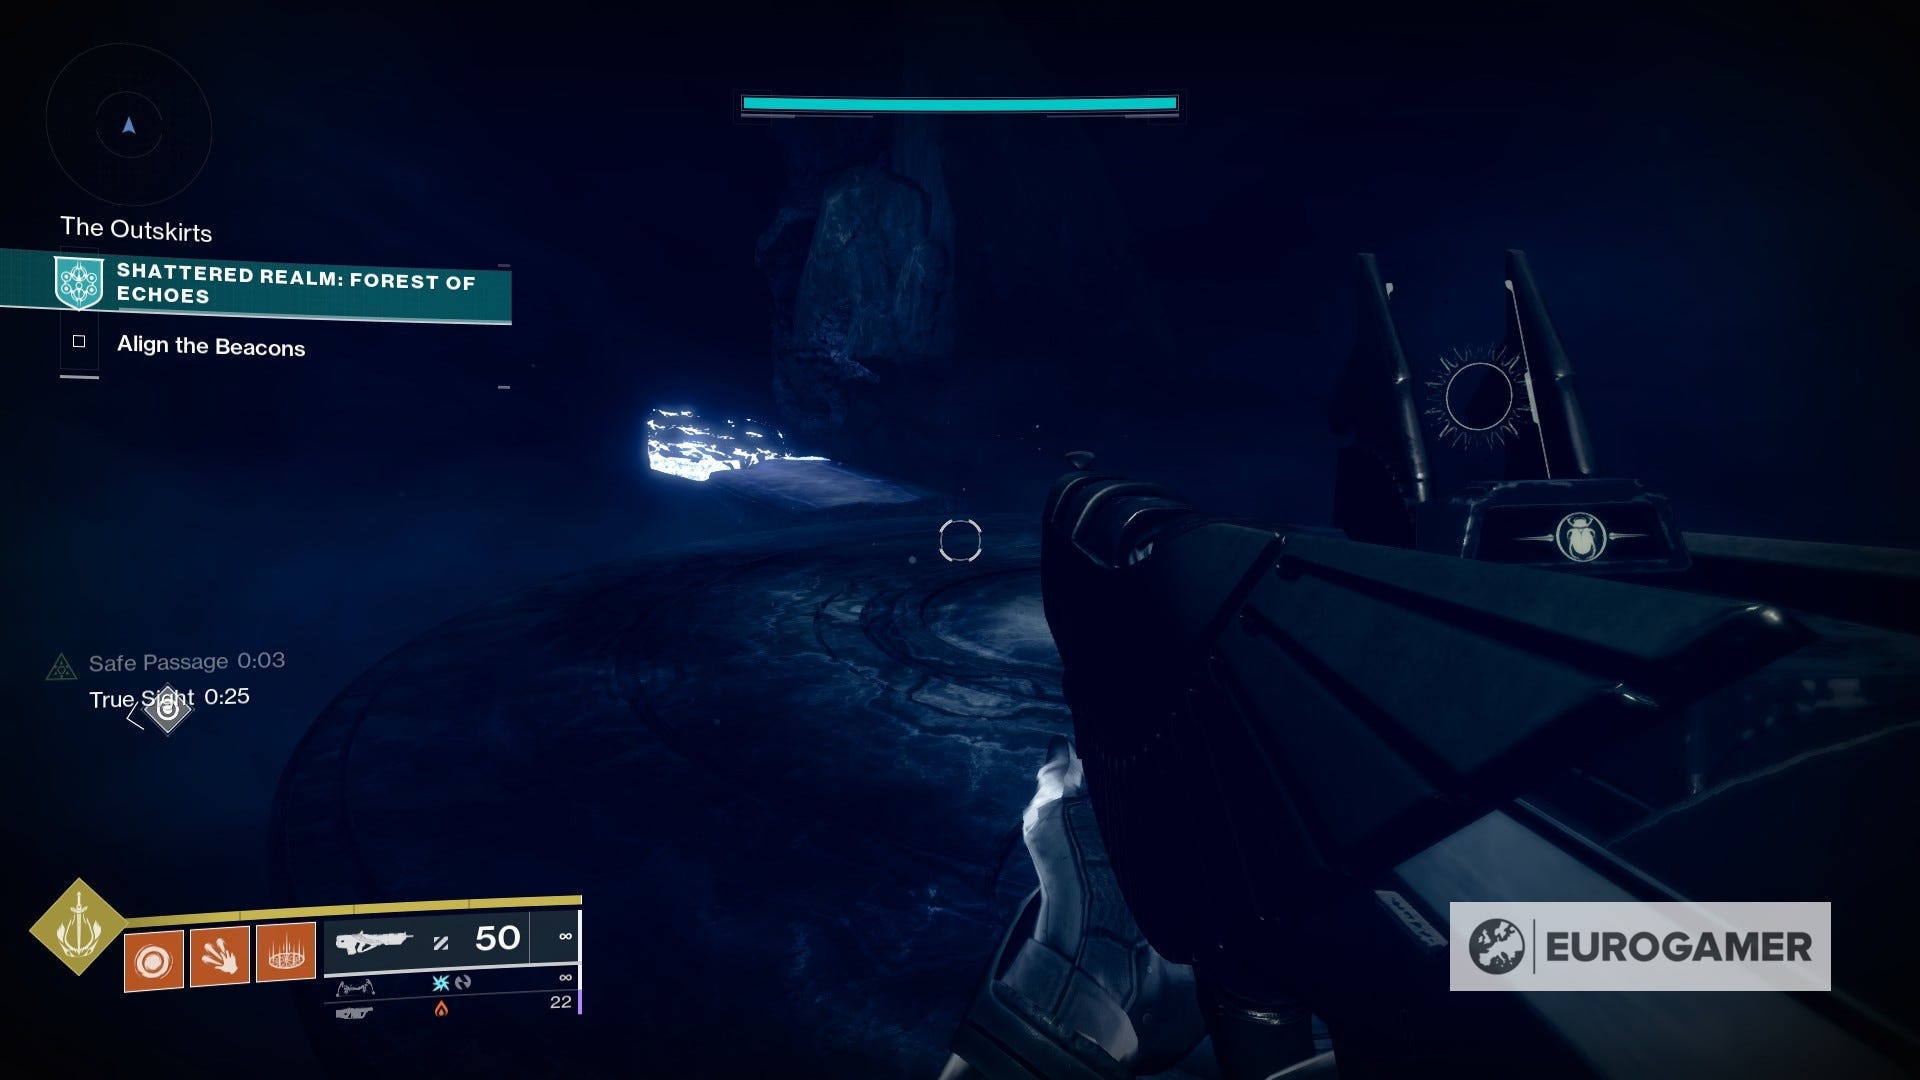
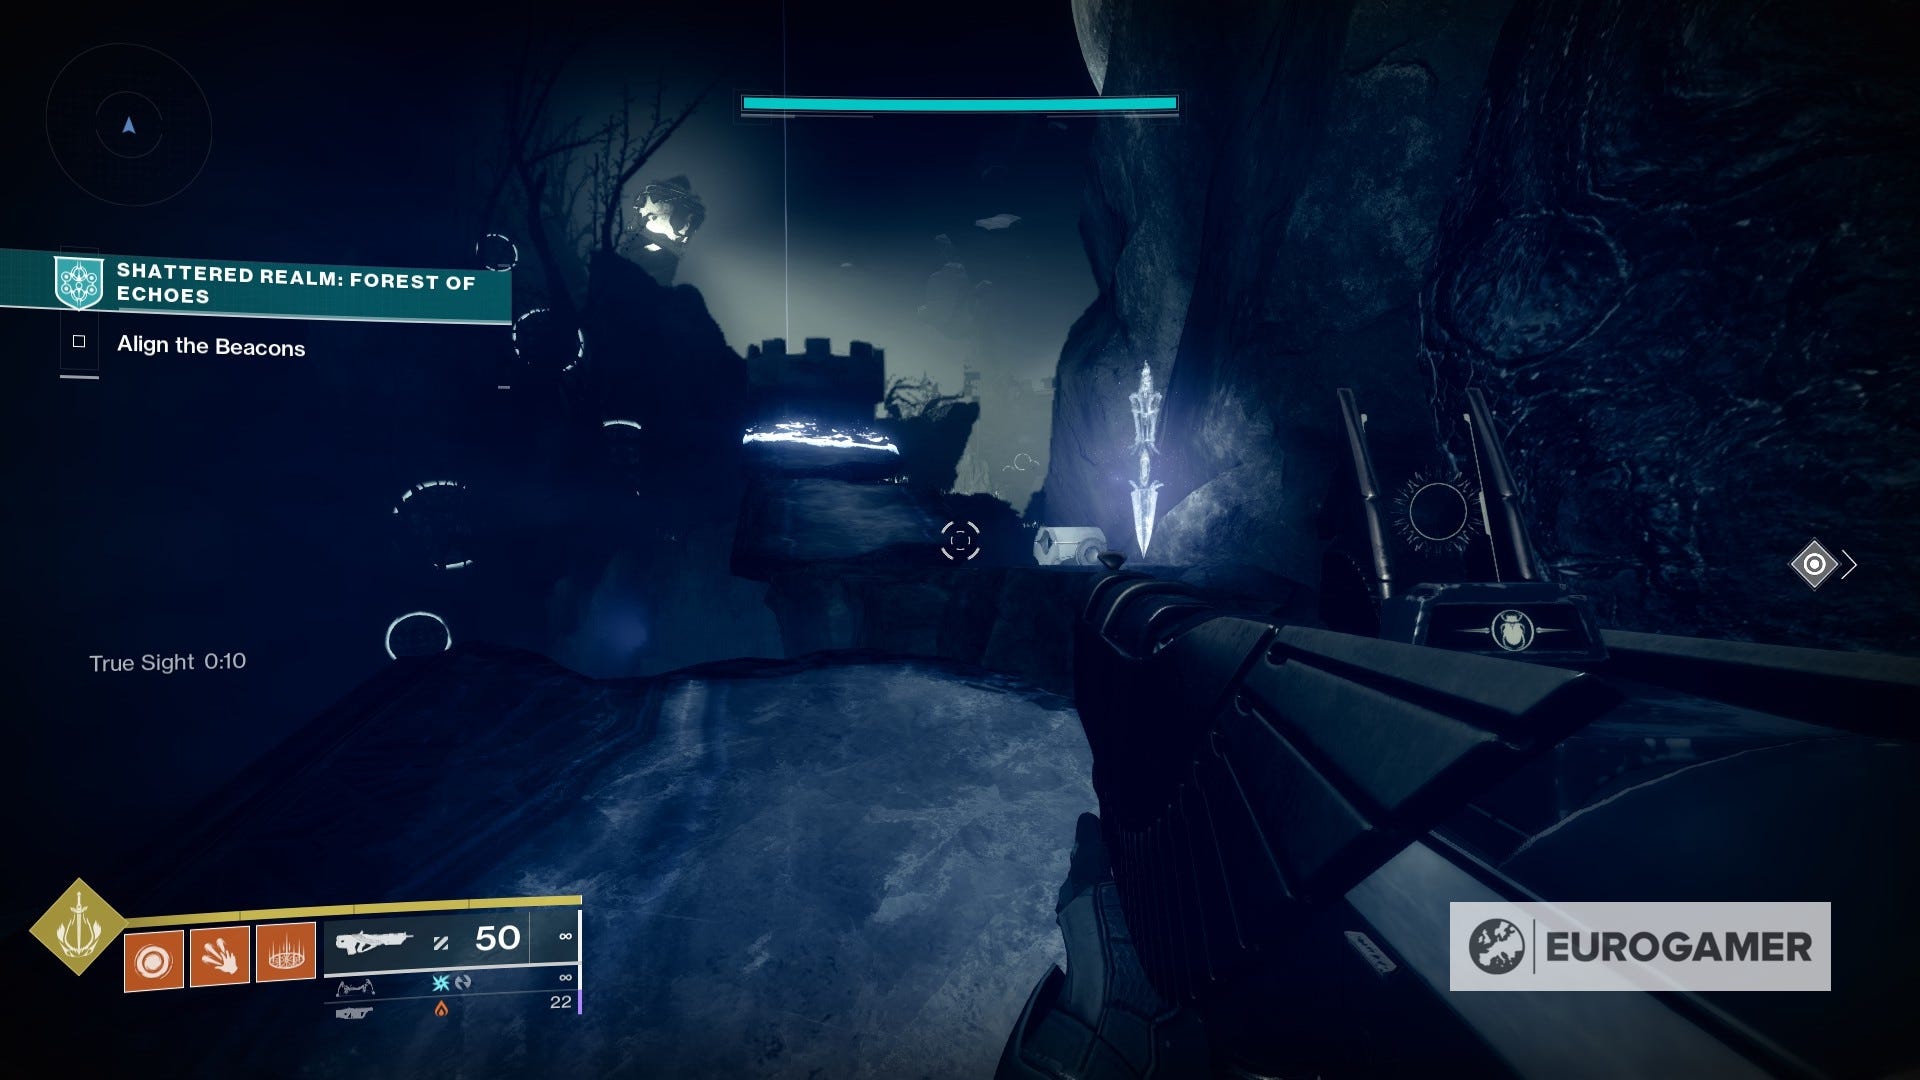
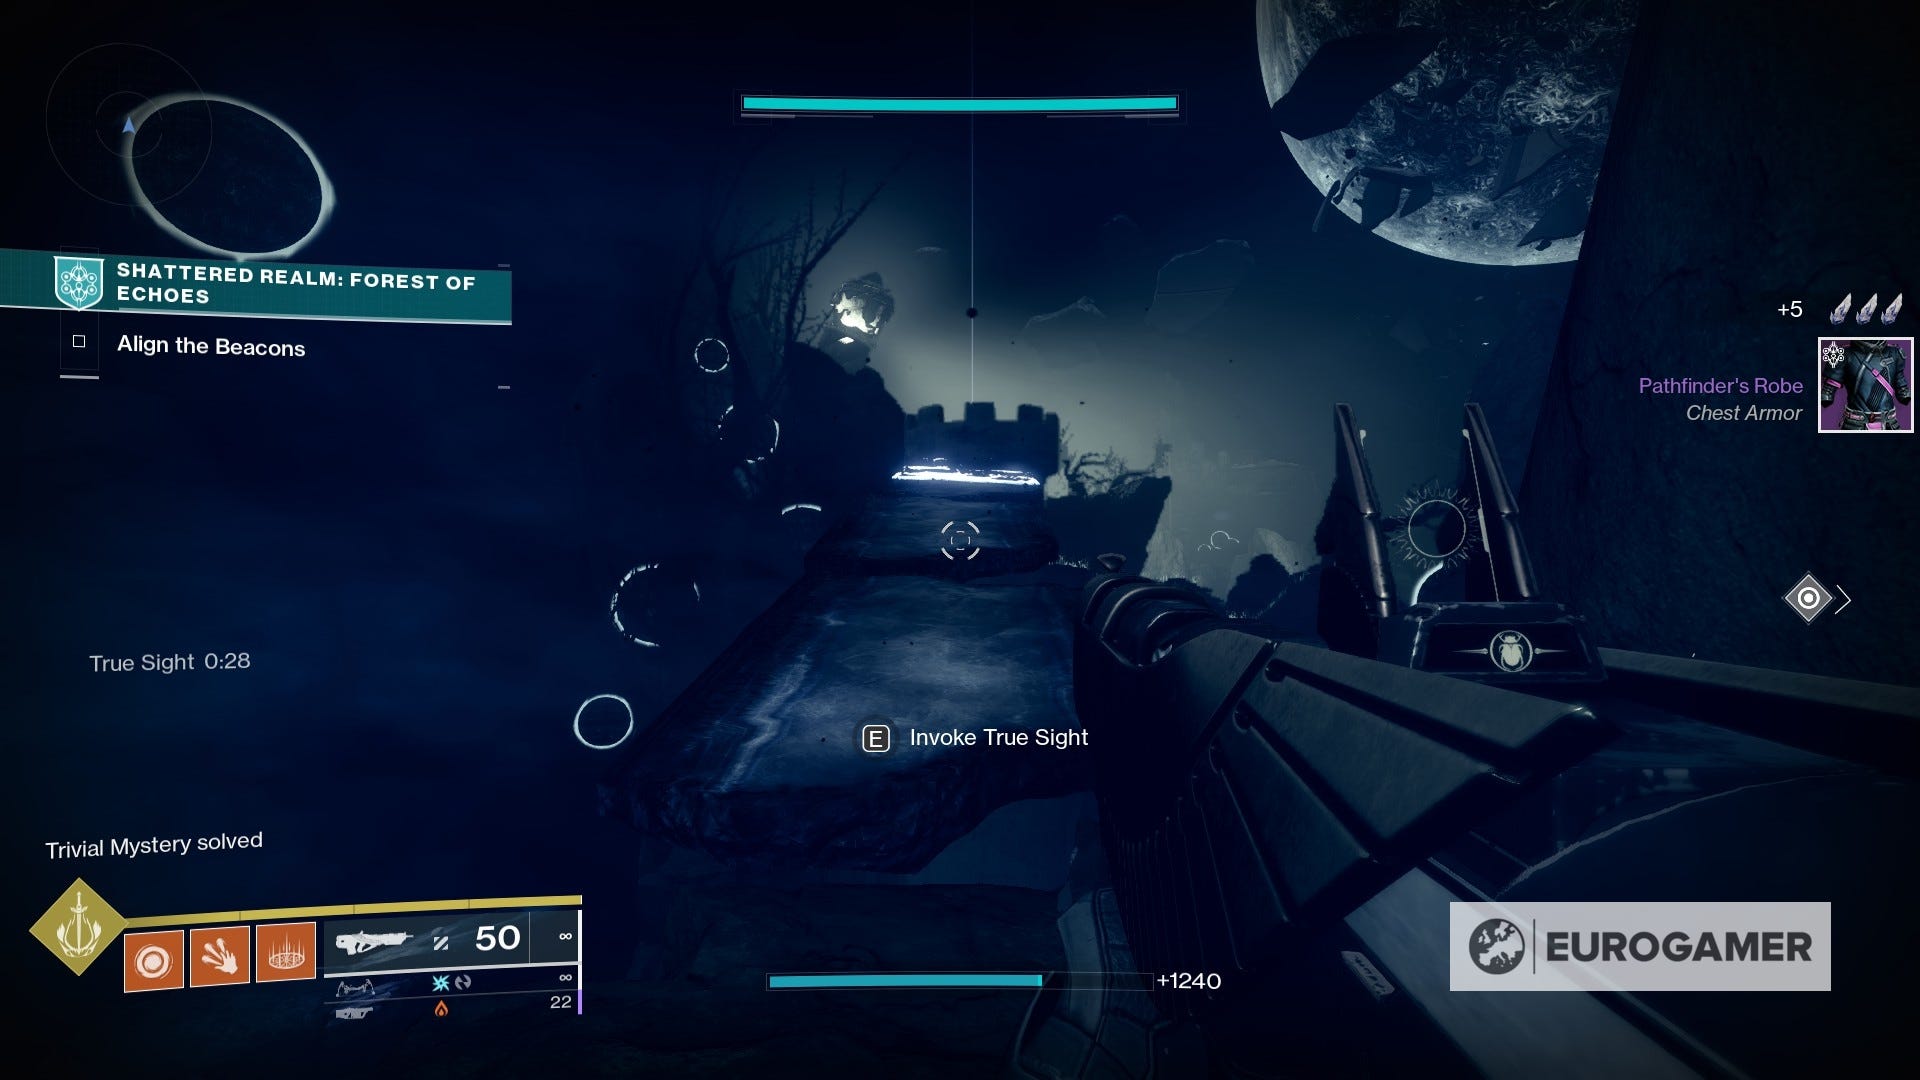
Go ahead and activate, and then follow the floating path towards The Shrine.

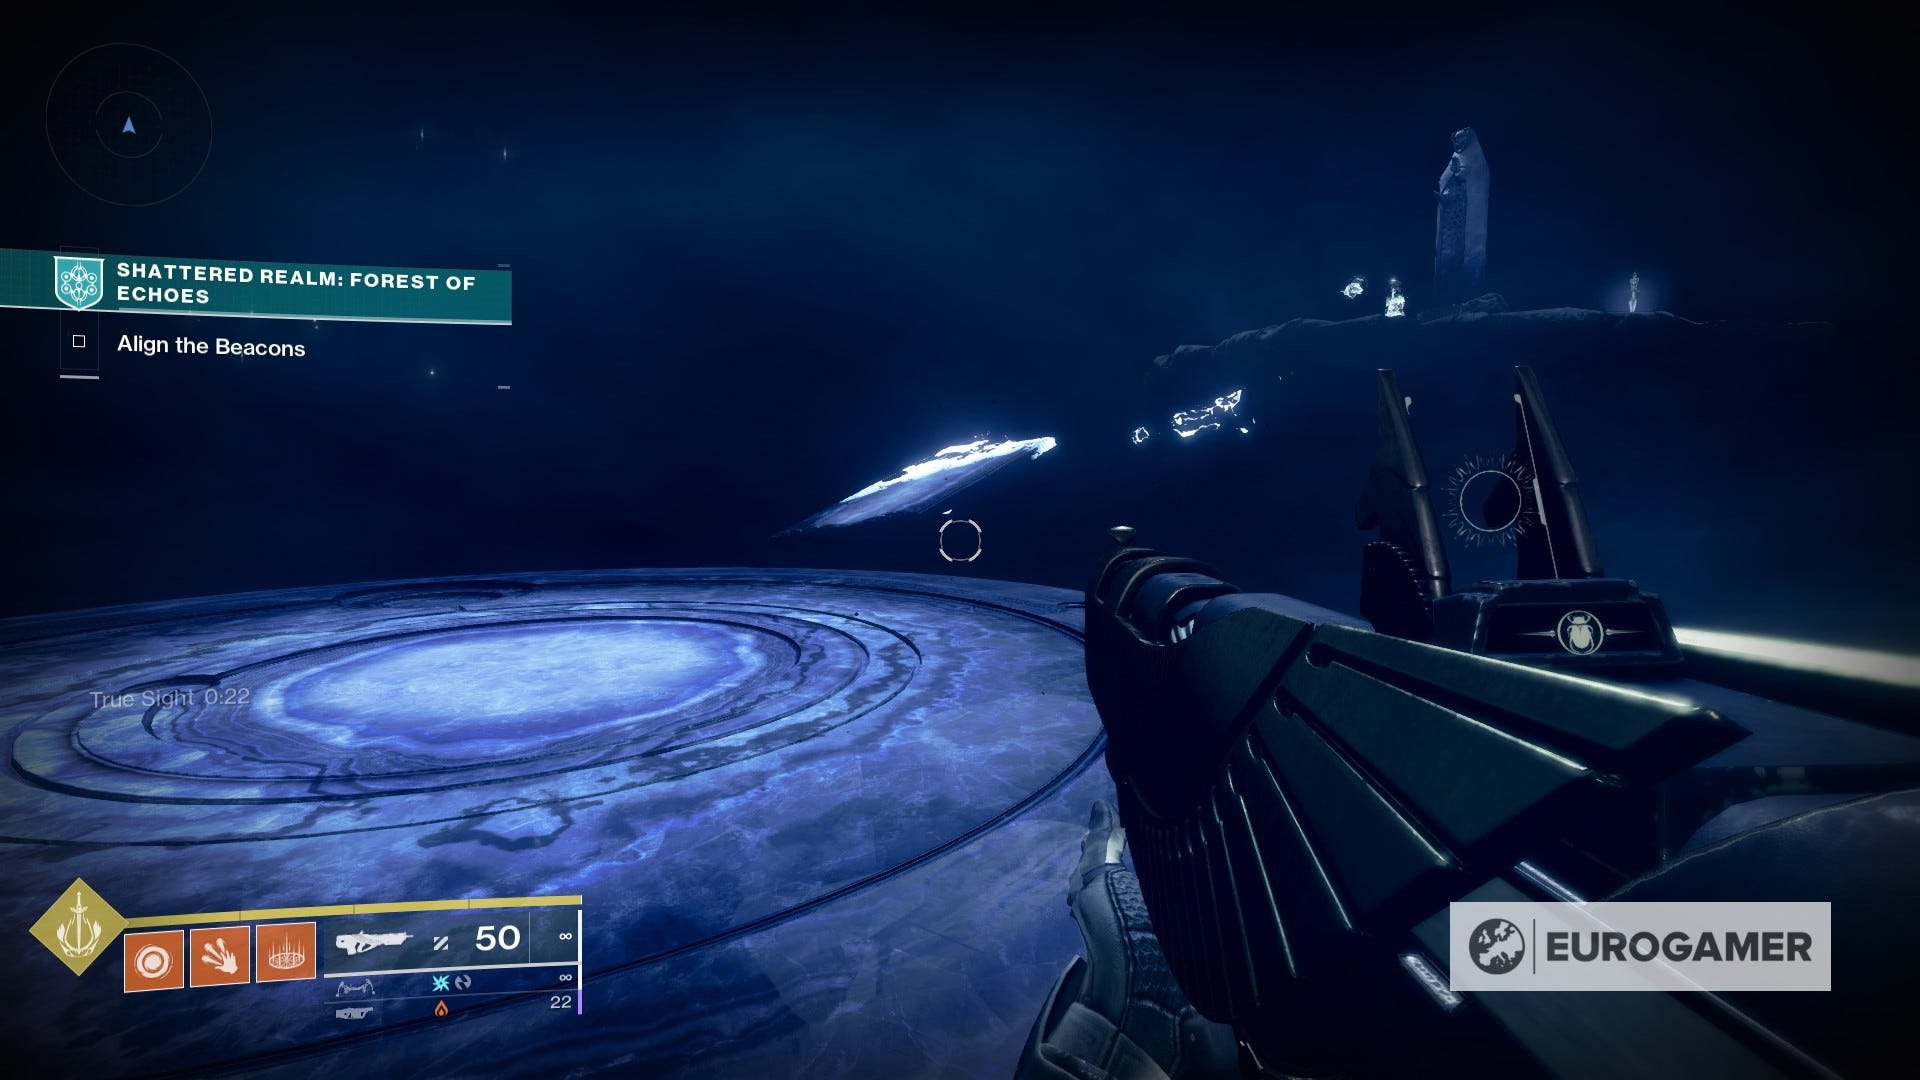
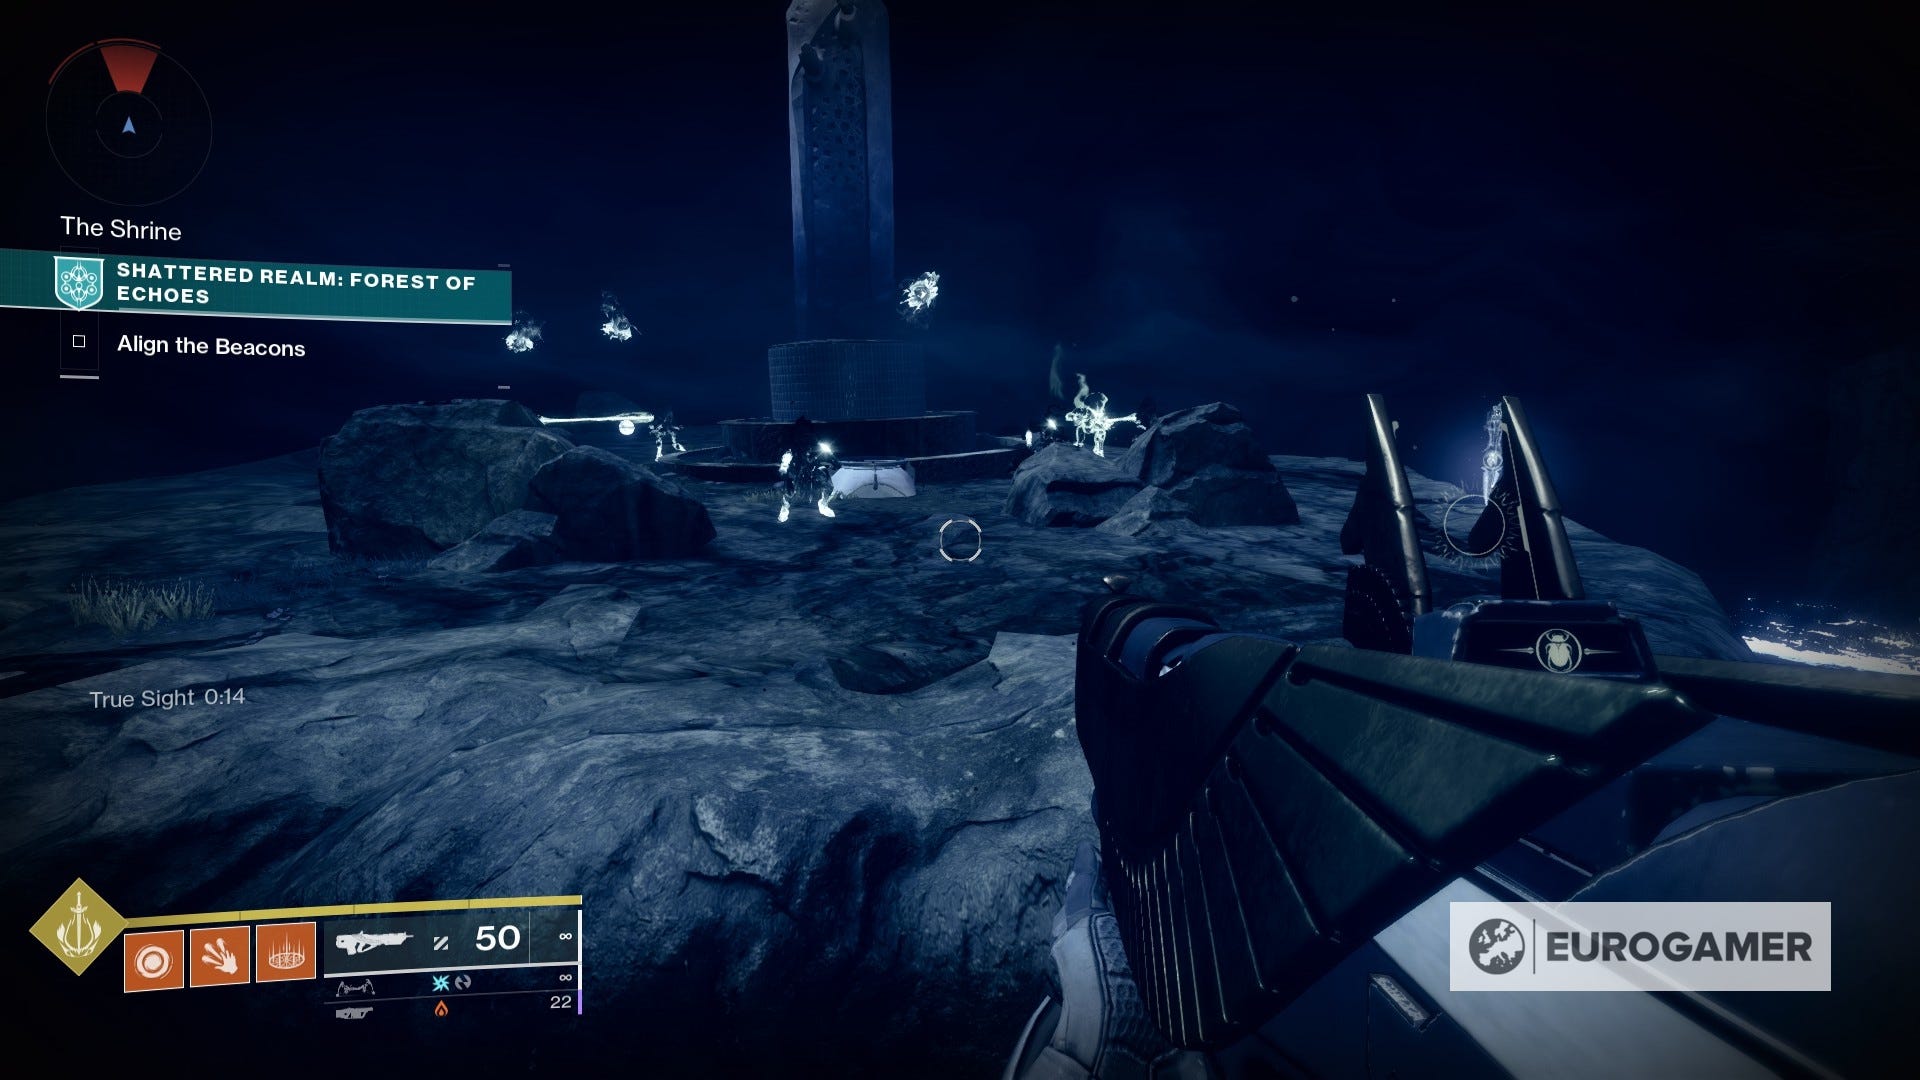
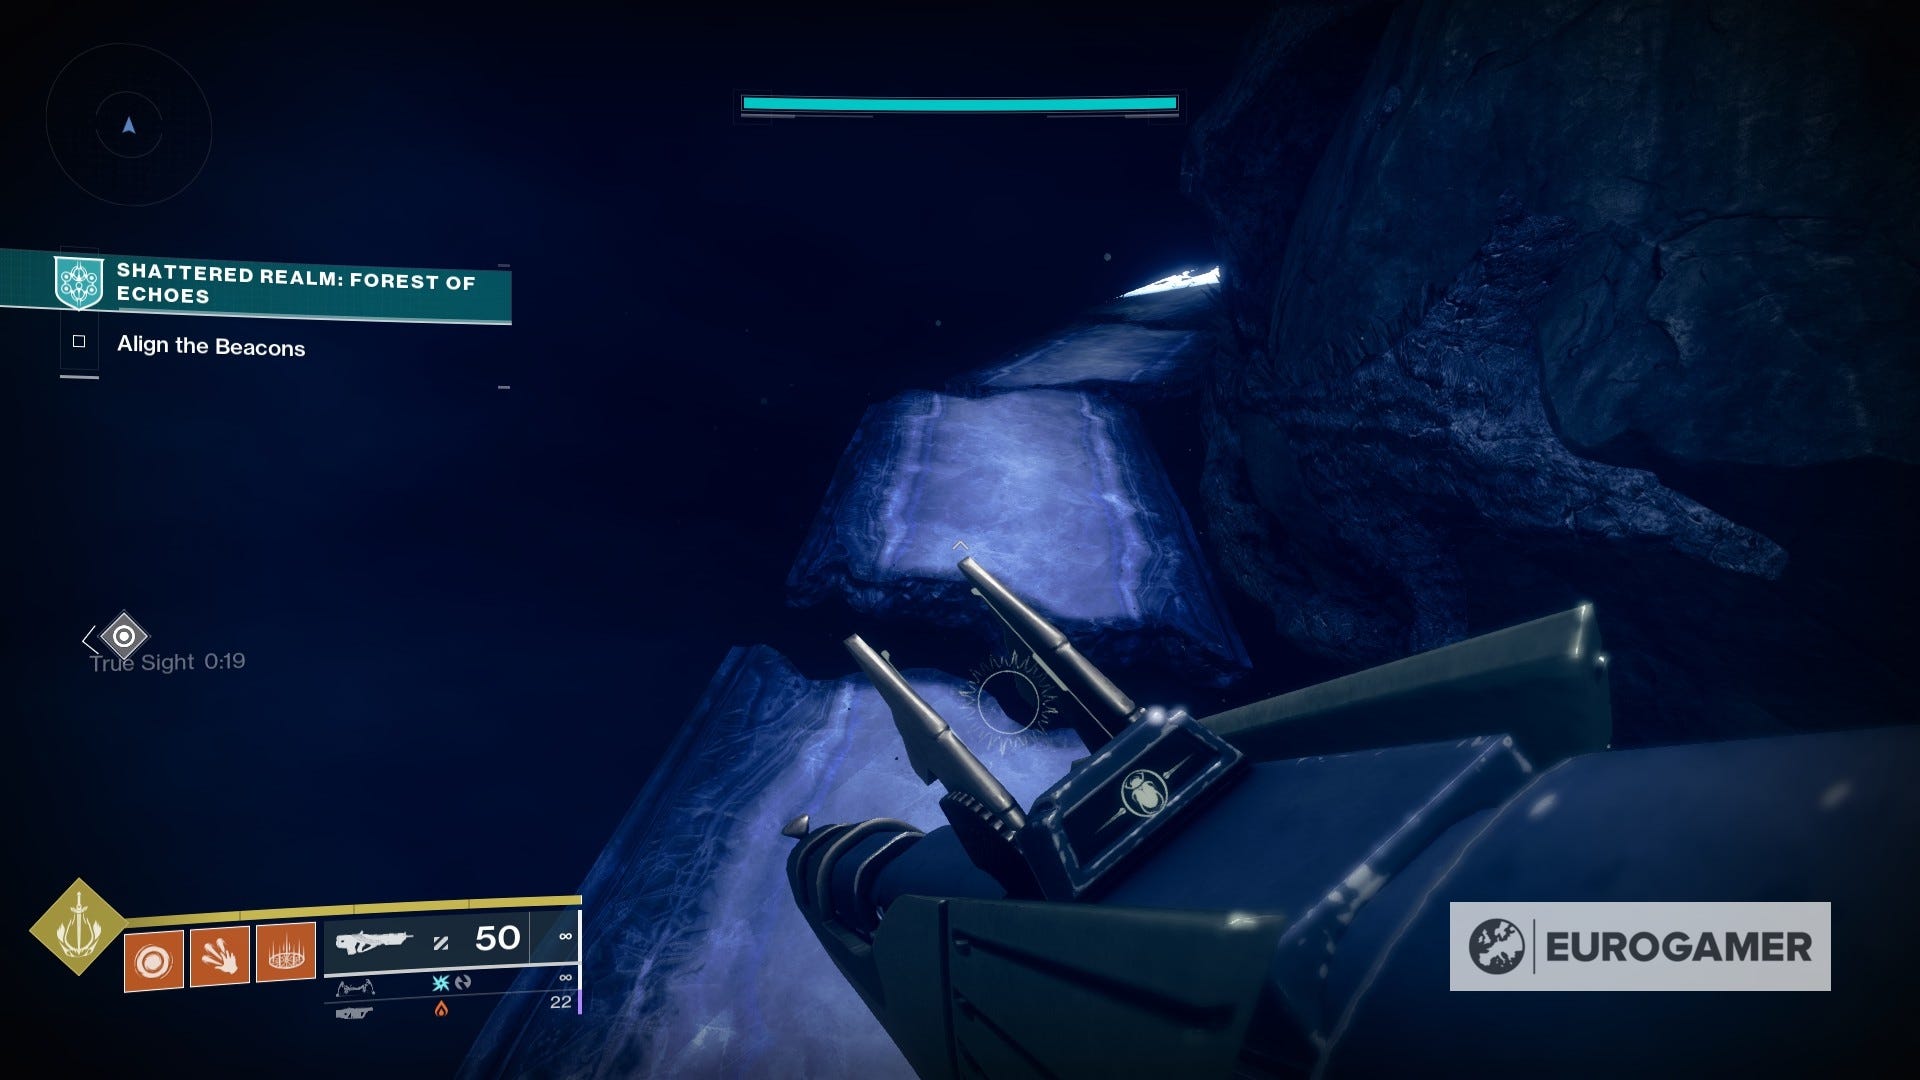
Once there, as long as you still have True Sight active (there's another device in the island if you need to recharge), you will find the Data Cache behind the statue.
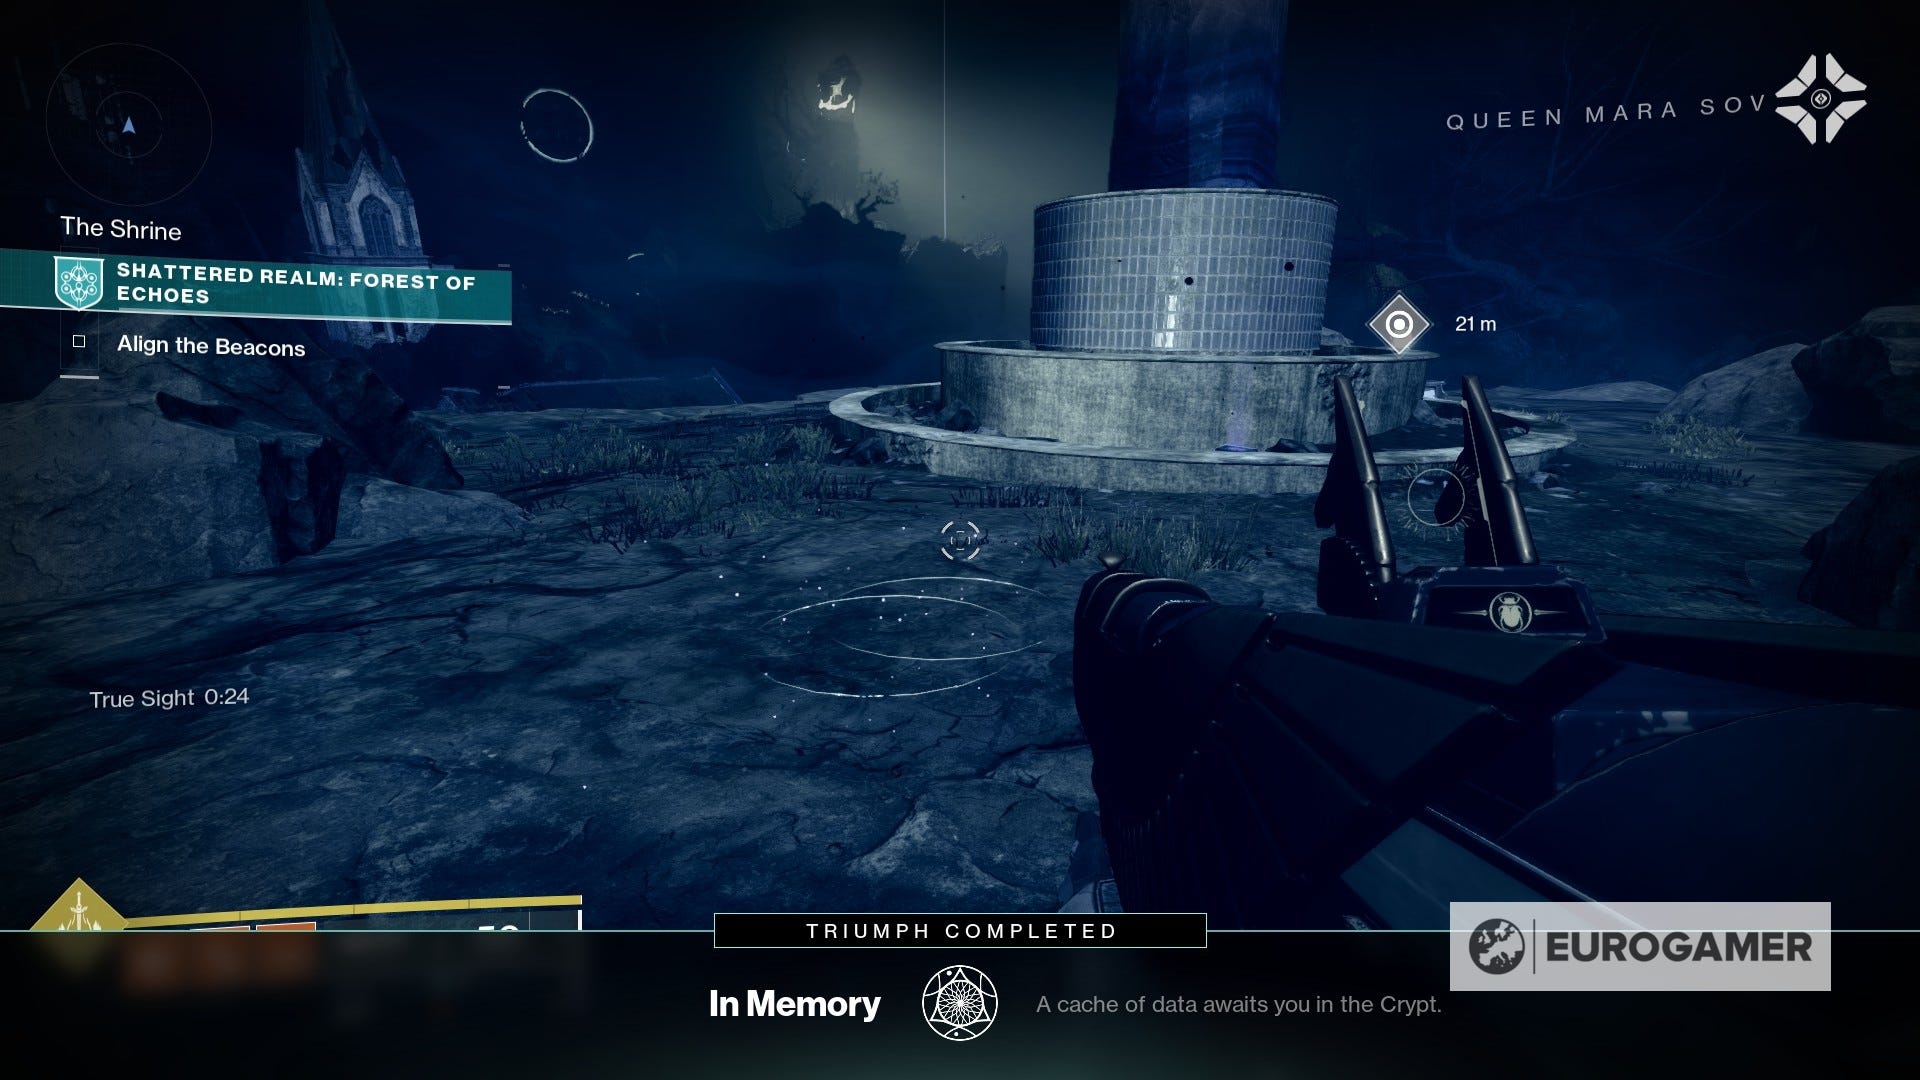
That's all for In Memory!
Bearings Data Cache location
This Data Cache is found in Shattered Realm: Debris of Dreams - debuting during Week 5 of the season - and is recommended you unlock Sight: Frequency Echoes by completing the mission once first.
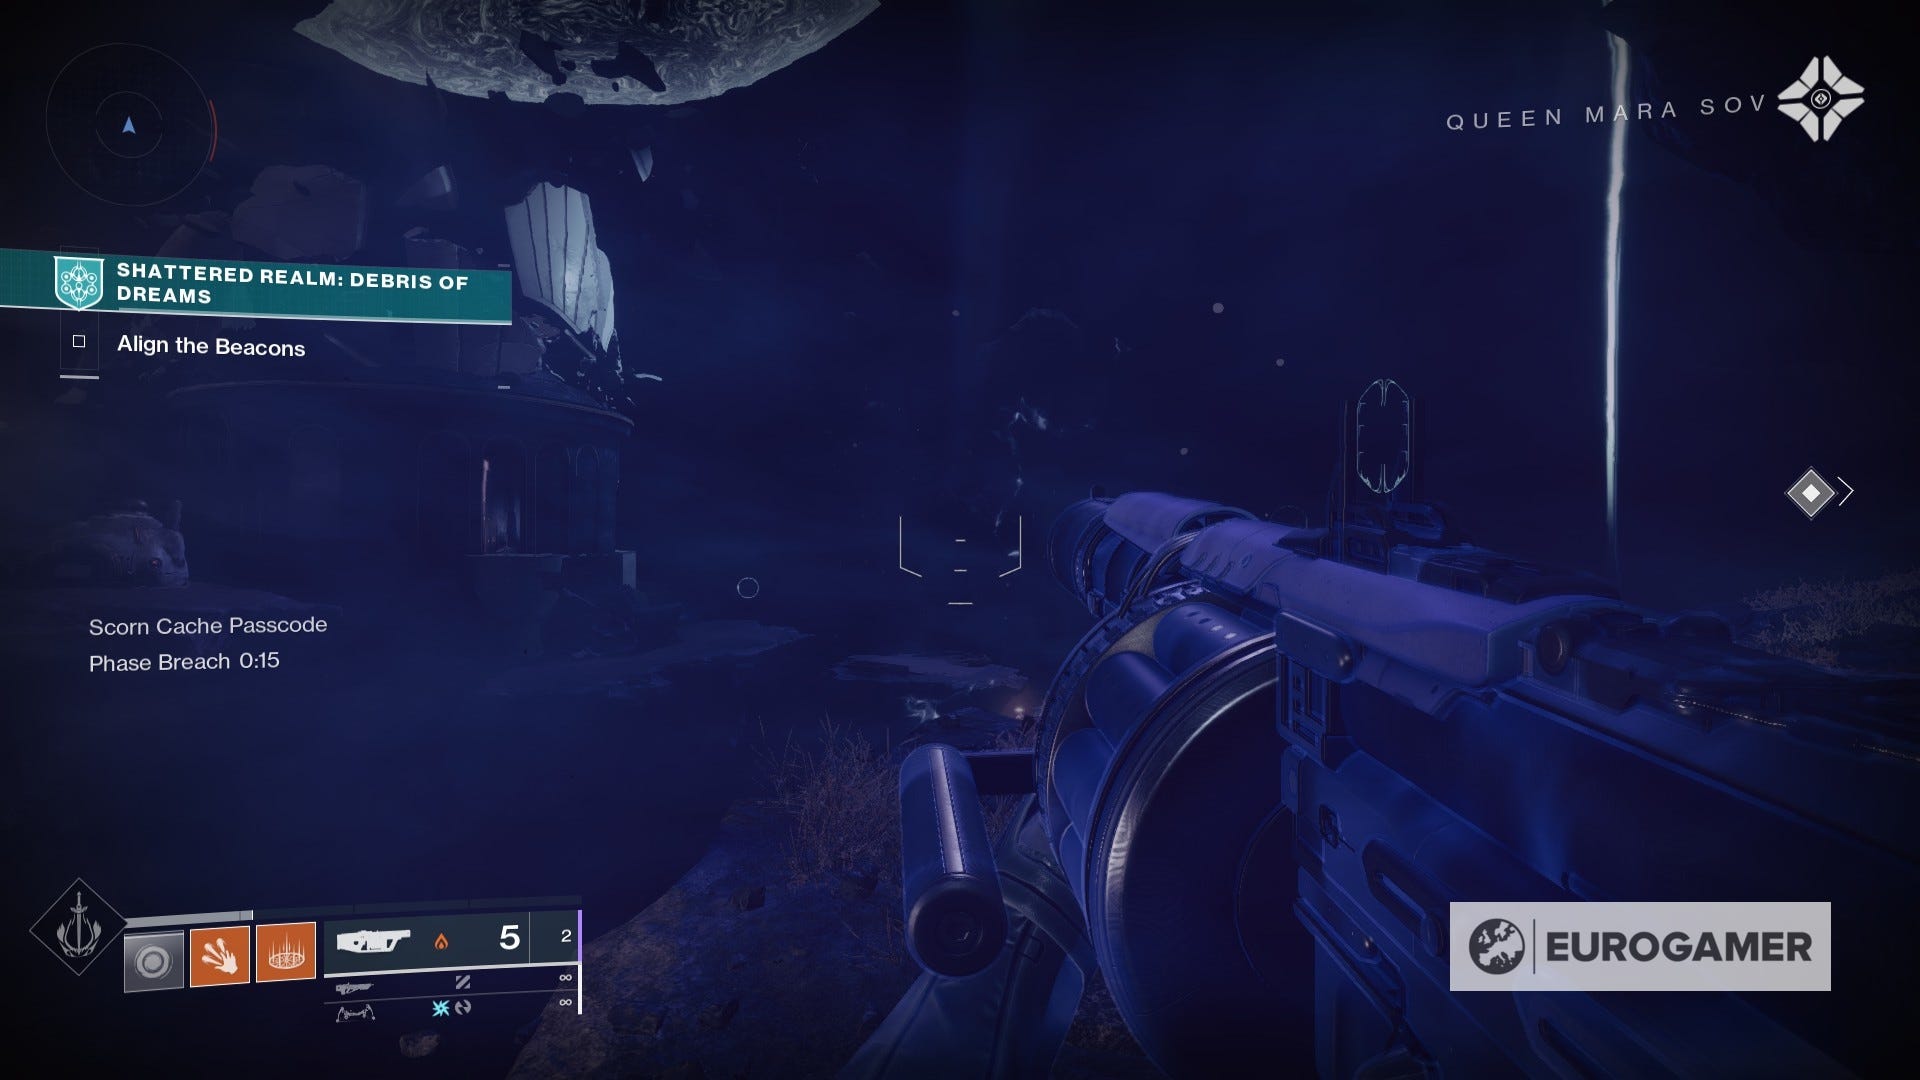
The Bearings can be found around The Outer Ruins area. To access it, it's best if you first complete both beacons.
The first few steps are akin to the Left Behind Trivial Mystery, in case it's helpful.
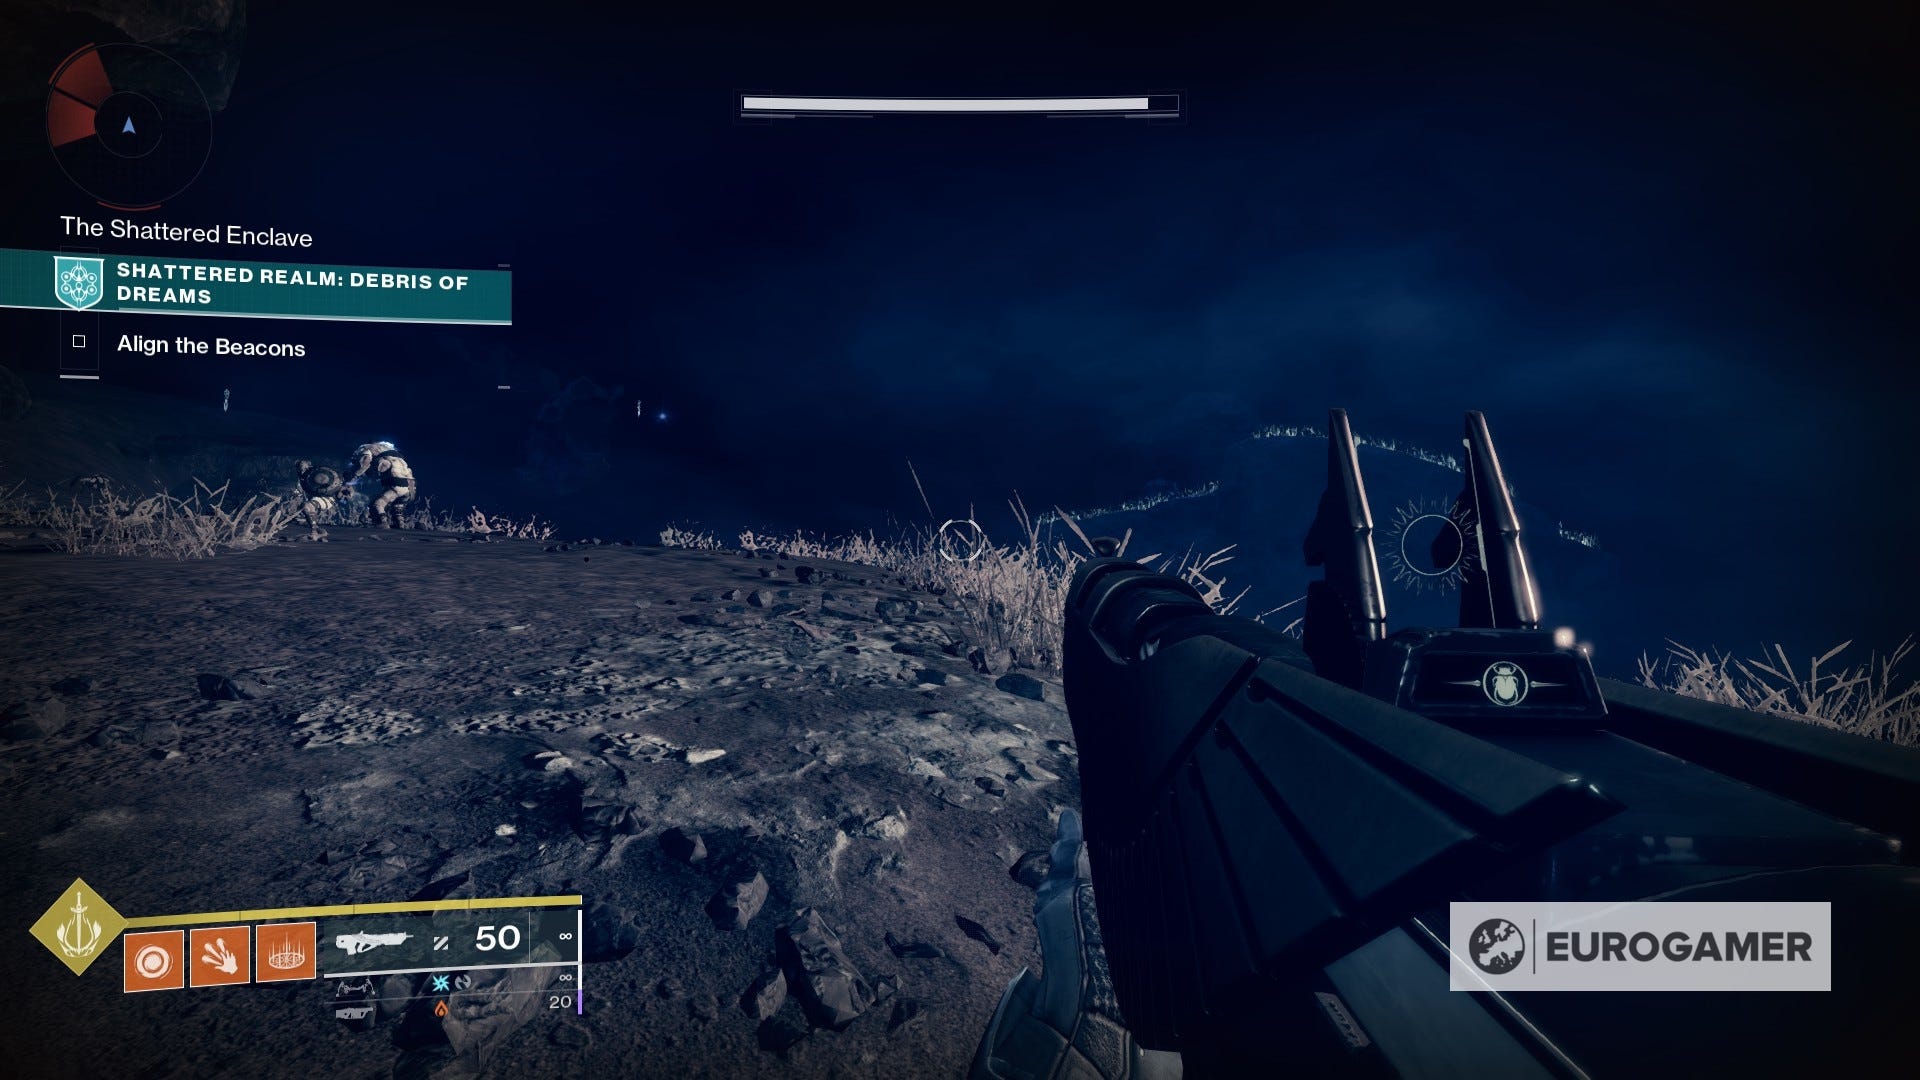
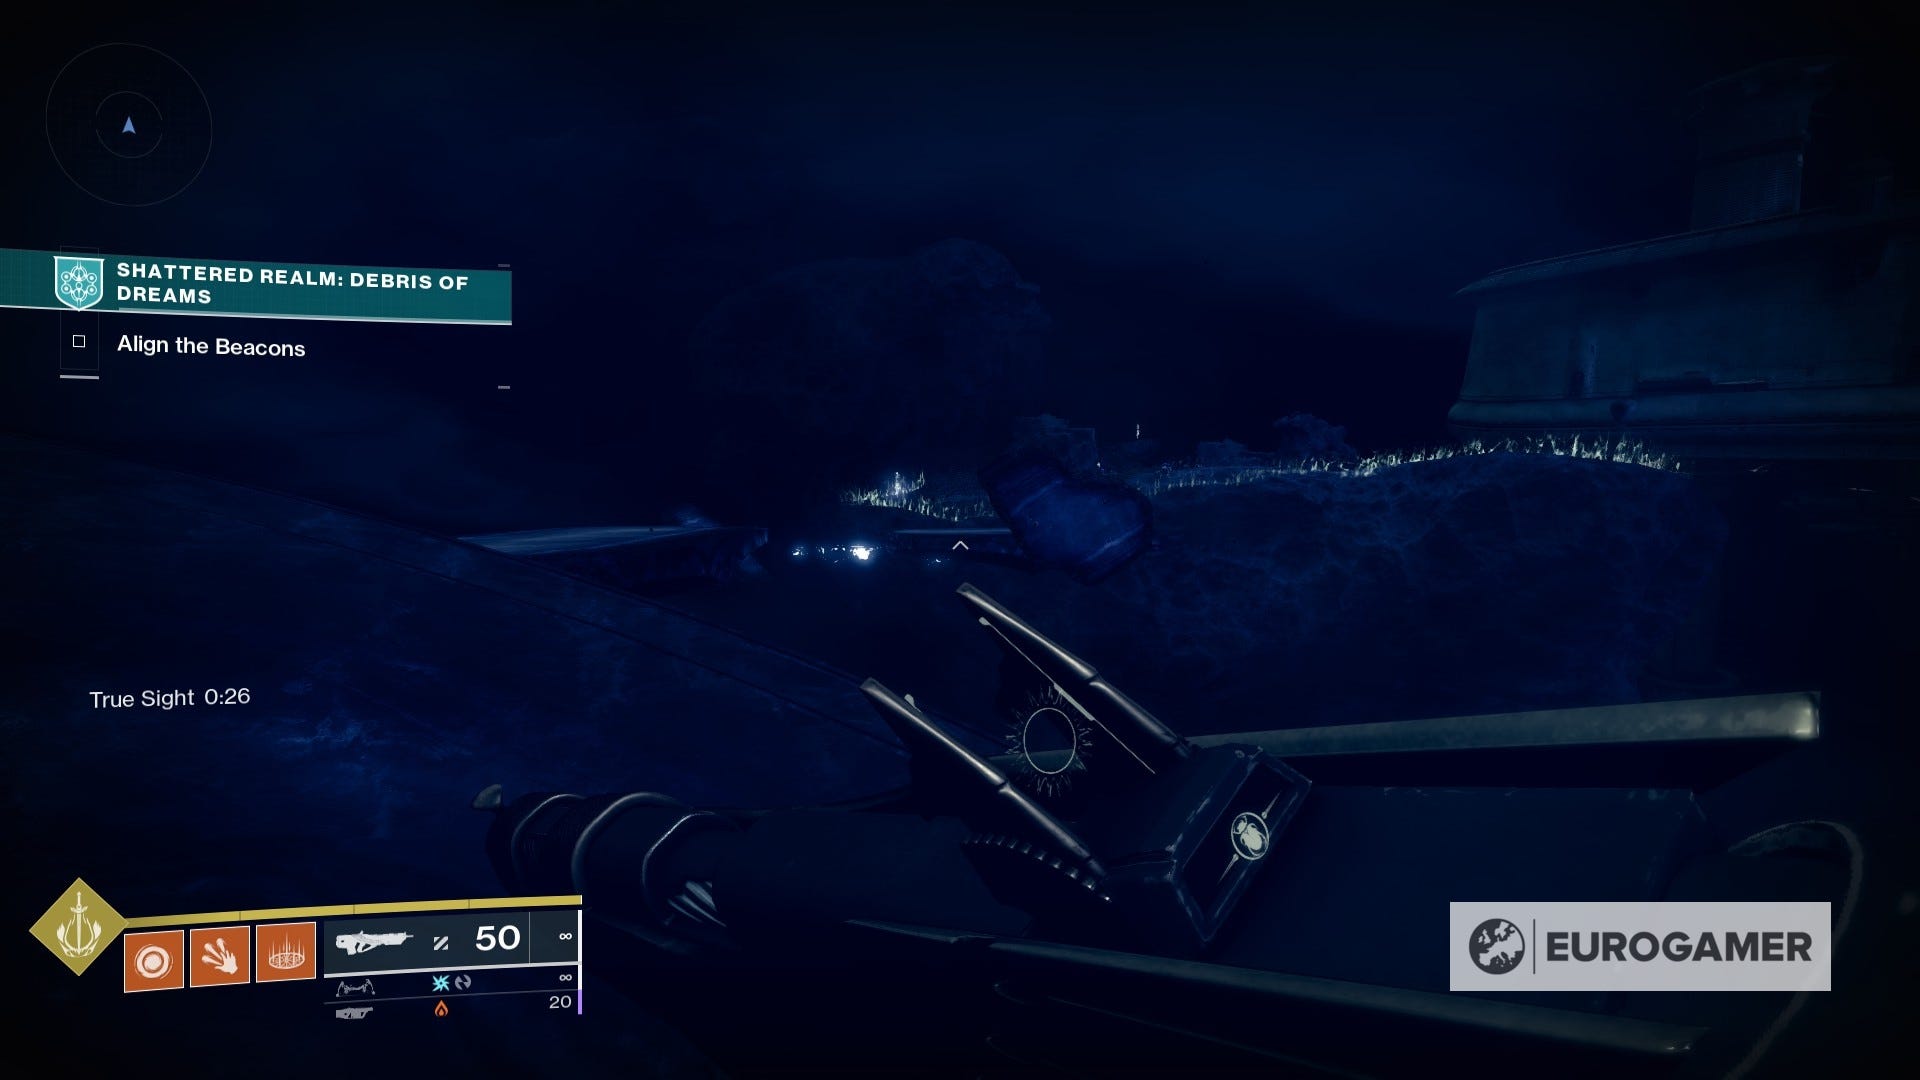
Using the location of the first beacon as reference, we're heading outside of the church towards its back - so, from the beacon itself, head outside by going forward and then look to your right.
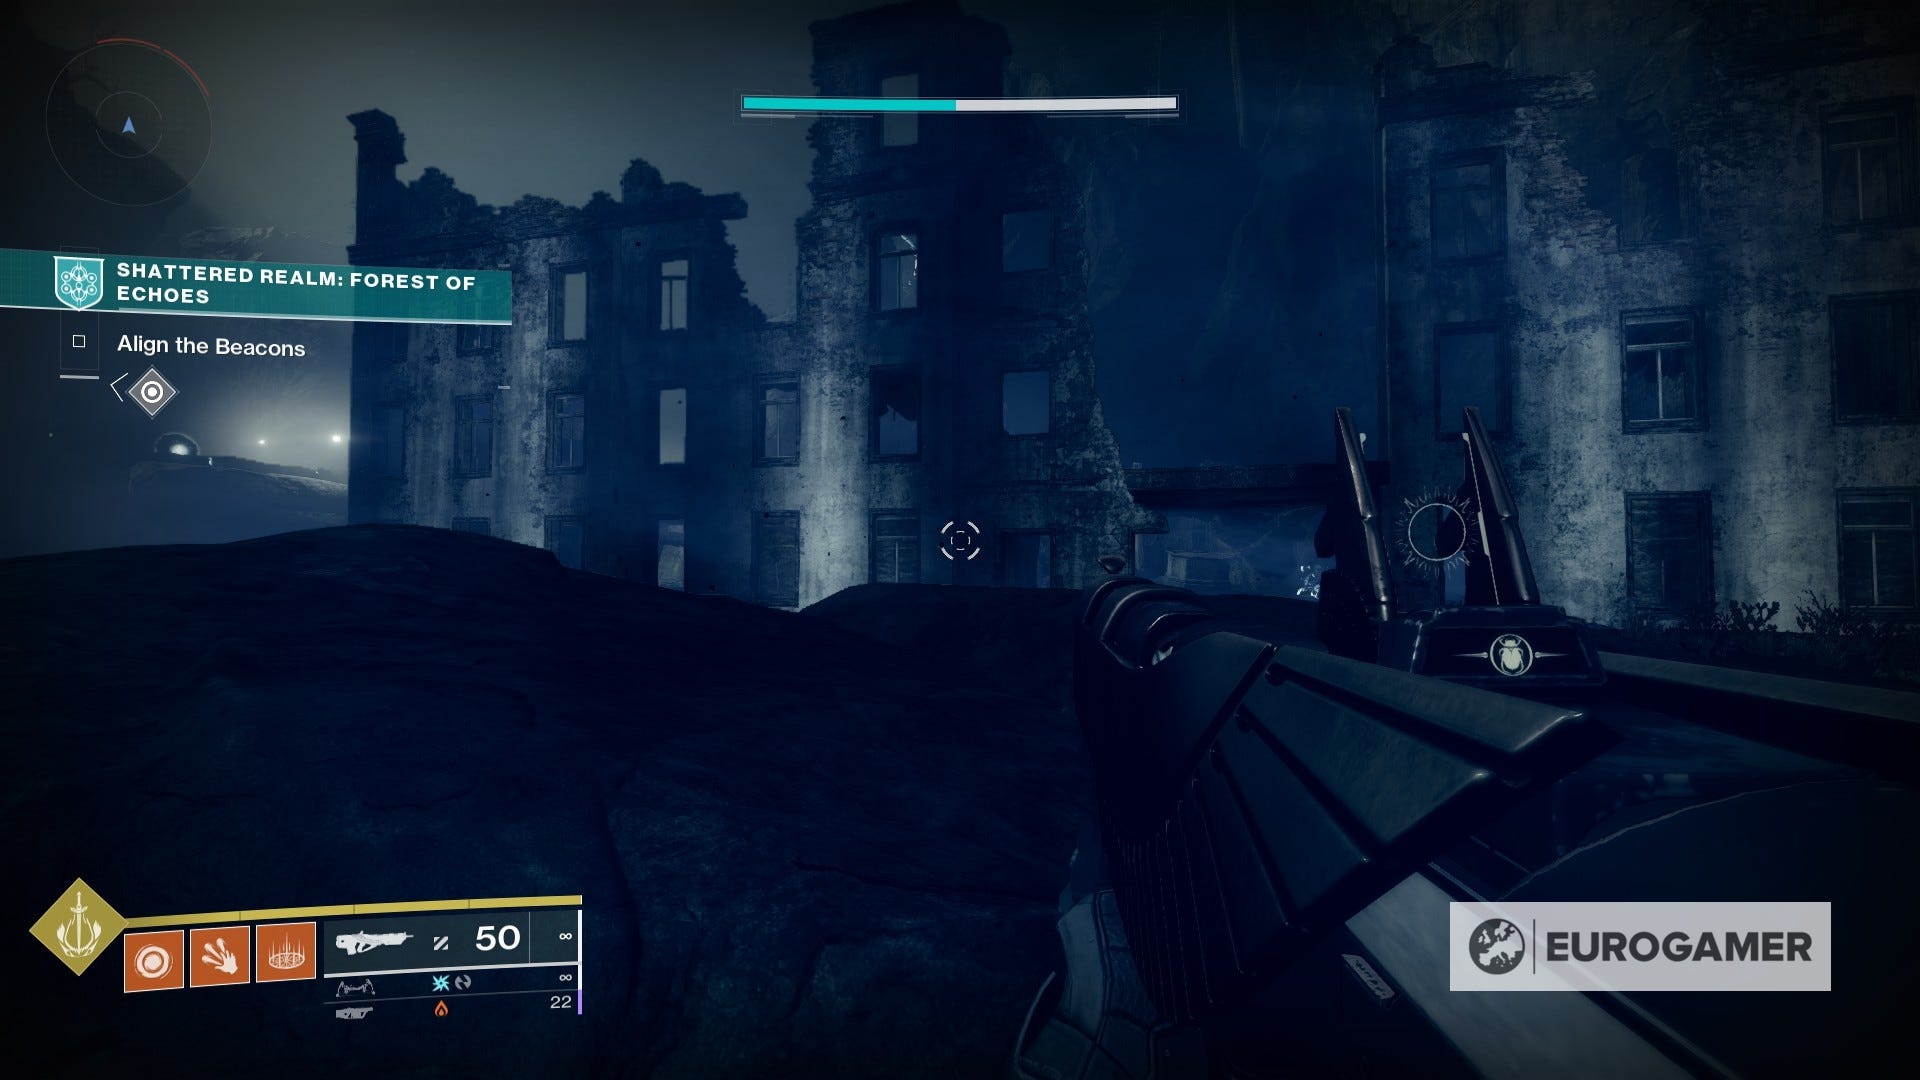
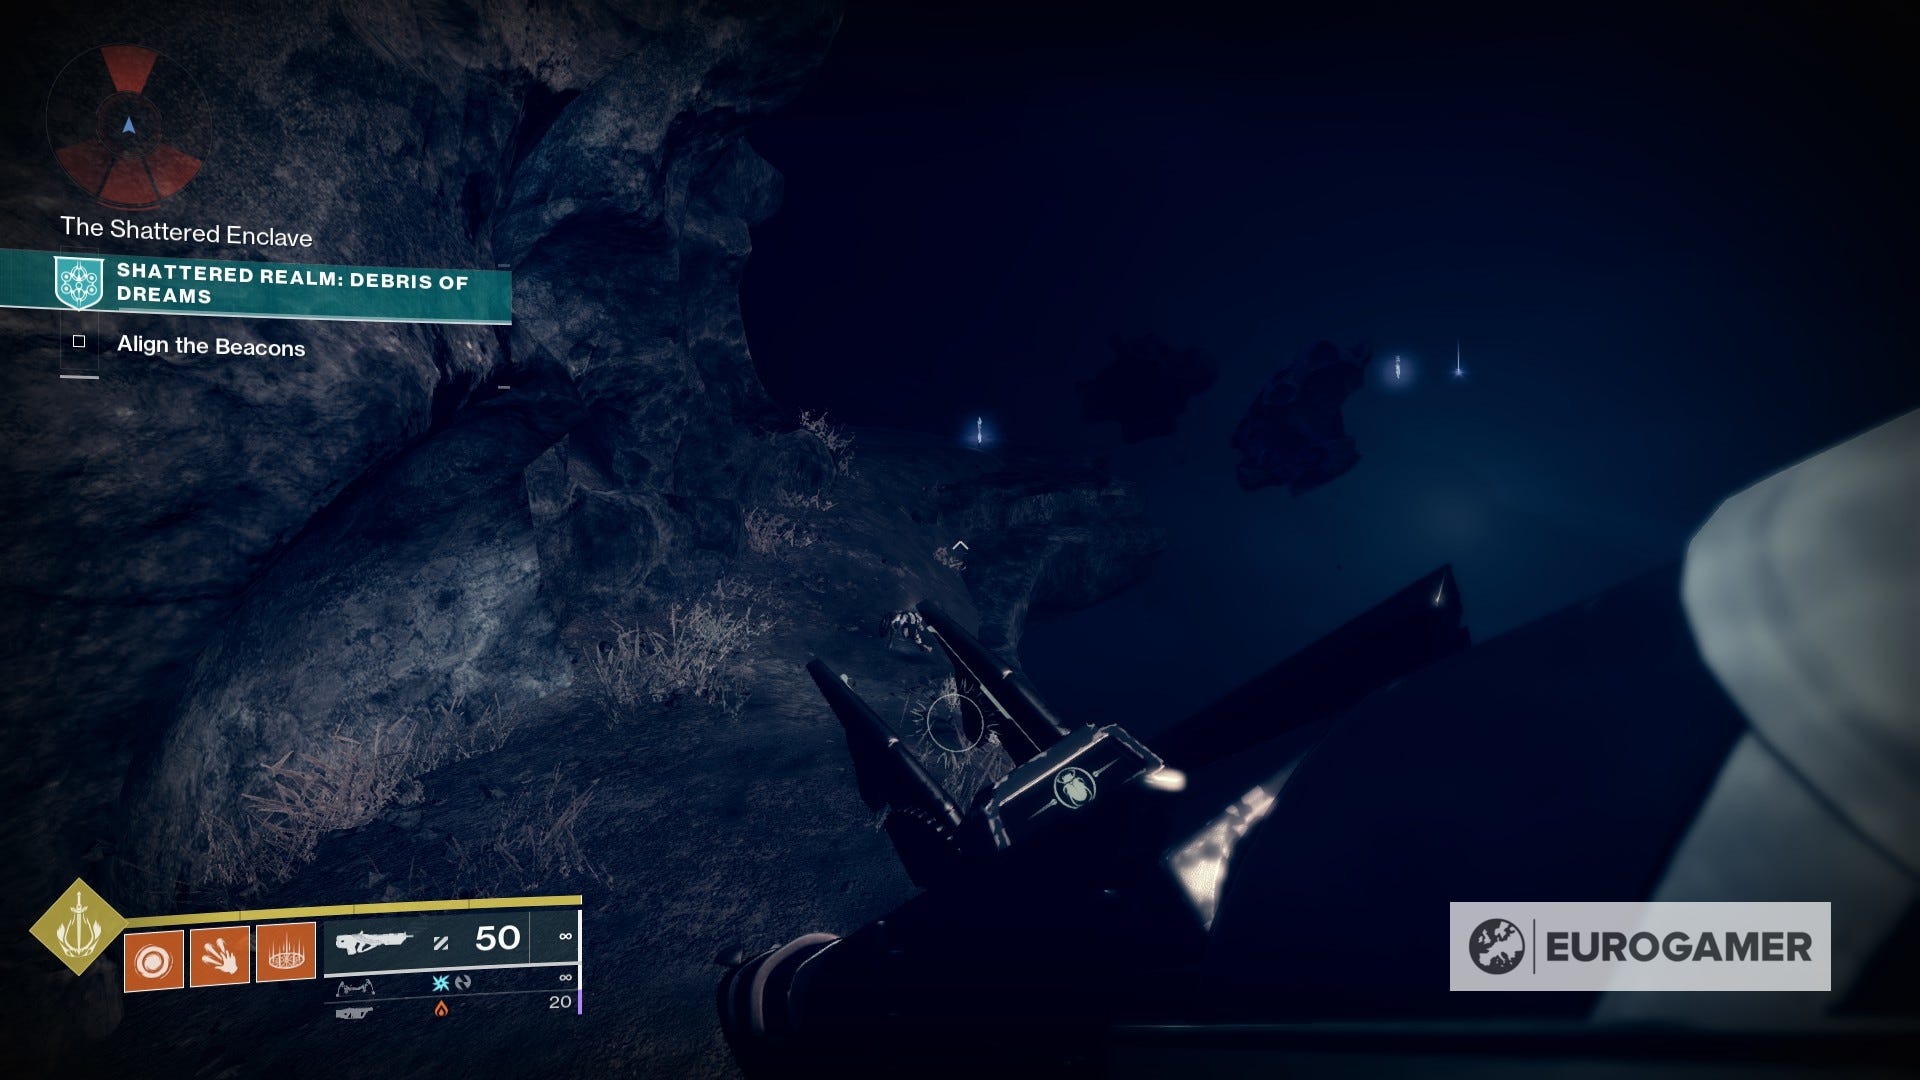
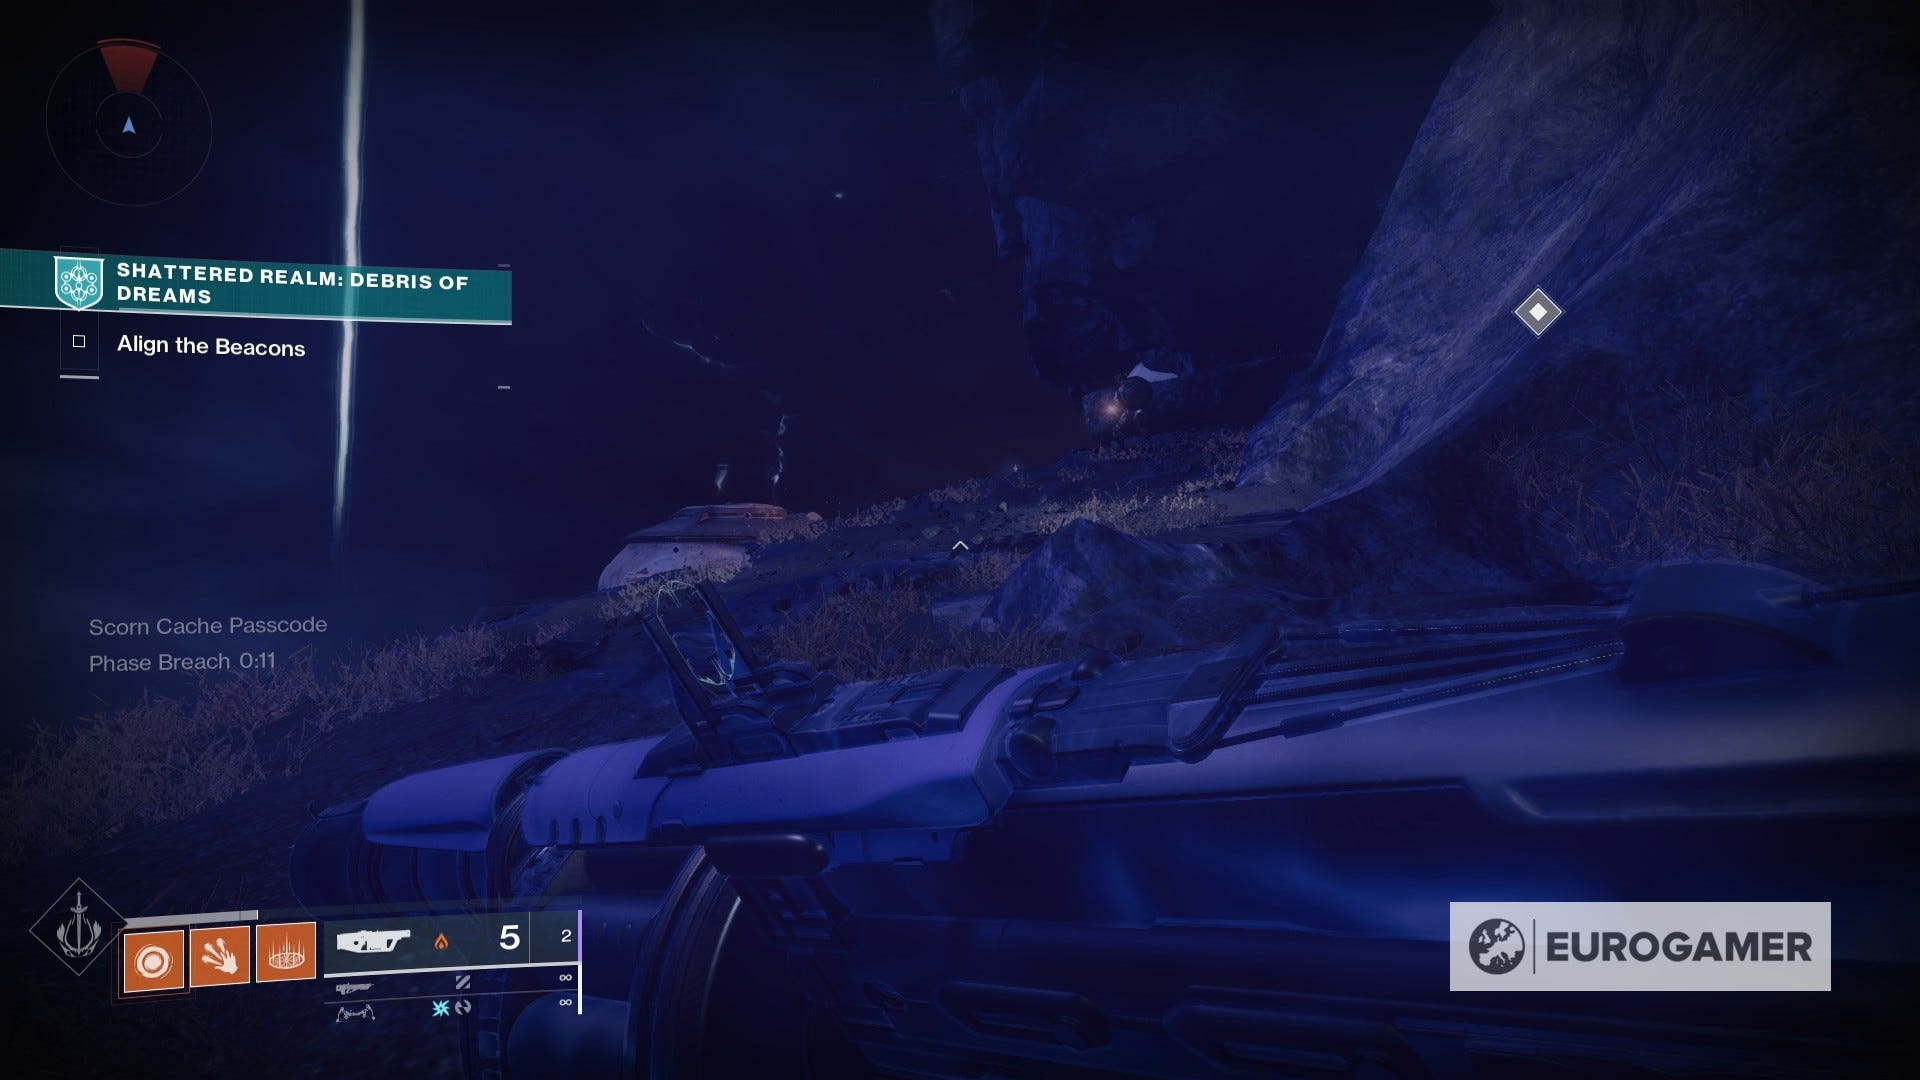
From there, just follow the path upwards towards the destroyed building. Then, just keep on heading forward until you see a True Sight device on the other end, right before a cliff.
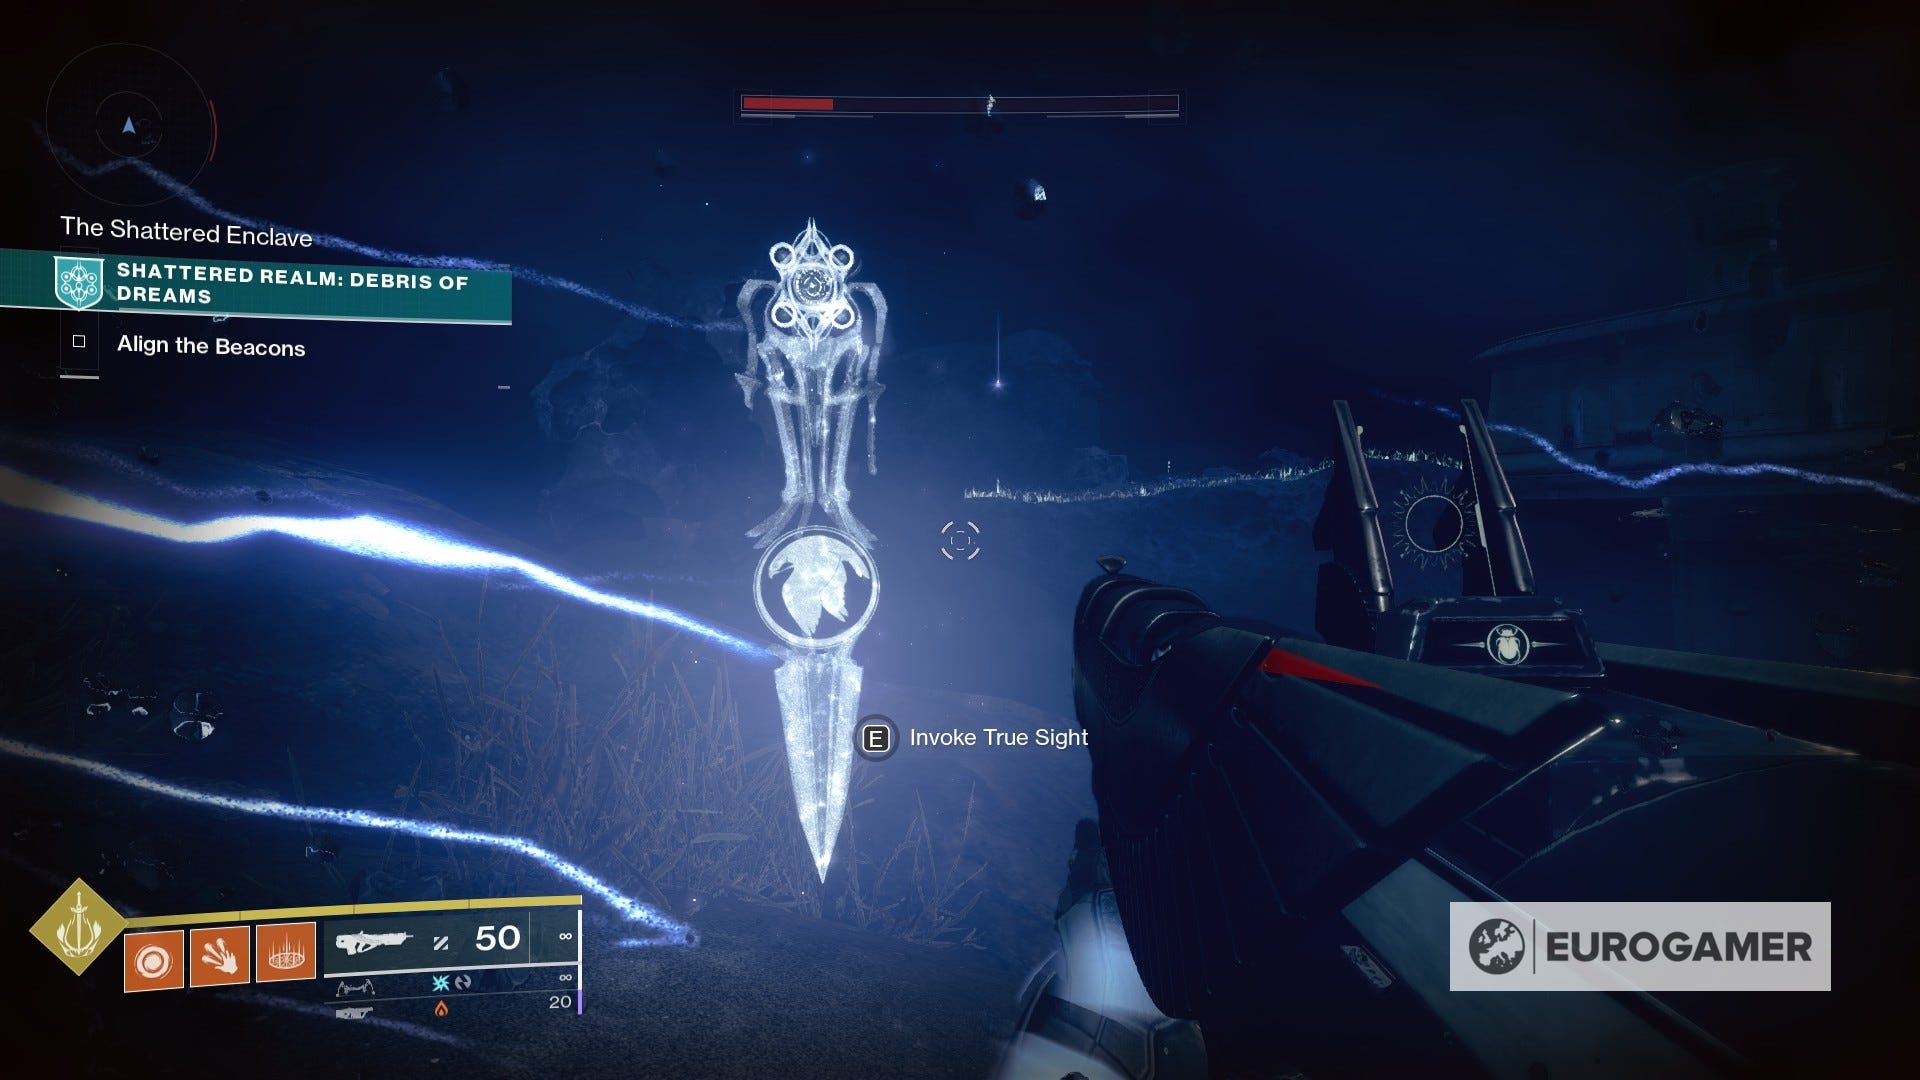
Activate it and start following the floating path. There are no alternative paths or any obstacles here, so it's super straightforward. .
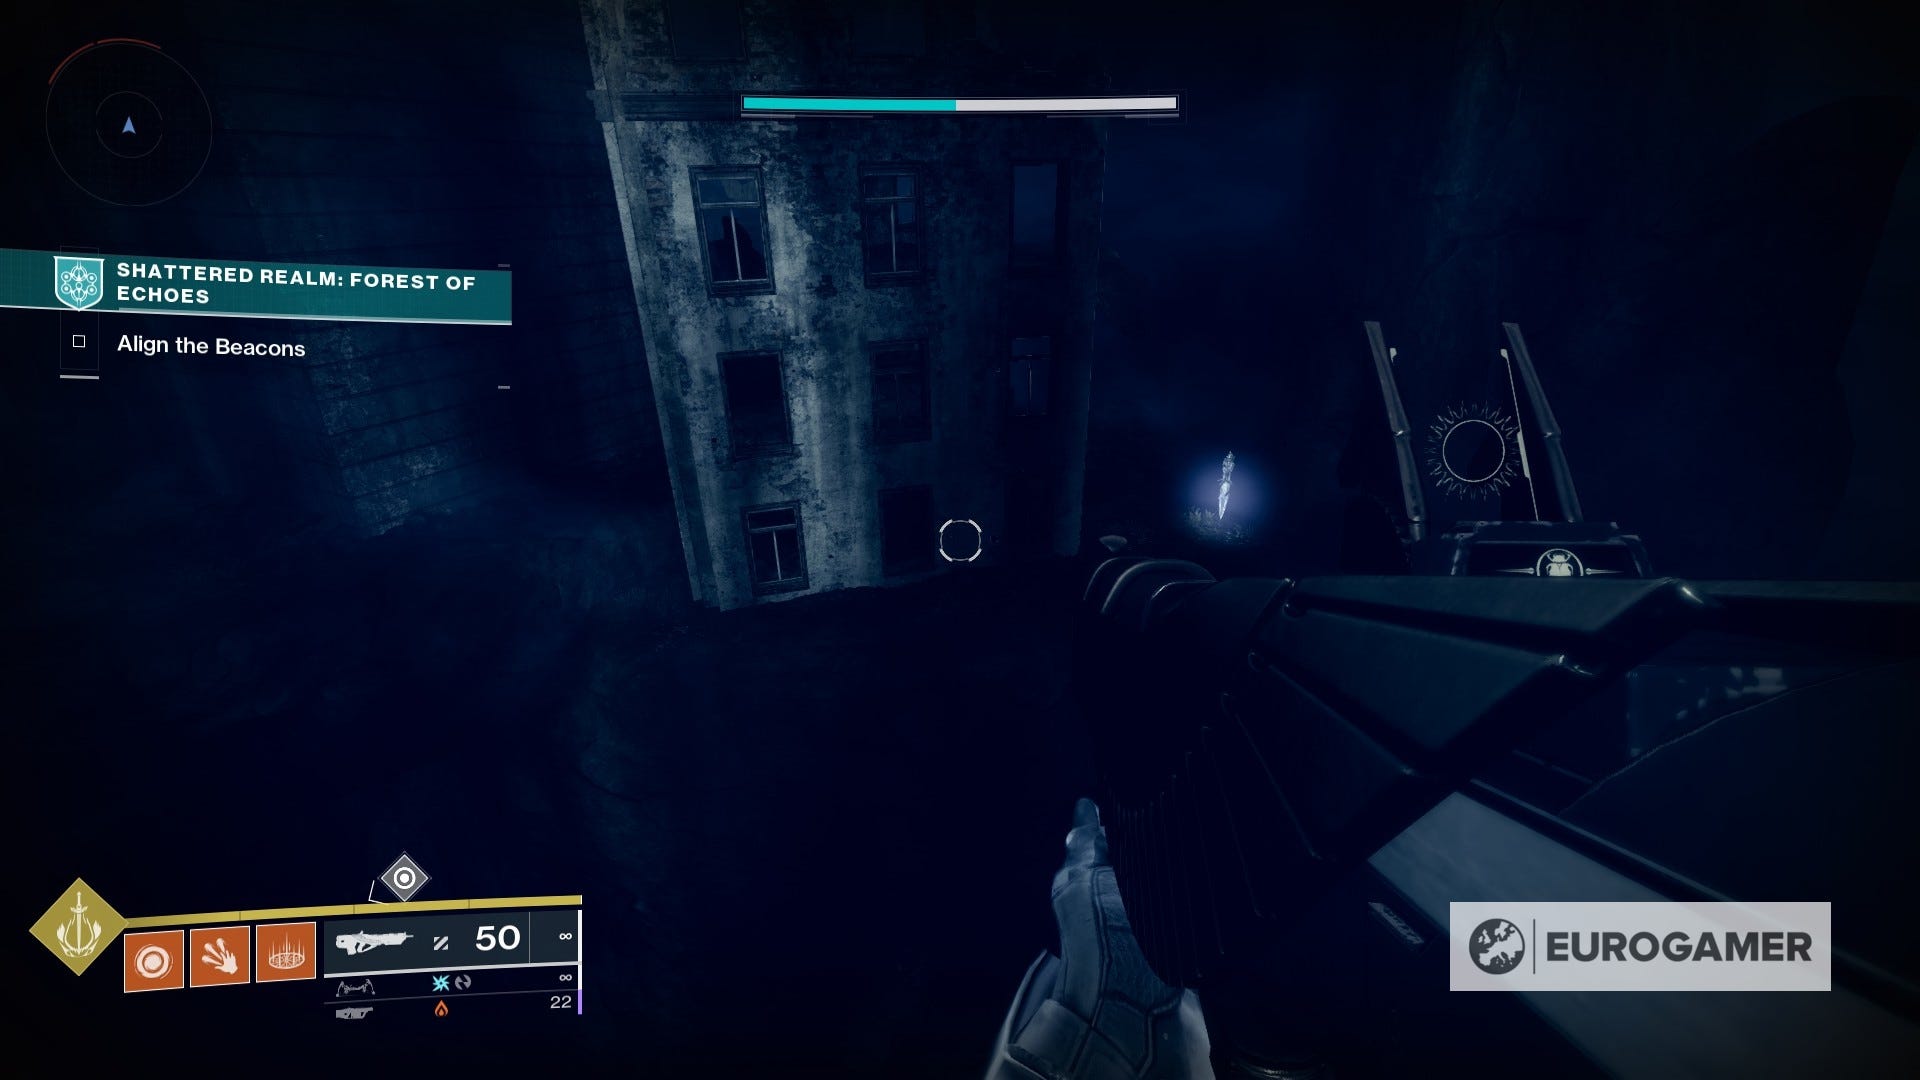
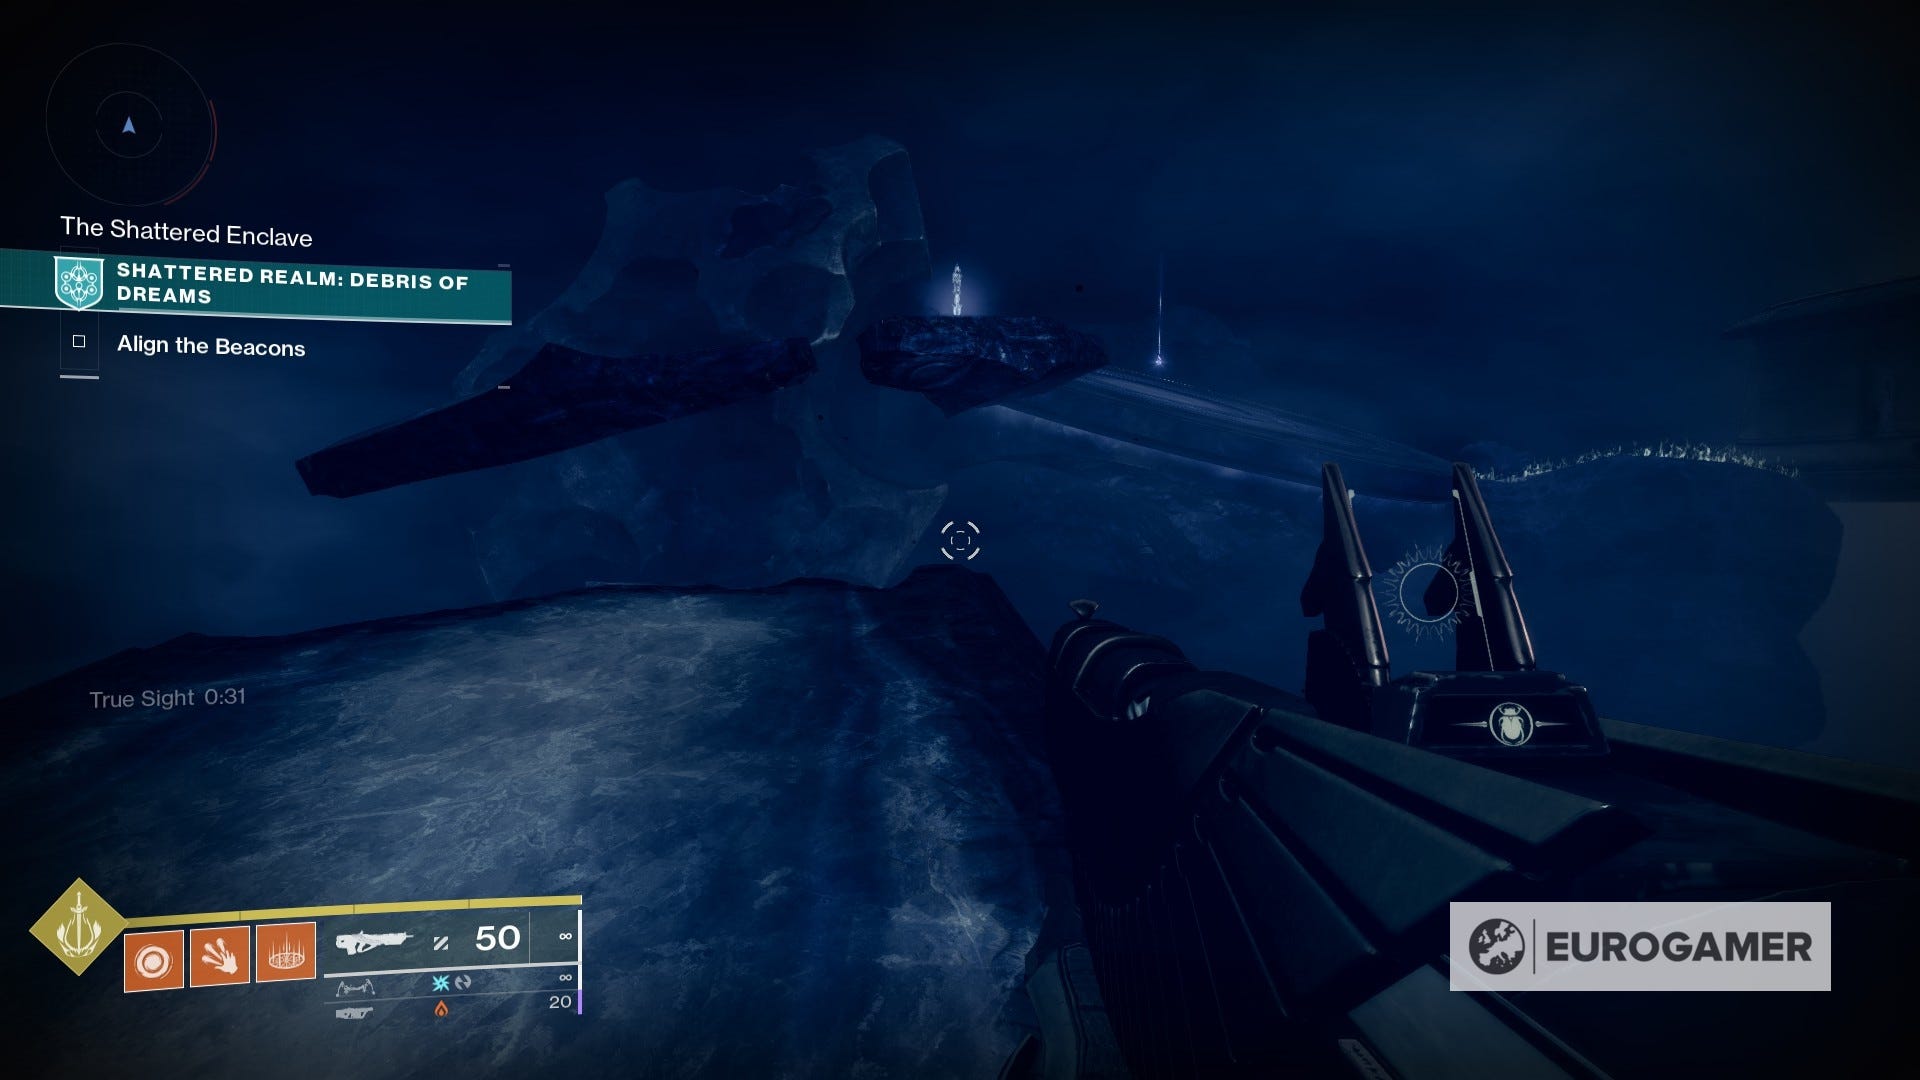
At one point you will see a Trivial Mystery chest on the right side. From here, just keep heading forward towards the tower-looking structure on the other end.
This is your Data Cache. Approach it and follow the prompt to open it.
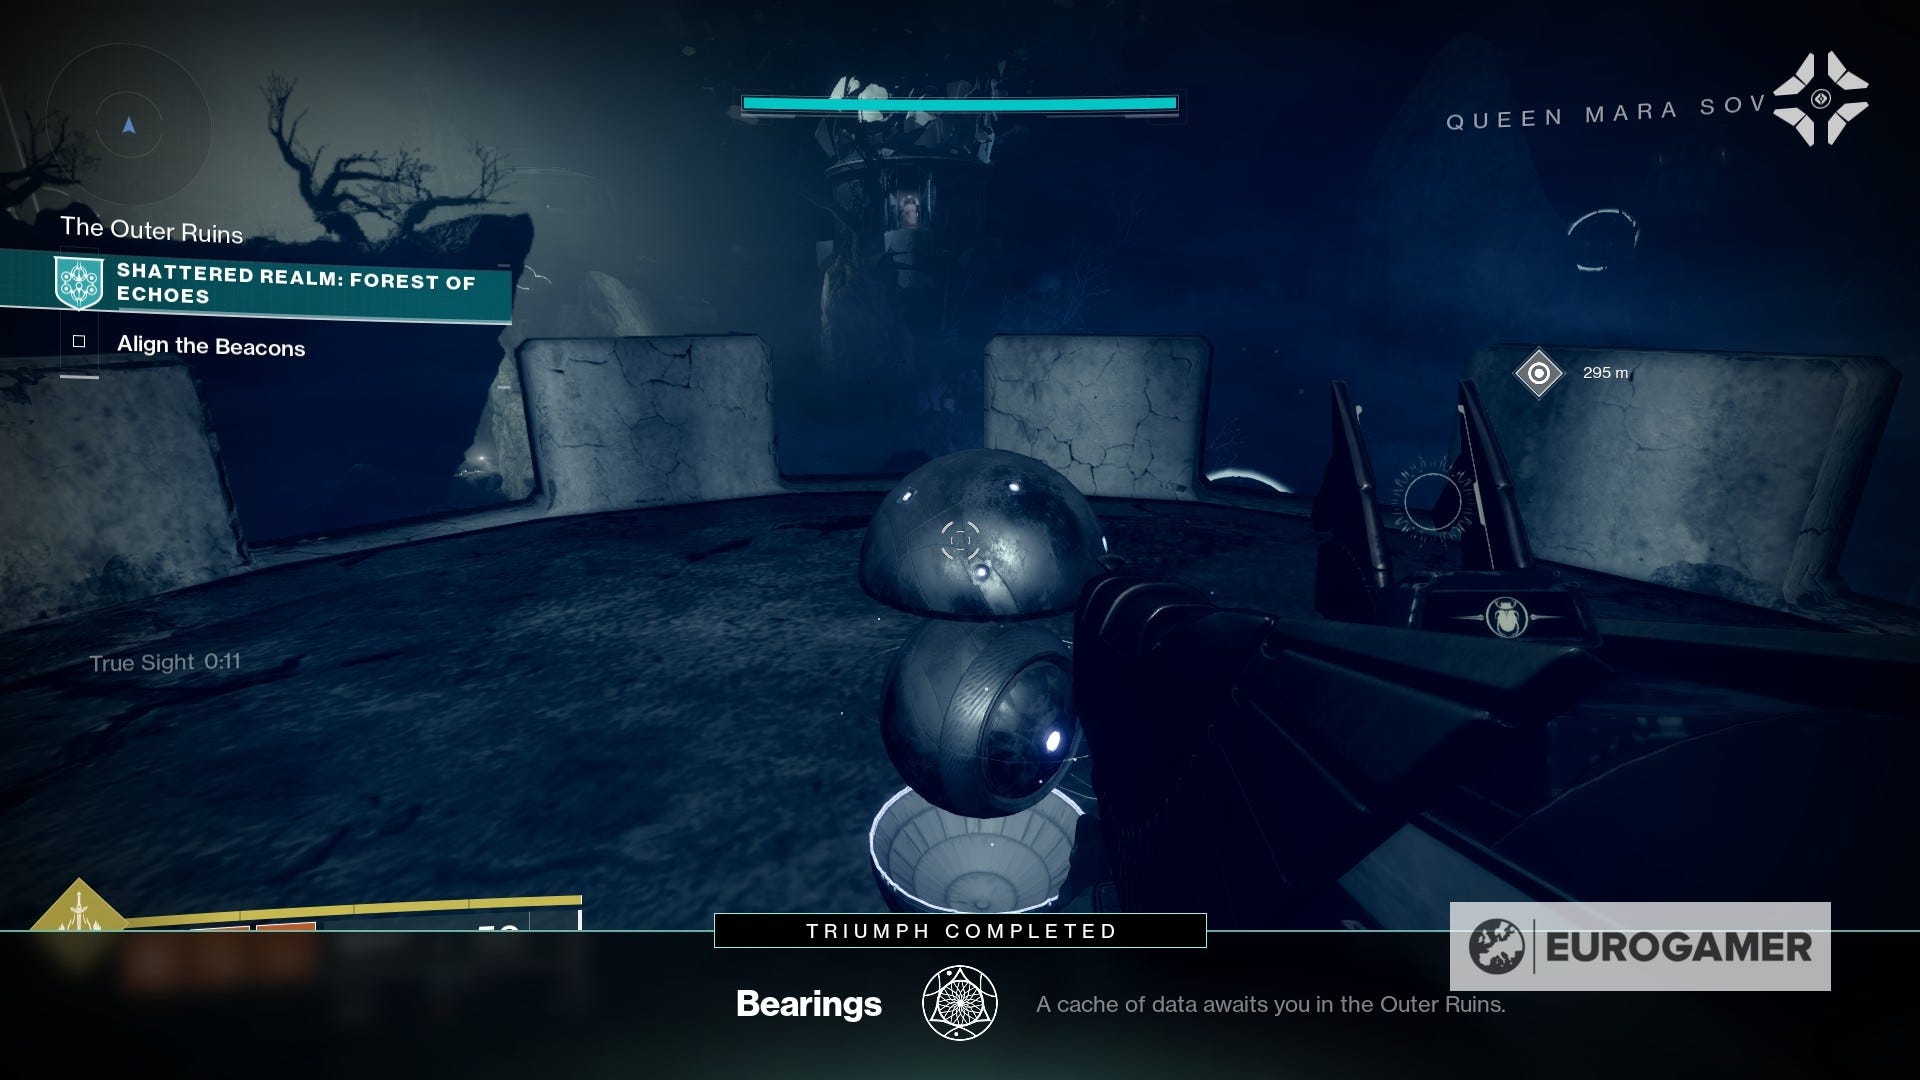
That's all for the Bearings!
The Intruder Data Cache location
This Data Cache is found in Shattered Realm: Debris of Dreams - debuting during Week 5 of the season - and is recommended you unlock Sight: Frequency Echoes by completing the mission once first.
The Intruder can be found around The Intruder area. To access it, it's best if you first complete both beacons.
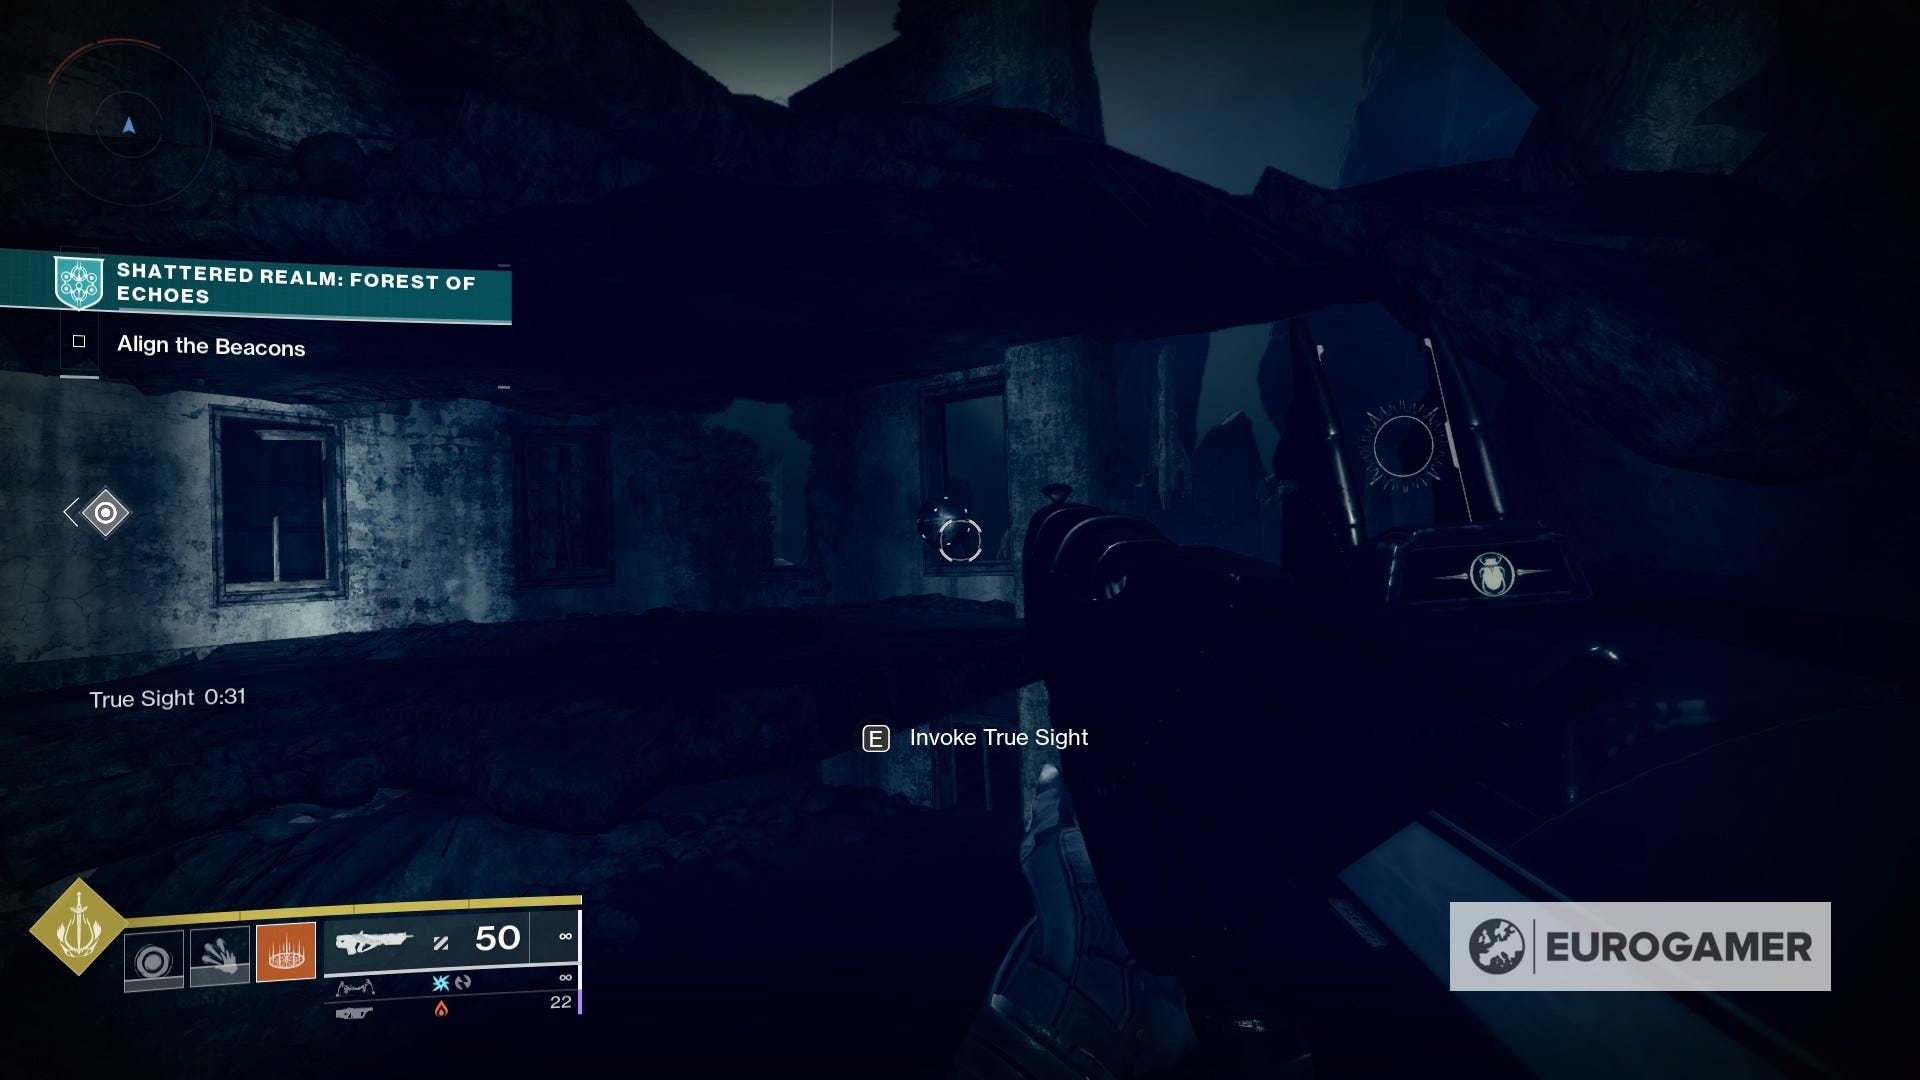
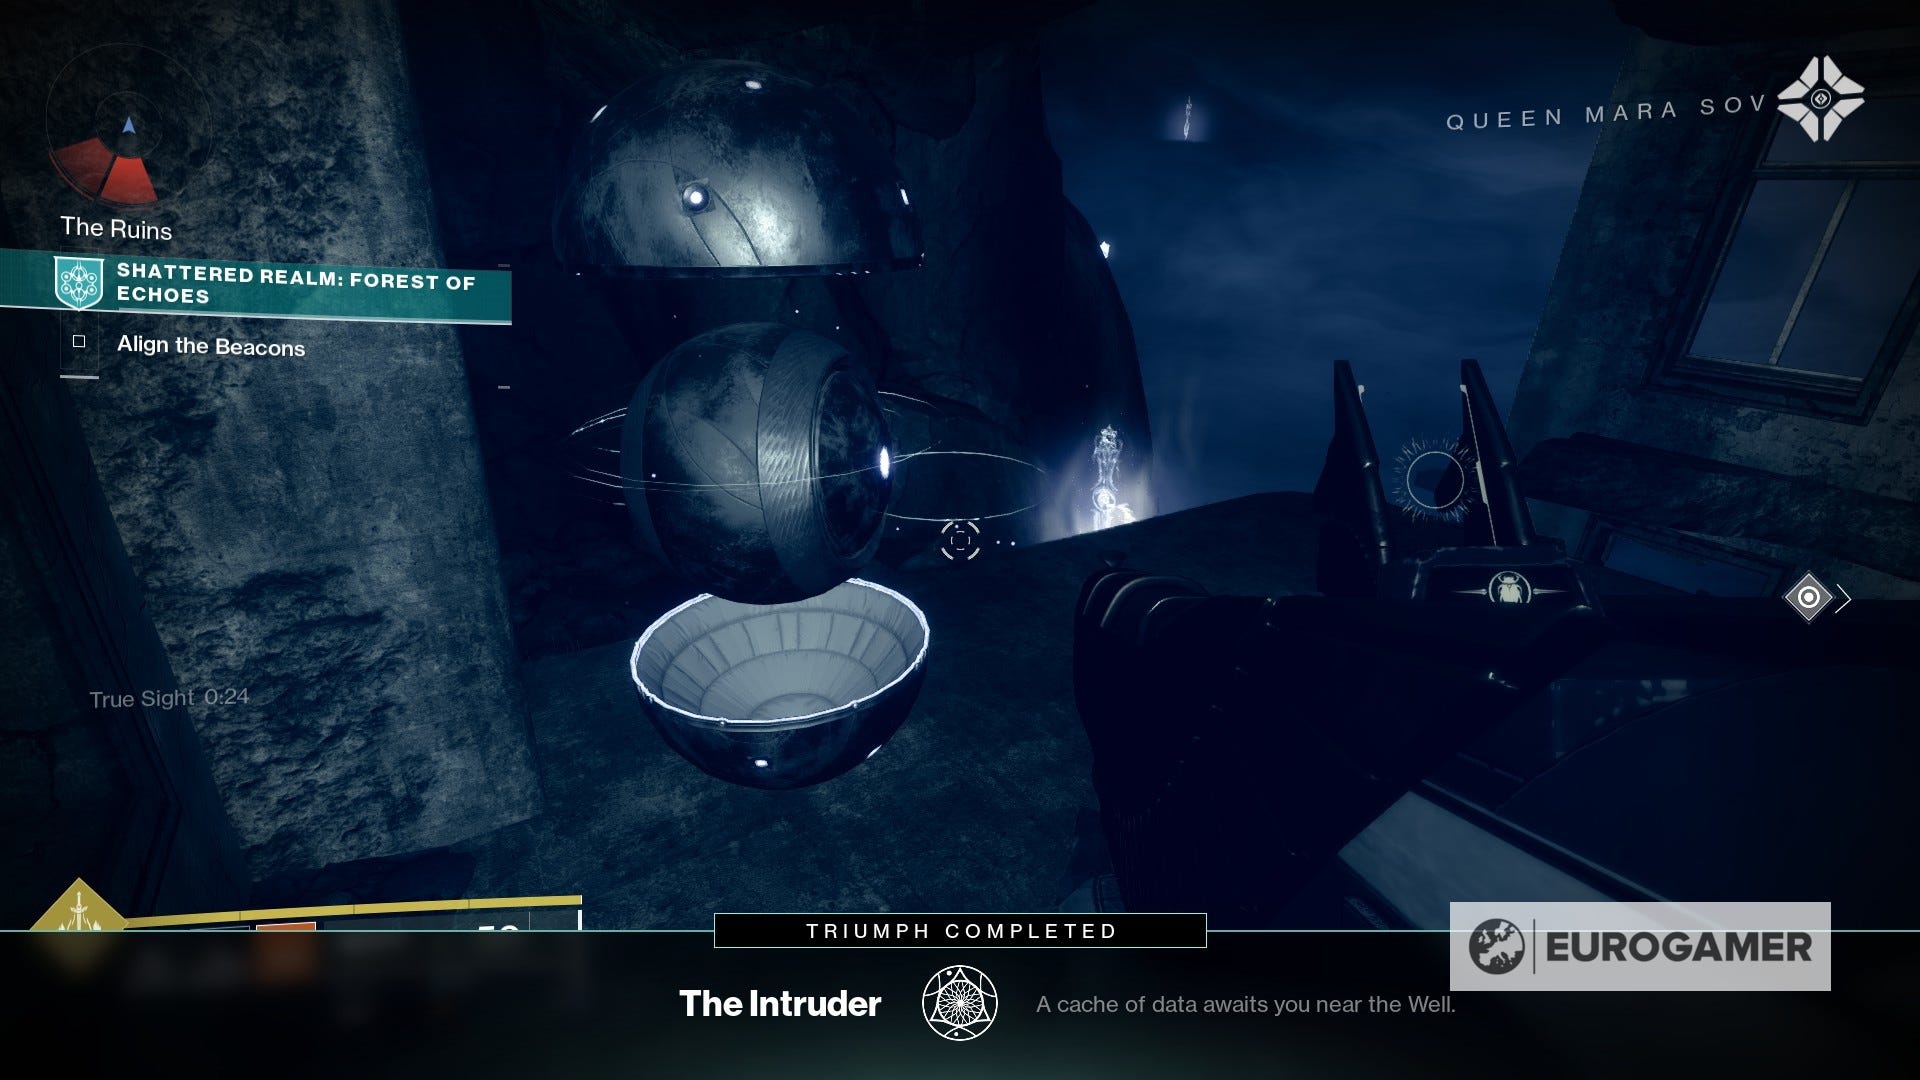
As you're heading towards the second beacon, you need to go through The Ruins - this is an area surrounded by destroyed buildings.
From here it's fairly simple. Go around it using a True Sight device near a cliff as reference, and activate it.
In case you don't immediately notice it, the Data Cache will appear on the mid floor of the building just in front of the True Sight device. Make a quick double jump and grab it.
That's all for The Intruder!
Harbingers Data Cache location
This Data Cache is found in Shattered Realm: Debris of Dreams - debuting during Week 5 of the season - and is recommended you unlock Sight: Frequency Echoes by completing the mission once first.
The Harbingers can be found around The Vista area. To access it, it's best if you first complete both beacons.
Using the location of the first beacon as reference, we're going to take the path down below that goes around it.
It's rather straightforward from here - just keep on heading upwards until you see the True Sight device.
Activate it and follow the floating path all the way to the other side. There's a plateau in the middle that you can use for a quick stop, but honestly, it's fairly linear from here.
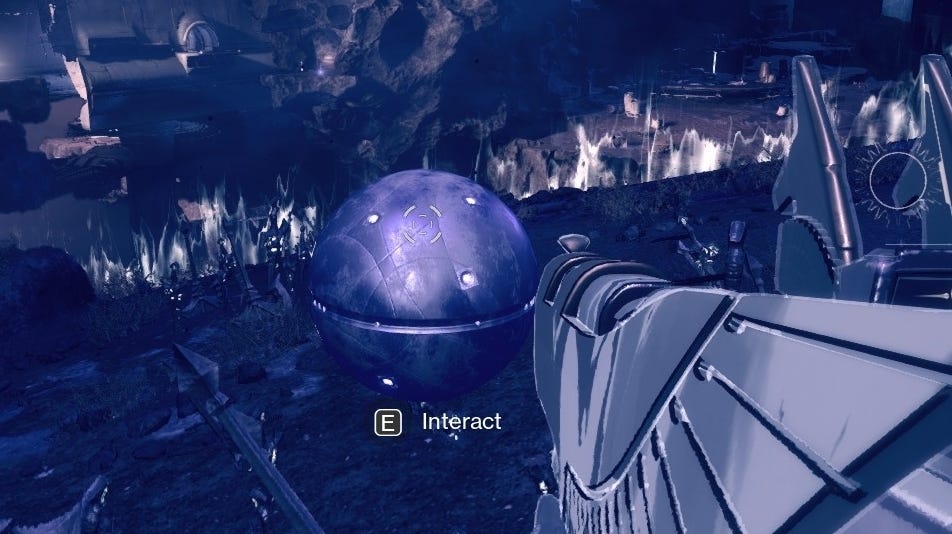
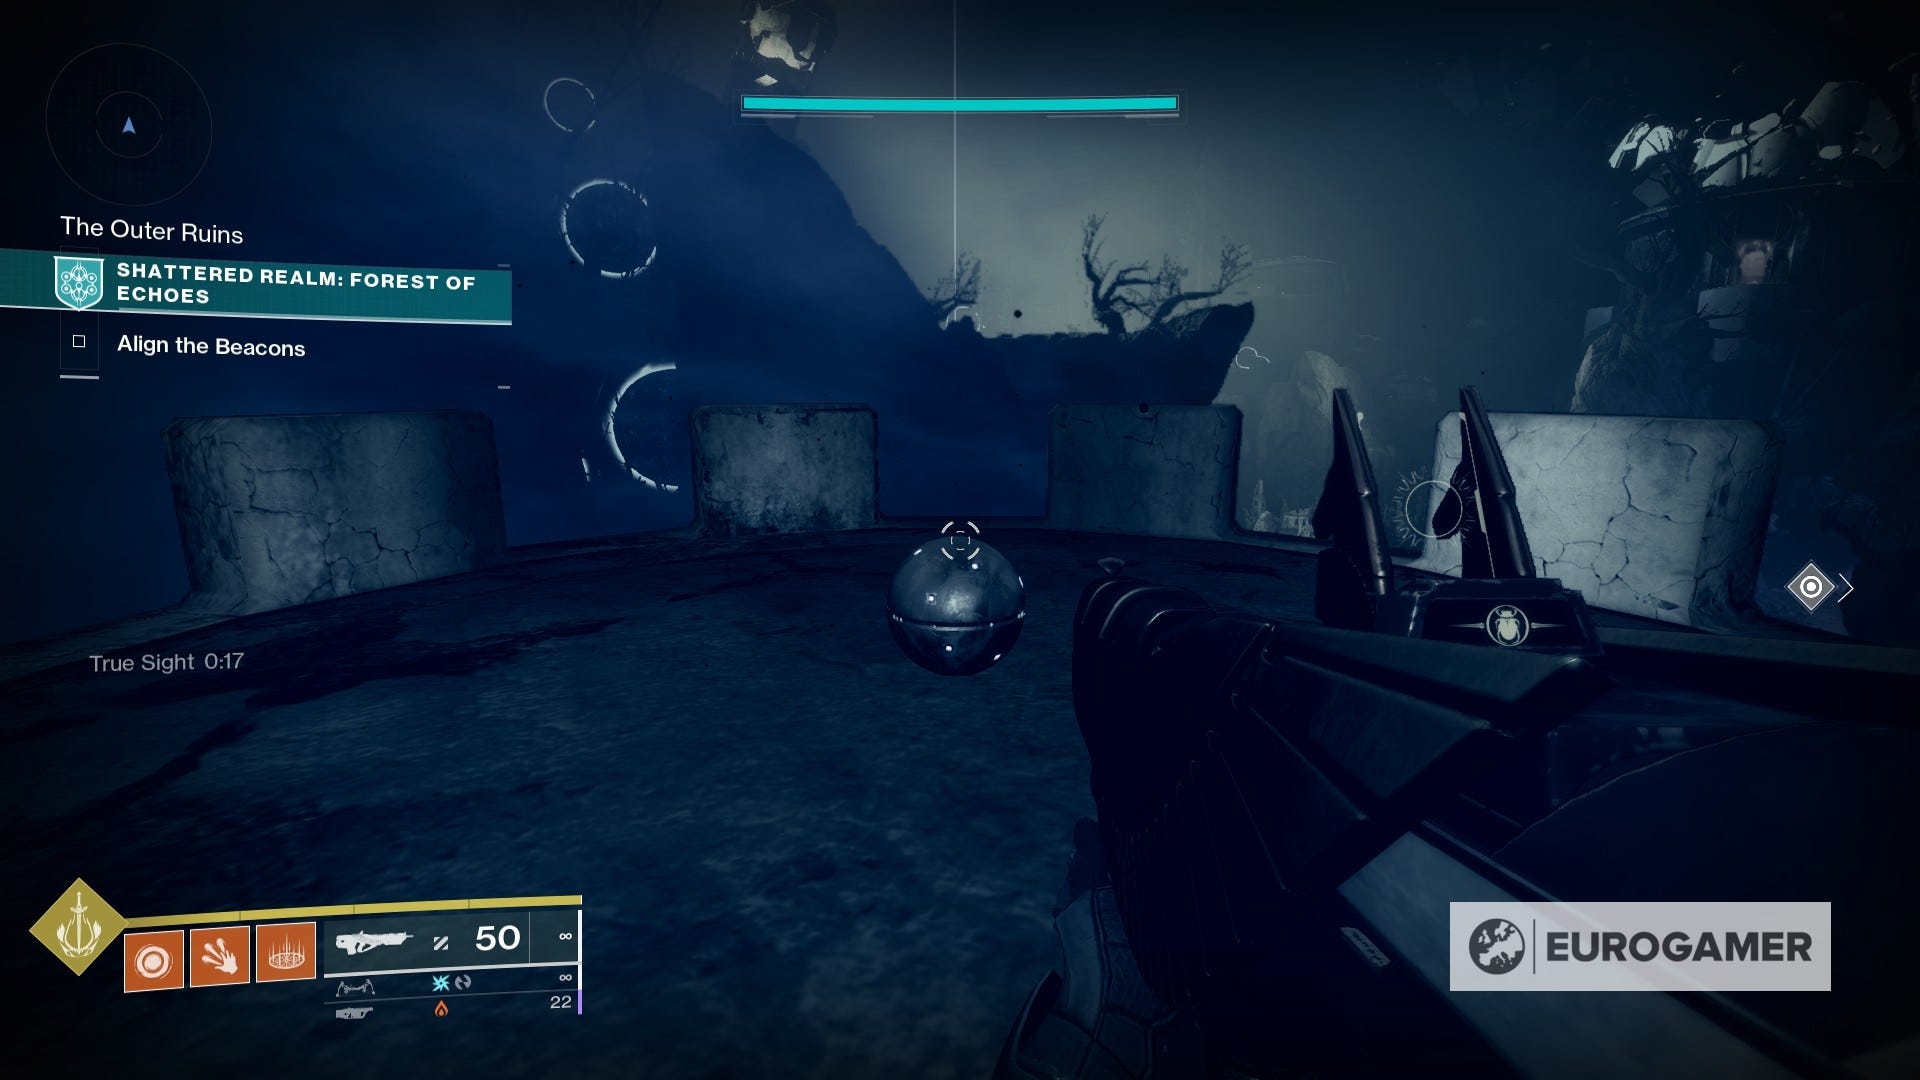
Once you arrive at The Vista, which is that floating island on the other end of this path, you will see a flying orb of sorts.
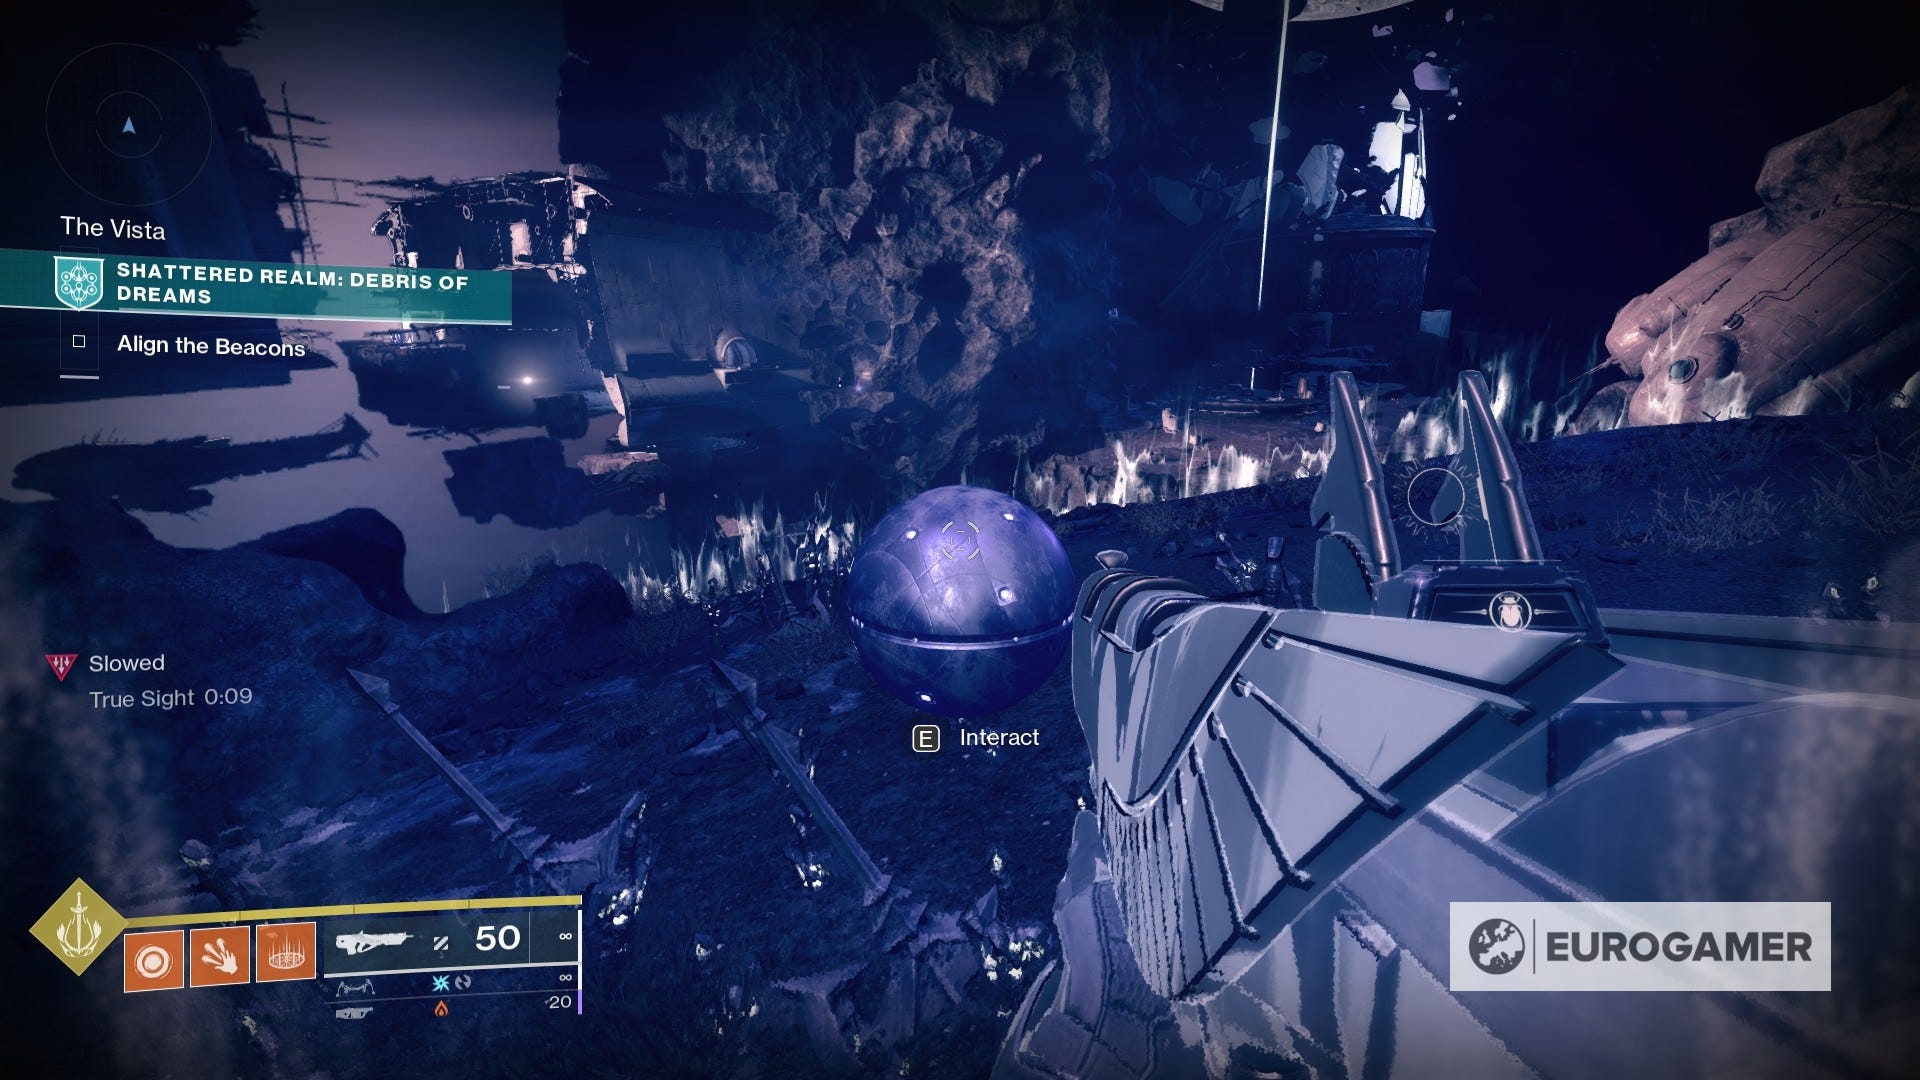

This is your Data Cache. Approach it and follow the prompt to open it.
That's all for Harbingers!
Corsair's Tale Data Cache location
This Data Cache is found in Shattered Realm: Debris of Dreams - debuting during Week 5 of the season - and is recommended you unlock Sight: Frequency Echoes by completing the mission once first.
The Corsair's Tale Data Cache can be found around The Overlook area. To access it, it's best if you first complete both beacons.
We're going to be taking the same path that we did for the Refined Power Enigmatic Mystery, in case it makes for a helpful reference point.
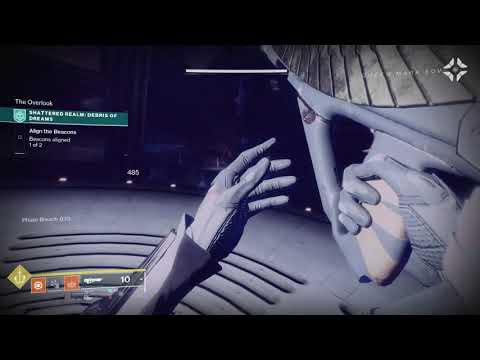
In addition, we have a short video that can provide further guidance - up to the 0:46 seconds mark.
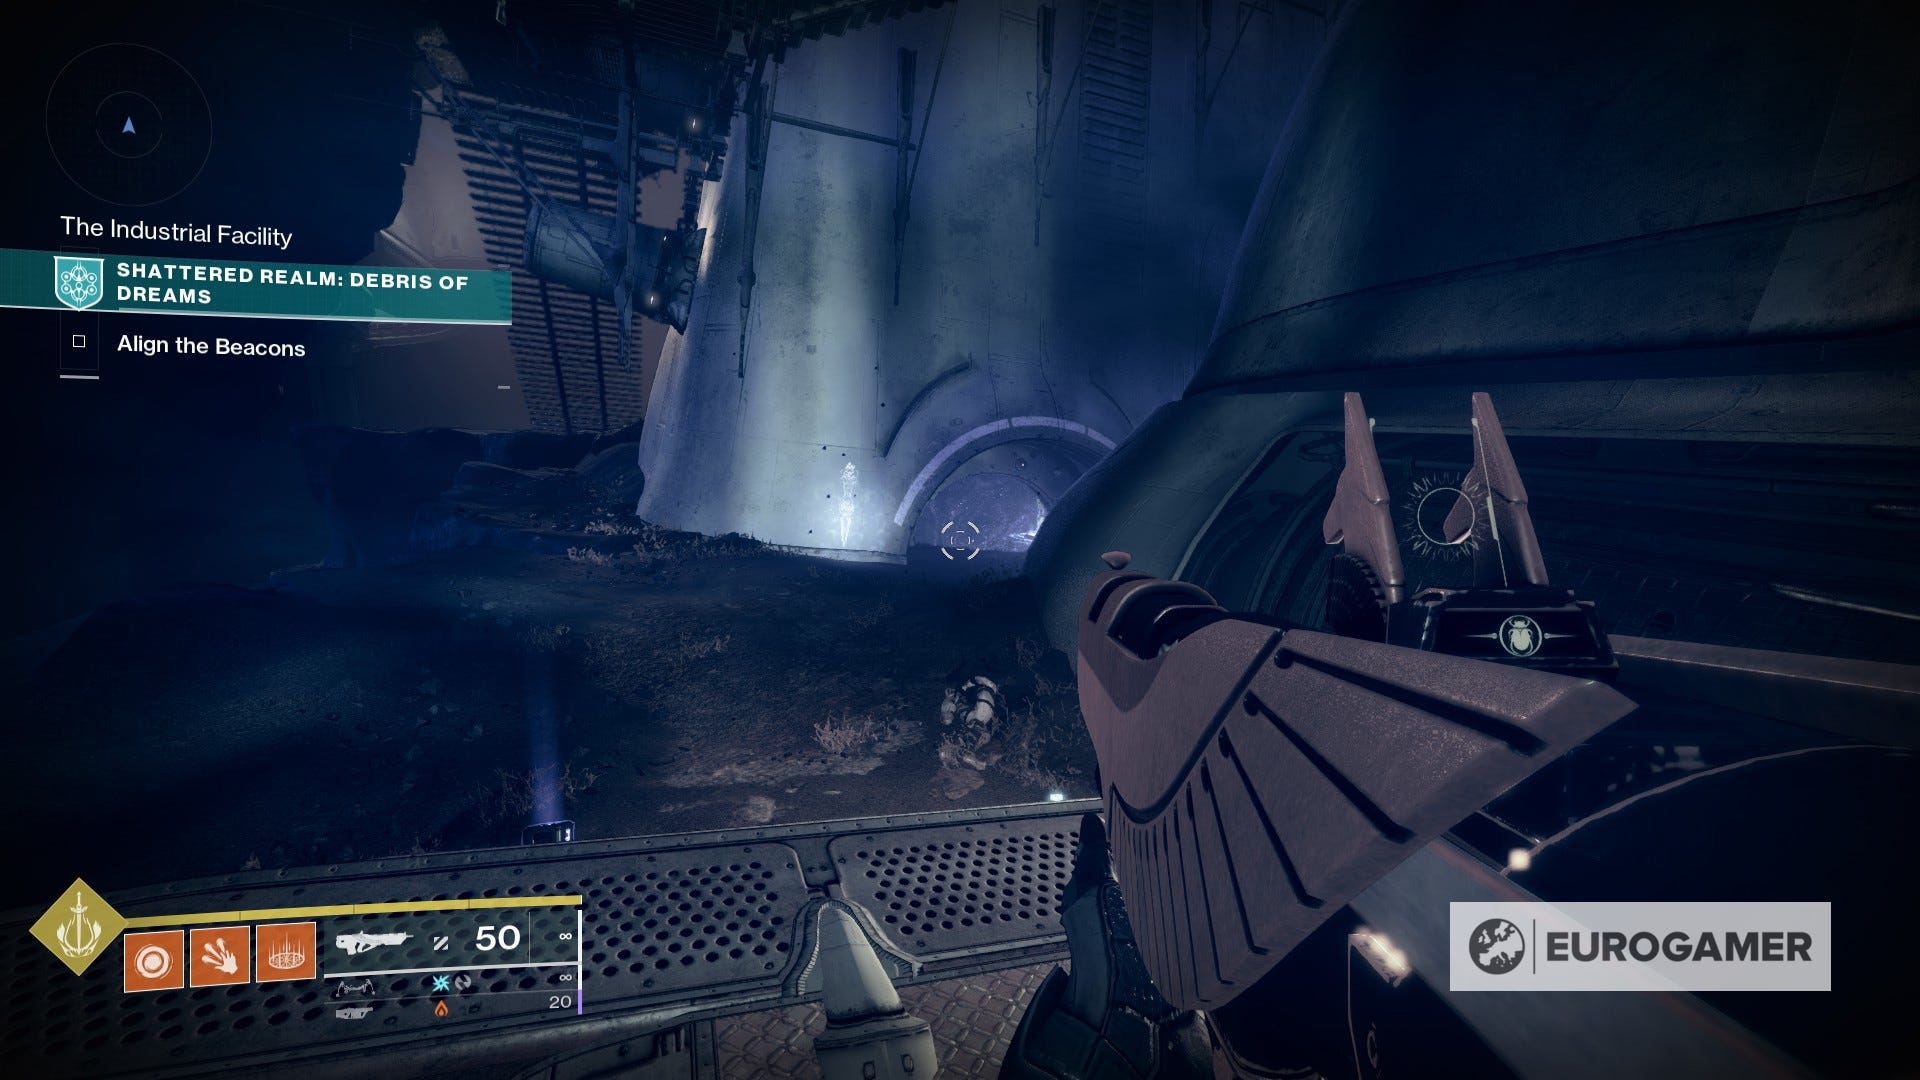
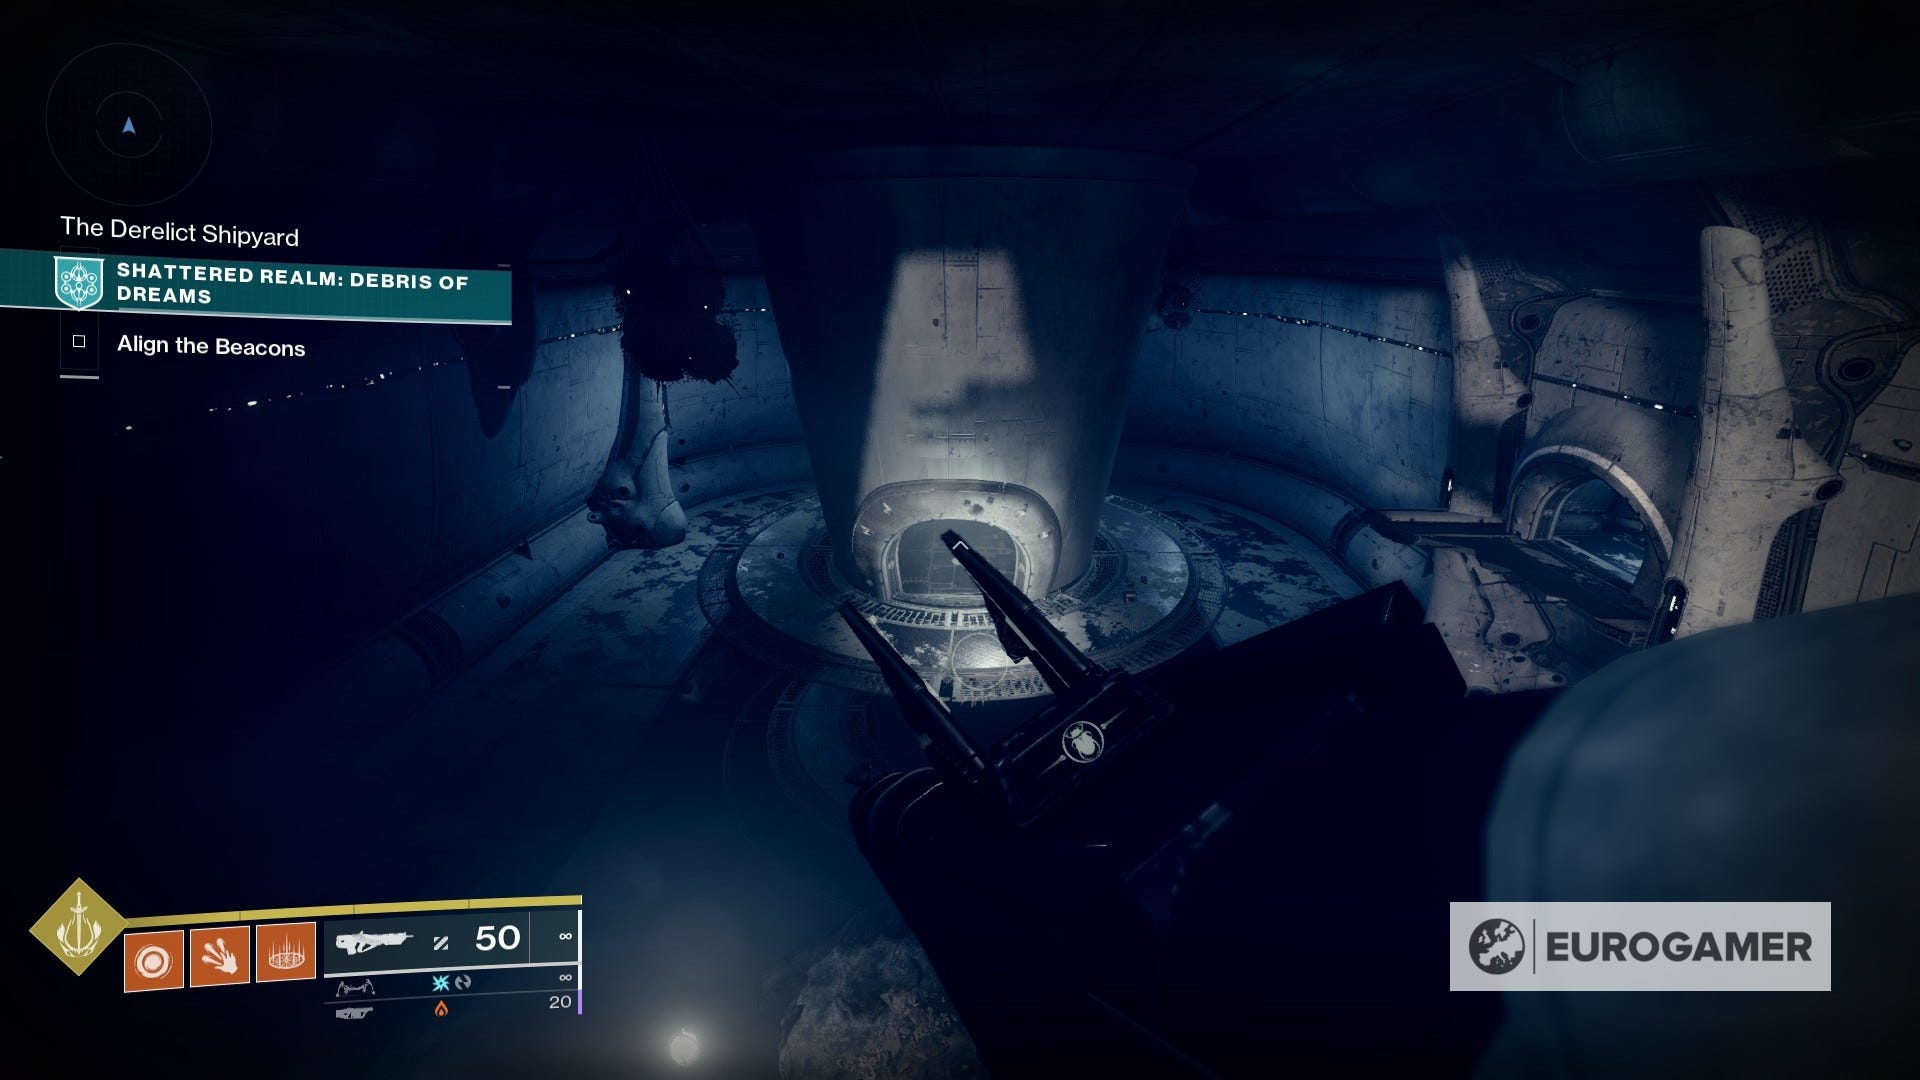
Your main location is The Industrial Facility. This can be accessed from the location of the drill event.
The Industrial Facility is pretty much on a straight line from here. Just double jump across to the other side until you stumble upon the True Sight device.
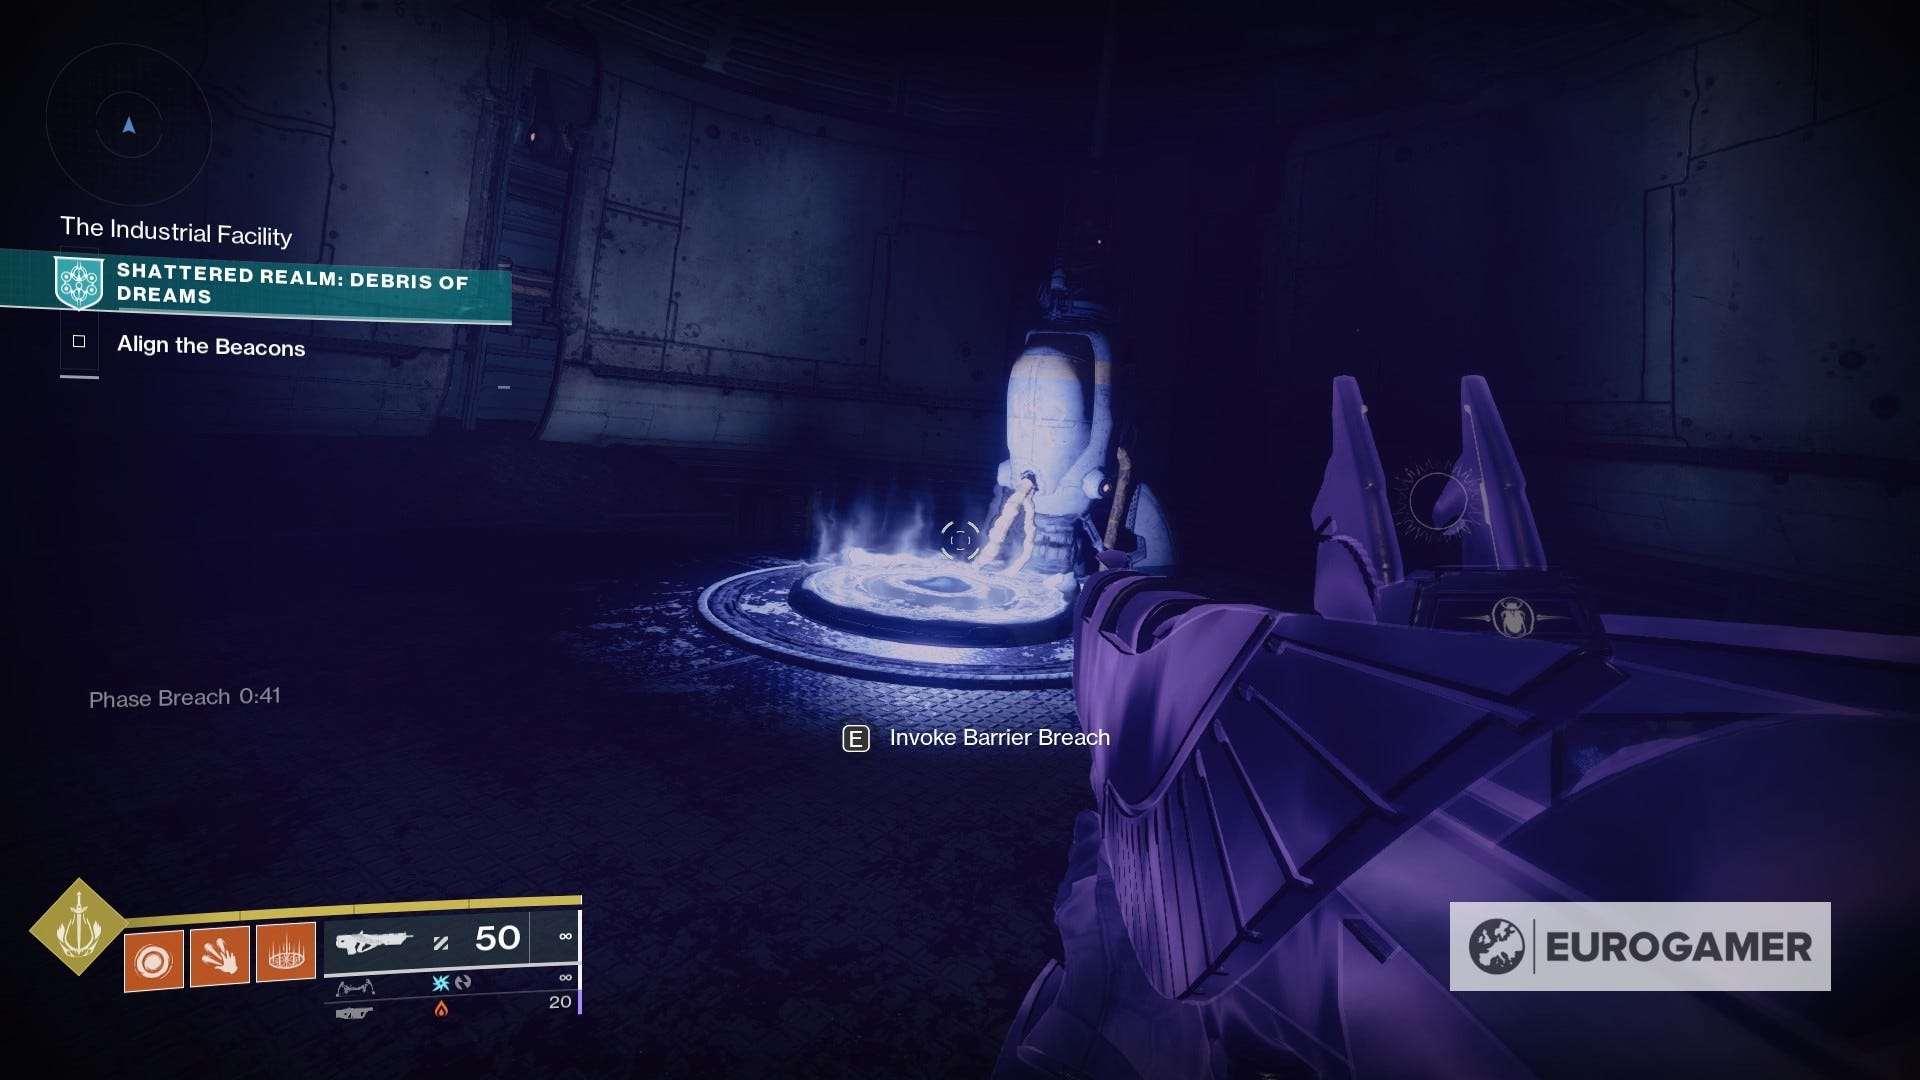
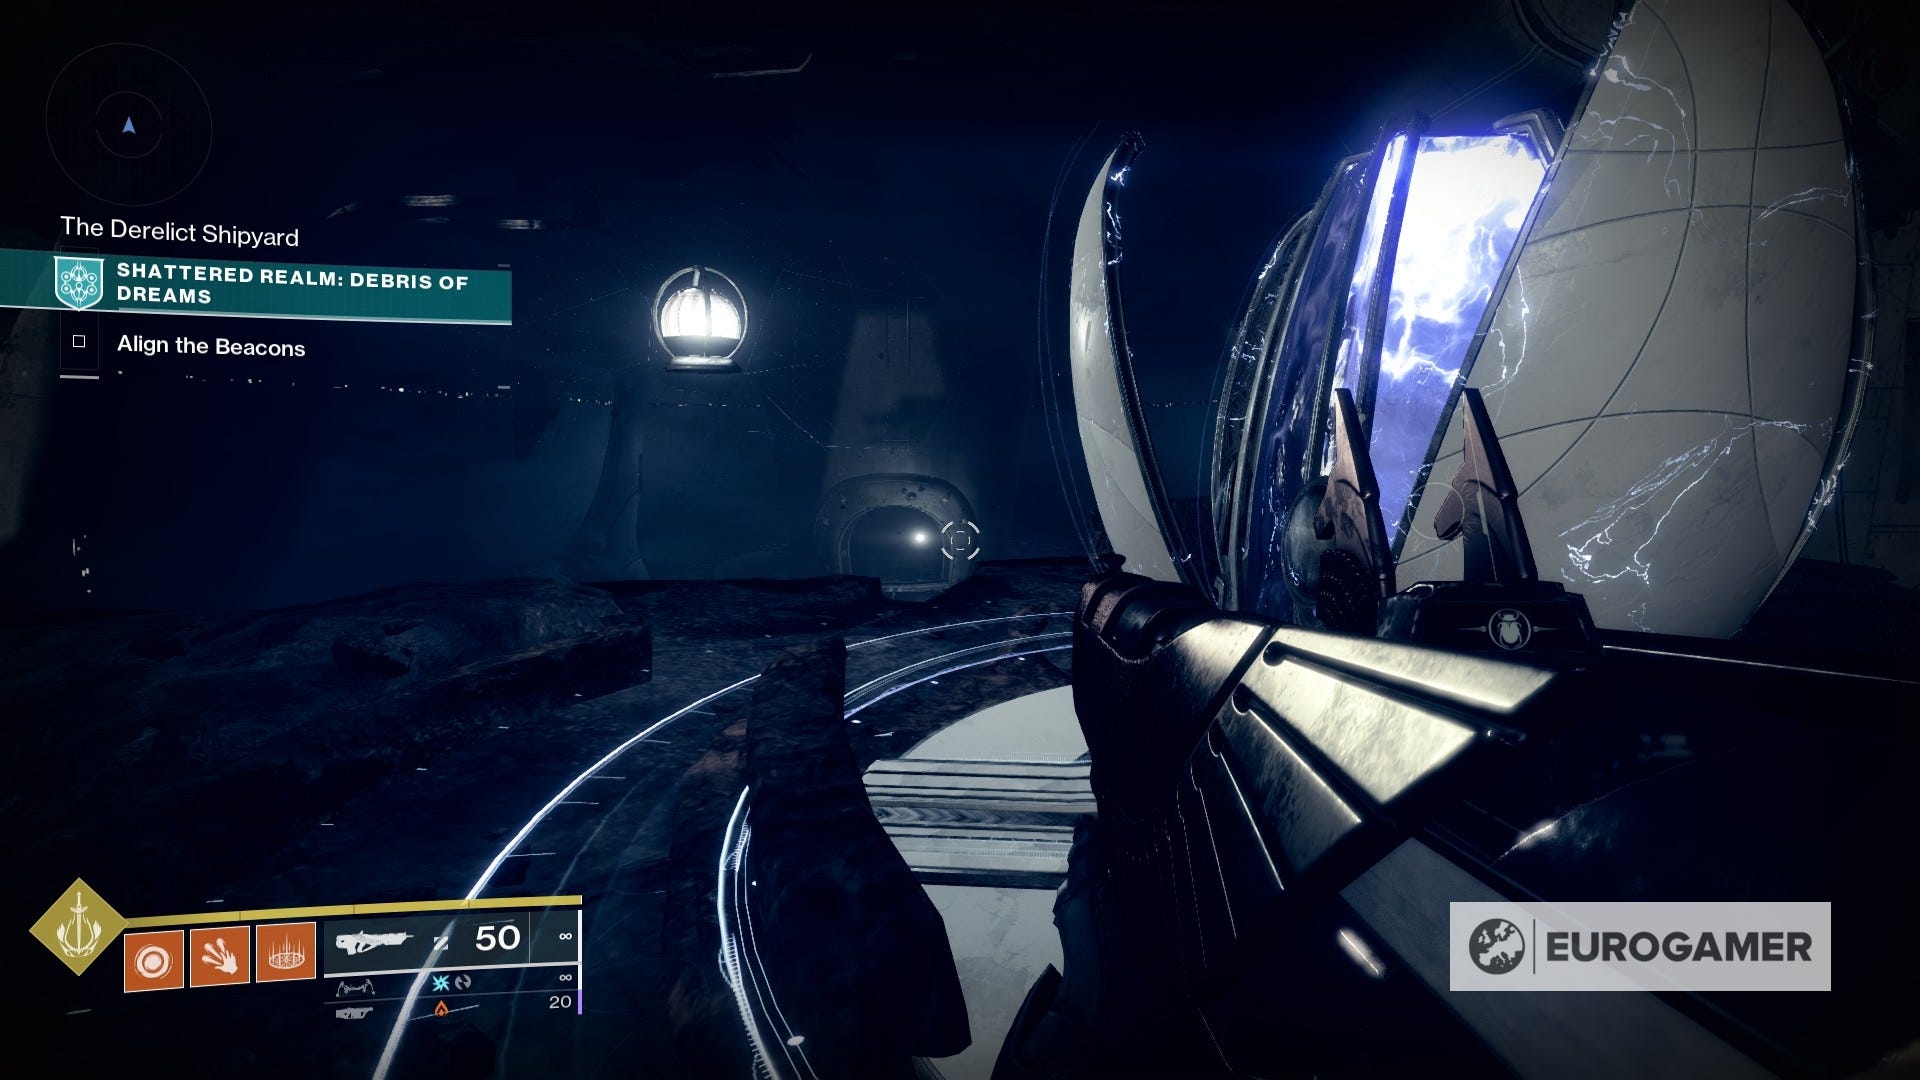
After you land on the area, you're going to head towards the room that has a barrier blocking the door - it's found on ground level.
Use the breach device next to the door, and once inside, hop on the glowing platform to teleport yourself to The Overlook.
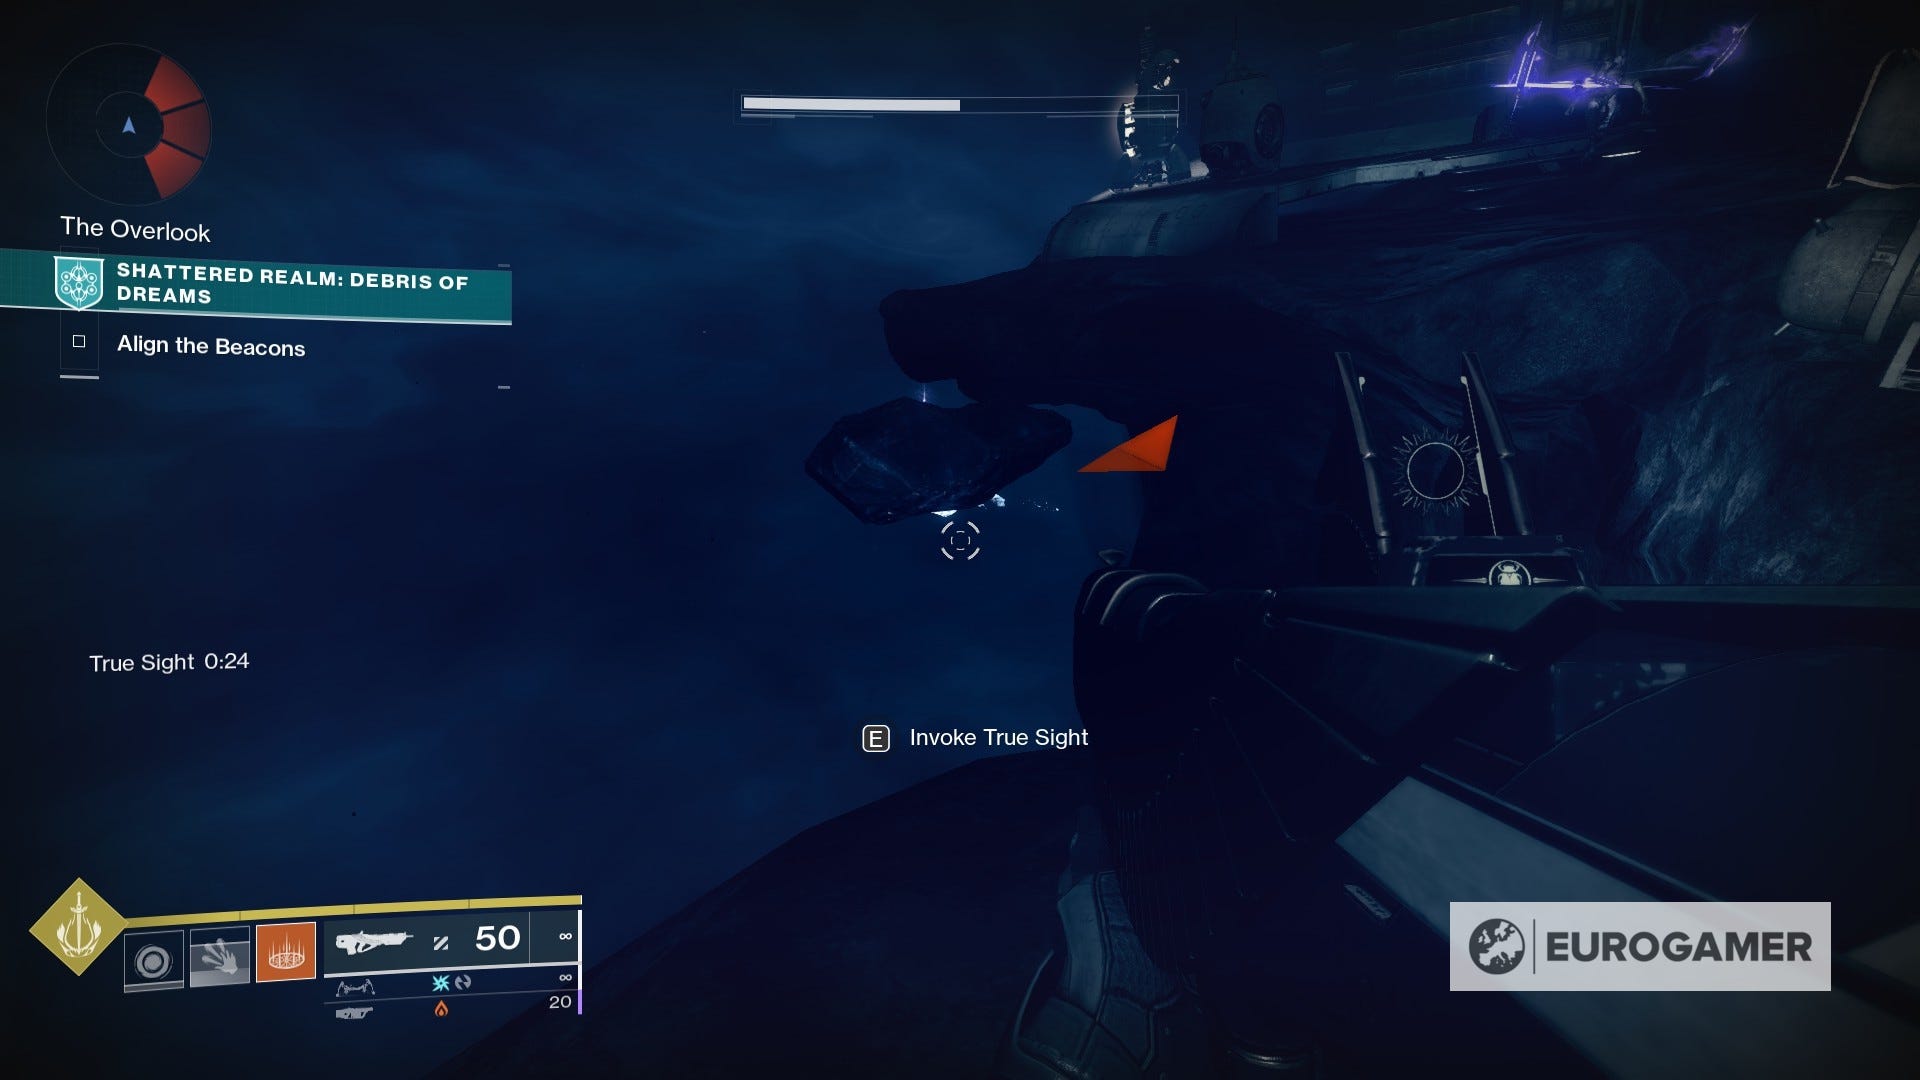
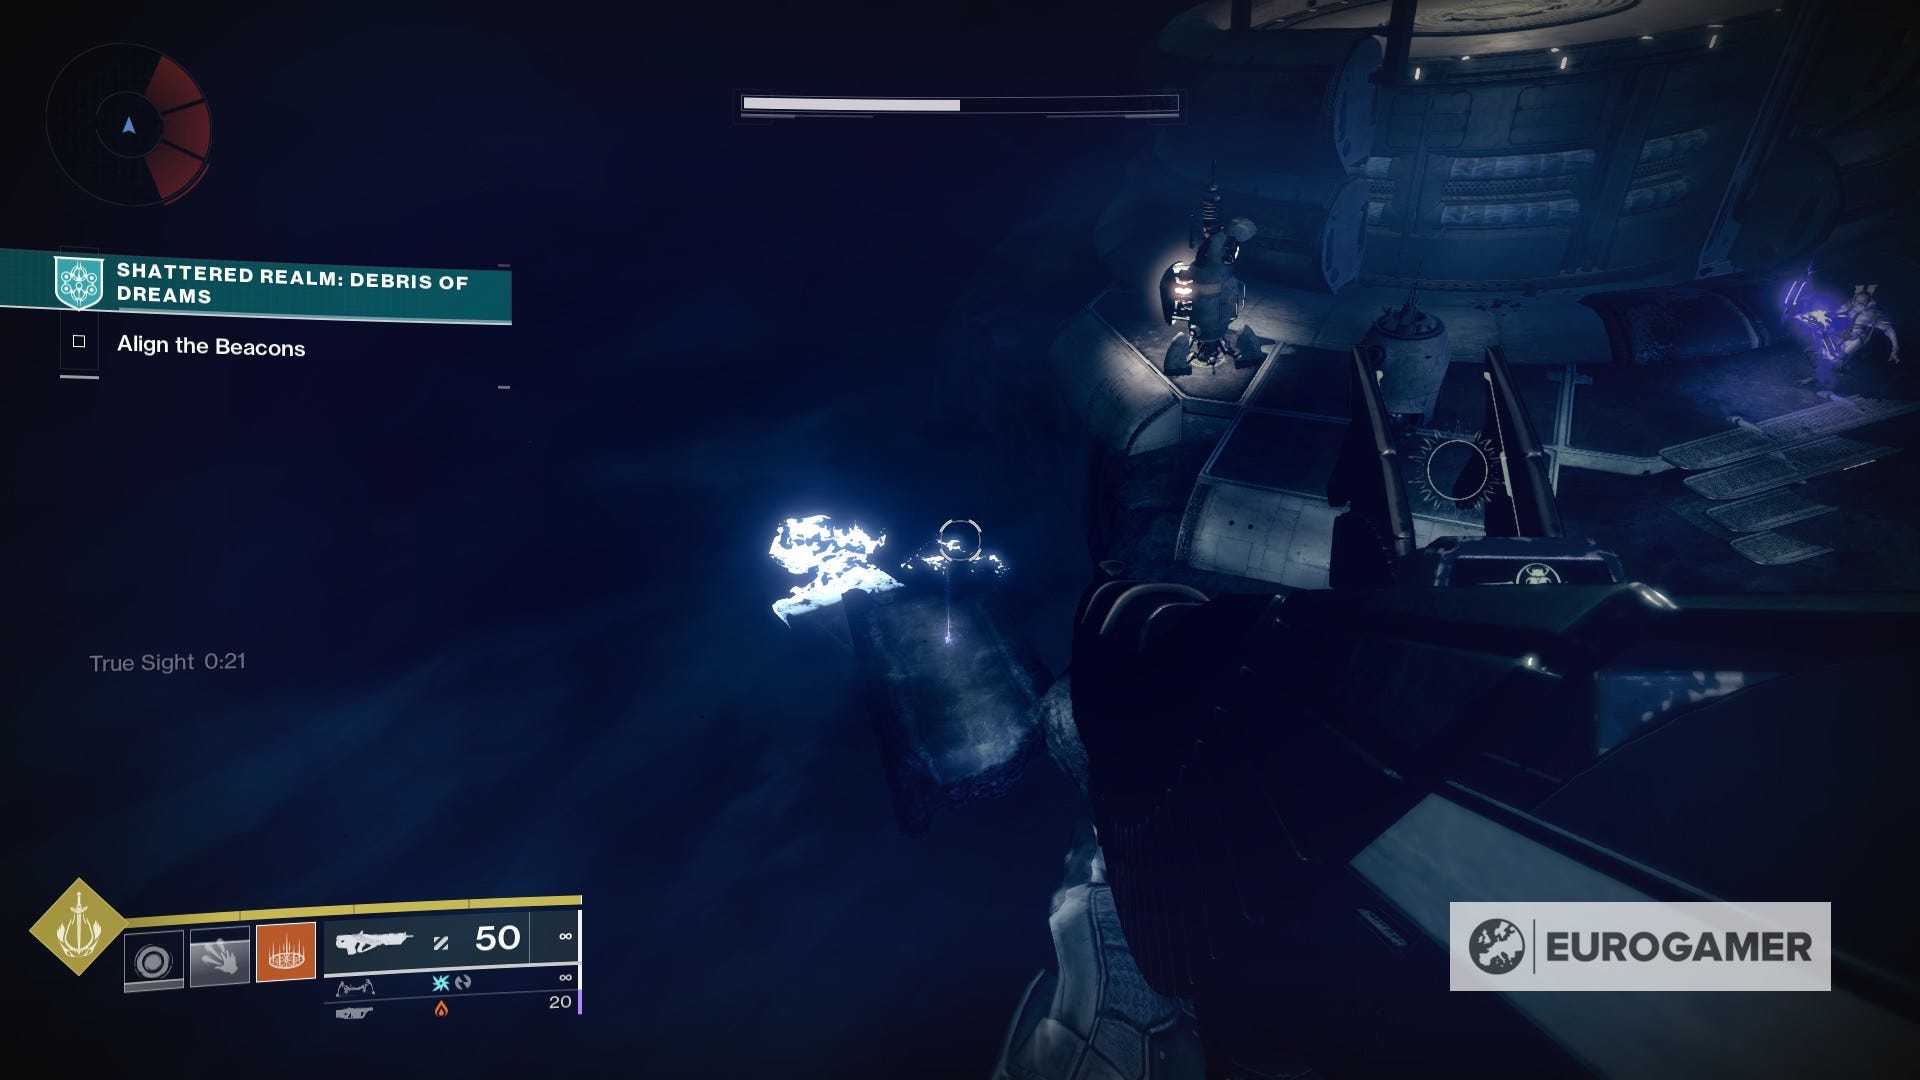
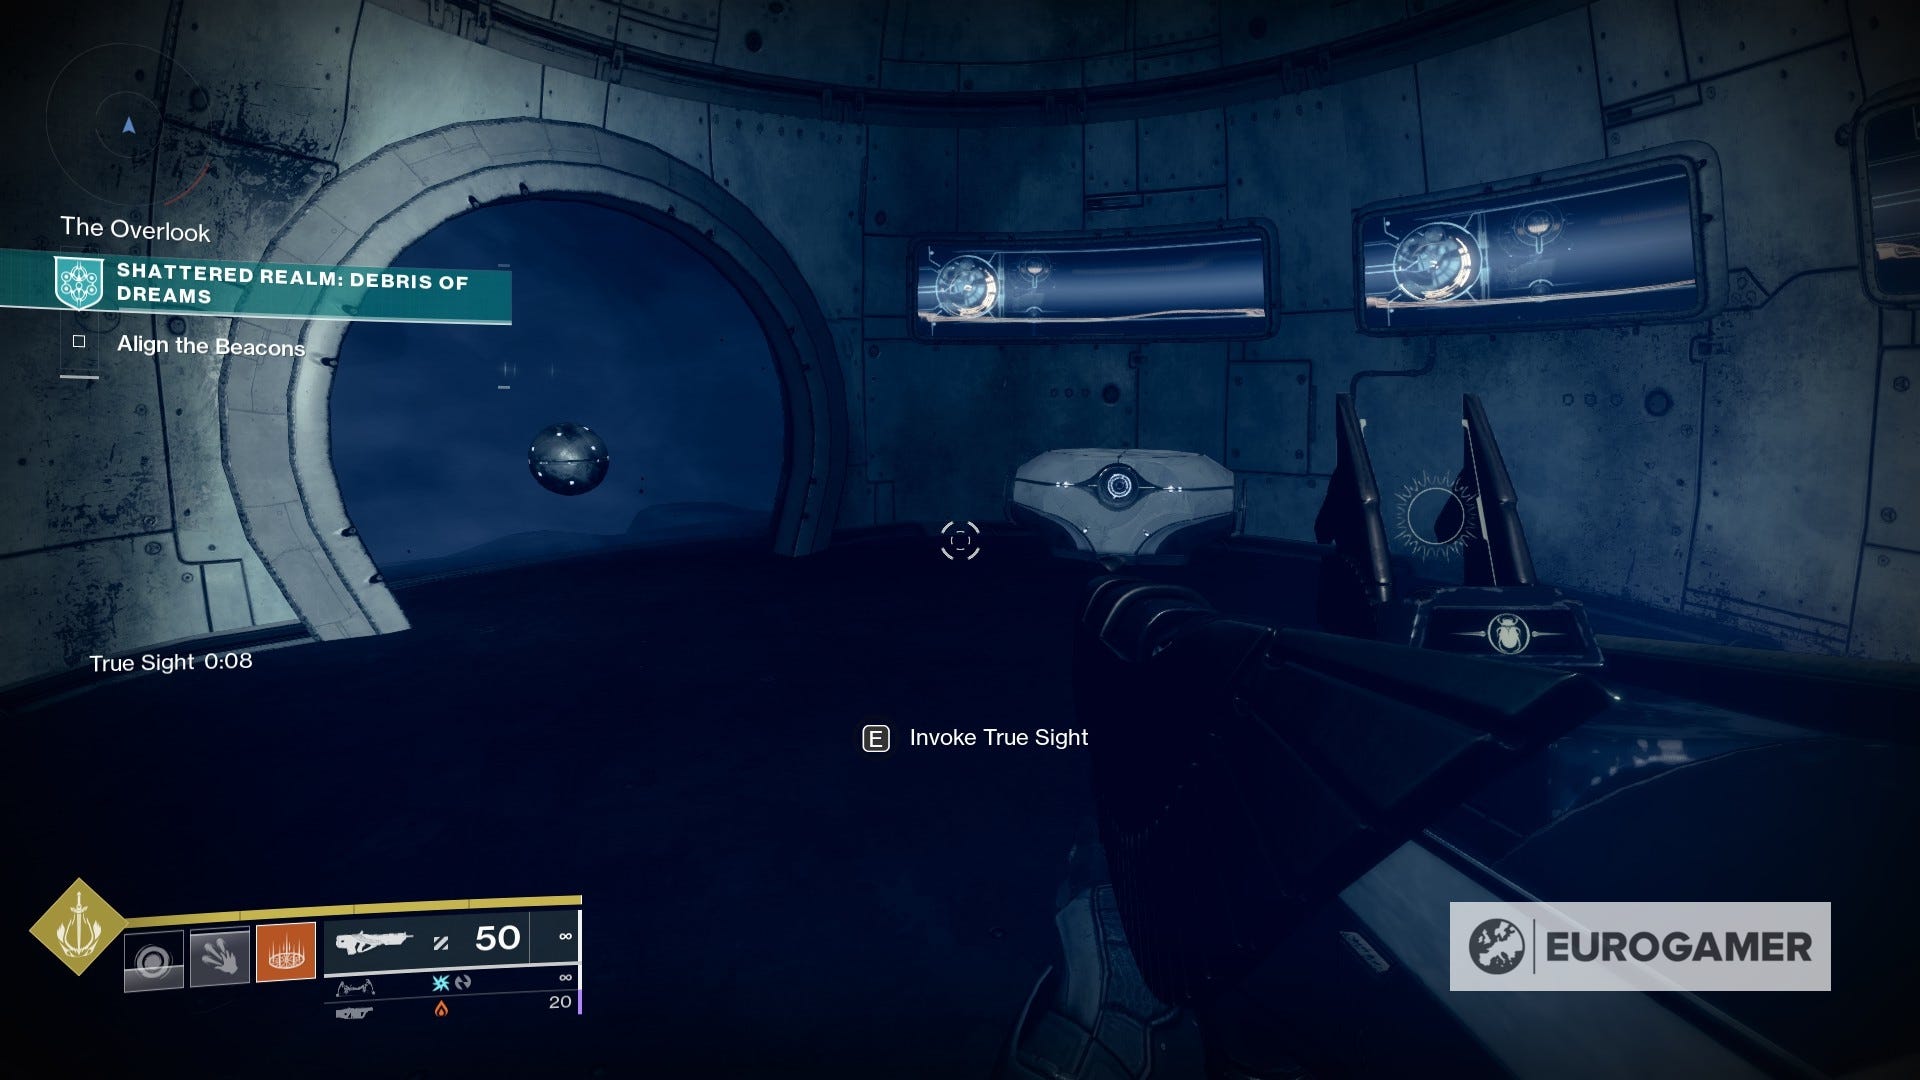
All you have to do here is activate the True Sight device that is just before the cliff, opposite to the big cylinder-looking structure, and hop on the floating platforms towards the right side instead of going forward.
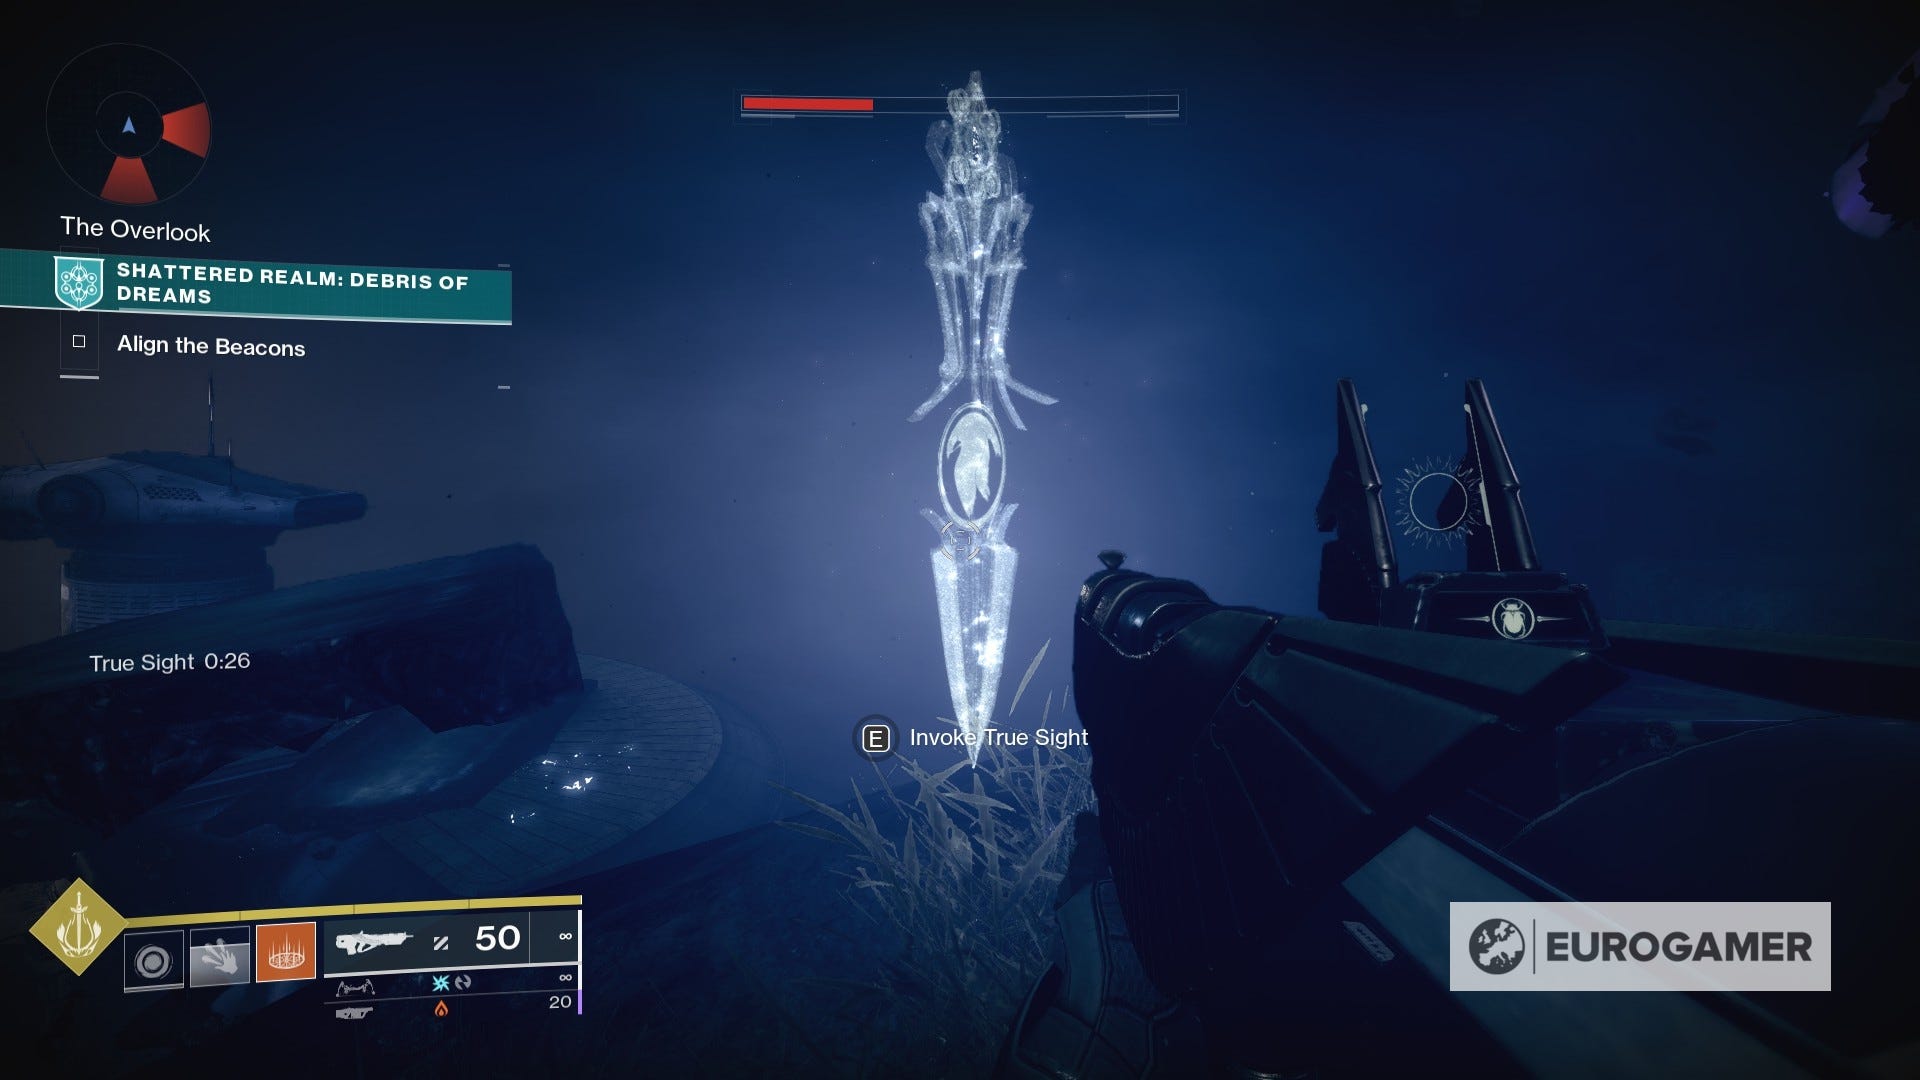
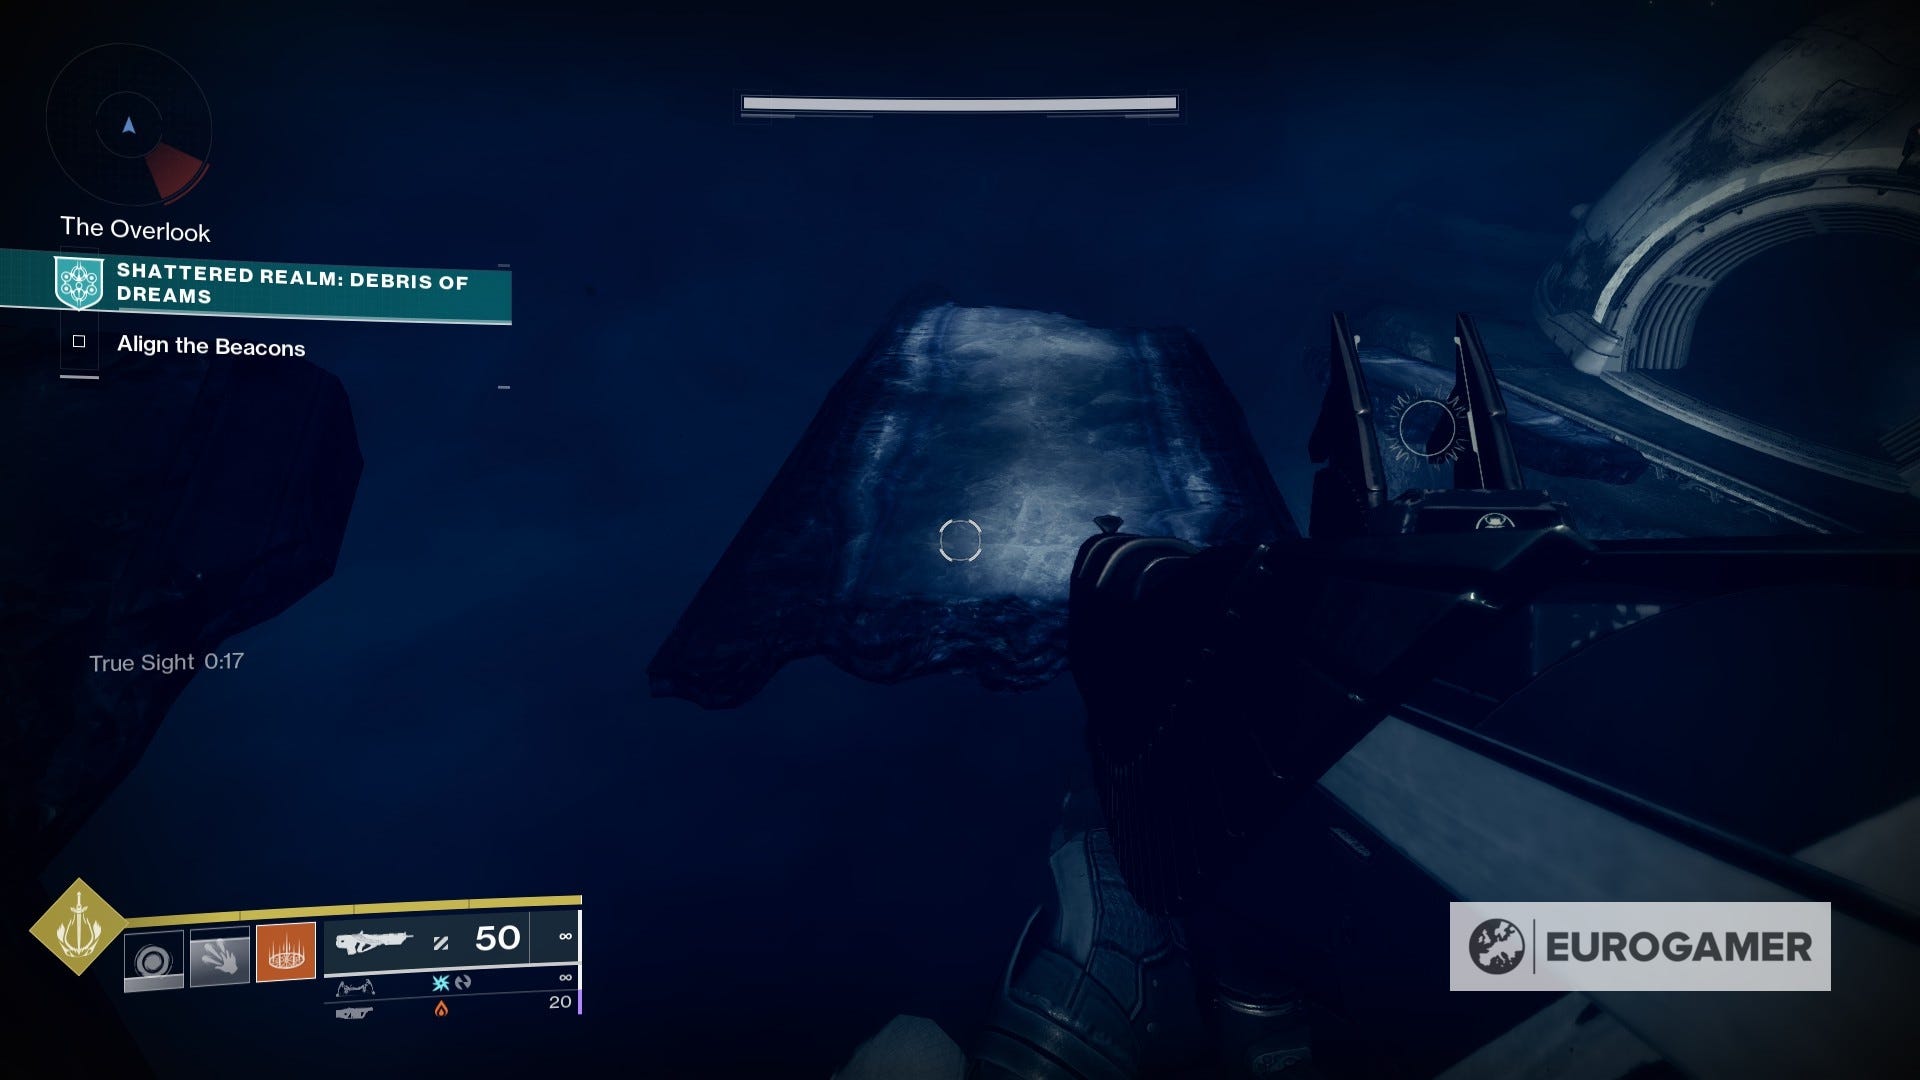
The path will eventually lead you to a secluded structure with an open door. Hop inside to find the Data Cache on the other end, next to the chest.
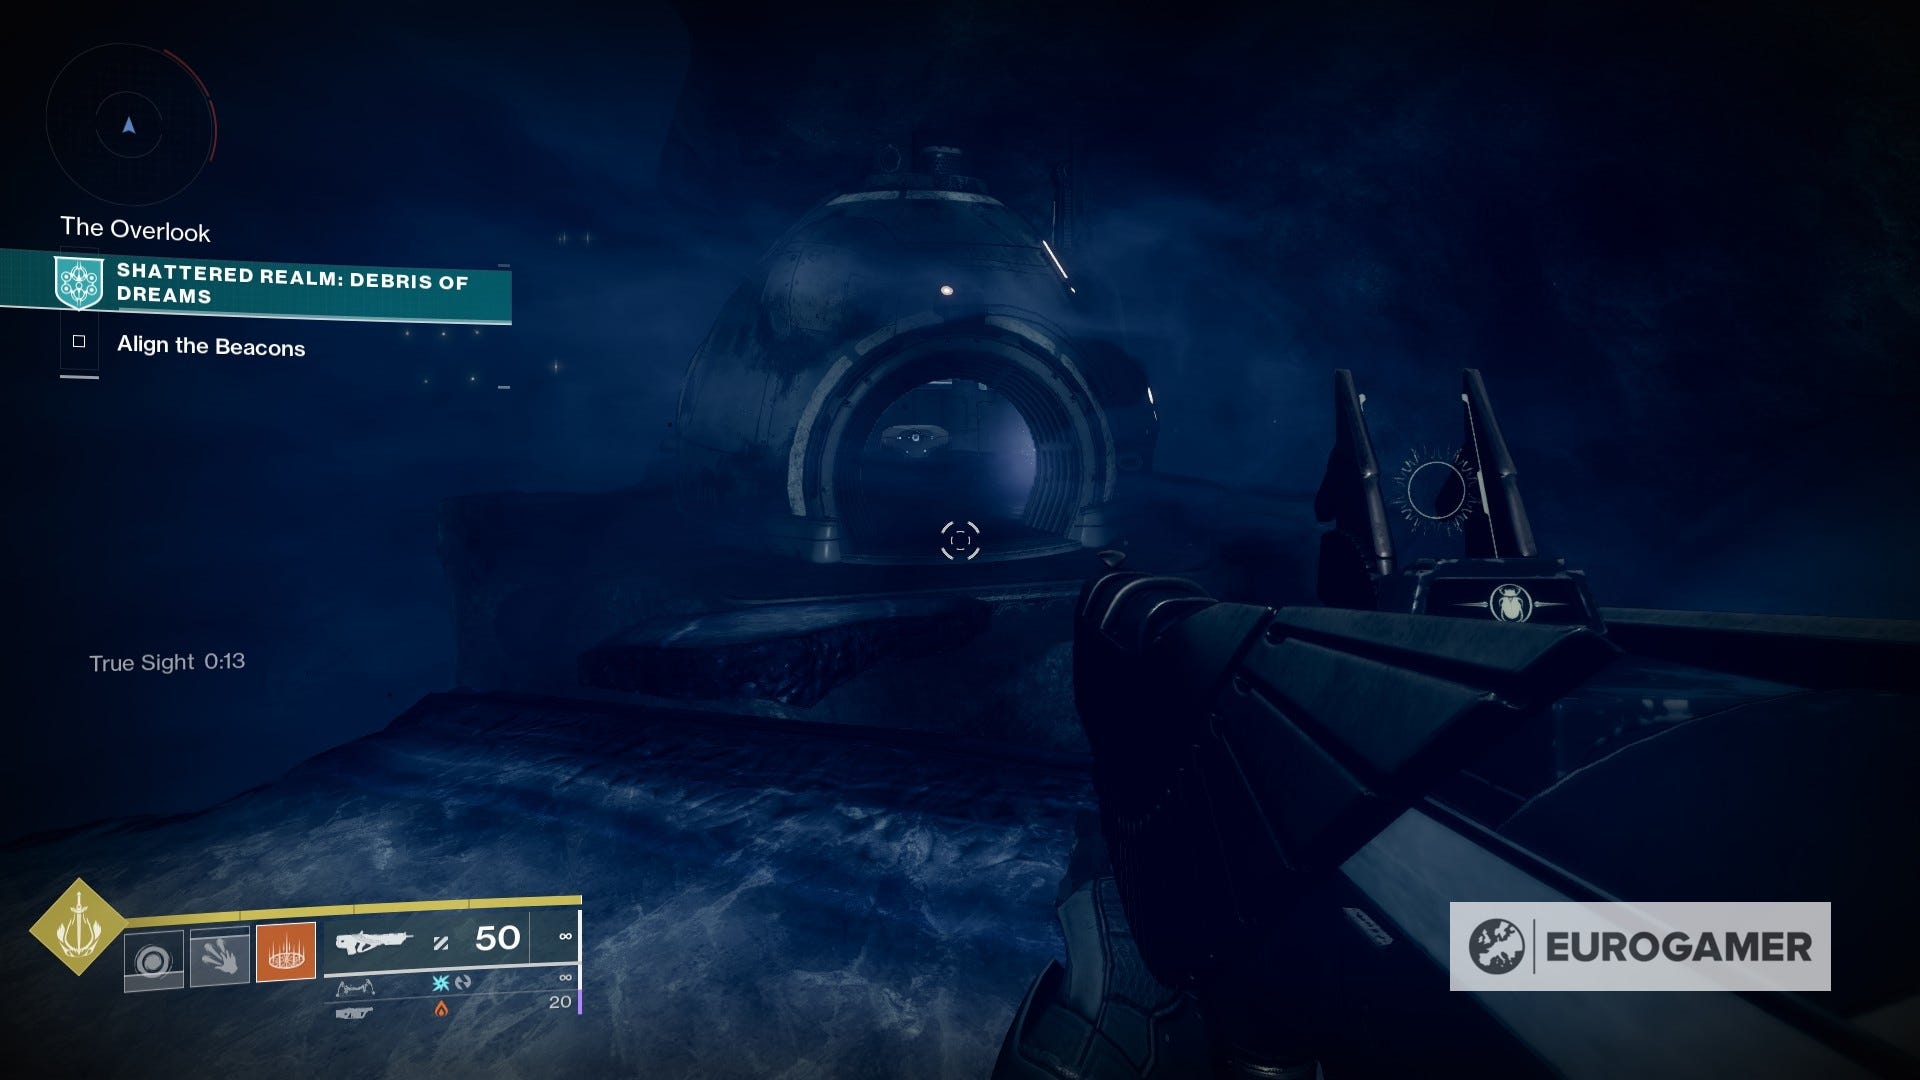
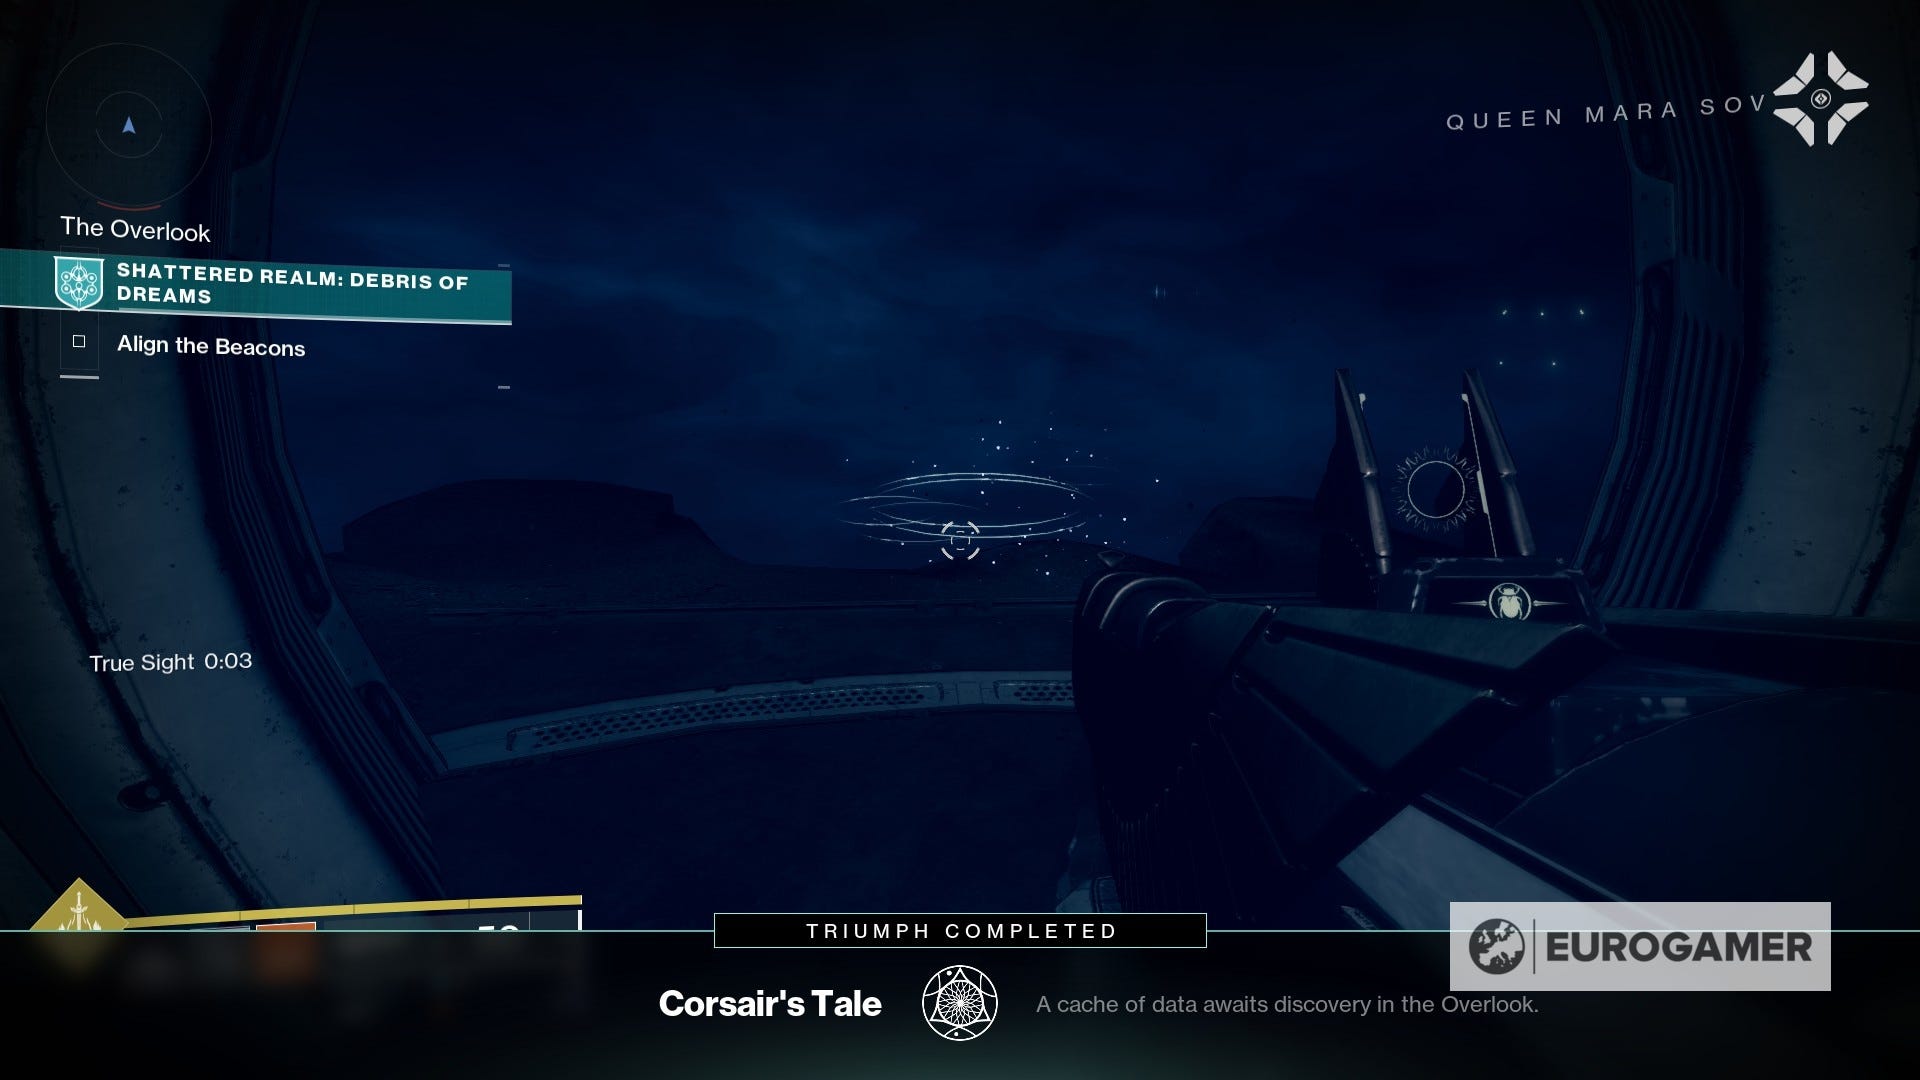
Activate the Data Cache and that will be all for Corsair's Tale.
The Conjuring Data Cache location
This Data Cache is found in Shattered Realm: Debris of Dreams - debuting during Week 5 of the season - and is recommended you unlock Sight: Frequency Echoes by completing the mission once first.
This one is a bit tricky to follow - in case it helps, we'll be taking the same path that we used for The First Rule Ascendant Mystery.
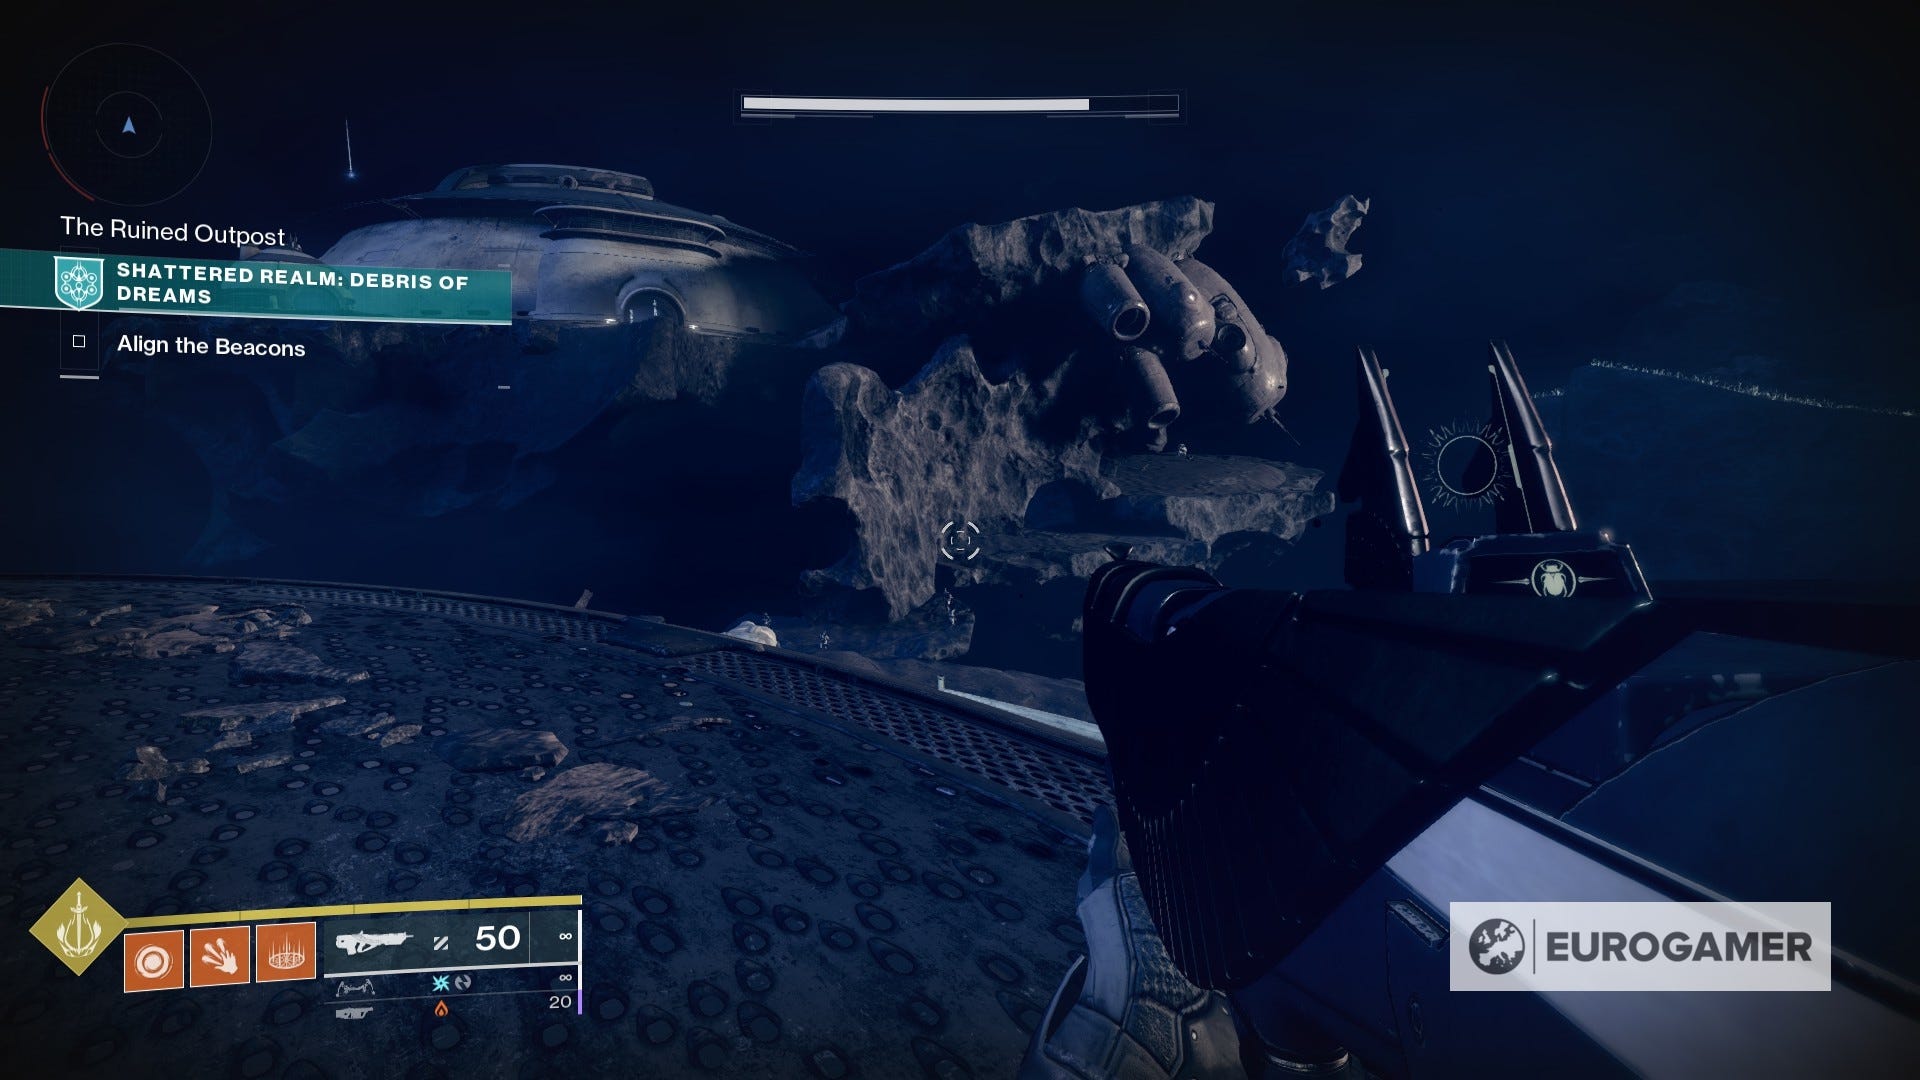
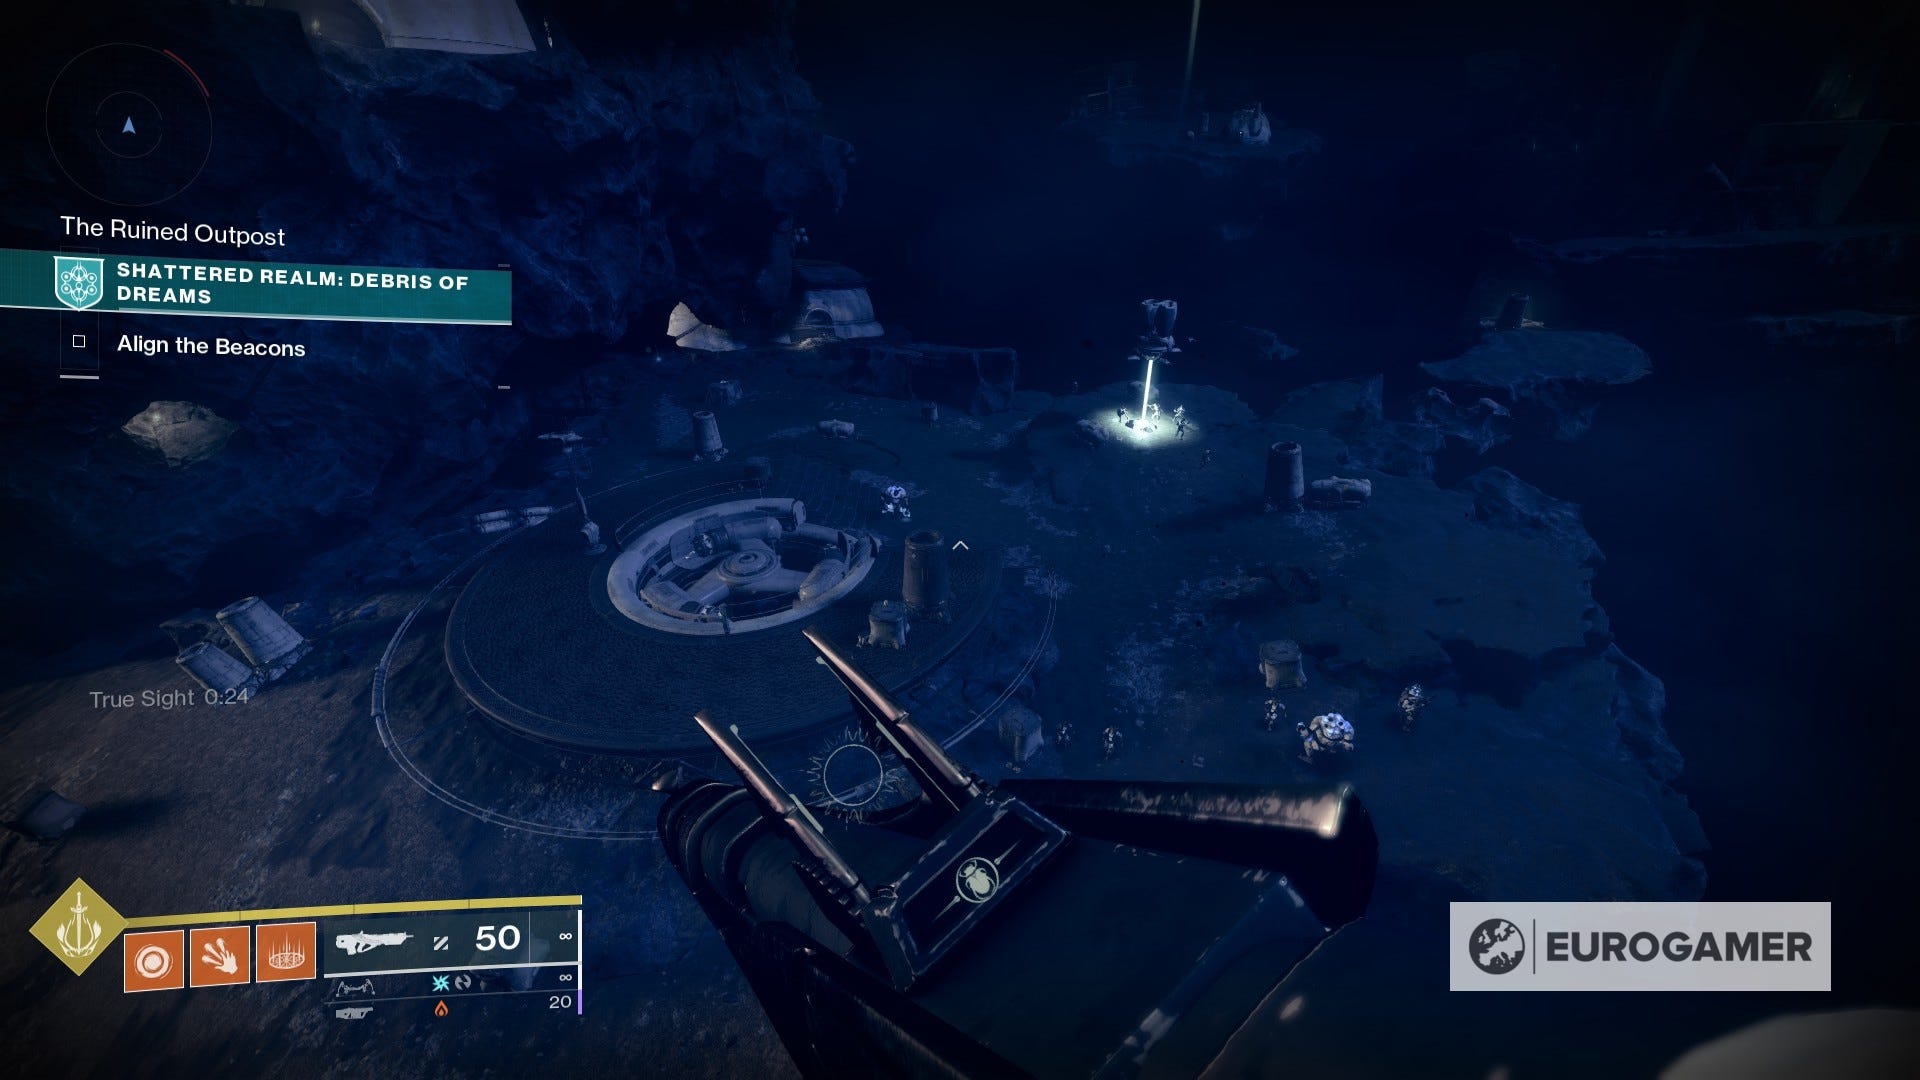
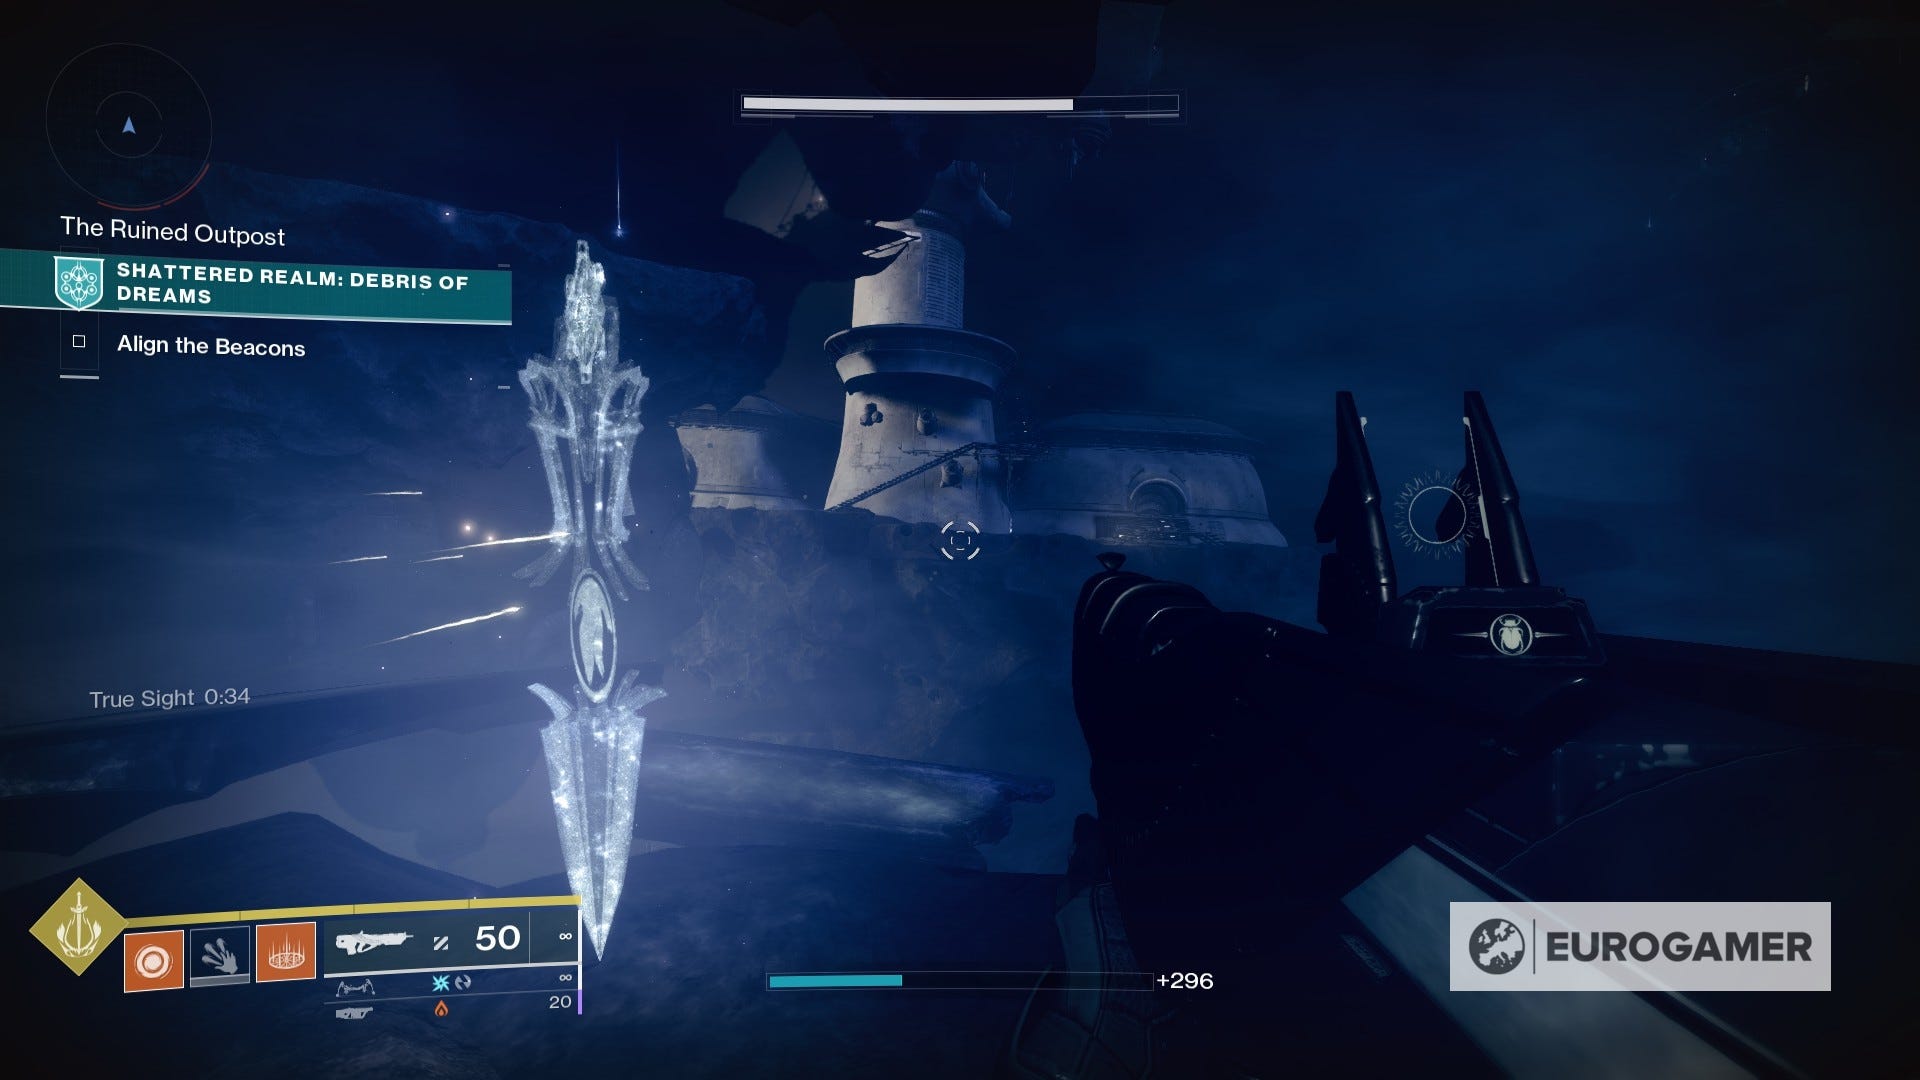
The Conjuring Data Cache can be found in The Ruined Outpost area - although this occurs on a path that needs some previous steps to get there.
We're taking the location of the second beacon as a starting point. From where you're currently standing, head inside the broken facility and towards the tube-shaped structure in the middle.
It has some stairs that don't function as regular ones, but double jumping your way up will do the trick. Once on the top, you will notice two enemies tinkering with the door's padlock.
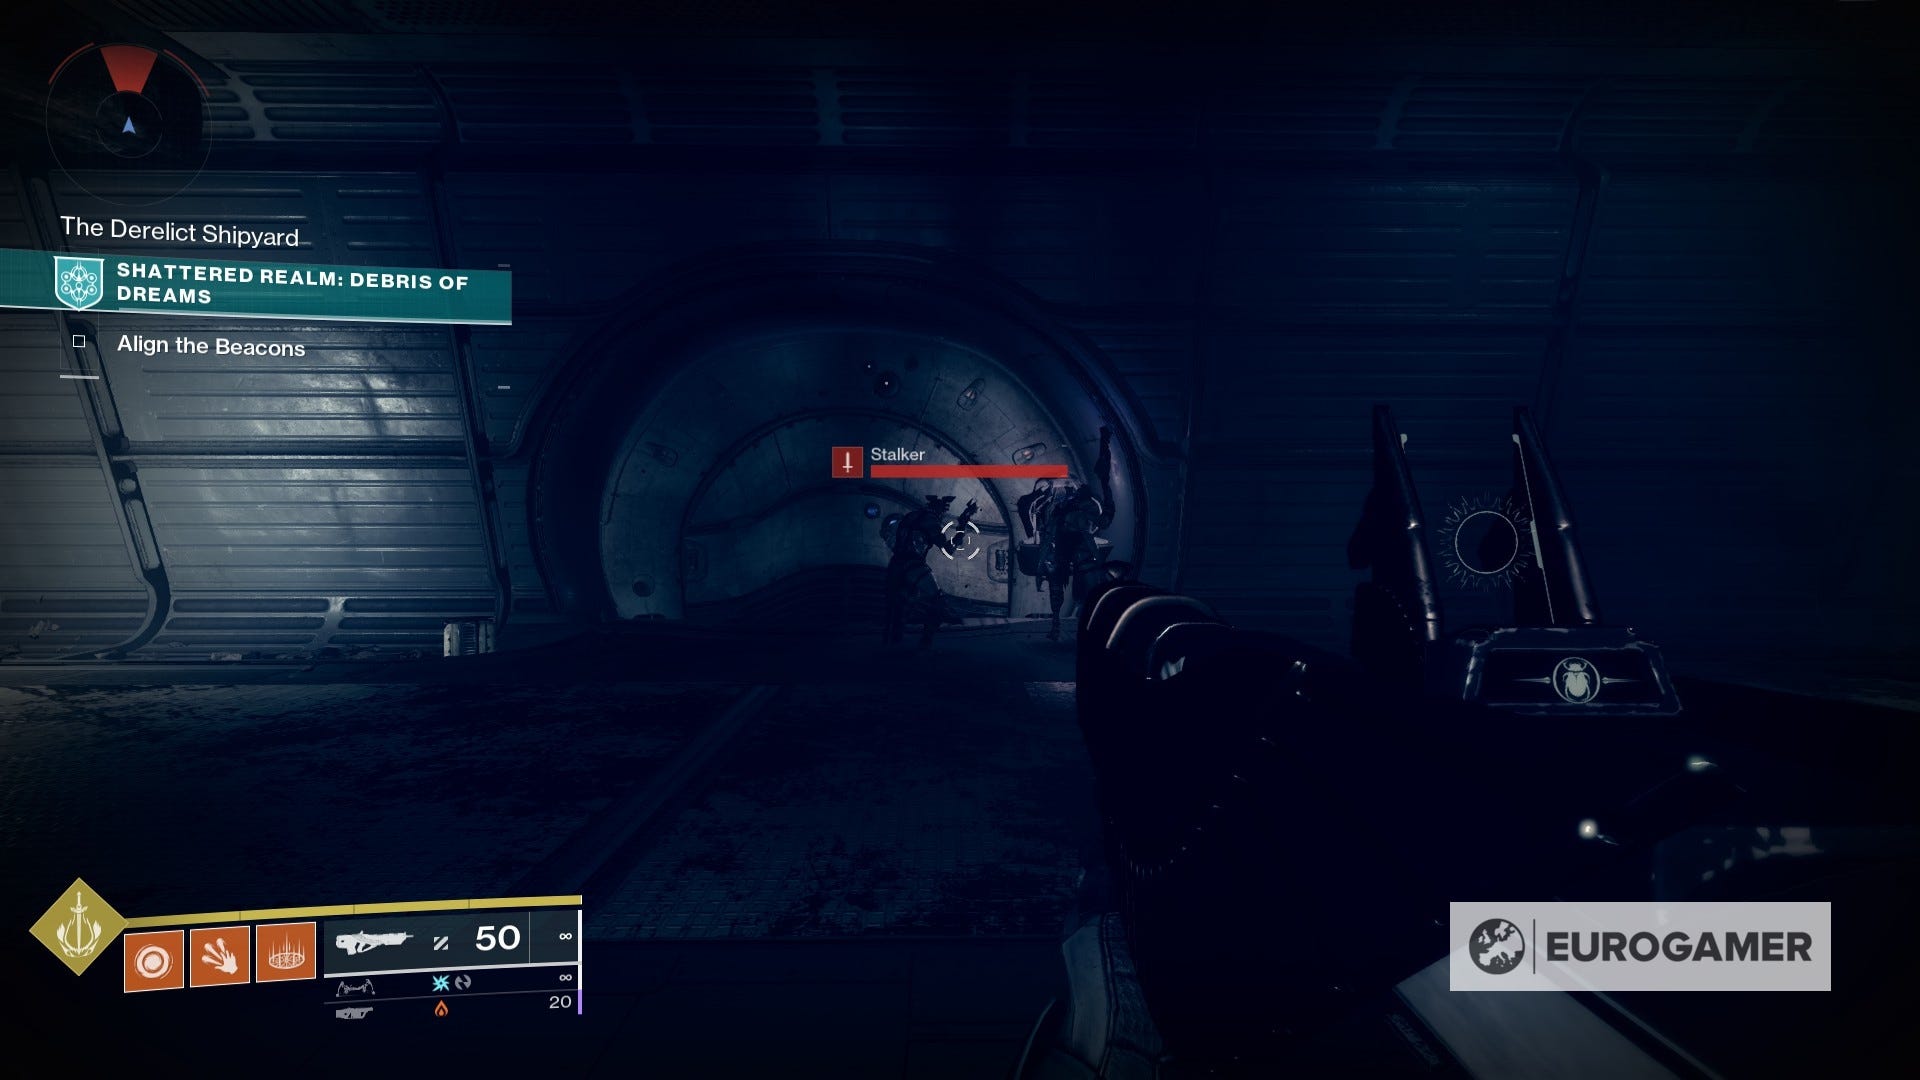
Interact with said padlock and head into the room - expect a fight here.
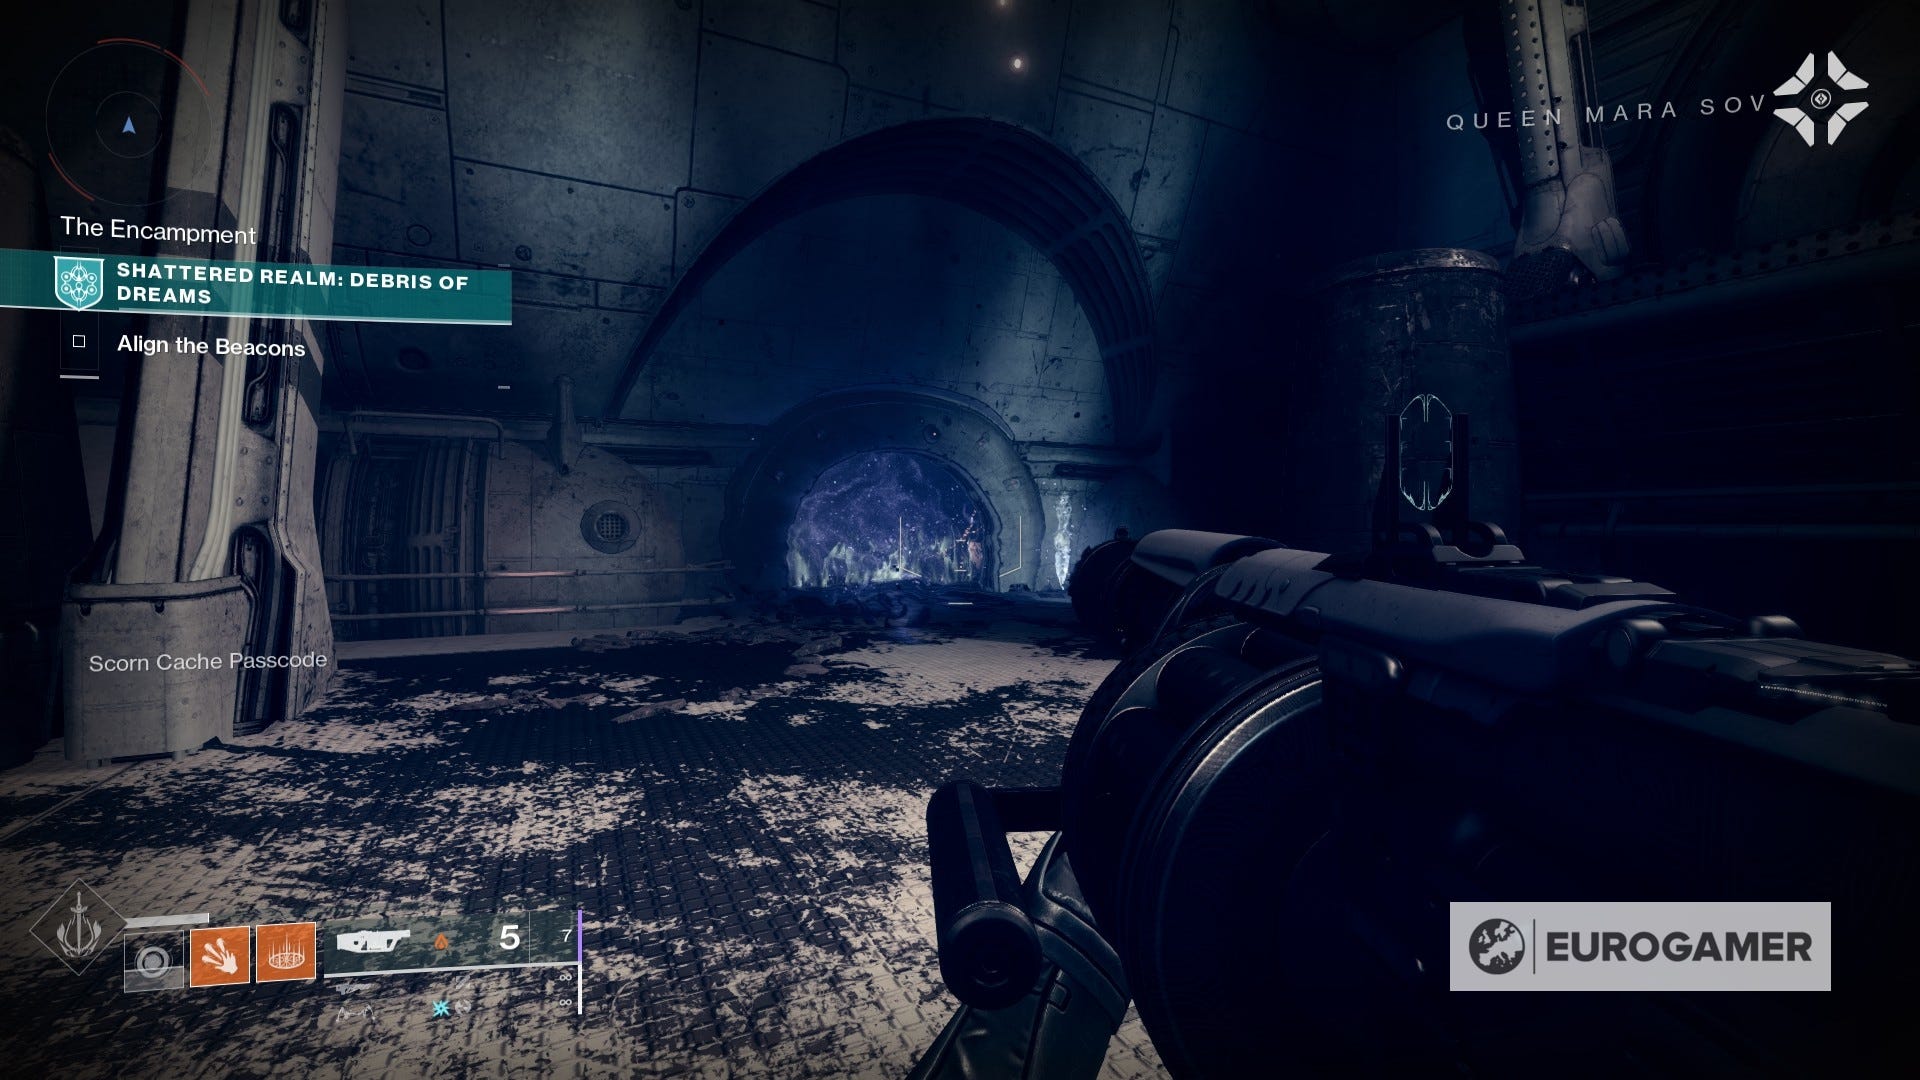
After you've taken all of the enemies down, you're going to go through the door locked with a barrier - use the breach device that is right next to it to get inside.

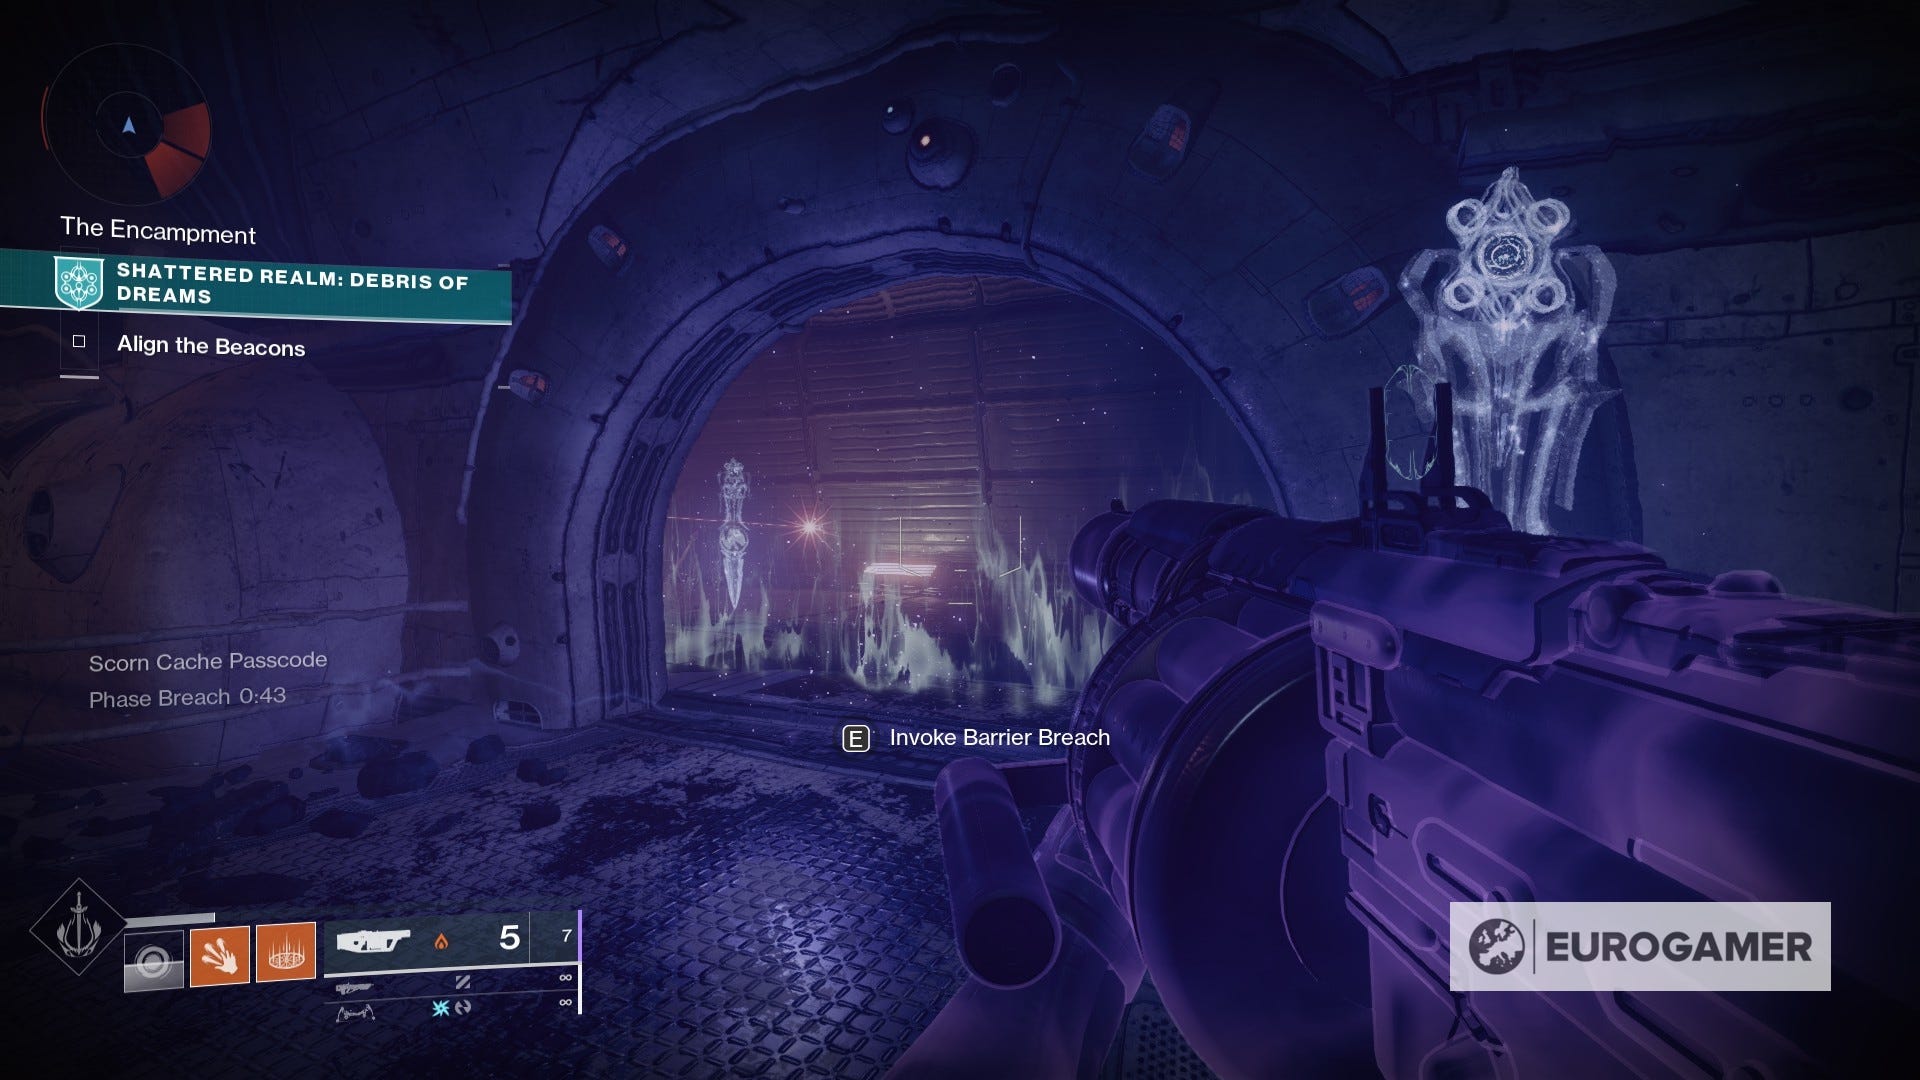
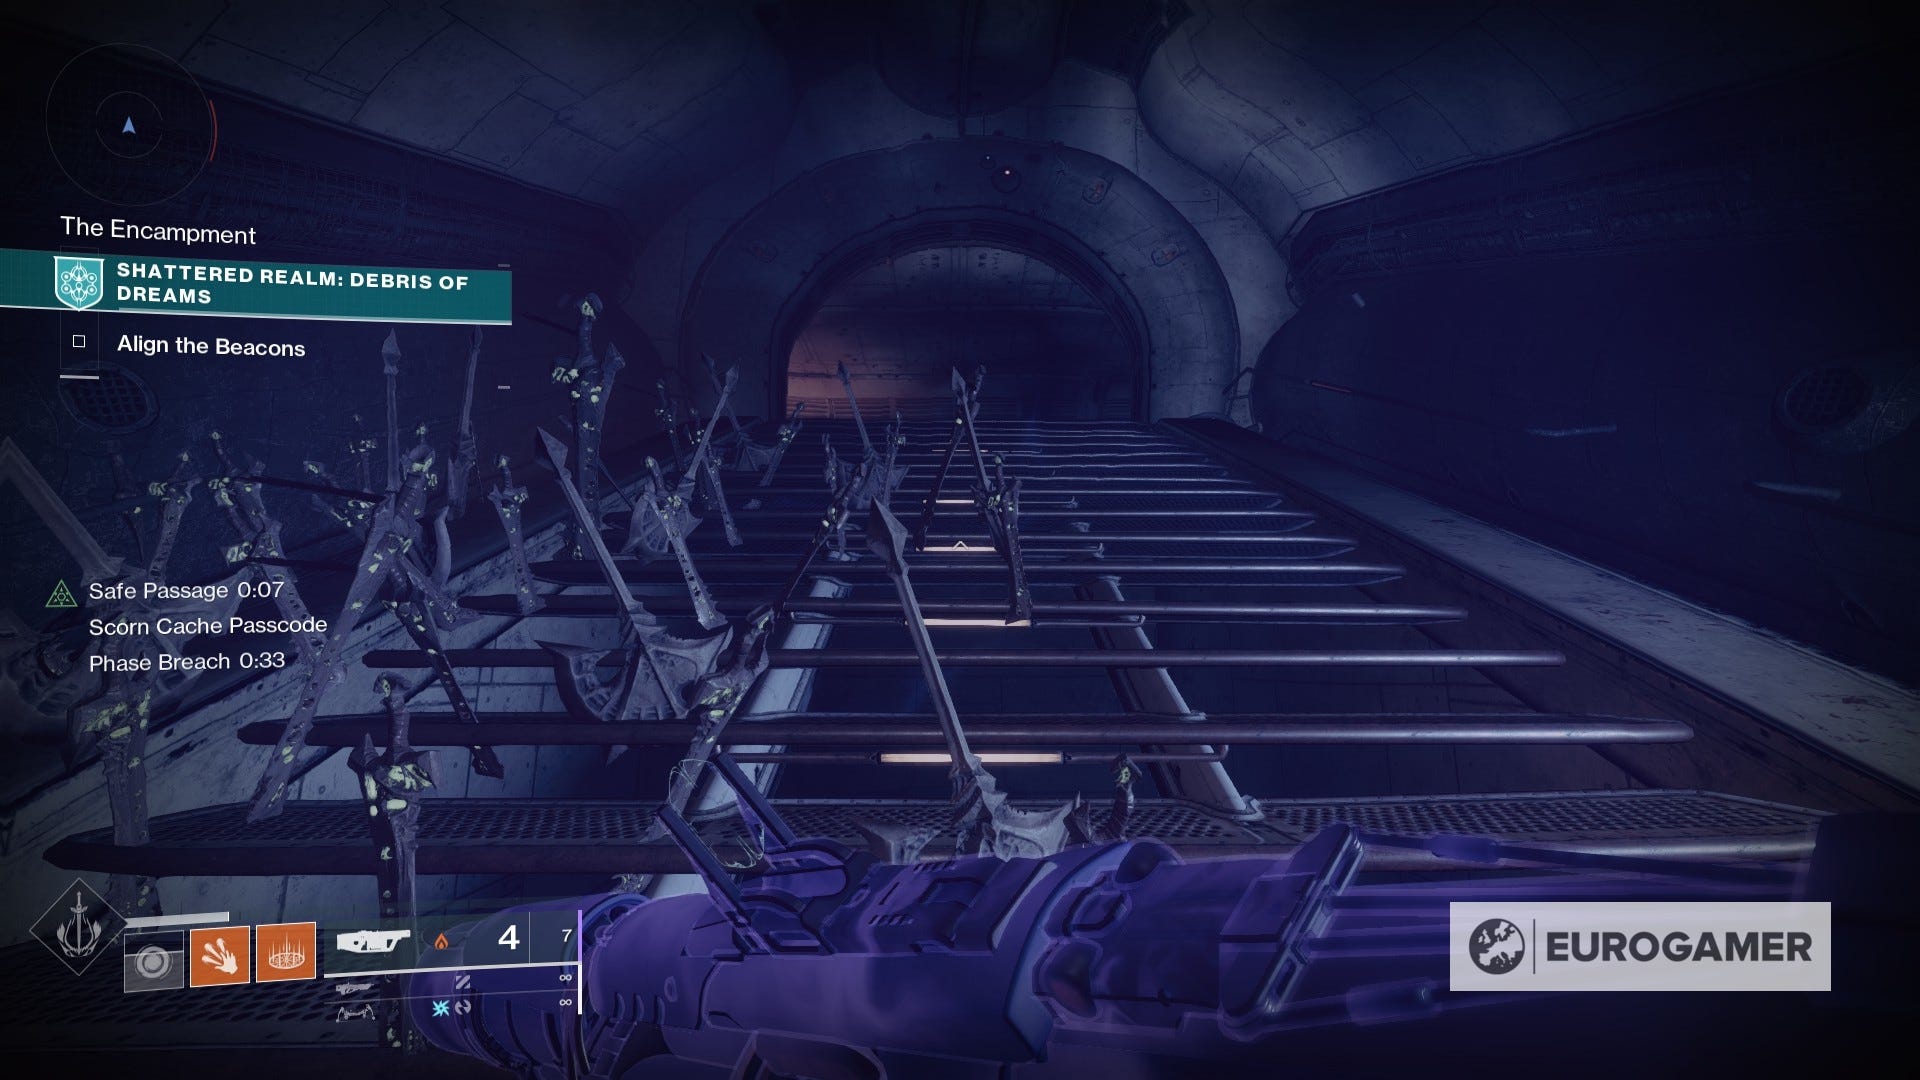
The path is straightforward enough from here. Keep on going up the stairs (watch out for the traps!) until you see another door locked by a barrier.
Use the barrier breach next to it and head outside.

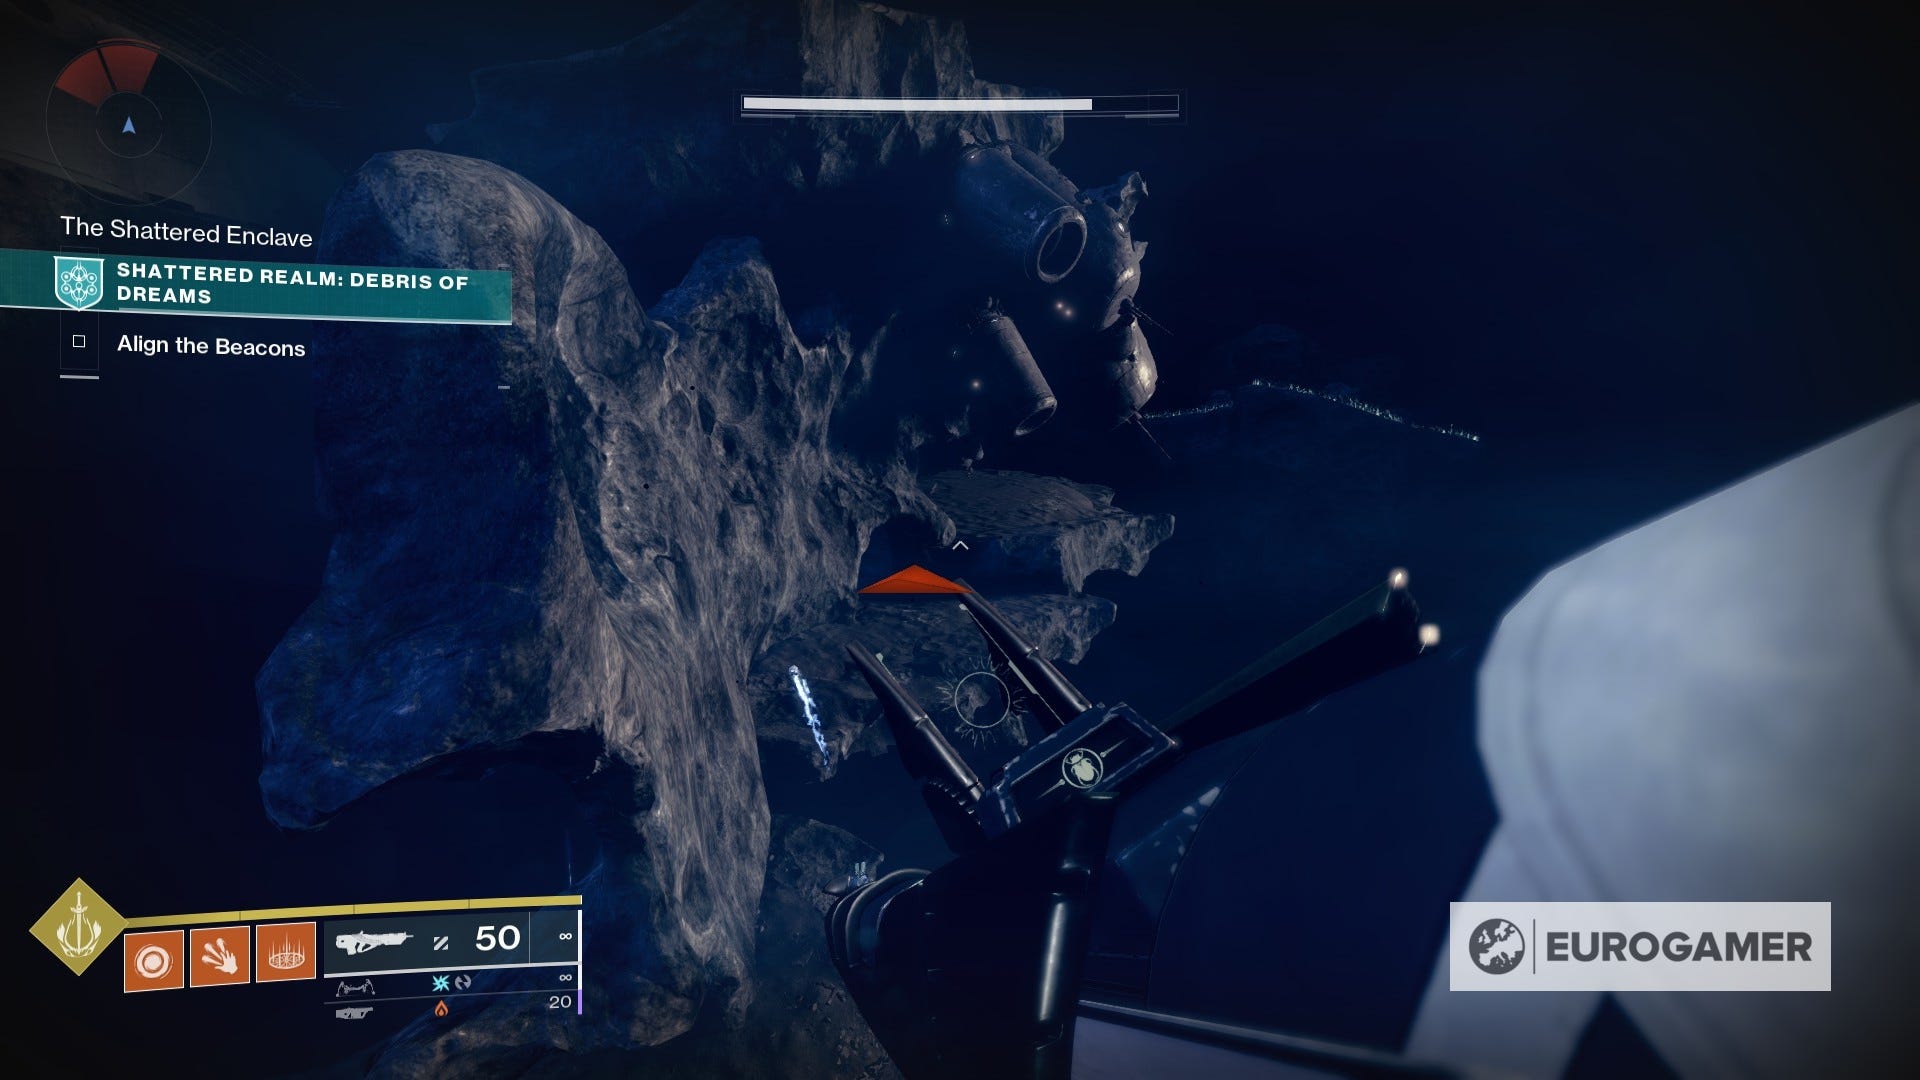
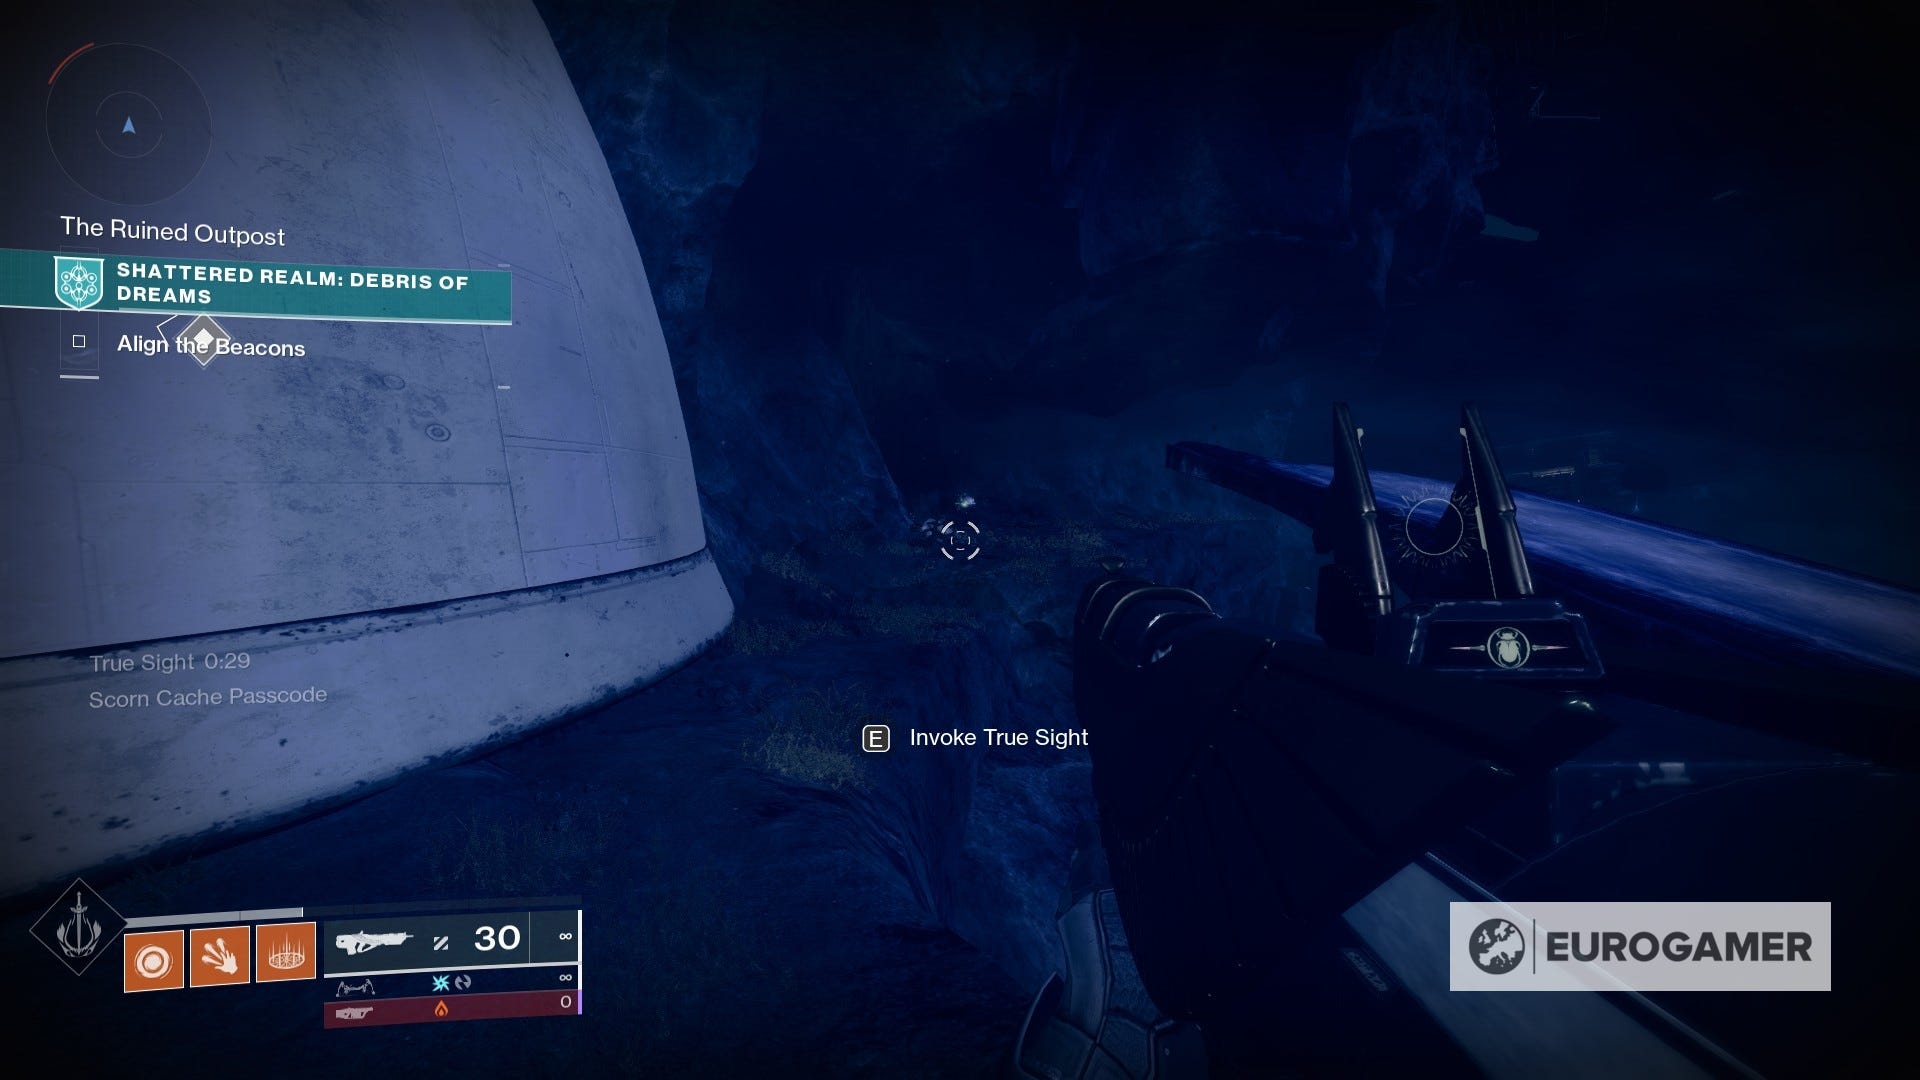
Move to the right side until you see a True Sight device. This is the last step - go ahead and activate it.
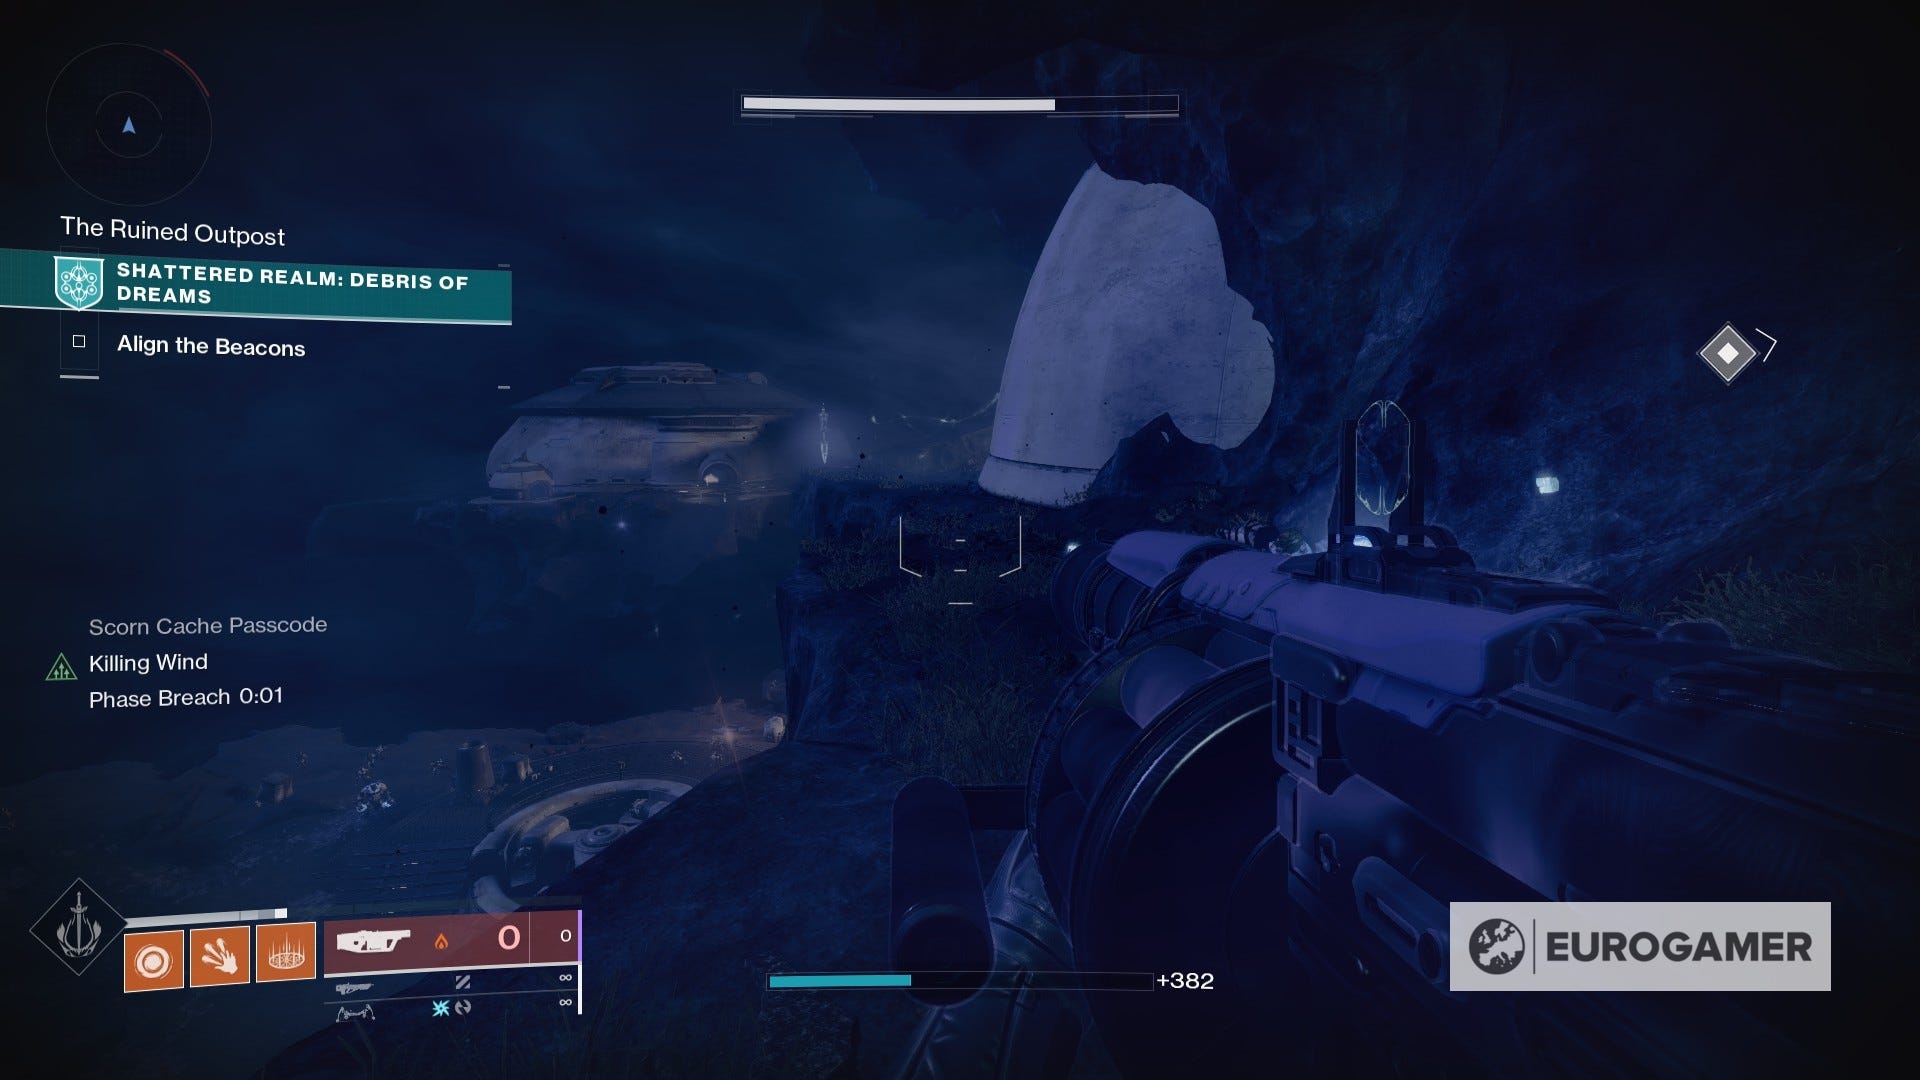
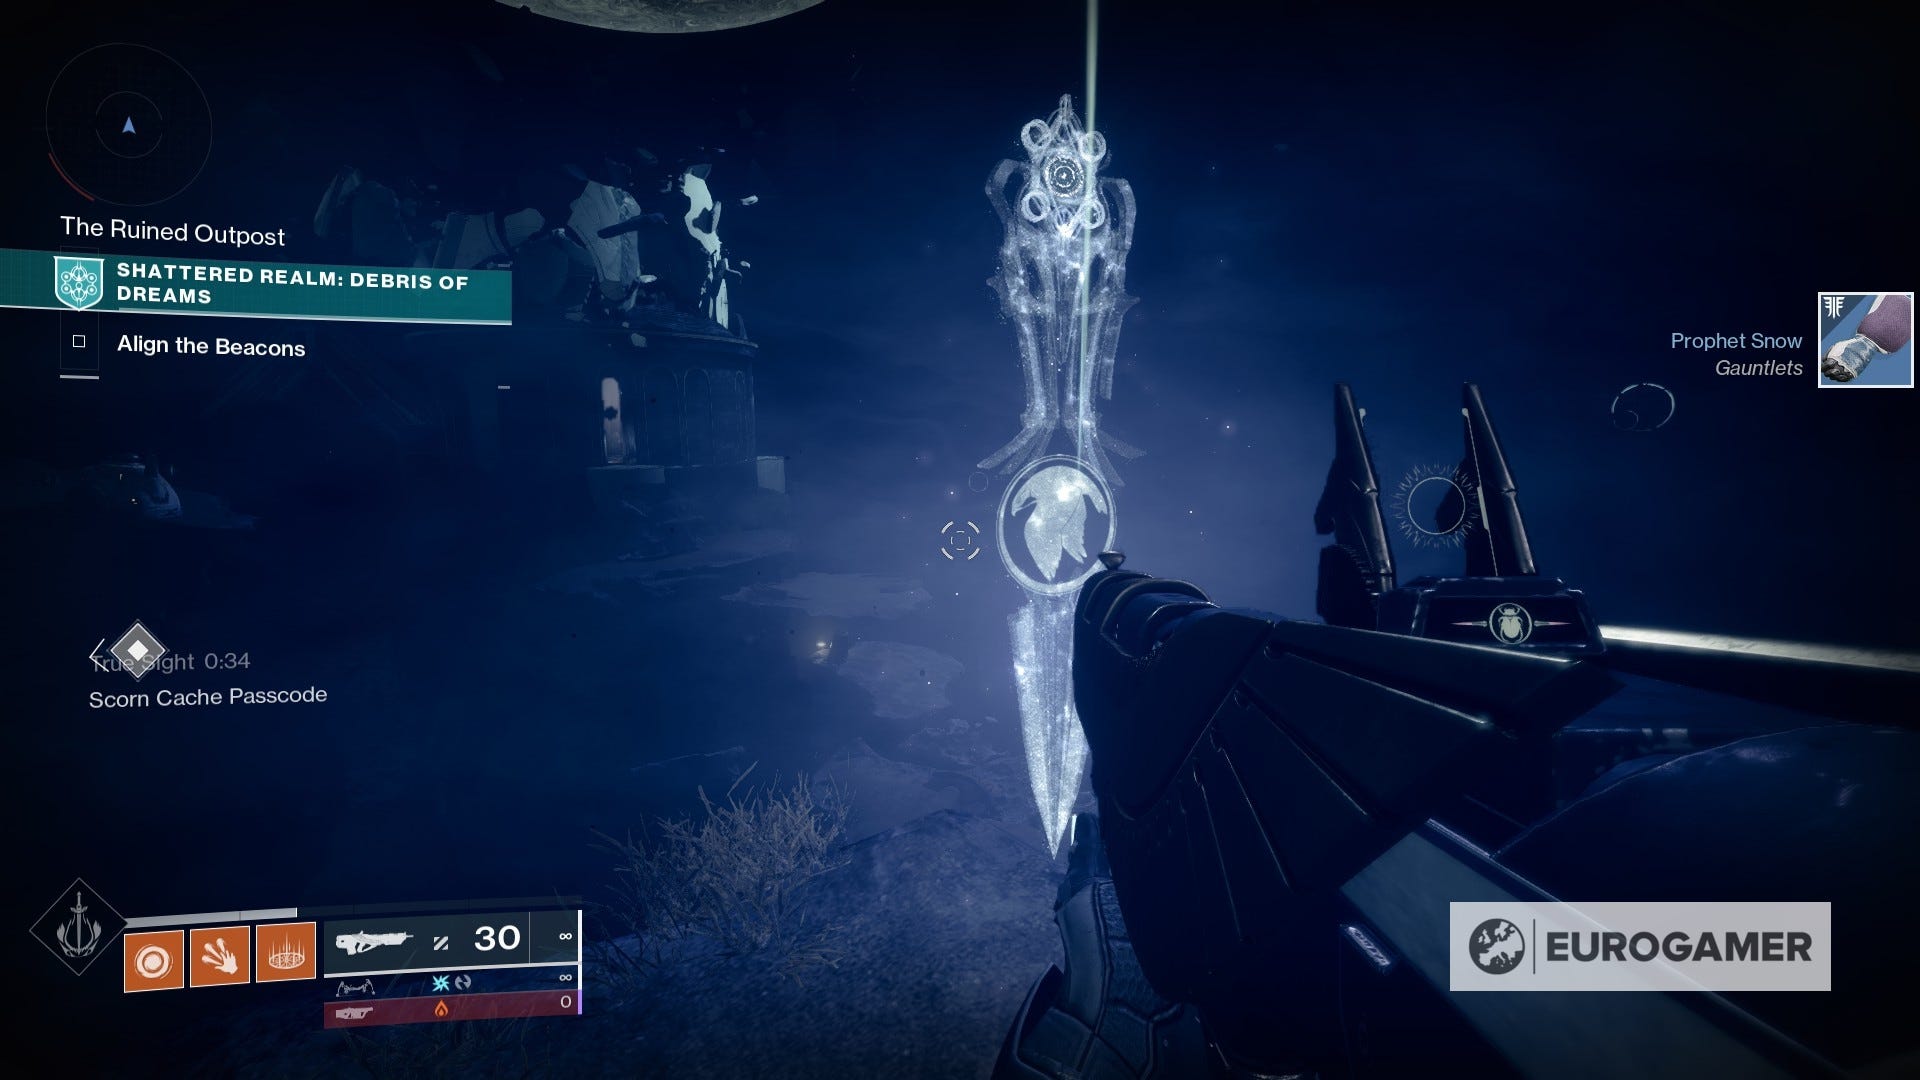
From where you're standing, the Data Breach will appear on the path you've just came from. Go ahead and interact with it.
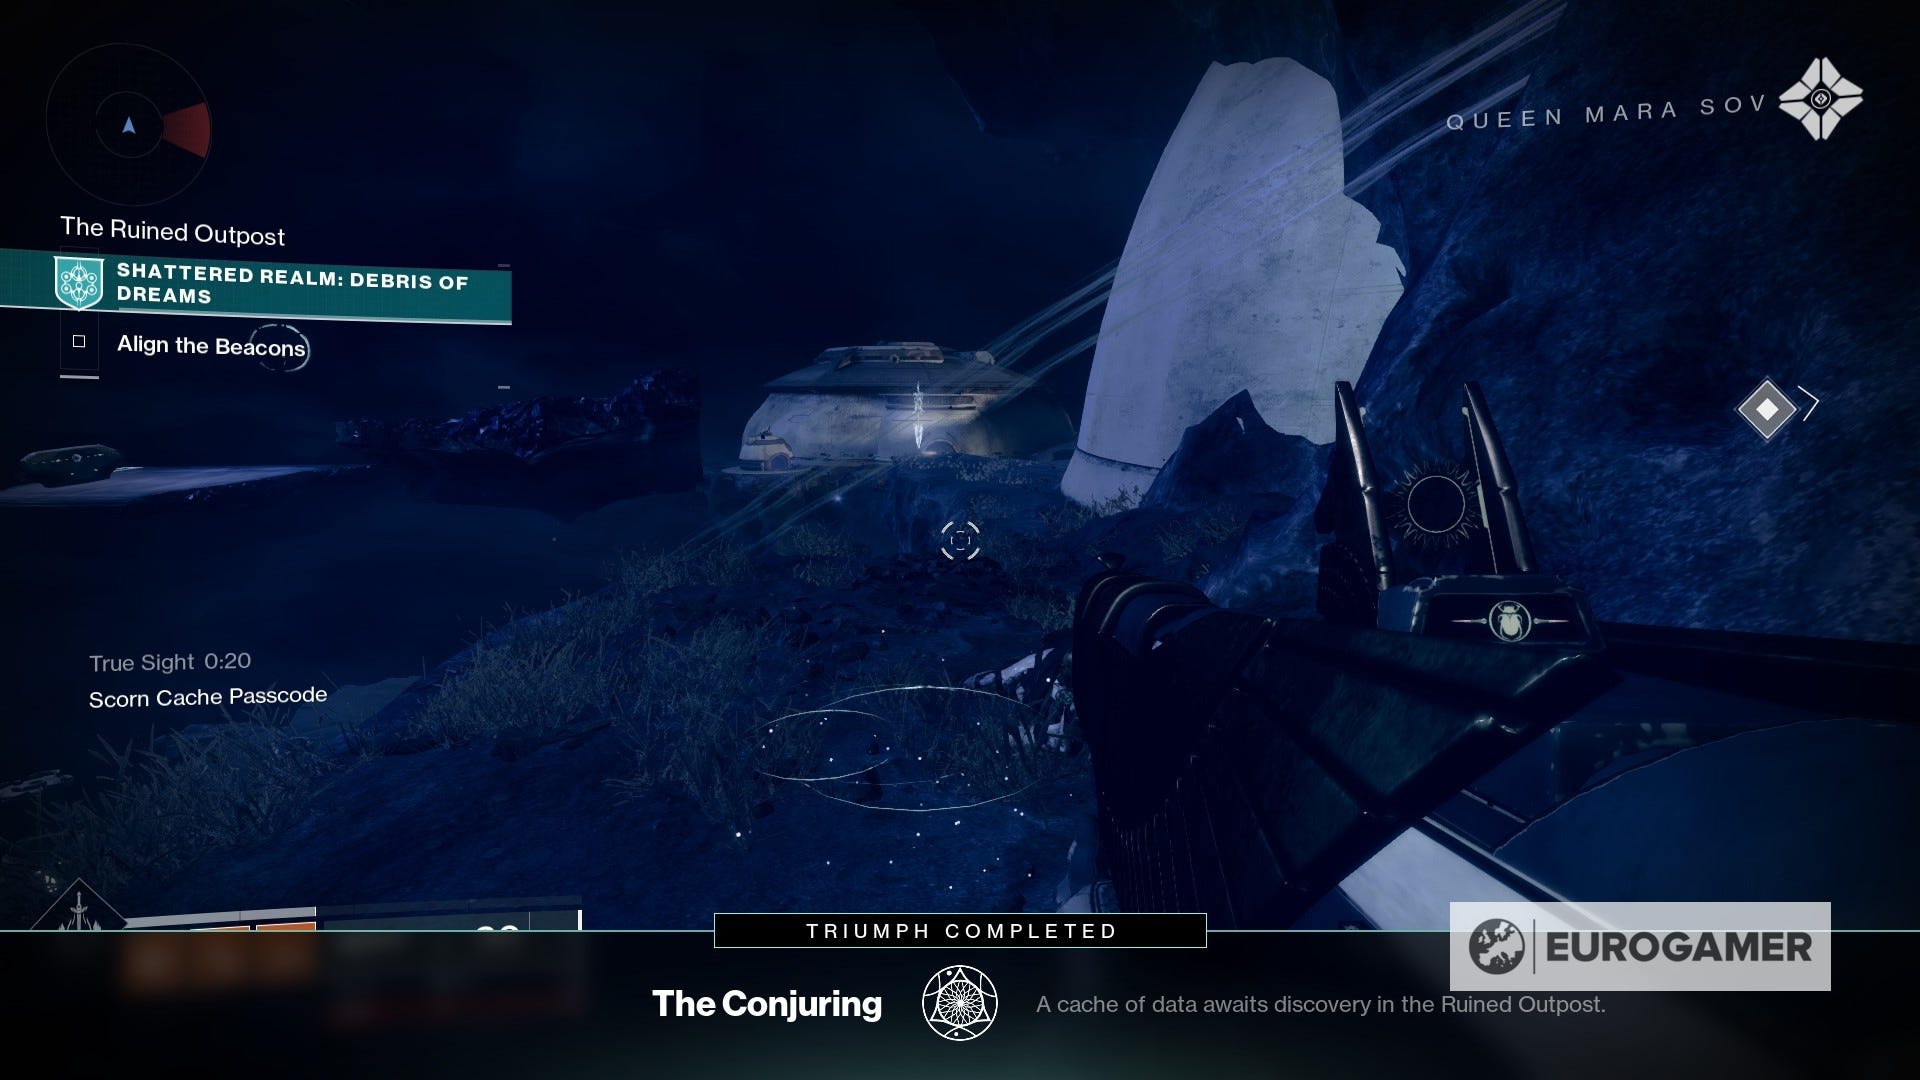
That's all for The Conjuring.
That's all for Debris of Dreams for the time being!
The Loop Data Cache location
This Data Cache is found in Shattered Realm: Ruins of Wrath - debuting during Week 6 of the season - and is recommended you unlock Safe Passage: Astral Attunement by completing the mission once first.
The Loop Data Cache can be found around The Staging Ground area. To access it, it's best if you first complete both beacons.
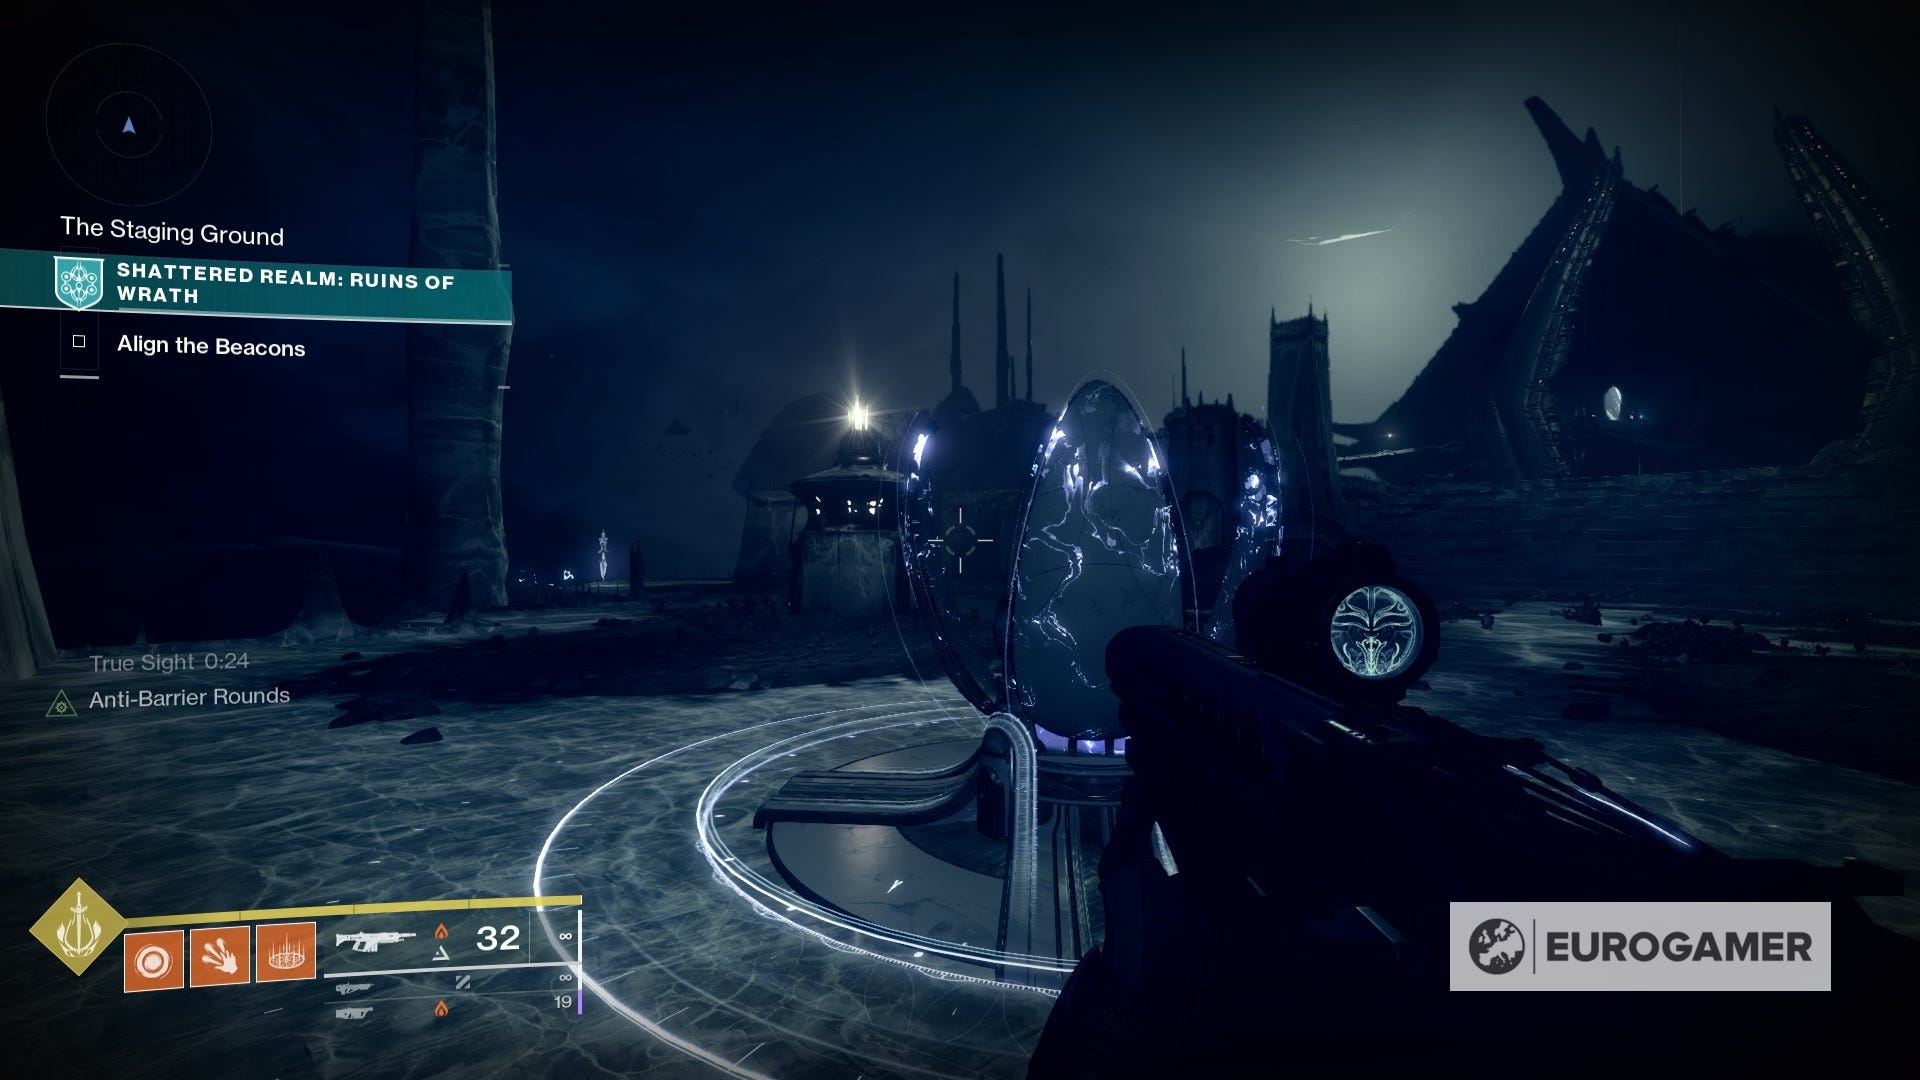
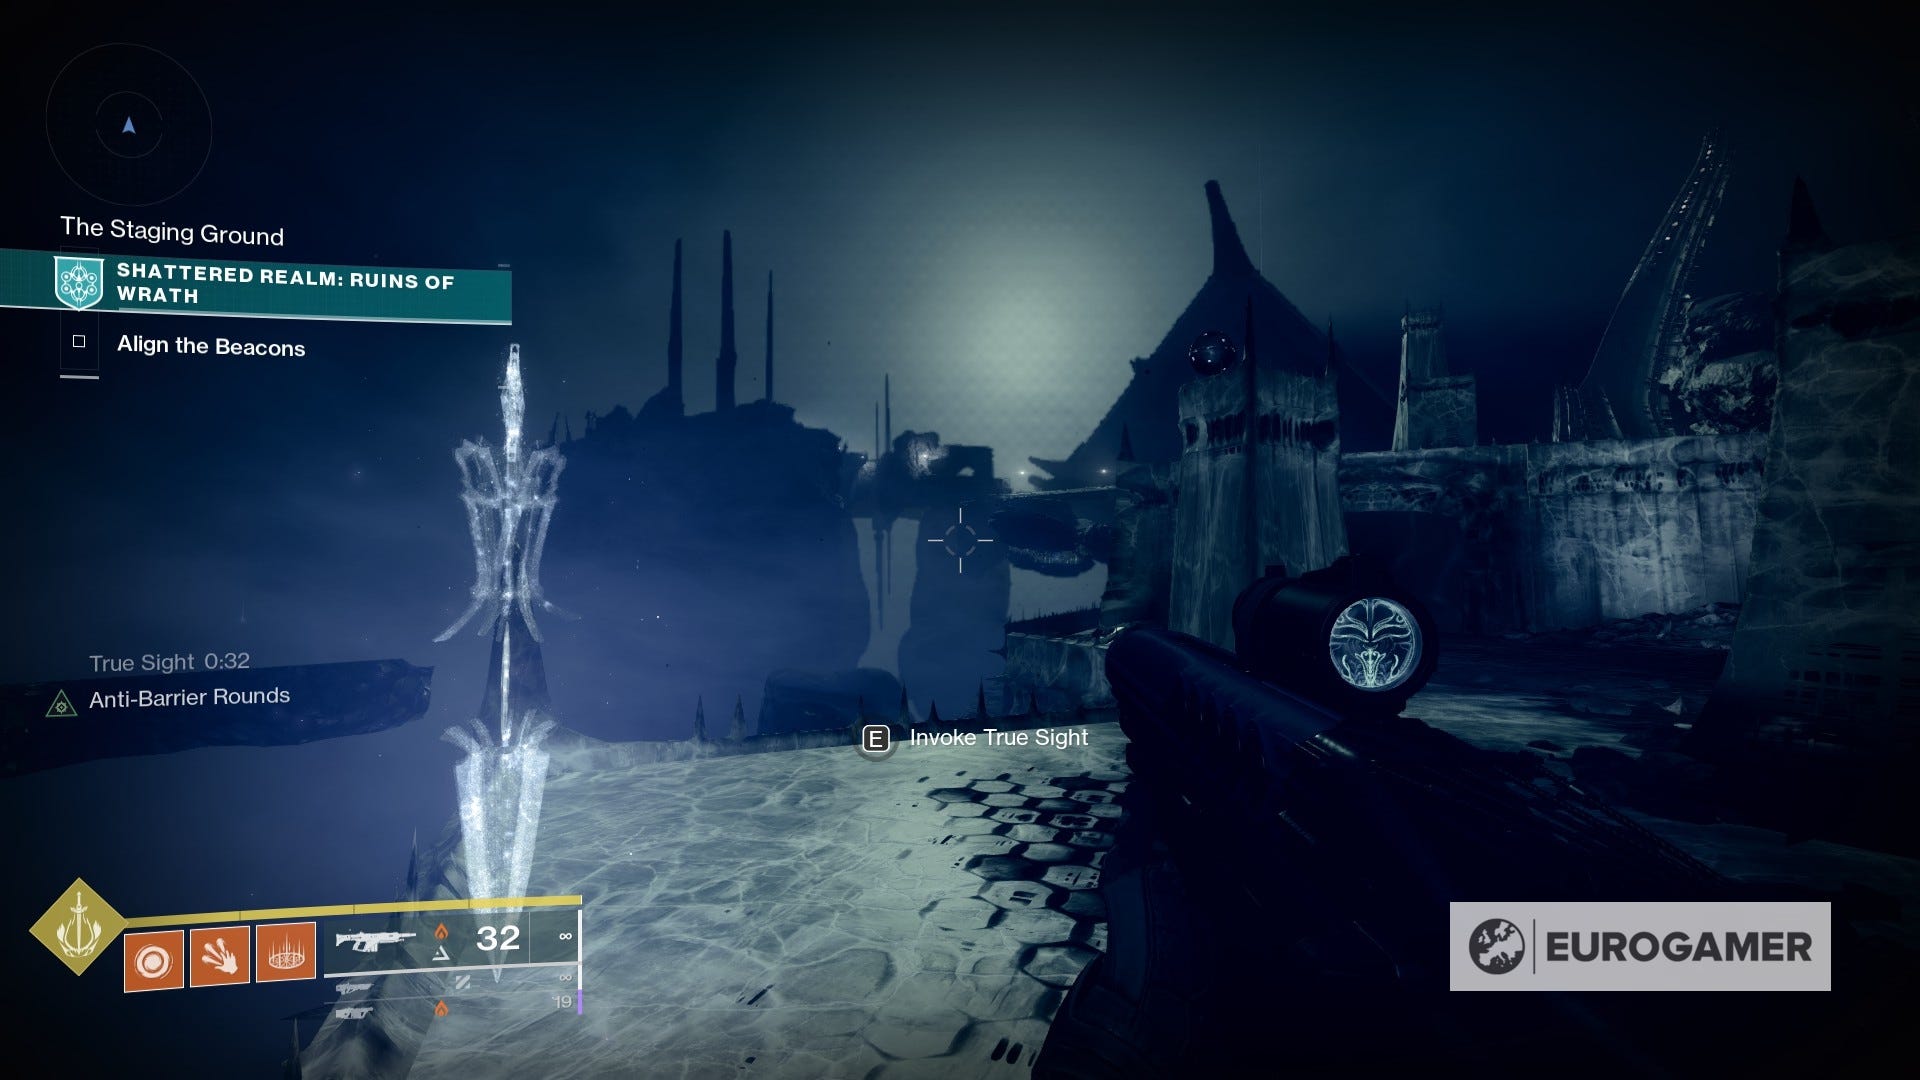
Using the location of the first beacon as reference, the trip is rather short. Head towards the True Sight device that is close to the cliff, left of the beacon itself.
Activate it and the Data Cache will appear on top of a pillar to the right of the device.
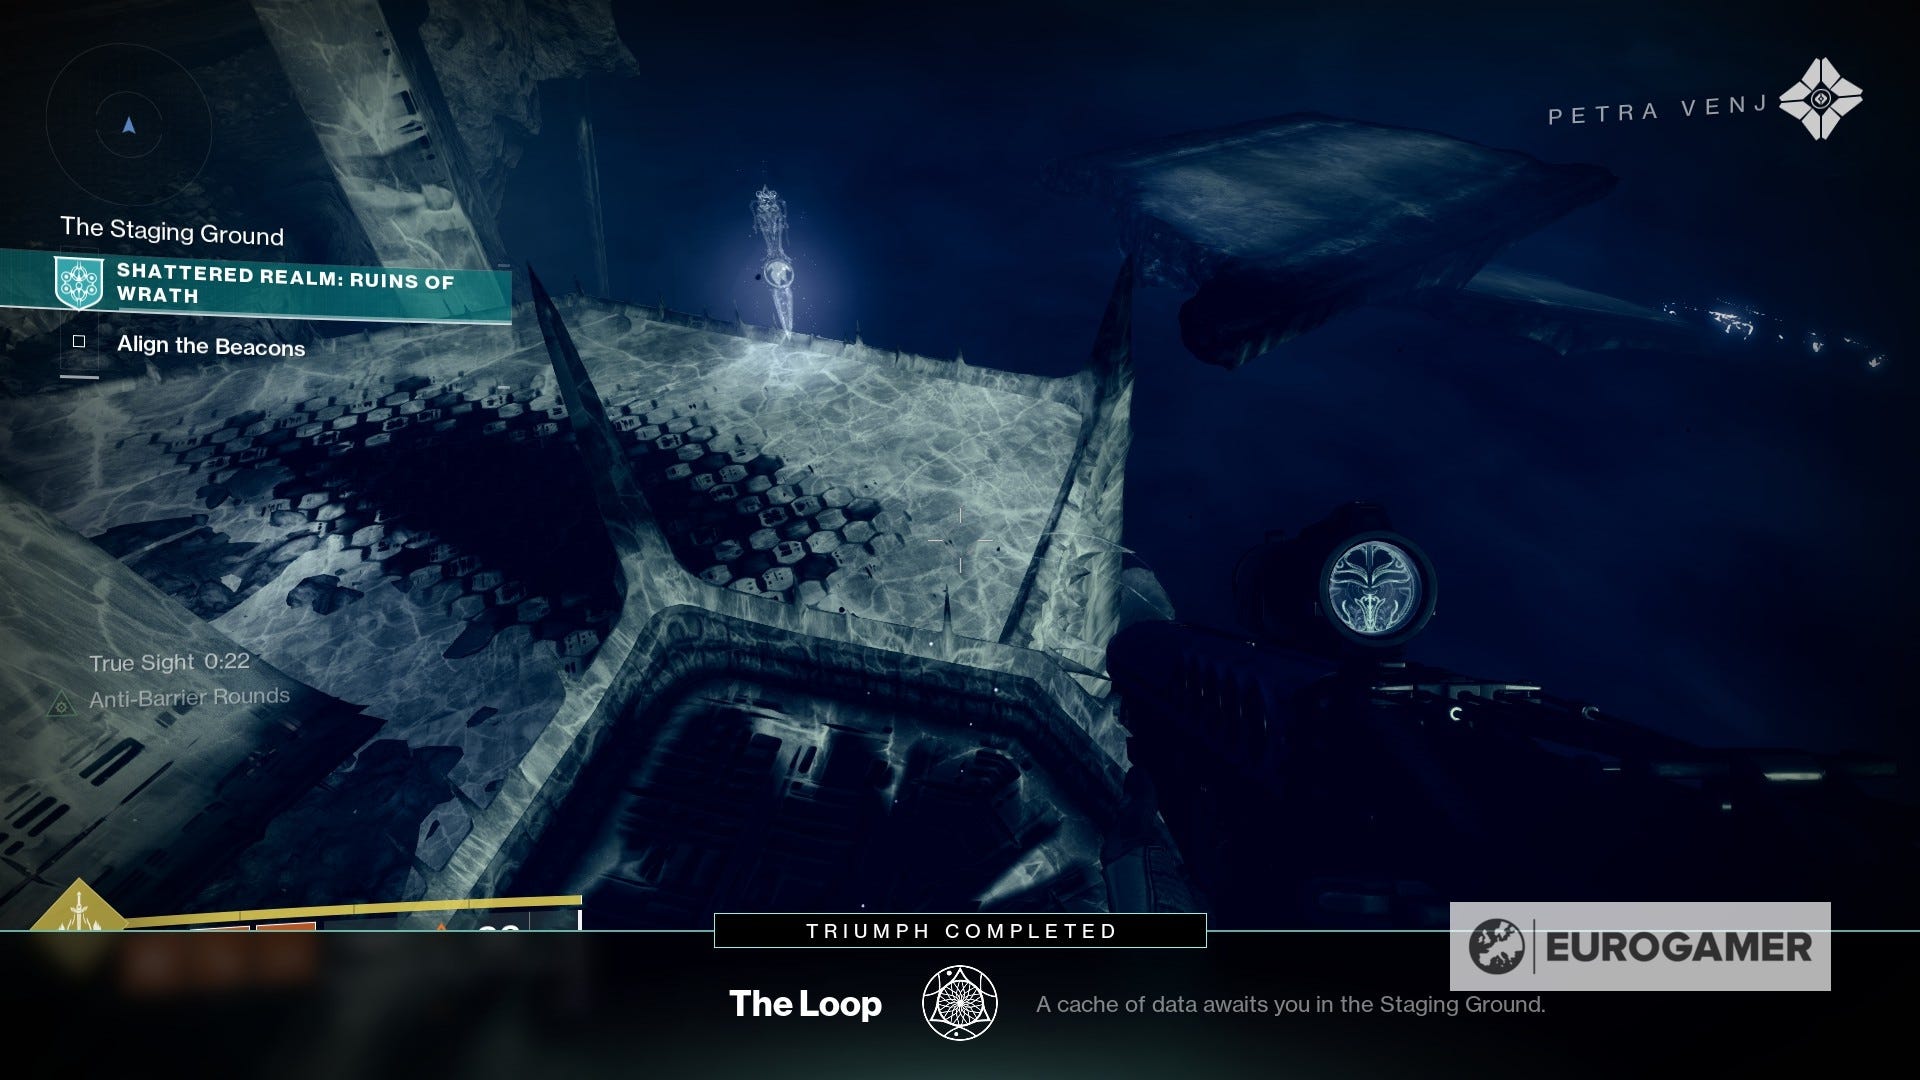
Approach it and follow the prompt to open it.
That's all for The Loop!
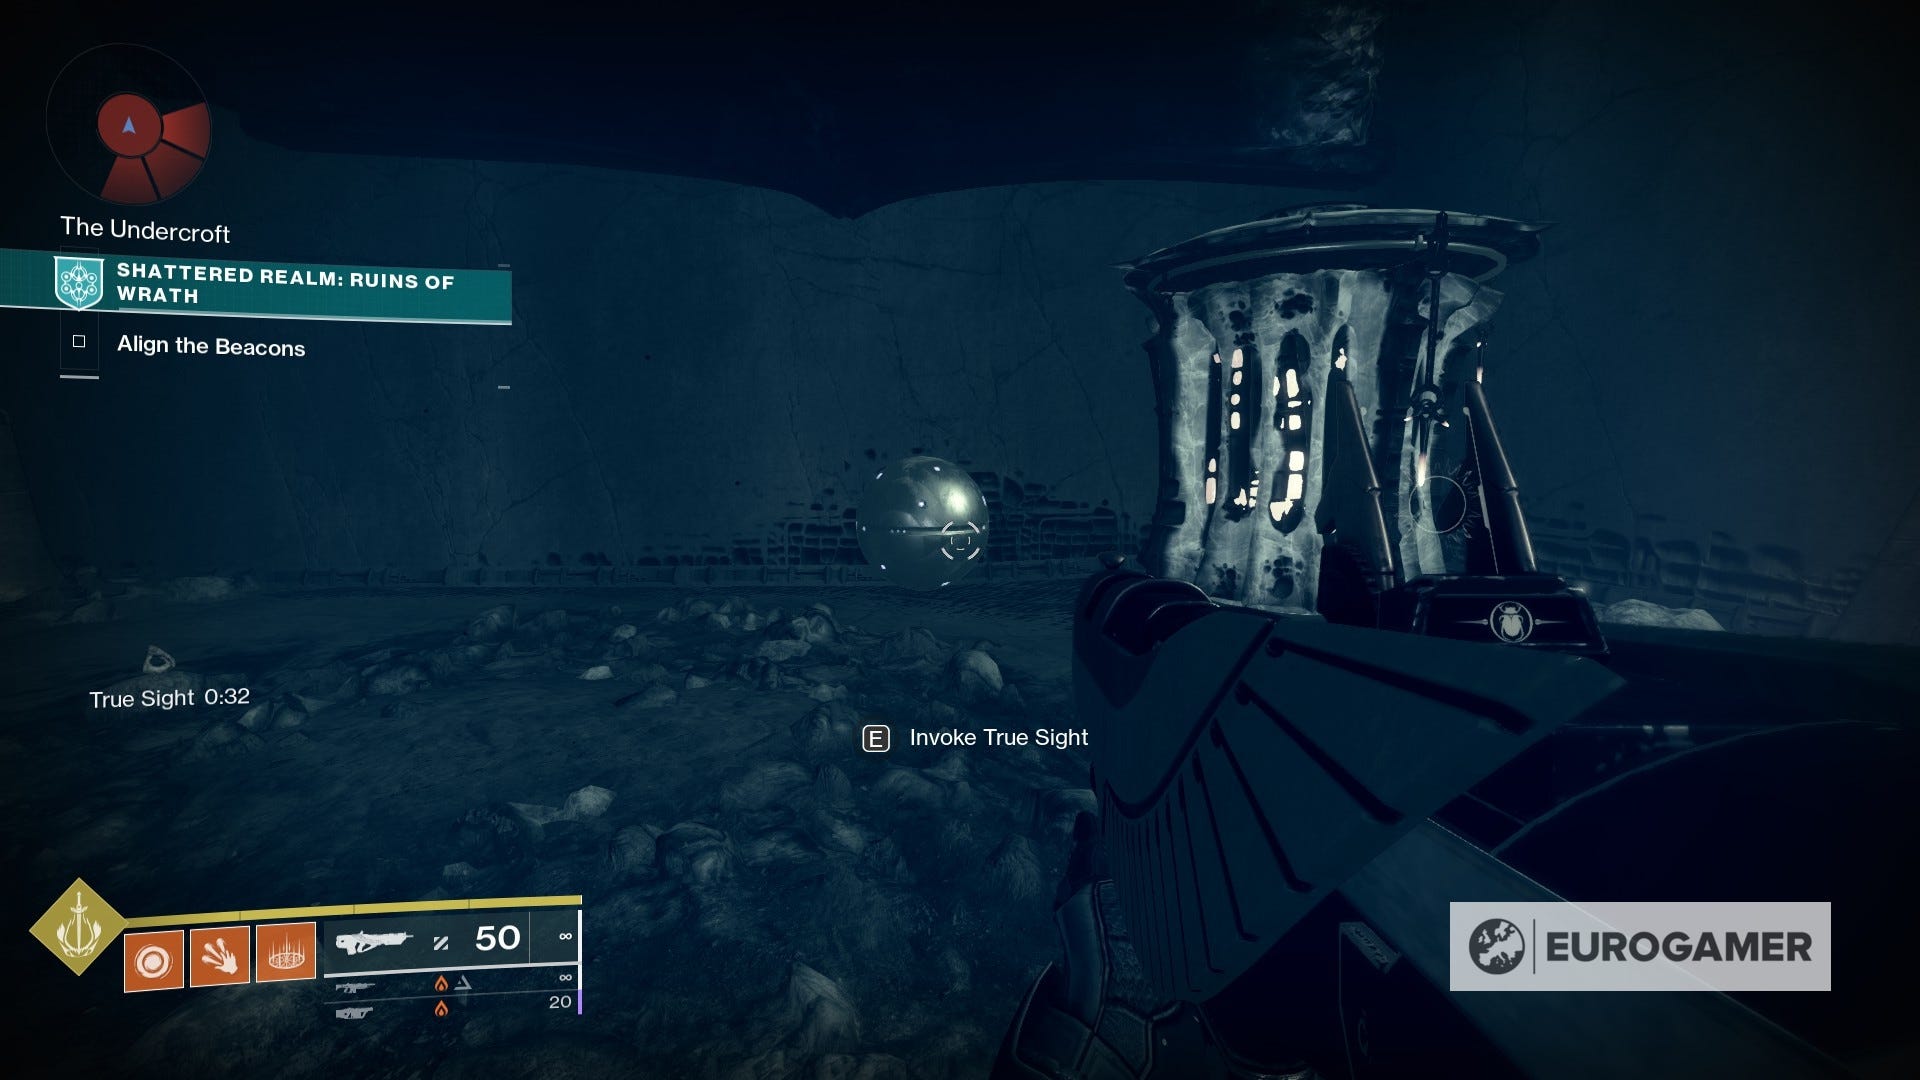
Hive Movements Data Cache location
The Hive Movements Data Cache is found in Shattered Realm: Ruins of Wrath - debuting during Week 6 of the season - and is recommended you unlock Safe Passage: Astral Attunement by completing the mission once first.
For this one, we'll be following the same steps of the Lord of the Undercroft Ascendant Mystery.
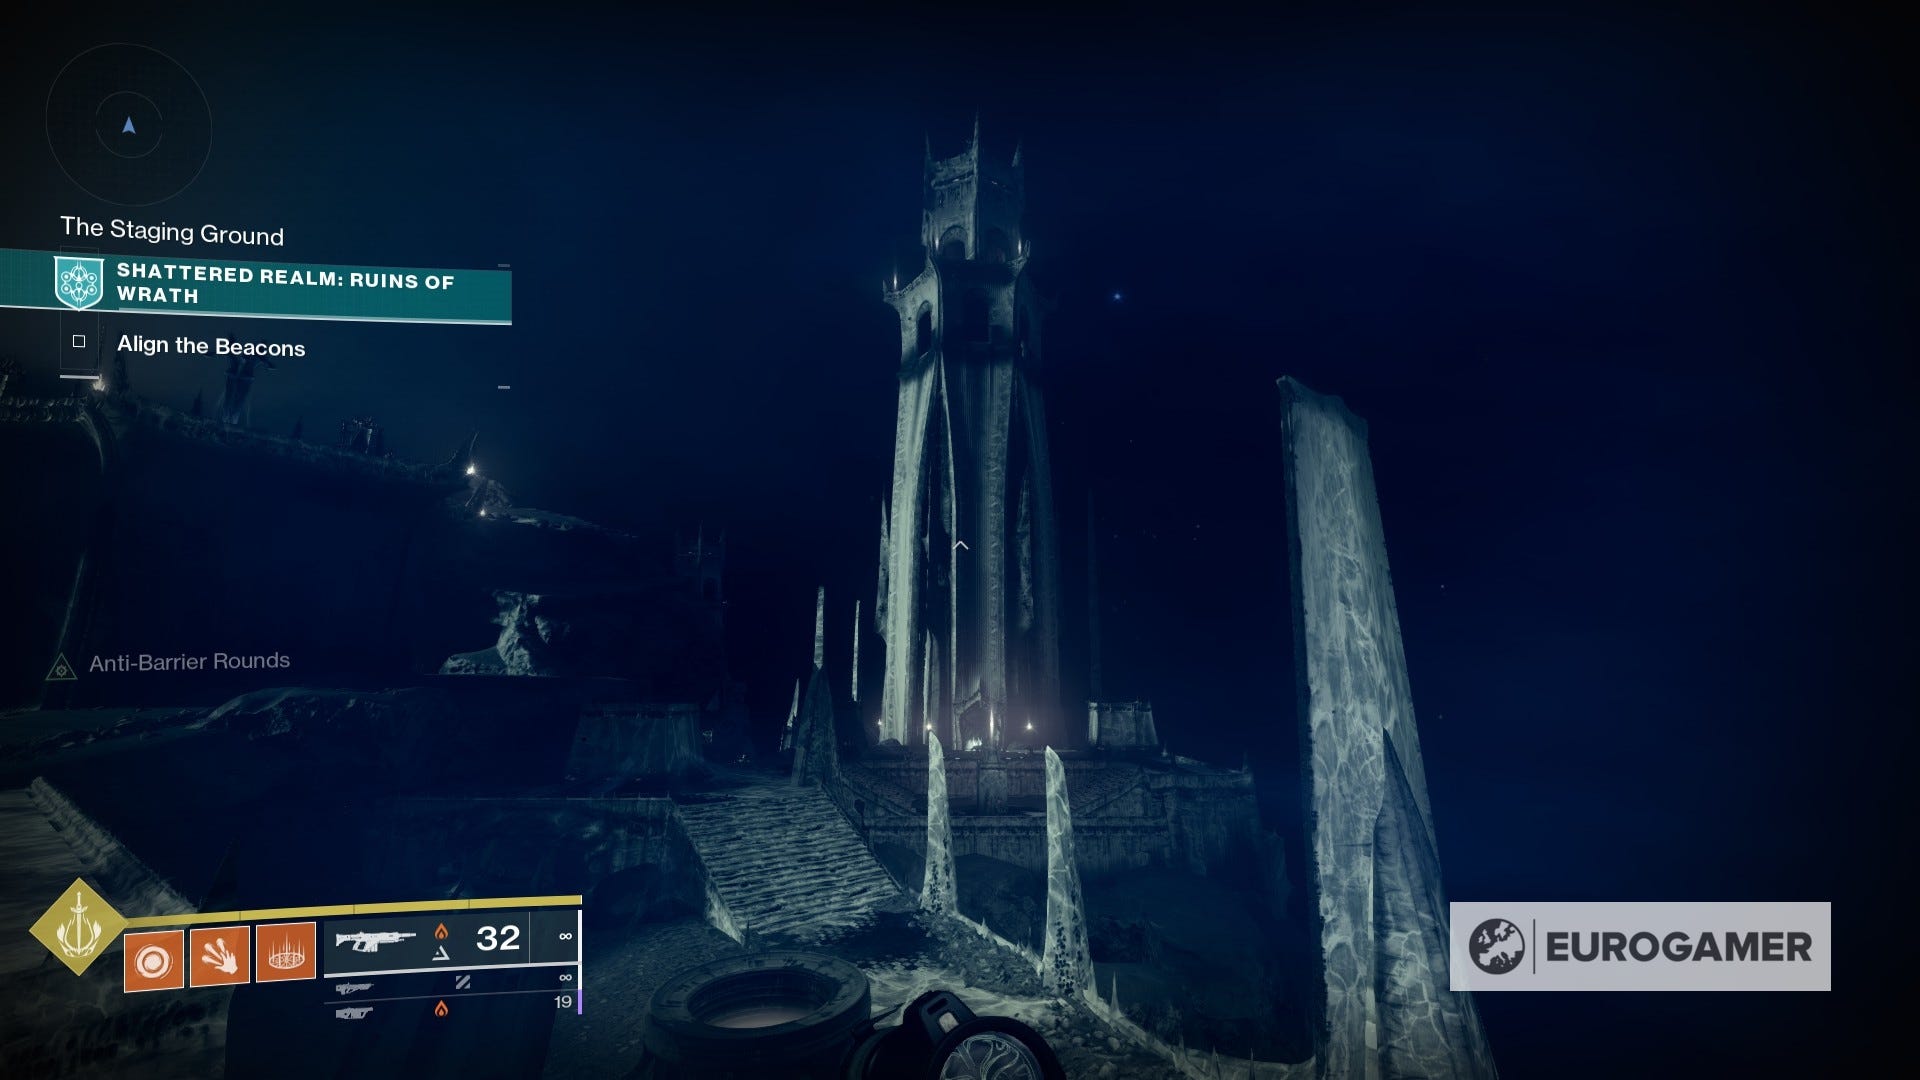
From the location of the first beacon, we'll be heading towards the tower on the right side. It's recommended that you first complete both beacon alignments.

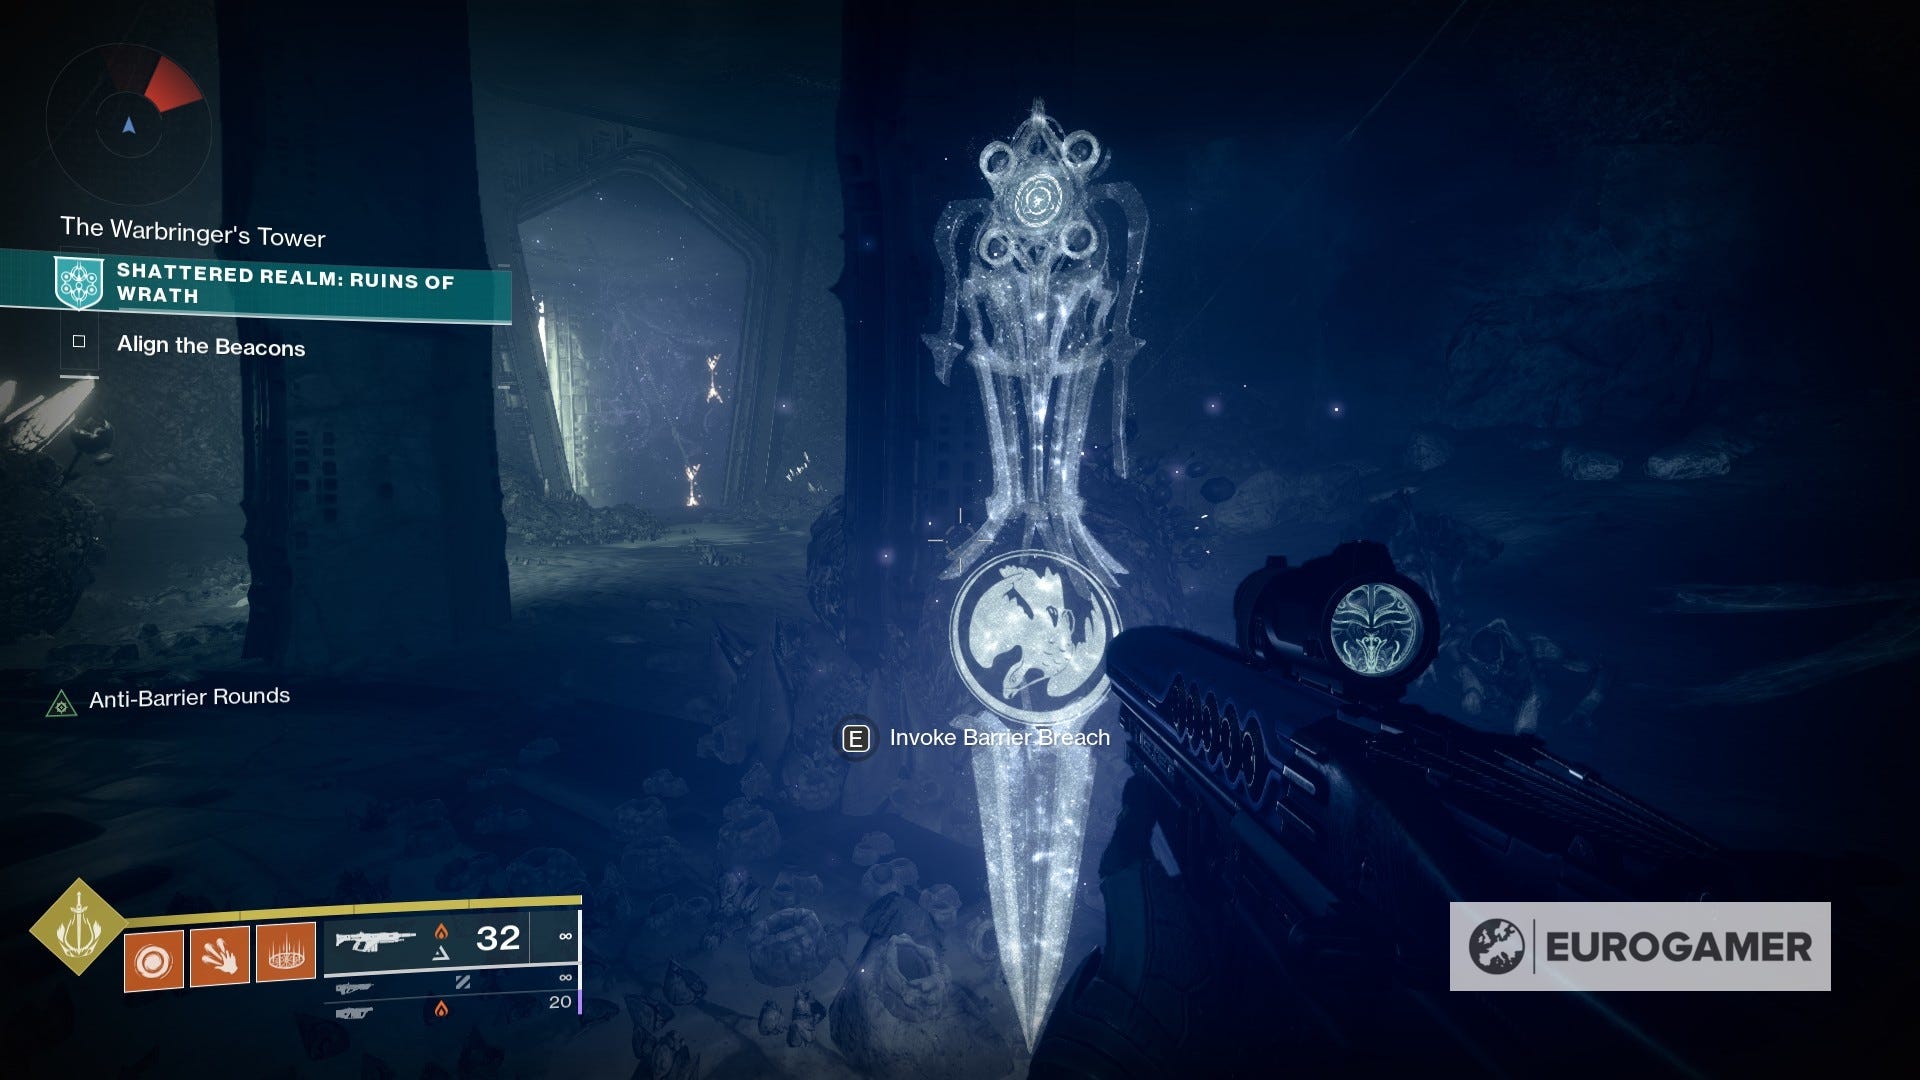
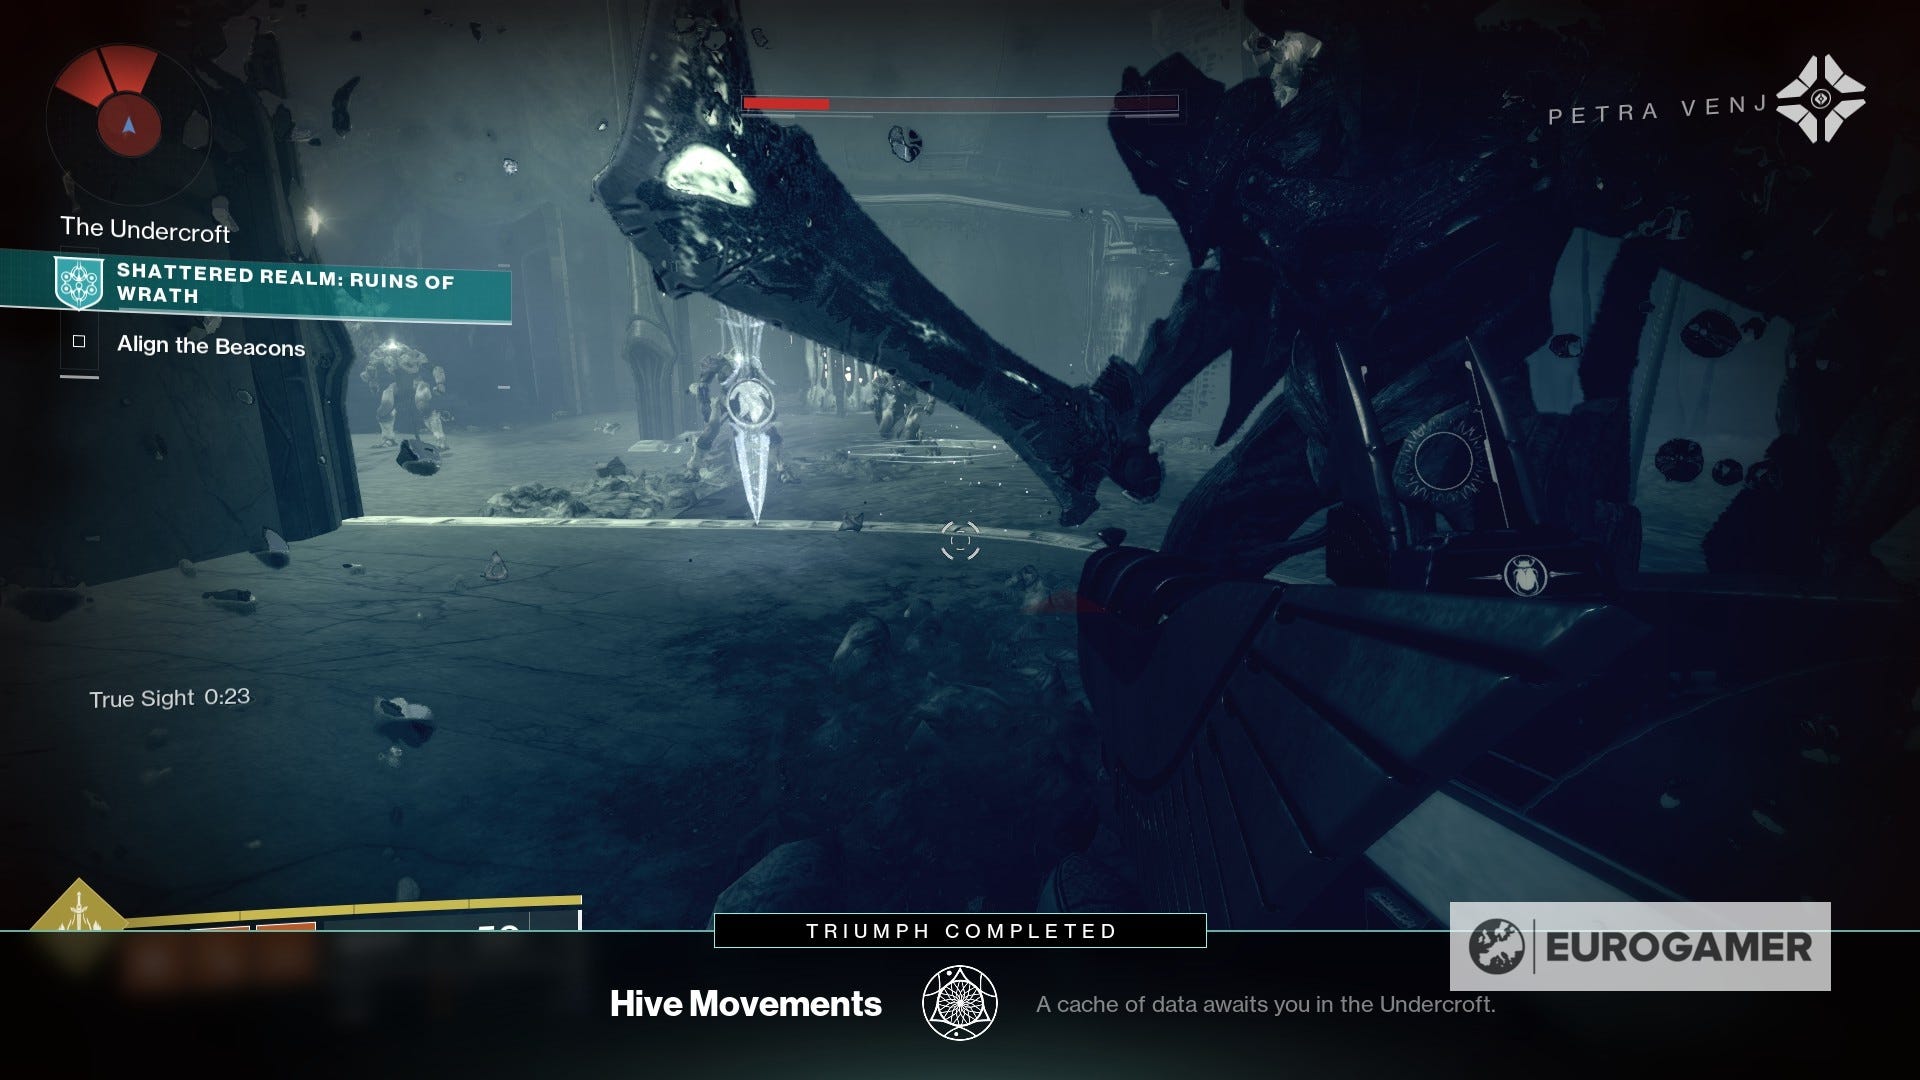
As you get closer you'll notice a group of enemies gathering around a circle. You'll have to take all of them down first. Then, stand on the circle, which will be more illuminated. After a brief moment, it will open up the door ahead of you.

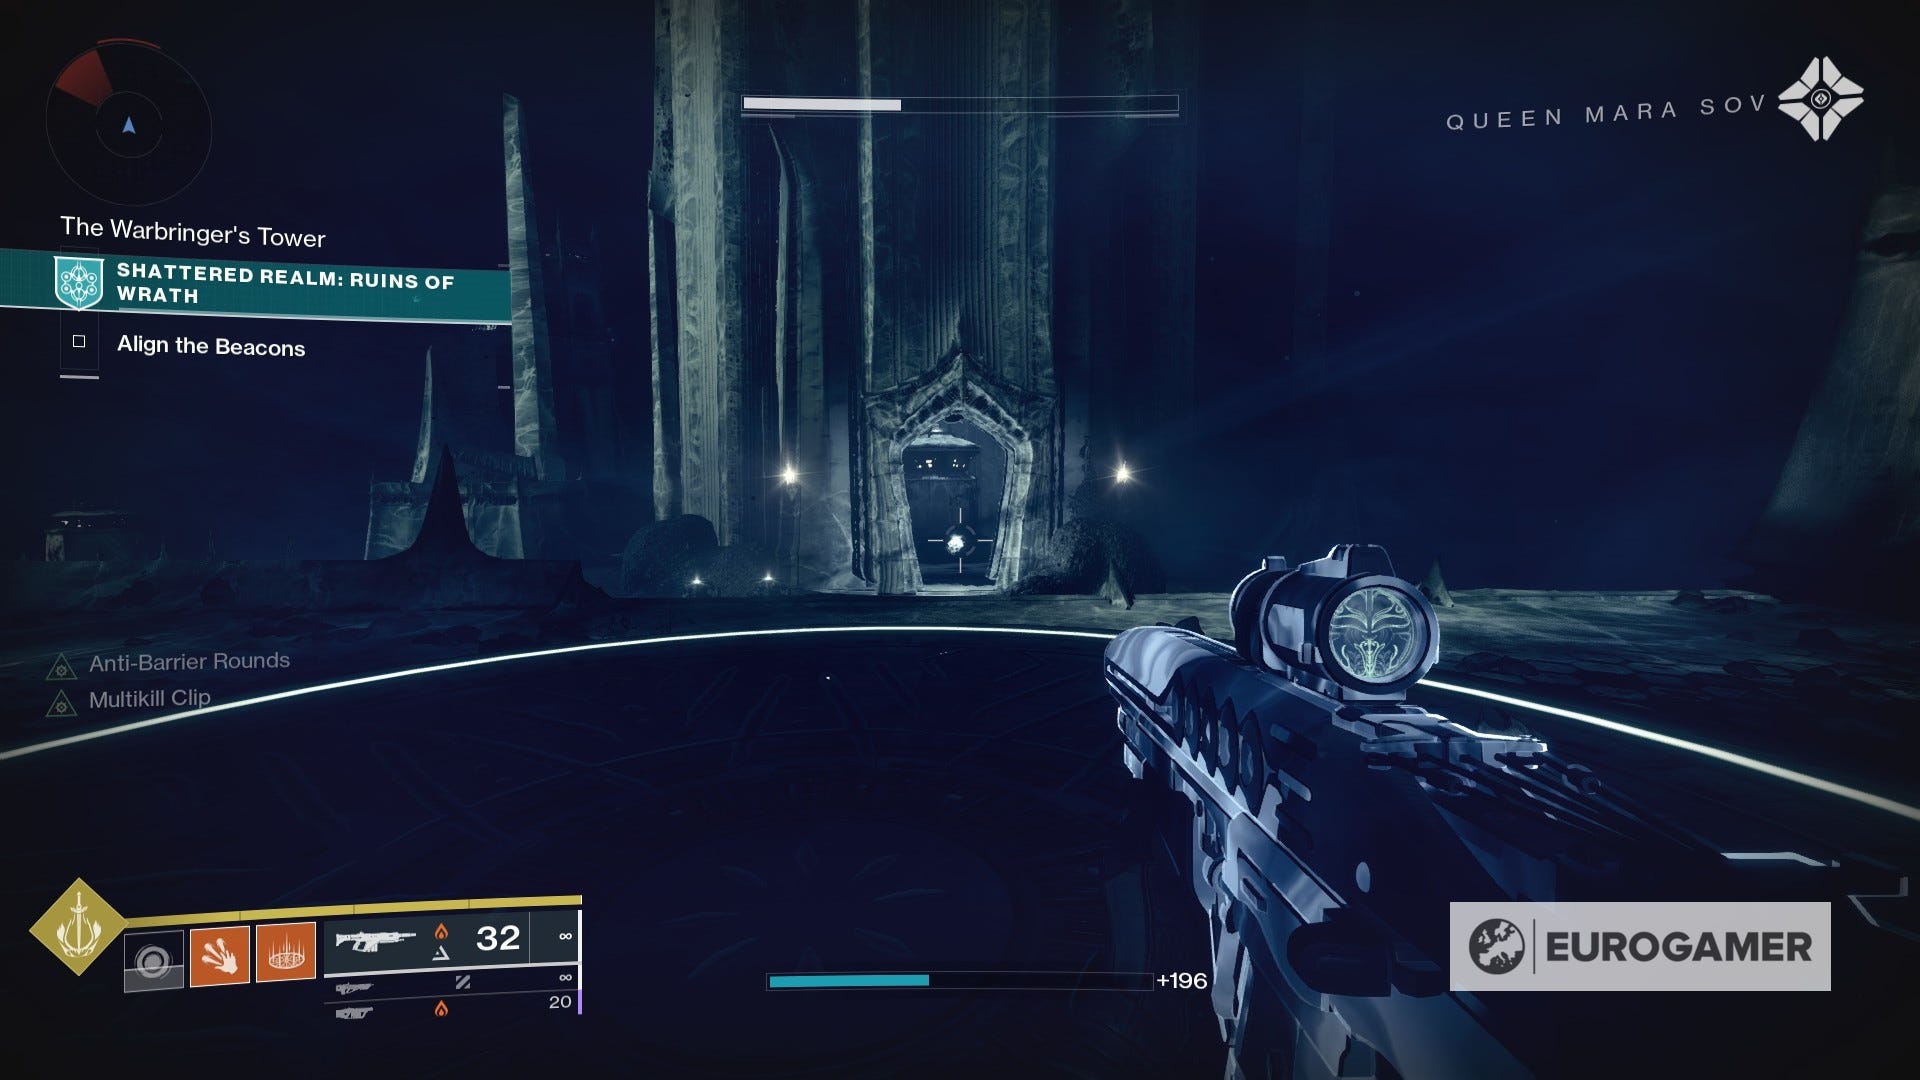
Head inside and let yourself fall to ground level, where you will find a Barrier Breach device. Use it and get to the other side of the barrier.

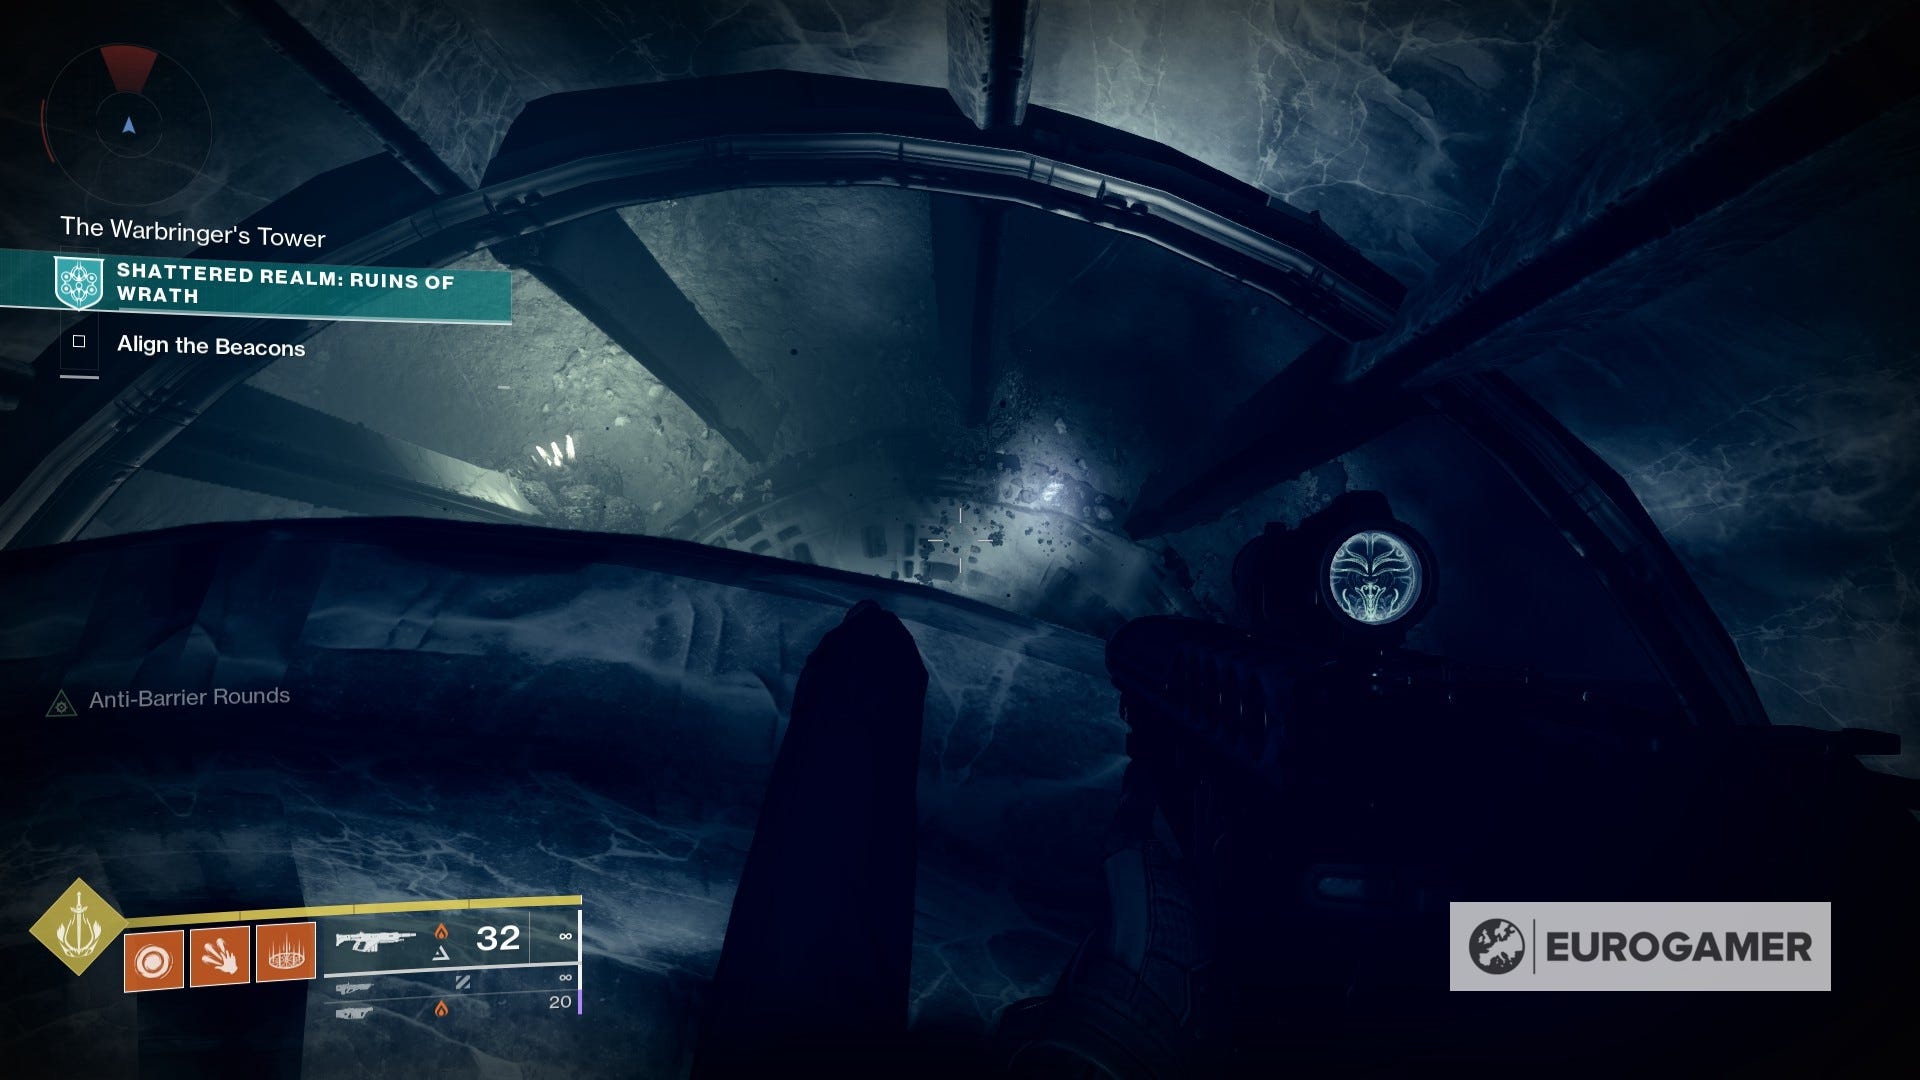
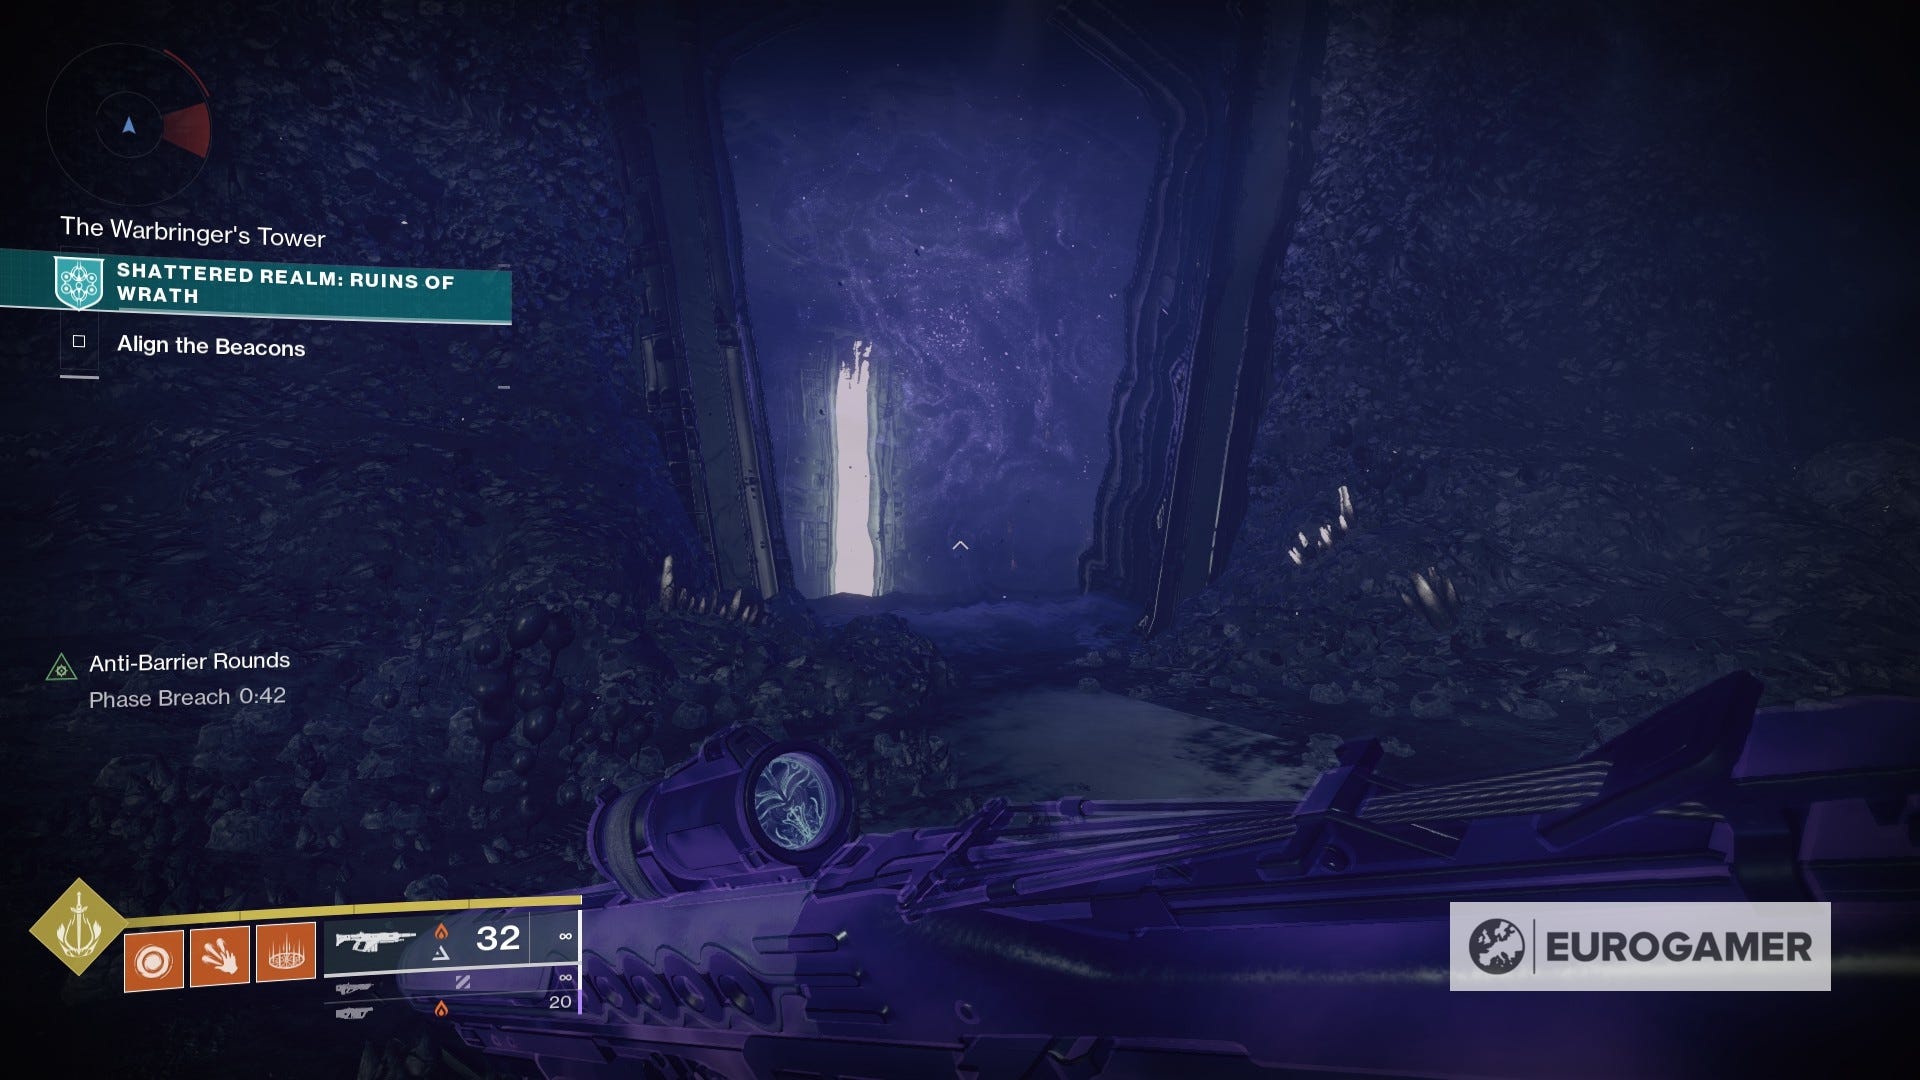
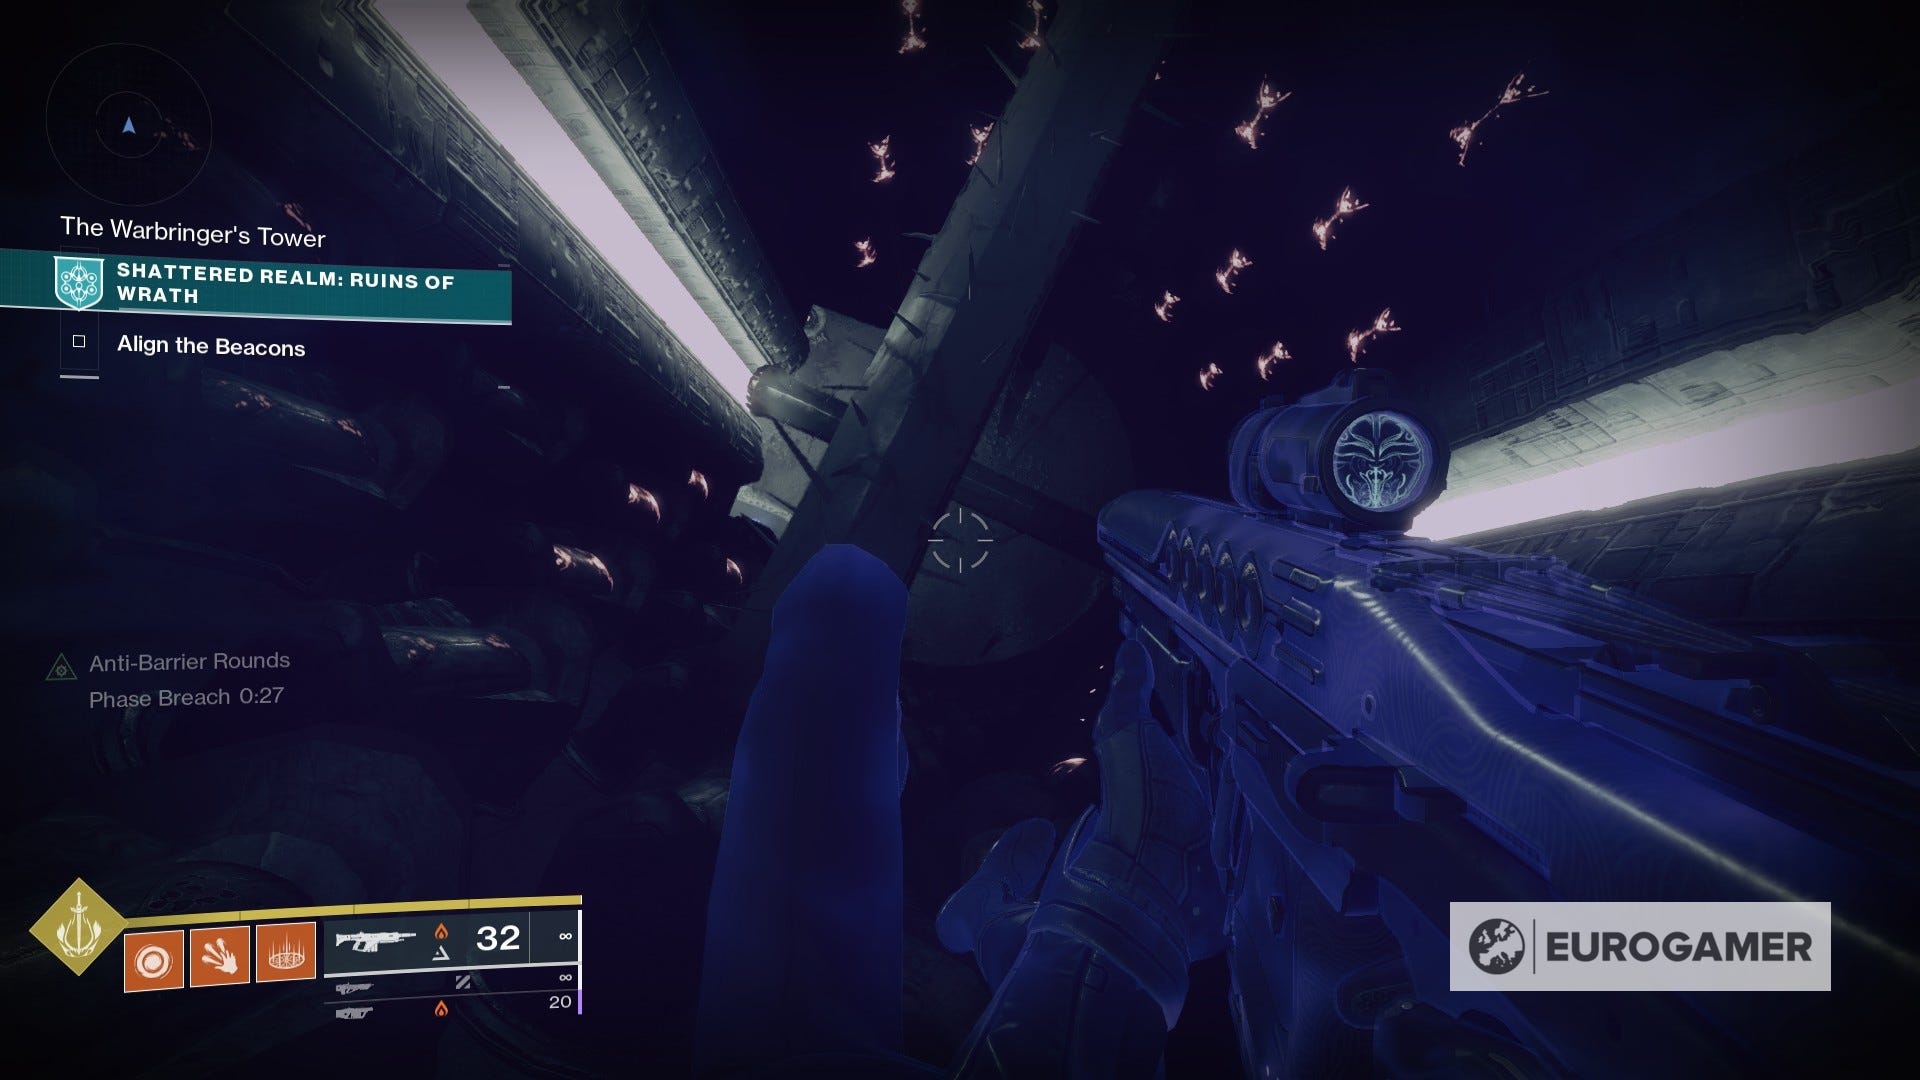
You will end up in a massive pit with moving traps. It looks more daunting than it actually is, though. Jump down and slowly levitate when you get close to the obstacles to safely move around them until you get to the bottom.

Once there, activate the True Sight device nearby. The Data Cache will immediately appear at your side.
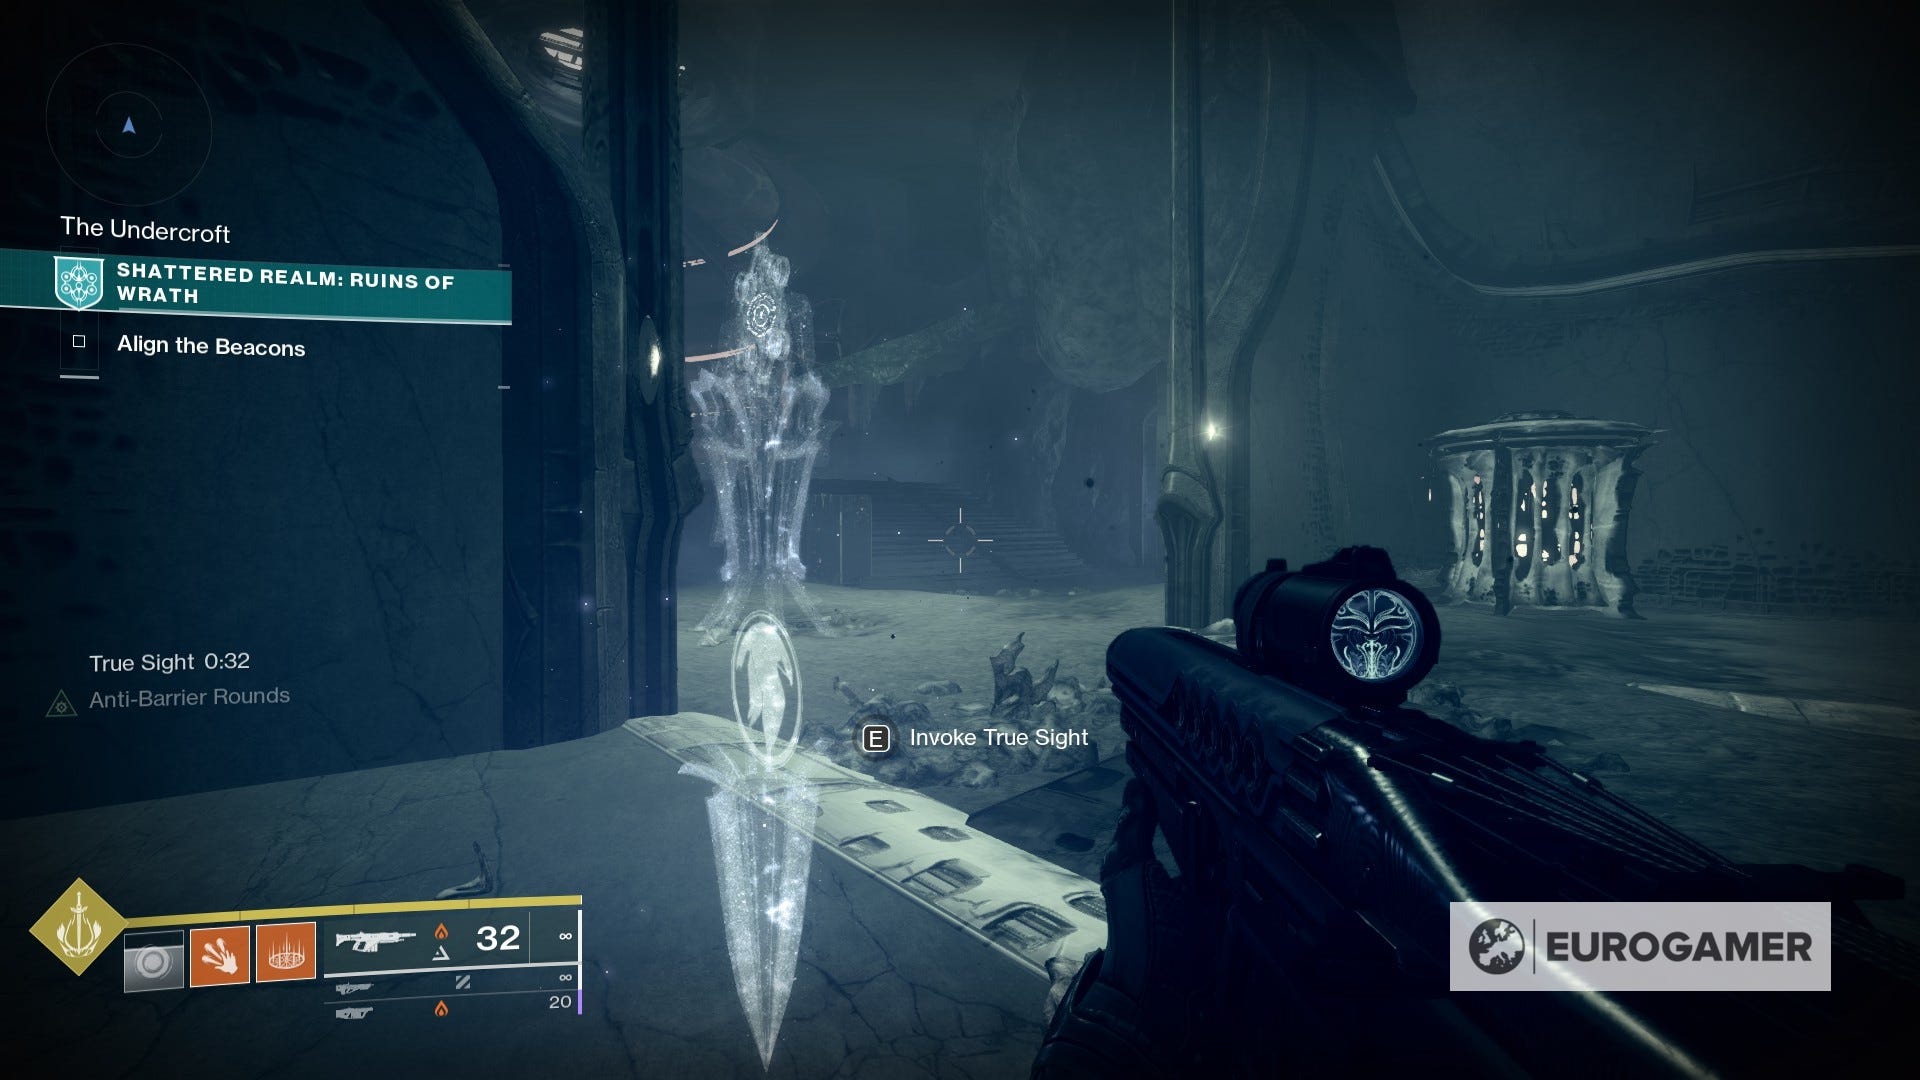
All there's left to do is go ahead and open it.
That's all for Hive Movements!
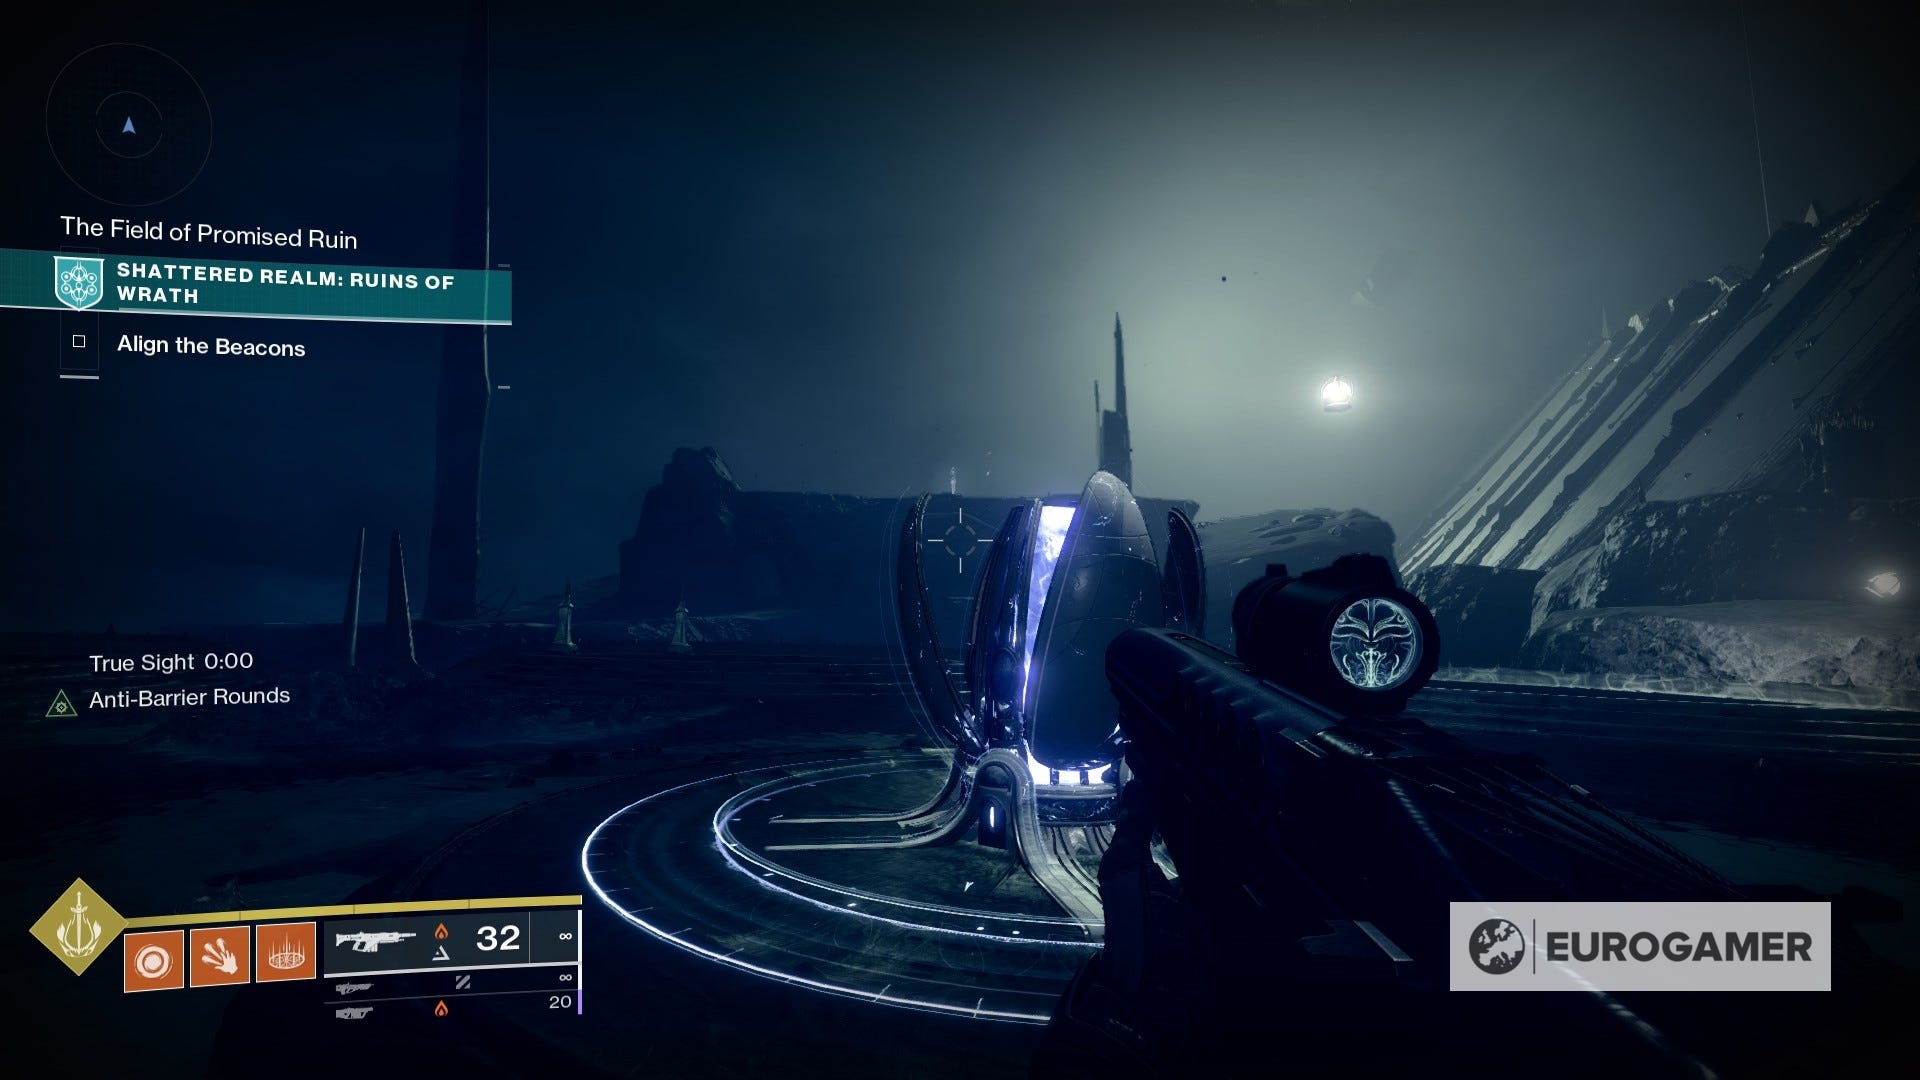
Wrathful Maneuvers Data Cache location
This Data Cache is found in Shattered Realm: Ruins of Wrath - debuting during Week 6 of the season - and is recommended you unlock Safe Passage: Astral Attunement by completing the mission once first.
For this one, we'll be following the same steps of both the Howardite Cache Trivial Mystery and the Light the Way Ascendant Mystery, so you can tackle it with either of them. If not, just head to The Outer Islands.
After you've aligned the second beacon, keep moving forward until you stumble upon a True Sight device near the cliff ahead.
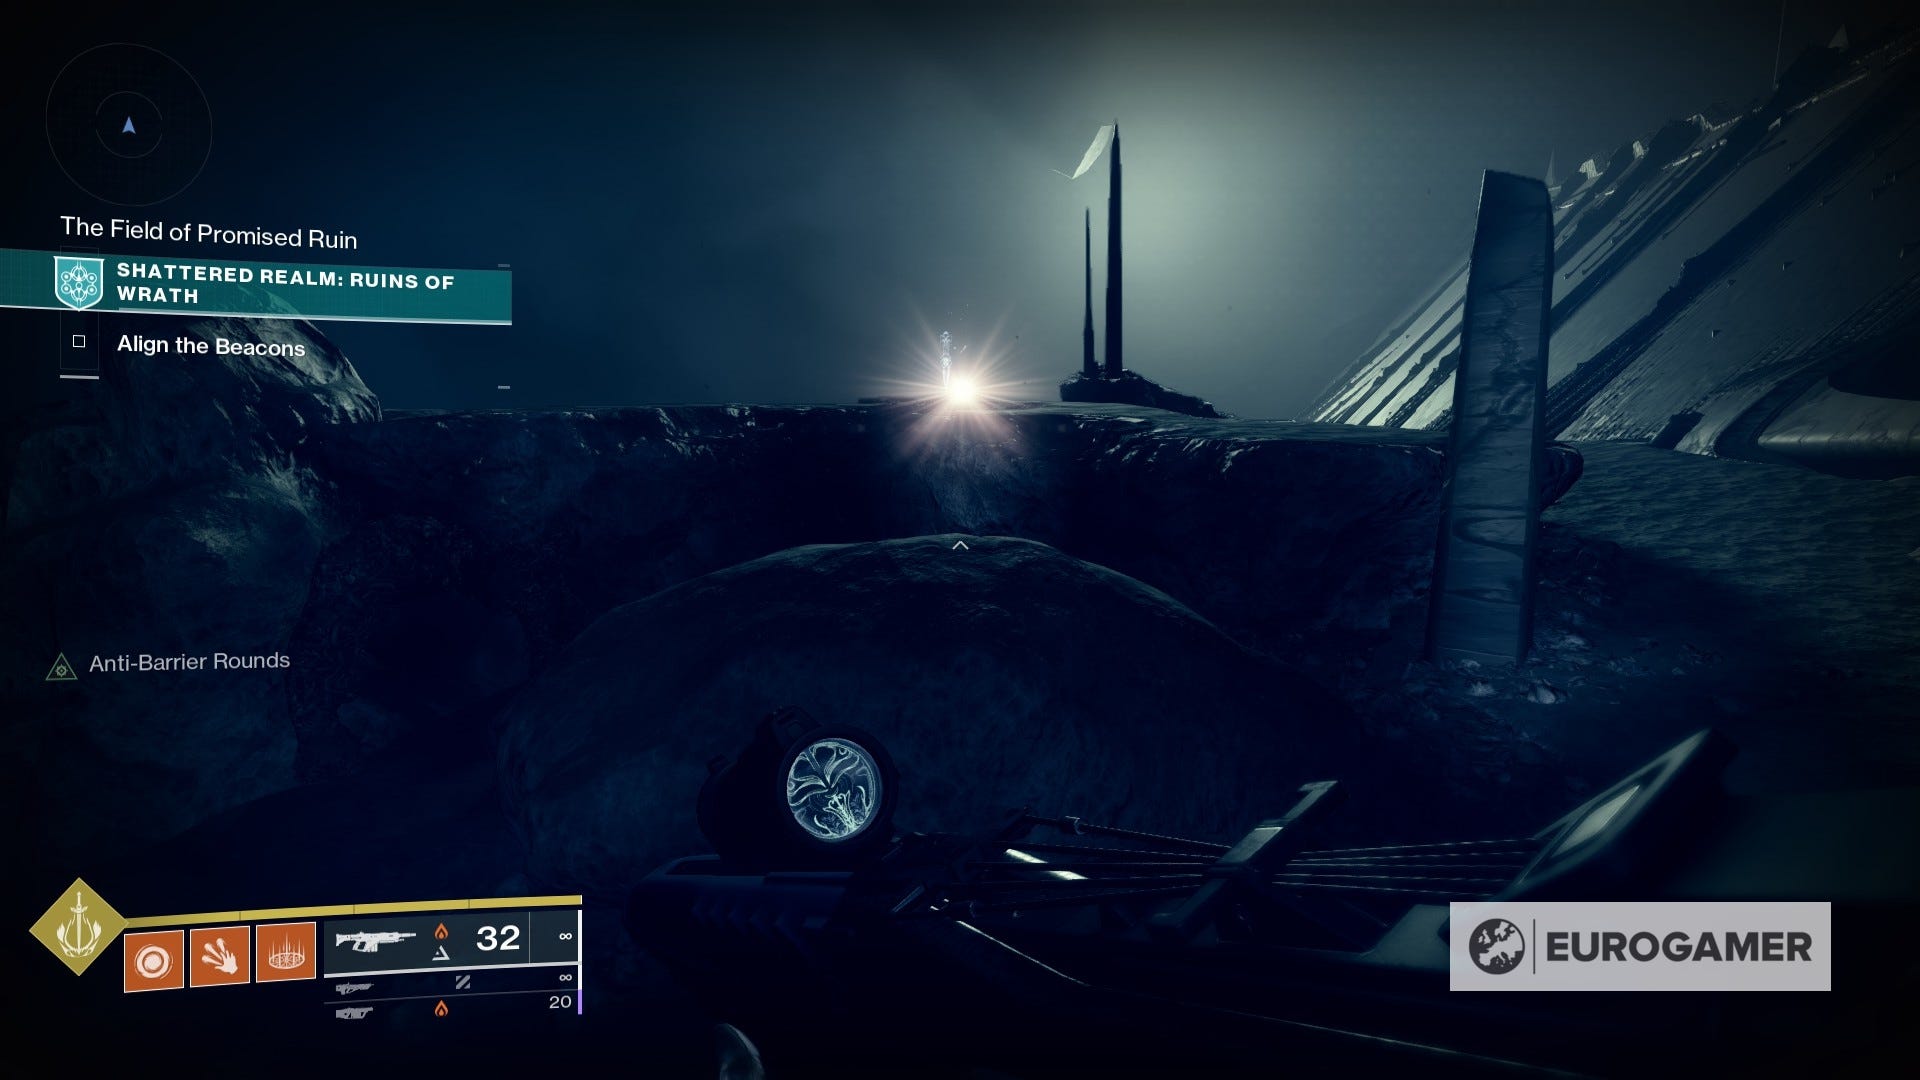
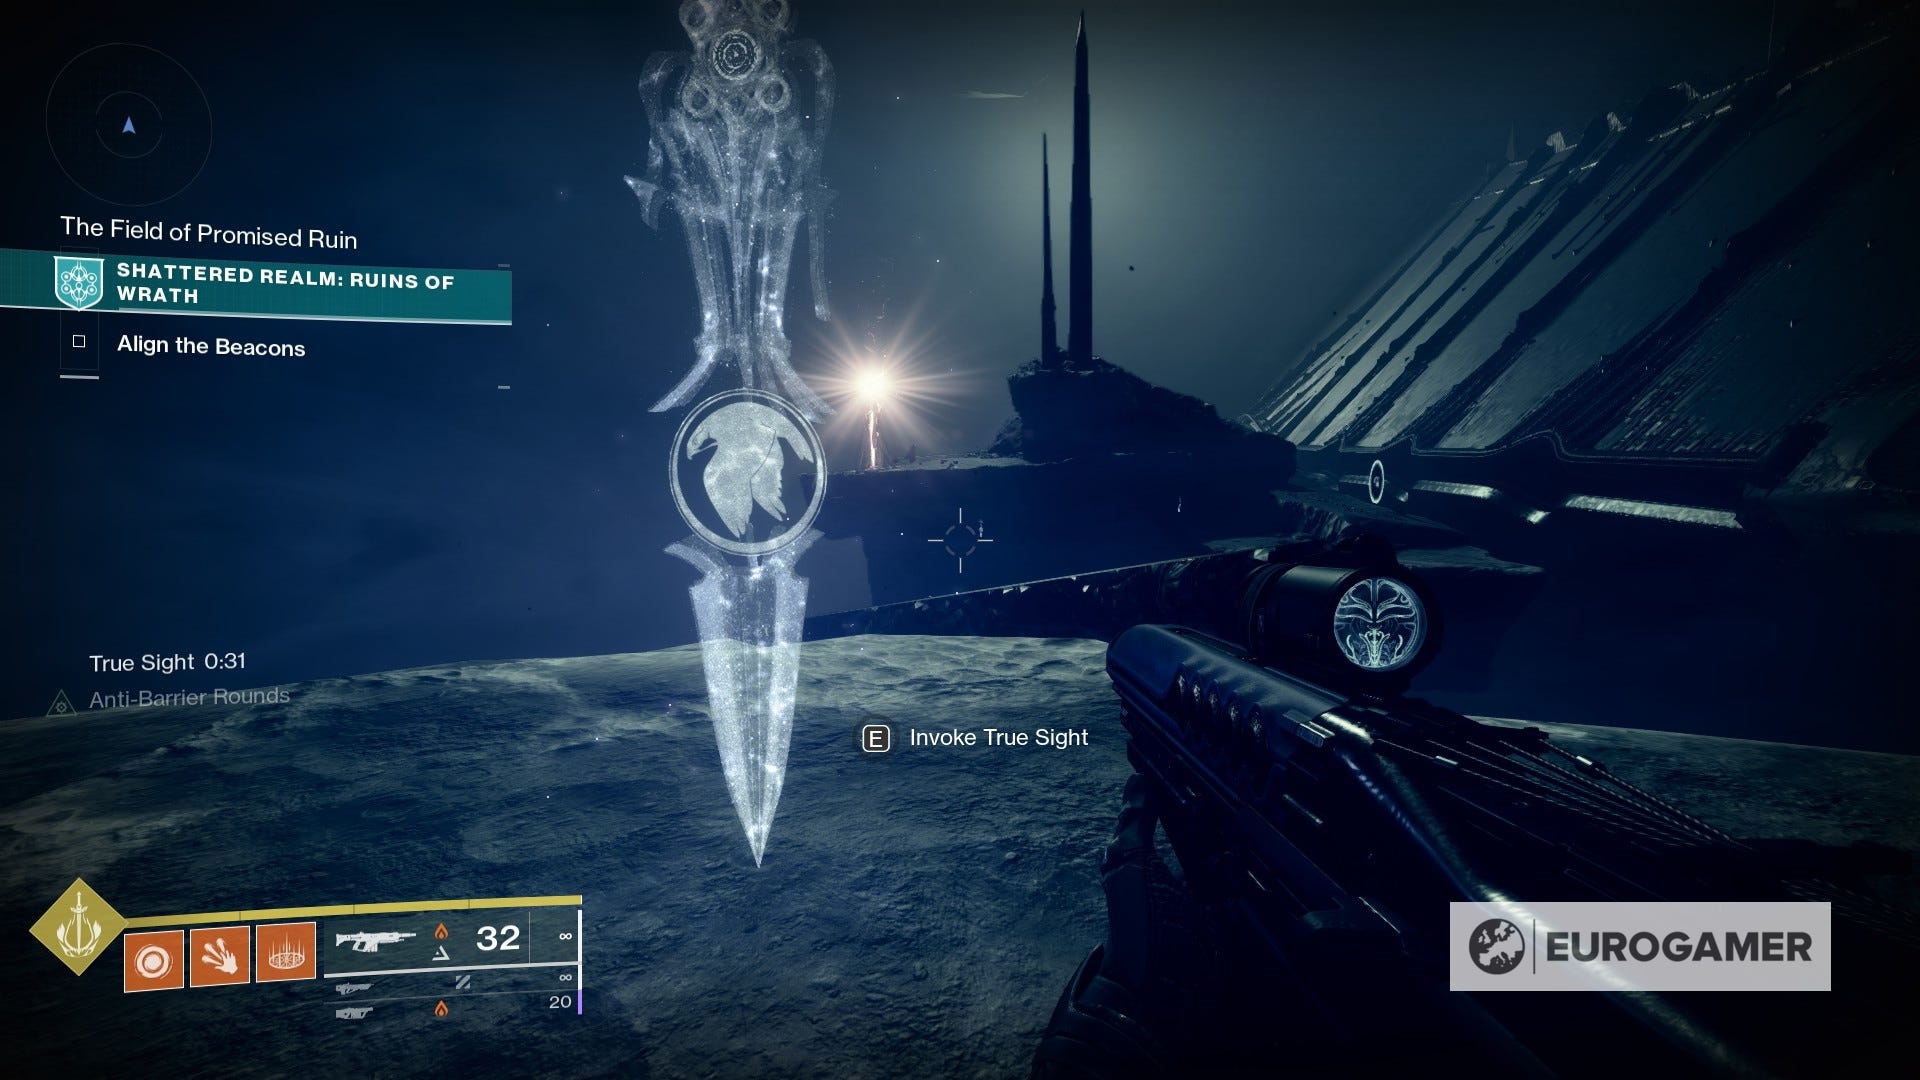
From here, all you have to do is activate the True Sight device and follow the path to the other side.
Once you arrive, if your True Sight is still active, you will see the Data Cache floating besides the True Sight device there. If not, activate it to regain the buff.

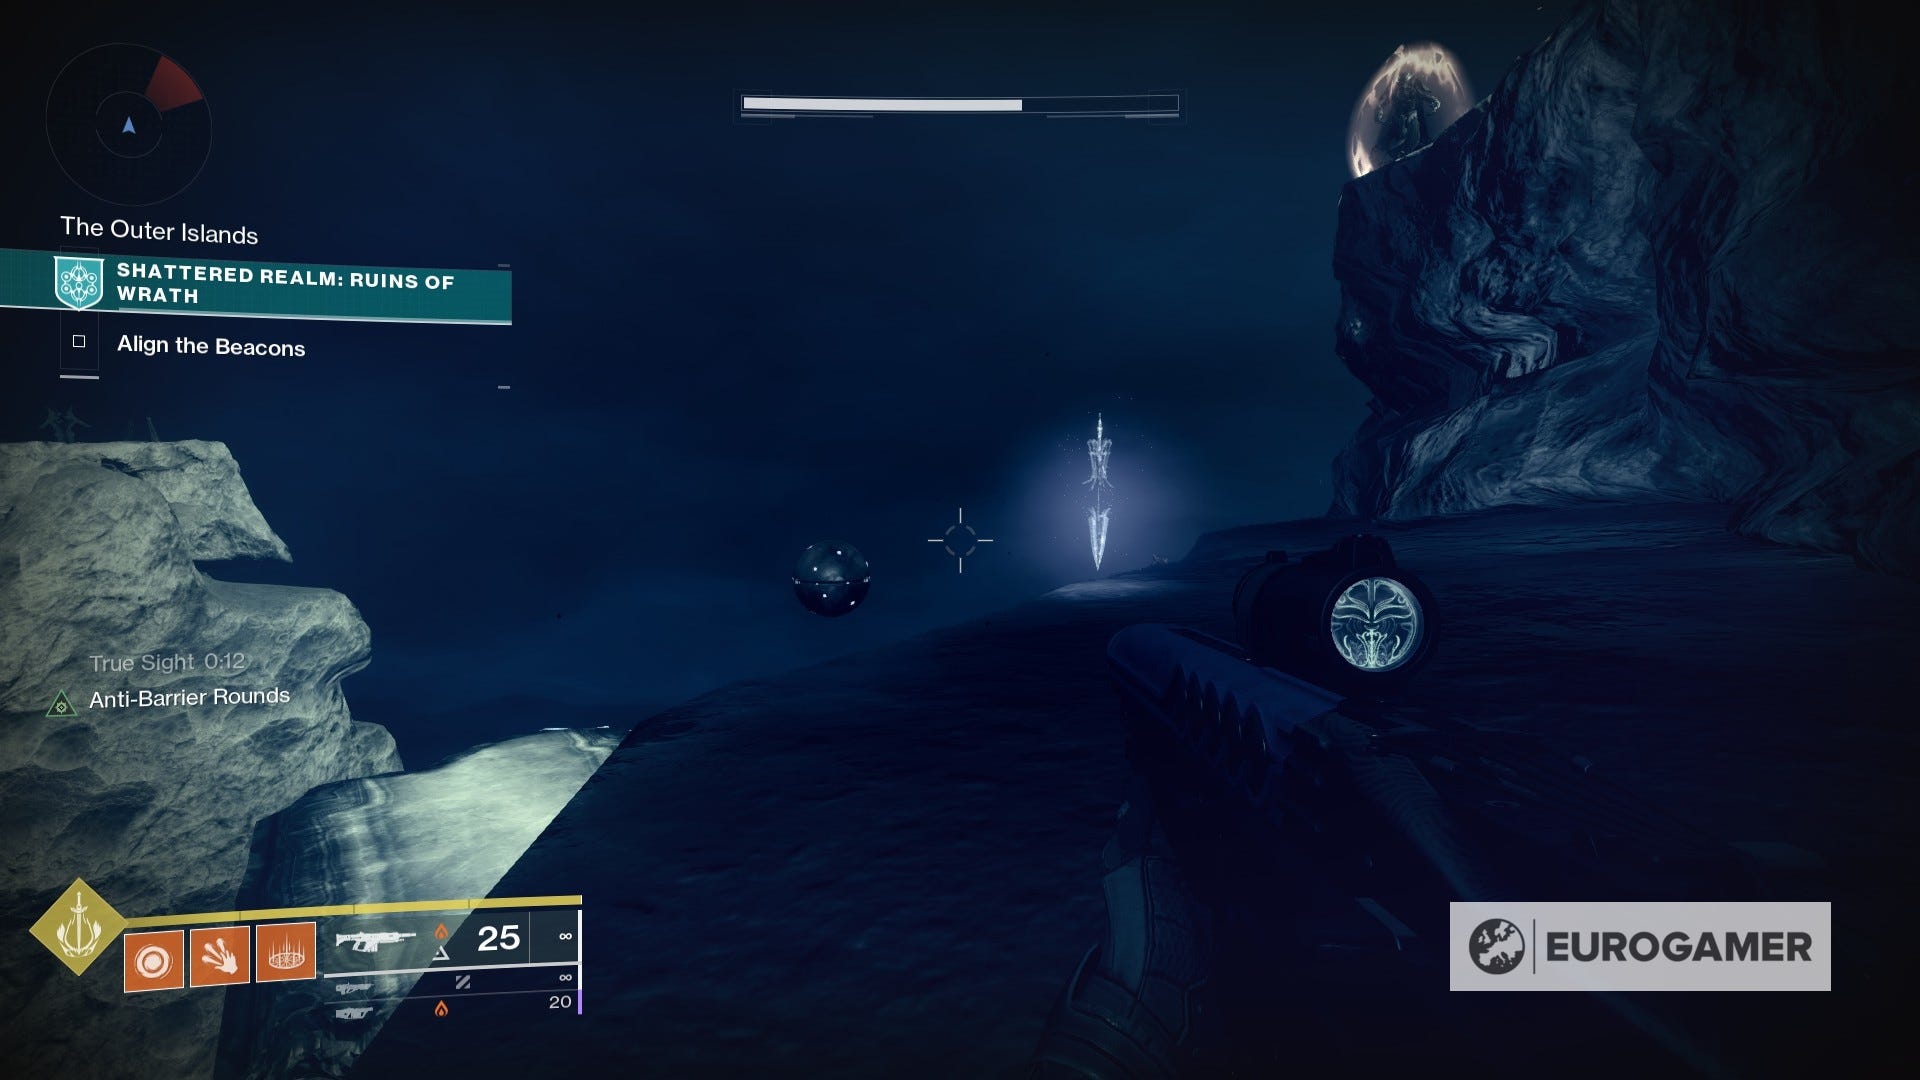
All there's left is to open the Data Cache.
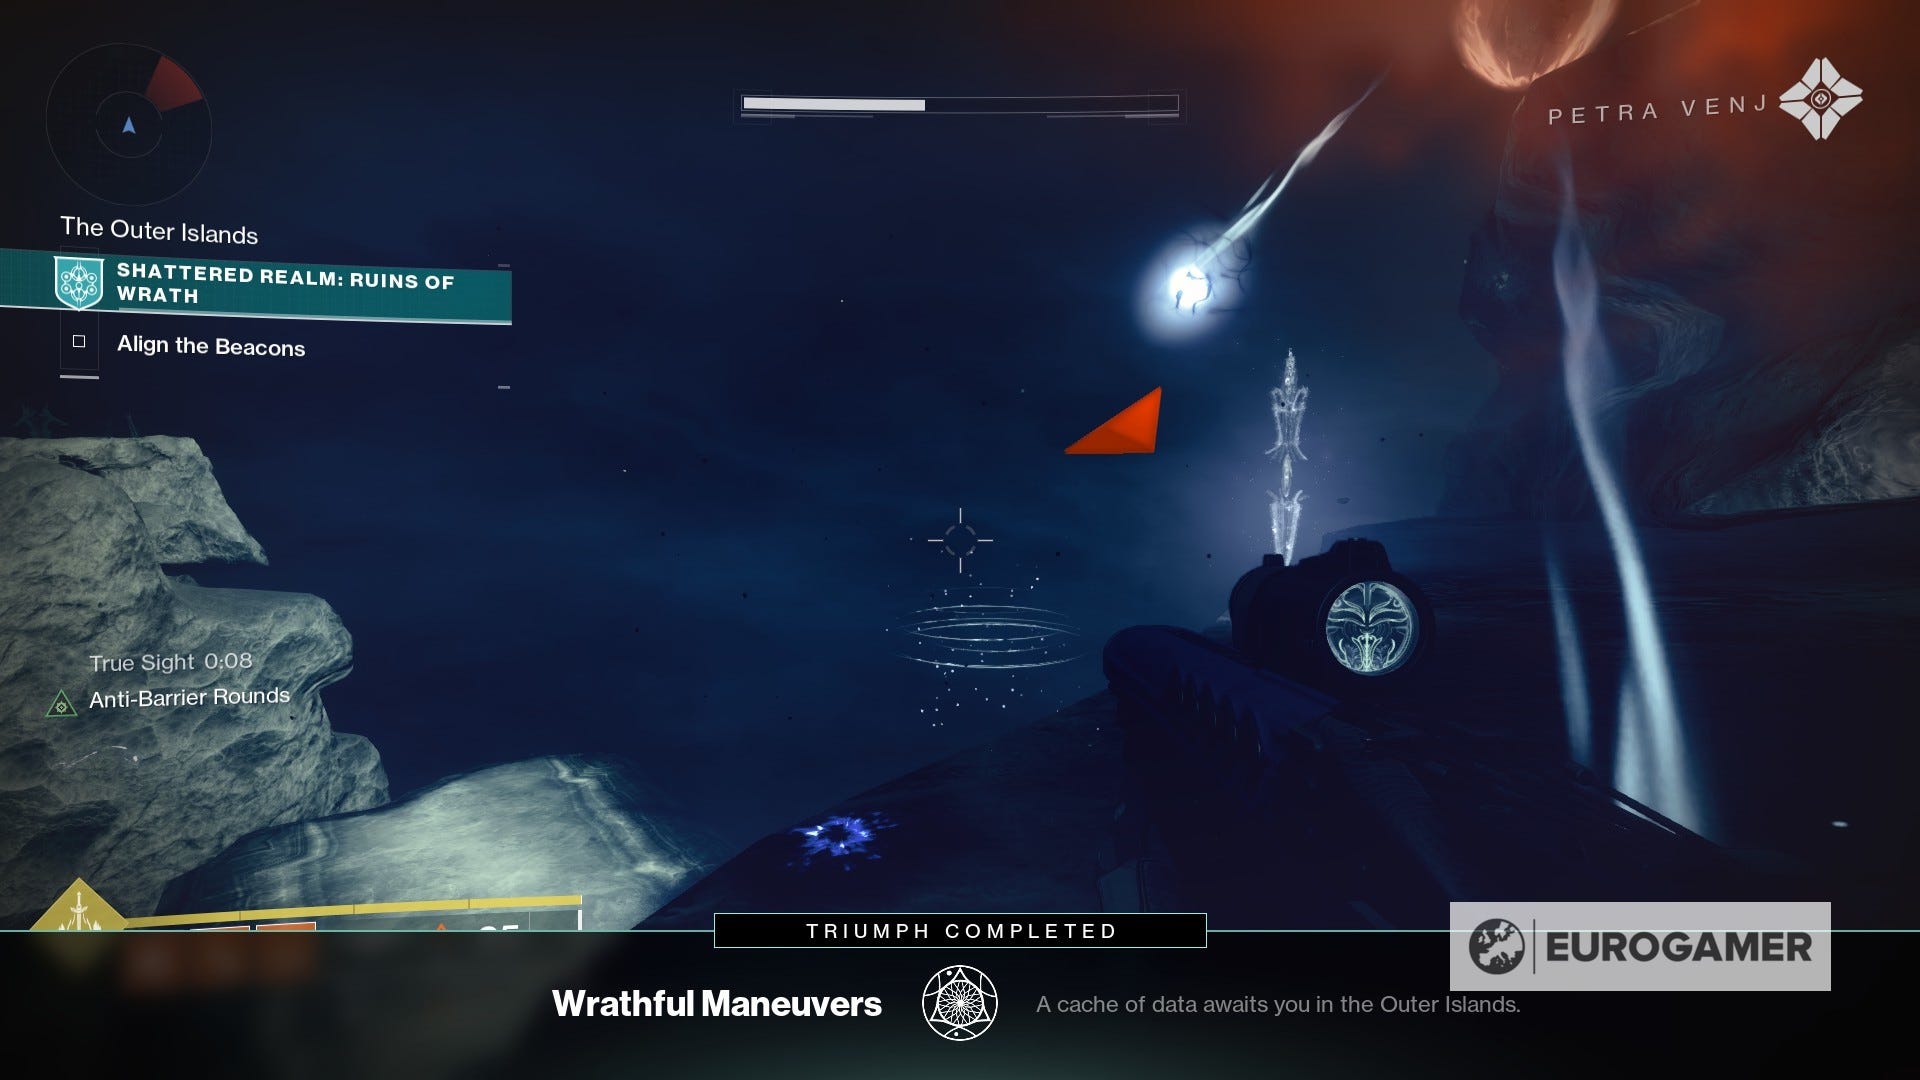
That's all for Wrathful Maneuvers!