Zelda: Link's Awakening - Catfish's Maw dungeon explained, how to get the Hookshot
How to complete the fifth dungeon of Link's Awakening and get the very useful Hookshot.

Catfish's Maw is the fifth dungeon in Zelda: Link's Awakening, found once you have helped out the Pink Ghost.
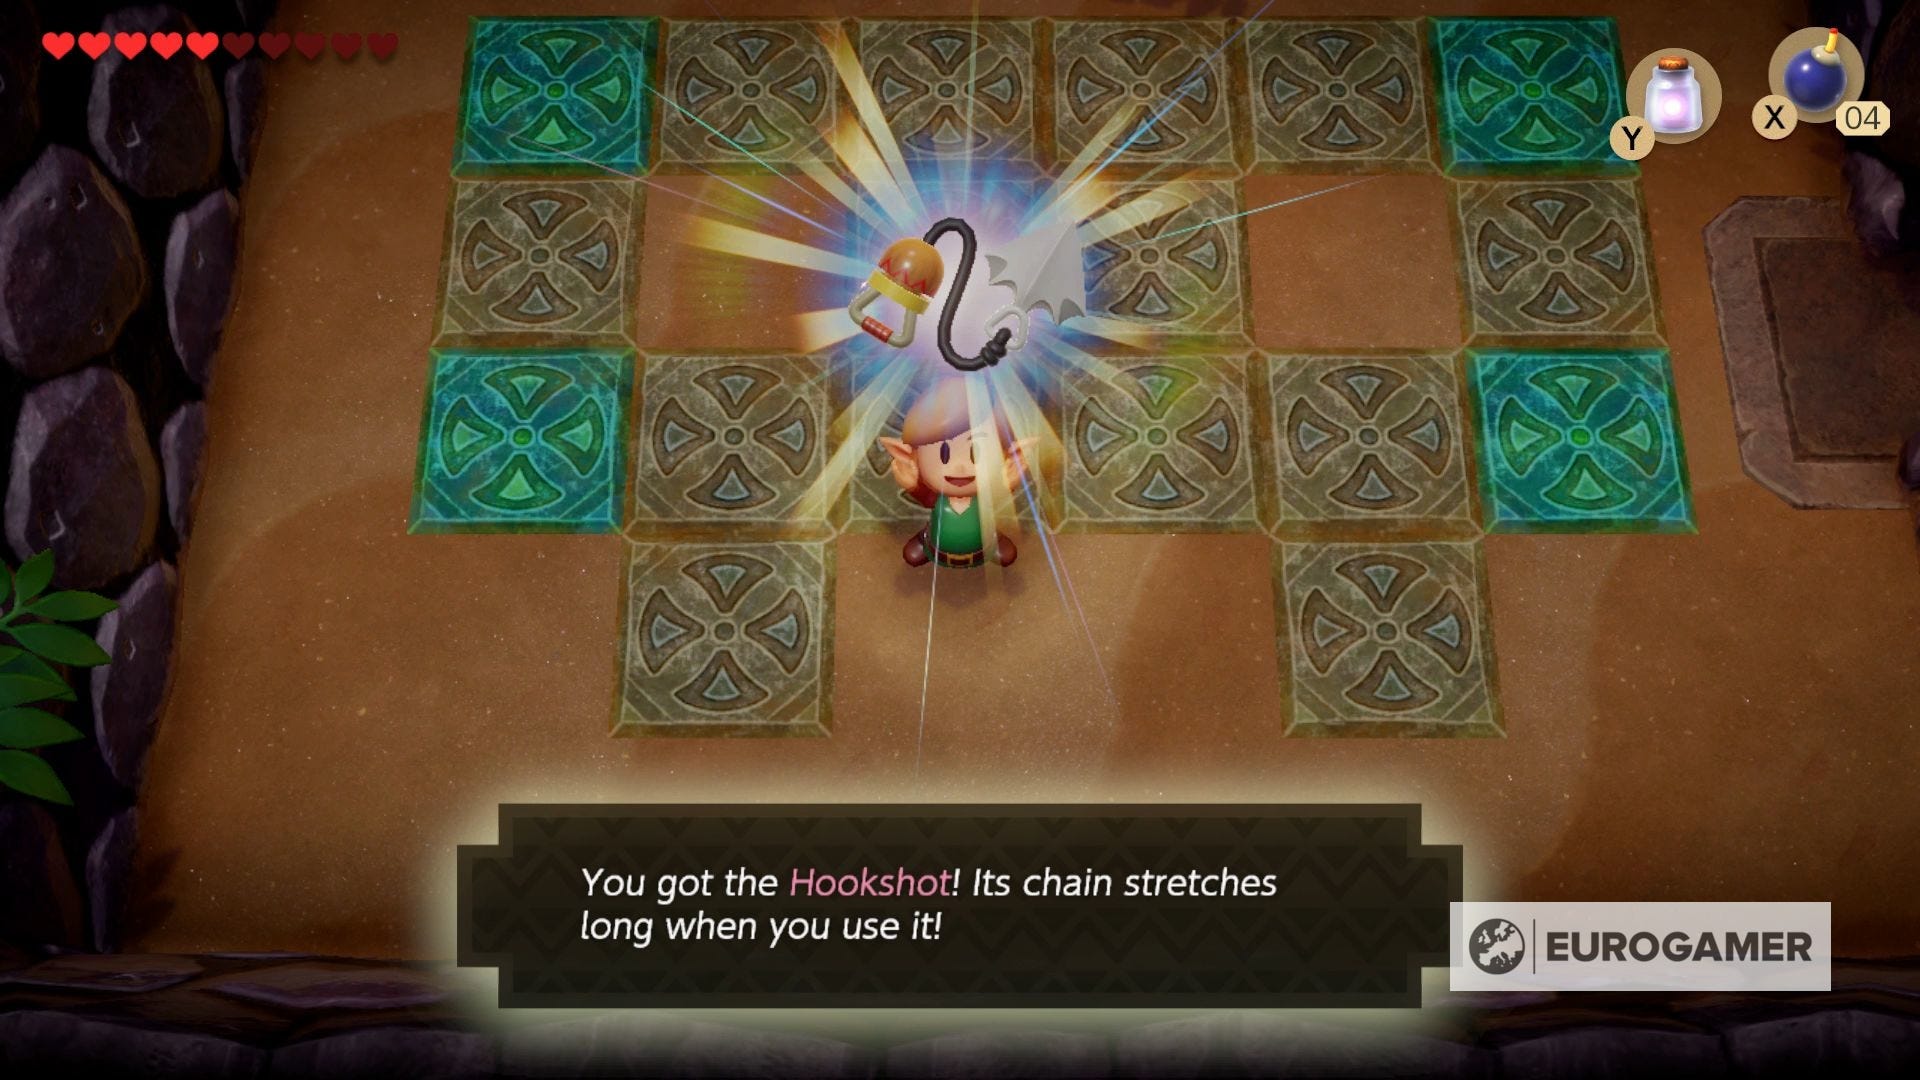
Along the way you'll get the next key item on your quest - the Hookshot - allowing you to zip across long distances.
If you're looking for more assistance, our Zelda: Link's Awakening walkthrough can help.
Where to find the Catfish's Maw Compass, Stone Beak and first Small Key
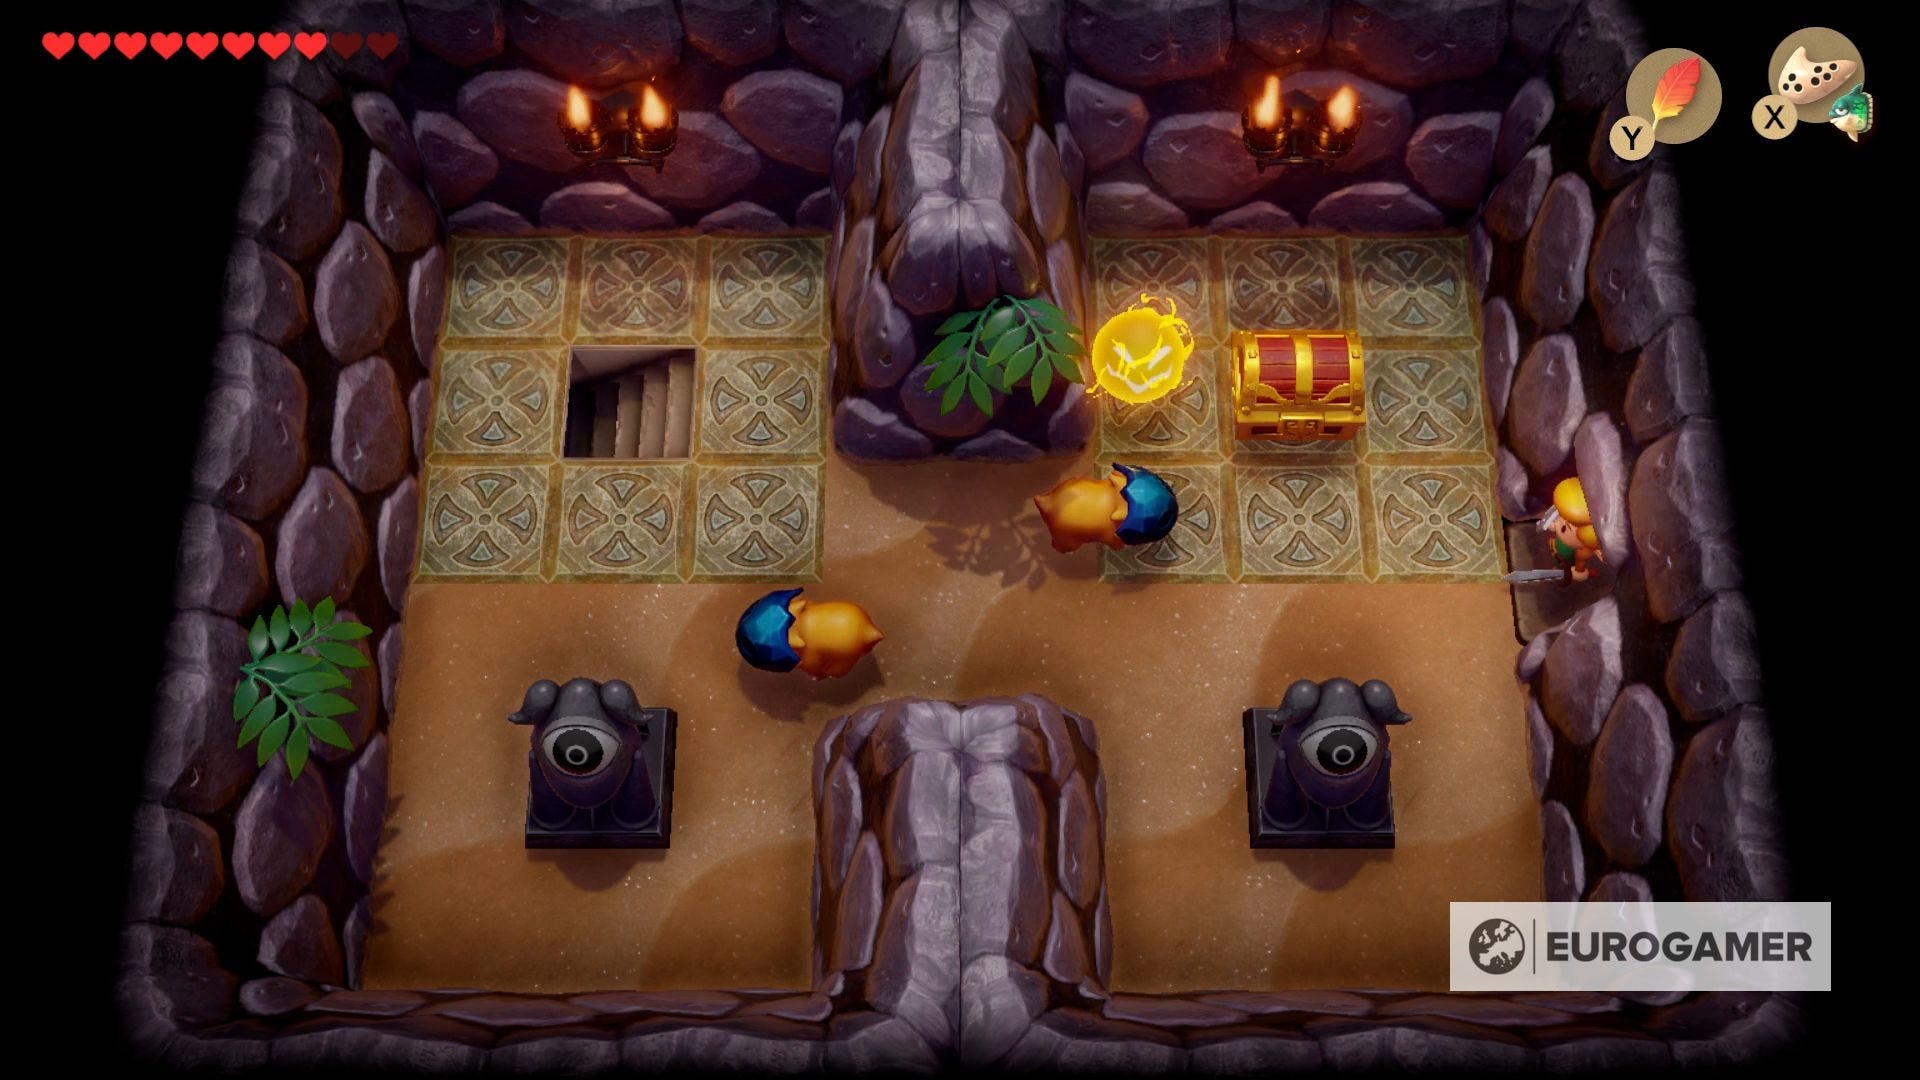
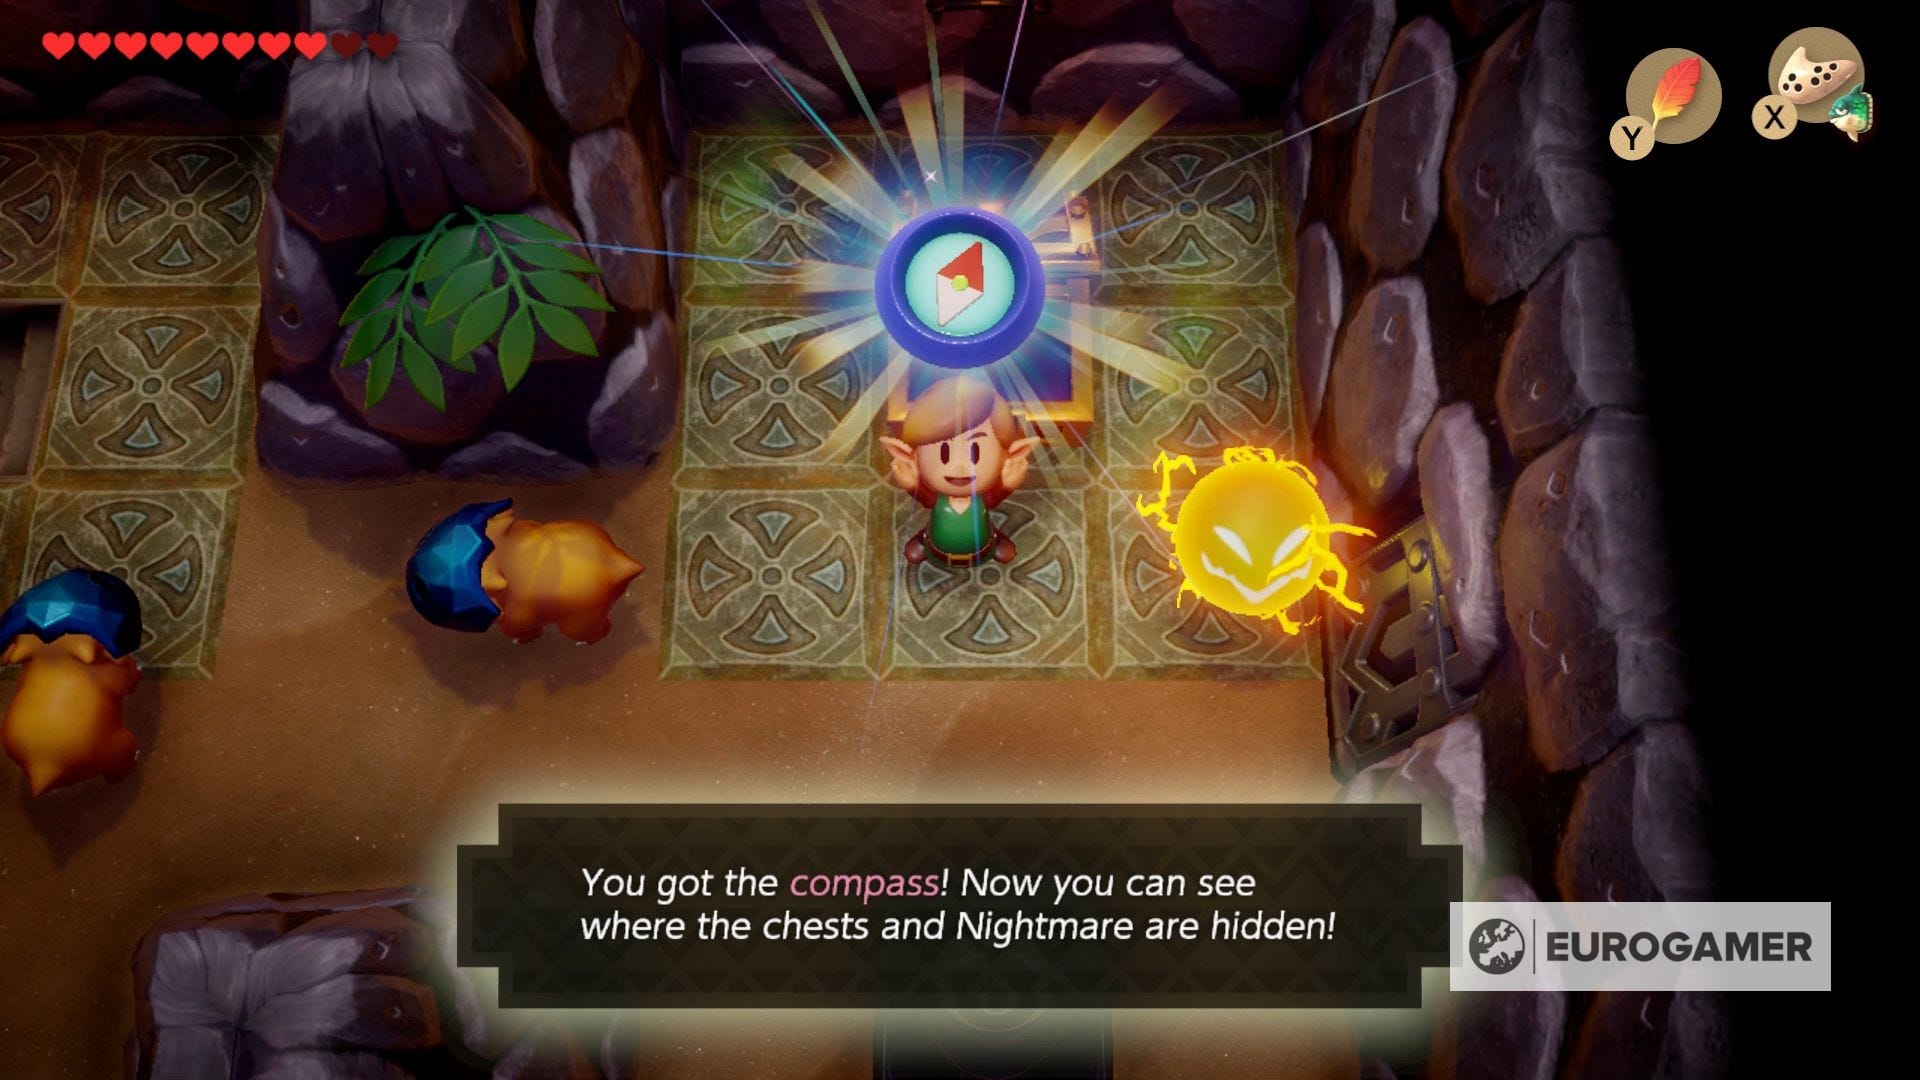
Head left, and left again, clearing out the enemies to open the door which, again, goes left. Open the chest for the Compass, then down the steps.
This side-scrolling section revolves around weights as platforms. Jump on the closest one to raise the other up, but only enough so you can still leap across it using Roc's Feather. The second set alternates the connected platforms, but the same principles apply.
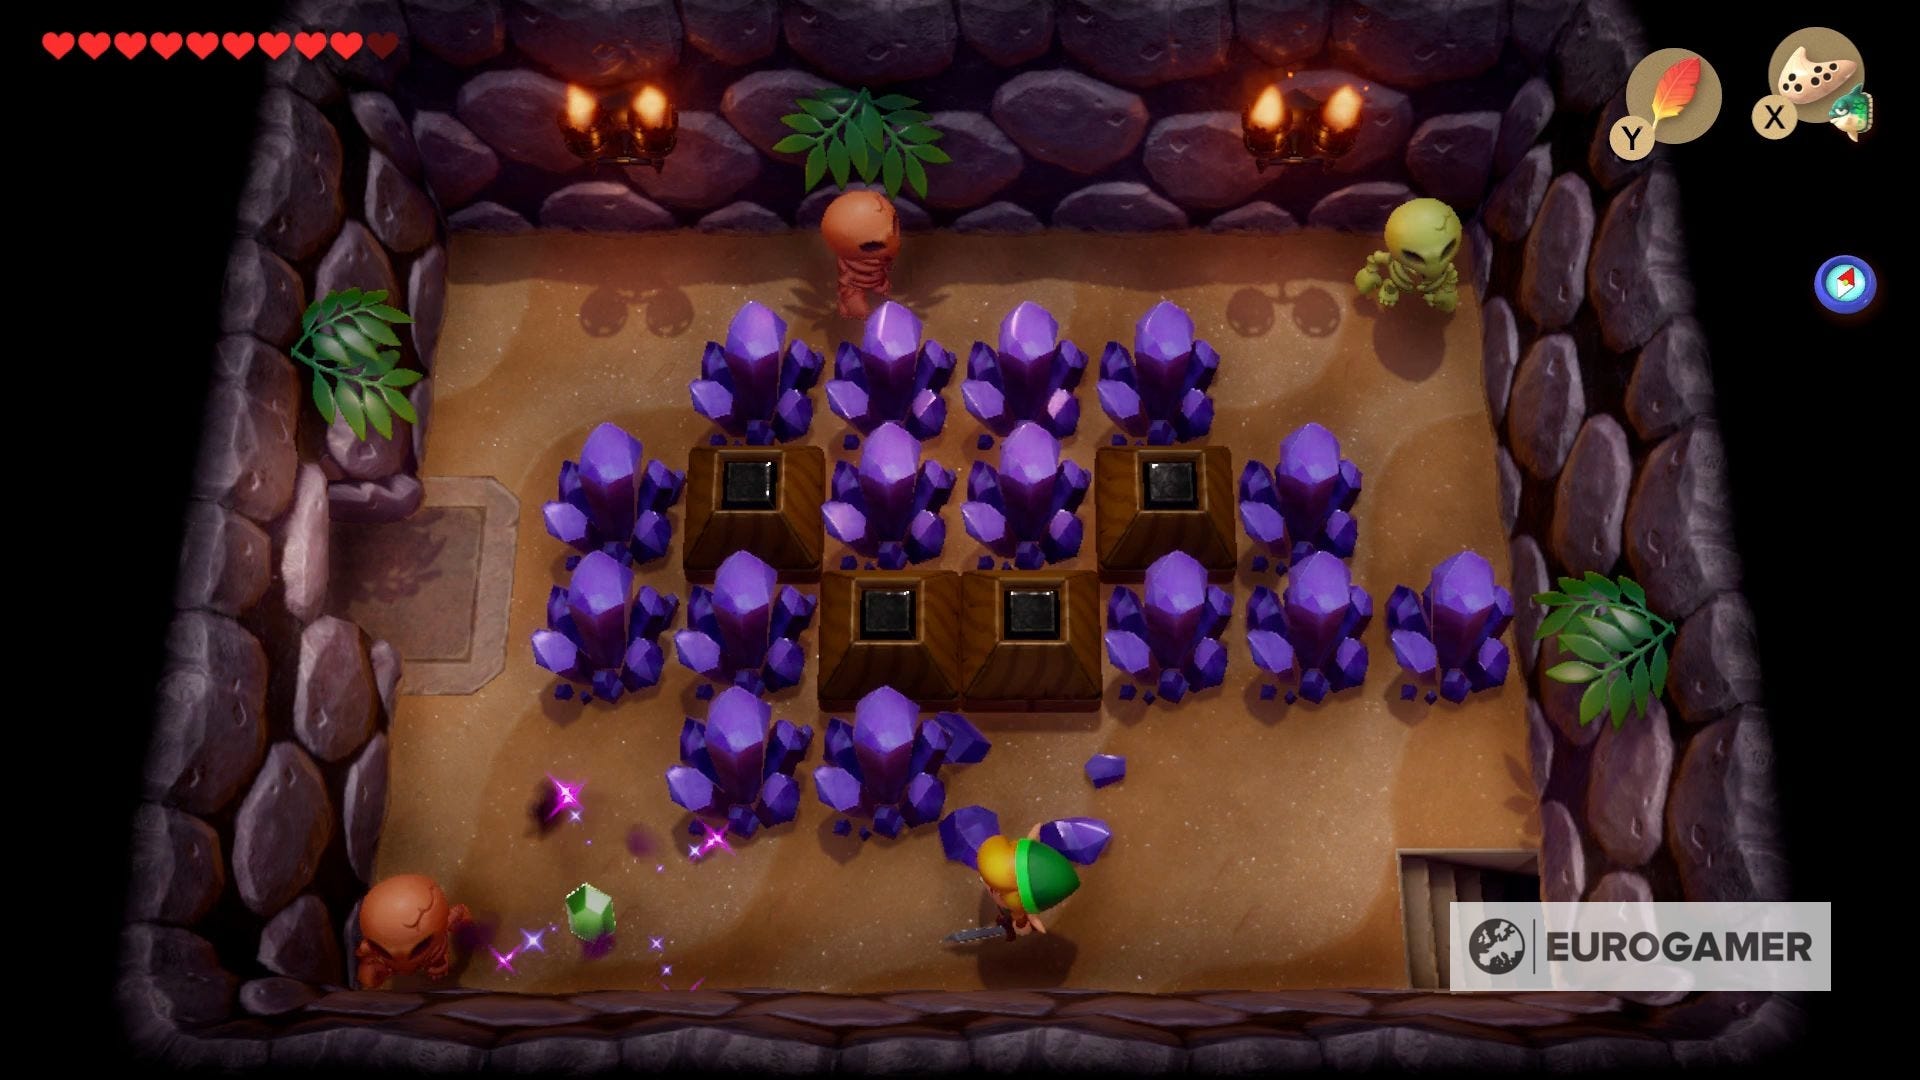
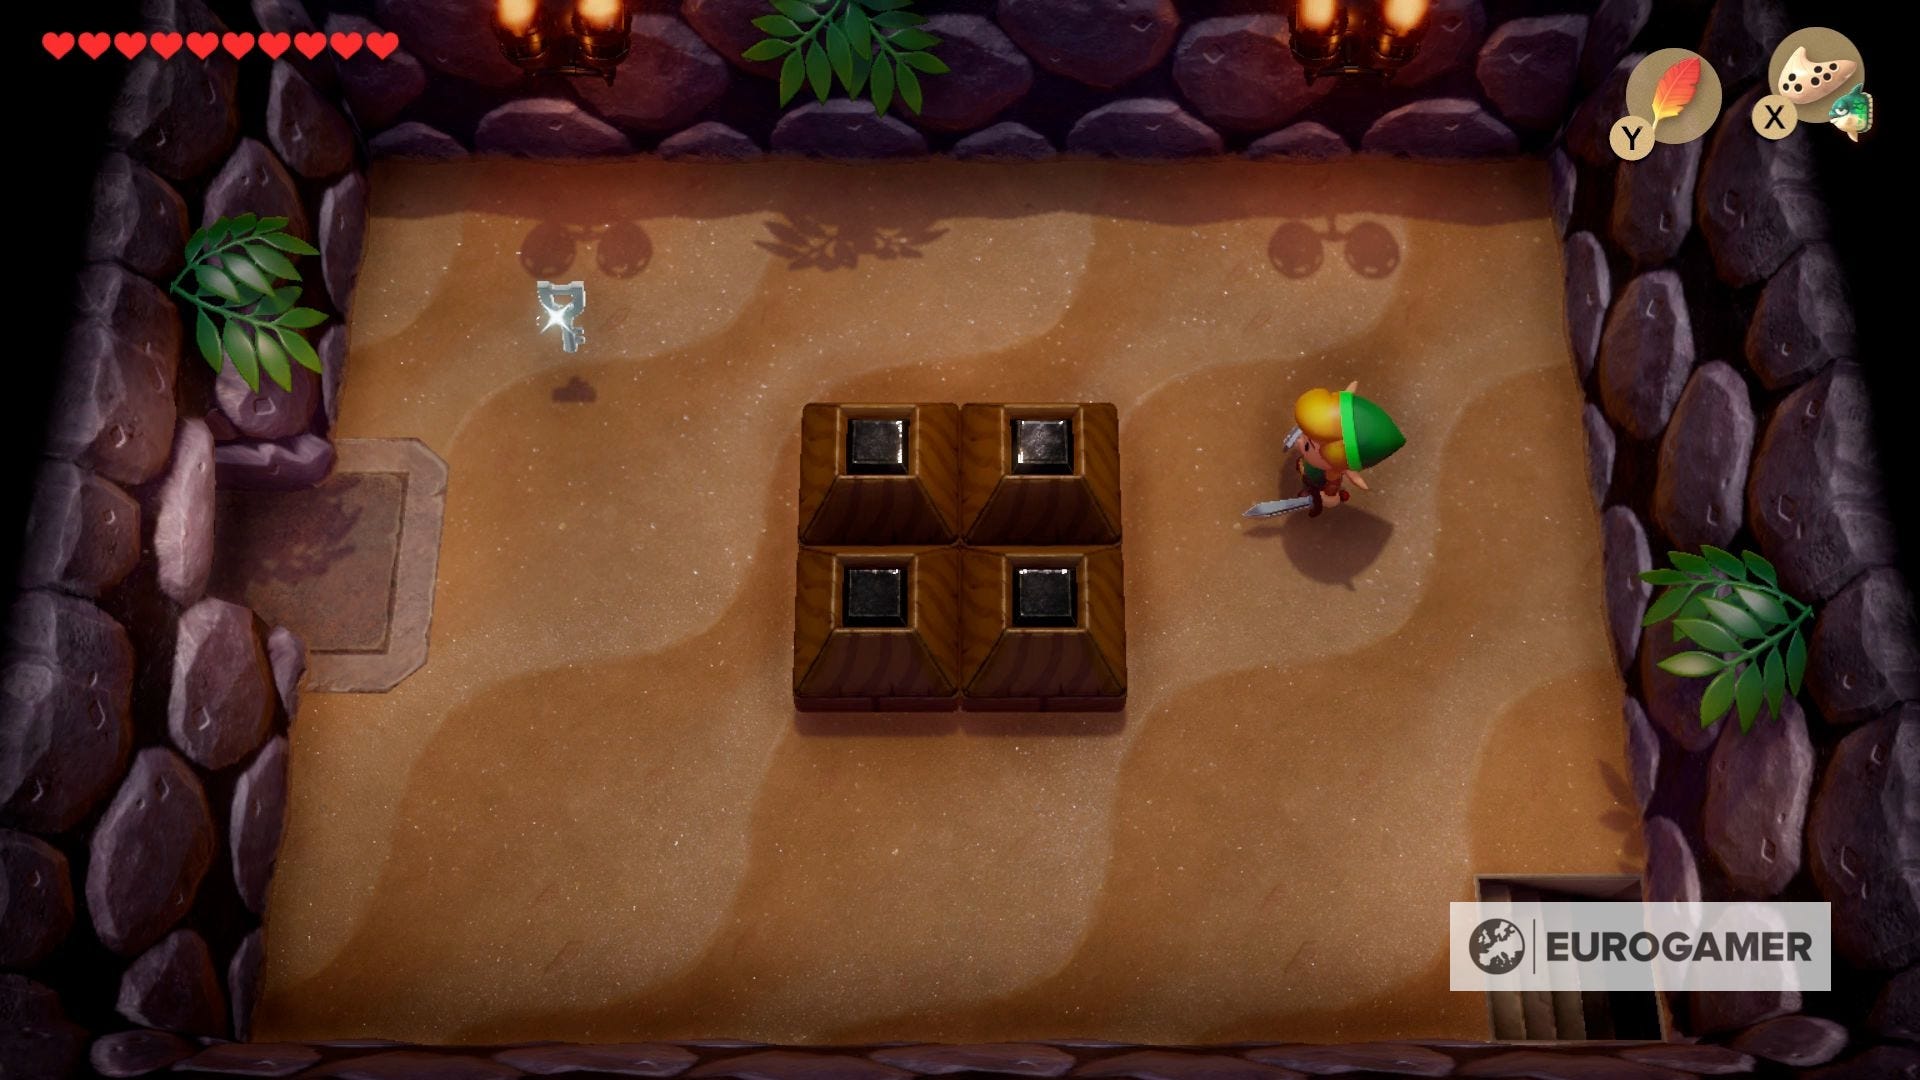
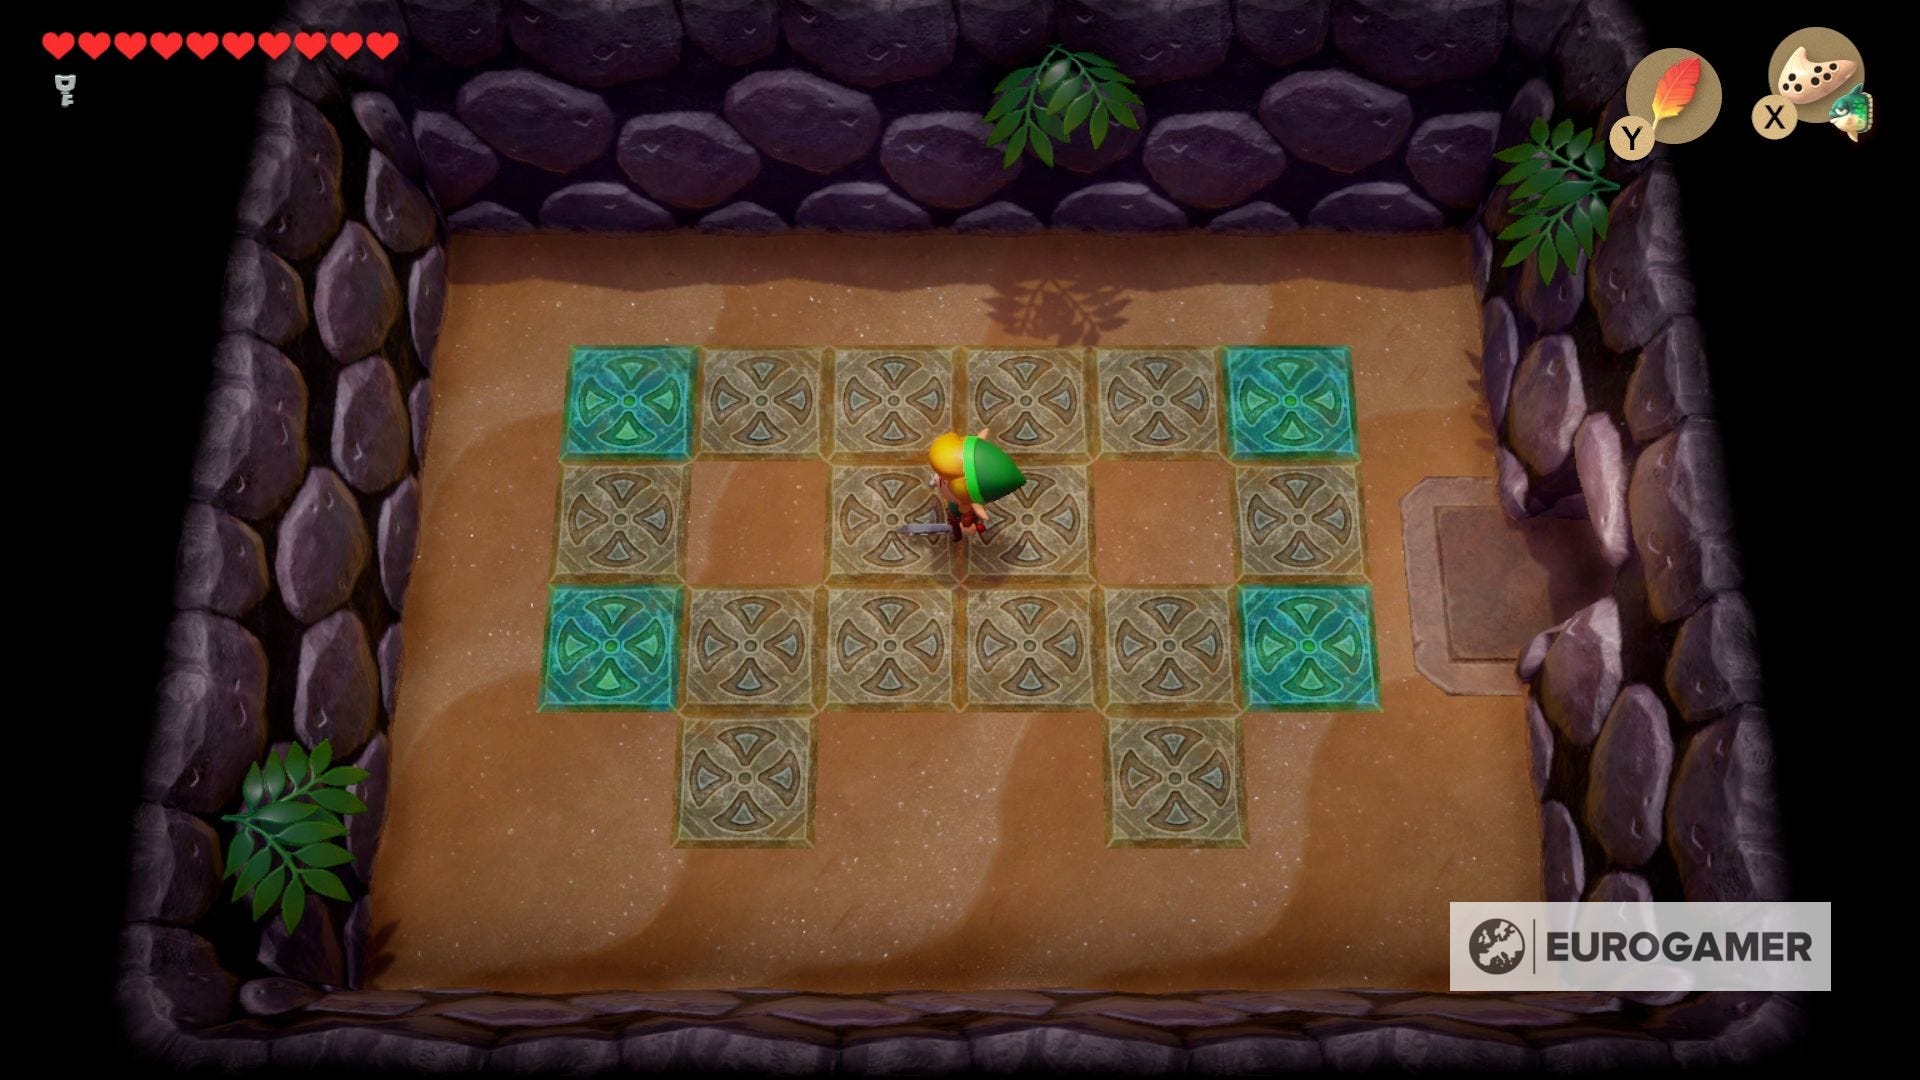
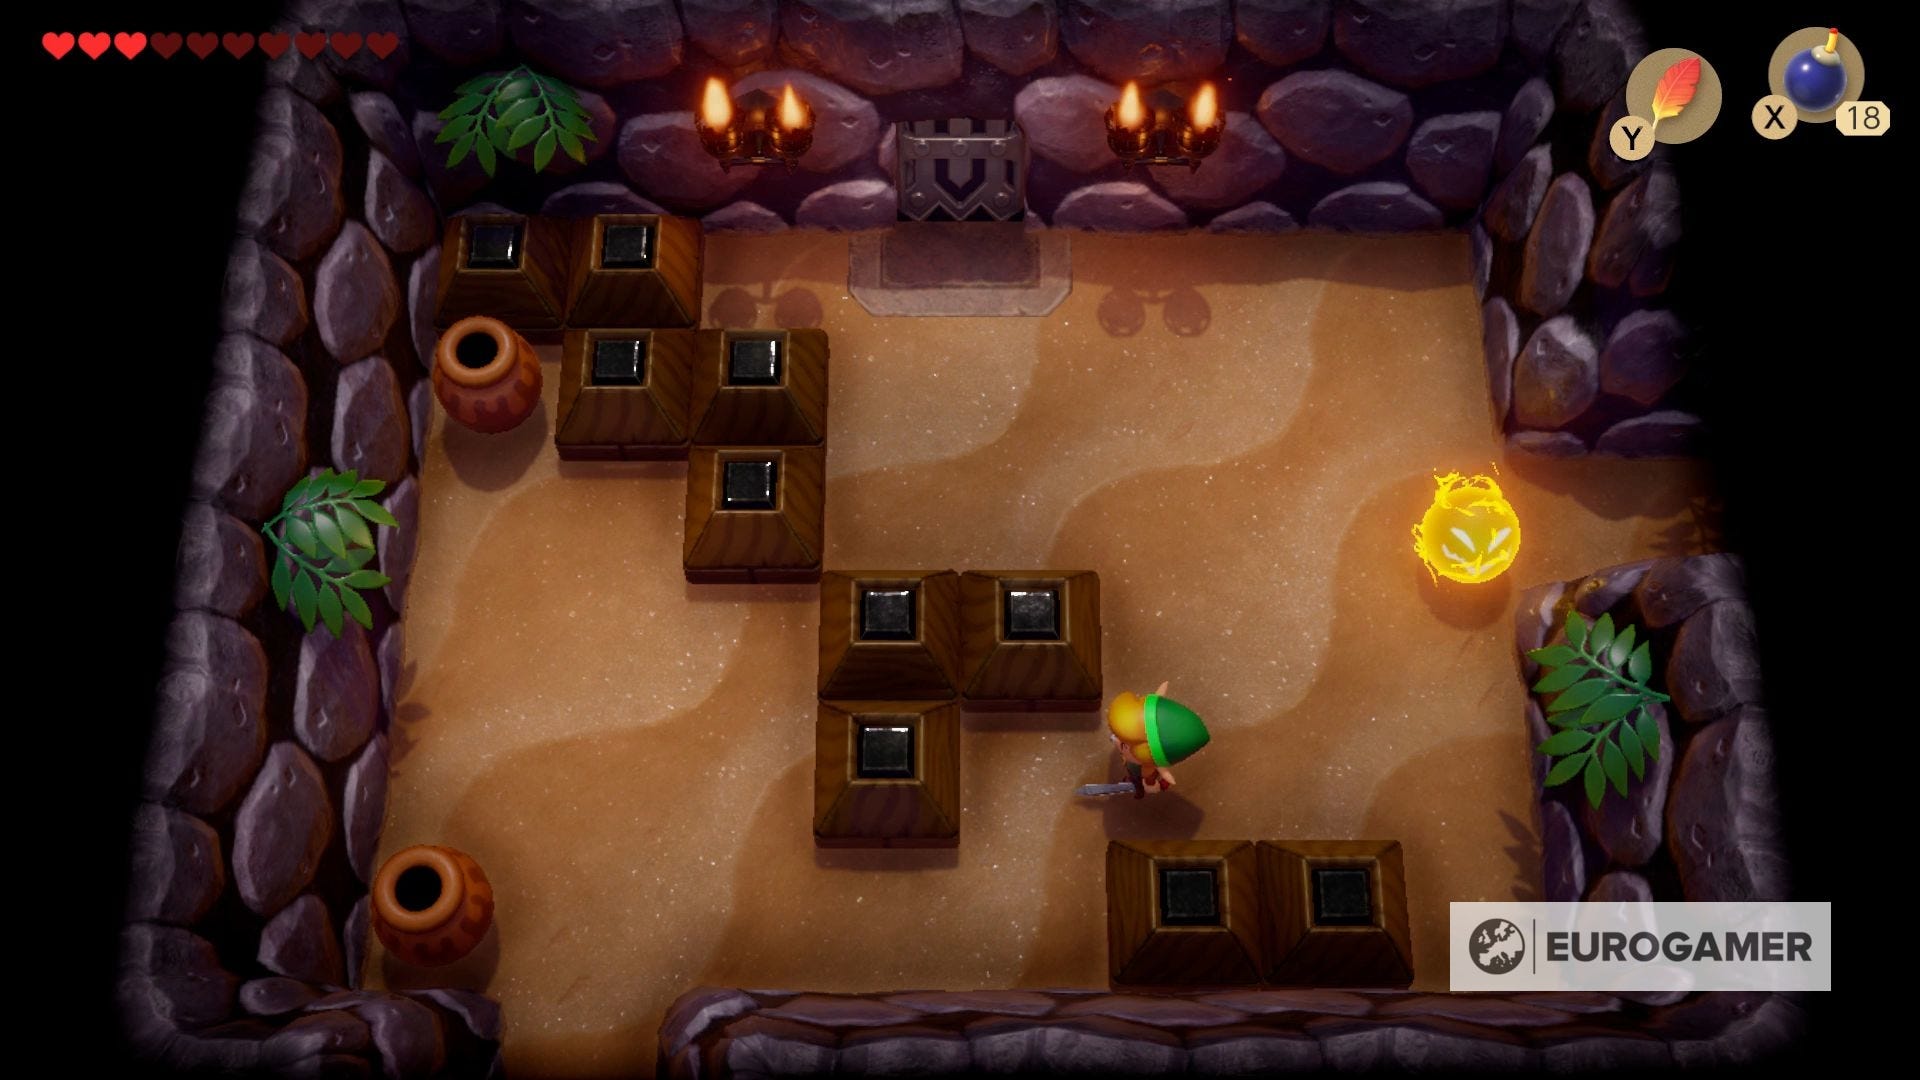
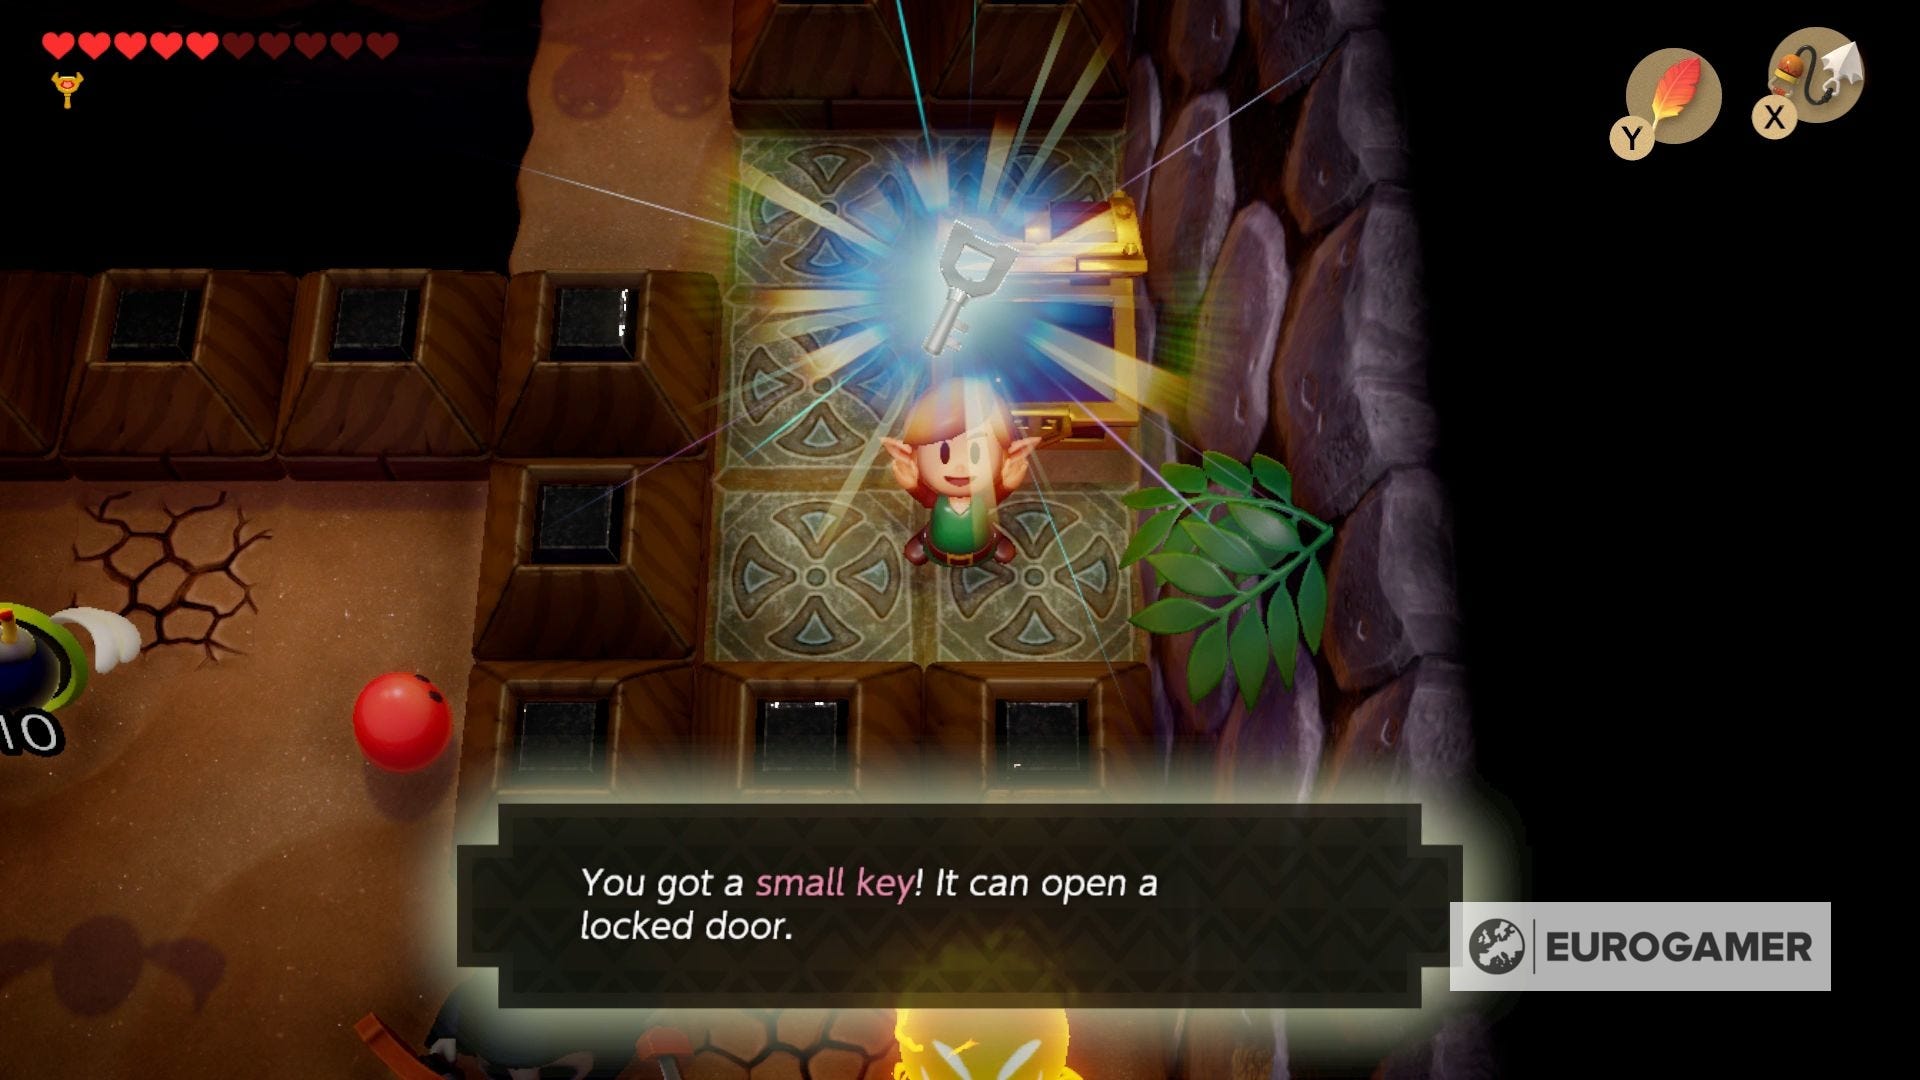
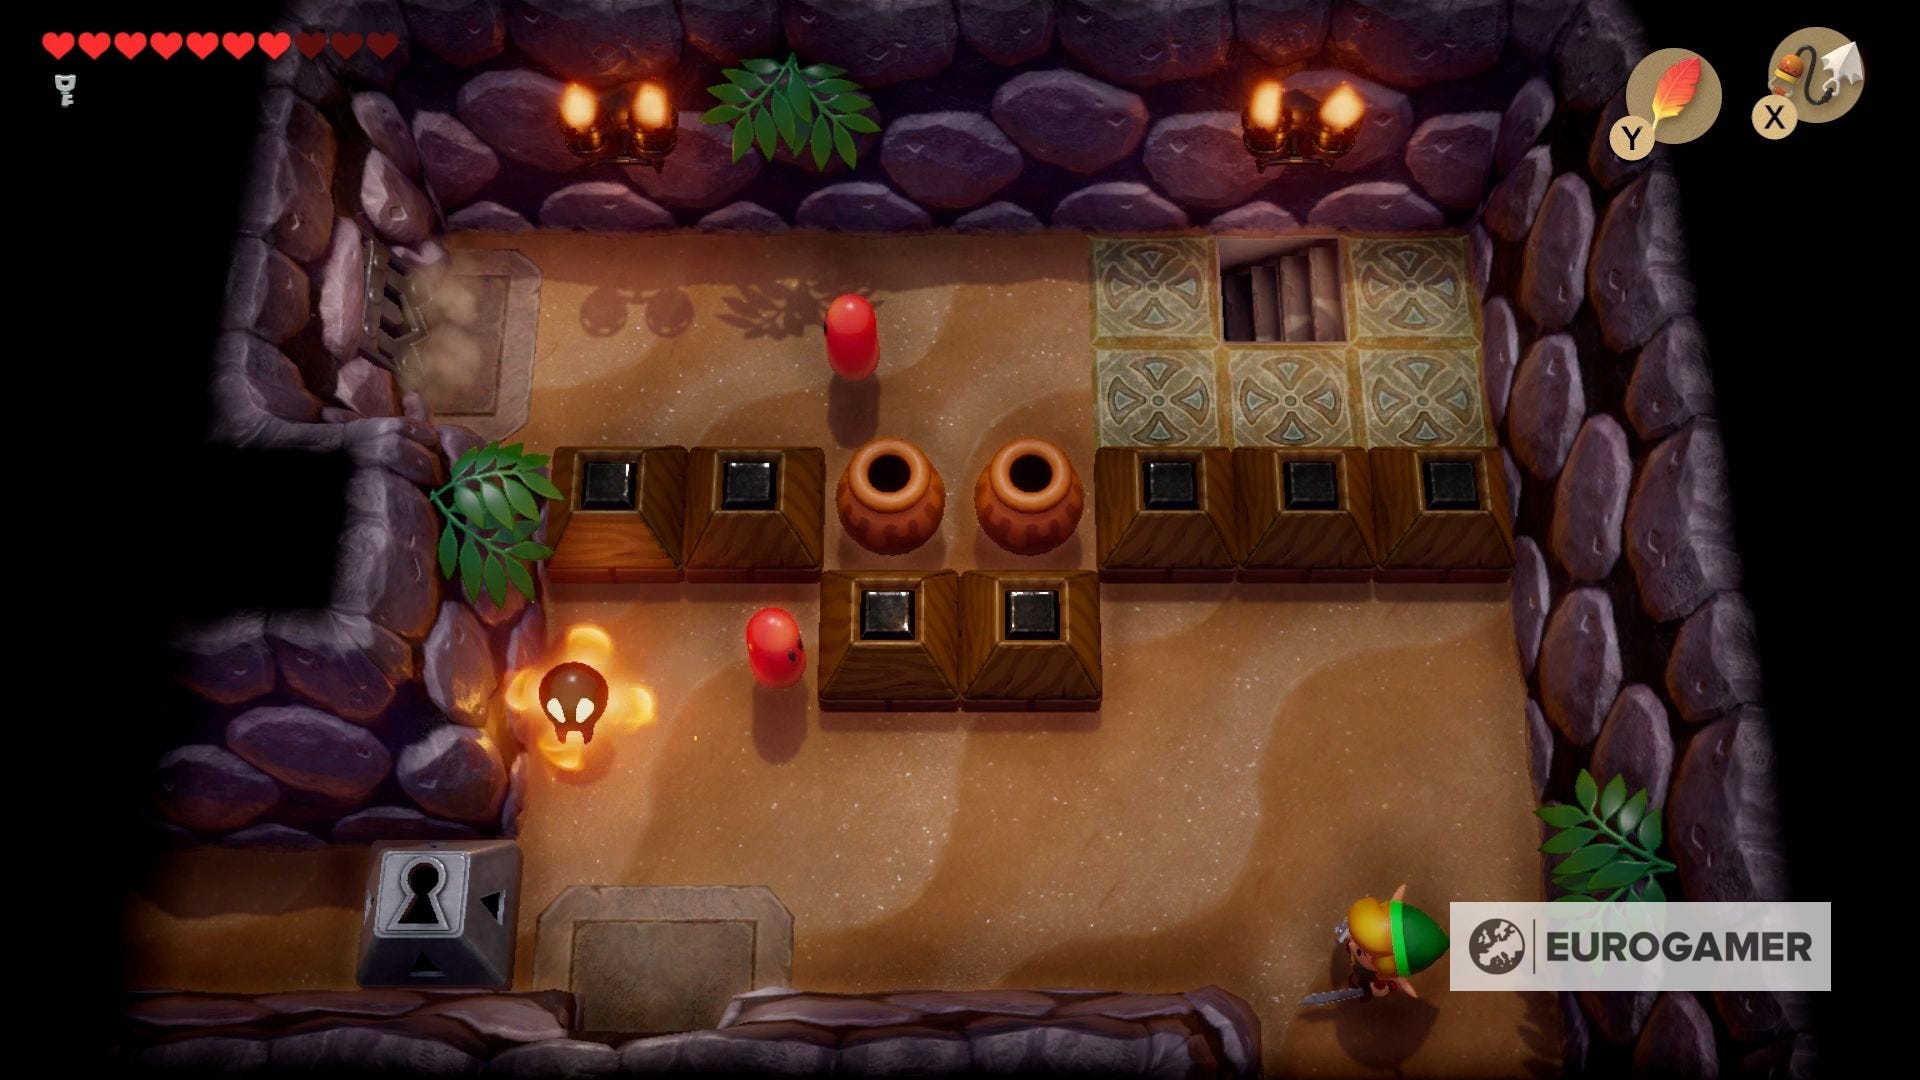
When you emerge, you're in a room with four blocks surrounded by crystals. Clear the crystals and move the outside blocks in towards the centre, creating a square. Doing so will see a Small Key drop in.
The room left of here with the four coloured corner tiles is empty, but we'll be coming back later - so make a note of its location.
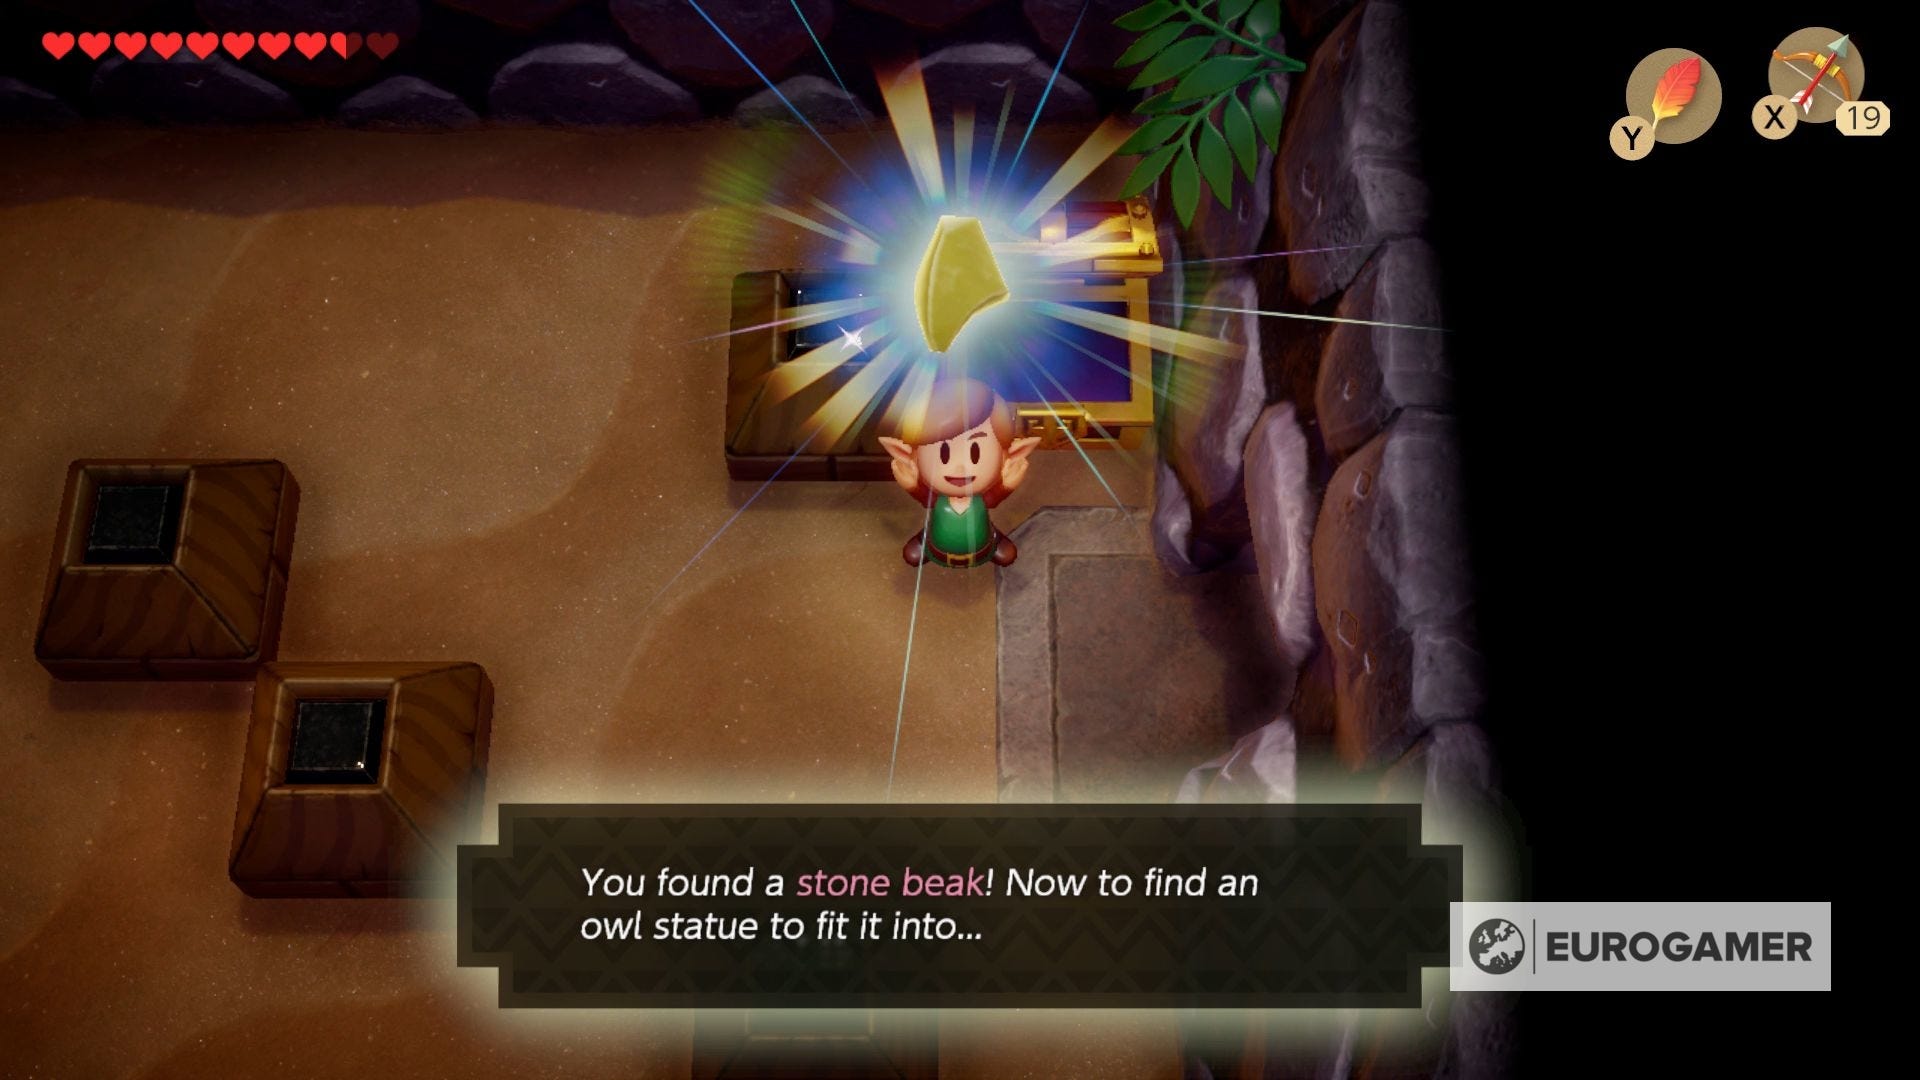
Head back through the side-scrolling section to the room where you found the Compass, and go north. Go left here twice, clearing all the enemies as you go, to receive the Stone Beak from a chest.
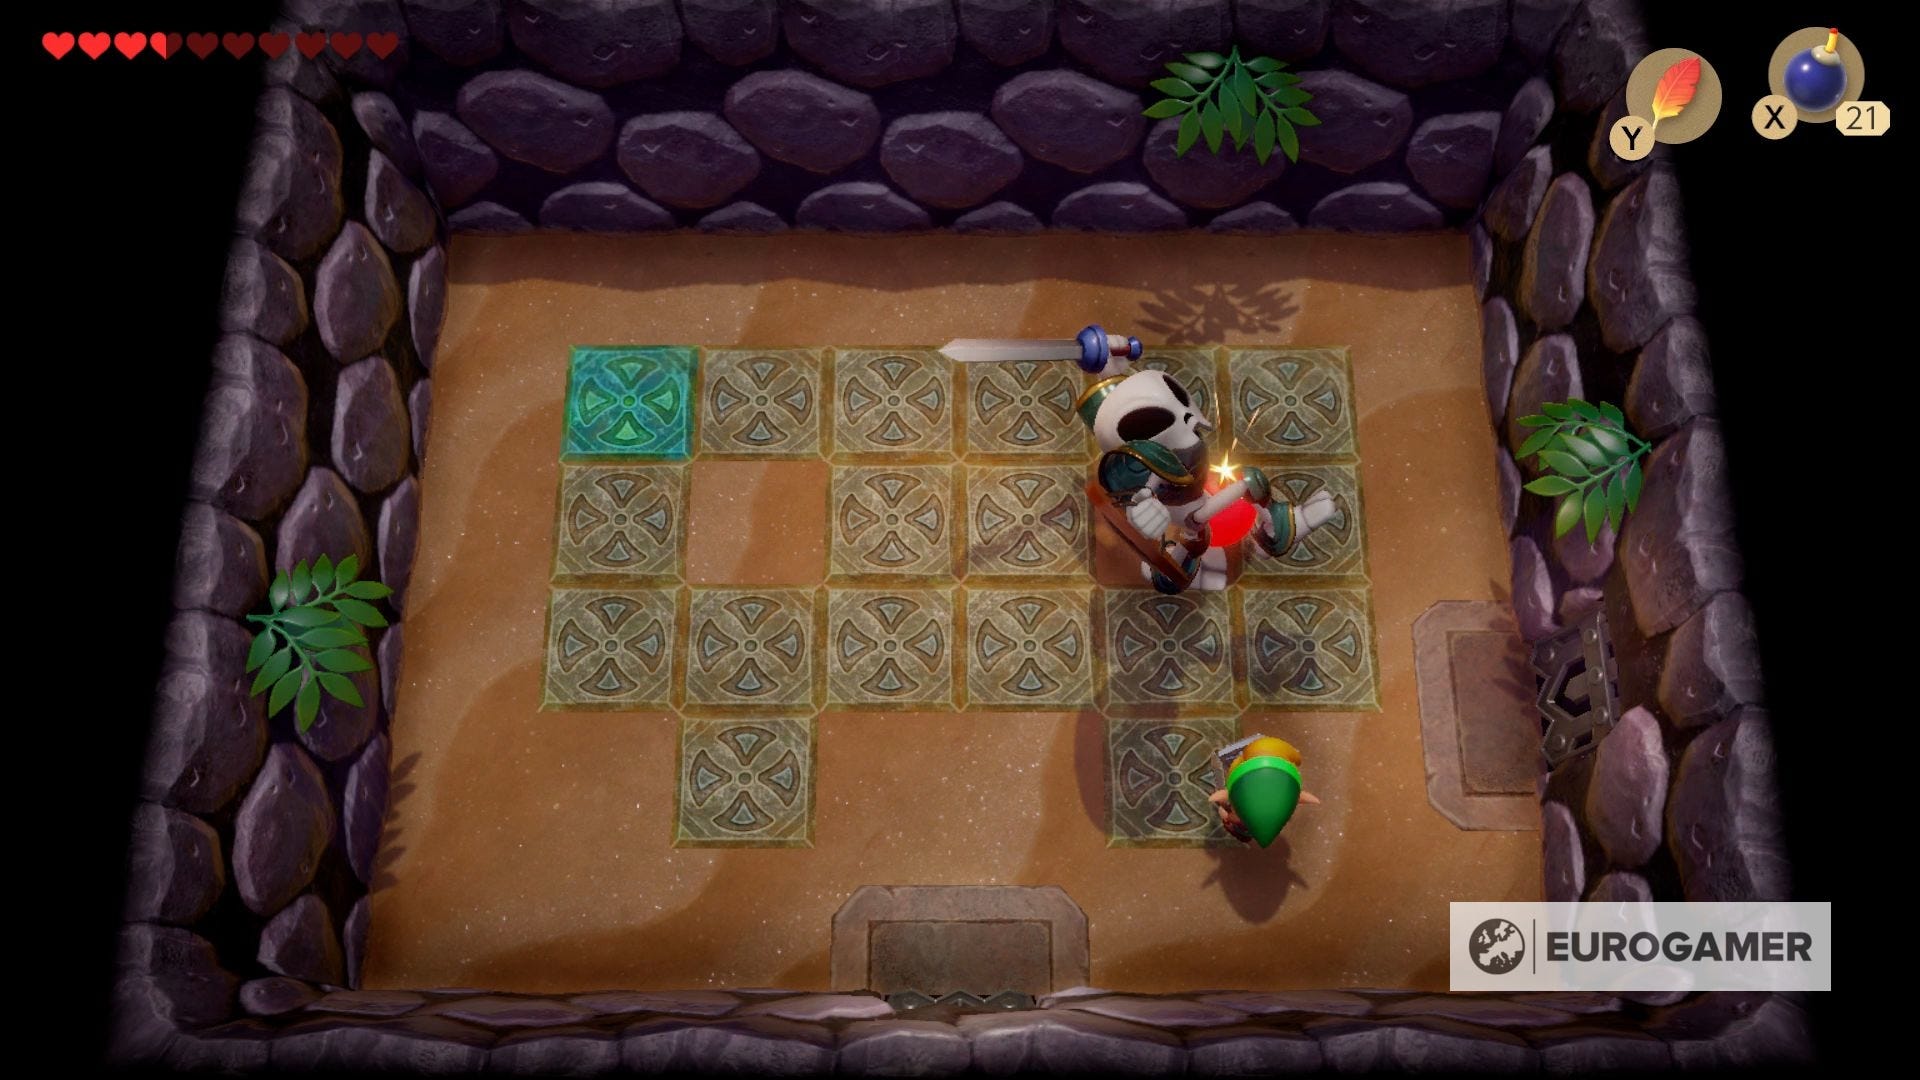
Go back right two rooms to where you first emerged after using the Small Key, and head north. Clear the enemies to open the door, and use the Stone Beak on the owl to learn that if you cannot defeat a skeleton with a sword, use a bomb.

Good to know, because that advice is what we need for the mini-boss in the next room.
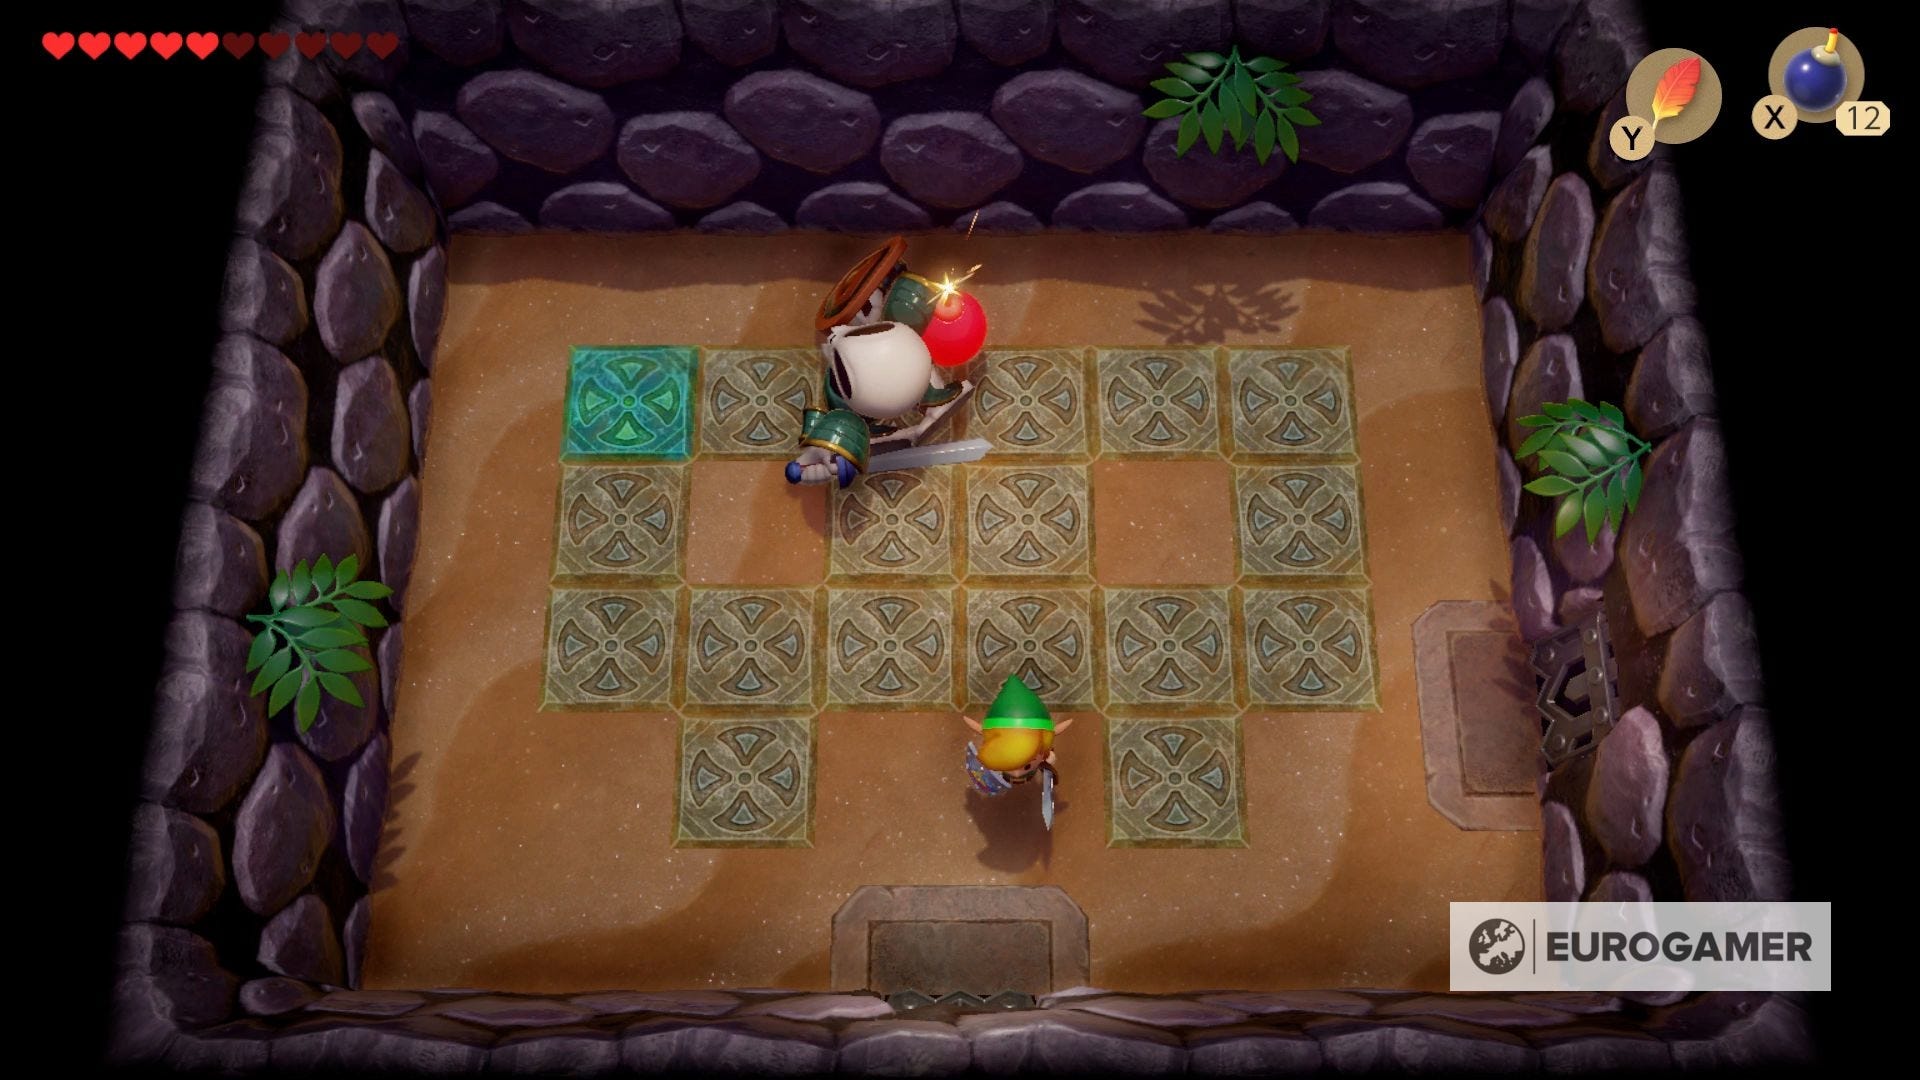
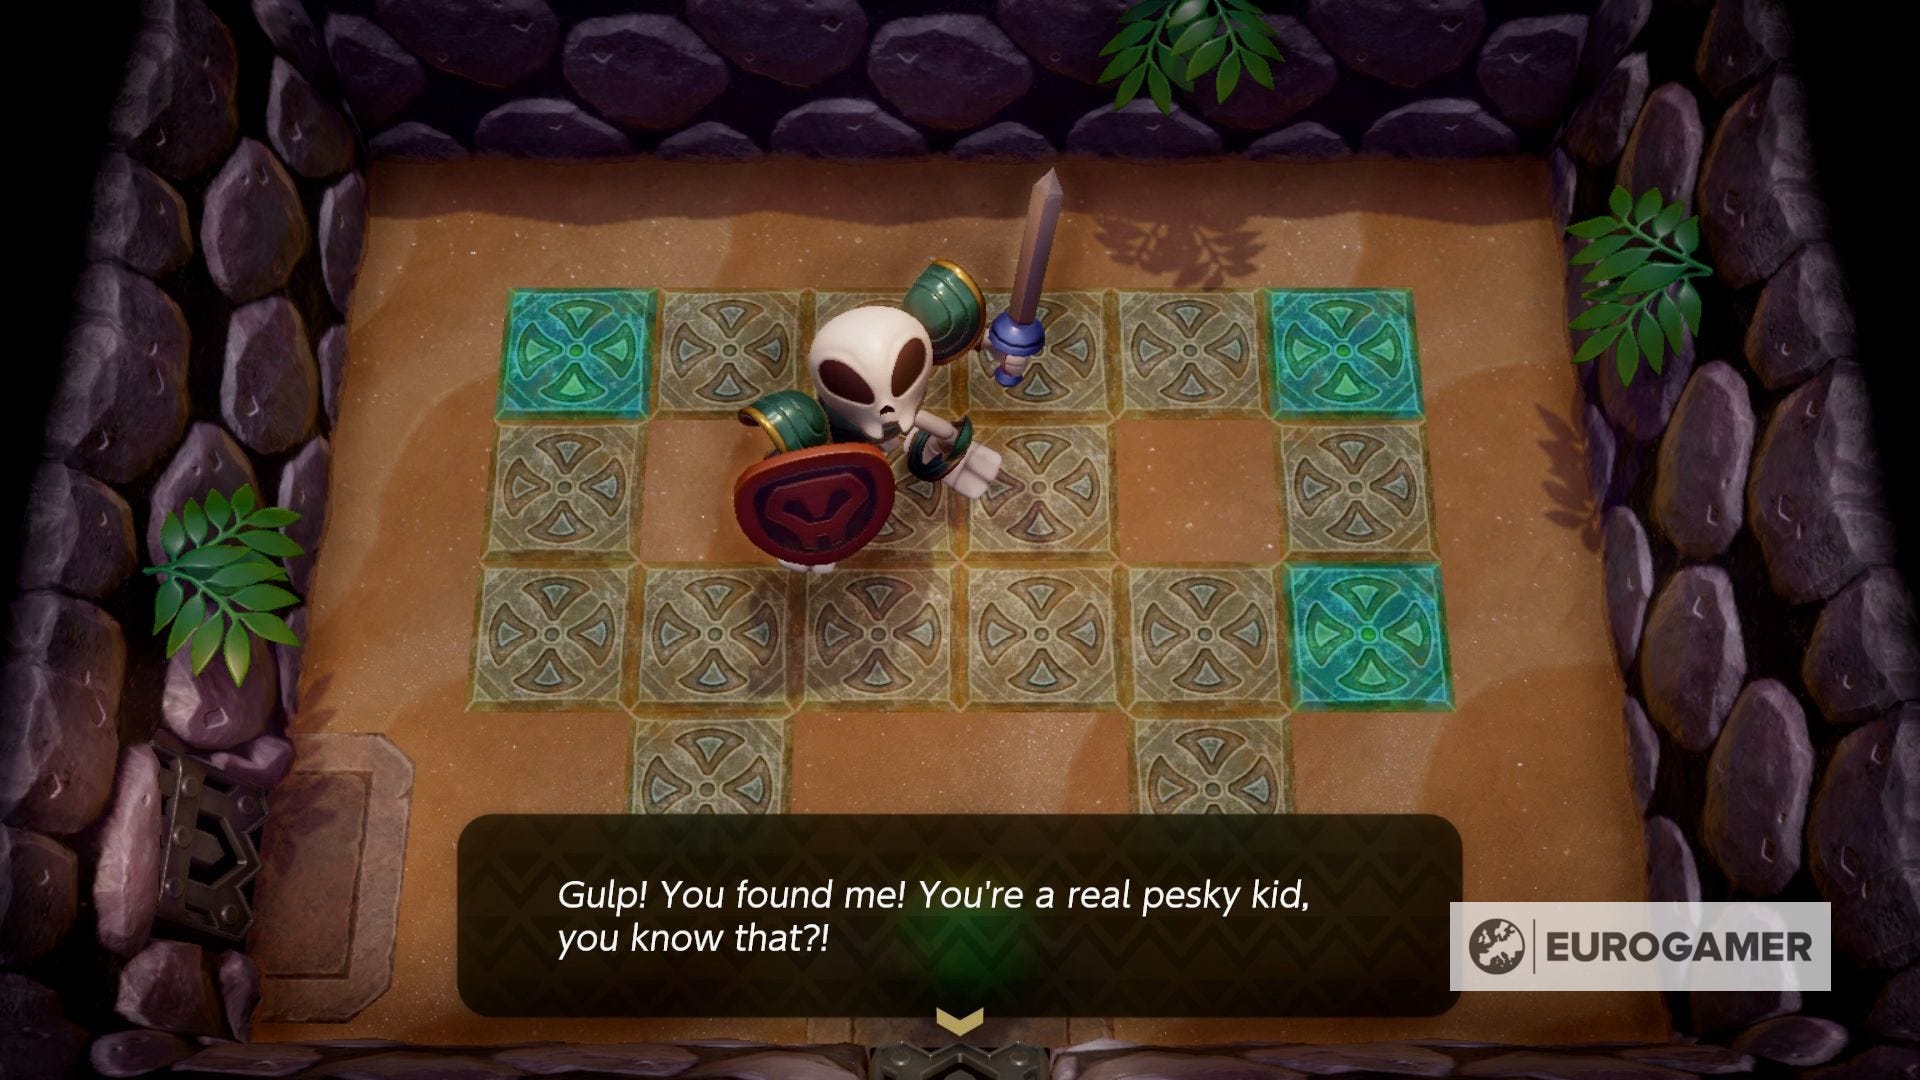
How to defeat the Catfish Maw mini-boss
To damage the mini-boss, you need to attack where it is exposed.
There's two ways to do this - one is detonate a bomb behind it, forcing it to turn around (to do this, lay a bomb as it is walking towards you) or move around the boss anti-clockwise at just a distance so when it swings it'll miss you and leave itself exposed.
The former method is much easier, provided you have enough bombs on you.
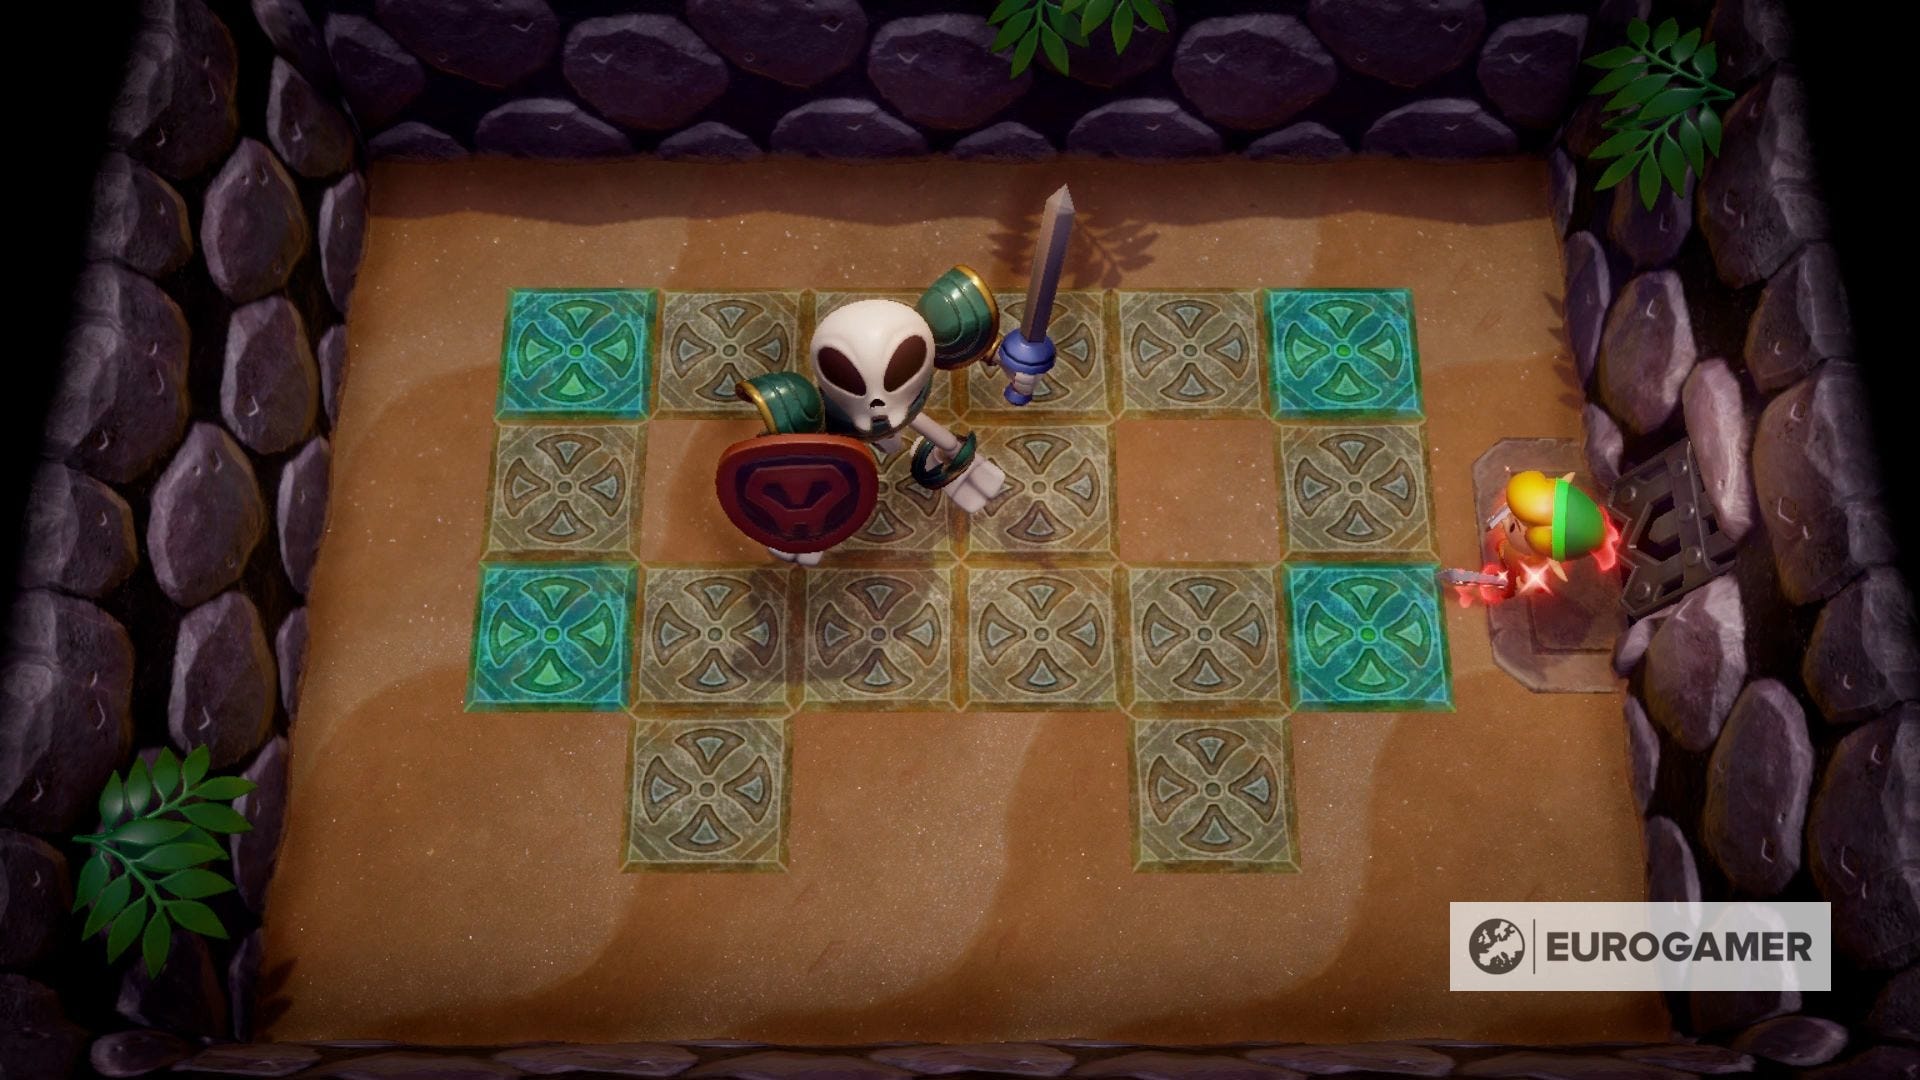
Either method won't properly hurt it though, as once you have struck it with your sword, it'll crumble to the ground. Now lay a bomb, which will injure it upon detonation.
Repeat this three times to win the battle and force it to retreat. The only other thing of note in the encounter is if you are too far away it will leap to your position - if that happens, quickly equip your shield to protect yourself.
How to find the Catfish's Maw mini-boss three more times
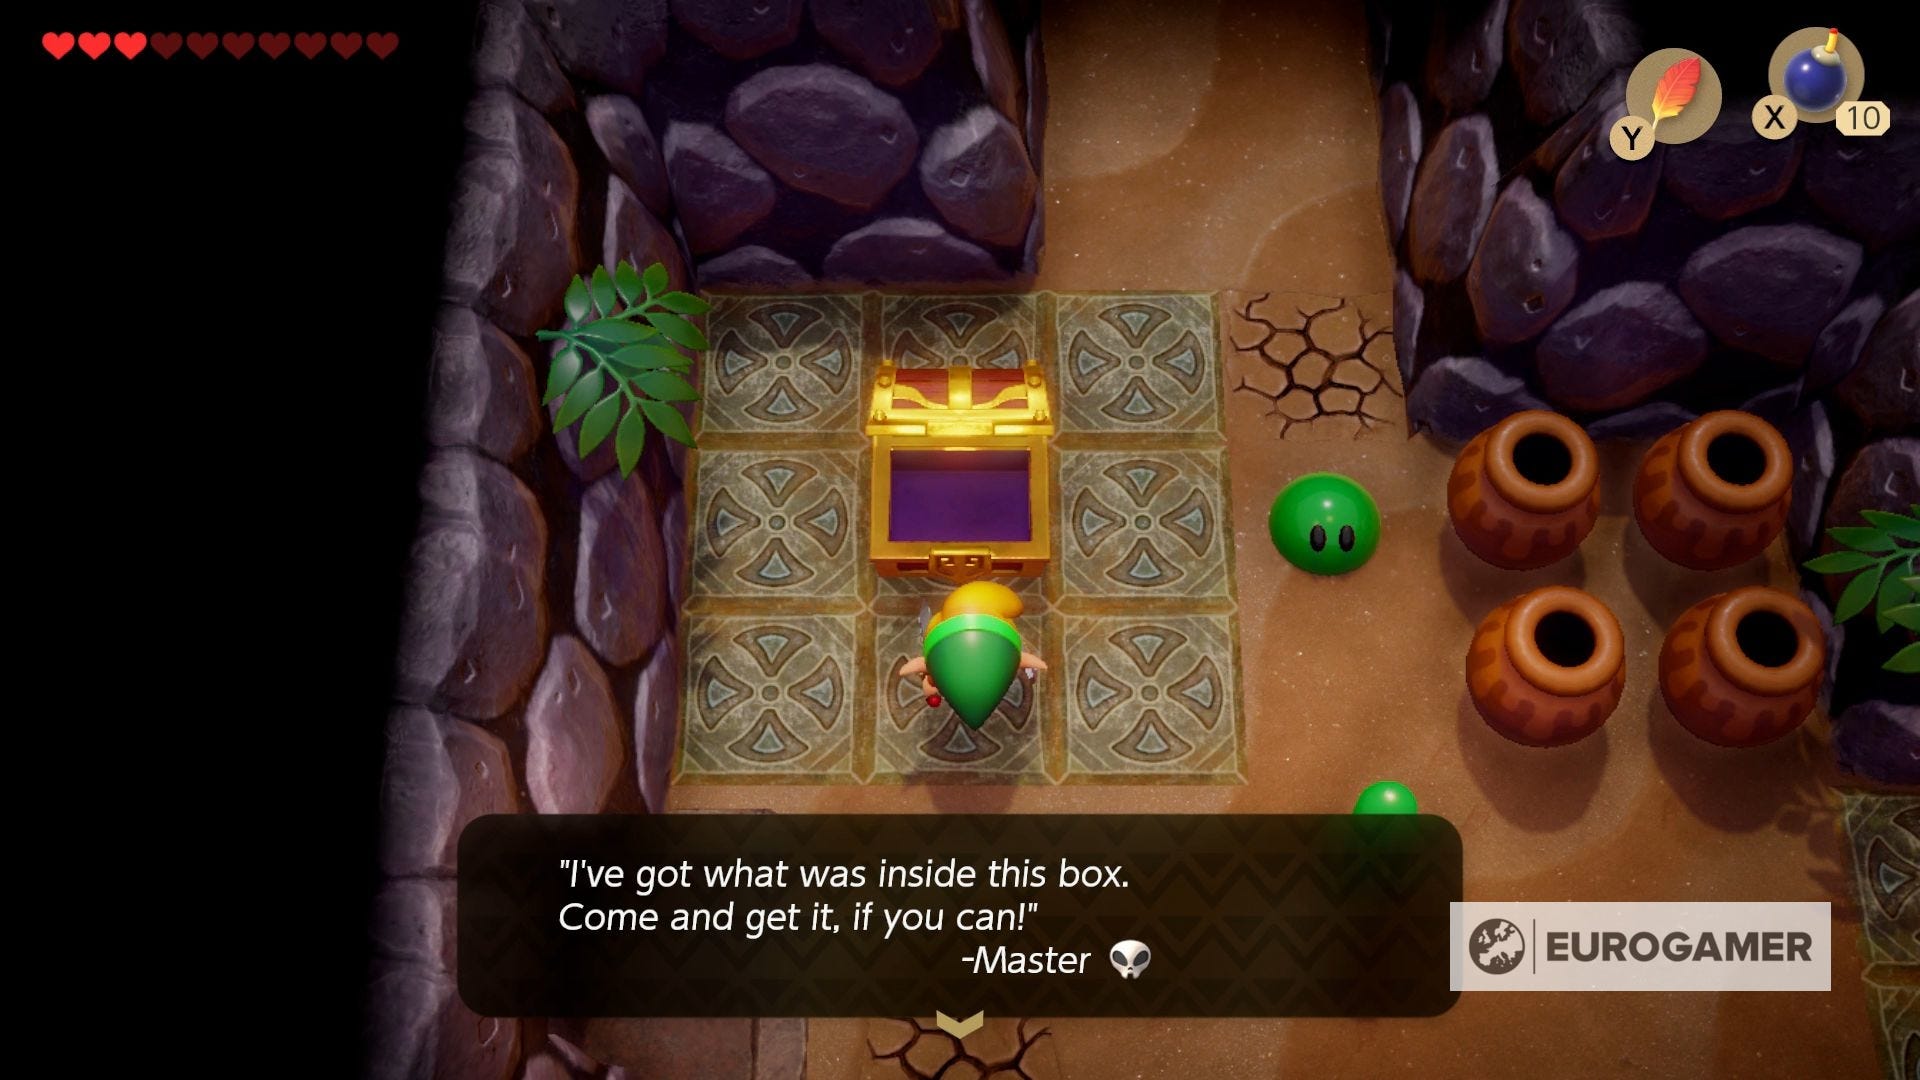
Once done, go right and open the chest to read a message from the 'Master' that it has taken the item.
The aim now is the fight the mini-boss a further two times, forcing it spawn back in the empty room we visited earlier for a fourth and final encounter.
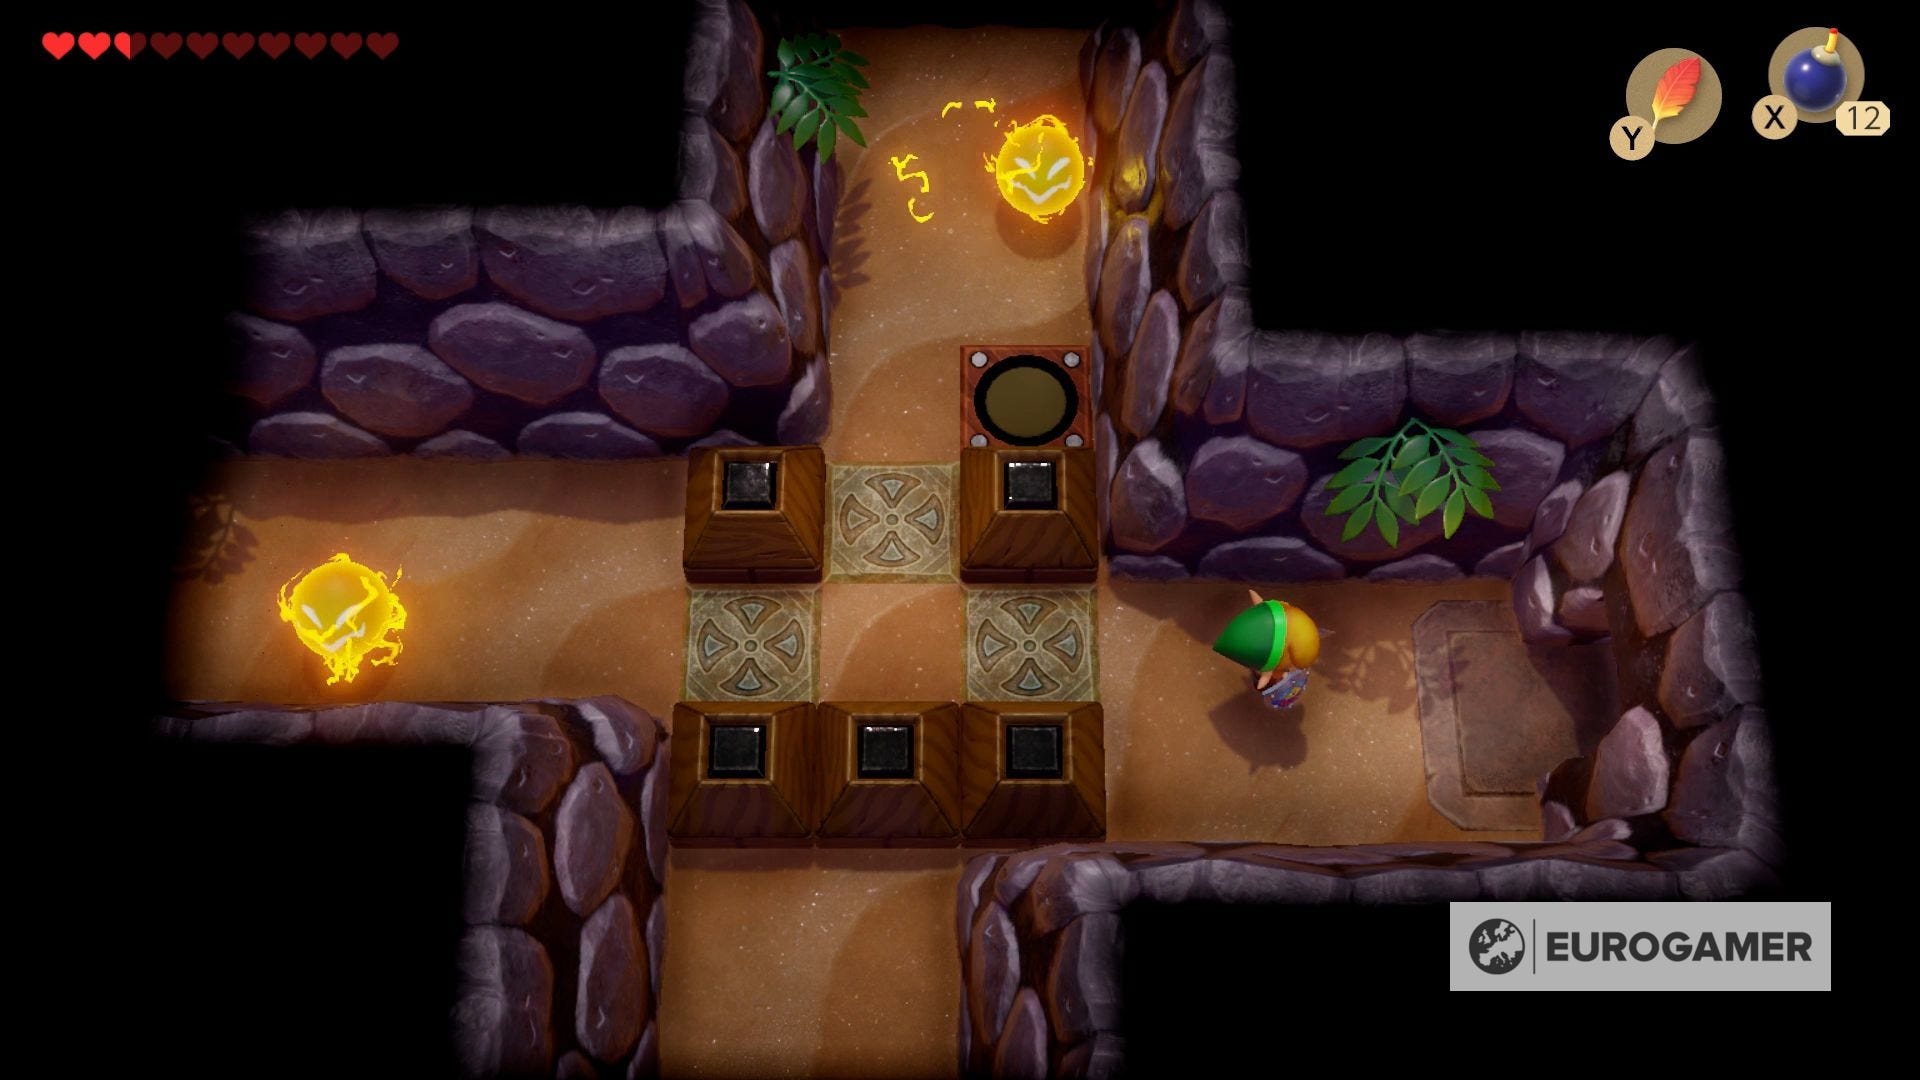
Go north to reach a room with blocks in the middle, two sparks either side, and a switch above.
The aim here is to use the switch to open the right door. Push the middle block up, and go into the room left, then back again, resetting the blocks.
Push the block right, allowing you to hit the switch.
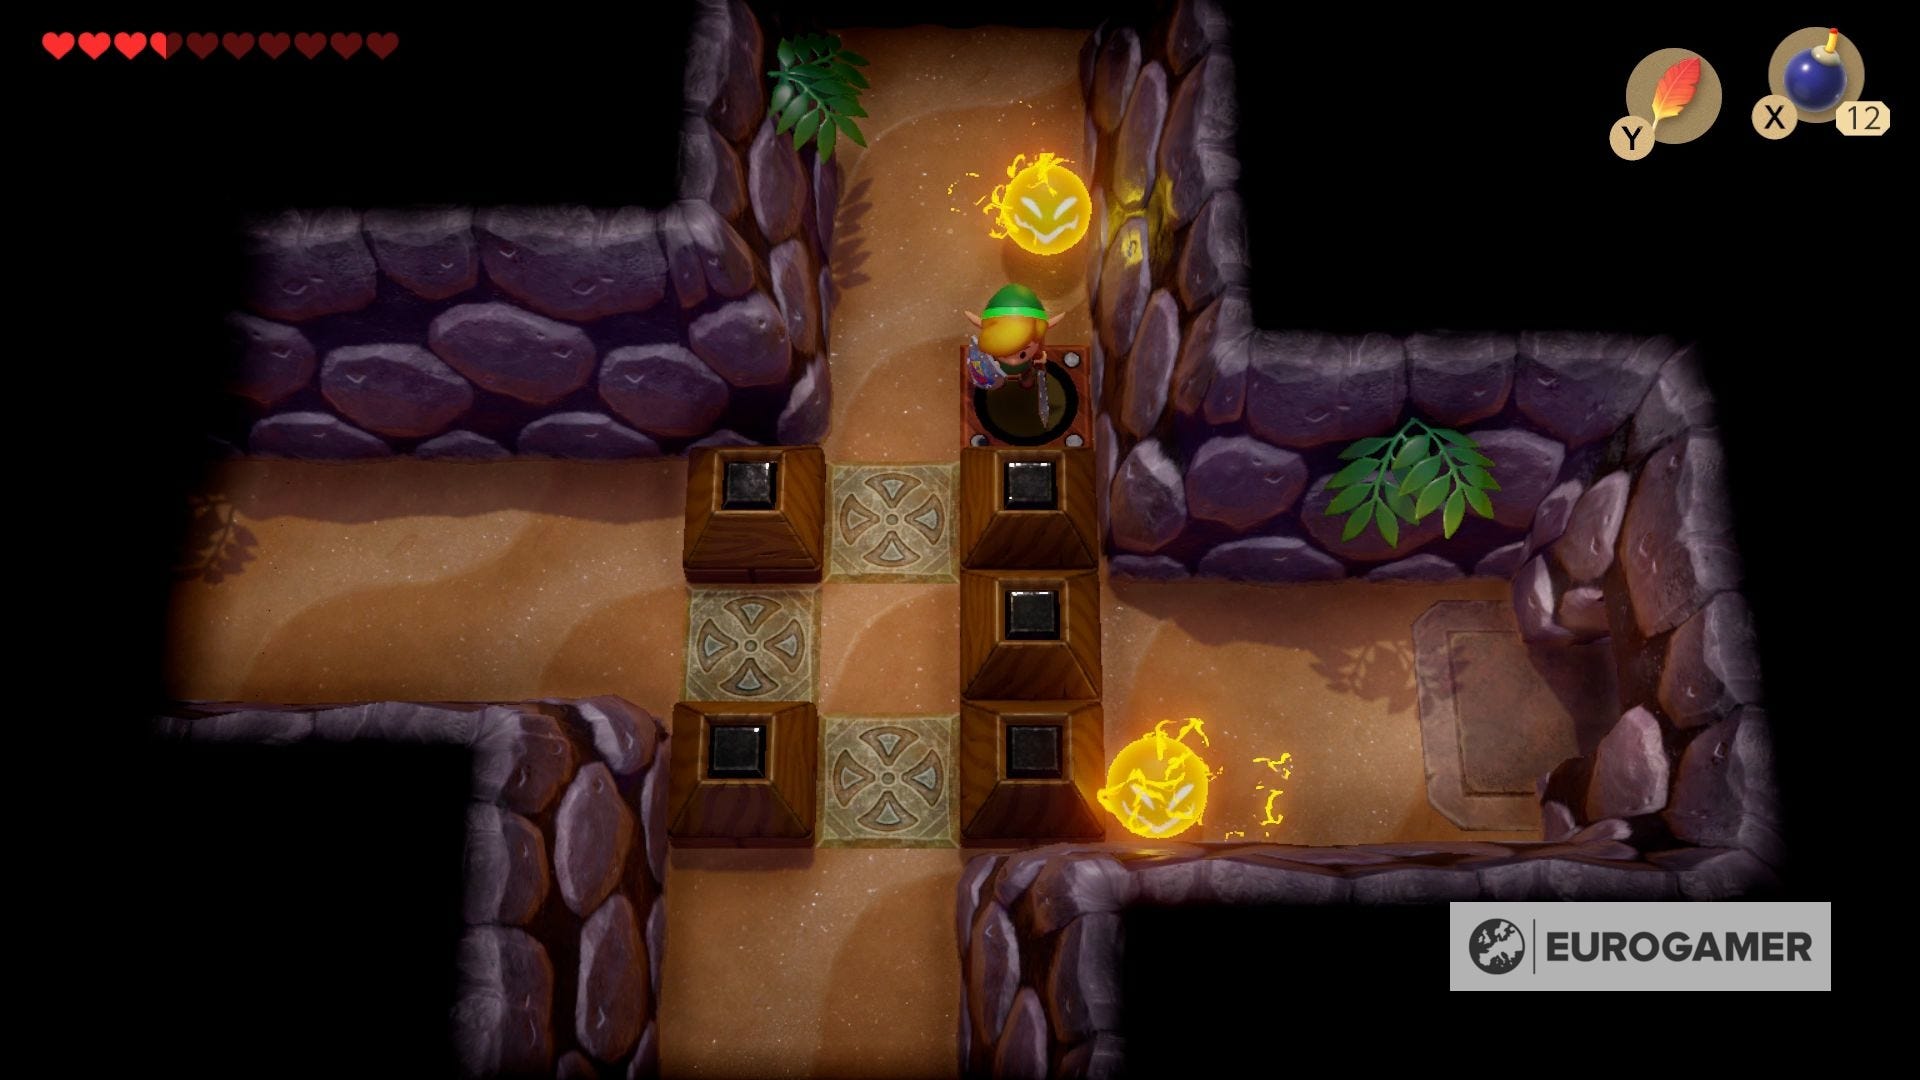
Now leave the room and come back again so you can push the block a final time and enter the right door.
Inside is another encounter against the mini-boss. There's no changes here, so take it out then leave. Go north from this switch block room, and leave out the doorway at the north-west side.
Here is a room with a diagonal row of blocks. You need to defeat all the enemies here to open the north door. Two are on this north side, and to reach the one south, move the middle pot and push the block left, allowing you to get through.
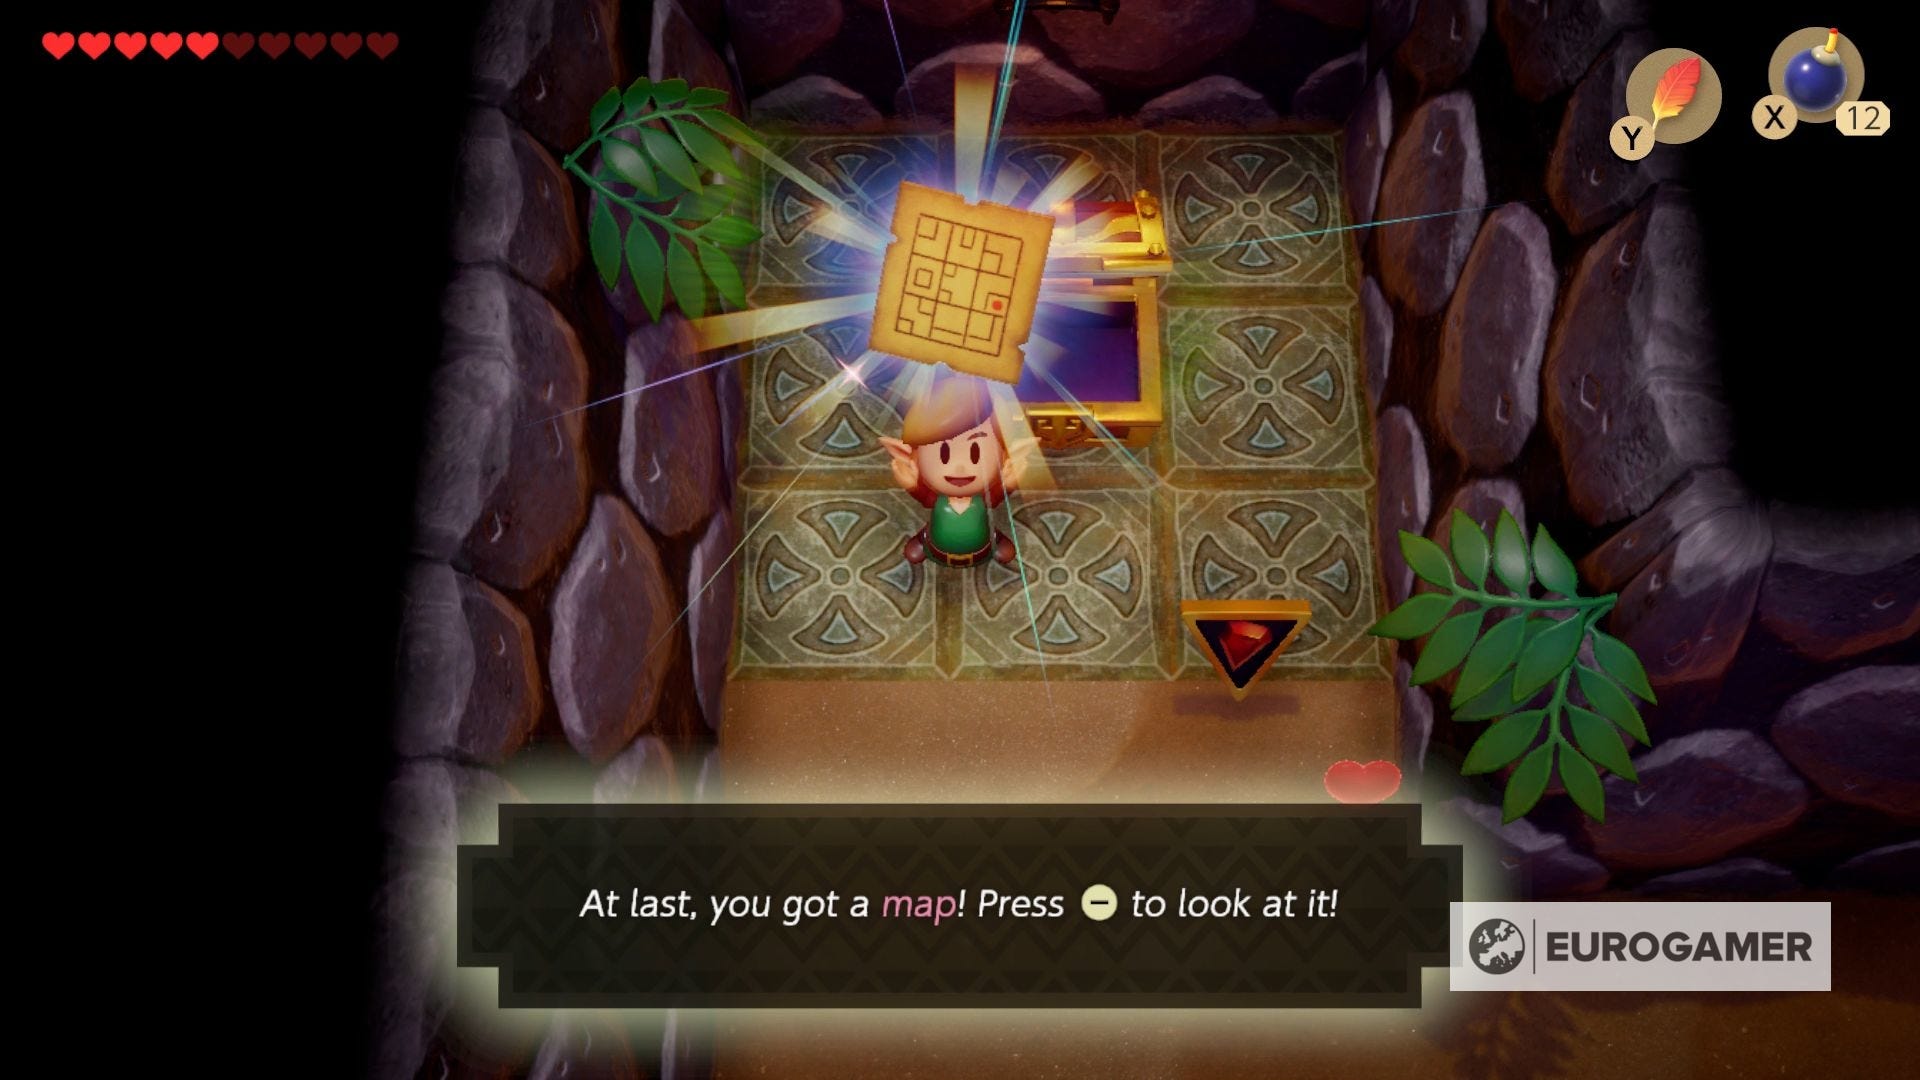
Head through the door for the third mini-boss encounter - again, no changes here. Go left once done and open the chest for the dungeon's Map.
Now we have defeated the mini-boss three times, we have to return to the room at the far left of where we started - on the other side of the room with the crystals where we got the Small Key - where there are four coloured tiles in each corner.
This is where the fourth encounter with the mini-boss will take place.
Once done, it'll drop the Hookshot, allowing you to reach distant locations that the running Pegasus Boots jump won't quite reach.
Our Zelda: Link's Awakening walkthrough and guide can help you with the critical path, including the Eagle's Tower and Turtle Rock dungeons. There's plenty to be done on the side, too - including Zelda Link's Awakening Heart Pieces, Zelda Secret Seashells and the Zelda Link's Awakening trading sequence. Finally, there's also the new Zelda Chamber Dungeons feature to unlock and complete.
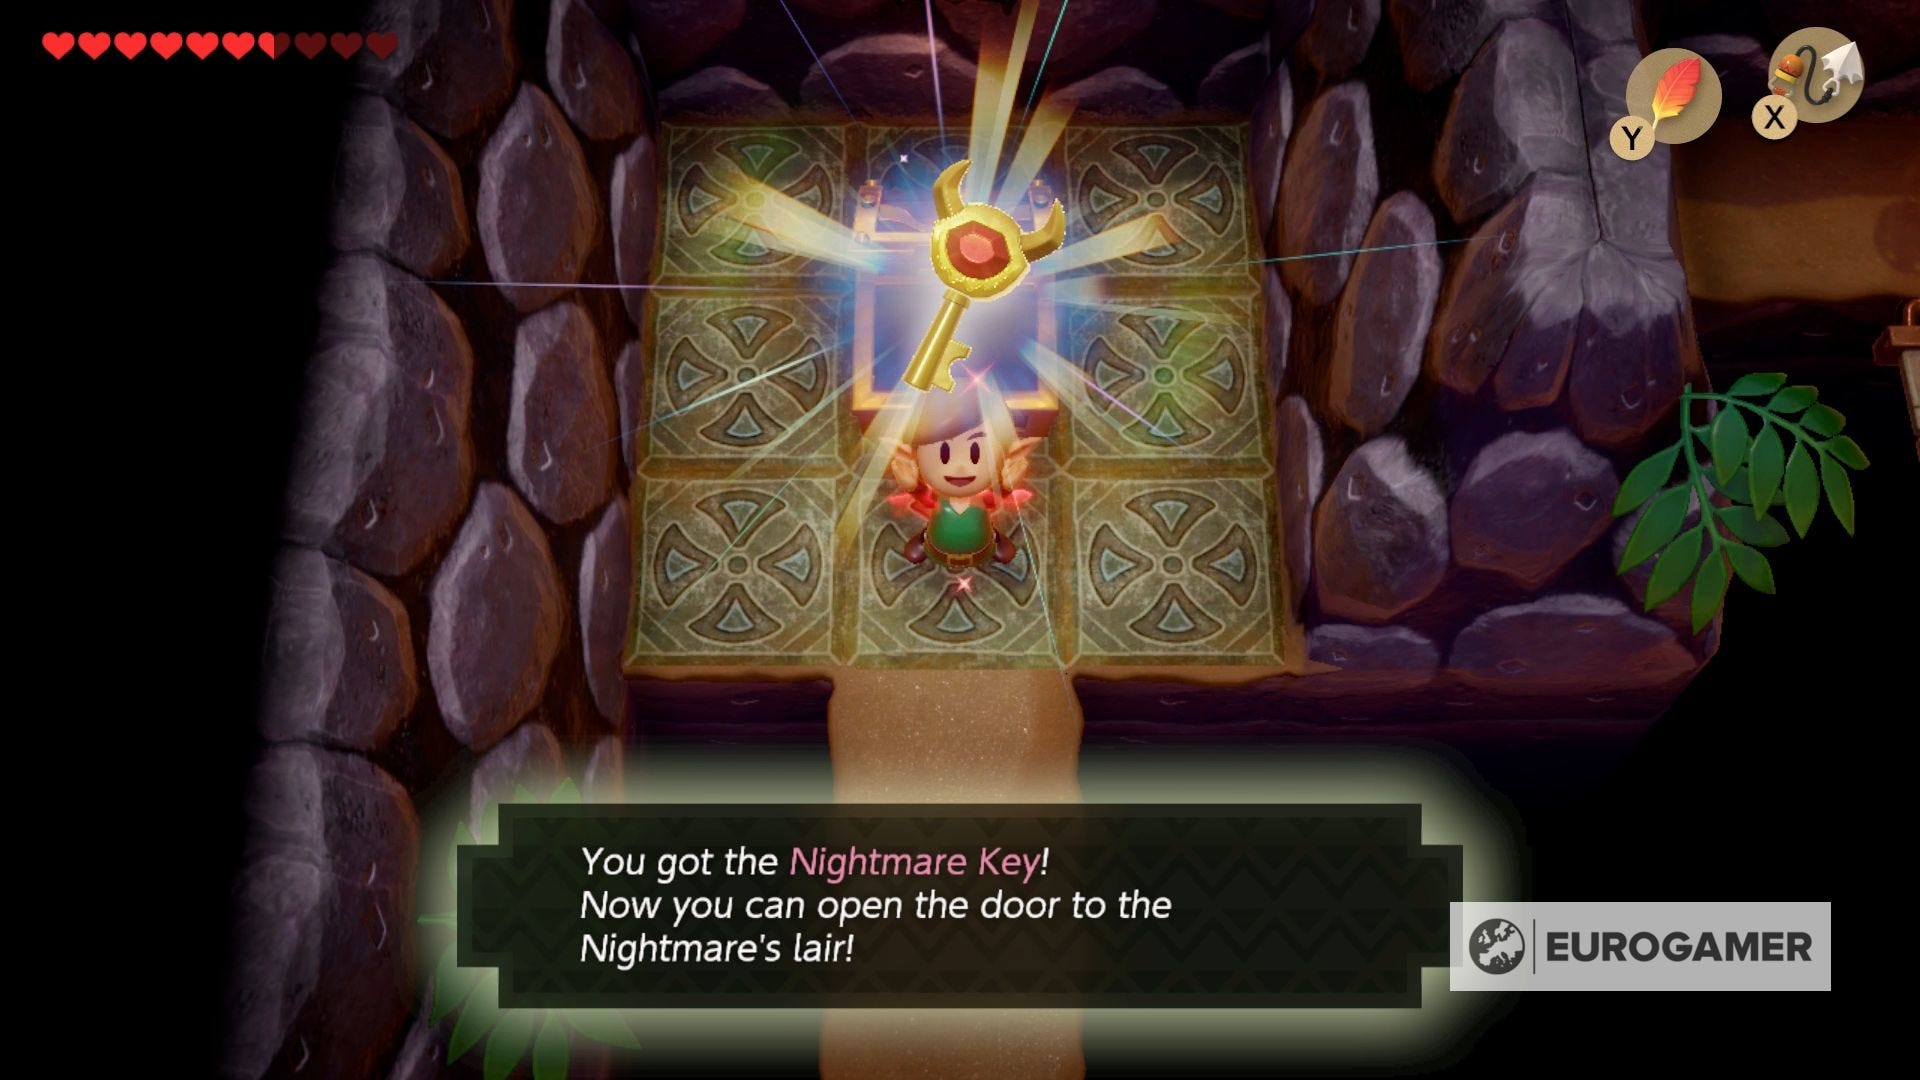
Where to use the Hookshot and find the Nightmare Key
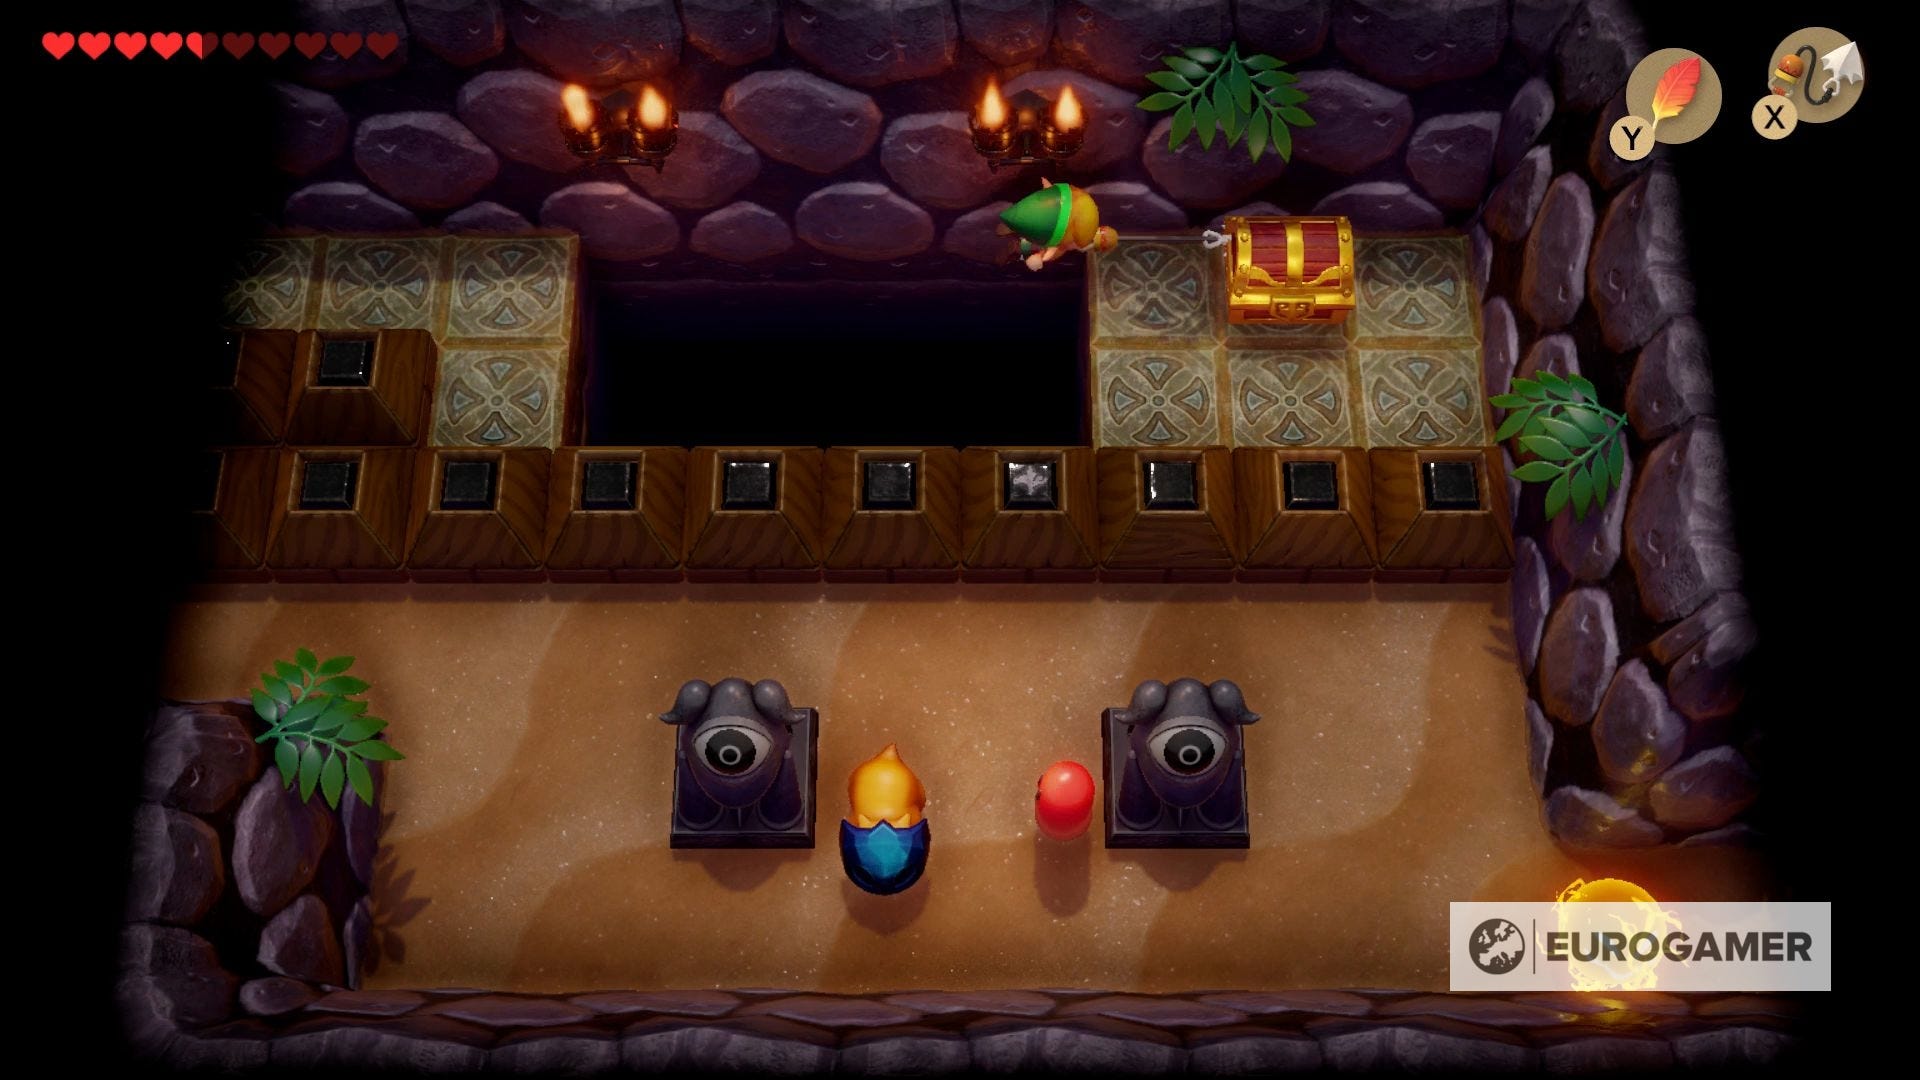
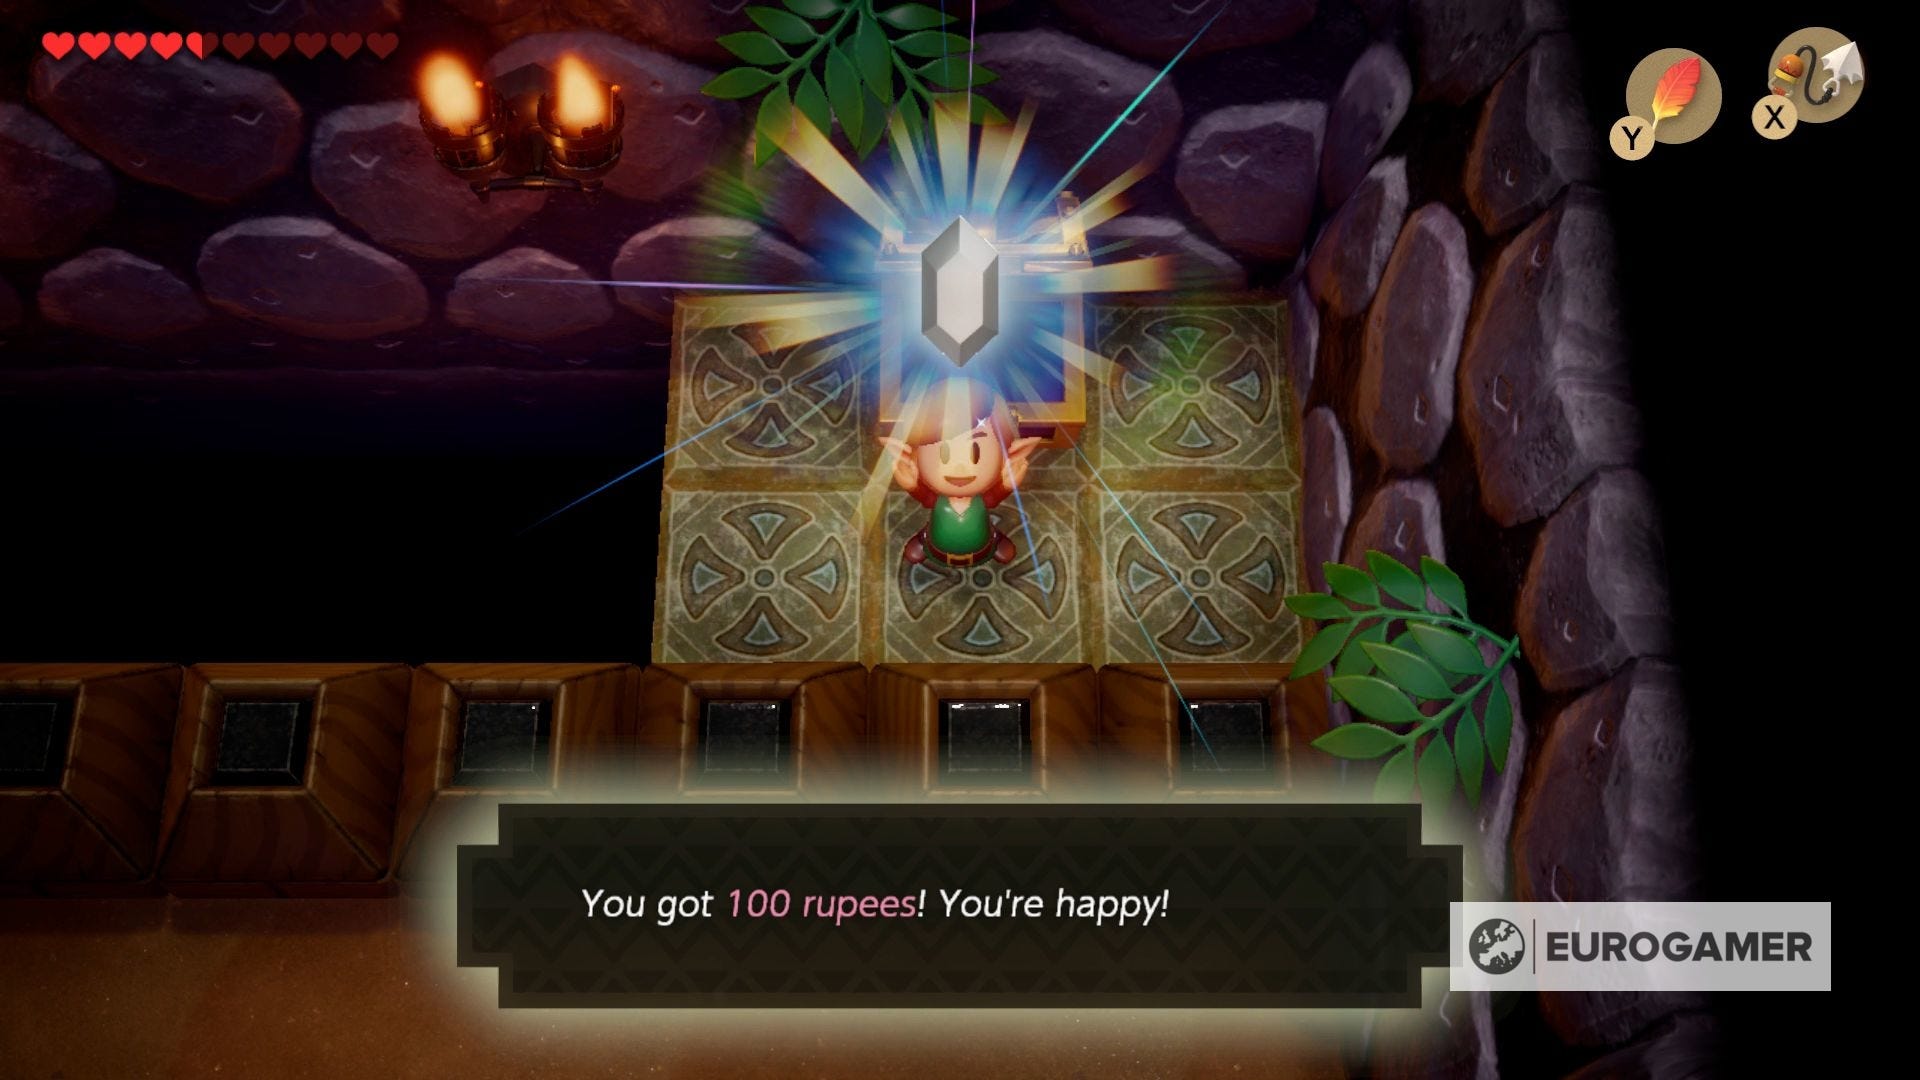
You may have noticed several distant chests you couldn't get to, so let's investigate them. The first is left of where you first start the dungeon - go left a screen, out the top right, and hookshot over to reach it and get the Rupees inside.
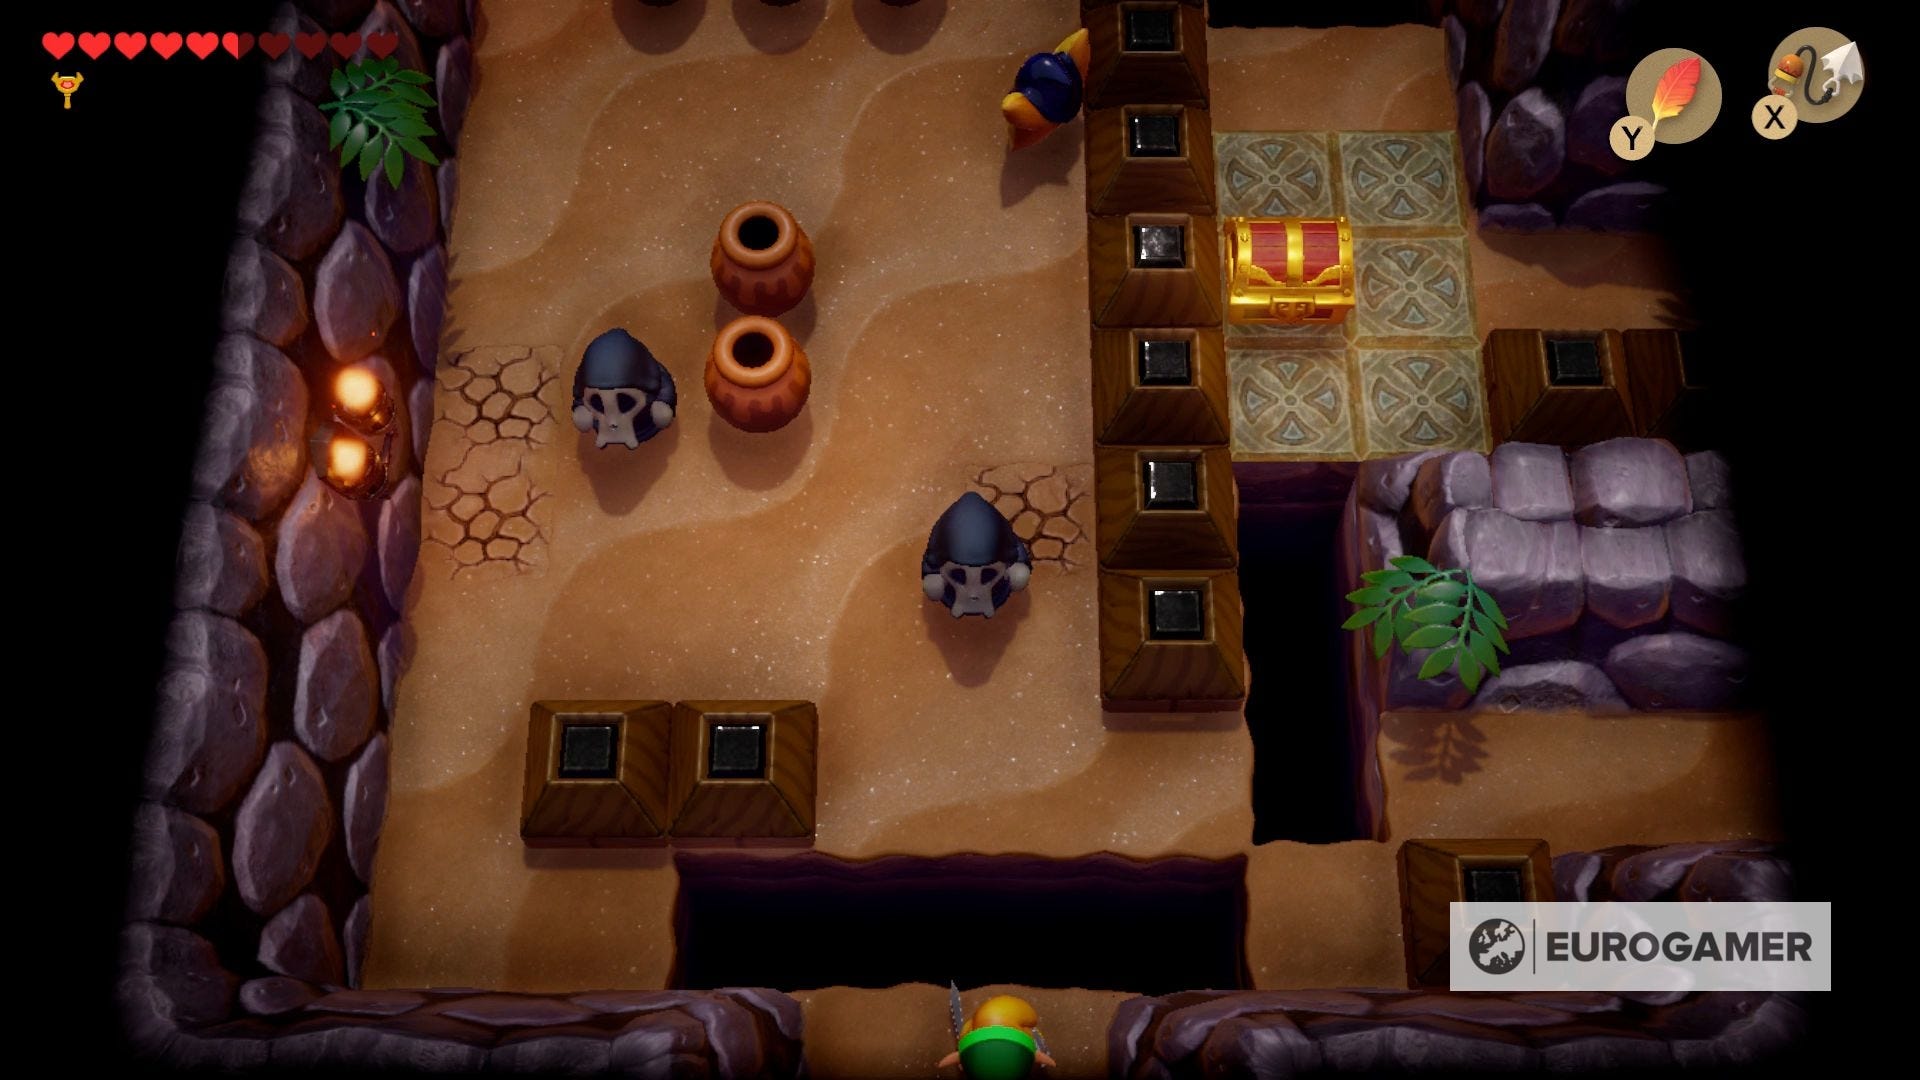
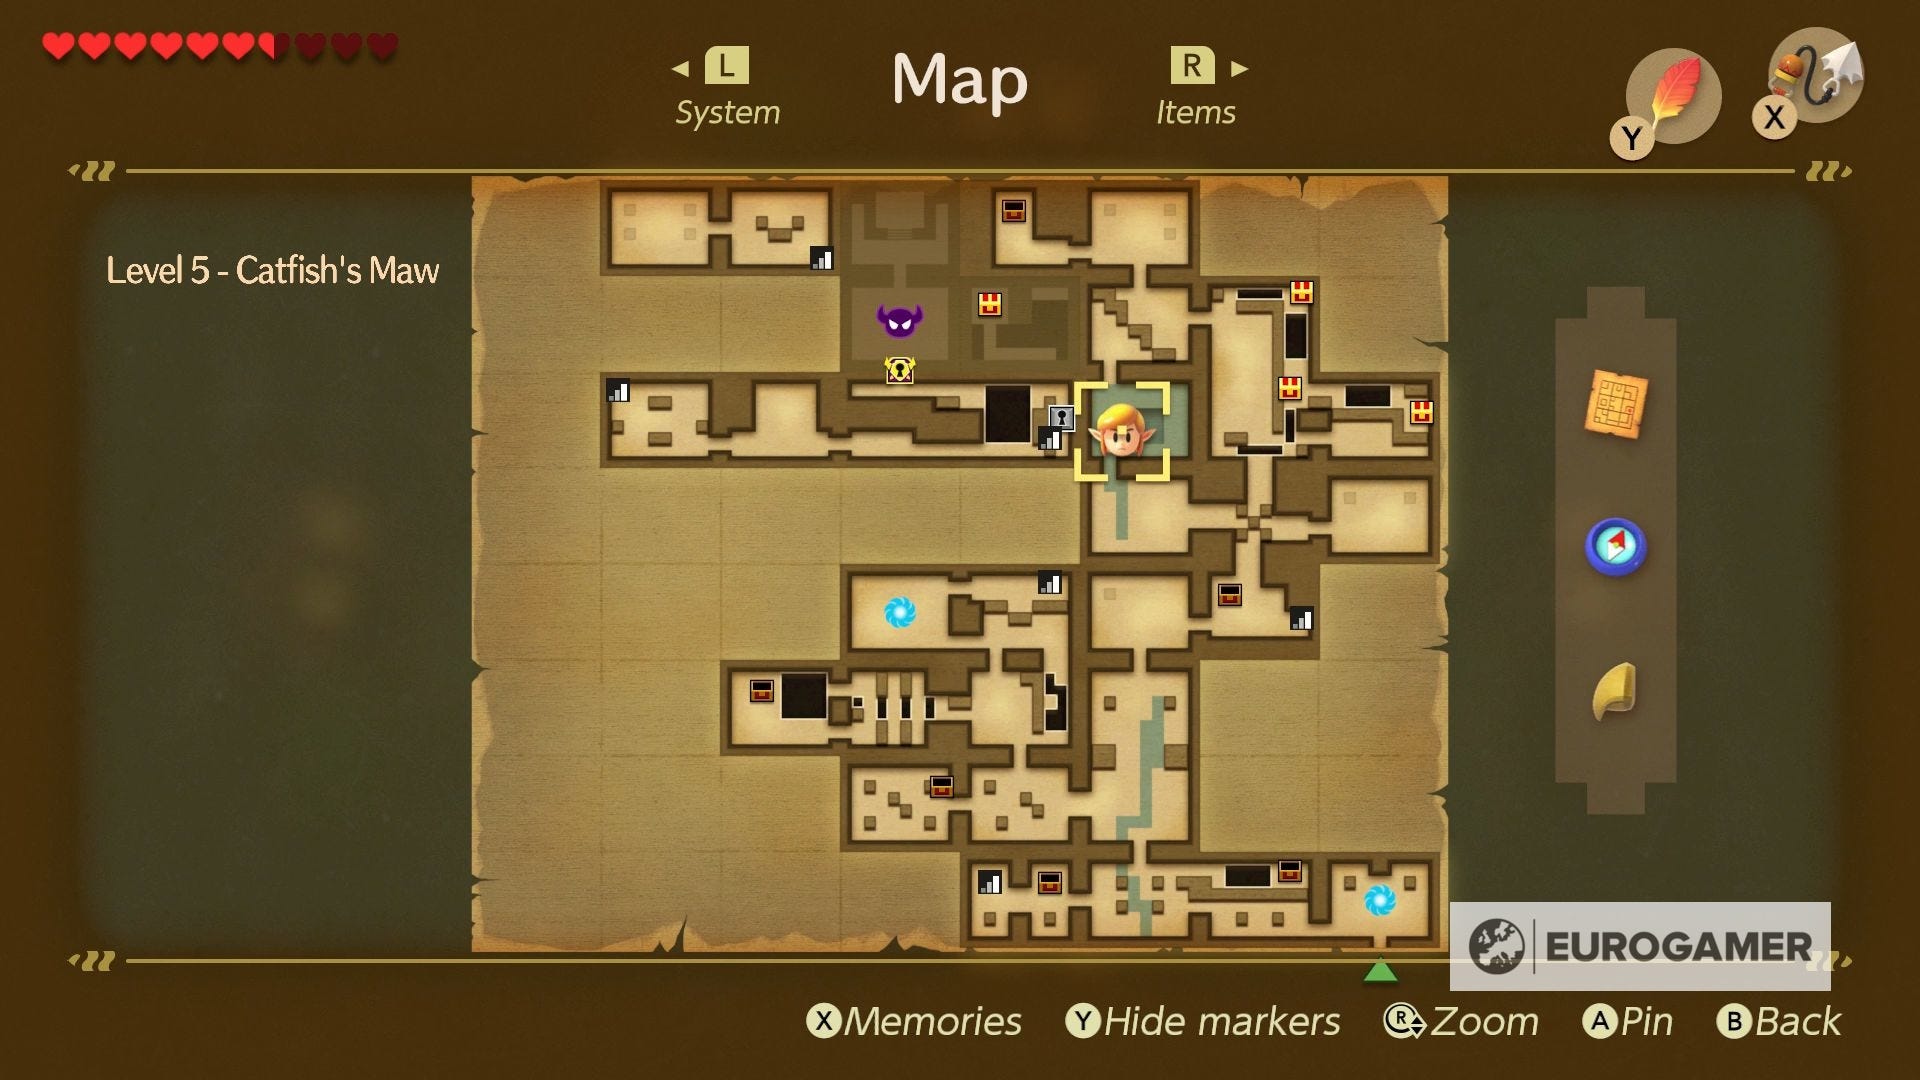
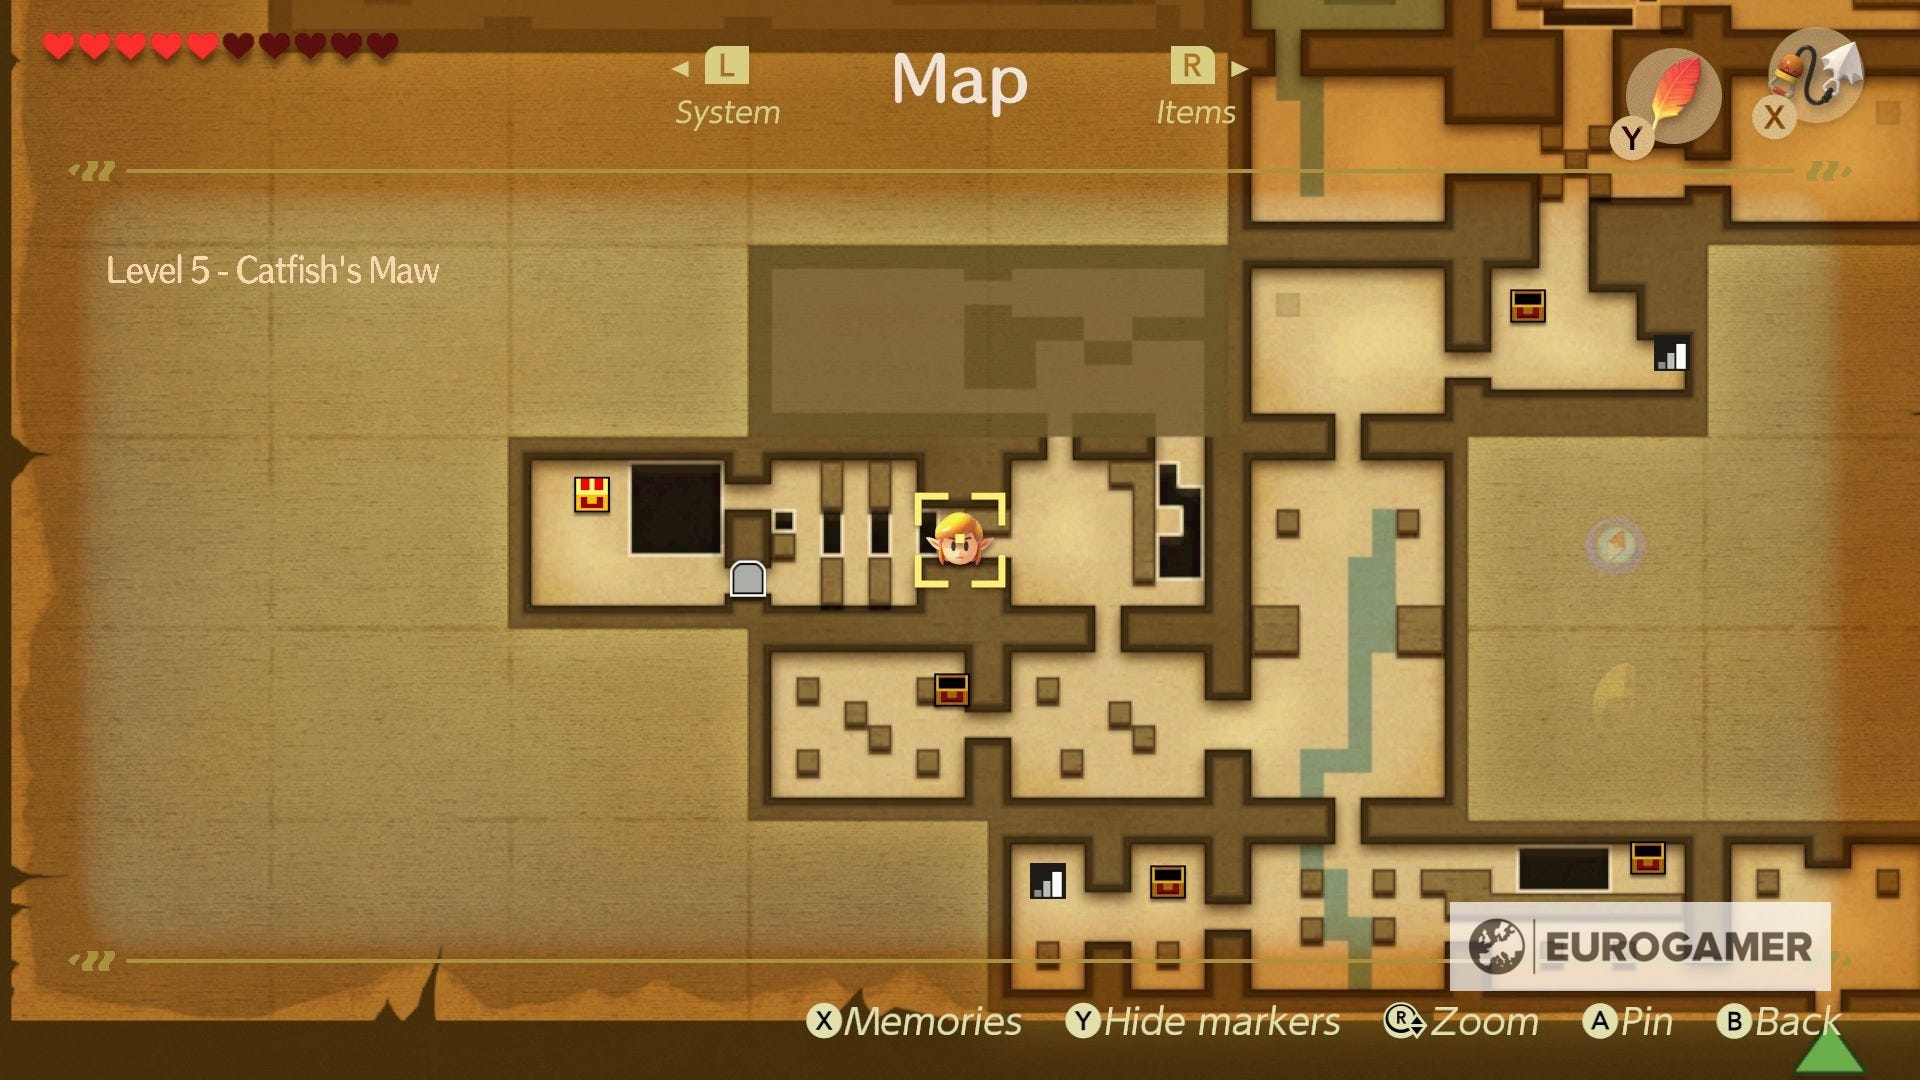
Next, you'll want to head to the far north-east of the dungeon, one room north of where you moved the central block to get the switch. To the upper right is a chest you can hookshot to, and another chest north and east of here - two of these three contain 50 Rupee pieces, and the other a Small Key.

Time to get the Nightmare Key, and reach the boss. Go back to the central block and switch room, and go west, then north, to a room filled with water.
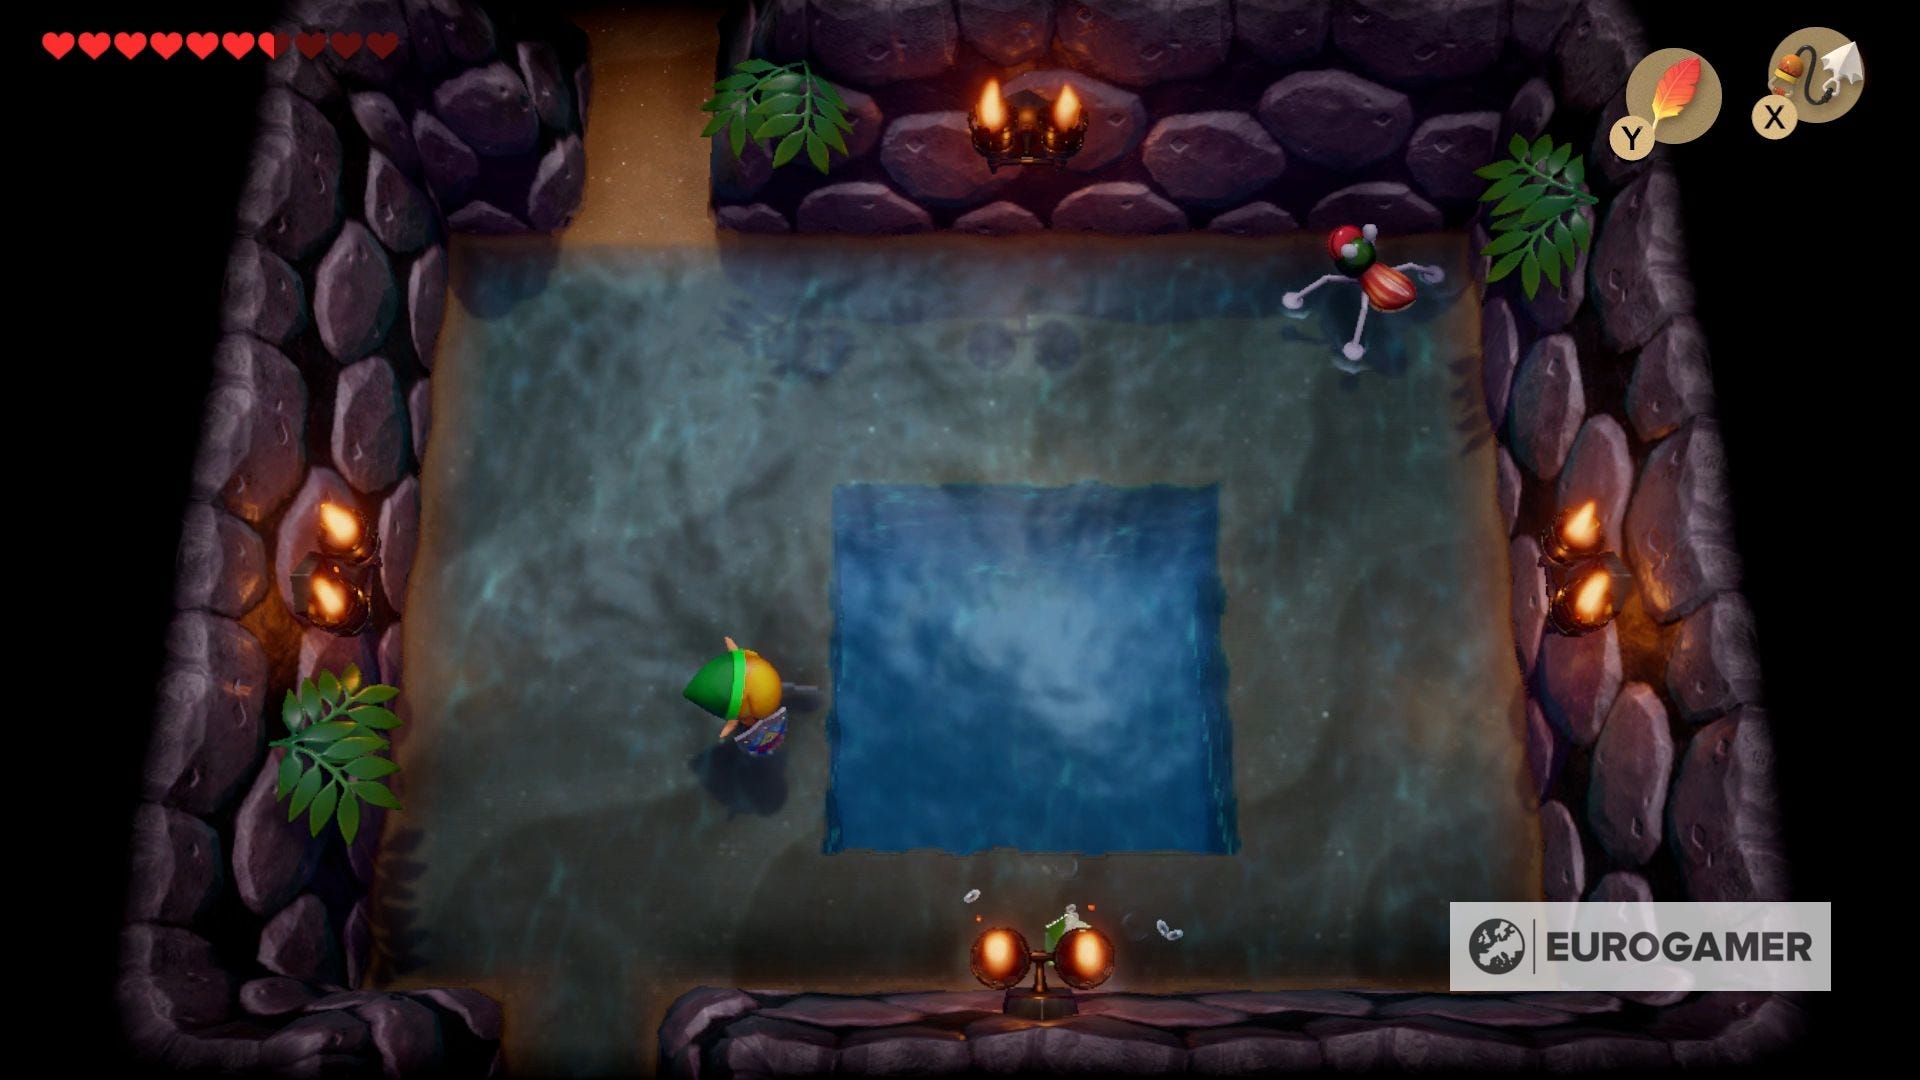
There is a deep water section here. Stand so you are in line with all four torches on the walls, and dive down, entering a hidden side-scrolling section.
(If you want to know how to come across this, then you have to take the staircase south of the central block and switch room, but since that's all you'll find there, don't worry about doing so!)
Emerge the other side of this water section to find the Nightmare Key in the chest.
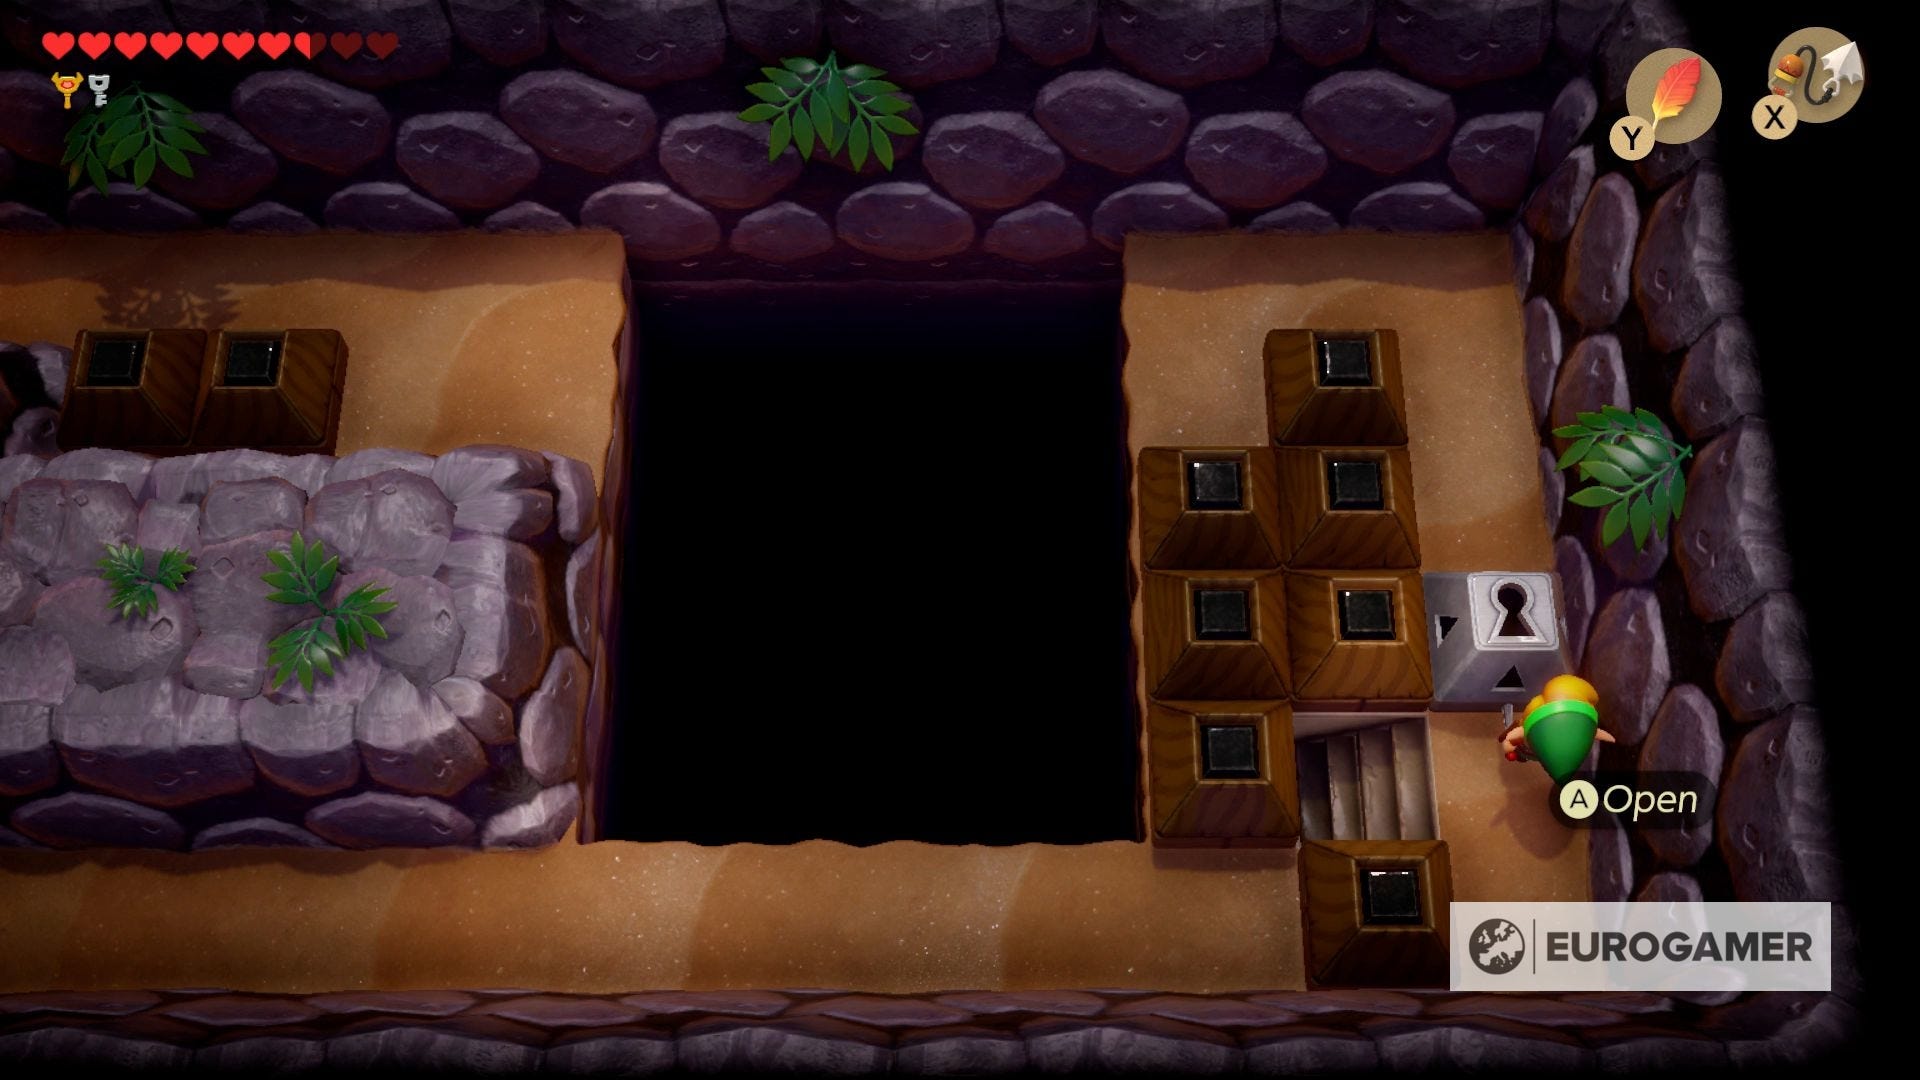
To reach the dungeon's Nightmare, head to the door where you used the Small Key, and go left then up, to reach a room with a distant pulley on the right. Ignore that just now, and go left, for a room with two rows of spinning blades ready to pounce.
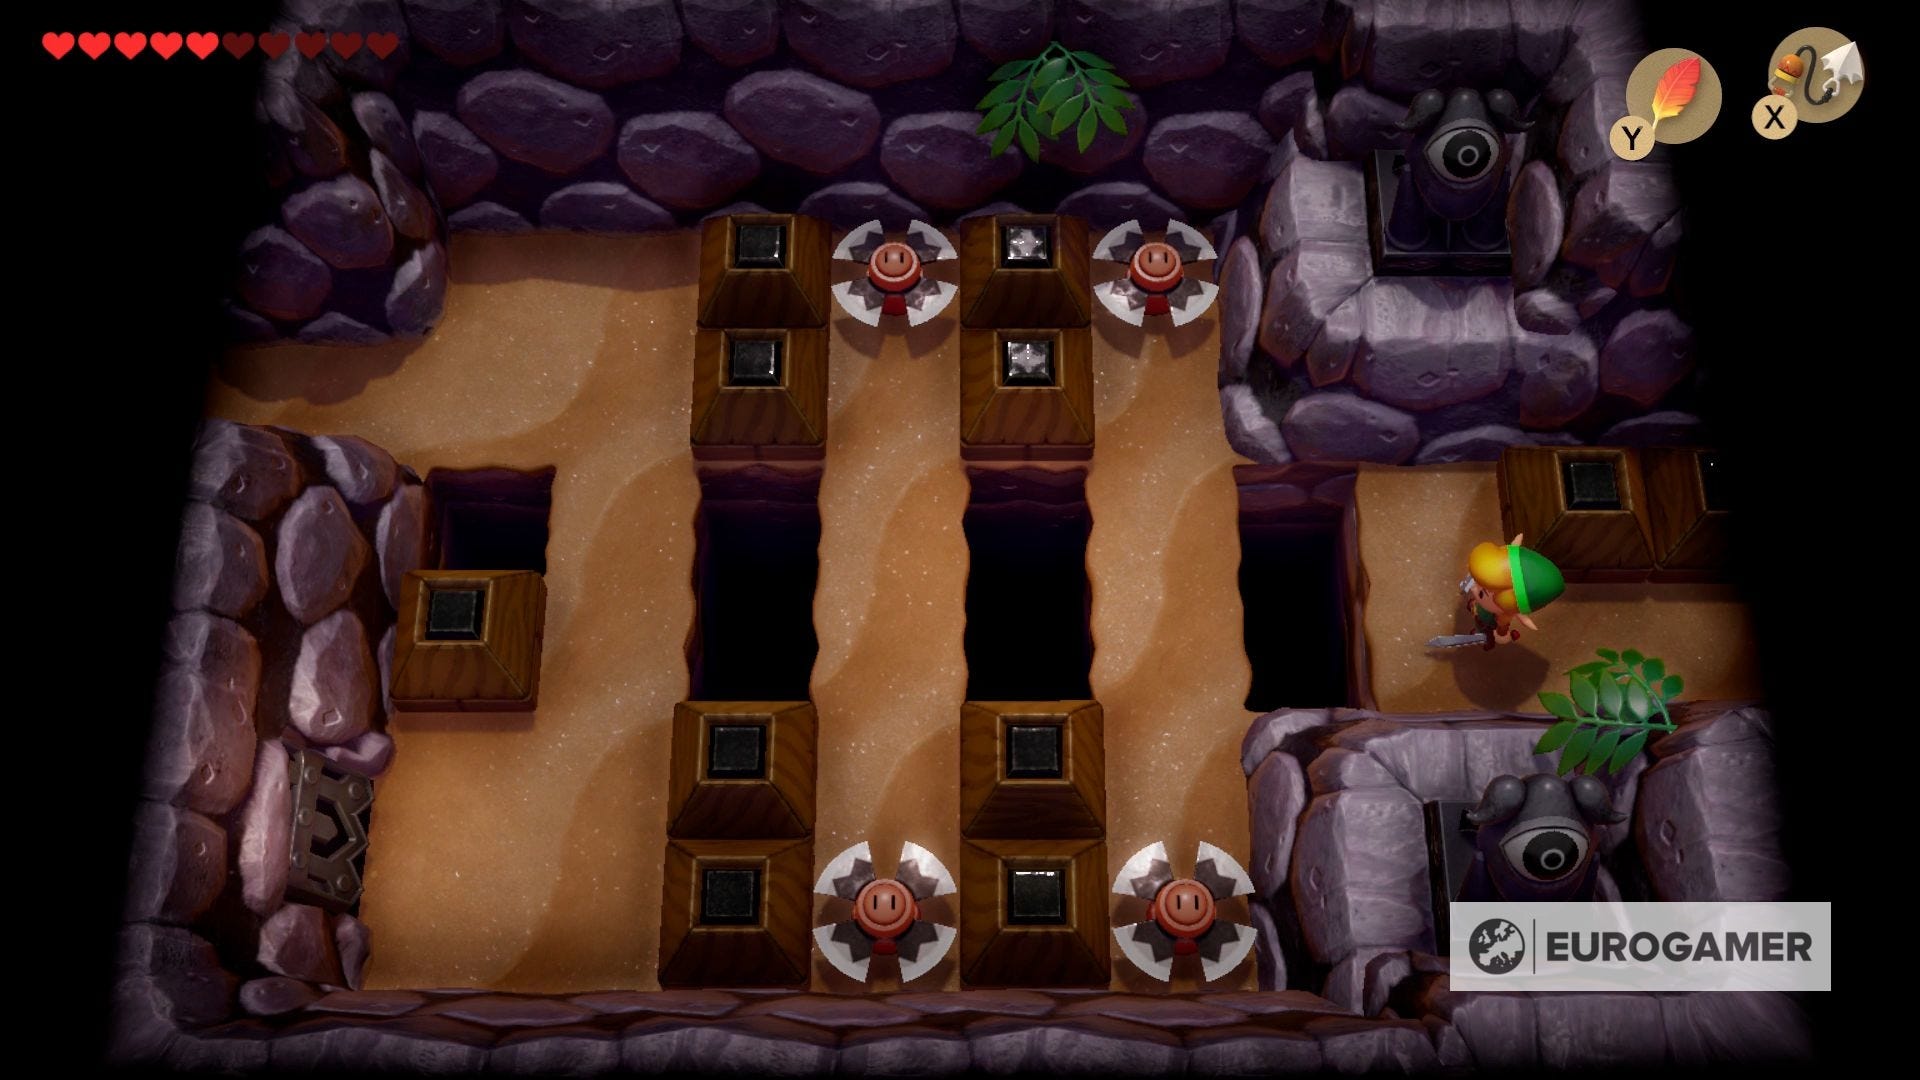
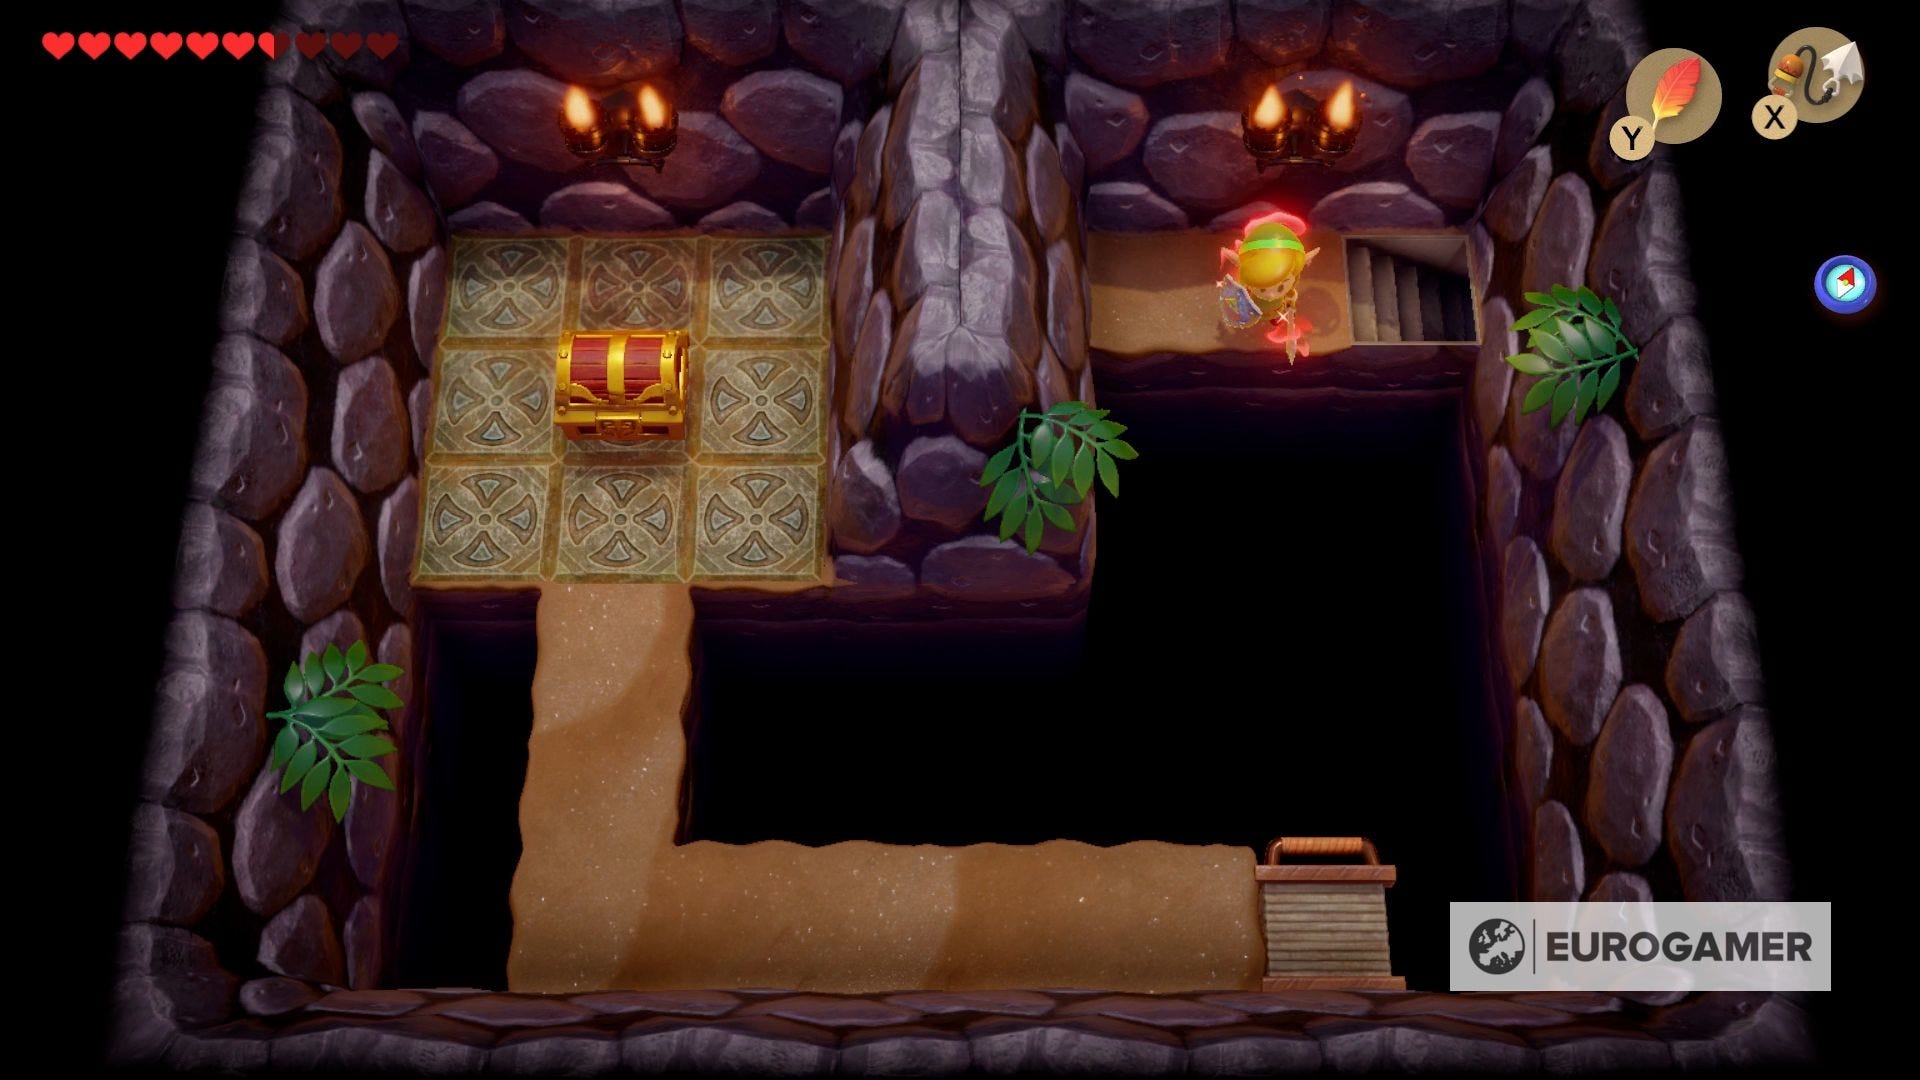
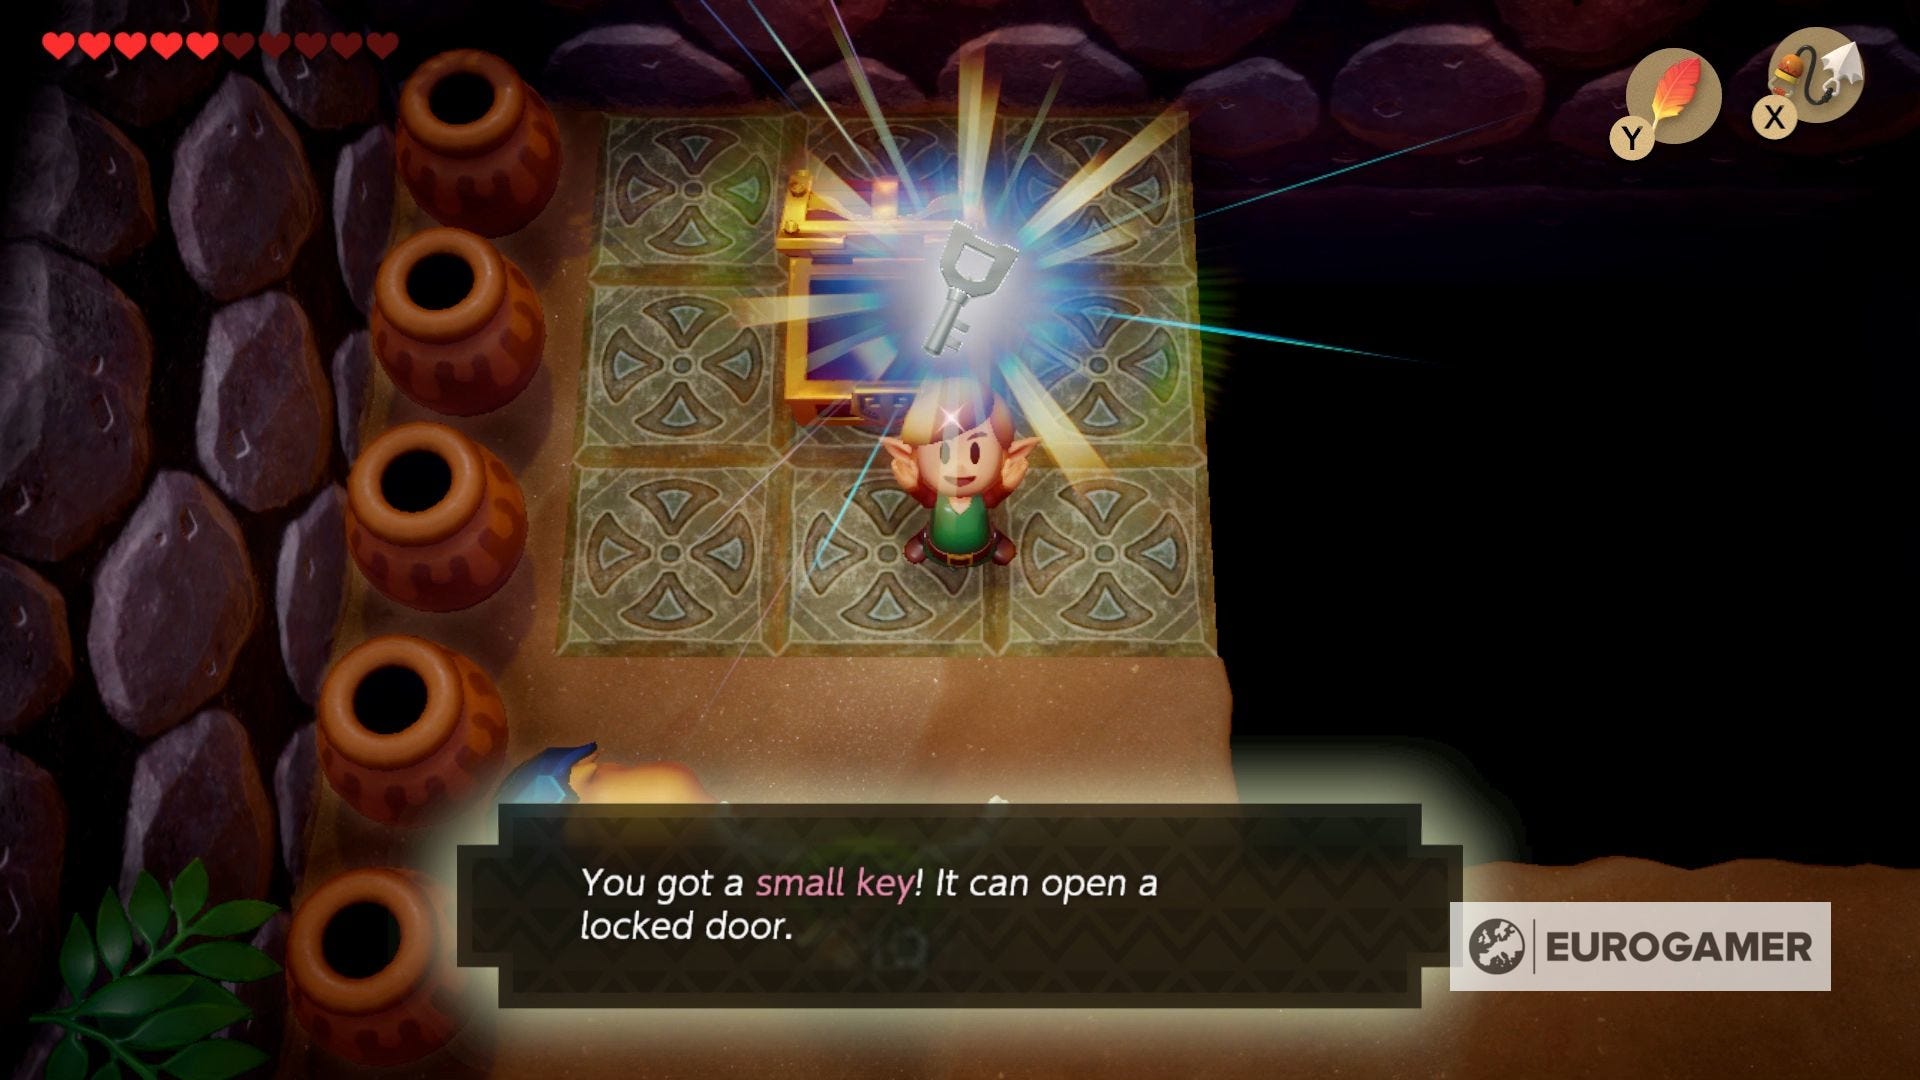
Use the hookshot on the far left block to whizz past them, and go left, using the hookshot again on the chest to get a Small Key.
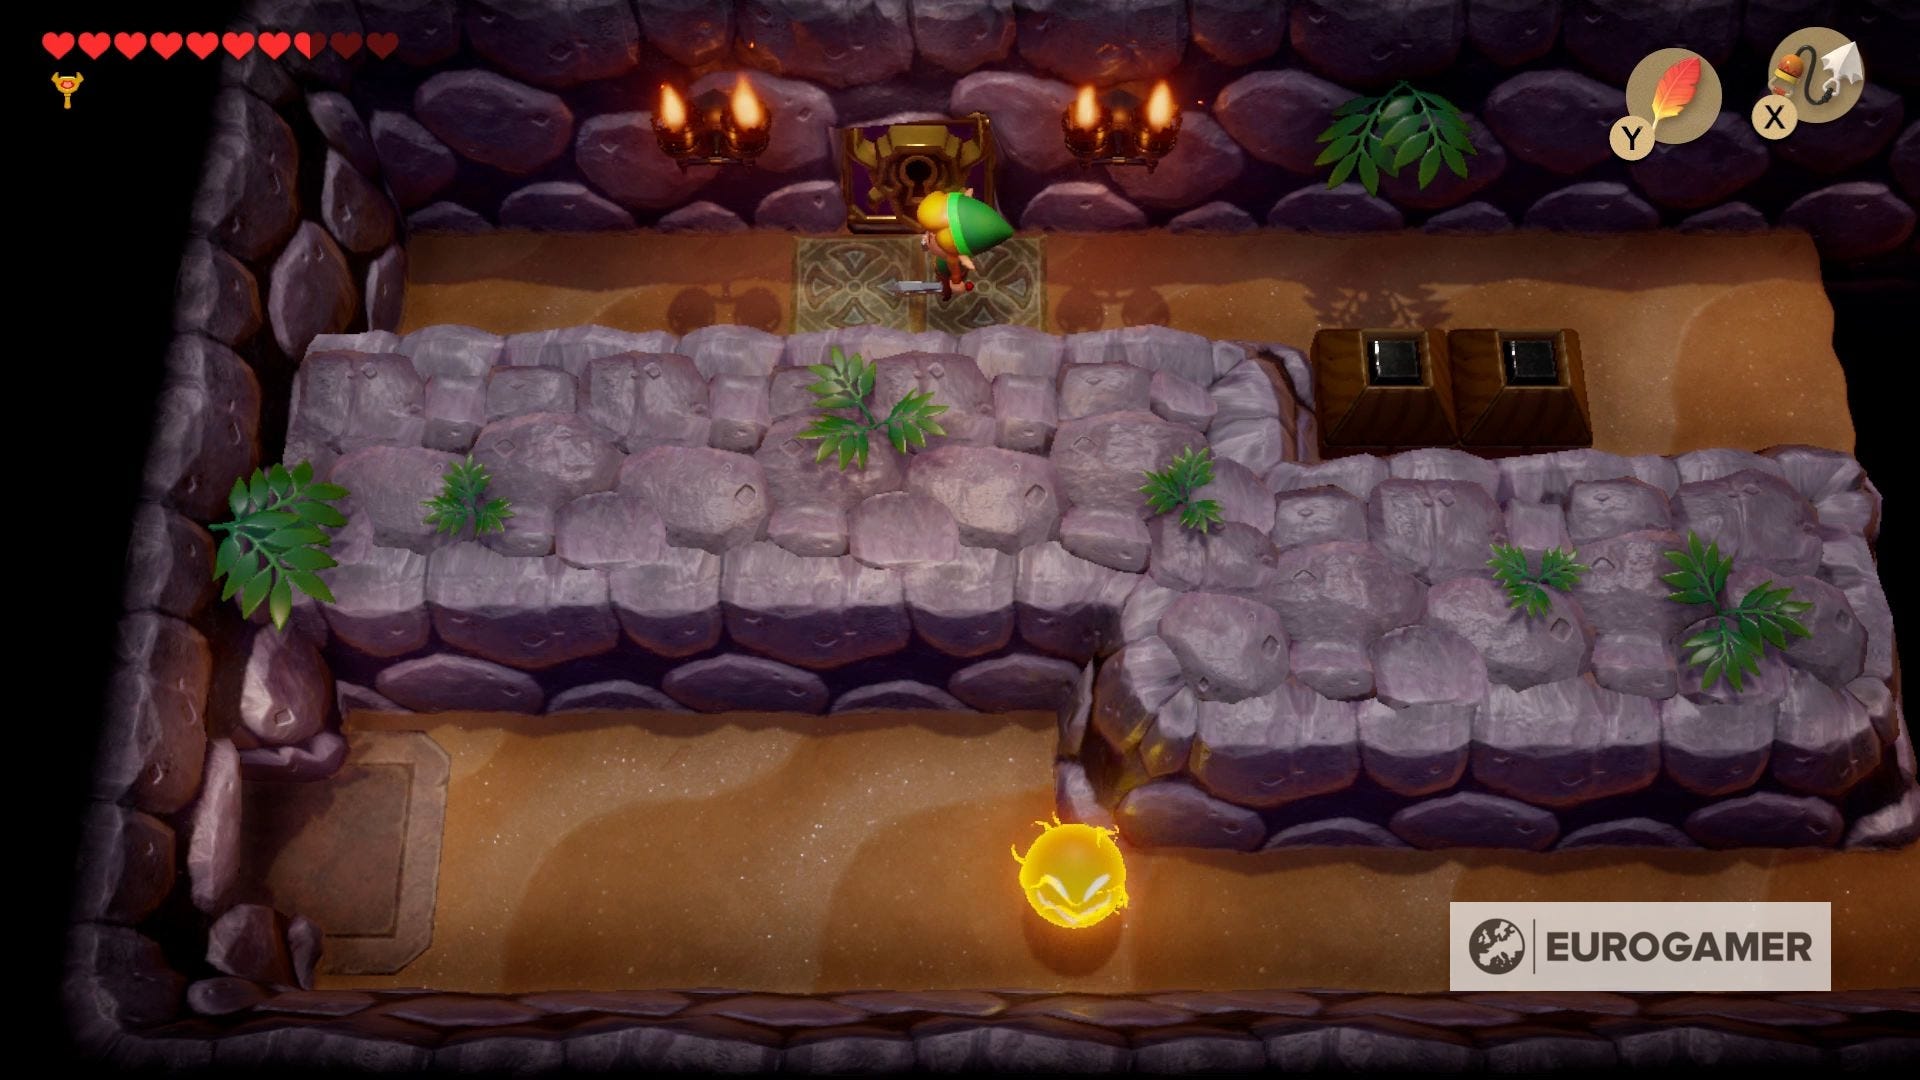
Leave out the bottom right door, hookshot back over to the far block, to the room with the lever.
Hookshot it to form a bridge, allowing you to go up to the next room. Use the Small Key on the blocked block for a mini-boss room.
To defeat these crawling spiders, stand at the bottom of the screen and when an eye is exposed, hookshot it. Now it's stunned, run over and swipe away at your sword. You can get several hits in, so whack away.
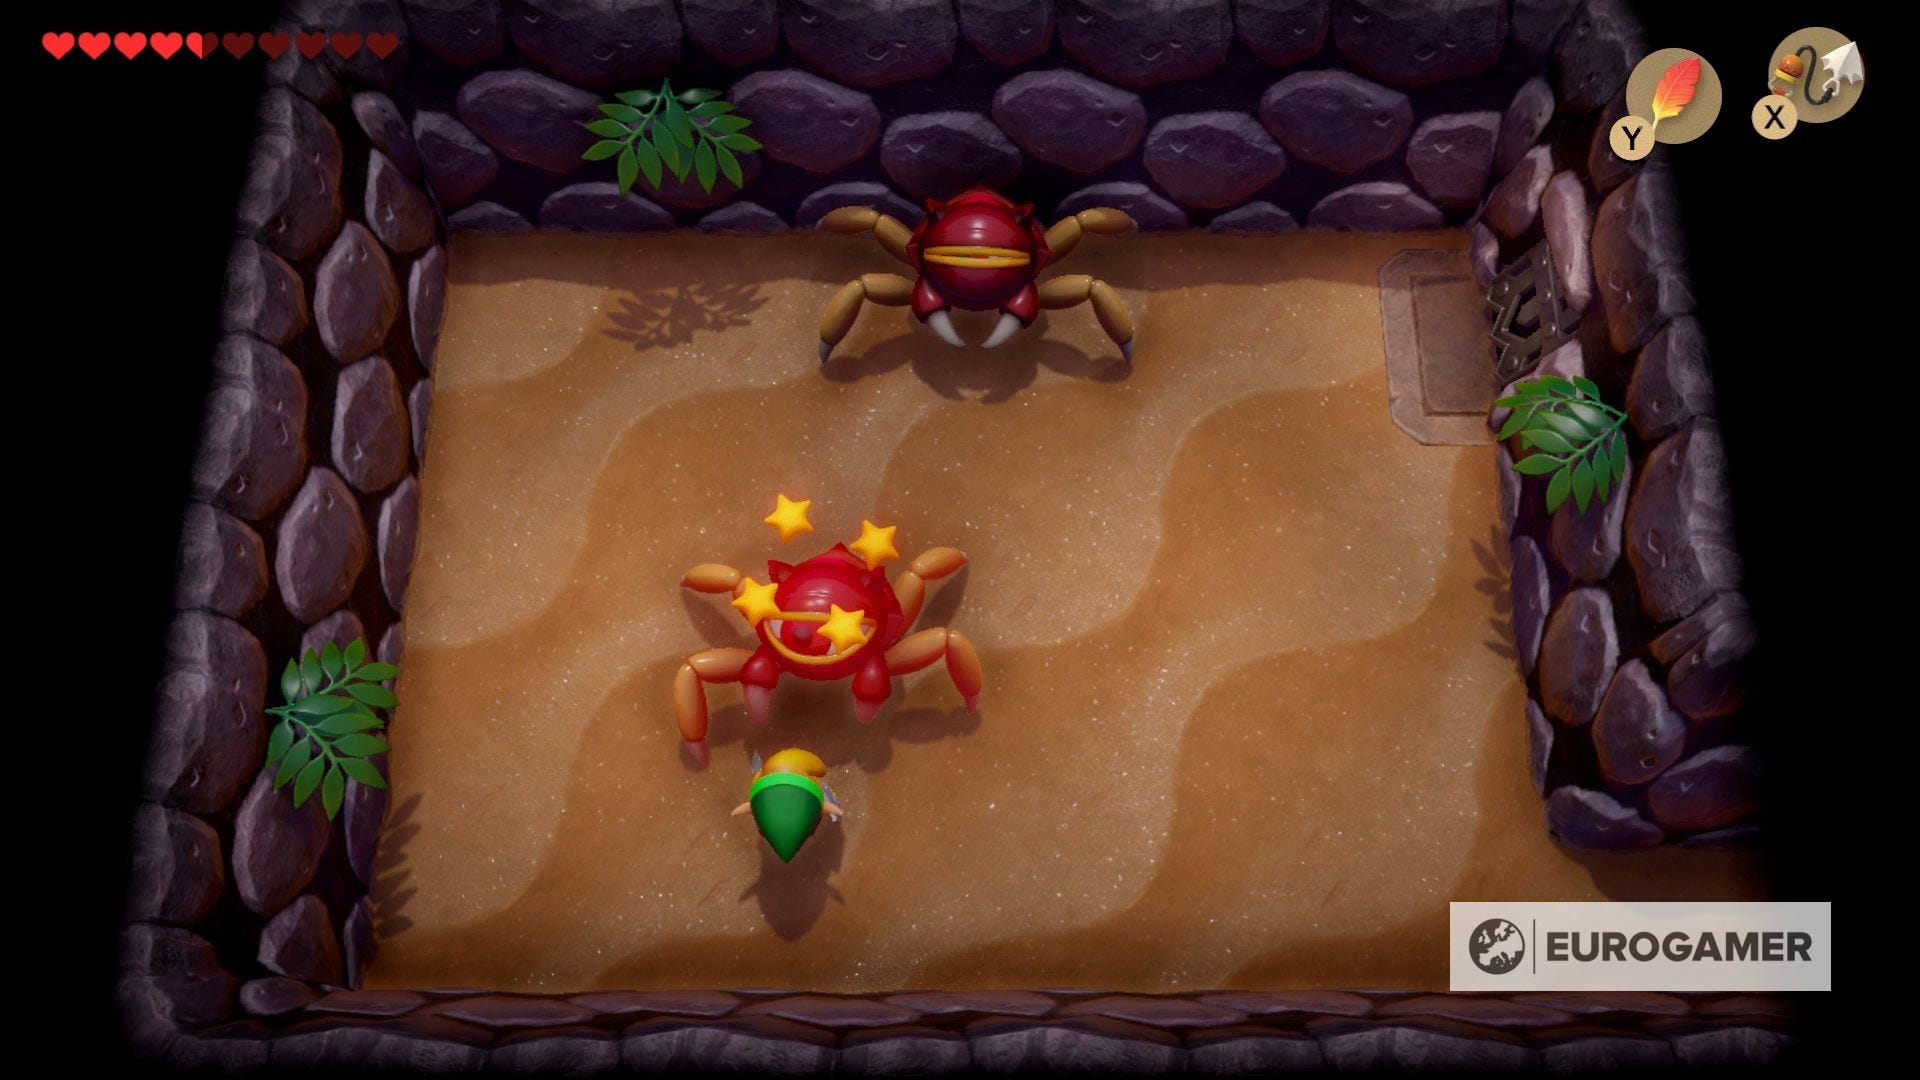
Repeat this with both pairs - use your shield to block the projectiles, or when they charge at you to buff them back - until defeated, spawning a warp point back to the dungeon, and opening the way to the upper left.
Head through and down the staircase, and on the other side, use a Small Key on the locked block. Now use the hookshot to reach the Nightmare door, and the boss - the Slime Eel.