The Last of Us Part 2 - The Tunnels: All items, vending machine puzzle and how to beat shamblers
How to complete The Tunnels area and find everything along the way.

The Tunnels follows on from The Last of Us Part 2's Channel 13 area.
This is a combat-heavy area where you'll encounter a new infected enemy type - the Shambler - as well as a handful of missable items.
On this page:

Looking for help in other areas of the game? See our The Last of Us 2 walkthrough and collectibles hub.
Surviving the start of The Tunnels in The Last of Us Part 2
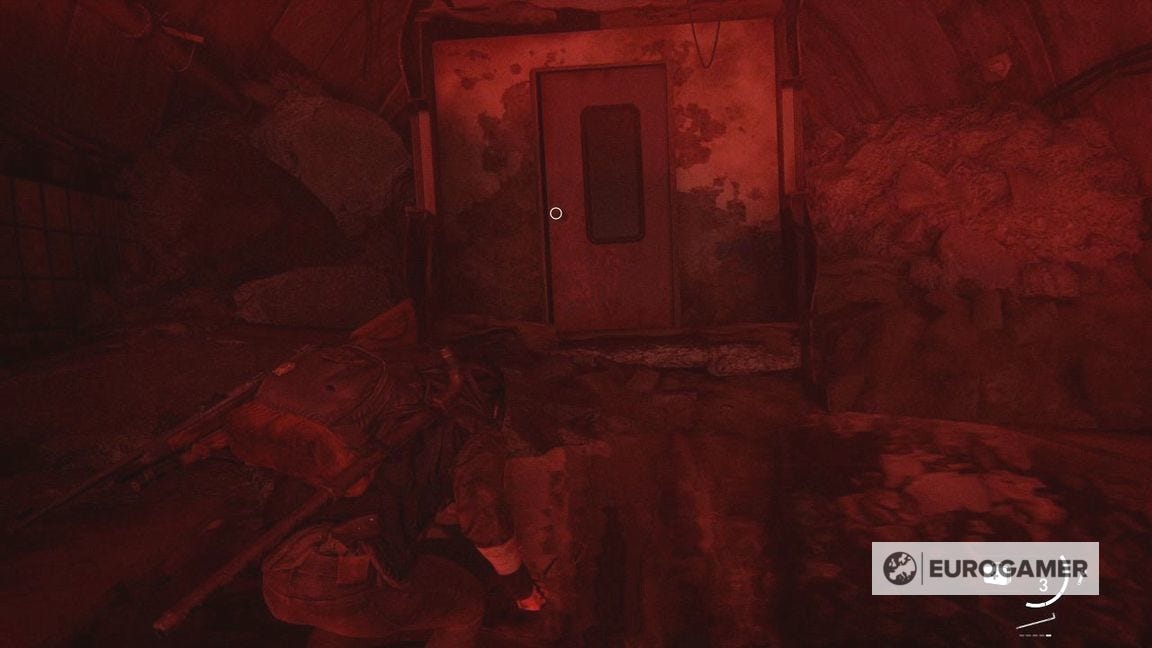
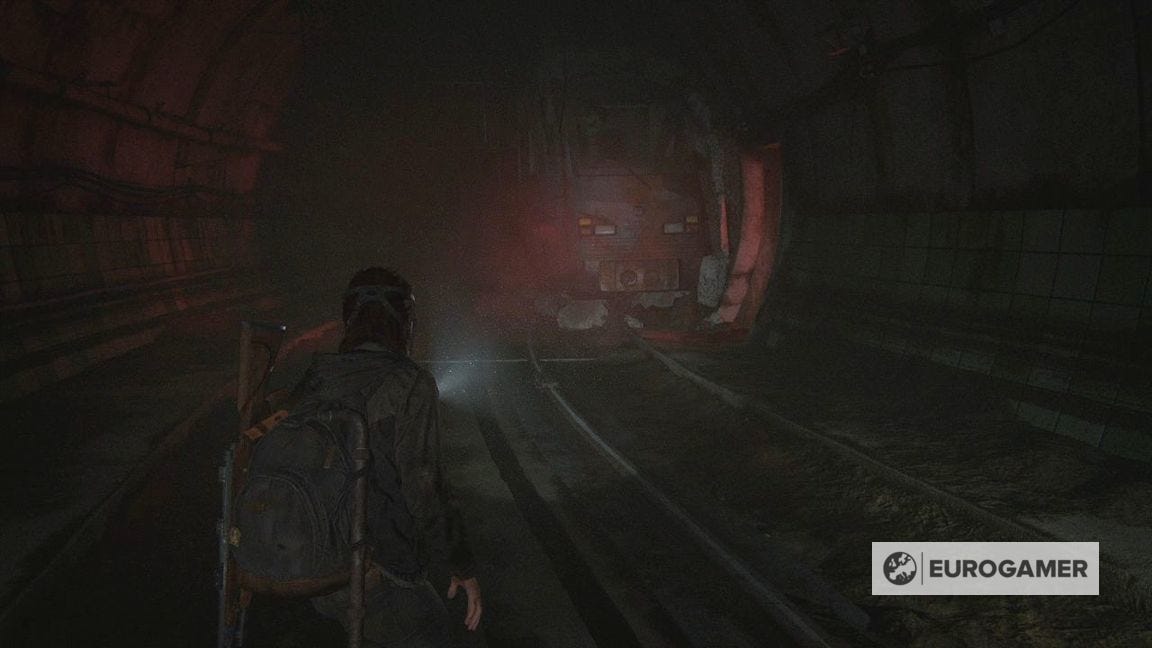
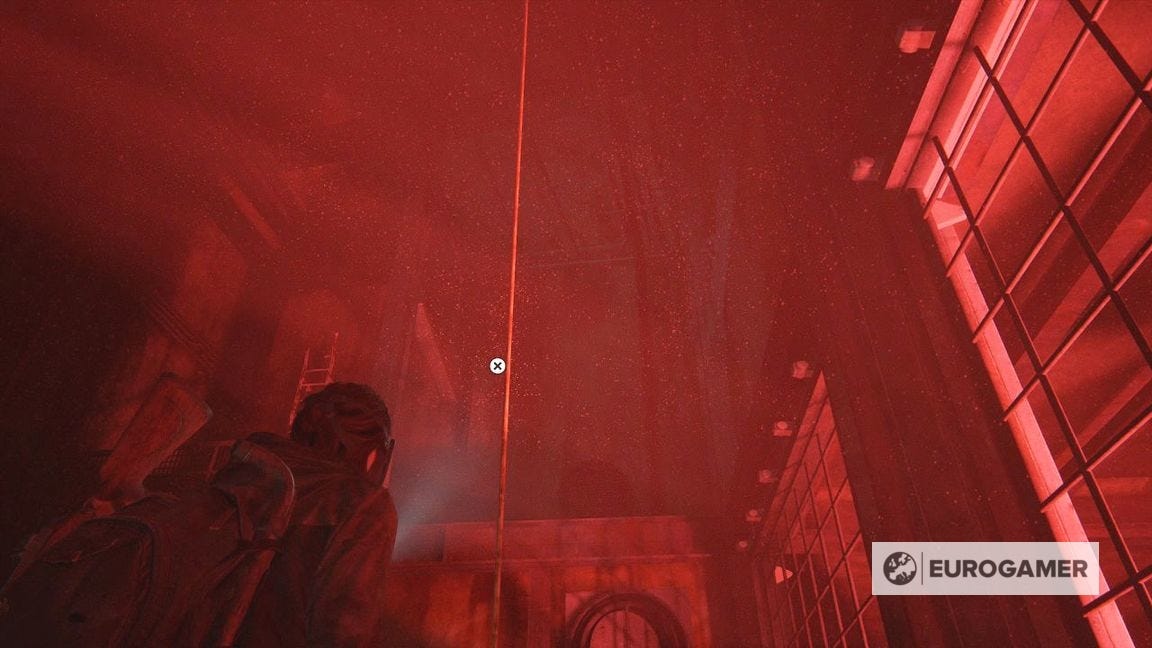
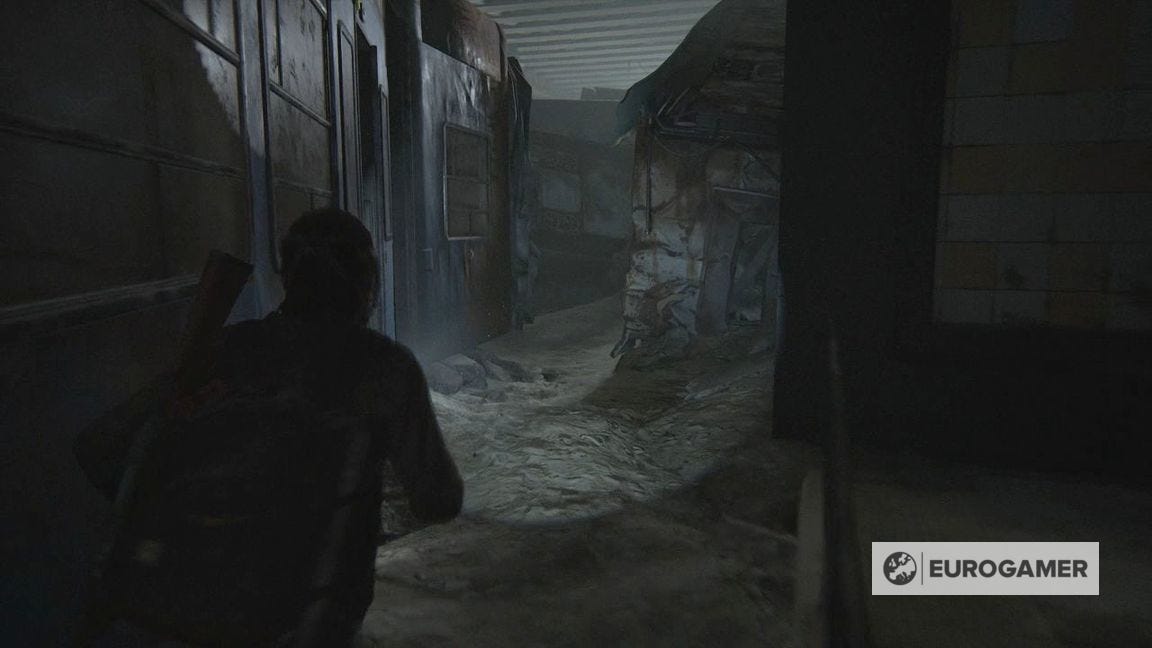
Crawl through the debris of the linear section until you arrive at a red-lit tunnel section.
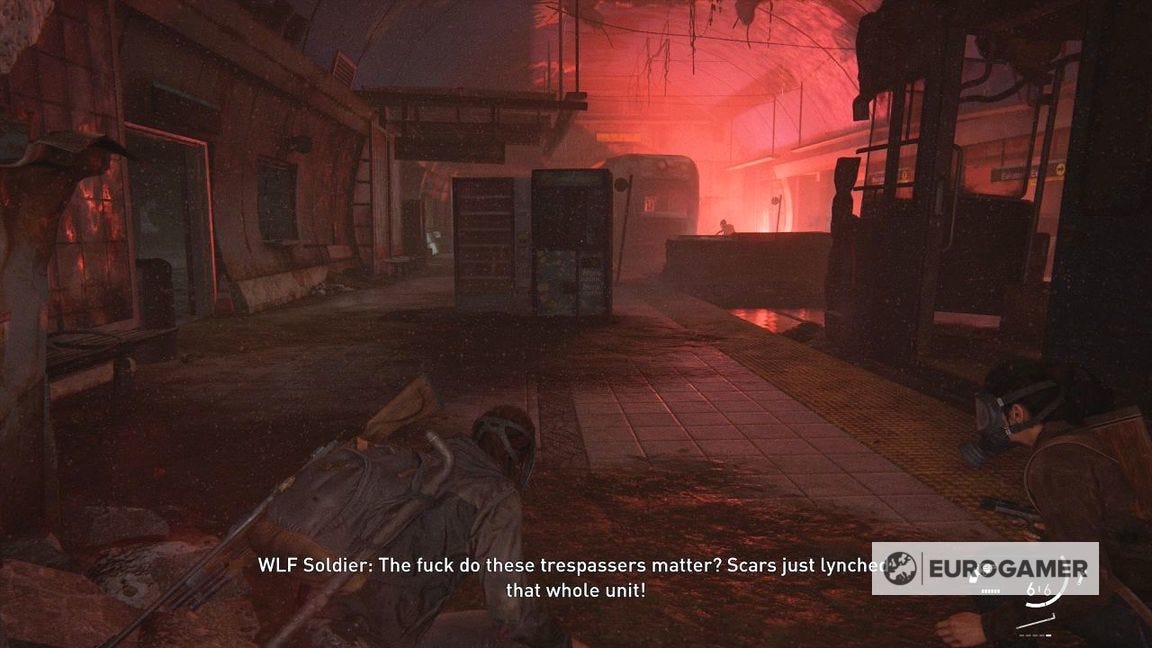
A lot of armed guards are ahead. If possible, try and lure the infected nearby to them to clear the area and make it easier to explore.
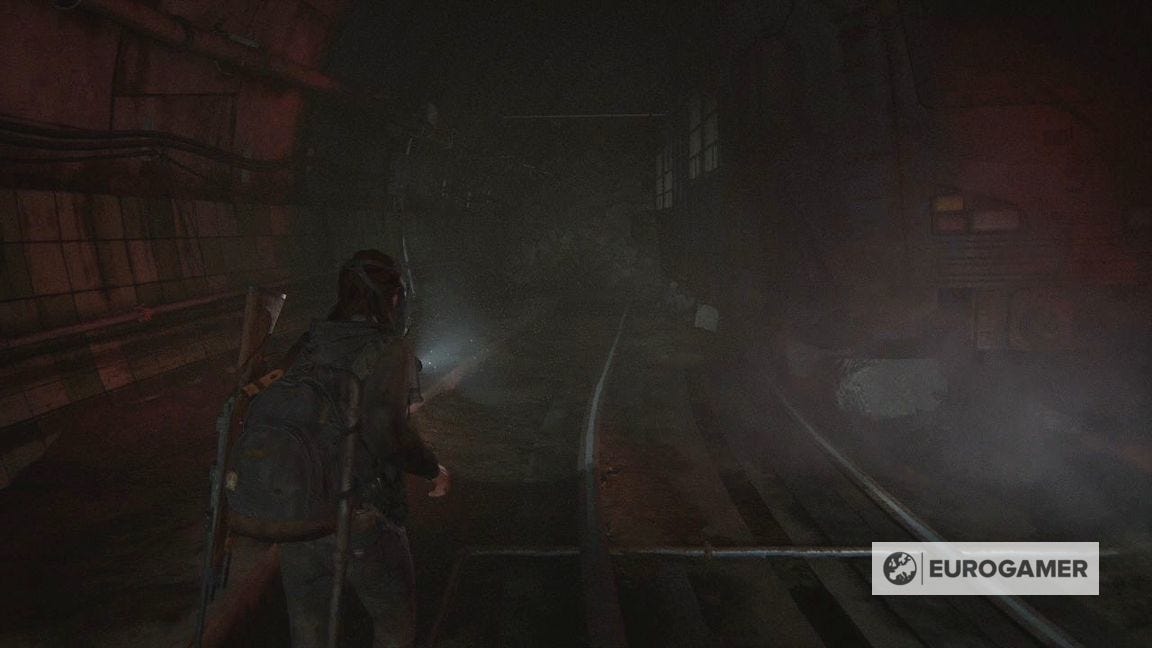
We quietly went into the train carriage to the right and threw a brick into the left doorway (if you listen, you can see the Clicker through wall). This should see them all fight each other.
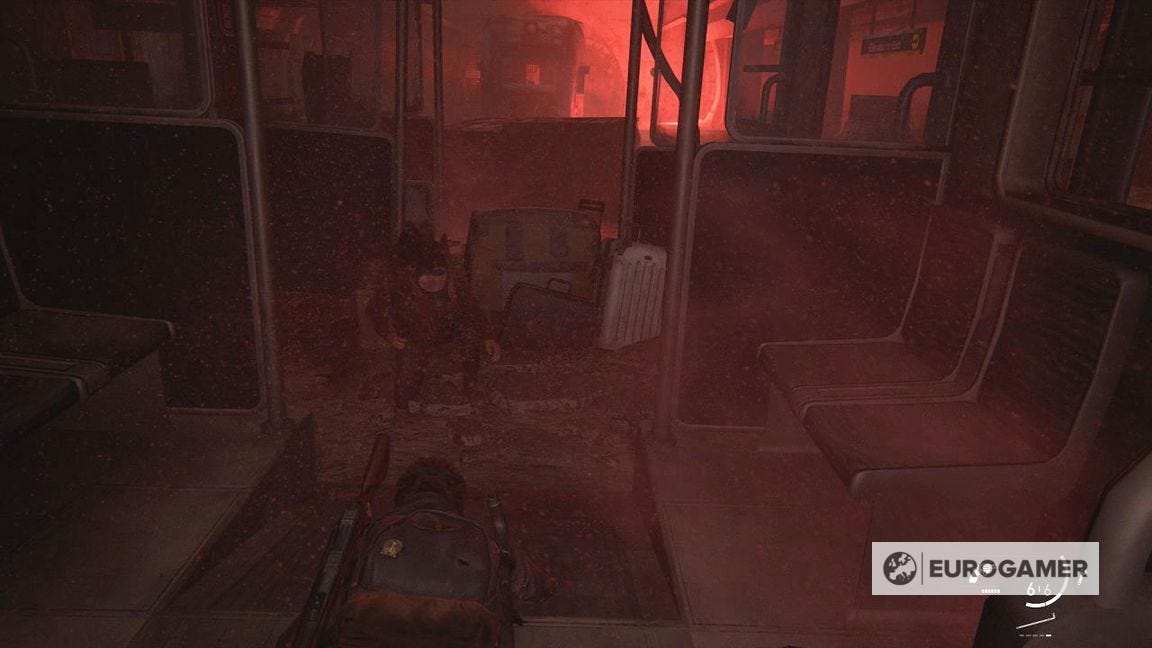
From here, whether you use the panic to go on ahead, or wait until it dies down a little is up to you. Either way, some Clickers and armed soldiers will remain, so stay low, listen regularly, and throw bottles and bricks to move enemies around.
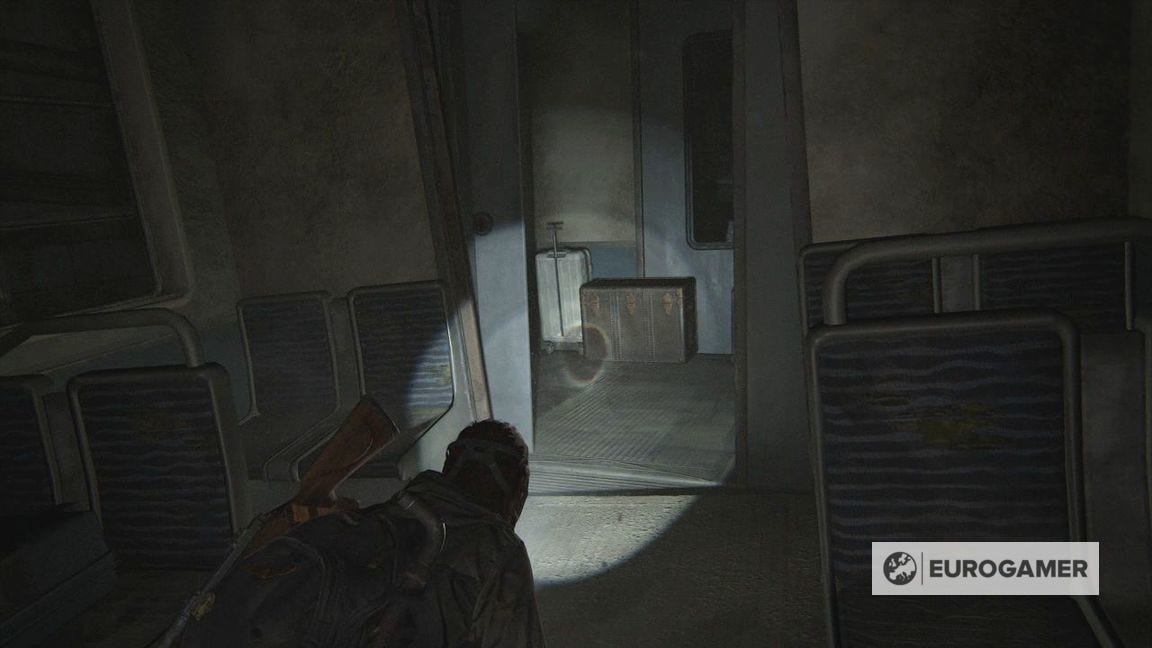
The broad aim is to reach the next train carriage, then the door in the rubble at the very end.
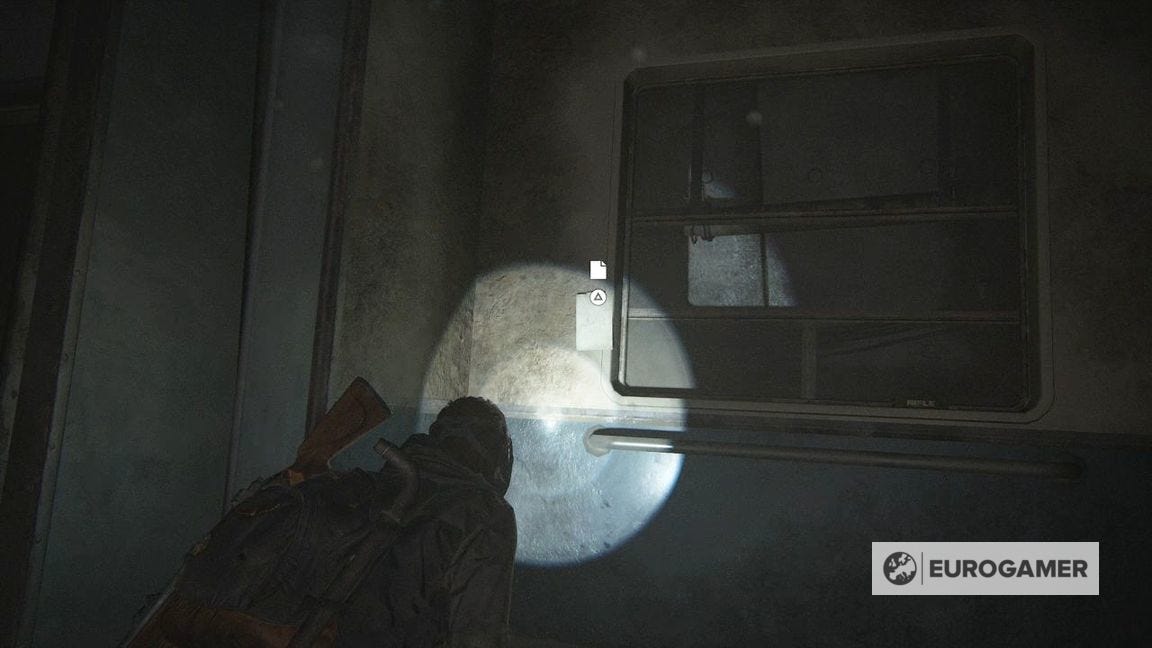
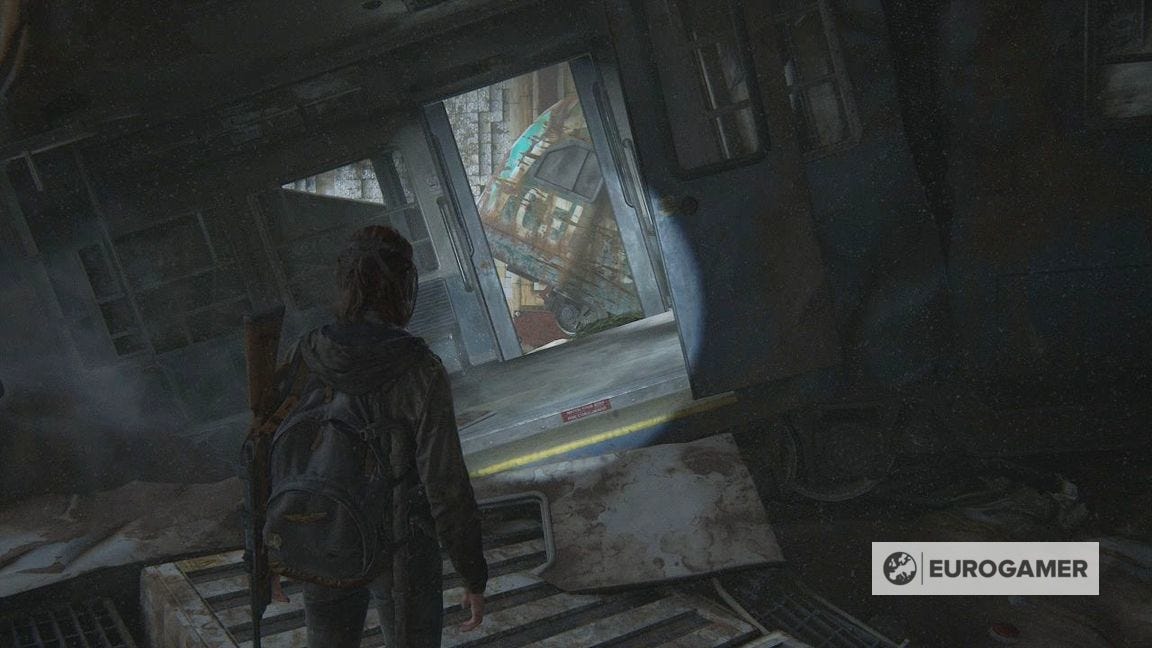
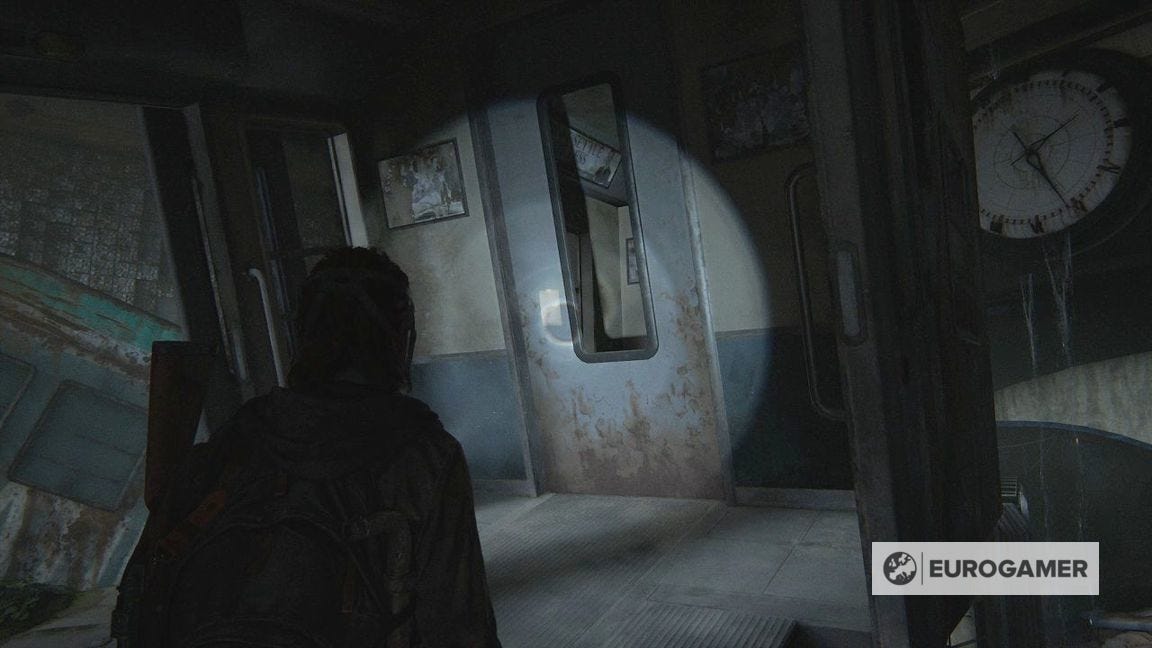
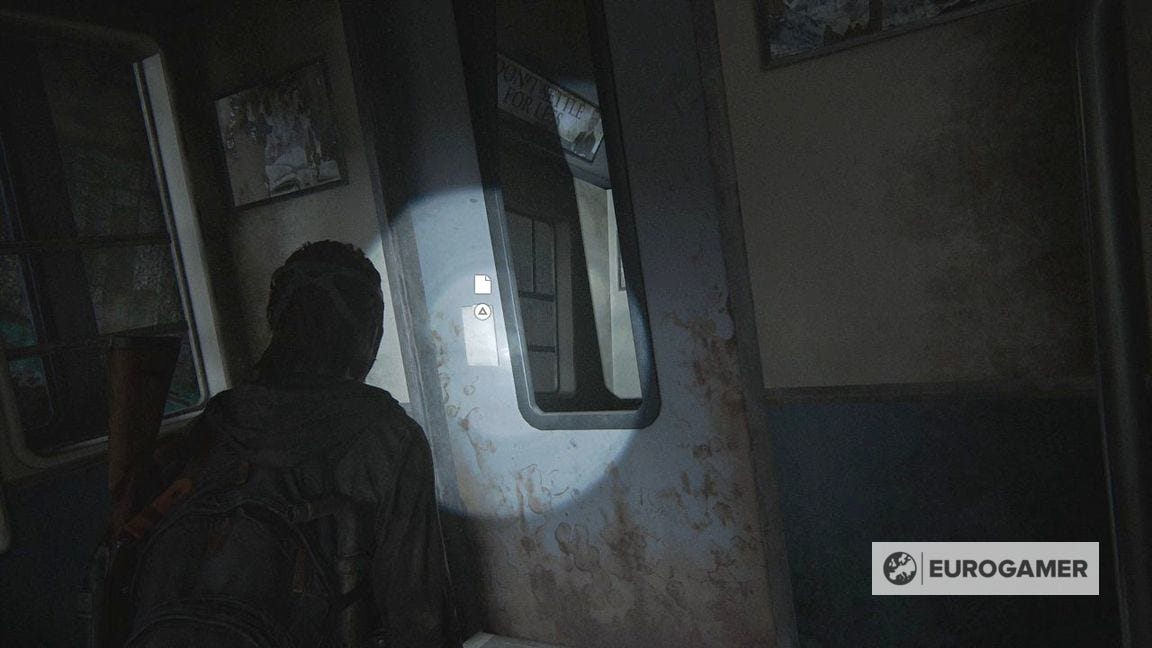
After the cutscene, you enter a regularly-lit (i.e. not red) carriage. Go to the very end, where there is some luggage against the door and Ellie says it's blocked. On the left wall is the Subway Note Artefact.
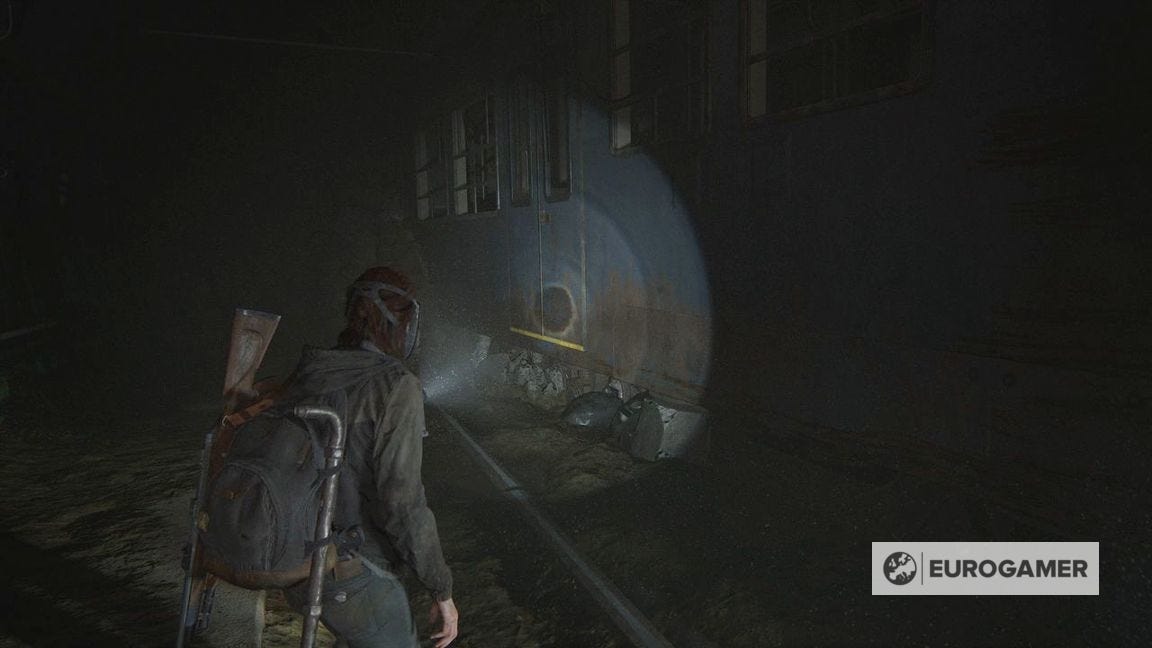
Reverse back a little and exit out of the side of the train. Go along the edge and crawl underneath at the end.
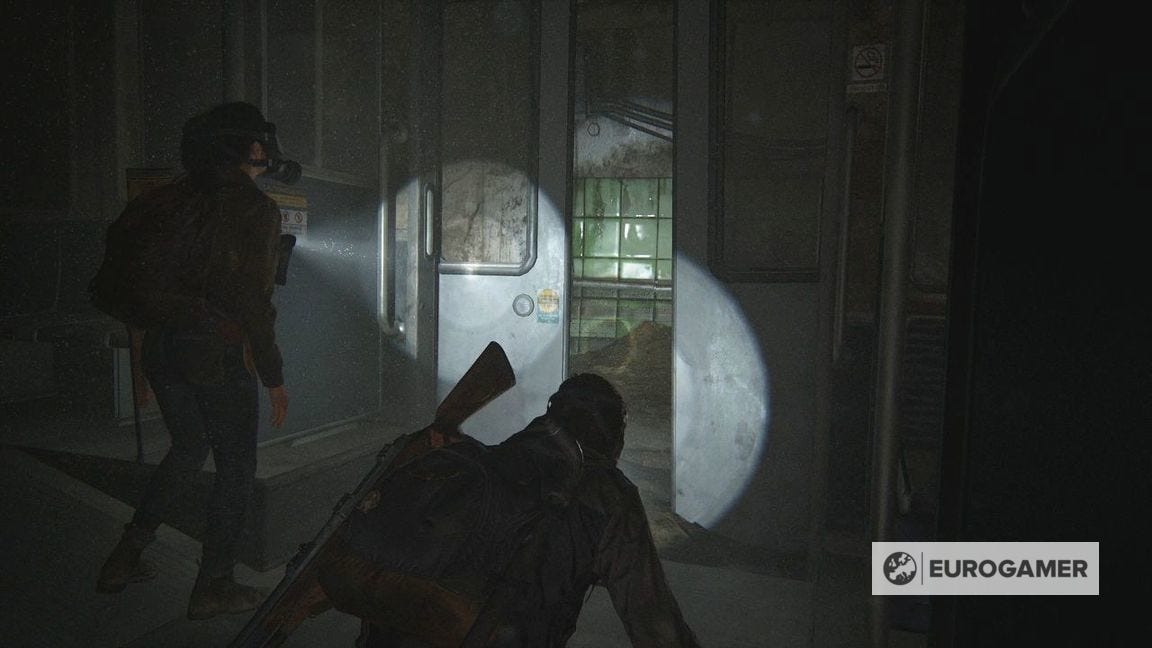
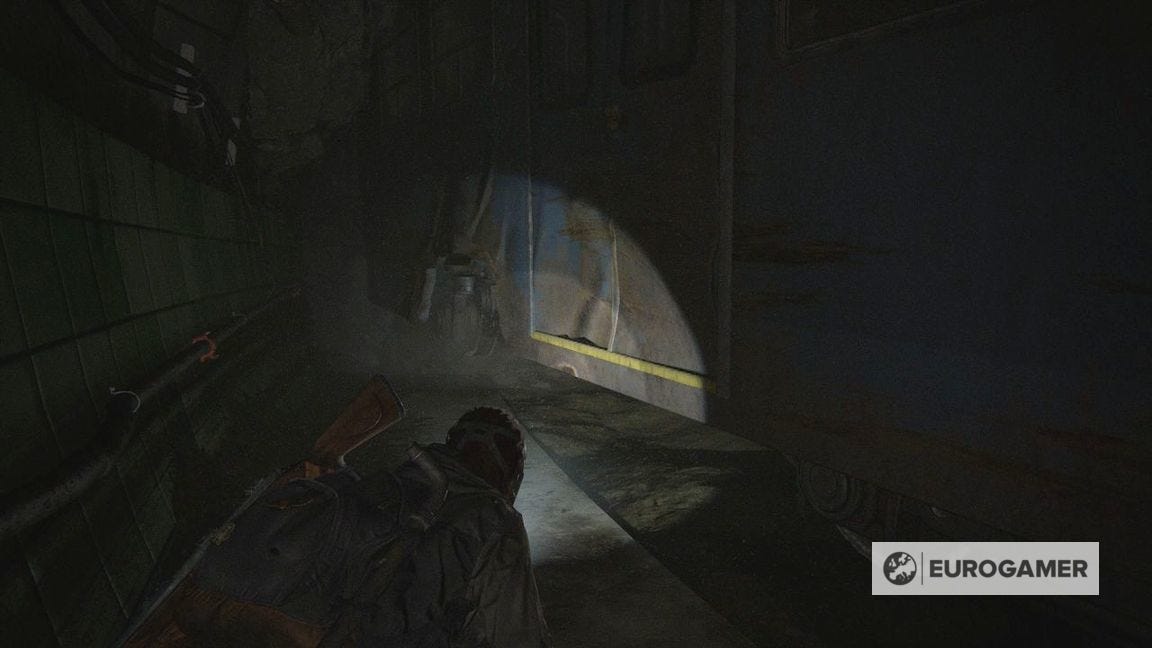
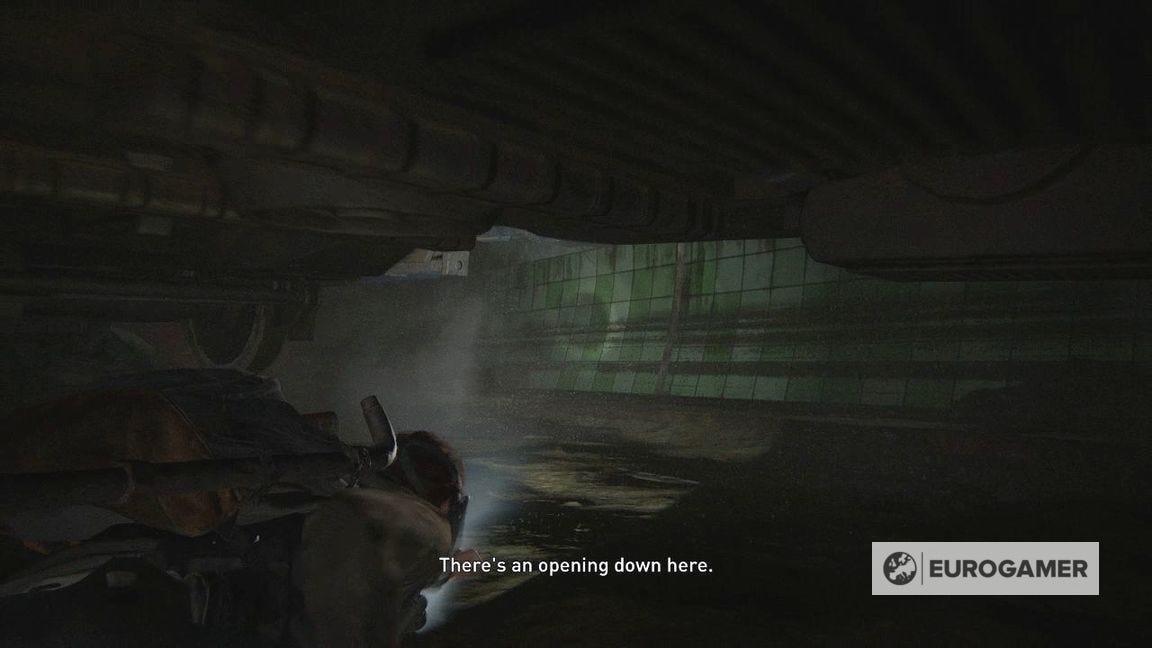
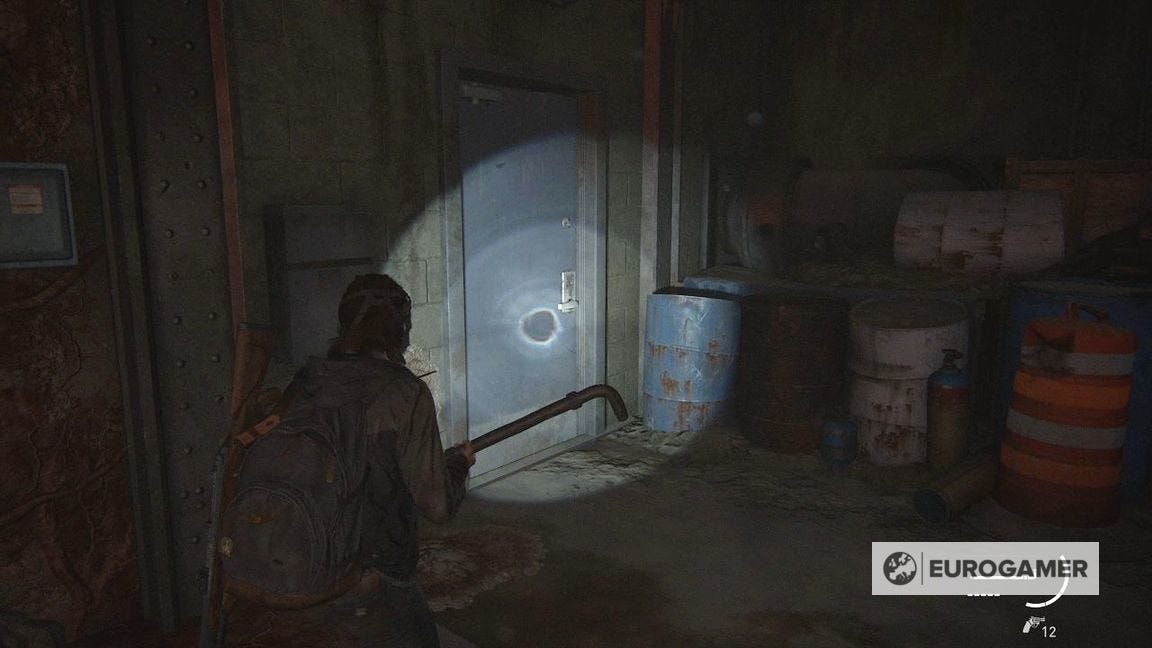
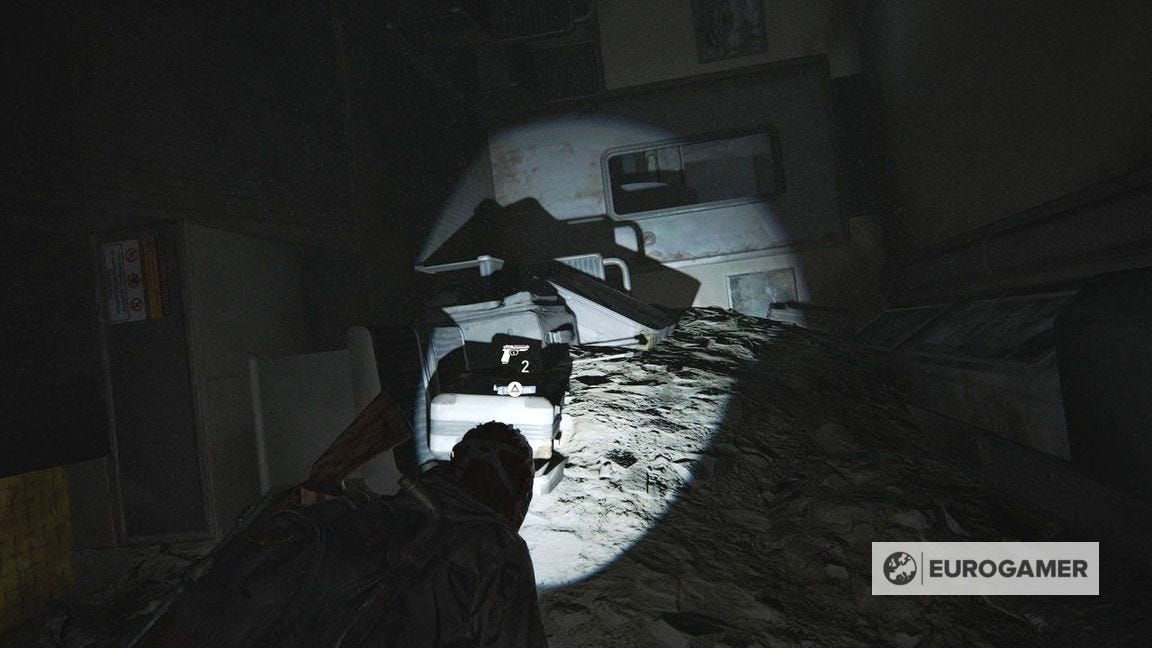
There's a doorway on your right, with a red flare's light coming through. Ignore it for now and keep going alongside the train.
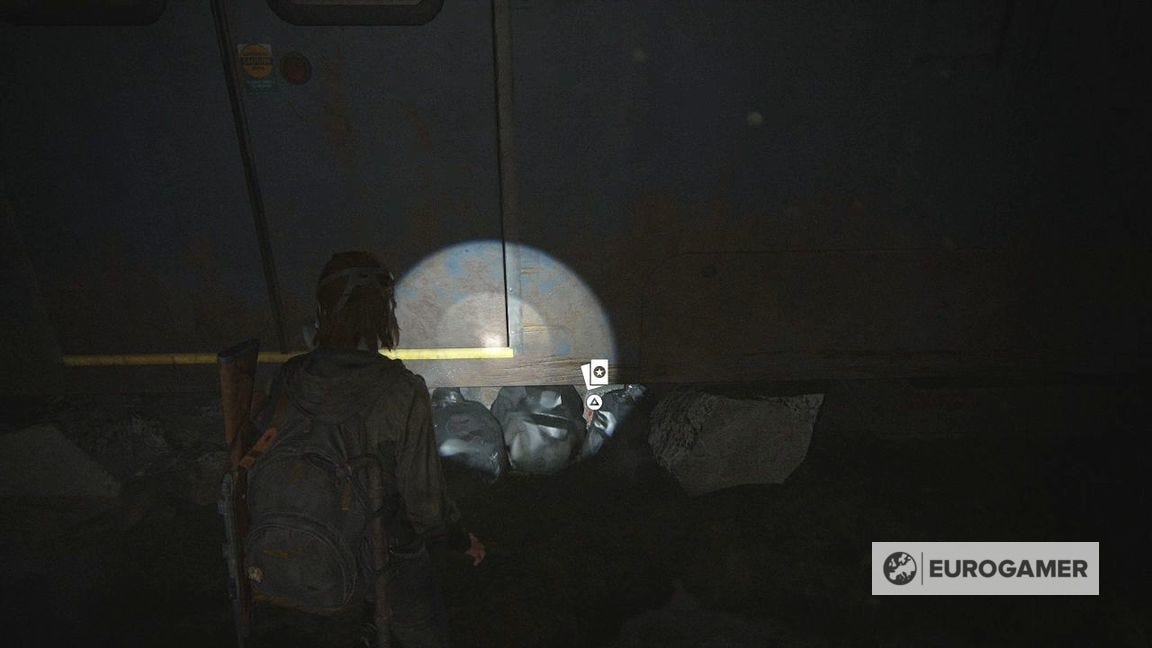
Halfway down underneath is the The Imp Trading Card.
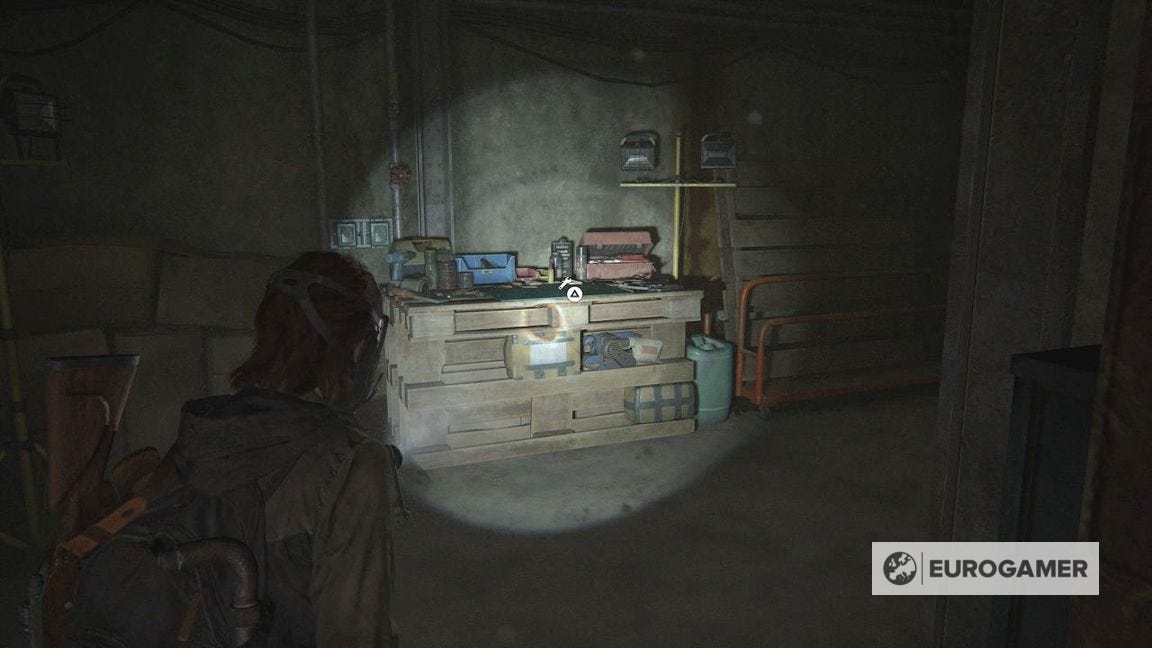
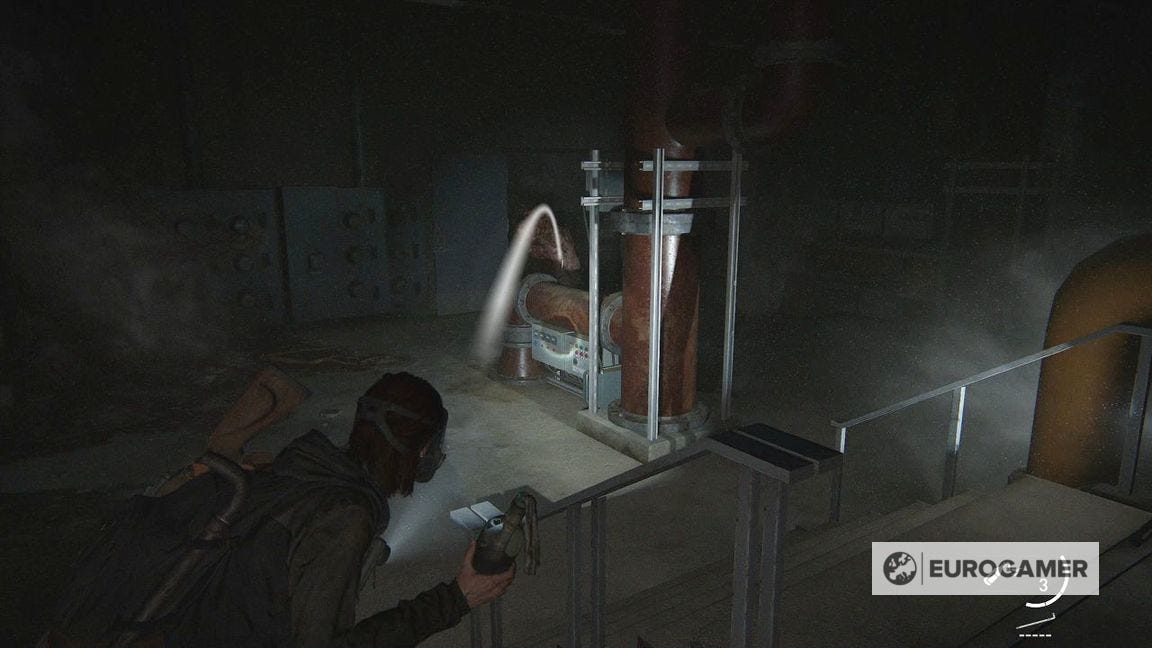
Go through that doorway now, up the ladder, and right through the door for a Workbench.
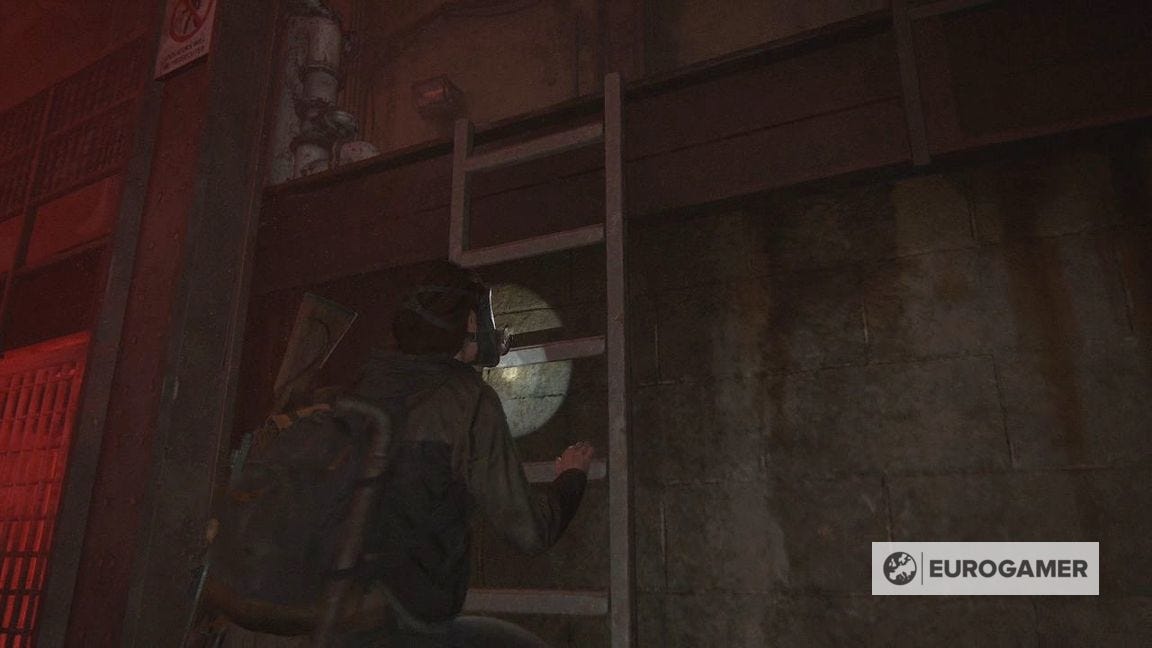
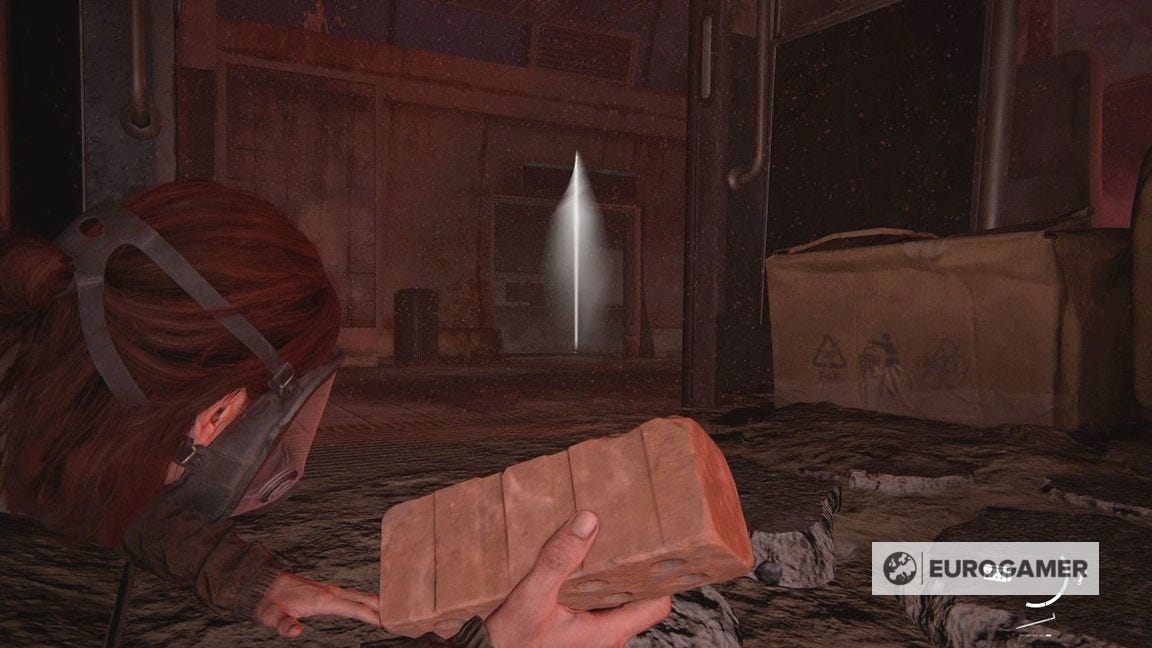
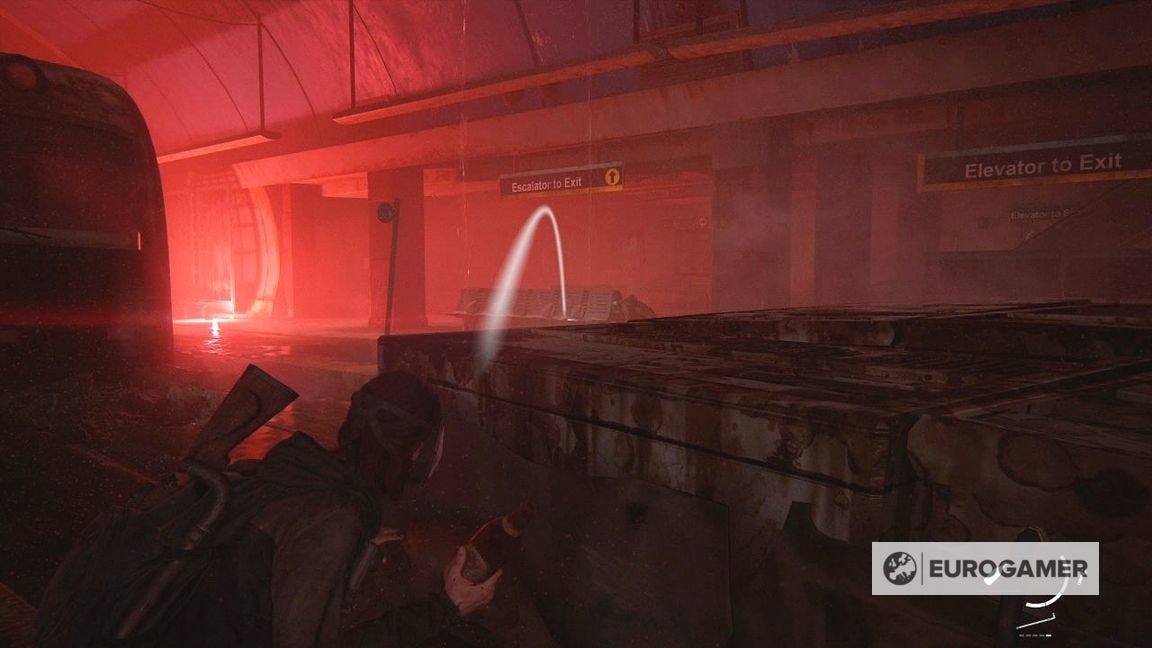
Go back to where you climbed the ladder and throw the rope over the pipe. (Use the trace of where it goes as a guide.)
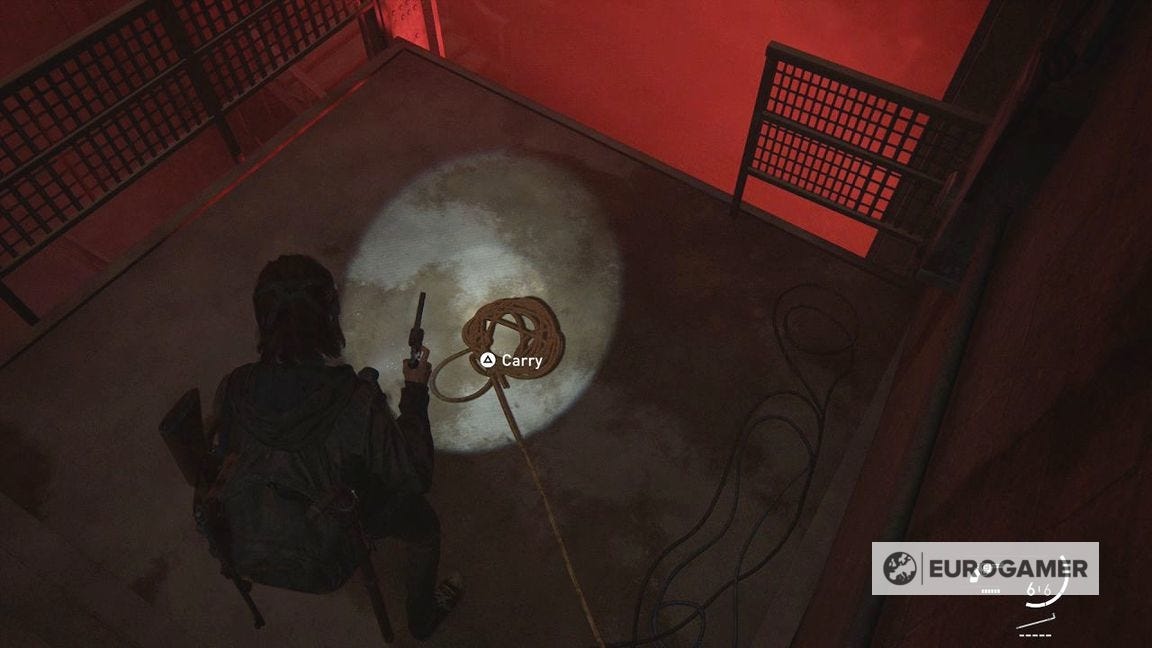
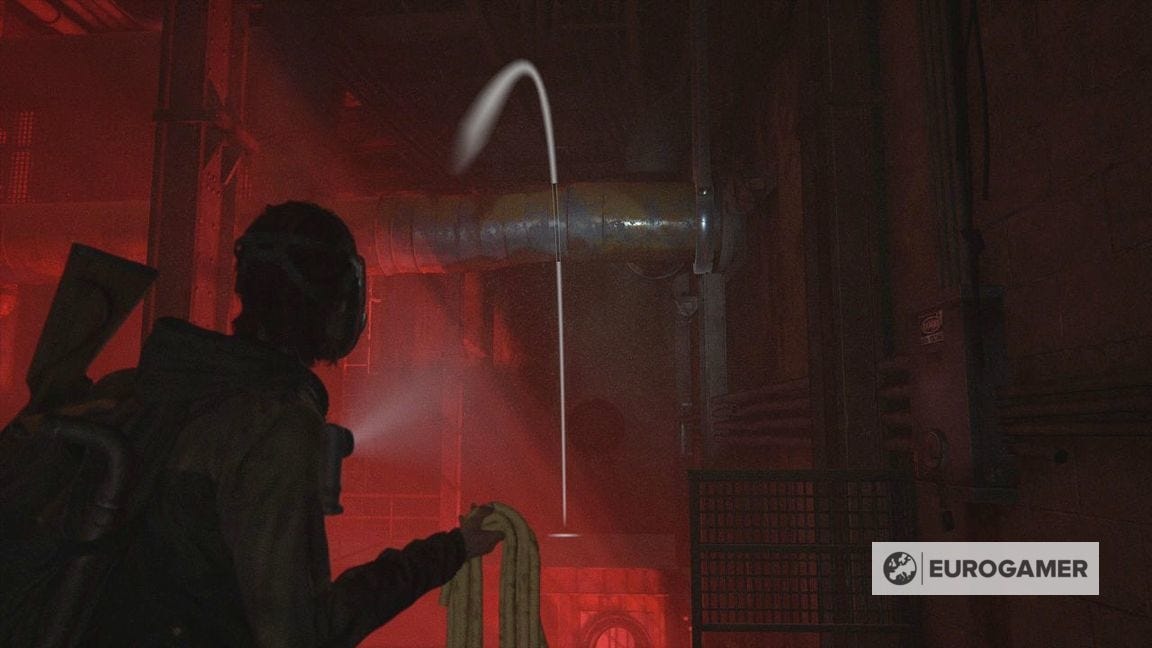
Now drop down and climb up the dangling rope, then swing across to the ledge.
The ladder is broke, but there is a doorway to your right. Now crawl through the vent to the left.
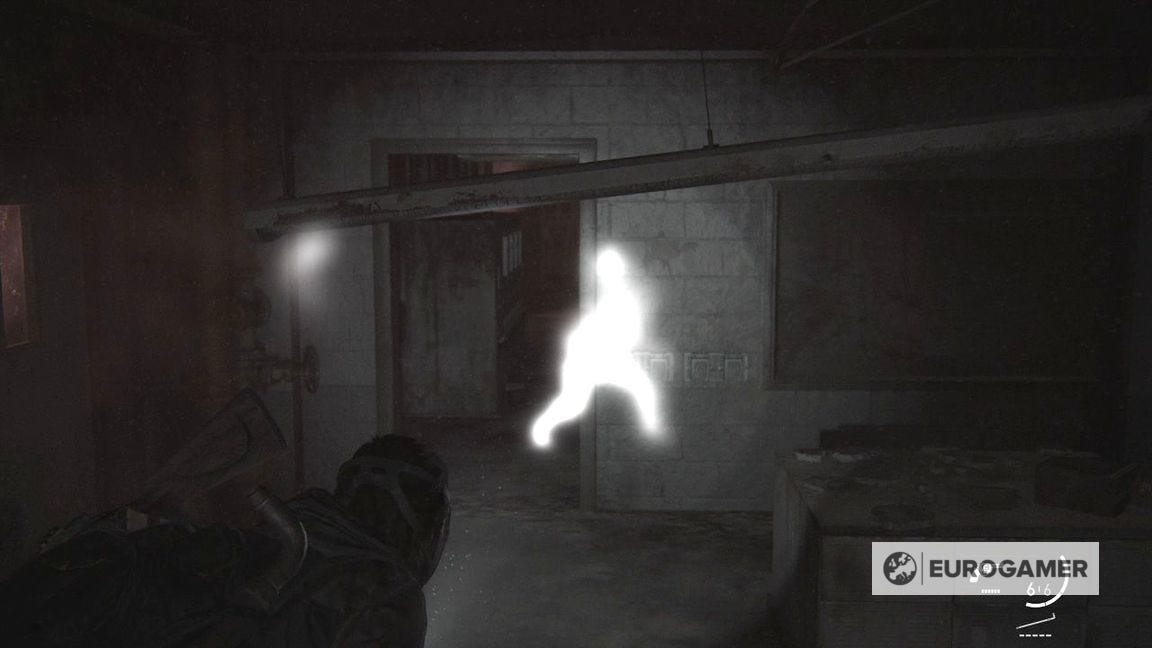
How to beat Shamblers in The Last of Us Part 2
You'll be introduced to Shamblers, a new type of infected. Continue to crawl round and drop down.
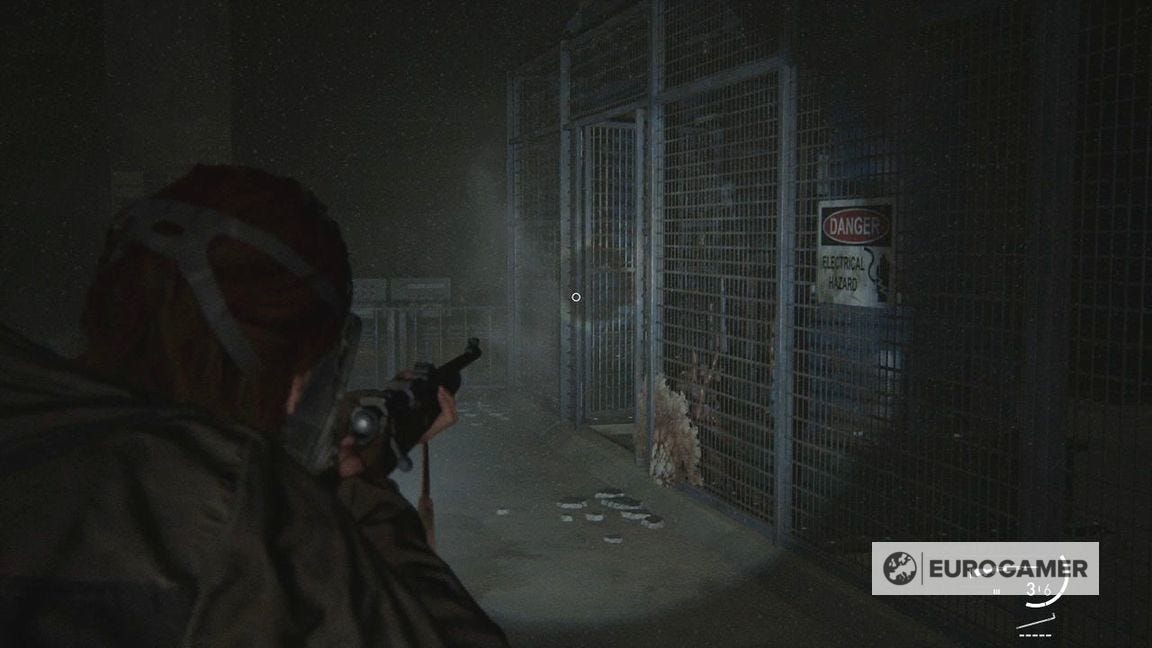
There will be several of these around you - use R1 to listen in to their locations.
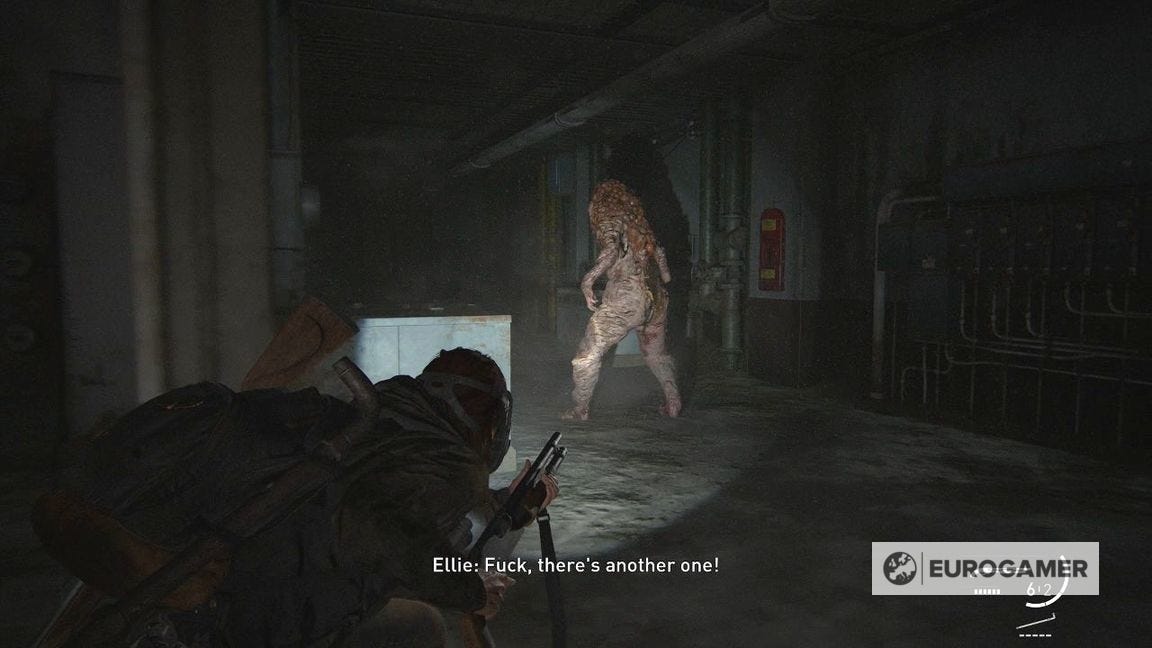
You should treat Shambers like Clickers, in the sense if they grab hold of you, it's pretty much game over. However, unlike Clickers, you cannot stealth kill them, so instead, you need to go at them with your best weapons (the Shotgun, if you have enough rounds).
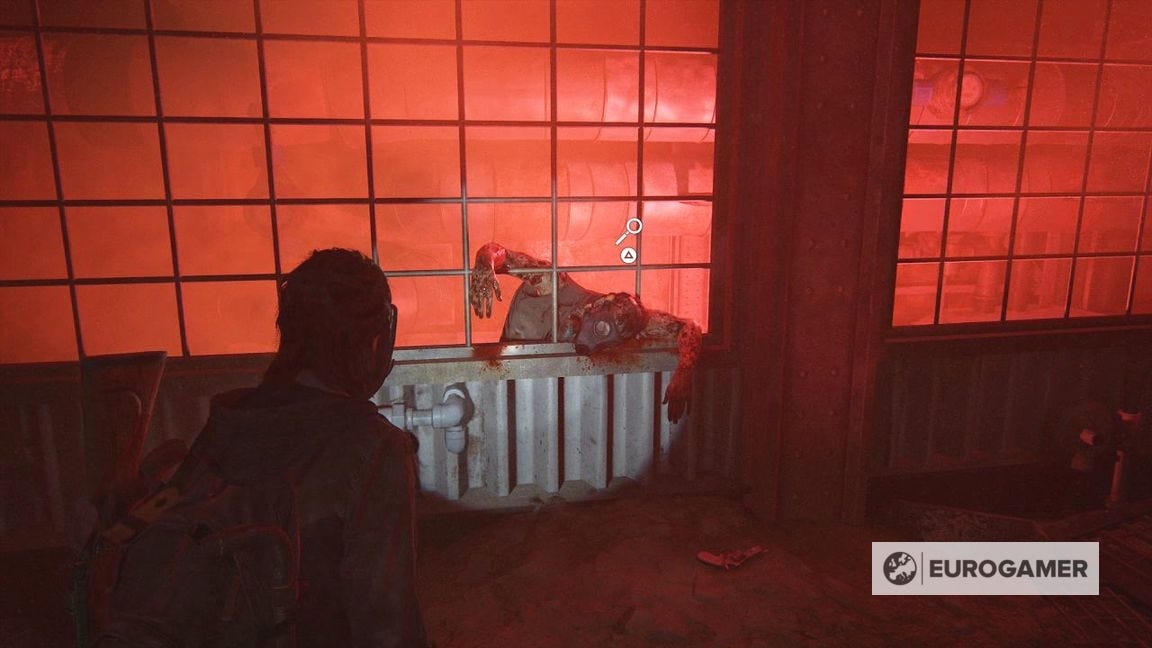
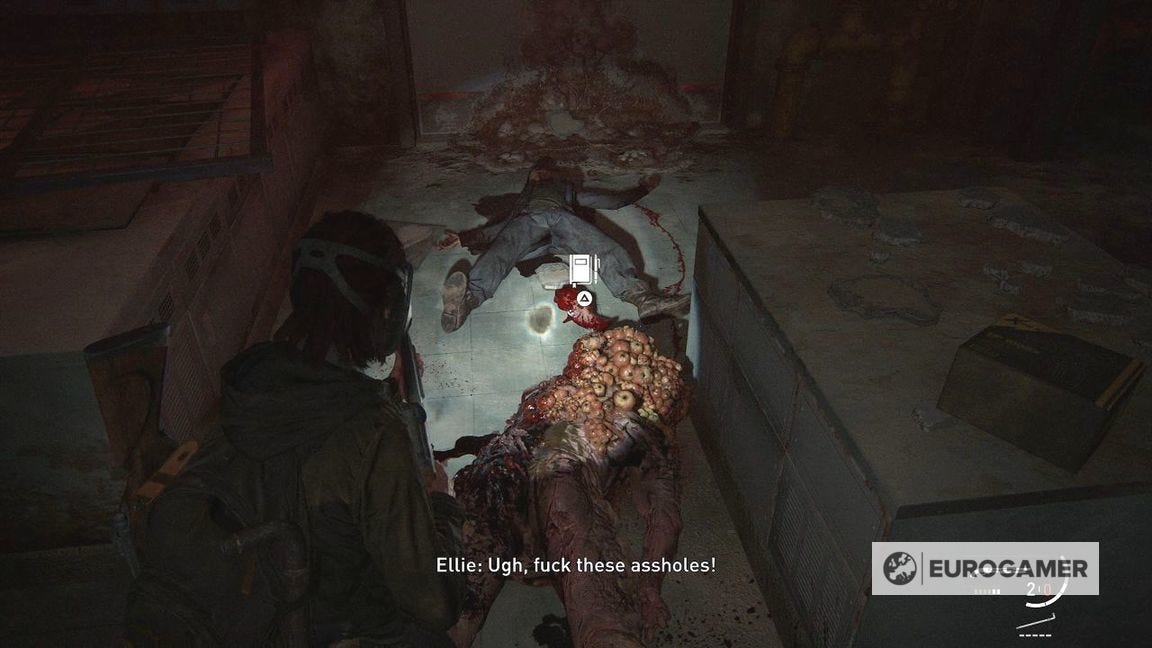
Once you have dealth with them, inspect the corpse of the final one you find for a Journal Entry.
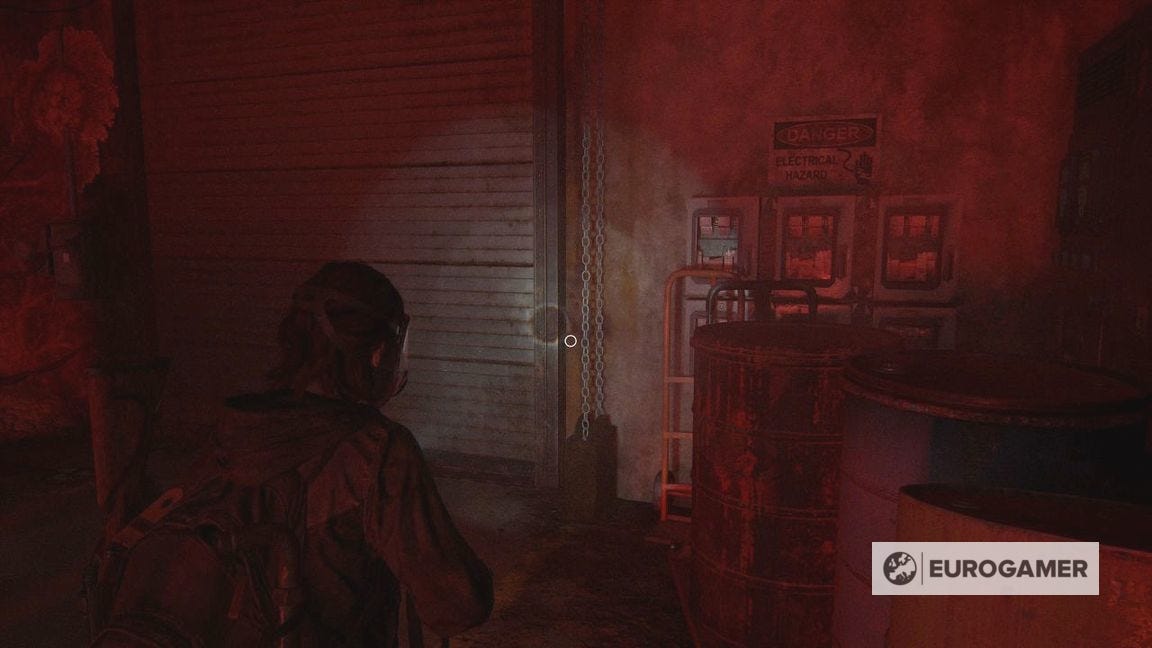
To progress, go into the flare-tinted room, then go through the doors in the corner.
The Tunnels vending machine puzzle
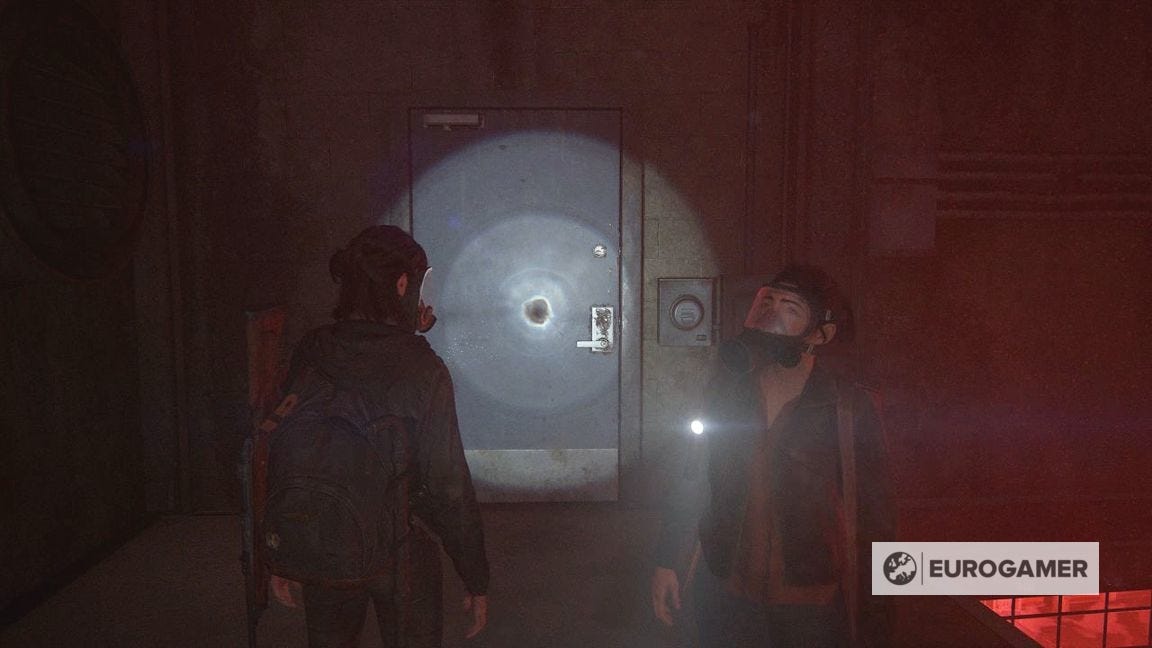
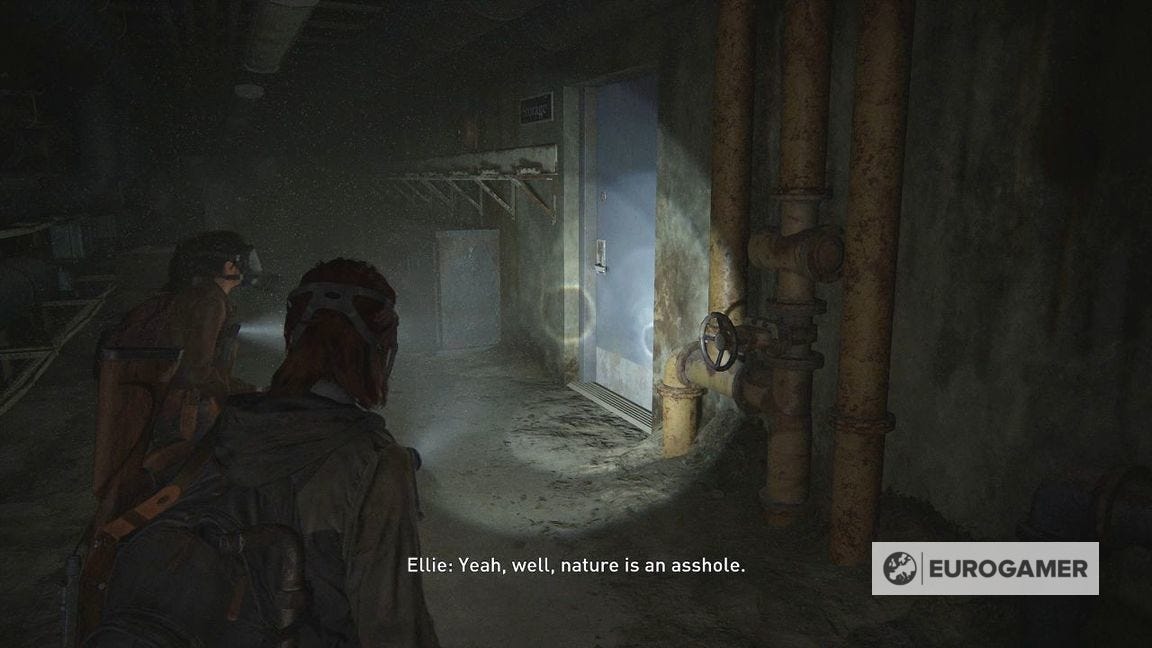
You'll now come to a long corridor - which is a short respite between encounters. Enter the door on your right.
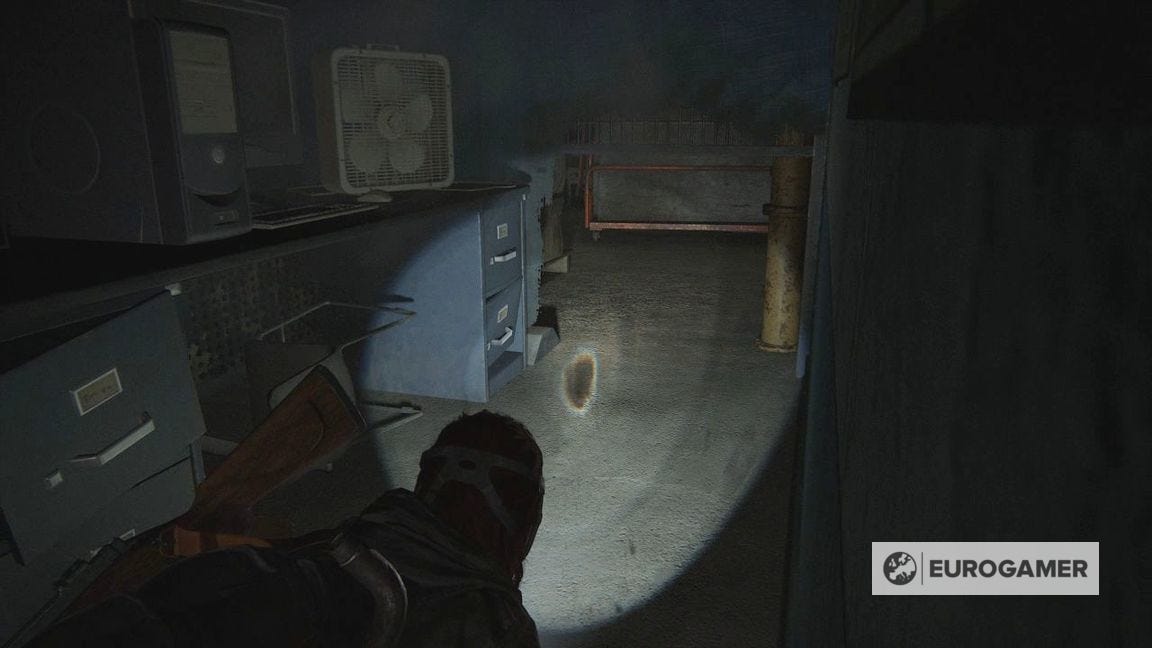
There is a fenced off section in the middle. To enter, climb over the desks in the far right corner and crouch through the gap.
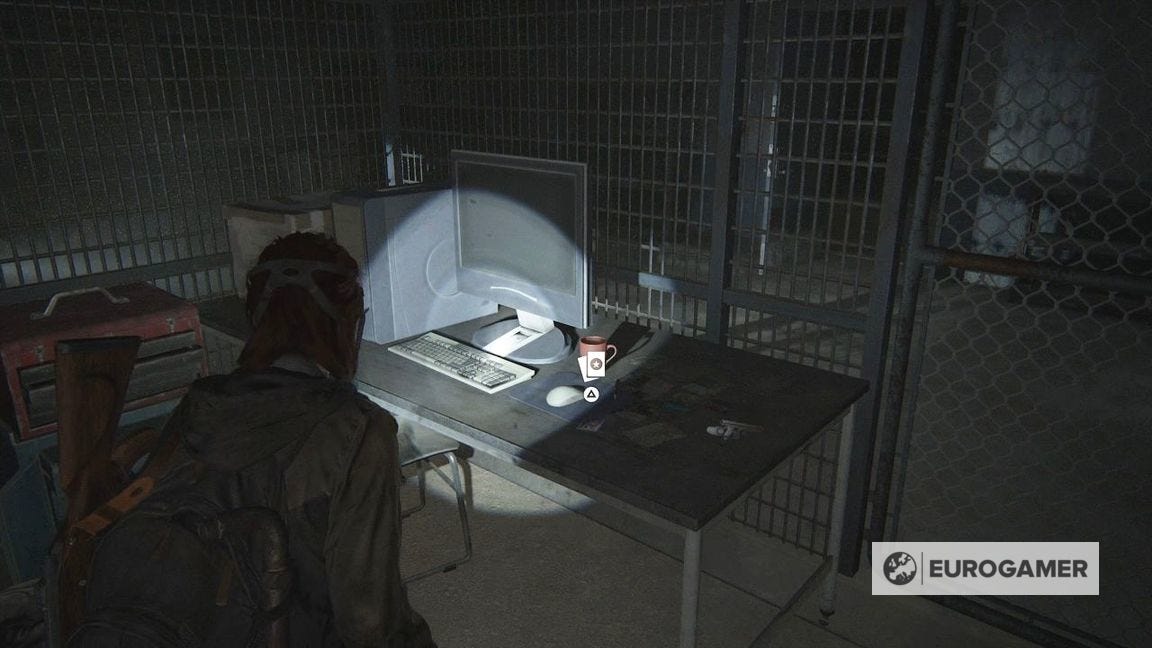
Inspect the desk for a Dr. Daniela Star Trading Card.
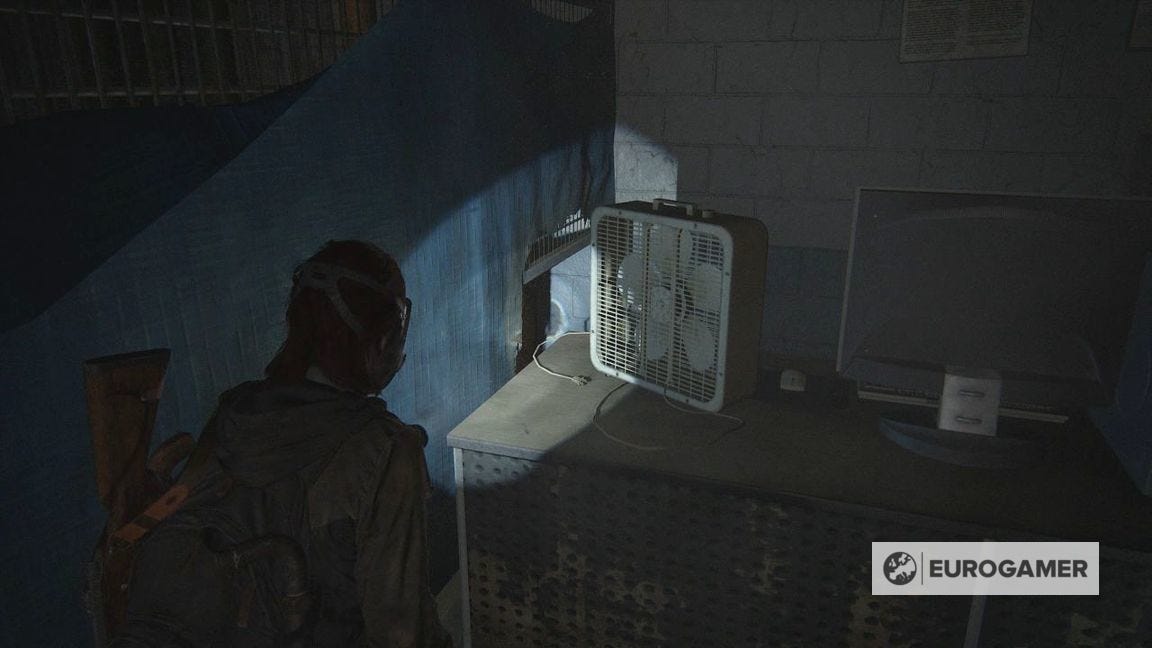
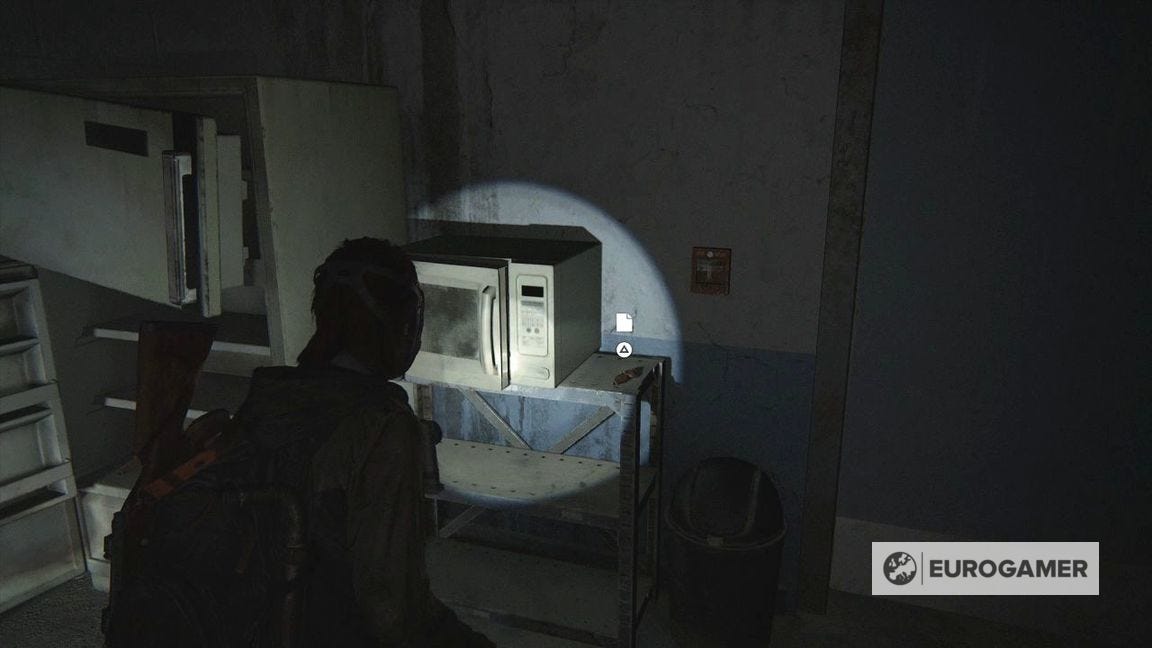
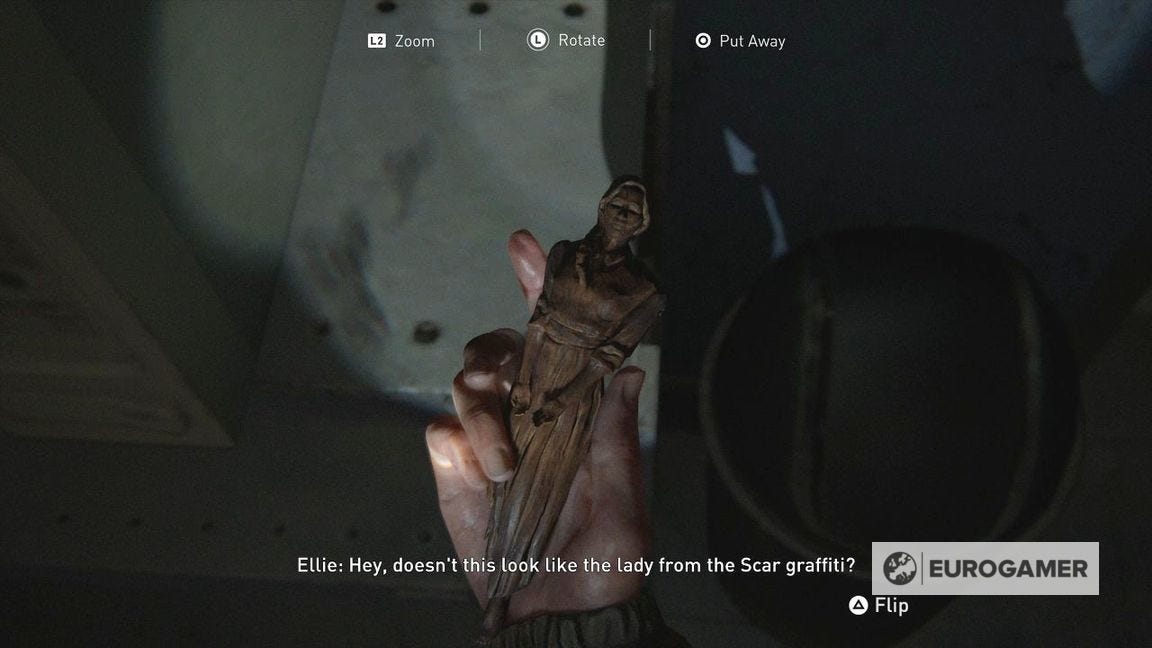
Continue on to the next room. To your left, between the door and the microwave, is the Whittled Statue Artefact.
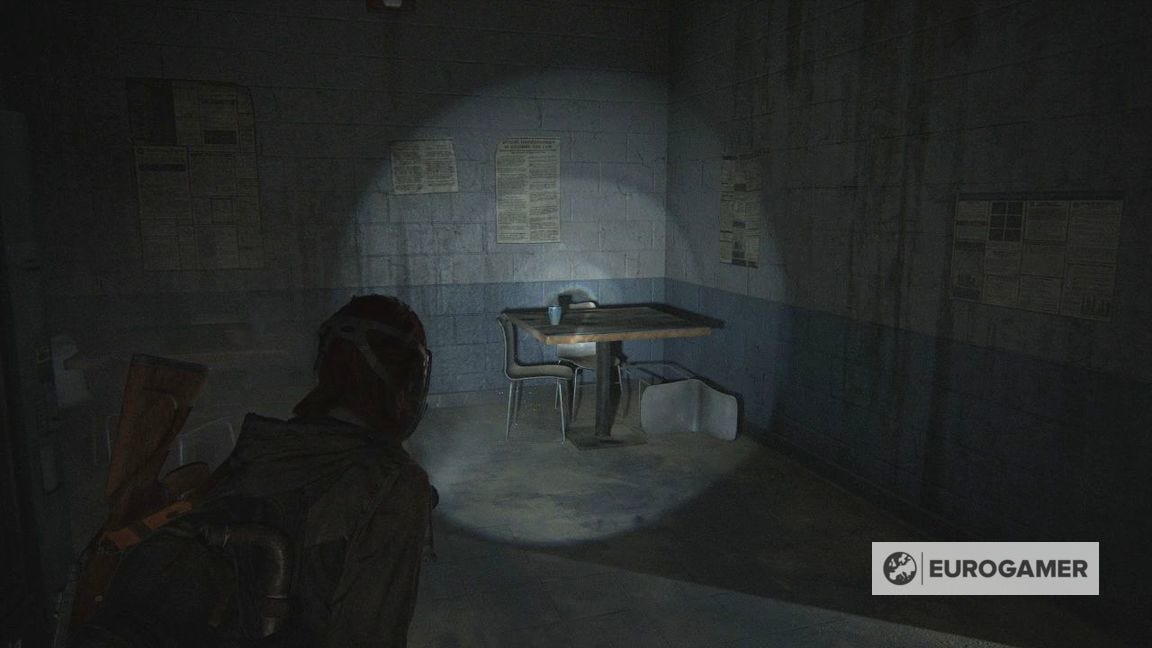
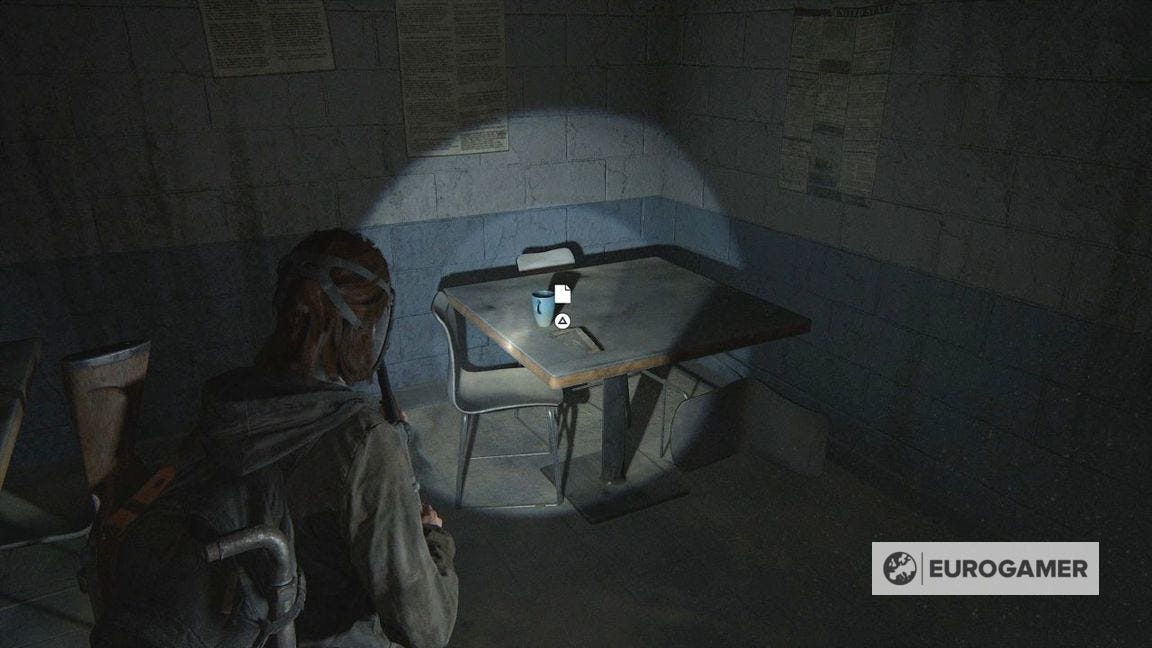
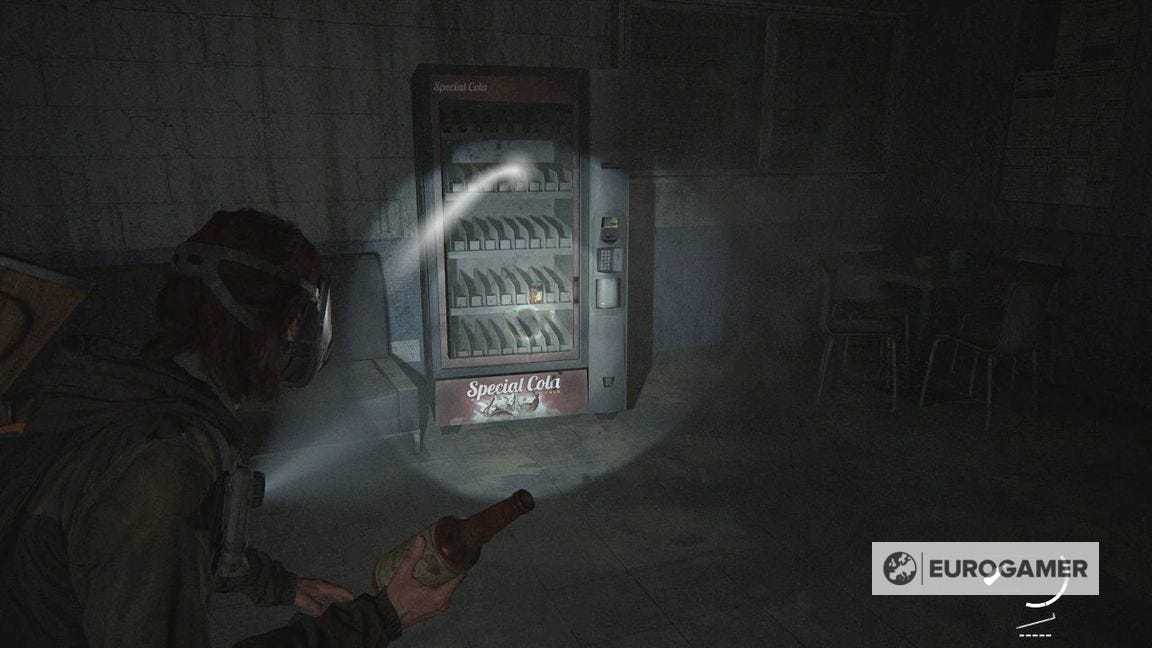
Elsewhere in the room are some tables. On the corner is the Locker Room Note Artefact. This hints at a clue within the vending machine.
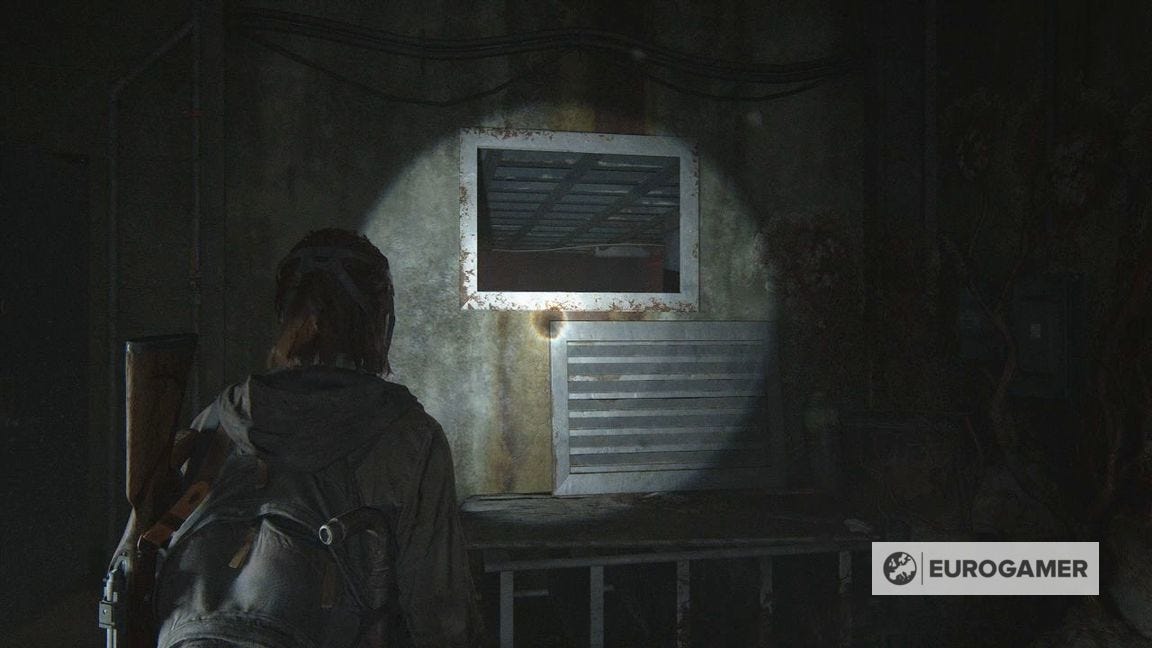
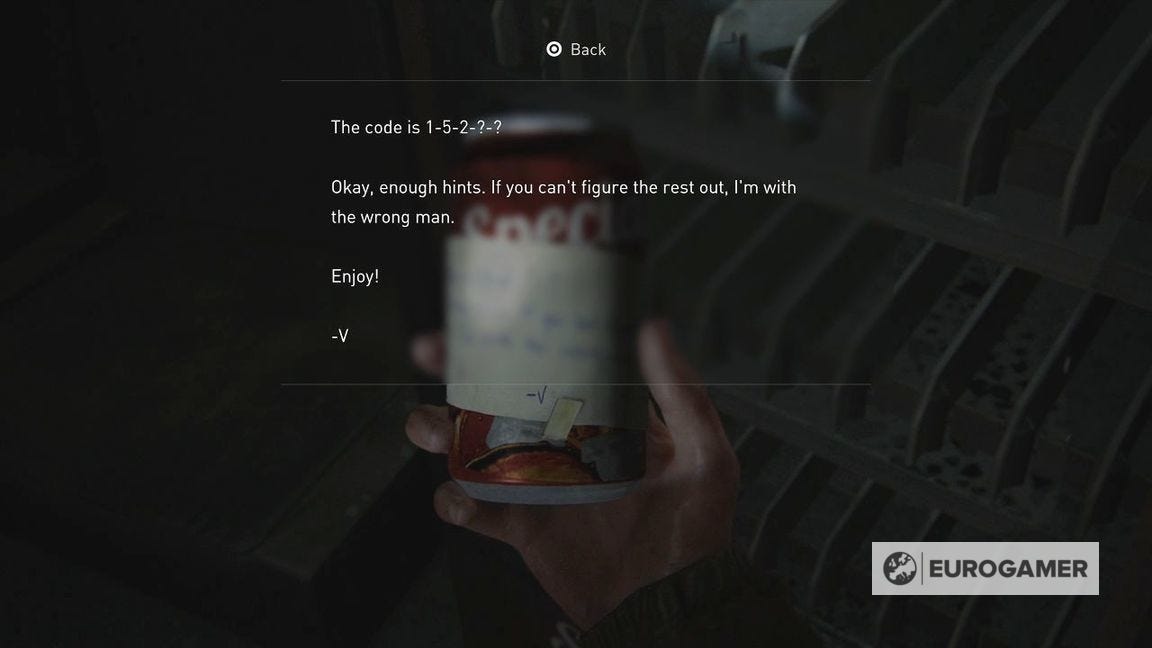
Smash the glass of the vending machine to get the Soda Can Note Artefact.

This will give you the first three digits of the Locker Room code - 152 - with two left a mystery.
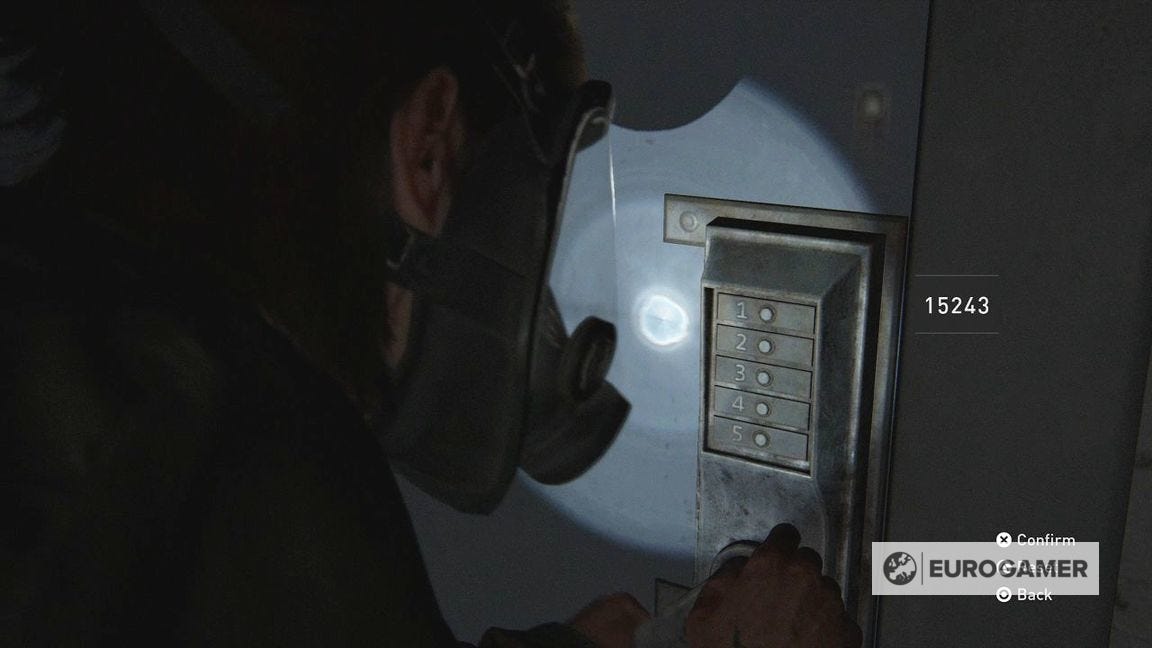
Interact with the locked door, and you'll discover only one of each number can be inputted. This means you only have two other combinations.
Feel free to experiment, but the Locker Room code is 15243. Inside is various supplies and ammo.
How to survive the second Shamblers encounter
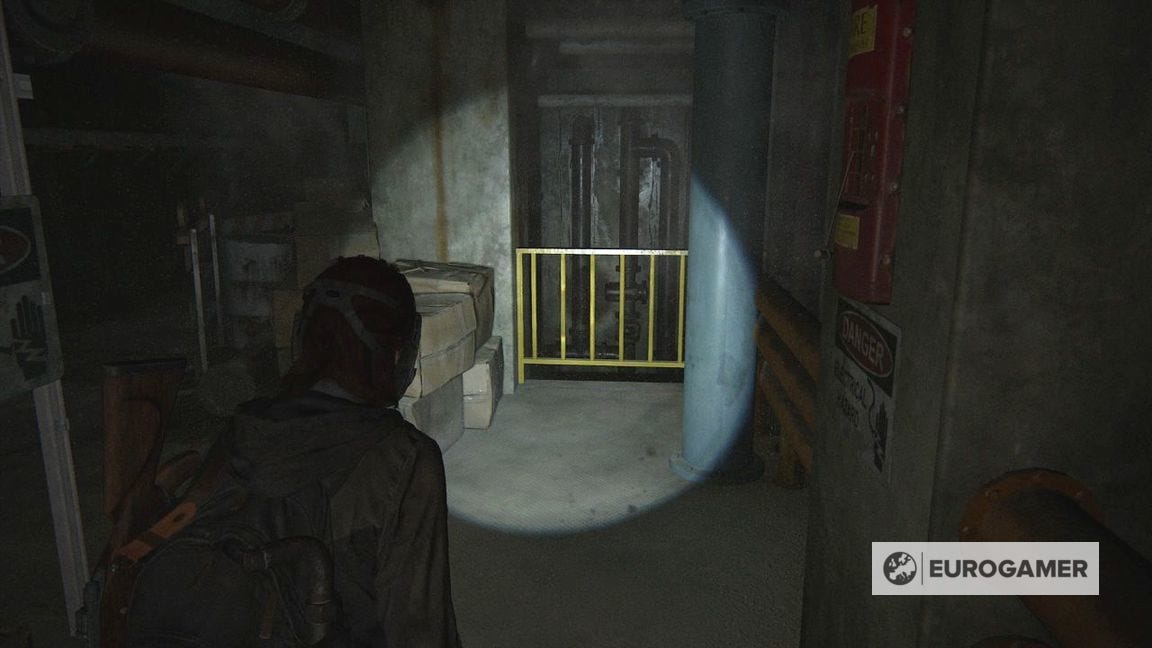
Leave when ready and continue down the corridor. The end door is blocked. Turn left and around to see a yellow barrier you can vault over.
Climb up now to an area with more Shamblers.
This encounter is difficult - there are Shamblers to the left and right, and runners which make things more complicated. We tackled this by laying down a Trap Mine in the right doorway, then throwing a Molotov at the left Shambler. This would alert the other infected but take them out (mostly the runners) and give us time to finish off the Shambler we attacked (a Molotov alone won't kill them). Then we could face the other Shambler more or less unimpeded.
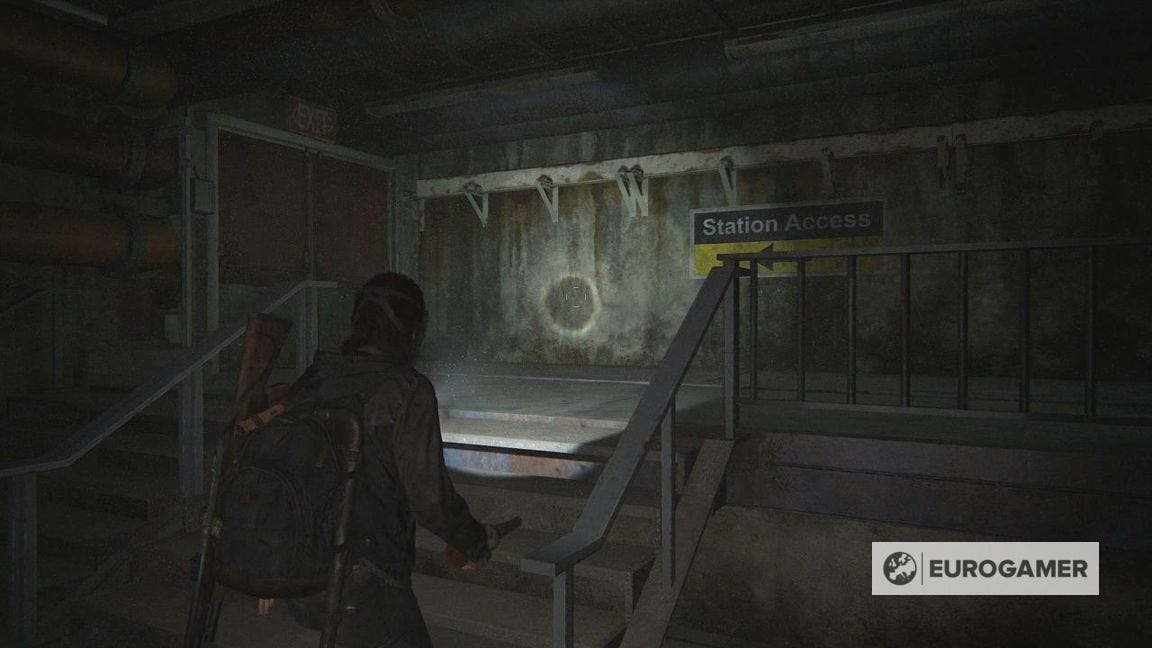
Scour the area of crafting materials then go through the double doors next to the Station Access.
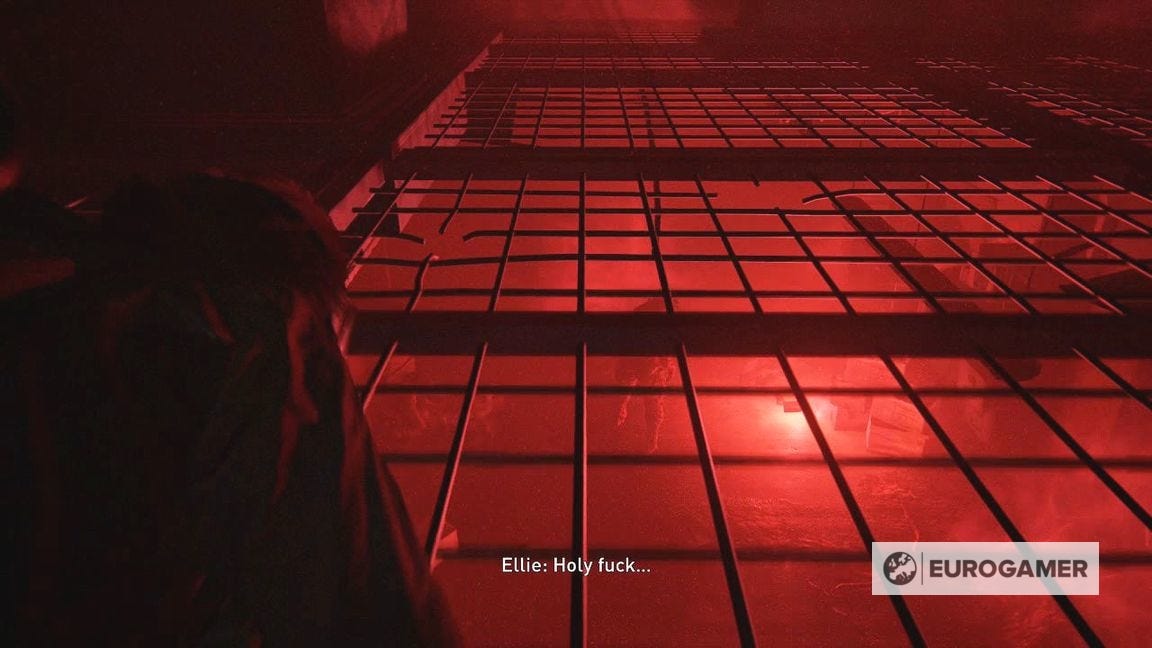
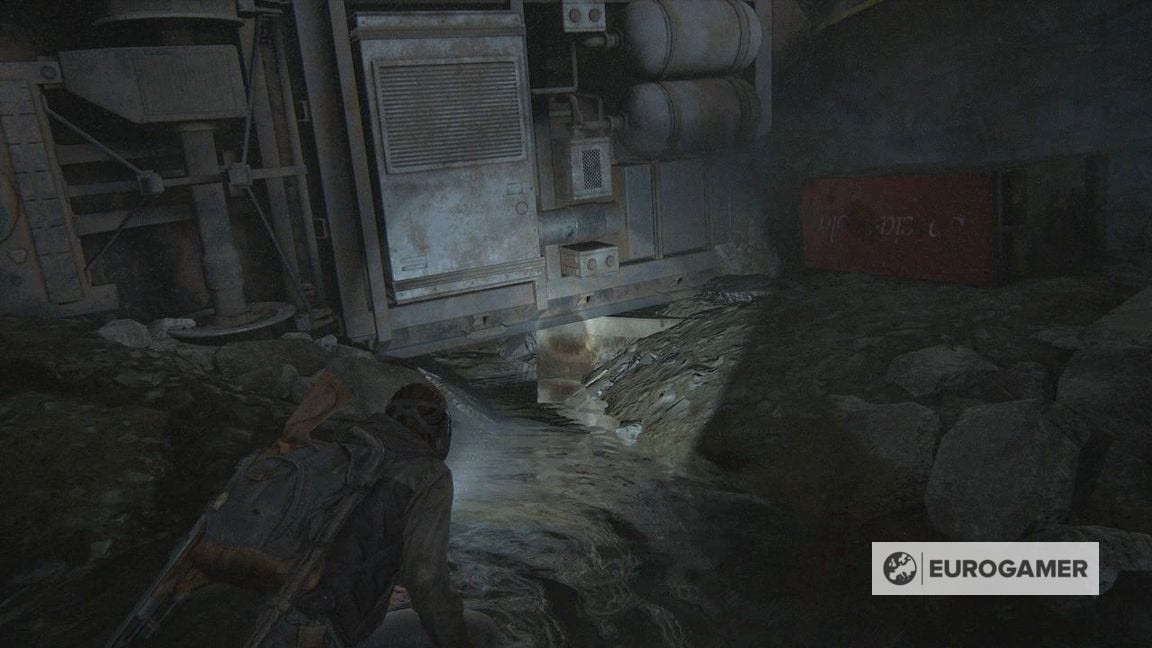
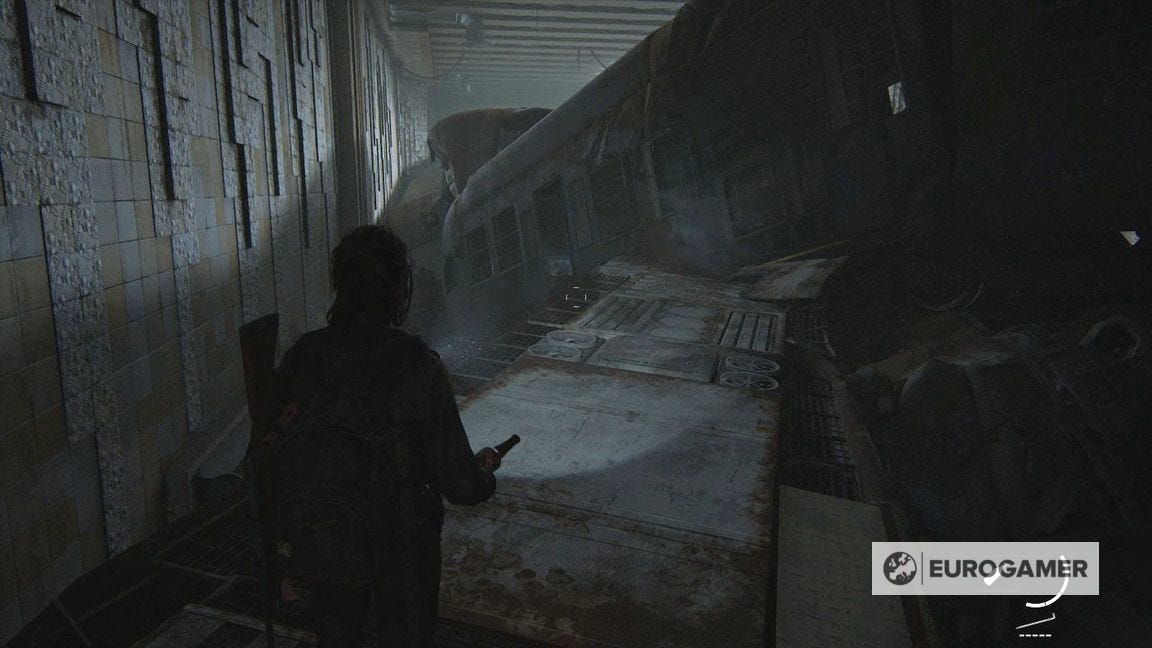
You'll come to a train crash area. Go across the tracks until you are in the middle of the trains and have to climb up onto a red crate.
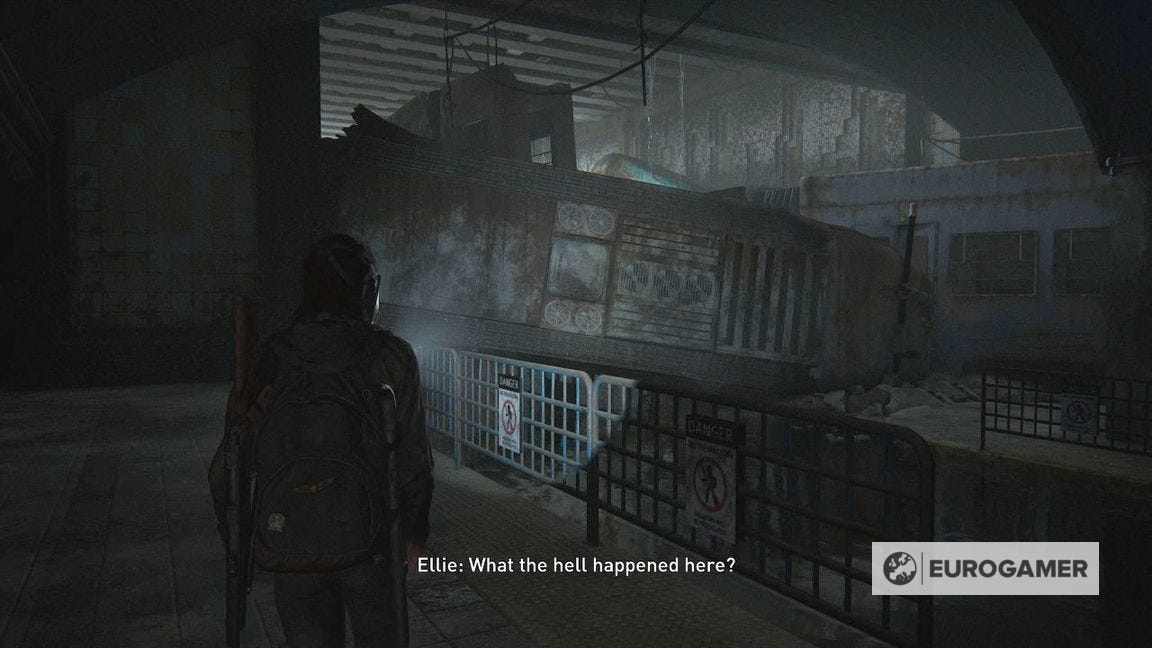
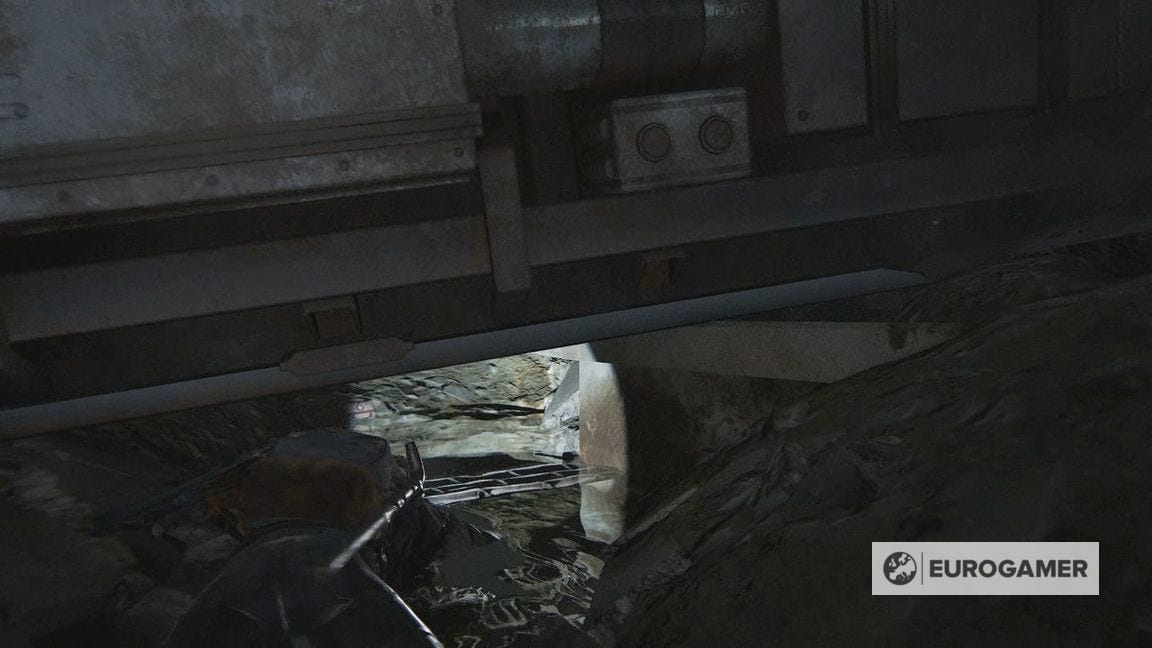
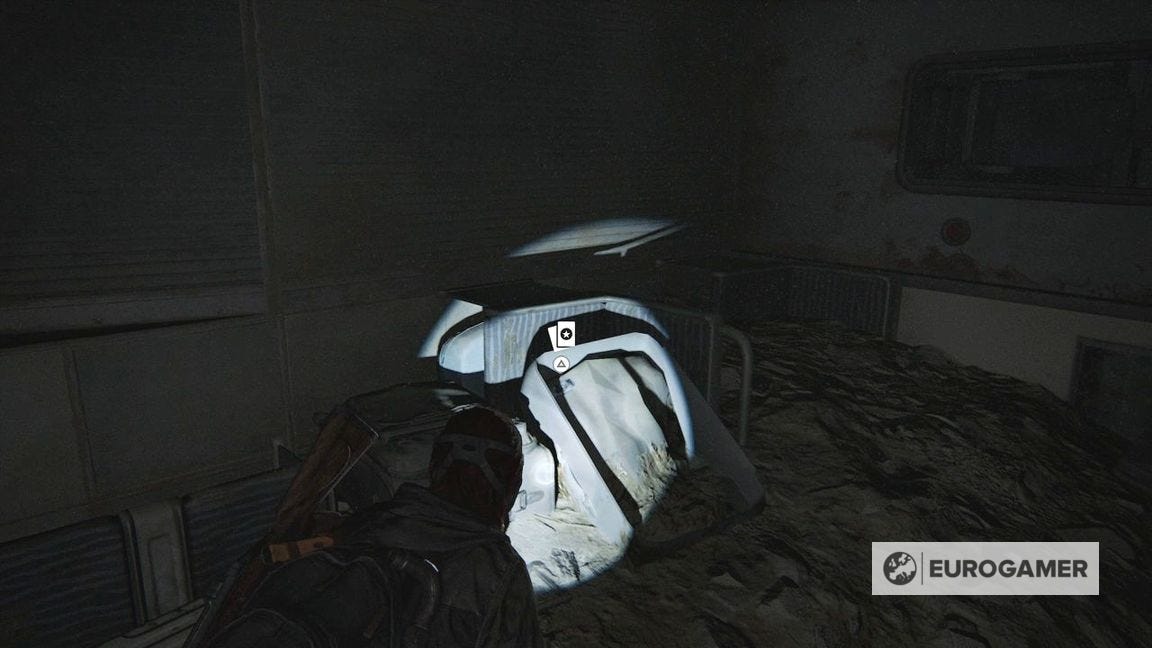
Before this, crawl left underneath the train to find a hidden area with some supplies and the Bastet Trading Card.
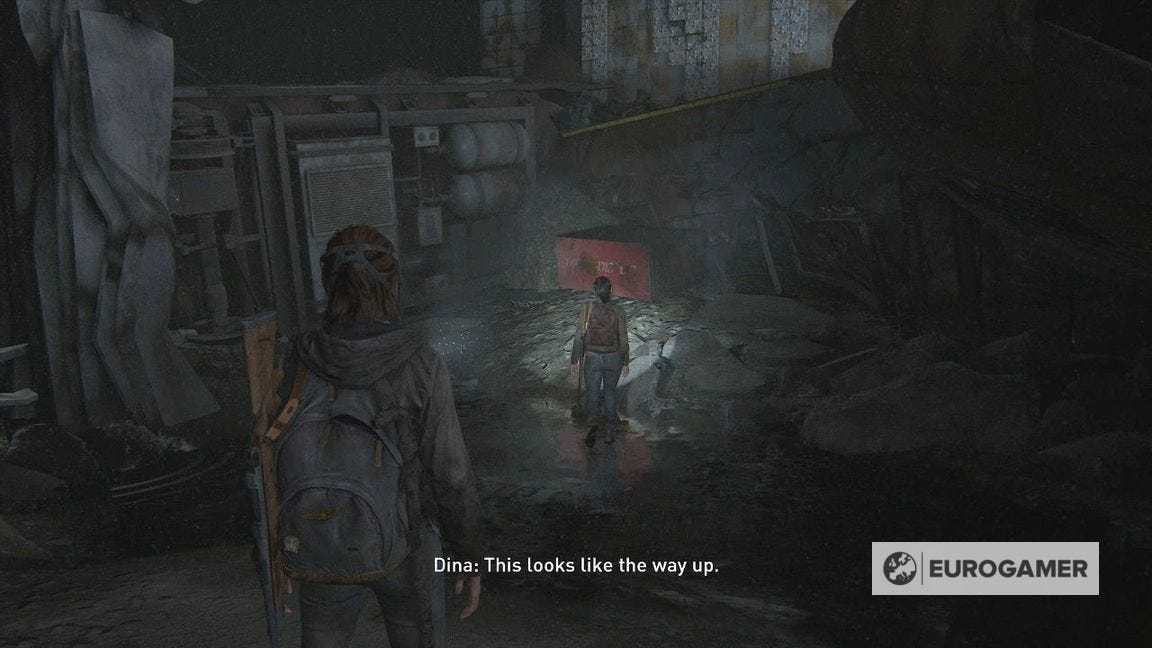
Climb up and follow Dina along the upturned train to a carriage you can walk through.
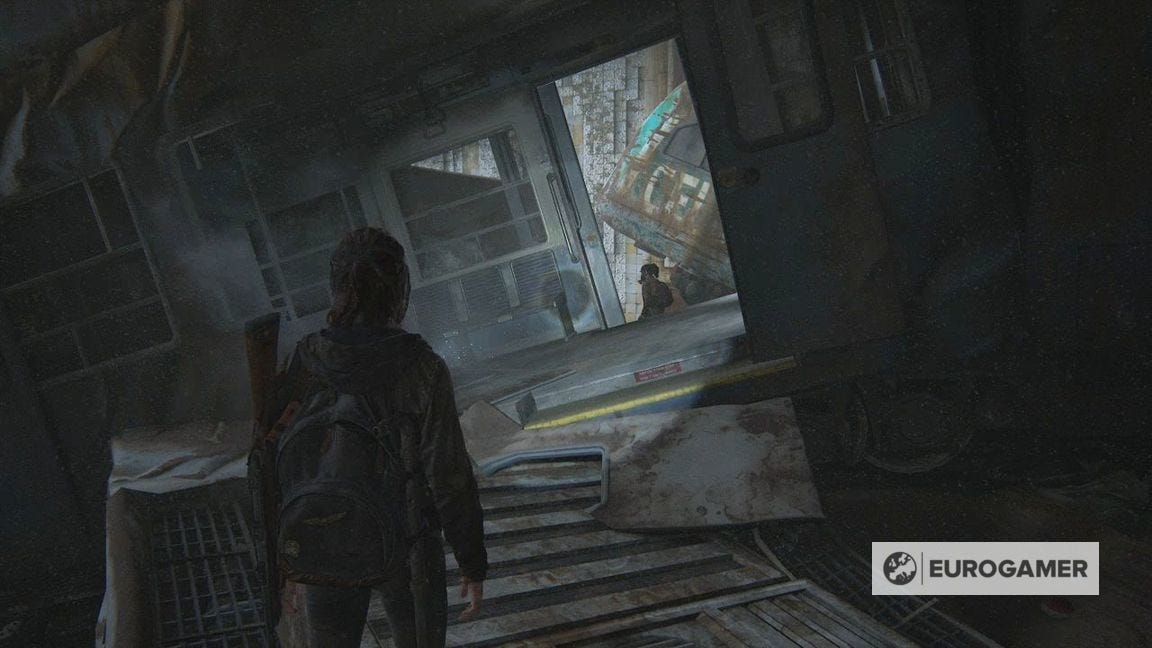
When you enter the train briefly, and before you drop down, look to the right for the Subway Station Note Artefact at the end of the carriage.
Continue on for Dina to boost up and push a crate off. Continue on now for a cutscene. Now just follow Dina as you flee and press the button prompts as you go.

You'll now leave The Tunnels and rest at The Theatre.