Pokémon Brilliant Diamond and Shining Pearl: Great Marsh daily spawns explained and whether to throw bait or mud
Everything you need to know about how the Great Marsh works.


The Great Marsh is Pokémon Brilliant Diamond and Shining Pearl's equivalent to the Safari Zone, allowing you to catch some rare and unusual Pokémon - and pick up some essential items - as you explore its six areas. It also follows on from Pastoria City in your adventure, and our Brilliant Diamond and Shining Pearl walkthrough.
Below we'll explain how the Great Marsh works, including how daily spawns work and where to get any key items on your first visit - and what to do and where to go next if you've come here from our walkthrough guide.
On this page:
Great Marsh explained: how daily spawns work
The Great Marsh is a Safari Zone-like area in Brilliant Diamond and Shining Pearl, accessed via Pastoria City, which is split into six areas with a tram in the centre that will take you to each of them, saving you the walk.
Each entrance to the Great Marsh costs 500 Pokémon Dollars, and you get a limited amount of time in there, measured by the number of steps you take when walking, running, or cycling. That means using the tram is essential if you want to go to some of the deeper areas of the marsh and still have enough steps left over to walk around chasing Pokémon and collecting items.

There's also one central mechanic here that works differently to anywhere else: rare, rotating daily spawns. Here's how that works.
How daily spawns work
Before you acquire the National Pokédex, there are eight special Pokémon spawns that can only occur in the Great Marsh via this method. Each day, an unknown number of them will spawn in the Great Marsh, and those that spawn will be set to only appear in a specific Area (there are six in total).
To find out which rare daily spawn Pokémon are spawning where, you can use the binoculars on the upper floor of the entrance building of the Great Marsh, which cost 100 Pokémon Dollars each time you use them. These do not change the spawns, and you do not need to use them in order for the spawns to appear (we've personally verified this). The binoculars are just a method to help you locate which Area the Pokémon you're after is spawning in that day, so you can head there and run around in the long grass until it appears.
The binoculars, meanwhile, can show any Pokémon that spawns in that area. So, for example: looking through one pair might show Area 1, with a Bibarel. This does not necessarily mean that there are no rare Pokémon spawning in Area 1! Keep re-using those binoculars and it might eventually show a Carnivine, for instance, is also spawning in Area 1 that day.
Below are the rare spawns that can appear. Note that several of these Pokémon, such as Roselia, are catchable elsewhere, while Skorupi for instance can be caught in Pokémon Hideaways in the Grand Underground. Again, several (more than one in total, but possibly less than one for all six Areas at once) can spawn per day, and you don't need to use the binoculars to trigger the spawns.
Rotating Daily Spawn Pokémon
| Pokémon | Availability |
|---|---|
| Carnivine | Random encounter in long grass in a set Area, rotating daily. |
| Croagunk | Random encounter in long grass in a set Area, rotating daily. |
| Toxicroak | Random encounter in long grass in a set Area, rotating daily. |
| Roselia | Random encounter in long grass in a set Area, rotating daily. |
| Staravia | Random encounter in long grass in a set Area, rotating daily. |
| Skorupi | Random encounter in long grass in a set Area, rotating daily. |
| Drapion | Random encounter in long grass in a set Area, rotating daily. |
| Golduck | Random encounter in long grass in a set Area, rotating daily. |
Note that after you get the National Pokédex, another handful of new Pokémon are able to spawn here as Rotating Daily Spawns.
Should you use Bait or Mud in the Great Marsh?
Whether to use Bait or Mud depends on two things: what effect you want, and whether you like to gamble or play things safe.
For starters, let's explain the basics: in the Great Marsh you can't battle or weaken Pokémon, you just find them and get presented with four options: throw a ball, throw Mud, throw Bait, or run away from the battle. Throwing both Bait and Mud has two effects.
- Bait - increases the chance of Pokémon fleeing; increases the chance of you successfully catching it with a ball.
- Mud - decreases the chance of a Pokémon fleeing; decreases the chance of you successfully catching it with a ball.
It might sound backwards, given the word "bait" is used by the game, but basically: throw Mud at Pokémon you don't want to run away. Throw Bait if you want to gamble on them running before you've even had a chance to throw a ball.
Great Marsh Pokémon and item locations
Aside from those new mechanics, the Great Marsh is also a location that you'll need to pass through on your journey through Pokémon Brilliant Diamond and Shining Pearl's main story.
With that in mind, here are the spawns and items in each Area of the Great Marsh, so you can collect absolutely everything you want.
Available Pokémon (standard wild spawns in all all Areas)
| Pokémon | Availability |
|---|---|
| Wooper | Muddy grass |
| Quagsire | Muddy grass |
| Bibarel | Muddy grass |
| Starly | Muddy grass |
| Marill | Muddy grass |
| Psyduck | Muddy grass |
| Budew | Muddy grass (morning and day) |
| Hoothoot | Muddy grass (night) |
| Noctowl | Muddy grass (night, Area 1 and 2 only) |
| Azurill | (Rare) Muddy grass |
| Bidoof | (Rare) Muddy grass |
Items
| Items | Location |
|---|---|
| 3x TM97 Defog | Area 6 - From Ace Trainer just inside the first area as soon as you enter |
| Paralyze Heal | Area 6 - On right of water, drop down from ledge |
| Hyper Potion | Area 6 - Hidden - two steps below Paralyze Heal |
| Antidote | Area 5 - Left of the school boy |
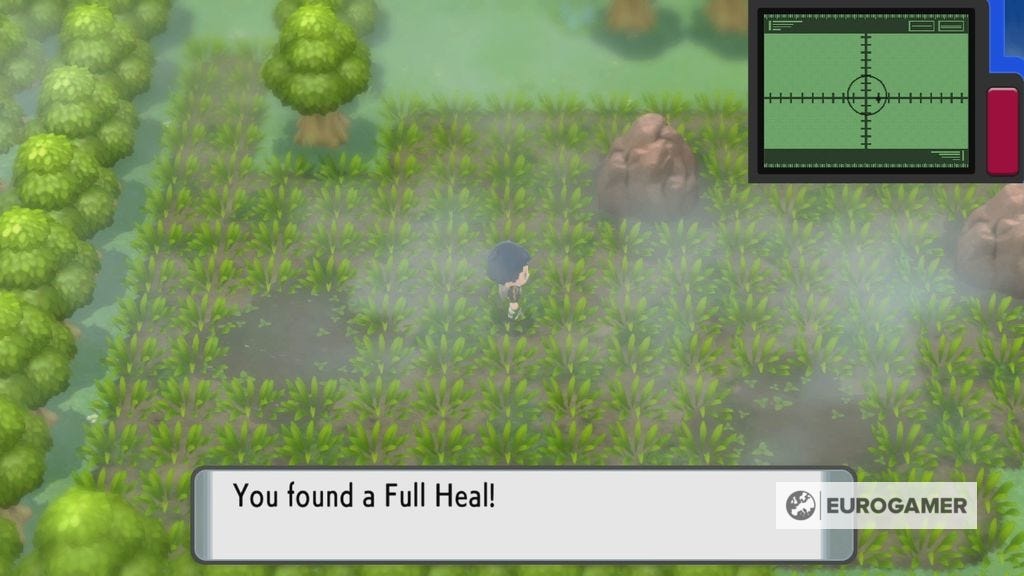
| Full Heal | Area 5 - Hidden in centre of large muddy grass area north-west of Antidote |
| Poké Ball | Area 4 - North of the tram stop near the tracks |
| Super Potion | Area 4 - Far eastern side from tram station |
| Nugget | Area 4 - Hidden - jump down ledge below super potion, in tree top right corner |
| Honey | Area 3 - By man in dungarees in far west corner |
| Ultra Ball | Area 3 - Hidden - head due west of tram station between two muddle puddles |
| Toxic Plate | Area 2 - Hidden - in trees in far northernmost wall, near Parasol Lady |
| Great Ball | Area 2 - Just east of tram stop |
| Potion | Area 1 - Above ledge just west of tram stop |
| Super Repel | Area 1 - Due north of Potion on northernmost tree wall |
| Rare Candy | Area 1 - Hidden - far north-easternmost corner of area in grass |
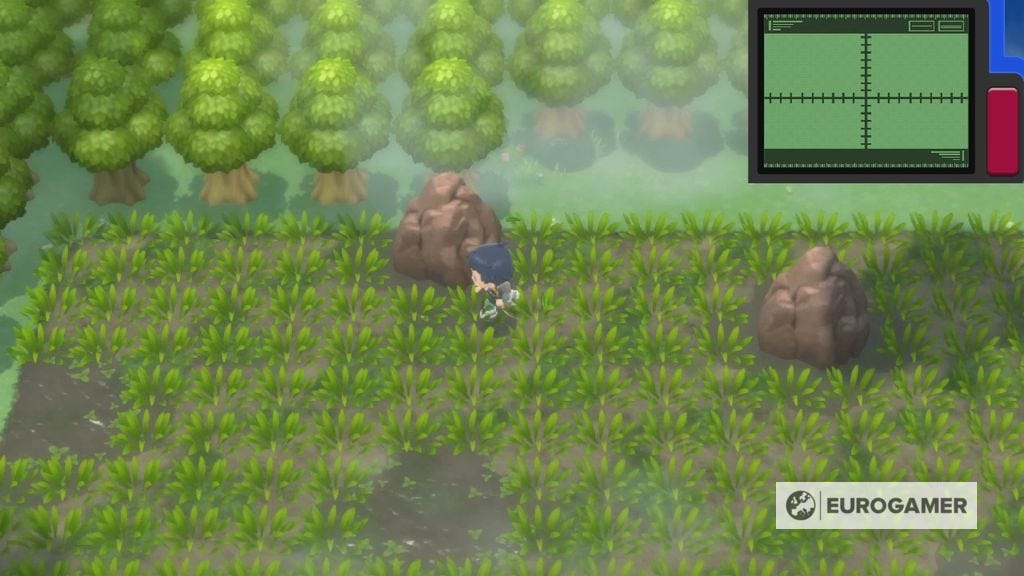
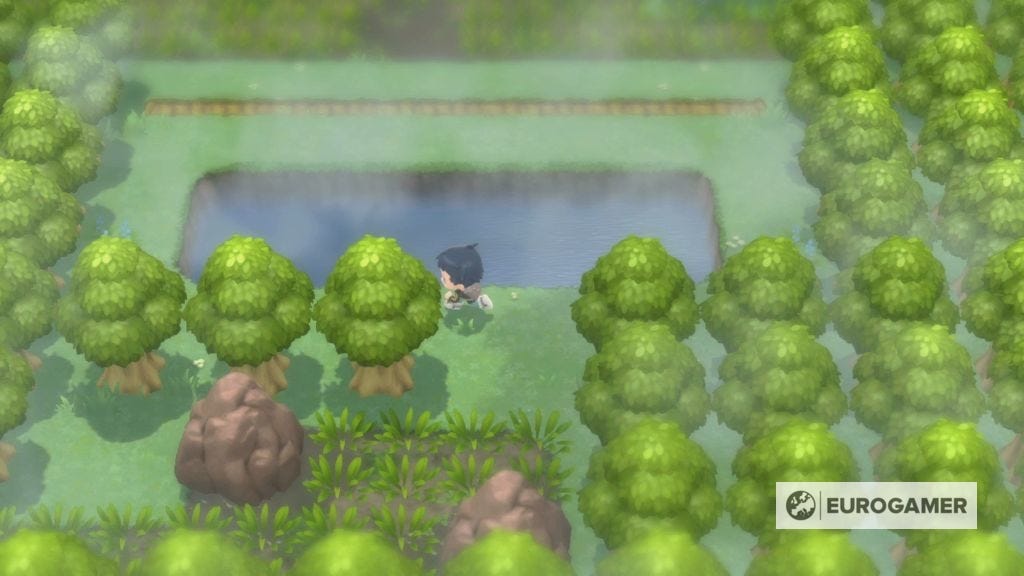
Here are what the areas look like for reference. Area 1 is listed first in these images, and is the back left in-game. Area 2 is back-right in the game. Area 3 is middle-left. Area 4 is middle-right. Area 5 is bottom-left. Area 6 is bottom-right.
Areas 1 and 2.
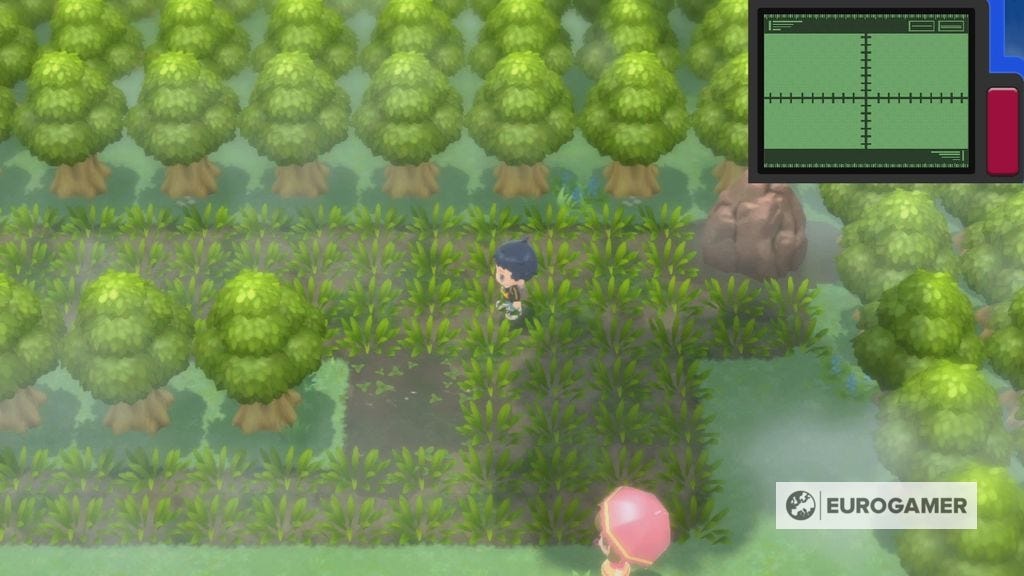
Areas 3 and 4.
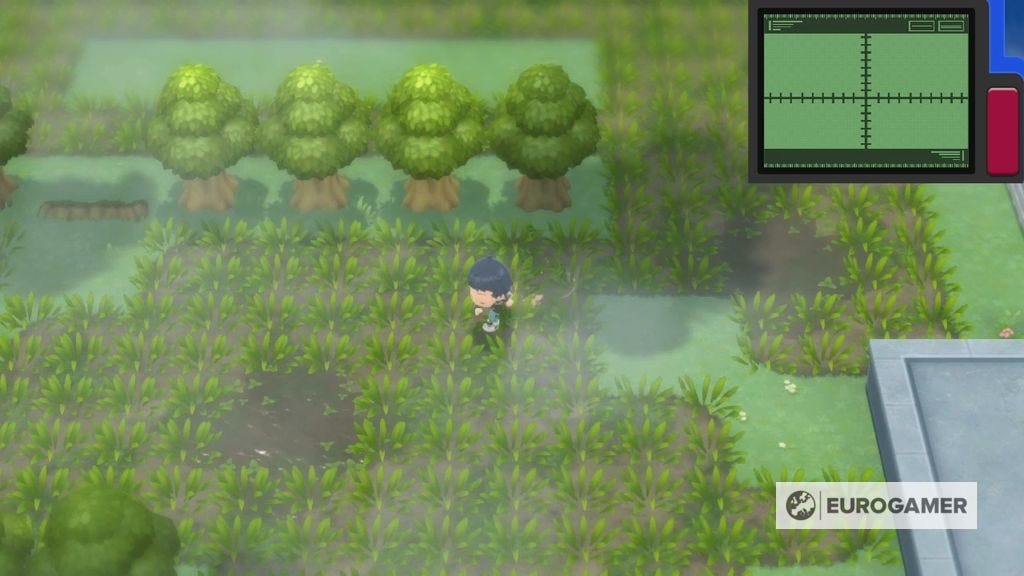
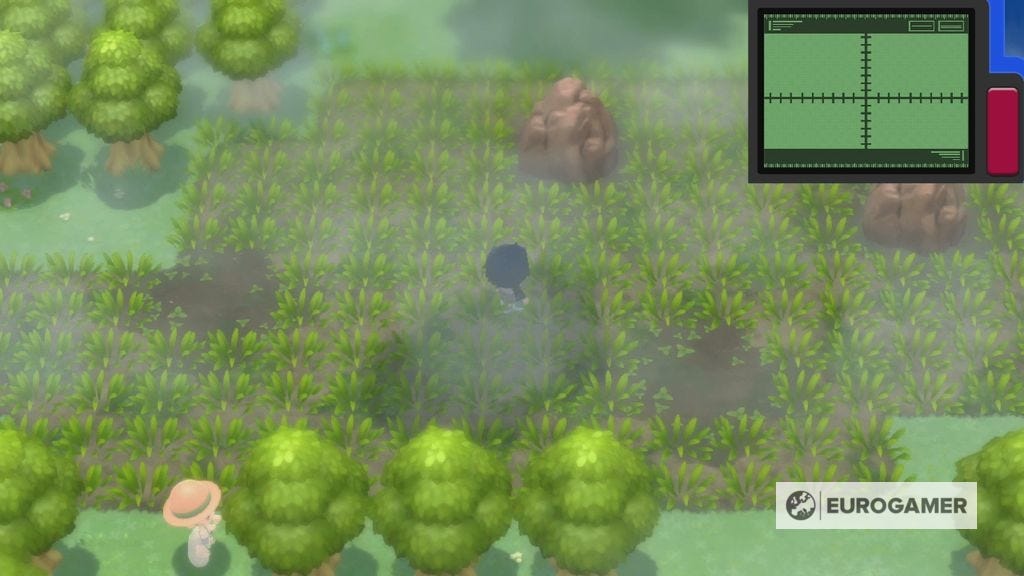
Areas 5 and 6.
If you've collected everything you want here - the main thing is to get Defog for your Pokétch by talking to the Ace Trainer as soon as you enter! - then that's you sorted in terms of main story progress, and it's on to the next objective. Head back to our page of Pastoria City and take on the Gym if you haven't already, or skip to the "After defeating Gym Leader Crasher Wake" section on that page if you already have!
For more guides and links to the rest of our walkthrough pages meanwhile, return to our main Pokémon Brilliant Diamond and Shining Pearl walkthrough hub.