How to unlock and upgrade the glider in Rise of the Ronin
Samurai heights.
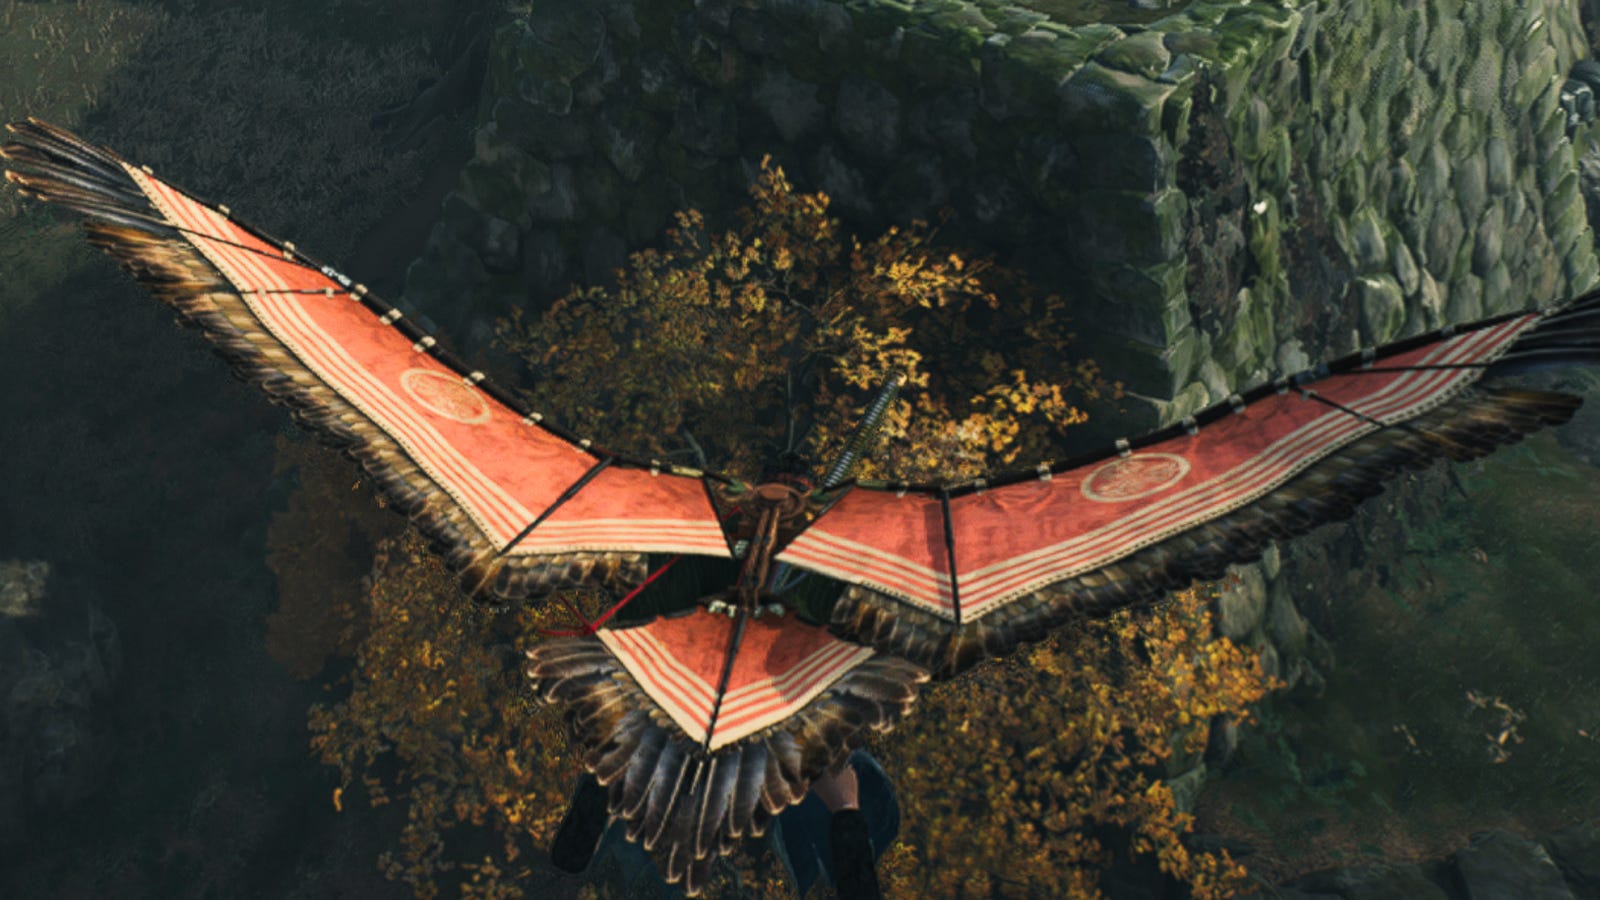

The glider has become a staple of many open world games, and sure enough, it's an important contraption in Rise of the Ronin's 19th century Japan. It's a great way for traversing the world, although you can also develop it to be even more effective.
It's one of many contraptions that can be upgraded by the inventor Igashichi Iizuka in Rise of the Ronin, whose inventions include the camera, the fire pipe, and the detector, although the glider is one that you will find for yourself before taking it to him.
This guide will explain how to unlock the glider in Rise of the Ronin, the upgrades available and how to unlock them.
On this page:
How to unlock the glider in Rise of the Ronin
The glider, or Avicula as the contraption is officially known as in-game, can be unlocked as early as the very first mission in Yokohama after the prologue, 'The Bridge to Yokohama', and is an essential requirement before beginning the story mission 'Locating the Camera'. Despite being an essential contraption, it's also possible to miss it before having to backtrack and acquire it later.
As you follow the waypoint in 'The Bridge to Yokohama' and reach the guard barring the way across the bridge to reach the city itself, you'll have to look for a checkpoint permit. Continuing this mission takes you to Ishikawa where you first encounter an eccentric ronin who later reveals himself to be Ryoma Sakamoto. Follow him to a magistrate's estate that's been occupied by bandits and you'll begin the mission 'Curtain Falls, Curtain Rises'.
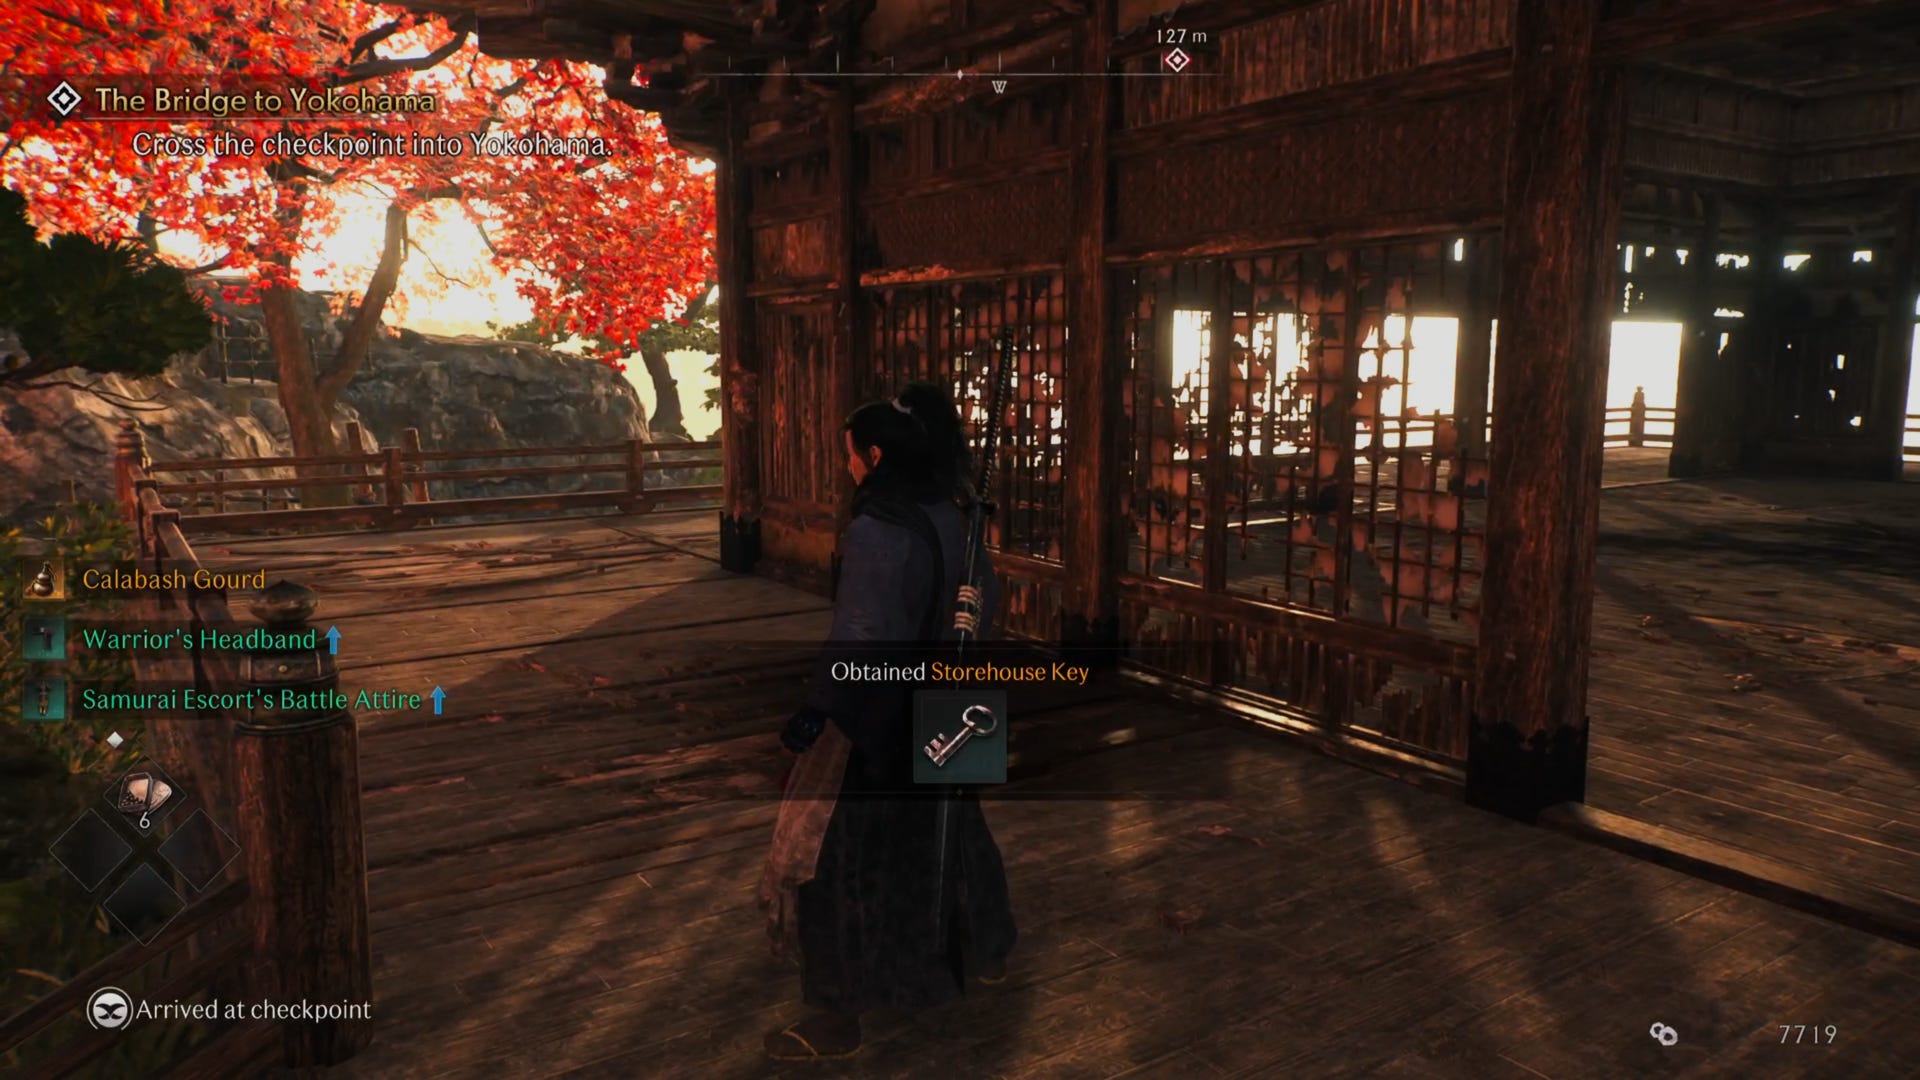
Towards the end of this mission, just before you head up to a building to fight the mission boss Gonzo, there is a path to the right that leads down to a storeroom that is locked. Upon defeating Gonzo, where you have the choice of sparing or killing him (pick the former if you want to establish a bond with him later), you'll receive rewards, including a checkpoint permit and a storehouse key.
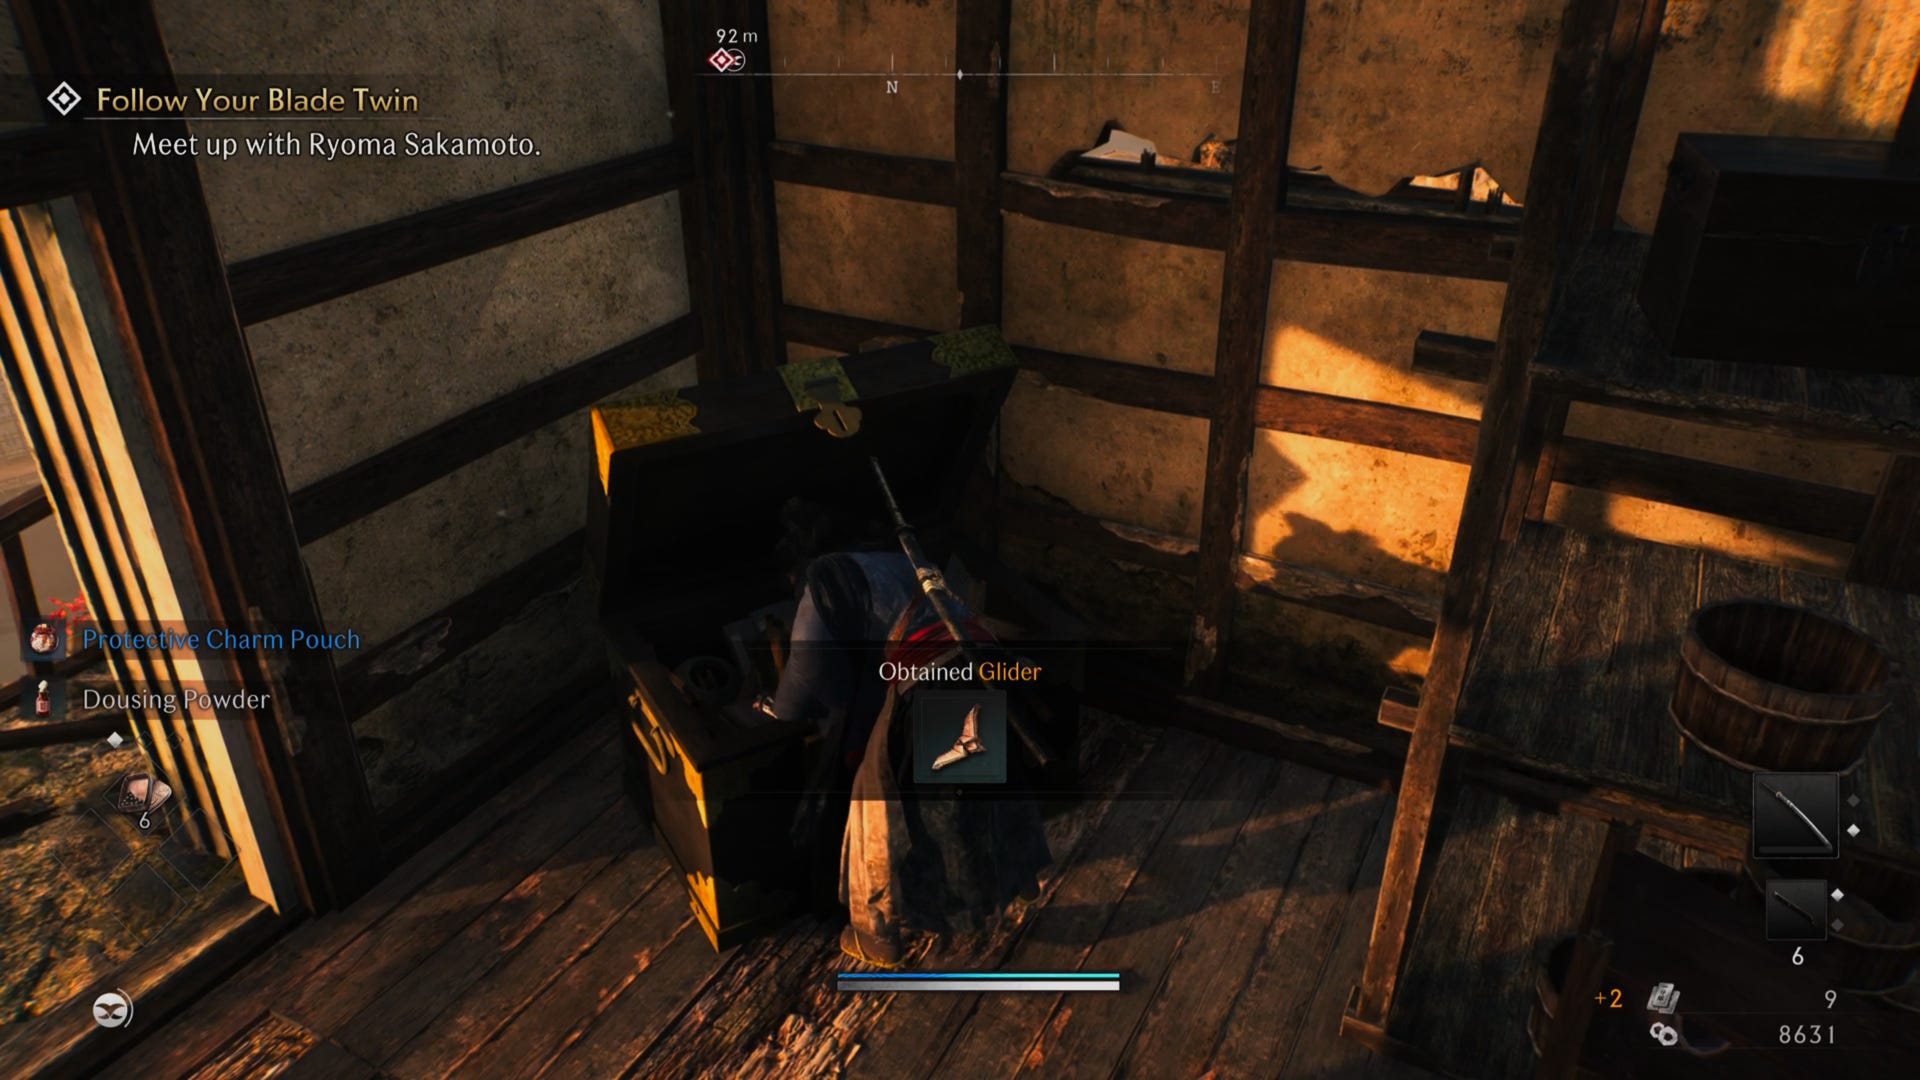
While you might want to just fast-travel back to the city checkpoint and hand in your permit, backtrack to the storehouse from earlier instead. You can now open the door where, among the loot, is a chest containing the glider.
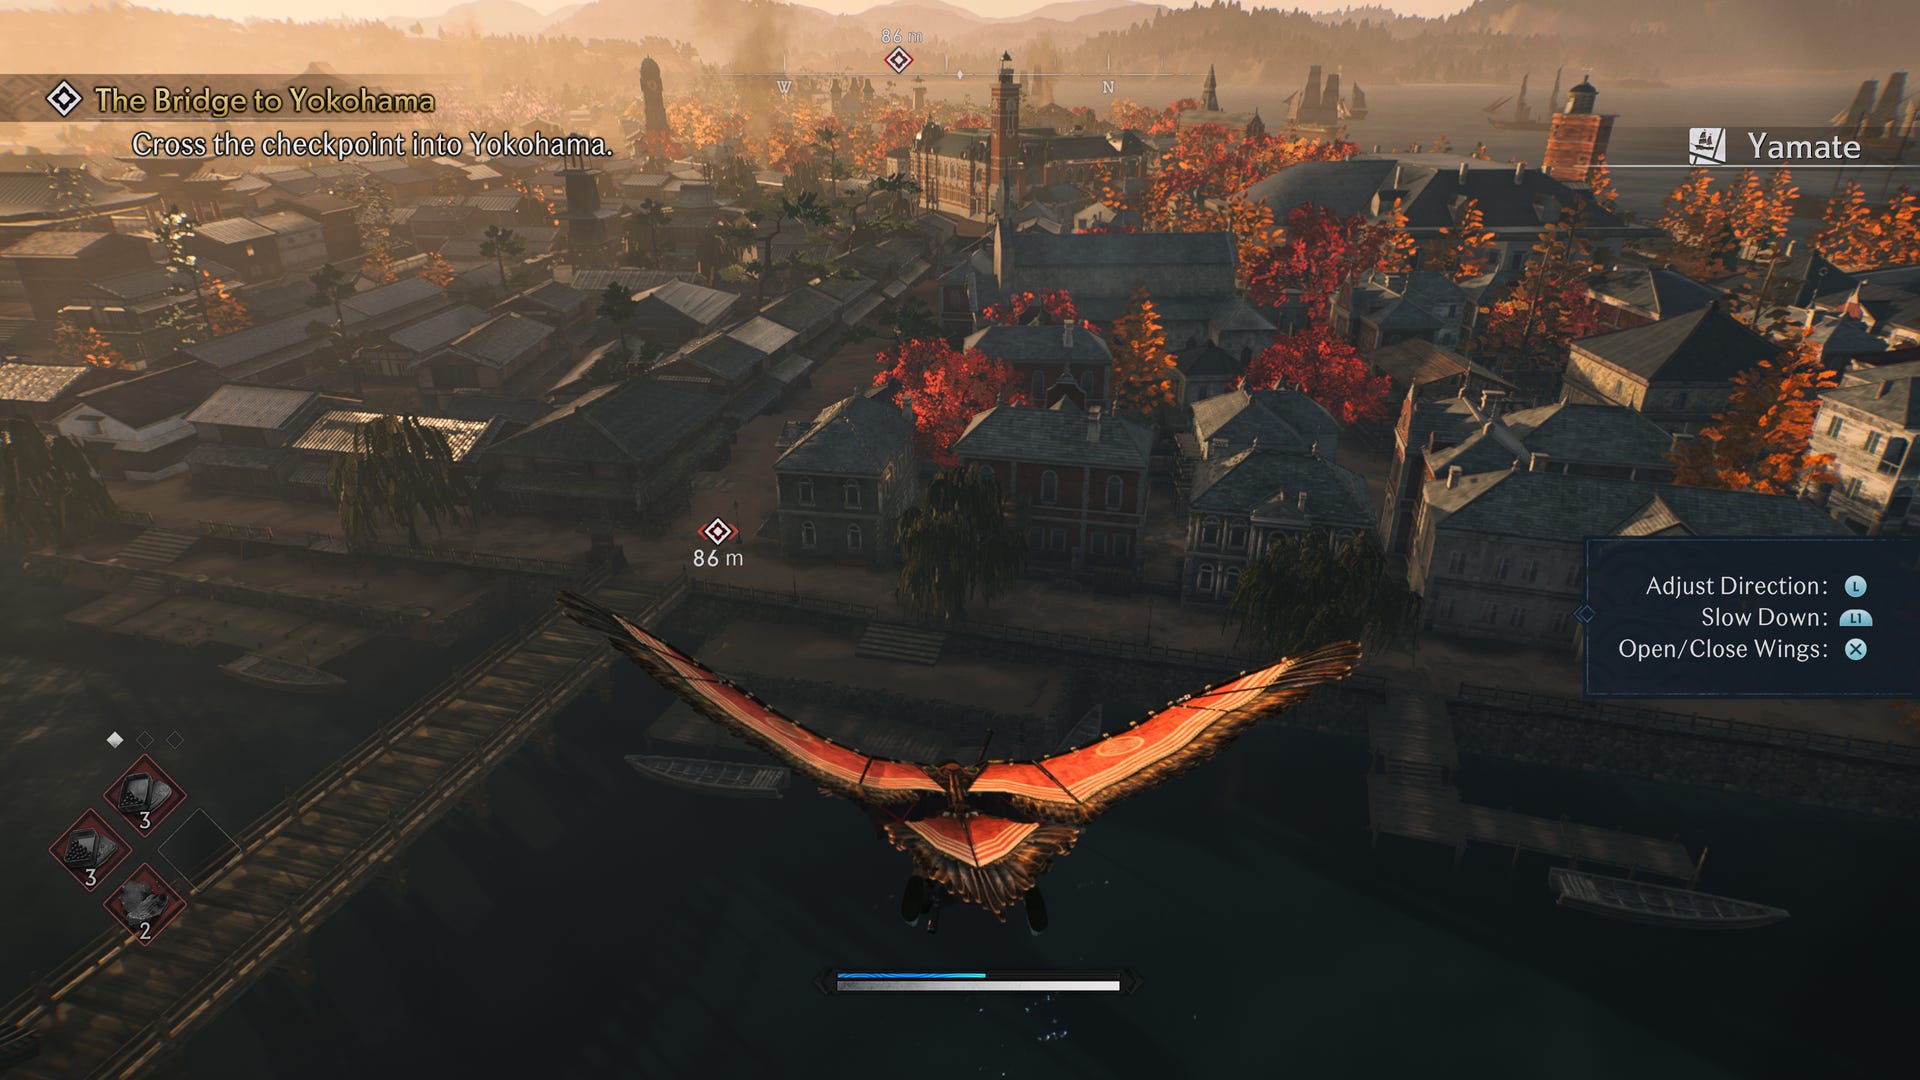
Once you have it, you can use it immediately just by pressing X when you're already in the air. Better still, the storehouse leads out to a platform overlooking the checkpoint bridge so that you can test it out straight away. After all that, you can just glide across to the city of Yokohama without giving the guard a permit!
How to upgrade the glider in Rise of the Ronin
While the glider is a great tool for traversal, it's not the fastest and consumes your Ki meter. But once you meet Igashichi, you will be able to speak to him at his workshop to upgrade the glider, among other things.
Technology development upgrades are available upon completing the mission 'Locating the Camera'. Igashichi is always located in the same building as the photographic studio. In Yokohama, this is in the Honcho area, not far from Miyozaki pleasure district.
Unlocking upgrades usually requires some money but also can depend on your bond level with Igashichi, as well as obtaining a number of foreign books, obtained from quests in the game or from chests as you explore the world.
Assassination (Gliding)
This upgrade allows you to assassinate enemies while gliding above them. This is automatically obtained at the start of 'Locating the Camera'.
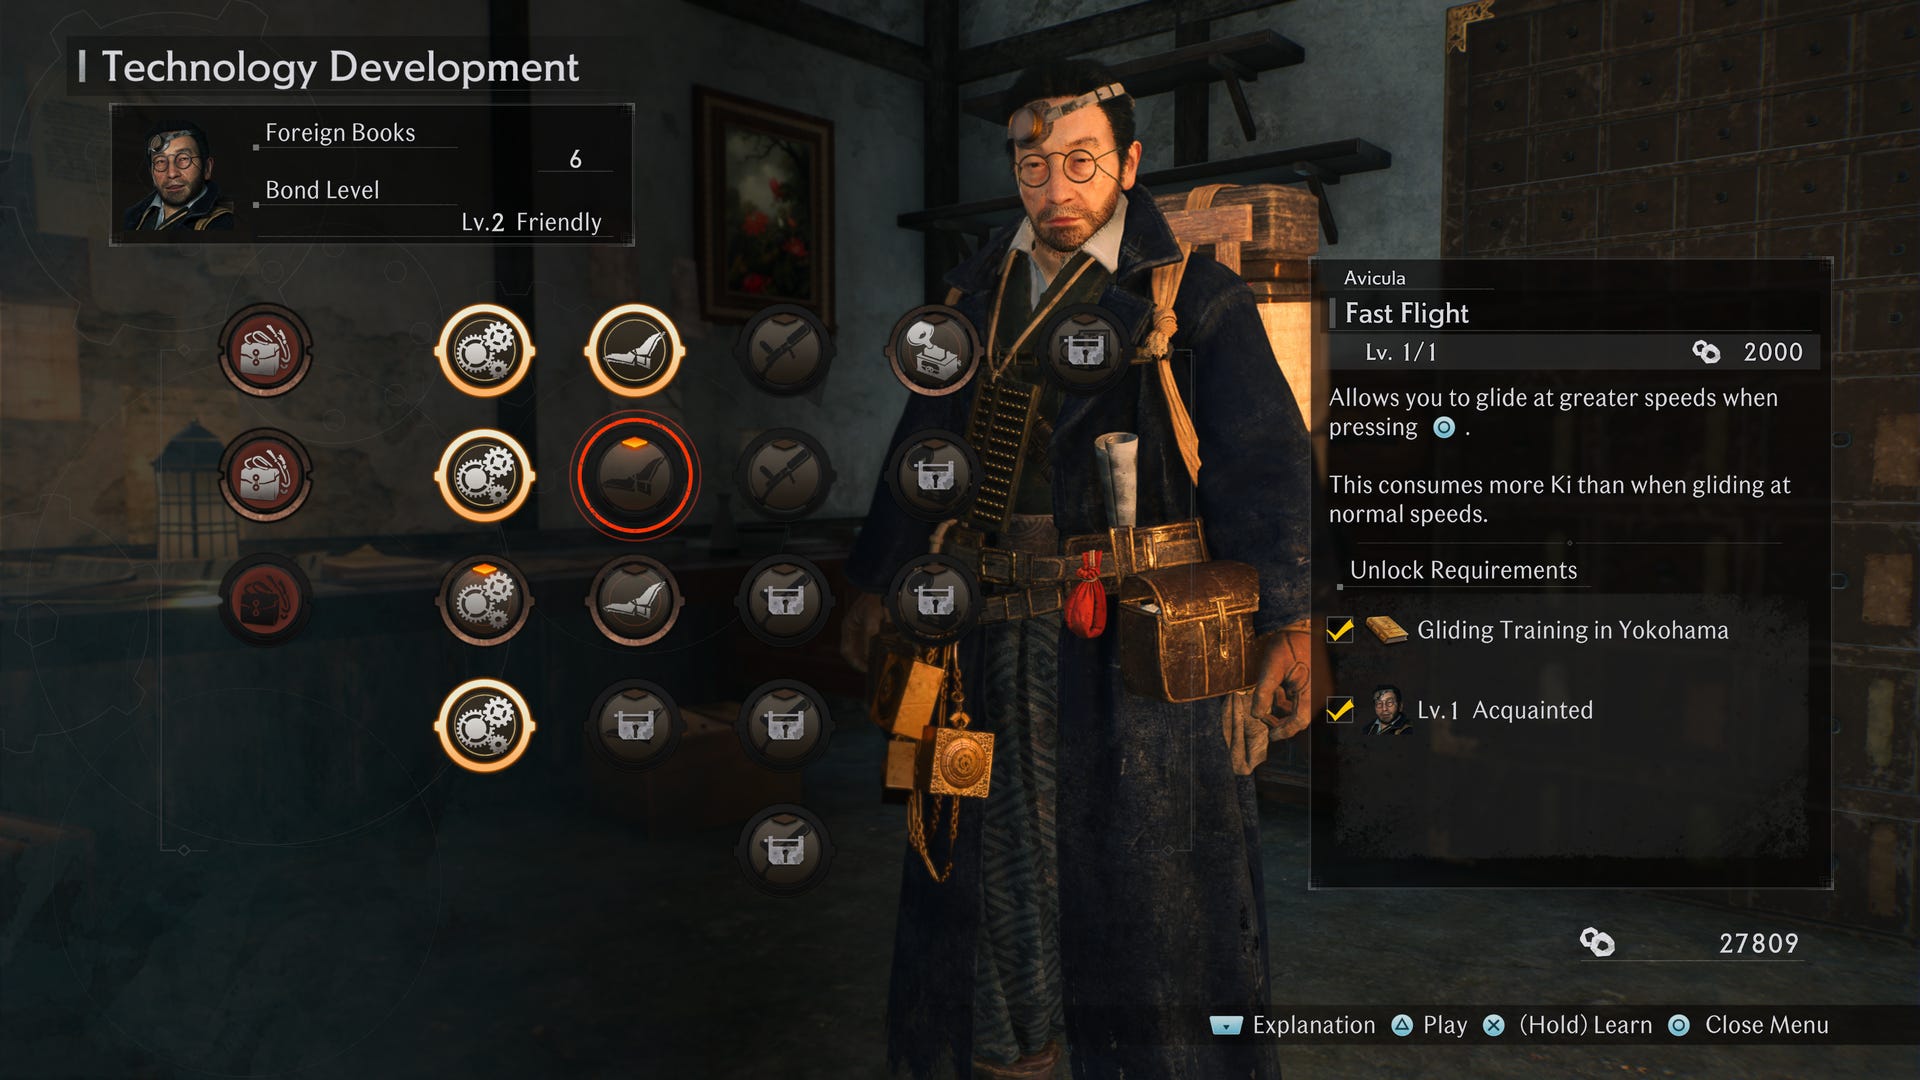
Fast Flight
This allows you to glide at greater speed when holding Circle, though will consume more Ki as a result. Unlocking this requires 2,000 coins and a Level 1 bond level. These two you should have with no problem, but you will also need a key item called 'An Illustrated Look at Flight'. Just to make things confusing, the requirement it states in the menu is 'Gliding Training in Yokohama'.
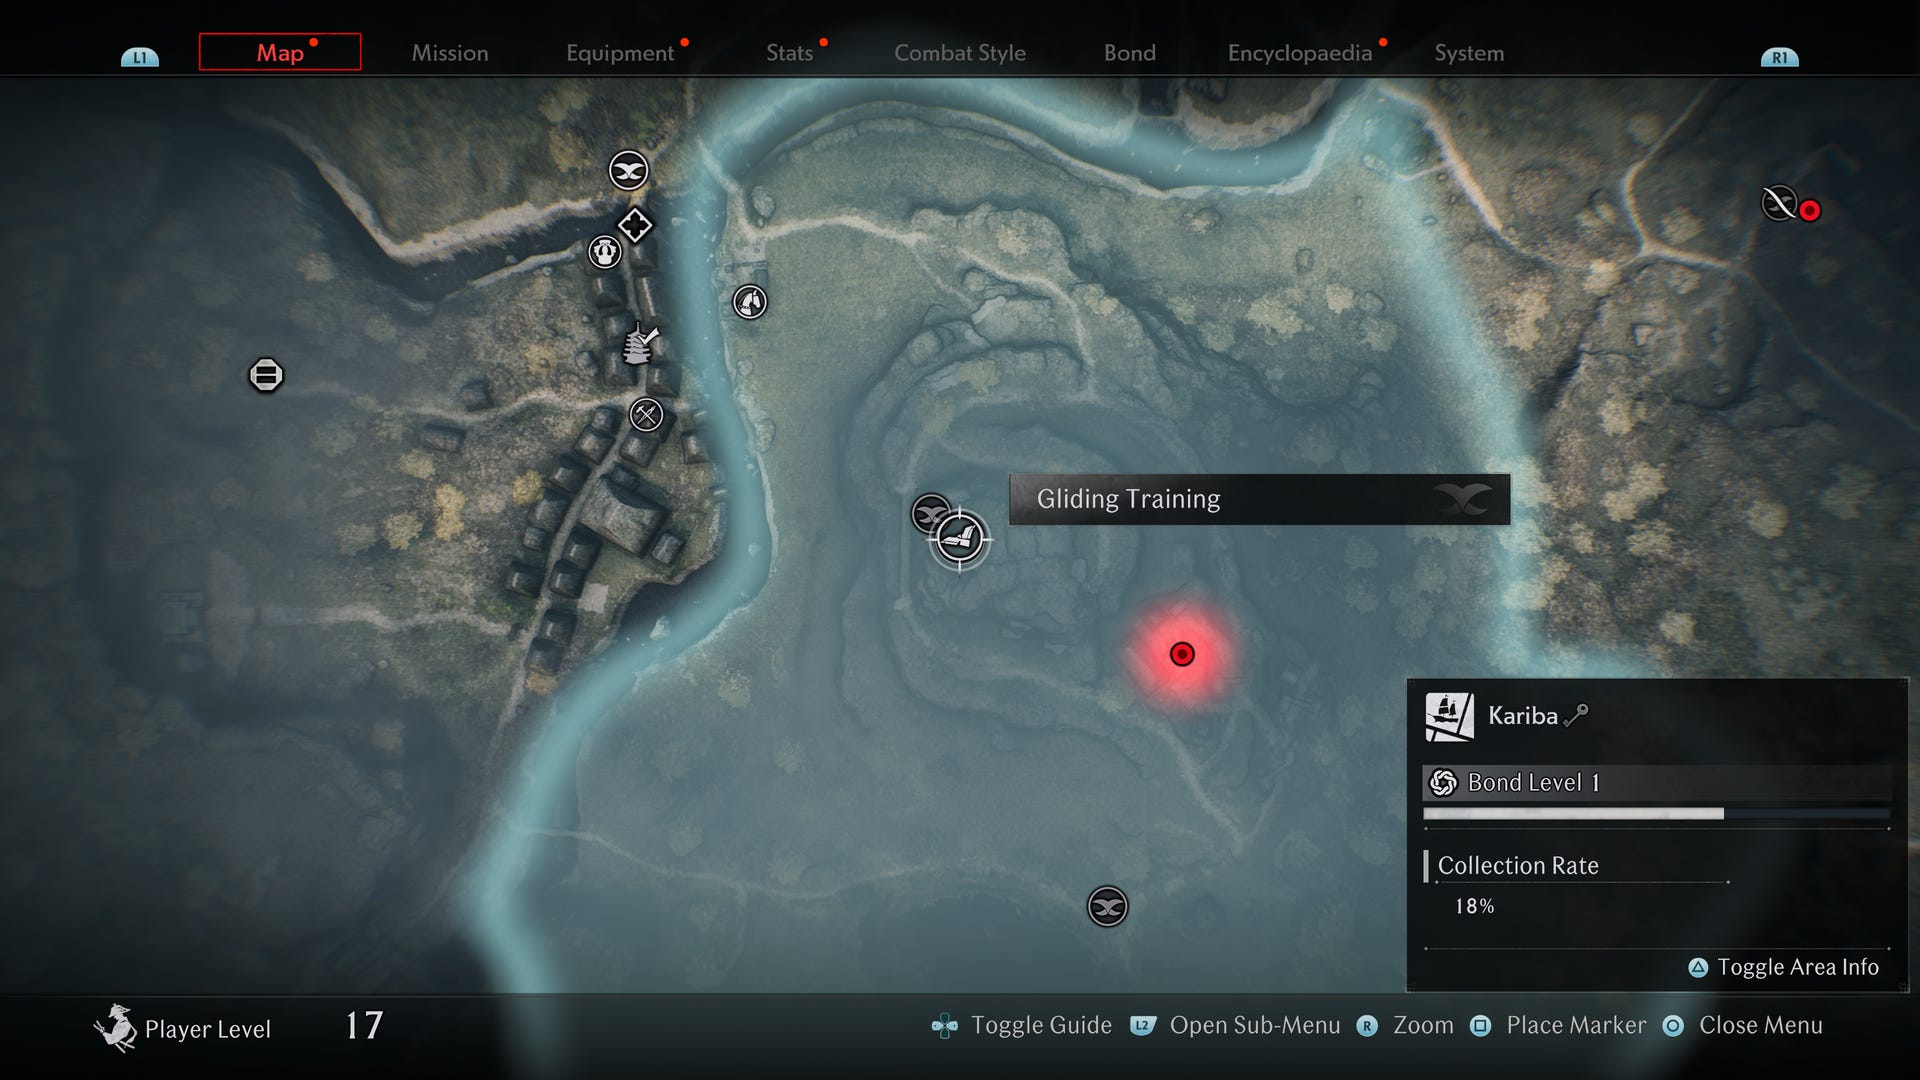
That does, however, point you in the right direction as the key item has to be won from a gliding training challenge. There is, however, more than one of these training challenges in Yokohama, so the one you're after is found in an area called Kariba. You may need to have completed some activities in the area before the gliding icon indicating its location appears on the map, to the north of the area at the top of a hill with a windmill. There's also a Veiled Edge banner at the top so you can more conveniently reach the gliding training challenge again.
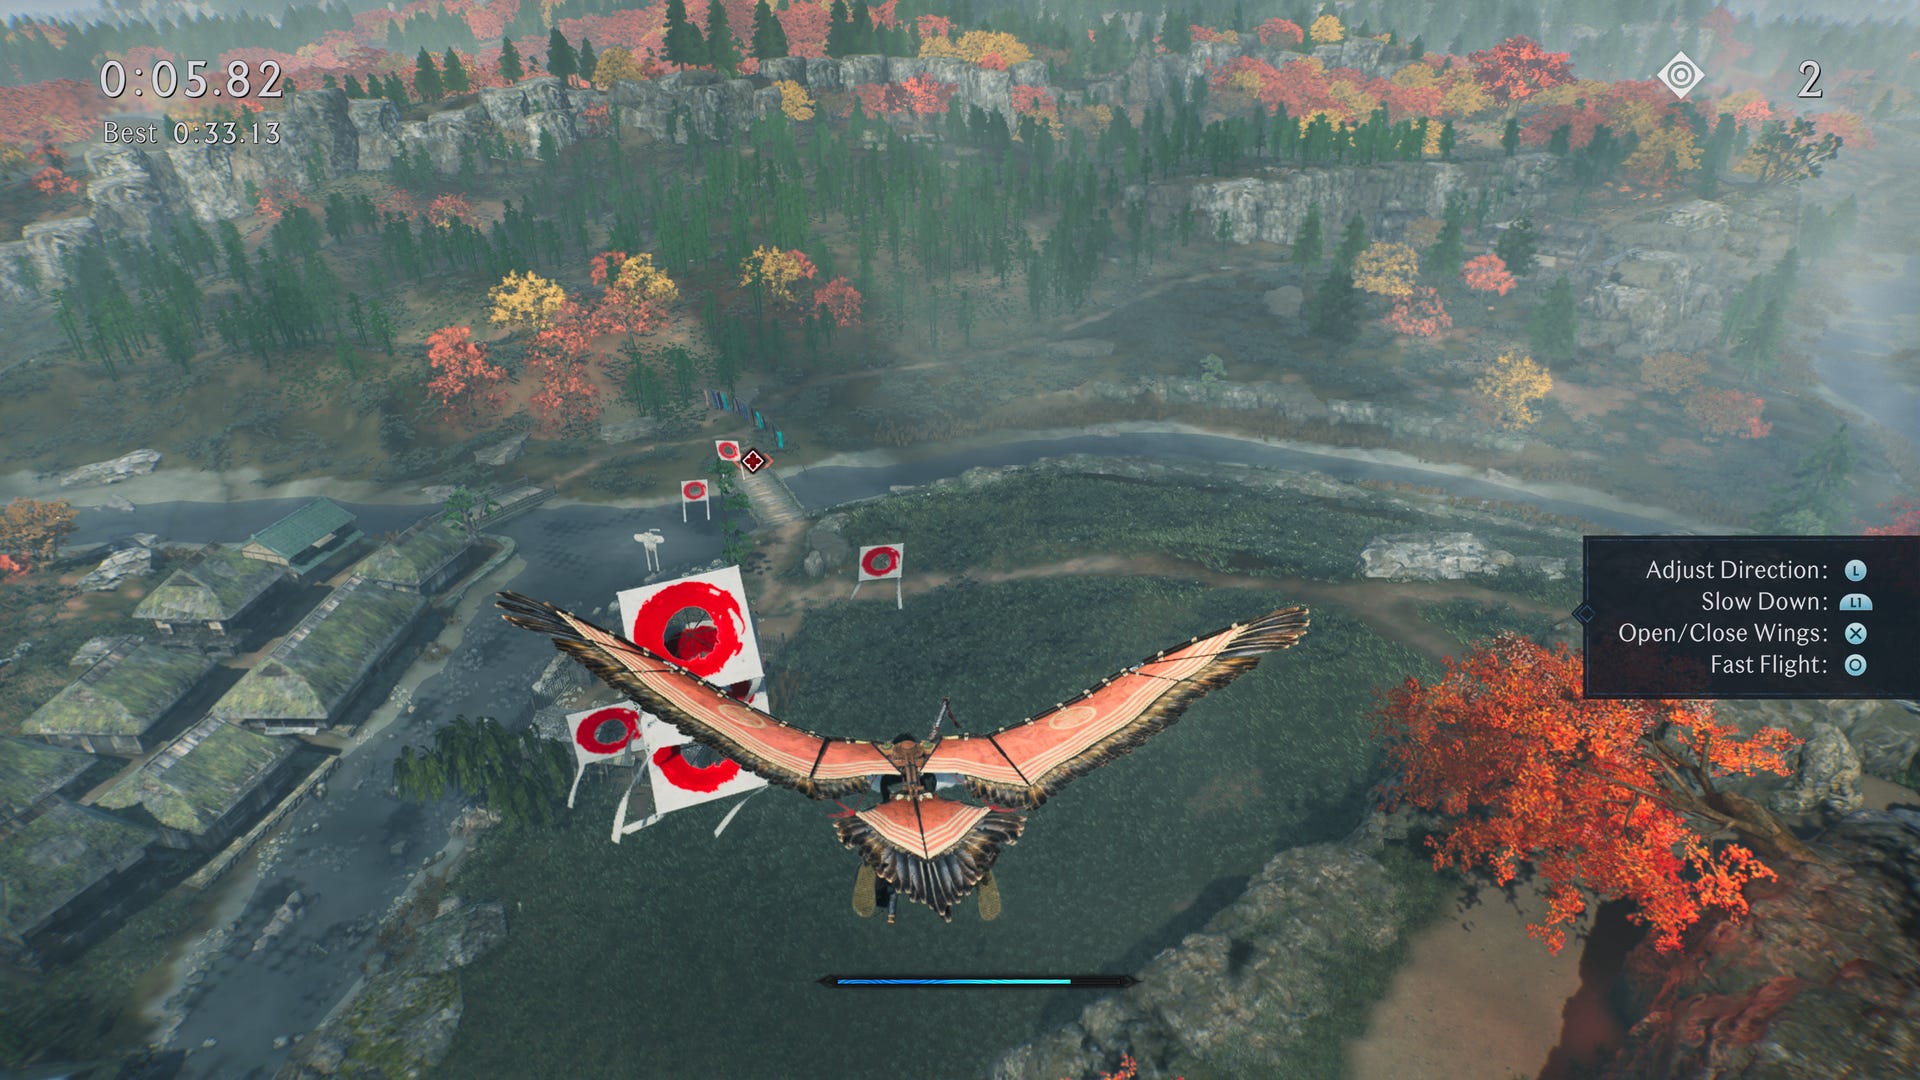
For the challenge, you need to glide through as many paper kite targets as possible while landing at the designated point in good time. You need 6,000 points to be awarded 'An Illustrated Look At Flight', which might sound like a lot but basically translates to hitting at least six of the target kites, and as other rewards require higher scores of 7,500 and 9,000 respectively, it's definitely the least difficult to achieve.
Once you've completed the challenge and been awarded the key item, fast travel back to see Igashichi.
Reduce Ki Consumption
Another really useful skill that reduces Ki consumption while gliding so you can travel even further in the air. This upgrade has three levels, Level 1 reducing Ki consumption by 5%, Level 2 reducing Ki consumption by 10%, and Level 3 reducing Ki consumption by 20%.
Level 1 unlock requirements:
- 5 Foreign books
- Level 1 bond with Igashichi
- 3,000 coins
Level 2 unlock requirements:
- Level 2 bond with Igashichi
- 4,000 coins
Level 3 unlock requirements:
- Level 3 bond with Igashichi
- 6,000 coins
(If you forget this upgrade but meet all the above requirements, you can unlock Level 3 reduced Ki consumption with 13,000 coins in one go.)
Bomb While Gliding
This upgrade is unlocked later in the story after you have left Yokohama - though precisely when this occurs is unclear. It allows you to drop earthenware balls from the air while gliding. Unlocking this requires 4,000 coins, 30 Foreign books and just a level 1 bond with Igashichi.
That's it for the glider upgrades. But there's plenty of other tools you can upgrade in Rise of the Ronin to help you out in exploring the world or have you better equipped on deciding Japan's historical path.