Final Fantasy 16 Sleipnir boss strategy
No horsing around.
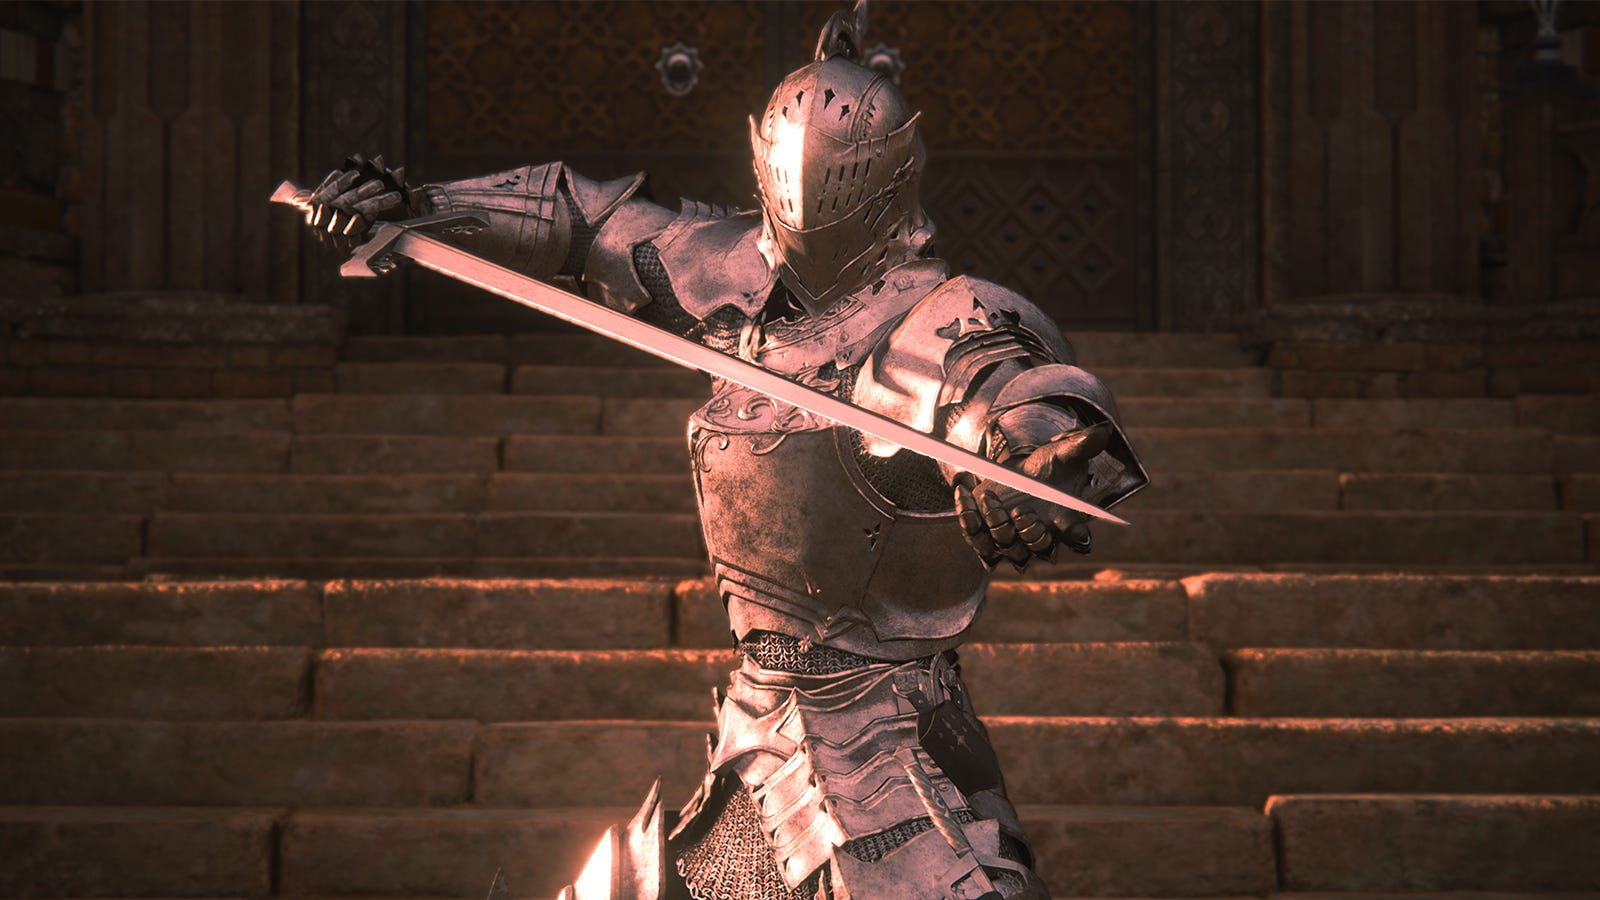

In Norse legend, Sleipnir is a mighty horse belonging to the all-father Odin, and has also been portrayed in that way in past Final Fantasy titles. But while the Odin associations are still relevant, the Sleipnir you encounter in Final Fantasy 16 takes on a rather different form, and is also one of the game’s trickier bosses.
You’ll face Sleipnir at the end of The Free Cities of Kanver stage during the main scenario quest 'Cloak and Dagger' in Final Fantasy 16. By this point in the game you’ll have the power of five Eikons to aid you in this fight, so there are different ways to approach it too.
Below you’ll learn how to defeat Sleipnir in Final Fantasy 16, along with how to prepare for this slippery opponent.
On this page:
How to prepare for Sleipnir in Final Fantasy 16
Sleipnir is one of the more difficult bosses you’ll go up against in Final Fantasy 16 as something of an old-fashioned duel against a very formidable opponent as opposed to a huge monster or Eikon vs Eikon clash.
If you haven’t already, we recommend increasing the size of Clive’s inventory by completing the Weird Science quest, so that you’ll have more potions for this fight. Even if the encounters during the level might also deplete your potion supply, in the event you get a Game Over, you’ll at least get to retry the fight with a fully replenished supply.
Of the five Eikons you have, both Phoenix and Garuda are probably essential to have equipped, as you’ll be able to warp-shift in and use Flames of Rebirth to regain health with the former and also use Deadly Takedown and Rook’s Gambit for countering with the latter.
For the third slot, it’s a toss-up between Titan or Bahamut, though it will be dependent on your playstyle. For melee-focused players who like to parry, the former’s Titanic Block is too good to pass up against Sleipnir’s attacks, while Wind-up does great damage when you have an opening to punish.
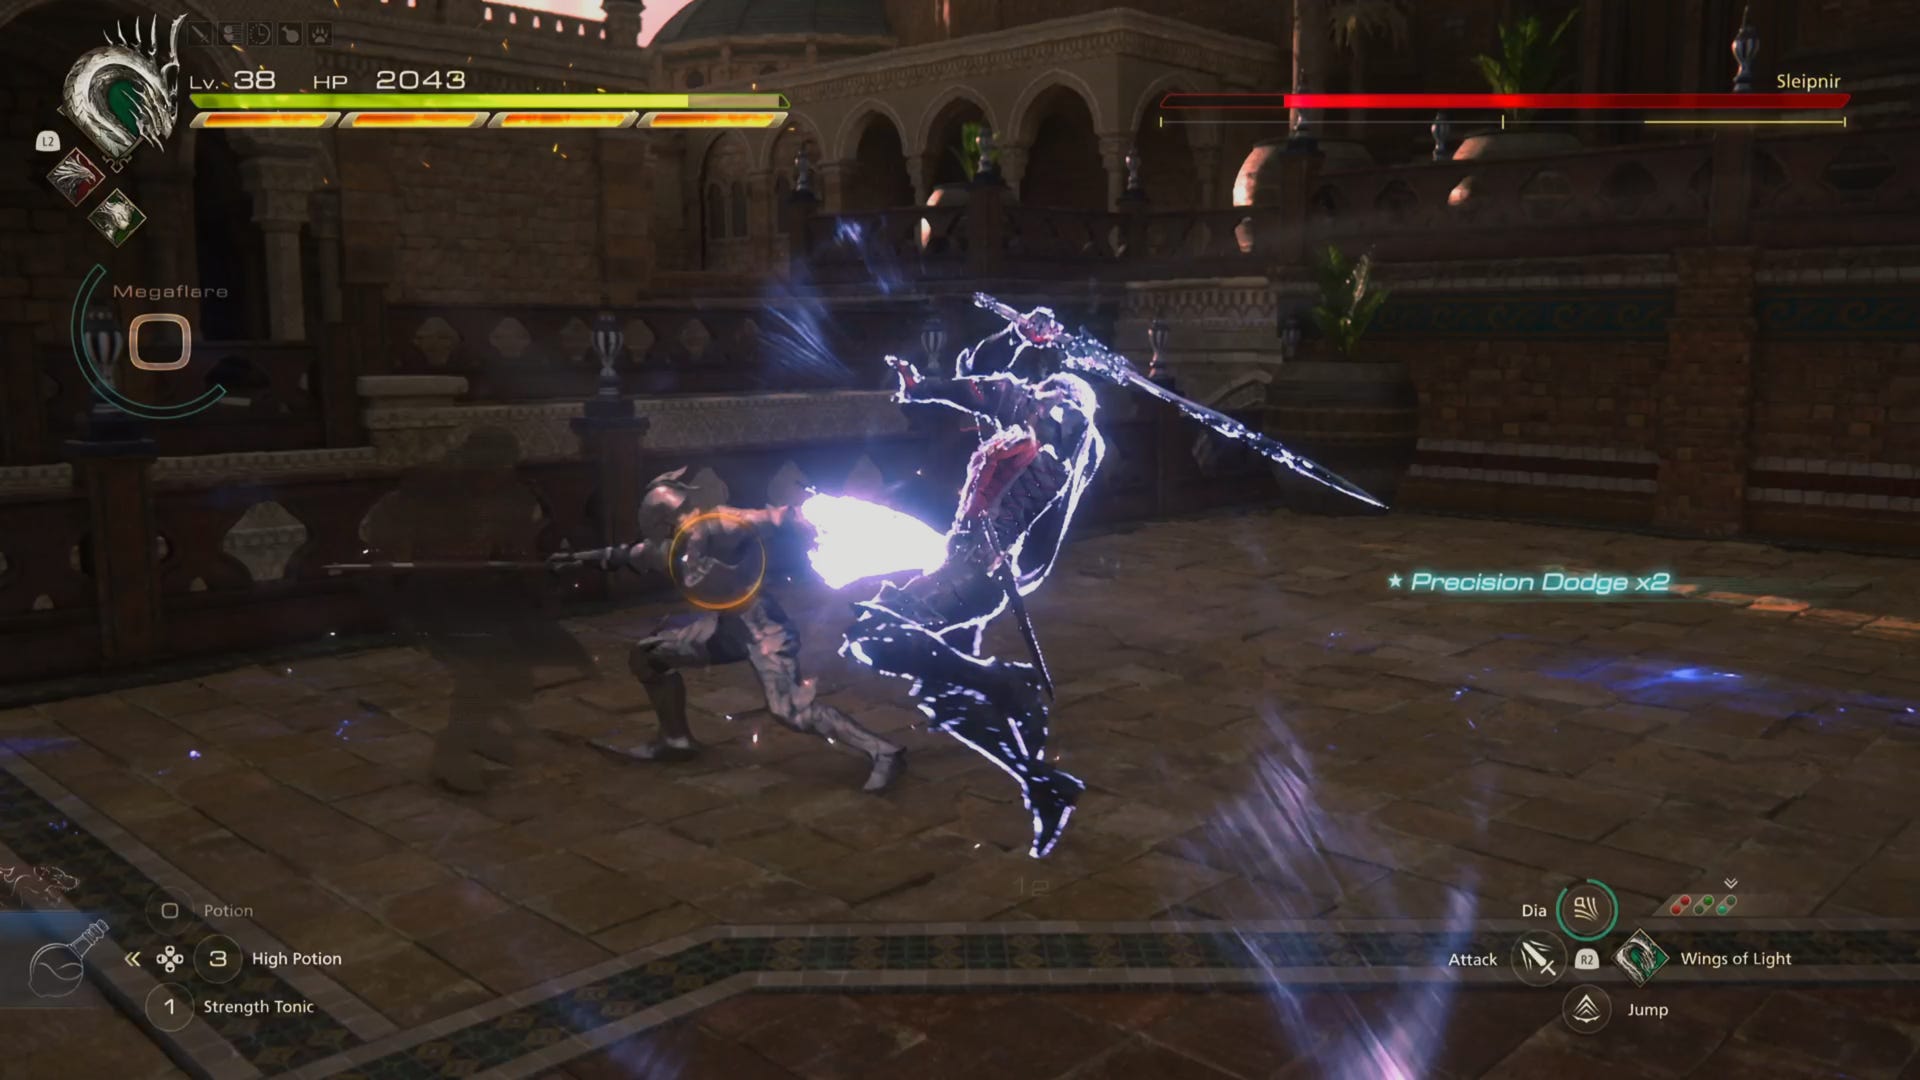
For players who prefer to keep their distance and evade attacks, Bahamut’s Wings of Lights starts casting Megaflare when activated. It also charges up faster every time you get a precision dodge, and the higher the level (which can be mastered to Level 4), the more effective it is. Conversely, getting hit can also lower the charge gauge, so waiting for this to be cast can drag out the fight if you’d rather just get stuck in.
In any case, make your decision and spend any ability points before you enter the courtyard where the battle takes place, as you won’t be able to change Eikons once the cutscene begins or during the fight.
How to defeat Sleipnir in Final Fantasy 16
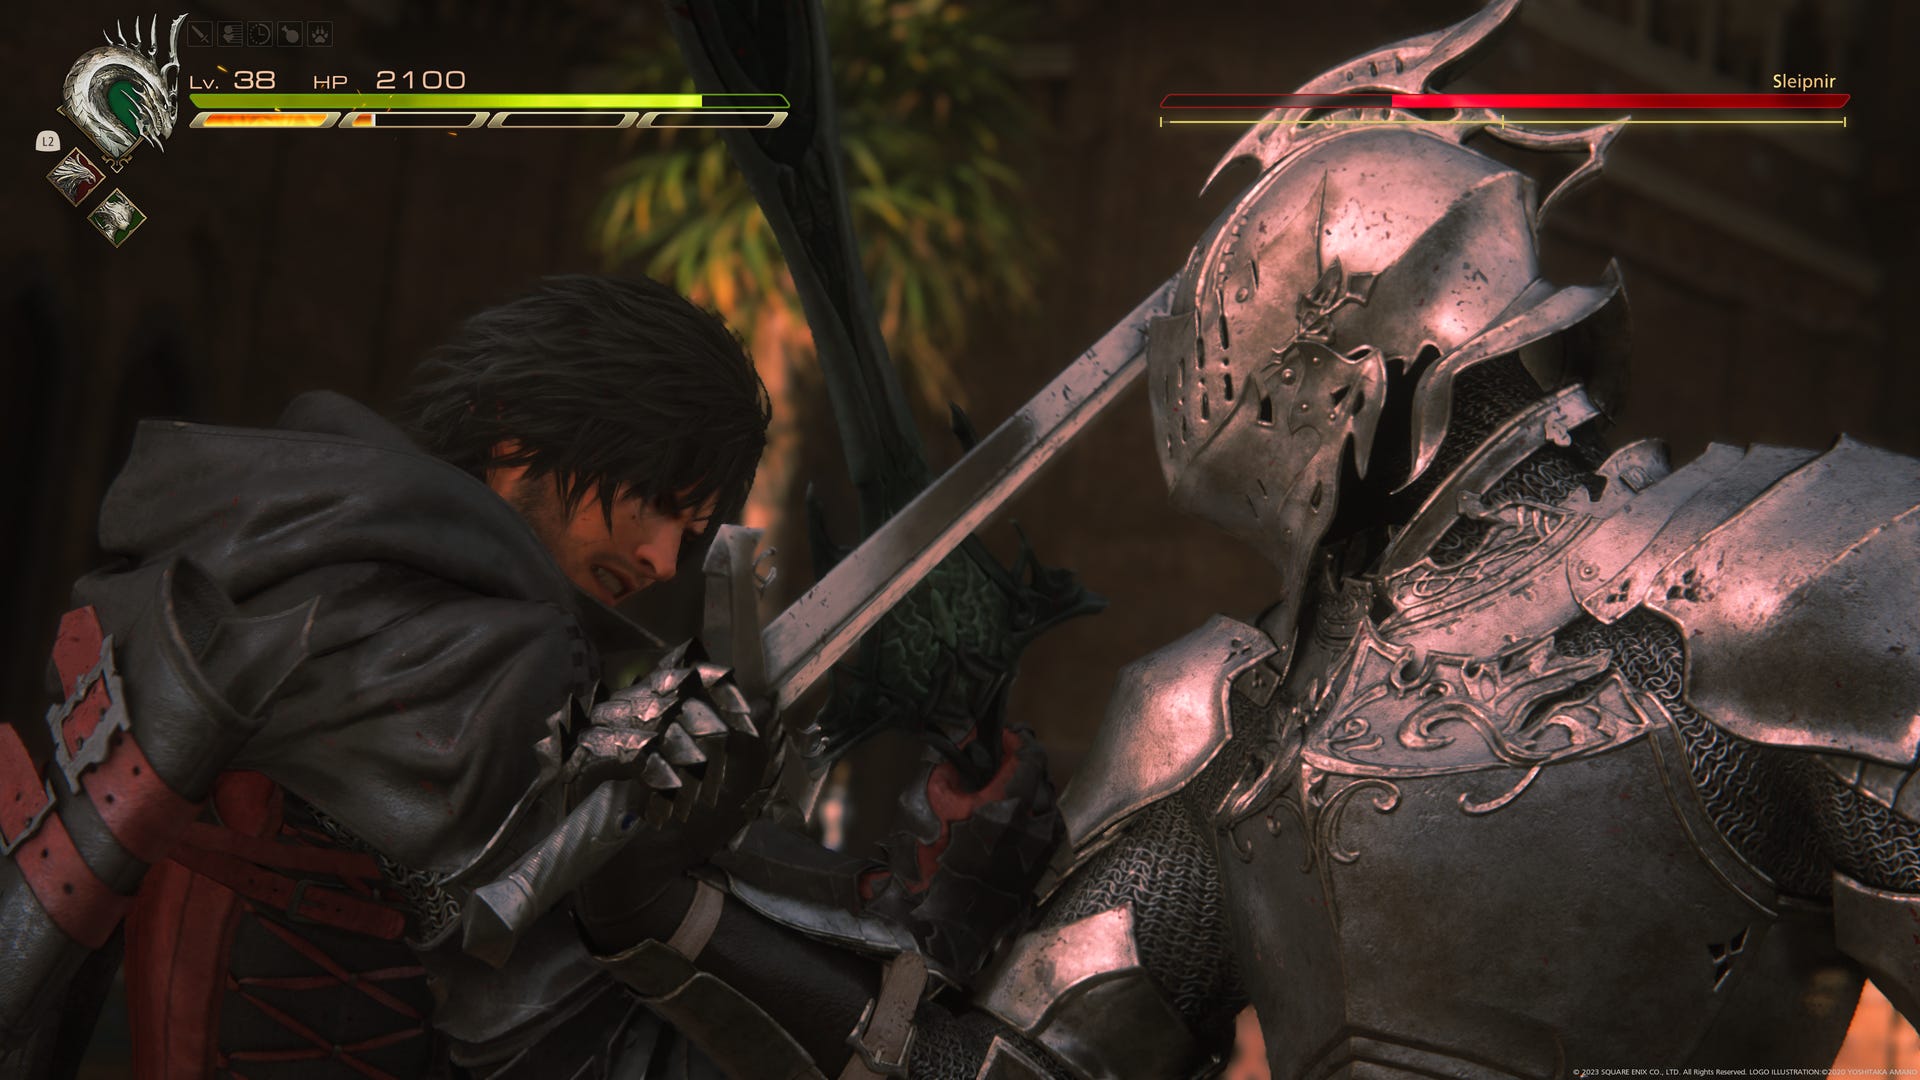
What makes Sleipnir a tricky opponent in Final Fantasy 16 is his speed. This is made worse by his ability to annoyingly warp away or close to you at any time, while the charging thrust of his sword can also quickly follow up with a combo. You can run the risk of being distracted by anticipating the thrust and letting your guard slip afterwards.
Fortunately, he won’t follow up with a cheap attack as soon as he’s warped, so you usually have a moment to anticipate what’s coming. The most common move is his thrust, so, as soon as he’s warped towards you, he will take a step back, charge his blade back and then lunge forward with a sword thrust. He immediately follows with an upward swing and then a quick flurry of swings. While the thrust just goes forward, he’ll turn towards you with these follow-ups so don’t let your guard down just because you’ve dodged to one side.
It’s possible to counter the initial thrust with an ability like Rook’s Gambit or Titanic Block, but bear in mind that these won’t interrupt the follow-up. Nonetheless, a perfectly timed Rook’s Gambit will still freeze the action and land those counter hits, while still allowing you to dodge the attacks that follow right after.
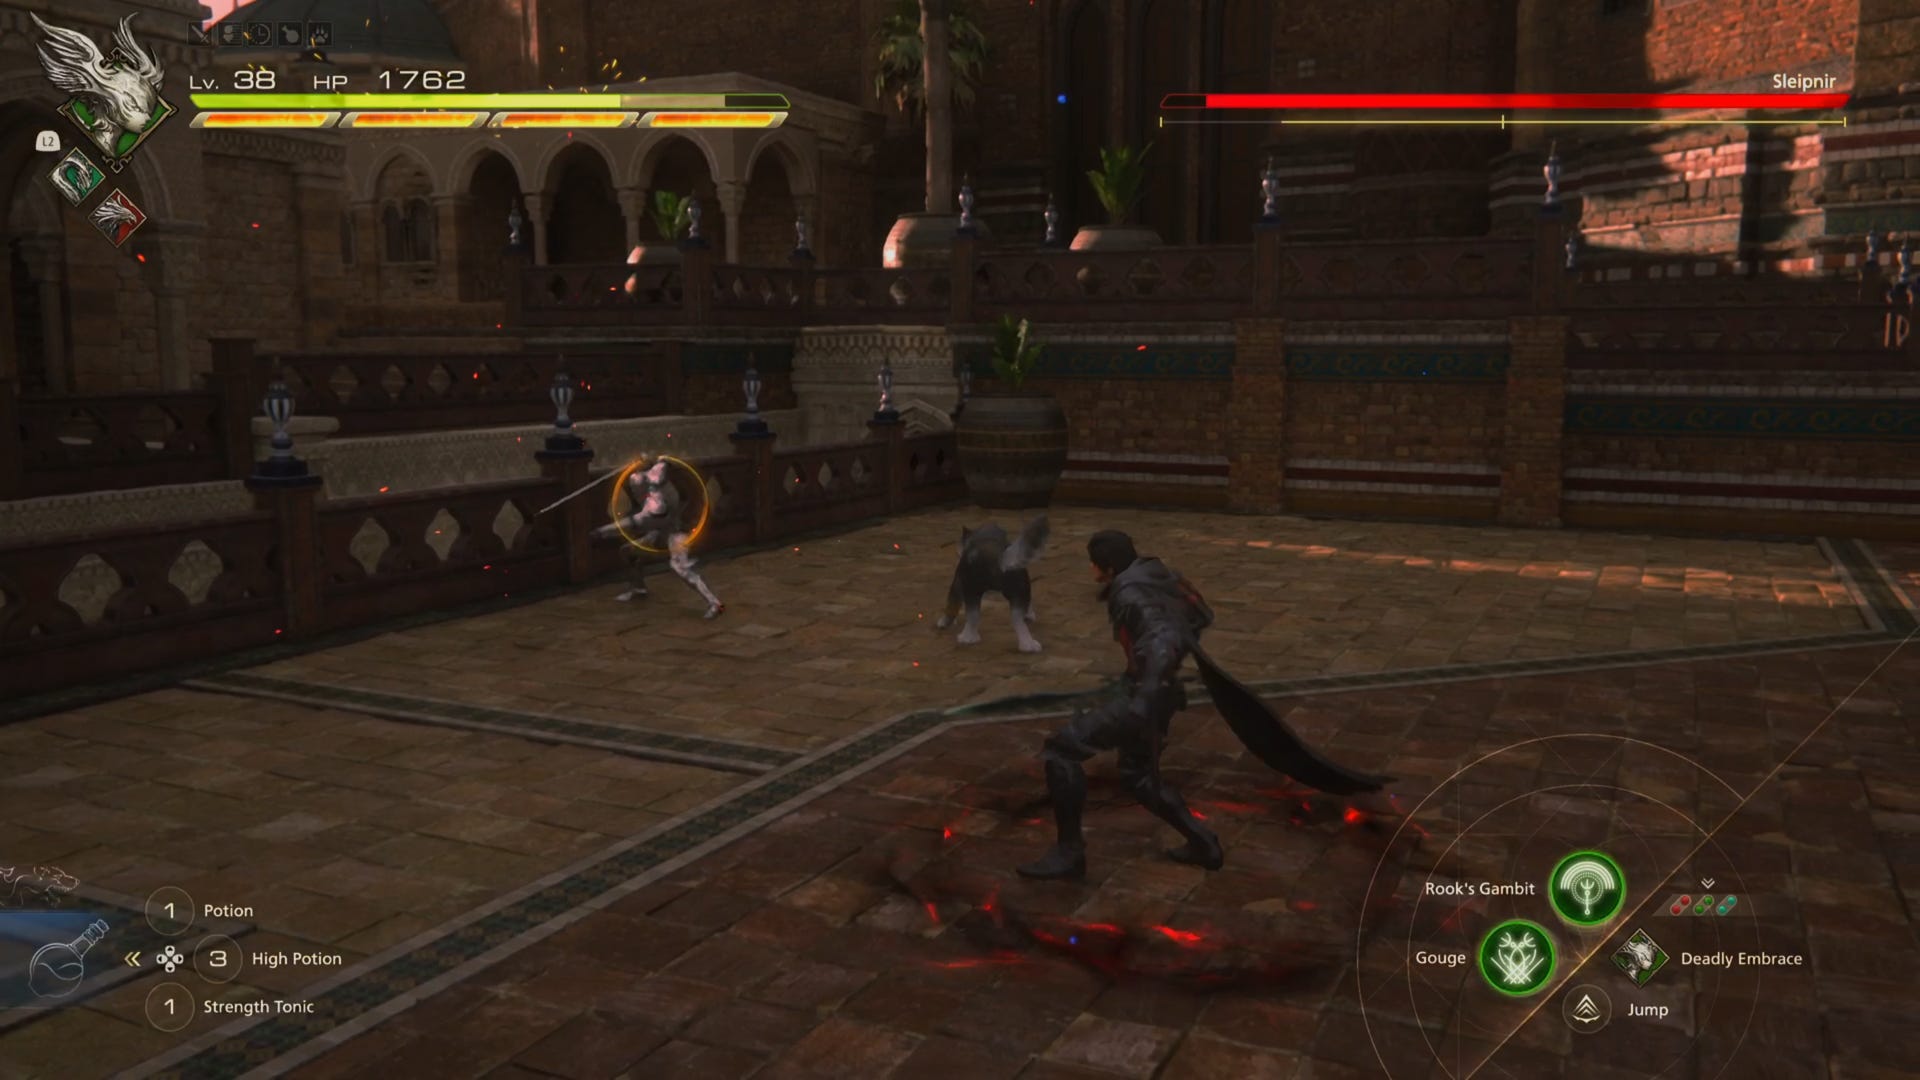
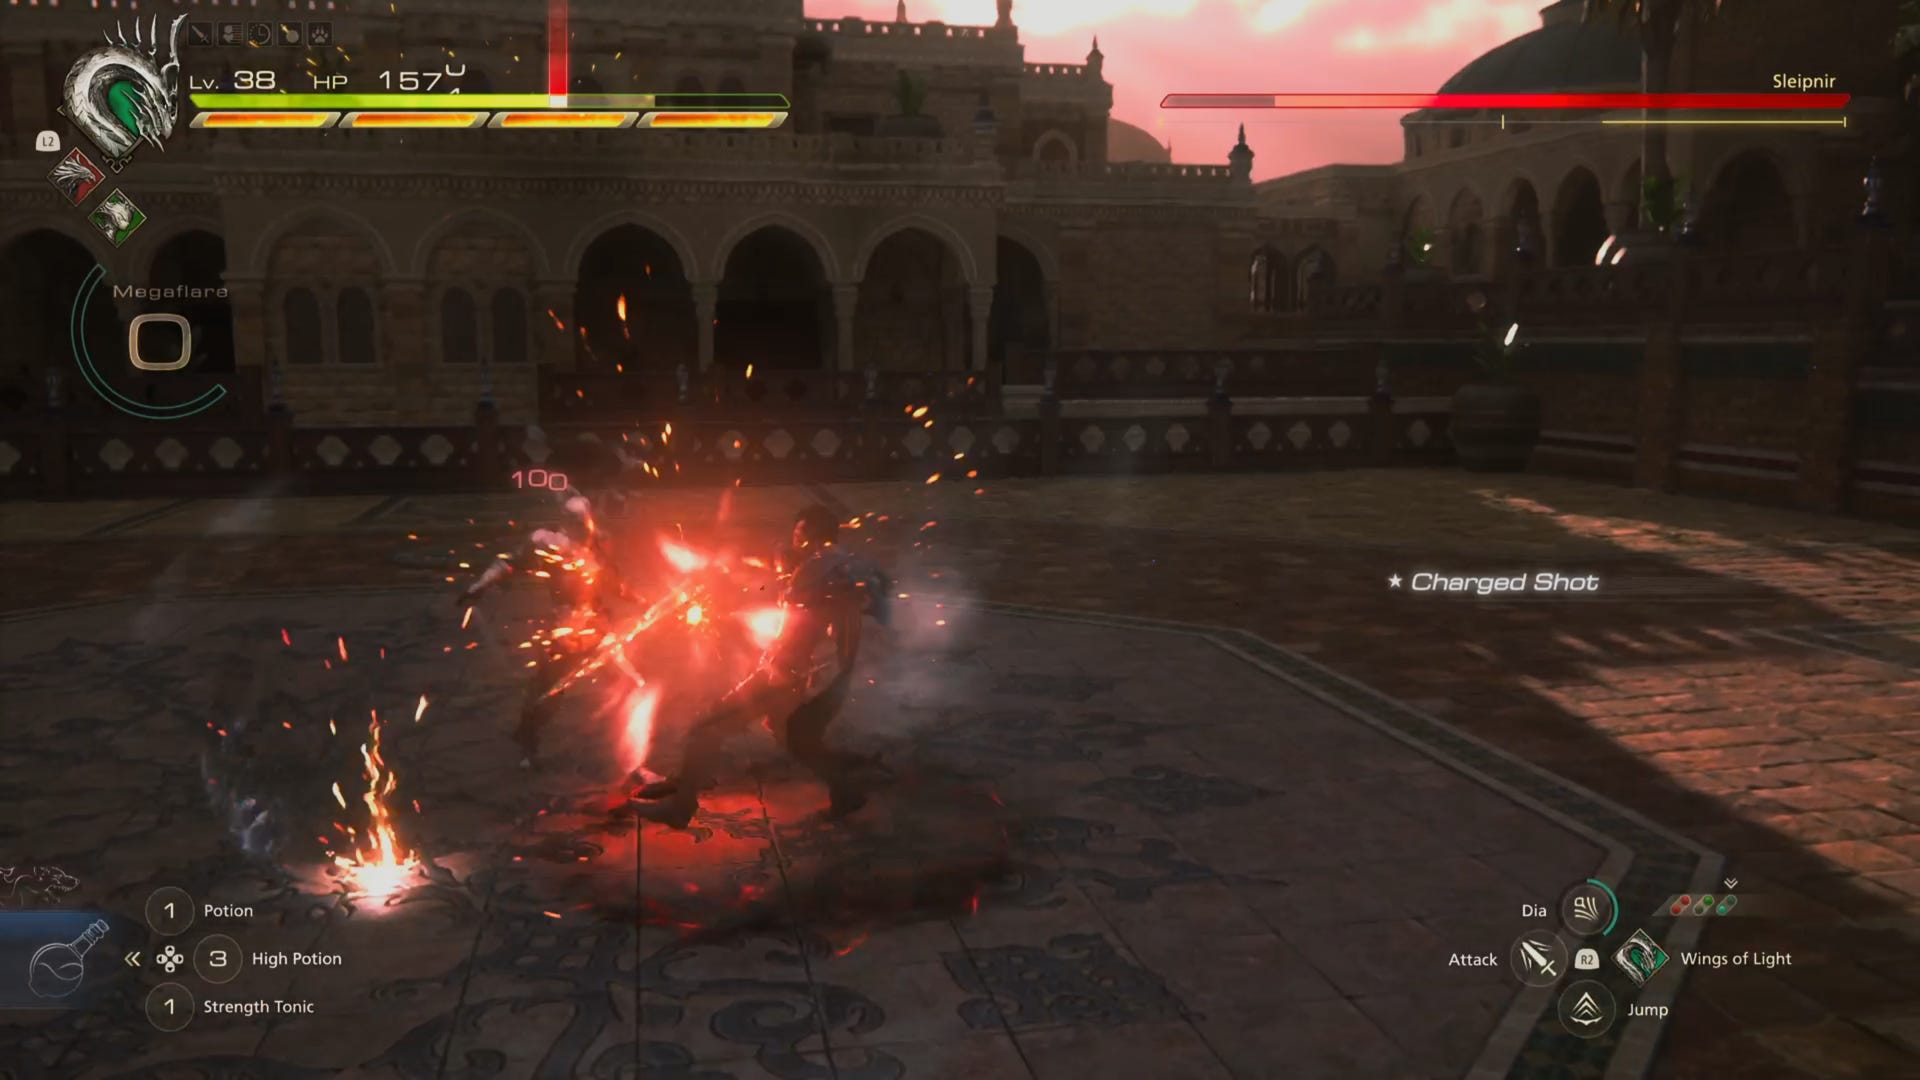
Two other potential attacks Sleipnir can do after warping is casting an energy projectile ball. This is easy enough to dodge, though you’ll want to follow up with a magic burst rather than a melee counter. He may, however, have a blue aura glow around him as he plants his fist in the ground, and you’ll suddenly find you’re surrounded by an ominous dark red ring. This follows for a few seconds before flames shoot from the ground. While you have a tiny window to evade these flames, Sleipnir continues attacking you during this time, so you need to juggle your attention between watching him and for when the ground beneath you is about to burst into flames.
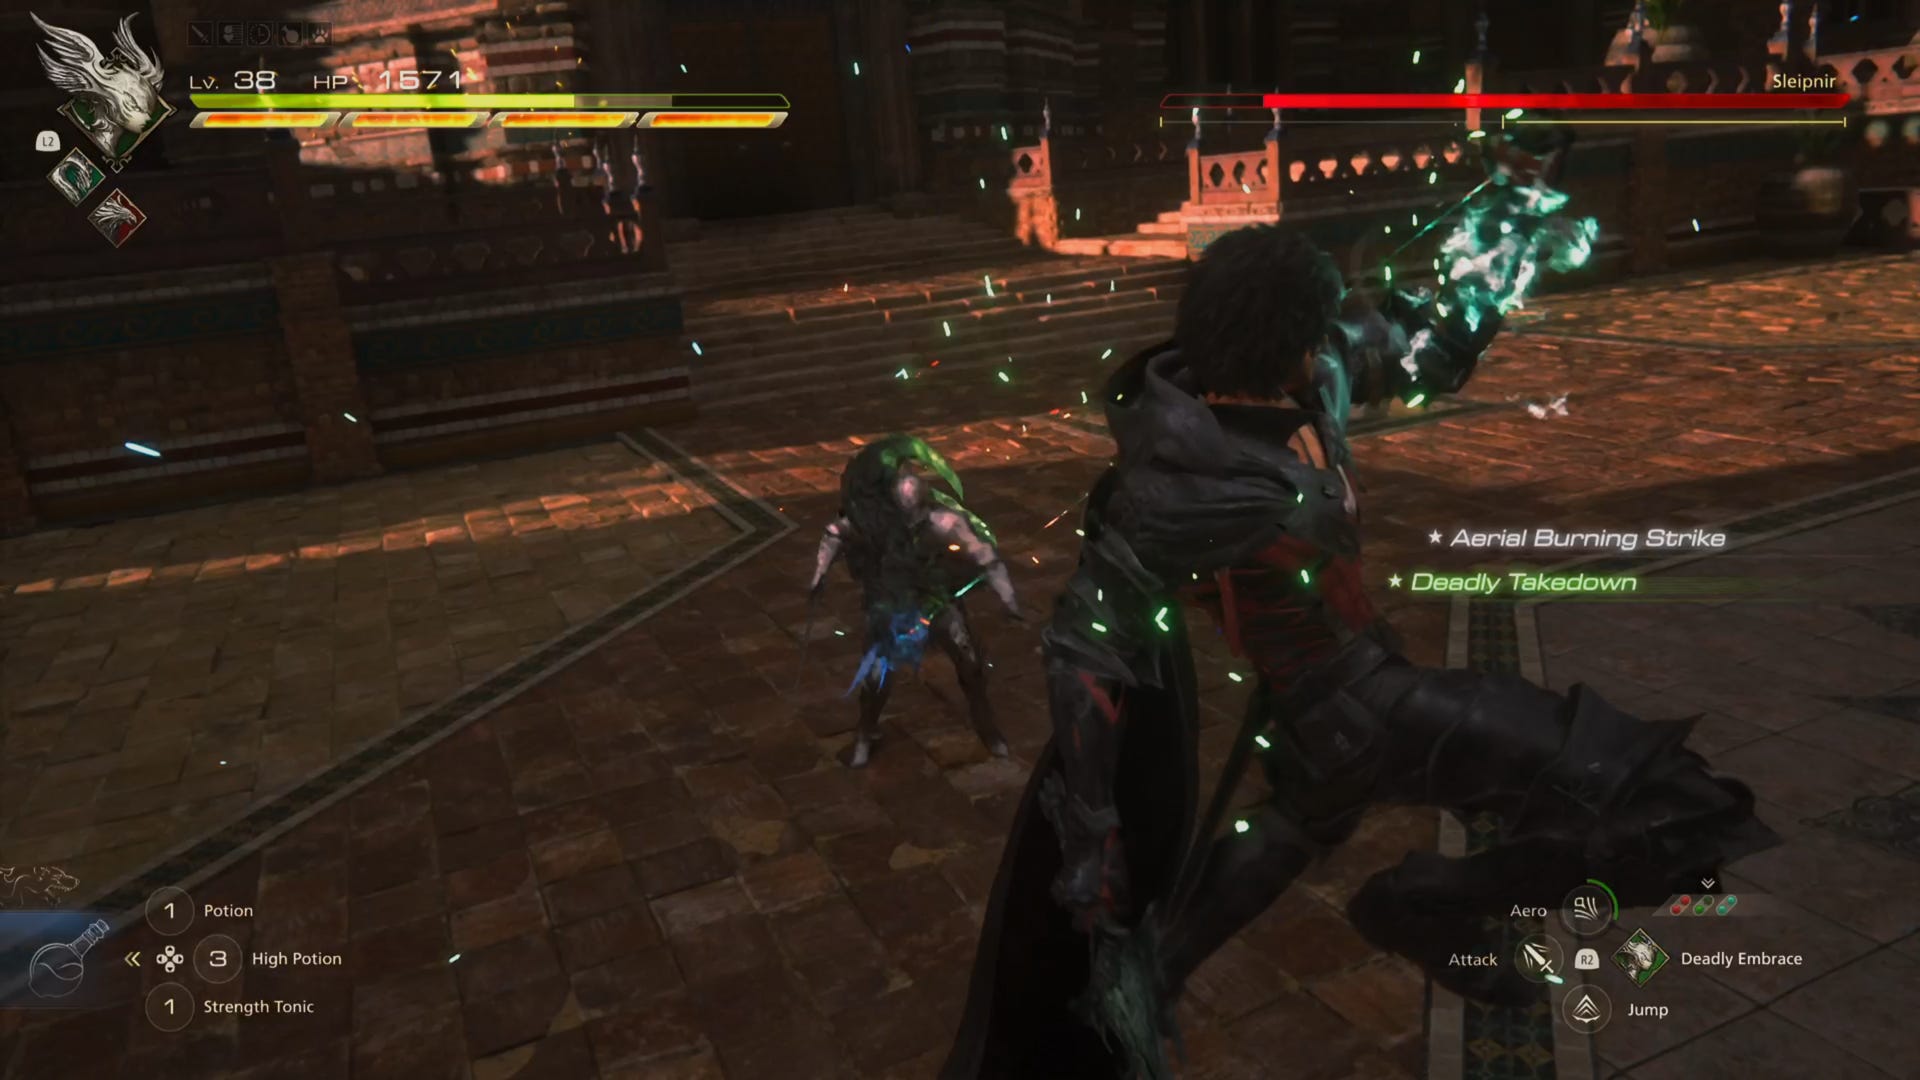
Your focus should be on trying to counter the thrusts then piling on pressure to bring down his will gauge. Rook’s Gambit is the most effective at this when timed perfectly, while Bahamut’s Impulse or Megaflare can also chip away at it during the fight, but the latter’s only going to be effective if you’re able to cast it at its max level. When he’s at partial stagger, use Deadly Takedown to further punish him.
Once he’s staggered, take this time to dish out all of the high-damaging Eikon abilities you can or, if your limit break gauge is at maximum, make use of that too, and if you’ve taken any damage, this state can also restore your health instead of immediately using your limited supply of potions.
When Sleipnir is down to about two-thirds of his health, you’ll get a cutscene before he enters his next phase and gains a new weapon, Odin’s legendary spear Gungnir. Fortunately, the first time he uses this it will be a QTE, so press R1 when prompted for a cinematic evasion. But you’re going to have to get the timings down for the next ones.
With Gungnir, he has a few new attacks, which always transforms the spear into red hot flames with extended reach. One has him charging the weapon back before giving it a wide swing. He’ll now also use it in his thrust attack, followed up with flaming swings from side to side in an upwards diagonal motion before he does a backflip and performs a flaming charging thrust. That’s as a combo but take care as he can also just do these as individual attacks.
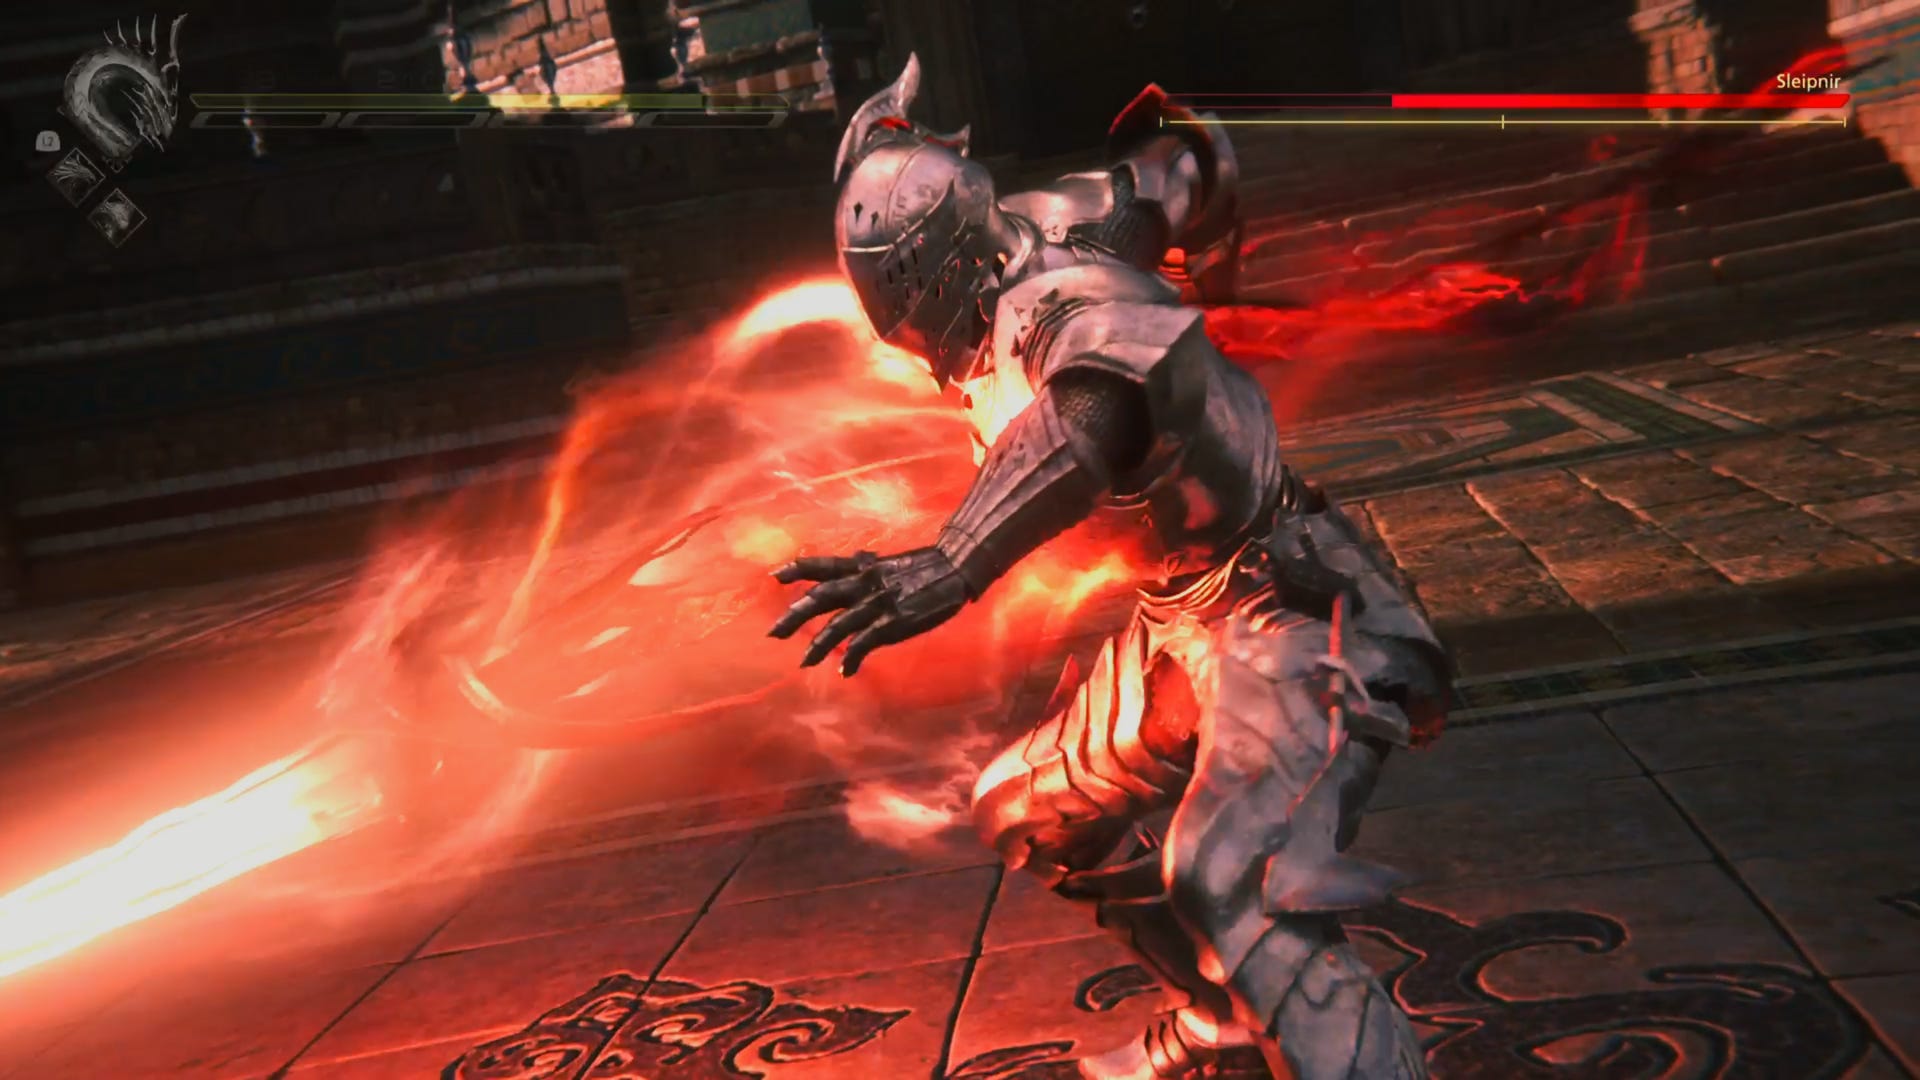
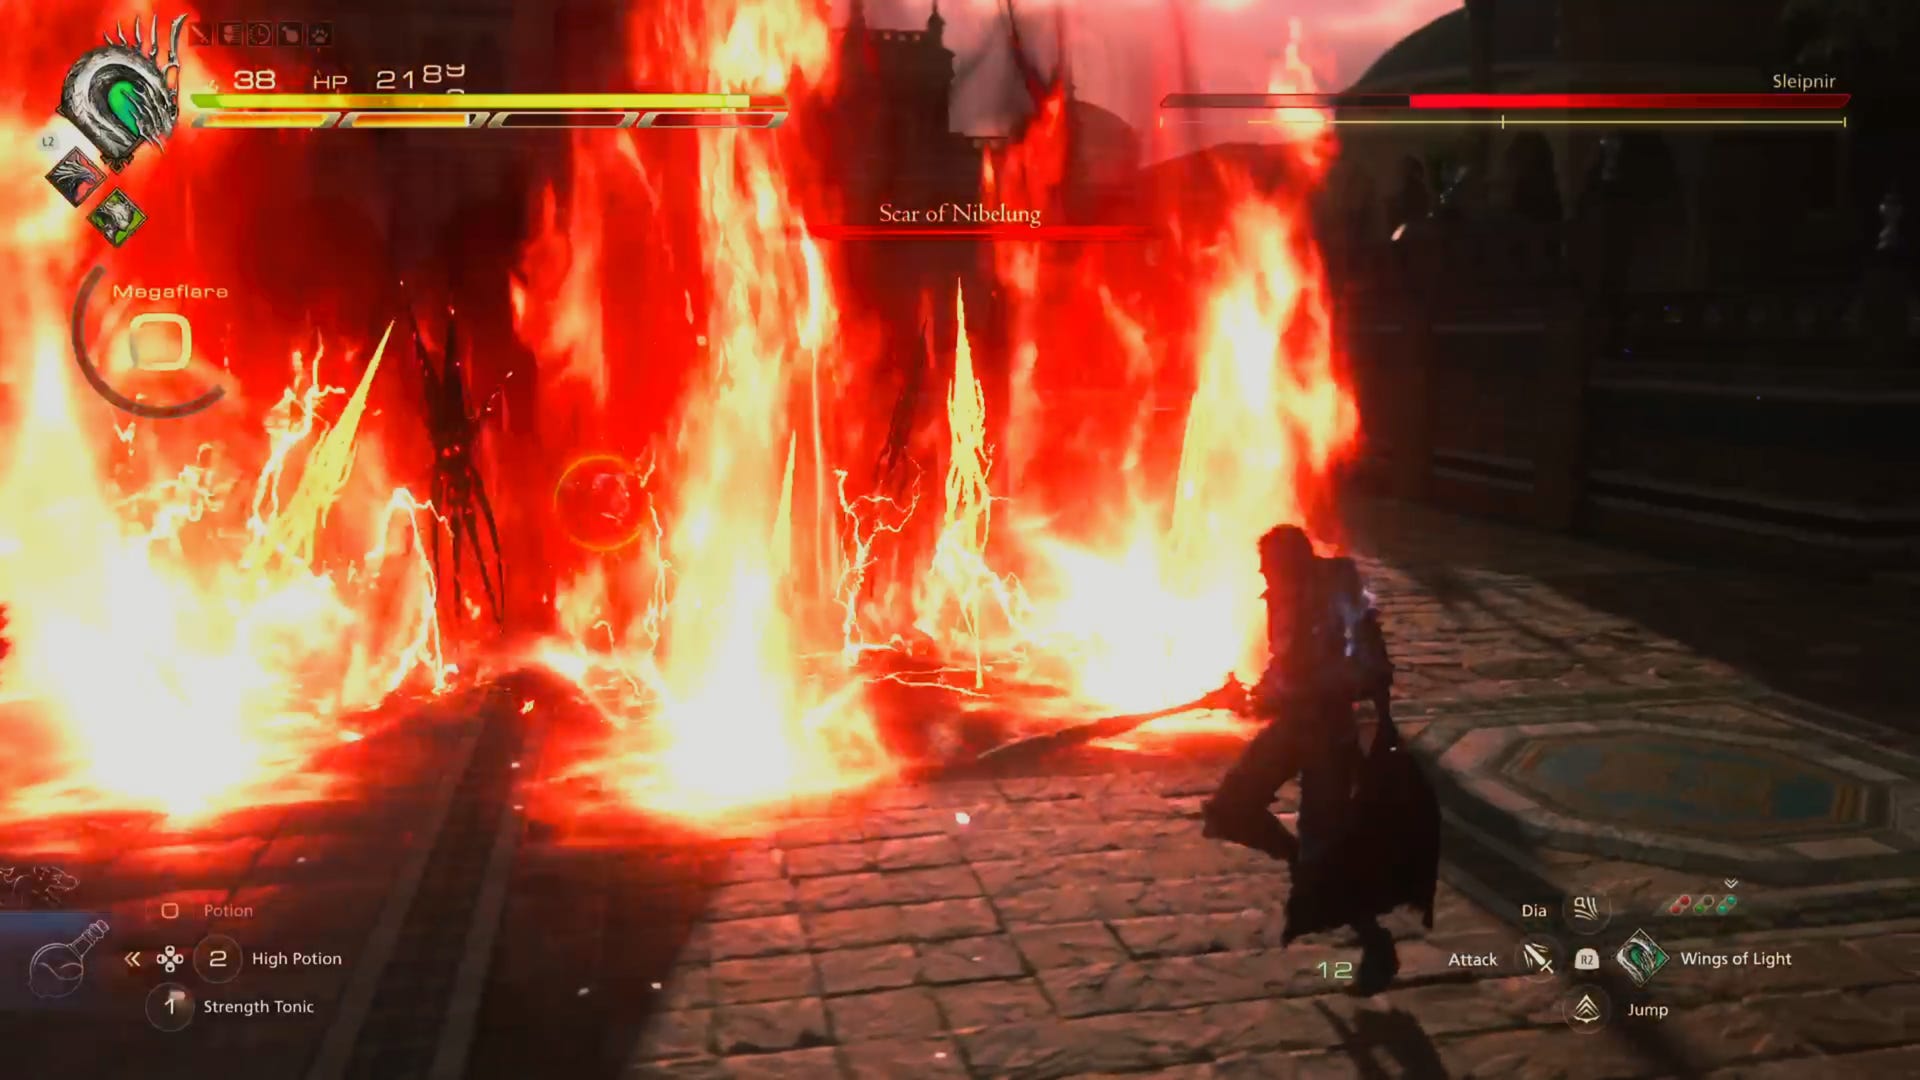
A special attack to also watch out for is Scar of Nibelung, where he leaps in the air before plunging the spear into the ground, emitting huge waves of flames which then spread out. You’re best keeping your distance when this attack comes up.
As big and damaging as these new attacks are, they’re not immune to dodging so it’s, again, about carefully looking at what he’s about to do, timing your evasions before countering as you continue the process of bringing down his will gauge to further inflict more damage on his health bar.
If you’re taking damage from his attacks, be sure to make use of your limit breaks or also use the Phoenix’s Flame of Rebirth to regain health before using up your potions if possible.
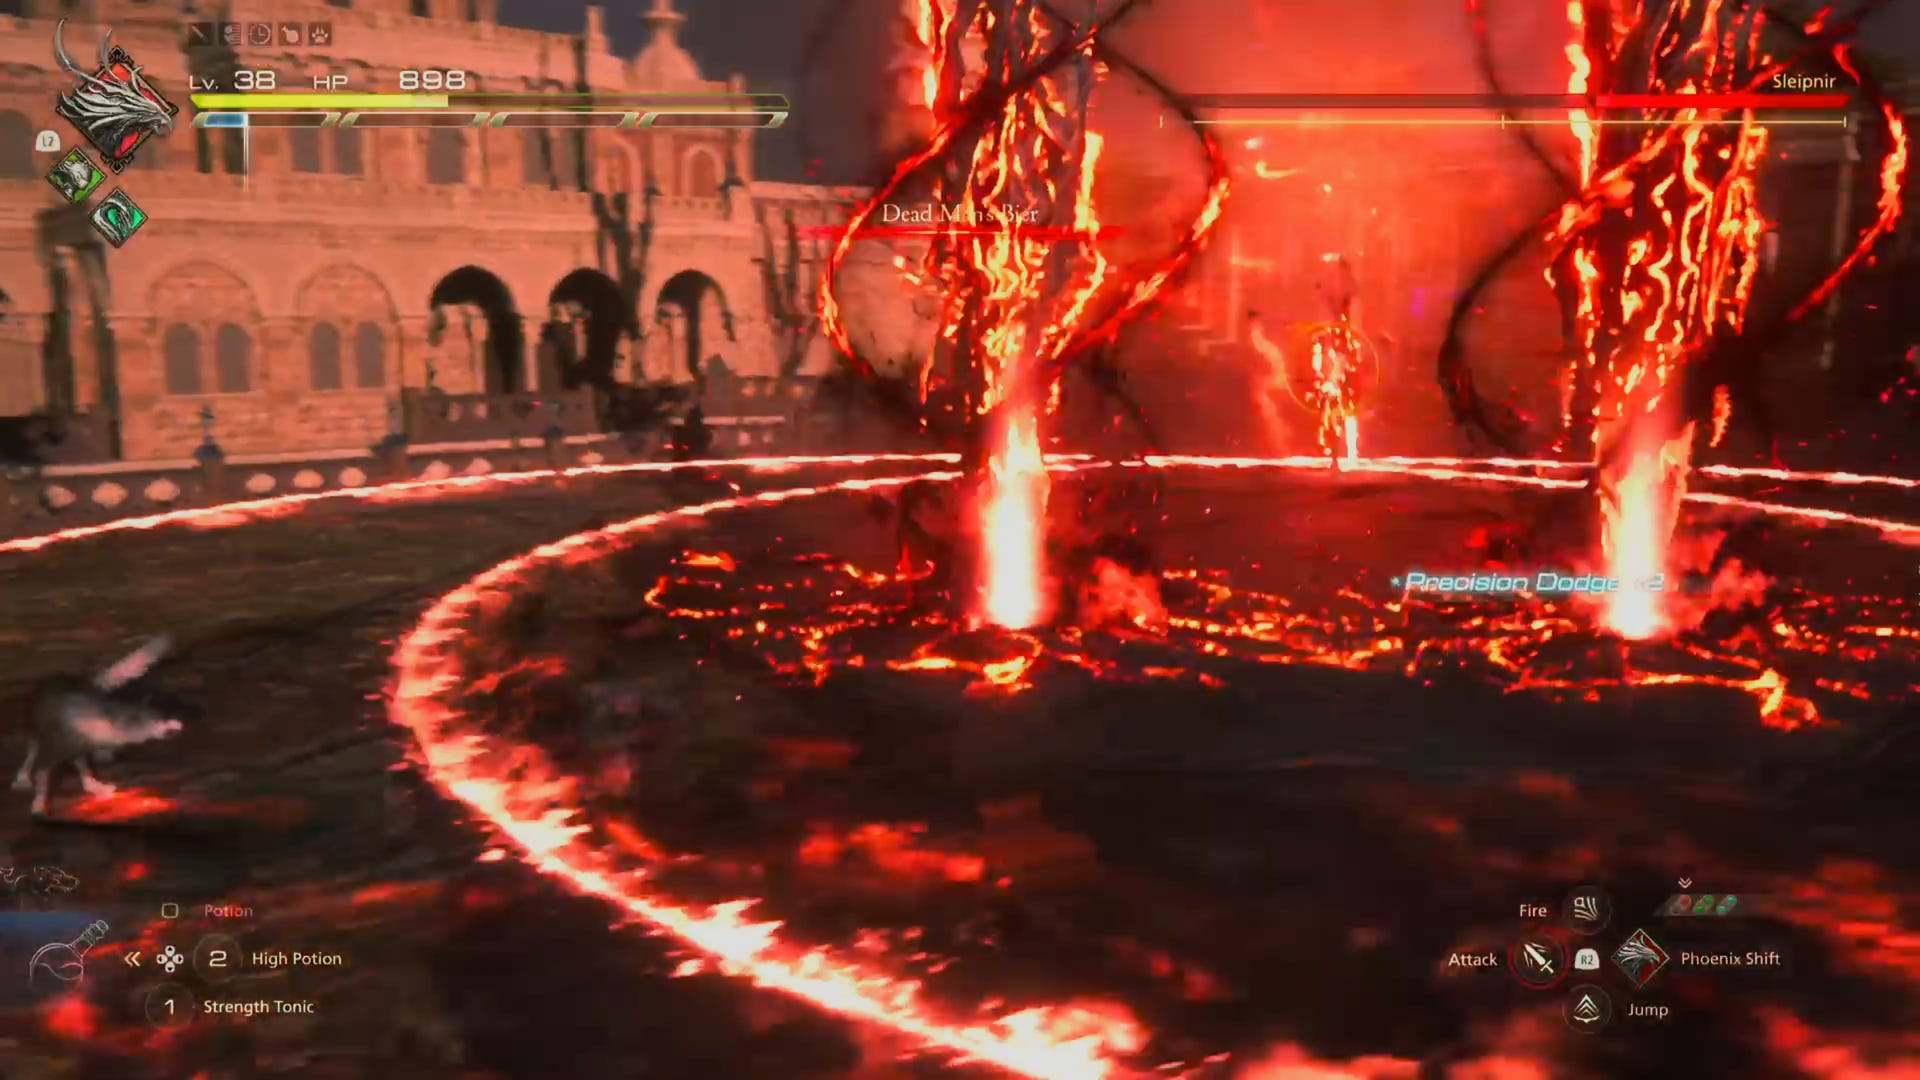
Once Sleipnir’s down to a third of his health, he has another nasty trick up his sleeve called Dead Man’s Bier. Here he’ll levitate in the air, glowing with fire, and surrounded in flame so that you can’t reach him. Once he disappears, bolts of flame will shoot down onto the ground.
These are telegraphed with red rings of death before the actual strike, so you’ll have time to run away from the blast. This will then follow with a few more columns of fire materialising on the ground and, when these go off, it will send fiery shockwaves to the ground, which you can either jump or use precision dodge on. When Sleipnir rematerialises, he’ll send two of these shockwaves side by side at once as well perform a Scar of Nibelung-like plunge emitting waves of flame. Talk about overkill.
The good news is that if you manage to dodge all of that, he’s left vulnerable on the ground for a few seconds to recover, so it’s the perfect time to get in and let loose all your high-damaging abilities.
He’s got a couple more attacks in this phase too, including Creeping Darkness, where he sends out balls of dark electro magic towards you, but which you should be able to slip away from. There's also Ratatoskr, where he rains down bolts of flame on you much like the first half of Dead Man’s Bier. Either way, these happen fairly quickly and aren’t difficult to evade.
Ultimately, you want to keep alert of Gungnir’s quick and fiery attacks, as well as Dead Man’s Bier, and make sure you get back in for the punishing hits when the moments present themselves. Just don’t let your guard down because even when down to his last bit of health, he’ll continue fighting hard.
Sleipnir rewards in Final Fantasy 16
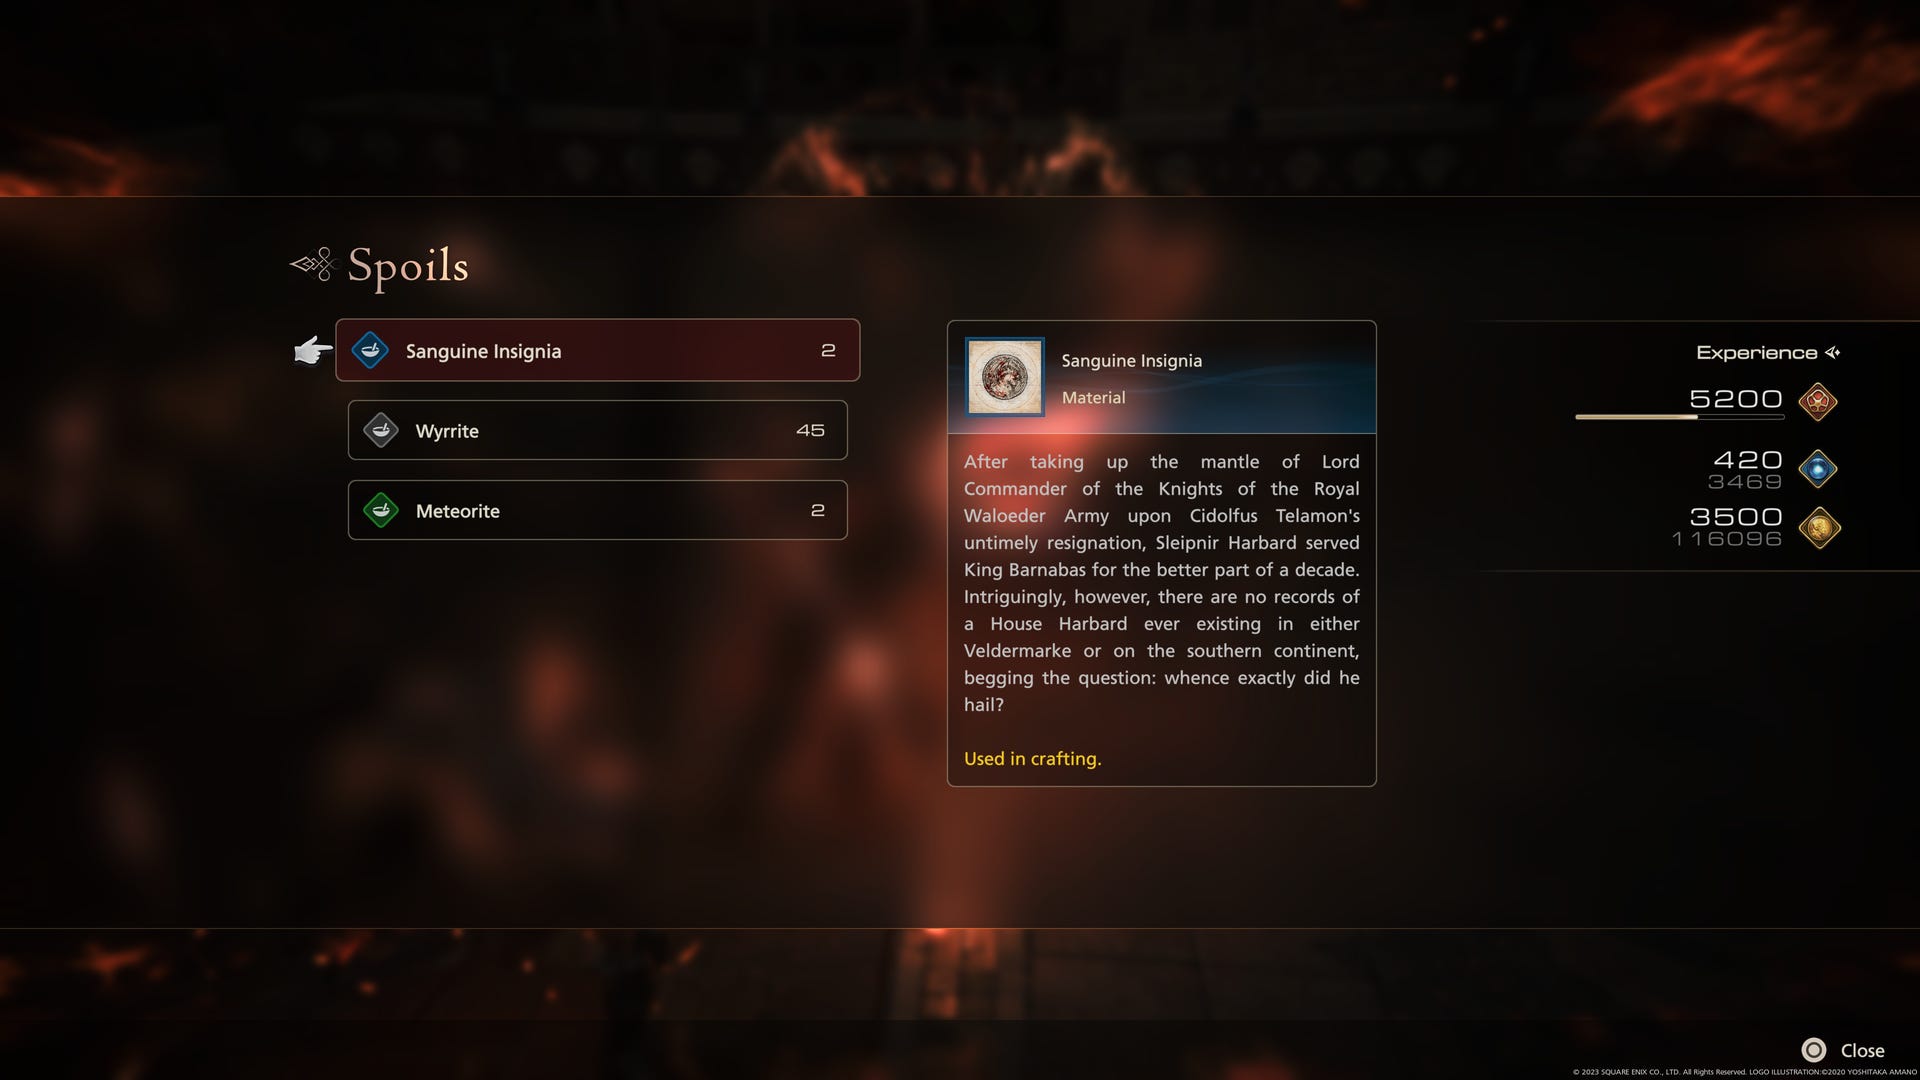
Defeating Sleipnir in Final Fantasy 16 will earn you 5,200 XP, 420 ability points, and 3,500 Gil, with crafting materials in the form of 2 Sanguine Insignia, 45 wyrrites, and 2 meteorities as spoils.
But while you’re victorious in this fight, the bad news is you have an even tougher foe to face after that who you’re not quite ready to face, and, despite your best efforts, the Free Cities of Kanver isn’t looking great at all. As for Sleipnir, let’s just say you haven’t quite seen the last of him yet either.
It wouldn’t be Final Fantasy without a few twists, would it.