How to defeat the Locus of Wailing Grief in Destiny 2
Tonight there's going to be a jailbreak!
You begin this section of Warlord's Ruin trapped within the castle dungeon in Destiny 2. Your goal is to escape, and take out the Locus of Wailing Grief on your way up the mountain.
First, however, you need to figure out how to escape the Warlord's ruin jail in Windswept Crag or else you won't even have a hance of defeating the Locus of Wailing Grief.
Be sure to check out our Warlord's Ruin walkthrough for a complete breakdown of this Destiny 2 dungeon.
On this page:
How to escape the Warlord's Ruin jail in Windswept Crag
You and your teammates will be teleported into three large jail cells. That means it’s time for another jailbreak! This time you will need to solve a simple puzzle to make your escape.
Everyone will have line of sight to two round discs. If you shoot them they will begin spinning counterclockwise. Shoot them again to stop the rotations, shoot them a third time to set them spinning clockwise. These act as the locks to the cages. You will need to get the right number of locks spinning clockwise and counterclockwise to open the doors.
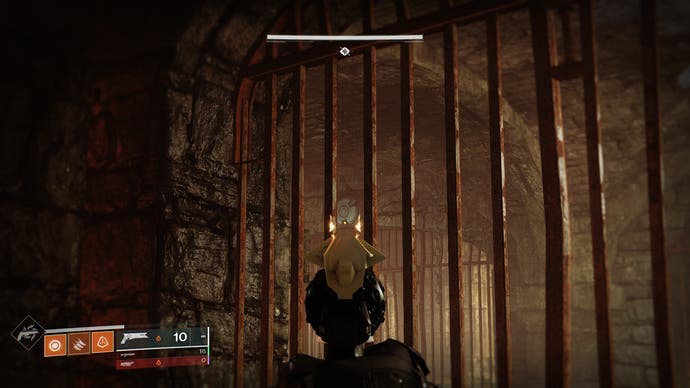
In two of the three cells you will see a skeleton pointing towards glowing scratches on the ground. The skeleton pointing towards its (the skeleton’s) left represents counterclockwise spins. Whatever number of glowing marks he is pointing at tells you how many discs need to rotate in that direction. Another skeleton will be pointing towards its right side. That is the number of clockwise rotating discs you need.

The person in the cell without one of the skeletons with the glowing marks will have line of sight to the lever. Once the right number of wheels are spinning in the proper direction the Guardian can shoot the lever, and the doors will open.
Grab the loot from the chest at the center of the room, and make your way through the twisting corridors of the jail to emerge outside. Soon you will see the main keep.

Fight through the broup of enemies, climb up the stairs, and be ready for the next big battle.
How to defeat the Locus of Wailing Grief in Destiny 2
The next boss is a towering Ogre called the Locus of Wailing Grief. Like Rathil before him, he will be invulnerable until you trigger the damage phase. To do this you must light four Warning Flames that surround him, then stand near each of them (one at a time) while they grant you Naeem’s Wish Empowerment, and you unleash as much DPS as you can.

In order to light the Flames you will need to fight off large groups of enemies until Taken Eyes spawn in the air. Once you eliminate these, a pair of mini bosses called Broken Knights will appear on opposite ends of the arena, and the Imminent Wish countdown will begin.
The battlefield will become covered in a snowstorm, and you will begin accumulating stacks of Biting Cold. Your goal is to eliminate the Broken Knights and capture the Scorn Lanterns they drop before Imminent Wish reaches 0.

If Biting Cold reaches x10 it will kill you, but you can stand near one of the torches that line the wall to have them cleansed.

Once Imminent Wish ends a message will read "The howling winds die…", signaling the end of the storm. If you captured at least one Lantern then another message that says "A burning wish! Granted, O vengeance mine!" will also appear.
One Solar Charge will appear for every Lantern you seized.
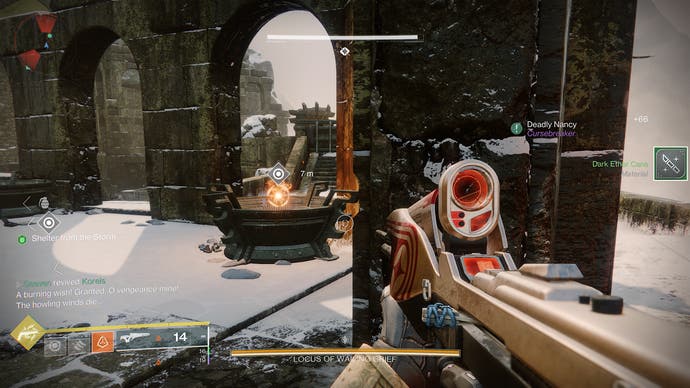
Pick these up and plant them in the Warning Flames to Light them. More enemies and Taken Eyes will appear, and you can repeat this princess until all four Flames are lit.

"Your wish is granted, O vengeance mine" will appear near your Super meter, and the Naeem’s Wish Empowerment countdown will begin. Once the timer reaches 0 move as a group to the next Flame to continue dealing damage. Repeat this until all four Flames have been used. Repeat this cycle as many times as necessary in order to defeat the Locus of Wailing Grief and advance.
Next up is our guide for defeating Hefnd's Vengeance, the final boss of the Warlord's Ruin dungeon.
