Sekiro Prayer Beads location list - all Prayer Bead locations and where to find them
How to get all Prayer Beads in Sekiro: Shadows Die Twice.

Prayer Bead locations are dotted around Sekiro: Shadows Die Twice's intimidating world, largely coming from smaller sub-bosses as you beat them along the way.
There are other spots where you can pick them up though - and a pretty large number of them in total - so below we've listed all Prayer Beads in Sekiro with exactly how and where you can get them, to help you track down and cross off each and every one.
On this page:

Sekiro Prayer Beads explained - what do Prayer Beads do and how do you get them?
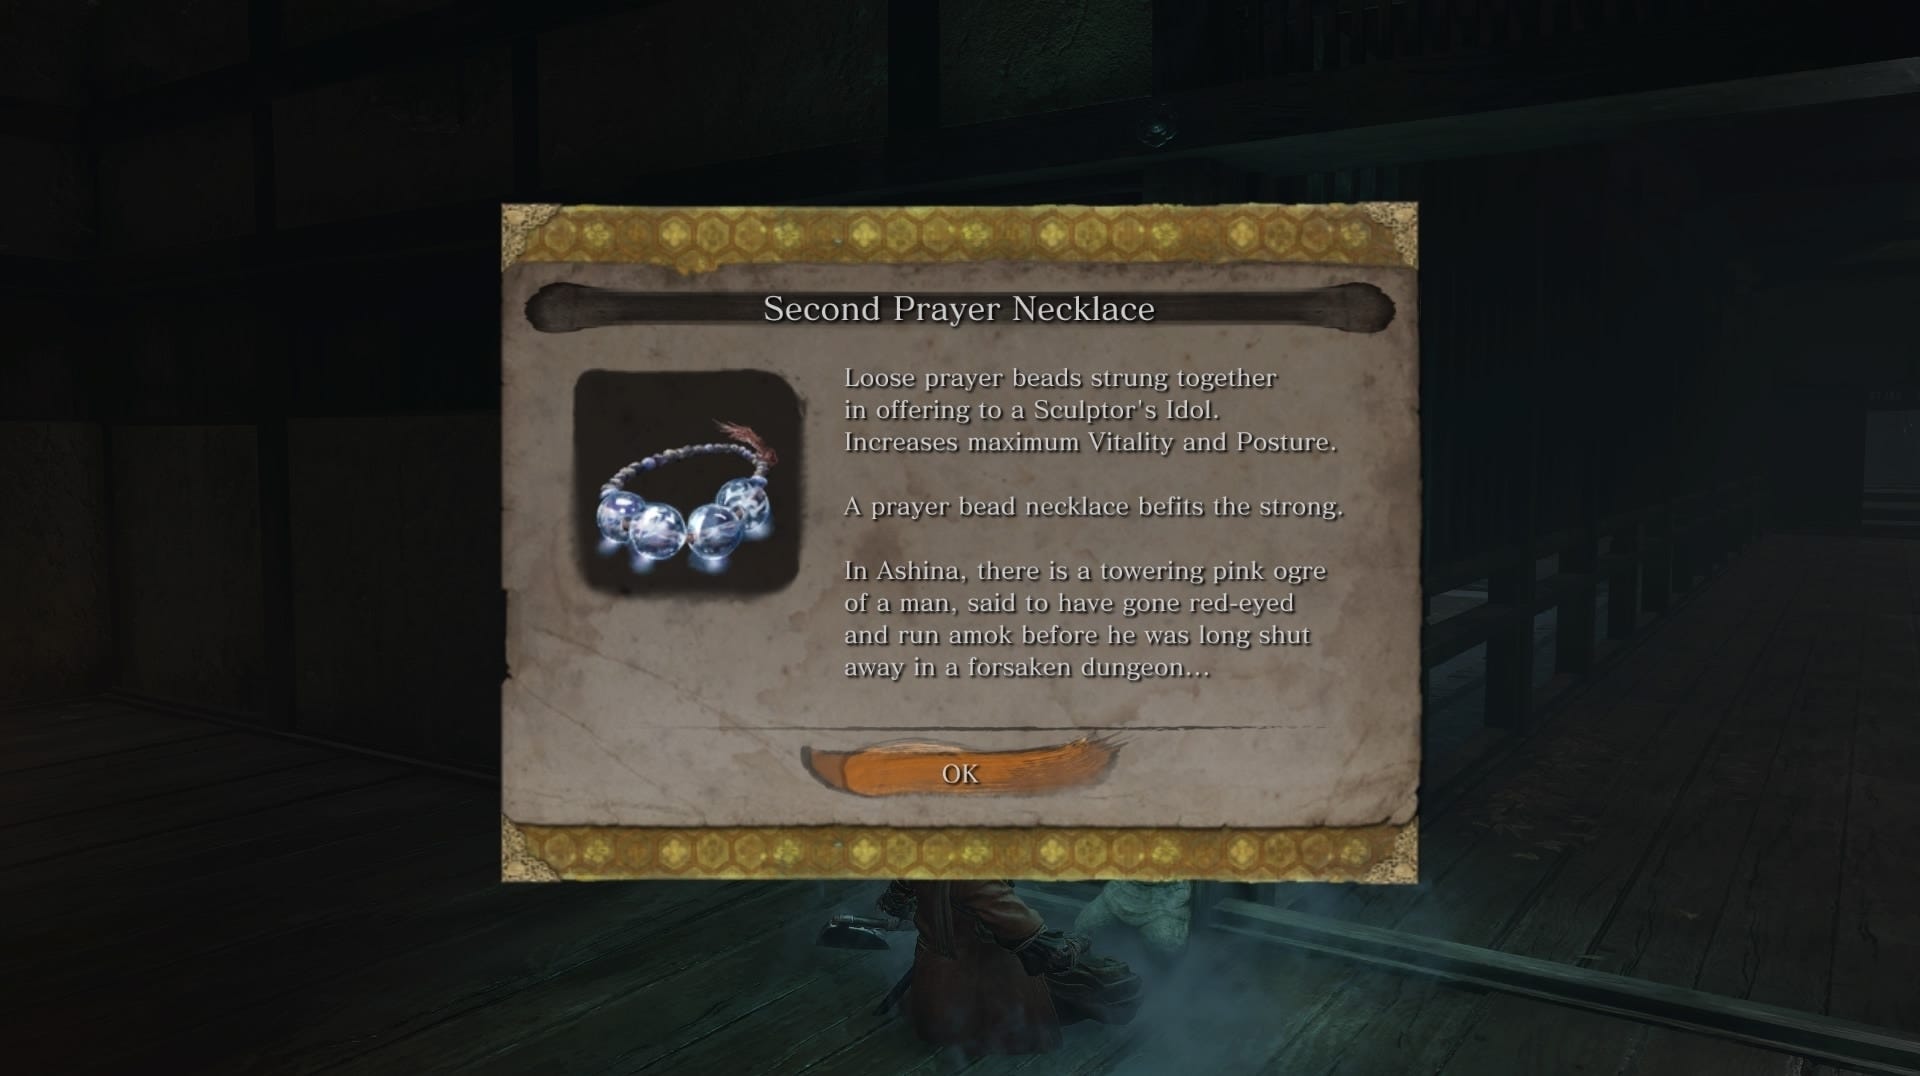
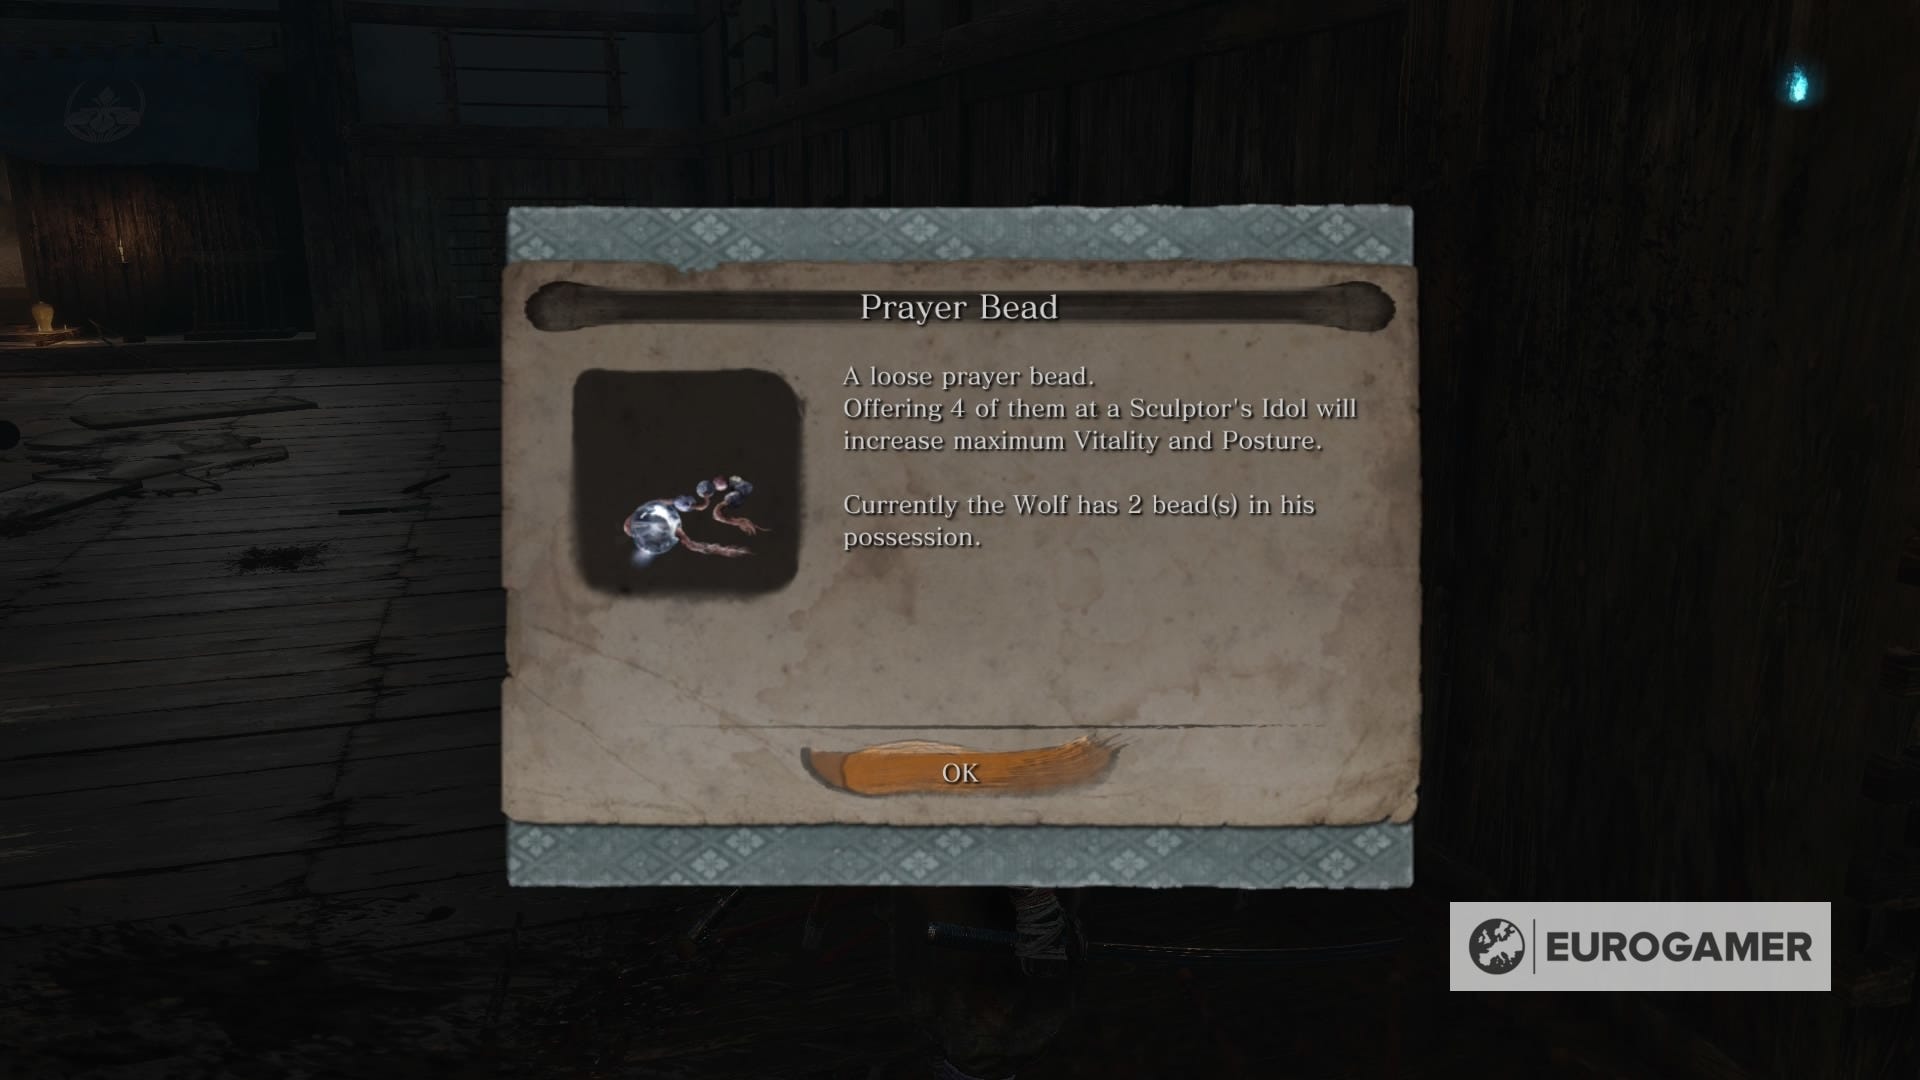
There are 40 Prayer Beads scattered throughout the world of Sekiro, and each time you gather four you'll be able to create a necklace. This will increase both your maximum Vitality and Posture - which means collecting them is going to be essential for taking down later-game foes.
As you'll see below, most of the Prayer Beads you'll find are tied to mini bosses of varying degrees of difficulty. To make it even worse, only a few are optional. So, as you progress through the story, you'll probably be getting this item as you go - and you'll probably have to work for it.
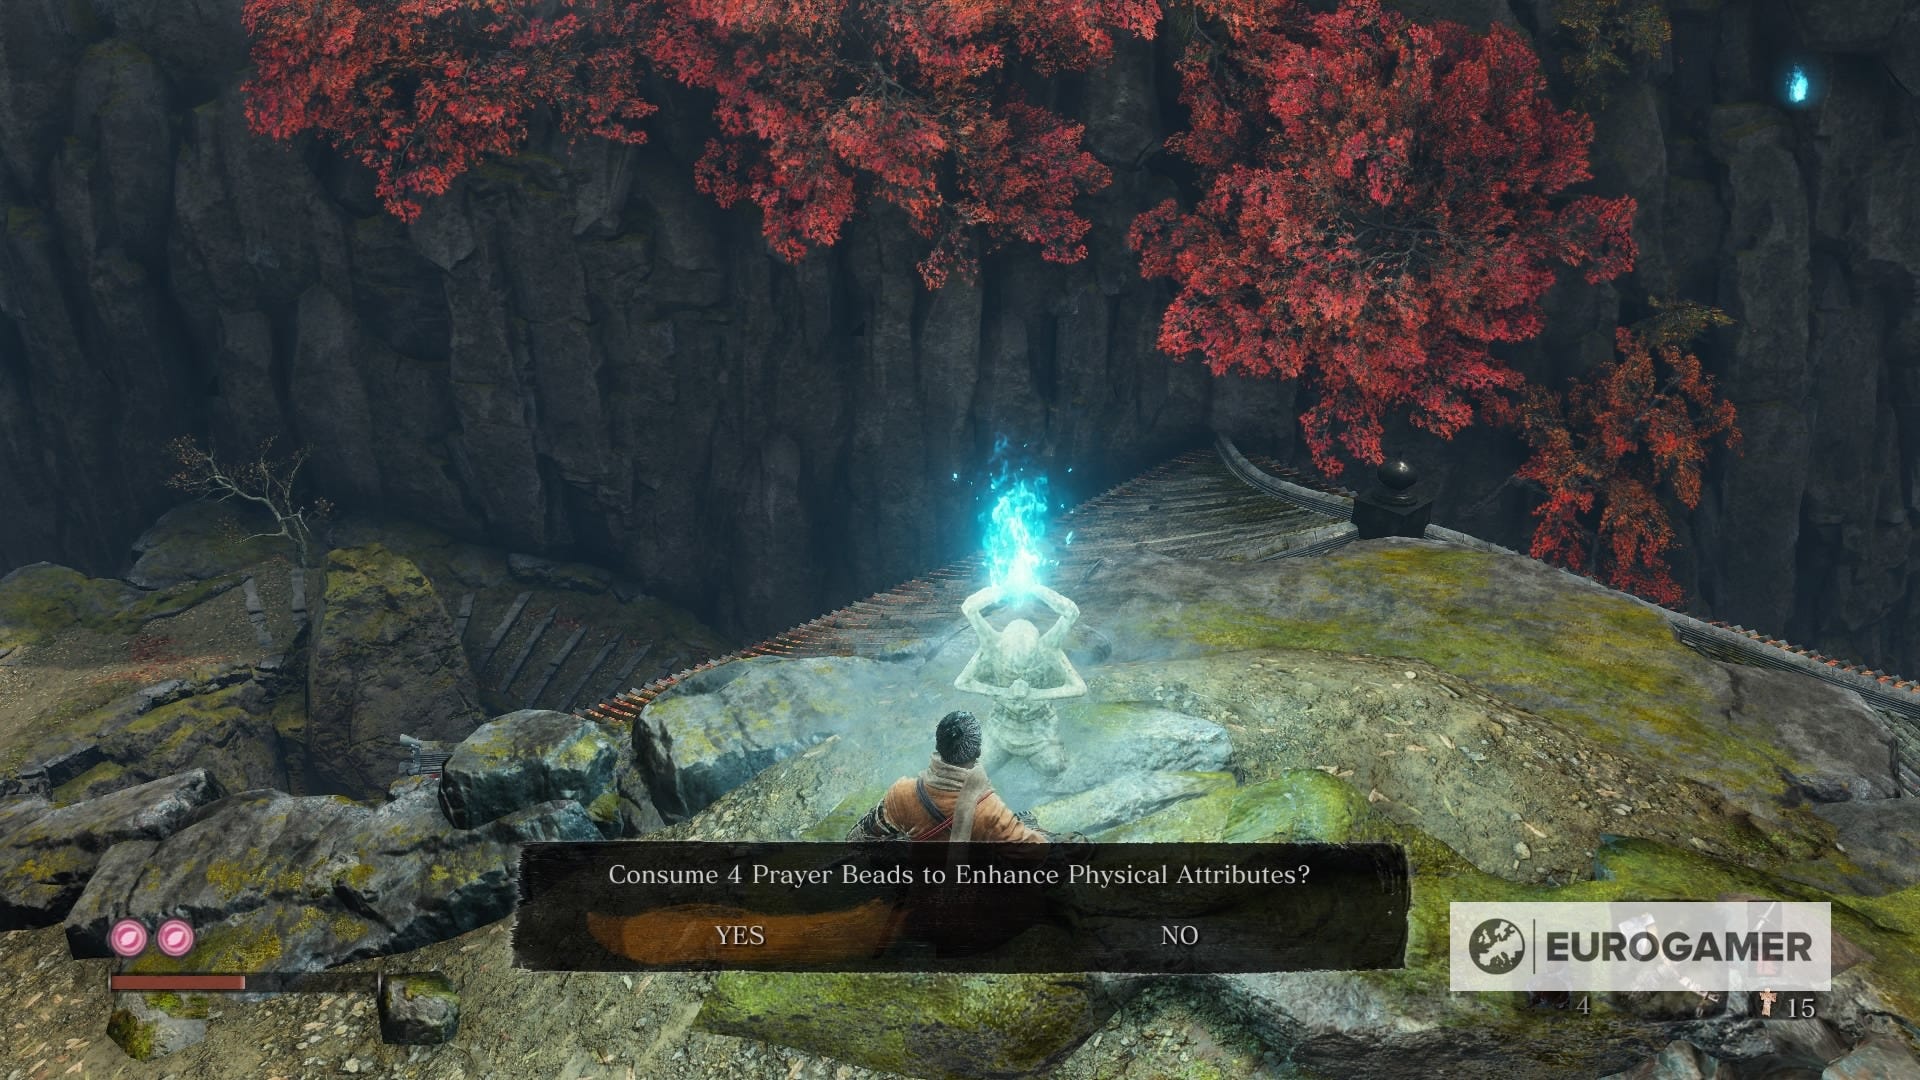
Whenever you gather four of them, go back to any Idol nearby (don't forget to use the Homeward Idol in your inventory - there's no cost for doing so) and you'll see the option to Enhance Physical Attributes.
Keep an eye out for those off the beaten path, too - often gathering another four is possible when you think it isn't, and those enhanced defences will make your life a fair bit easier if you're struggling against a particular boss.
Sekiro Prayer Bead locations - all Prayer Beads listed
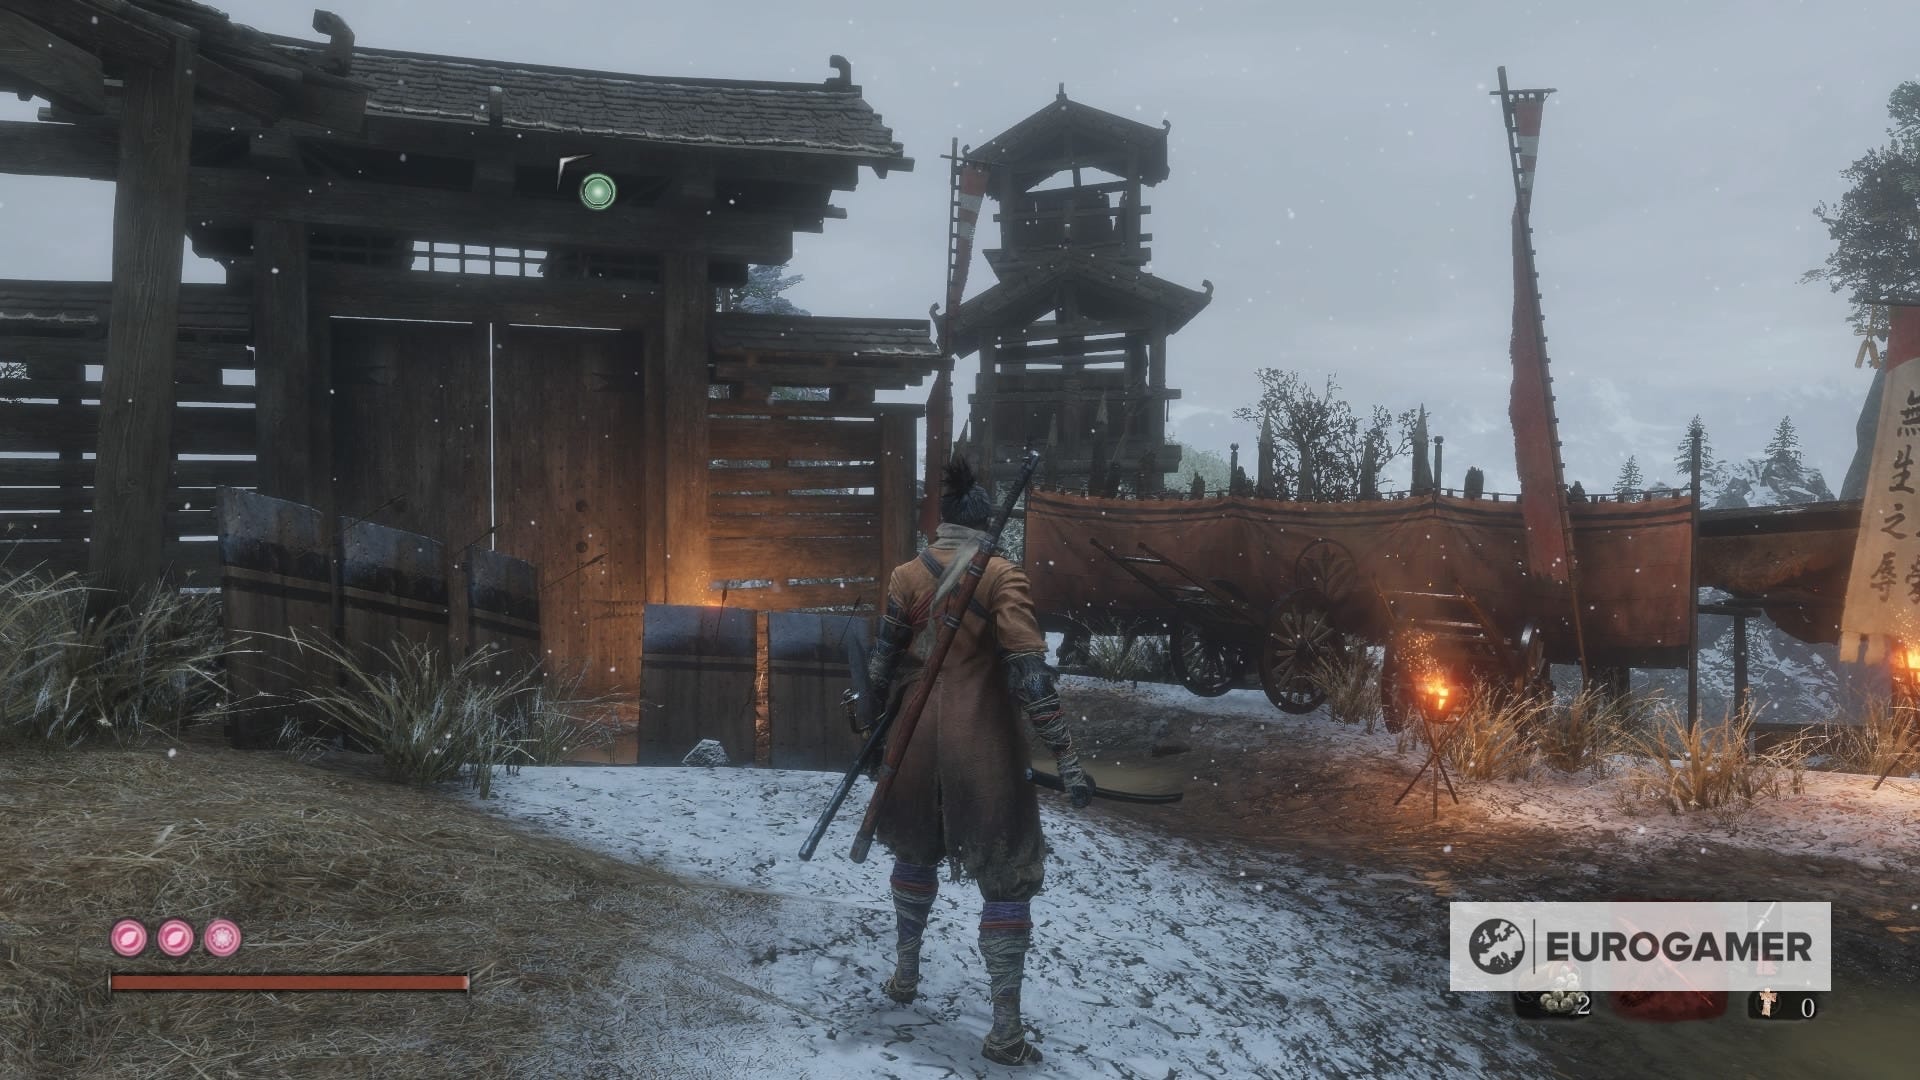
1. Ashina Outskirts - Outskirts Wall - Gate Path Idol
The first one is gained from the mini boss General Naomori Kawarada. If you want an advantage, don't jump straight into battle. Follow the path on the left until the next gate, and sneak up on him. Once you're victorious, you'll be rewarded with the first Prayer Bead. Only 39 to go.
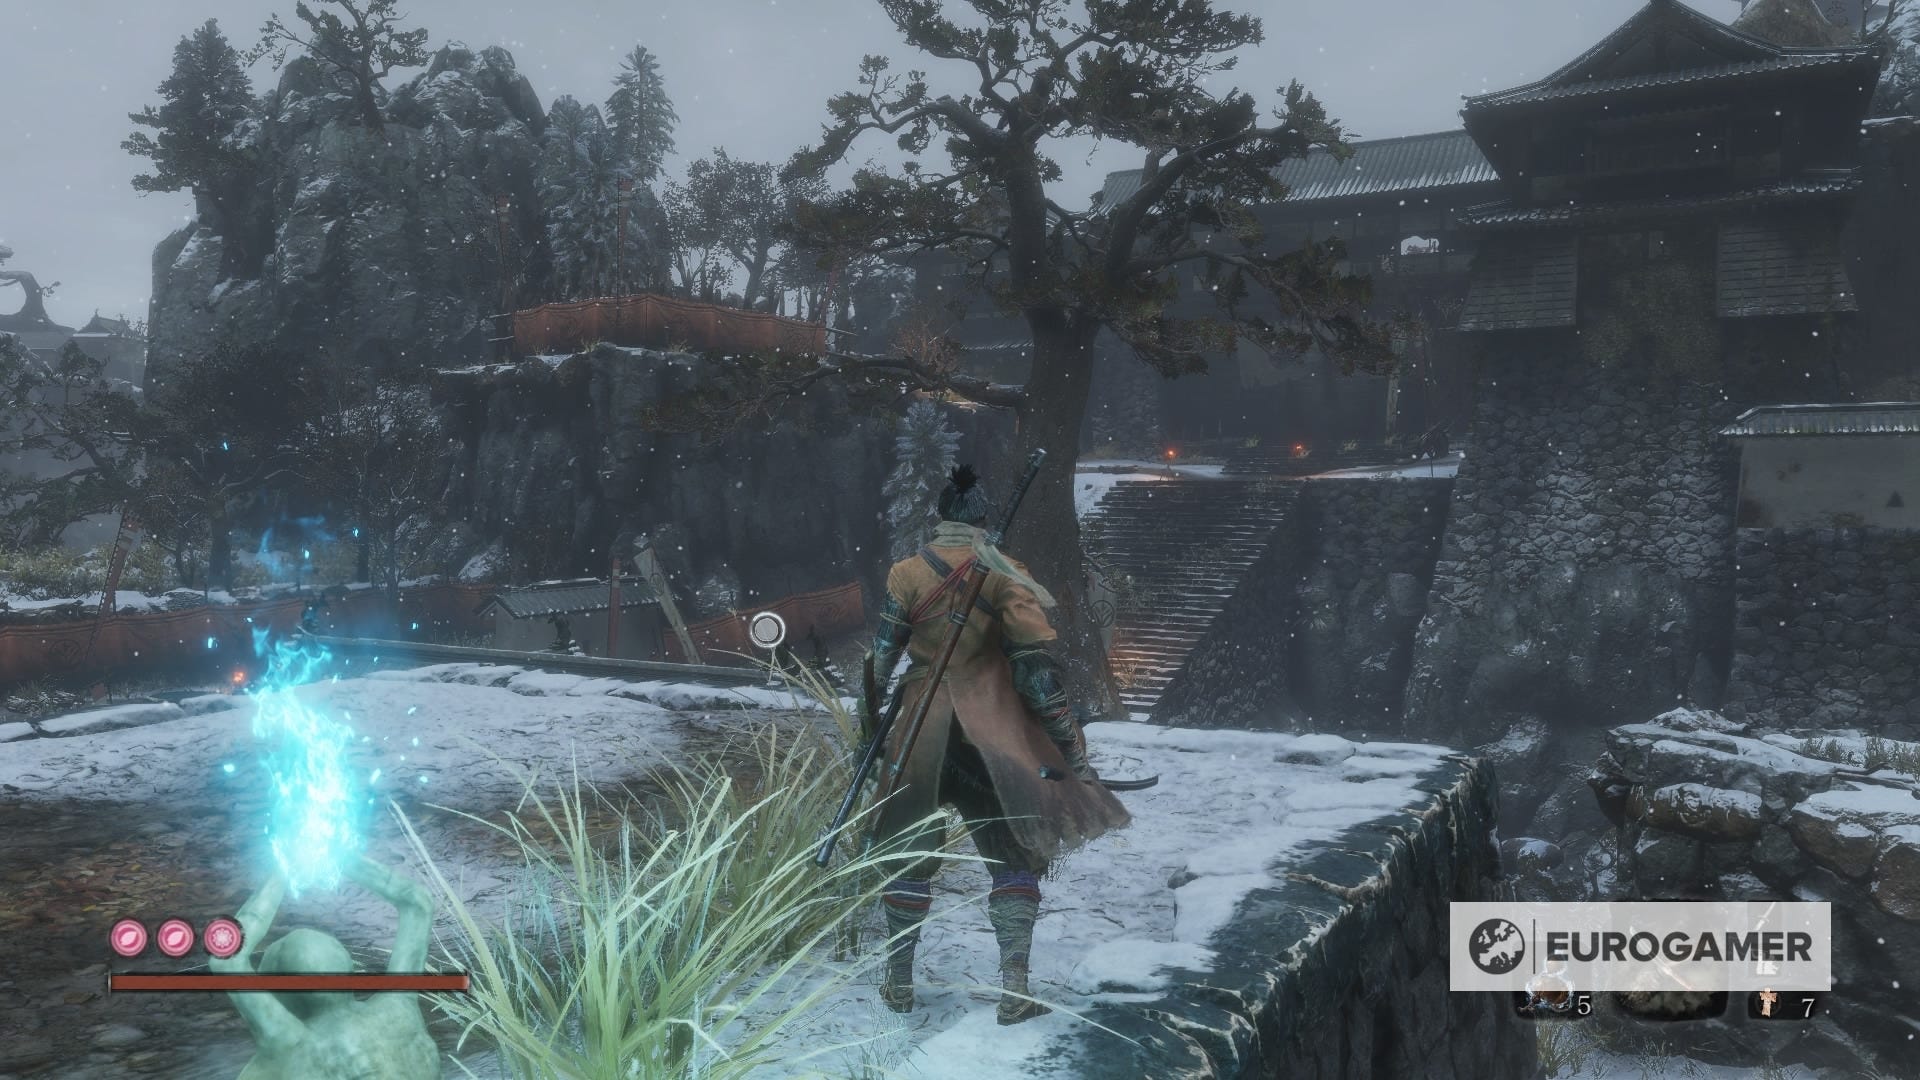
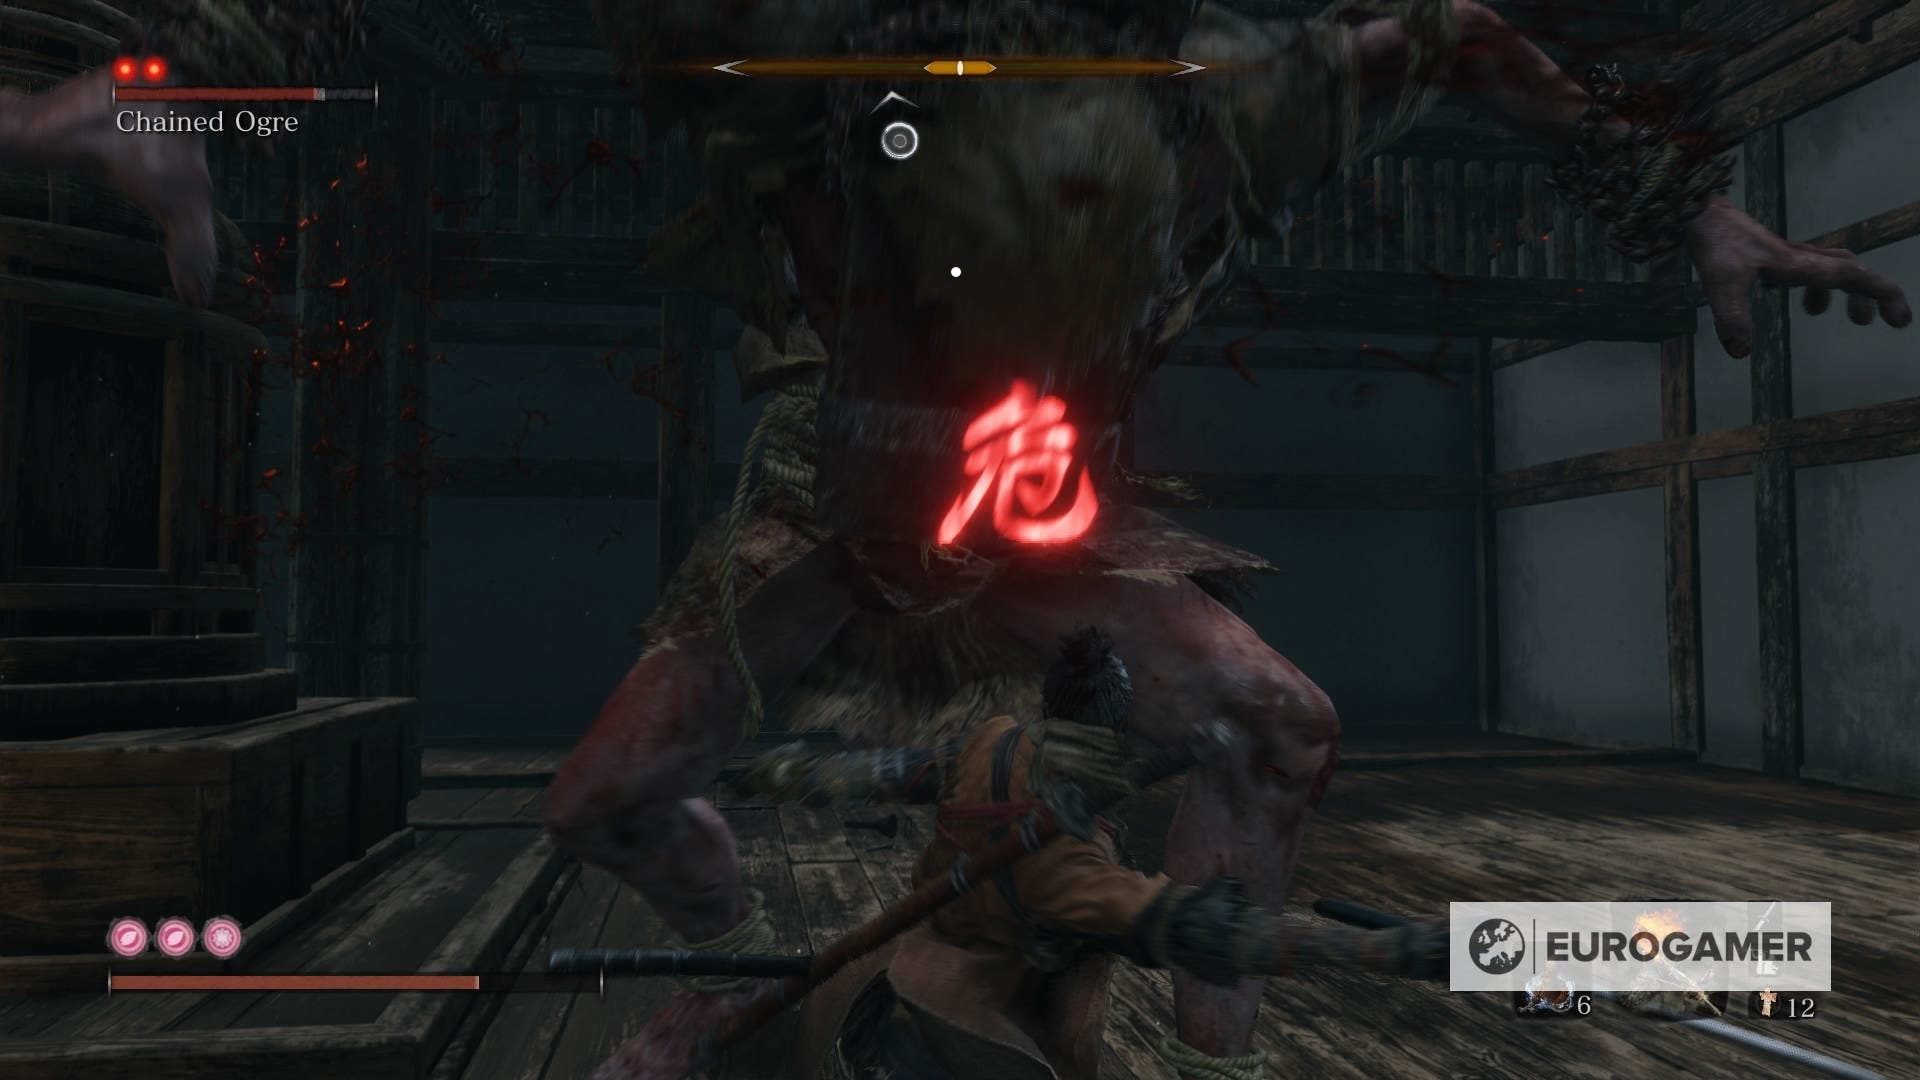
2. Ashina Outskirts - Outskirts Wall - Stairway Idol: Chained Ogre
Next up is the Chained Ogre, which can be daunting at first, but make sure to get your Flame Vent Prosthetic and some Oil ready for this fight. If it seems impossible, though, we've got you covered with our guide. Kill him and you'll receive a second Prayer Bead. Only two more to go until the first necklace.
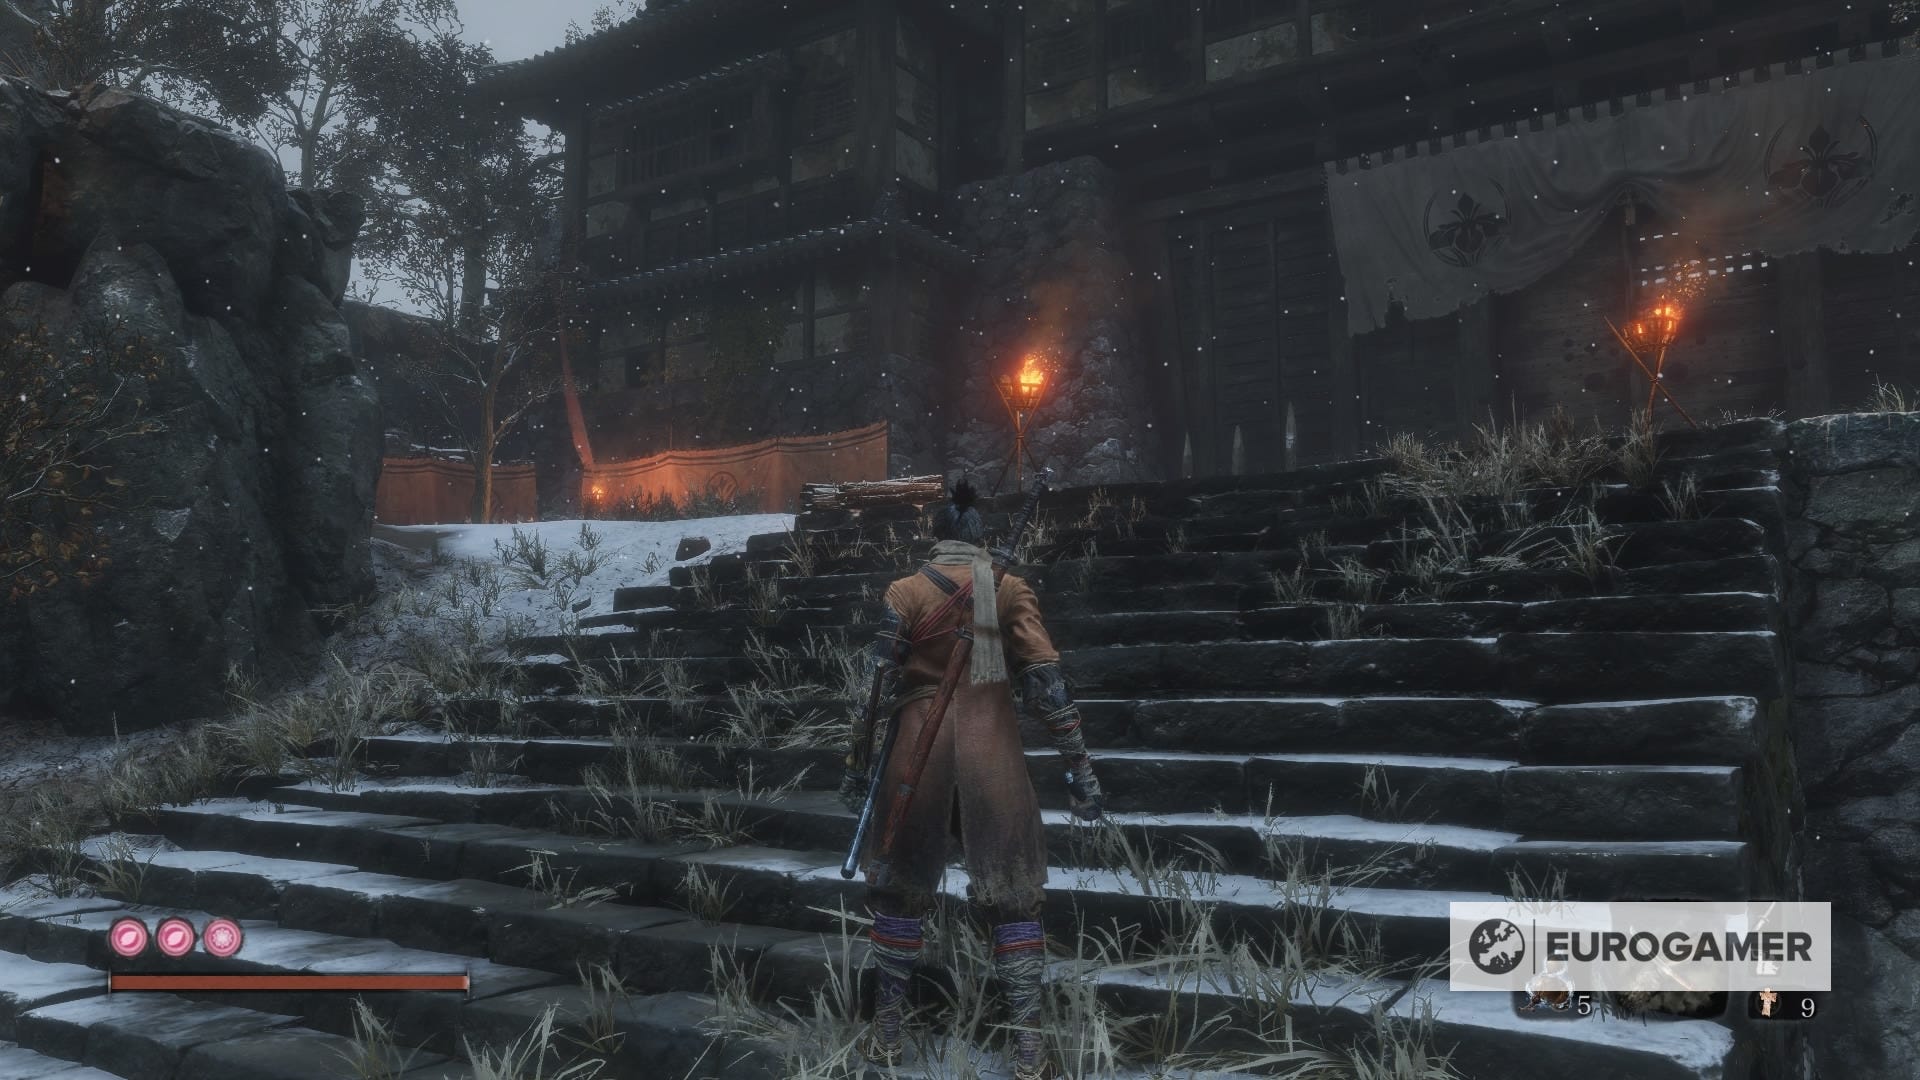
3. Ashina Outskirts - Ashina Castle Gate Idol: another General
Keep progressing onwards and you'll meet yet another samurai-style mini boss, General Tenzen Yamauchi just in case you were in need of even more practice, where you can even follow the same strategy as Kawarada's encounter to get a free Deathblow. Just be careful, since he will start patrolling through the area. There's your Prayer Bead number three.
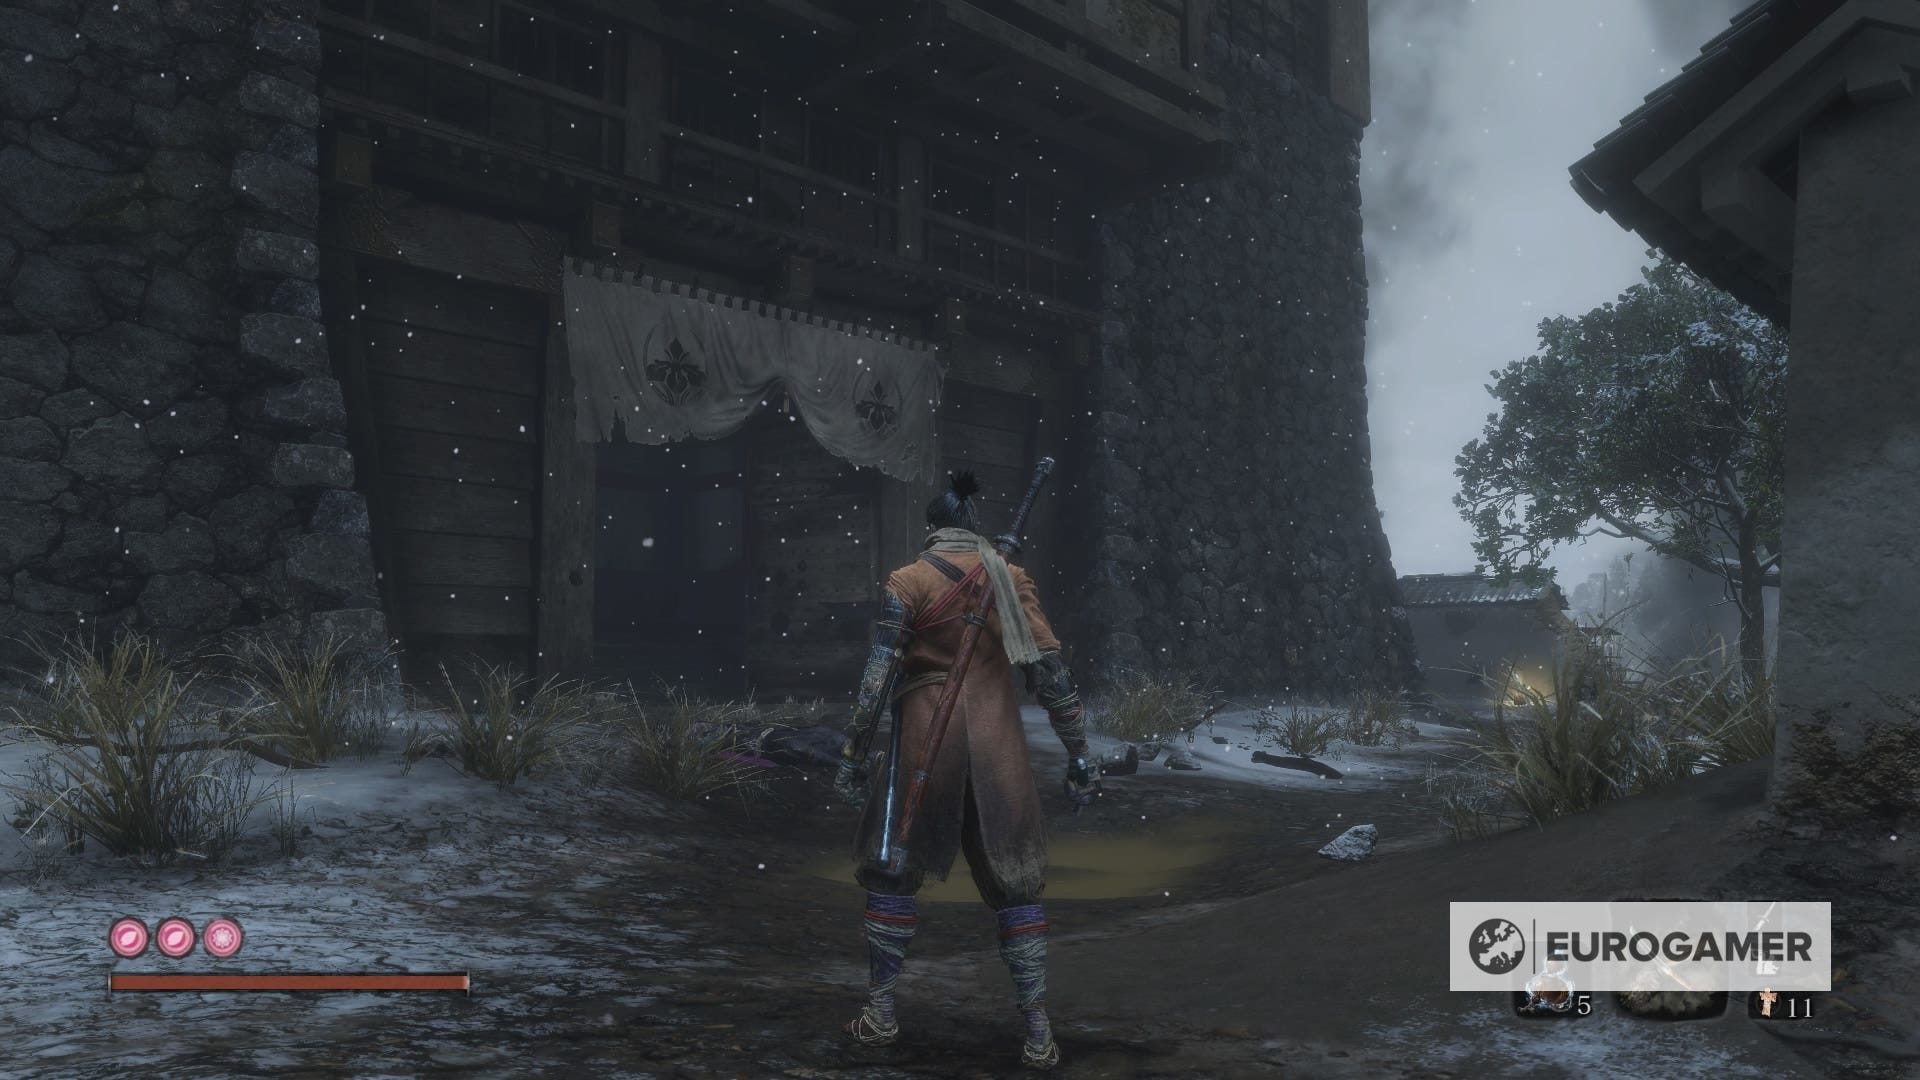
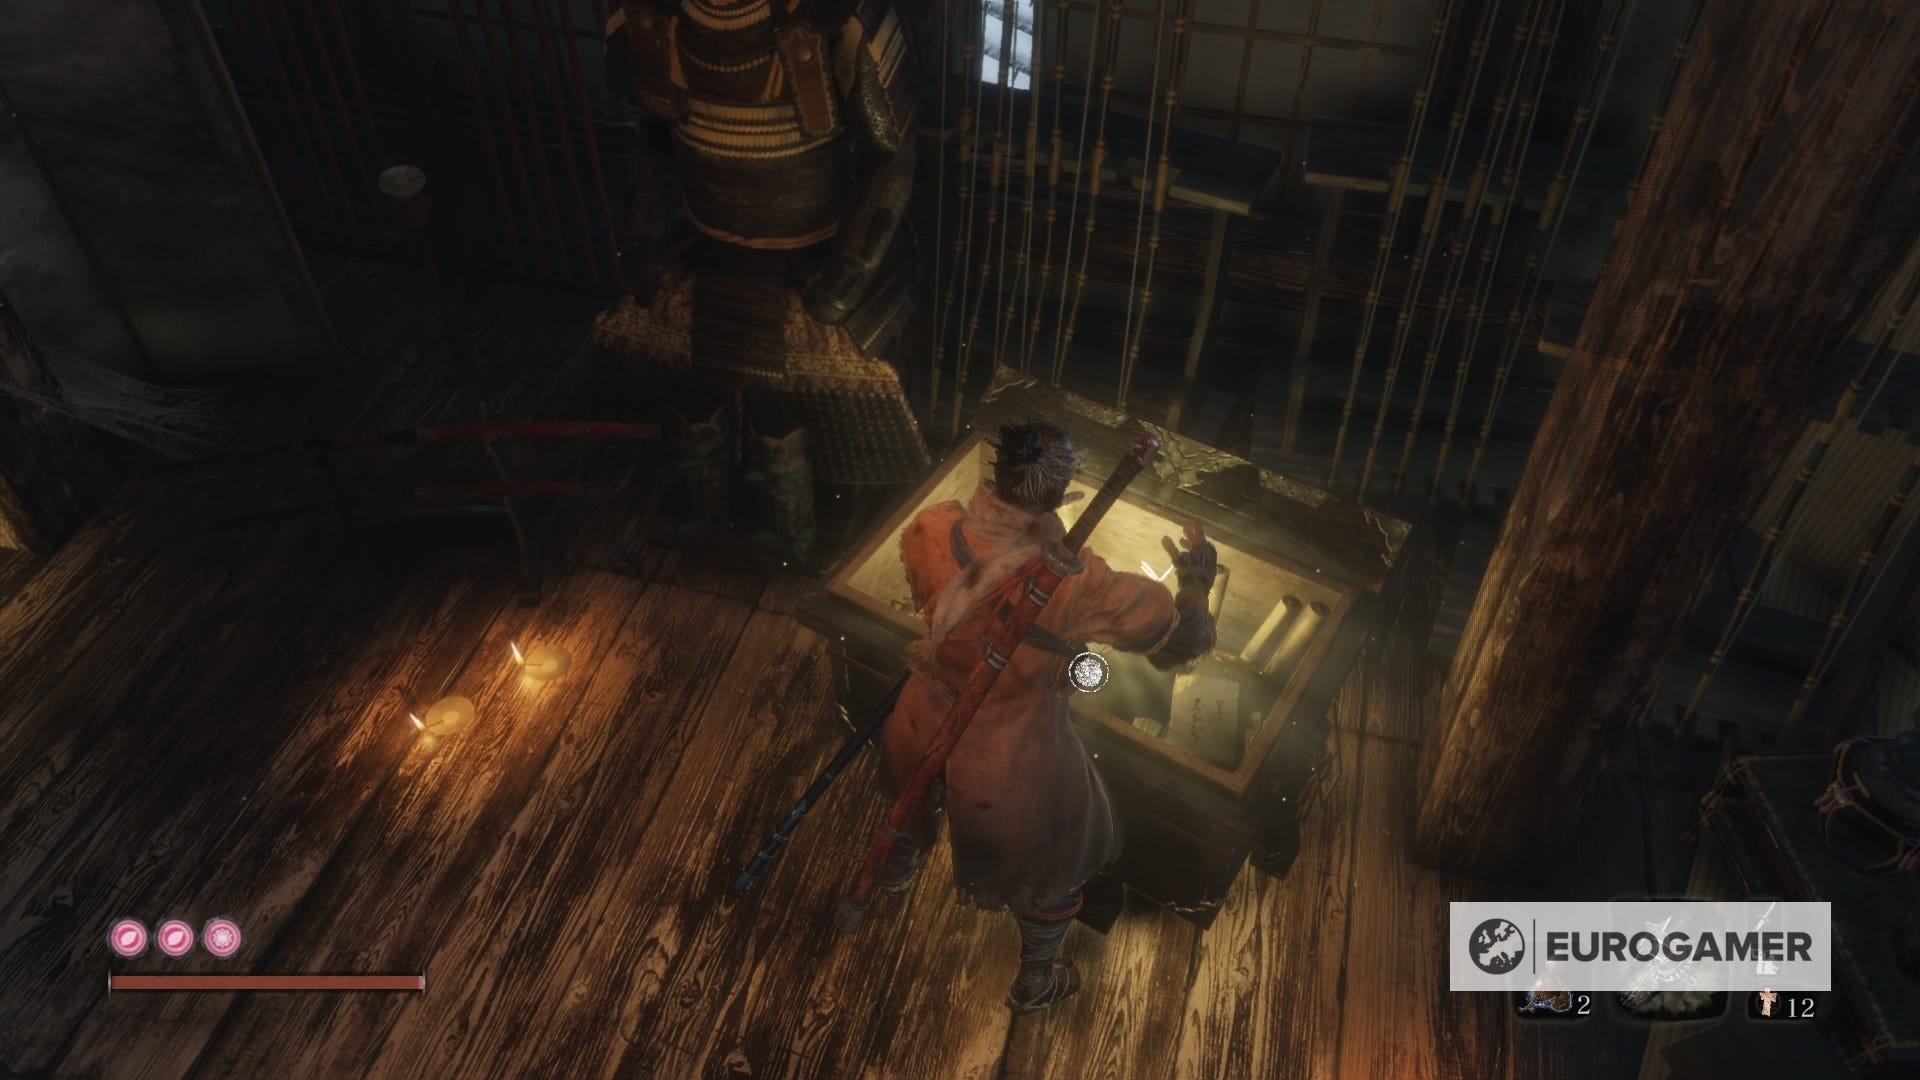
4. Ashina Outskirts - Ashina Castle Gate Idol
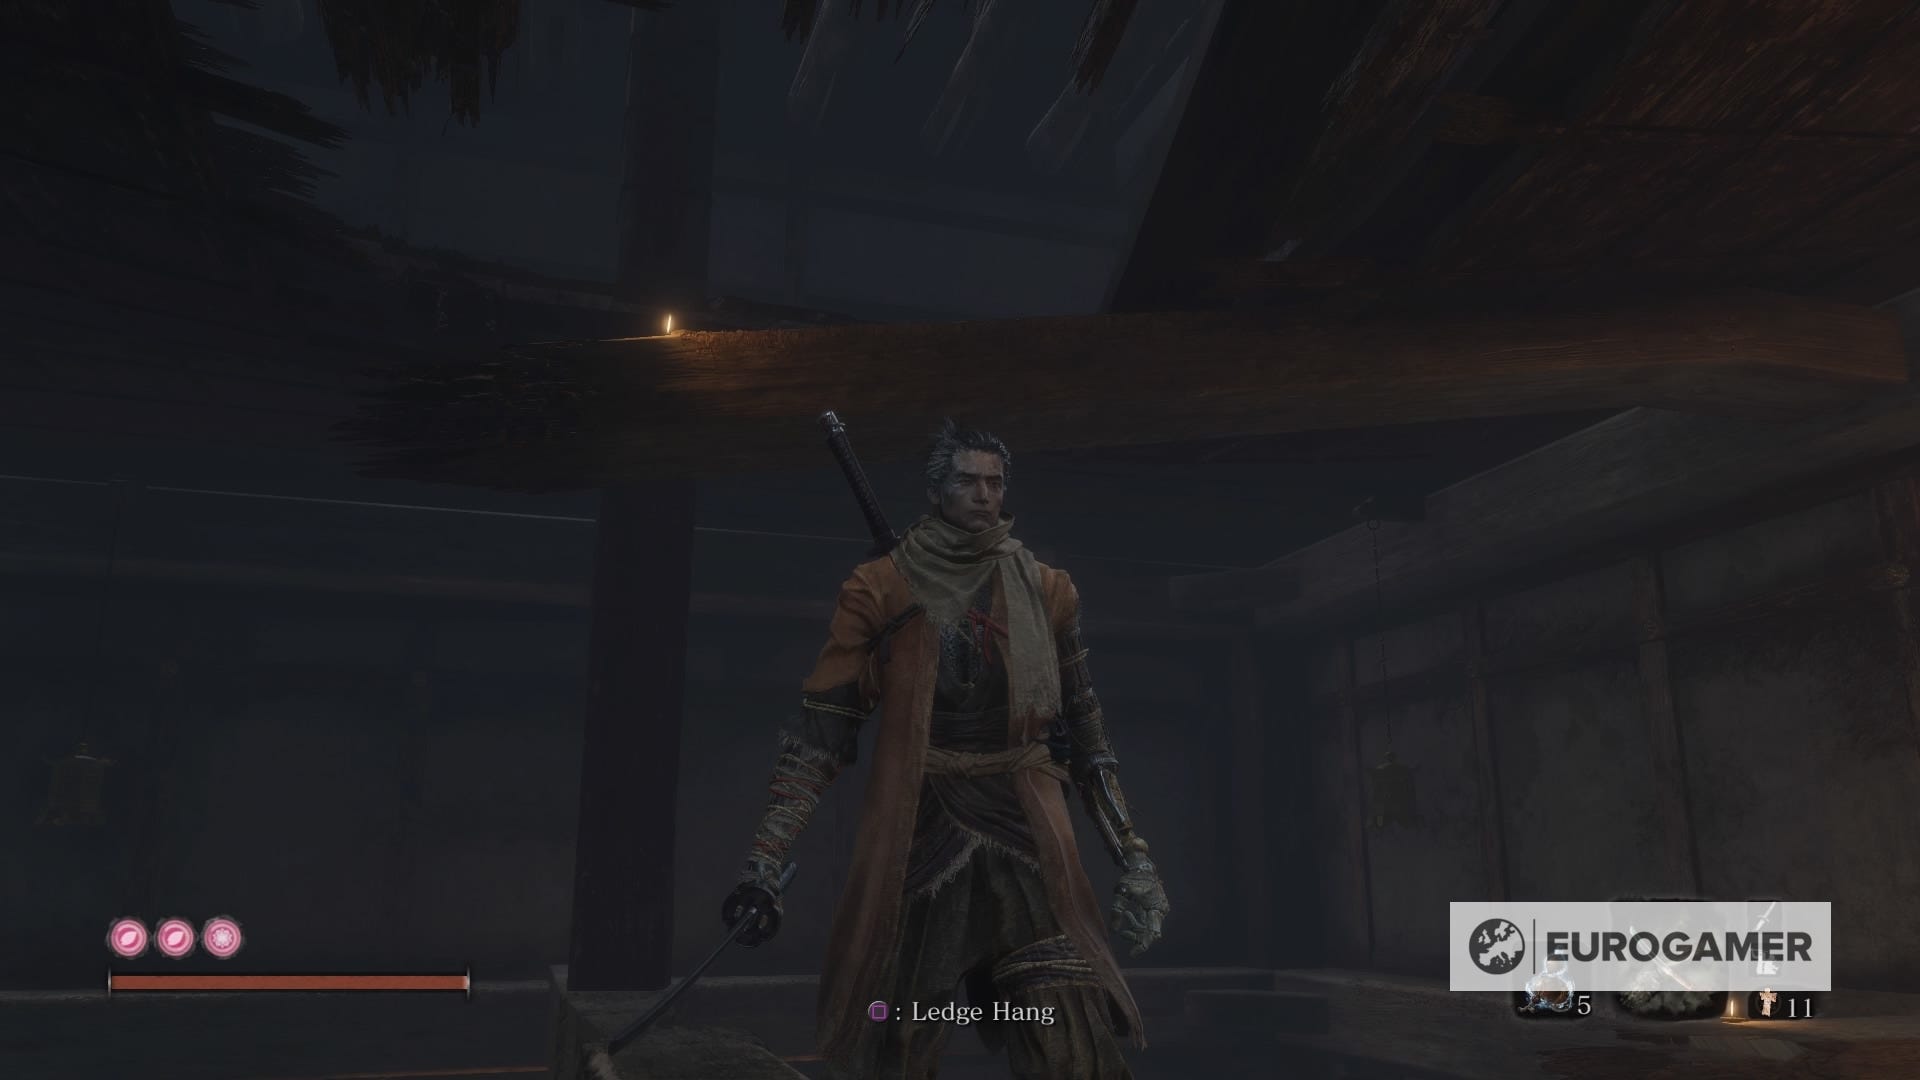
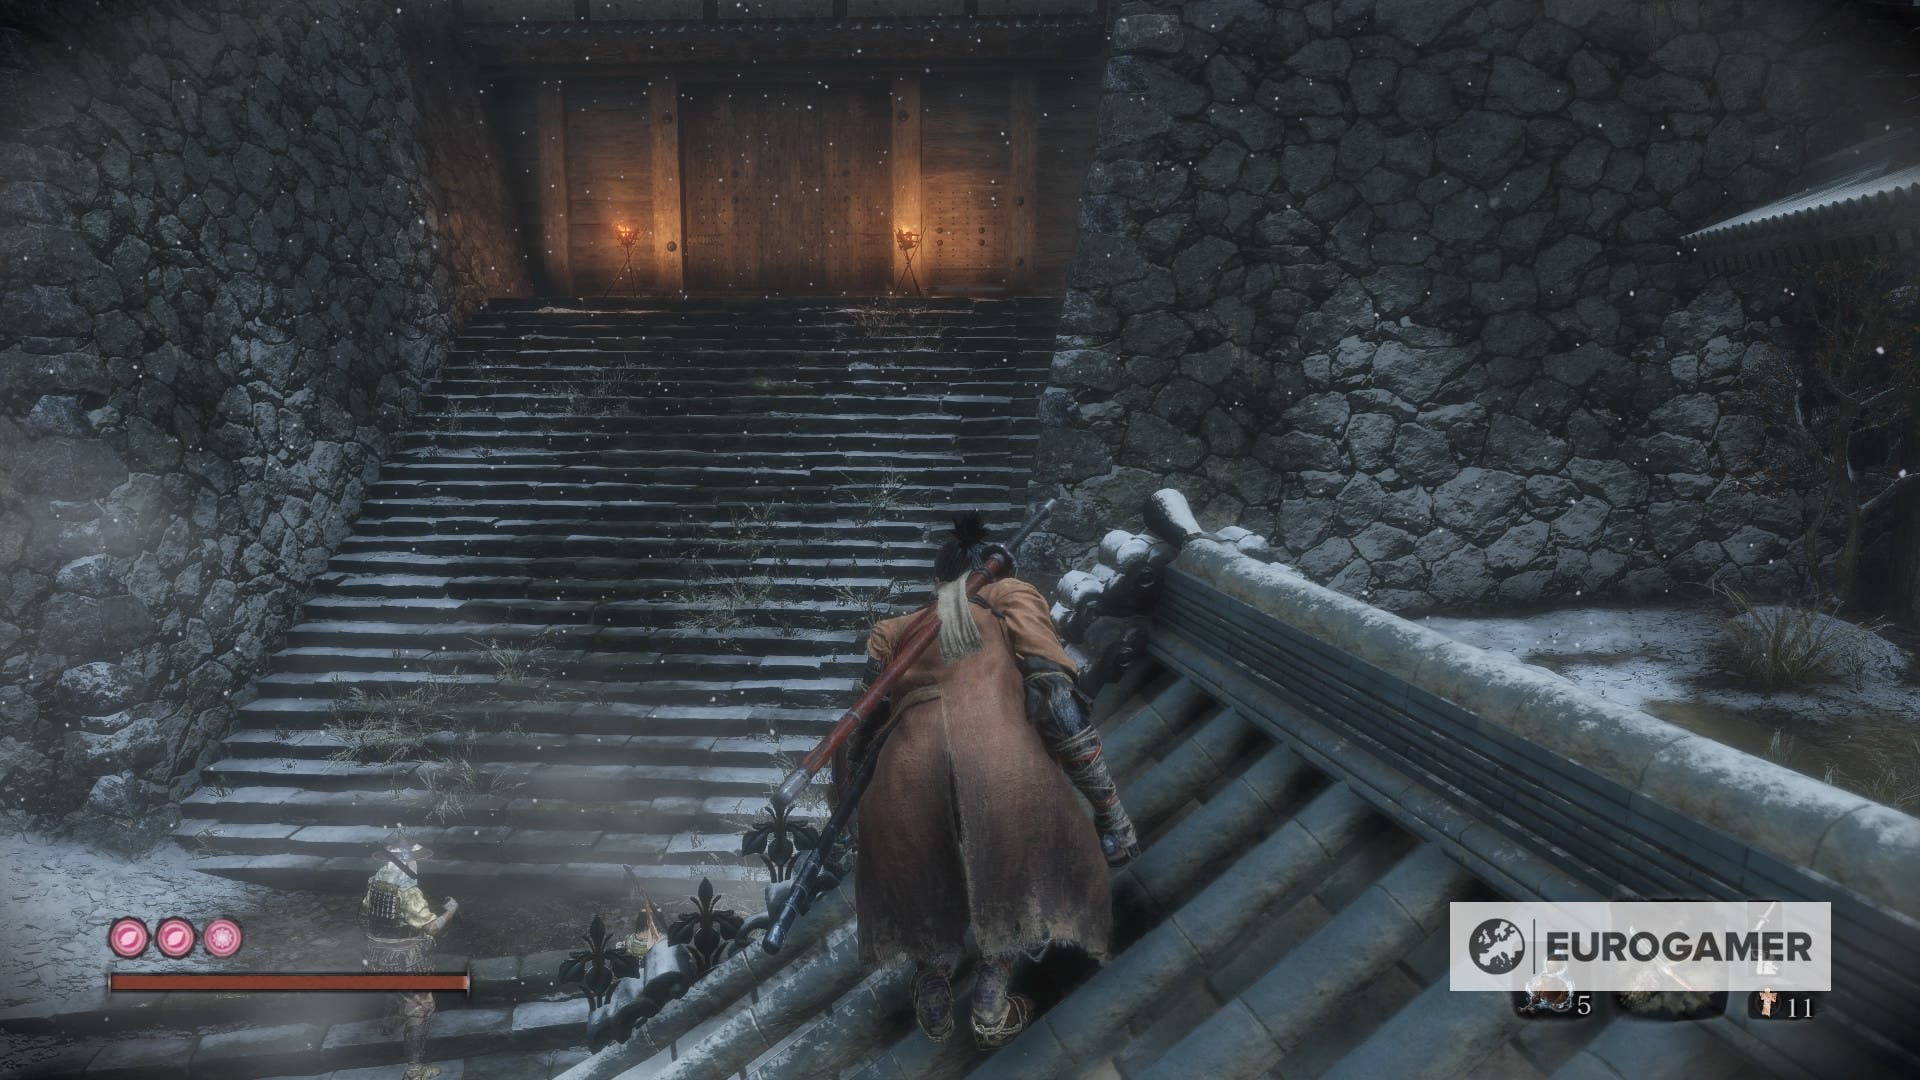
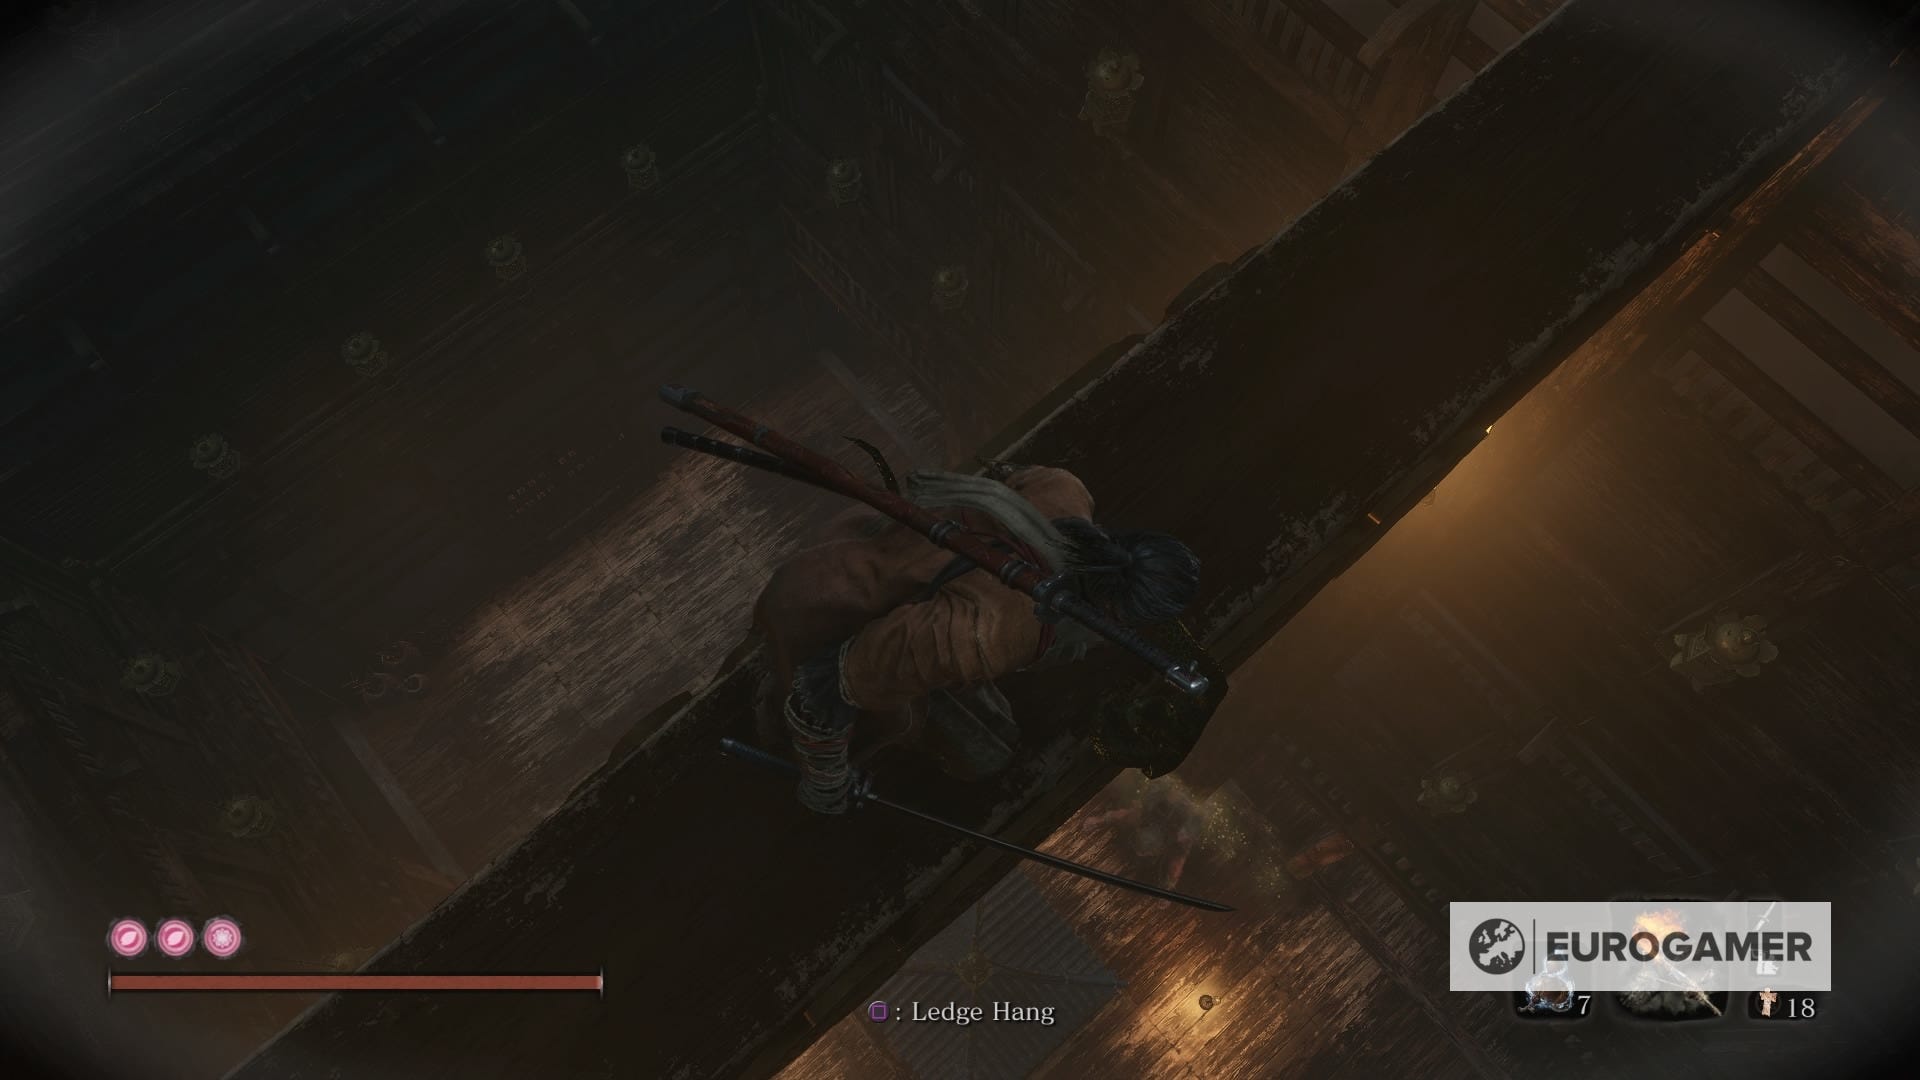
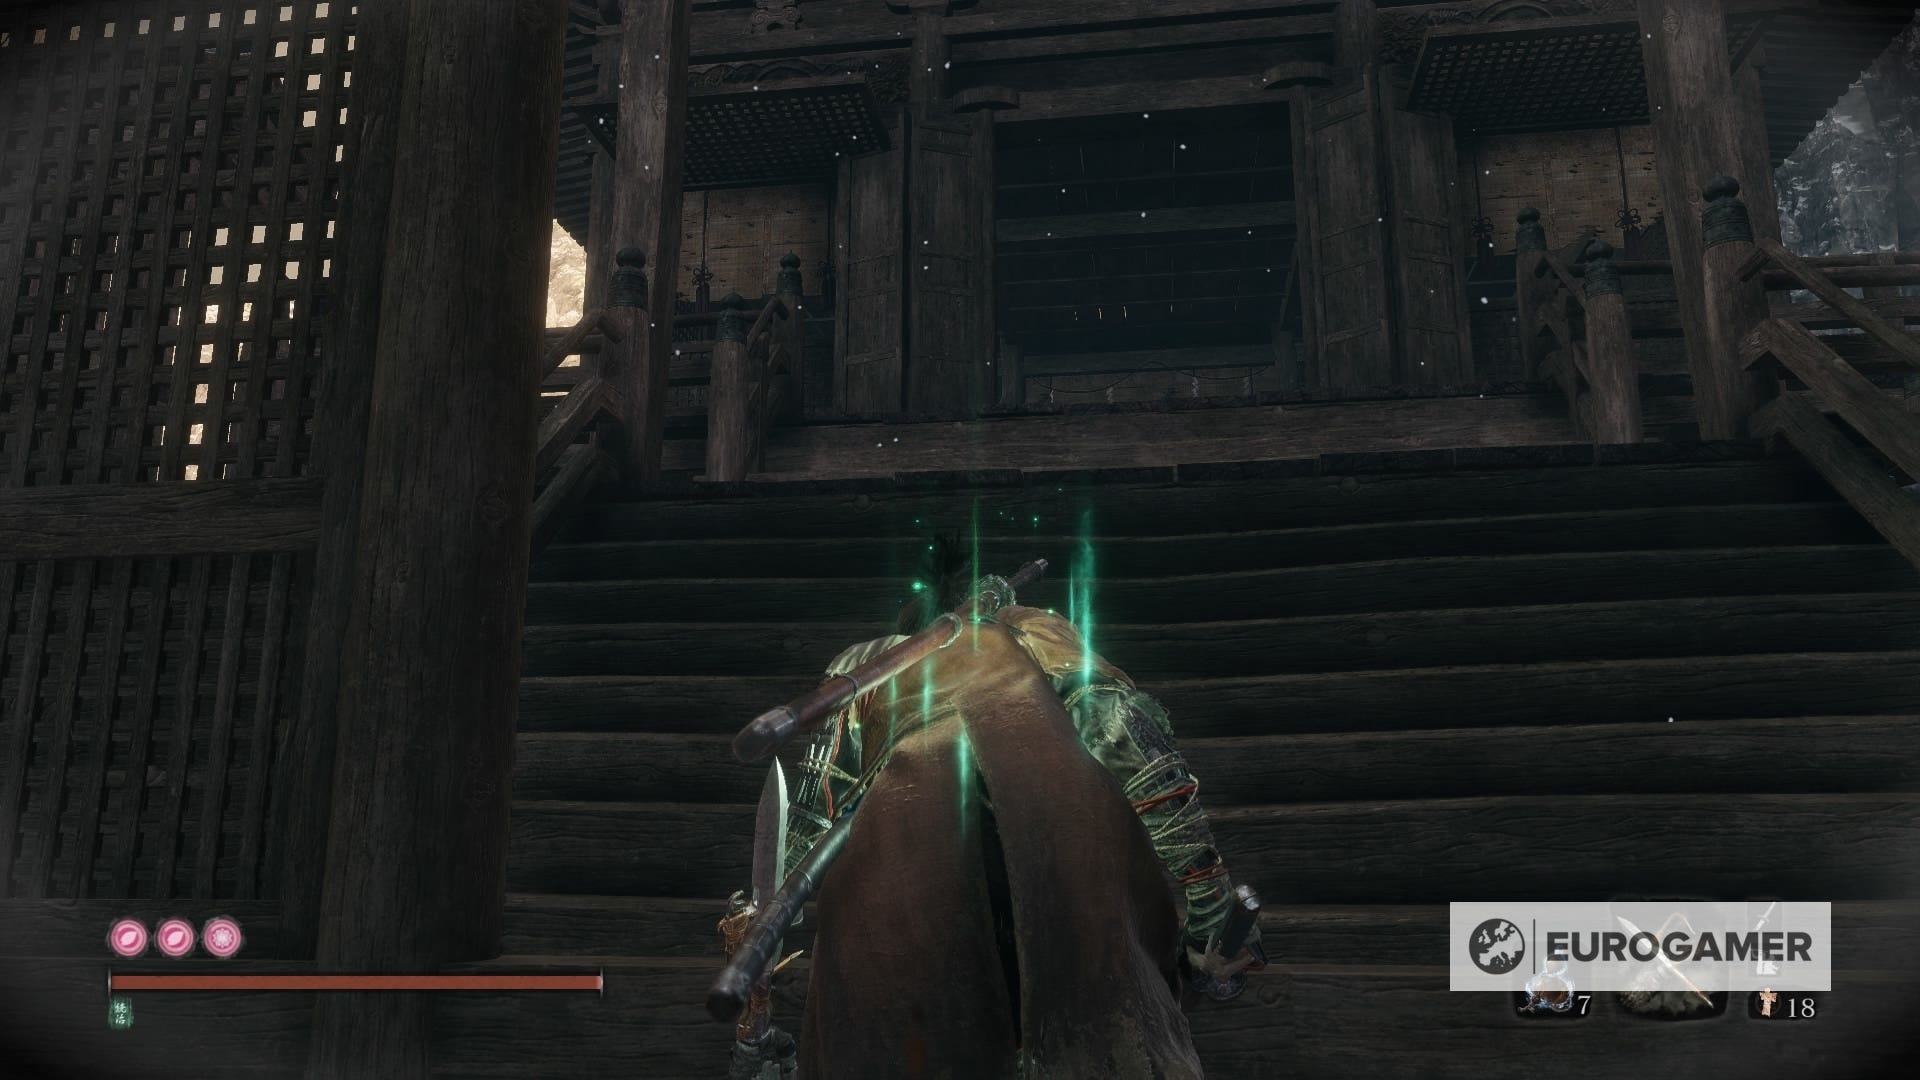
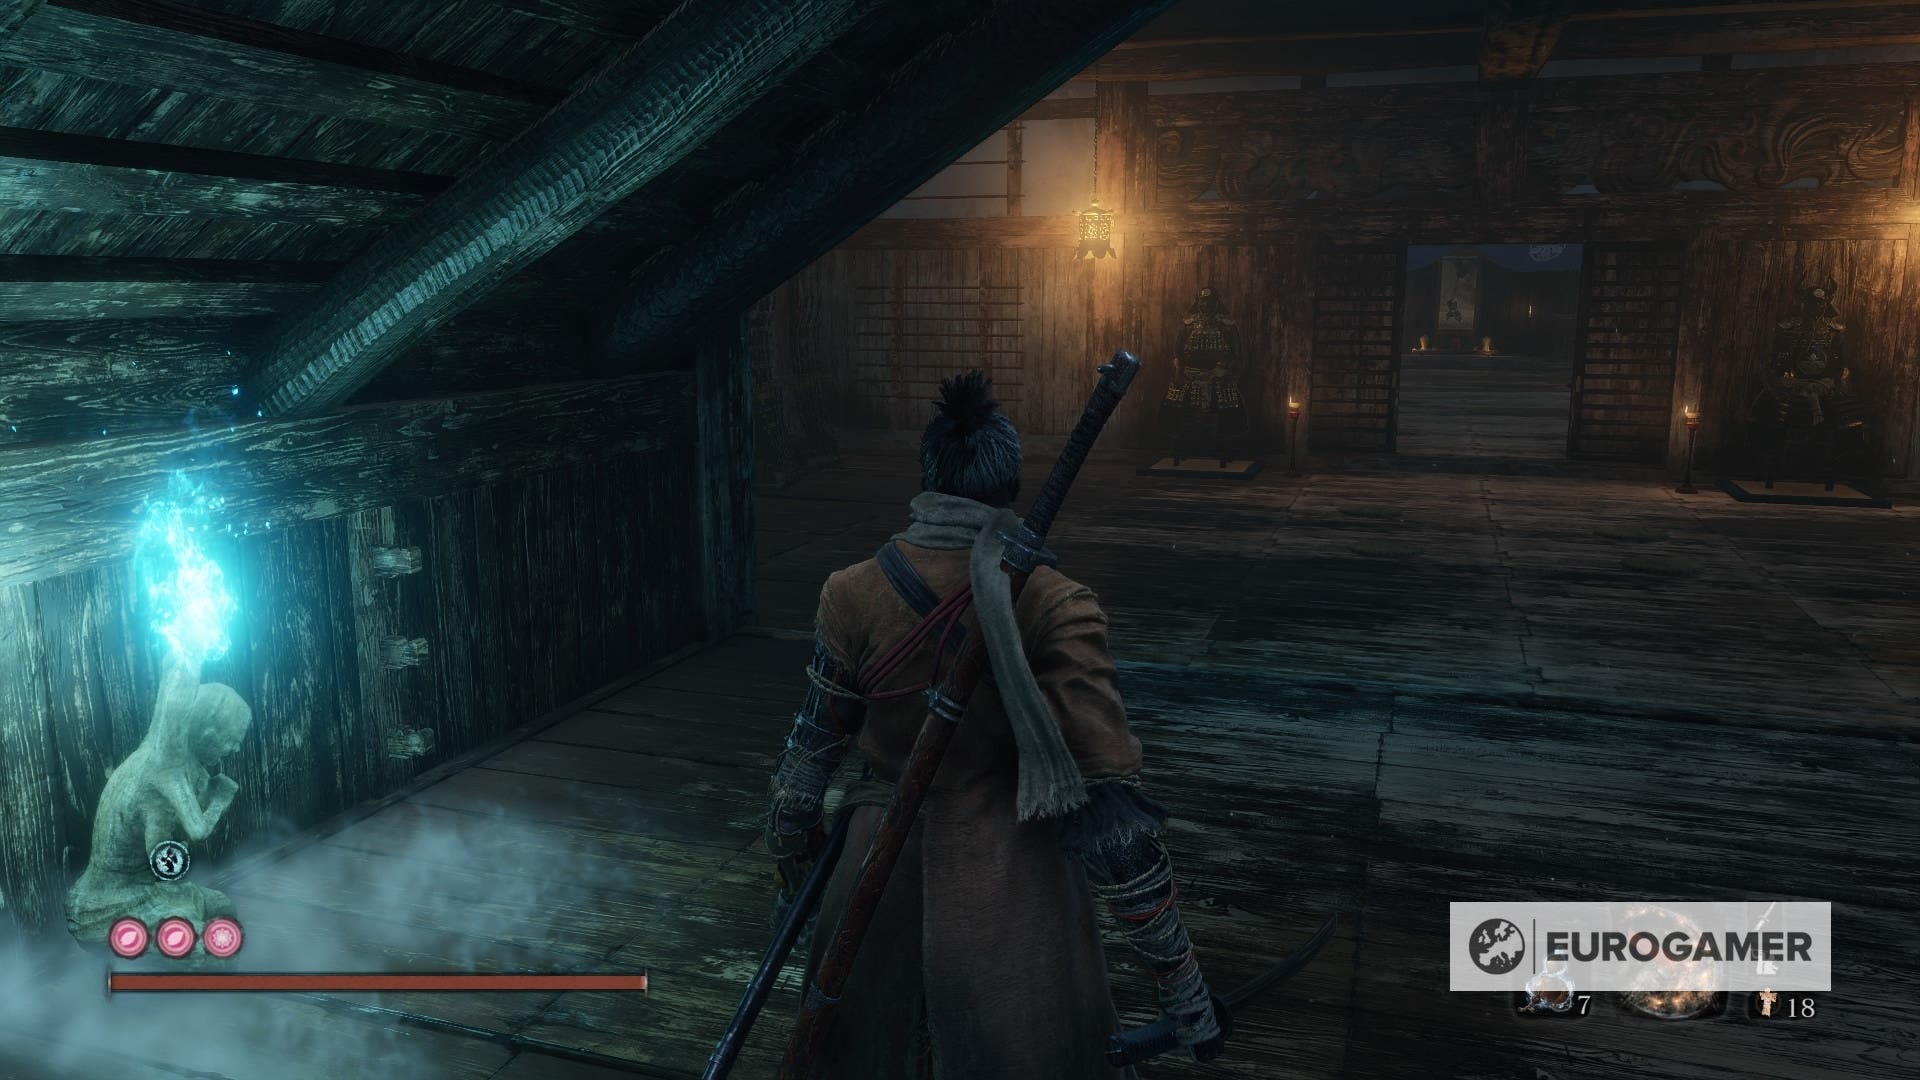
This one requires a bit of acrobatics, but no boss fight, at least. From the Ashina Castle Gate Idol, after you beat Gyoubu Oniwa, go all the way across the empty battlefield and get up the stairs. Make a turn and enter the building. From there, you're gonna want to grapple your way up to the attic.
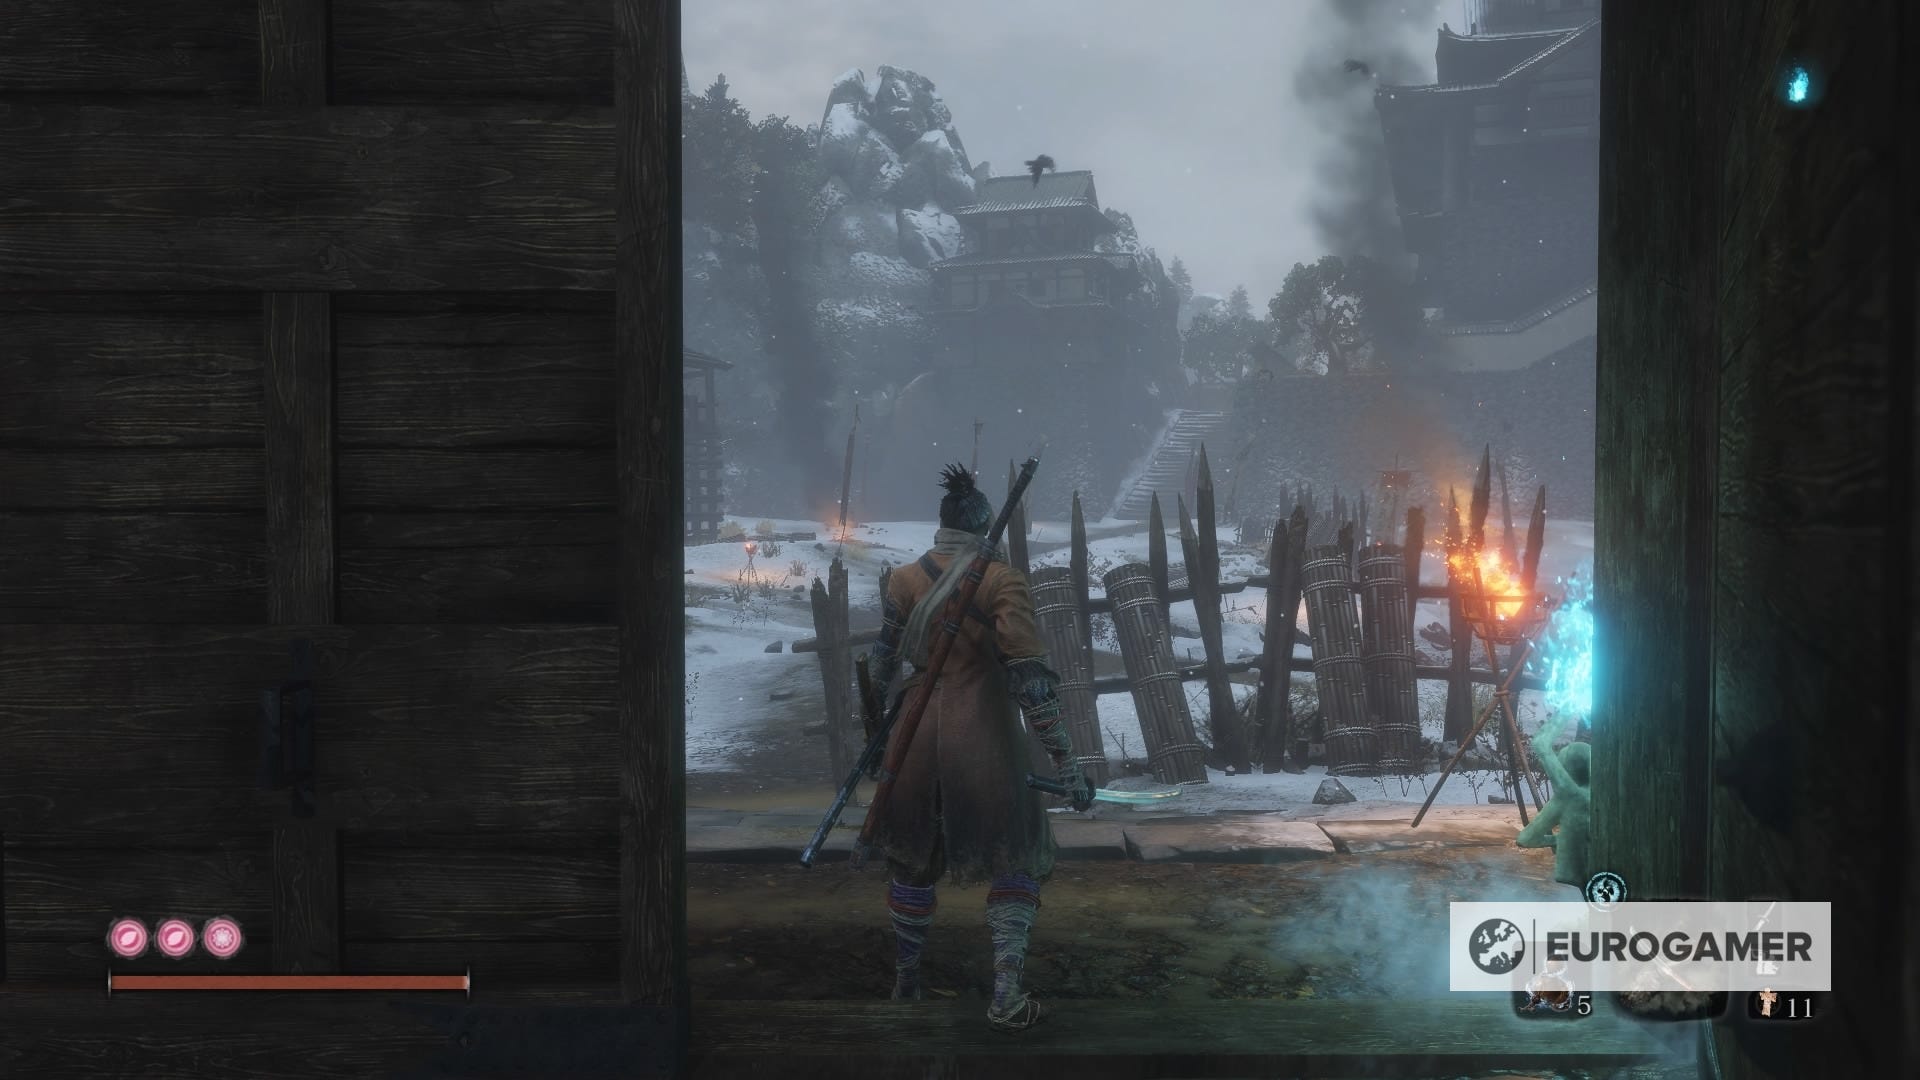
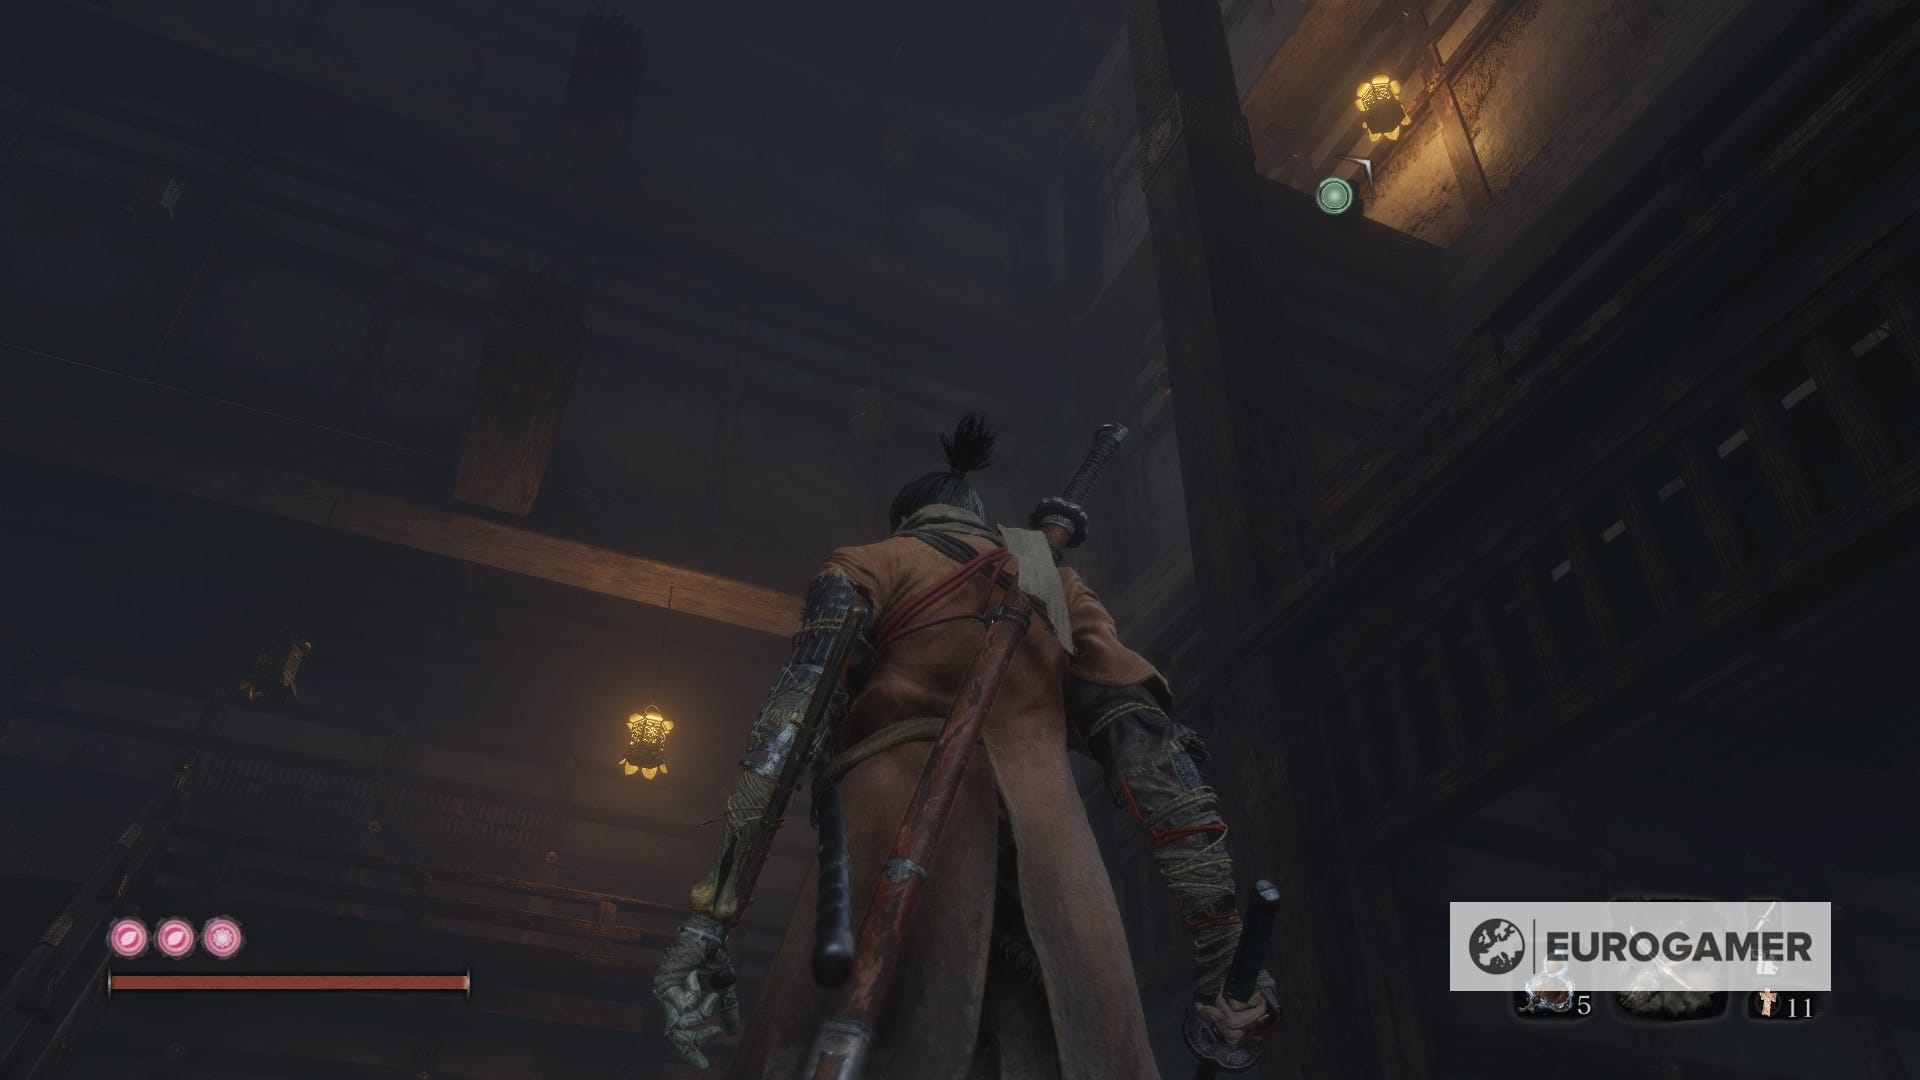
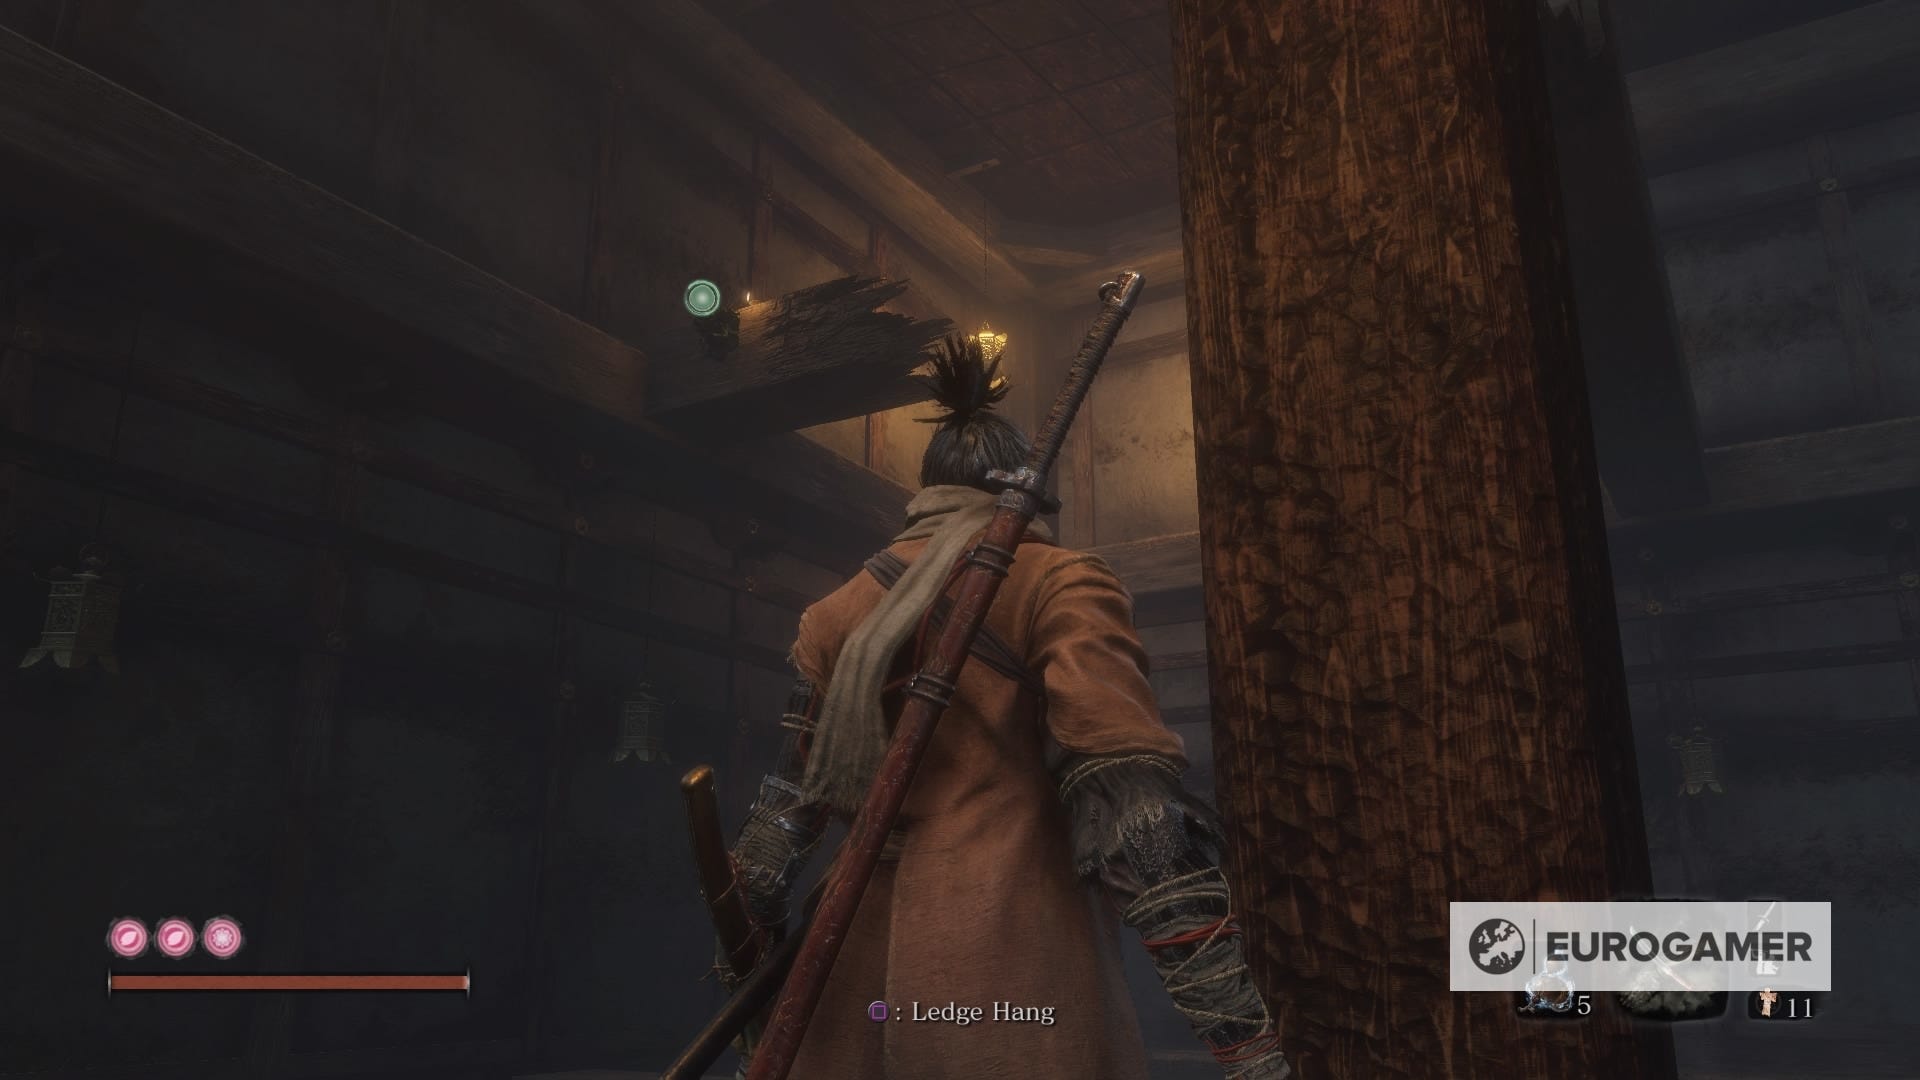
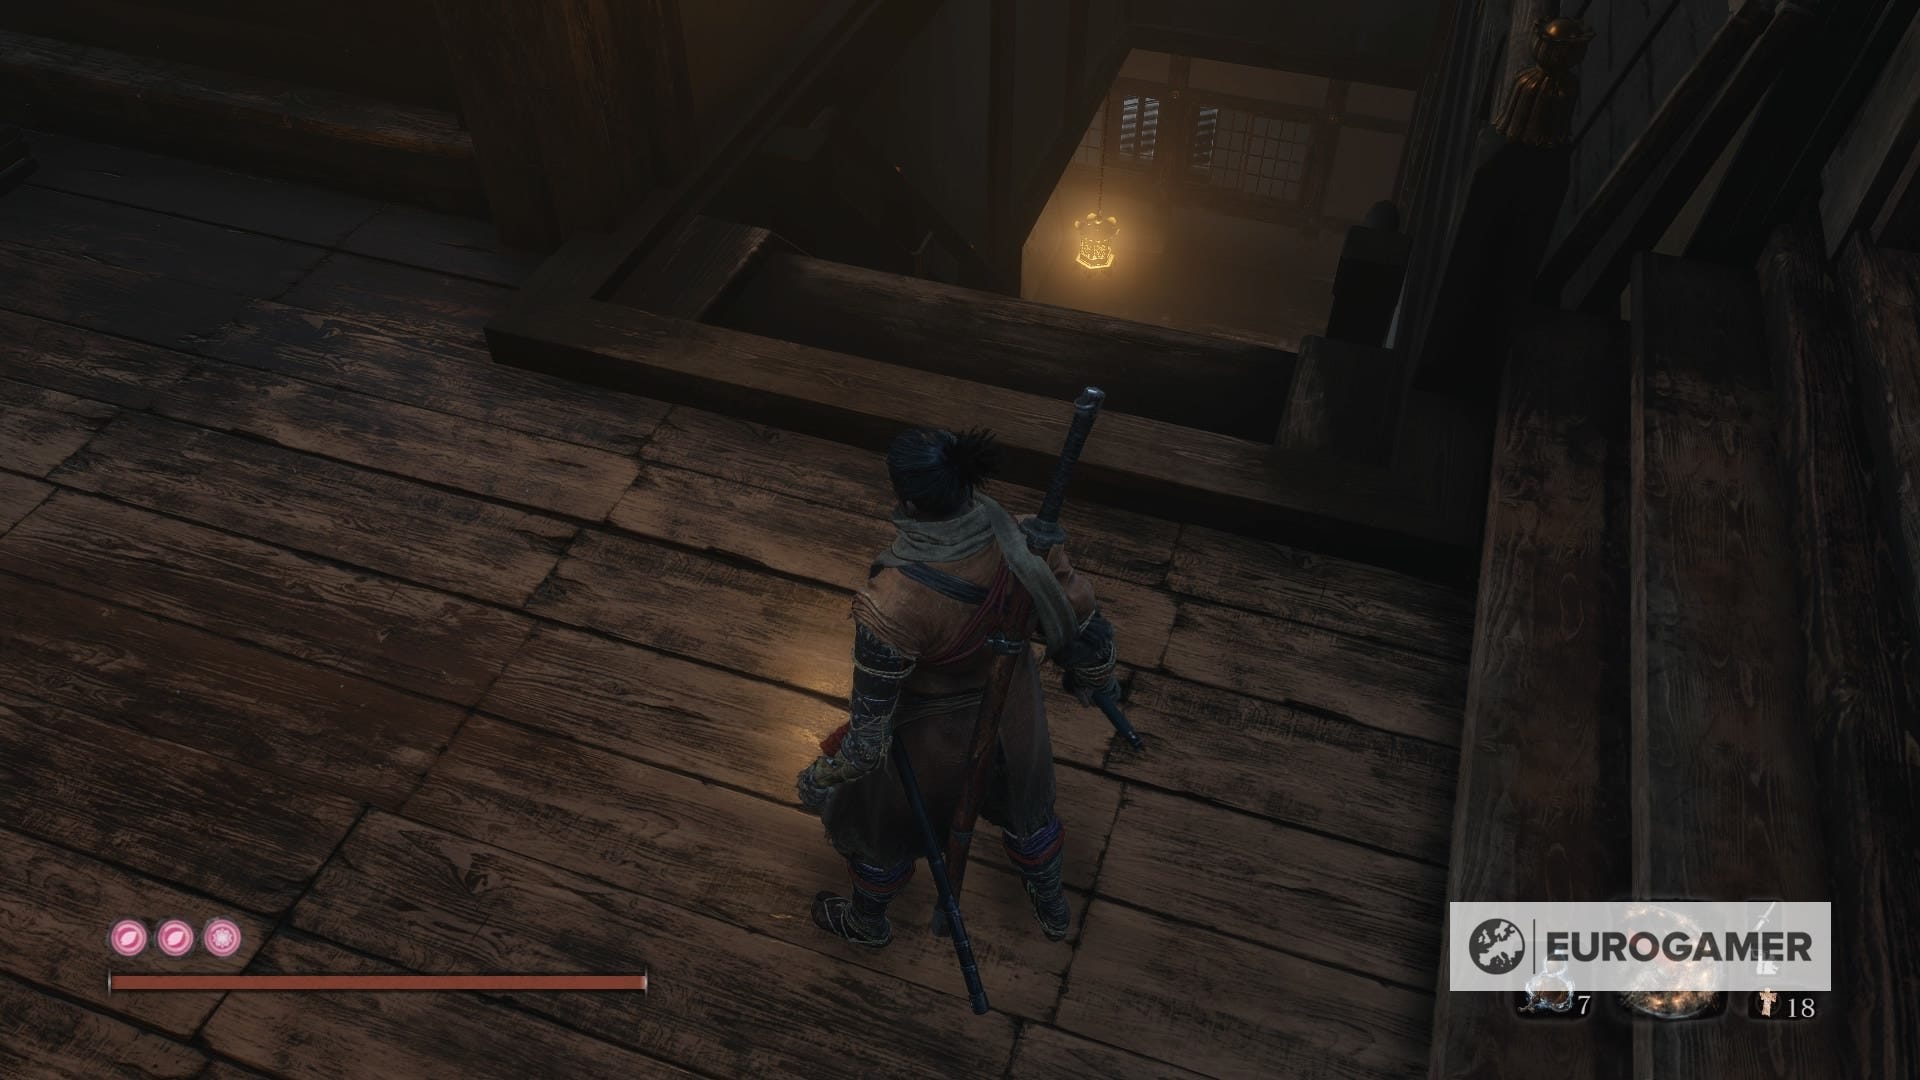
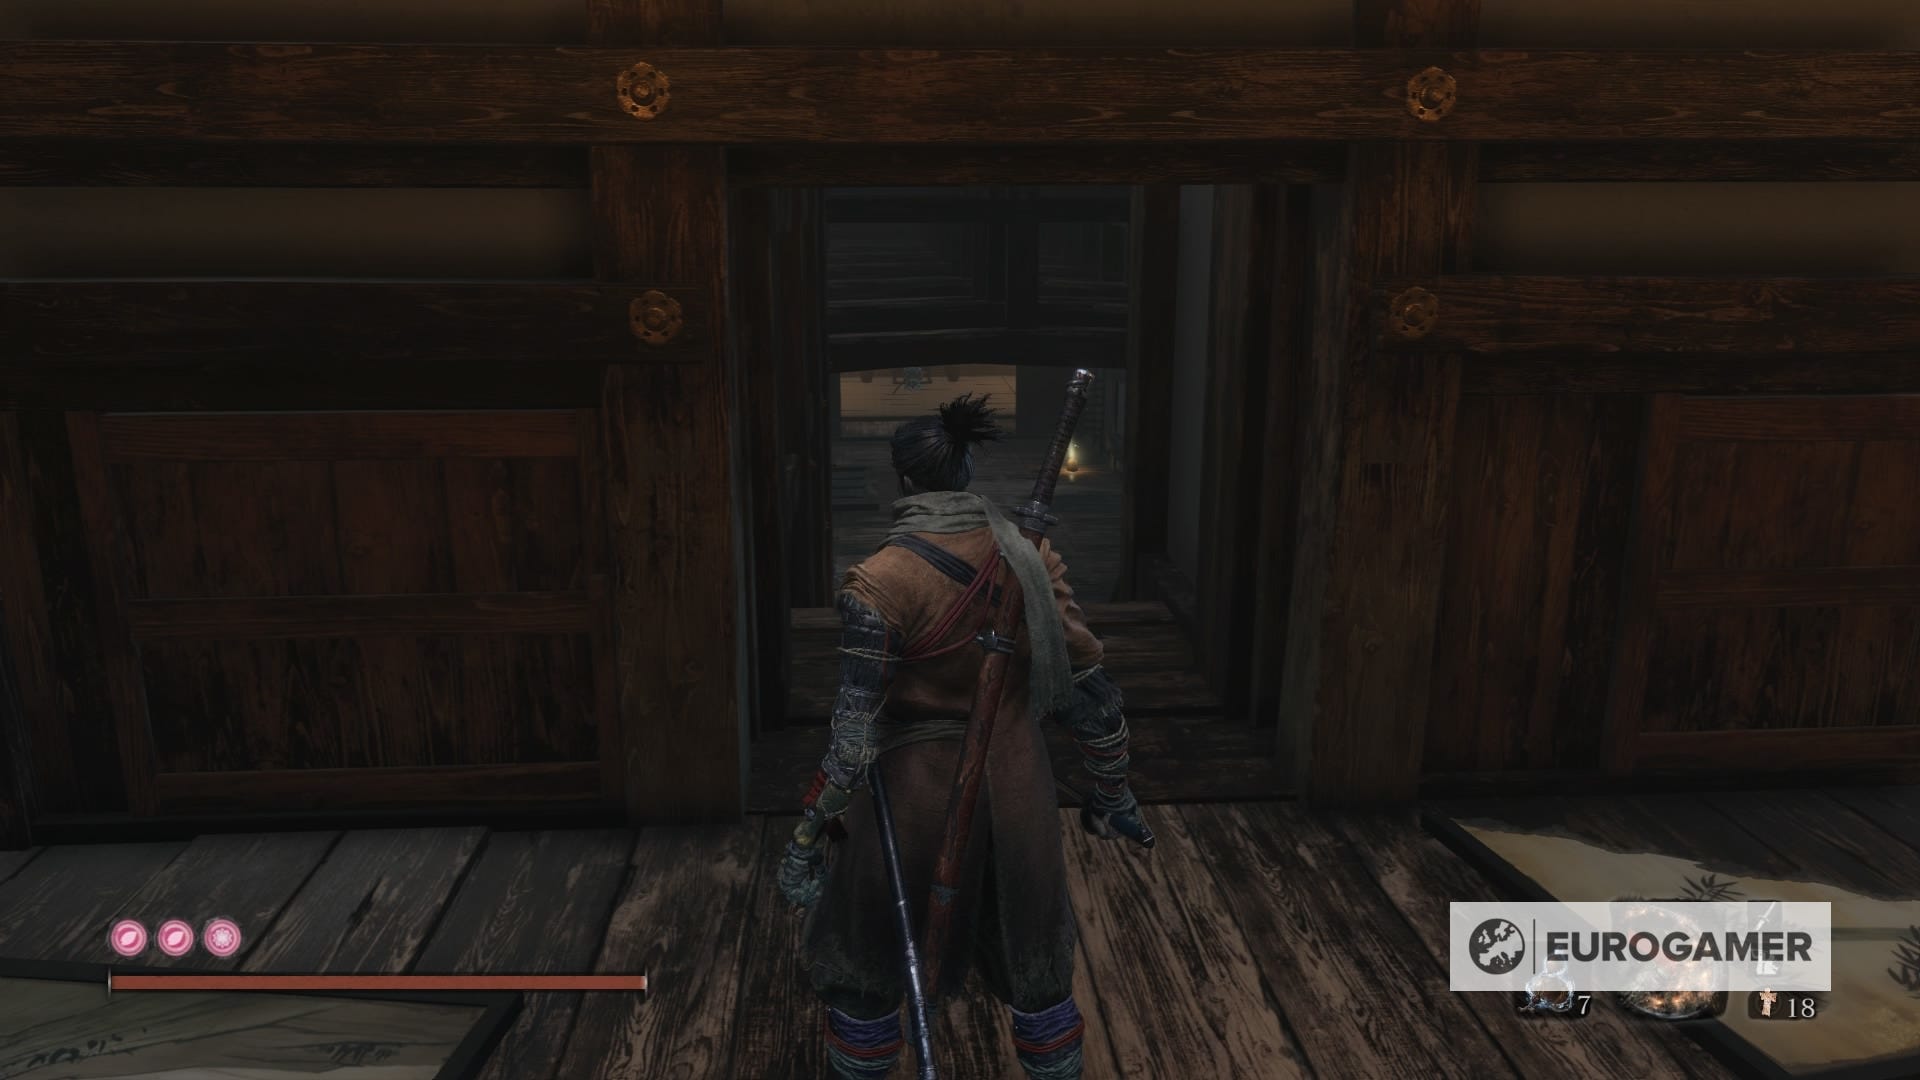
The first one shows up on the right side, and once you're in there, look for a broken wooden pillar with the second grapple point. You'll be facing another broken one, jump there and grab from the ledge. Start walking facing the opposite side from the crack of the wooden surface, and you'll see a crack in the rooftop. Jump, grab, and you'll be in the attic.
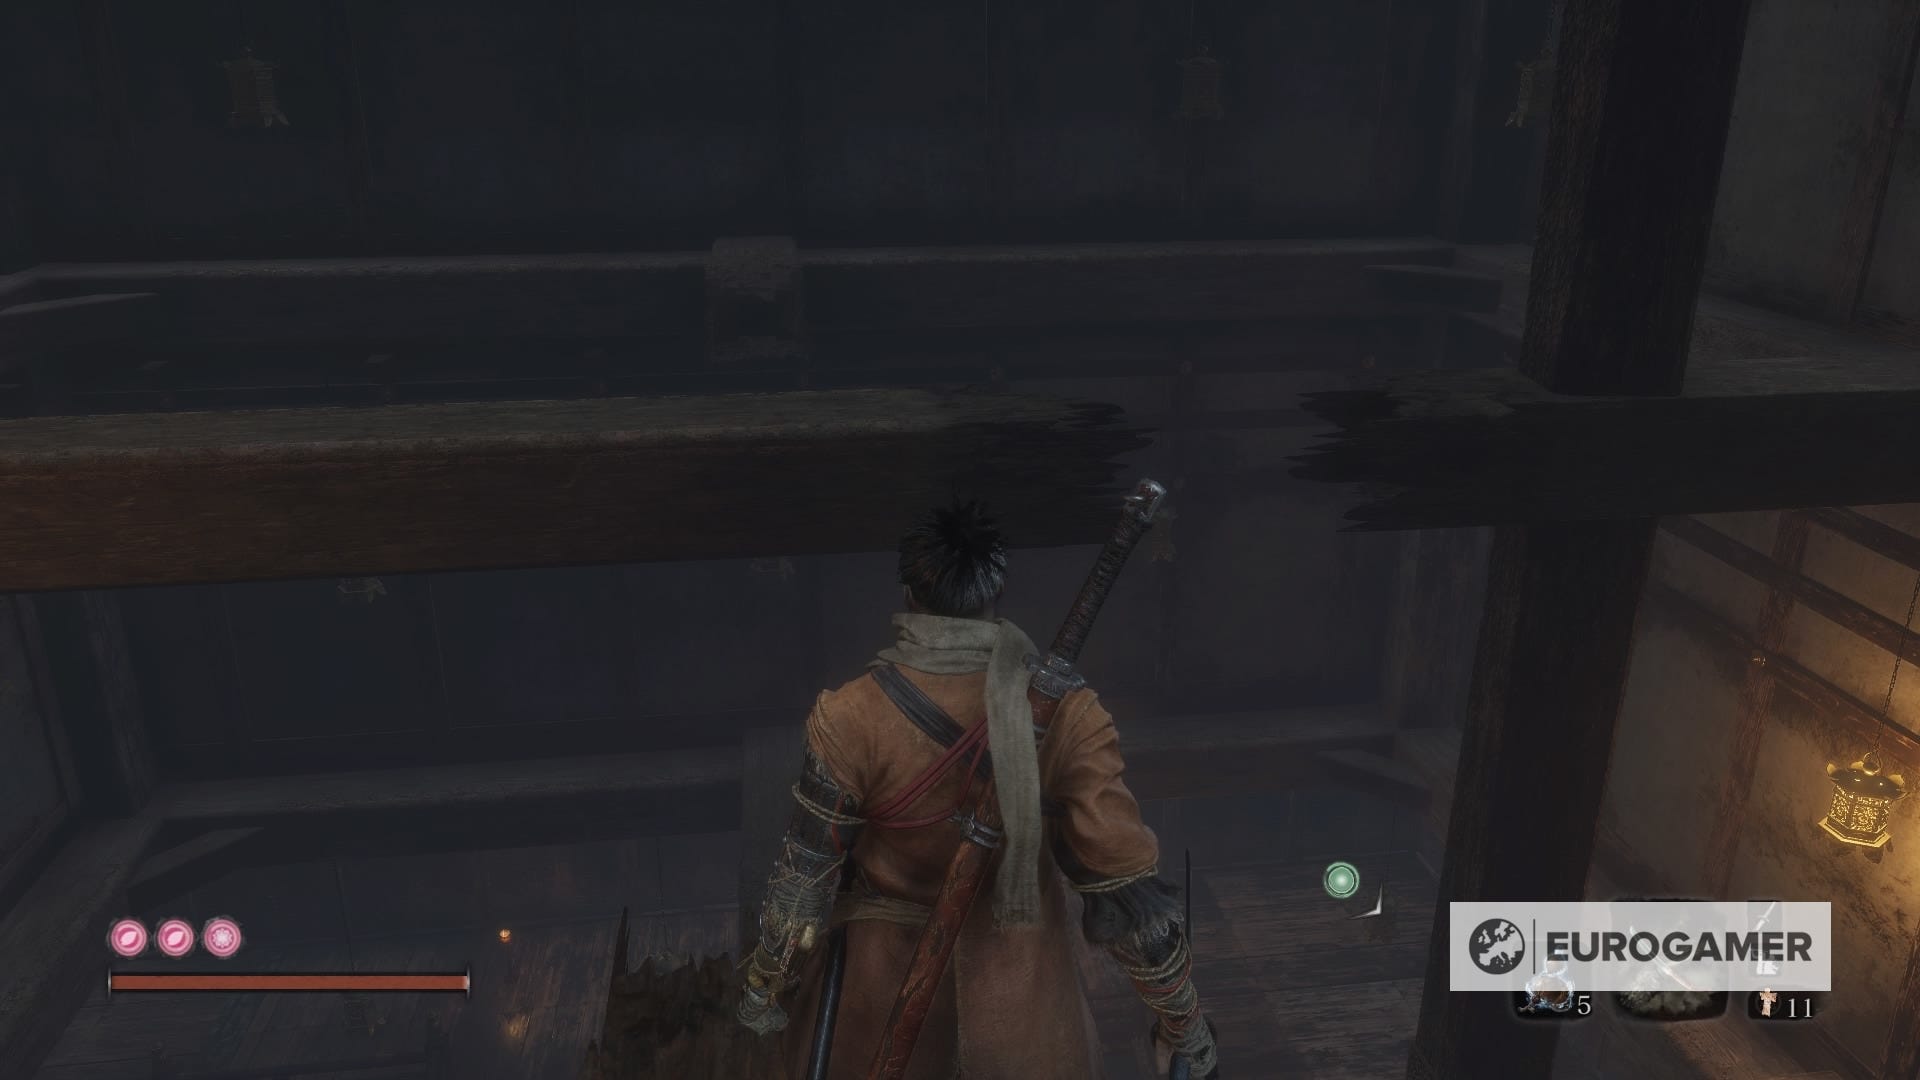
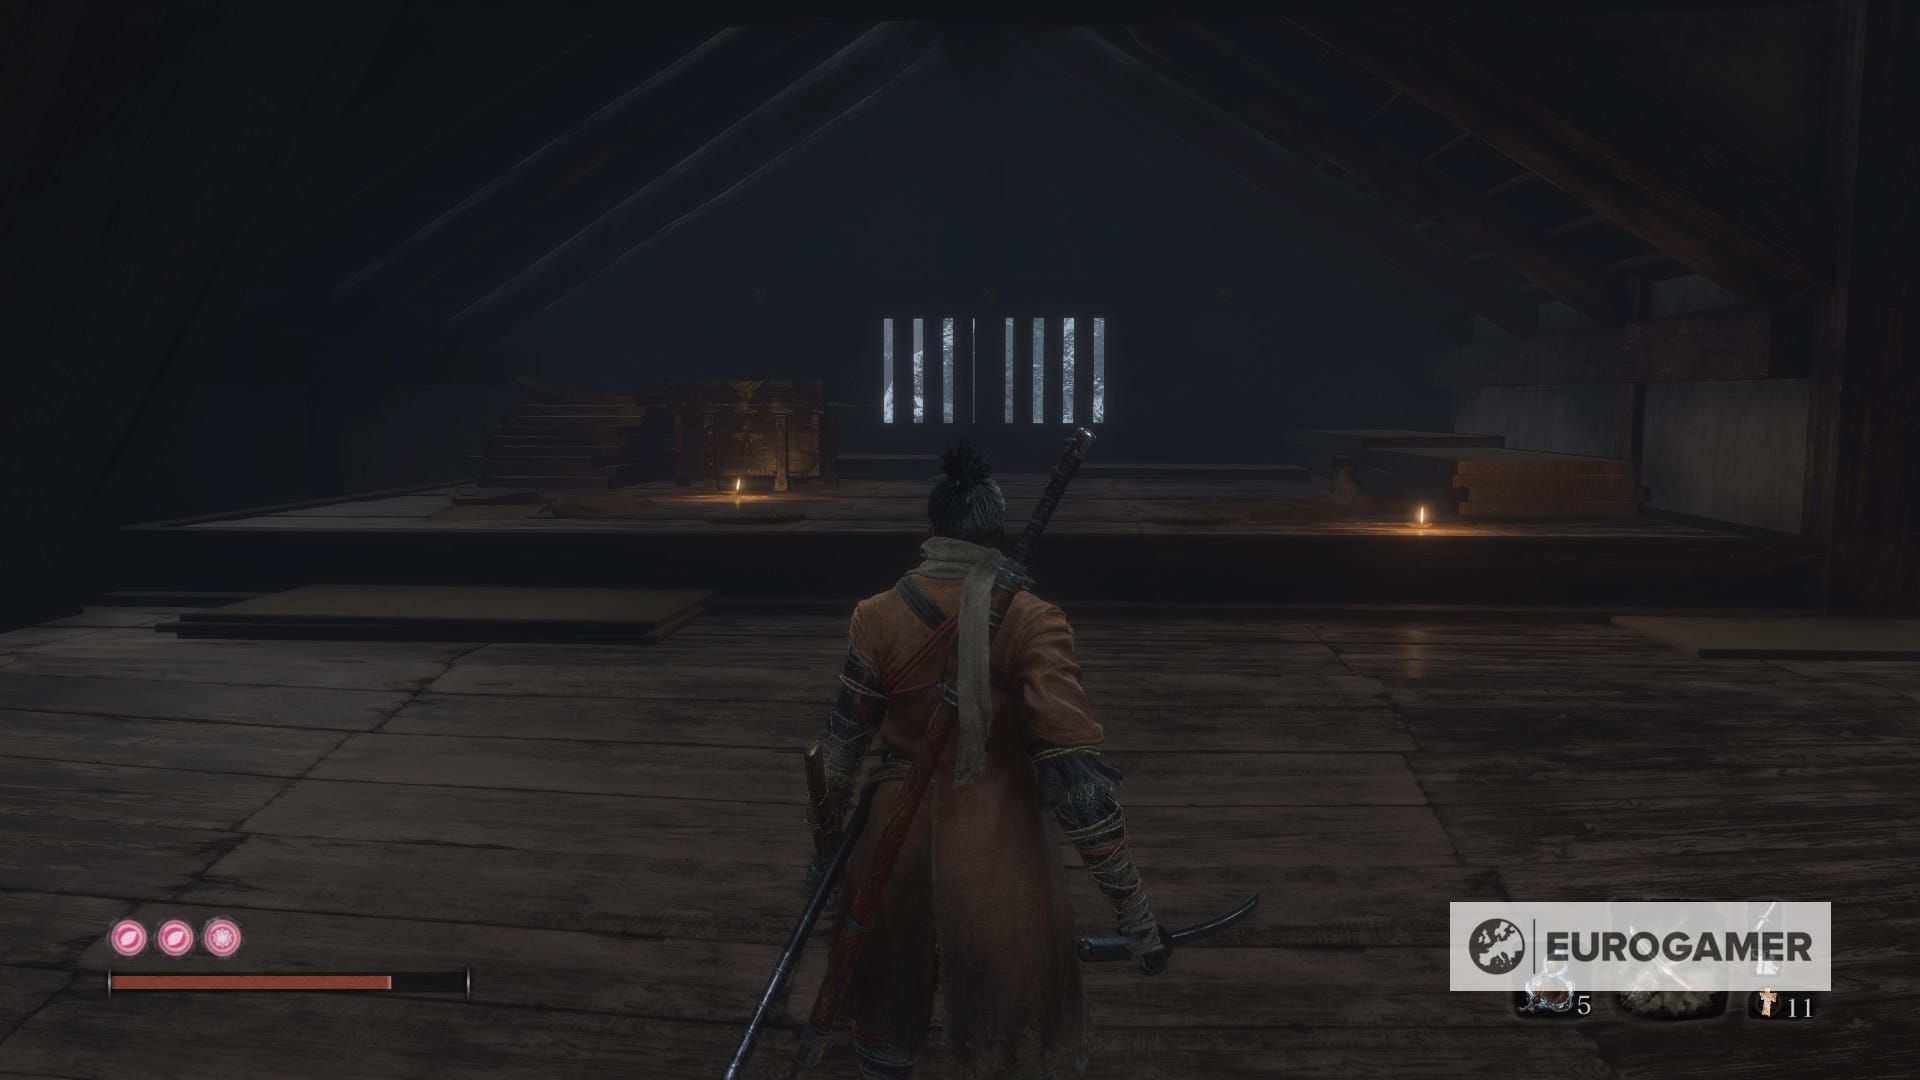
Look for the chest inside. Here's your fourth Prayer Bead, so feel free to go back to an Idol to get your first necklace.
5. Ashina Outskirts - Ashina Castle Gate Idol: Blazing Bull
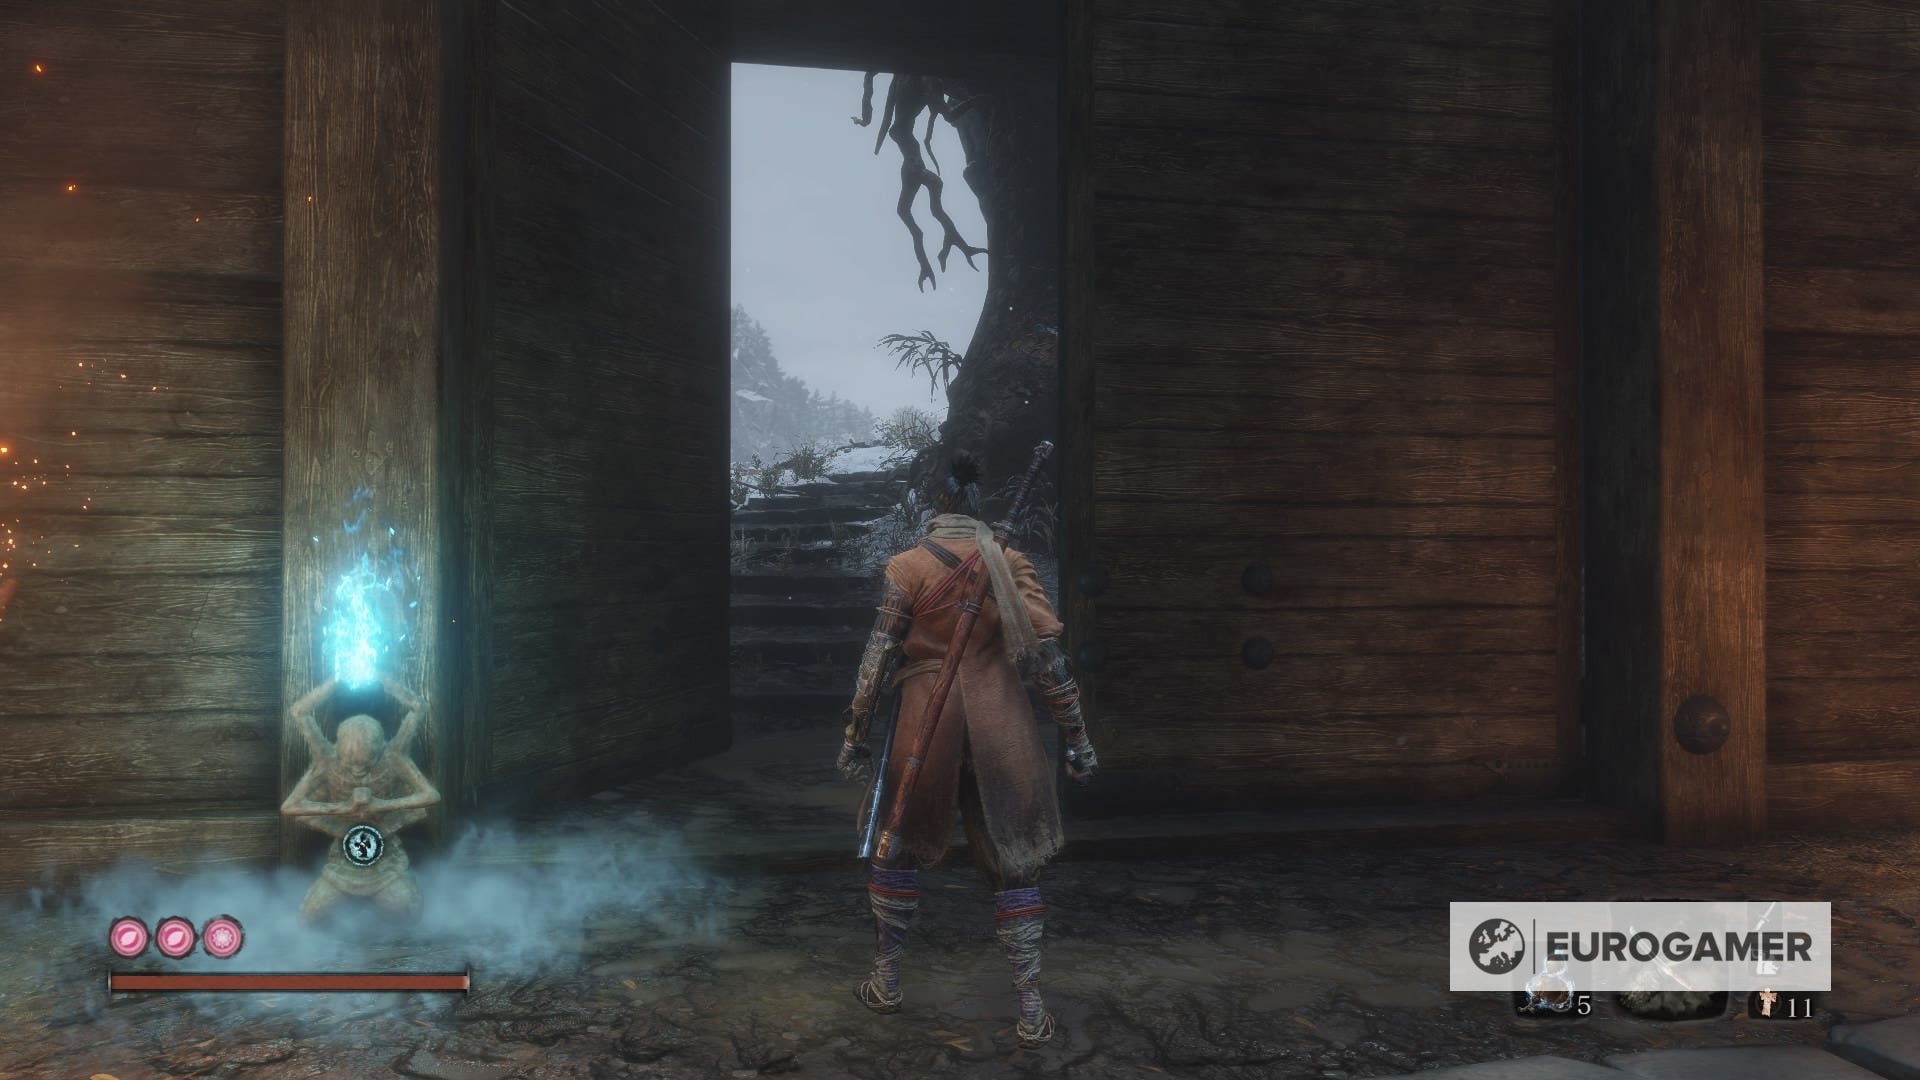
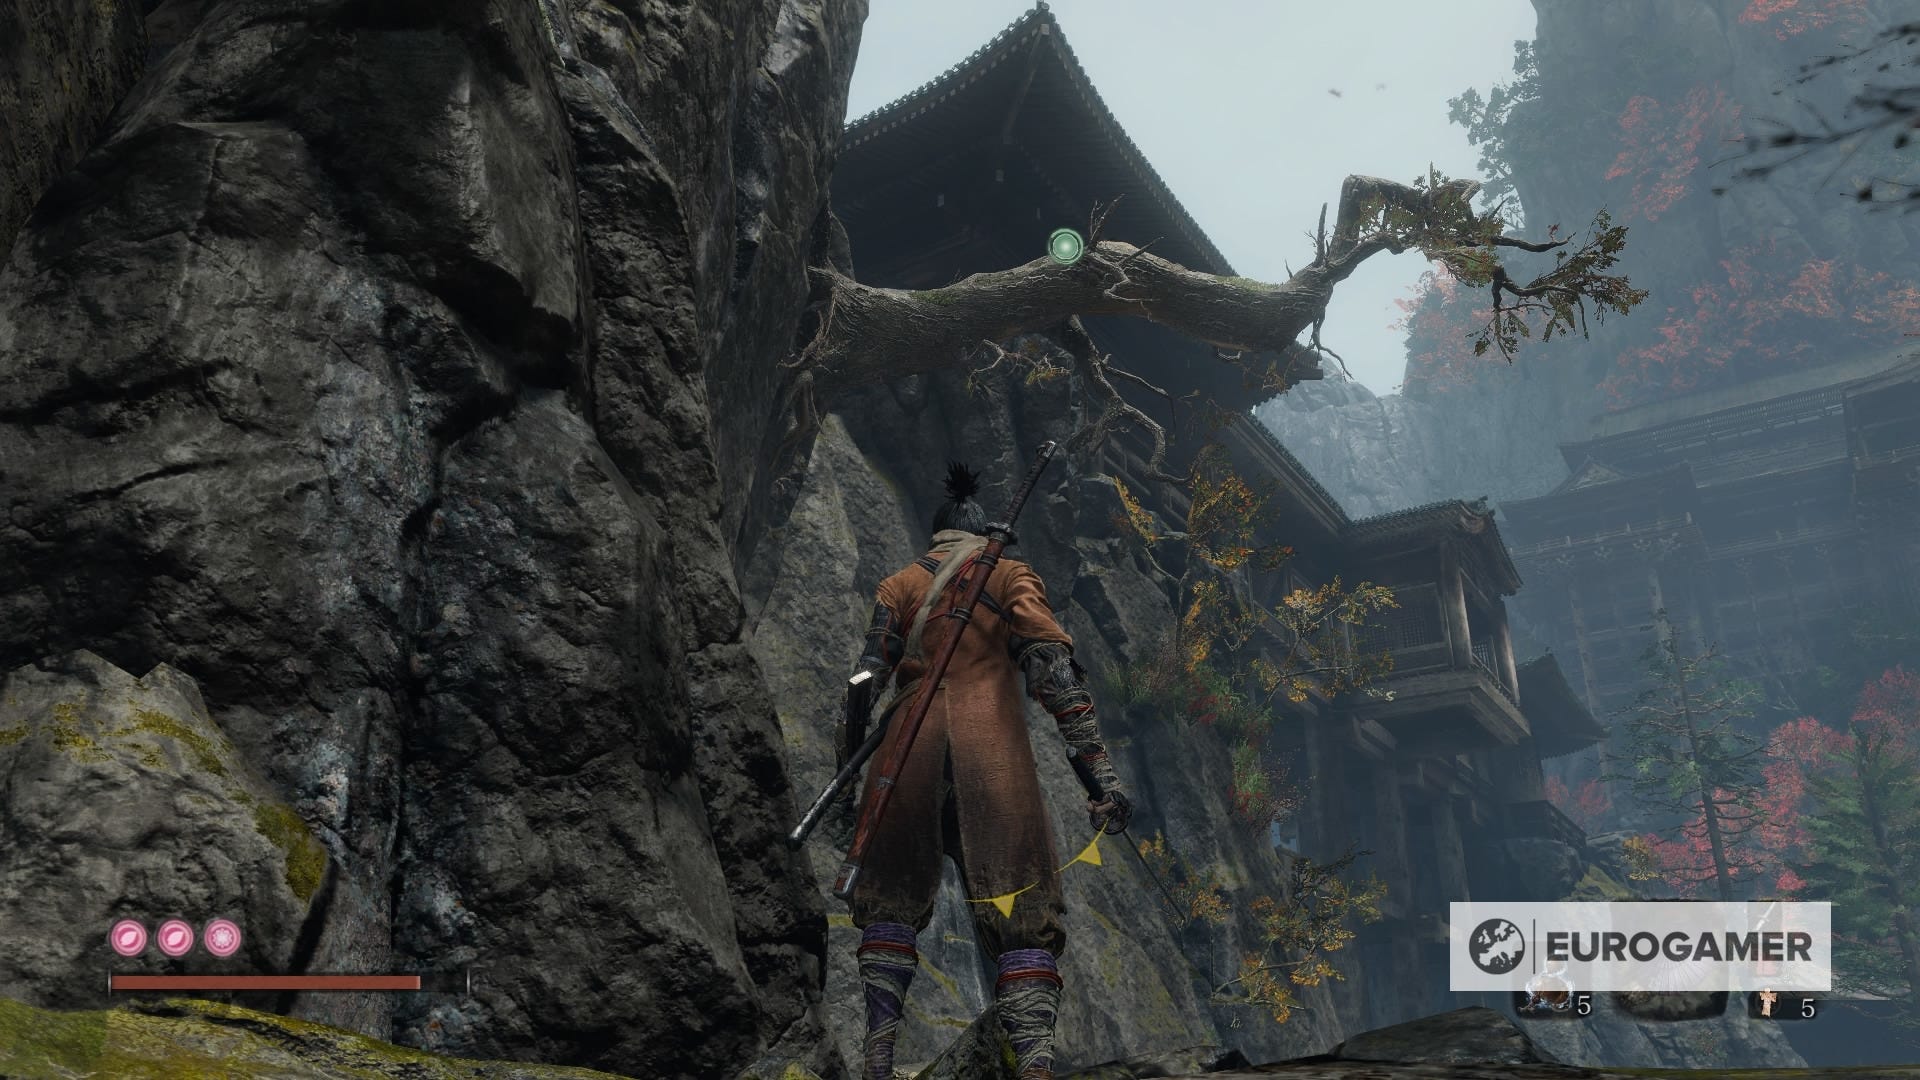
The next is also tied to the story with the Blazing Bull fight as you make your way into Ashina Castle. We have more than a few tips to share, but if you want a shortcut, step inside the next area and take the alternate route on the left, grappling onto a tree branch and using the grapple again from the separated structure.
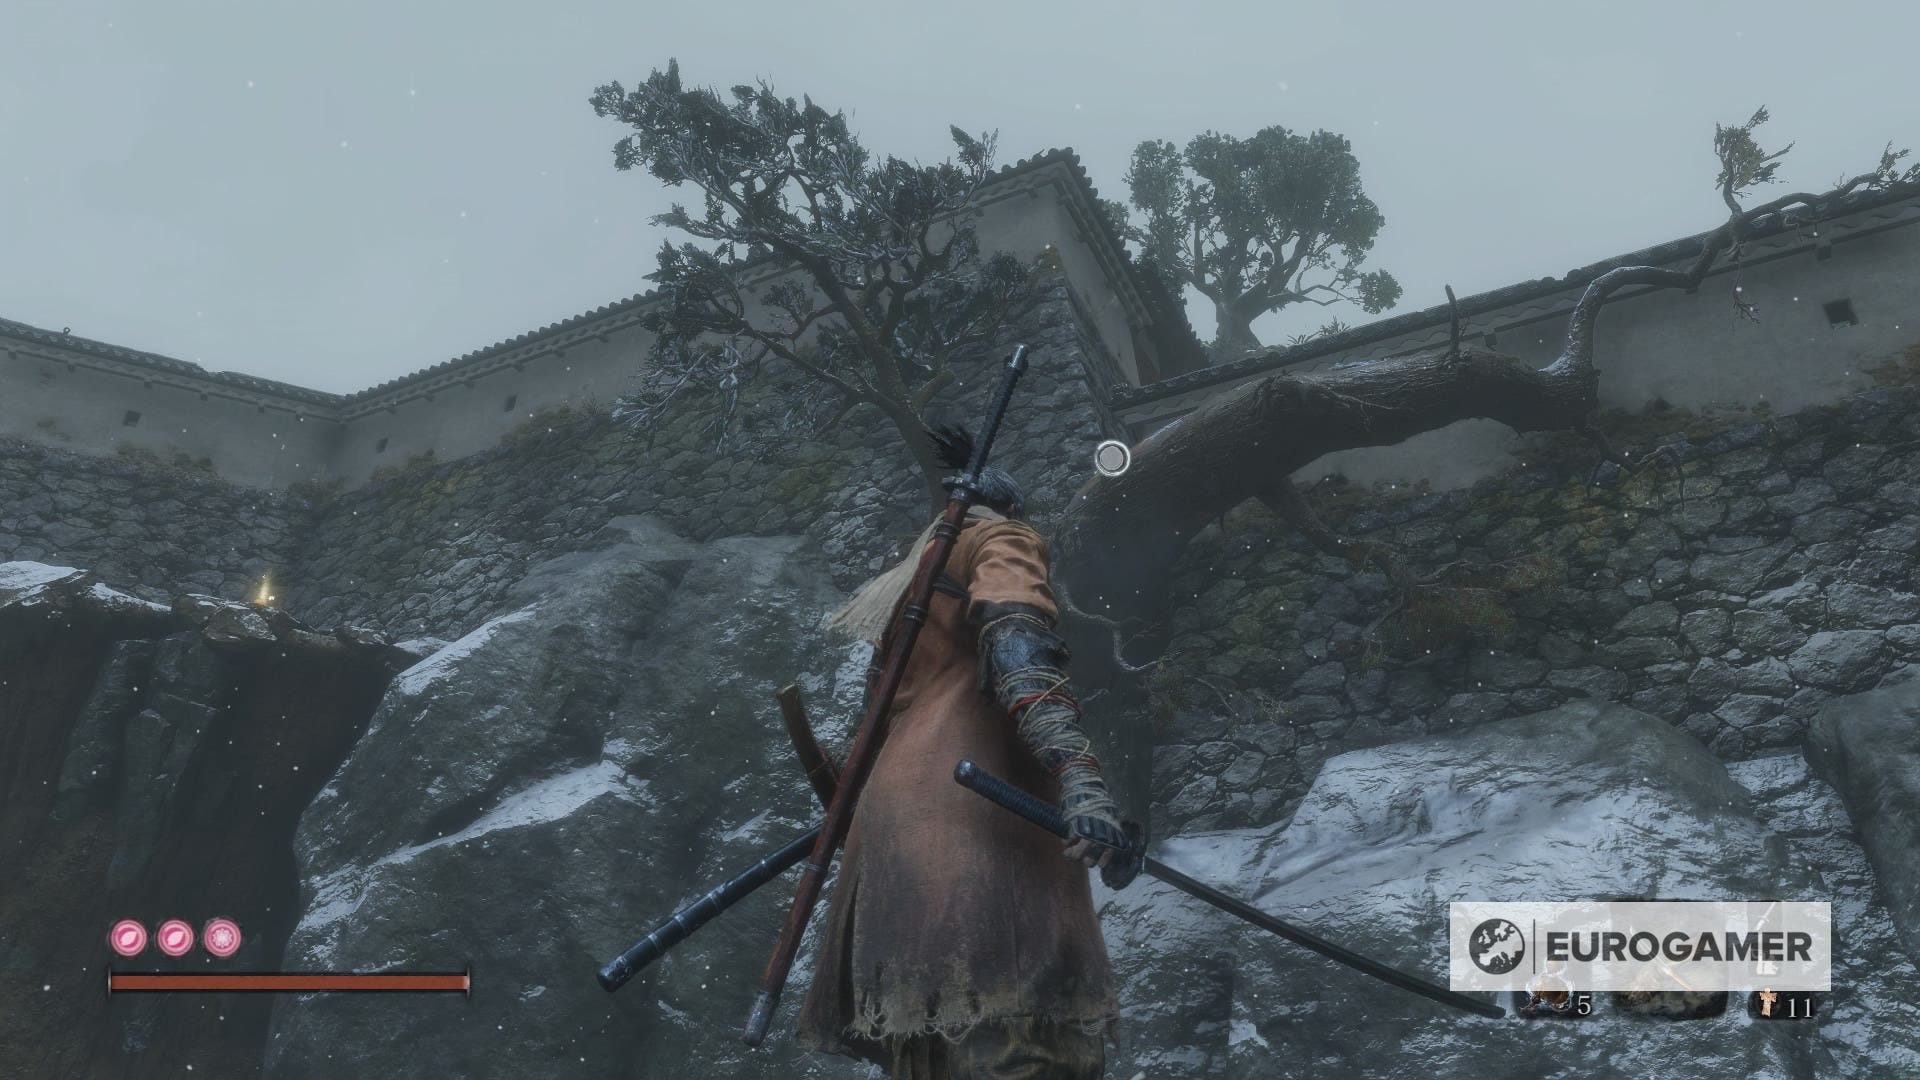
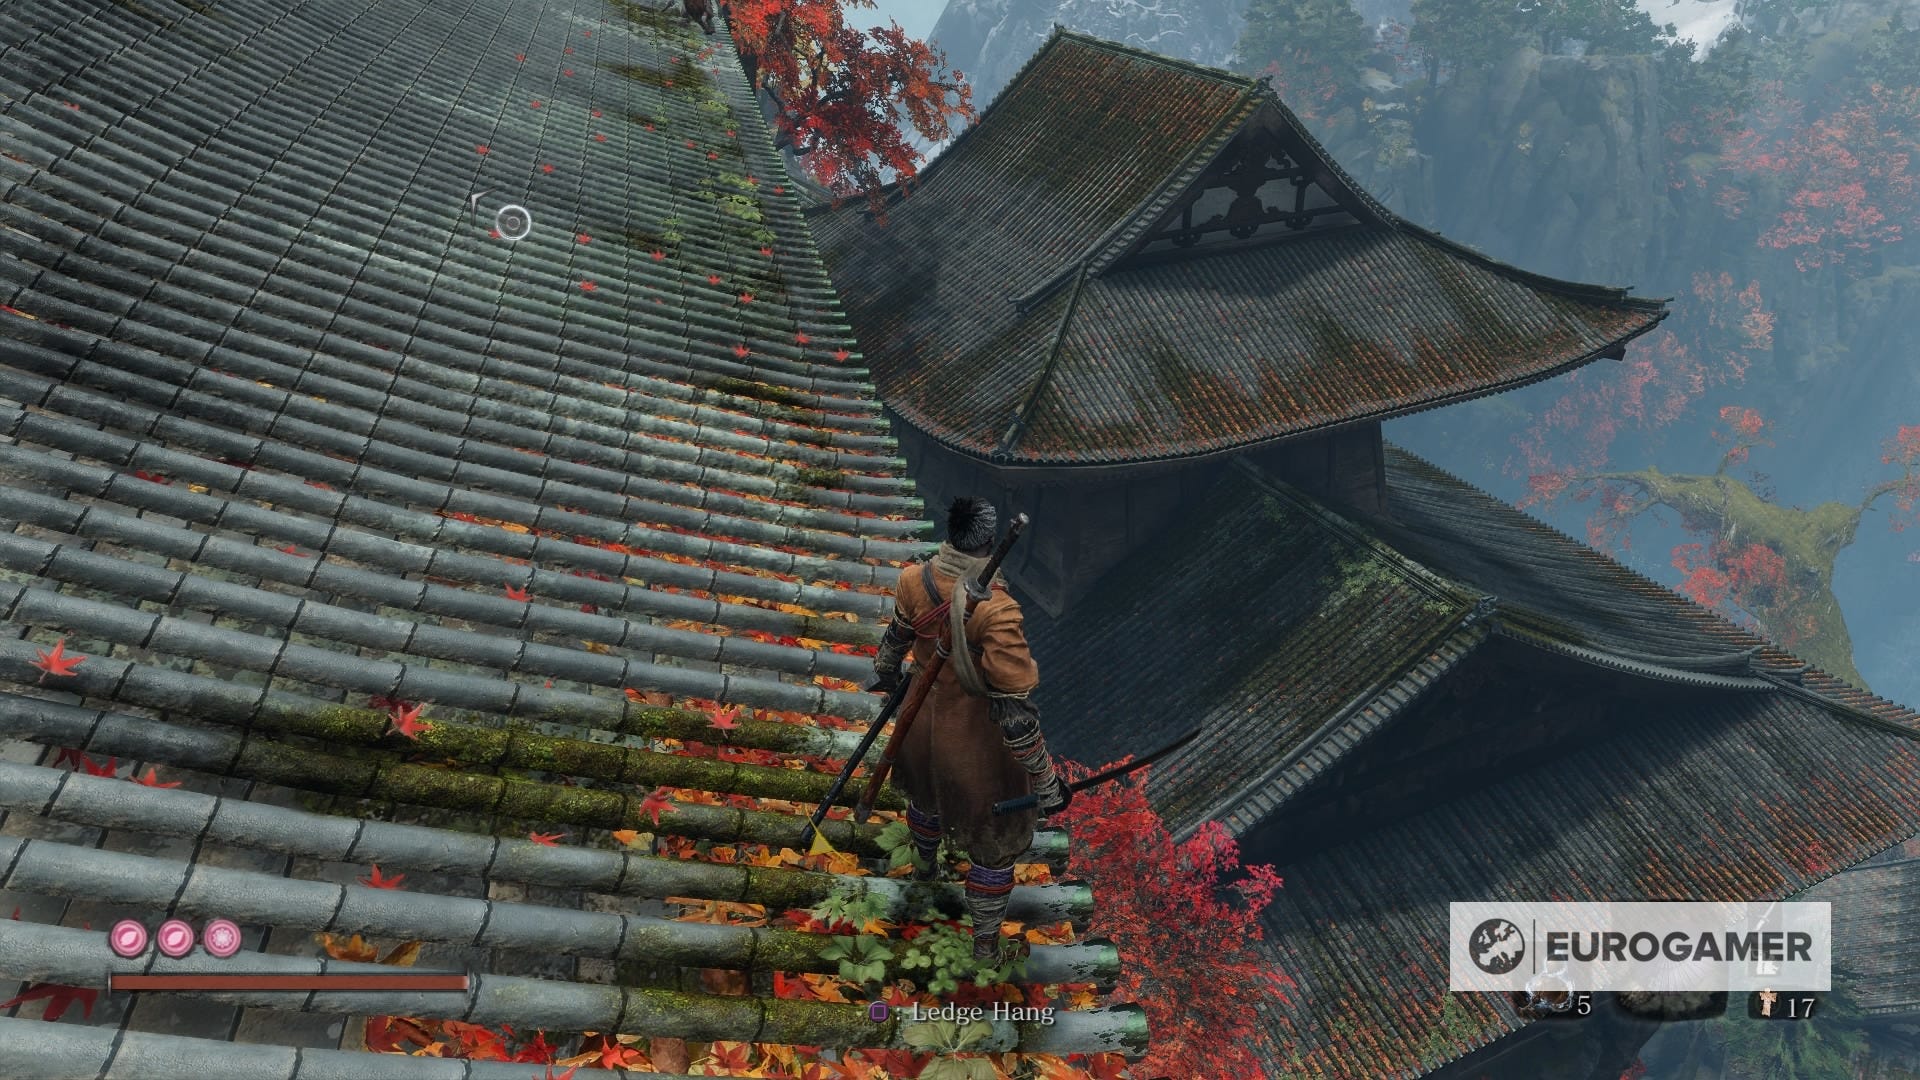
Get moving through the rooftops, jump to the corner and you'll see a different path on the right side of the area.
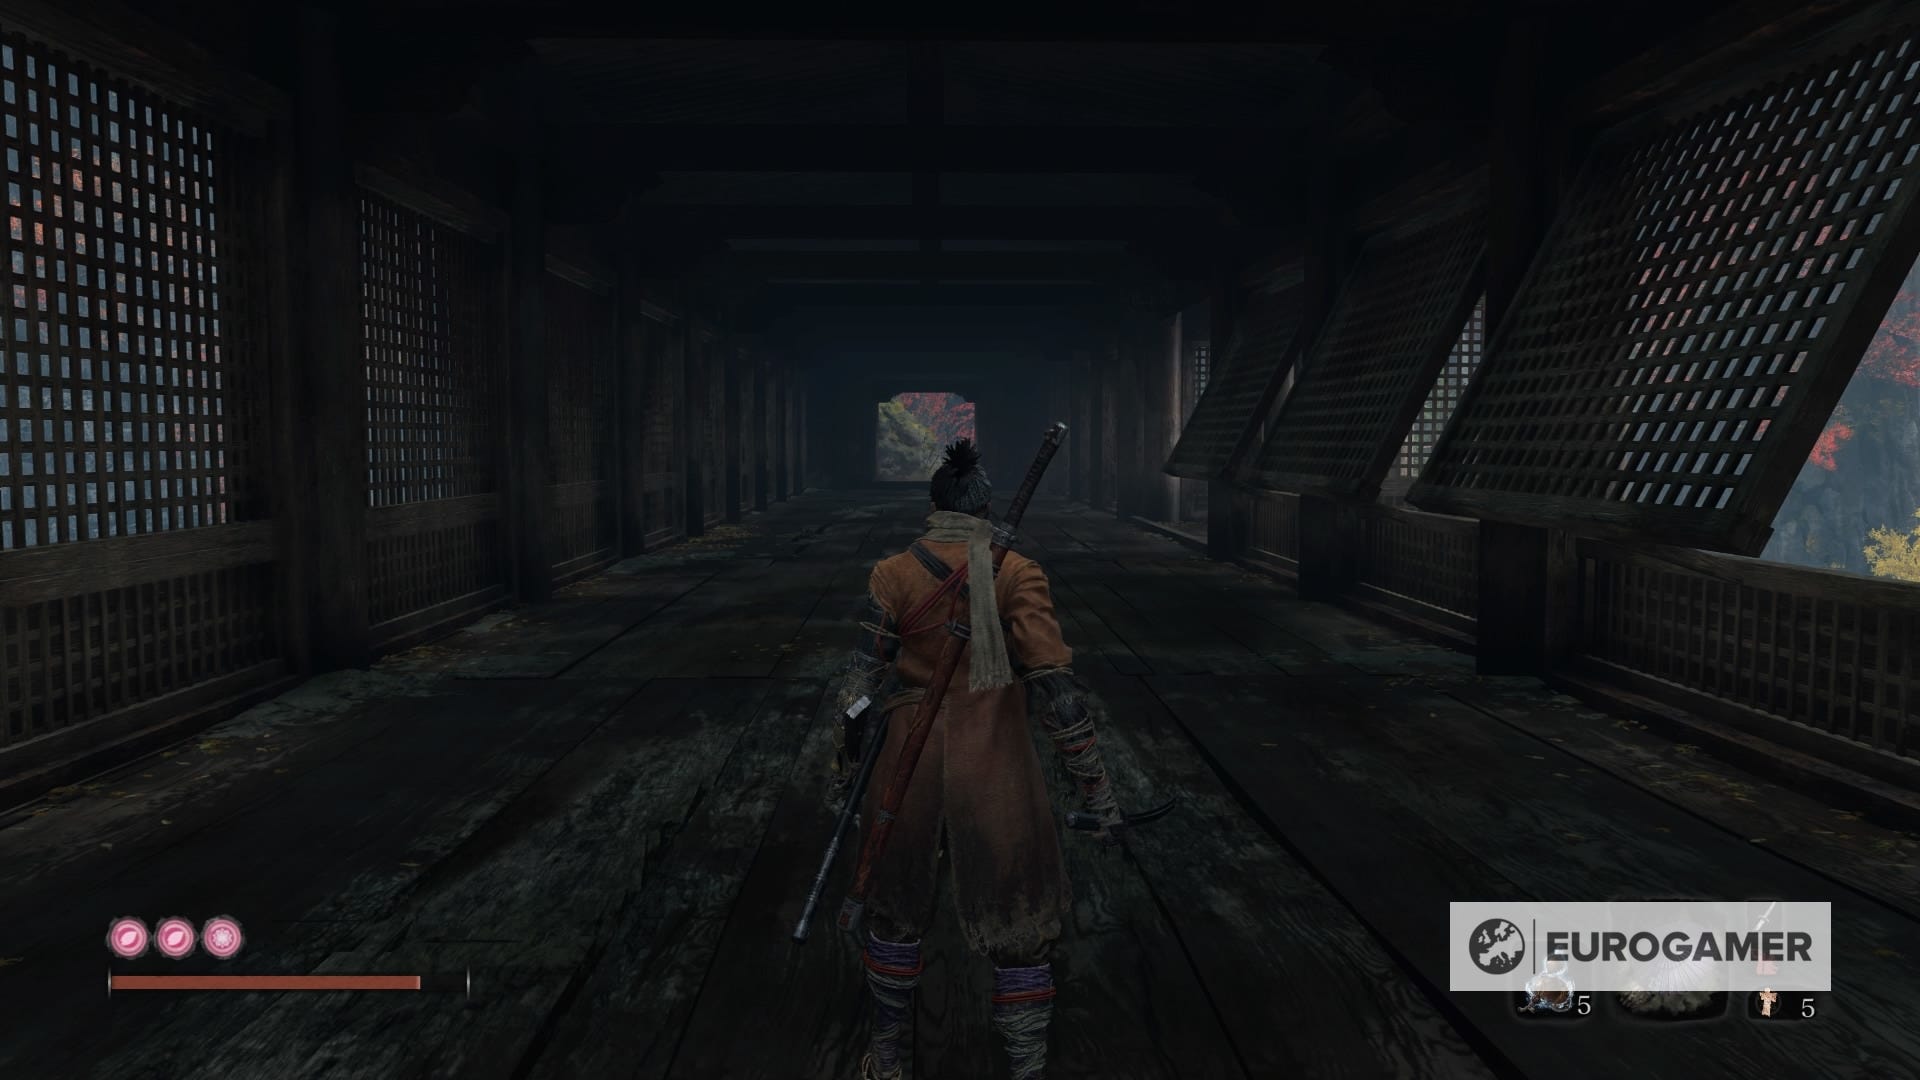
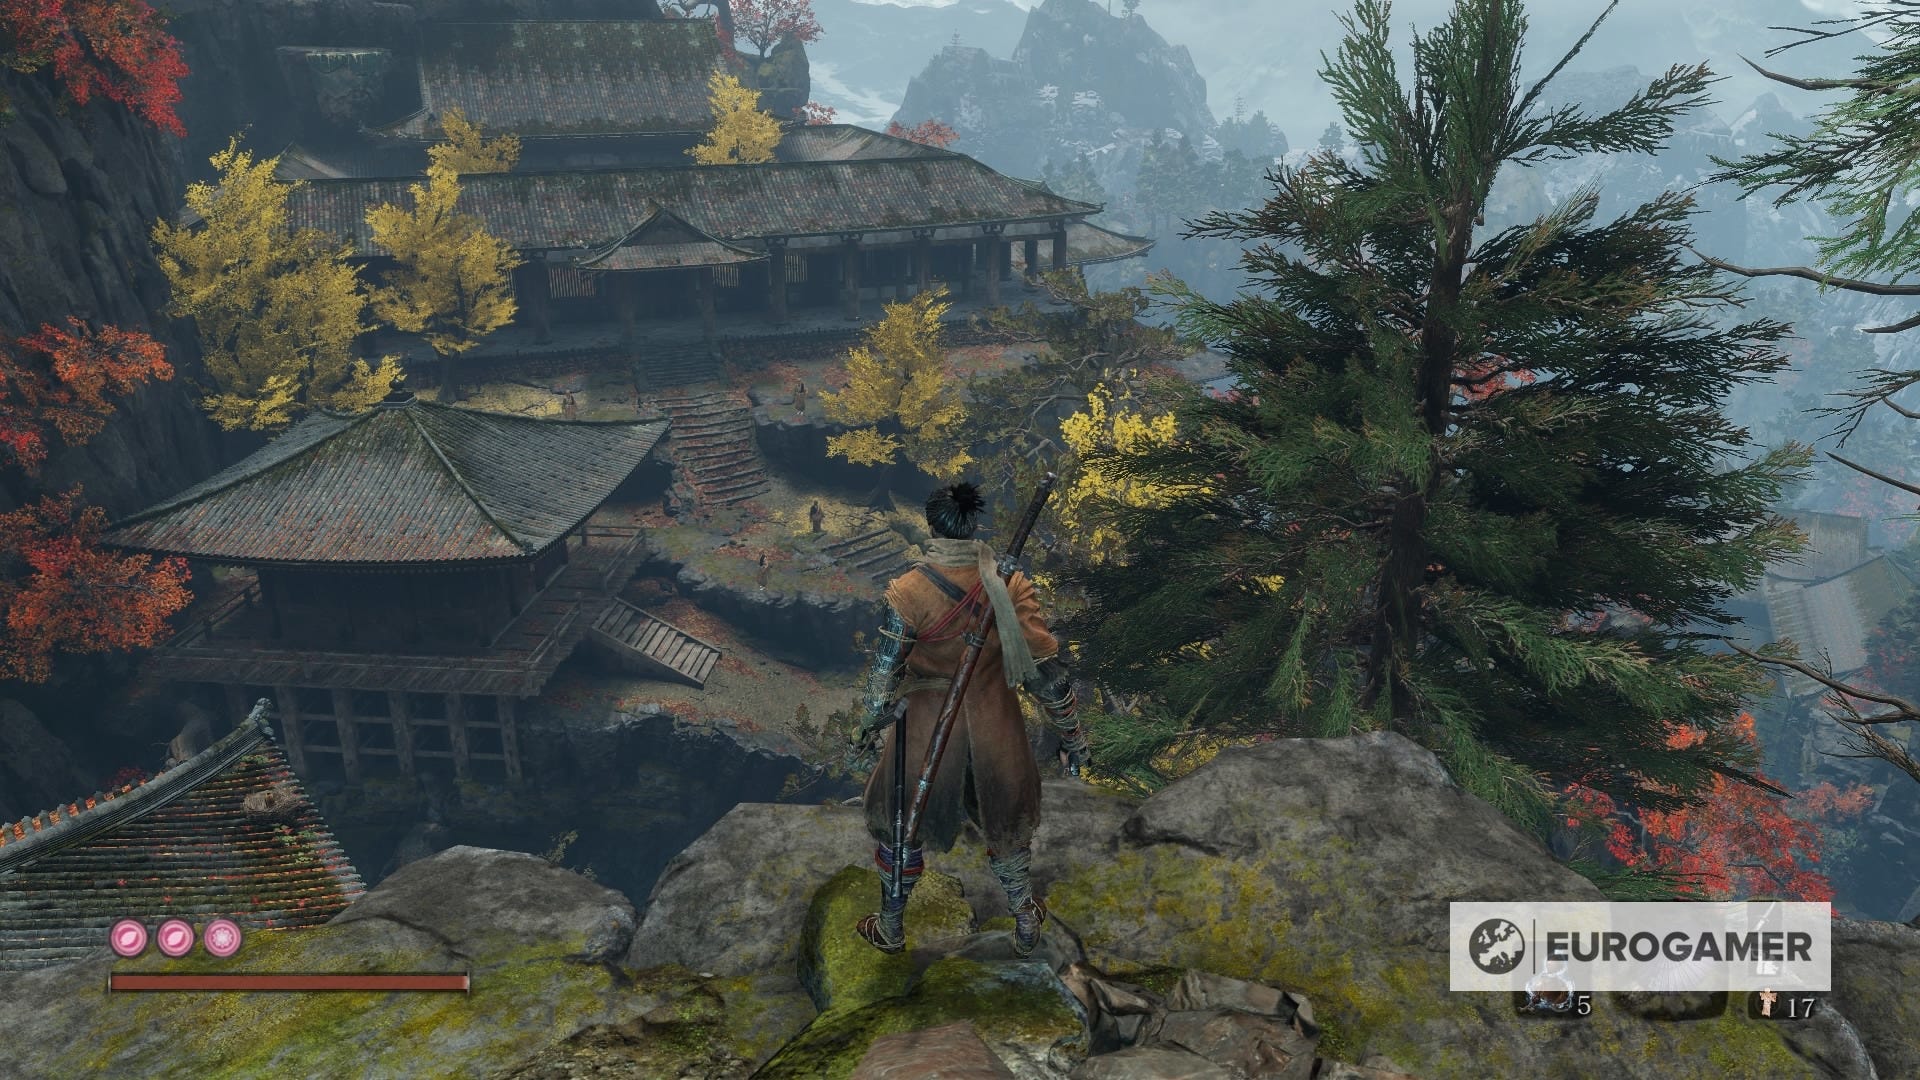
Double jump and grab from the ledge, and then use your grapple to the big building ahead of you. To the right you'll see the castle gate along with two guards.
Once you step inside, get ready for the fight. Defeat the bull and you'll be set with a new Prayer Bead.
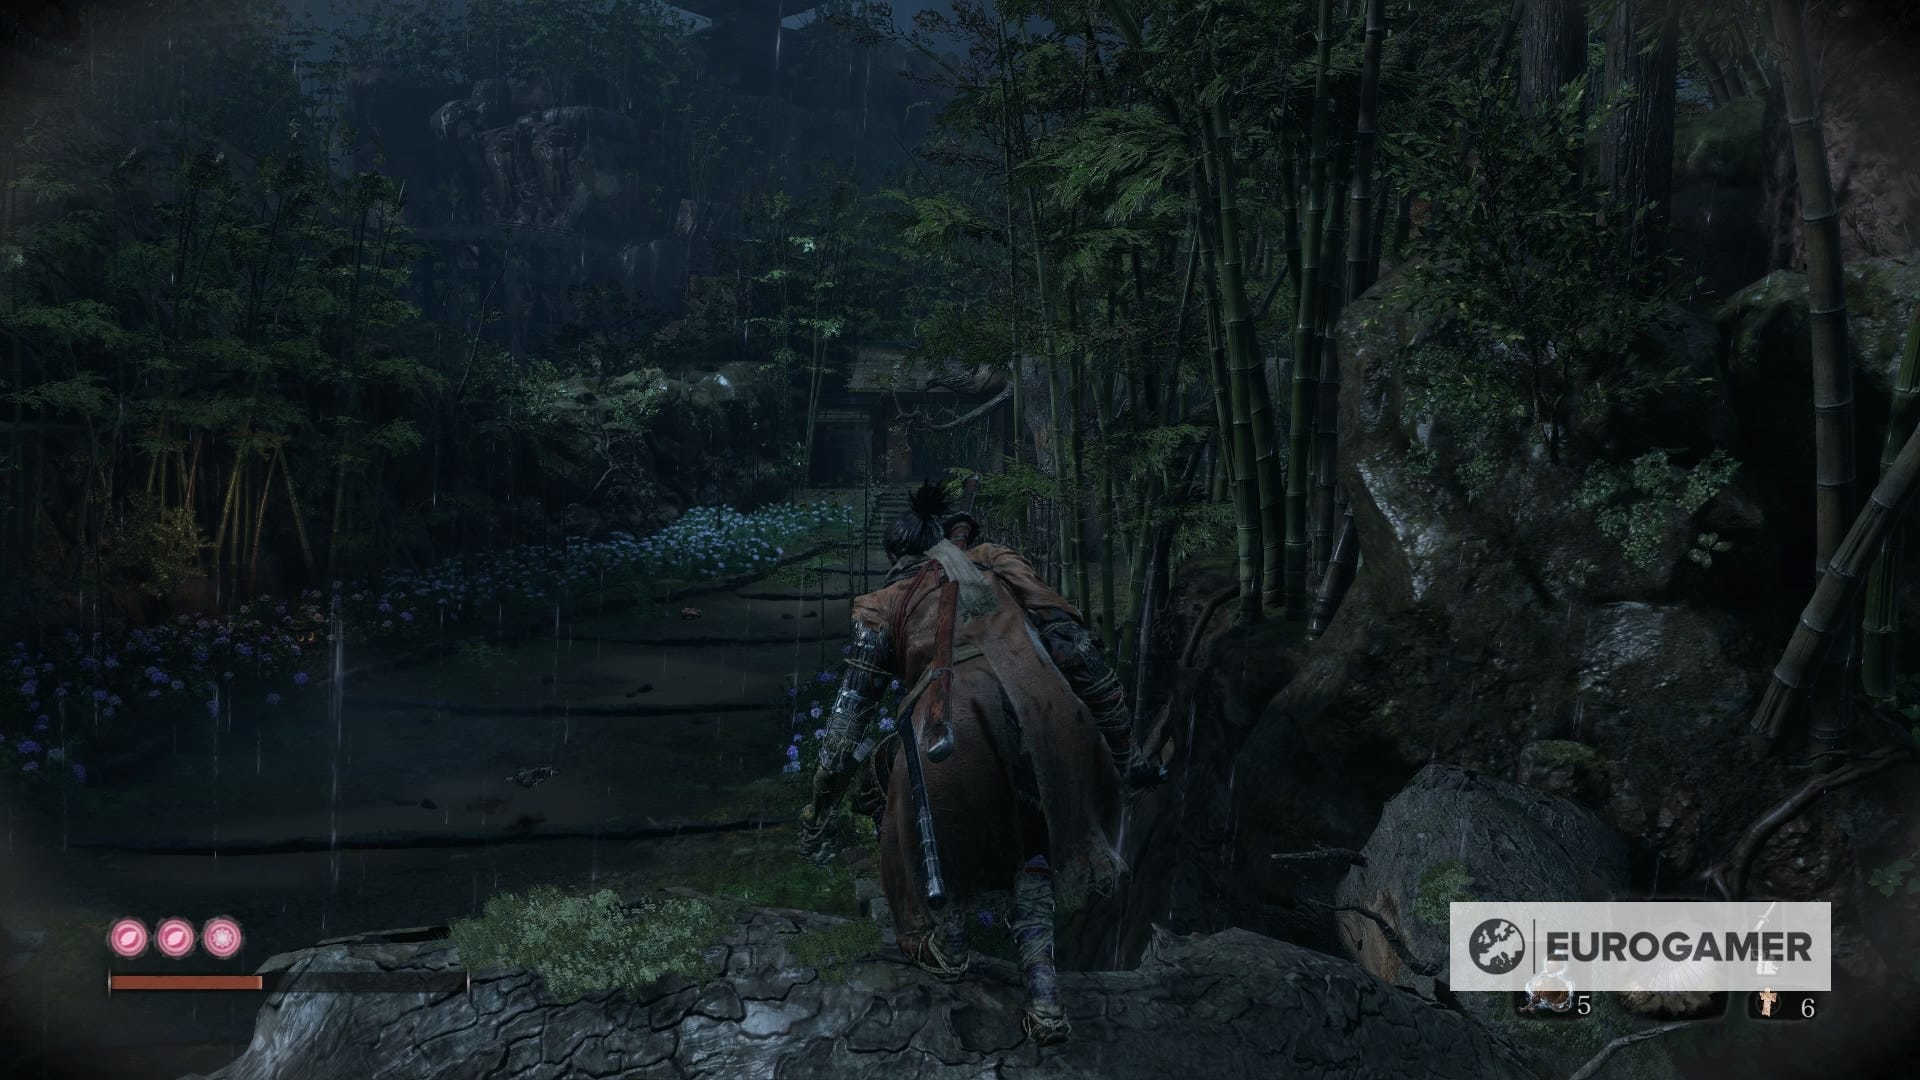
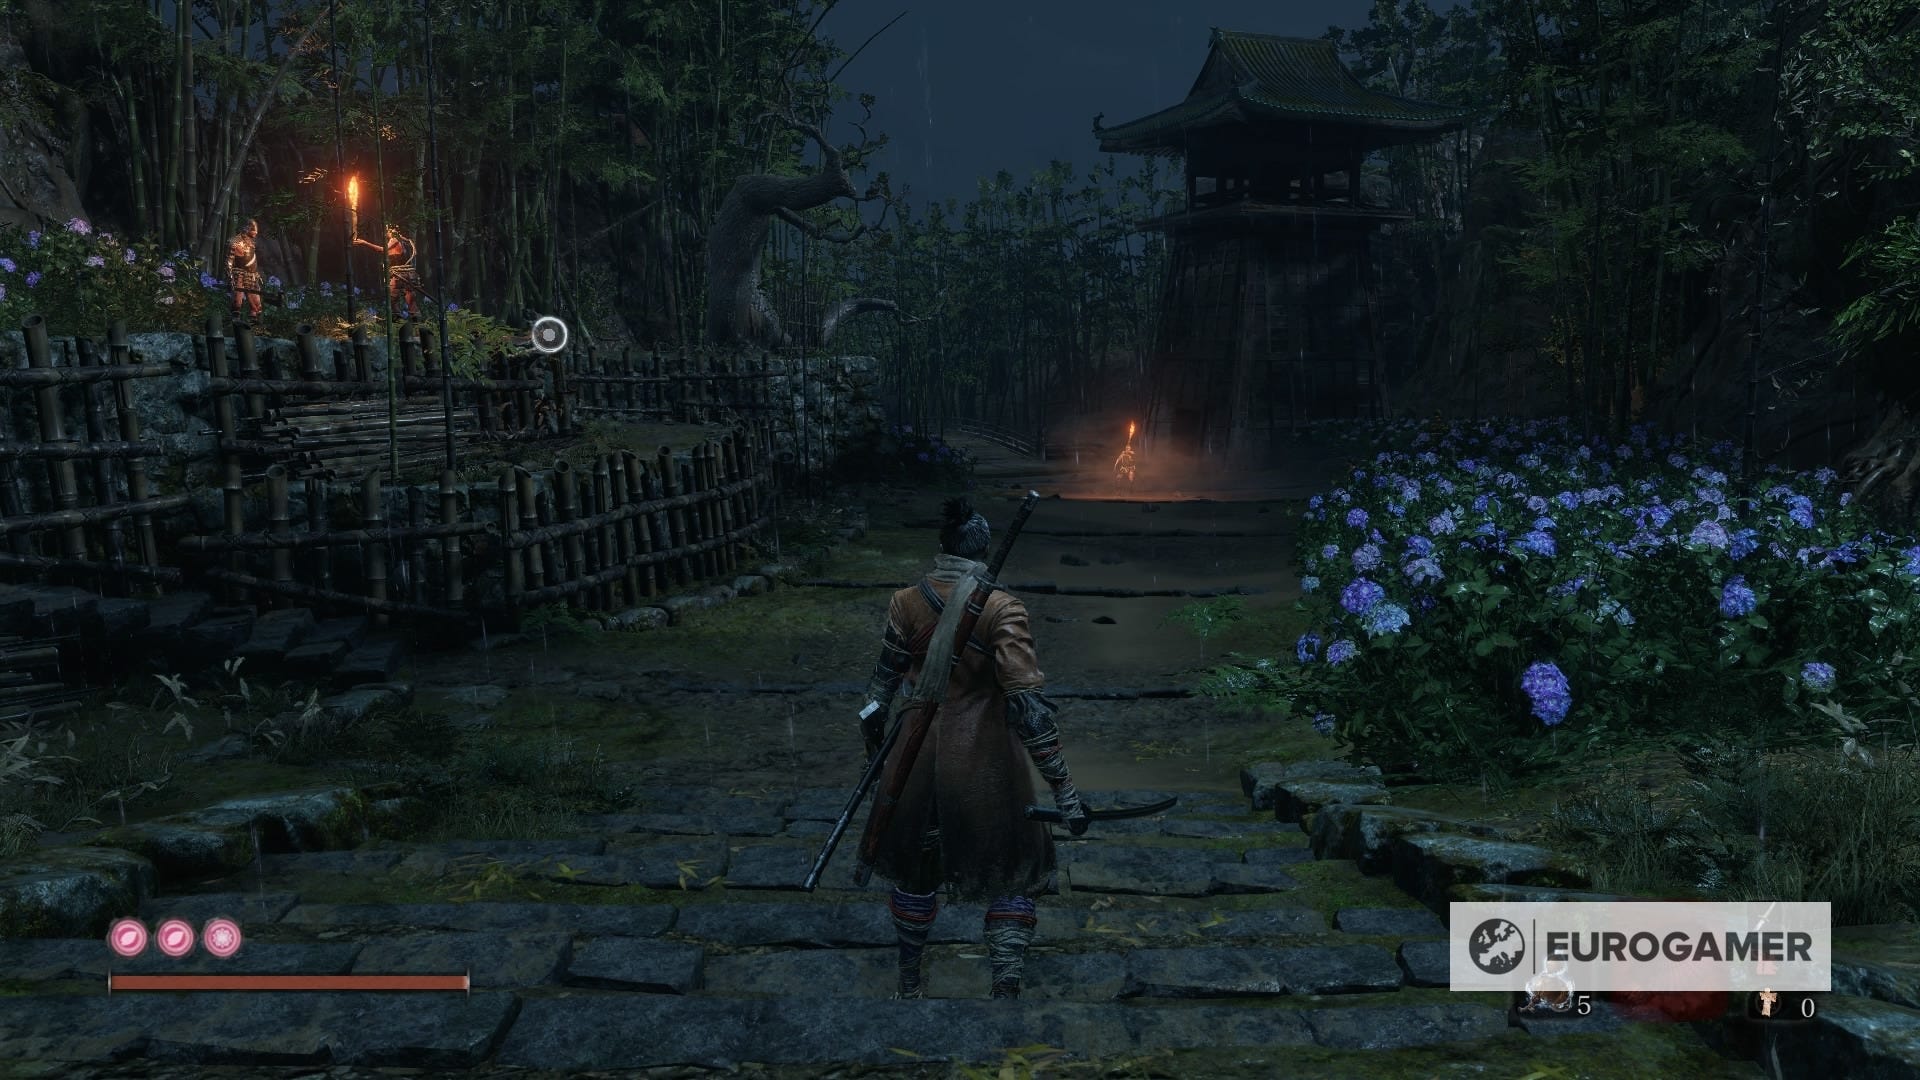
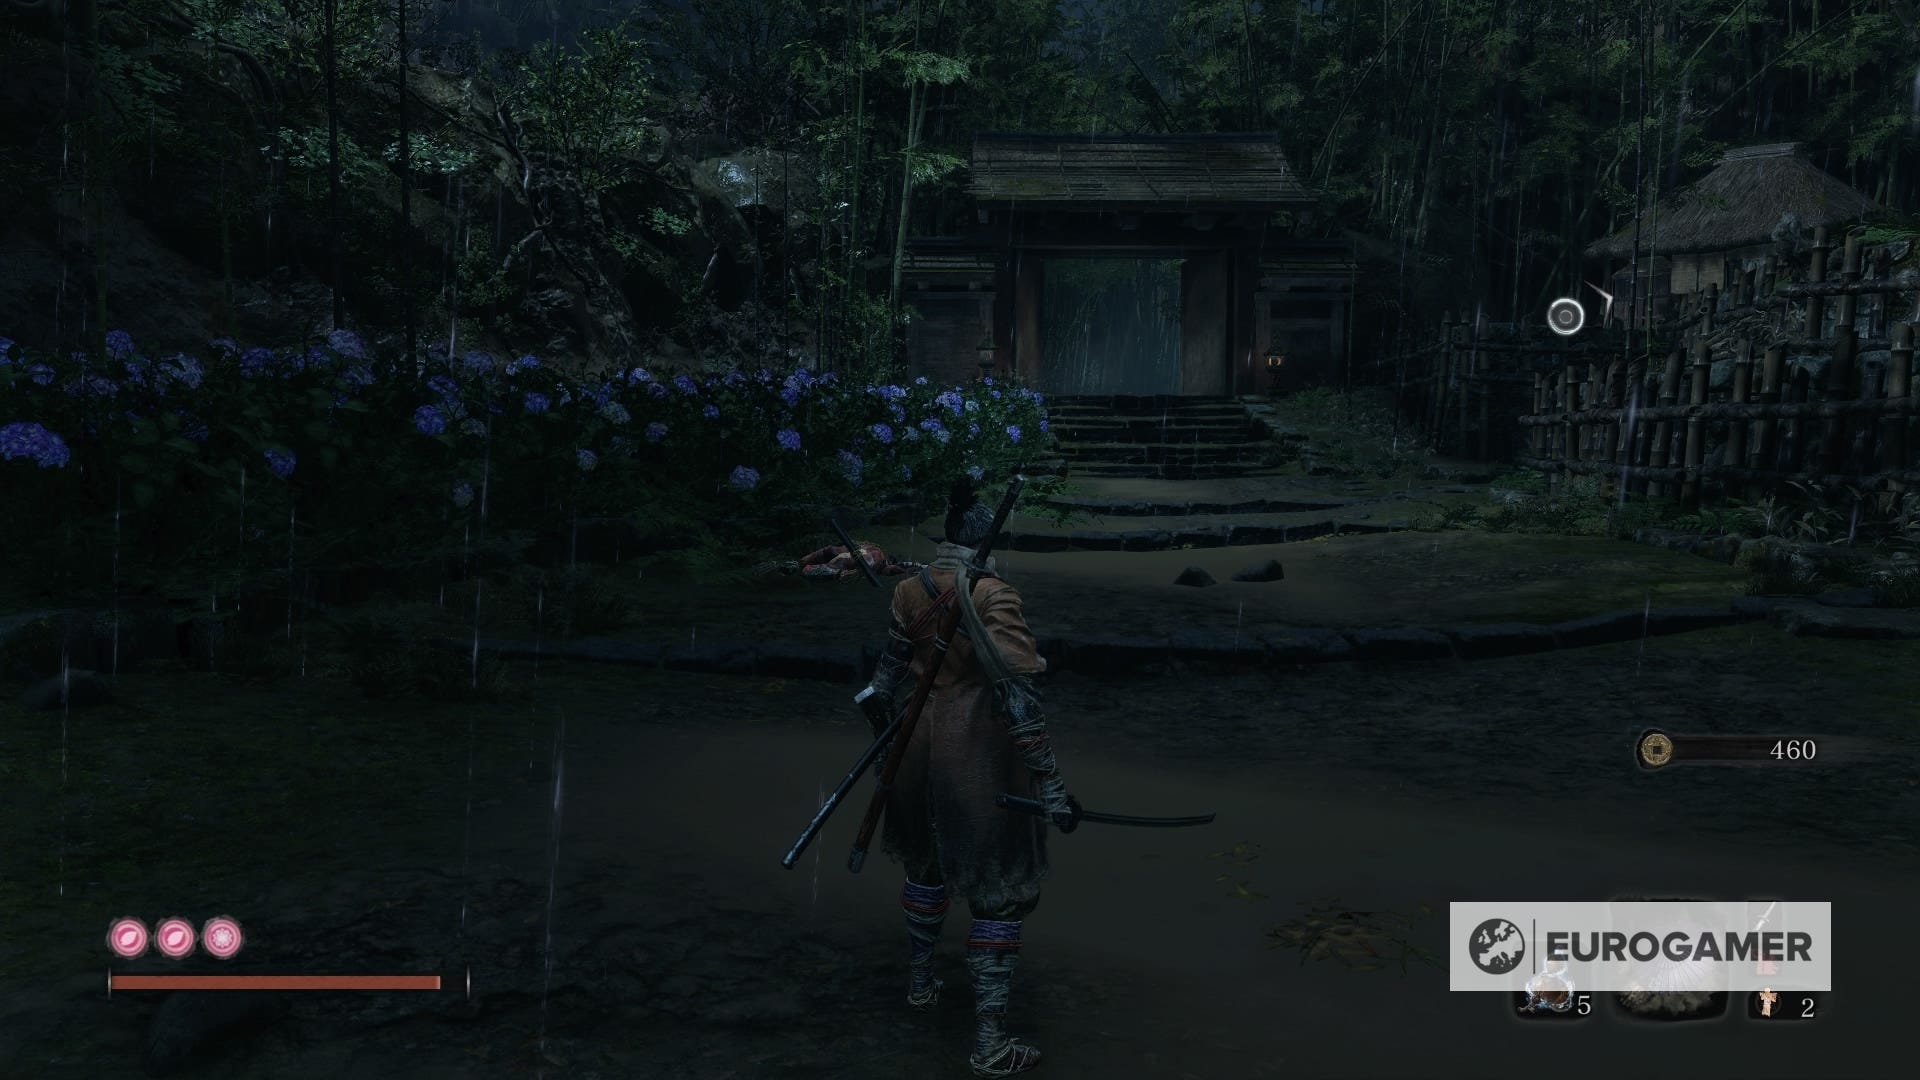
6. Hirata Estate - Estate Path Idol: Shinobi Hunter
Another one that is pretty much straightforward. Right before obtaining the Bamboo Thicket Slope Idol, you'll have to face Shinobi Hunter Enshin of Misen. Make sure to keep our guide close, but also make use of Ceramic Shards to attract patrolling enemies to the bushes for some stealth kills. Repeat the same with the Shinobi Hunter for a free Deathblow, and you'll have a new Prayer Bead in no time.
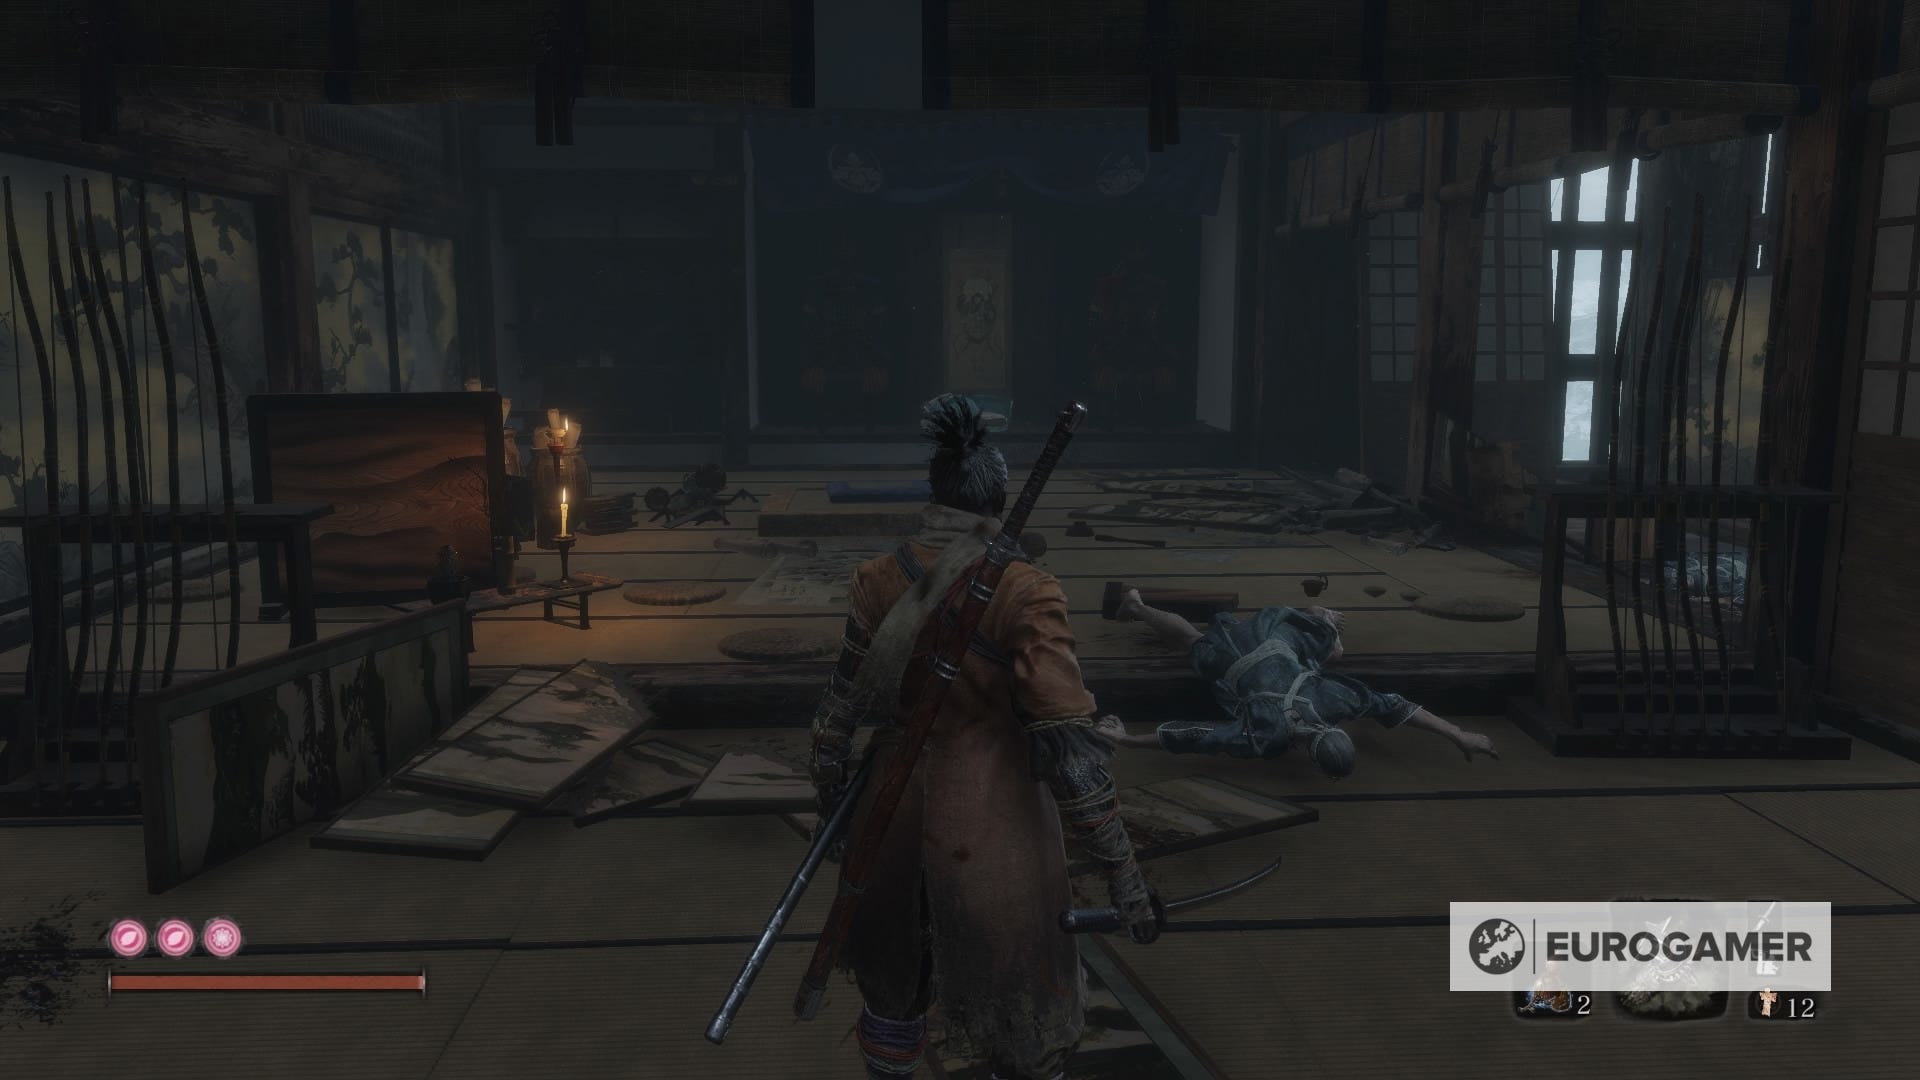
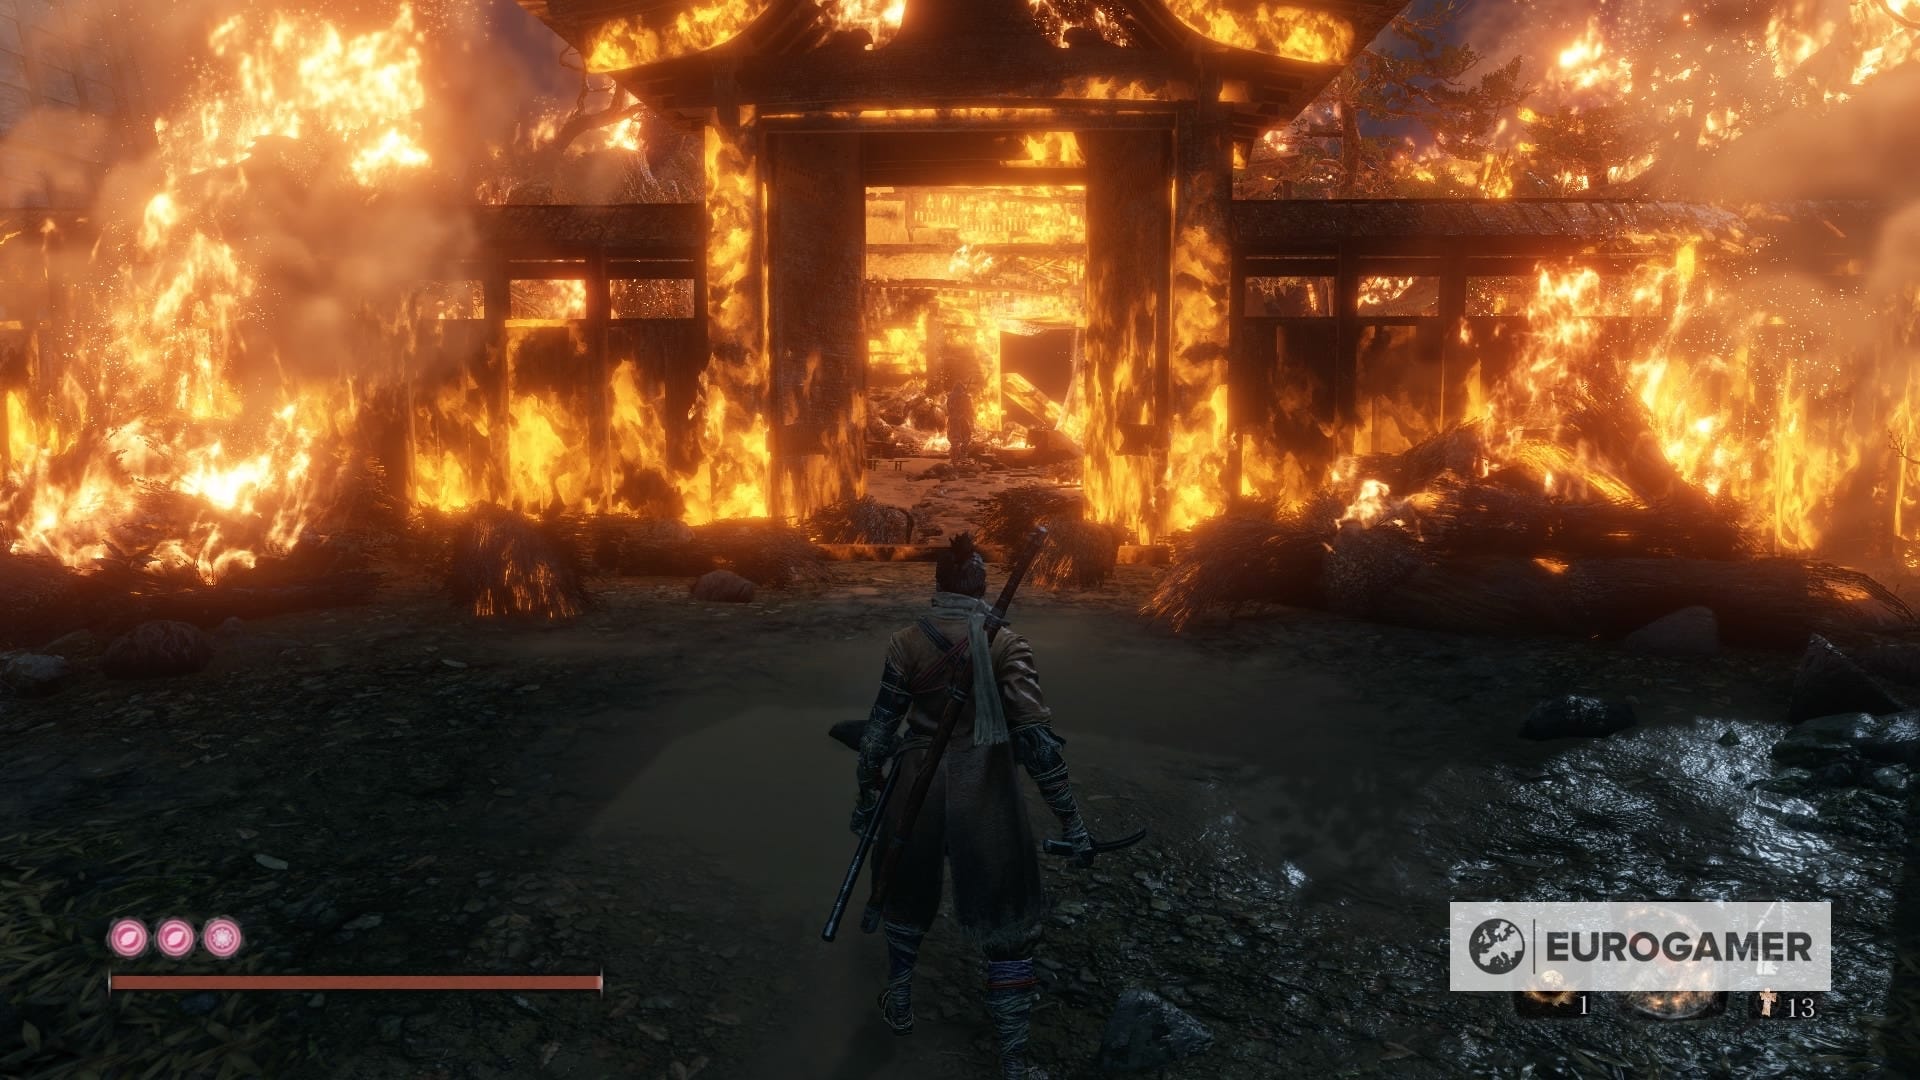
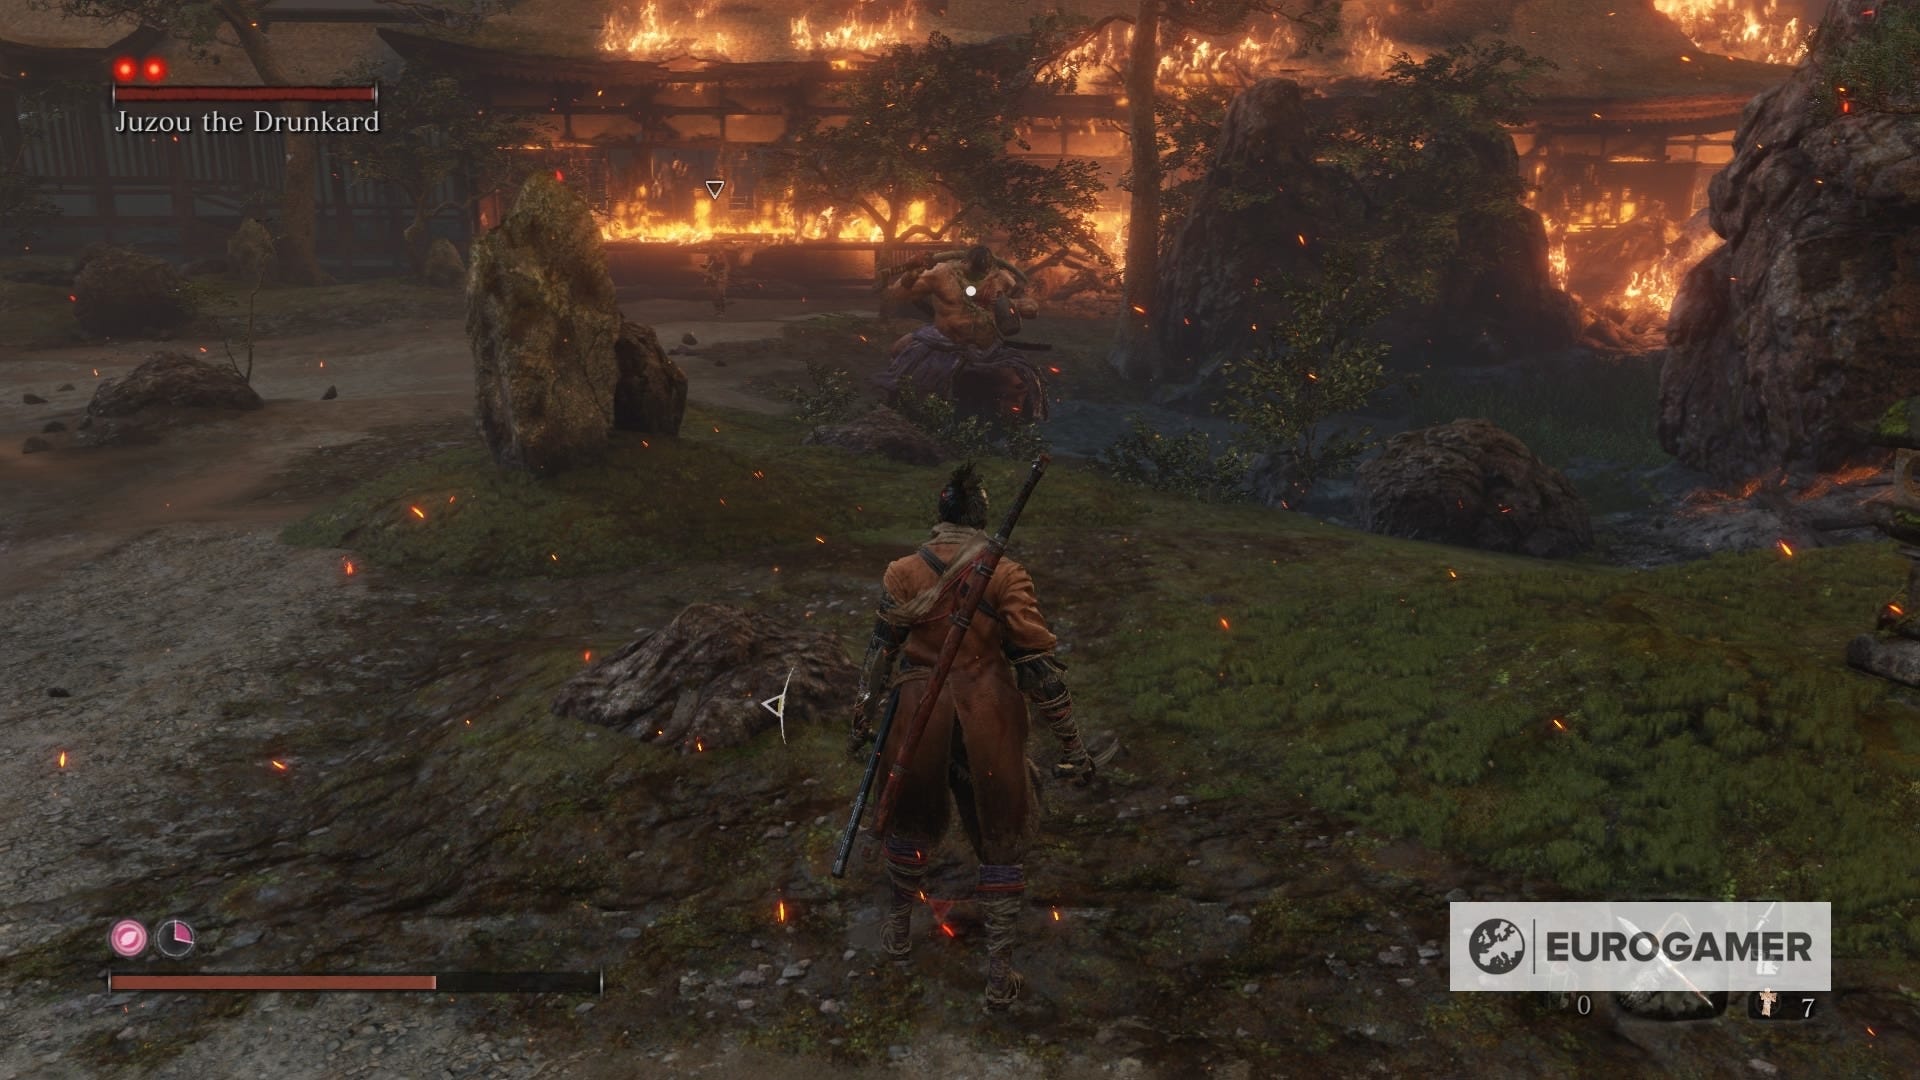
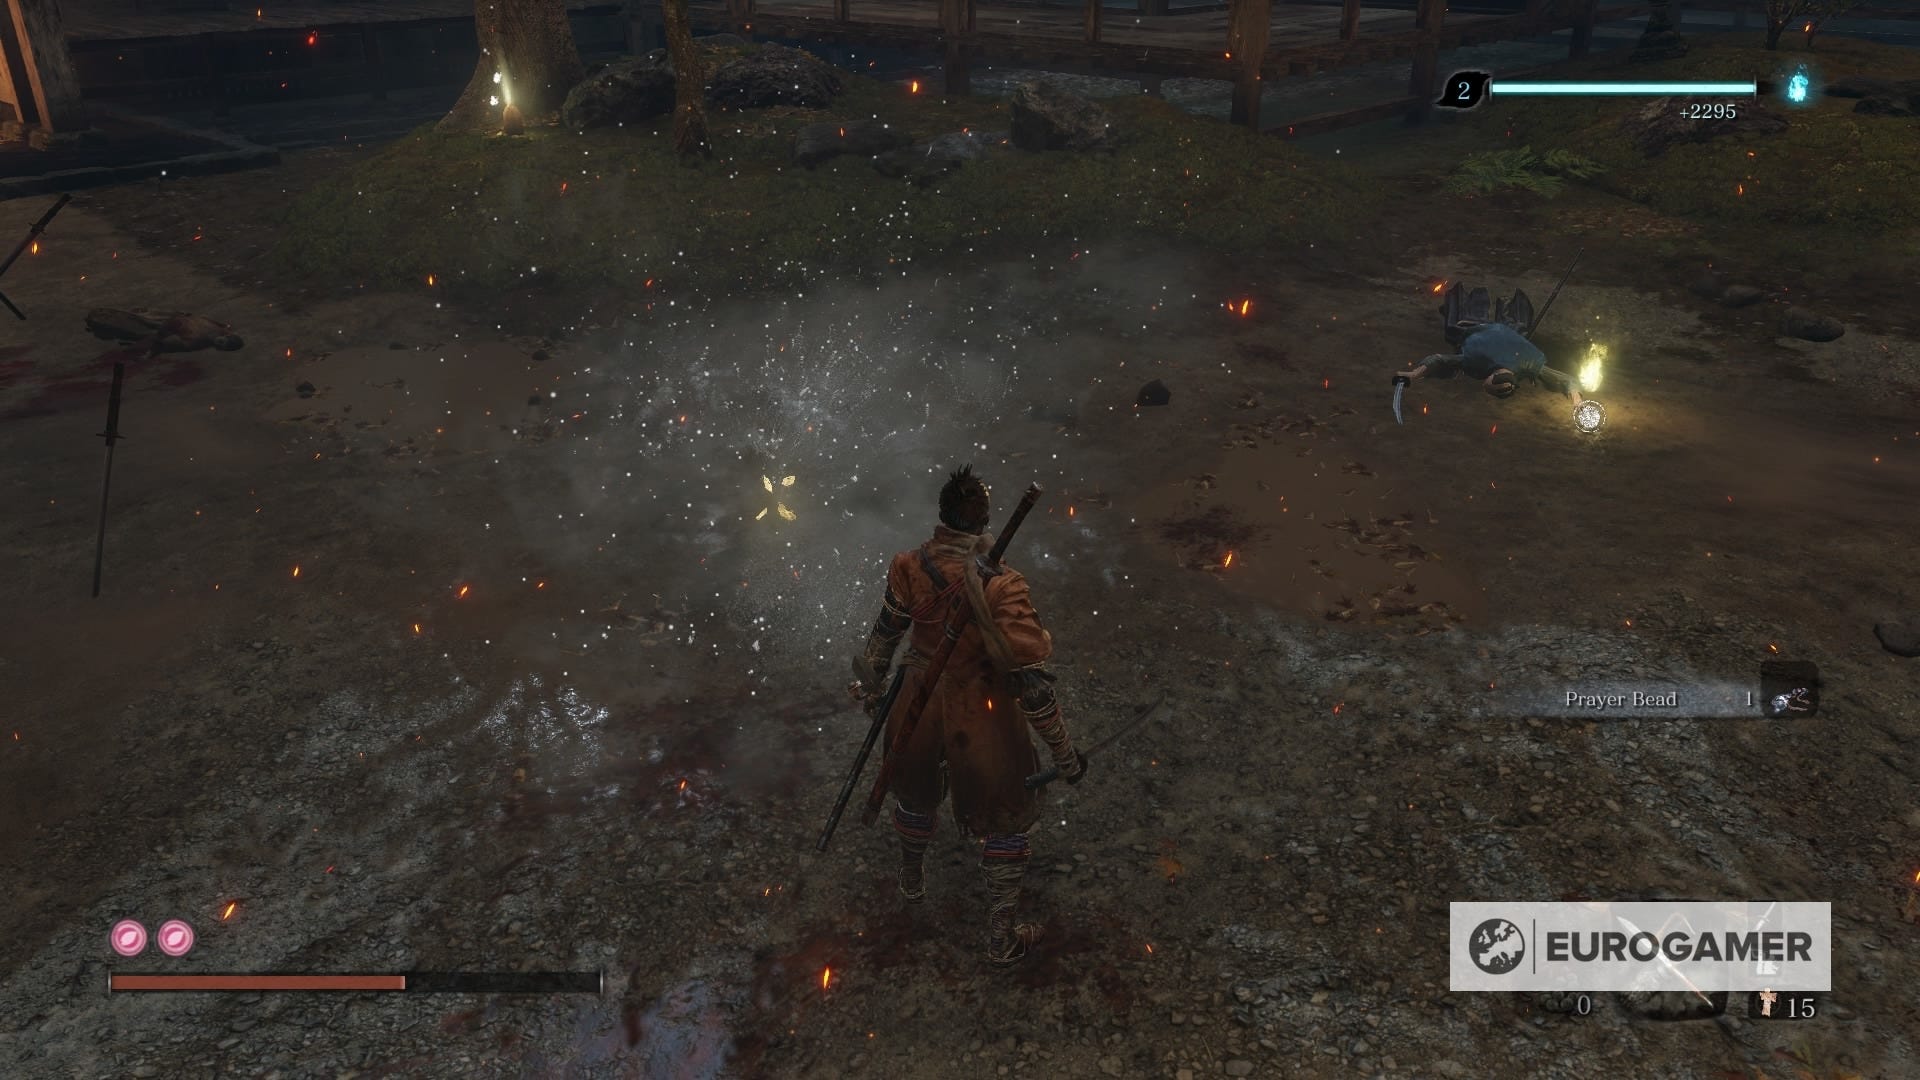
7. Hirata Estate - Main Hall Idol: Juzou the Drunkard
No, you don't have to worry about any more acrobatics any time soon. Right now there's another fight expecting you - this time, against Juzou the Drunkard. You'll obtain a Prayer Bead for defeating him, but don't leave the area just yet.
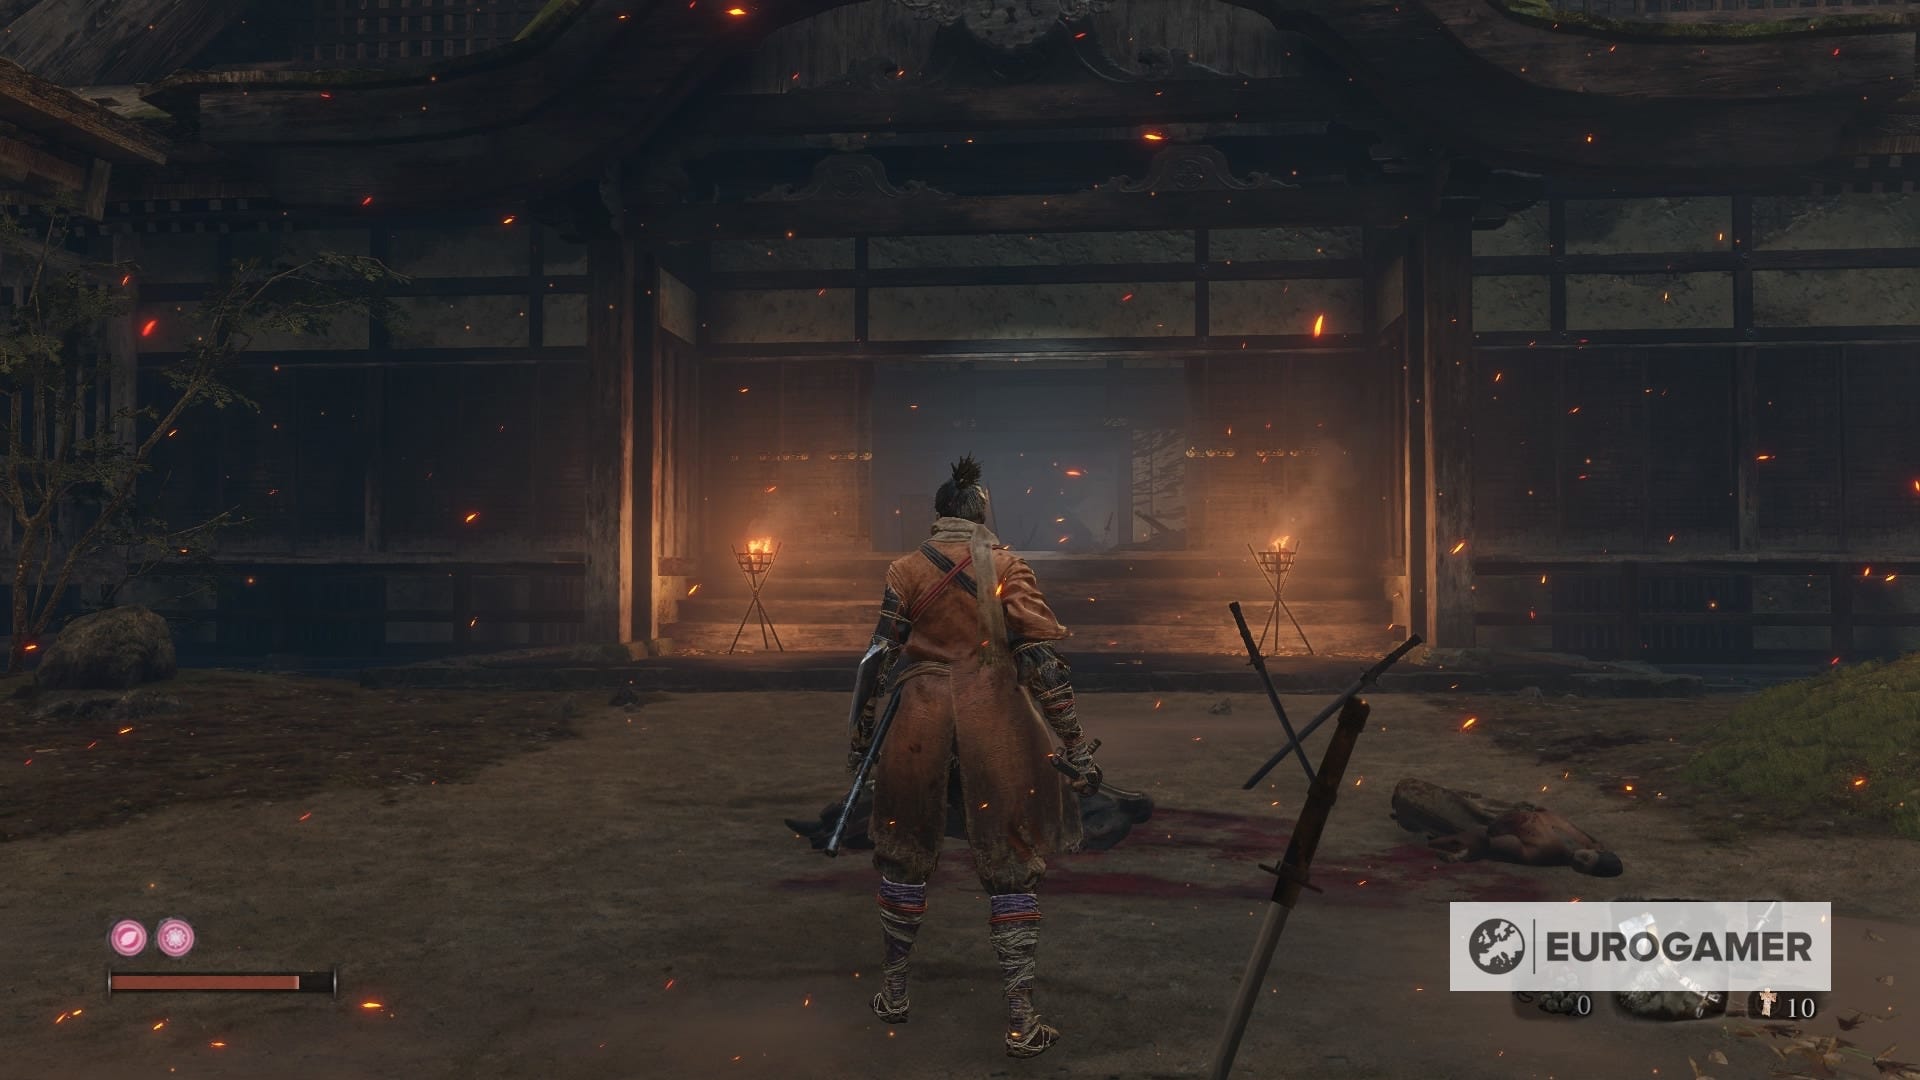

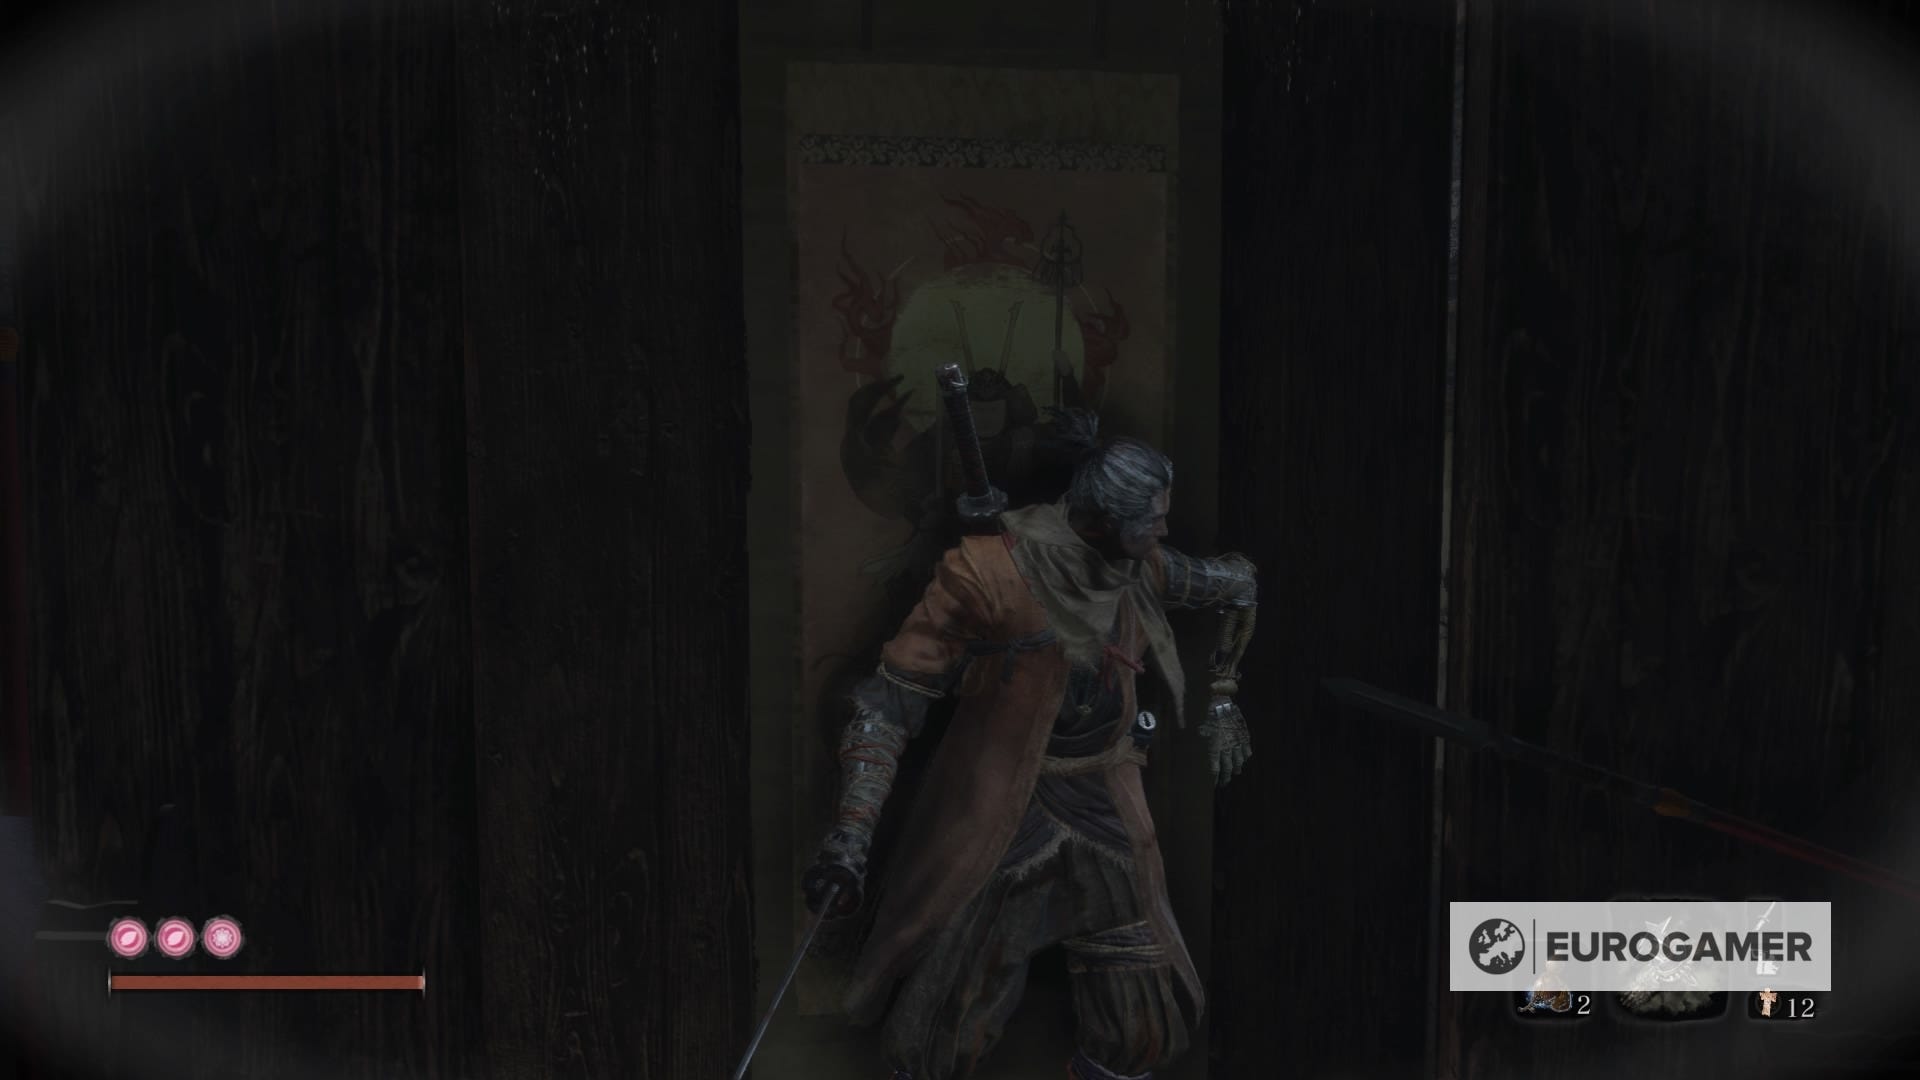
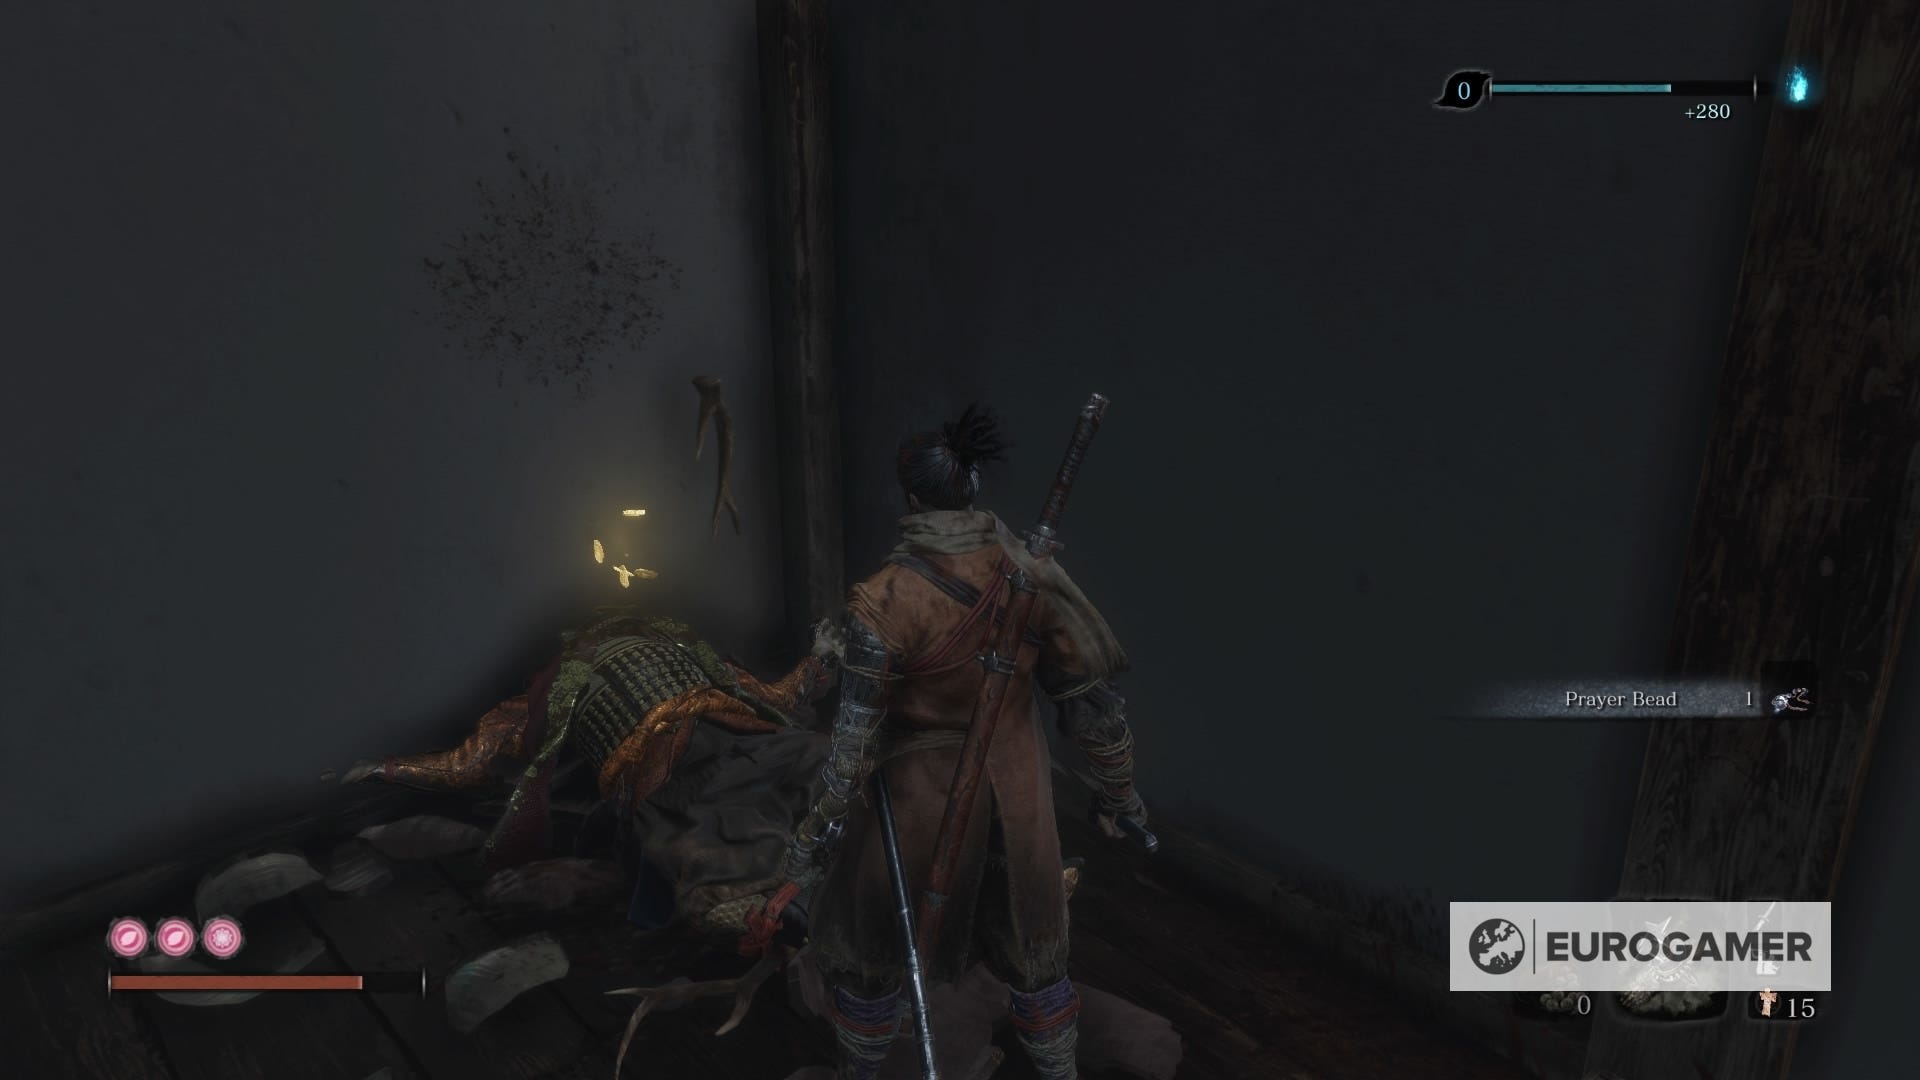
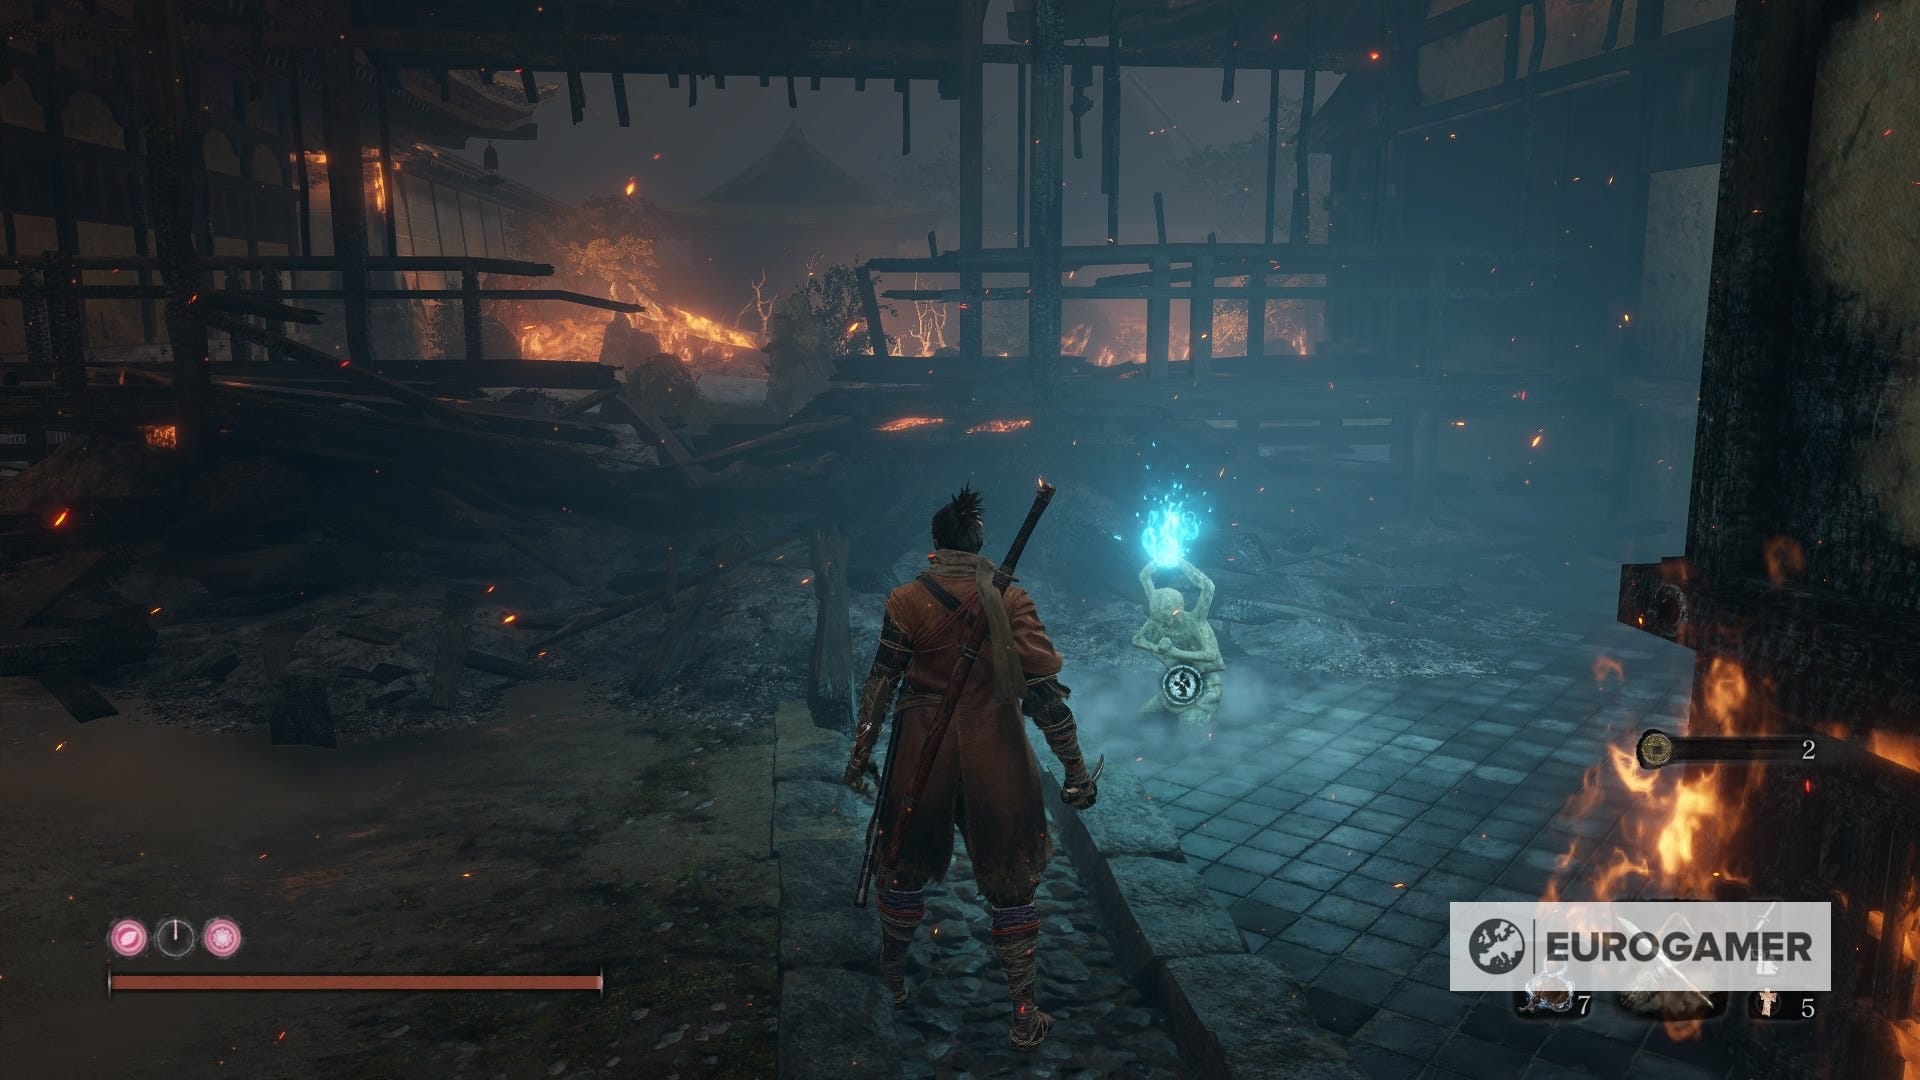
8. Hirata Estate - Main Hall Idol
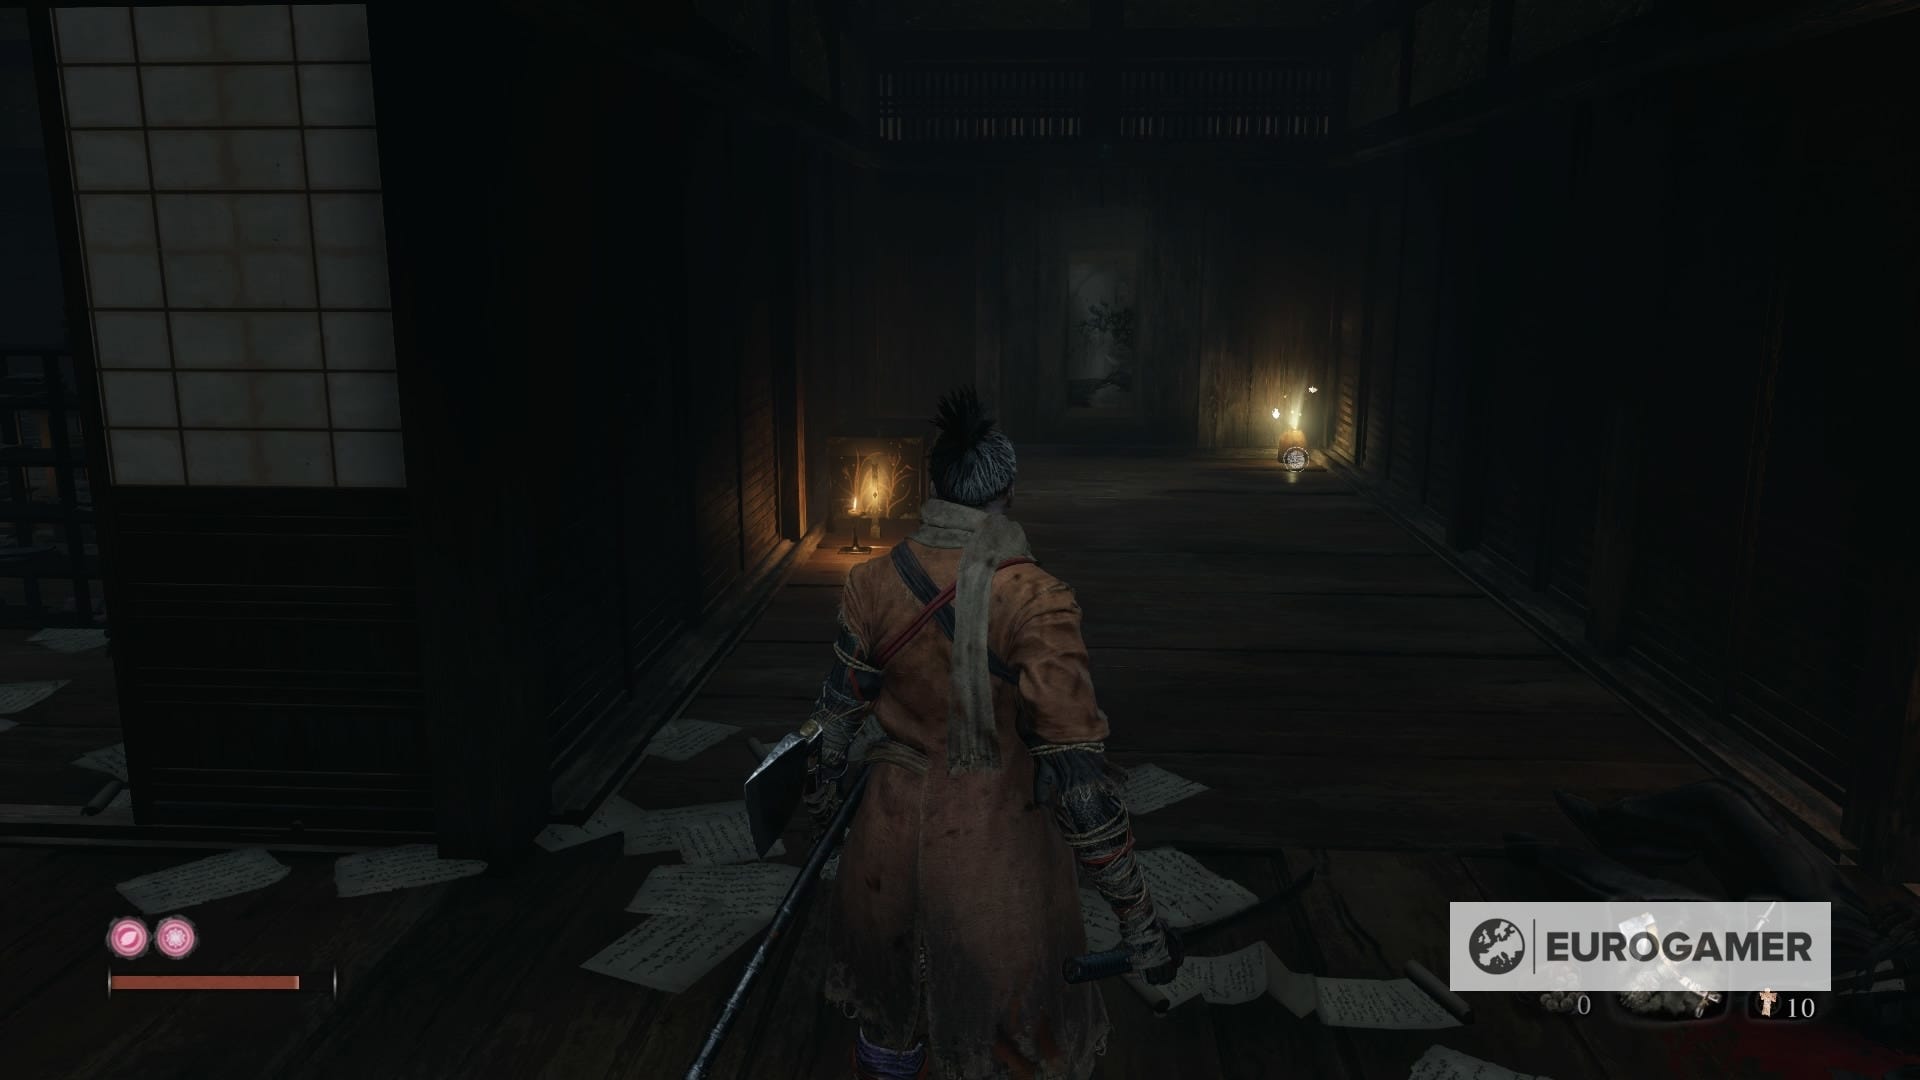
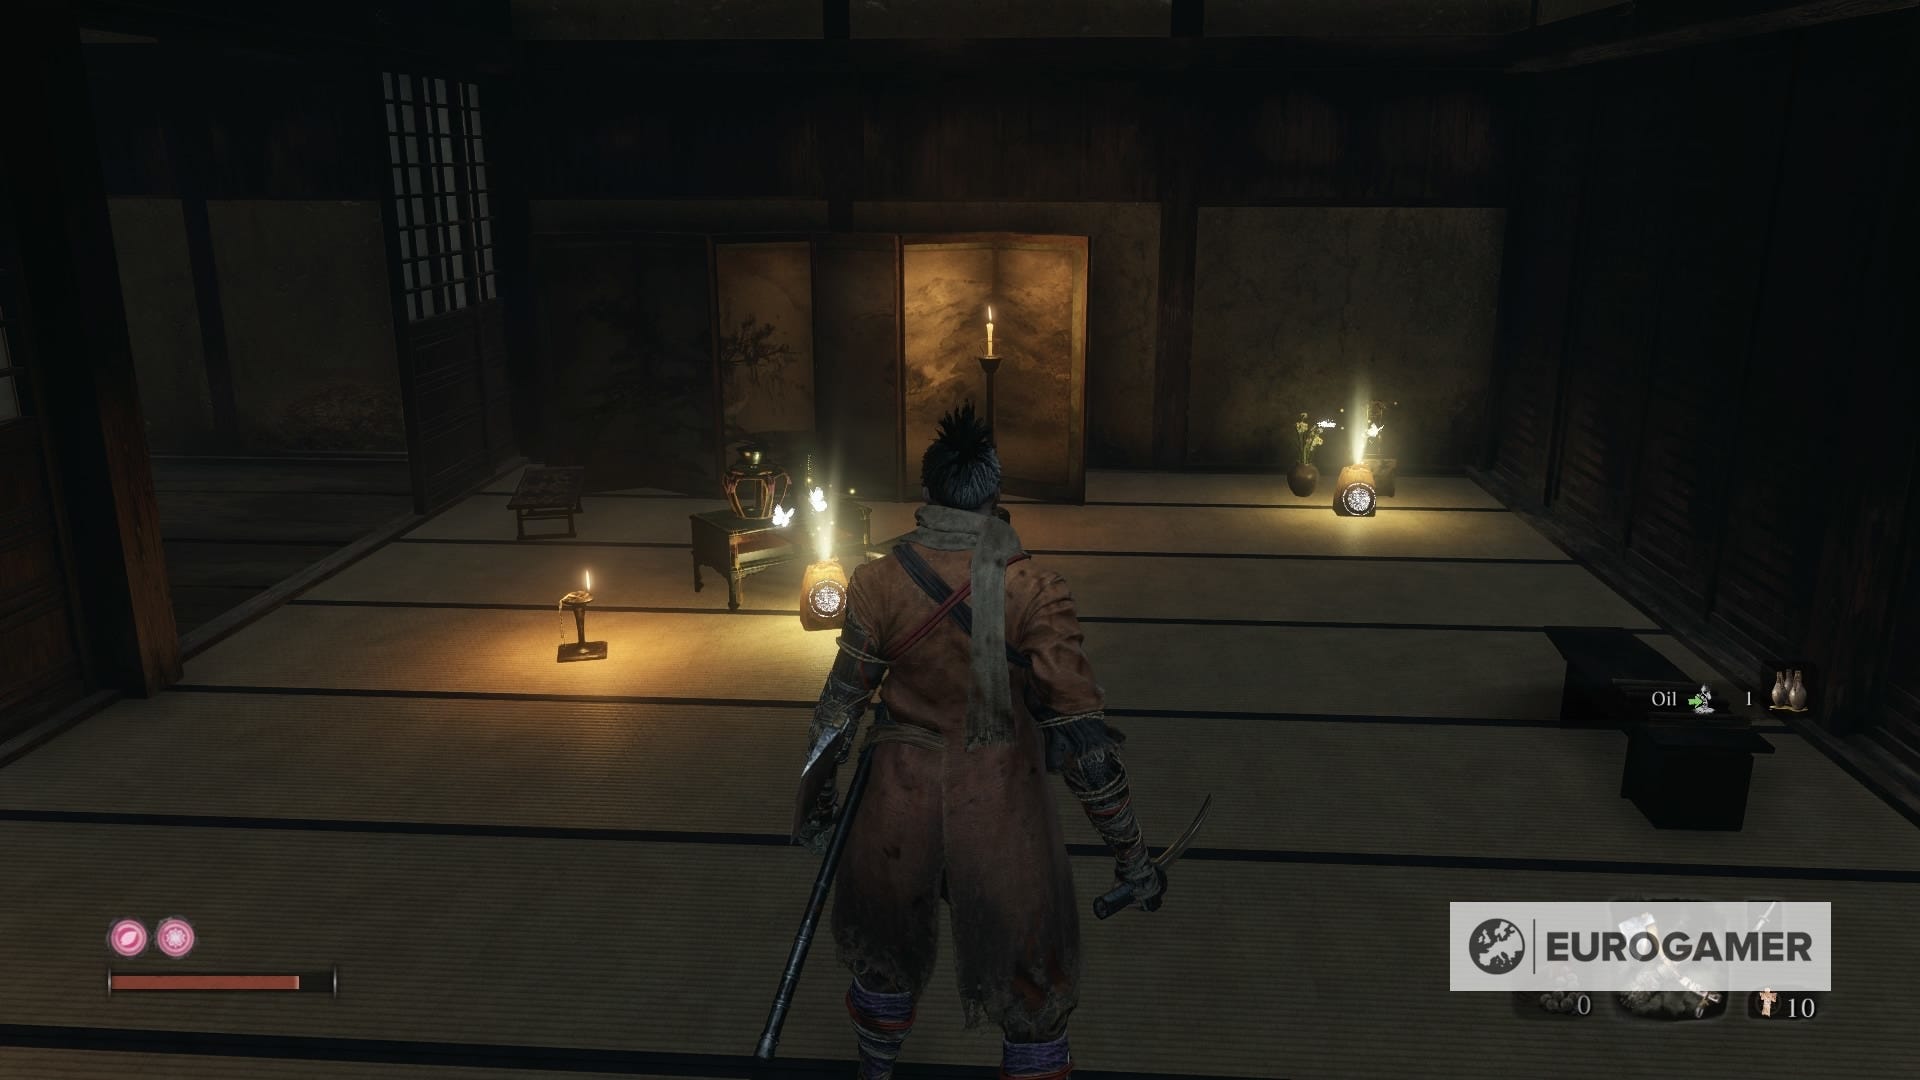
Following our guide to obtain Divine Confetti early on in the game, the secret room inside the hall right past Juzou also holds a chest.
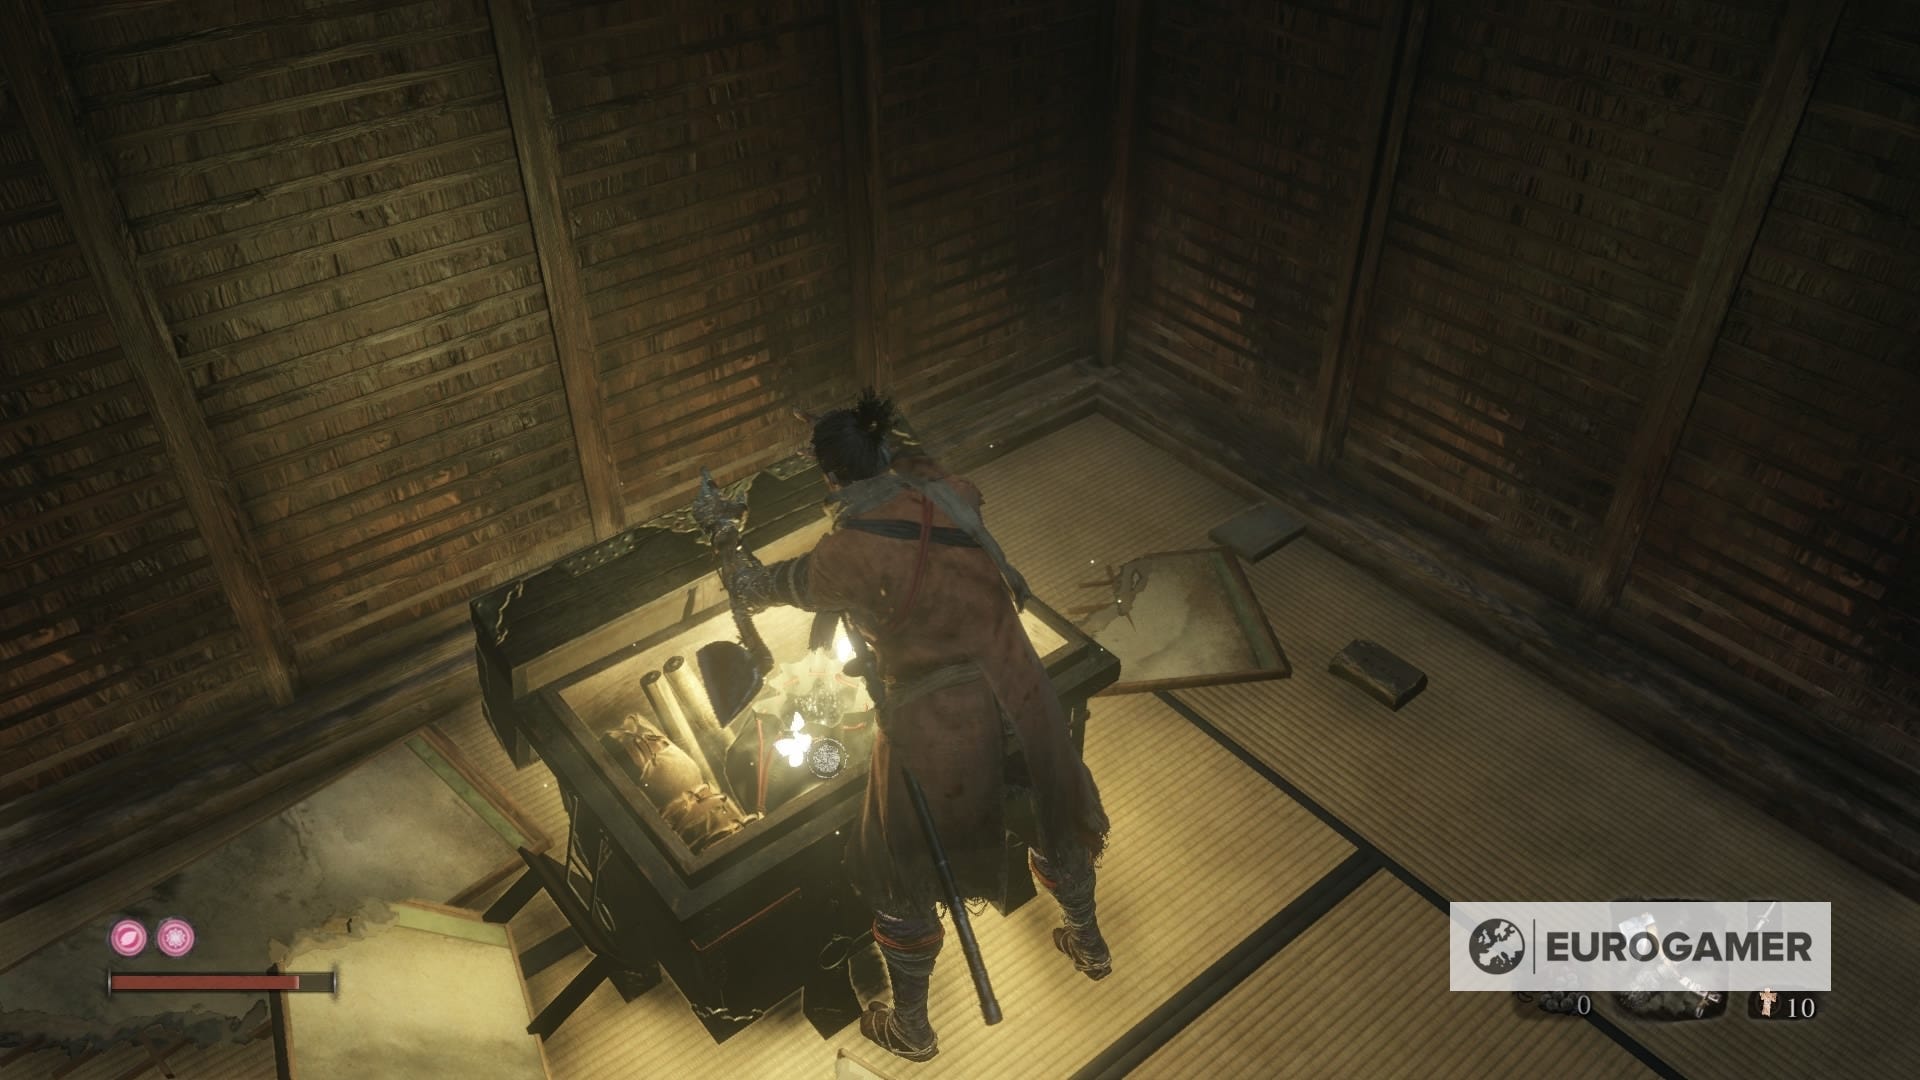
Once inside, start walking through the corridor on the left until you find some markings in the wall, right after a glowing item in the floor. Hug the wall and you'll be inside. Loot the chest to obtain a second Prayer Bead.

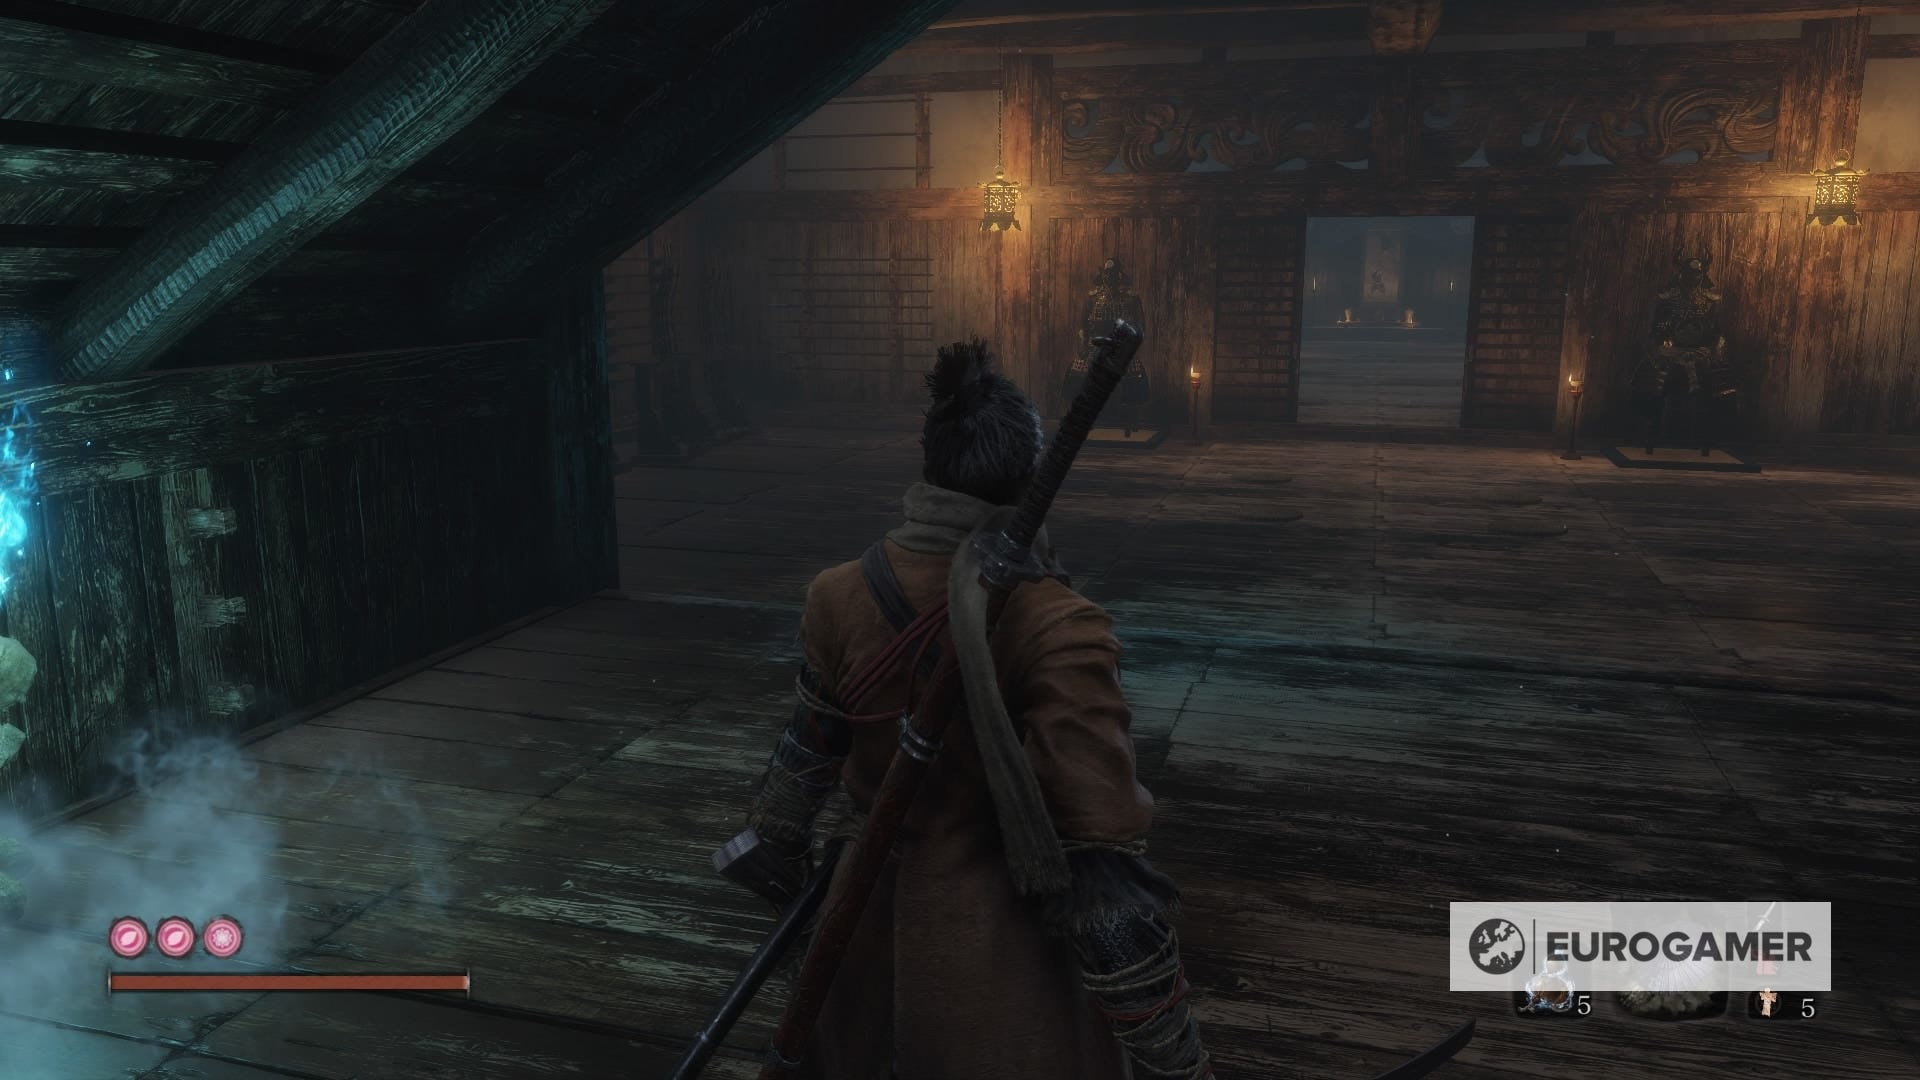
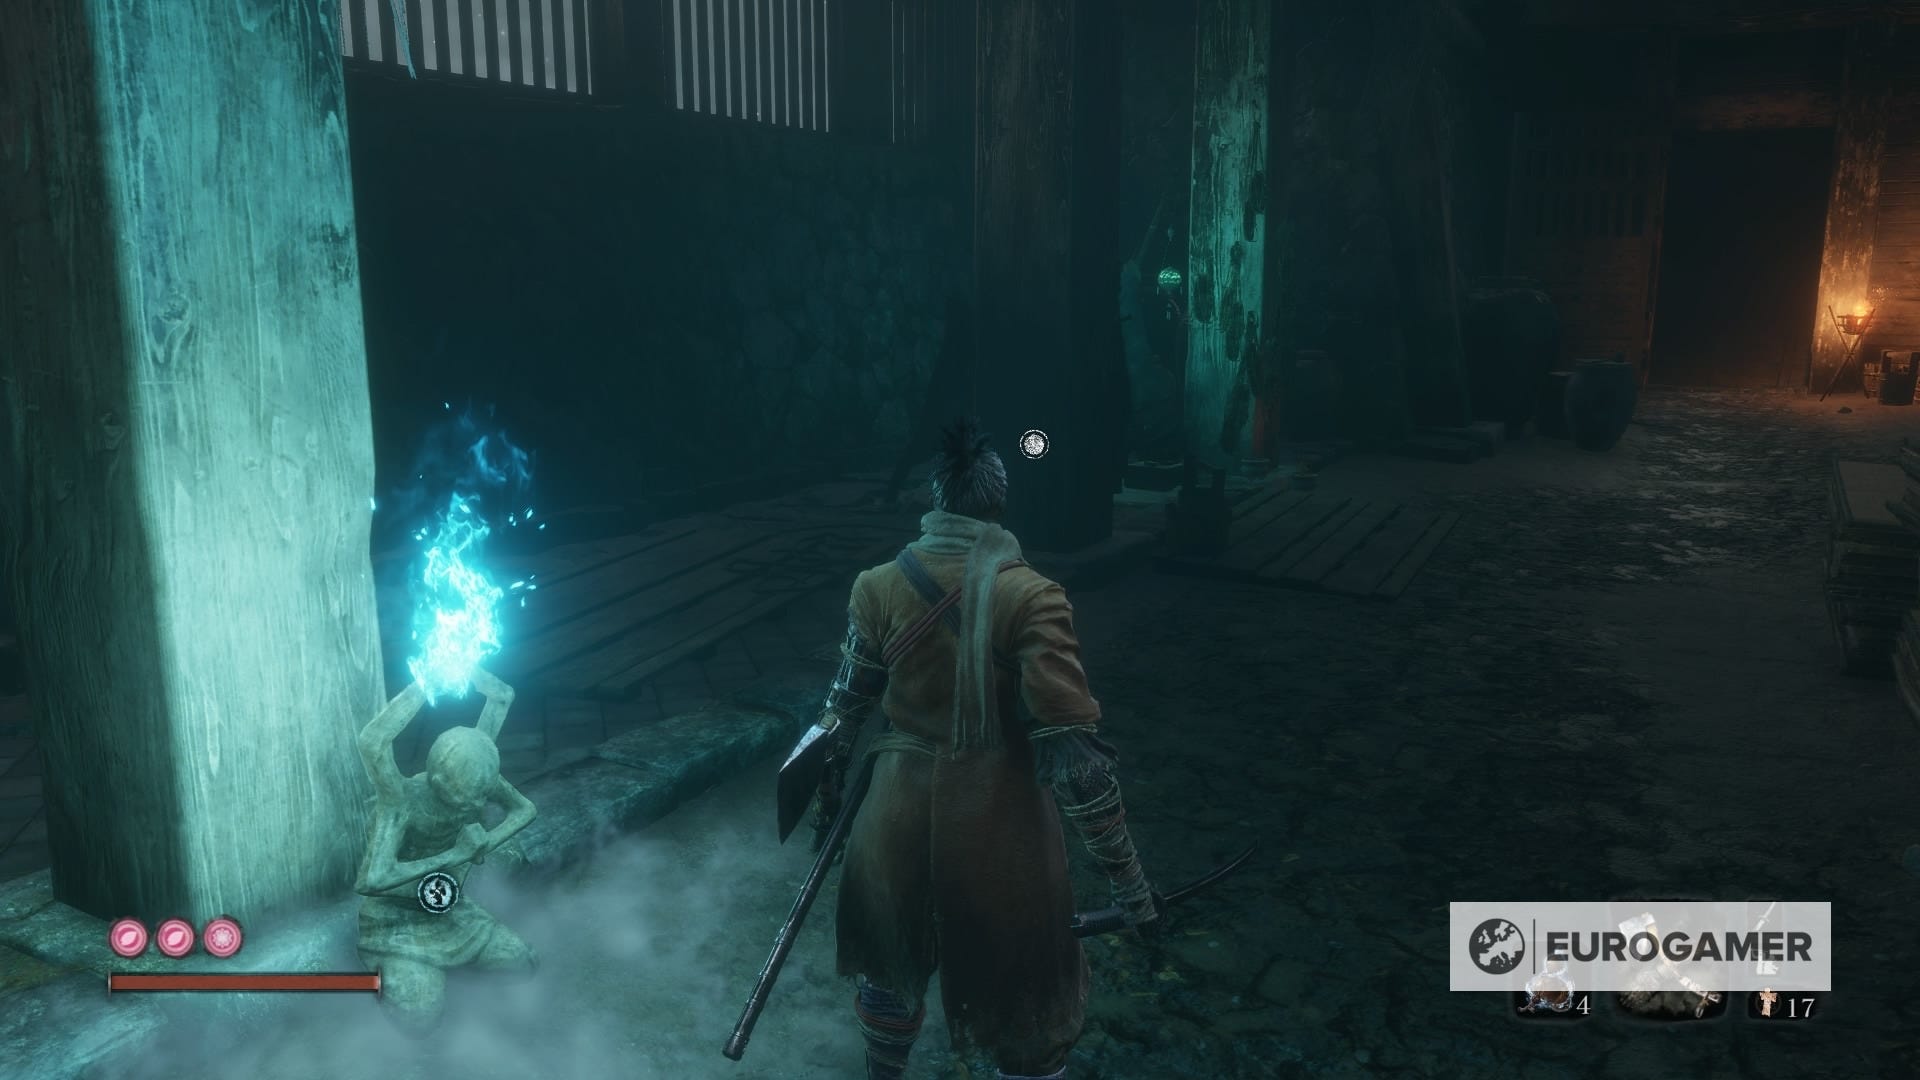
9. Ashina Castle - Upper Tower - Antechamber Idol
Warp to the Upper Tower - Antechamber Idol in Ashina Castle. From there, kill the blue-robed enemies in both the room up the stairs and the corridor to get to the room on the right. Clean the room and look at the wall in front of you. There's a sign, hug to the wall and a secret room will open.
There is a chest right at plain sight. Loot it to obtain an additional Prayer Bead.
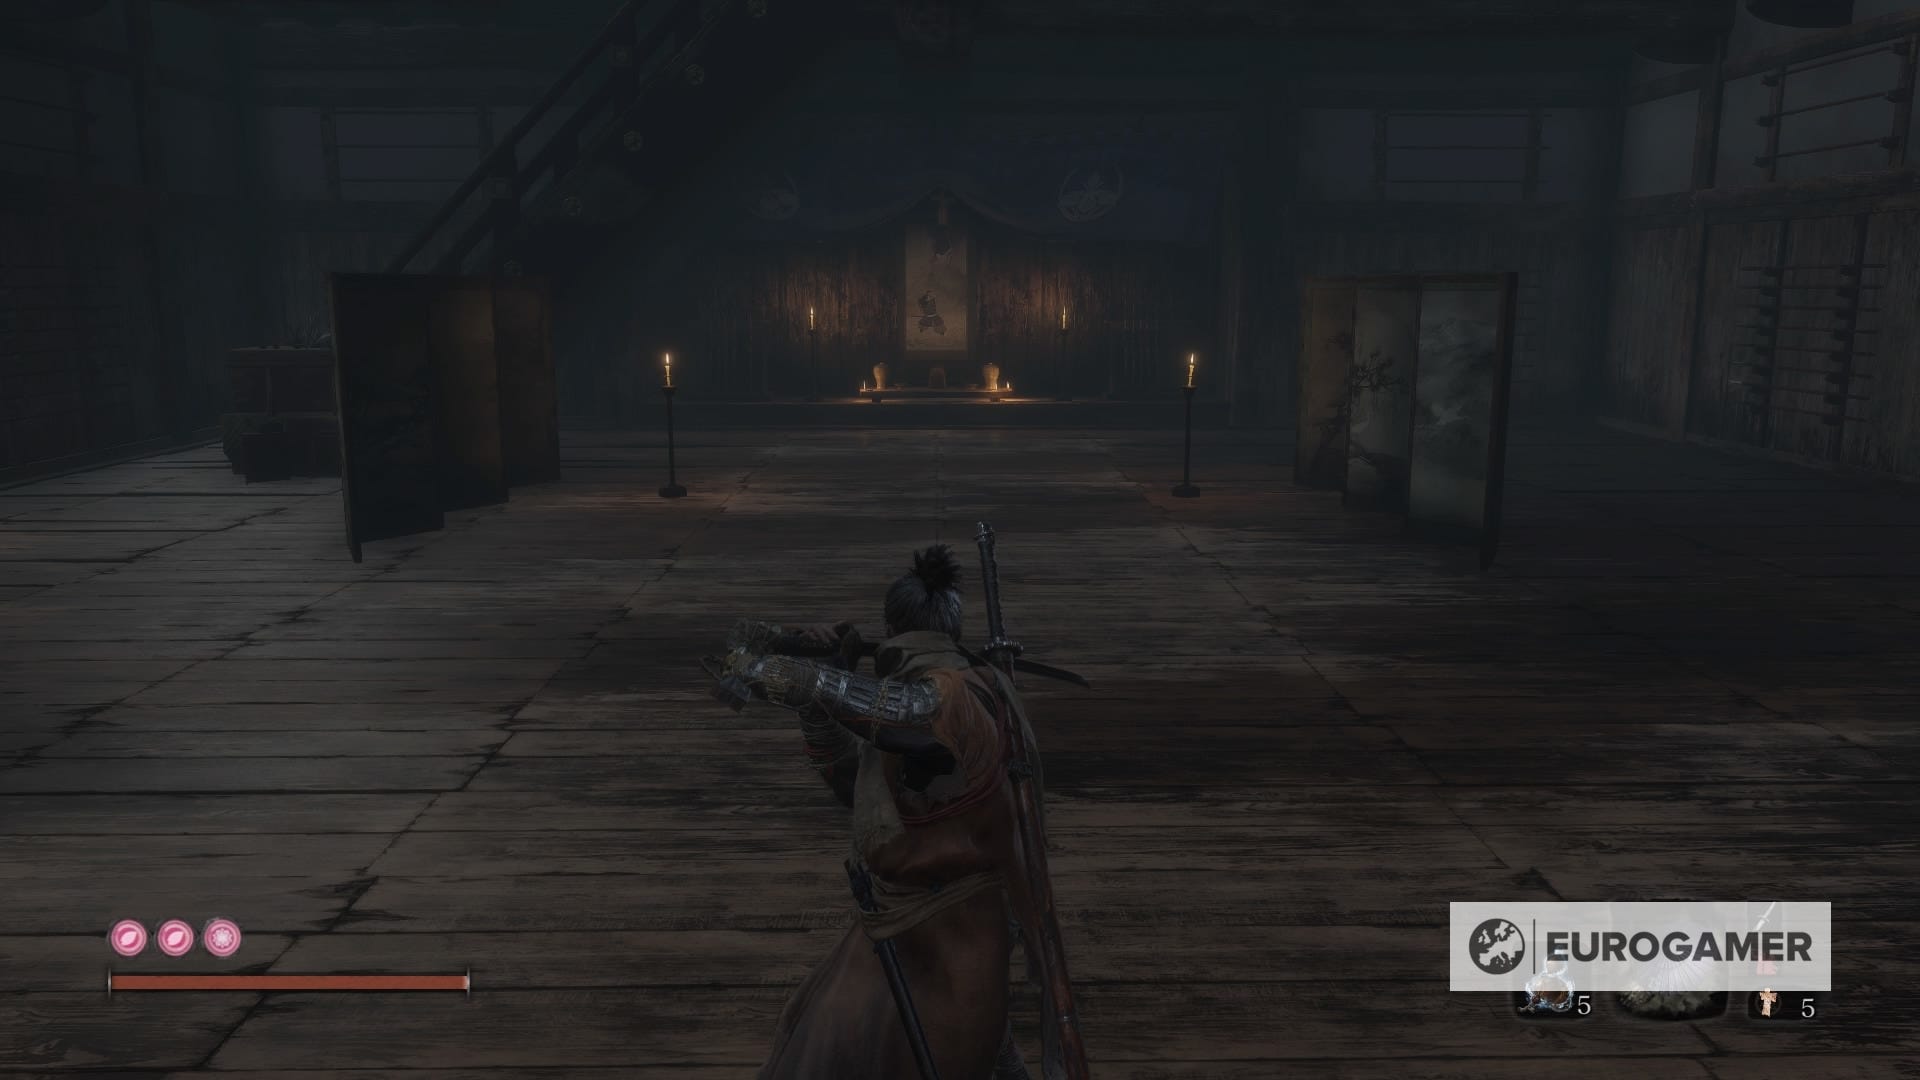
10. Ashina Castle - Ashina Castle Idol / Upper Tower - Antechamber Idol: General Kuranosuke Matsumoto
You'll have to get past the General Kuranosuke Matsumoto mini fight, and there are two routes to get there depending on which paths you took inside the castle area. If you chose to just continue going onwards, you'll just meet the boss by going up through the stairs, along with a couple of gunners with him.
But you can also go from the inside, just following the path we outlined from the previous Prayer Bead.
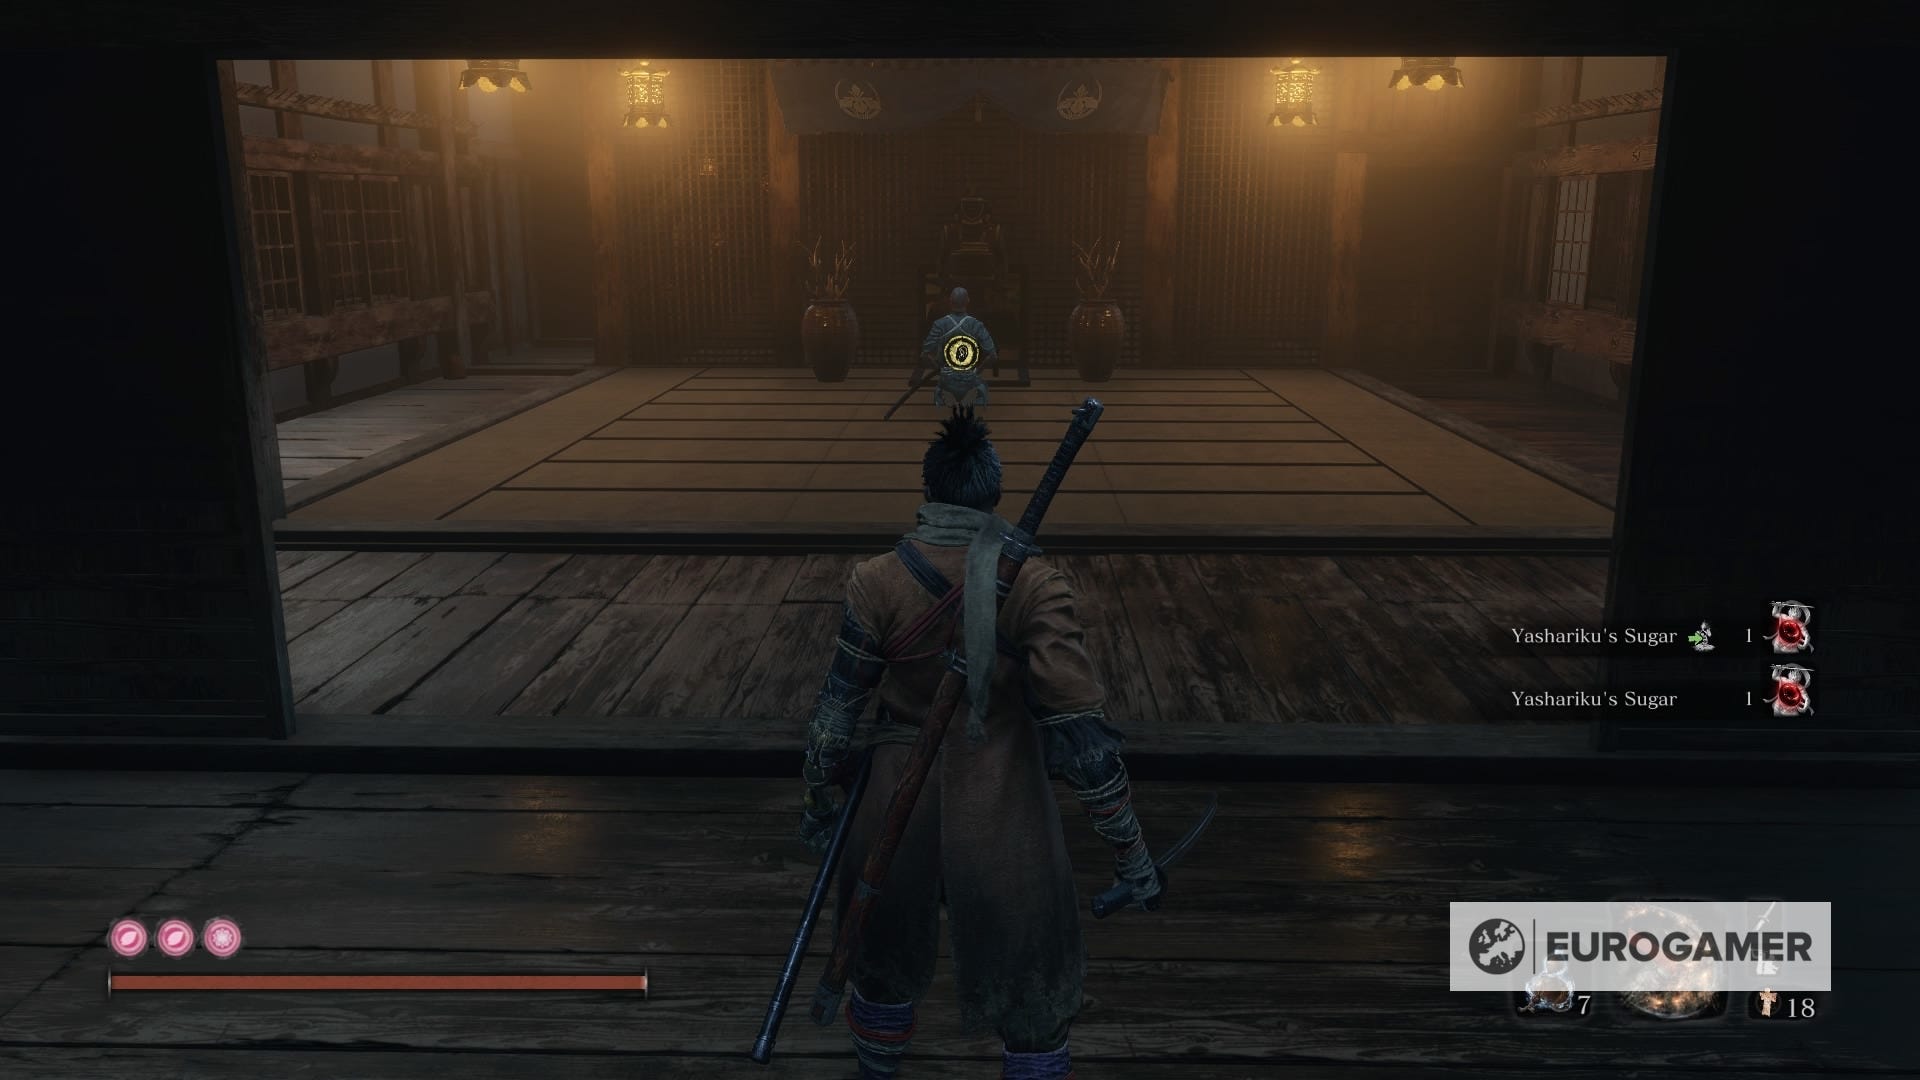
Drop into the main hall beneath from the corridors. Kill the enemies in there and open up the main gate. You'll see the mini boss doing a speech, and you can stealth attack him to gain an advantage. Defeat him, and you'll obtain a new Prayer Bead.
11. Ashina Castle - Upper Tower - Ashina Dojo Idol: Ashina Elite
Right after the Antechamber section, you'll get across the Ashina Castle Dojo Idol. This one is pretty much straightforward: Go inside the hall and get ready for a fight against Ashina Elite Jinsuke Sake. If you get stuck, oh do we have a guide for you.
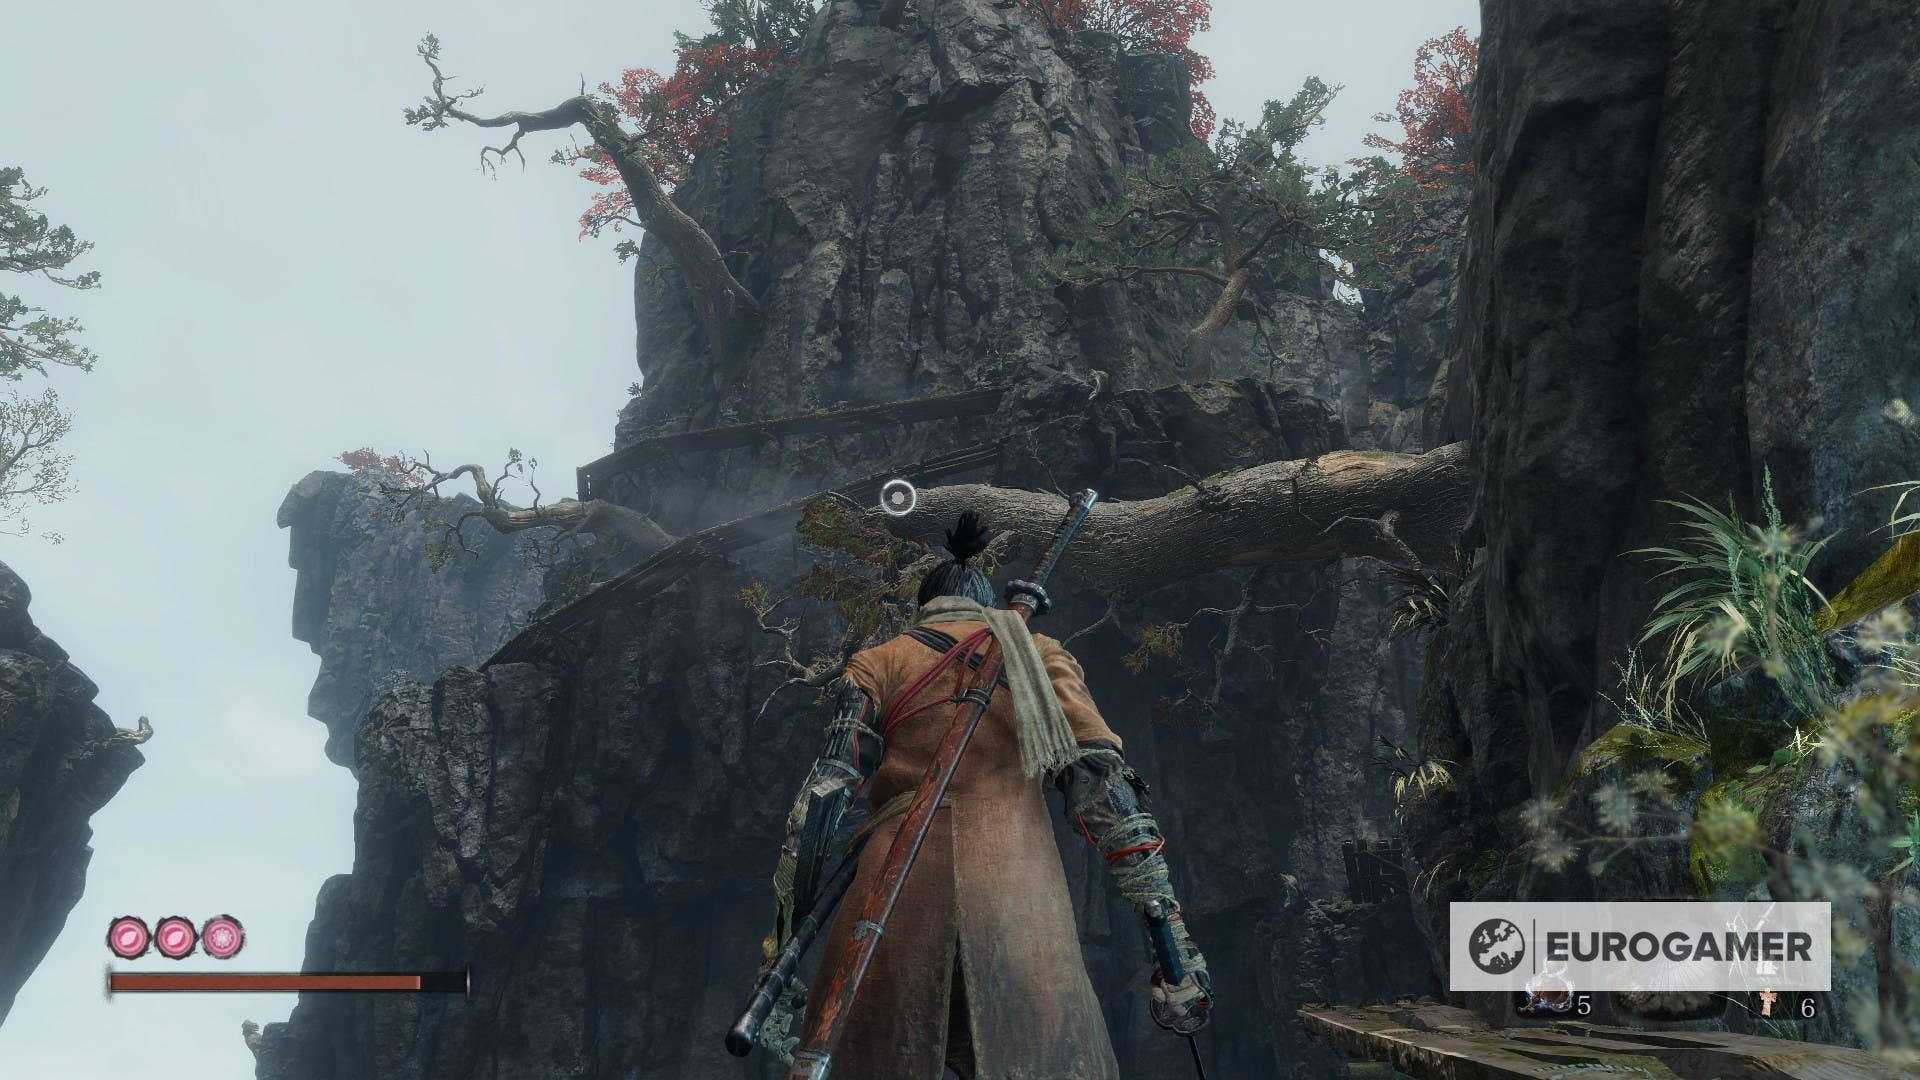
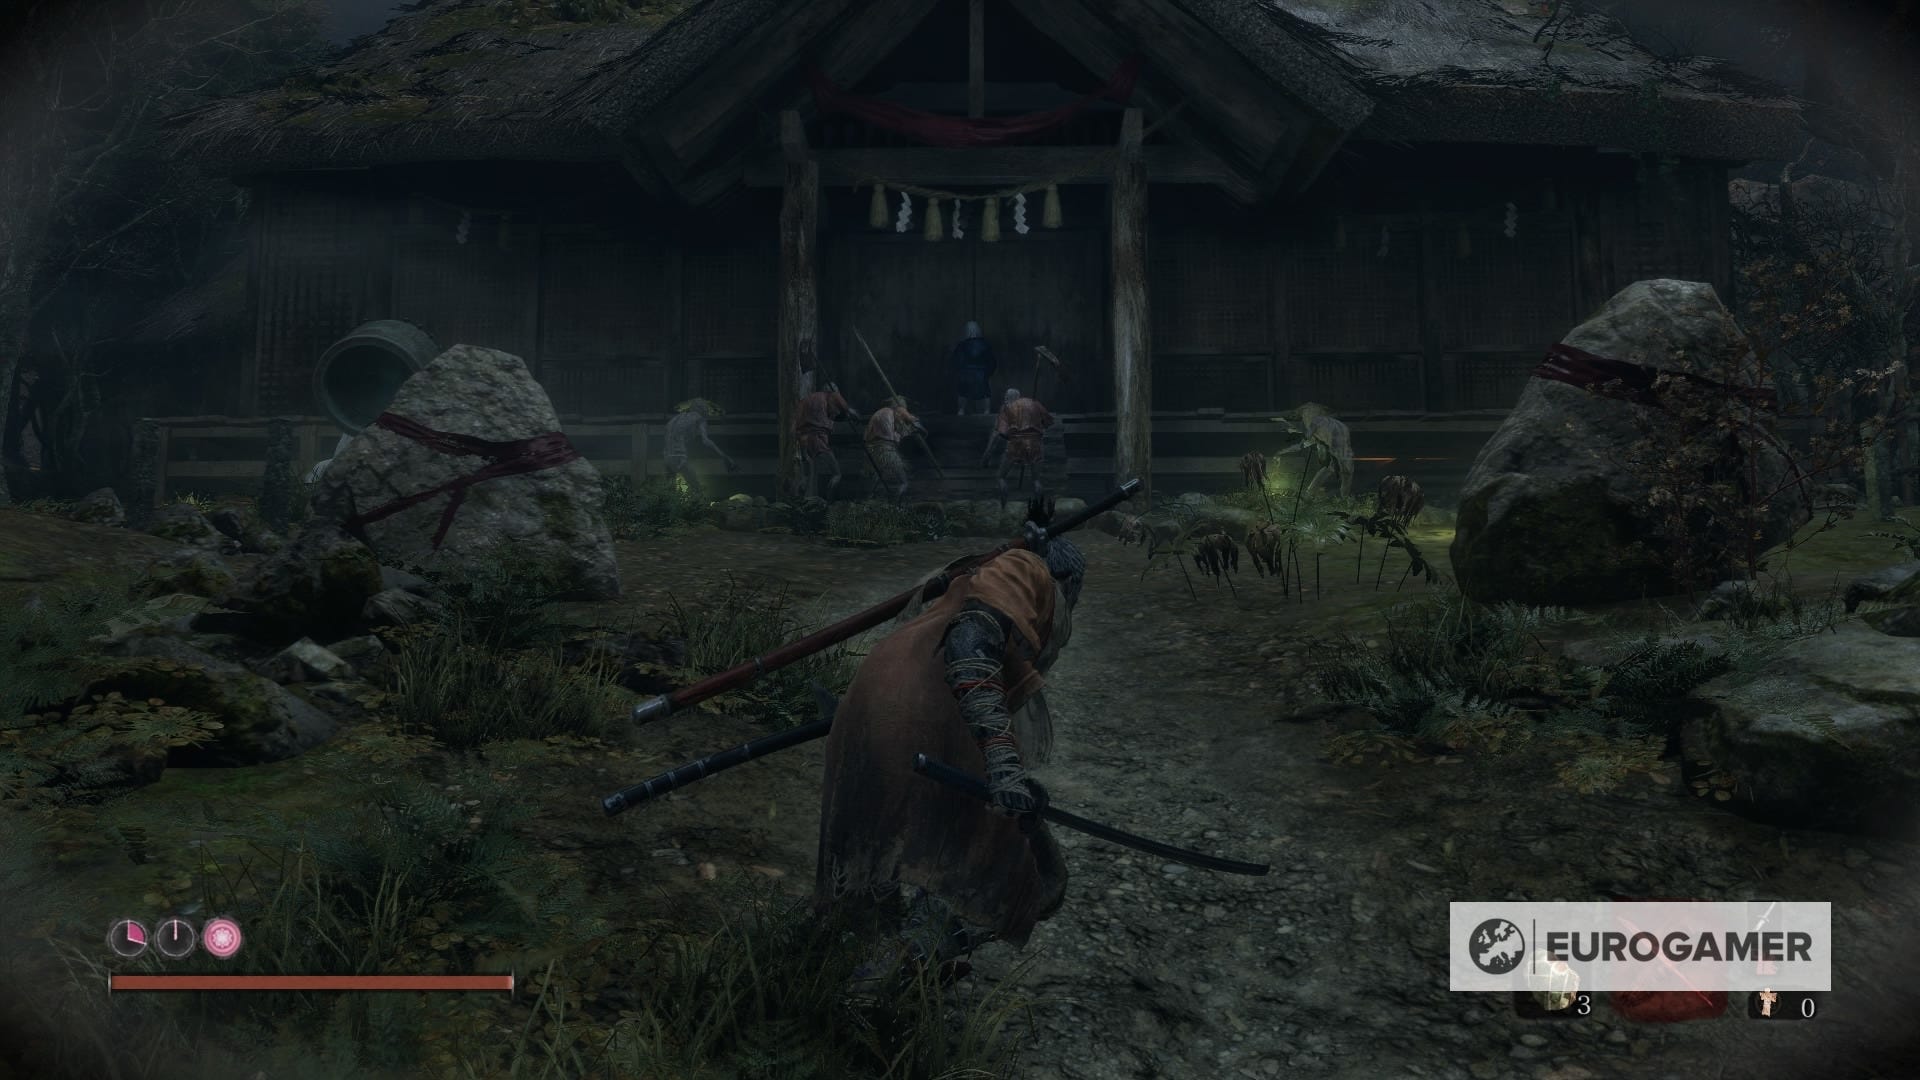
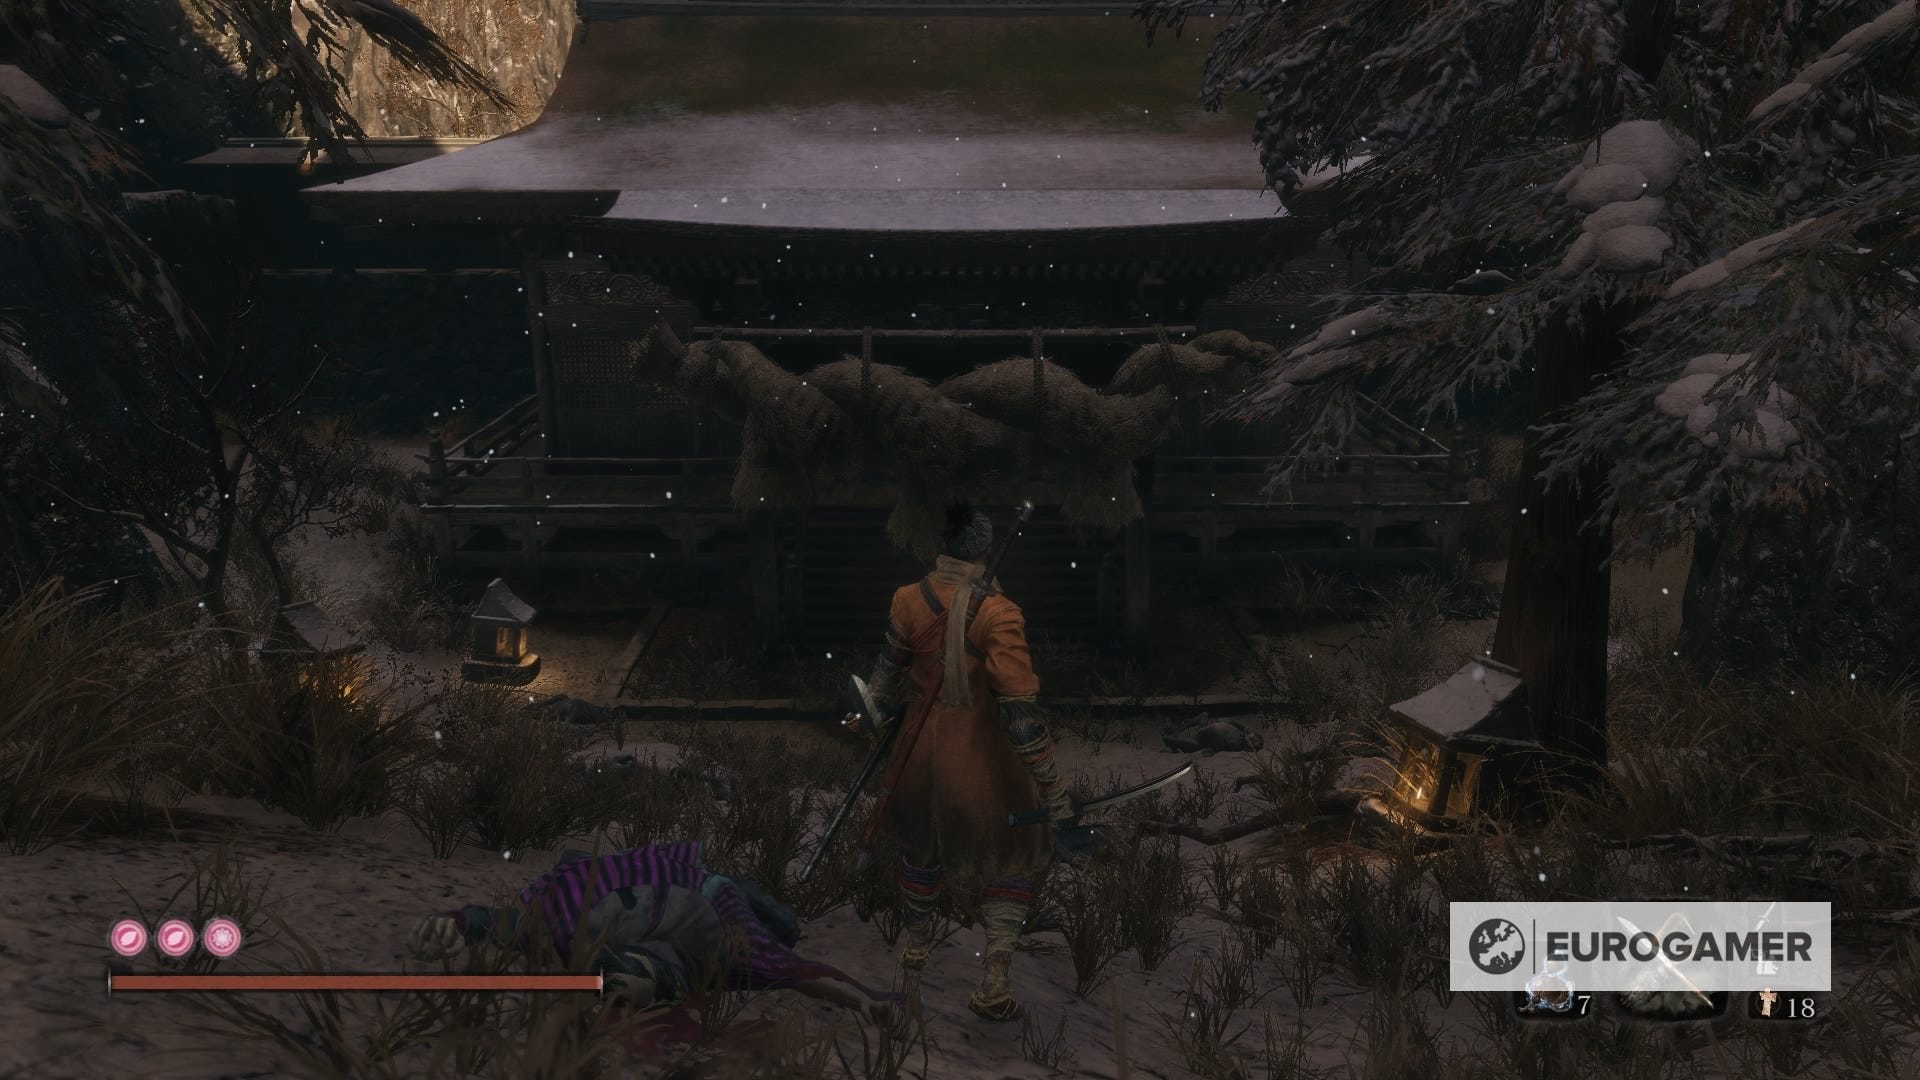
12. Ashina Castle - Ashina Reservoir Idol: Seven Ashina Spears
You'll have to fight another mini boss. Seven Ashina Spears Shikibu Toshikatsu Yamauchi is waiting for you in a temple in the farth north from the Ashina Reservoir Sculptor's Idol. To make it easier to arrive at the fight, worry only about the four first enemies (two dogs and two soldiers), and then sneak around using the ledge on the right side.
From there you can make use of your grappling hook twice and you'll arrive to the boss fight.
Defeat him, and you'll be rewarded with a Prayer Bead.
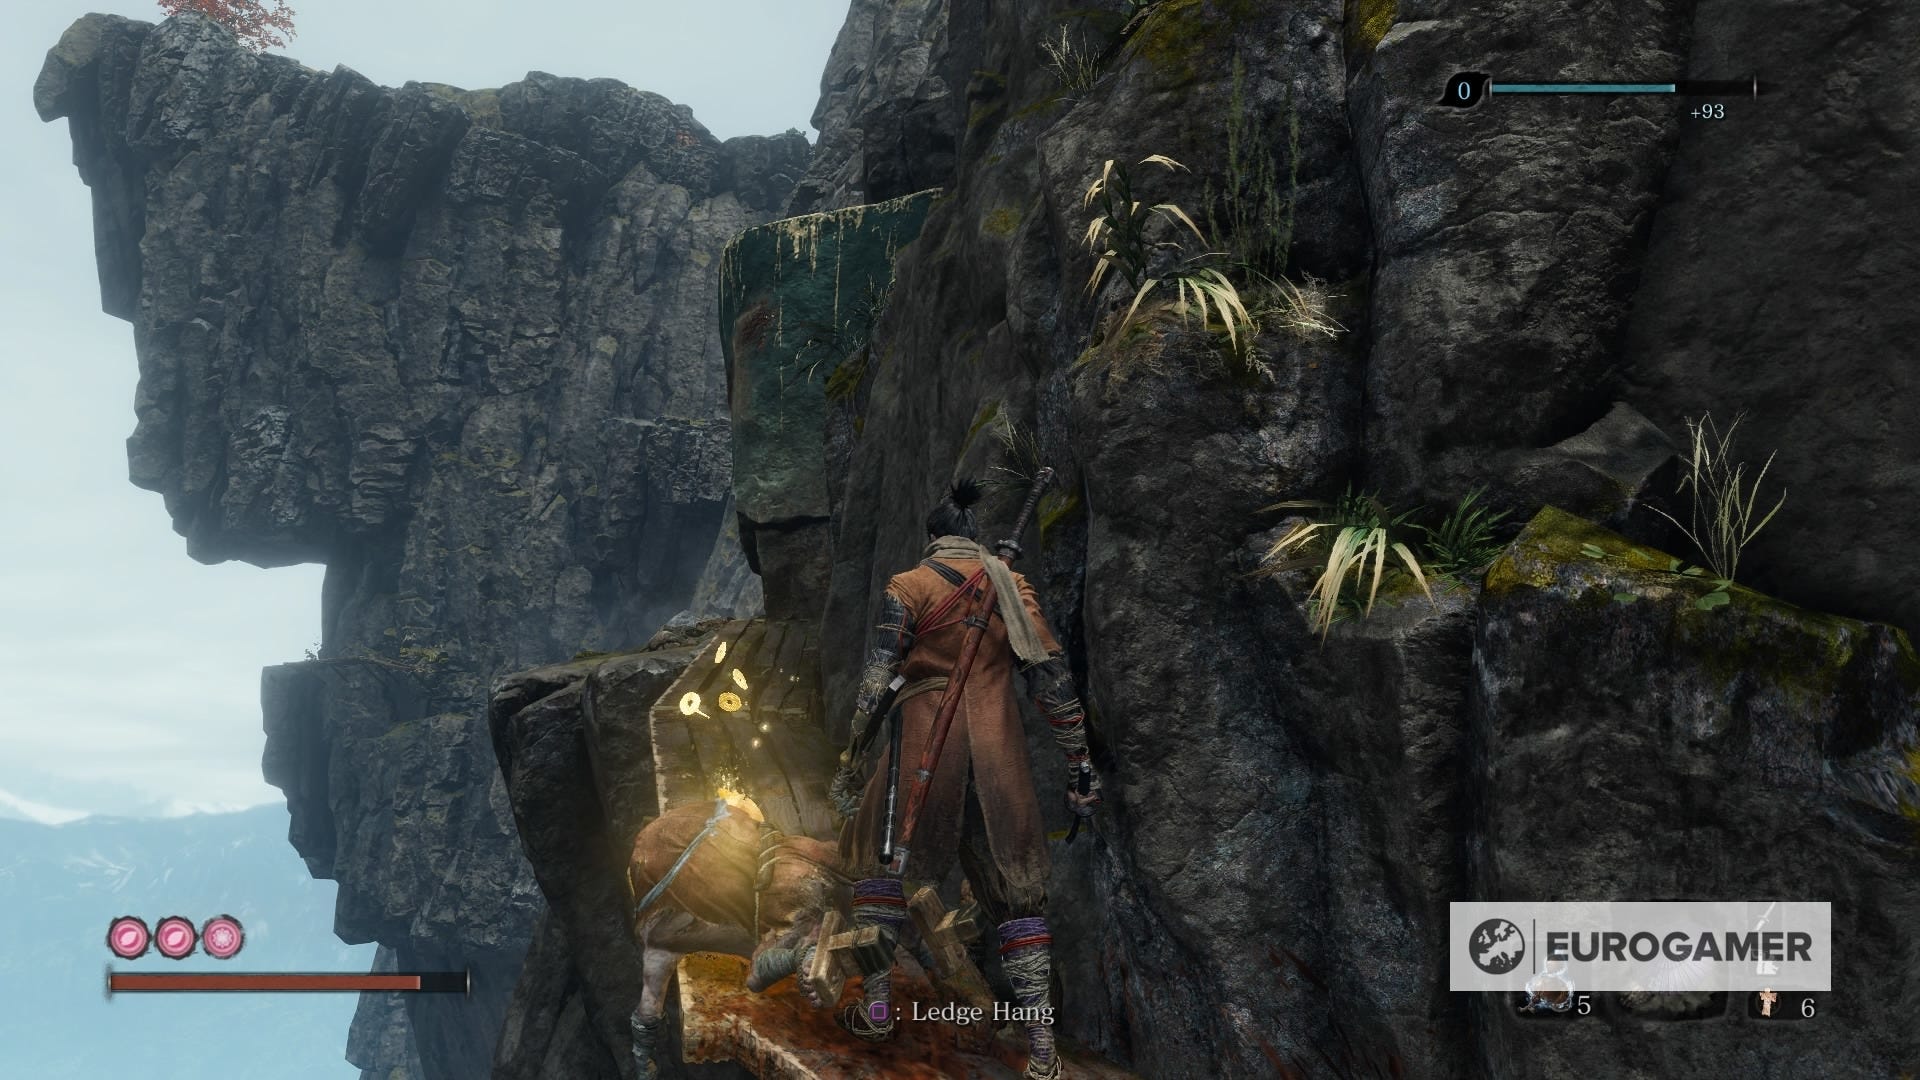
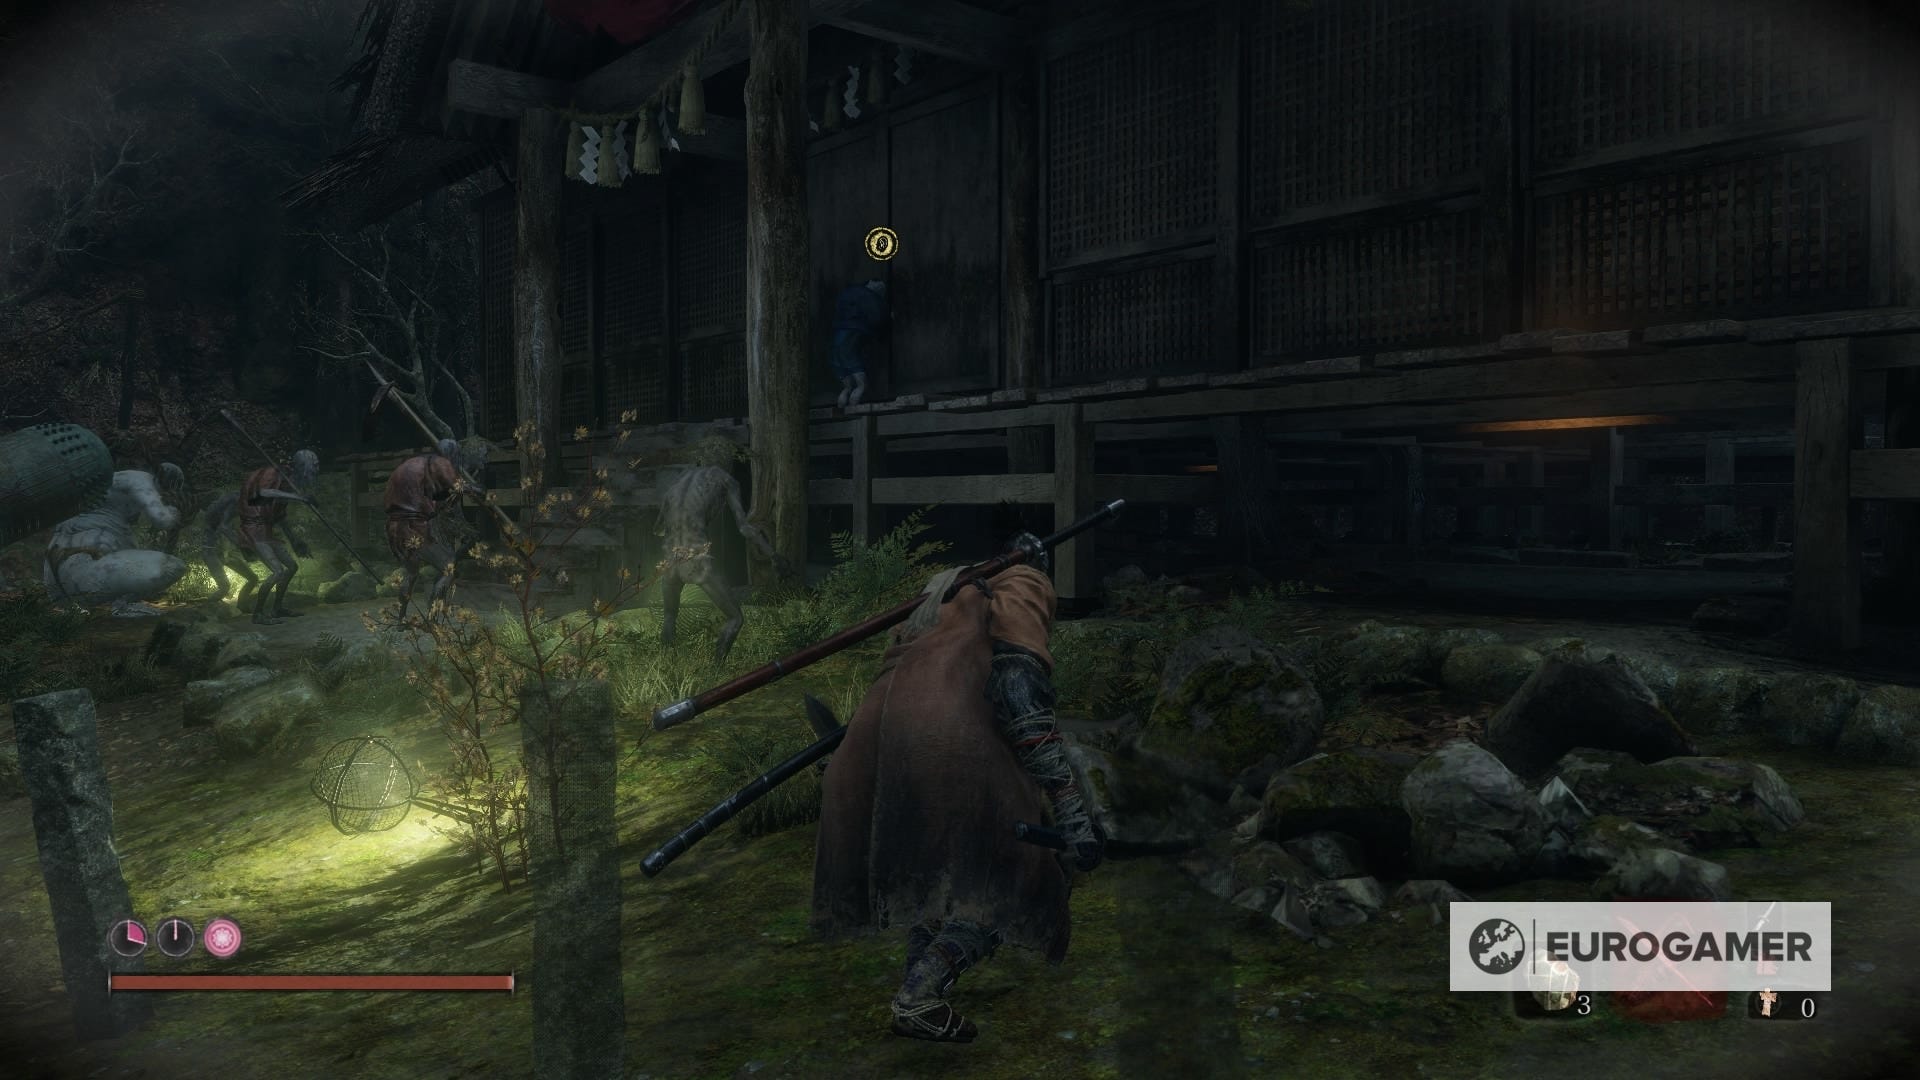
13. Ashina Castle - Ashina Reservoir Idol: Lone Shadow Longswordsman
Warp back to the Idol or just head to the beginning of the area if you fancy walking. Once you've dealt with the first four enemies and you start grappling from the left side using the tree branches, you'll encounter an annoying mob with a pan in a area filled with bushes. Get rid of it and hug the wall, going towards the other side.
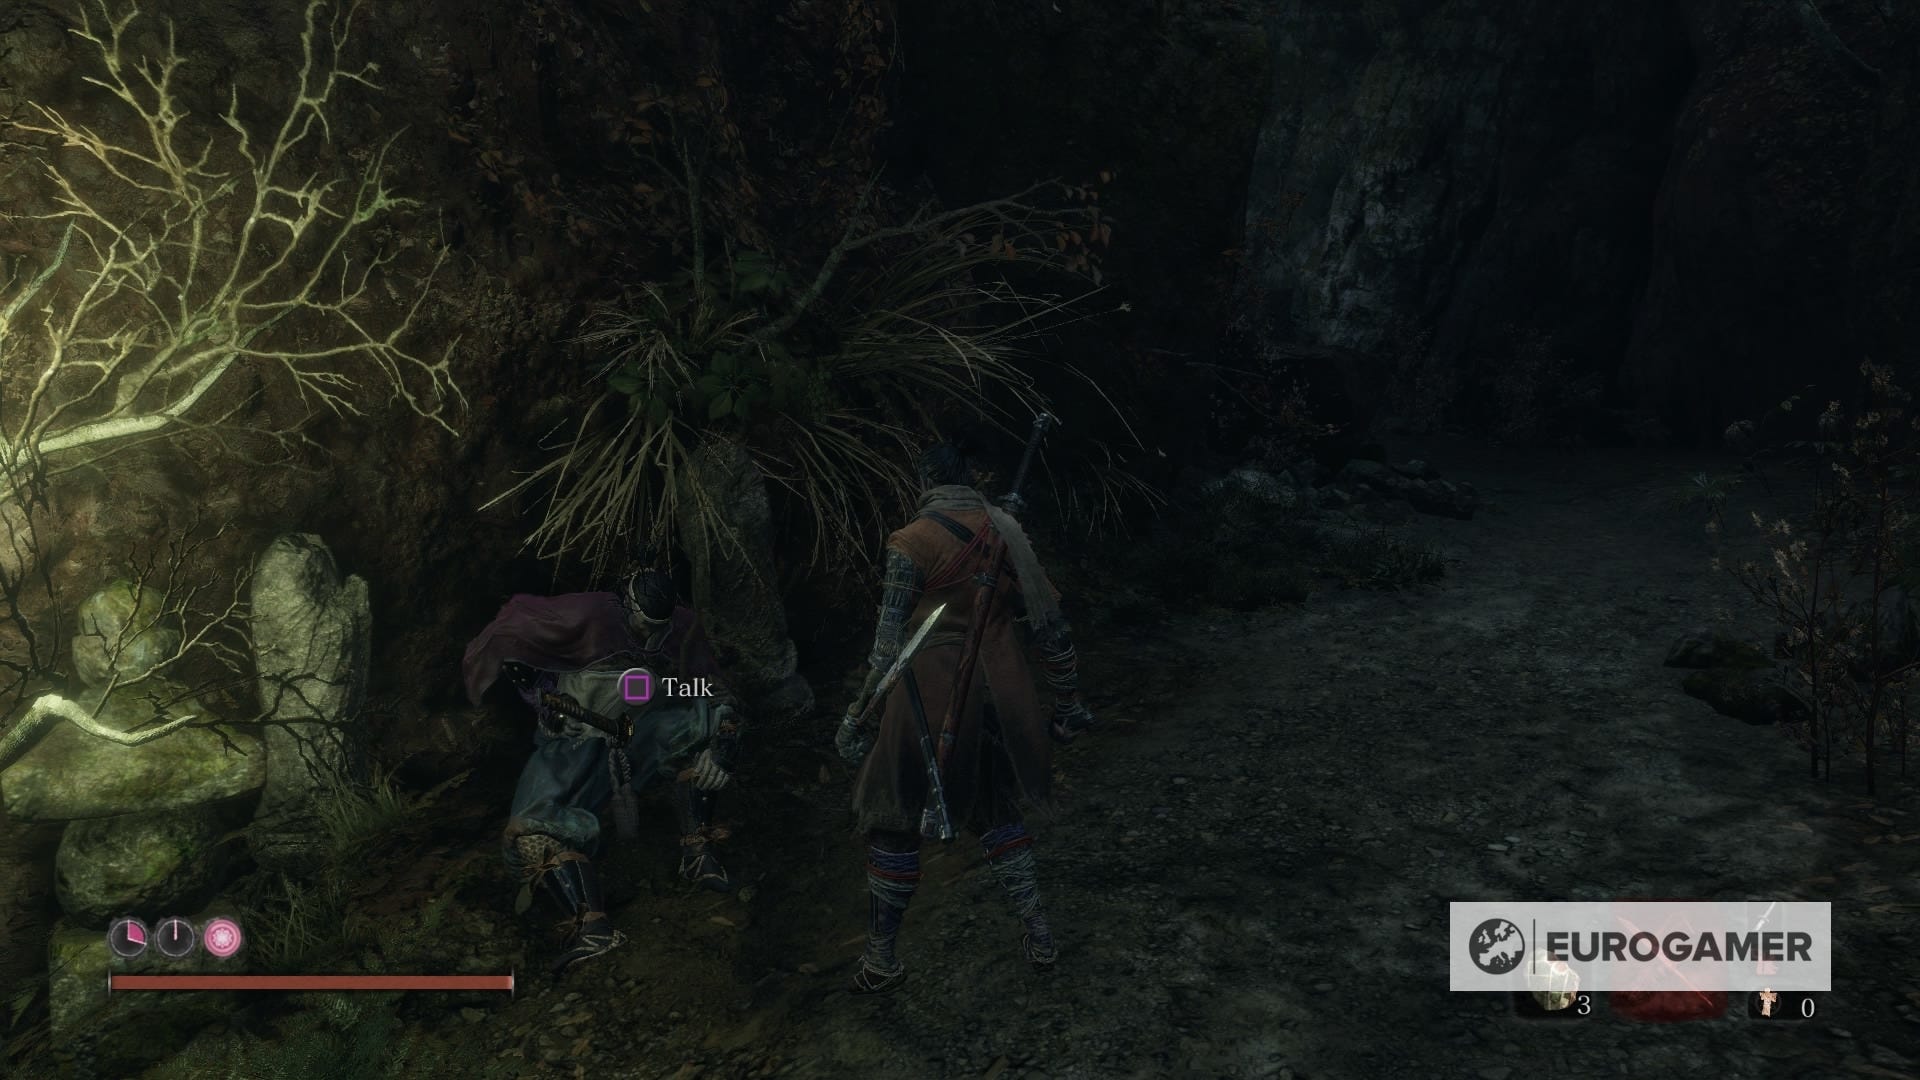
You'll be facing the entrance of a new area. Talk to the NPC but don't go down through the entrance. Keep walking towards until you see a pit, which is aiming right above the Lone Shadow Longswordsman mini boss. Get yourself a free Deathblow, and another Prayer Bead once you beat him.
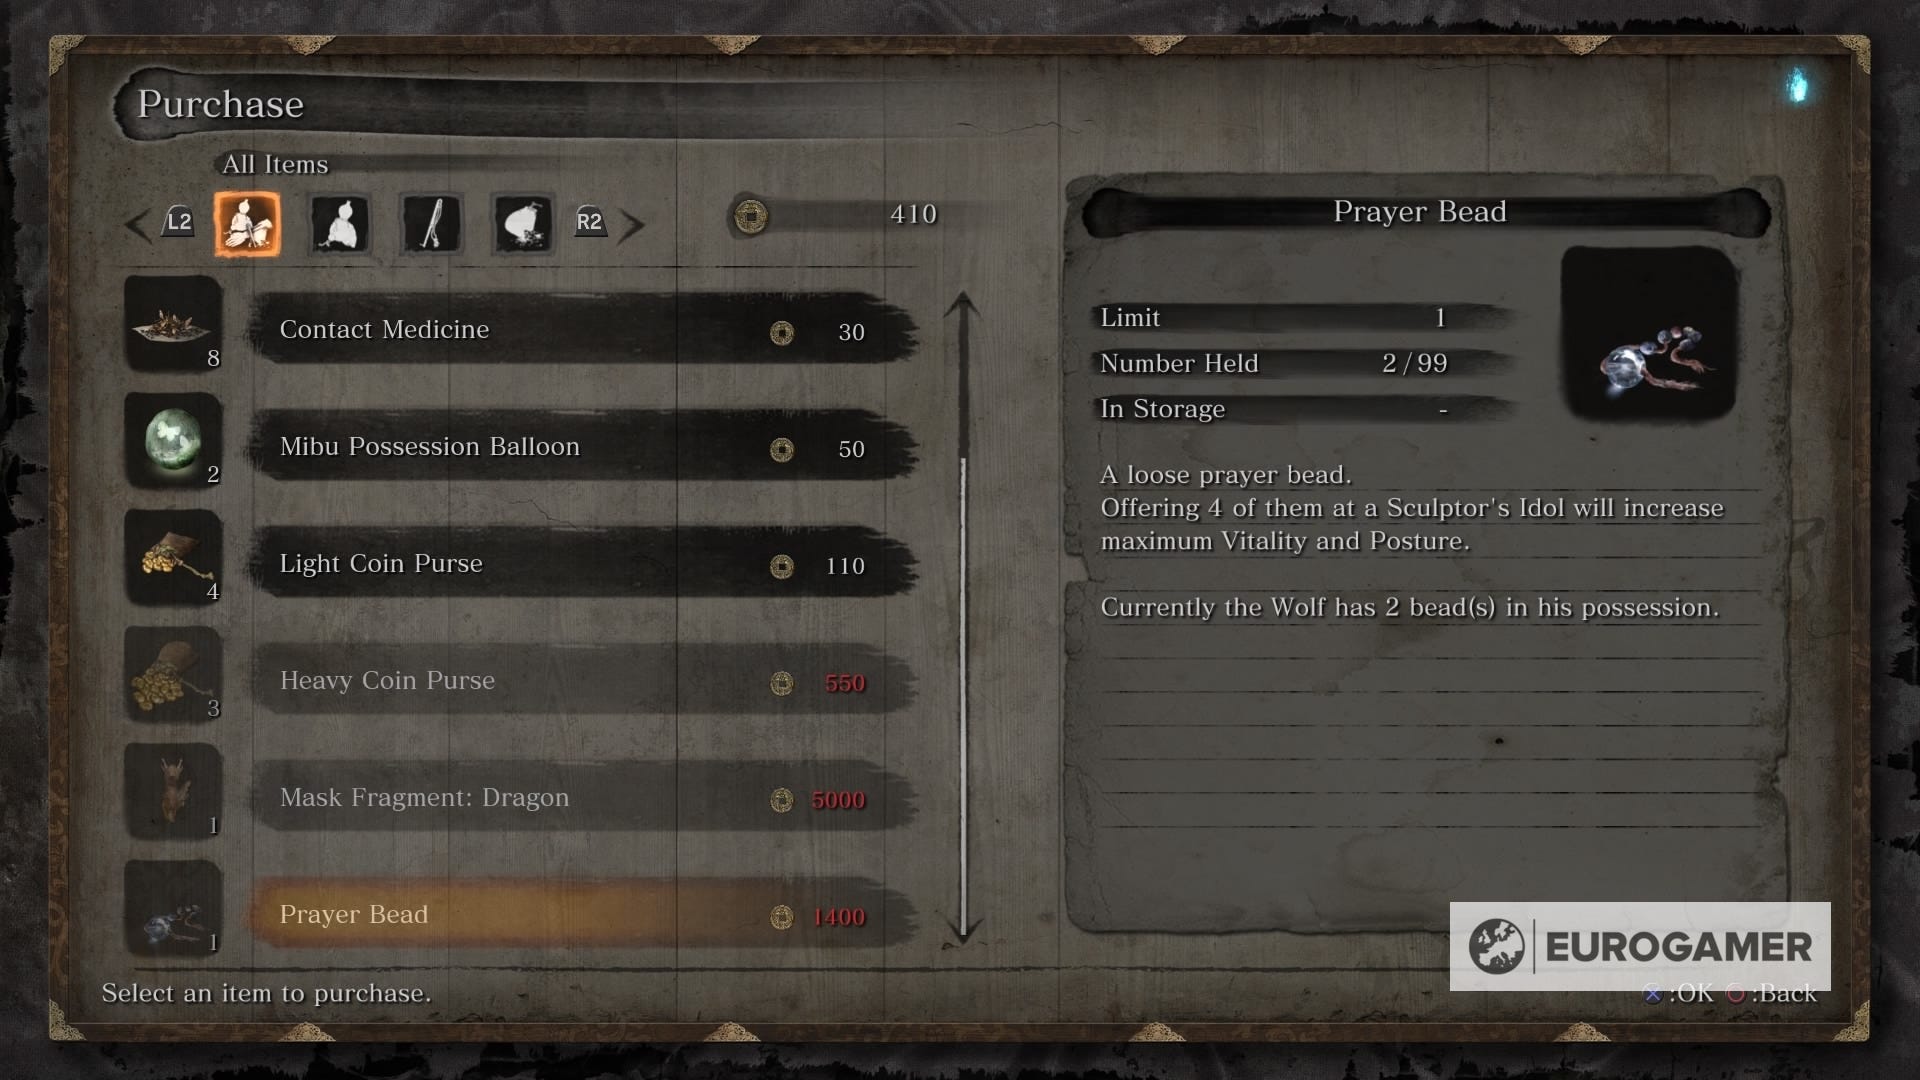
14. Ashina Castle - Abandoned Dungeon Entrance Idol
This one is a nice change of pace. Just talk to to merchant who is just a few steps from the Idol heading forward. Along with stocking up to continue your journey, make sure to purchase one Prayer Bead in exchange of 1400 Sen. If only all of them were so simple.

15. Senpou Temple, Mt. Kongo - Shugendo Idol: Armored Warrior
Also tied to the main path, you'll have to face the Armored Warrior mini boss. To get there from the Shugendo Idol, grapple your way to the first tree you see. Get to the other side and stick to the wooden stairs. Beware of an enemy right around the corner (although you can just jump on it).
Make a double jump and lift yourself from the ledge. Jump once more to the rock, and repeat the process until you're finally on the flat surface. Grapple your way above and you'll end up in a long closed bridge. There's the Armored Warrior encounter, which will grant you another Prayer Bead for the collection.
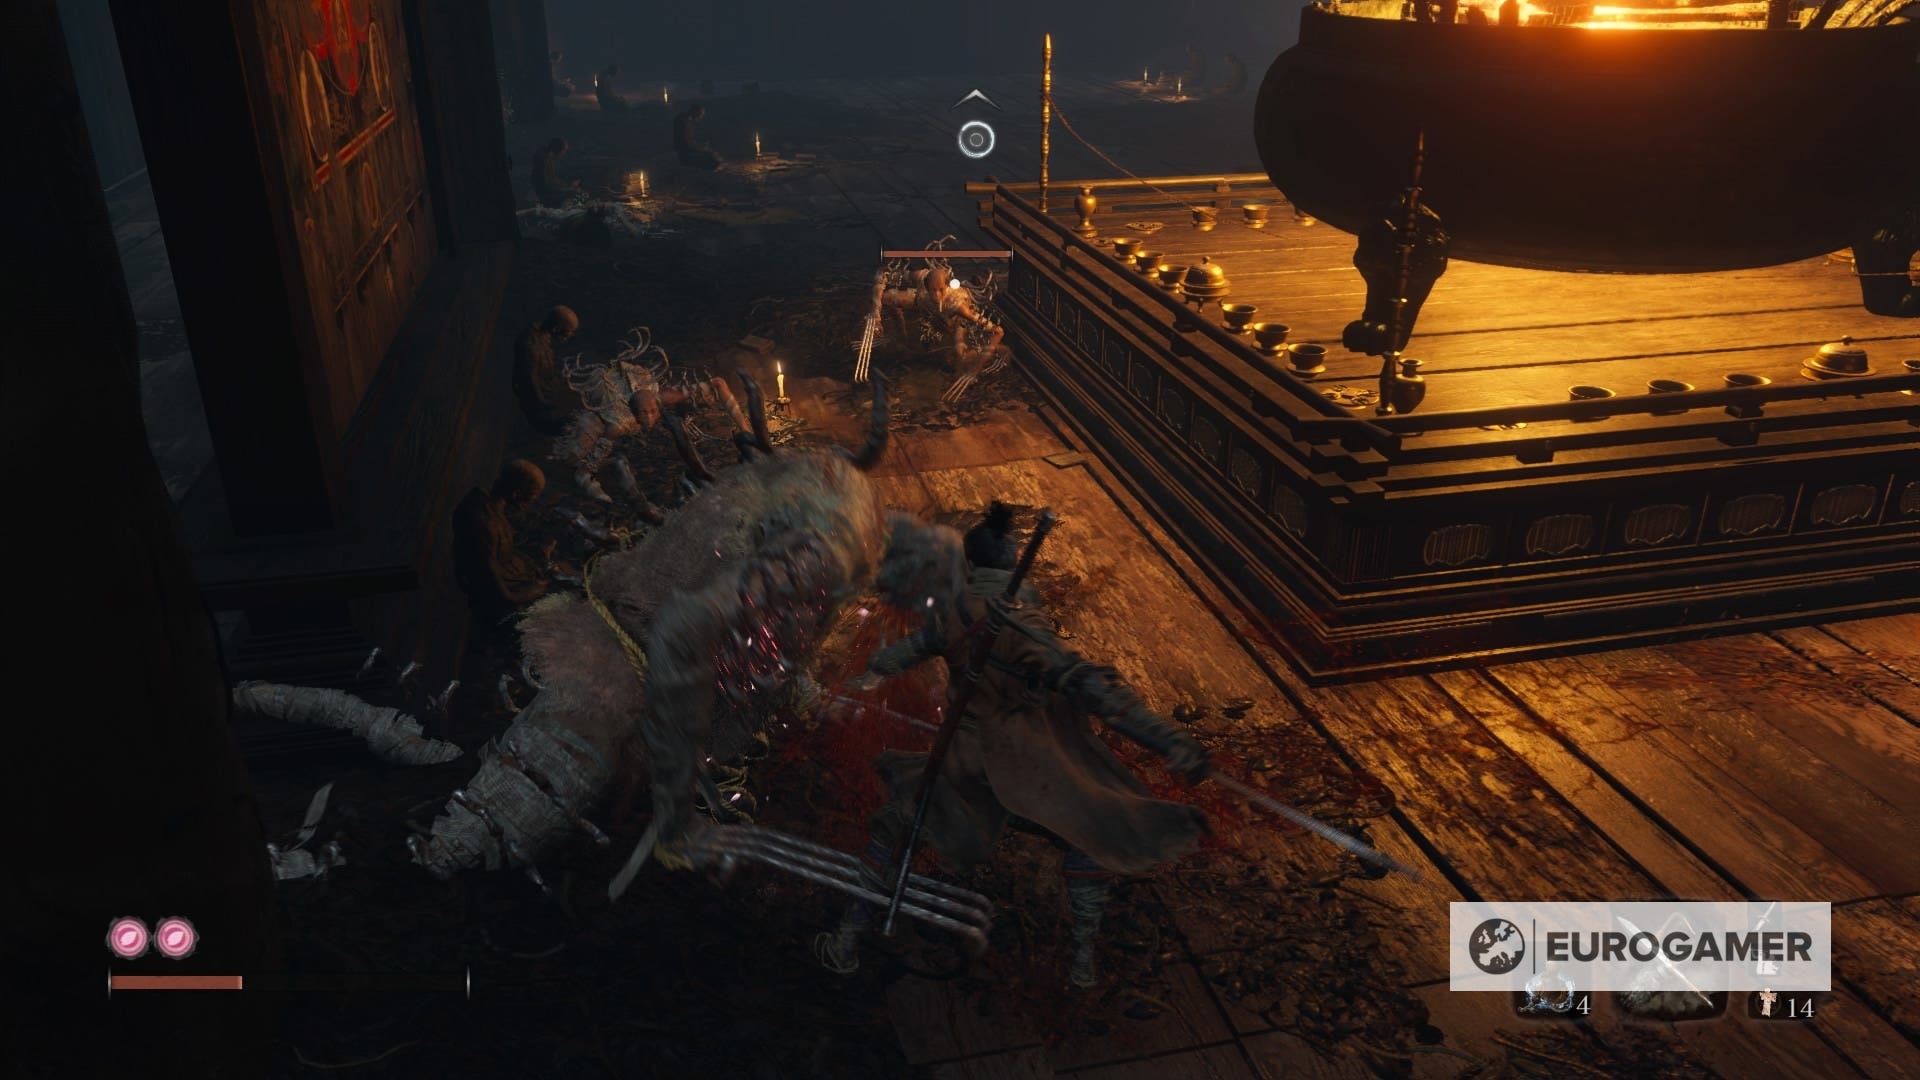
16. Senpou Temple, Mt. Kongo - Temple Grounds Idol: Long-Arm Gentipede Sen'un
Next up is another mini boss, the Long-arm Gentipede Sen'un, but there's a way to gain advantage as well. From the Idol, make your way grappling and jumping on the rooftops. Ignore all the monks and get past the big building. Continue through the rooftop and focus on getting inside a house on the right.
Don't get ahead of yourself just yet. You can enter from a hole within, but make sure to not land on the ground floor for now, since there are centipedes who will make the fight way harder. Plus, you can use this opportunity to jump above Sen'un for that sweet first deathblow. Finish the job, and you'll obtain a Prayer Bead.
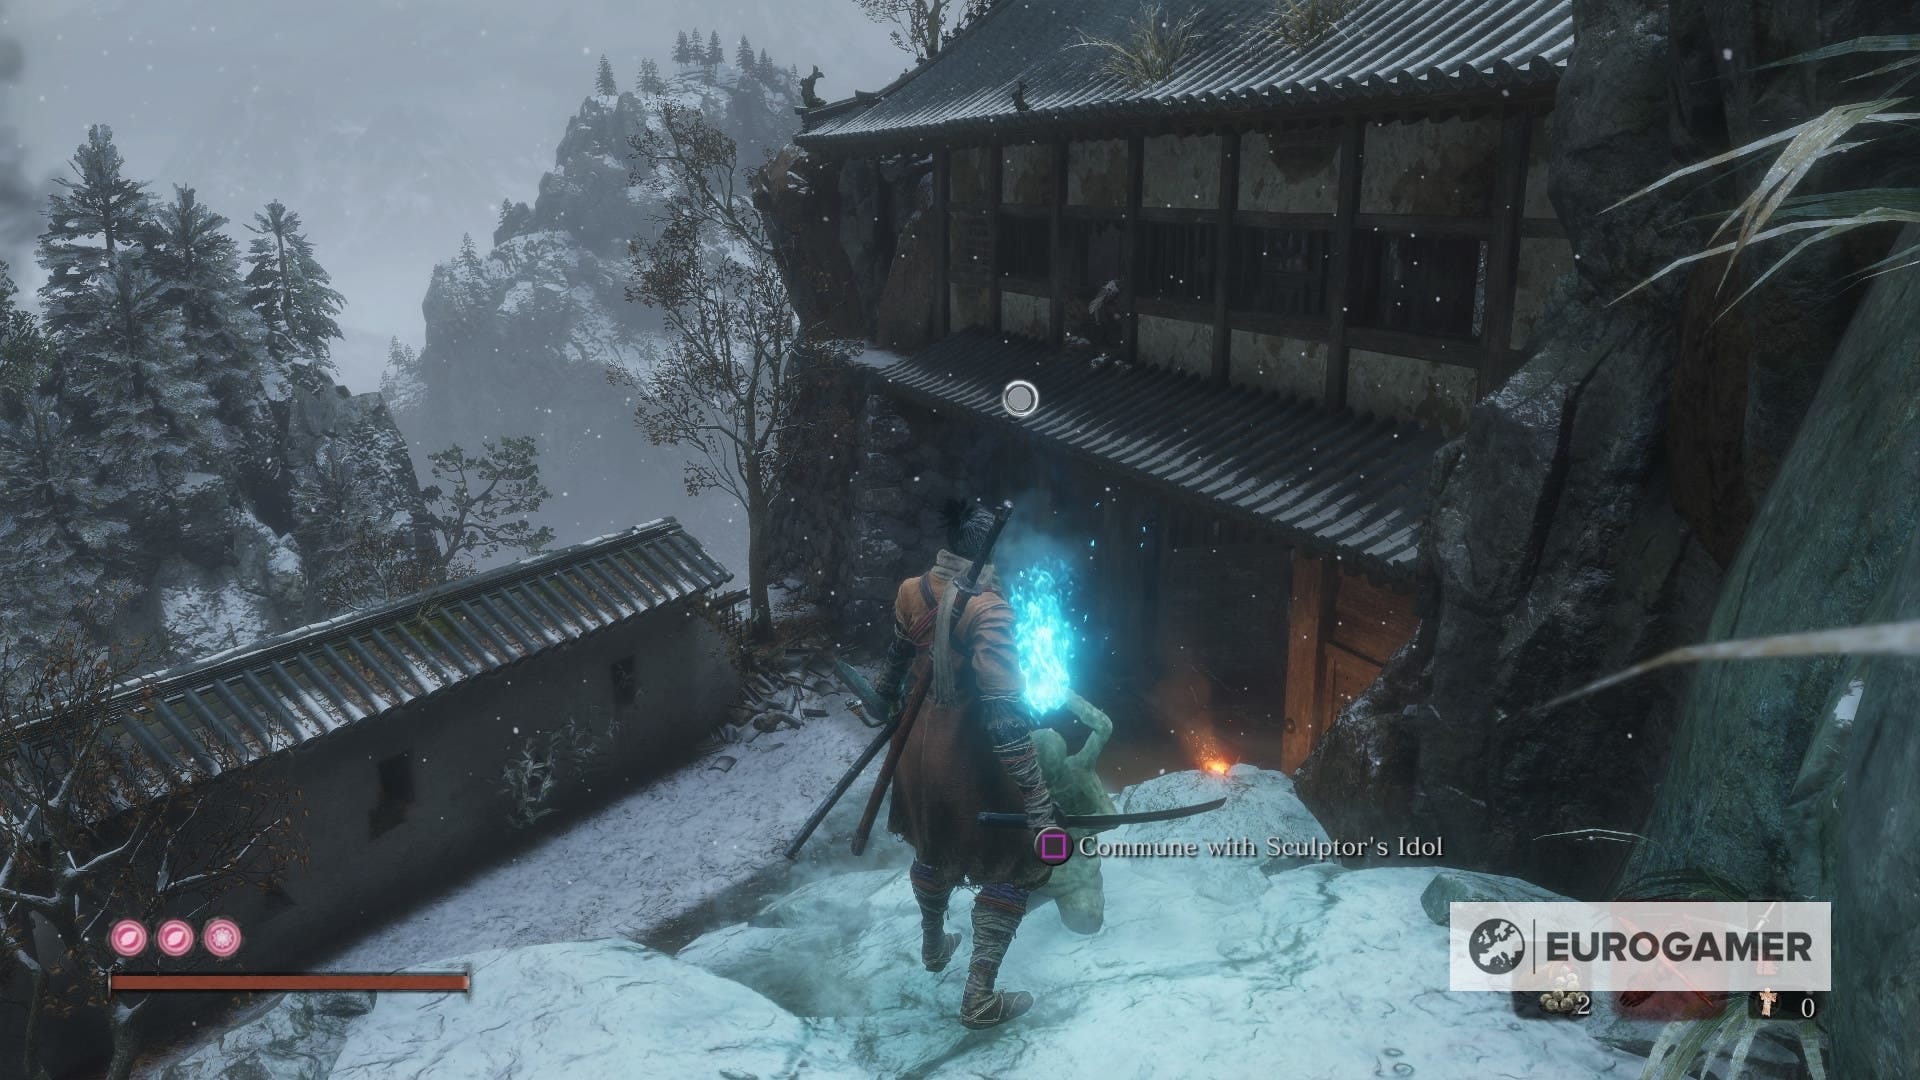
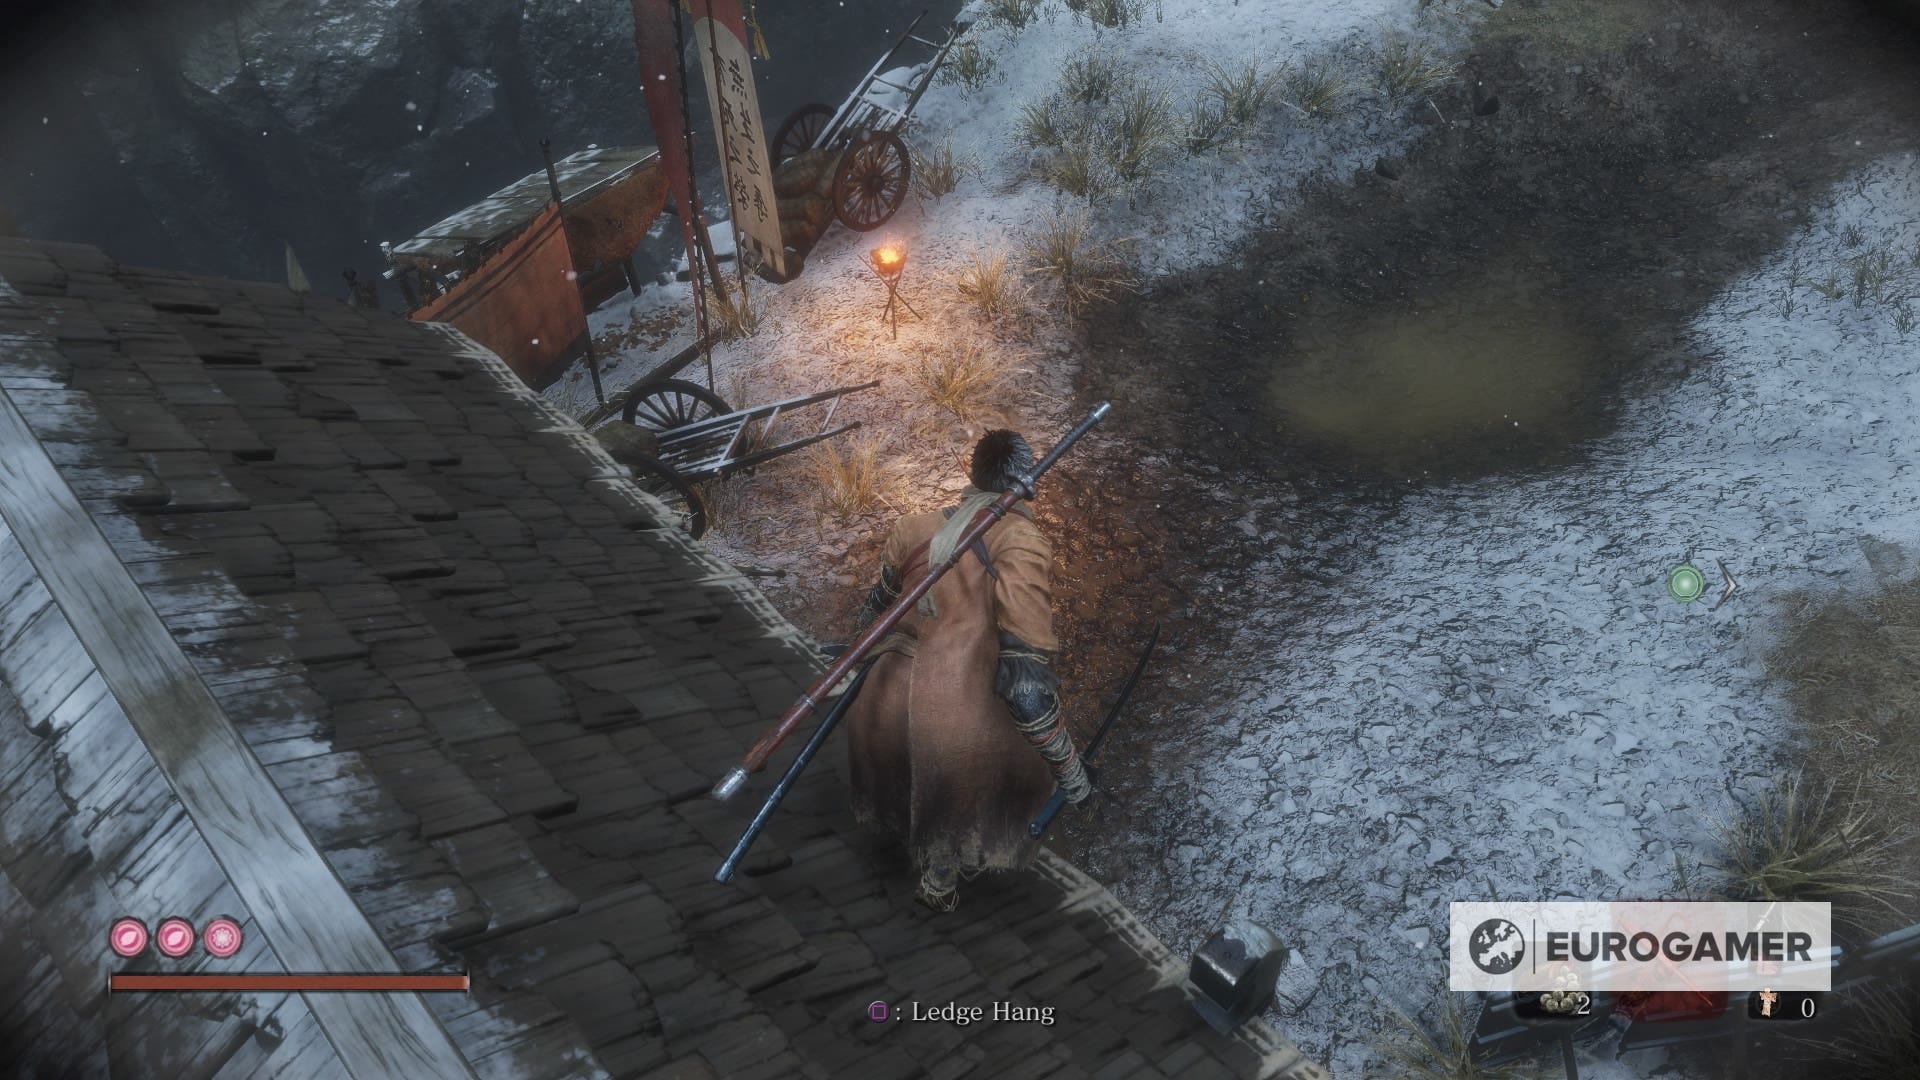
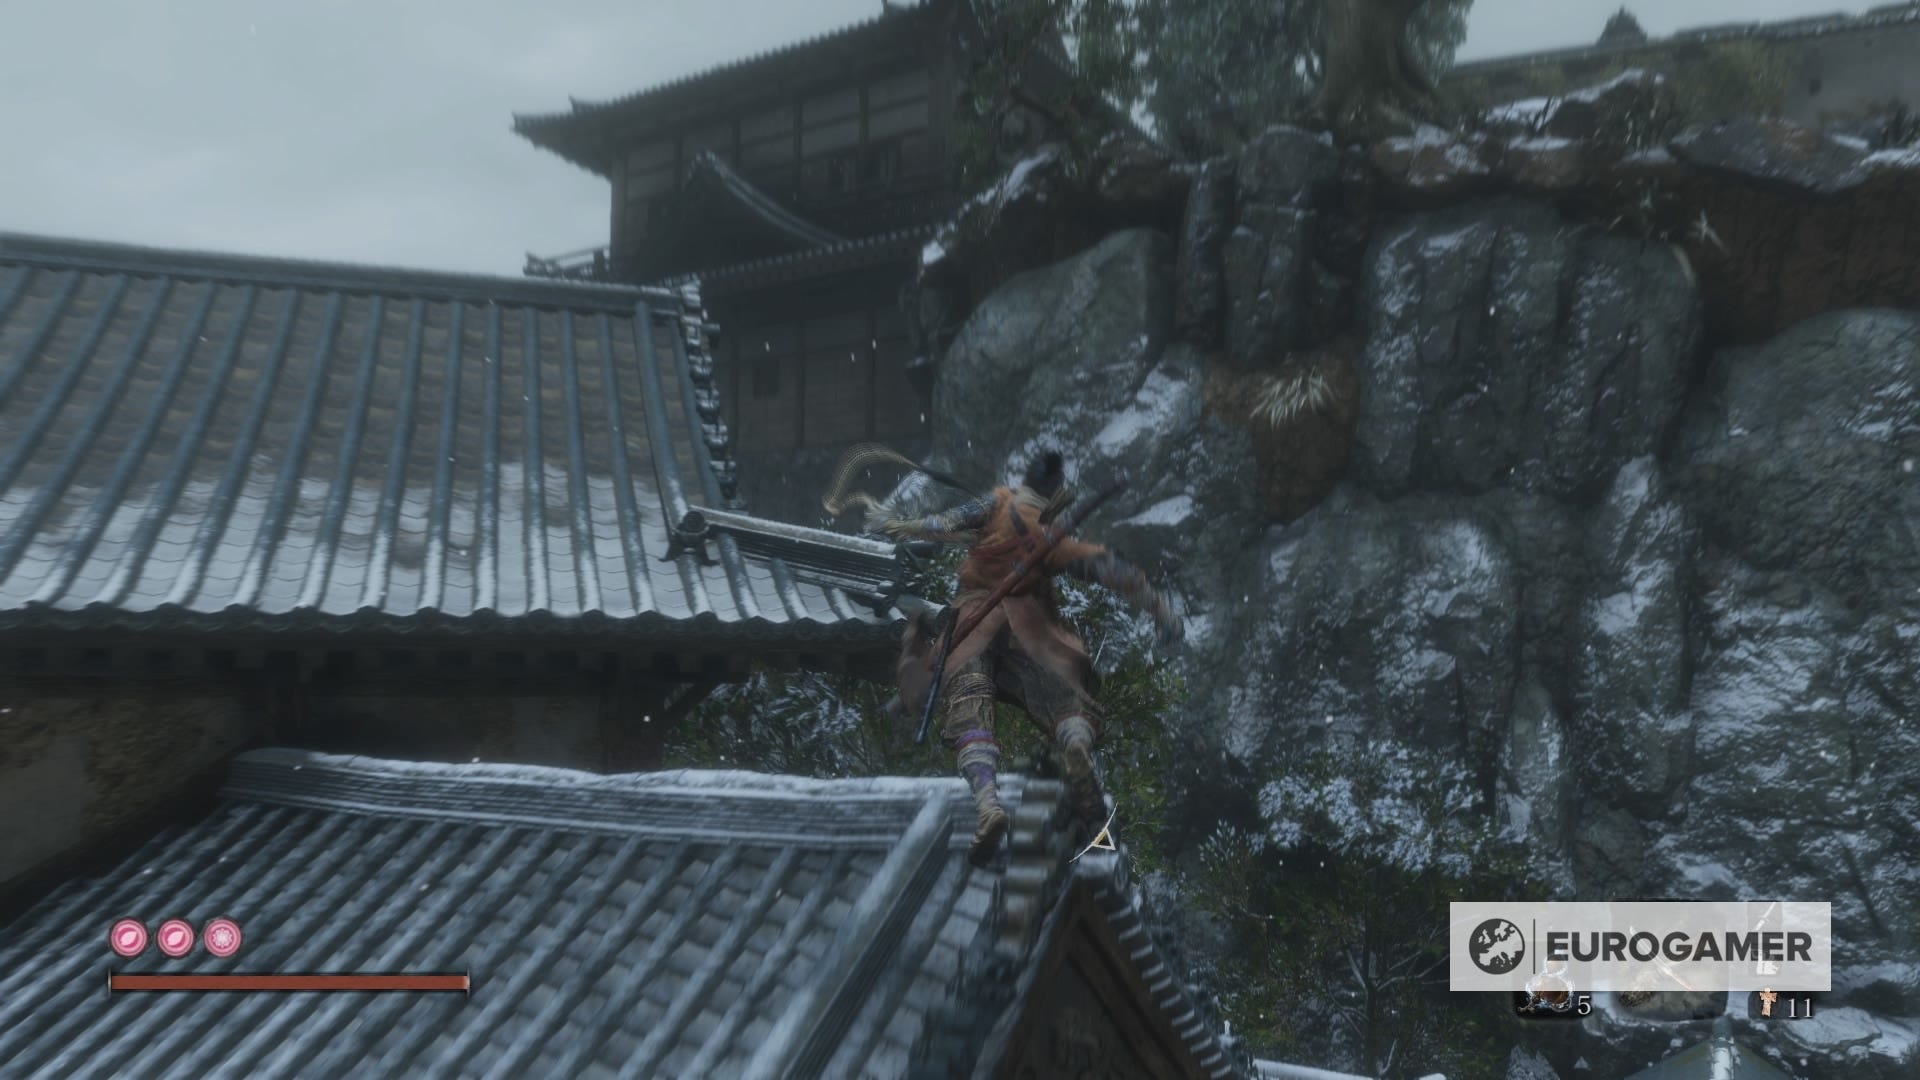
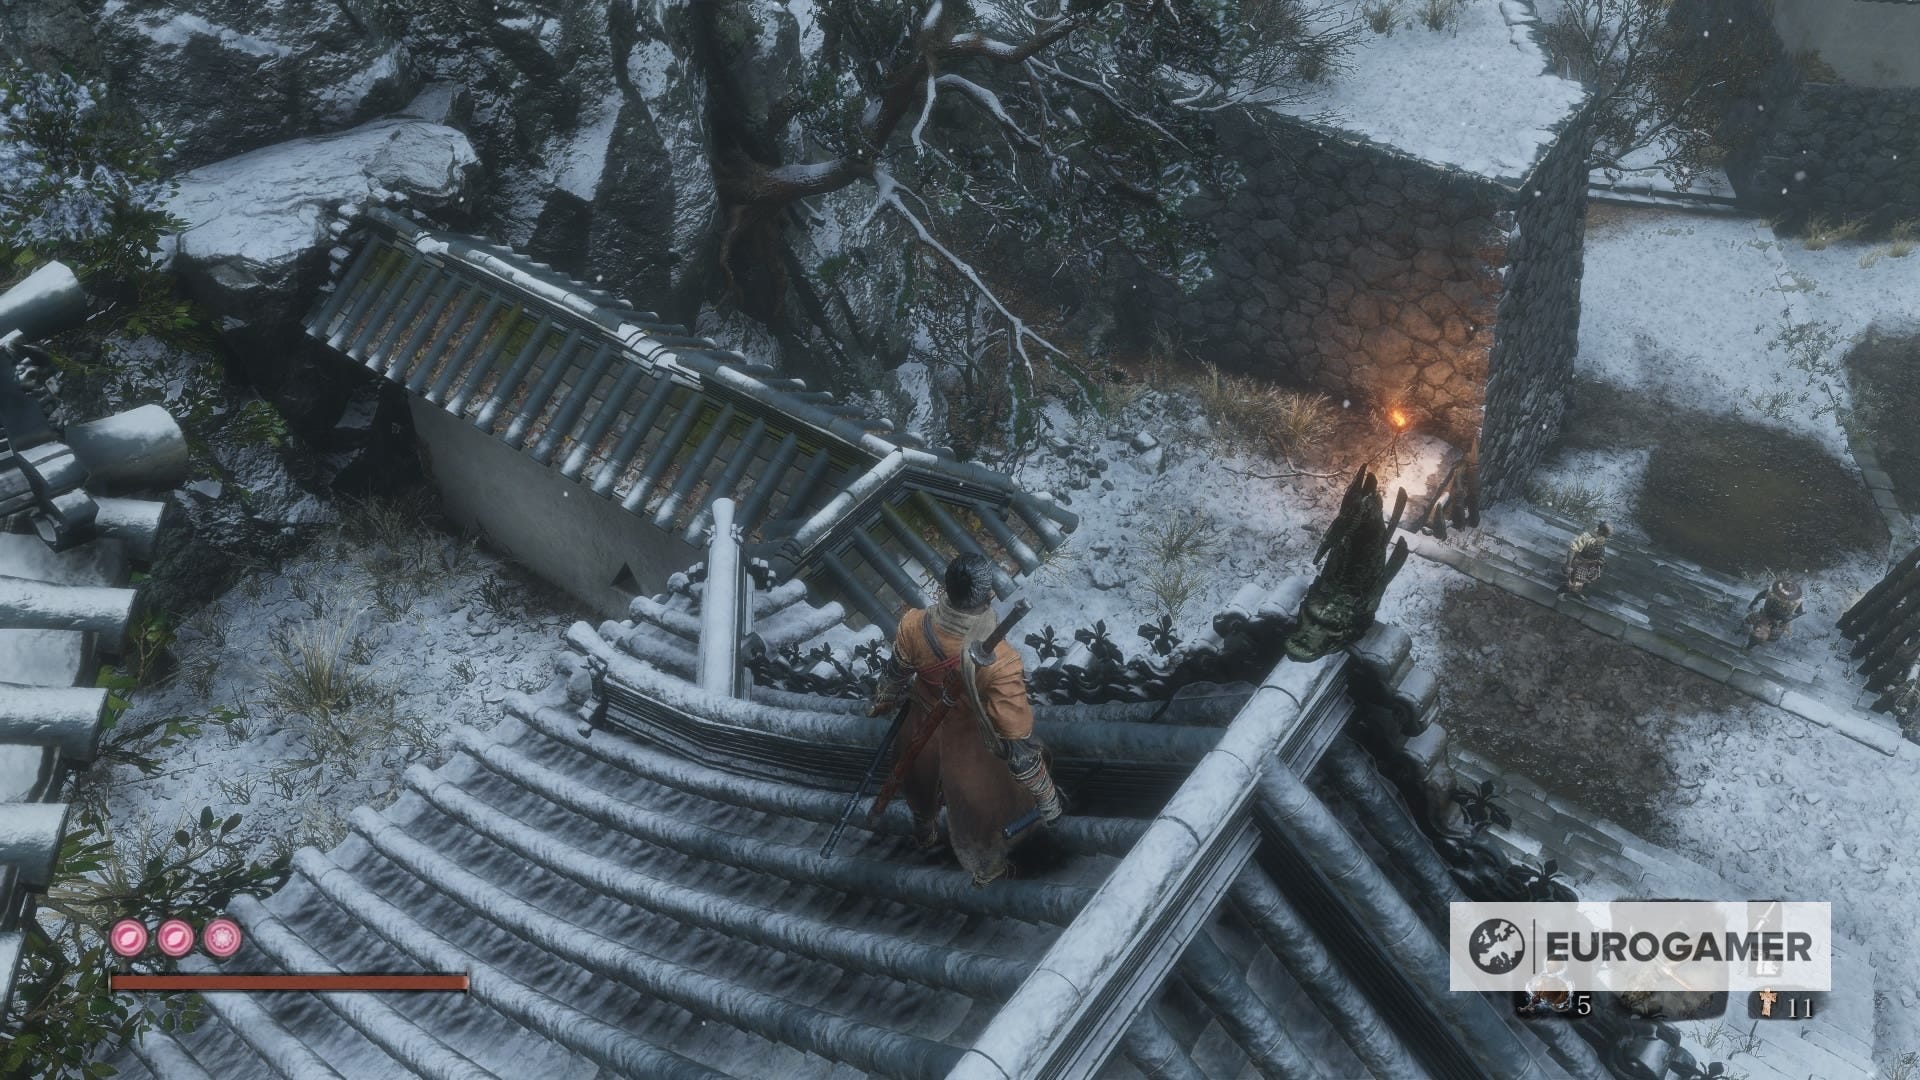
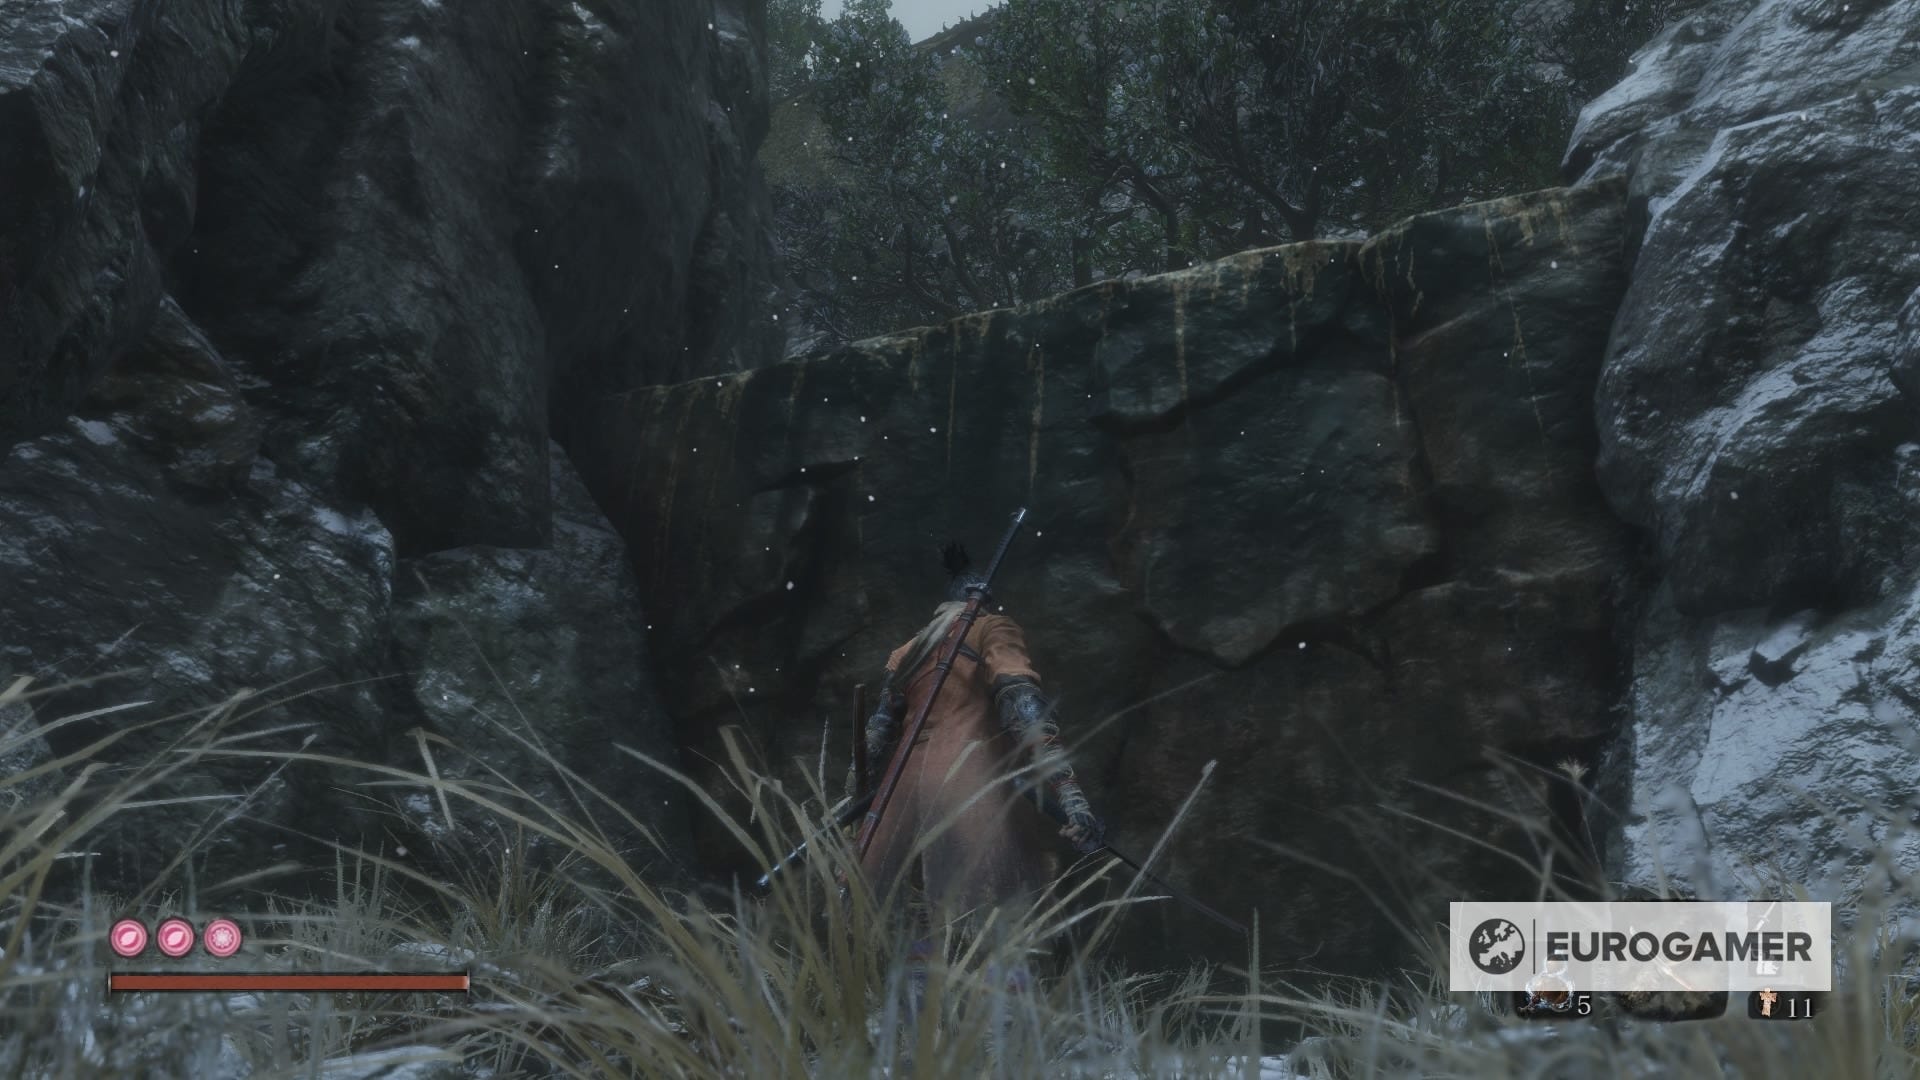
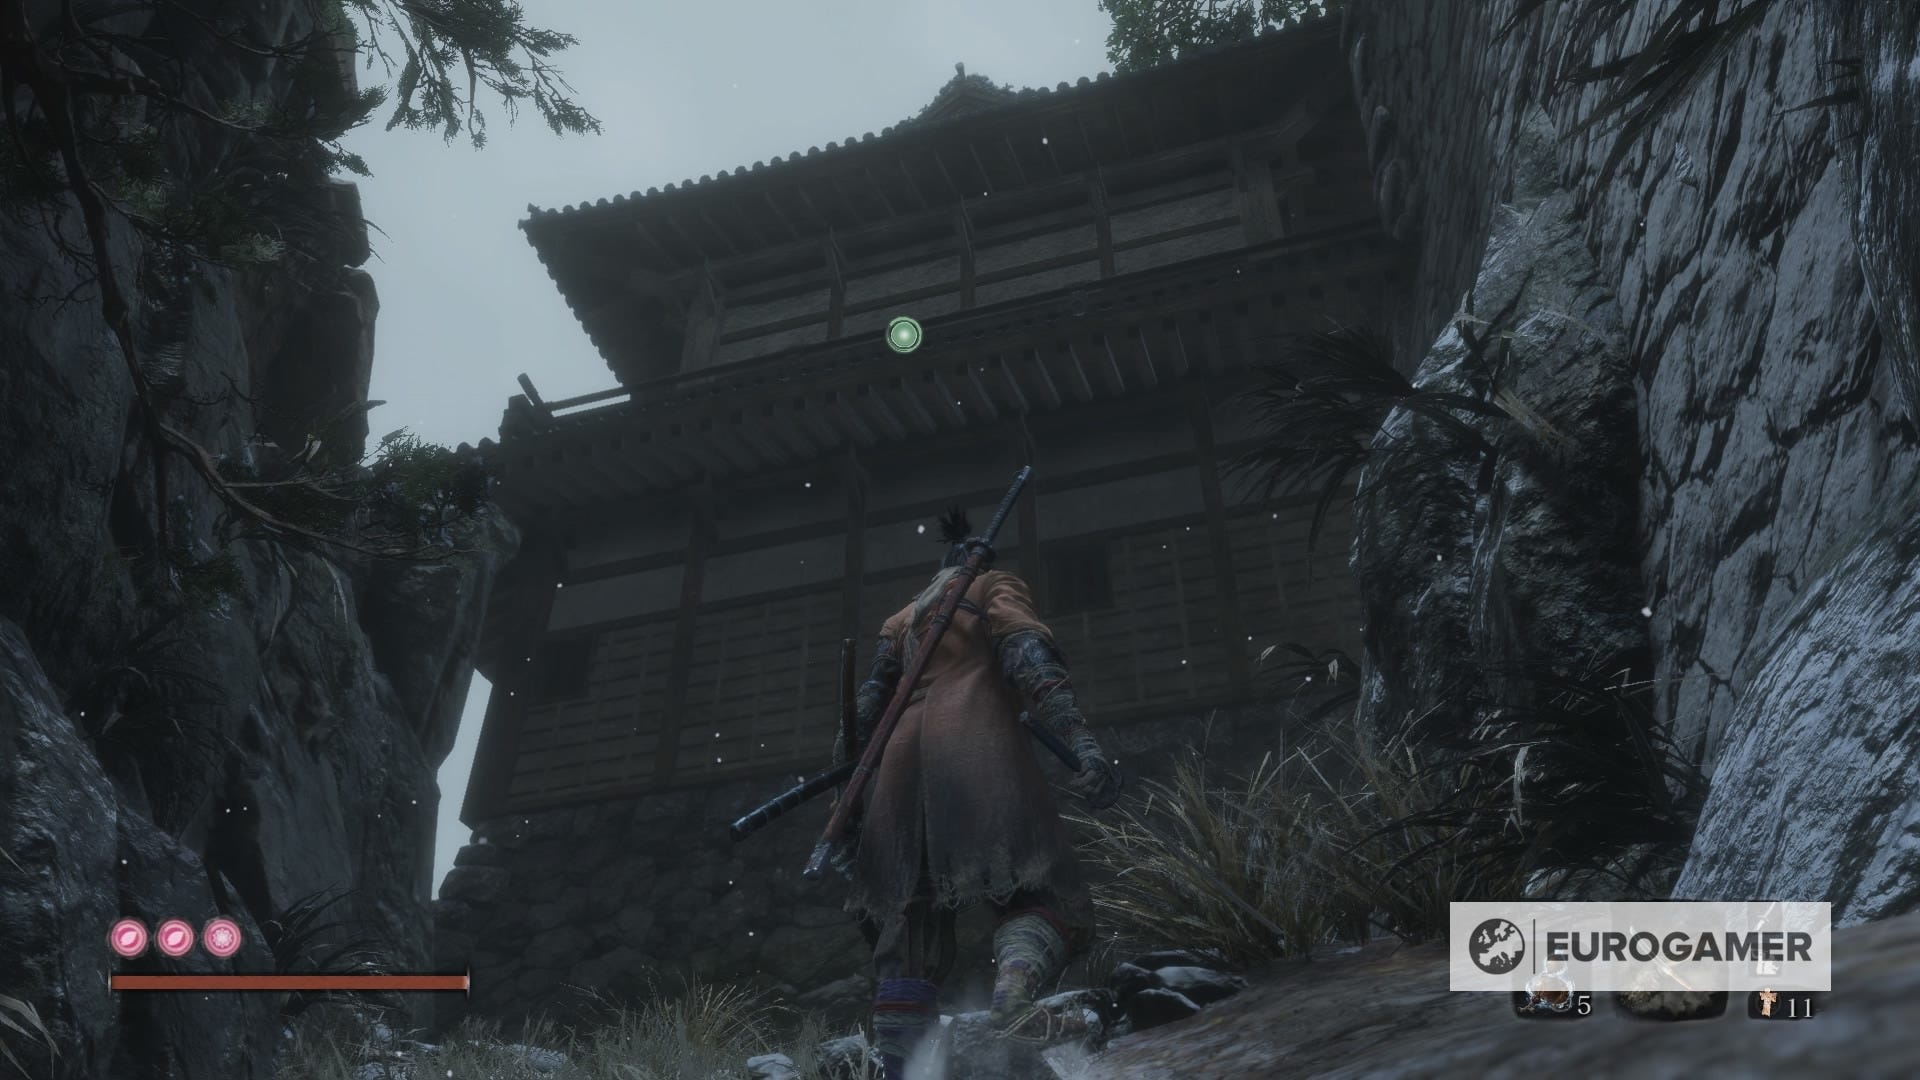
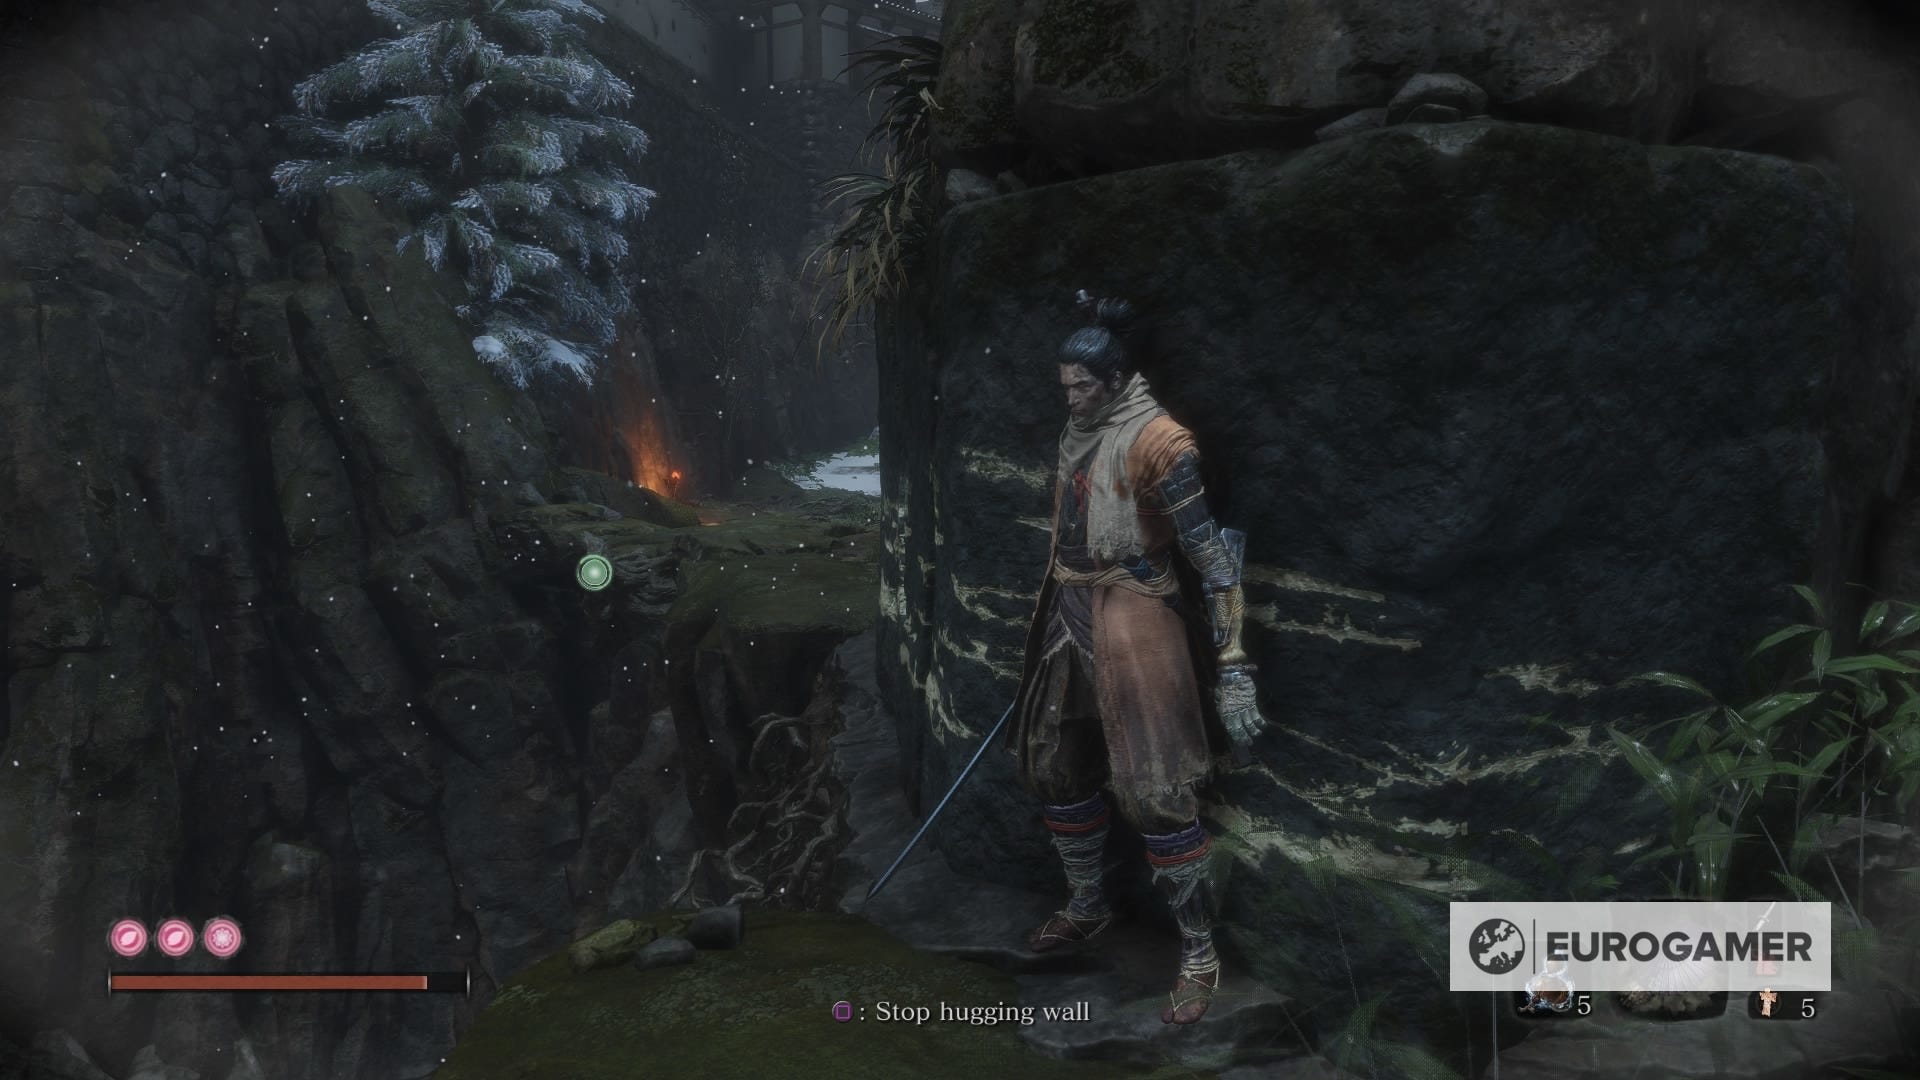
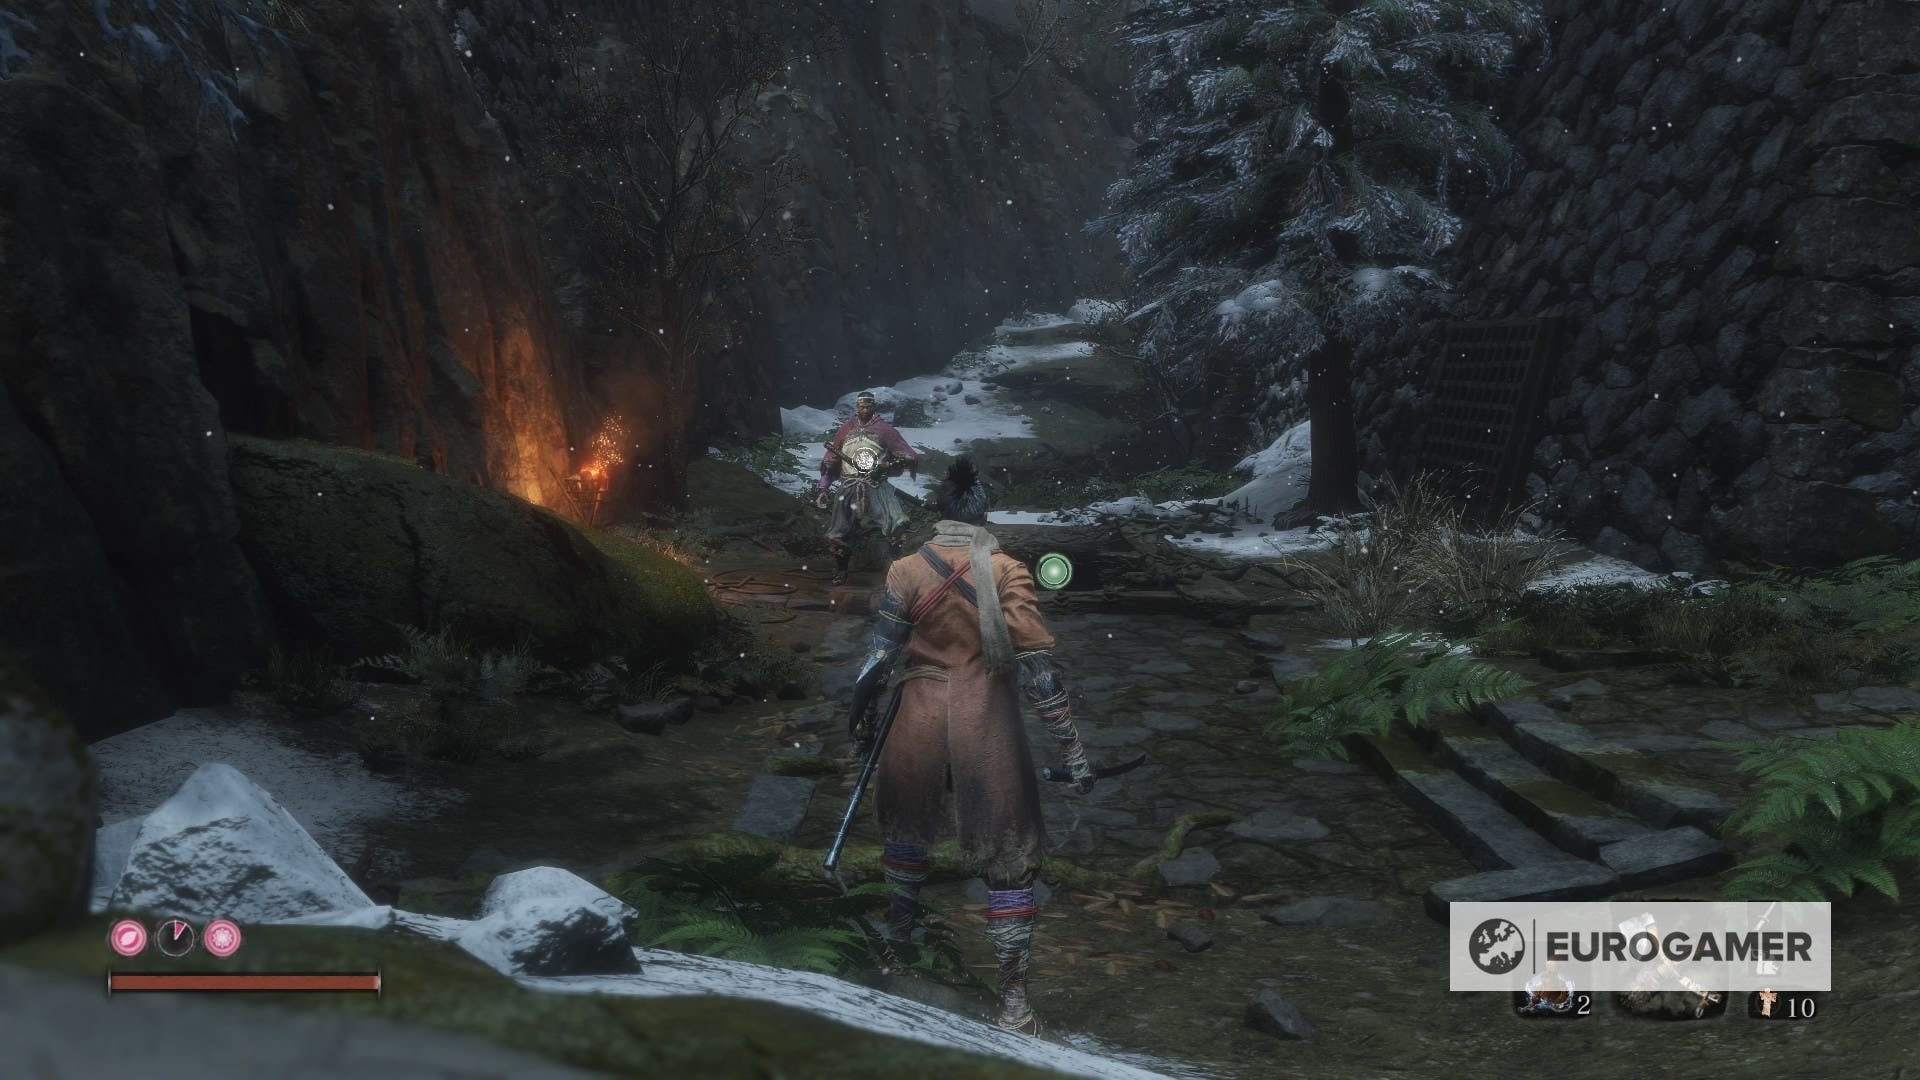
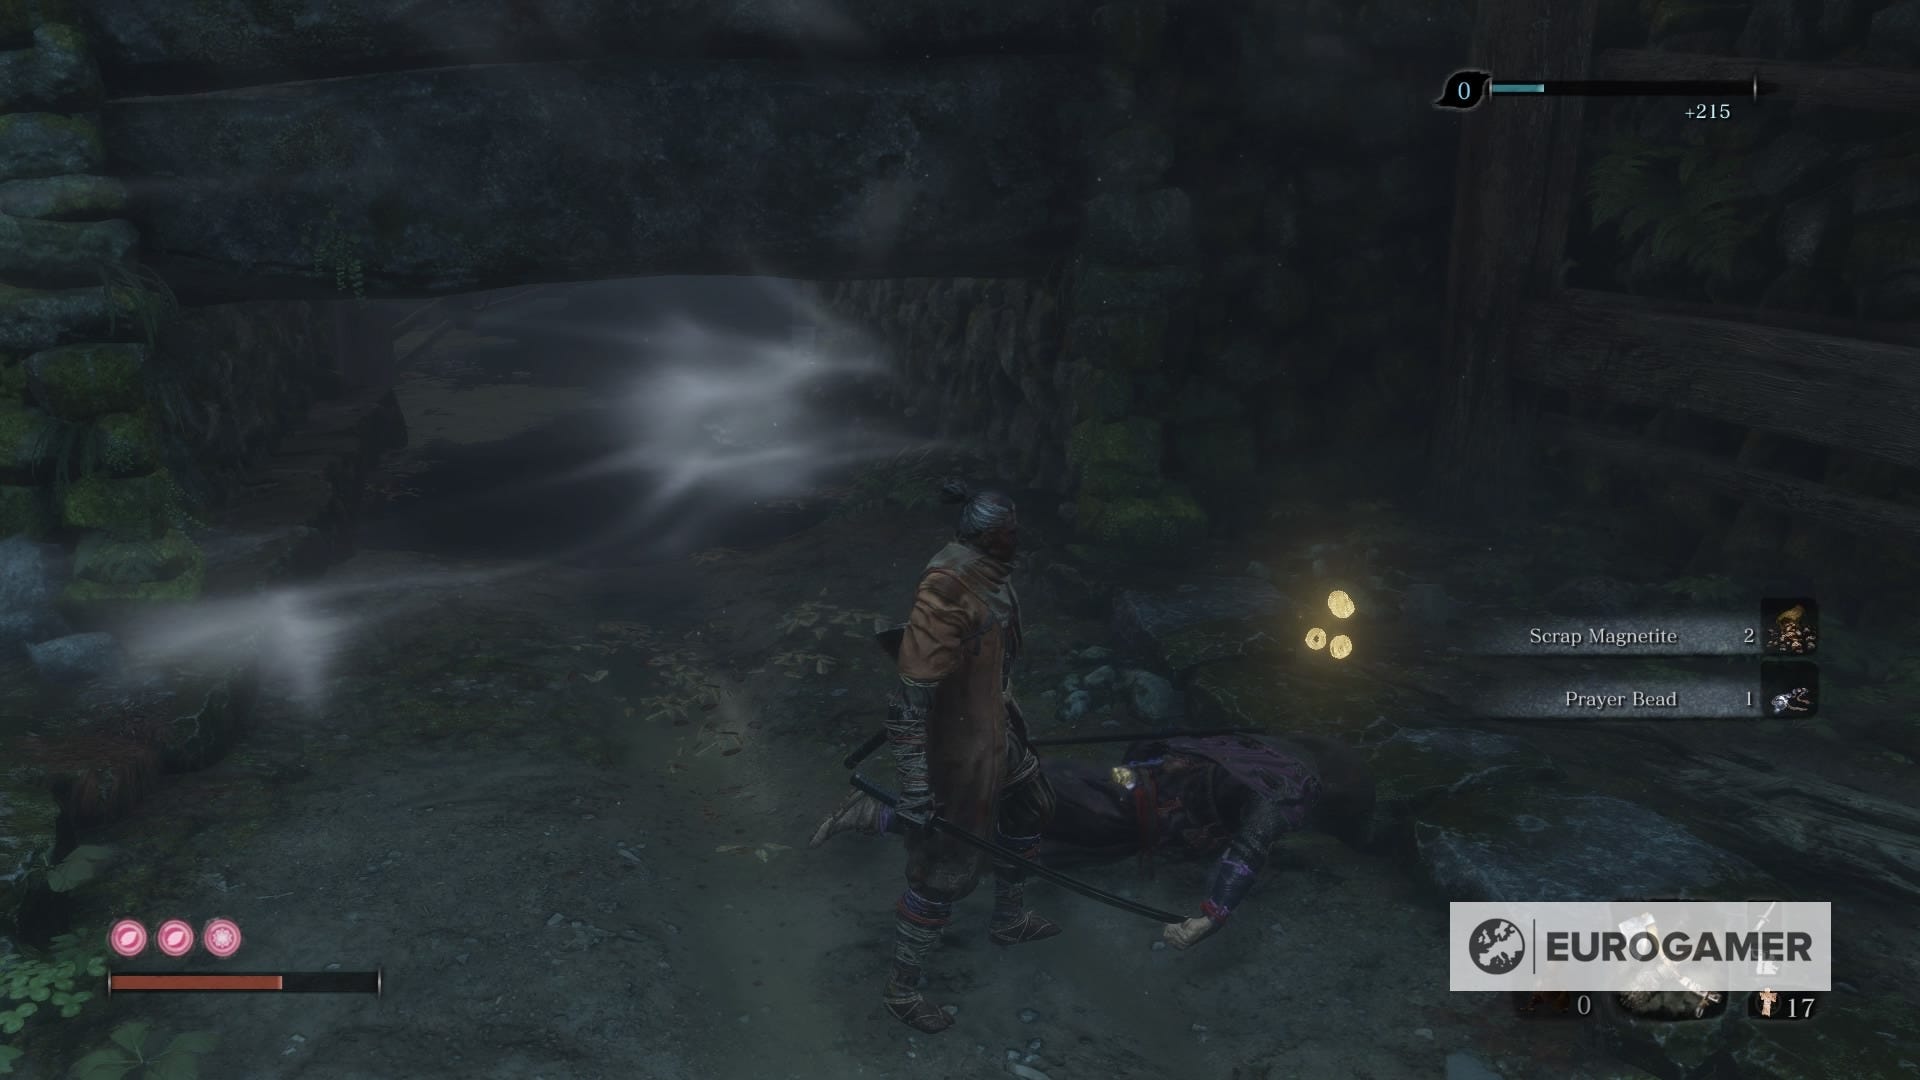
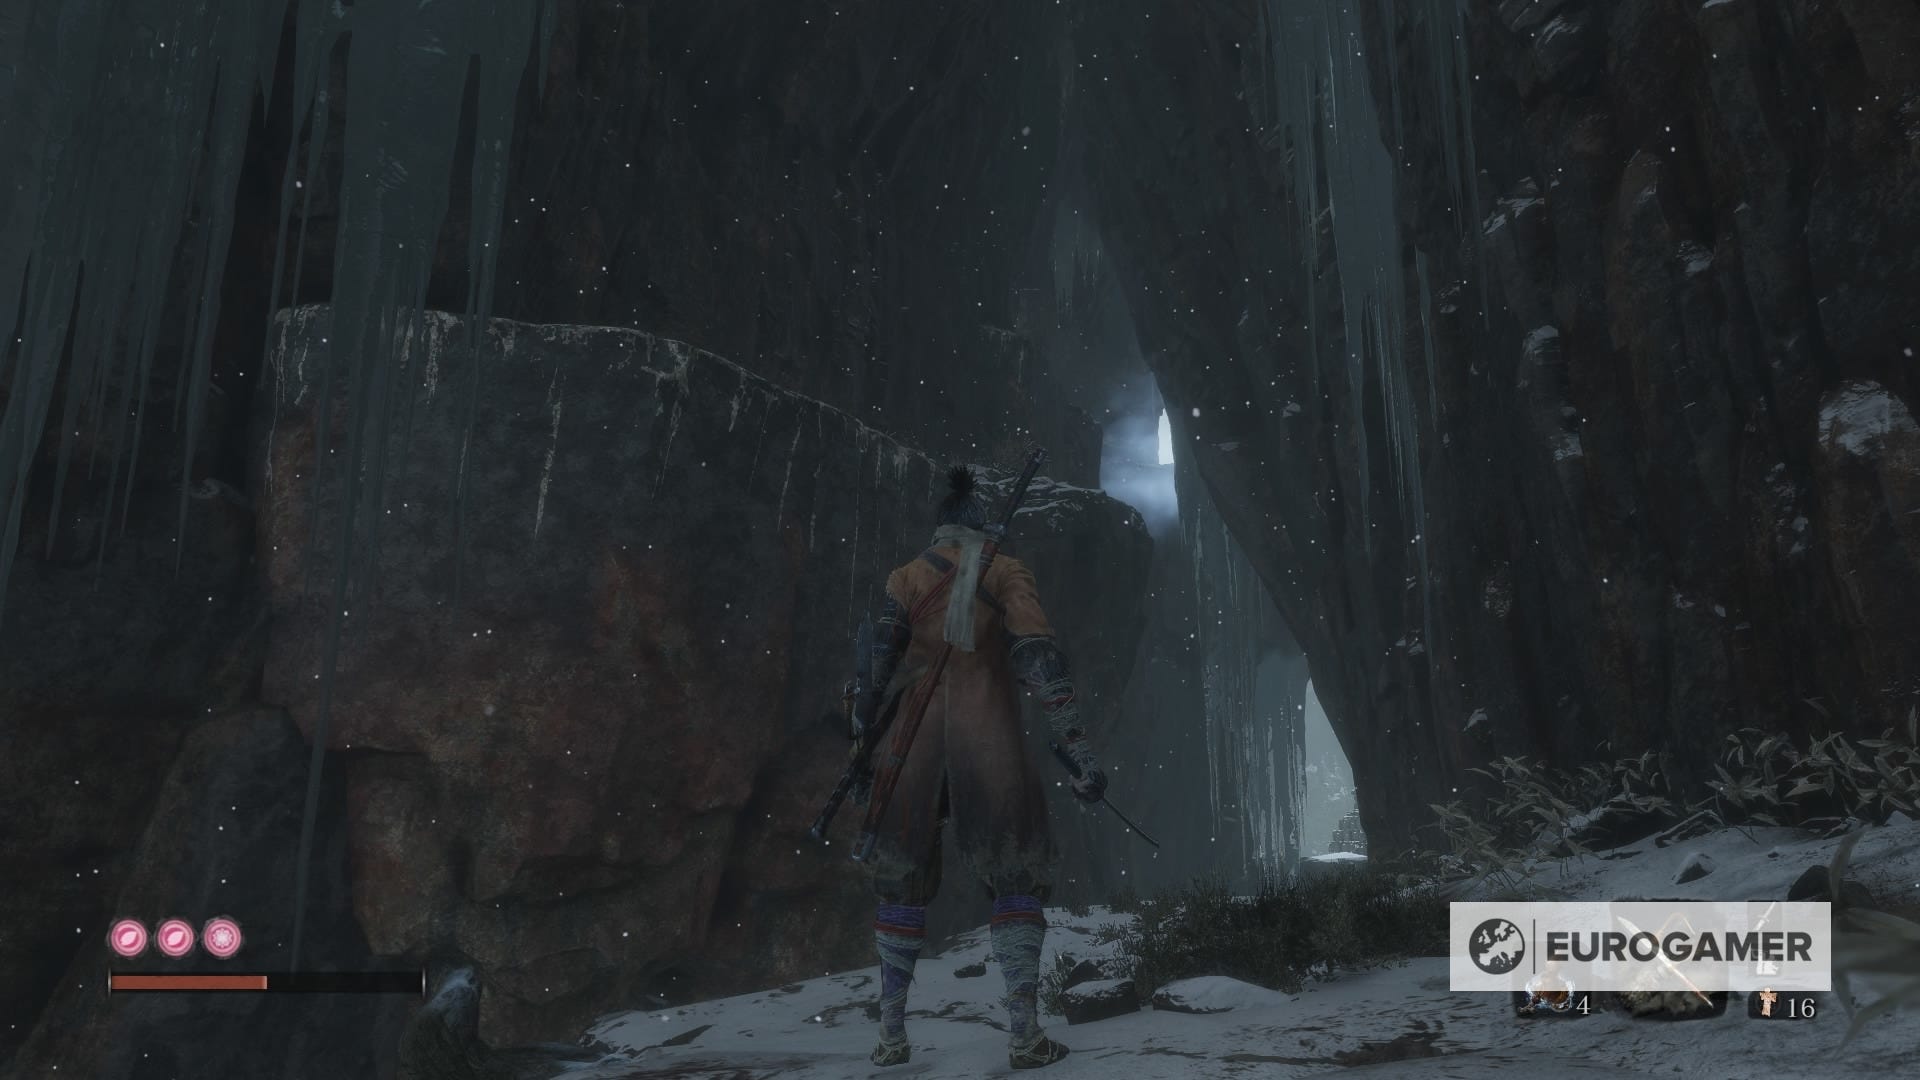
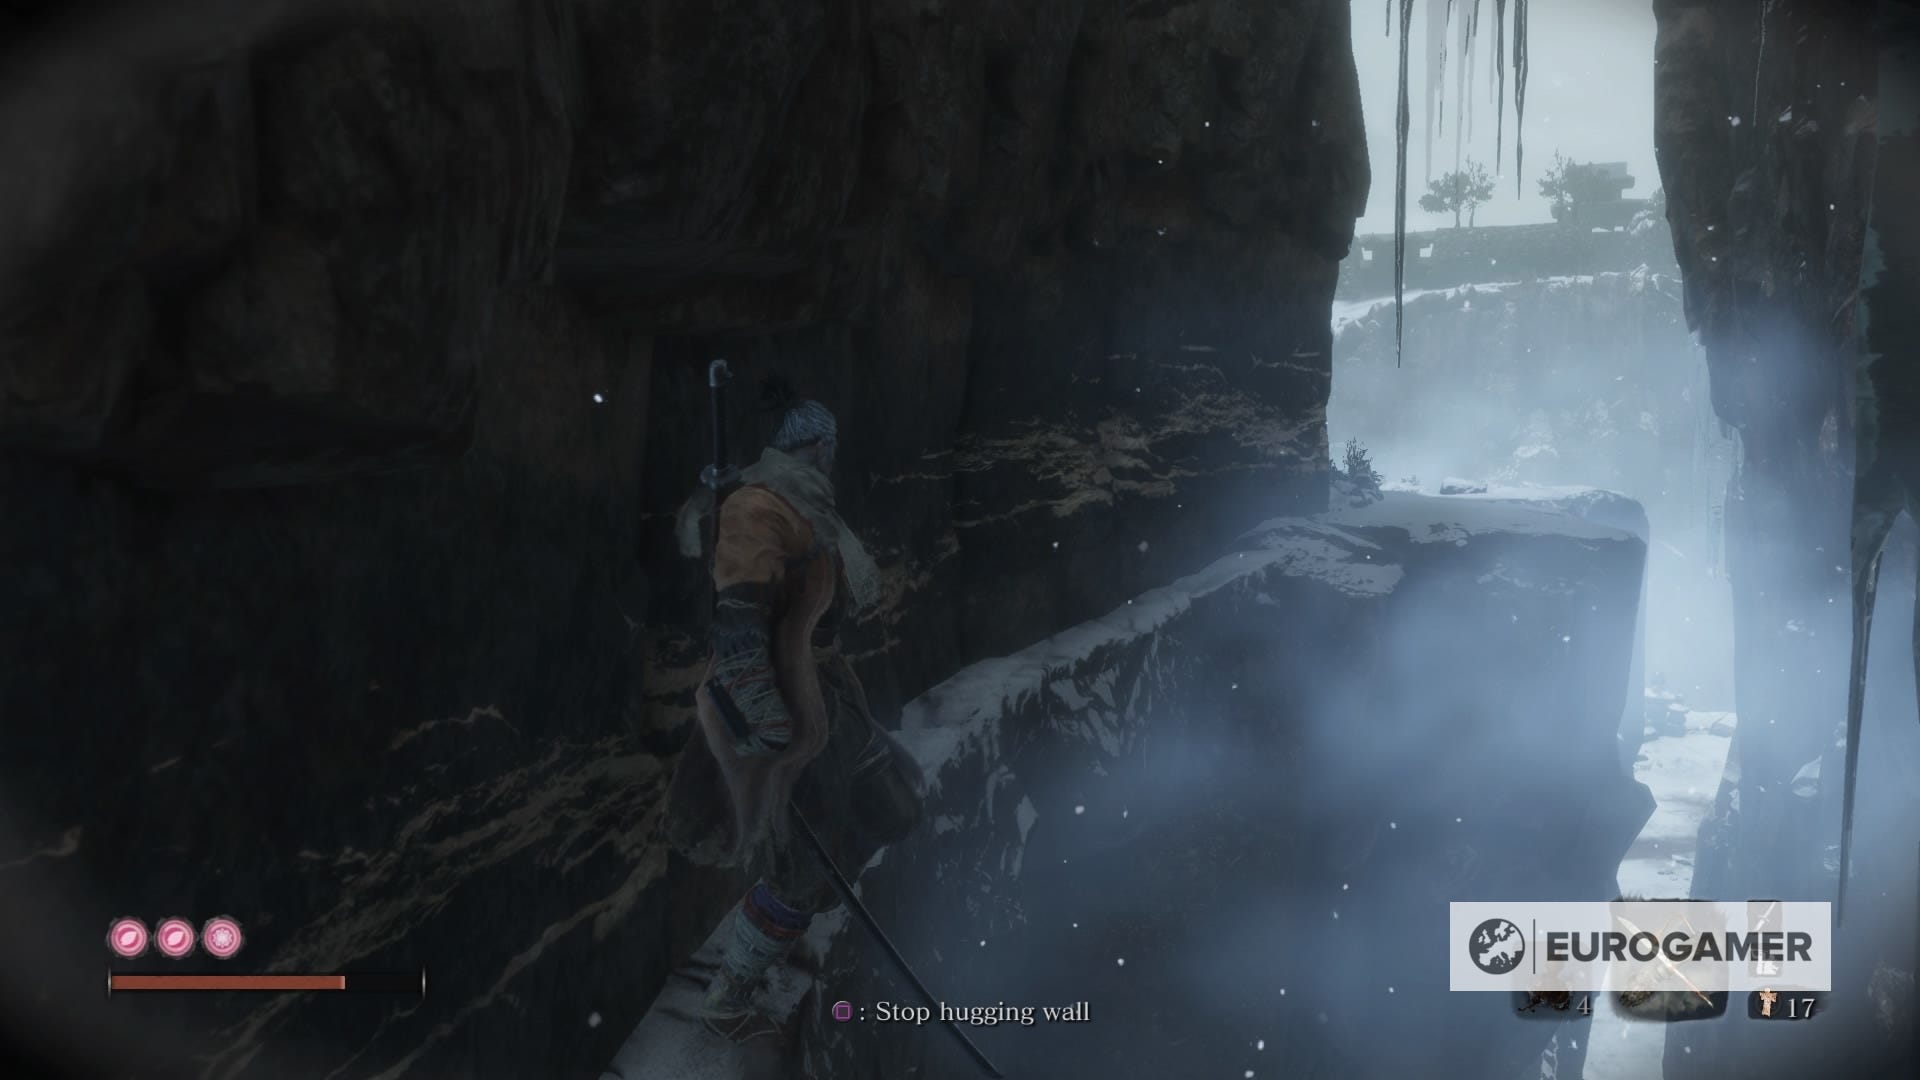
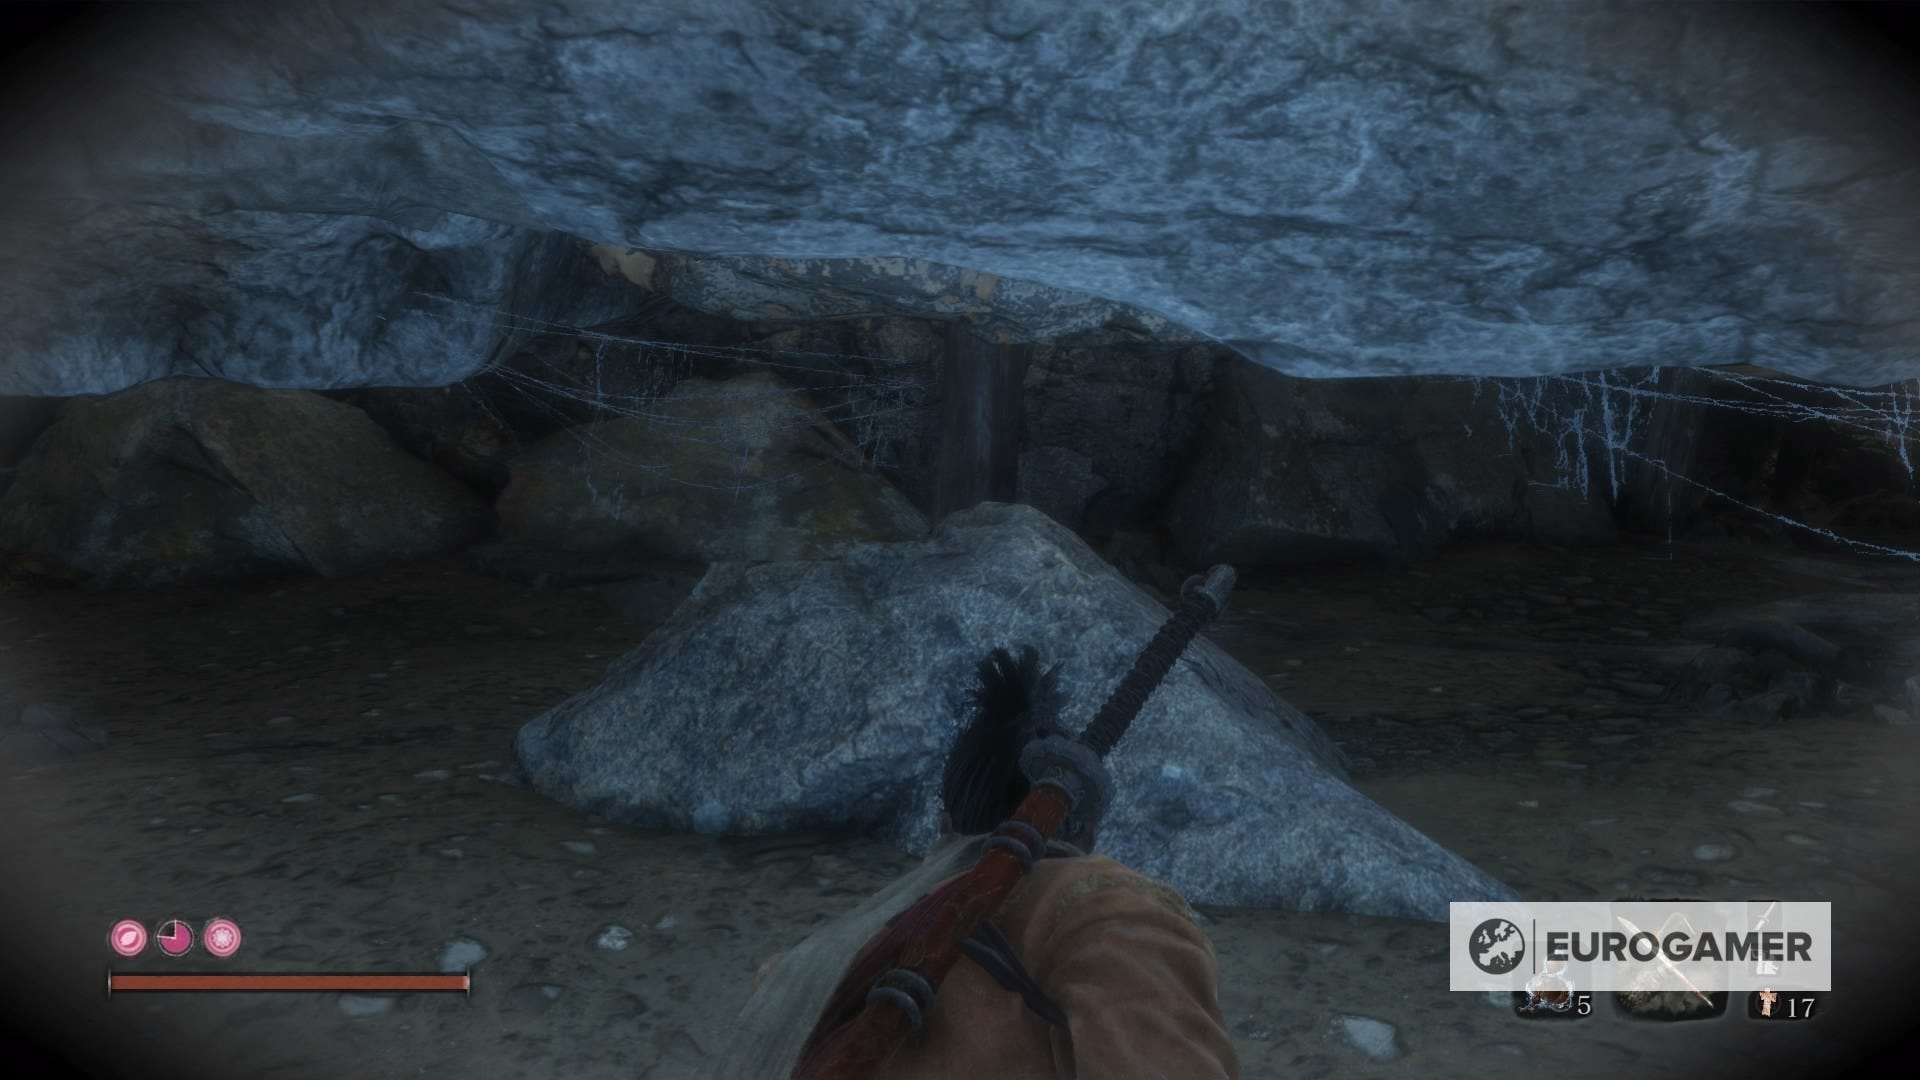
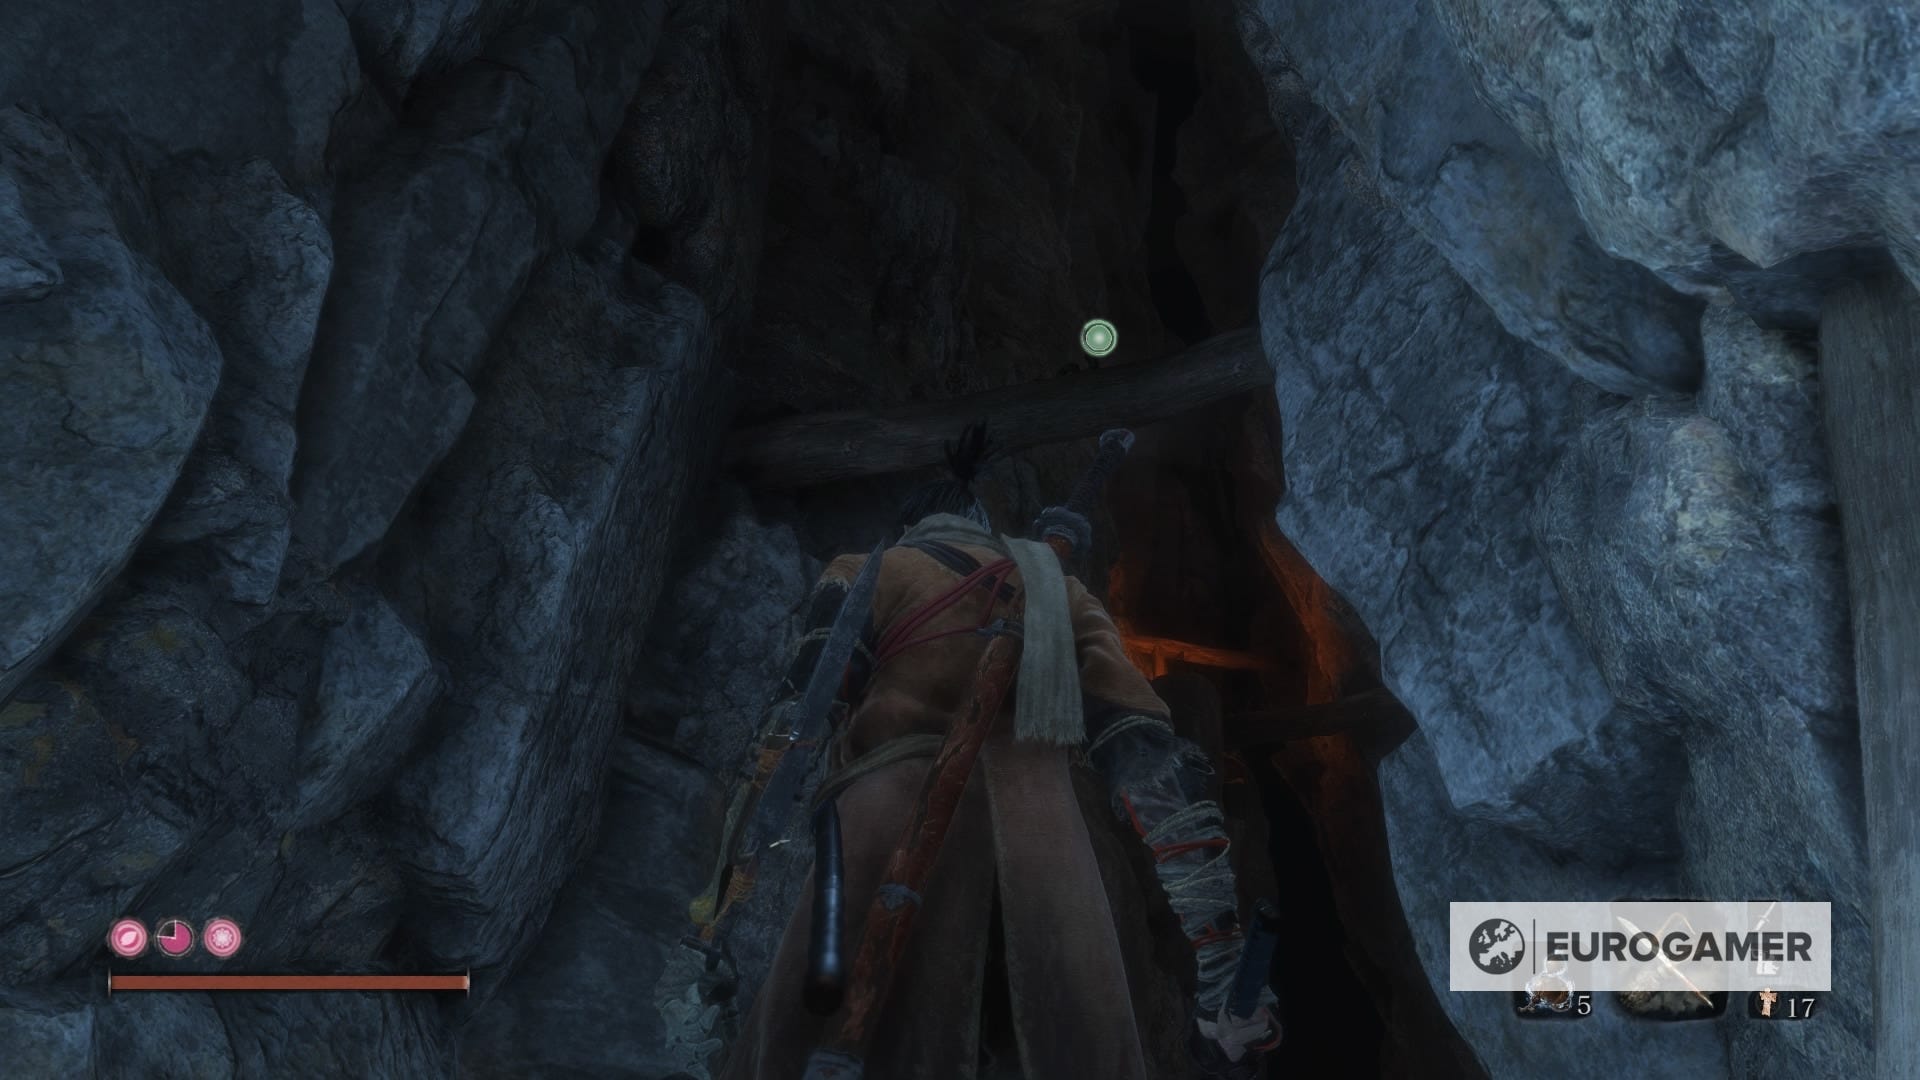
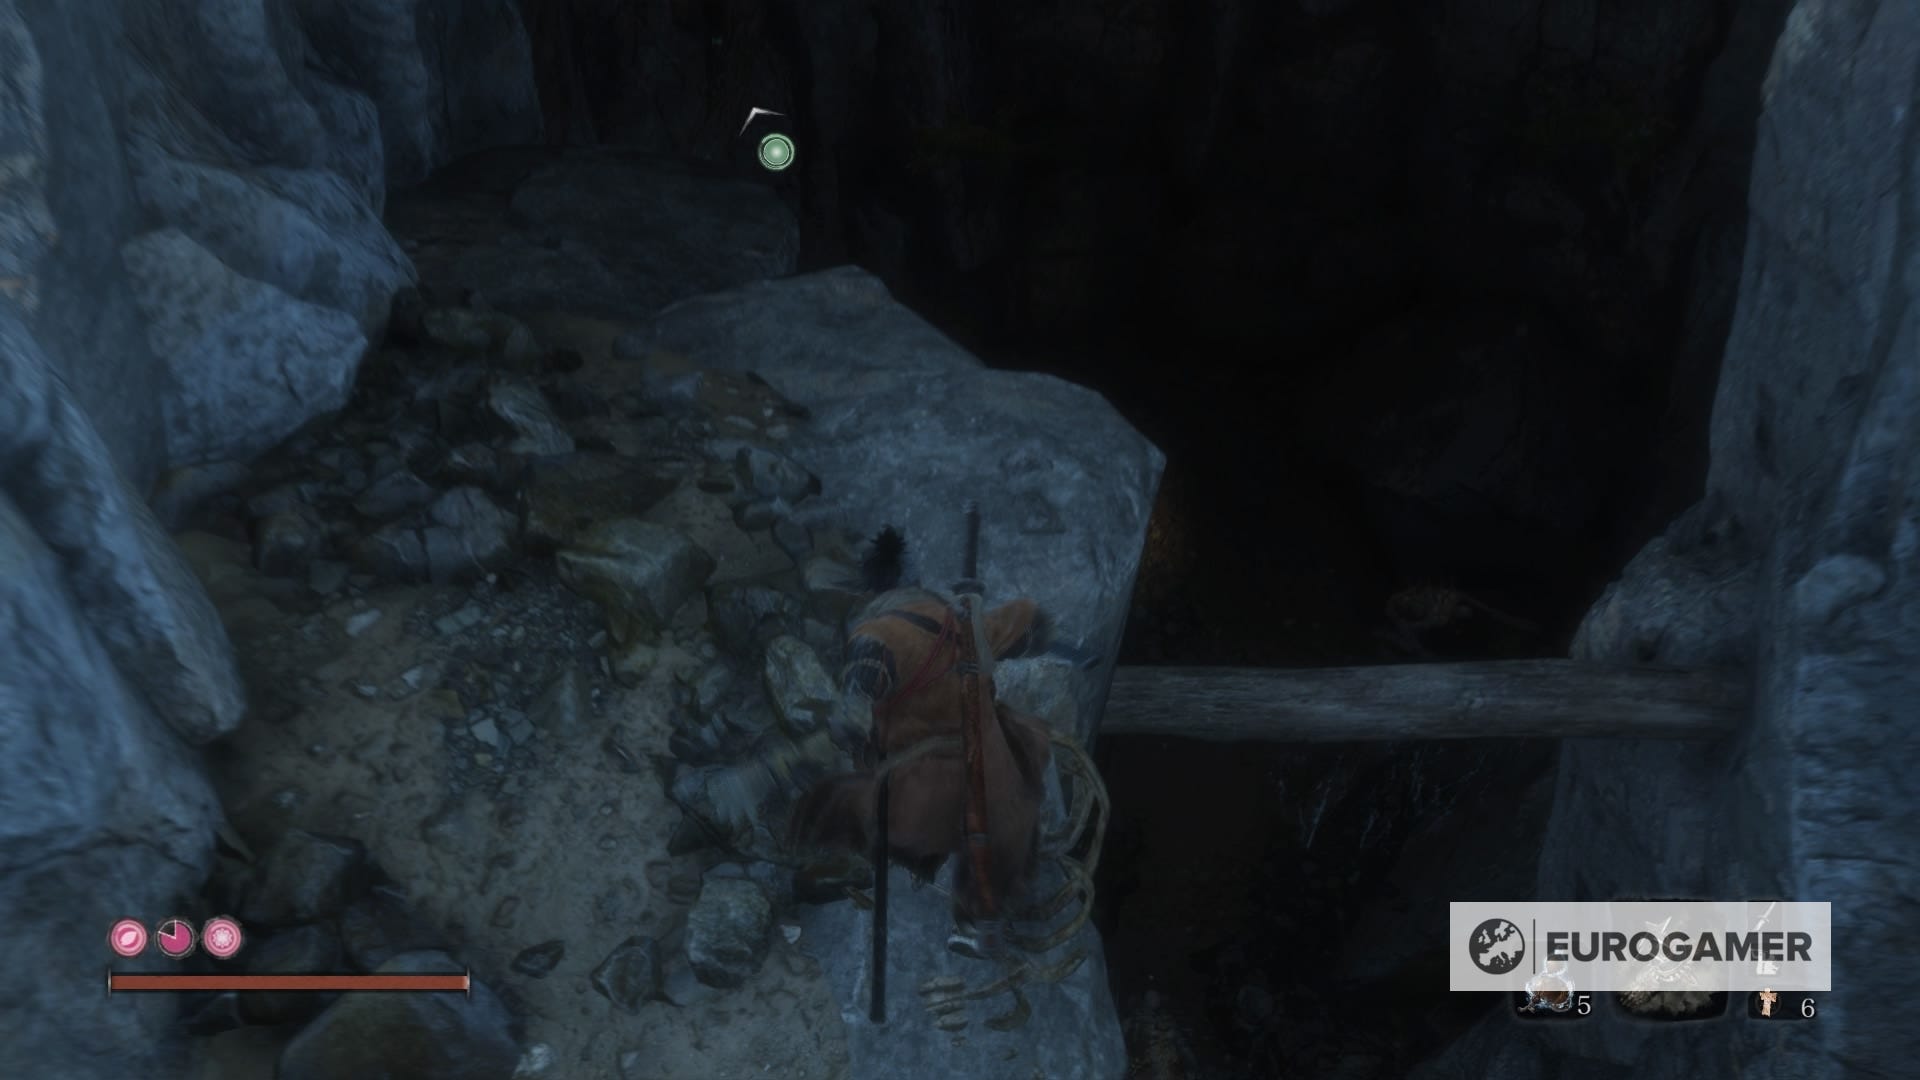
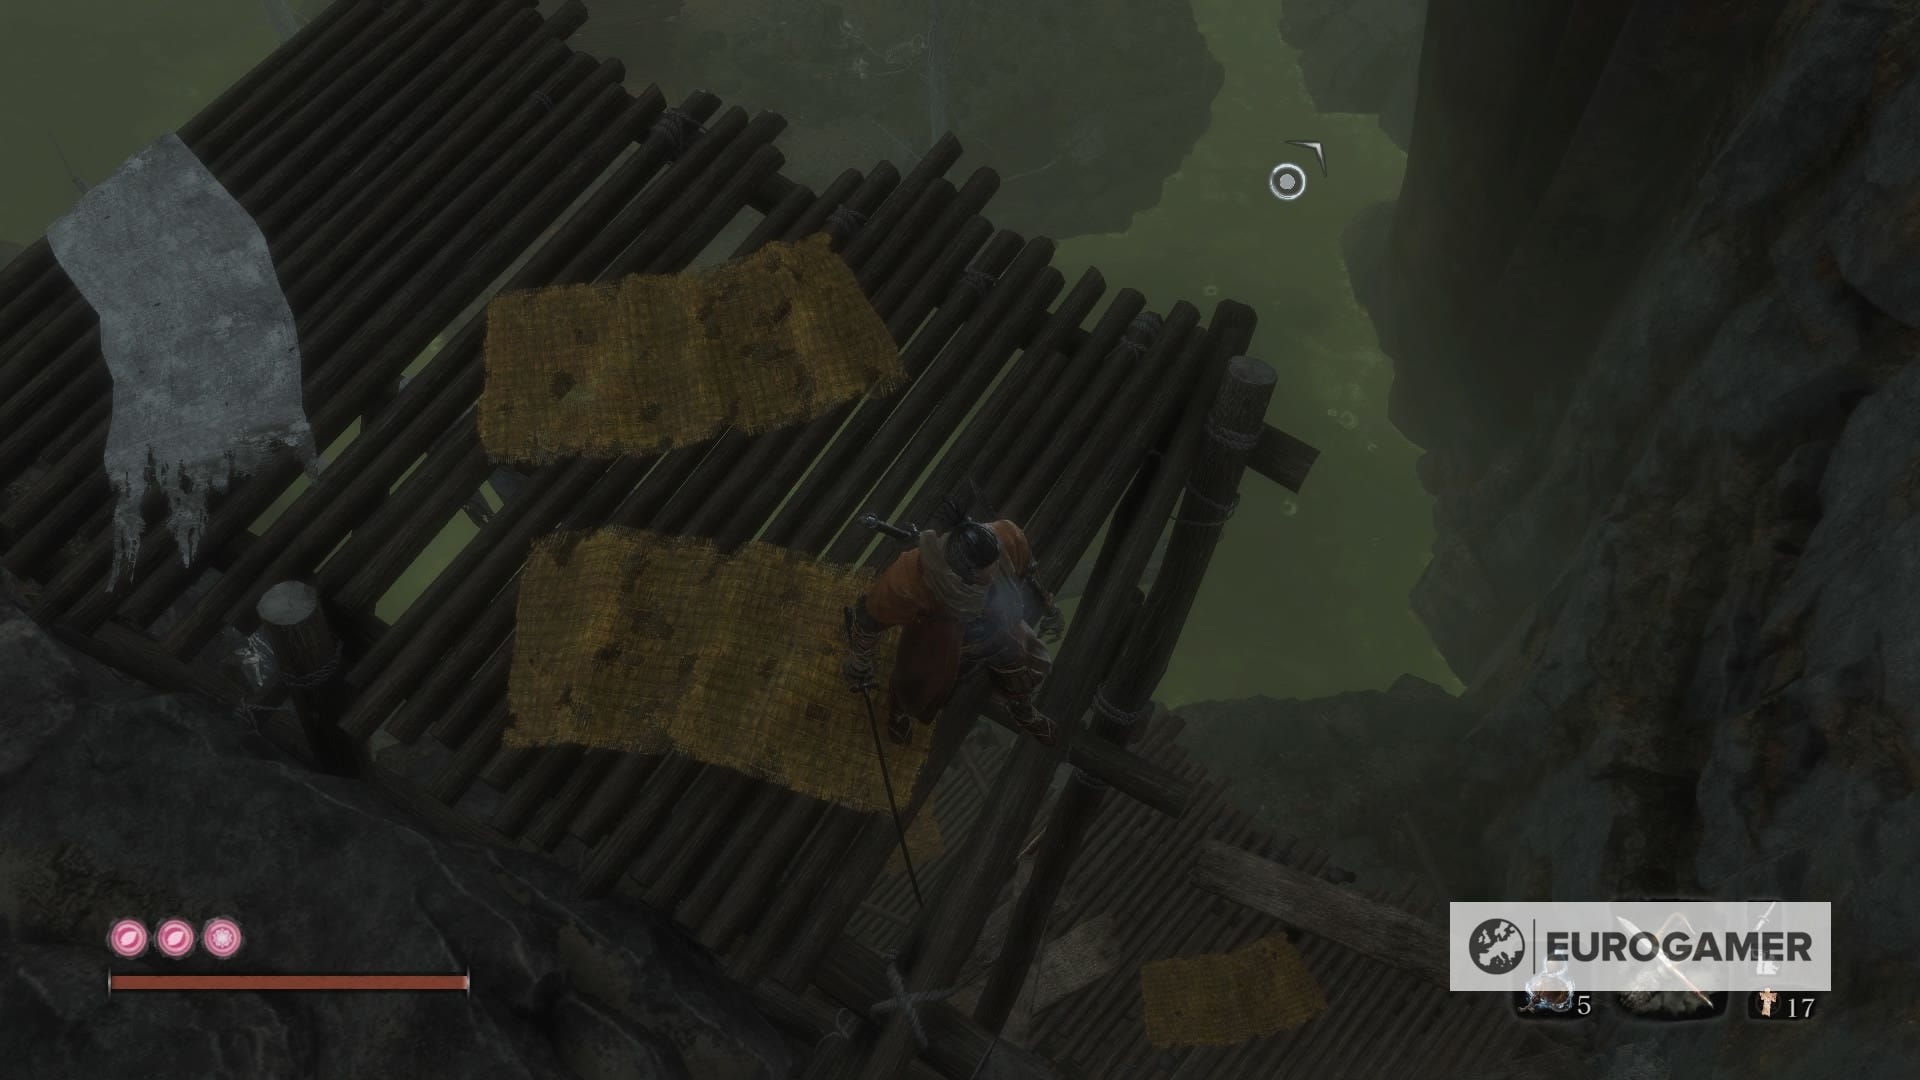
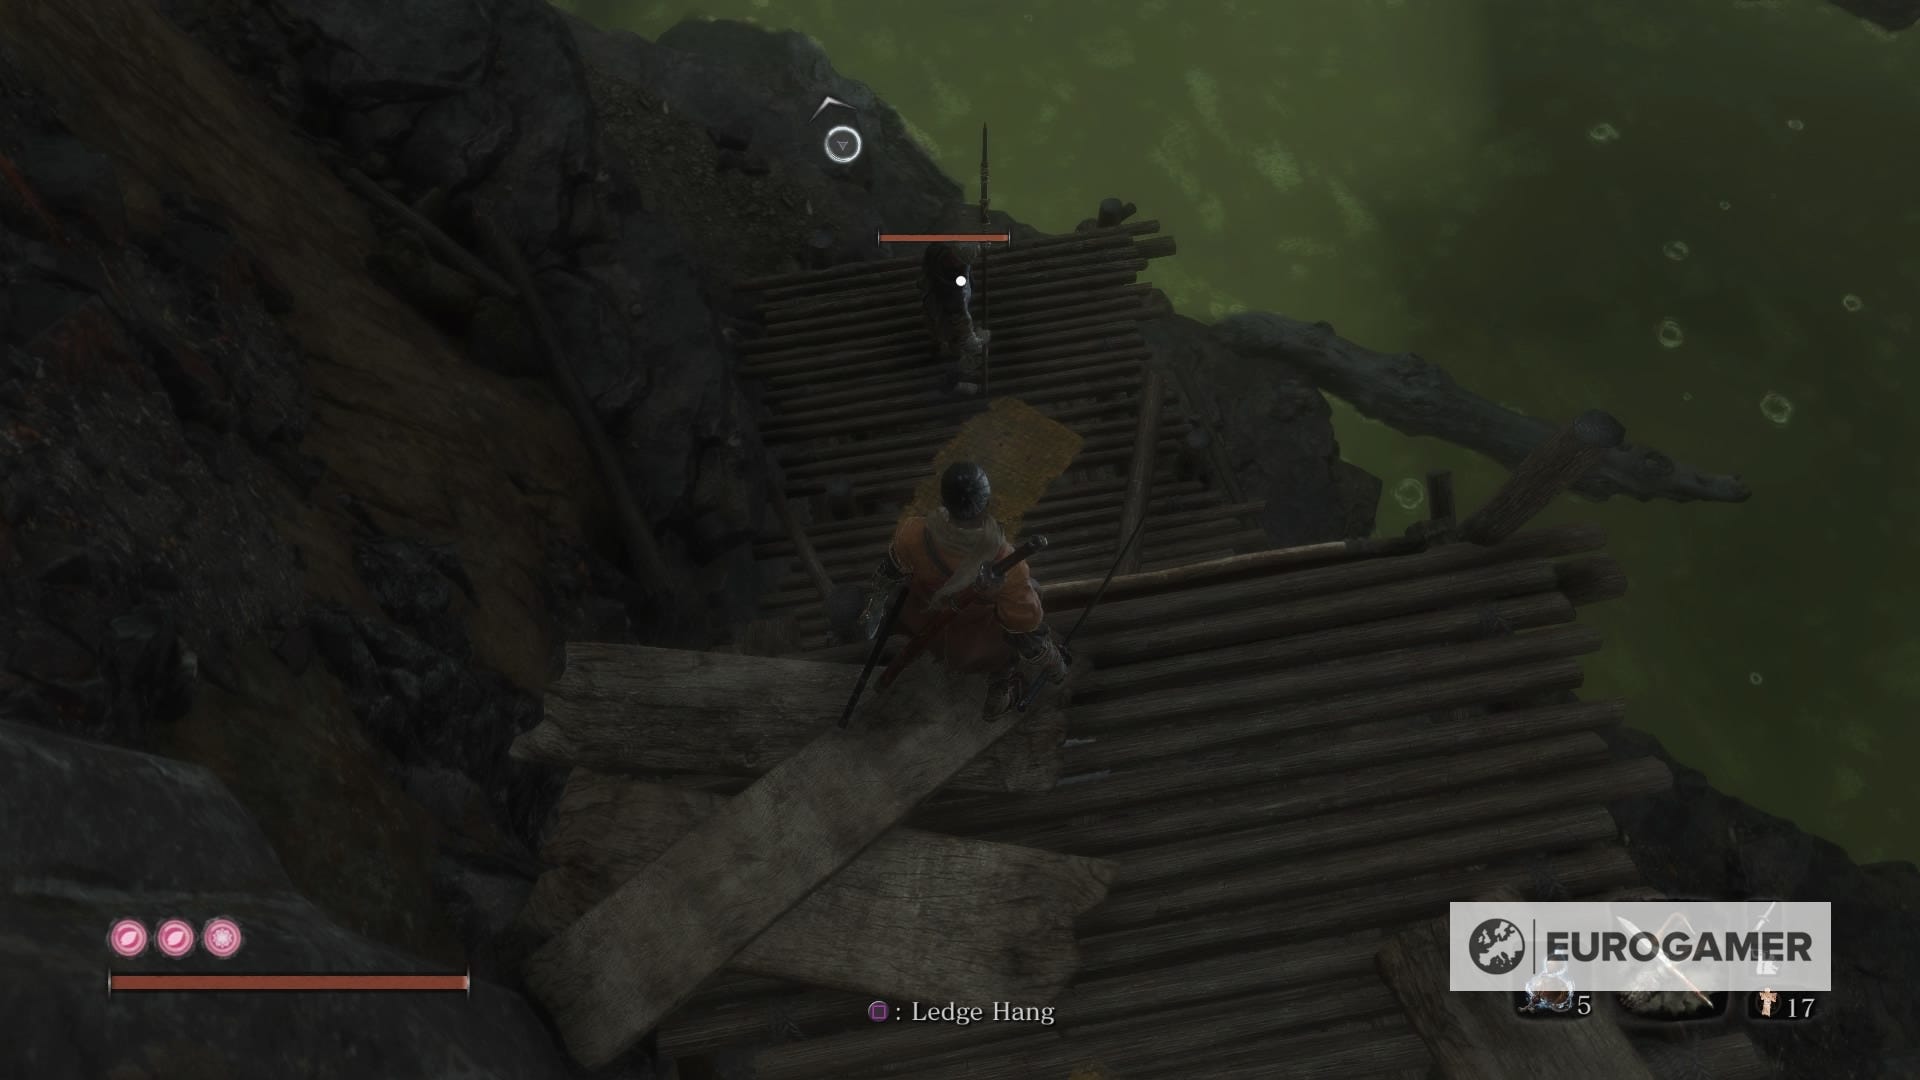
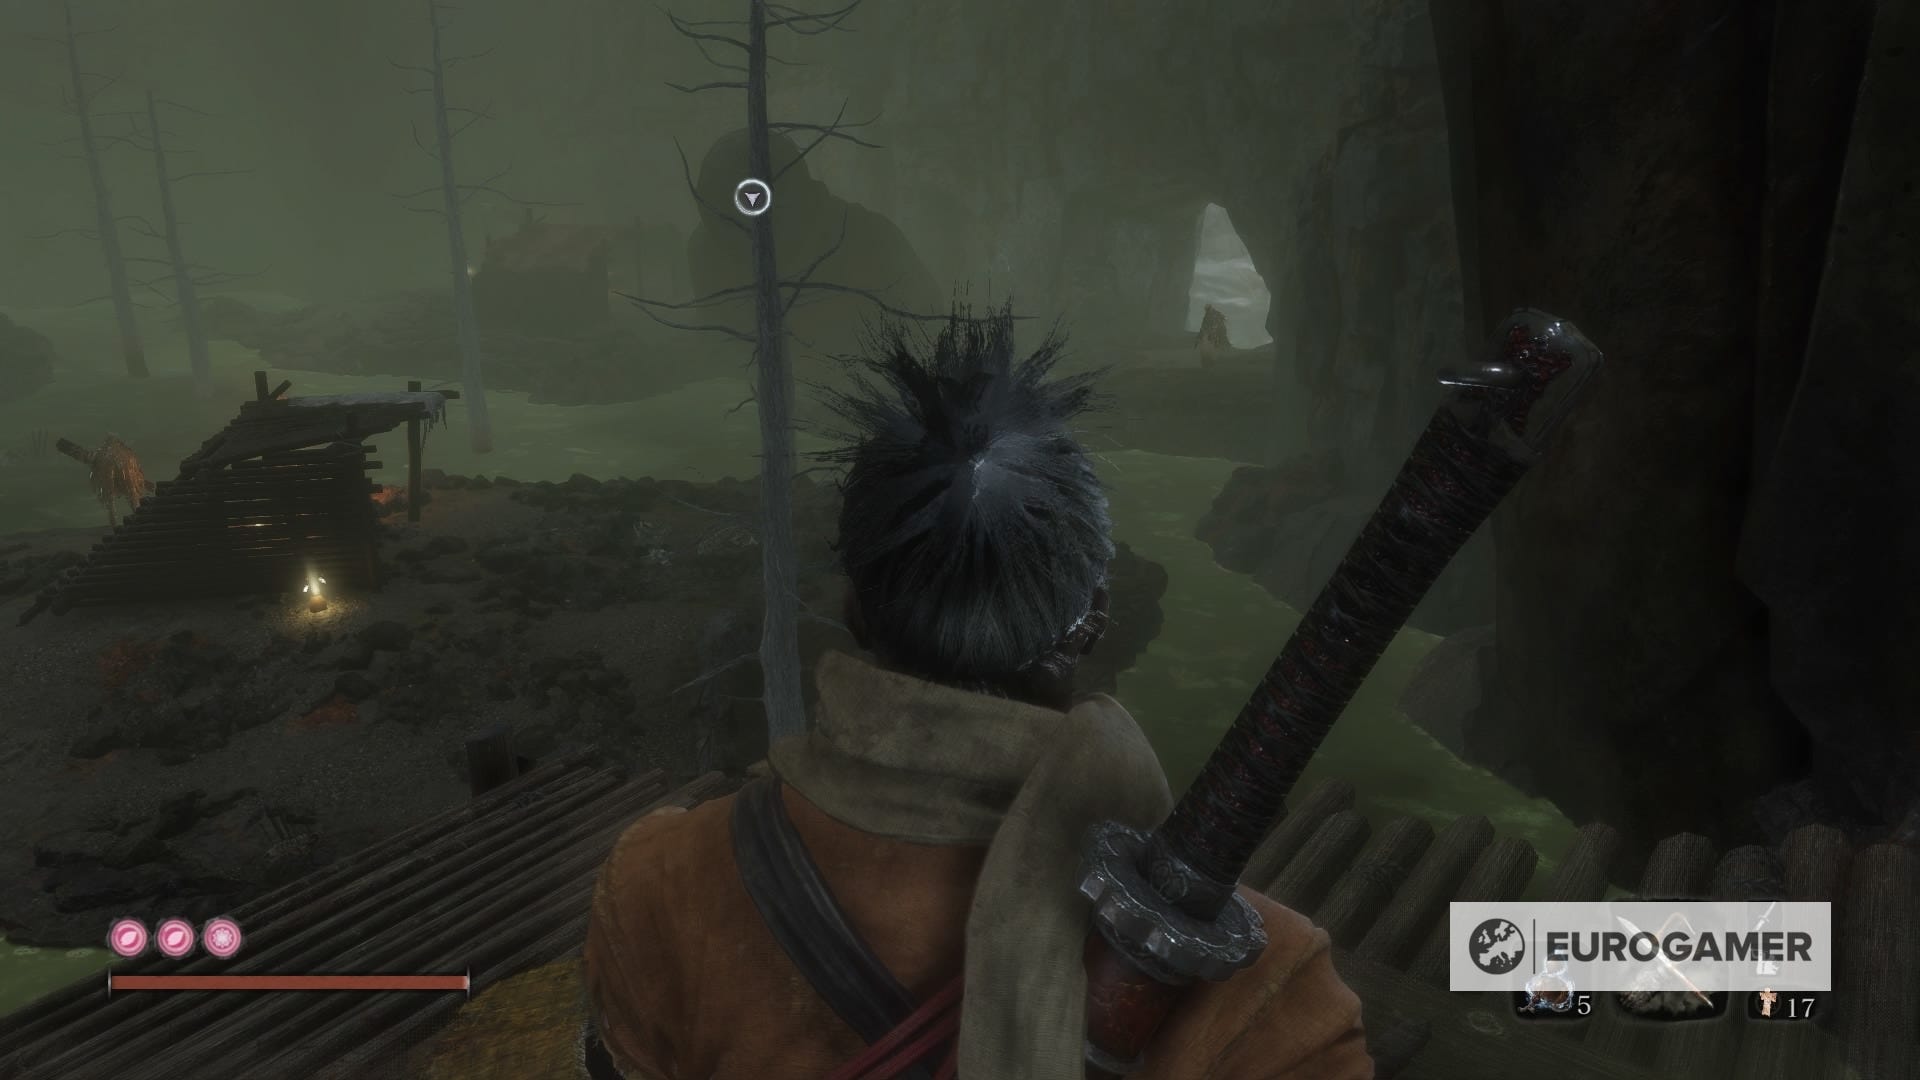
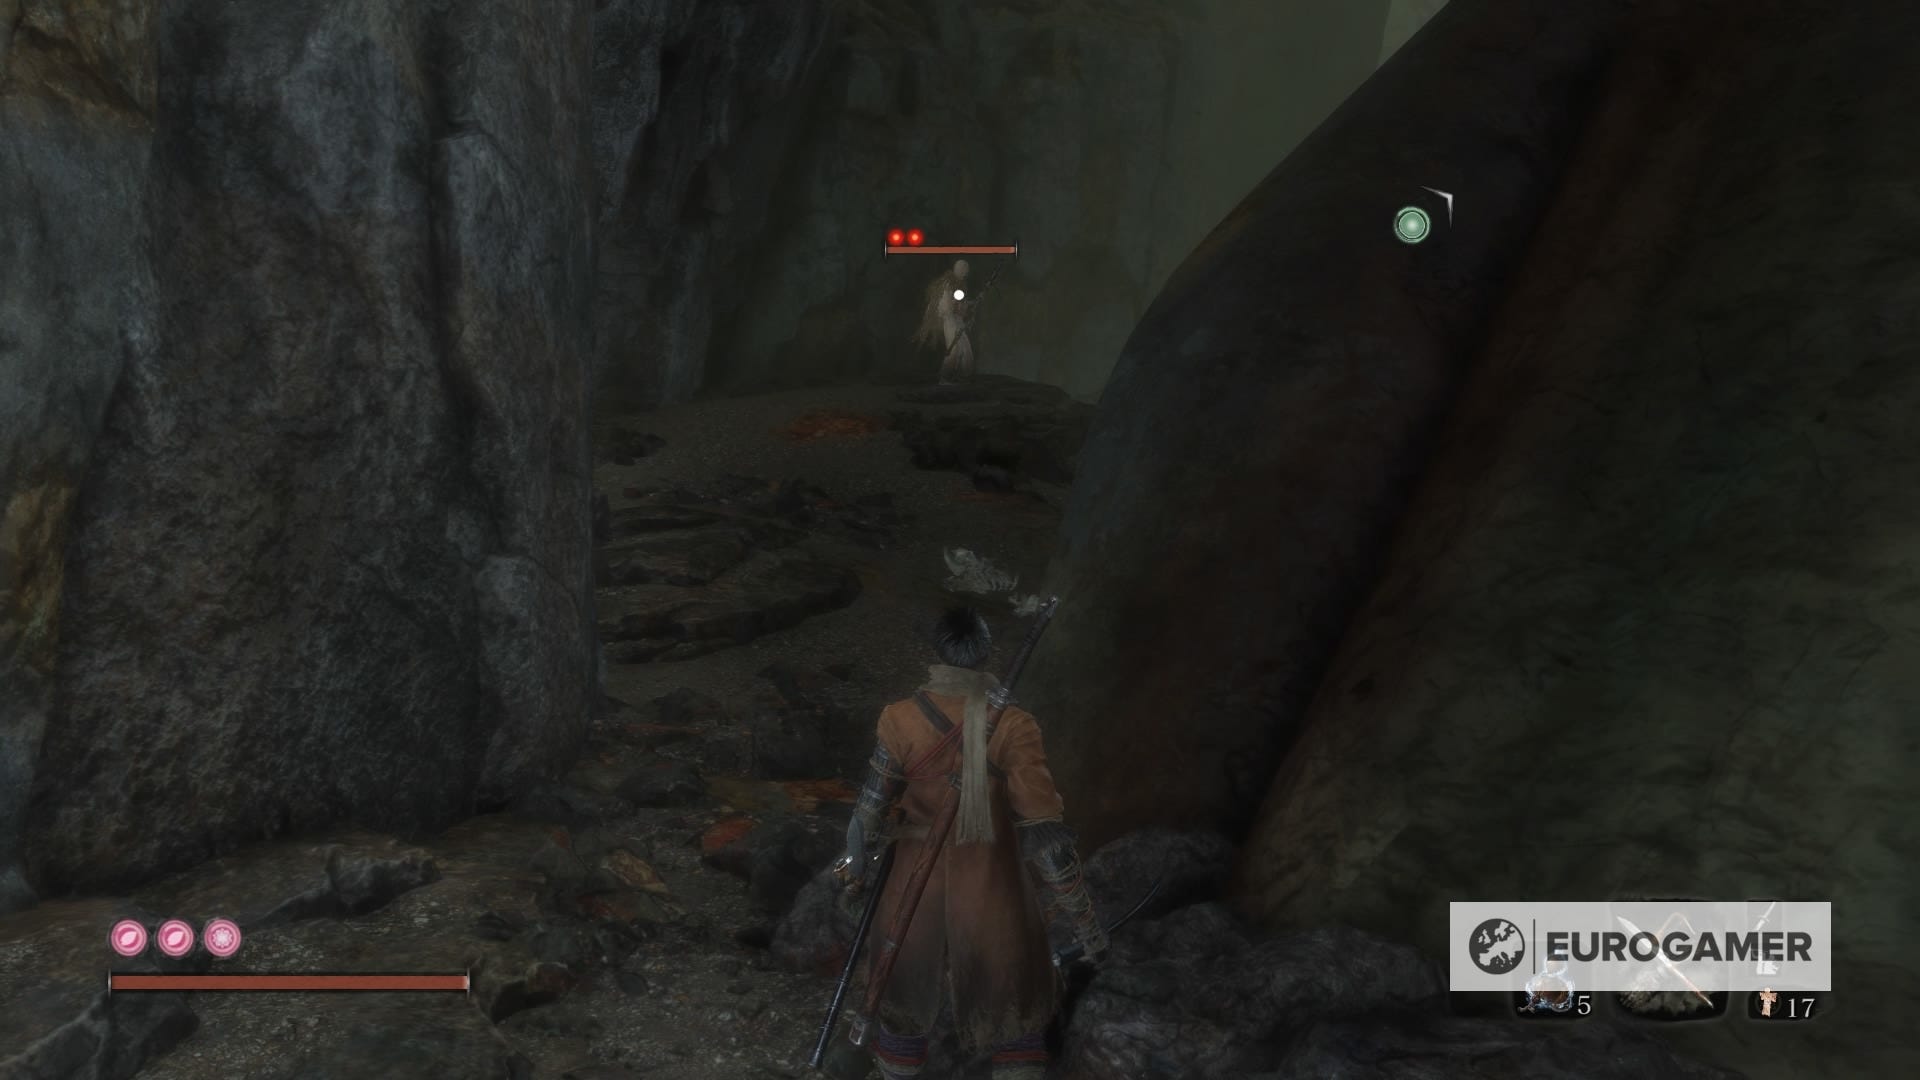
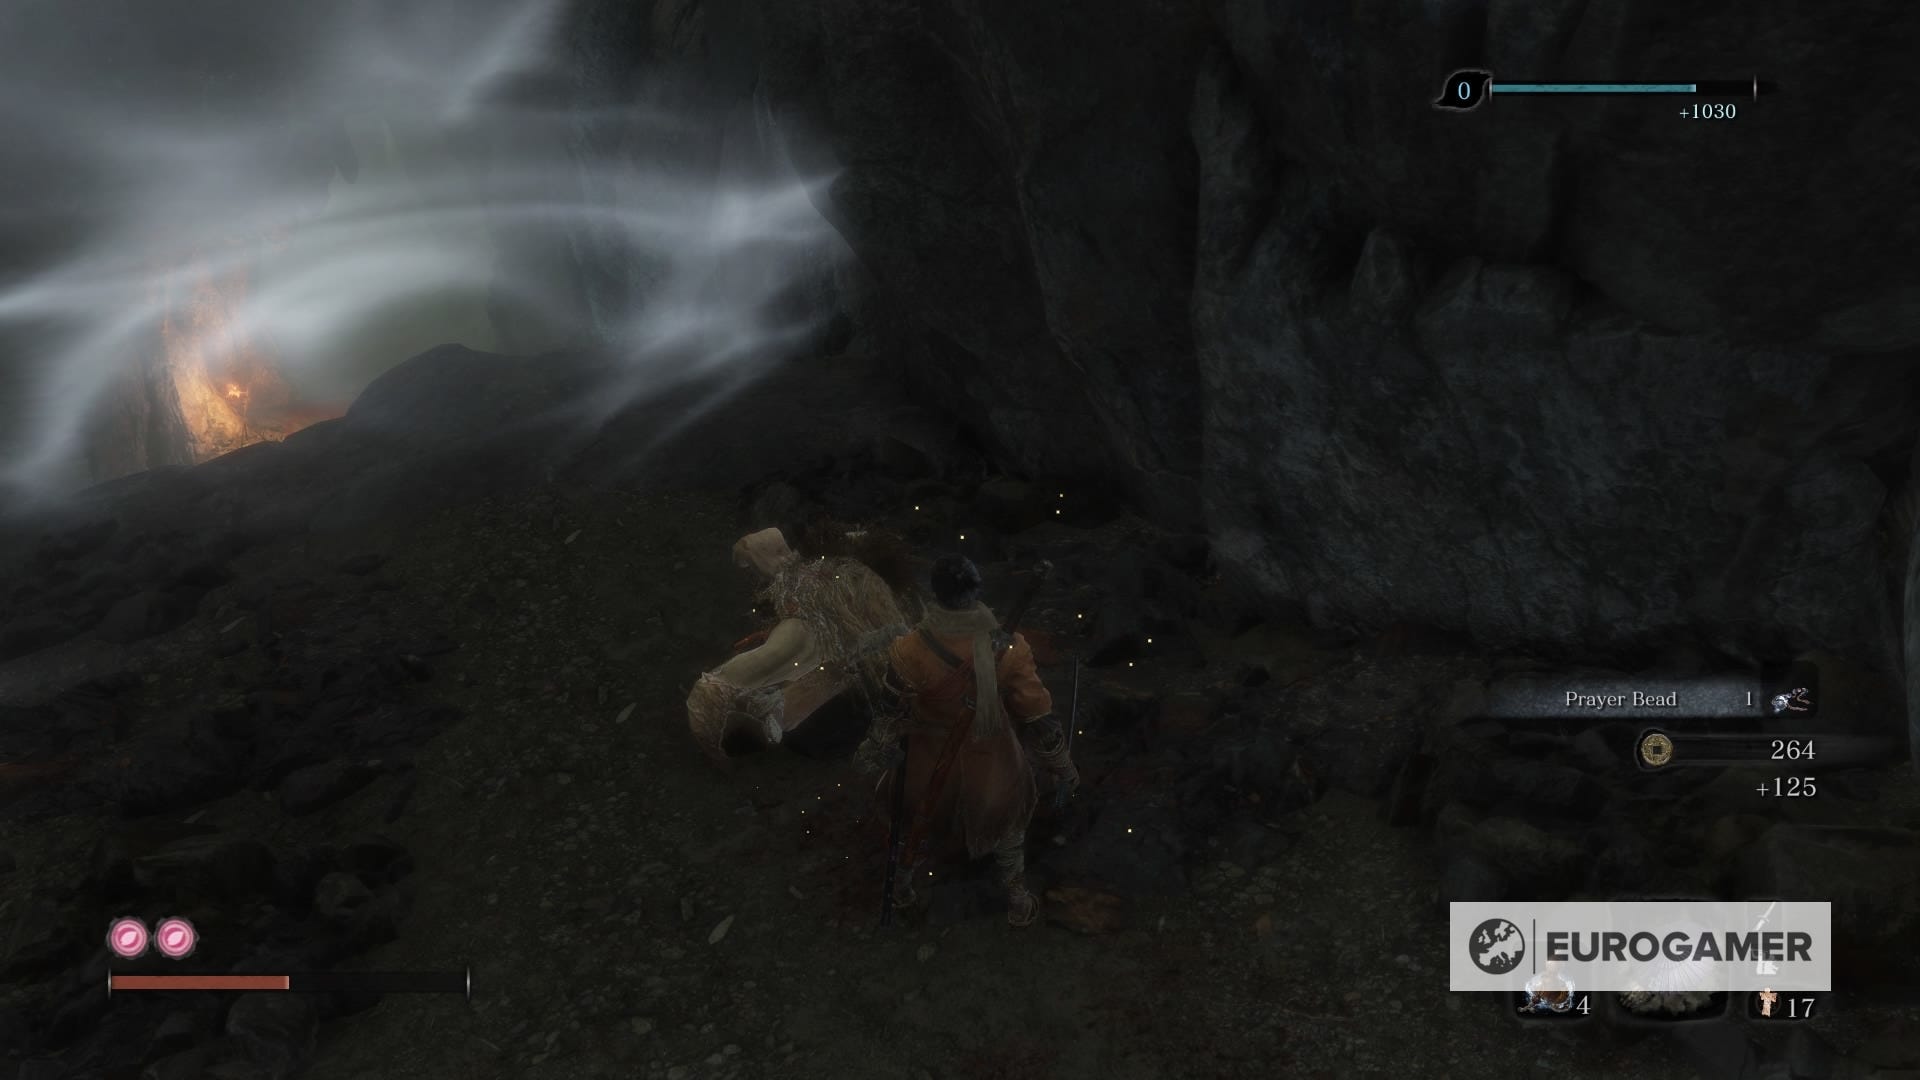
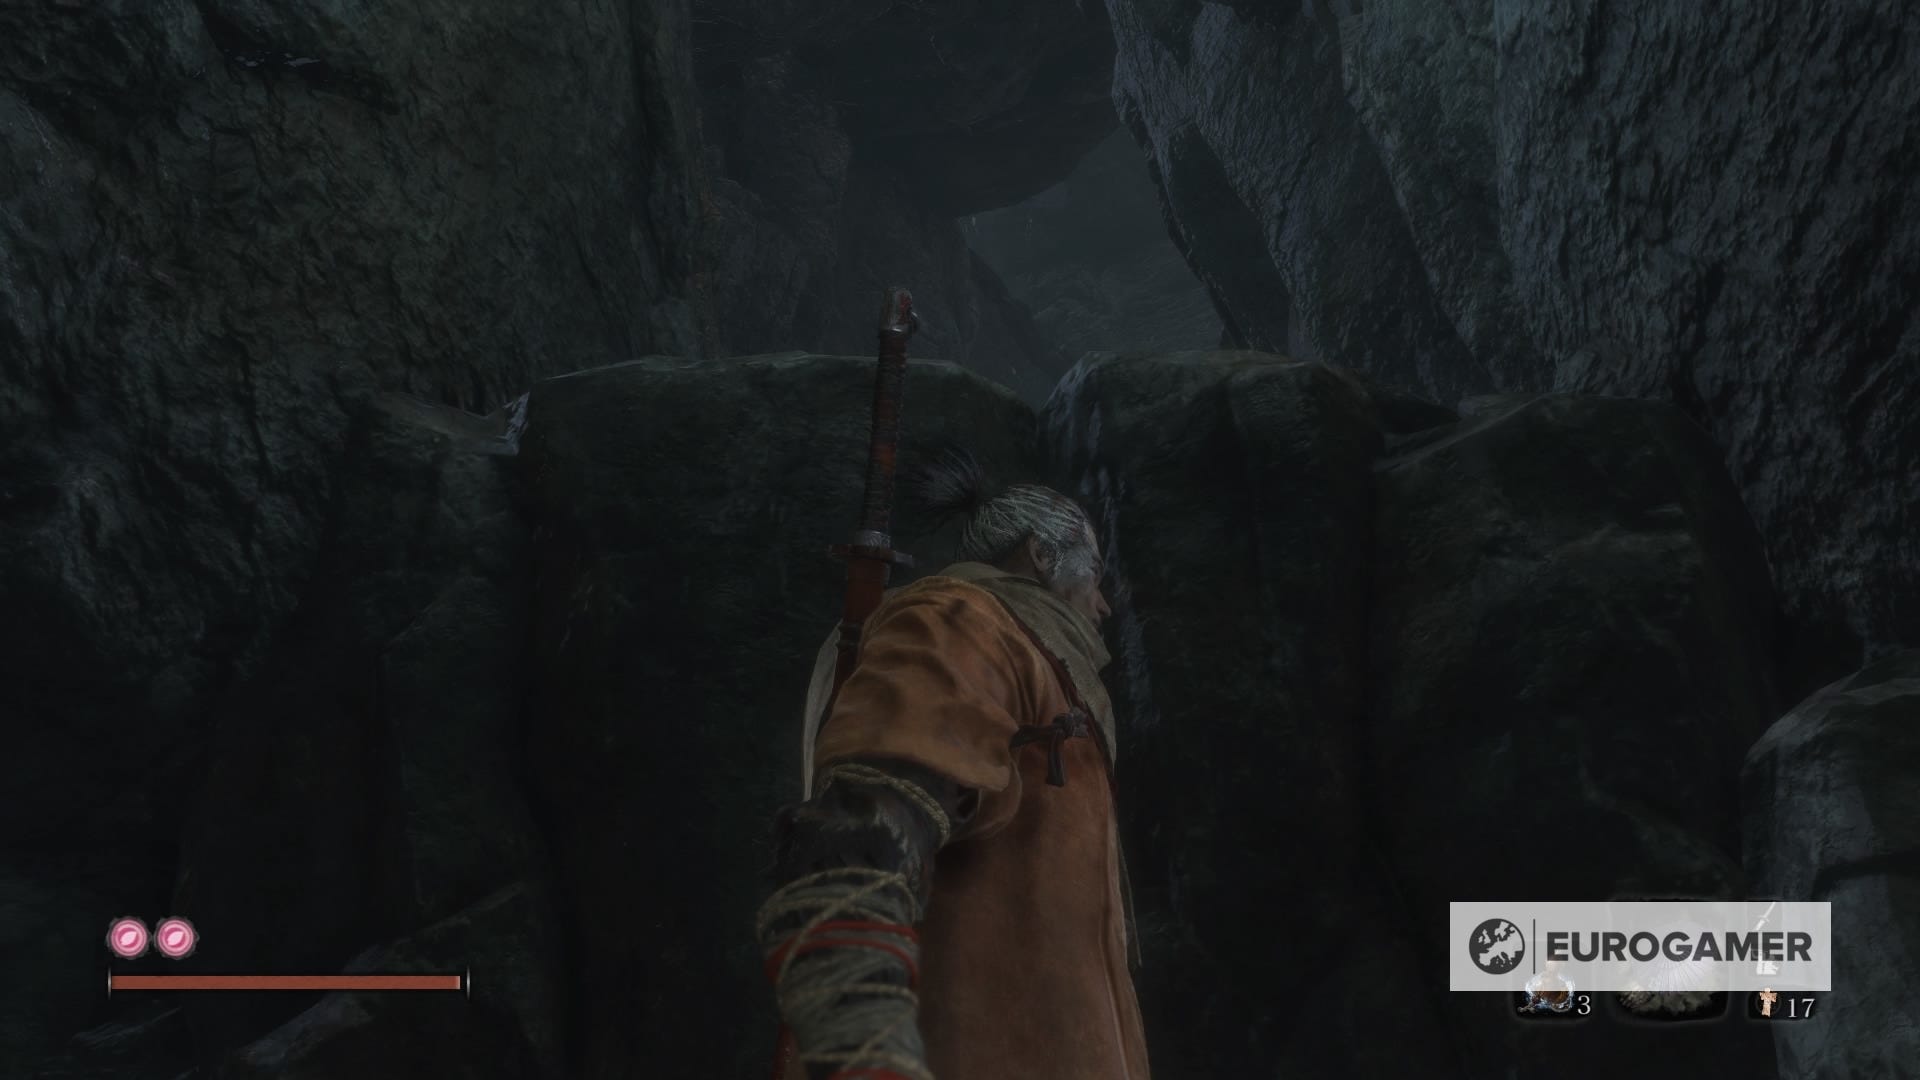
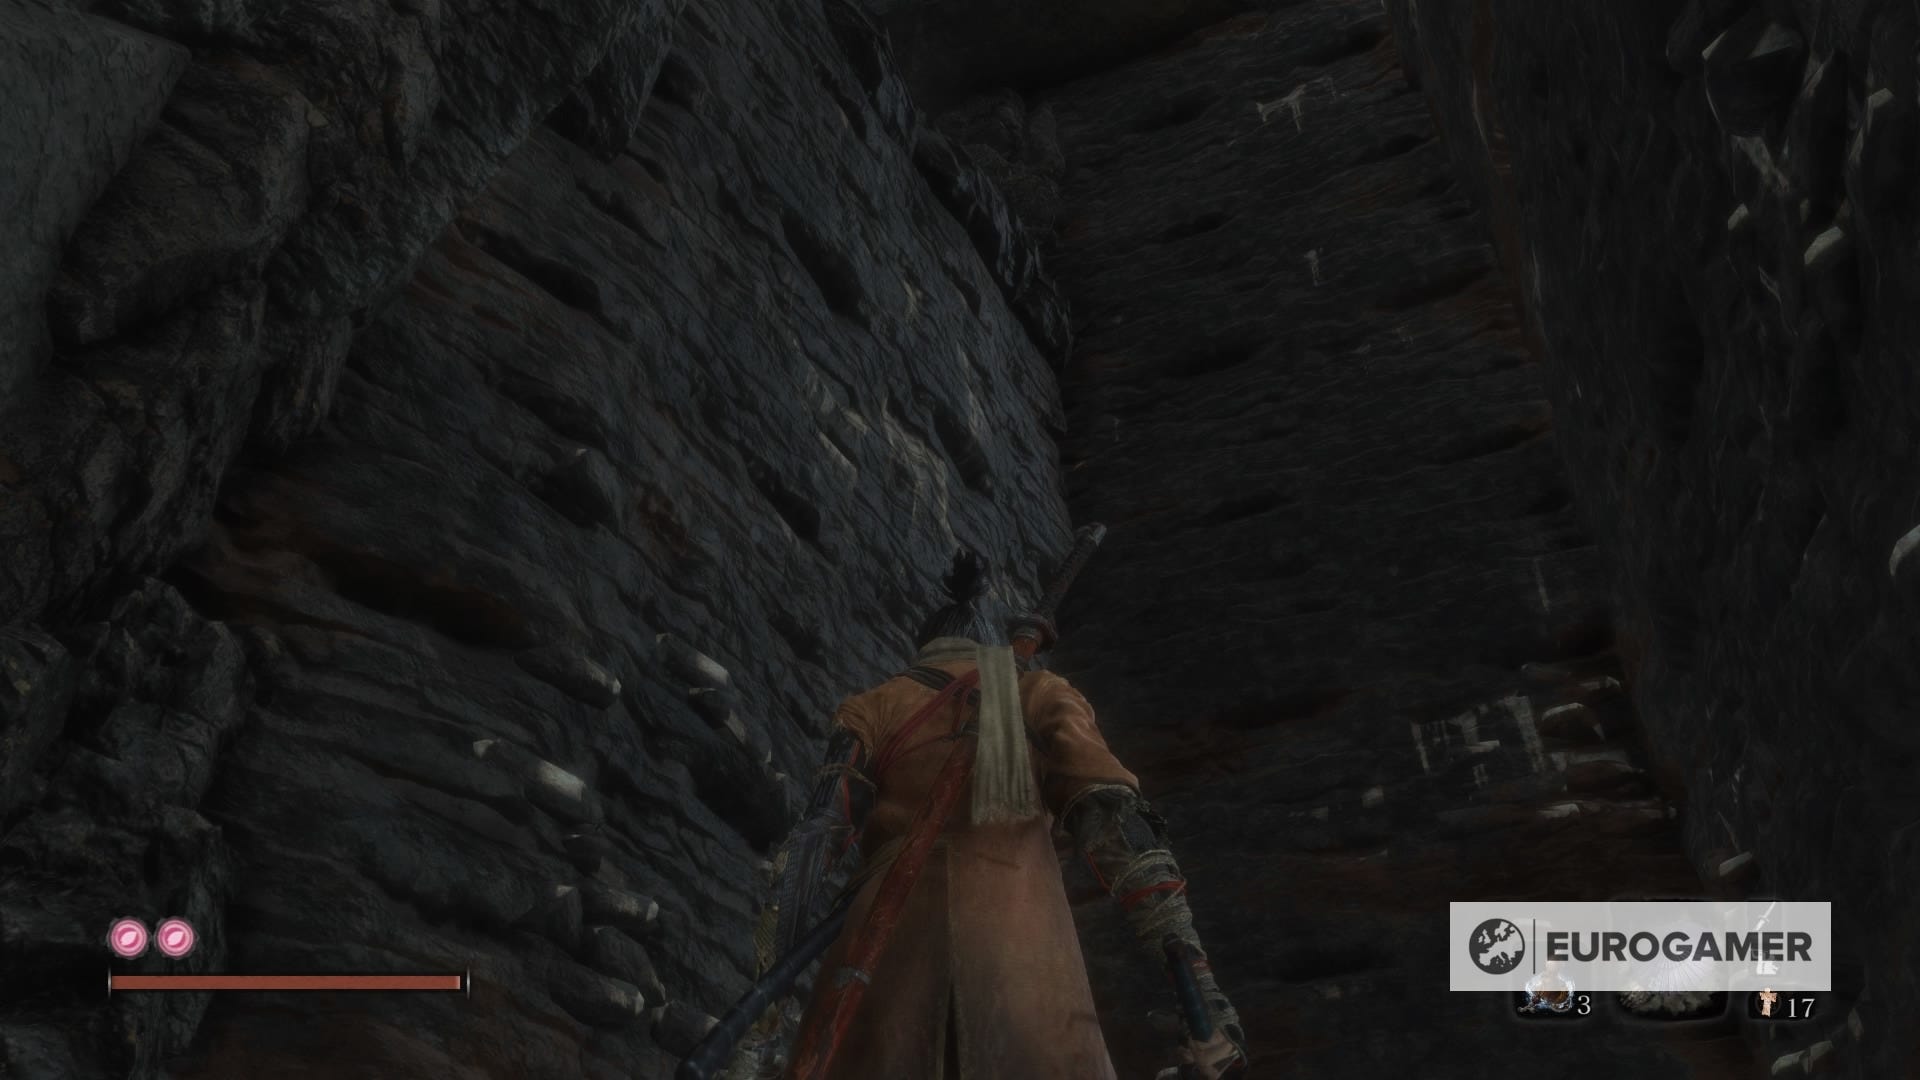
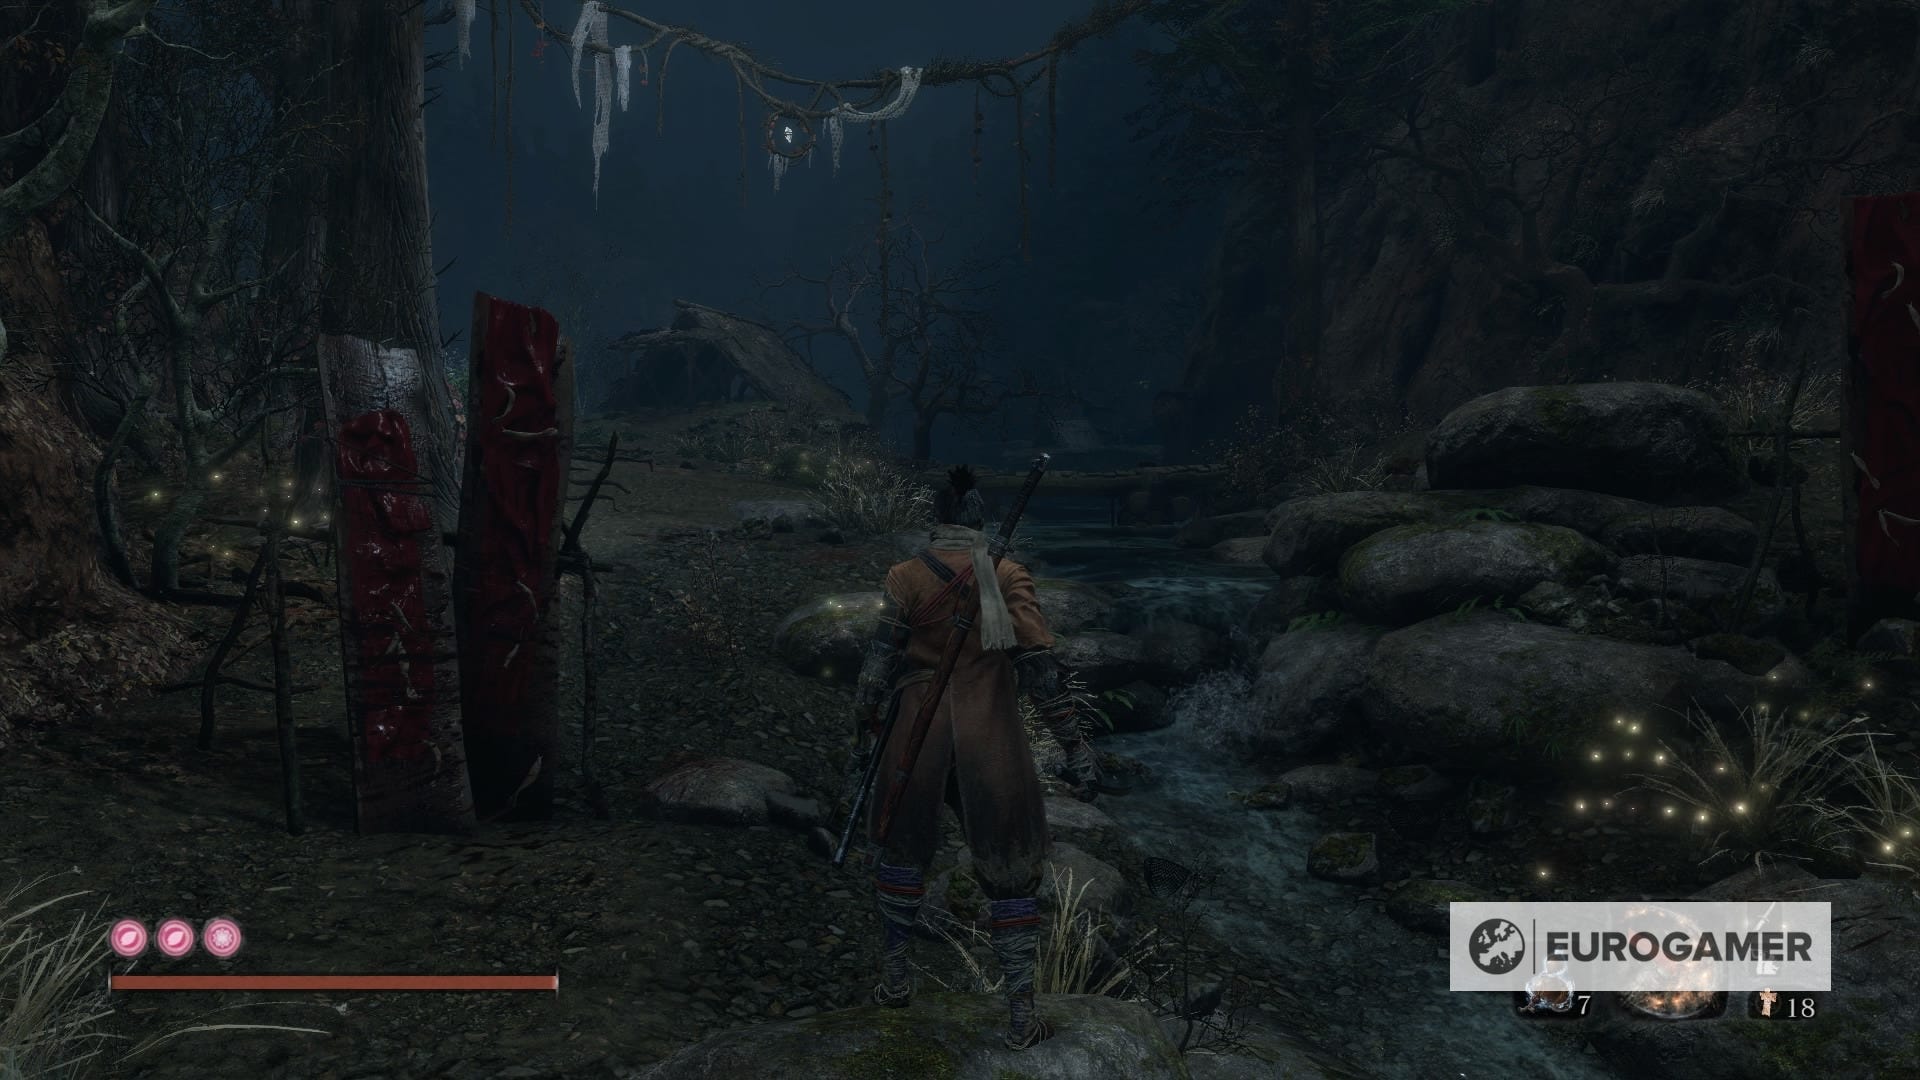
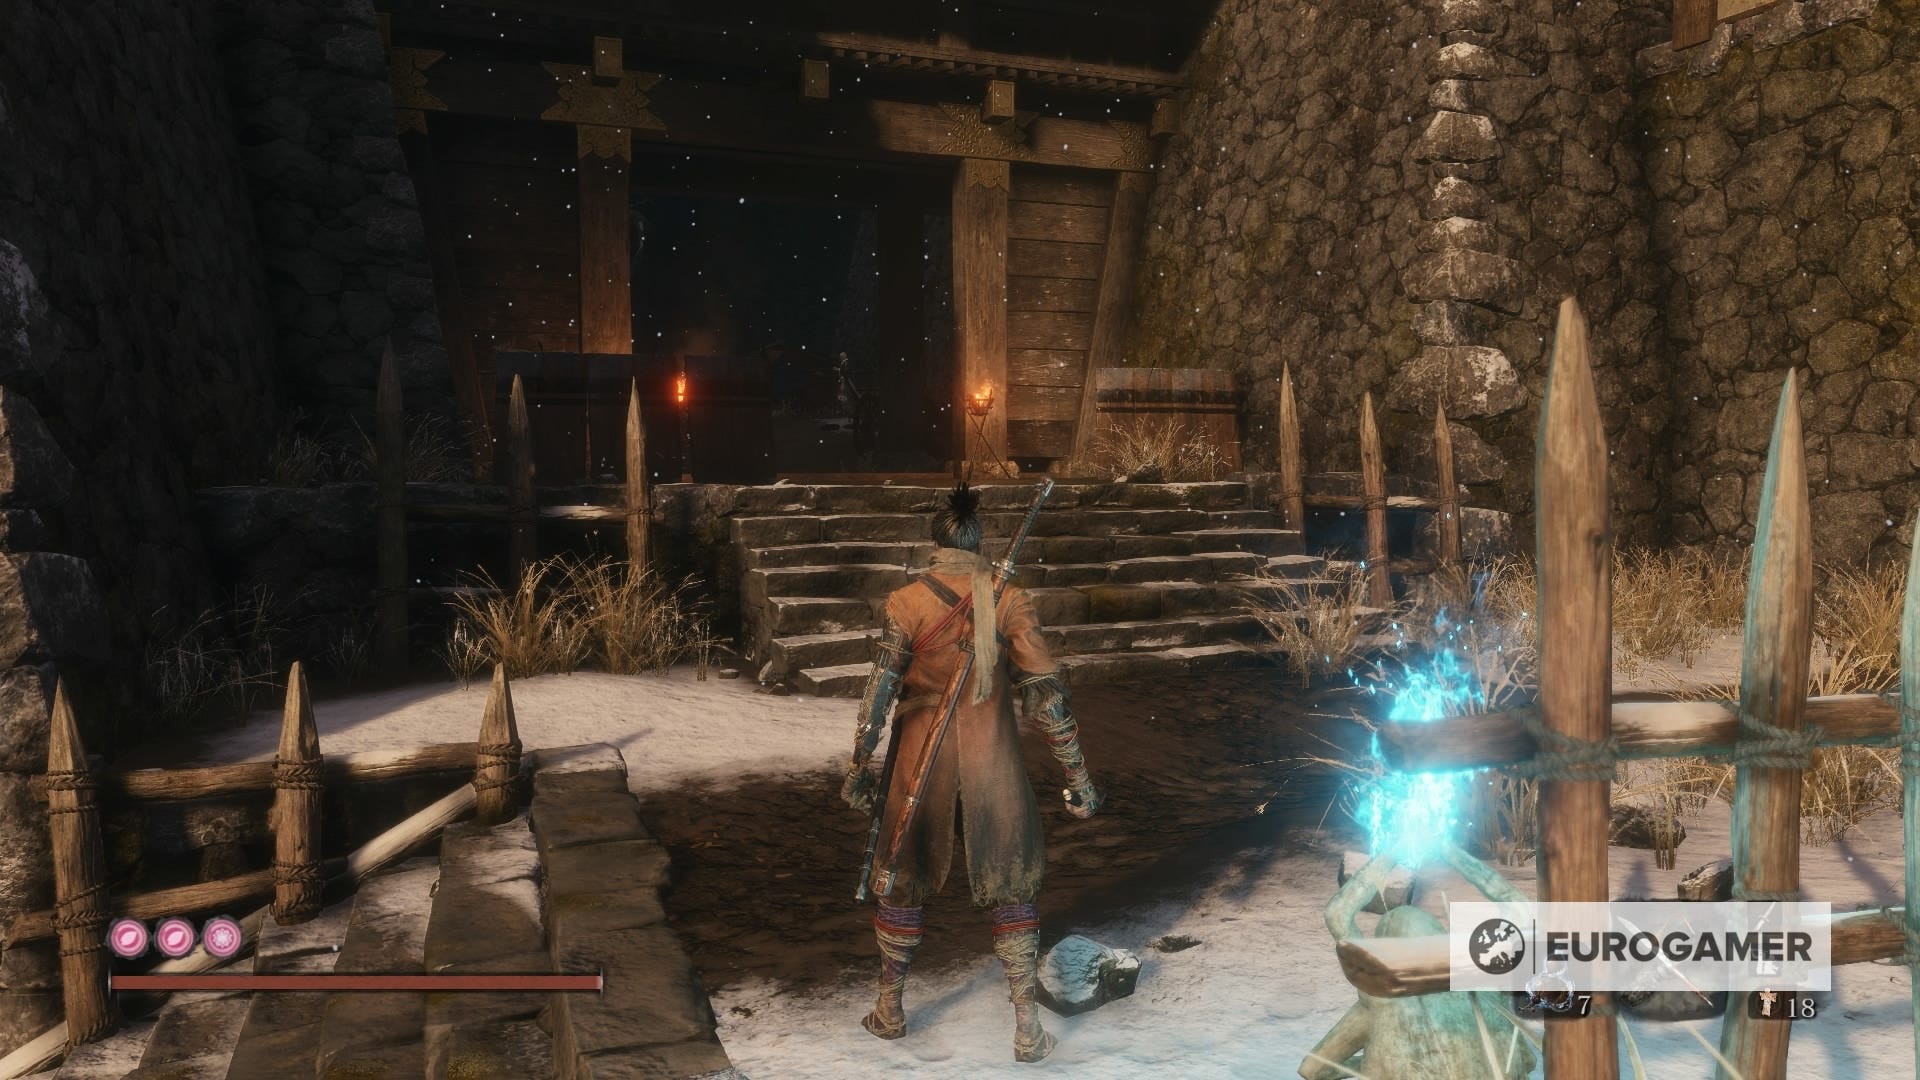
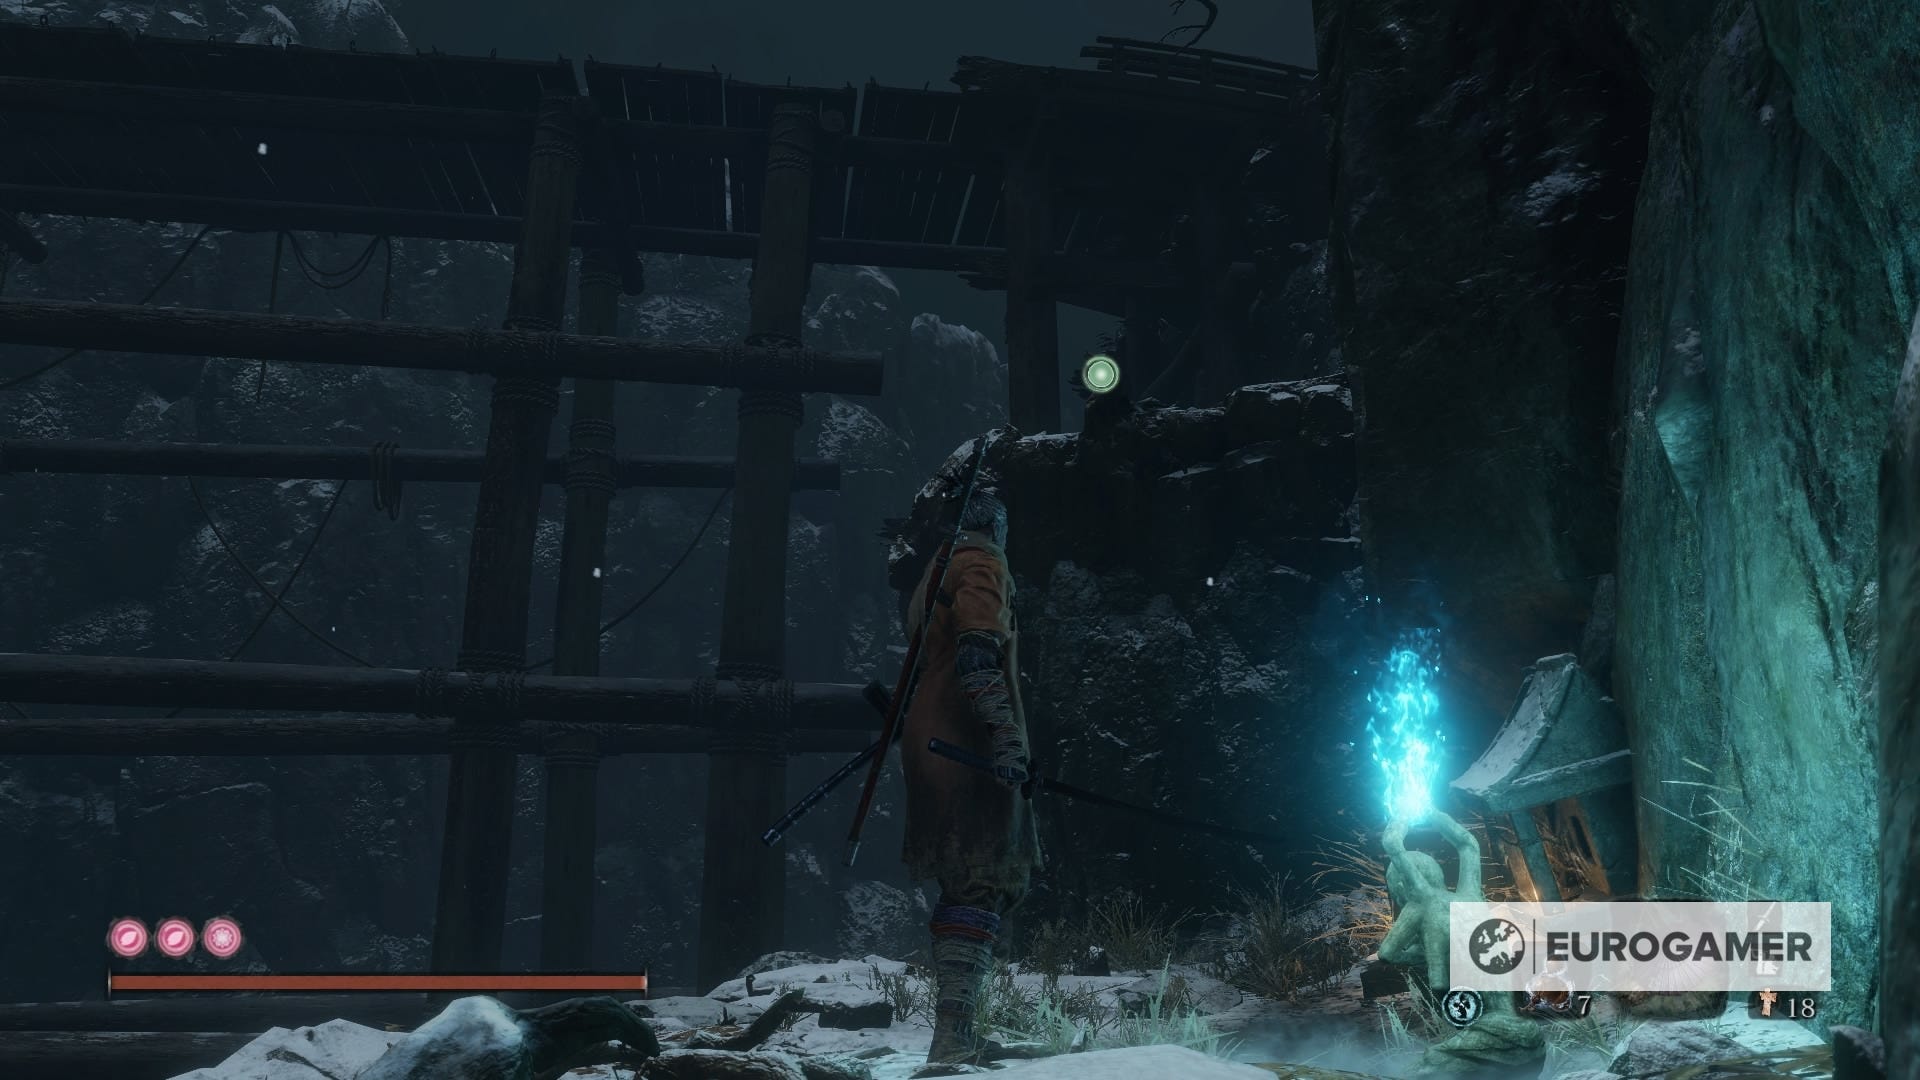
17. Sunken Valley - Under-Shrine Valley Idol:
Travel to the Under-Shrine Valley Idol and face backwards. Keep going to encounter two enemies, and then a path inside the frozen cave. Grab the ledge by jumping and then stick to the wall until you go outside. You'll be back in Ashina Outskirts.
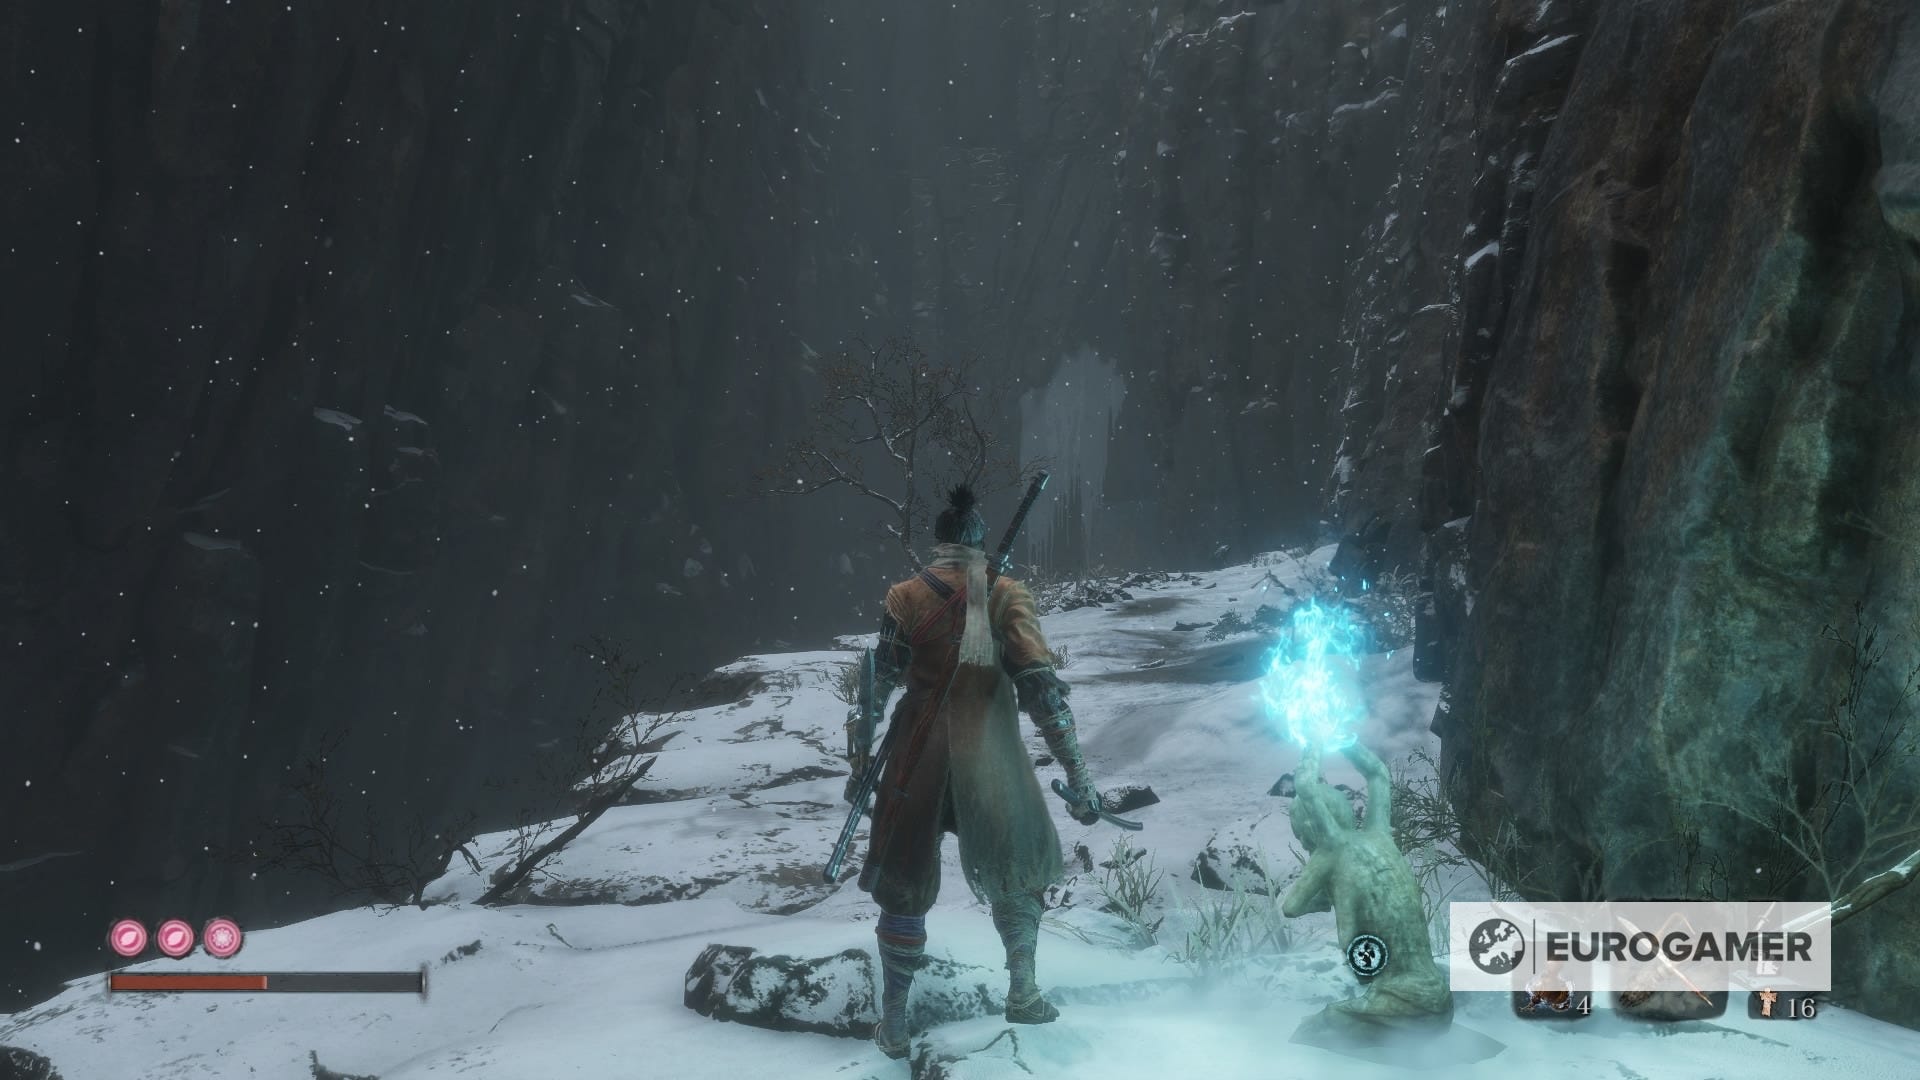

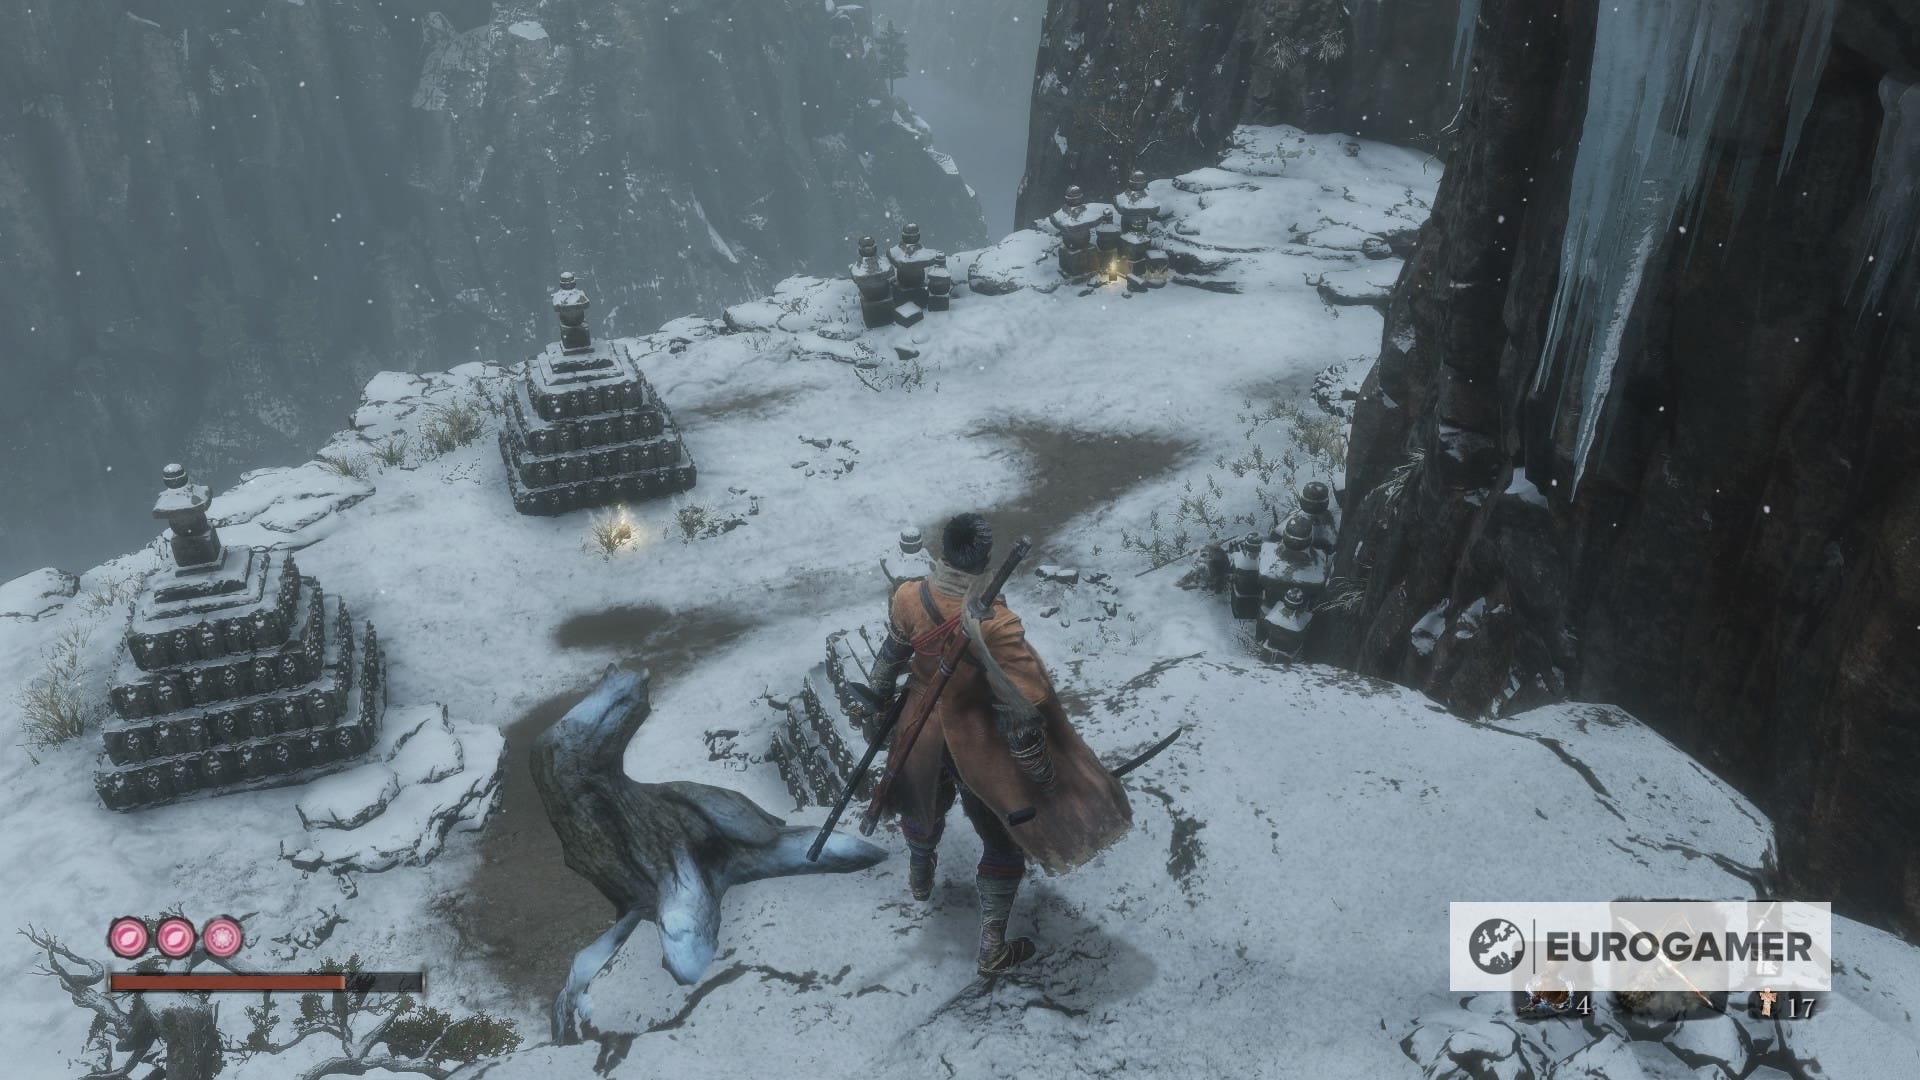
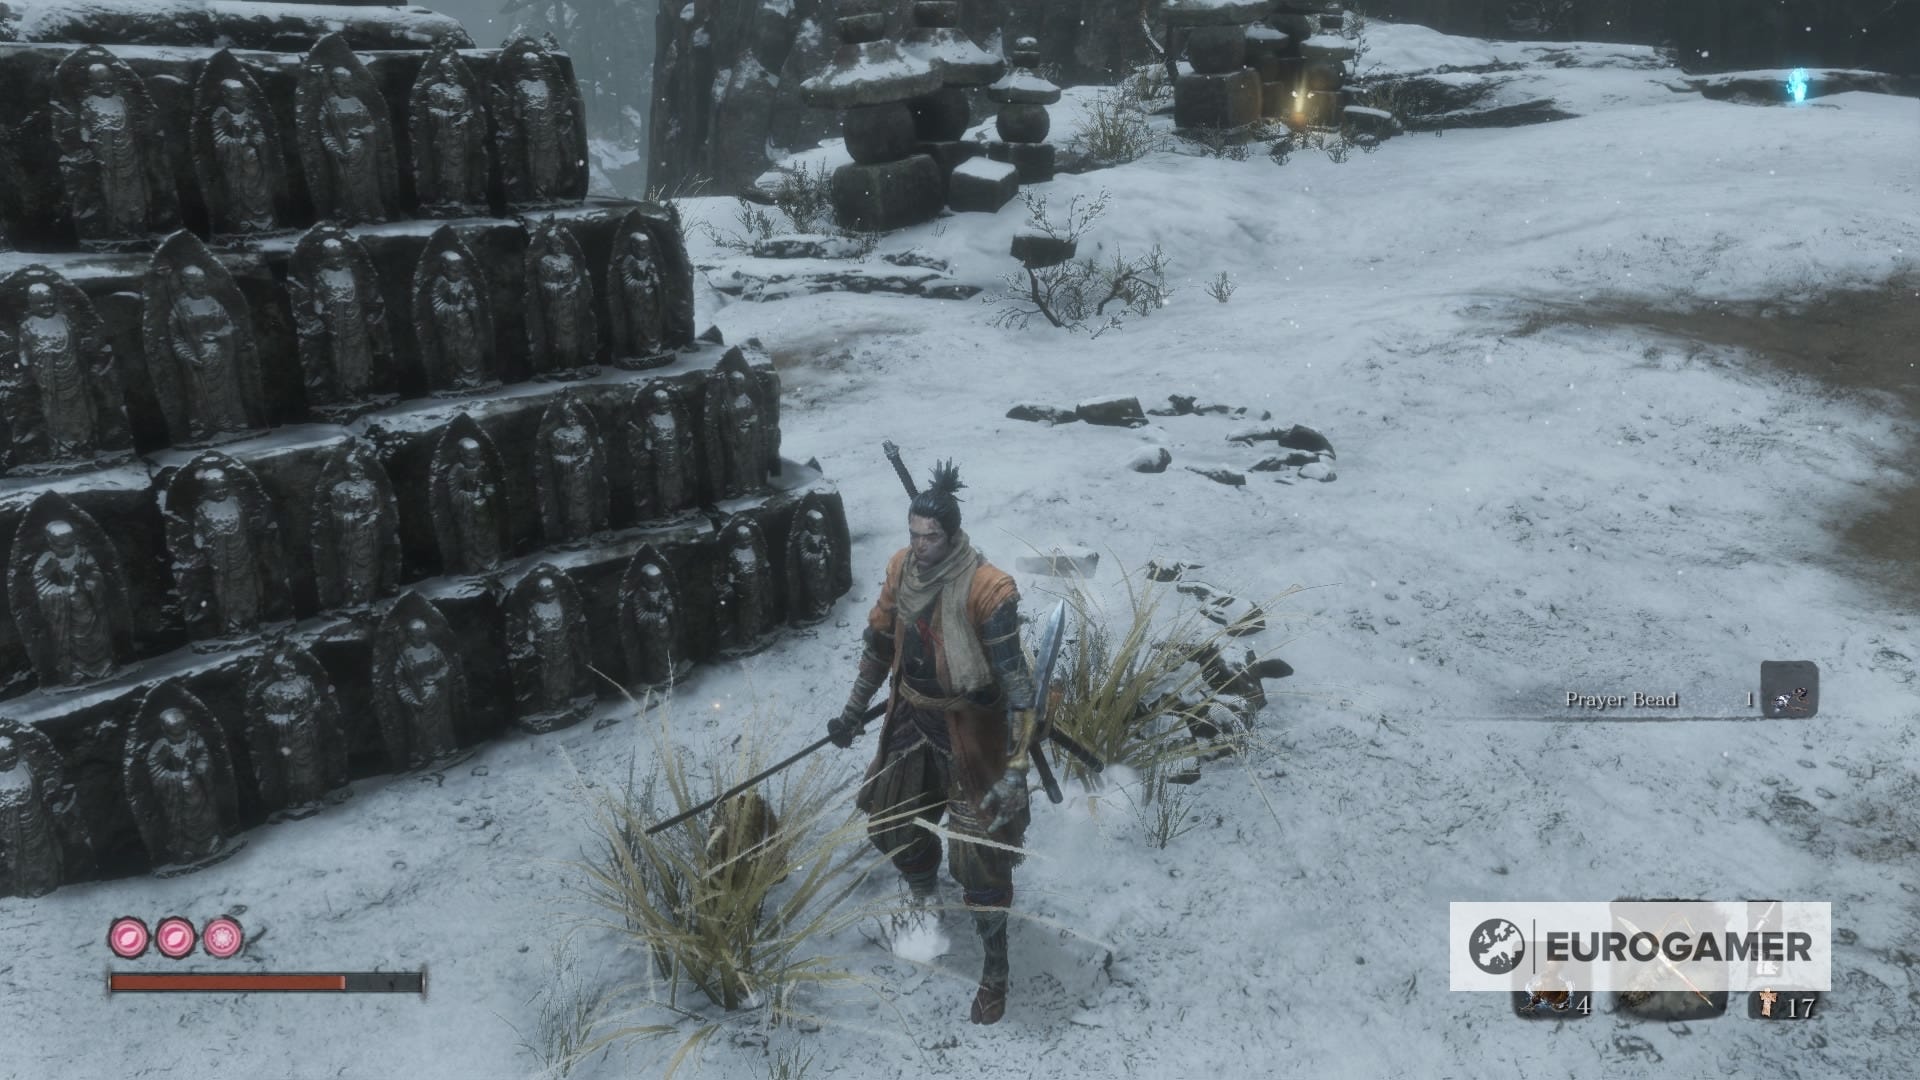
In there you'll find another Prayer Bead next to the statues, but beware with the enemy who's nearby.
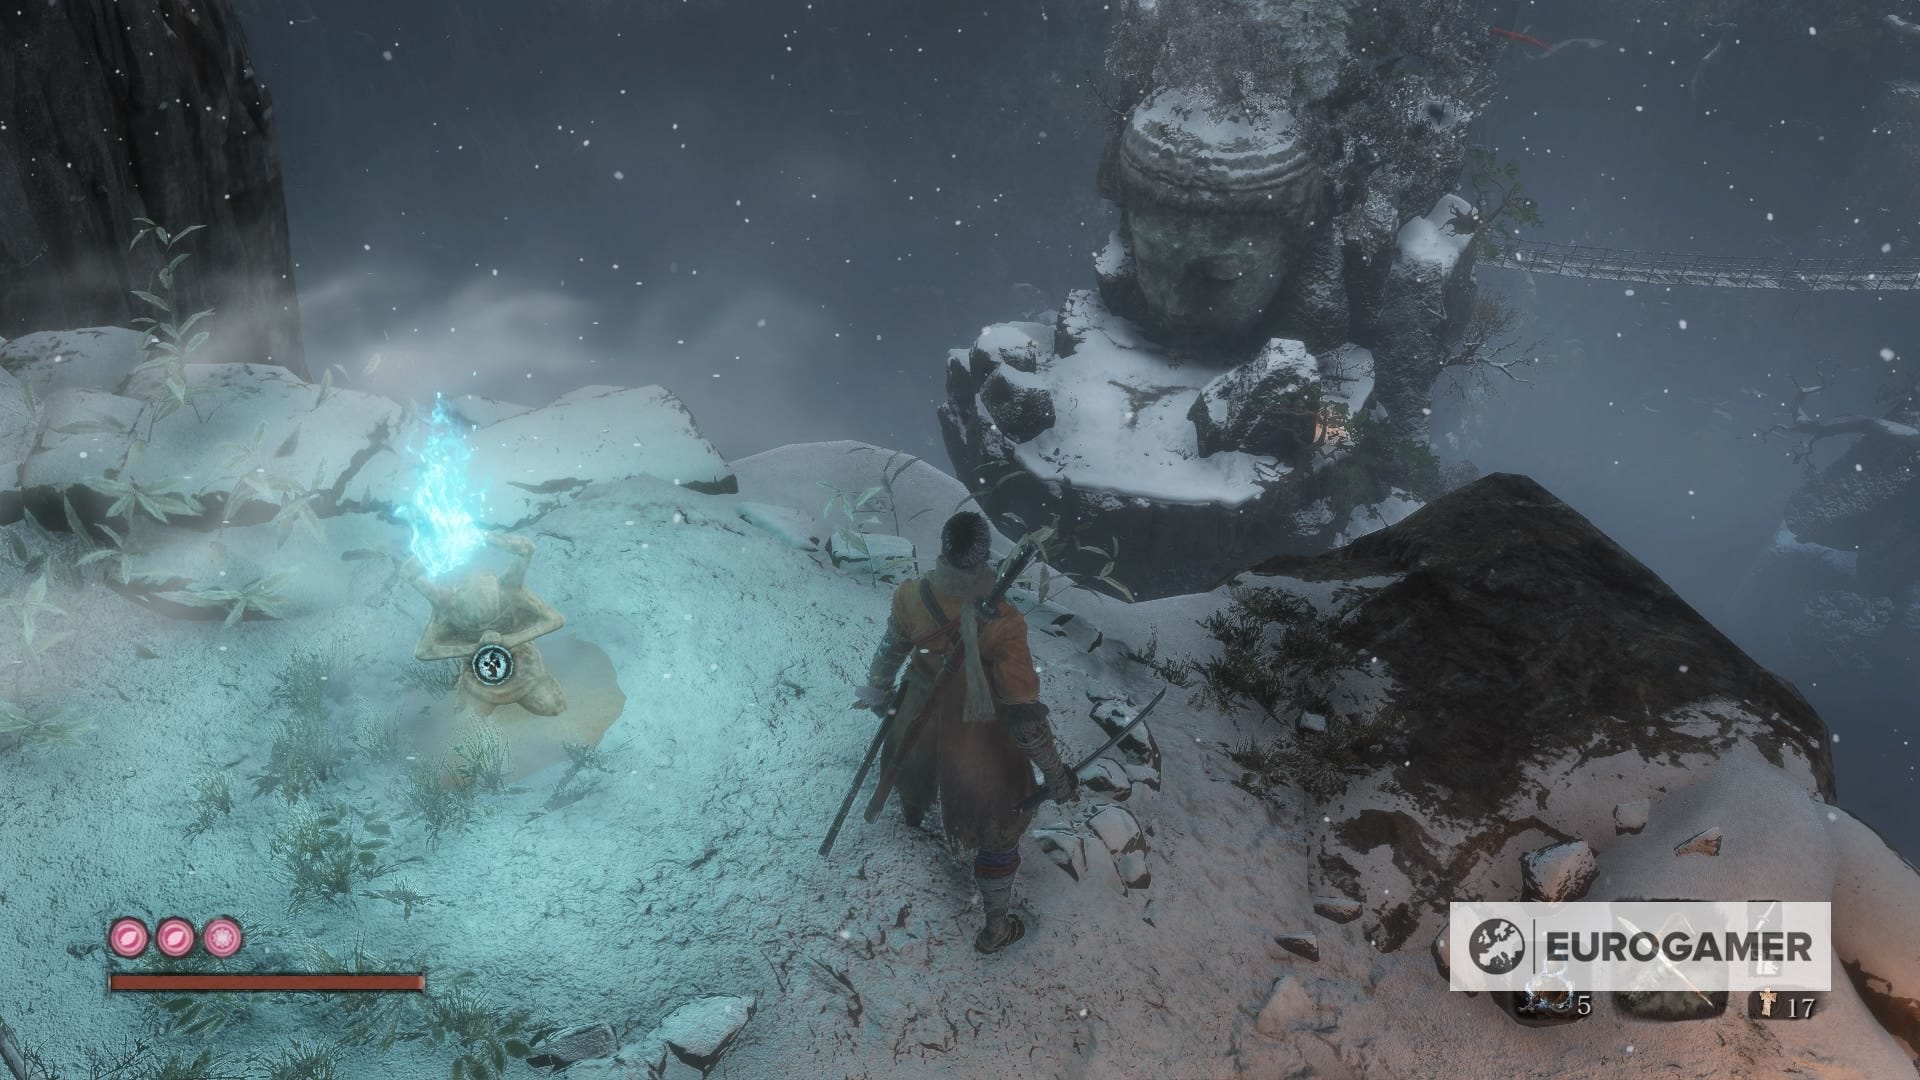
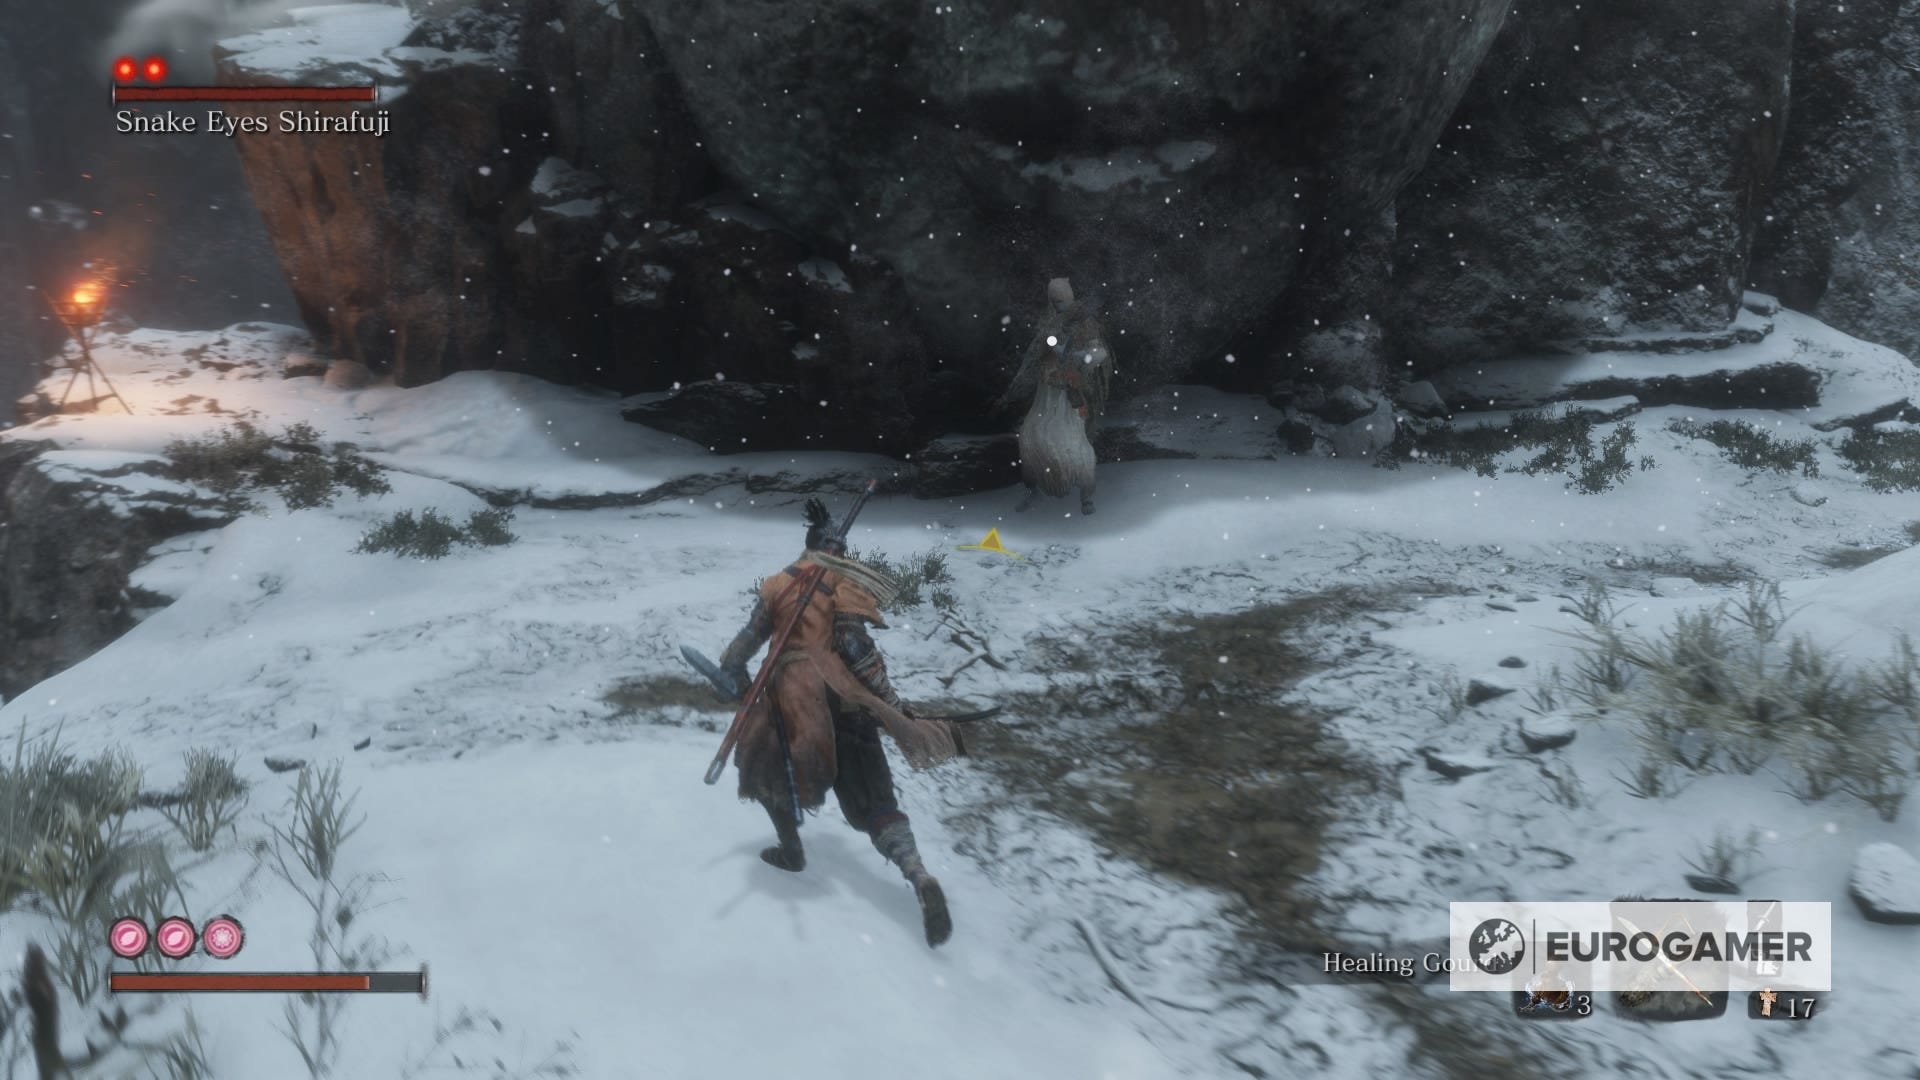
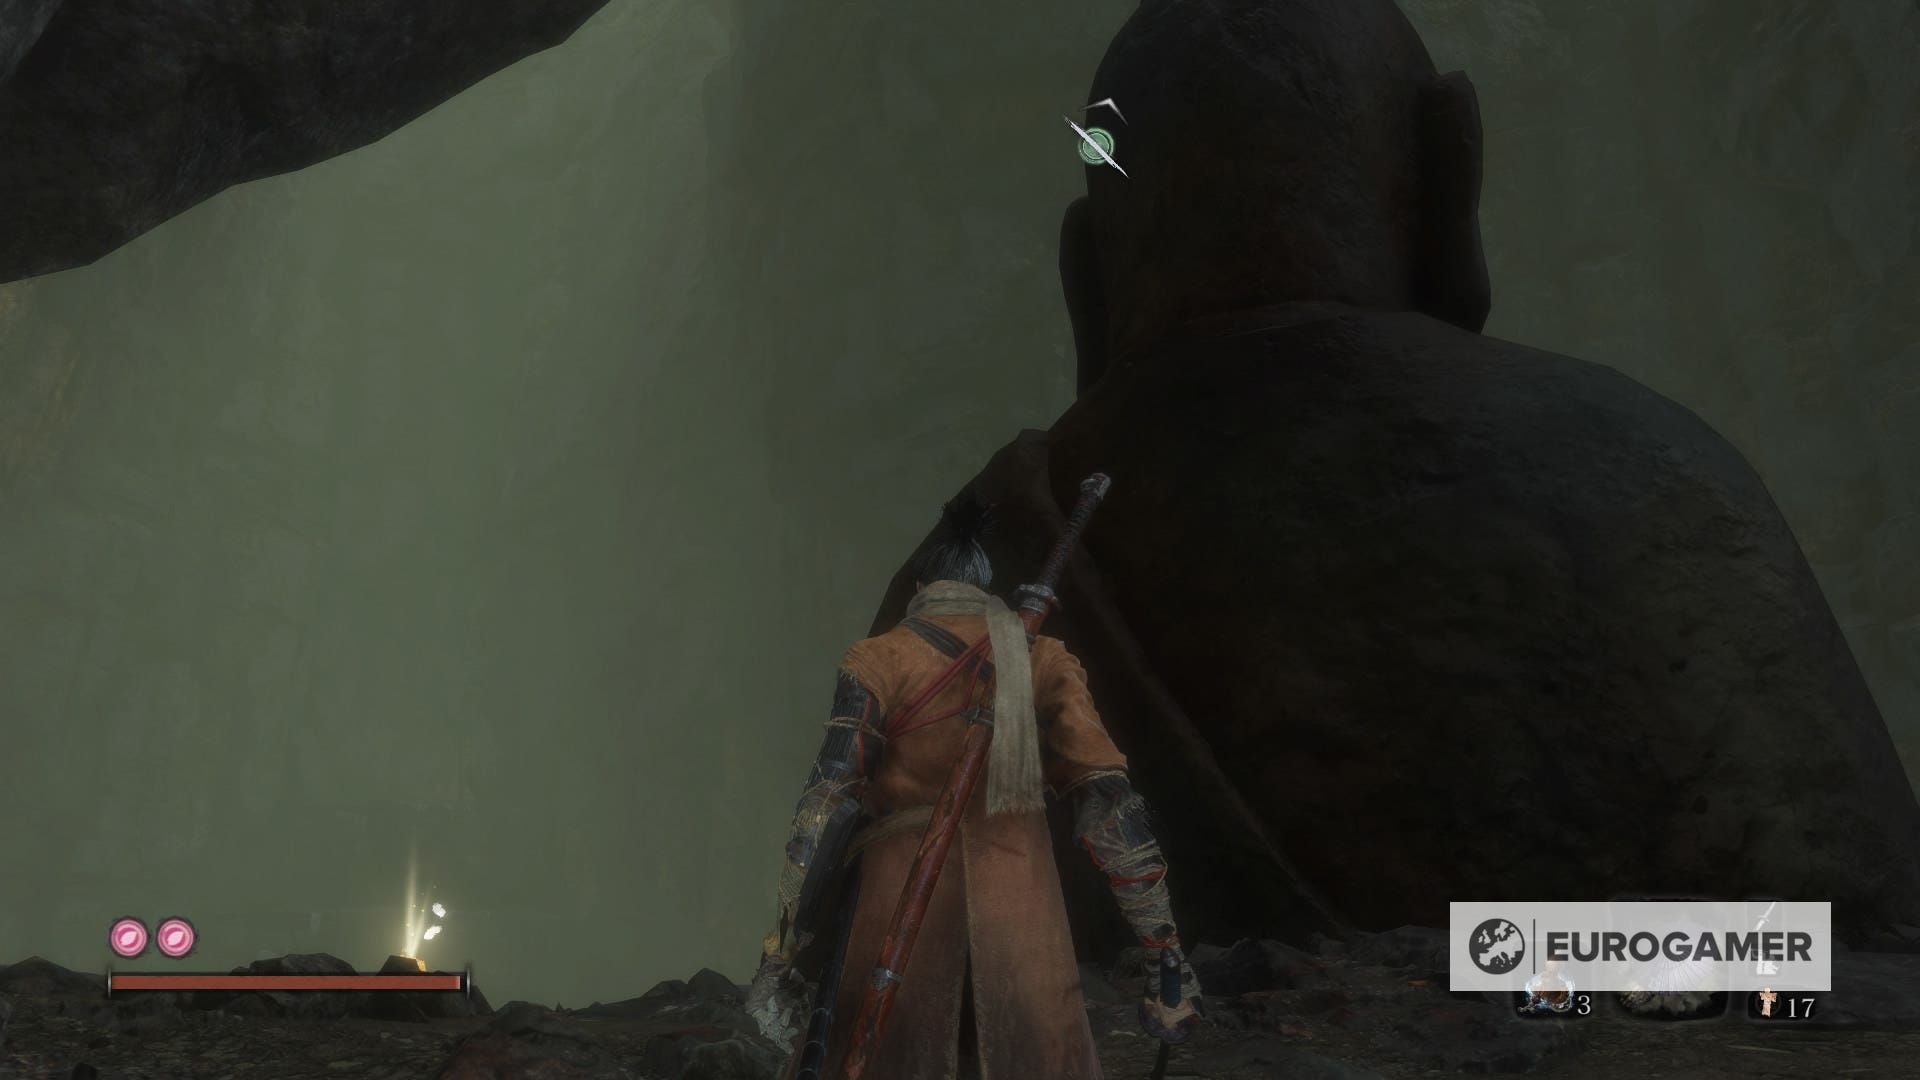
18. Sunken Valley- Sunken Valley Idol: Snake Eyes Shirafuji
From the Sunken Valley Idol, make your way grappling onwards until you see a massive Buddha statue head. In there, prepare for a fight against Snake Eyes Shirafuji, and obtain a Prayer Bead for your trouble after defeating her.
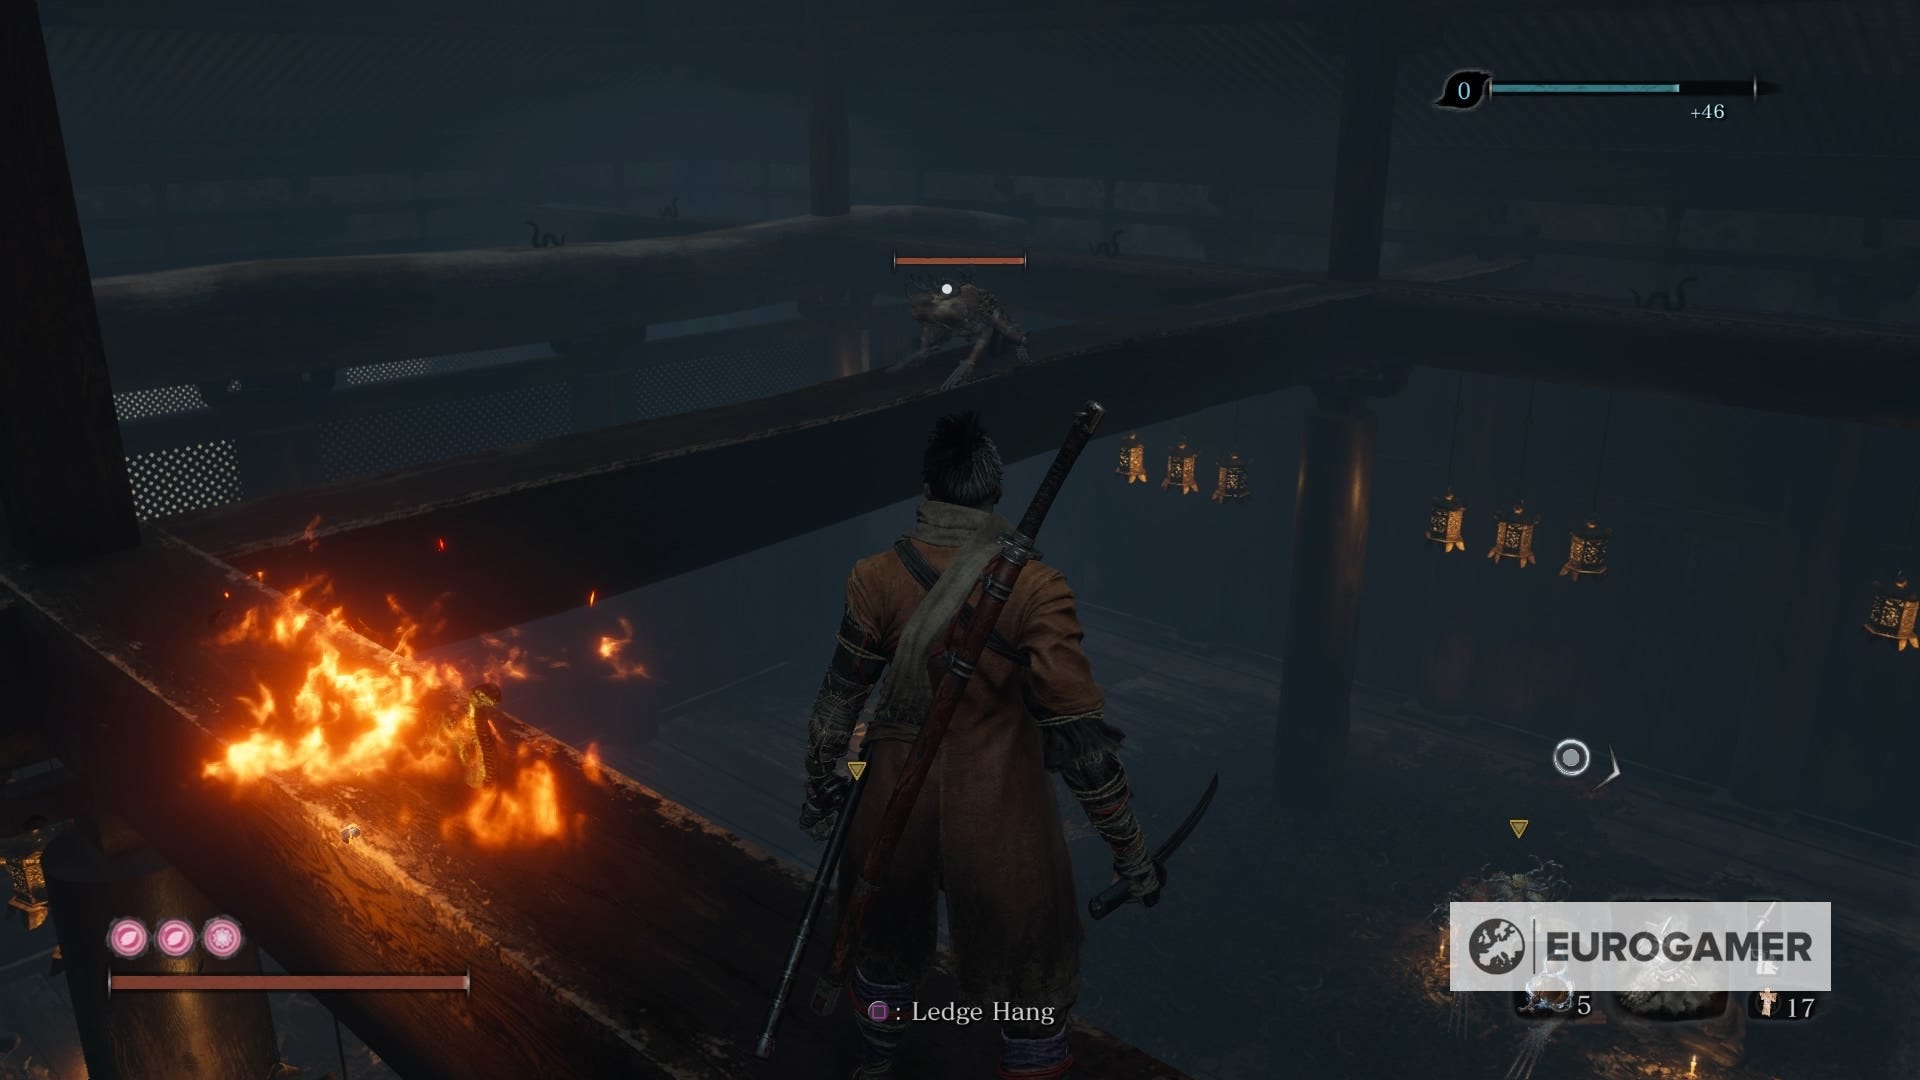
19. Sunken Valley - Gun Fort Idol: Long-arm Centipede Giraffe
Following from the Gun Fort Idol, you'll have to face Long-arm Centipede Giraffe. Do so, and as you probably guessed, there's a Prayer Bead as reward.
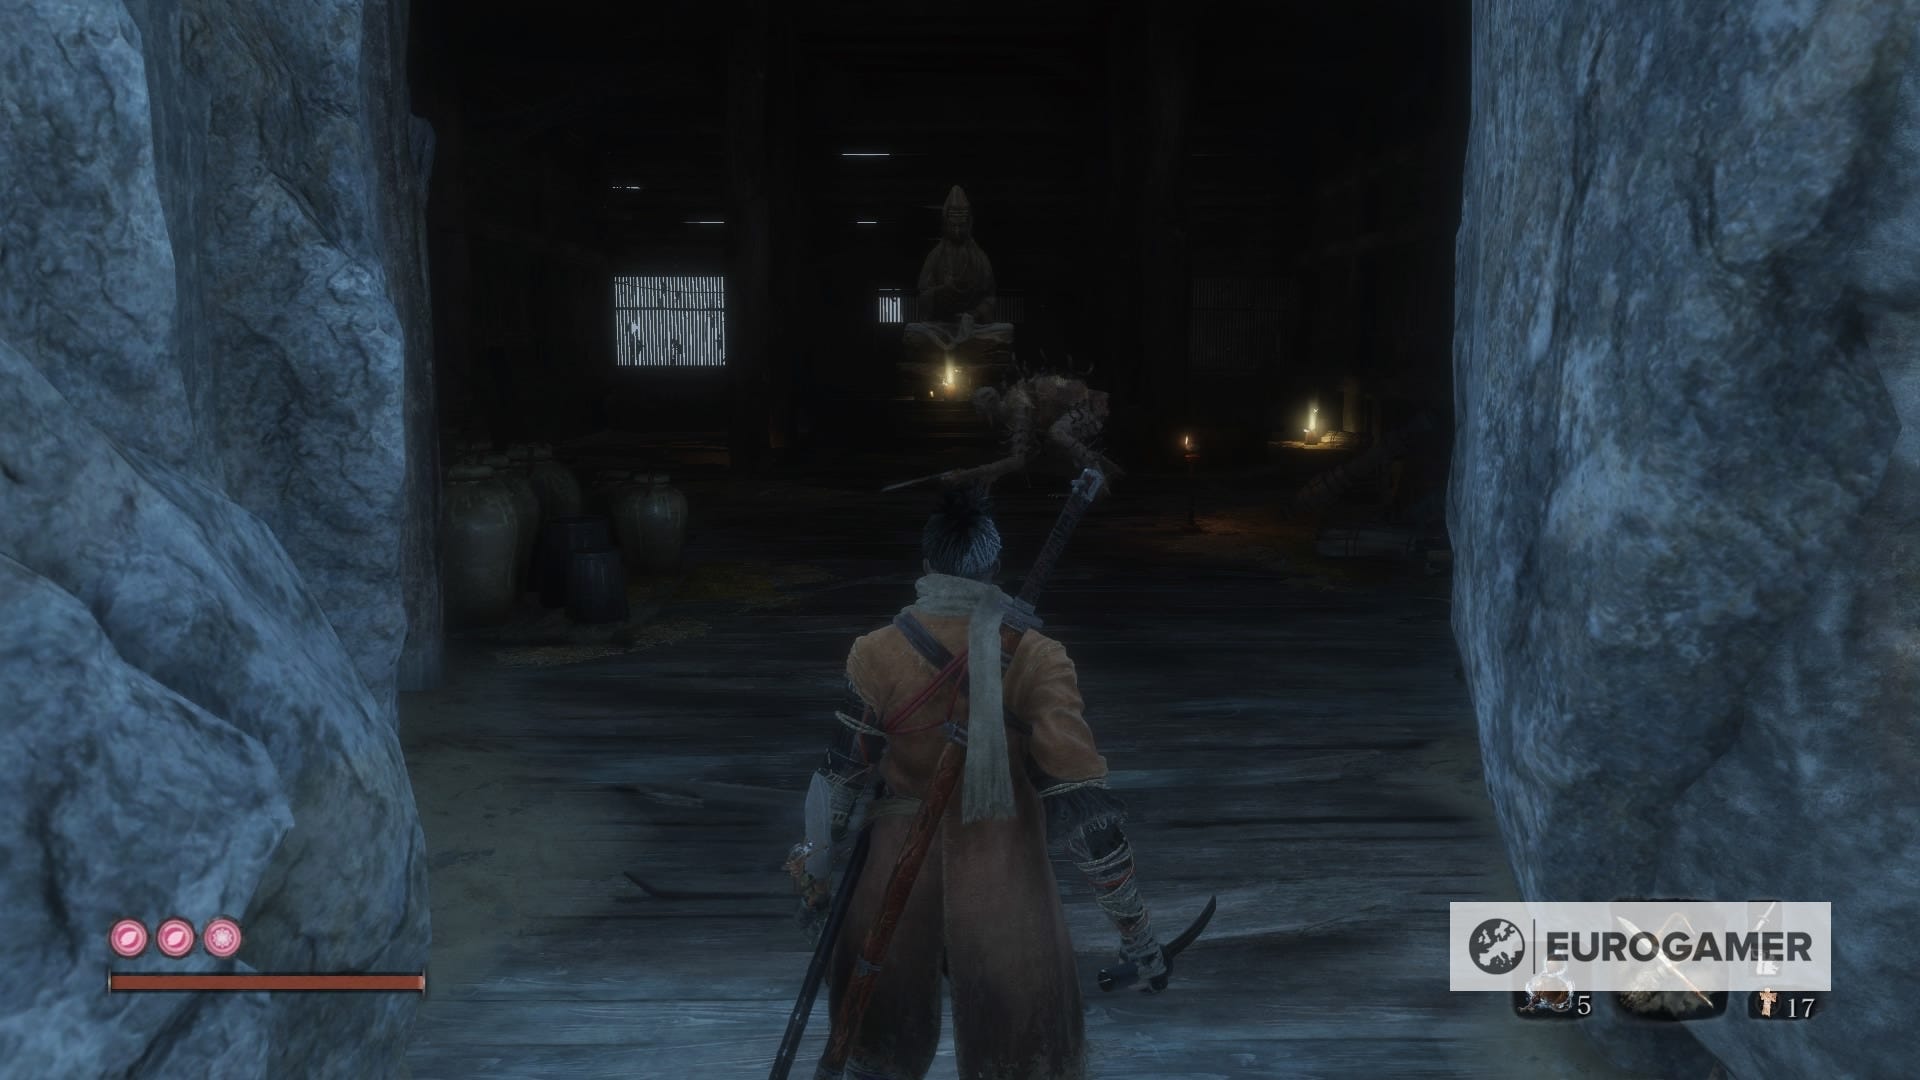
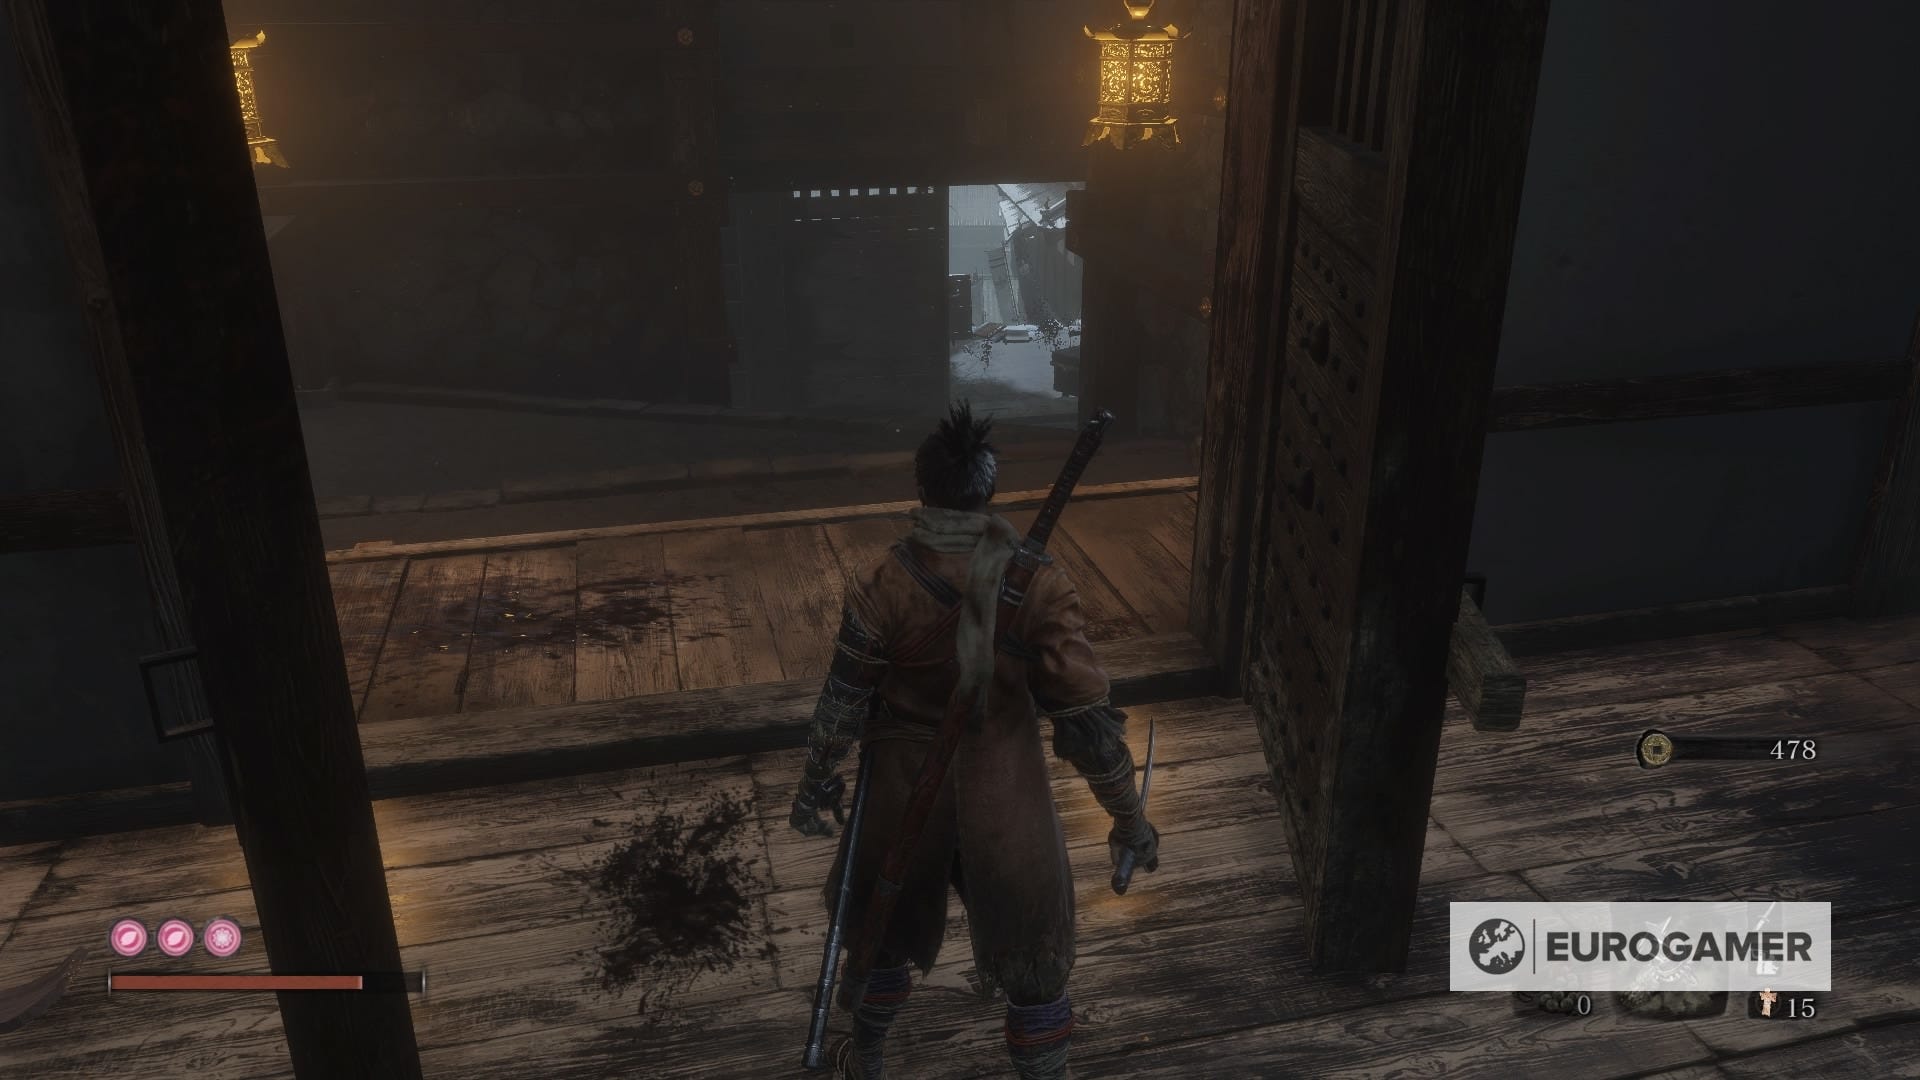
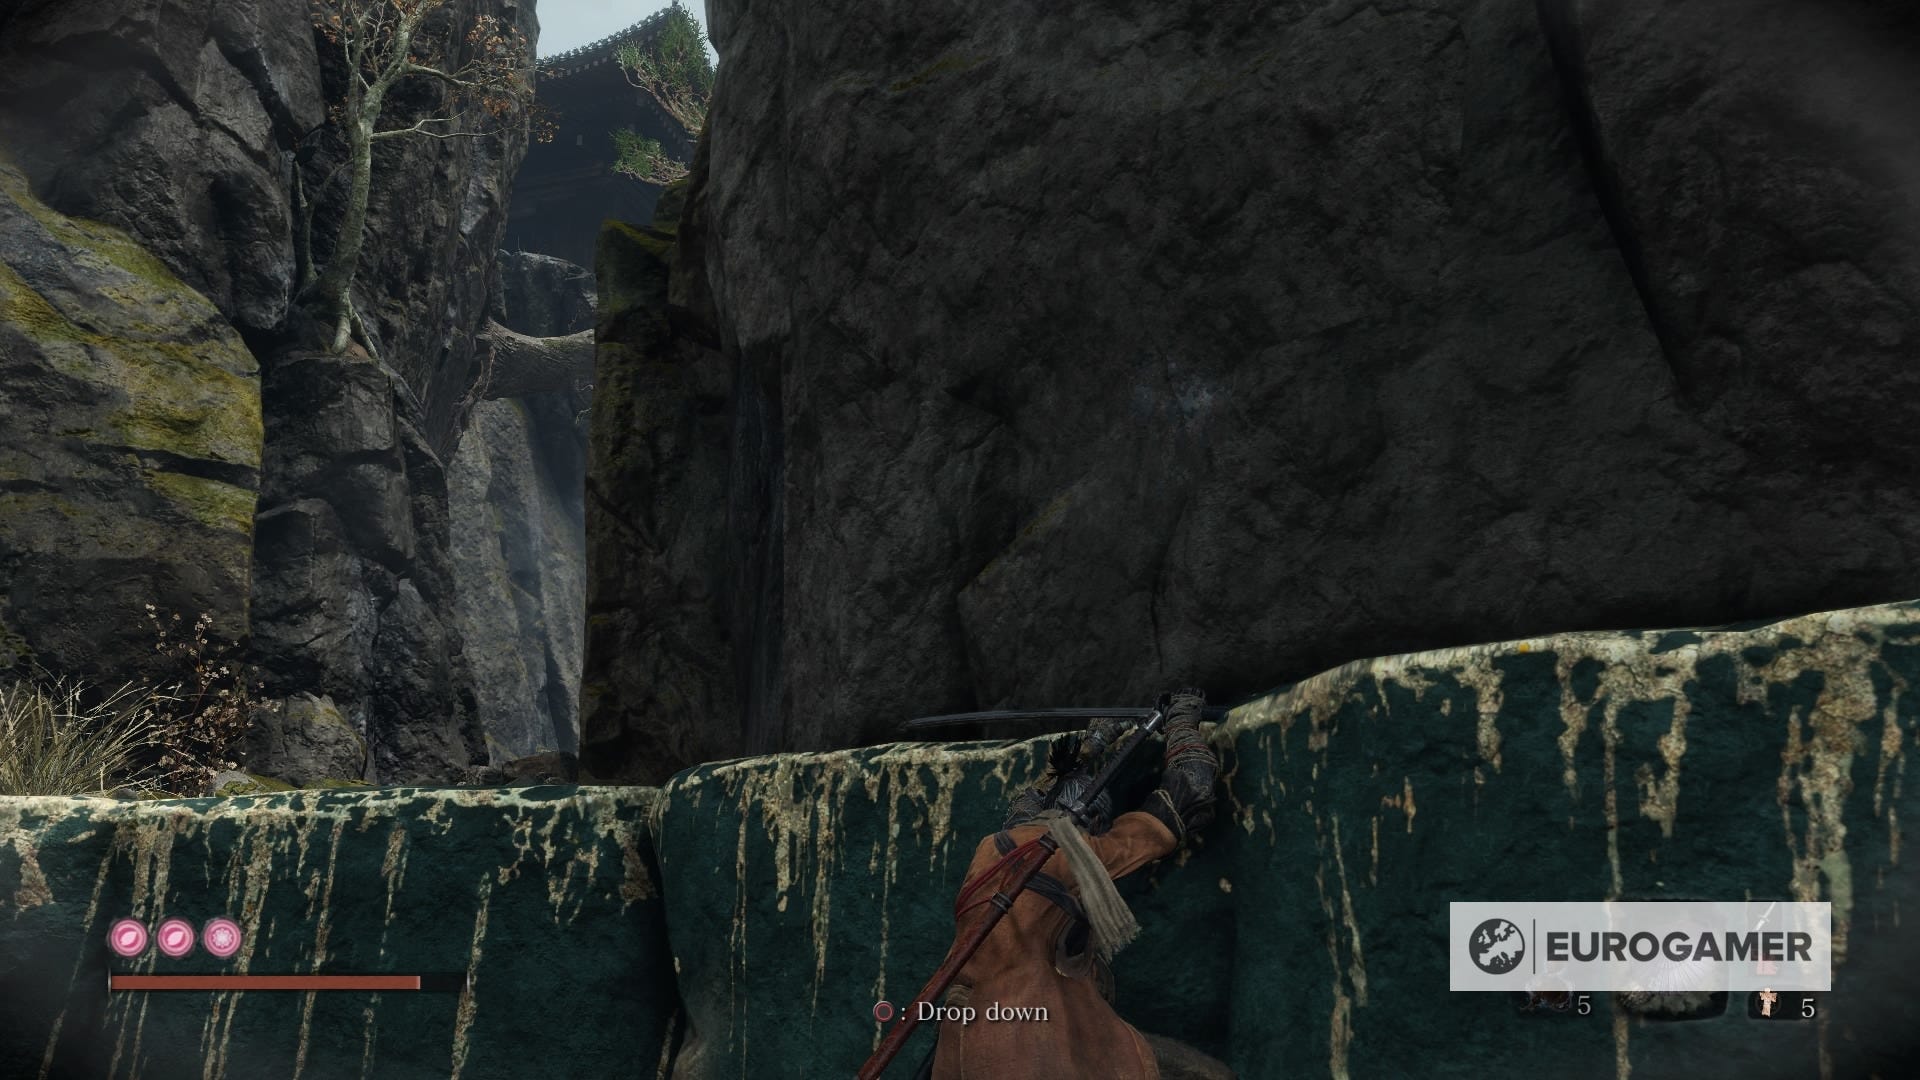
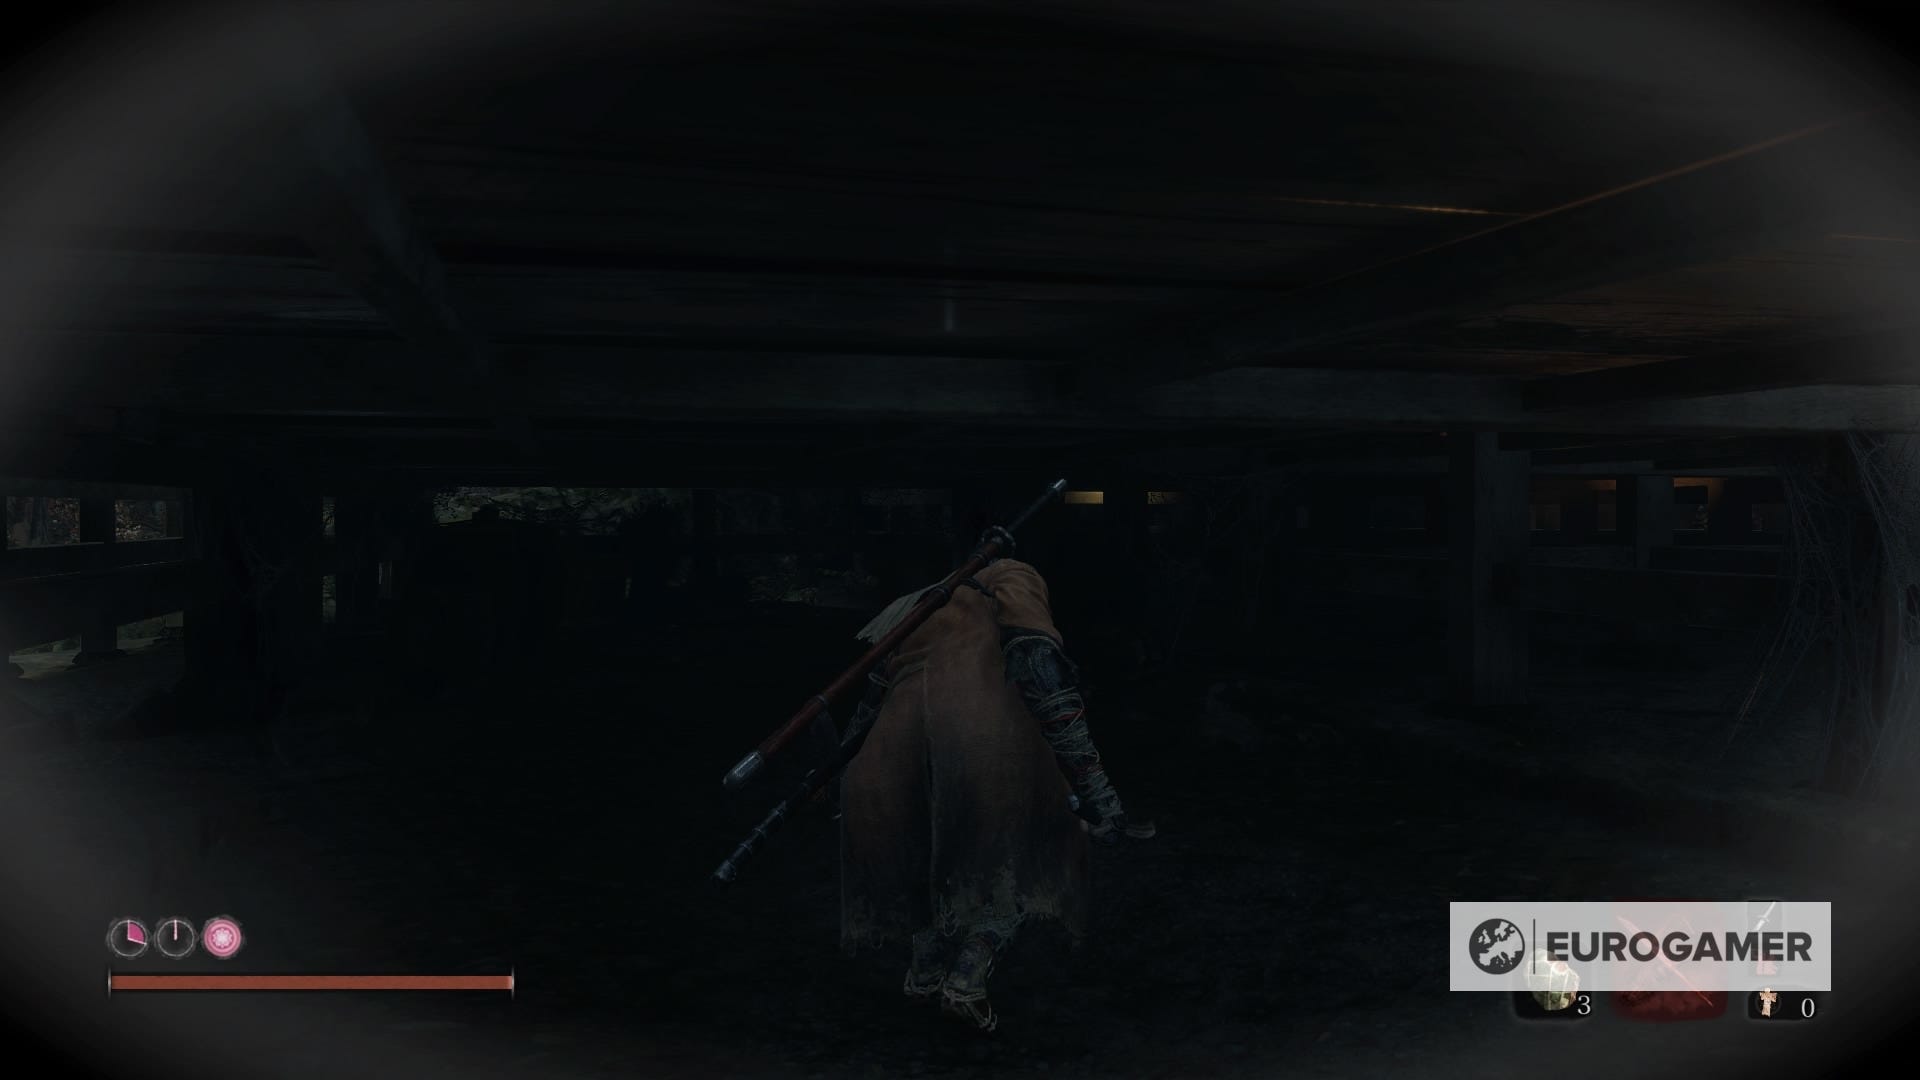
20. Sunken Valley - Gun Fort Idol
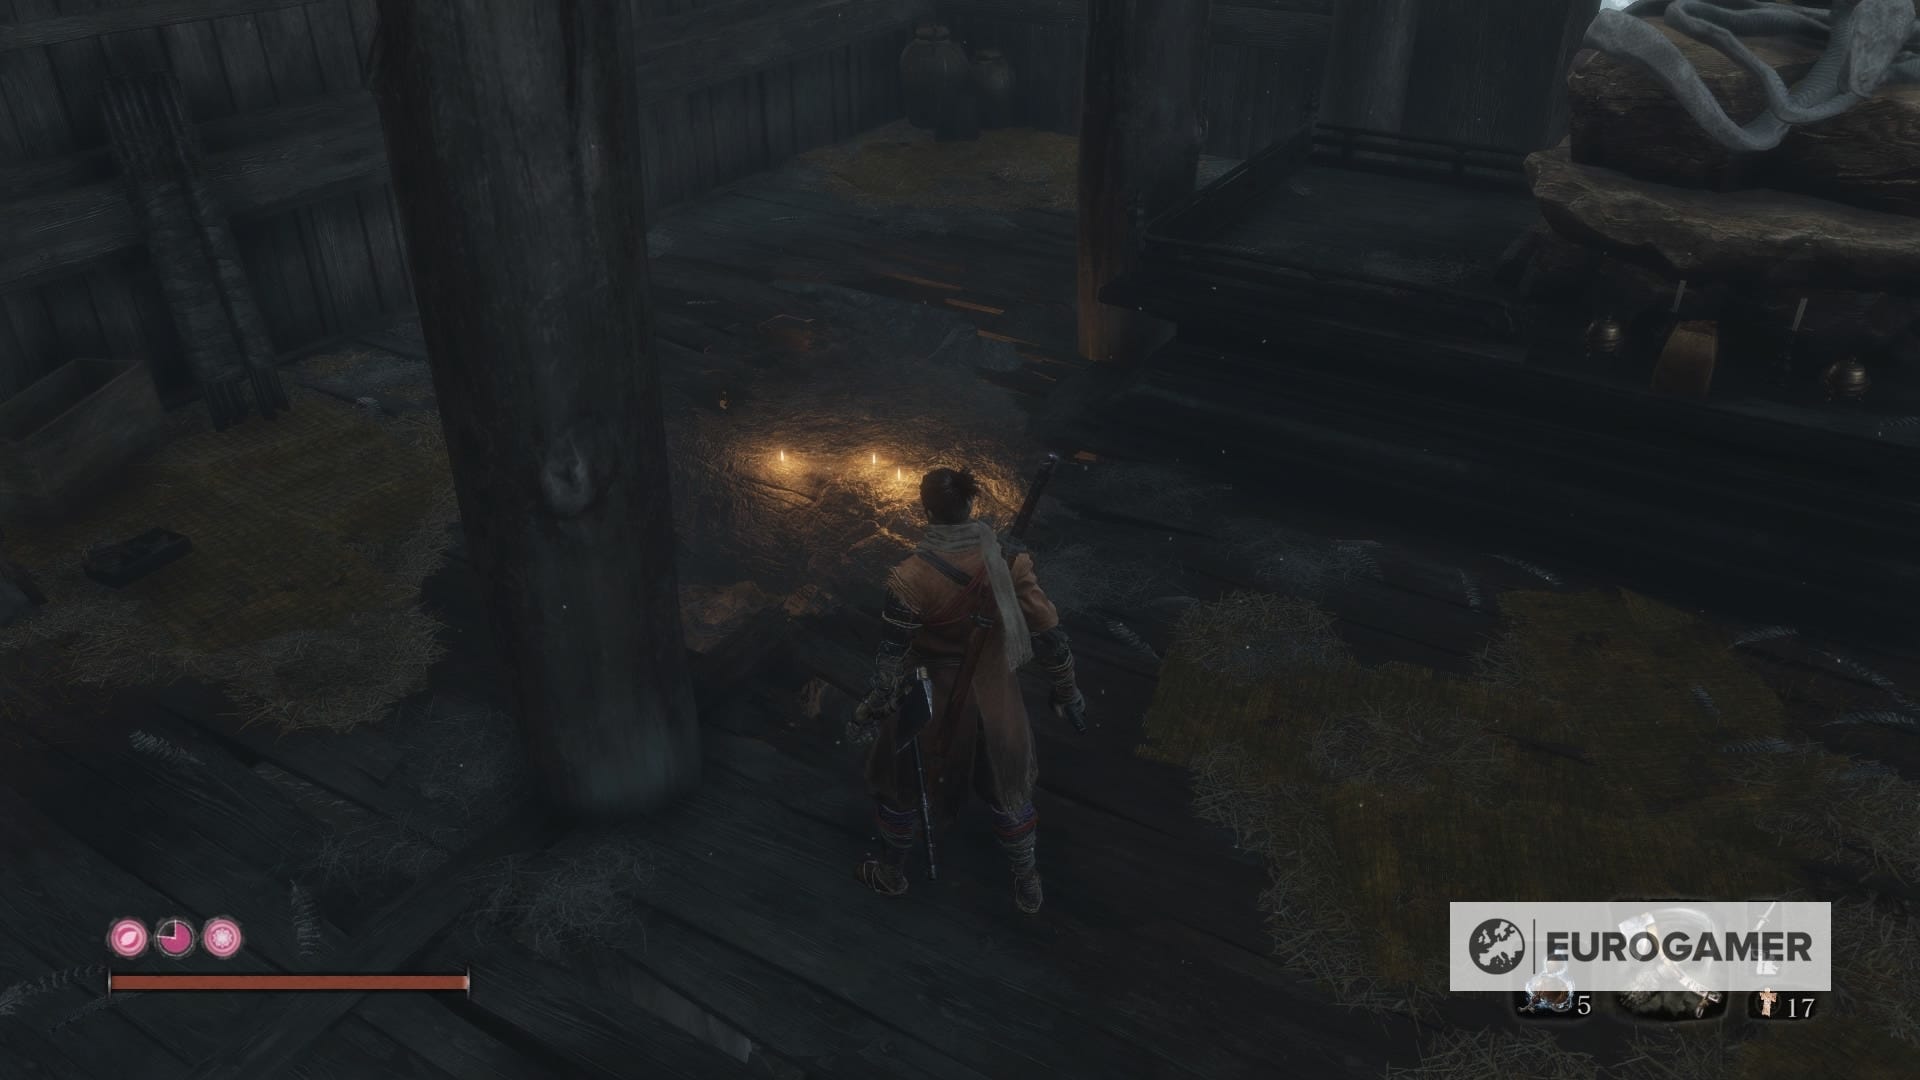
Don't go through the door just yet. See that hole in the ground on the left side to where the fight just happened? Drop inside and continue crawling until you see two paths. The one on the right is blocked, but the one on the left is the one you want.
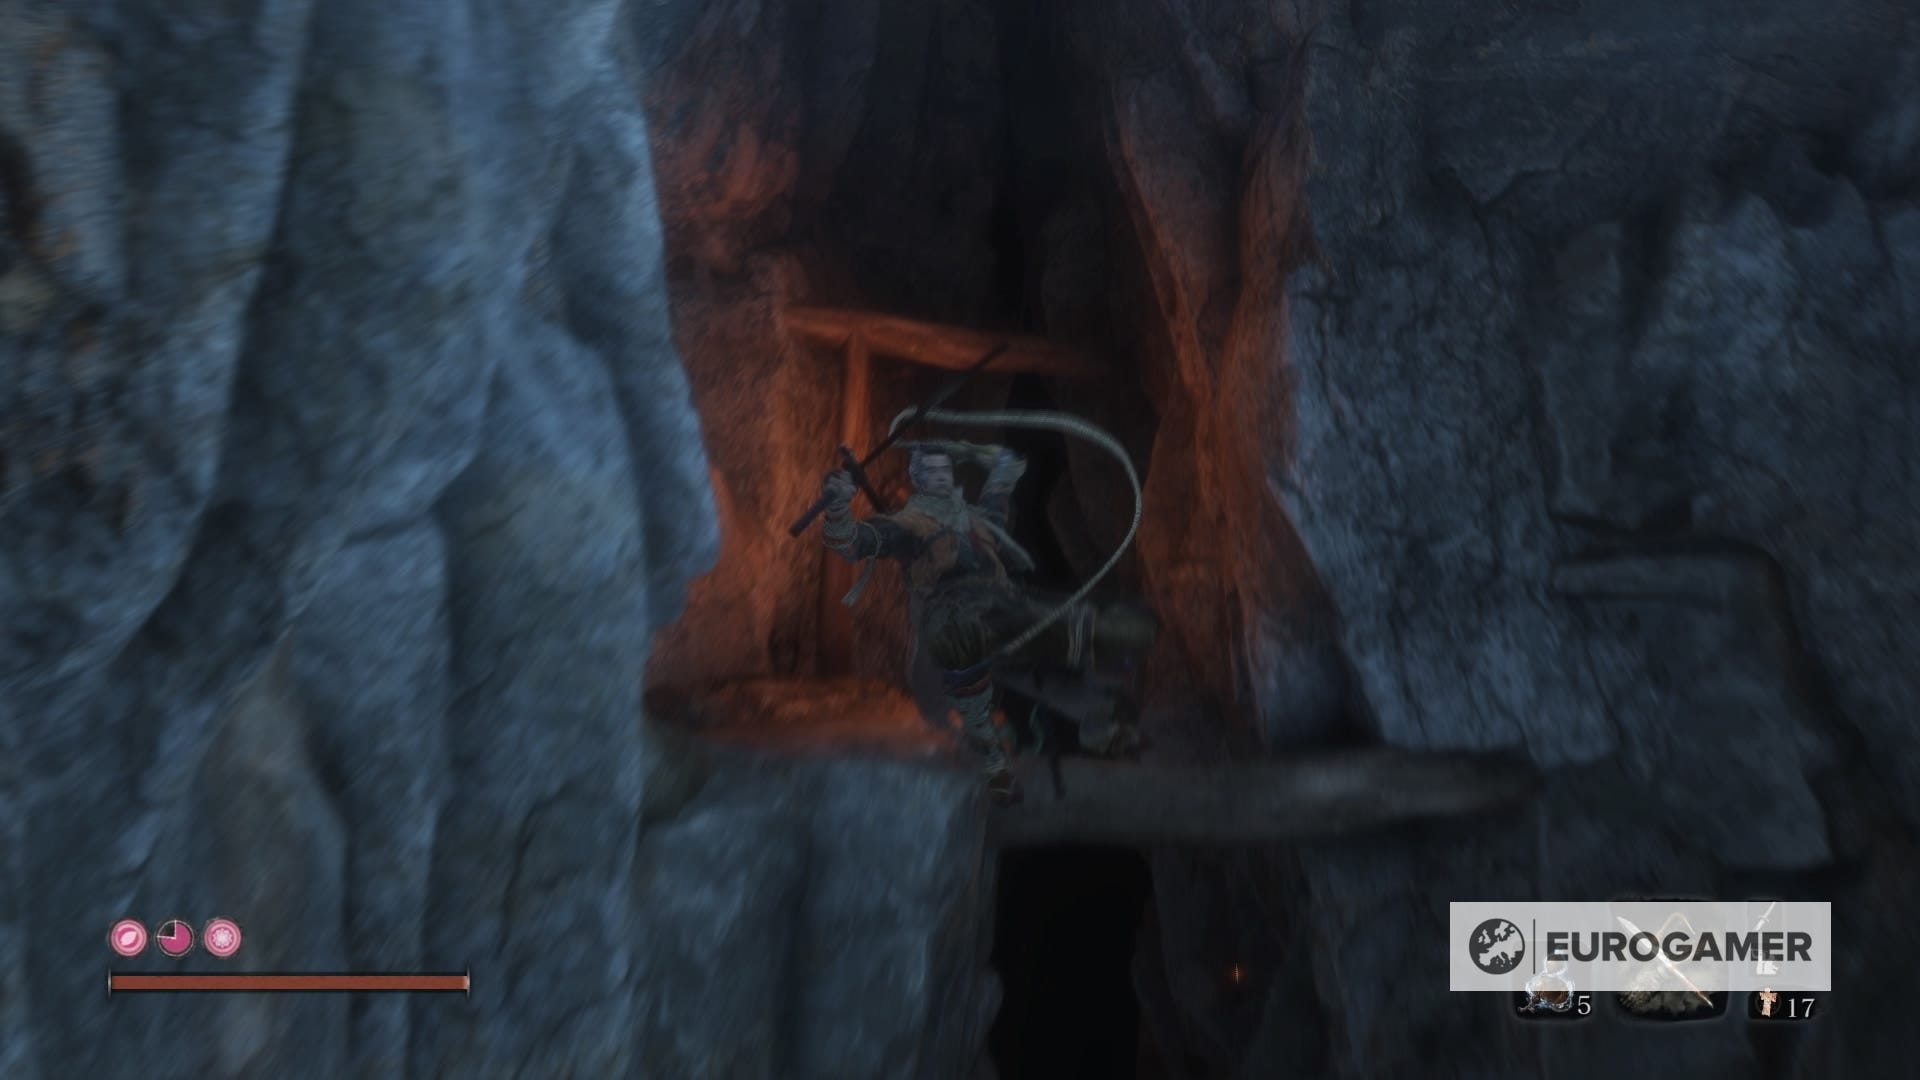
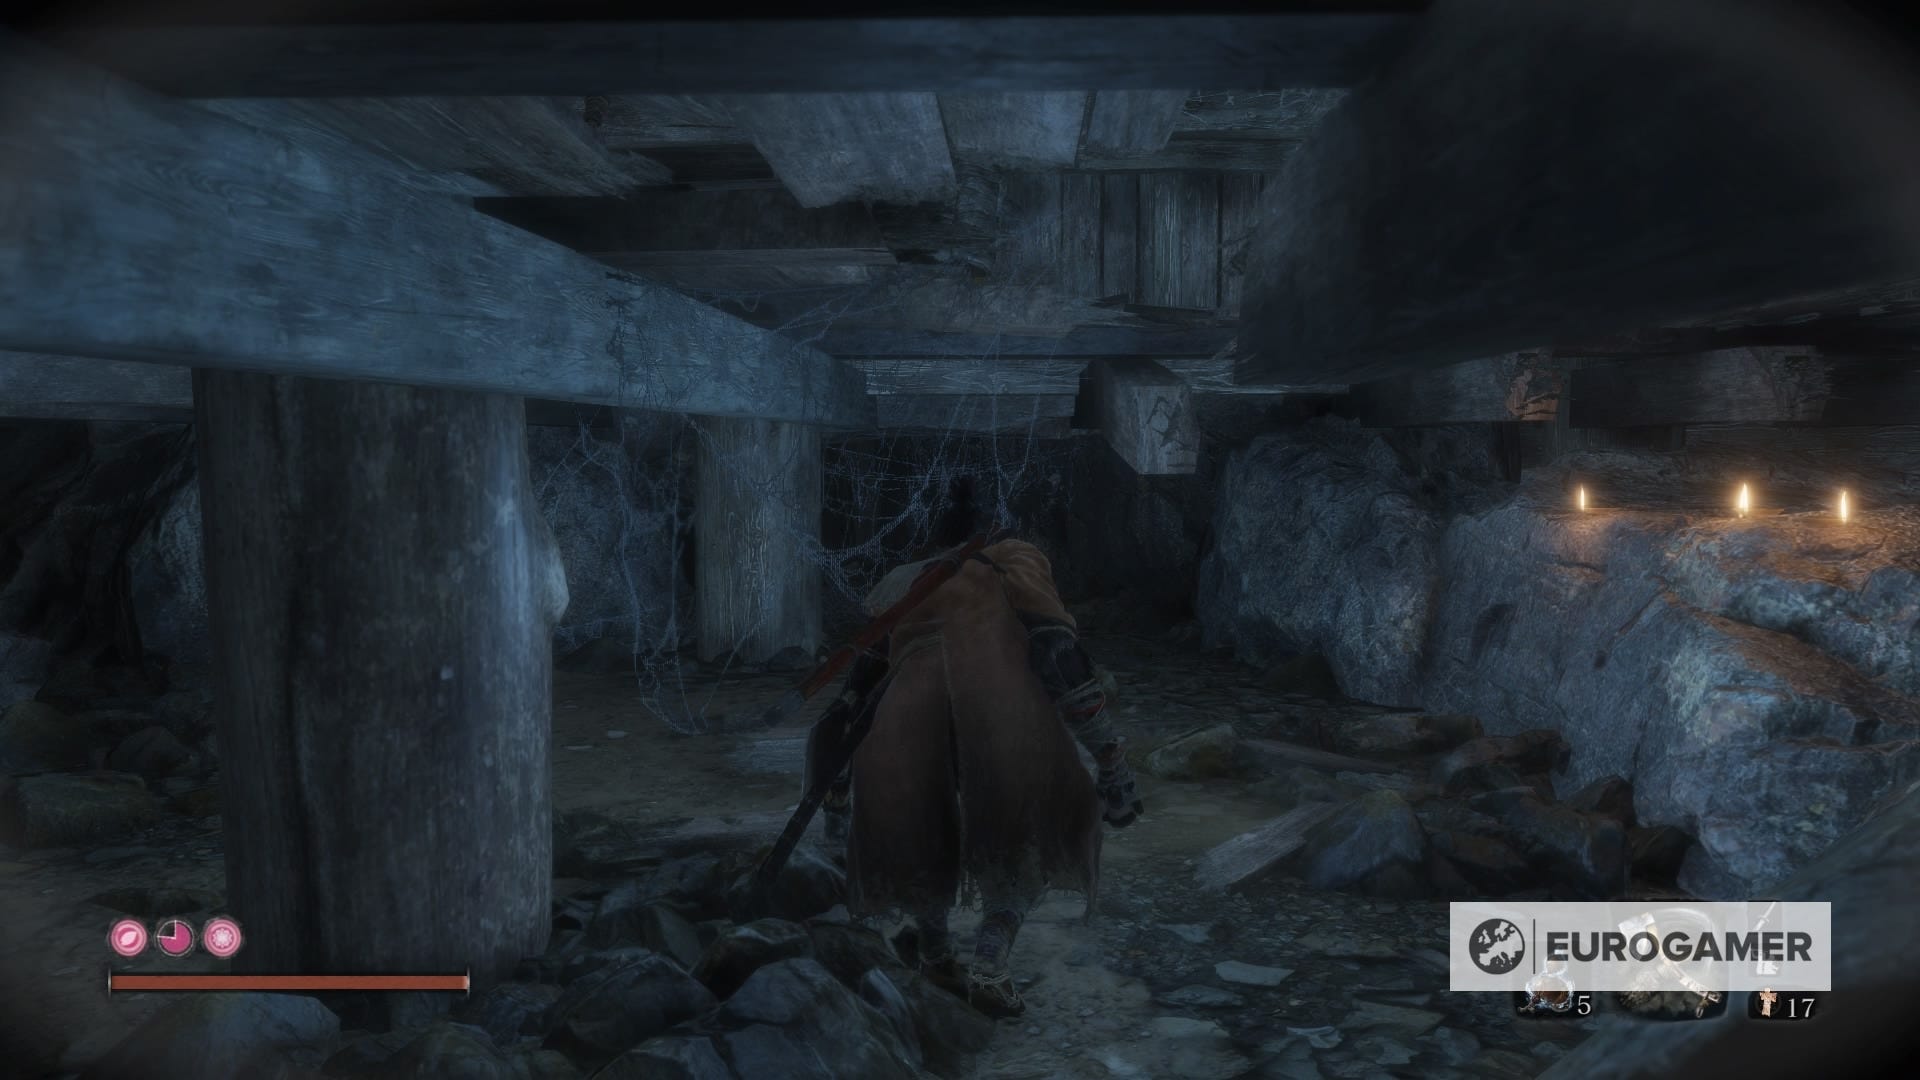
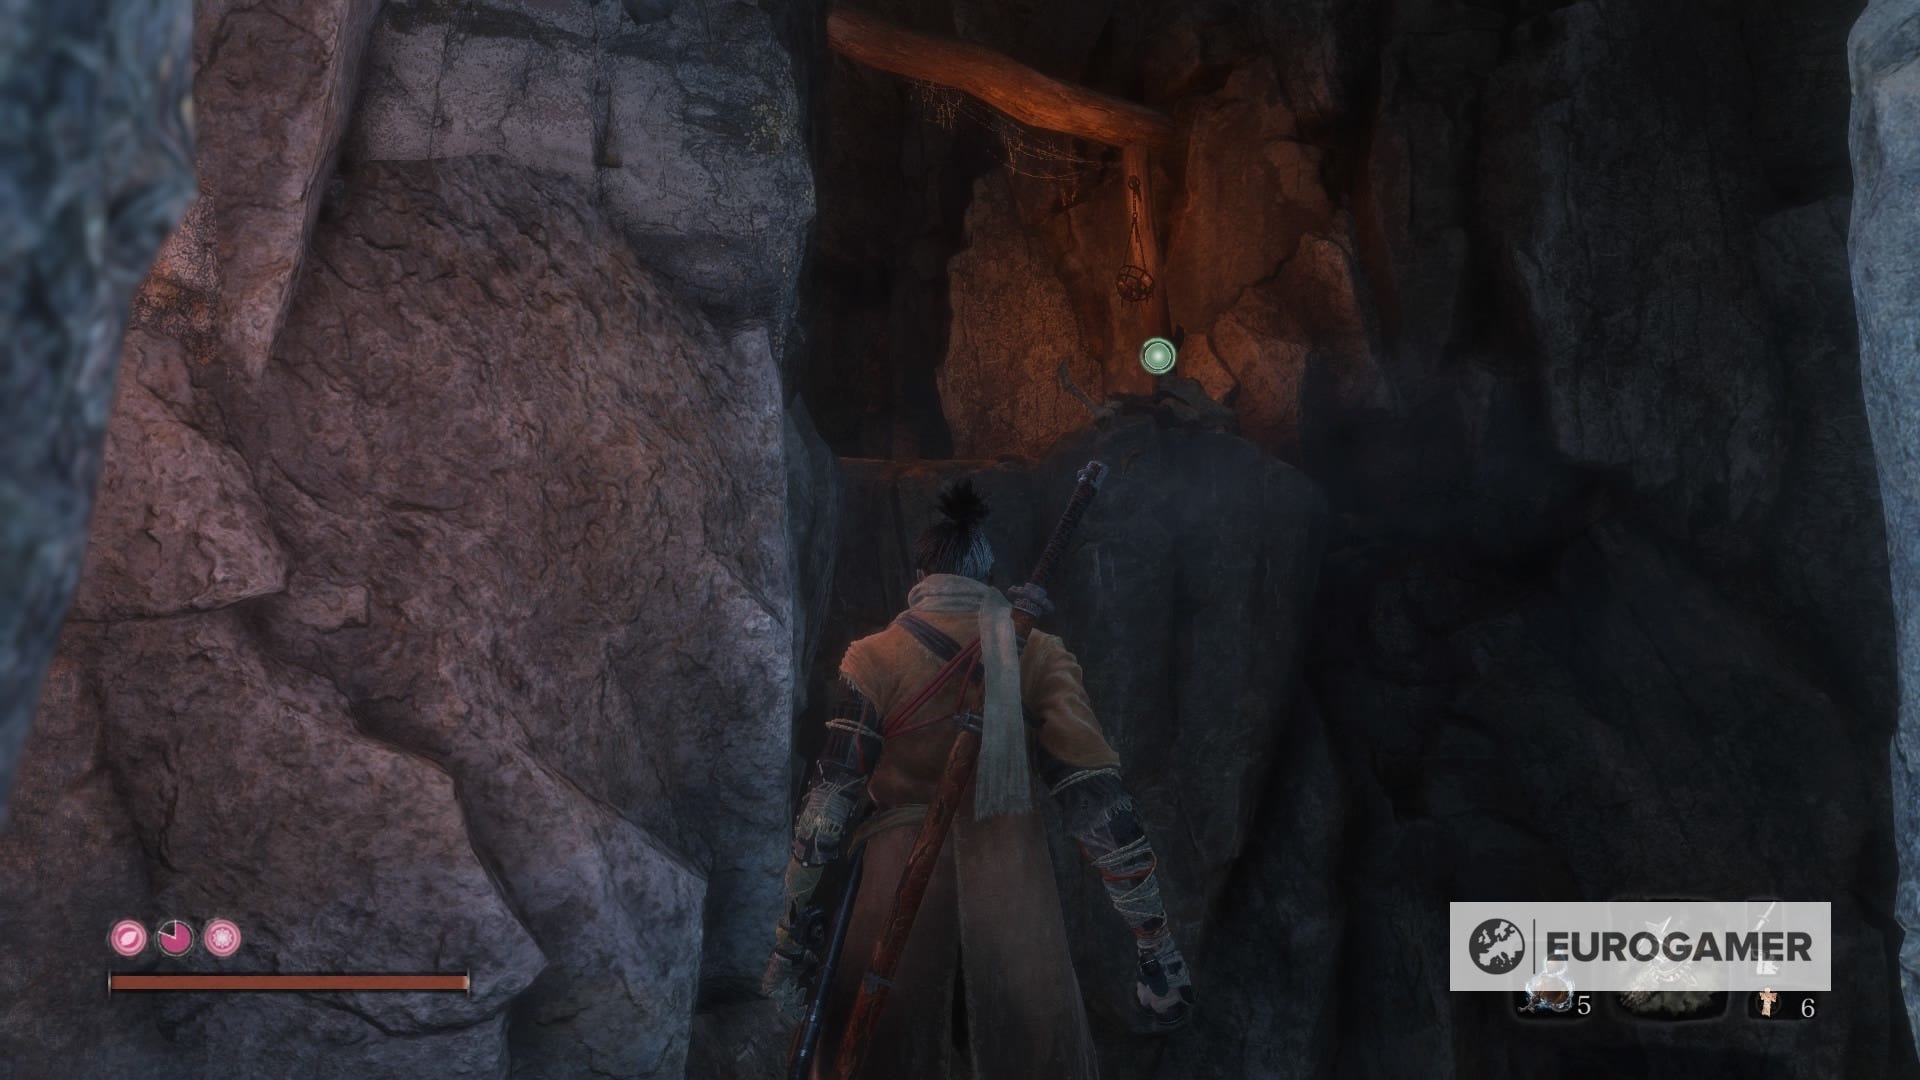
Look up and use your grapple, do it once more until you get to a place with red lights. You can get inside to fight some wall lizards and pick up x3 Divine Confetti, or just aim backwards and continue going upwards.
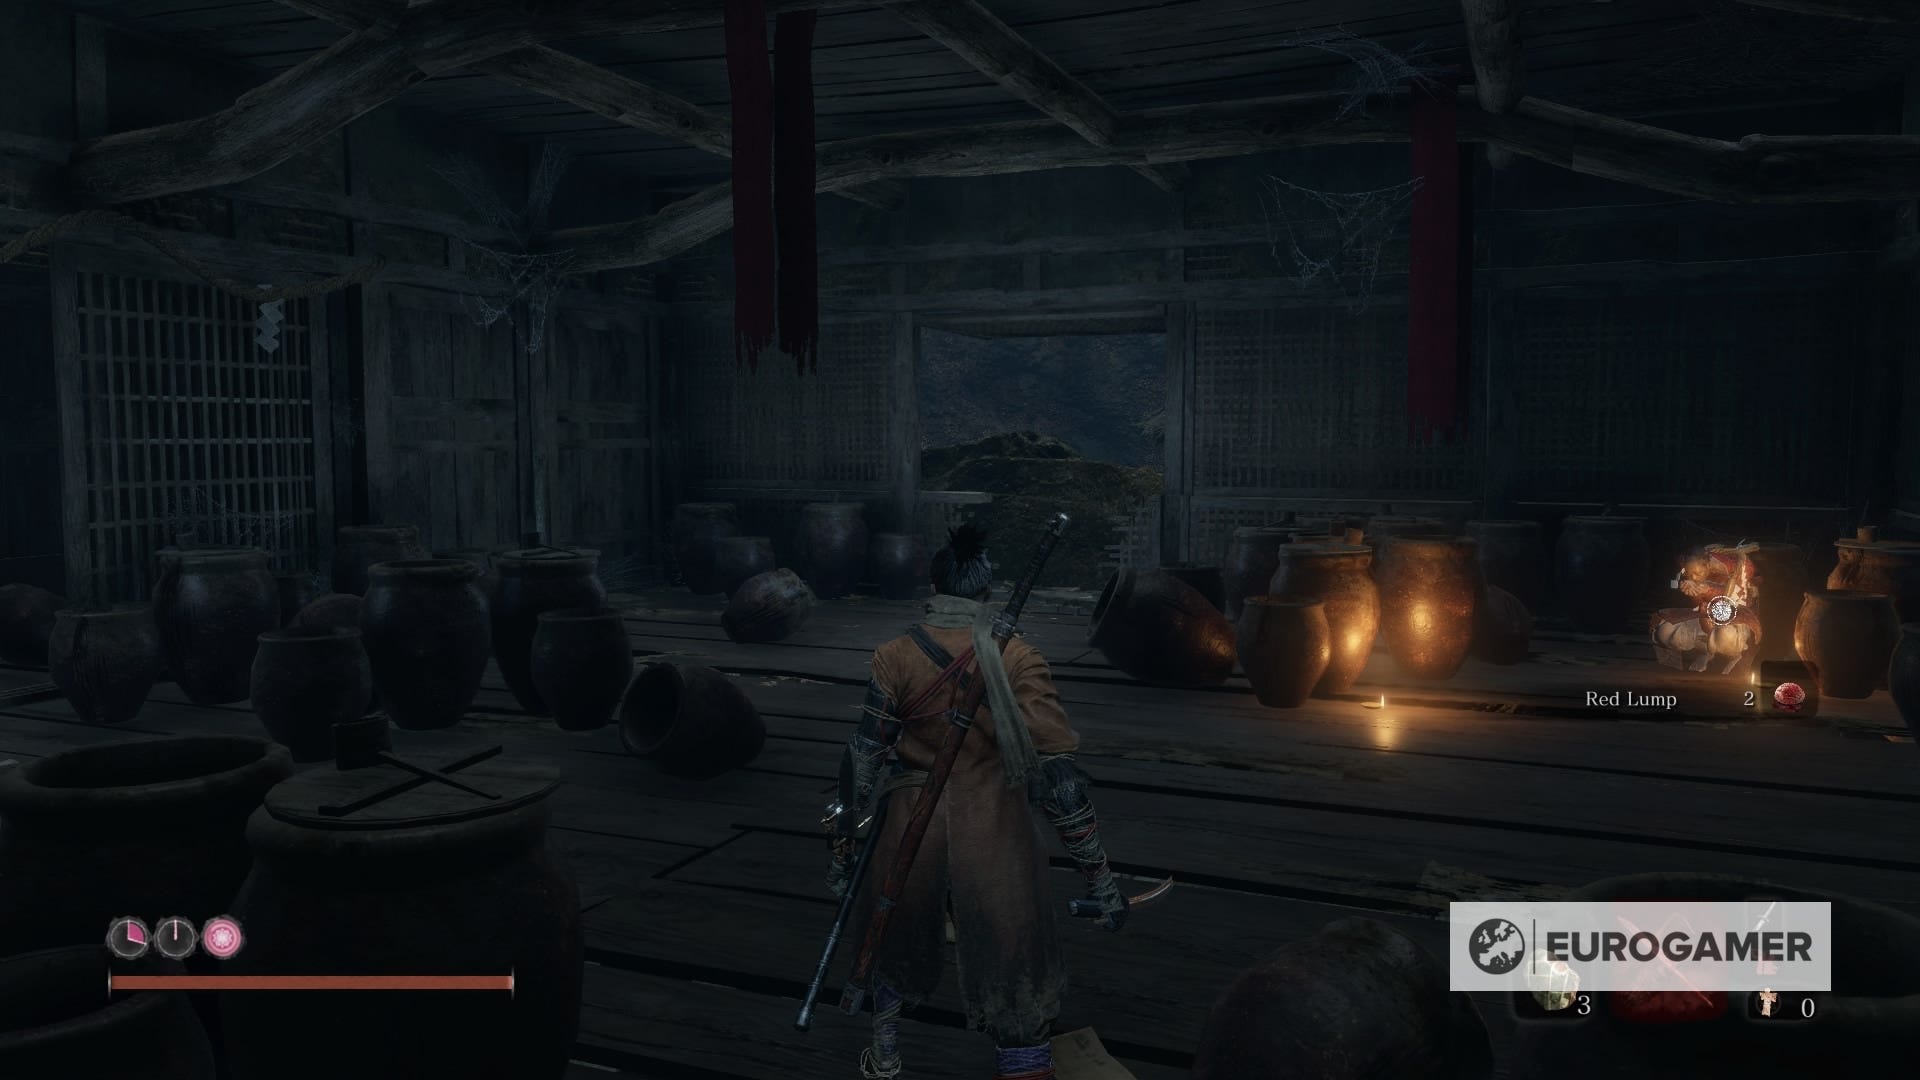
You'll start hearing sounds from small centipedes, drop and fight your way through them. Just beware of the wall lizards then, since they'll poison you easily.
Once that's settled, feel free to grab yet another Prayer Bead.

Looking for more Sekiro pages like this? First up, the first main Sekiro patch notes for update 1.03 are live. Otherwise, our Sekiro boss guide, boss list and walkthrough hub has everything in one place, including pages on Lady Butterfly, Genichiro Ashina Way of Tomoe, Folding Screen Monkeys, Corrupted Monk, Guardian Ape, Great Shinobi Owl, Emma and Isshin Ashina, True Corrupted Monk, and Divine Dragon. We also have in-depth pages like Sekiro tips and tricks to get you started, Sekiro Skills, skill tree and Esoteric Text locations explained, our deep dive on the Sekiro combat system, Posture, and Perilous Attacks, or details on all Sekiro Prosthetic Tool locations, how to cure Dragonrot and Rot Essence in Sekiro, Gourd Seed locations, a Divine Confetti farm route method, all Treasure Carp Scale locations, all, Prayer Beads locations and all Snap Seed locations, too. And when you're ready - the how to beat Isshin Sword Saint and an Isshin Sword Saint cheese, plus the many Sekiro endings.

21. Ashina Depths - Ashina Depths Idol: Snake Eyes Shirahagi
There are two Prayer Beads to pick up from here, but first, guess what? Yes, it's another mini boss, named Snake Eyes Shirahagi. The best way to approach her is the following: from the Idol, fall into the wooden platform beneath, and then onto the next one on the right side. Move just a bit and you'll notice a gunner behind. Just drop yourself and stealth kill him.
Now, you'll want to get across by using the grapple until a statue head, fall to the left side so there's no risk of Shirahagi seeing you. Sneak up on her and the fight will begin, only that you'll have the upper hand.
If it seems too hard at first, we recommend that you perform double jumps on her, which will do posture damage and grant you the change to do a quick few hits. There's your first Prayer Bead, along with a new area to explore just ahead.
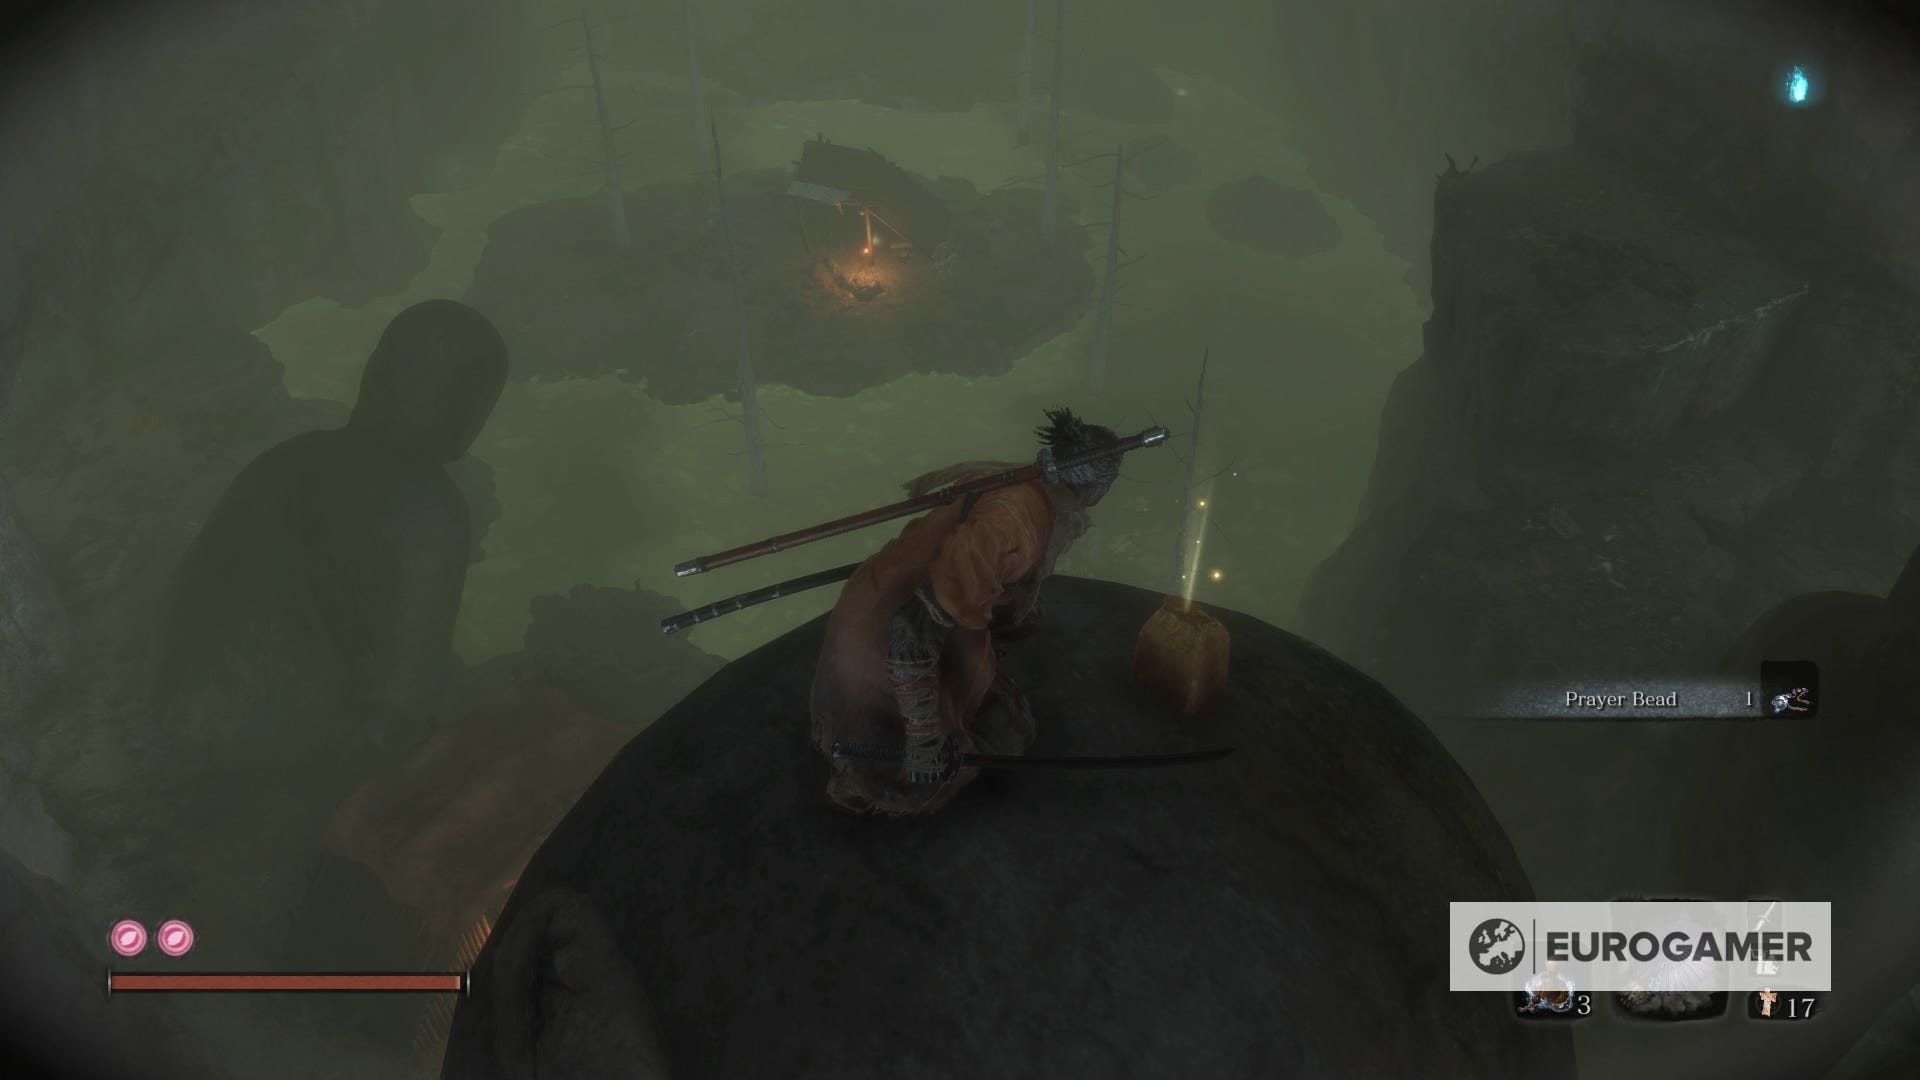
22. Ashina Depths - Ashina Depths Idol
In fact, that's where we have to go next. Keep going through the corridor and make a turn to the left when you get the chance. Crouch and progress through there until you meet a place where you can get up again.
Jump to the left, keep moving upwards by jumping on the walls and you'll be back at the surface, only that from a much higher perspective. Grab the item and then use your grapple onto another head statue. There's your second Prayer Bead.
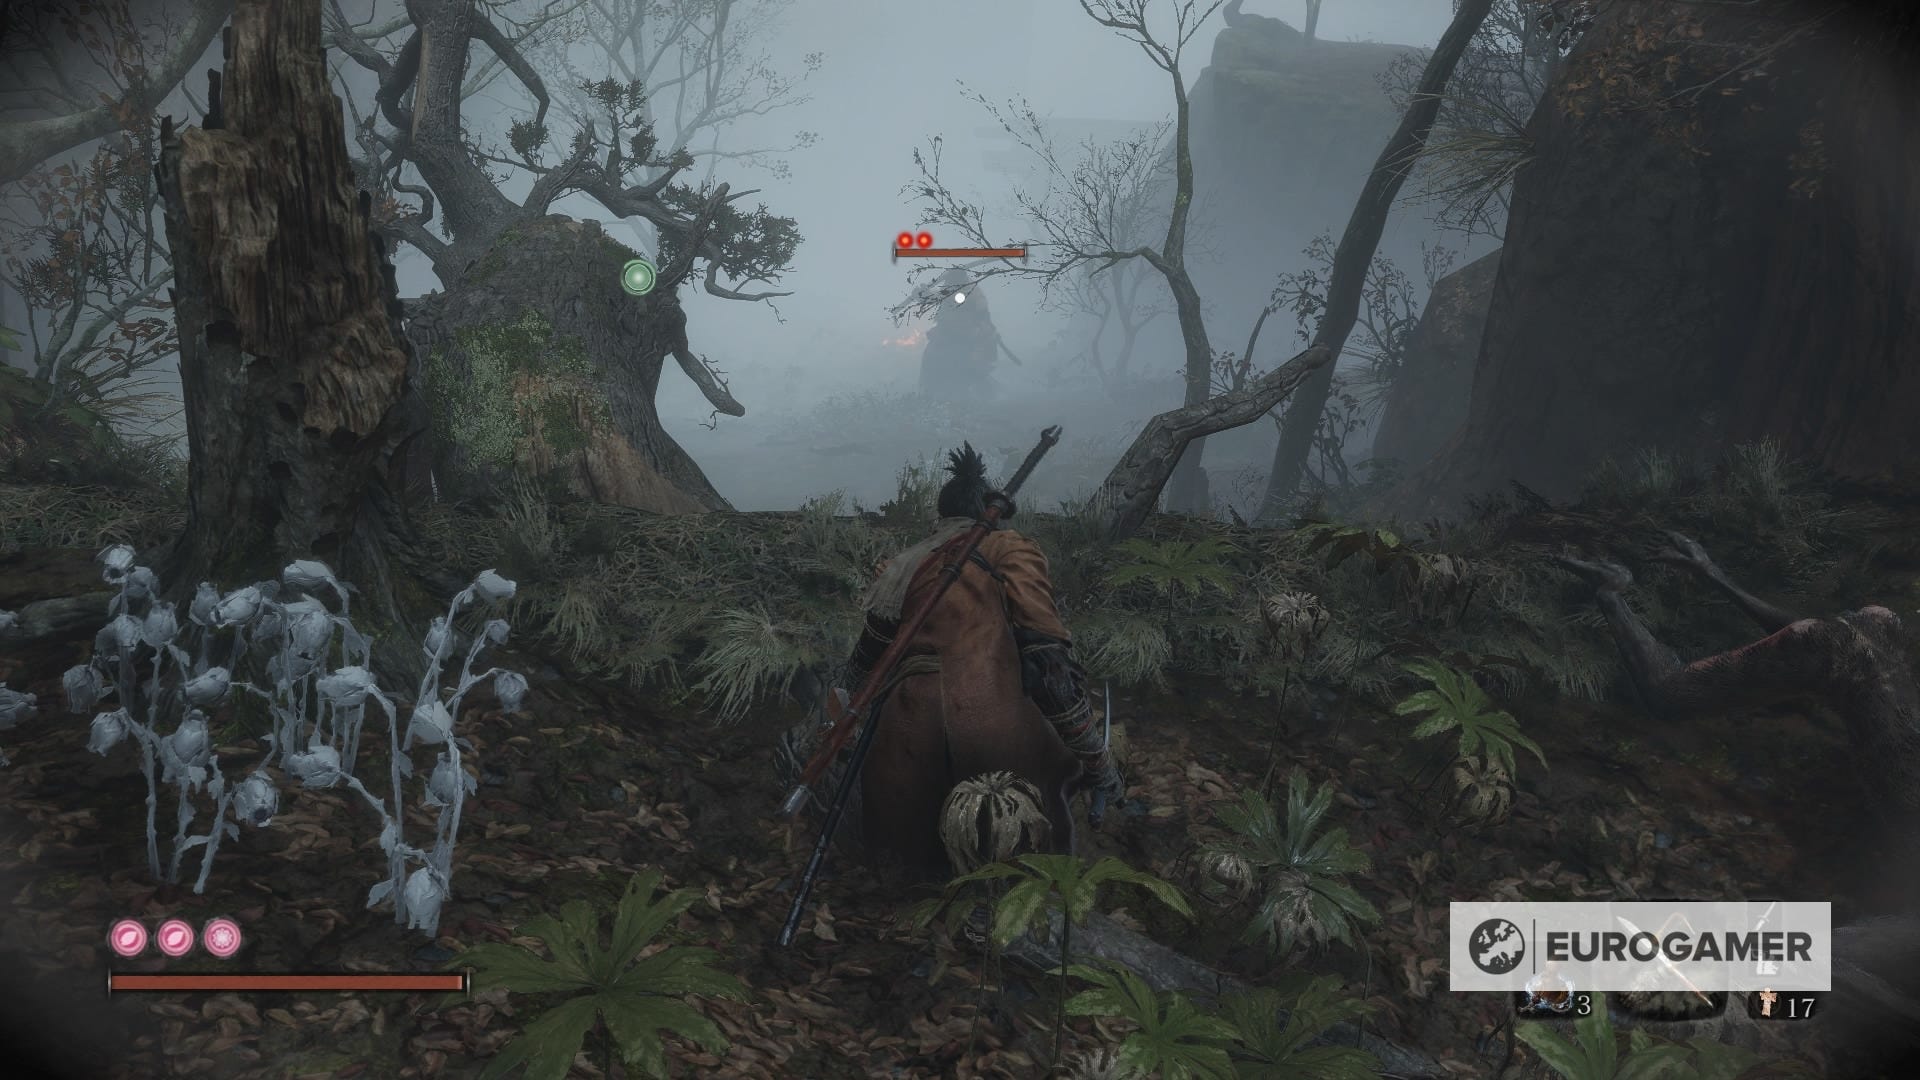
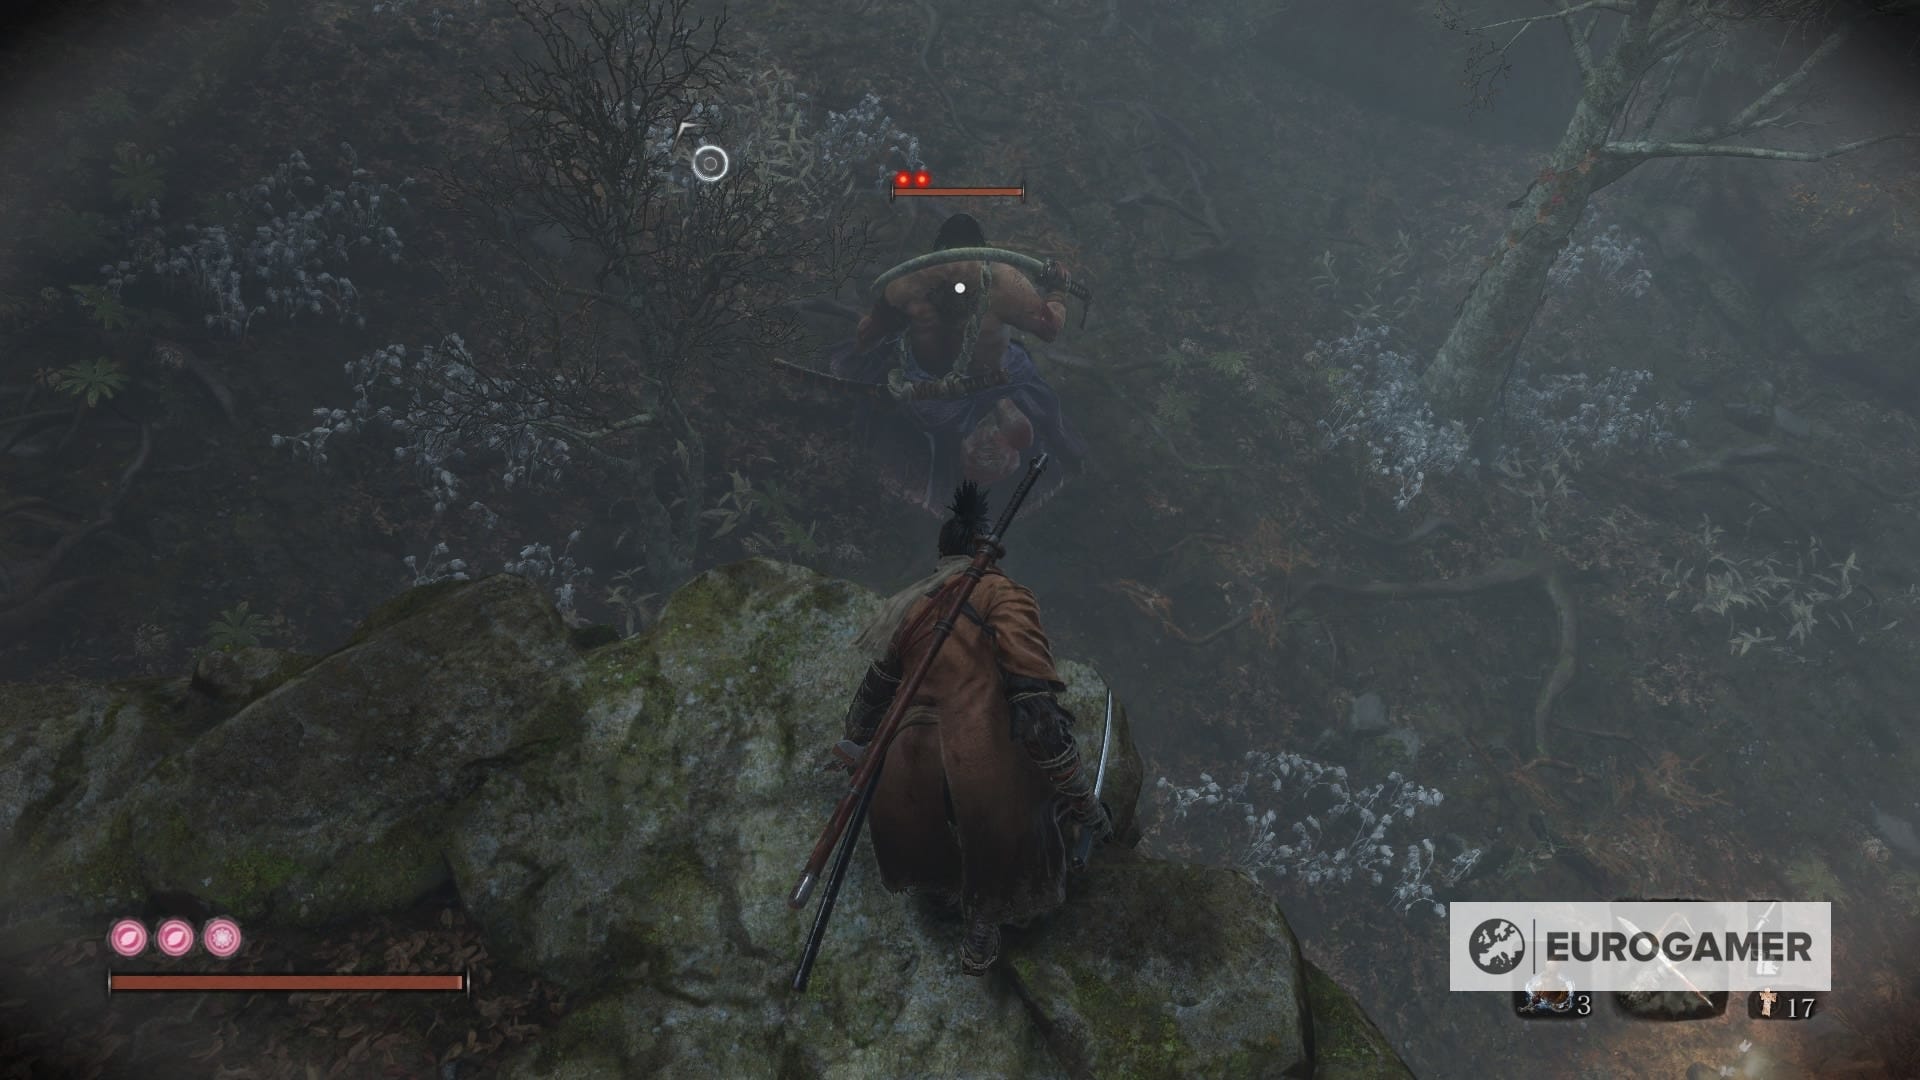
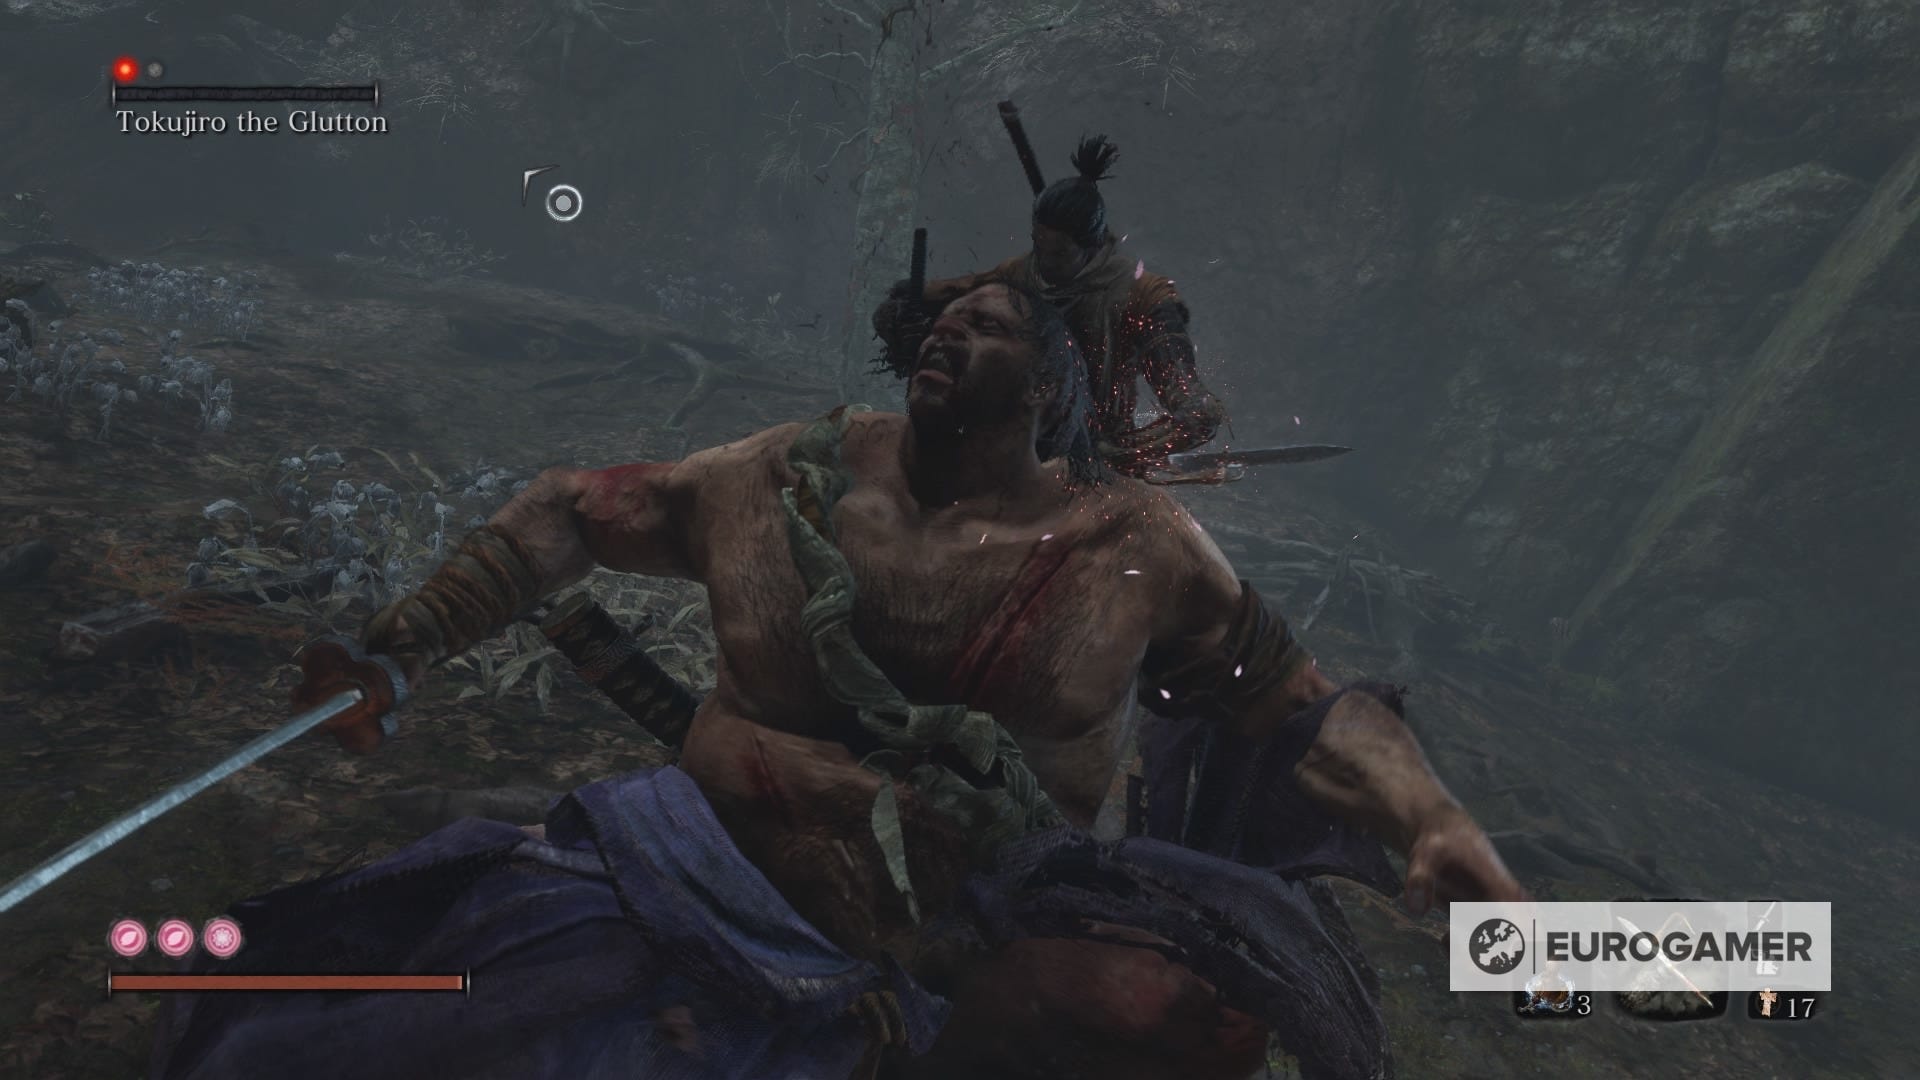
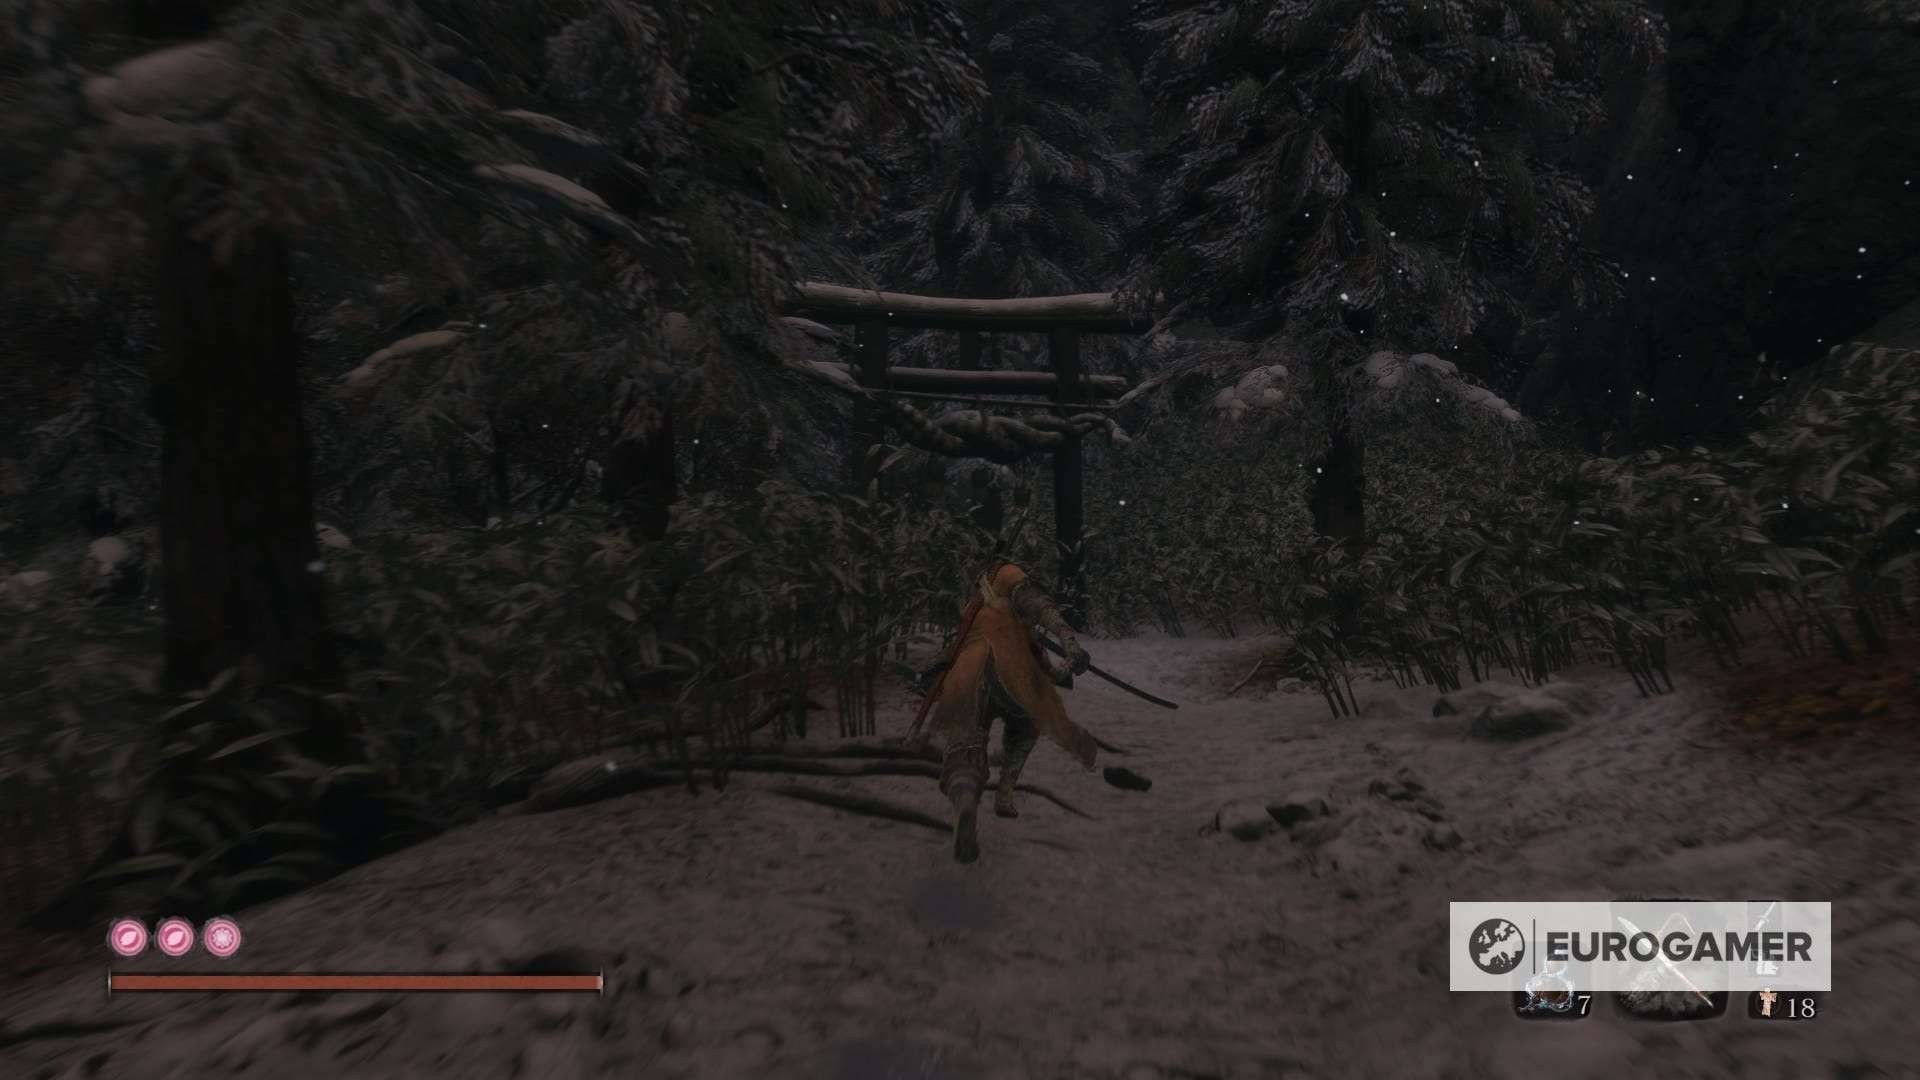
23. Ashina Depths - Hidden Forest Idol: Tokujiro the Glutton
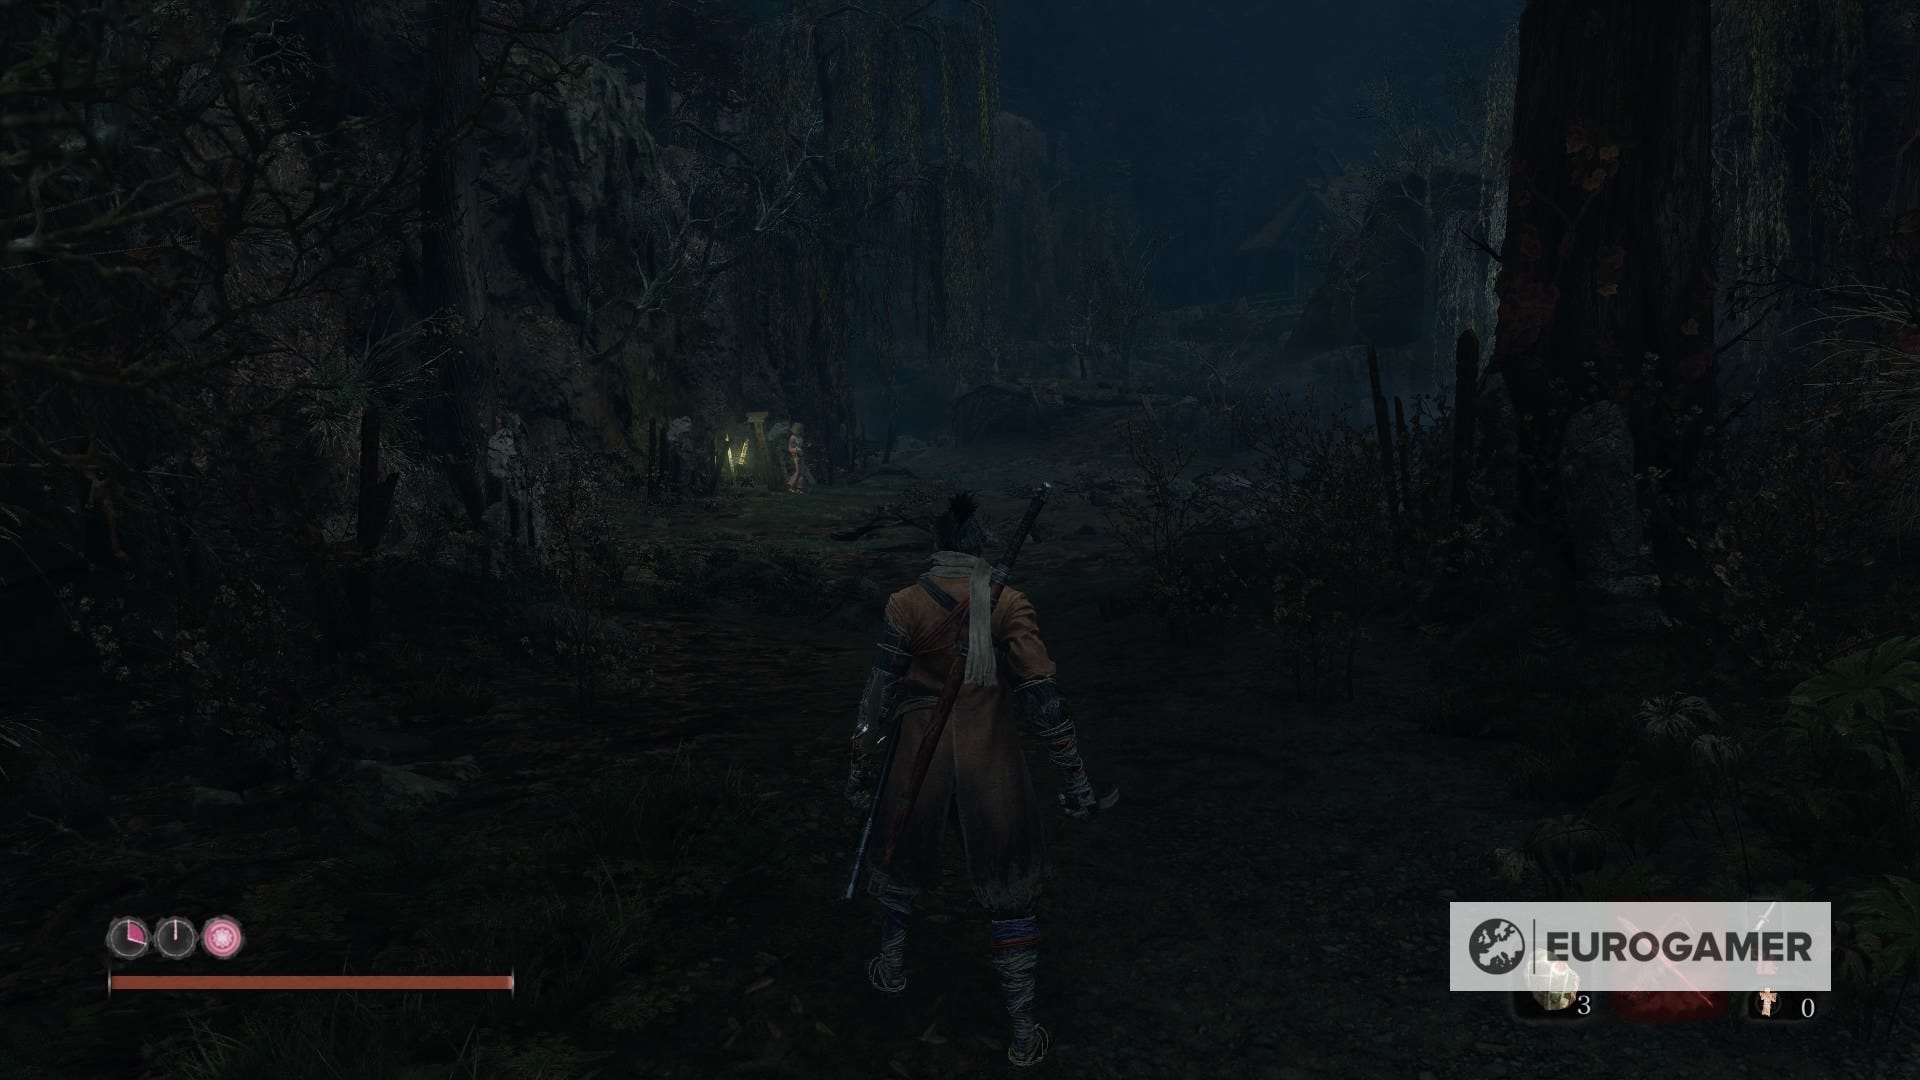
Tokujiro The Glutton is up next. This fight is very similar to the Drunkard, but it might be troublesome to find at first. The hidden forest is scary and it's easy to get lost. The best way to find this encounter is to keep following the lights in the trees right after the Idol, get past the chicken foe and, in the flat surface (for reference, there's a small bonfire with an NPC sitting right next to it) look for the trees beneath.
Minor spoilers, but if you fall, you'll end up in a fight against a Headless. Let's keep that for later and focus on the Prayer Bead for now. To get there fromt he ideol, drop onto the tree, and then onto the next one. Keep moving forwards, ignore the wall on the left and just drop yourself. See the tree branch on the left? Grapple your way up there and you'll be just a few steps from the fight.
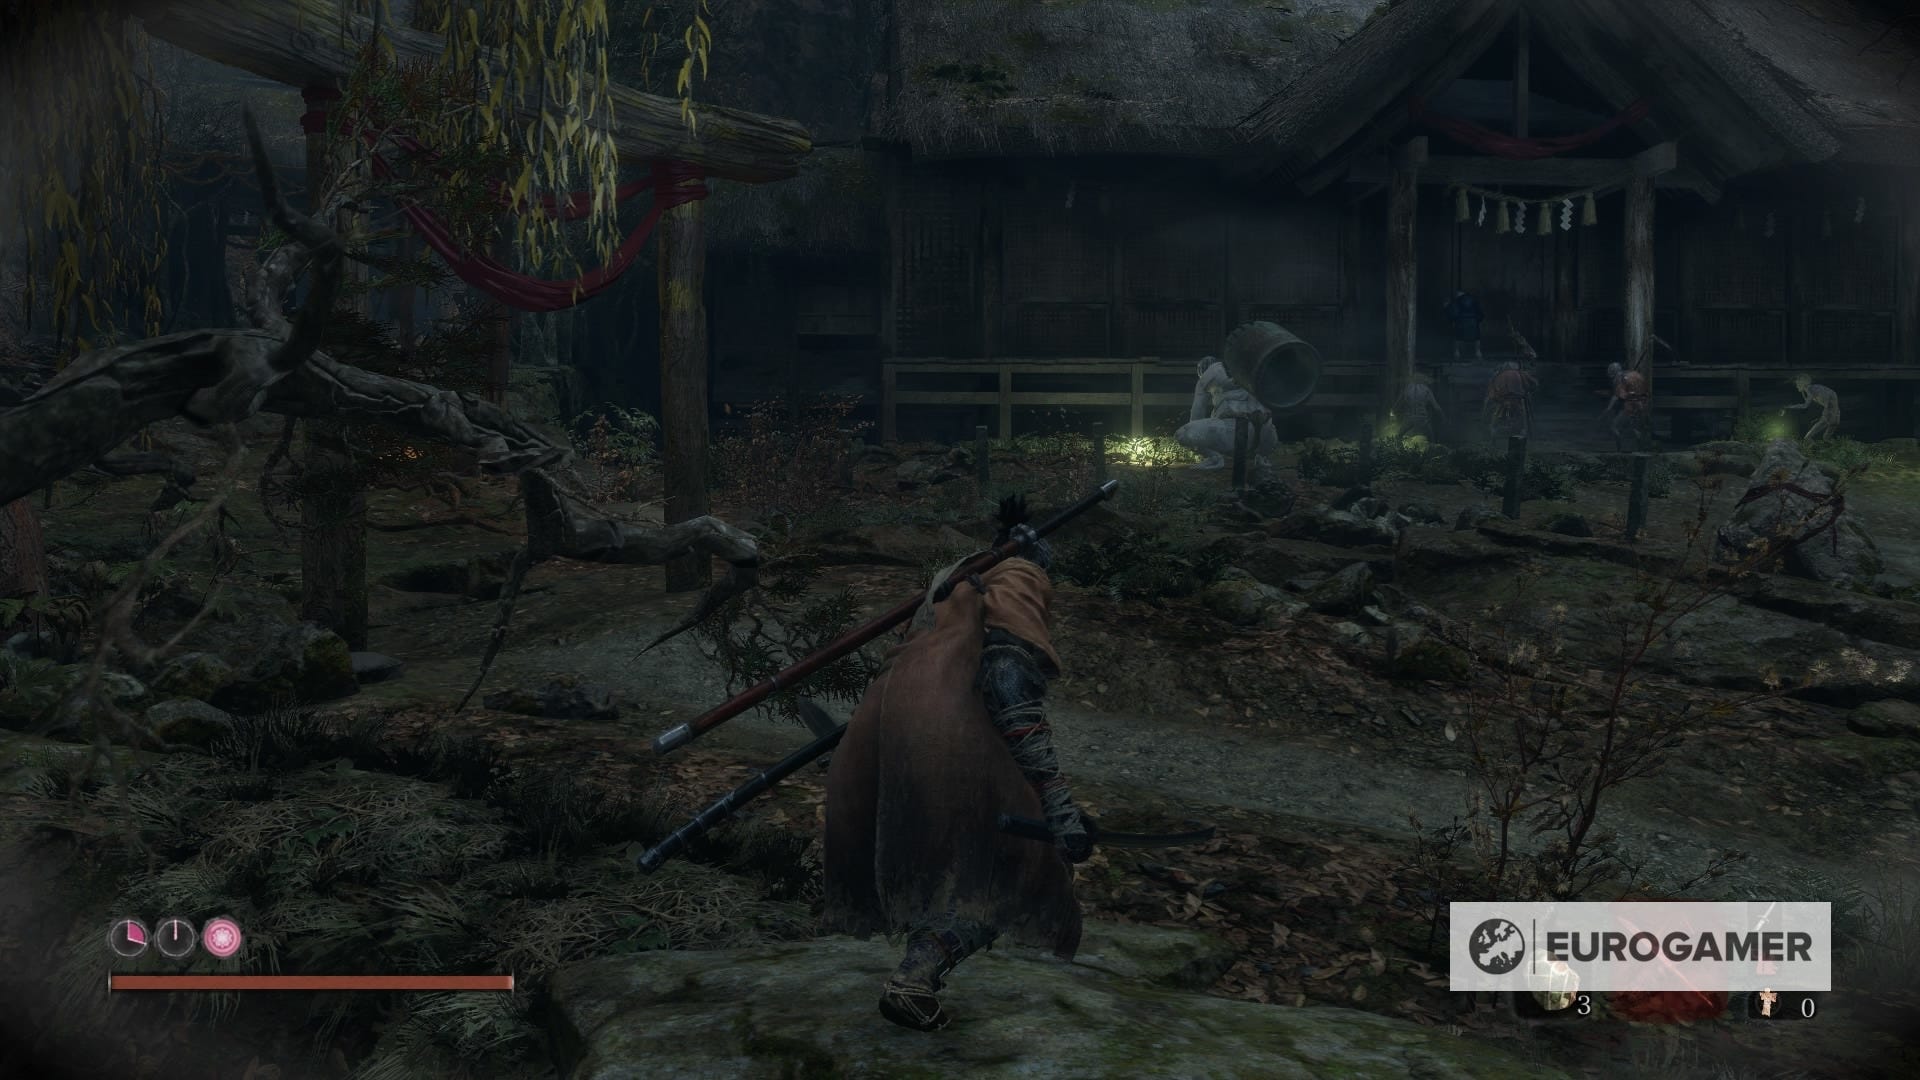
The mini boss is surrounded with monkeys so it would be best to try and attract them first, in order to get that free Deathblow that we've grown so attached to during this guide. You can use your grapple on a tree branch on the right to get to a platform, which can also be handy to throw some Shurikens safely. You know, shinobi style. Kill him and you'll earn yourself a Prayer Bead.
24. Ashina Depths - Water Mill Idol: O'Rin of the Water
Right after Mibu Village, you'll enter Water Mill. Begin exploring the area ahead from the idol and you'll see an NPC. Right past him is a big area with a character that seems harmless at first, but it's no other than O'Rin of the Water. Make sure to use Divine Confetti for this one. Once beaten, you'll get yourself a new Prayer Bead.

25. Ashina Depths - Water Mill Idol
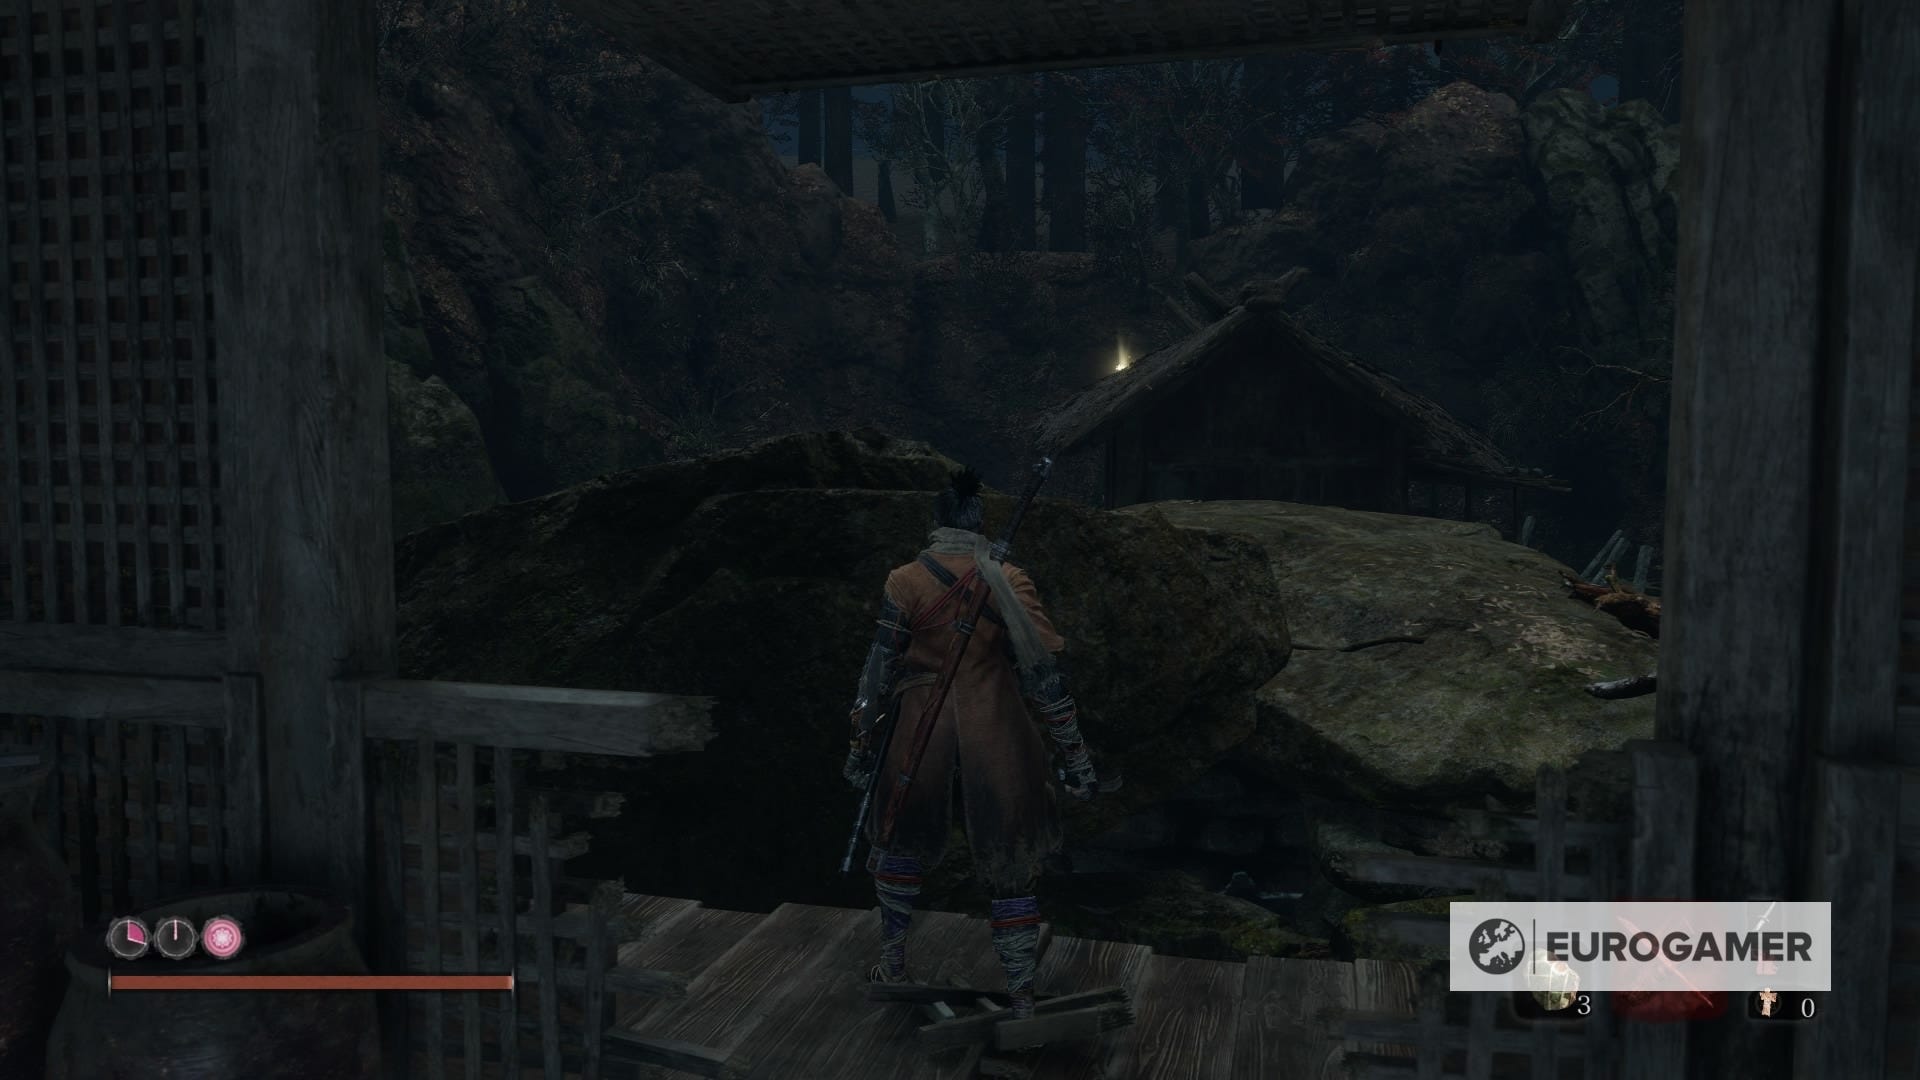
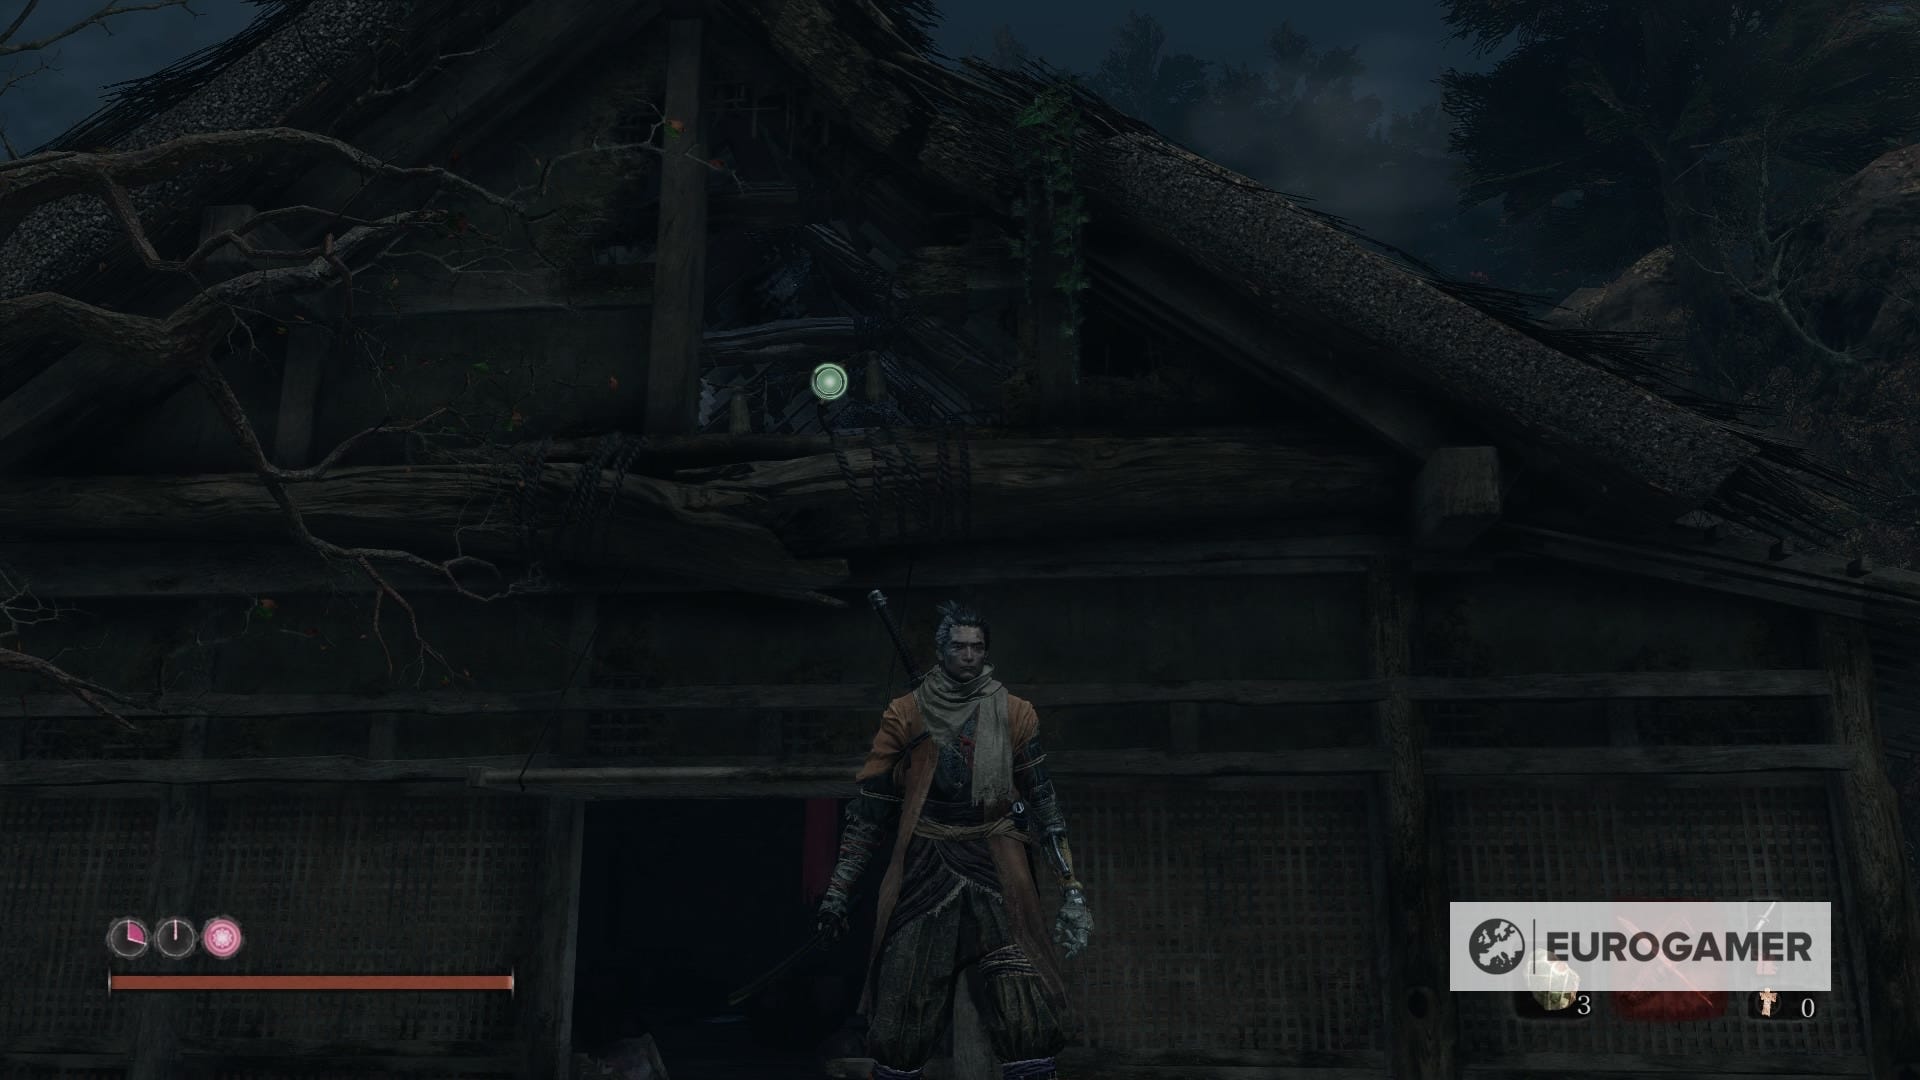
There's another one to take care of. Keep going through the bridge after the fight and you'll end up seeing a house surrounded by enemies. The best way to approach this is to sneak behind them to the right side, and you'll see enough room to crawl inside.
Start moving and you'll see a prompt to hug the floor. Do so, and Sekiro would just turn and appear inside the house. Don't worry, there aren't enemies there.

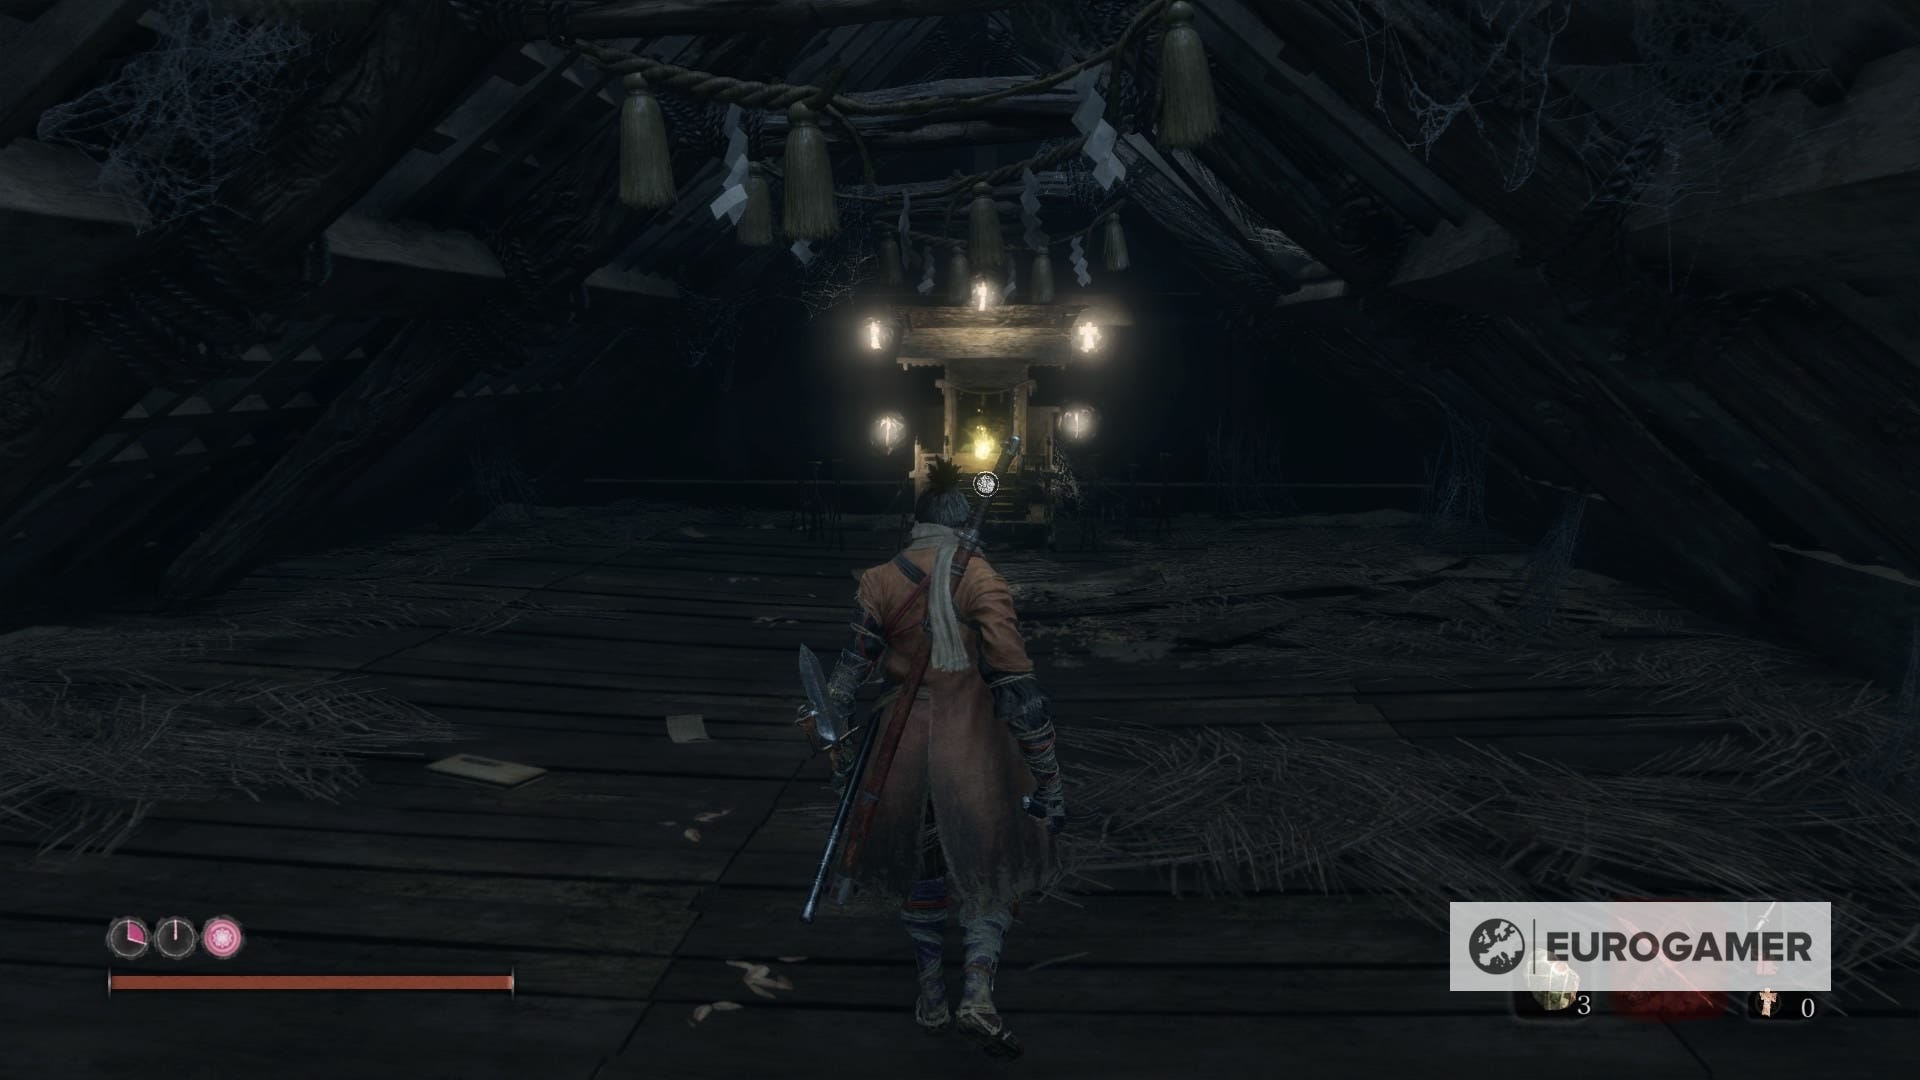
Now head outside from the broken window, look behind you and use your grapple to get into the broken attic. There's your Prayer Bead.
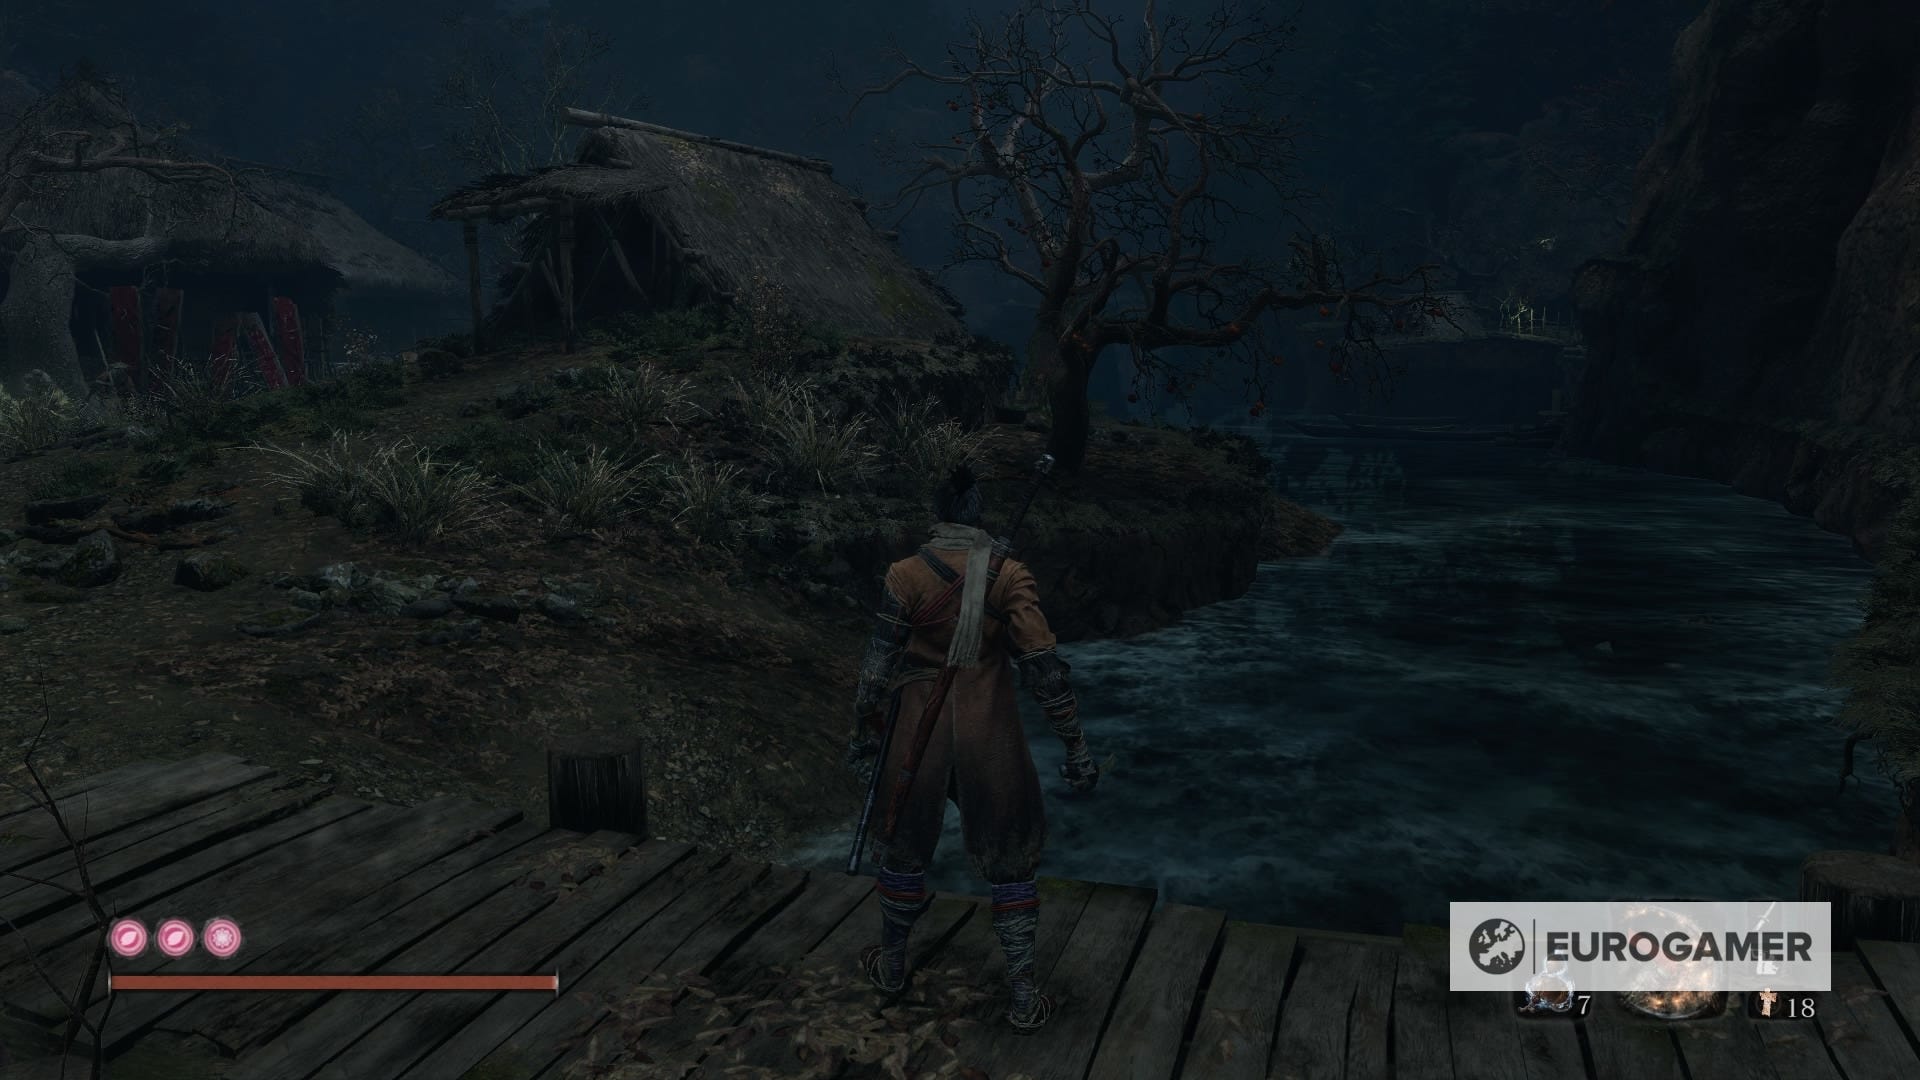
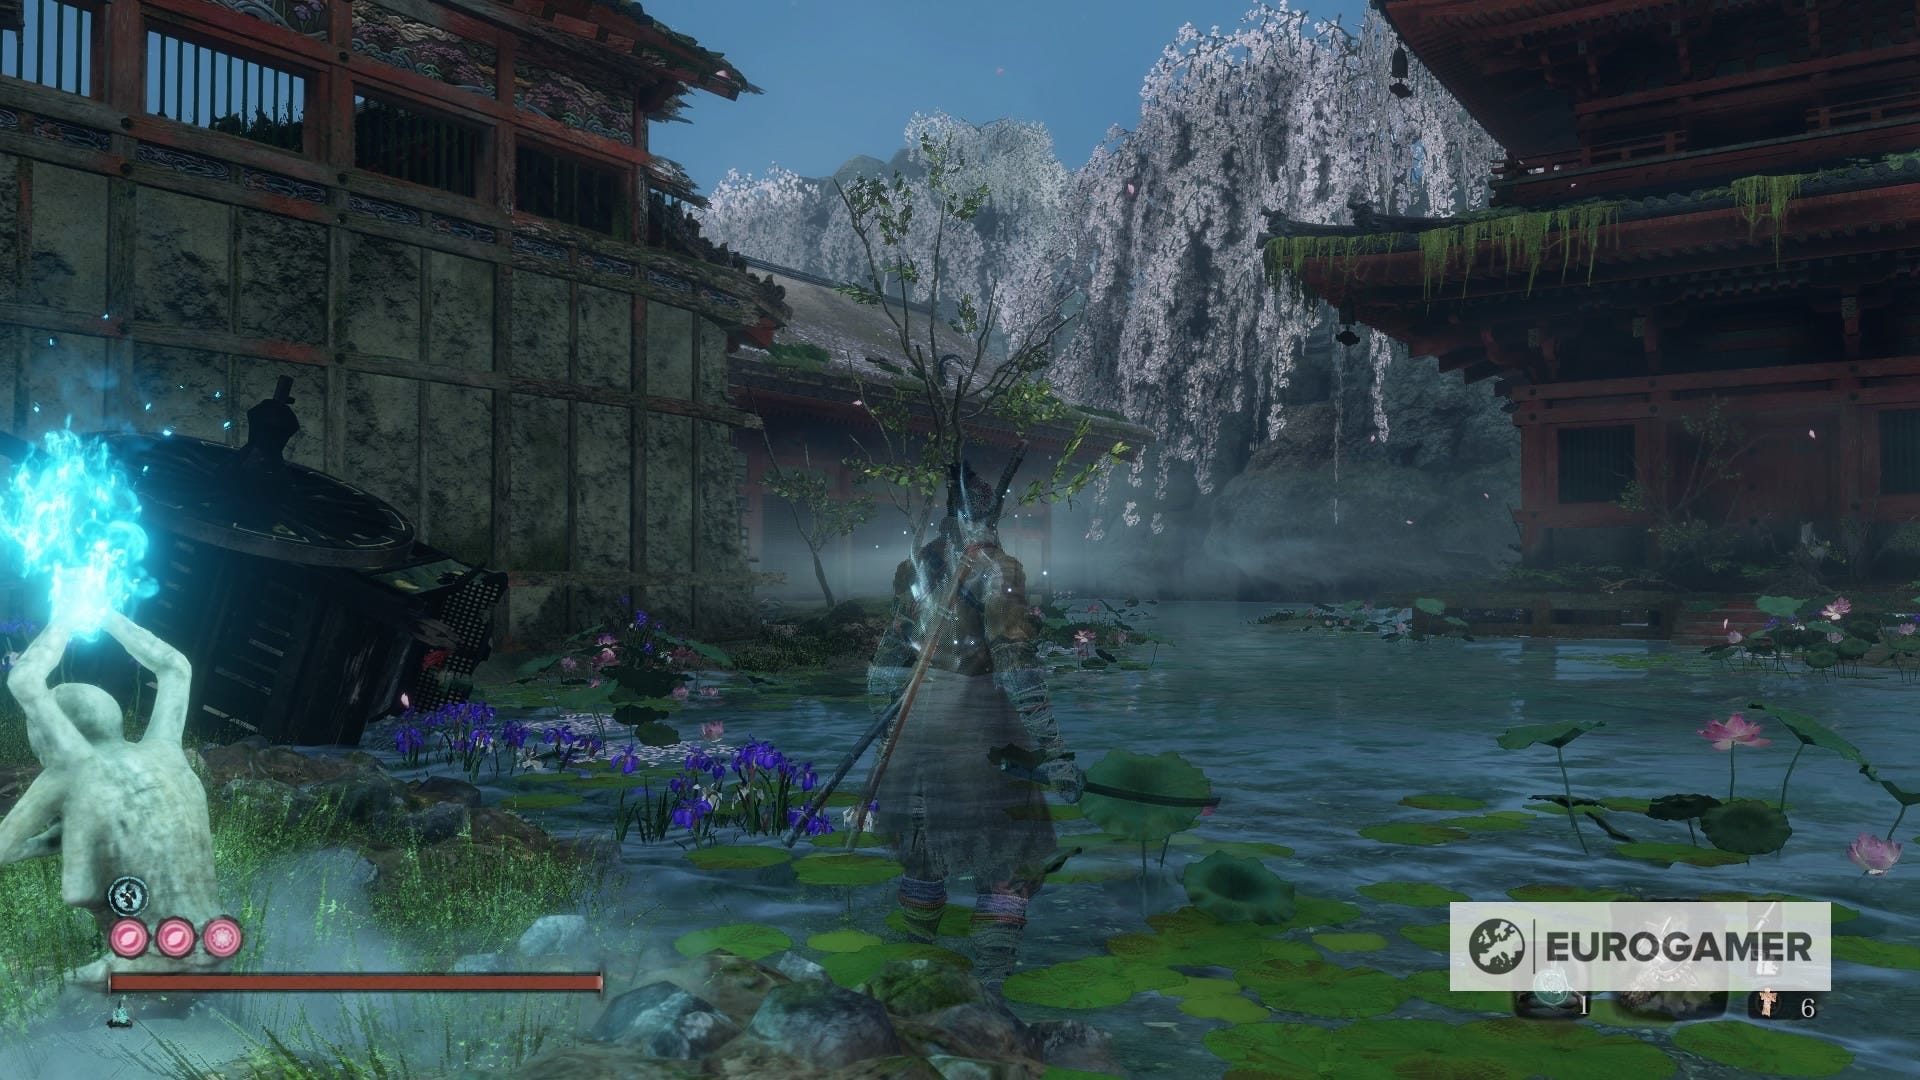
26. Ashina Depths - Mibu Village Idol
After defeating the Corrupted Monk in the Water Mill area, go back to the Mibu Village Idol.
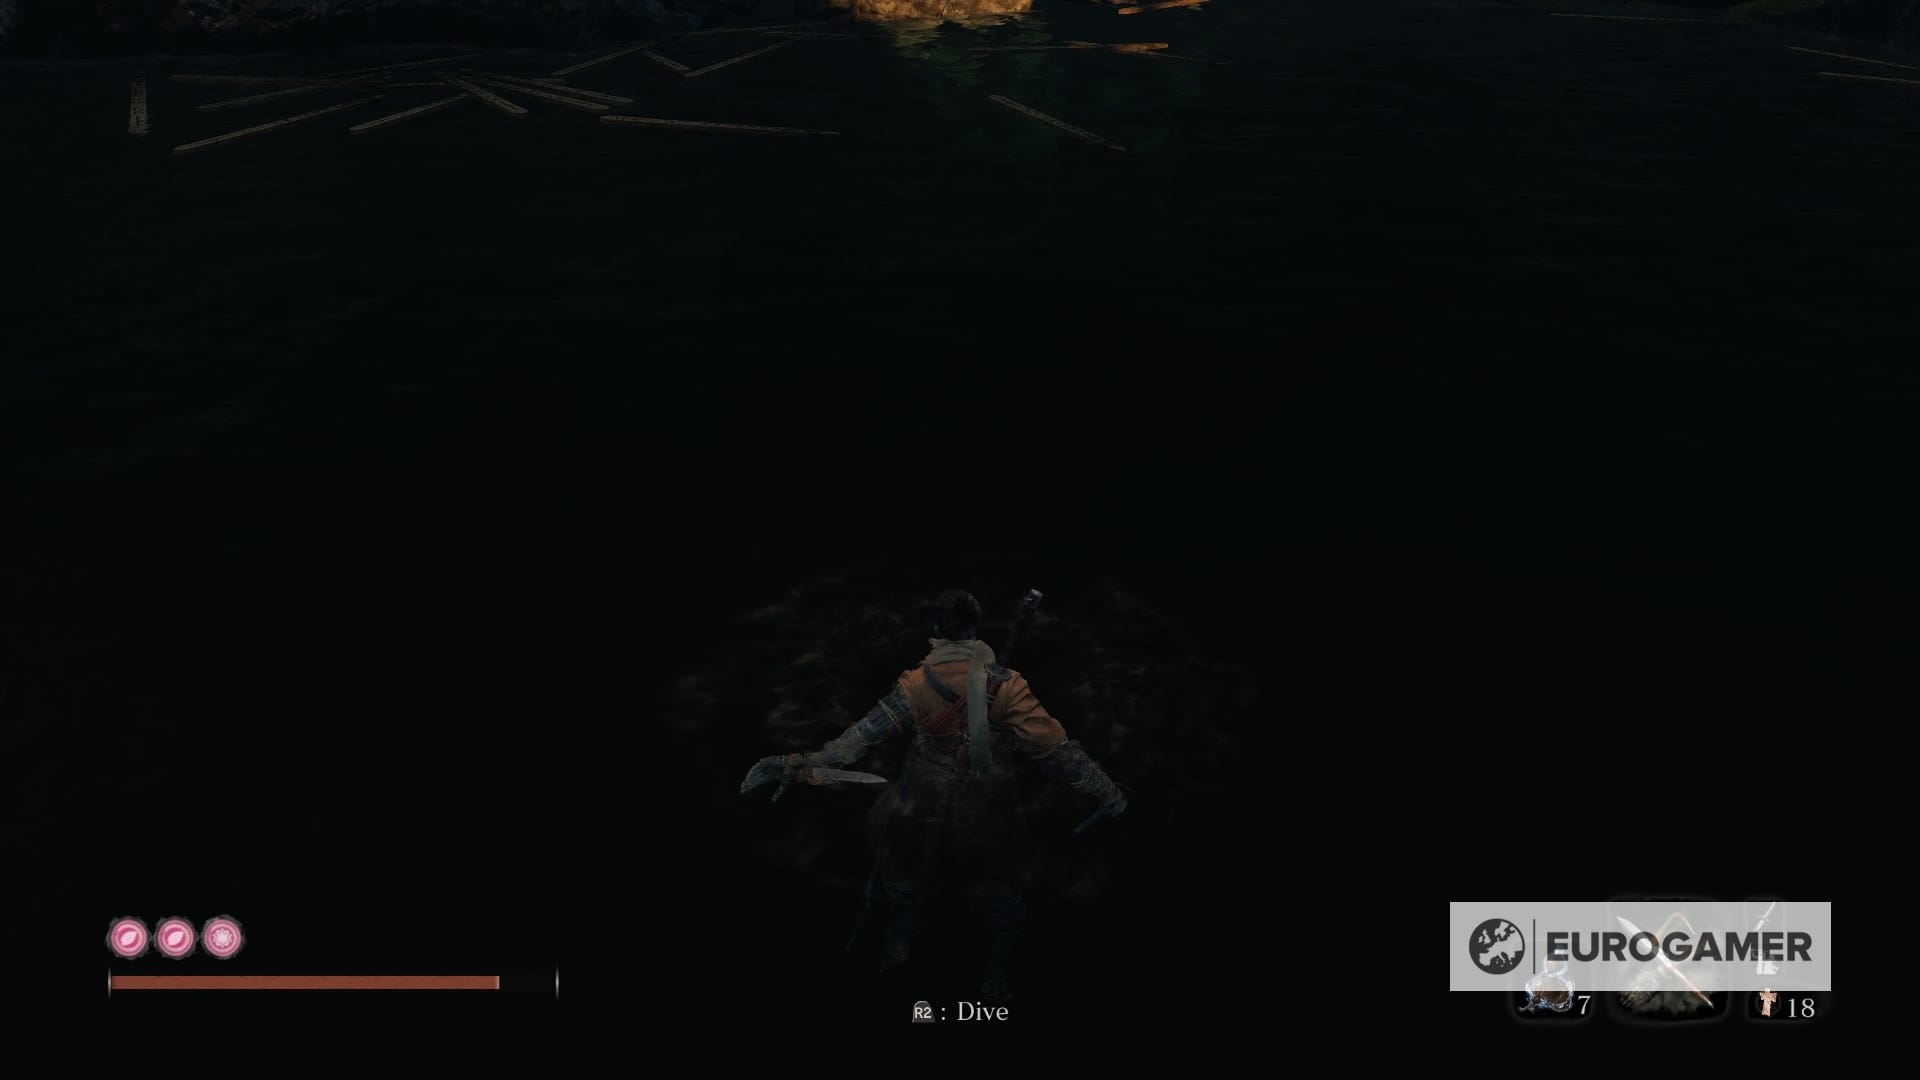
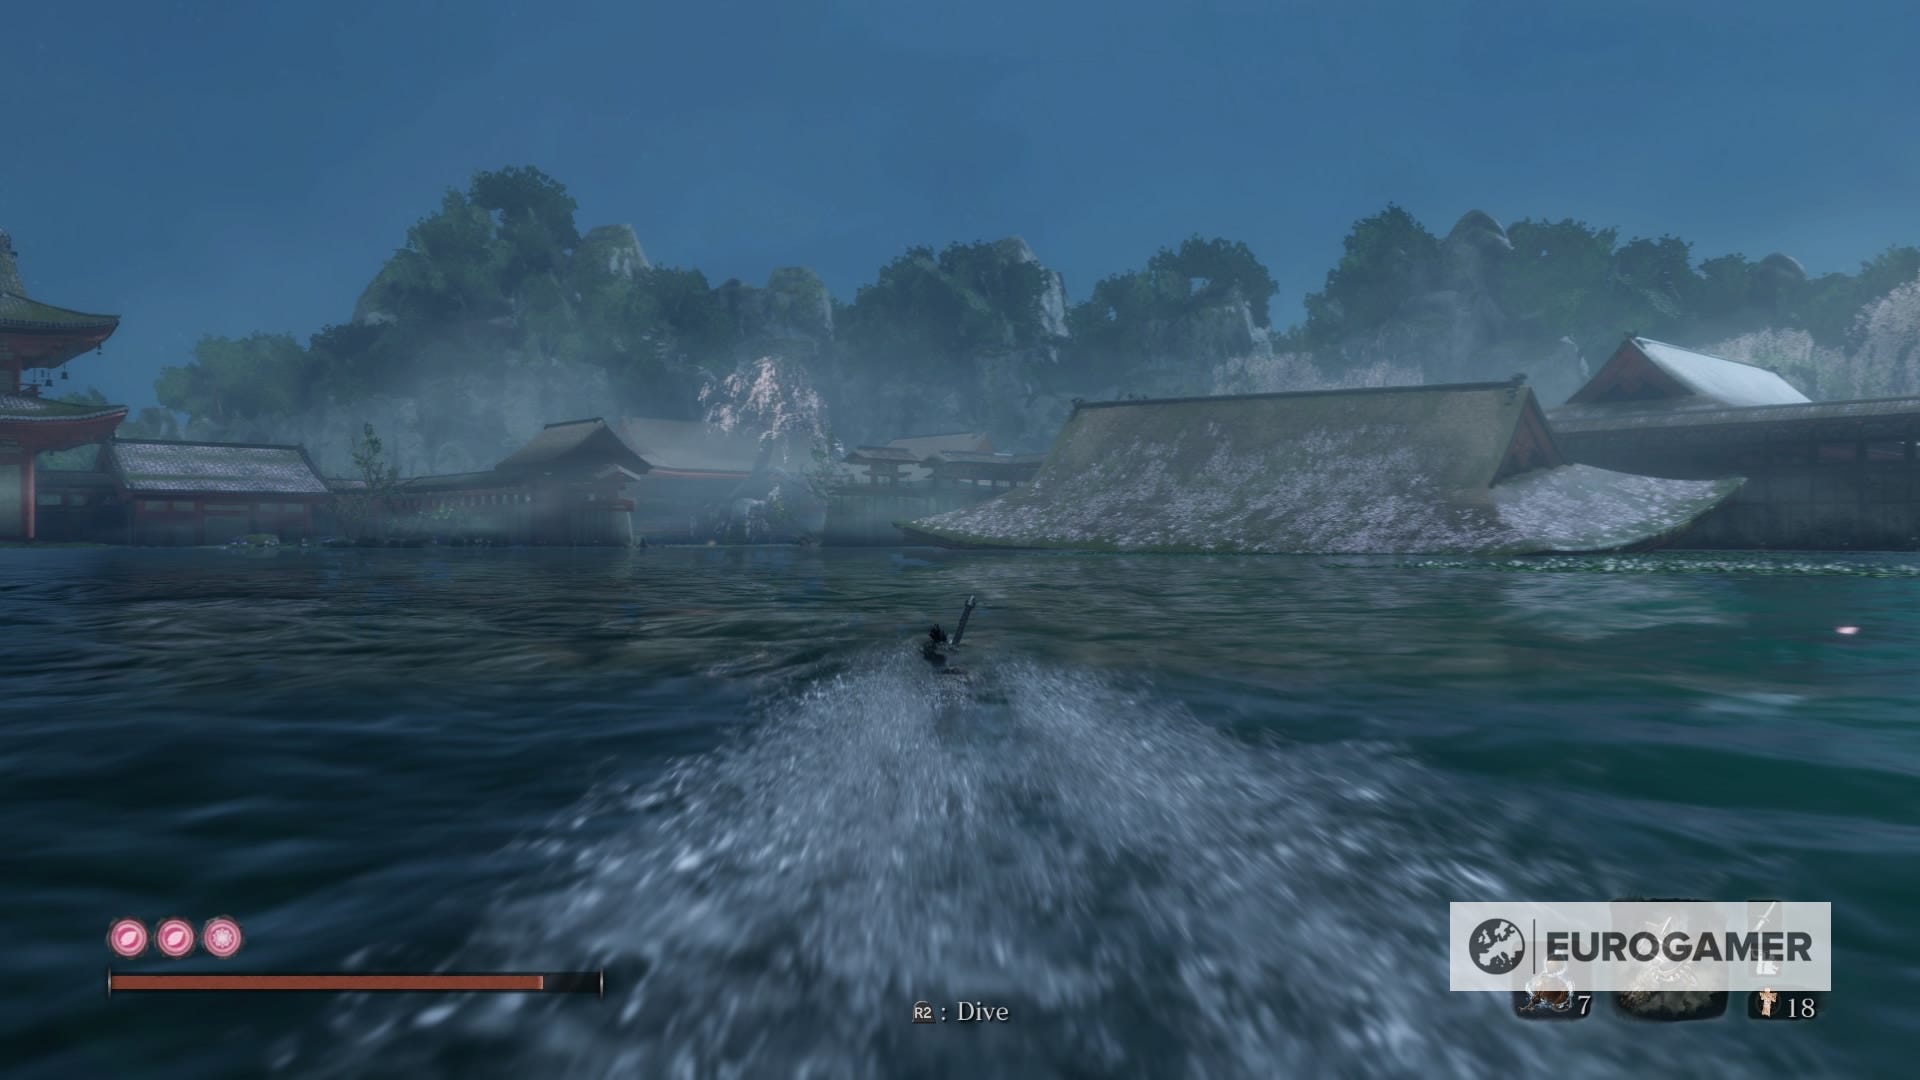
Keep heading straight until you're facing the lake, and take a swim. Along with a new memory to increase your attack power, the Corrupted Monk grants you the Mibu Breathing Technique skill, which is mandatory to obtain a few Prayer Beads.
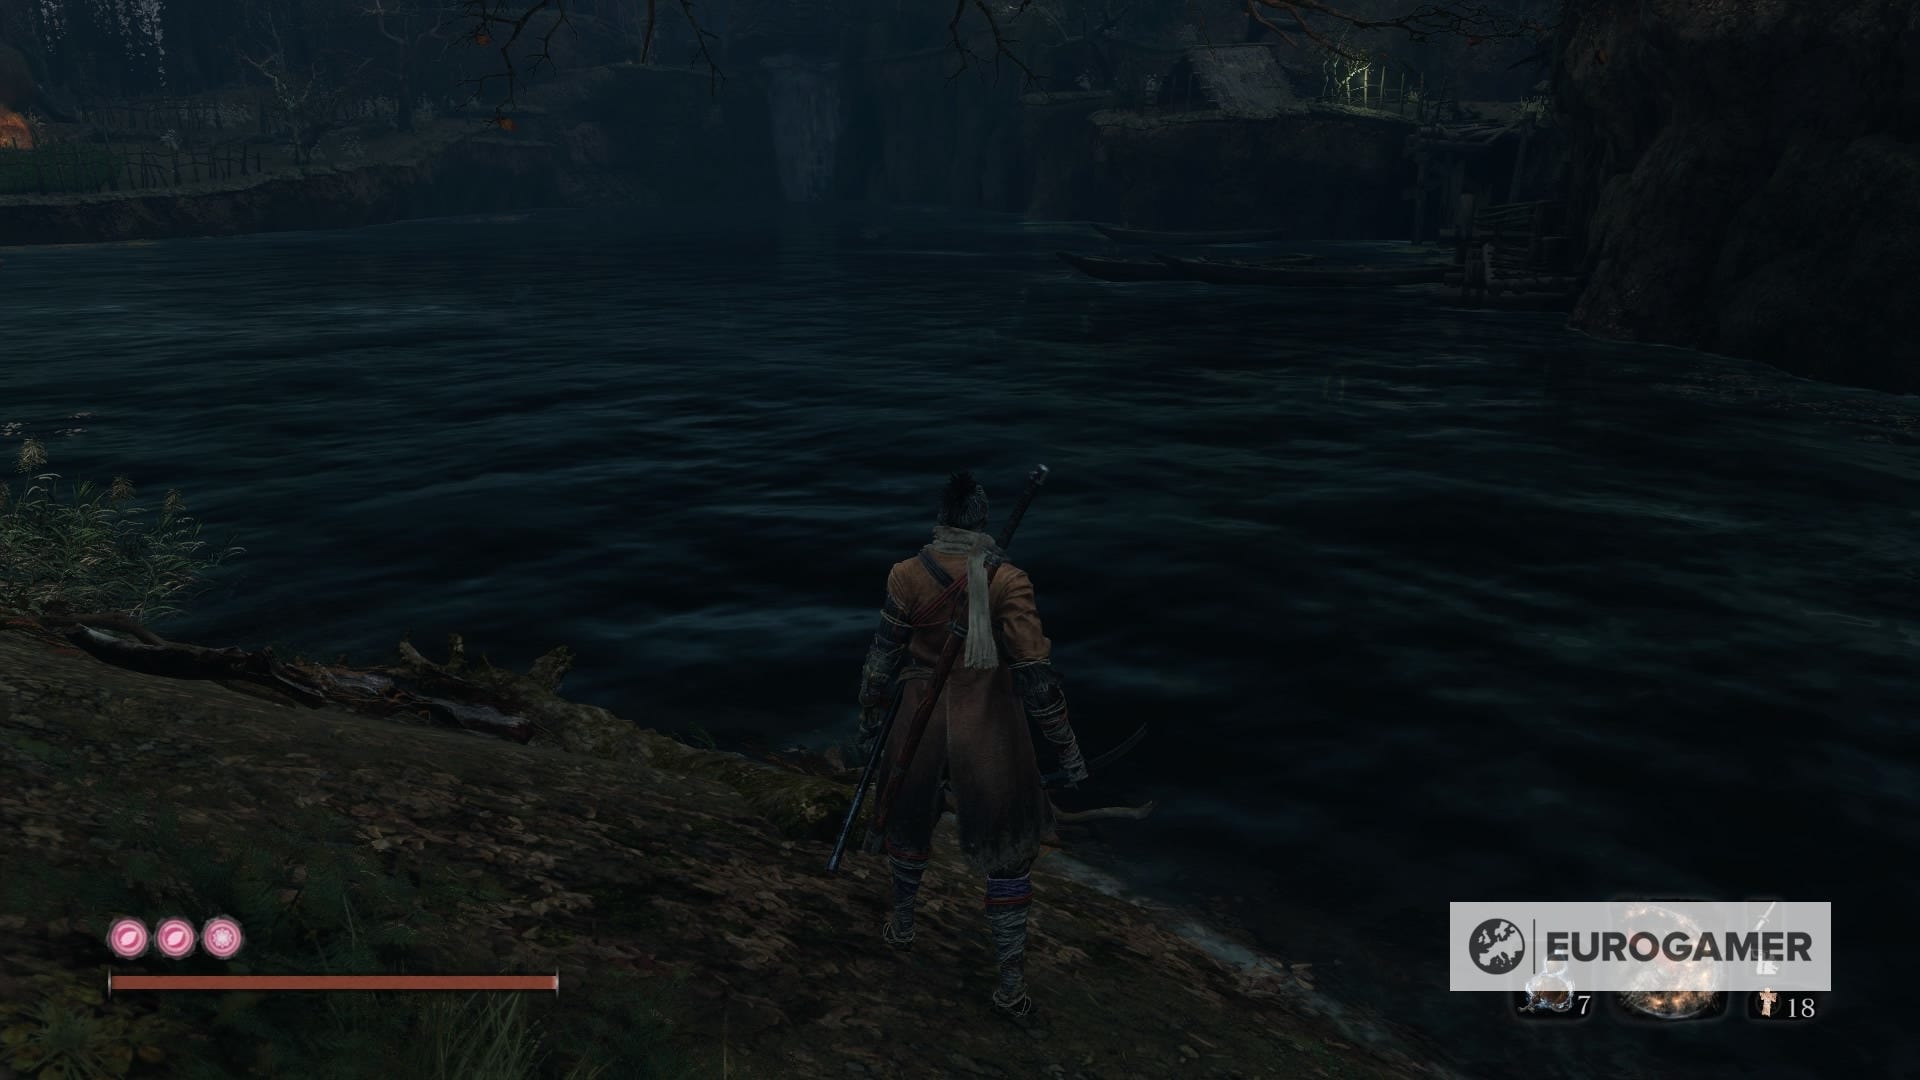
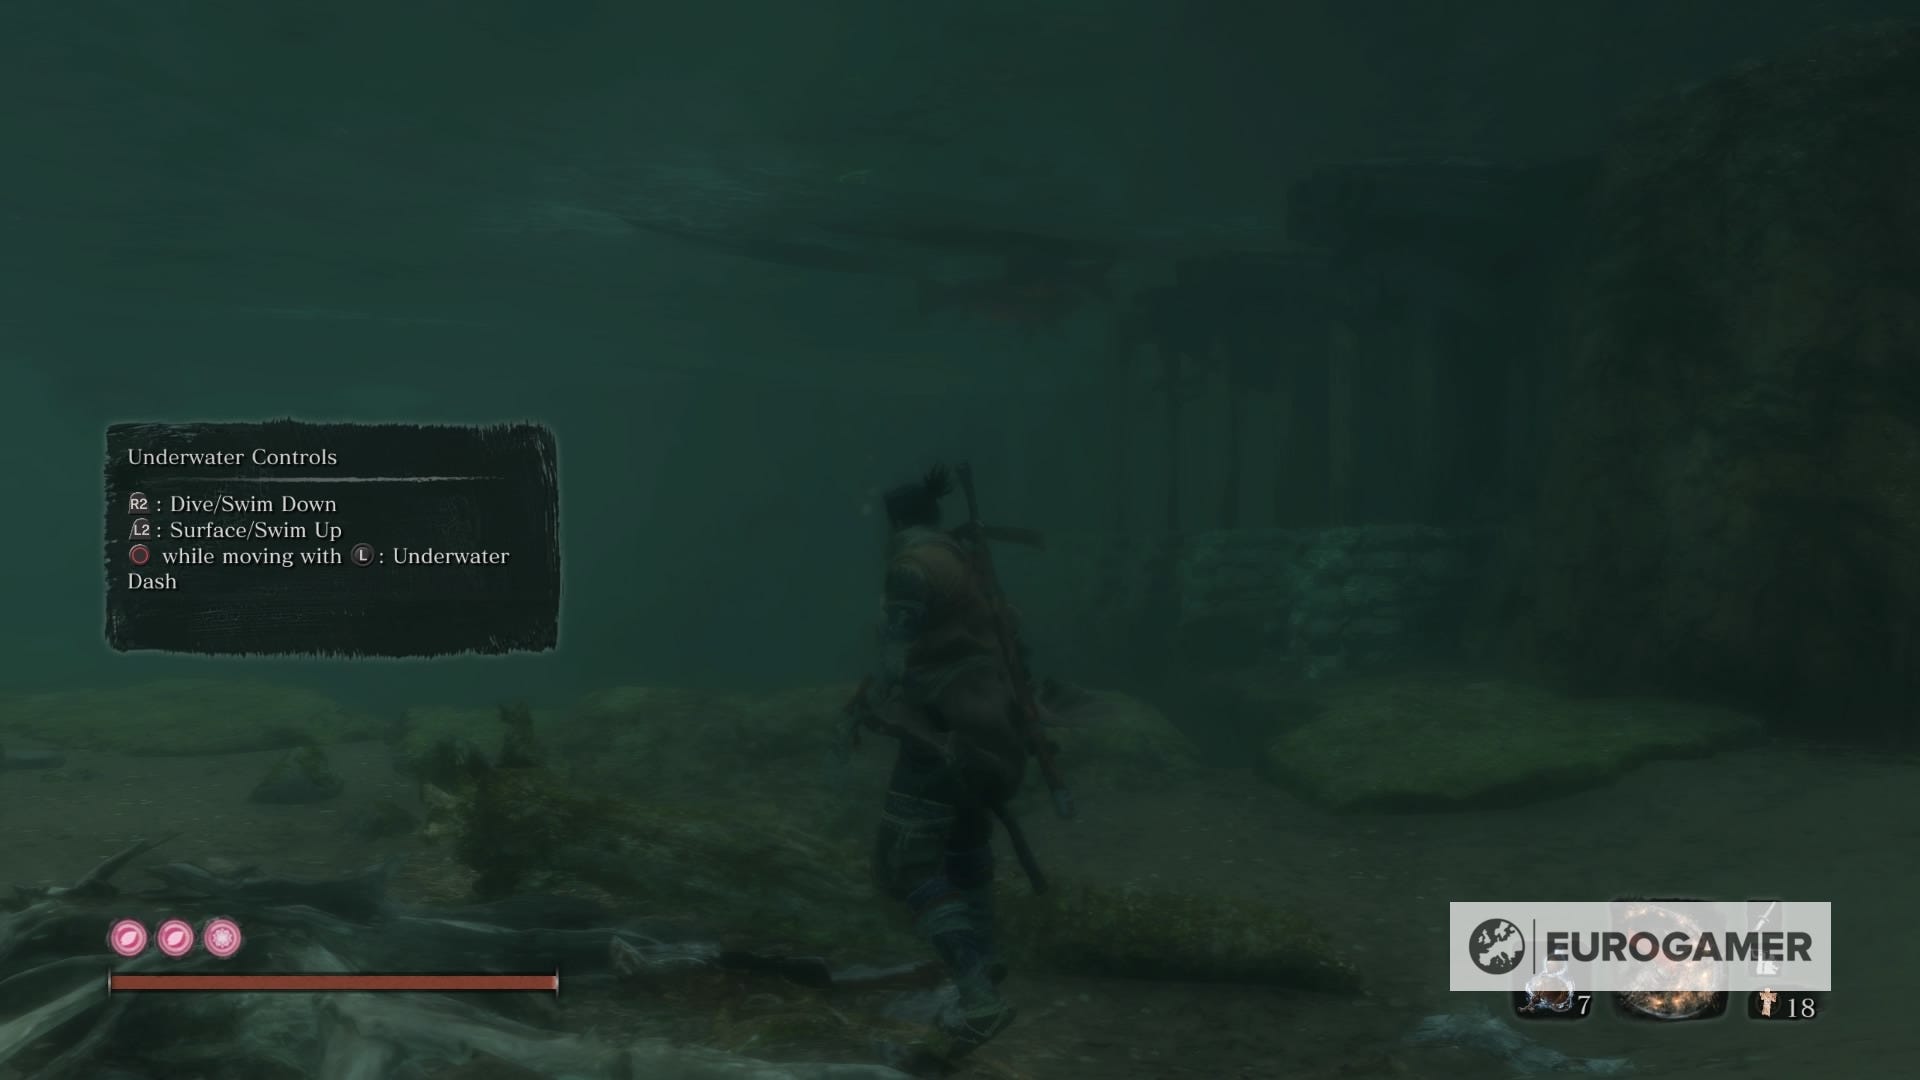
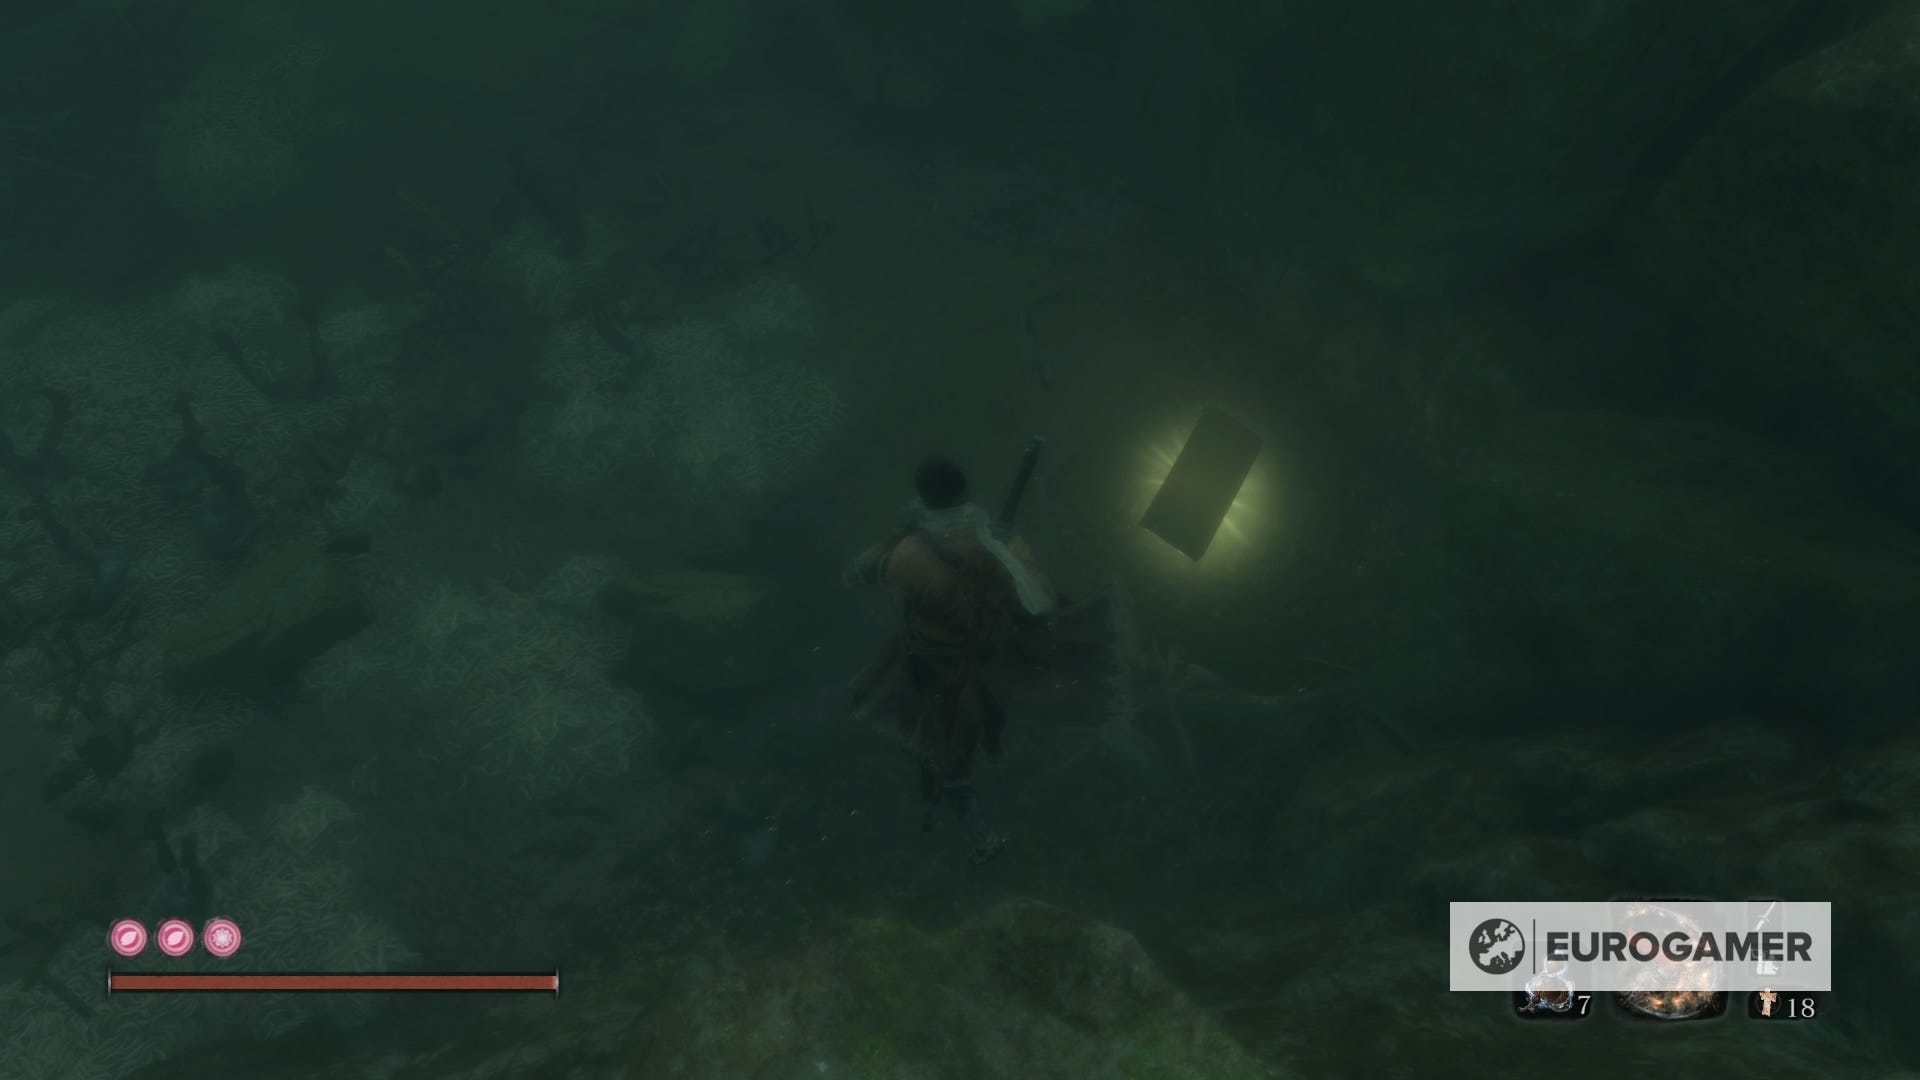
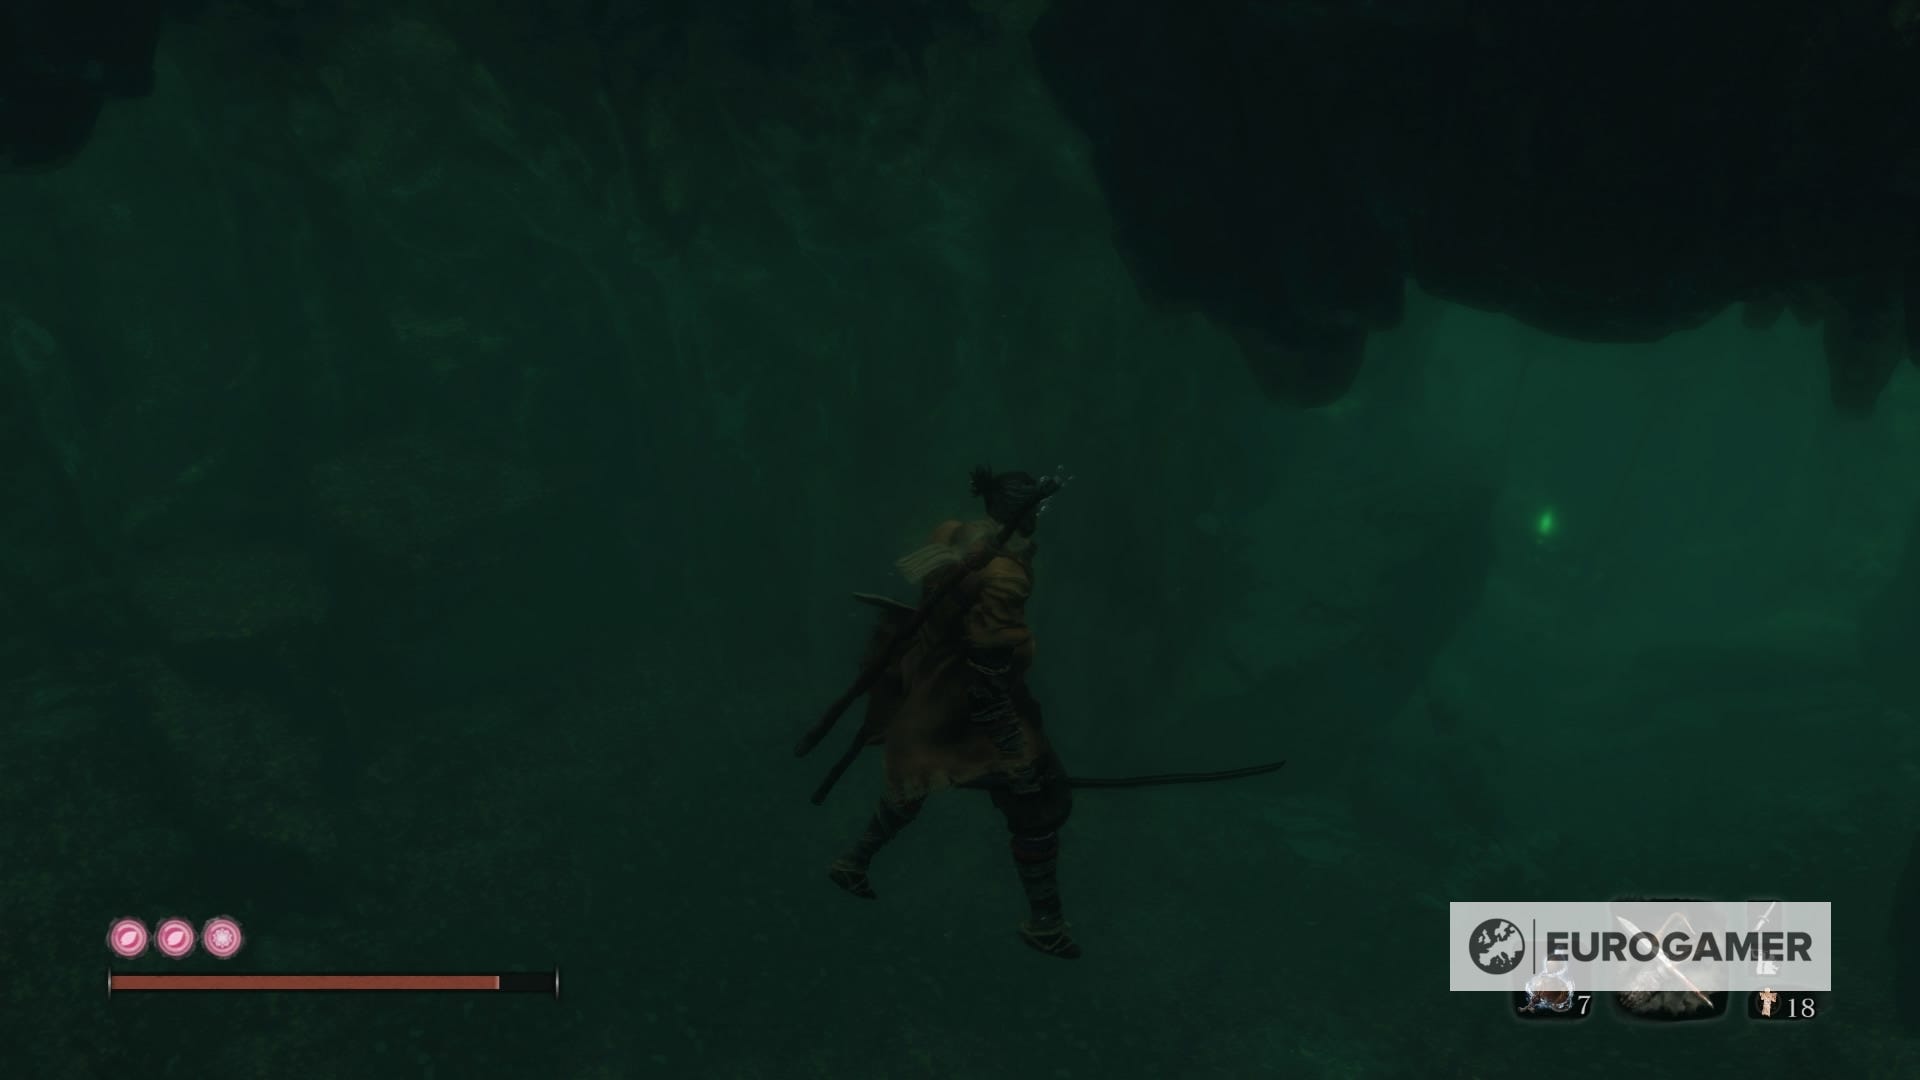
Now, press R2/RT to descend into the water. Start swimming and stick to the right side. As soon as you can head down deeper, do so you'll notice a glowing chest. Loot it, and you'll obtain a new Prayer Bead.
27. Senpou Temple, Mt. Kongo - Temple Grounds Idol
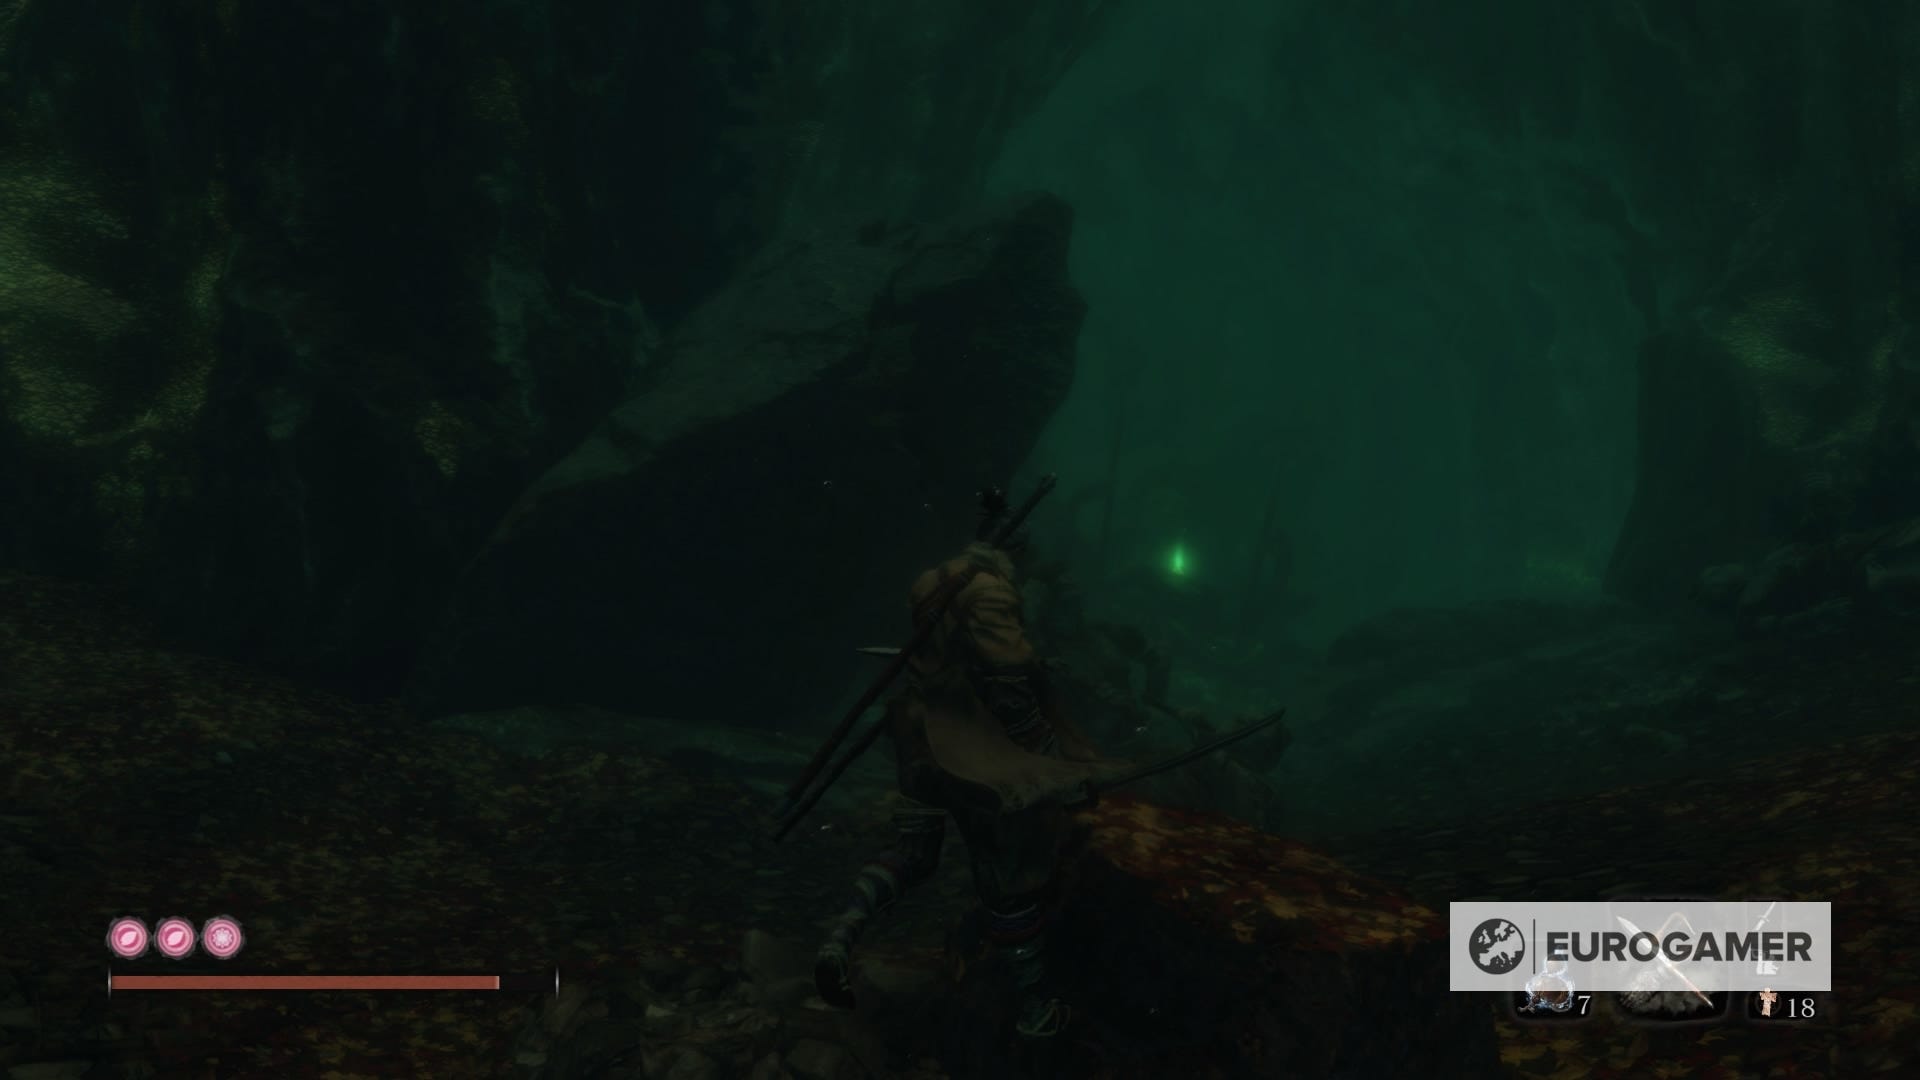
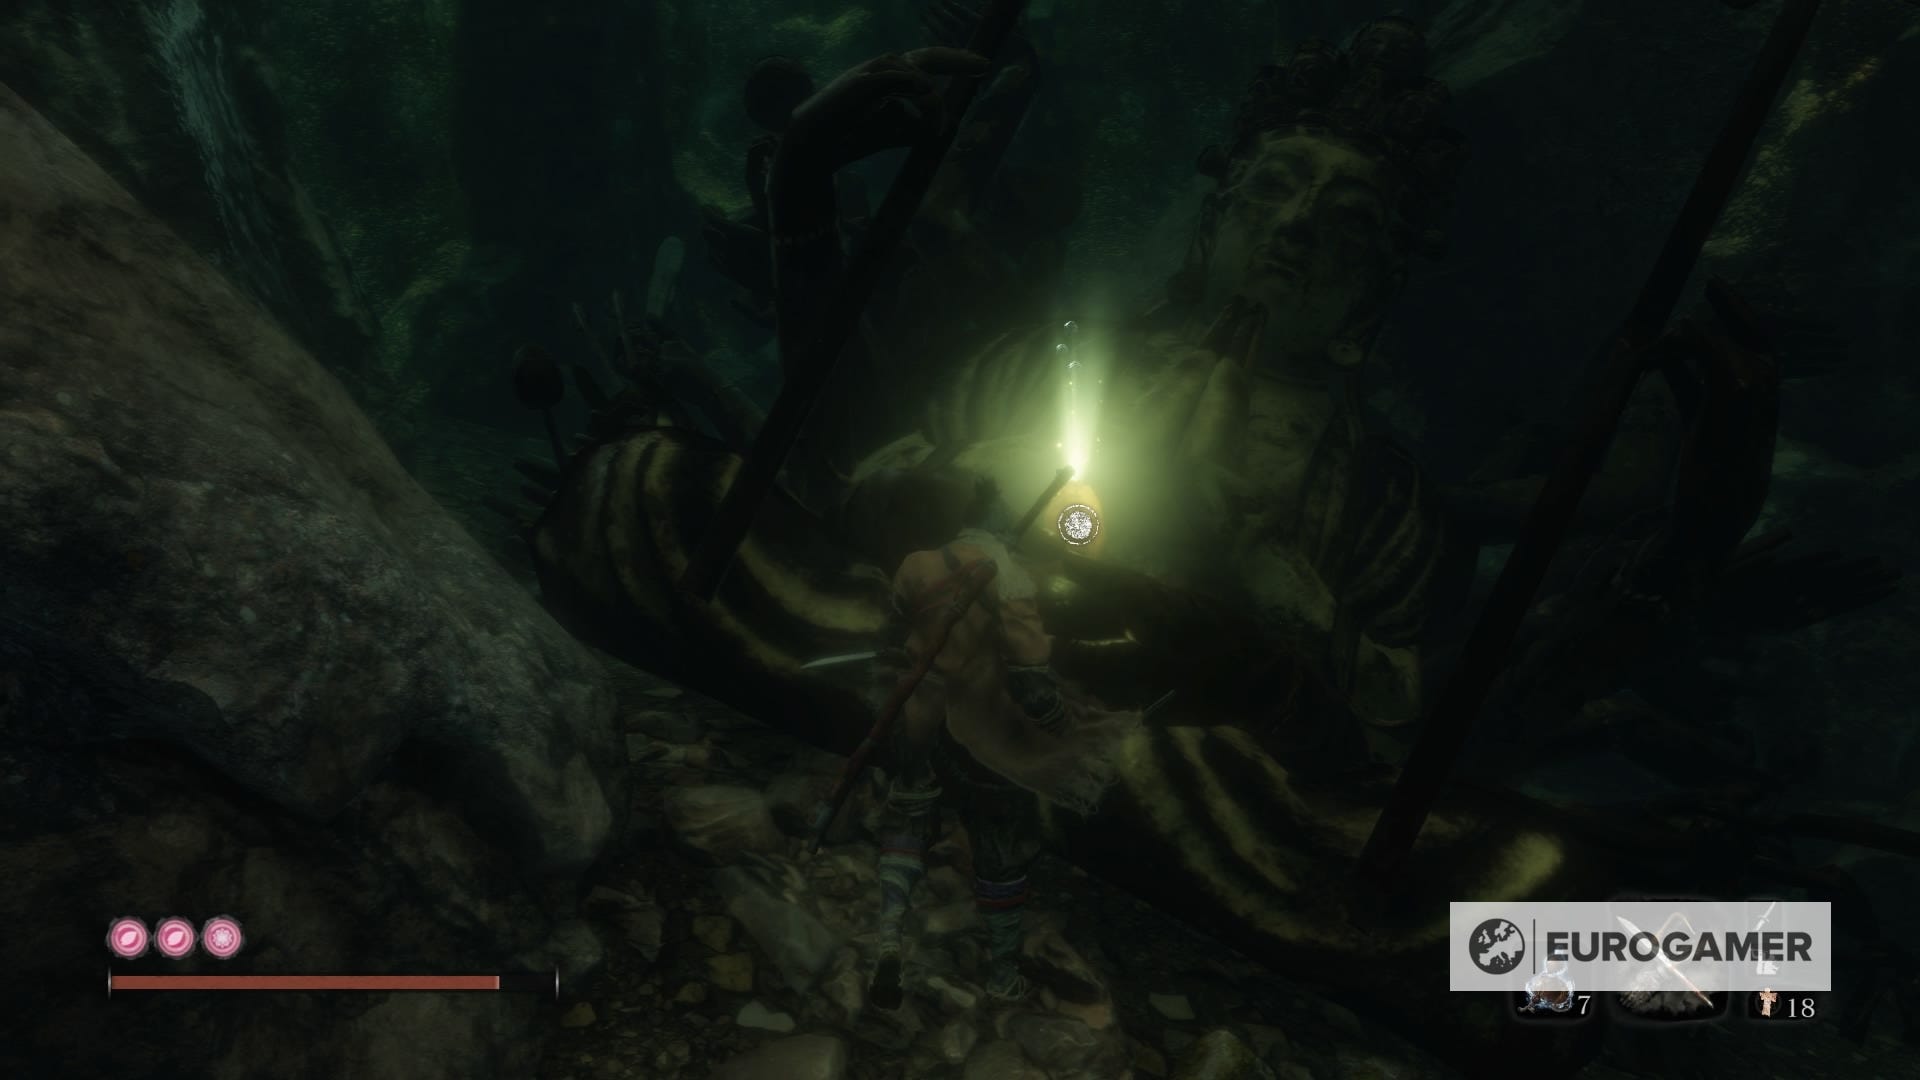
Now, making use of your new skill, go back to the Temple Grounds Idol. Go past the buildings below you for a pool of water. Dive, and you'll see a few buried statues, but it's the one on the right side that you want to swim to.
Just pick up the item and you'll be set with a new Prayer Bead.
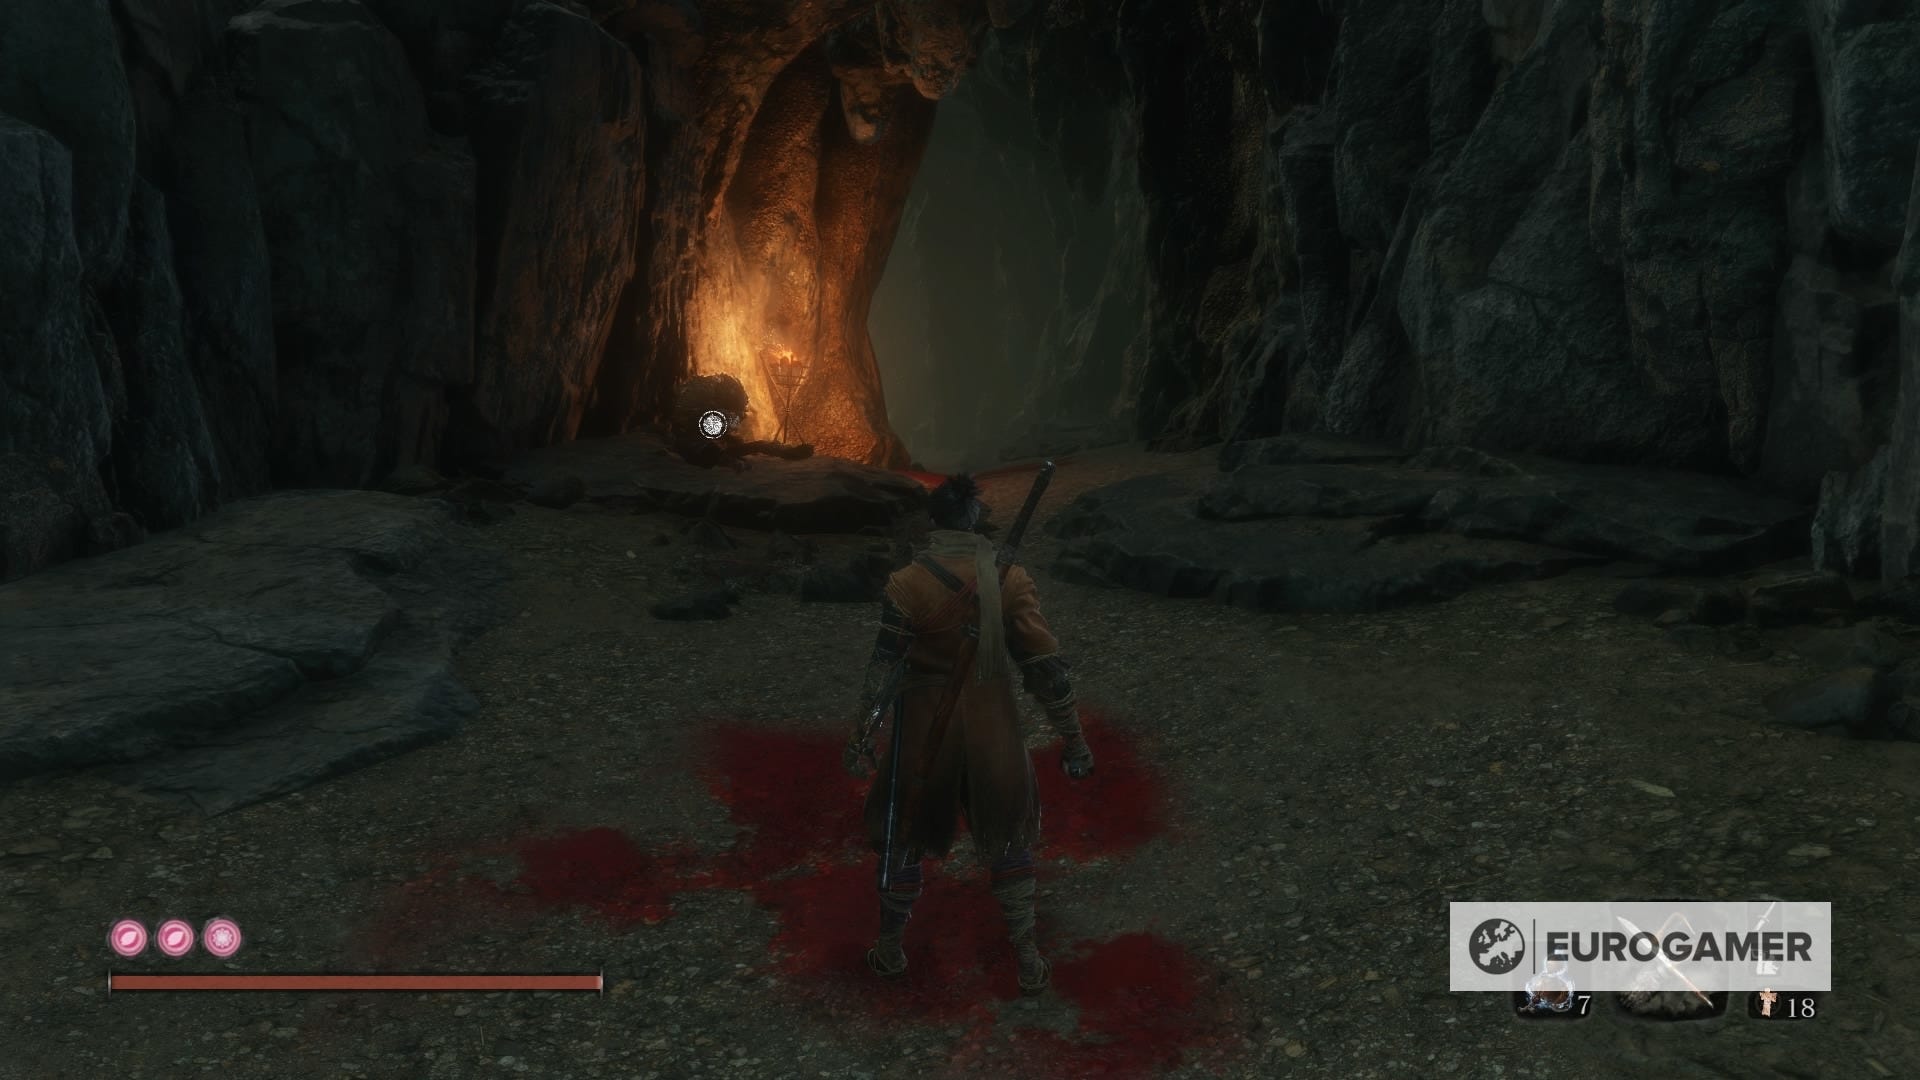
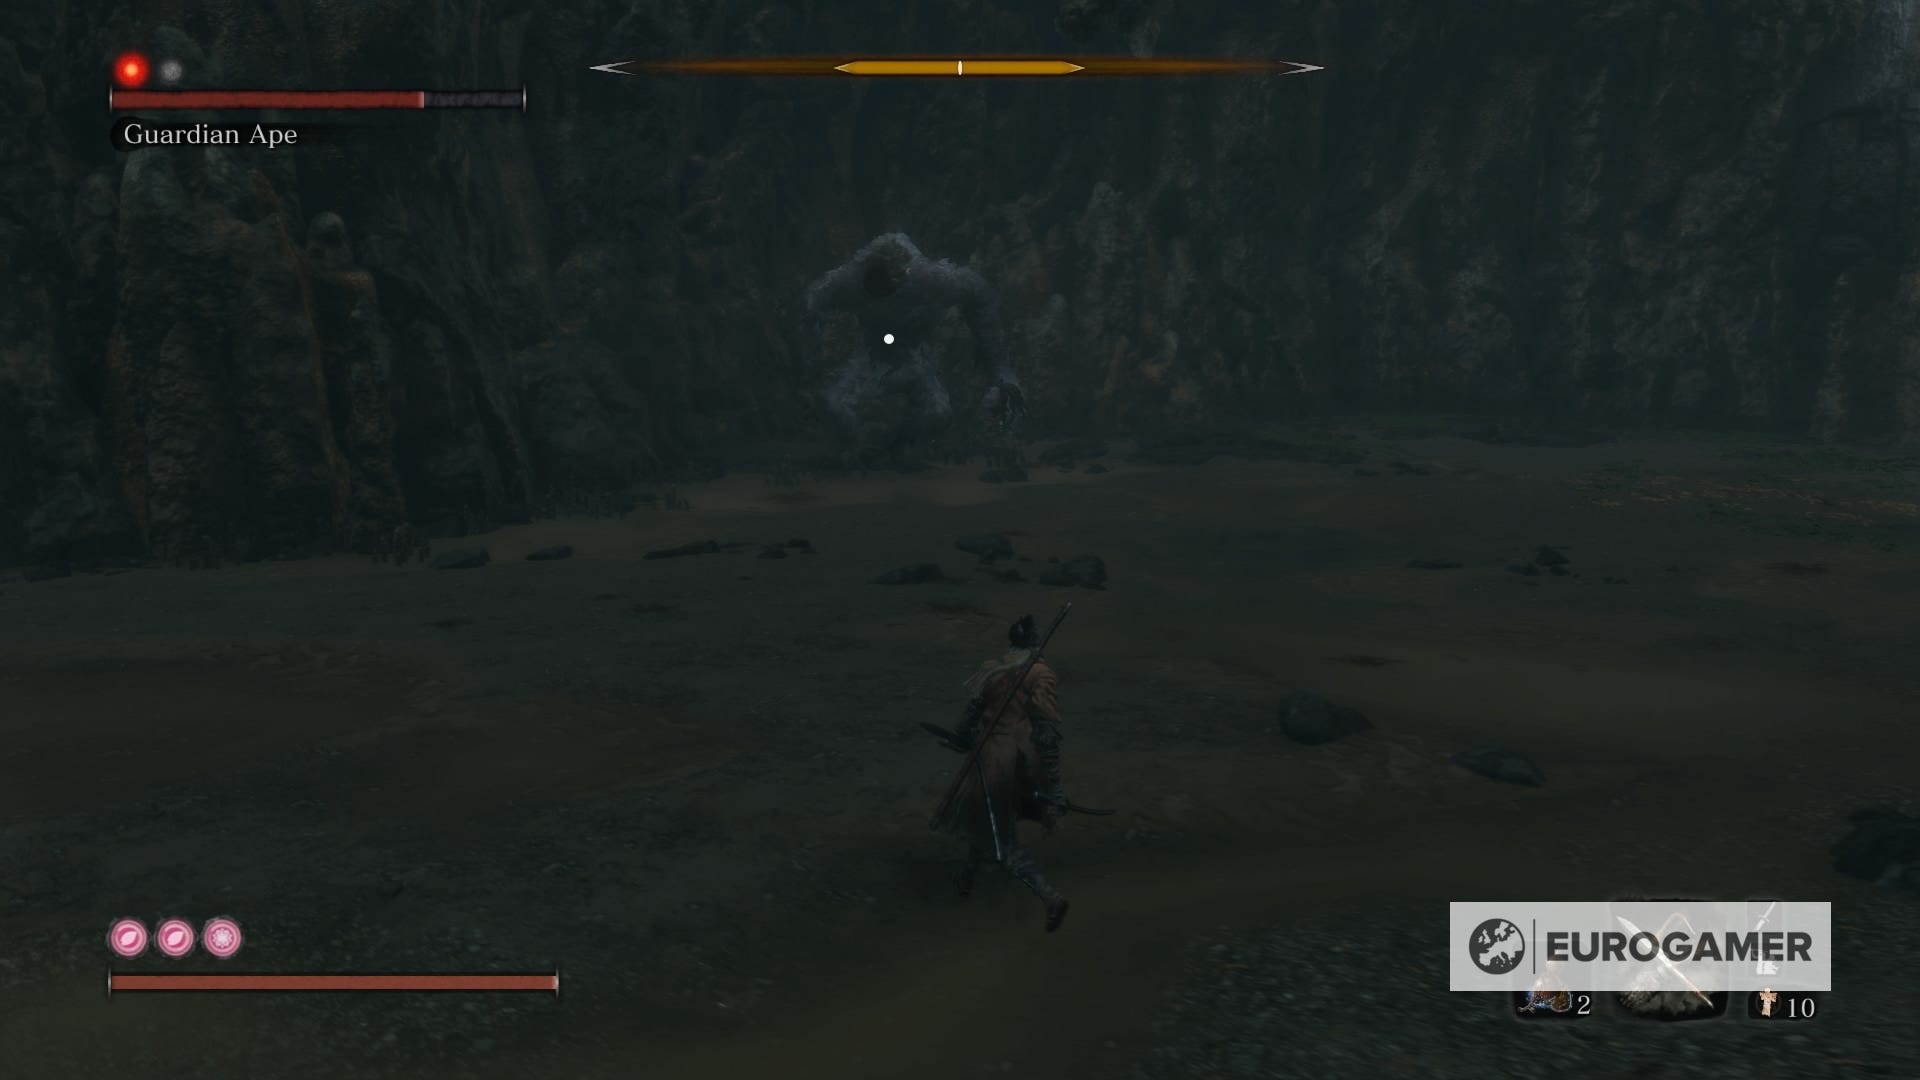
28. and 29. Ashina Depths - Ashina Depths Idol / Poison Pool Idol: Dual Apes
Remember the fight against Snake Eyes Shirahagi? Go back and keep heading towards to find a suspiciously big cave. If you defeated the Guardian Ape back in Bodhisattva Valley, you'll find him here again for a new fight. Thankfully, he will give you not one, but two Prayer Beads for your trouble.
30. Ashina Castle - Upper Tower - Antechamber Idol: Chained Ogre (after Corrupted Monk + Guardian Ape)
After making your way to the Upper Tower - Antechamber Idol once more, keep going until the walkway and grapple your way to the bottom. Surprise, a new Chained Ogre is there, so get ready to set him on fire. Once you've defeated him, you'll obtain a new Prayer Bead.
31. Ashina Castle - Old Grave Idol: Lone Shadow Masanaga The Spear-Bearer
Exit from the back of where the fight against the Chained Ogre just happened right up until the Old Grave Idol. Face backwards, and we recommend that you just make a run for it.
Make a right turn, progress through the bridge and continue heading to the forest area. On the end of the path you'll see the house. Beware of the three wolves there and get inside.
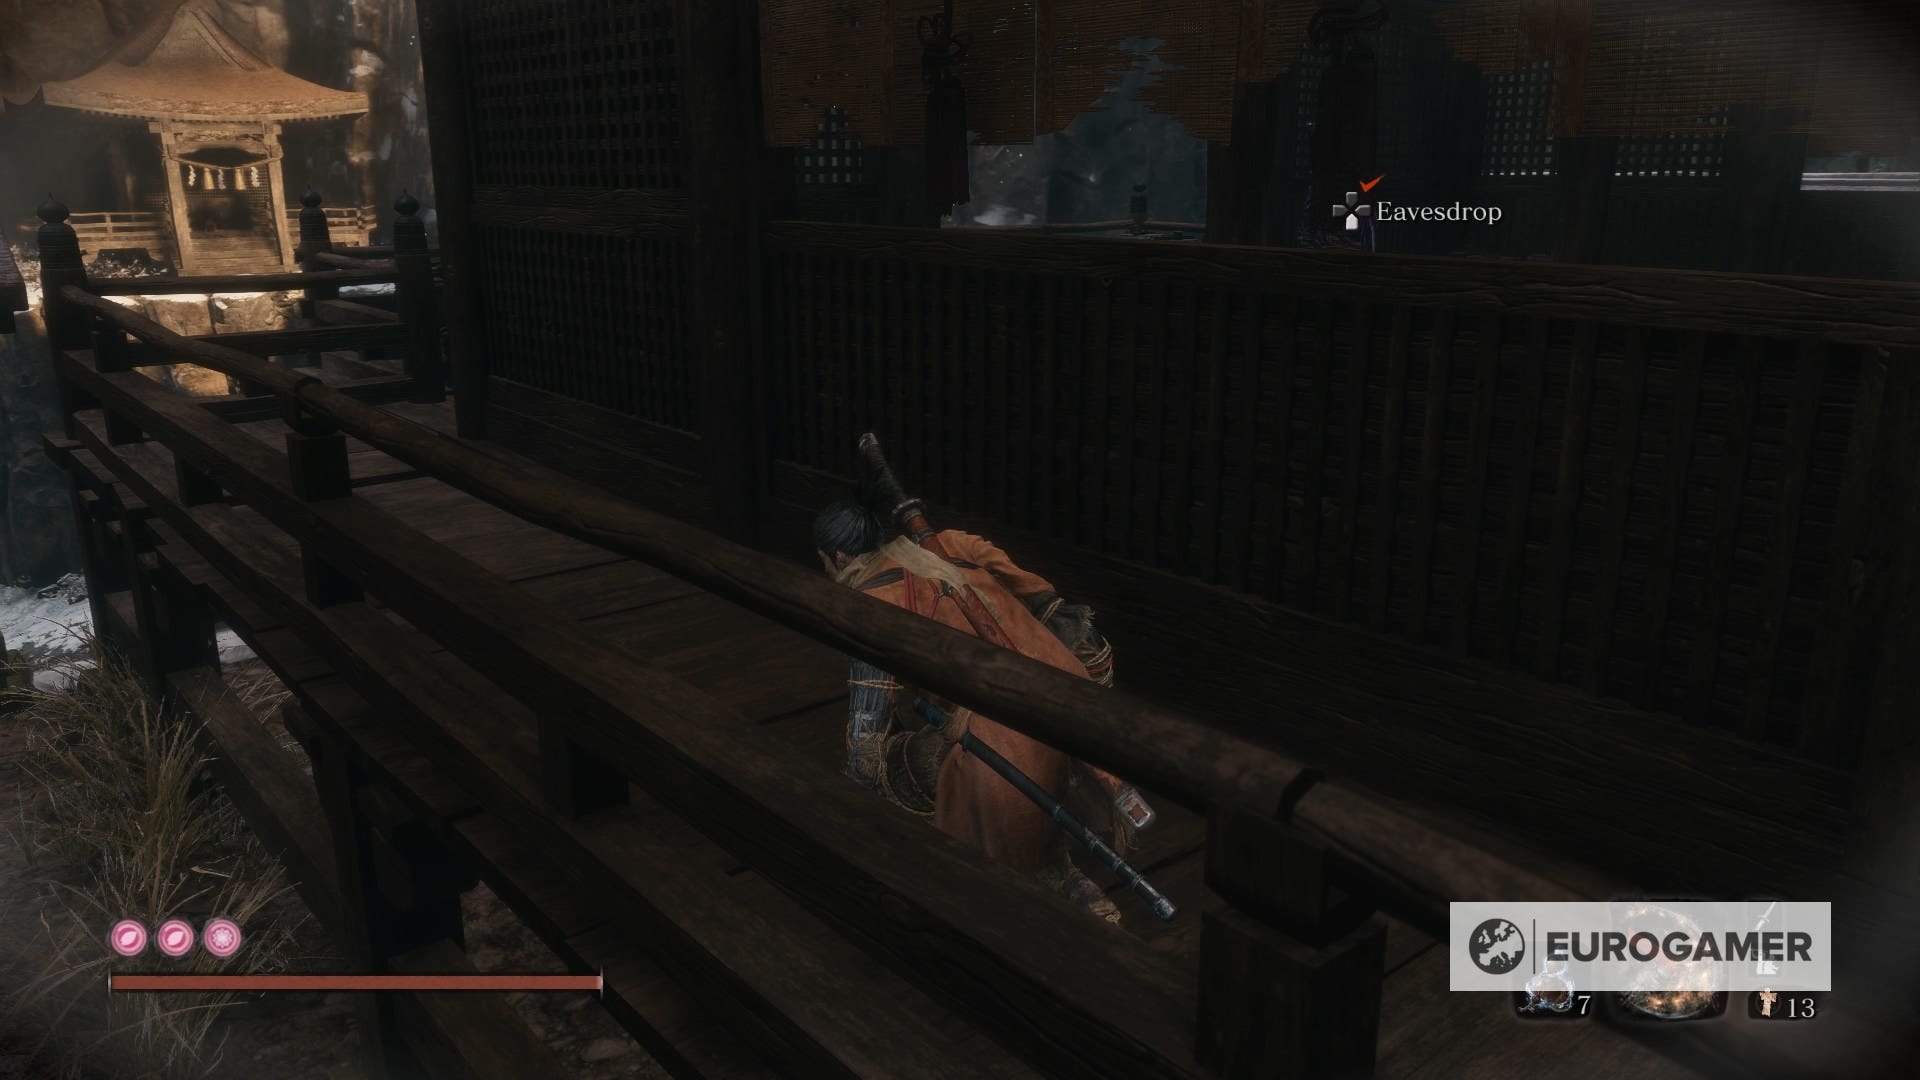
Now, you want to crouch as you go up the stairs, and turn left. Feel free to eavesdrop the enemy and then sneak up on him for a sweet advantage. That's Lone Shadow Masanaga The Spear-Bearer, who will gladly give you a Prayer Bead for defeating him.
32. Ashina Castle - Upper Tower - Ashina Dojo Idol: Lone Shadow Vilehand
Warp back to the Antechamber Idol. Make your way around the walkway and head upstairs to regain the Ashina Dojo Idol. Surprise! There's a new mini boss waiting for you: Lone Shadow Vilehand.
As soon as you enter the room, you can see an enemy on the left. If you stealth kill him and activate the Puppeteer Ninjutsu, he will give you a hand during the fight. Once Vilehand is no more, you'll get a new Prayer Bead.

Clarification: From here, it's assumed that you decided to "Break the Iron Code, stay loyal to Kuro" when you meet Owl in the Ashina Castle's rooftop. Choosing the other option will lock you up to the "bad" ending, and you won't be able to pick up all Prayer Beads.
The last ones are in a new version of Hirata Estate, the new area Fountainhead Palace, and the last version of Ashina Castle and Ashina Outskirts.
33. Hirata Estate - Bamboo Thicket Slope Idol: Lone Shadow Masanaga The Spear-Bearer (again)
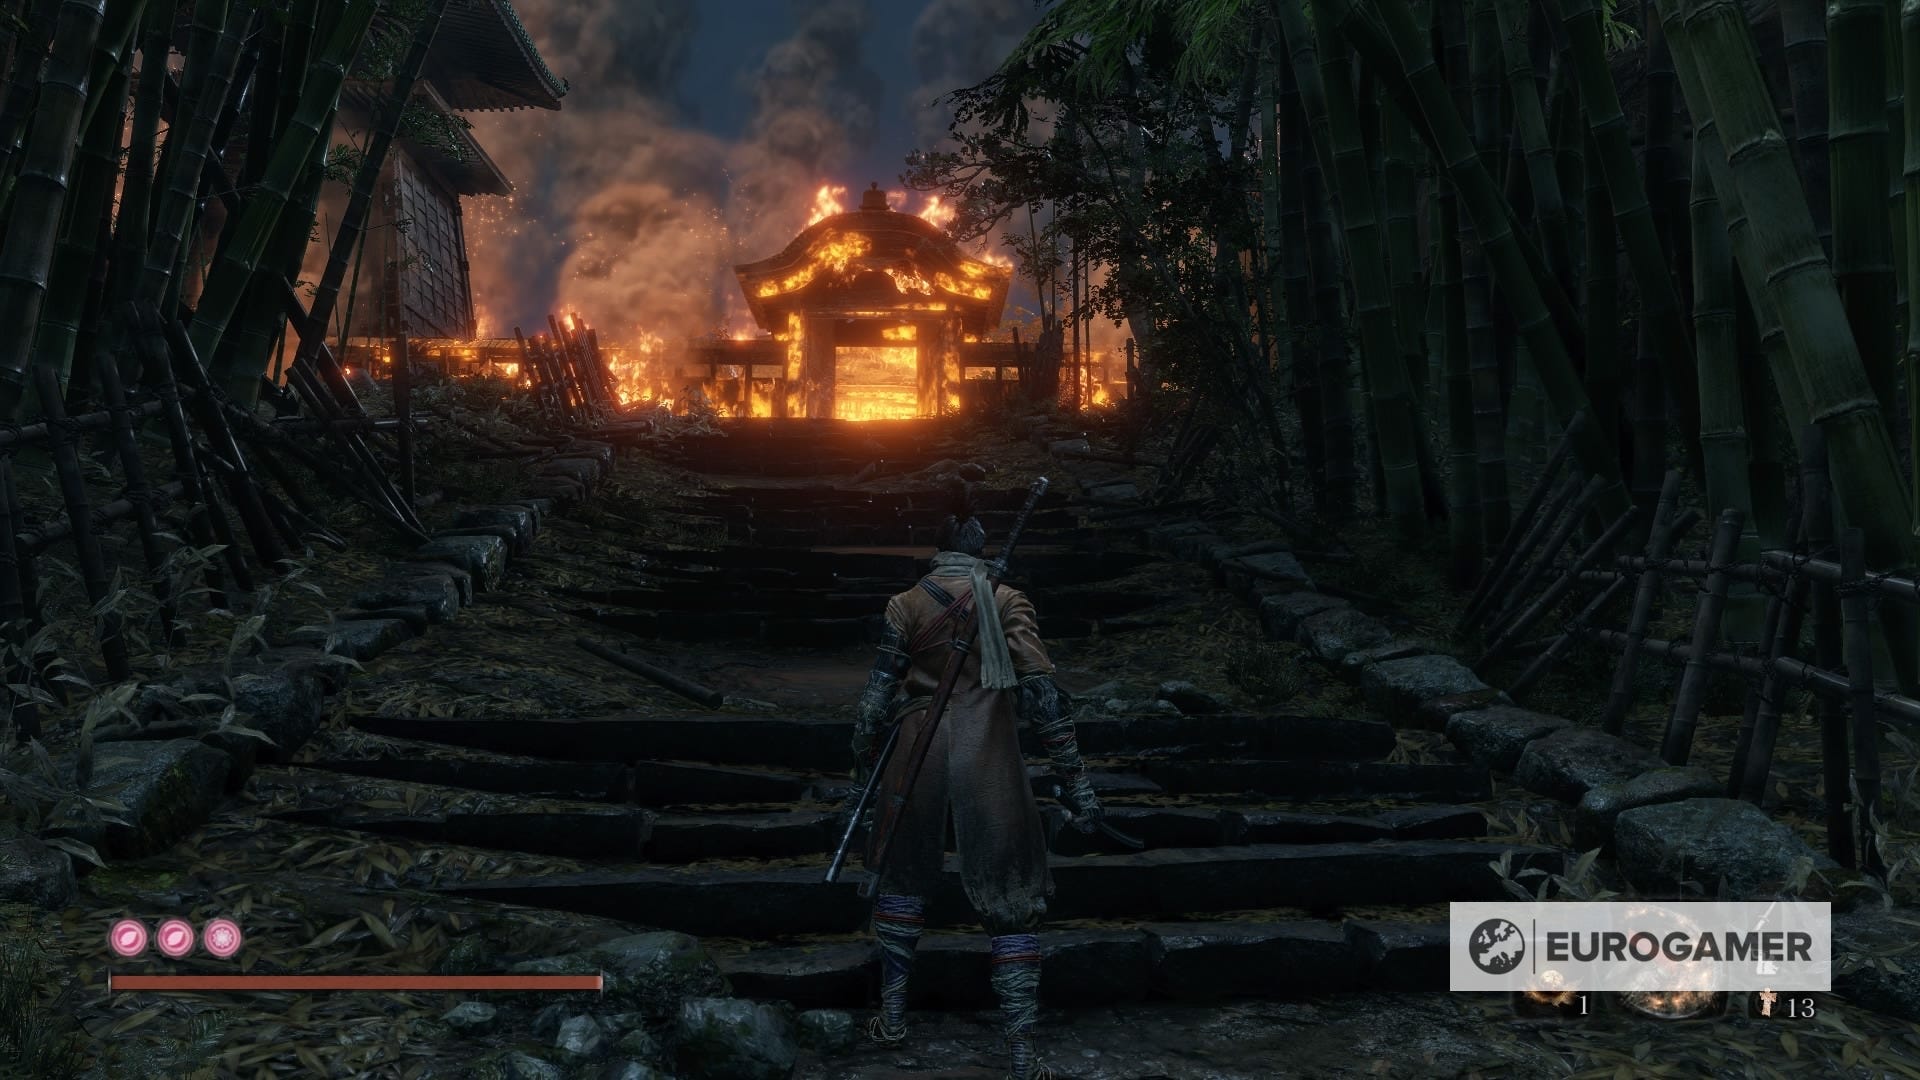
If you sided with Kuro, then you will get to a point where you'll use the Father's Bell back in the Dilapidated Temple. This will take you a new version of the Hirata Estate.
There are two mini bosses in here, but the first is optional. From the Bamboo Thicket Slope Idol (or right when you're first warped there in the first place), return to the burning house. Inside you'll find Lone Shadow Masanaga The Spear-Bearer. Yes, he's back, now with even more wolves tagging along.
Defeat him, and you'll earn a Prayer Bead.
34. Hirata Estate - Main Hall Idol: Juzou the Drunkard (again)
This one is can again be either missed or obtained as you go, depending on which ending you're looking to follow. As you're making your way to the Hirata Audience Chamber, you'll meet Juzou the Drunkard again. The movesets are similar to the first fight, so make sure to use our guide if you want to refresh your memory.
Once you're done with him, he will give you a Prayer Bead.

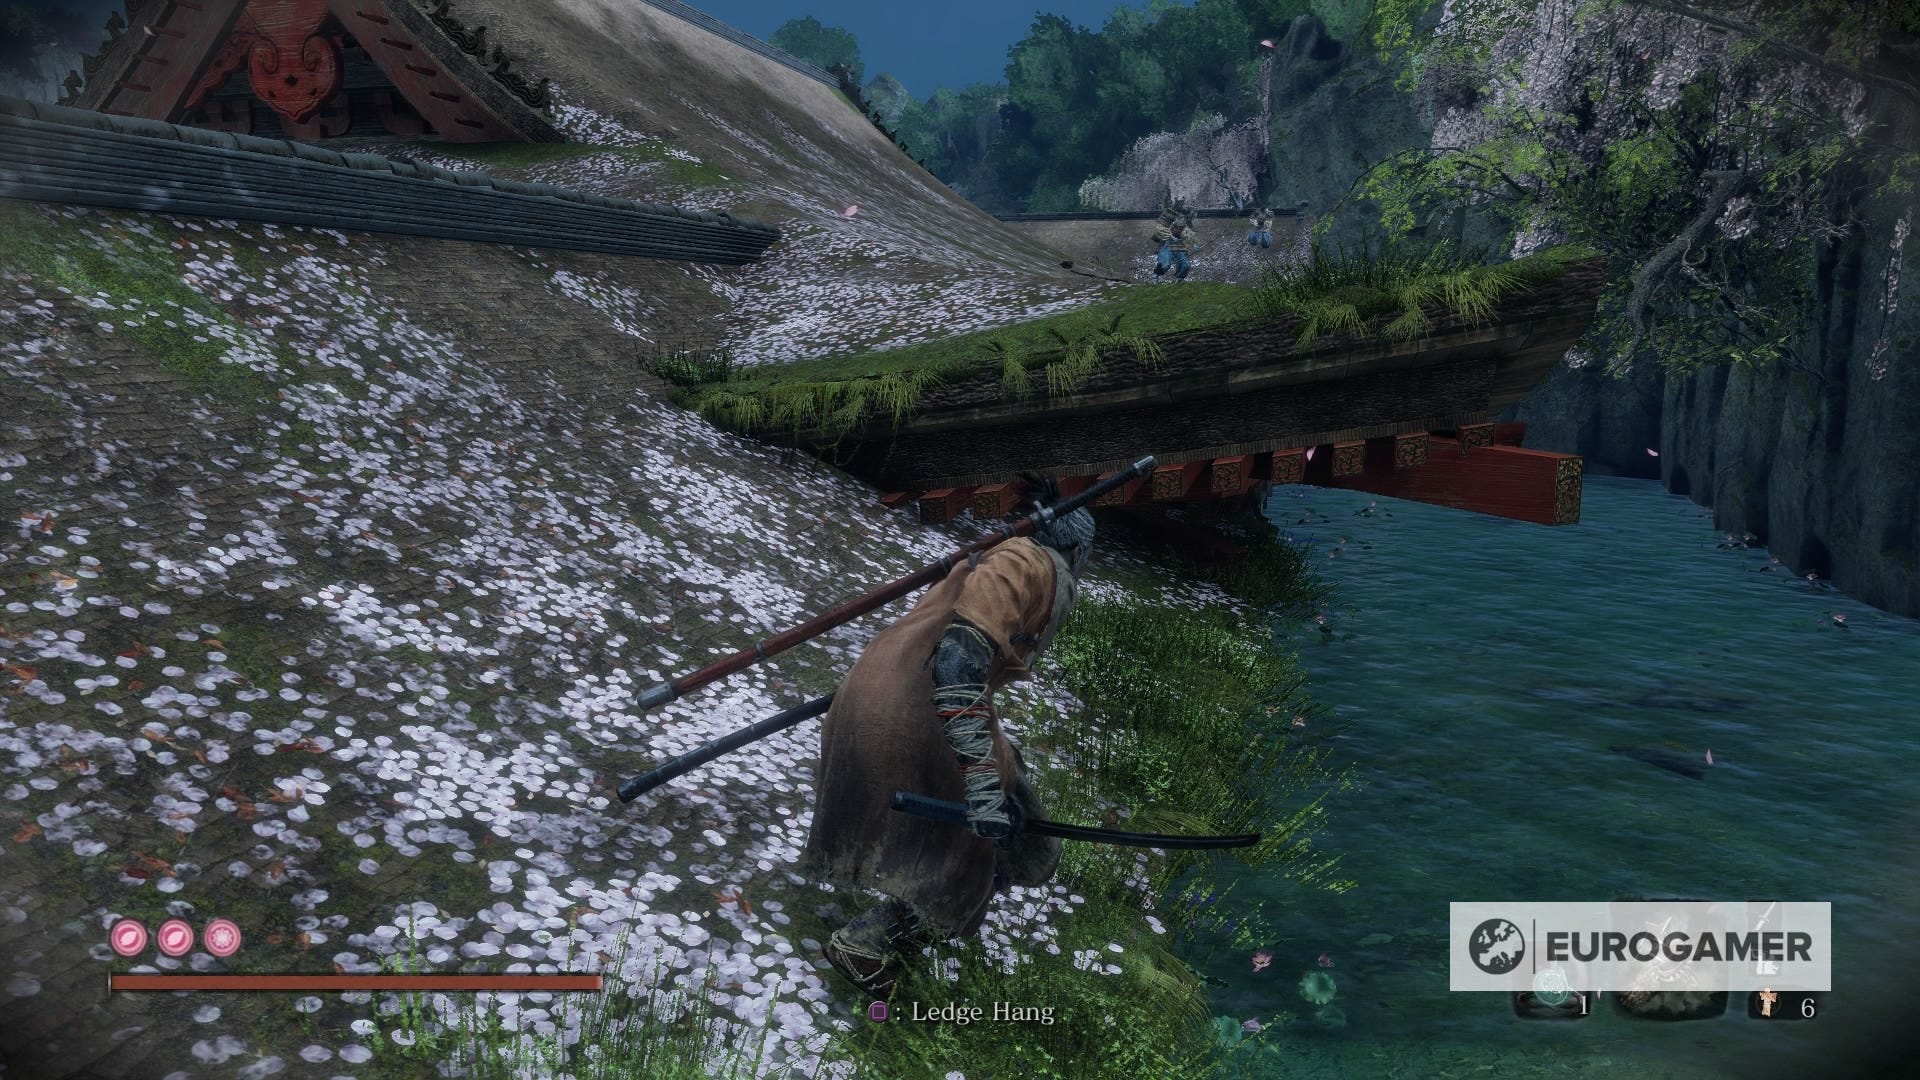
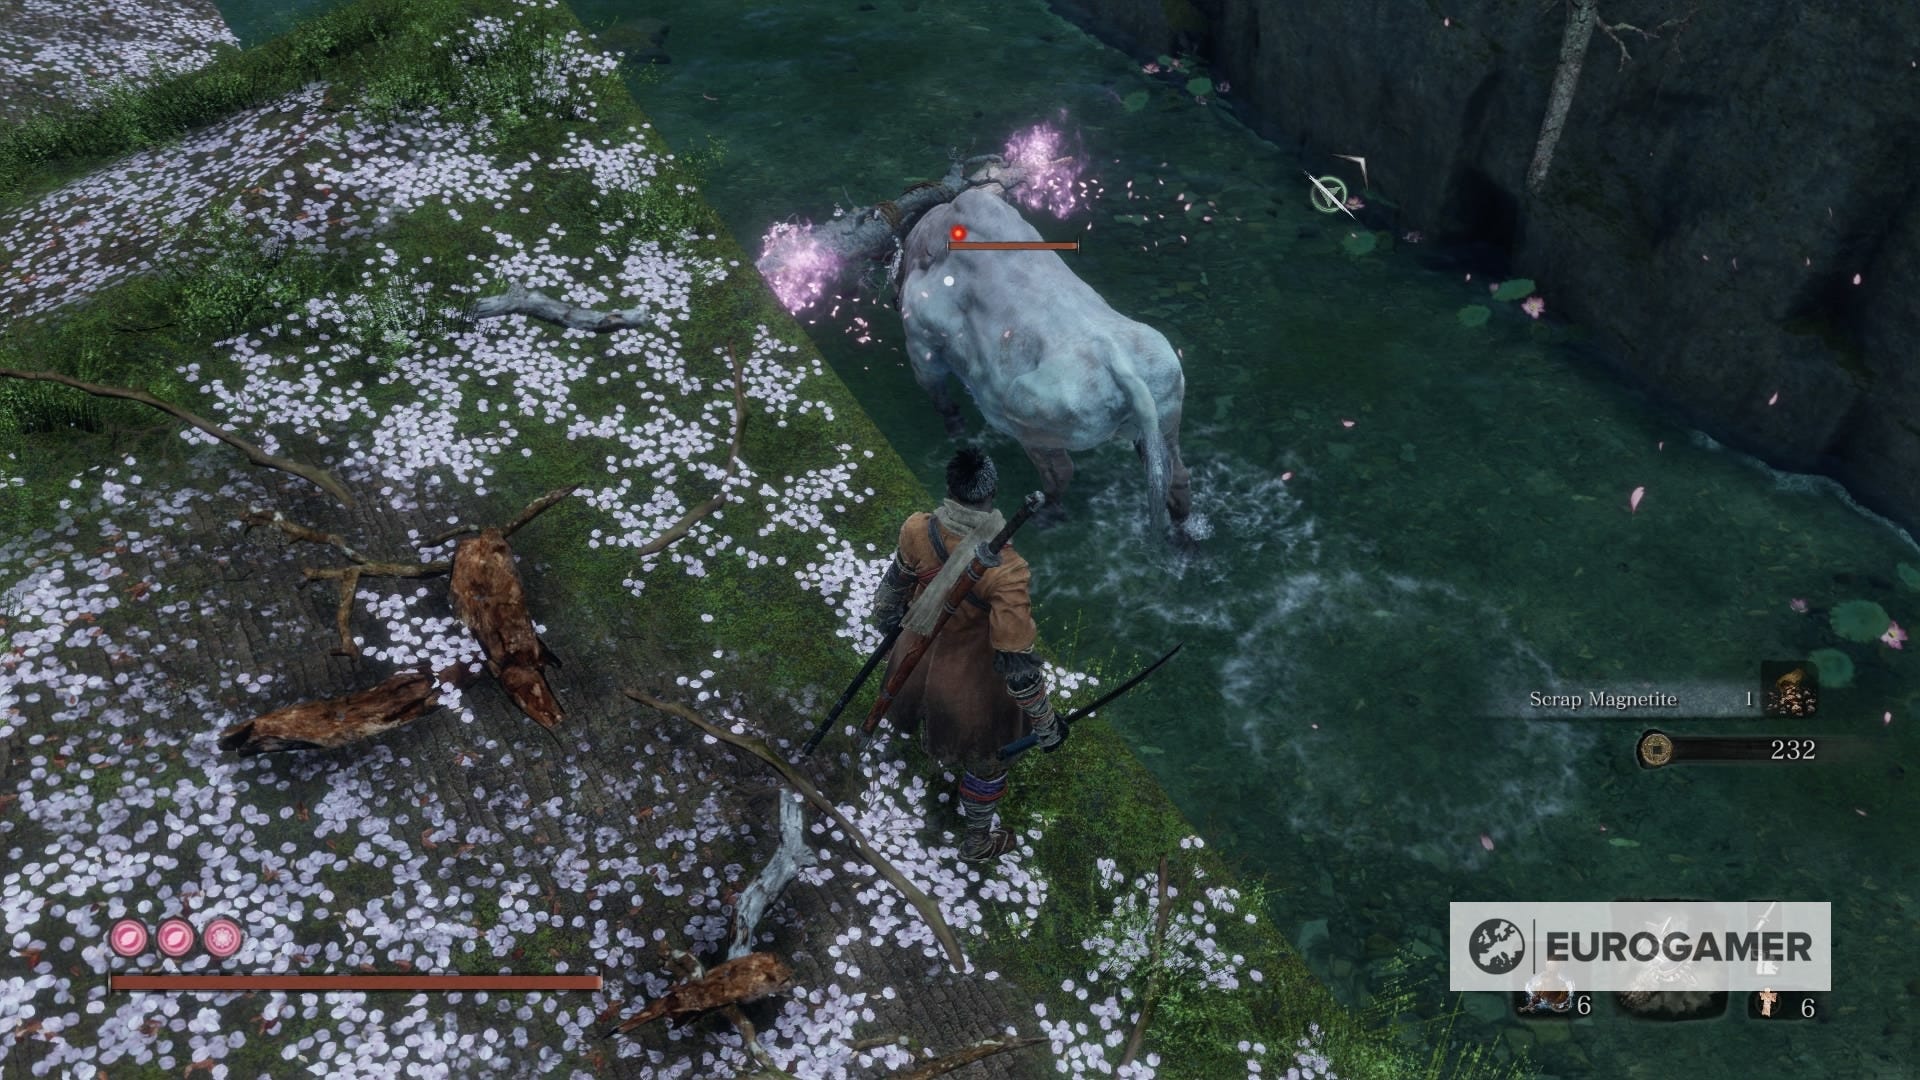
35. Fountainhead Palace - Flower Viewing Stage Idol: Sakura Bull
Don't fret, this one is easy to find. From the Idol, make your way to the houses in the back and grapple yourself to the rooftop as soon as you're able to. Keep going through there and, if you start to notice the path of bodies below, you'll begin to think something's off.
That's right, the mini boss Sakura Bull of the Palace will show up in that corridor. Also, if you think you could get a free deathblow by jumping from the rooftop, I've got bad news for you. After dealing with the bull, you'll get a Prayer Bead.
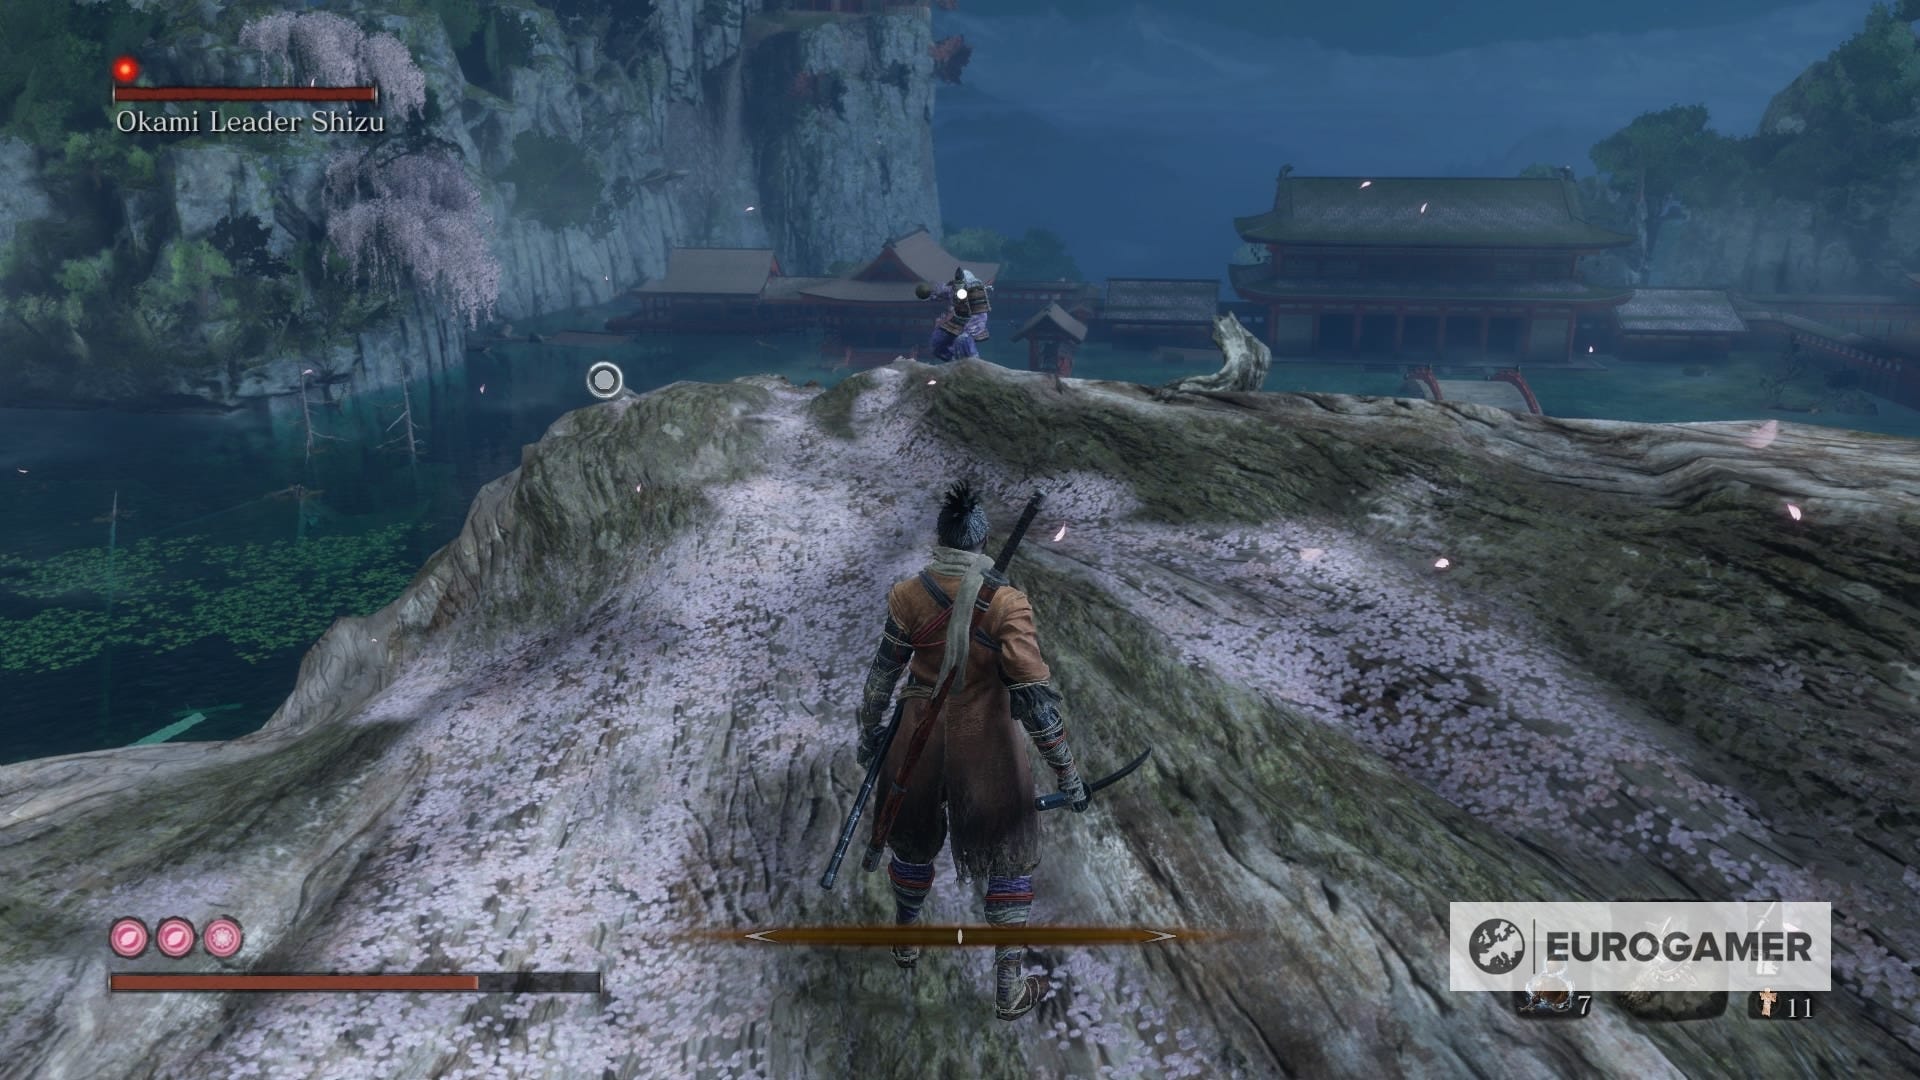
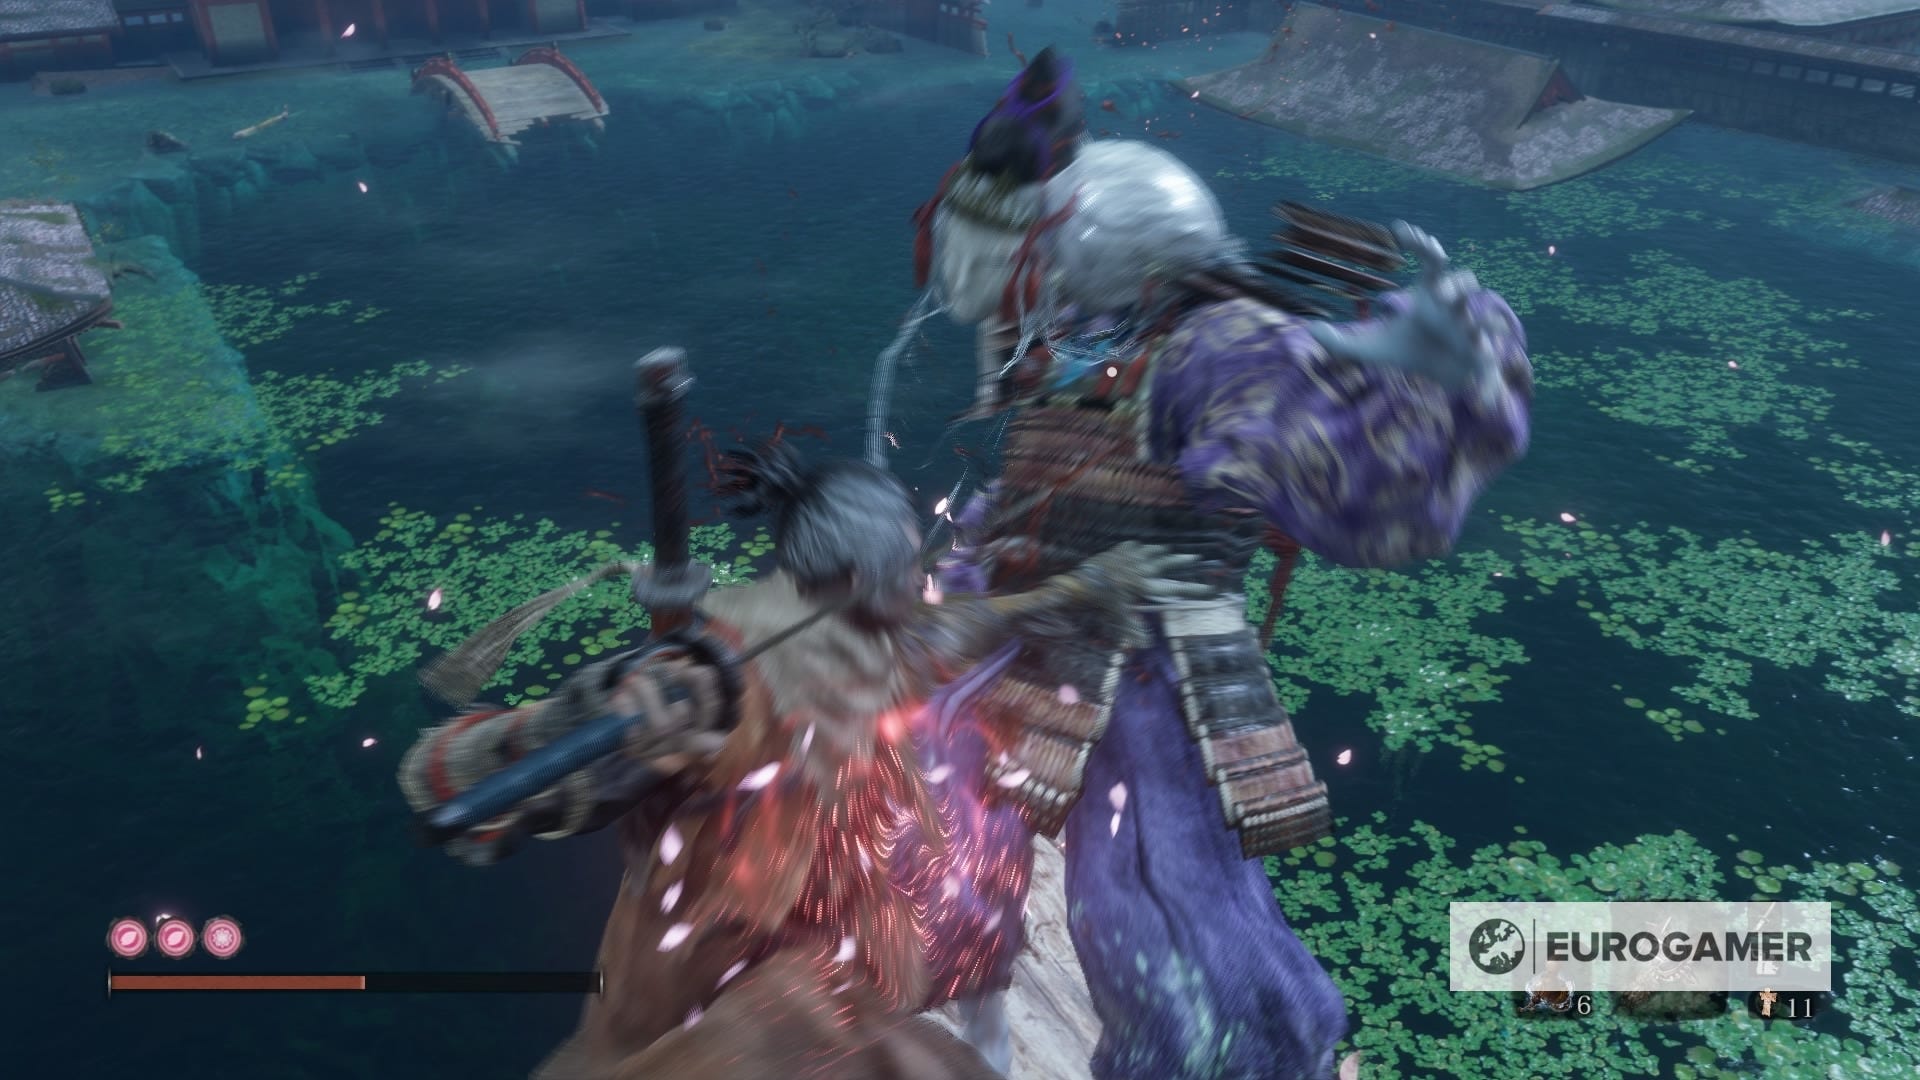
36. Fountainhead Palace - Great Sakura Idol: Okami Leader Shizu
This is probably the easiest of them all. You can literally spot Okami Leader Shizu from the Idol, and the health pool makes them look like a regular enemy. You just have to dodge their lighting attacks as you get closer. Once you're victorious, you'll get a new Prayer Bead.
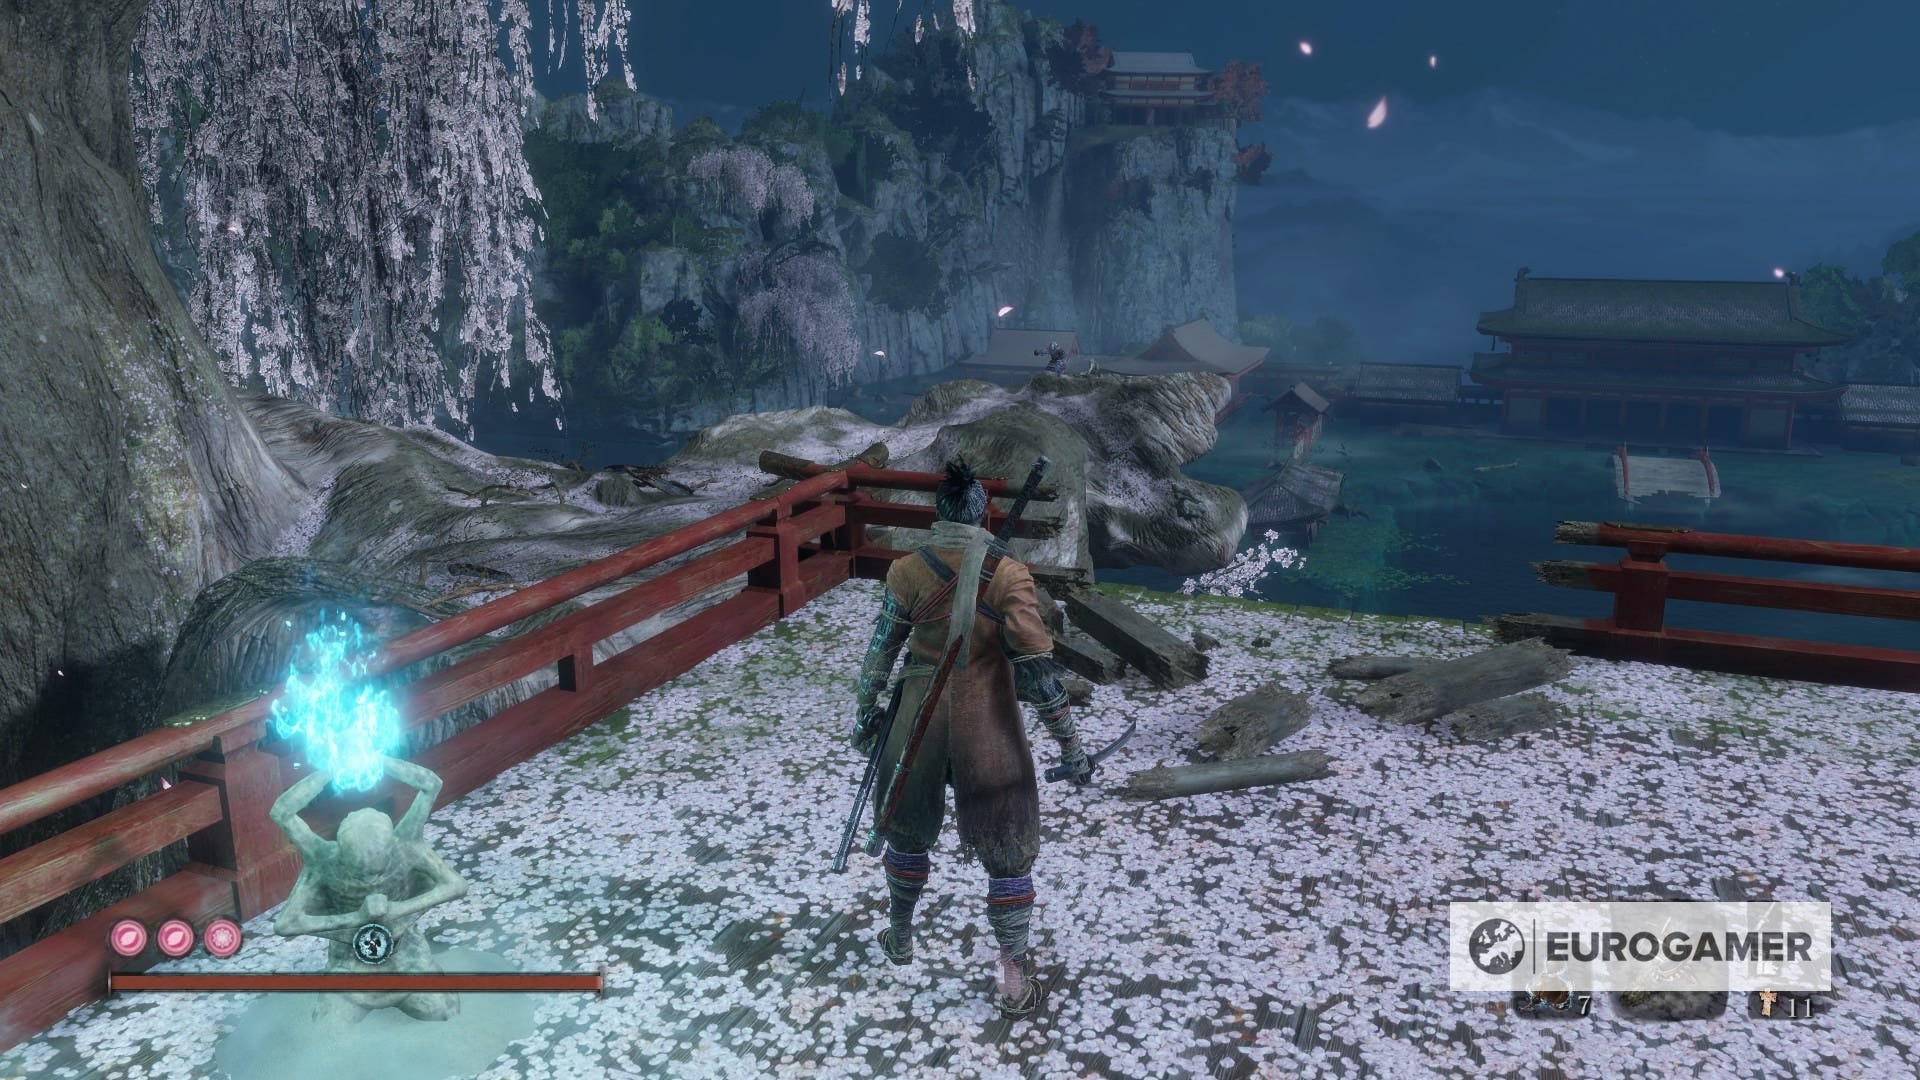
37. Fountainhead Palace - Great Sakura Idol
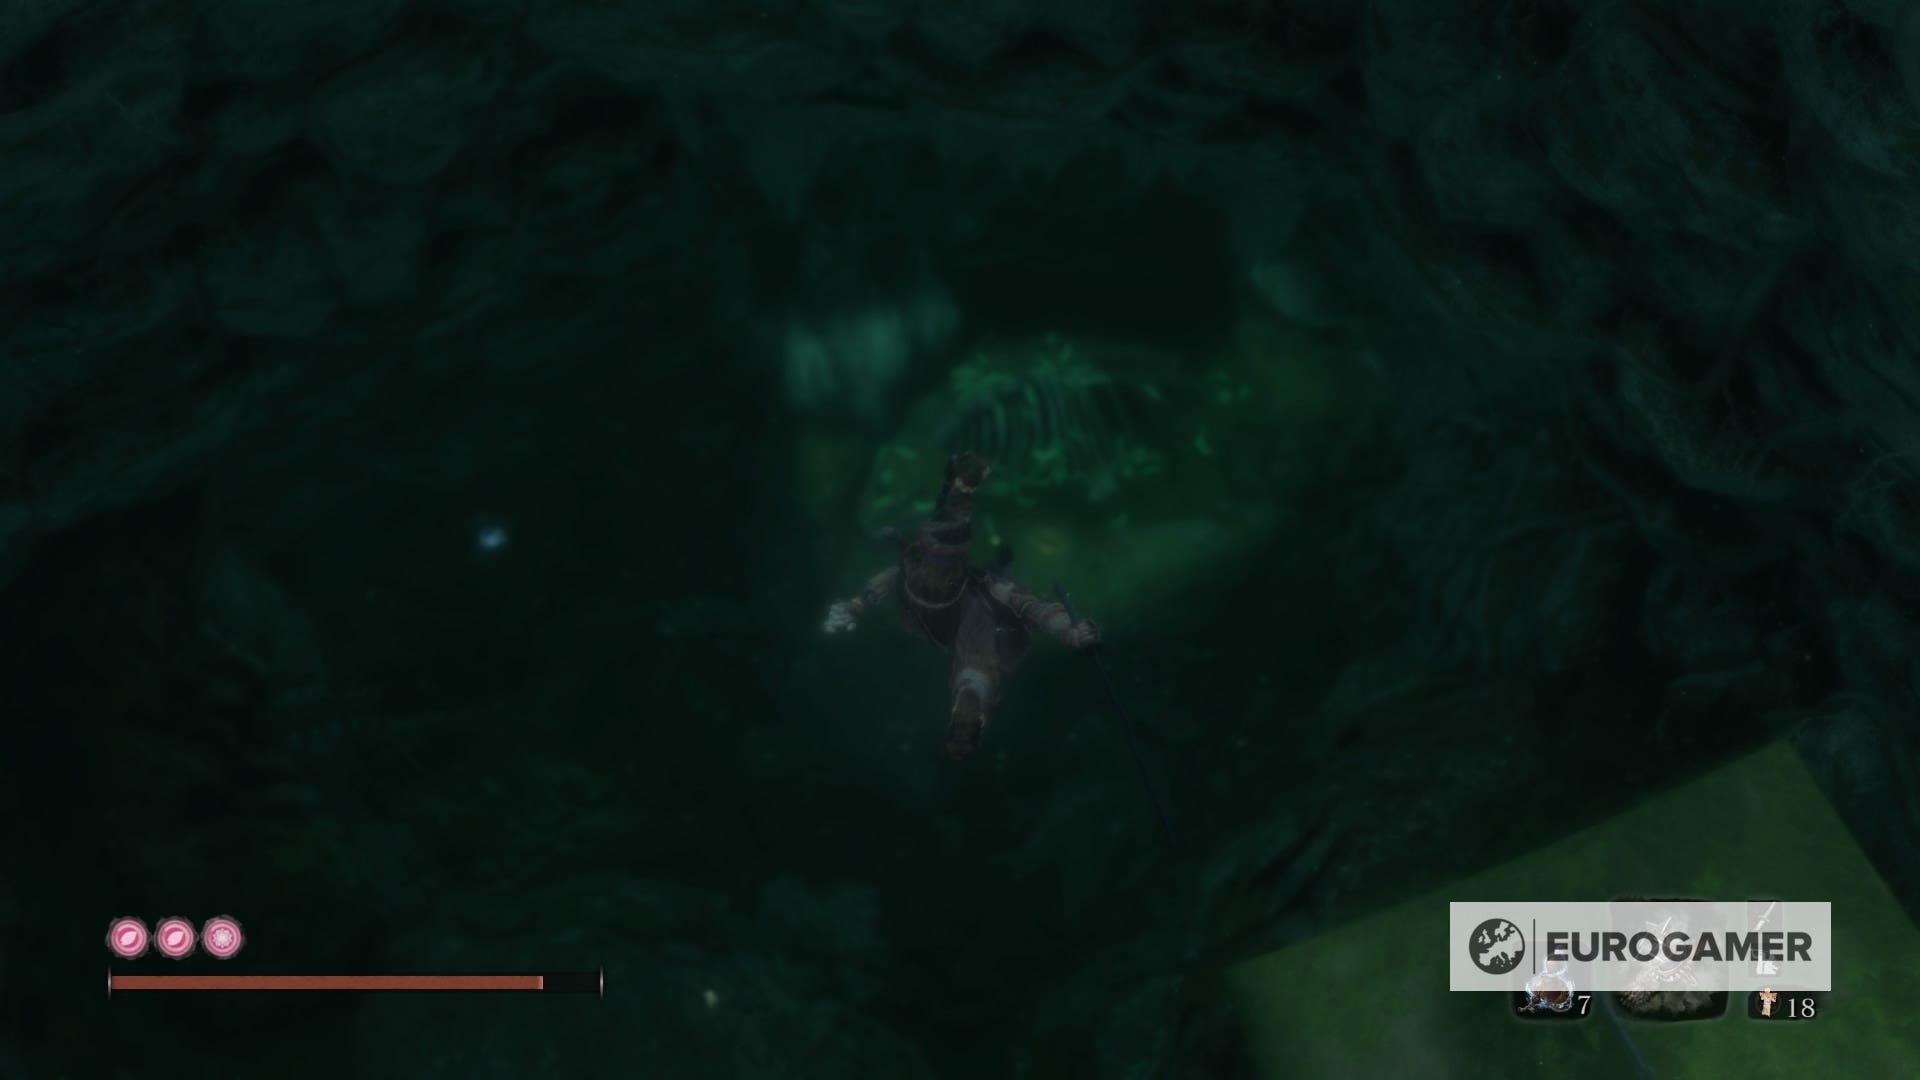
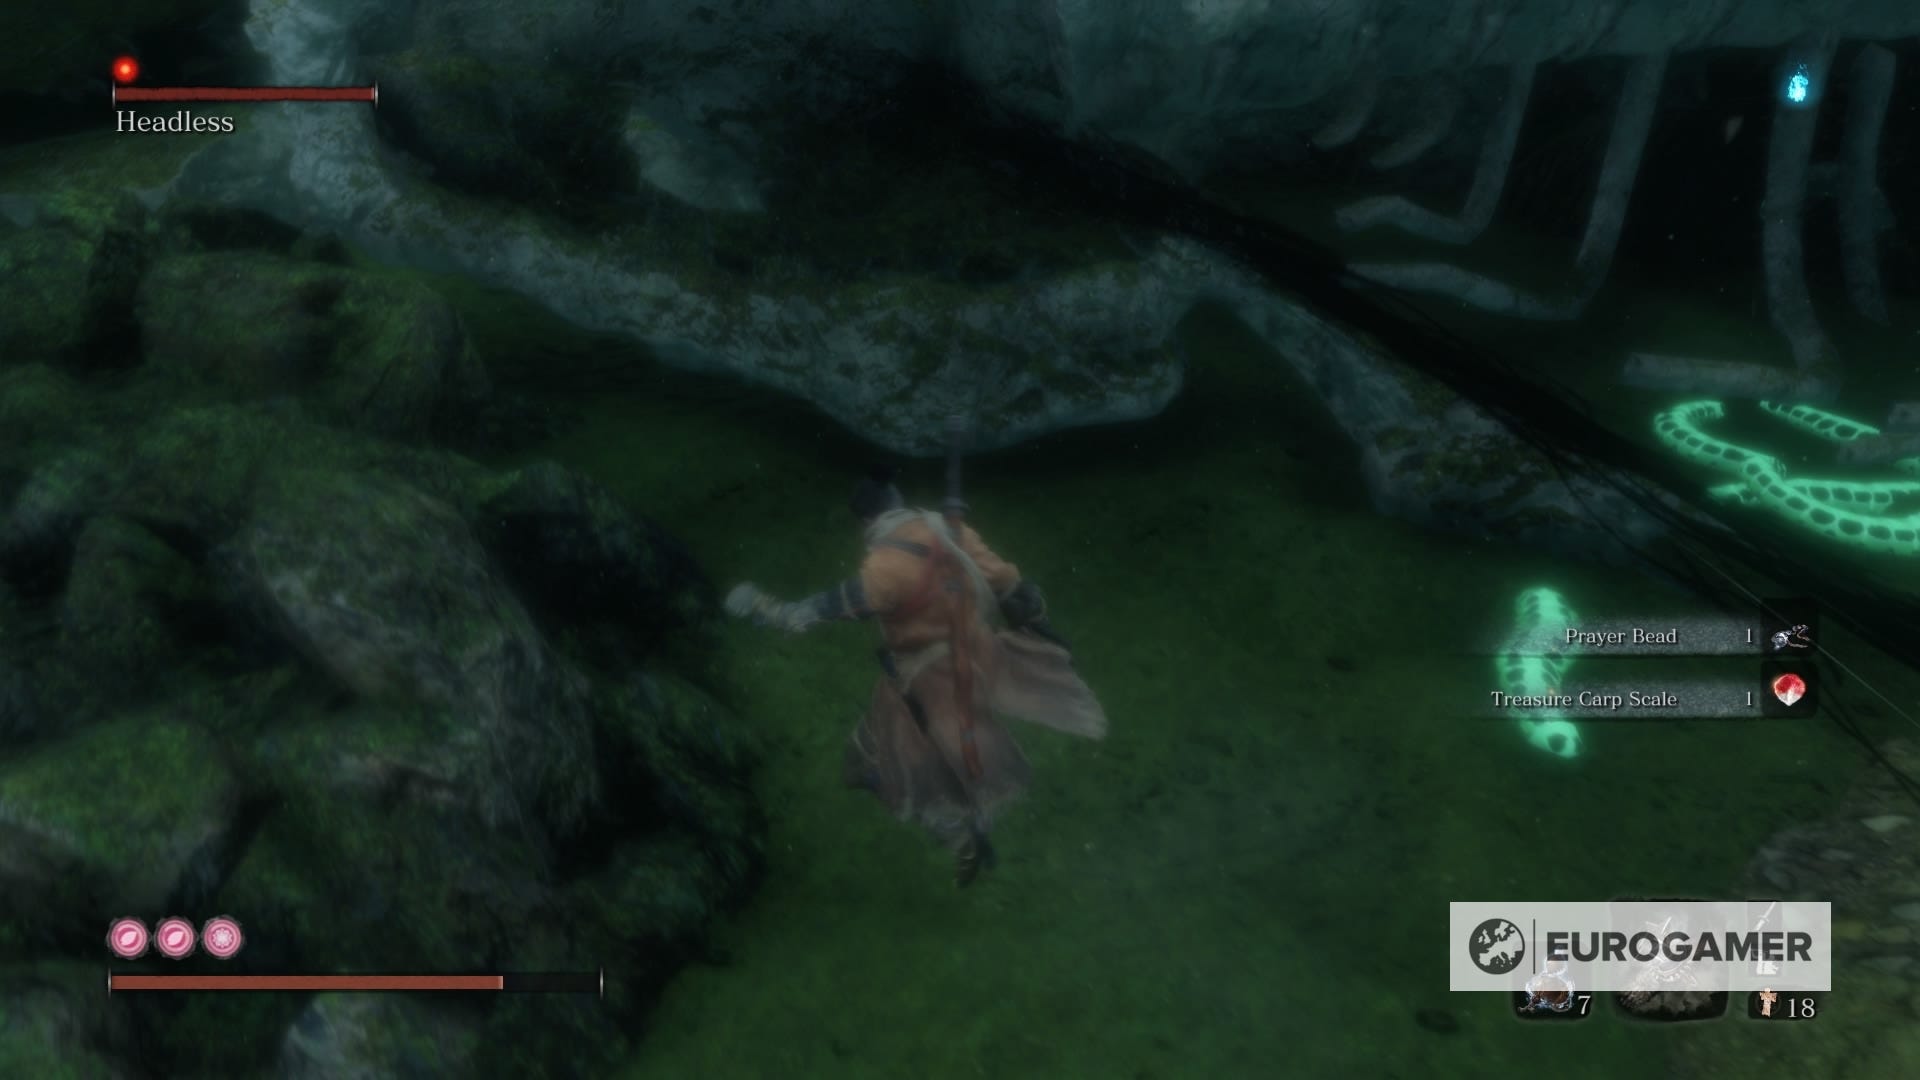
Don't run away from the place just yet. Stand on the corner of the log and you'll see a giant house buried inside the lake. Jump and take a swim, and once you're getting closer, you want to start diving way down.
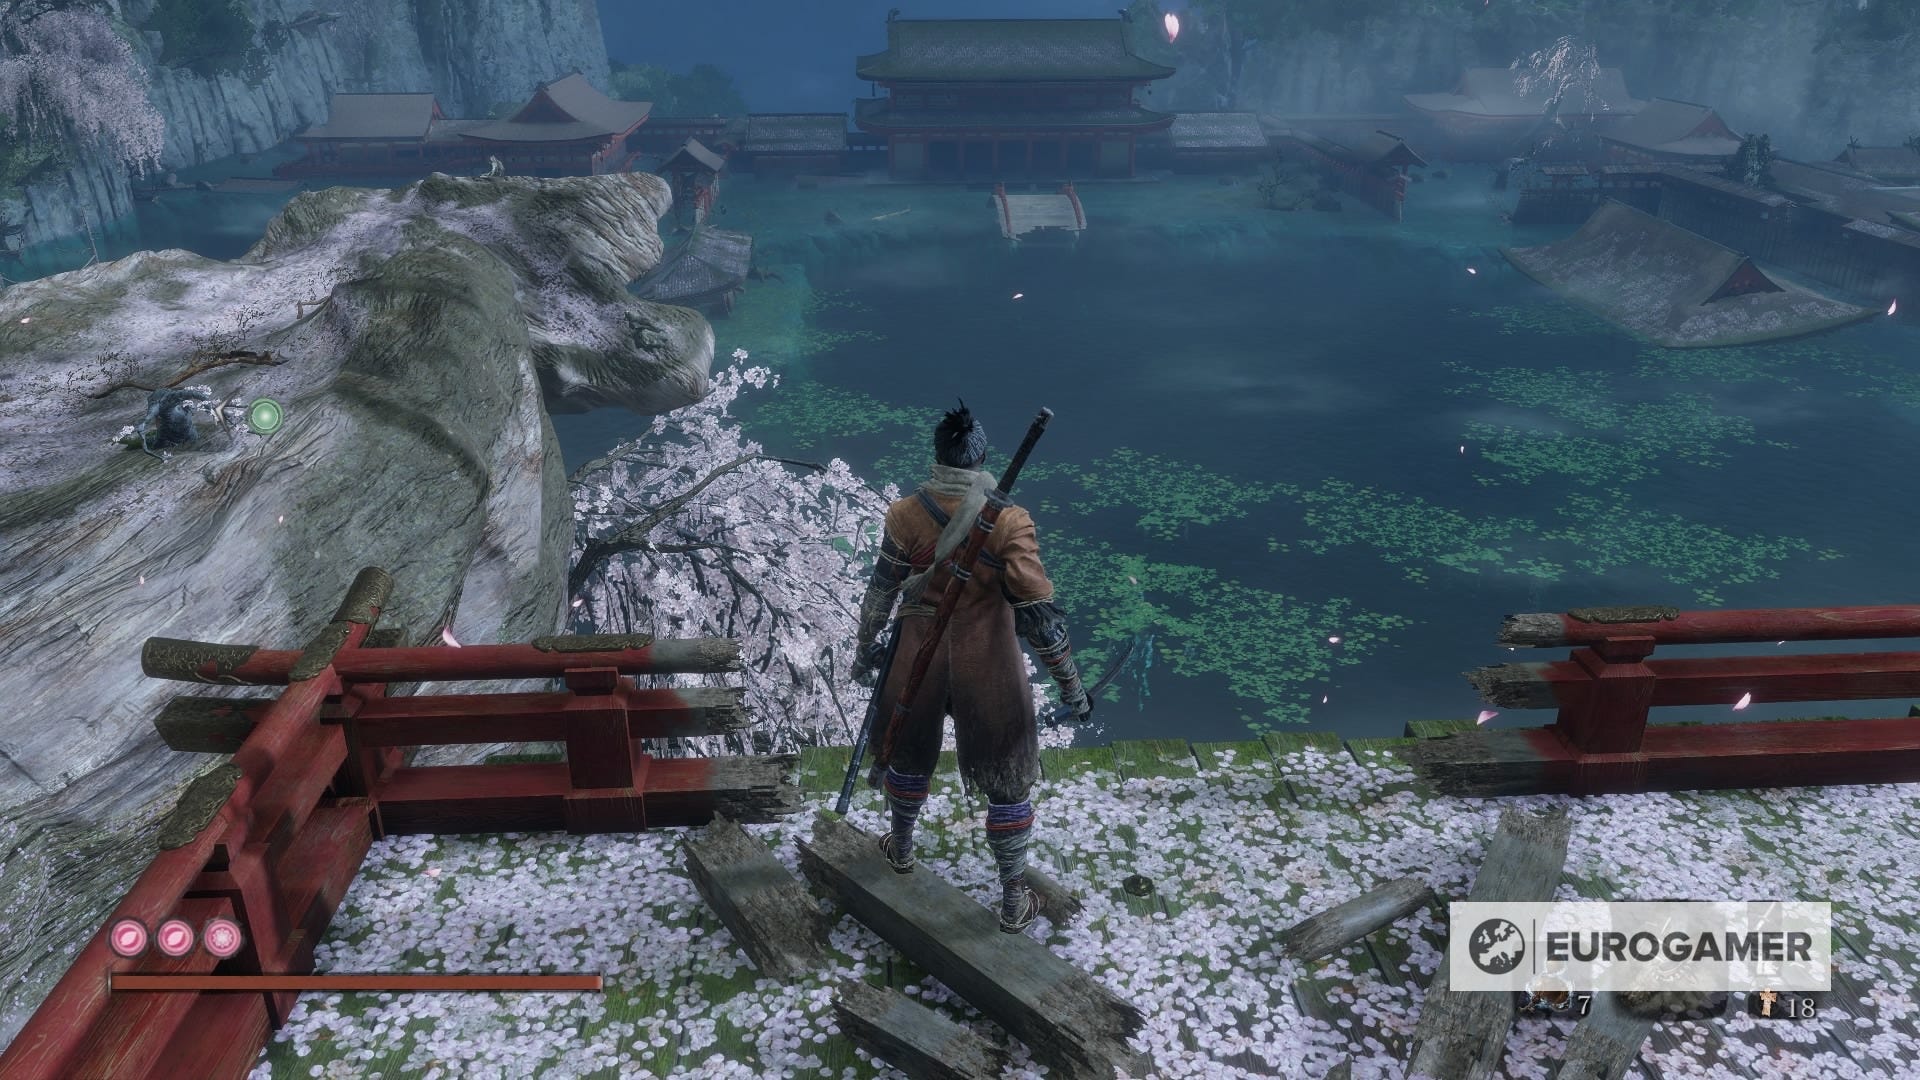
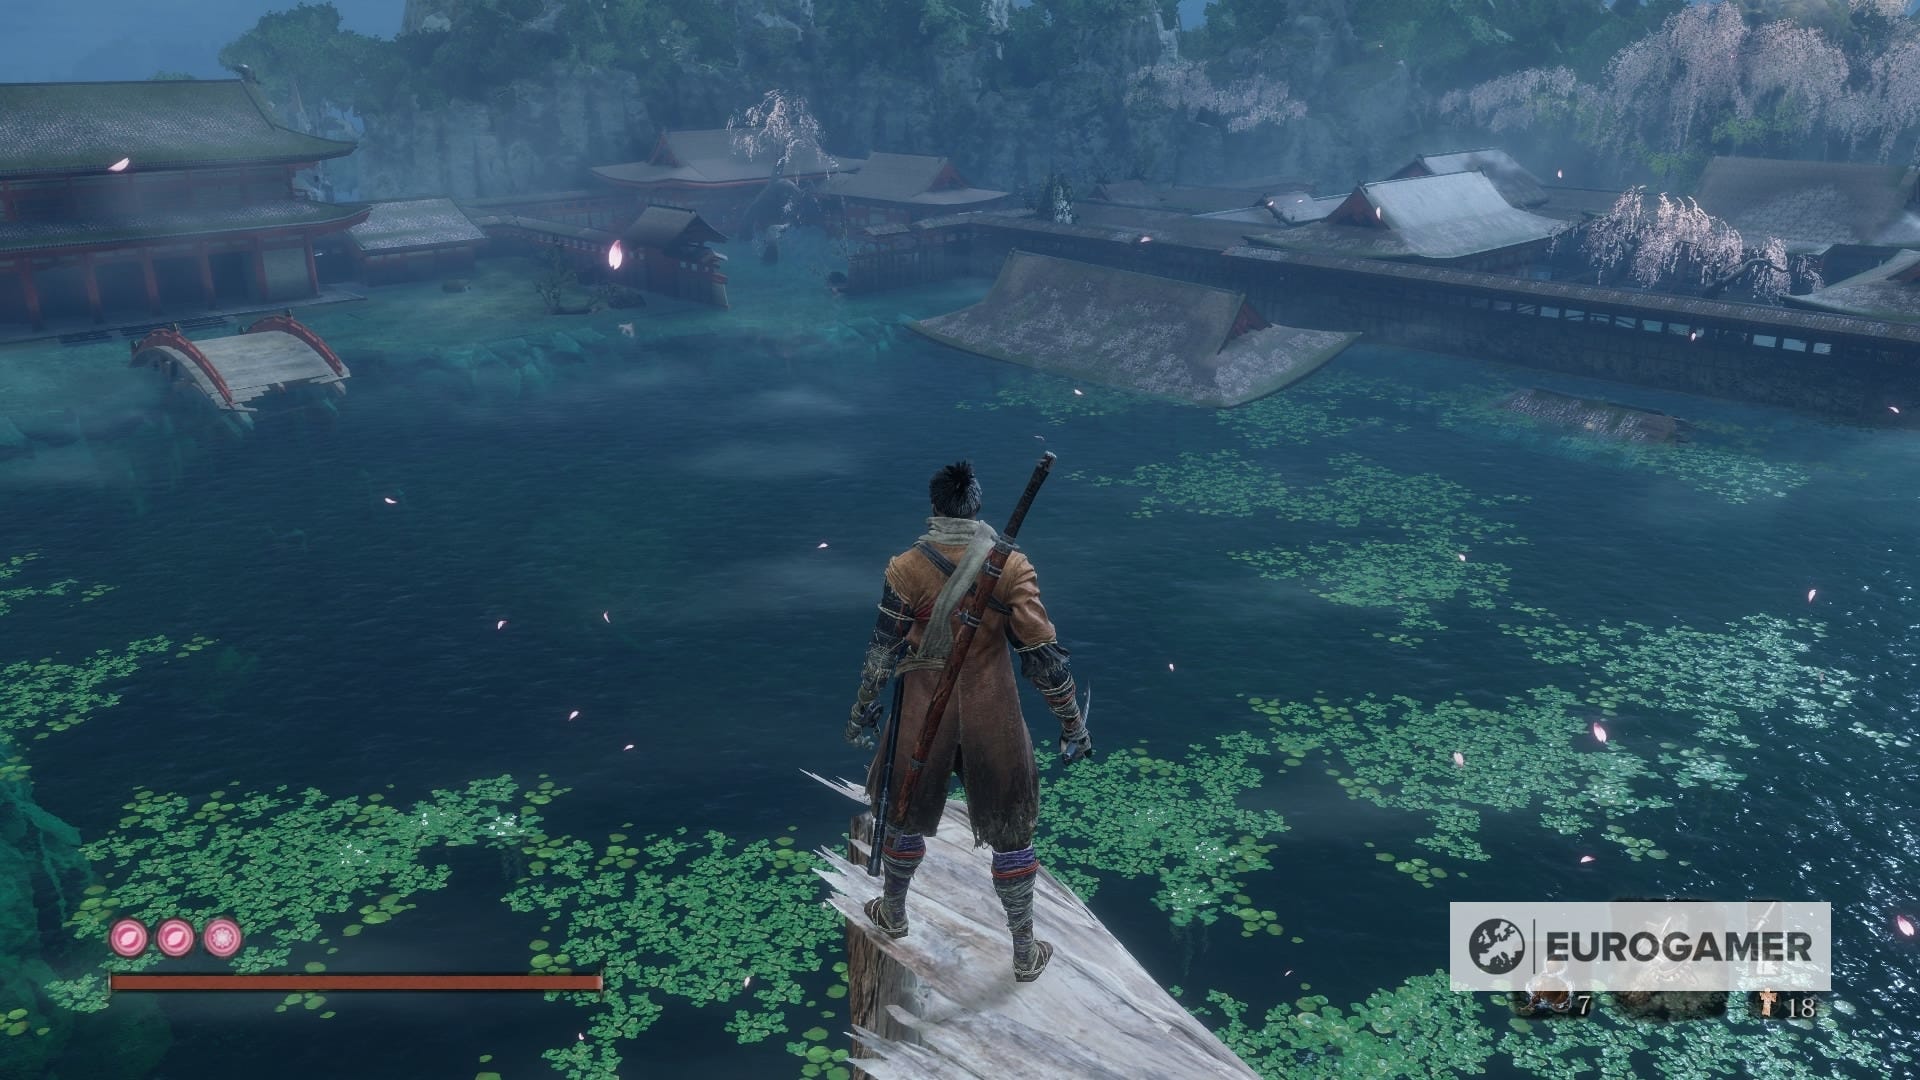
To save you from a heart attack, there is a Headless encounter below. You can take them over if you want, but it's really easy to skip the fight altogether. Just keep diving deeper until you see the remnants of a fish at the bottom. Open up the chest, and you'll be set with a new Prayer Bead.

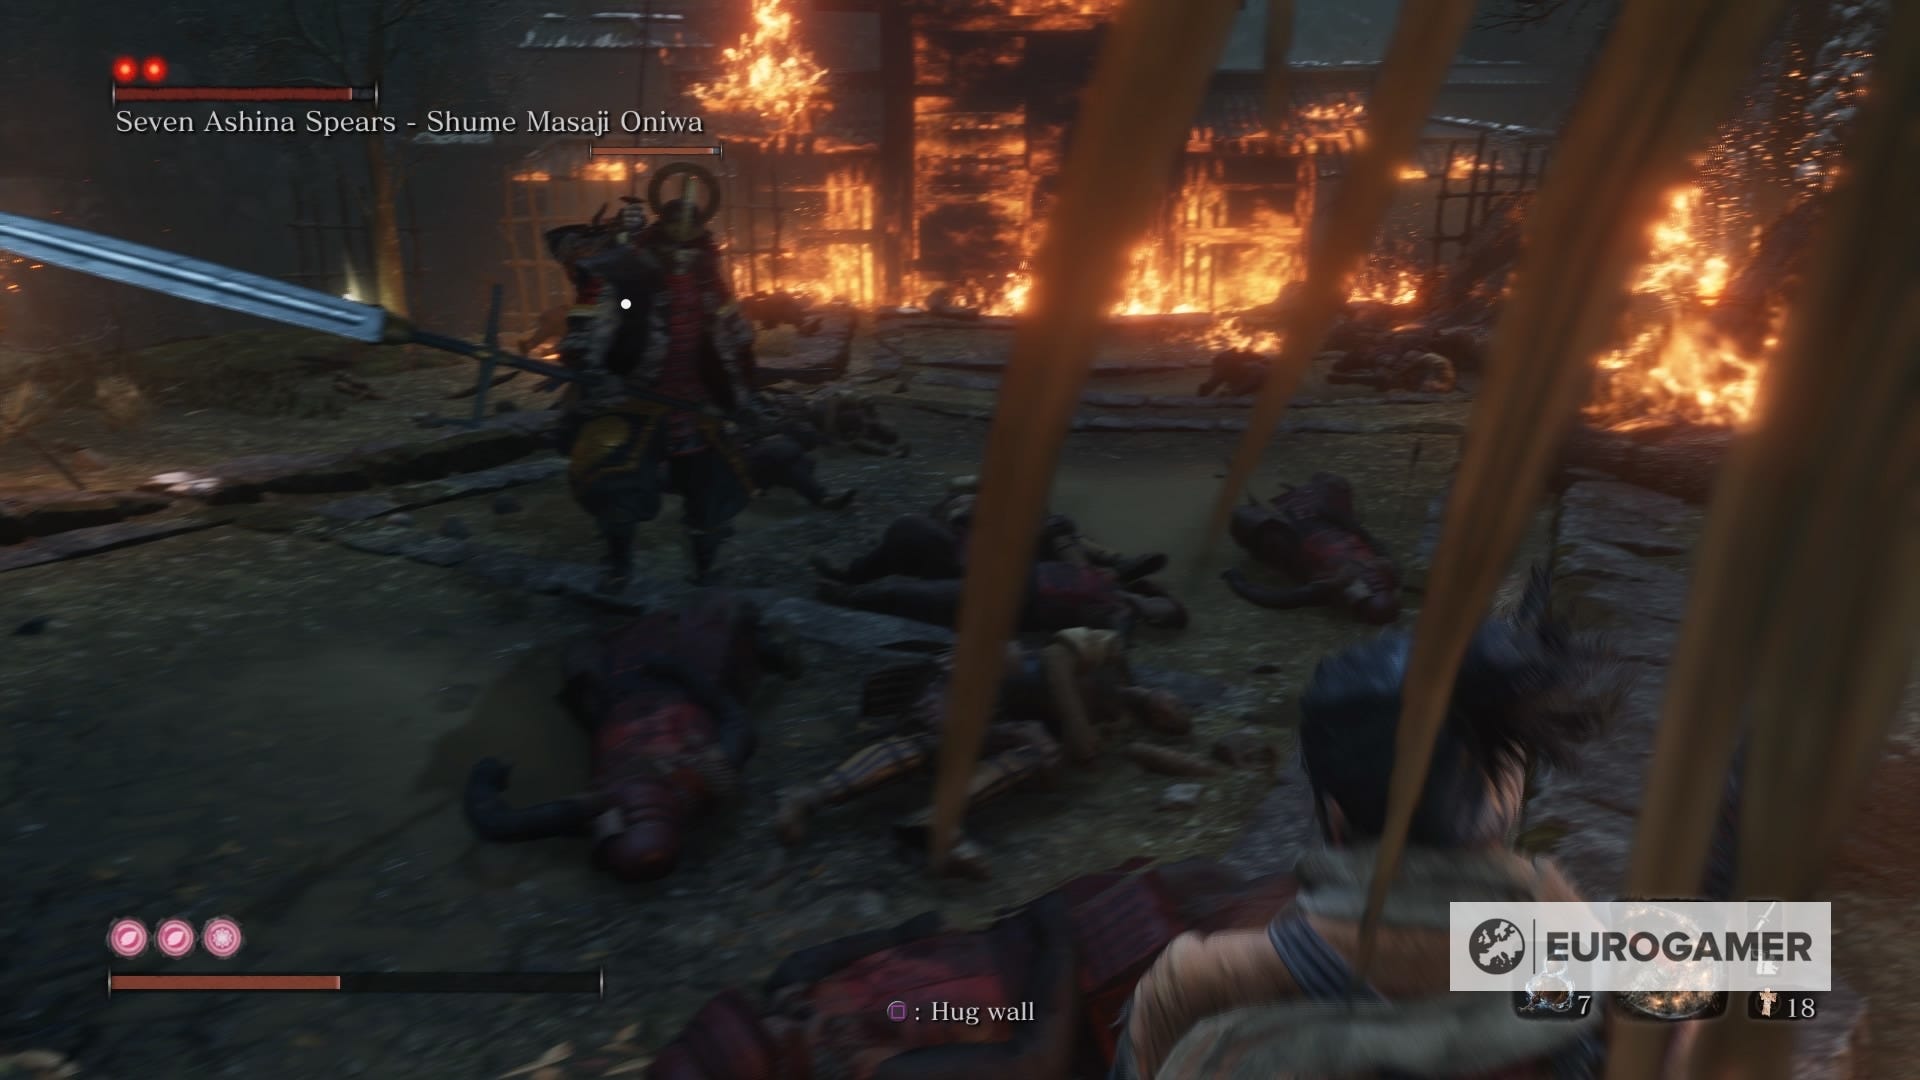
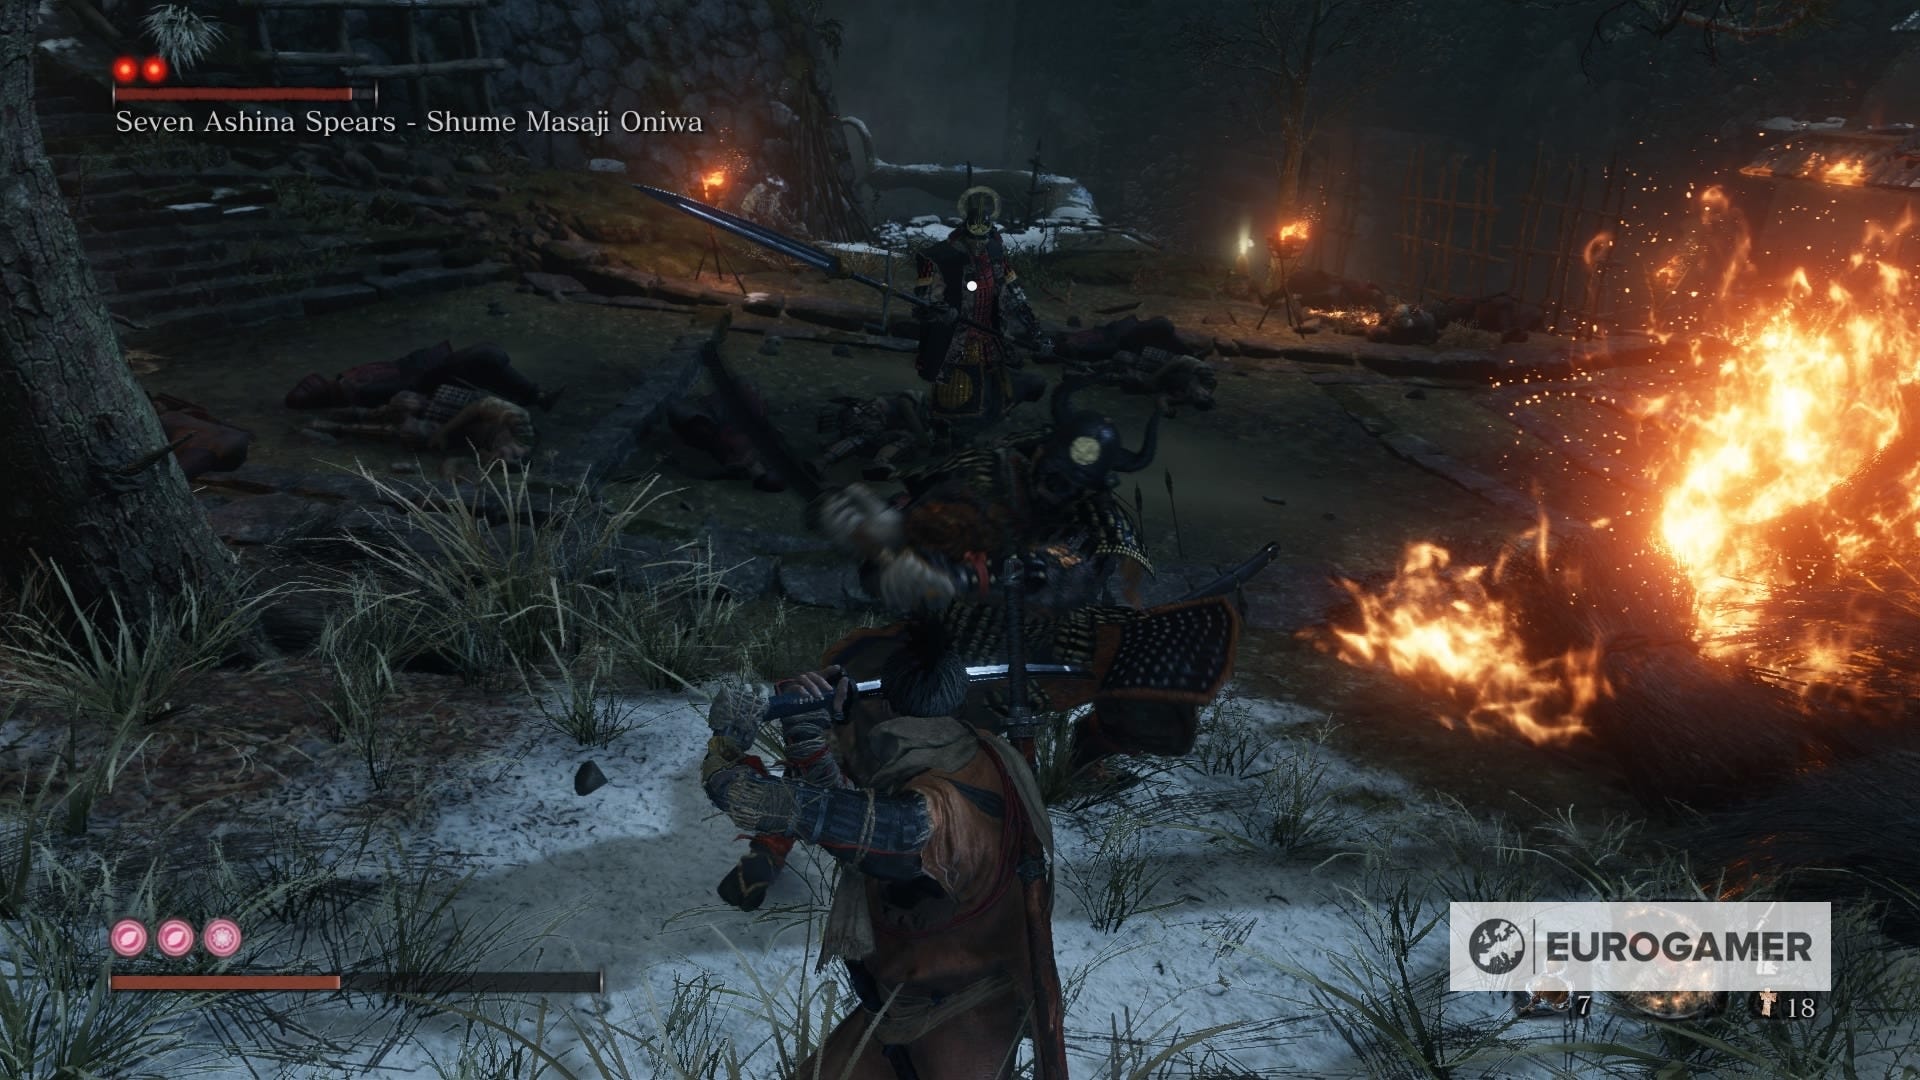
38. Ashina Castle - Ashina Reservoir Idol: Seven Ashina Spears Suhme Masaji Oniwa
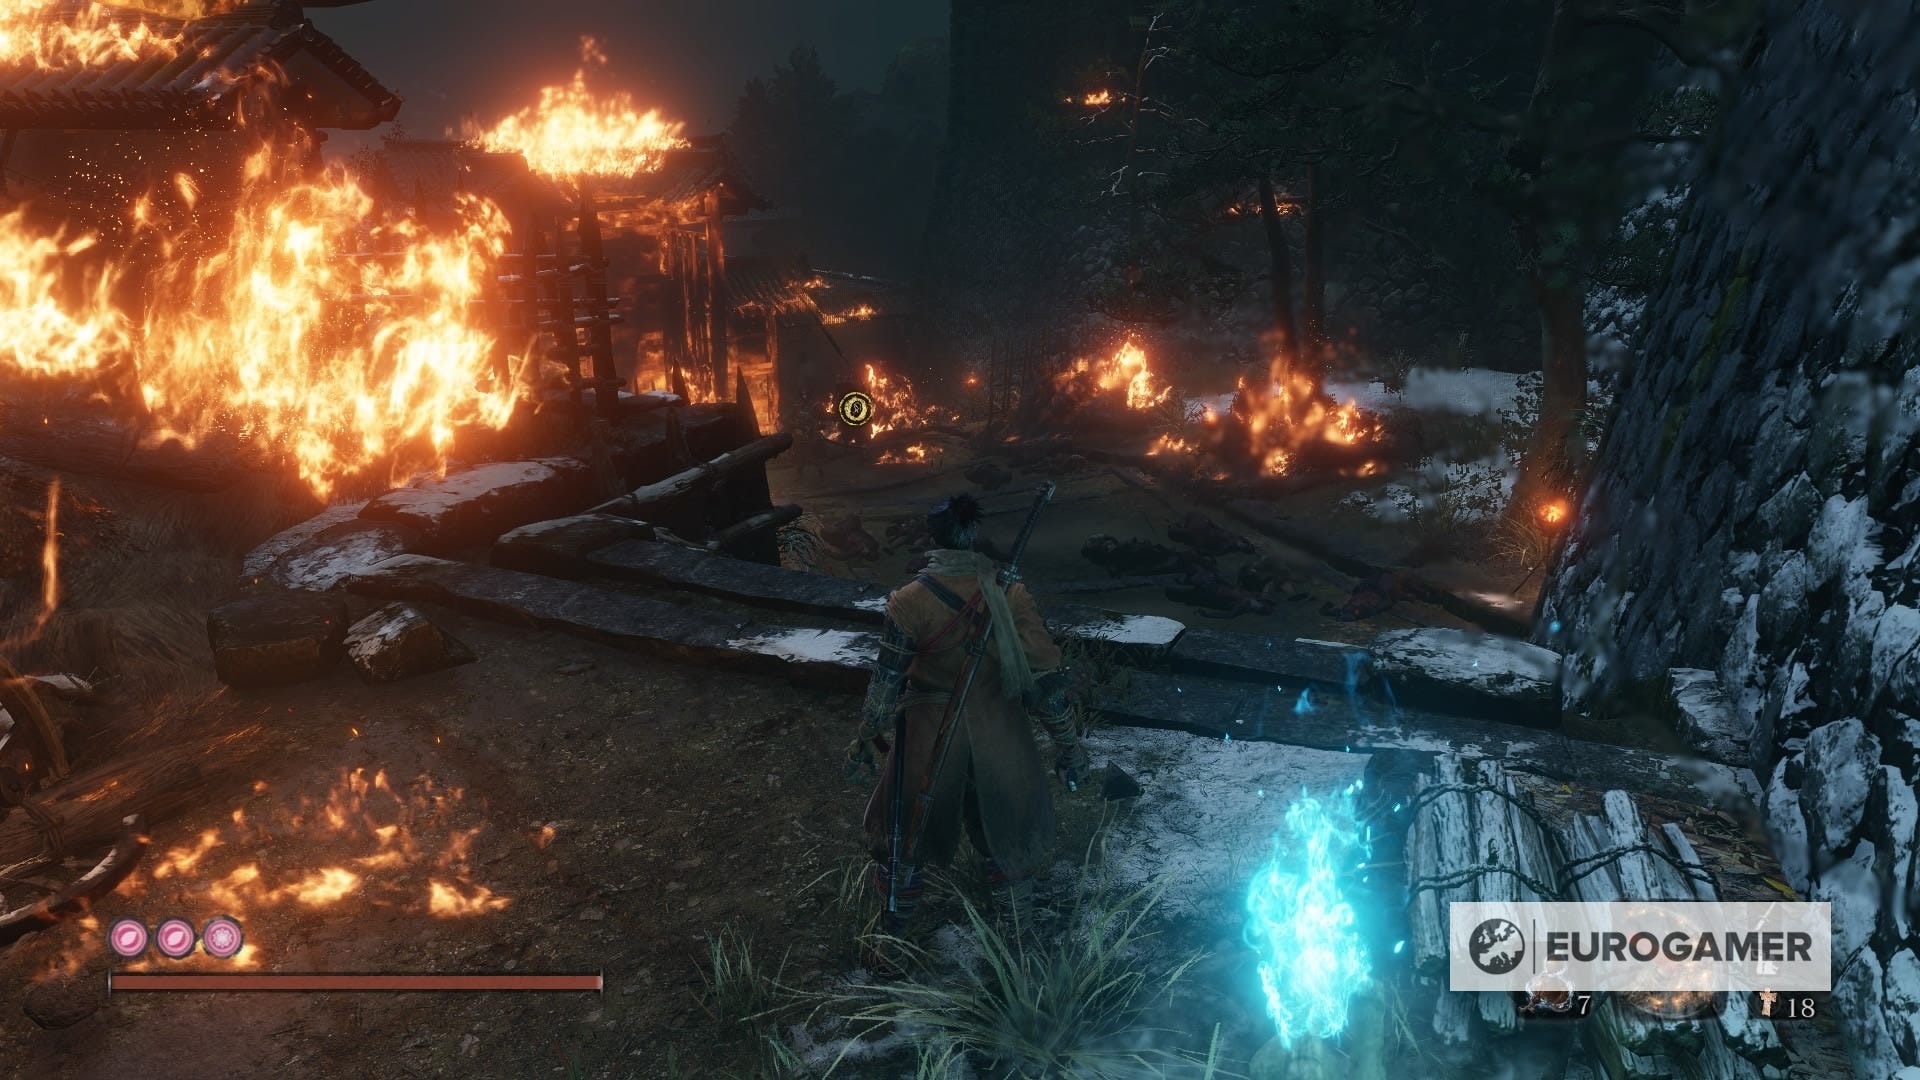
We're back here for the final stretch of the game. After you find the Idol, you'll see a massive fire in front of you. Seven Ashina Spears - Shume Masaji Oniwa is waiting there for you, along with a friend. Defeat him, and you'll obtain a Prayer Bead.
Additionally, you can use a Gachiin's Sugar to sneak up on him from the left side, which will make things easier.
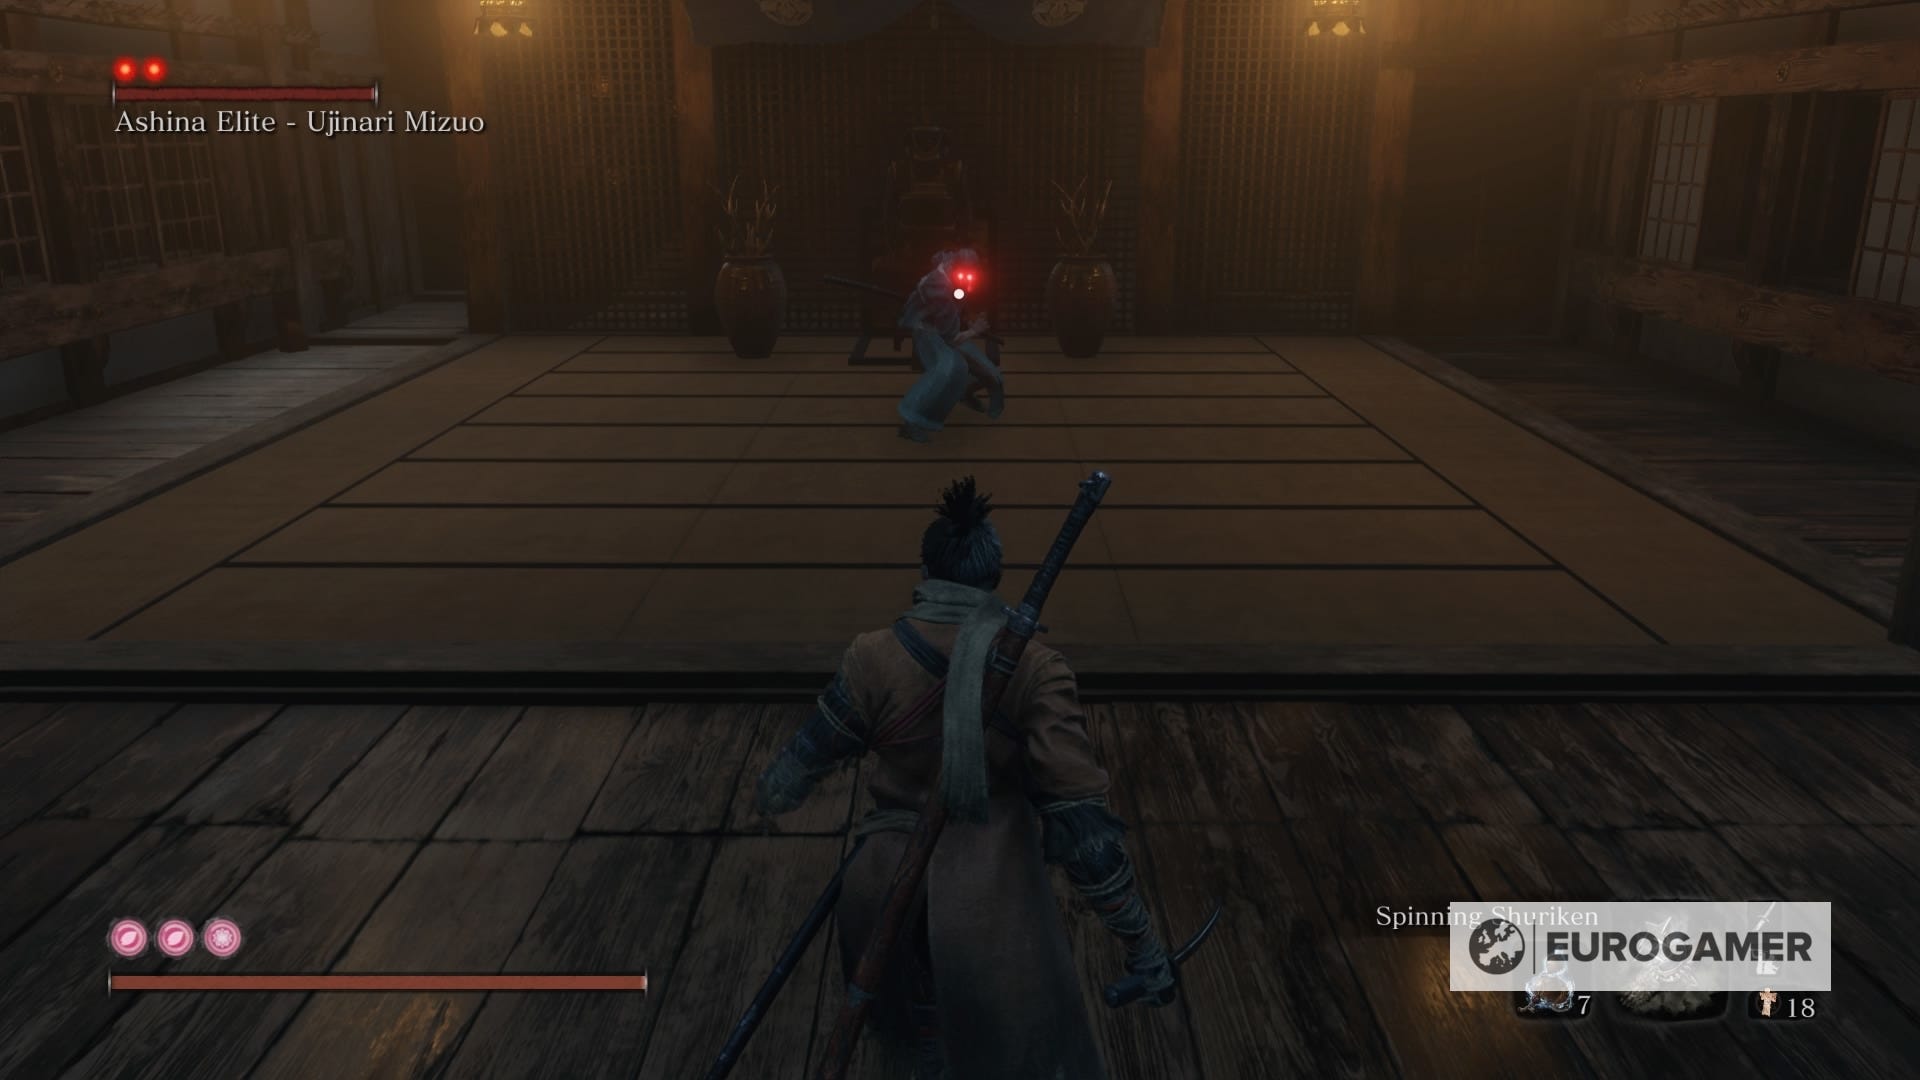
39. Ashina Castle - Upper Tower - Ashina Dojo Idol: Ashina Elite Ujinari Mizou
In order to get here once more, just follow the path outside the castle until you find the bell window from which you initially jumped into the Upper Tower - Antechamber Idol.
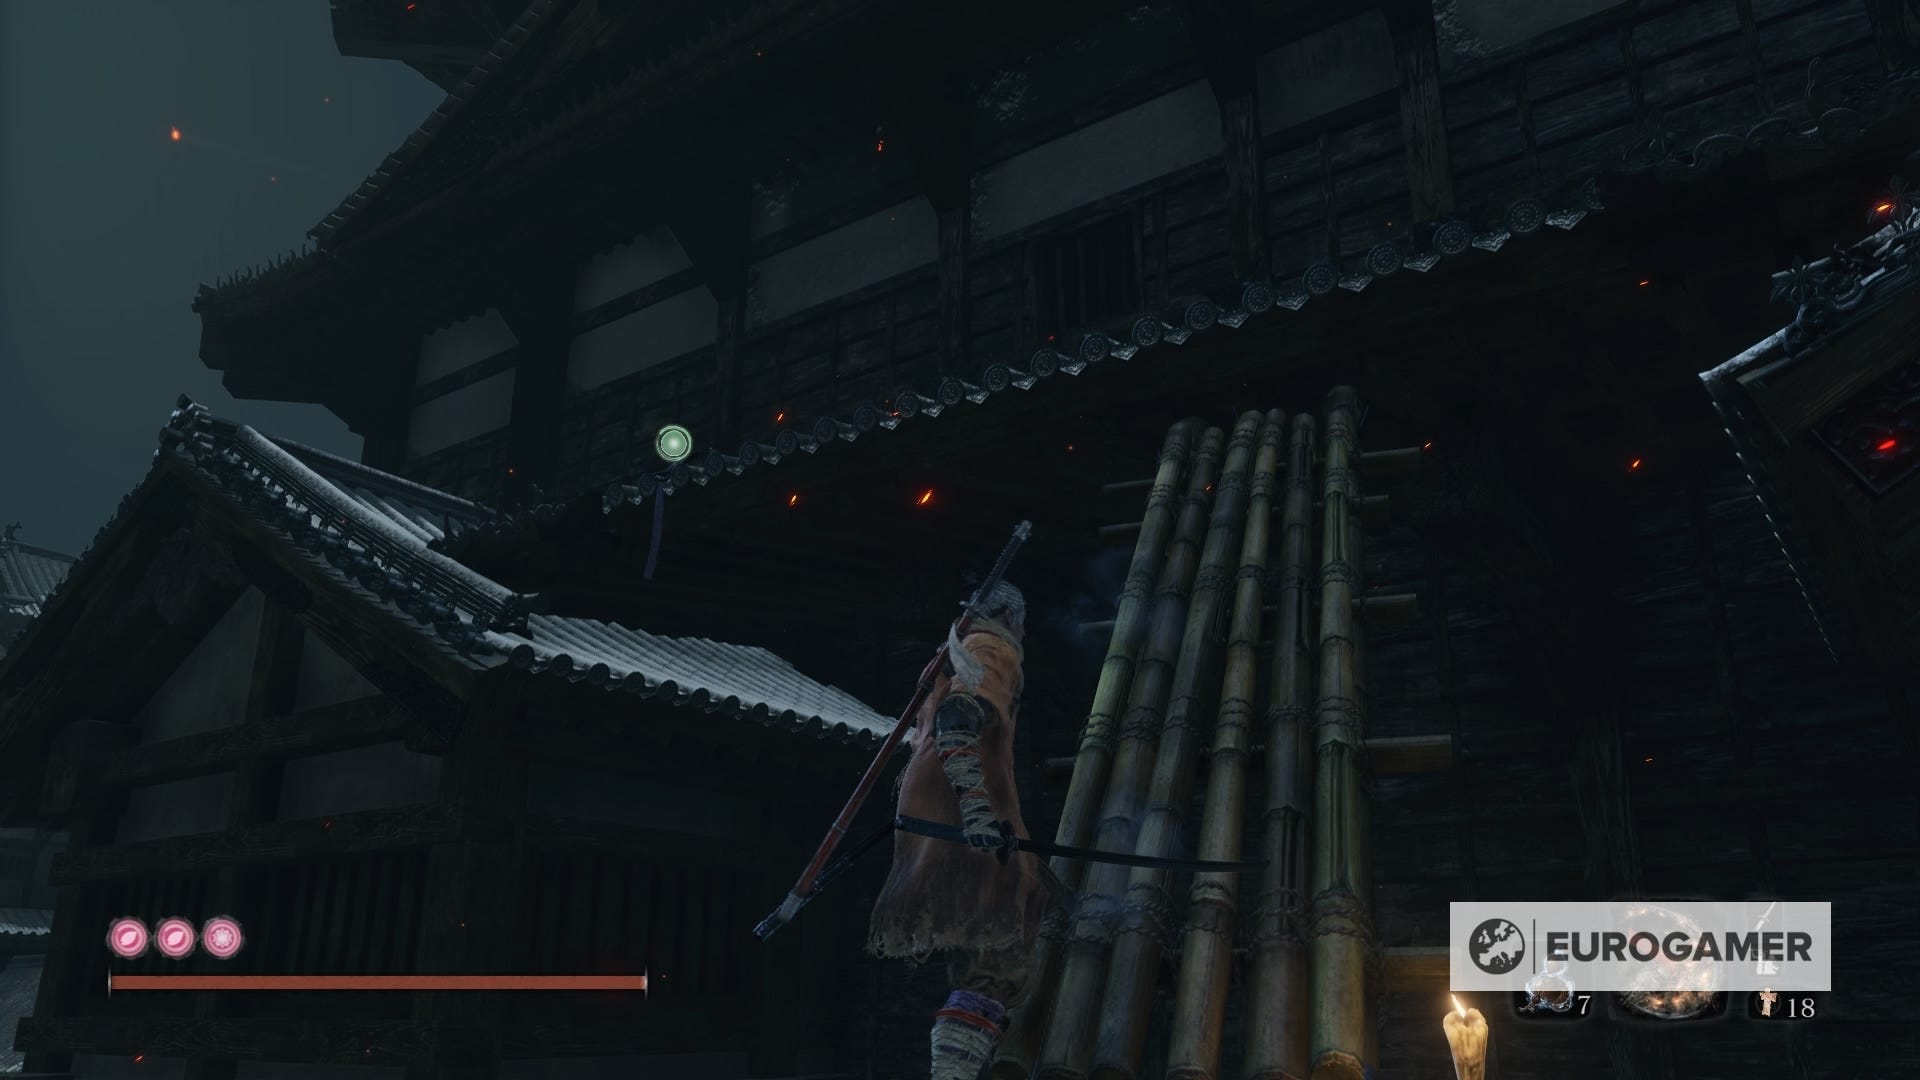
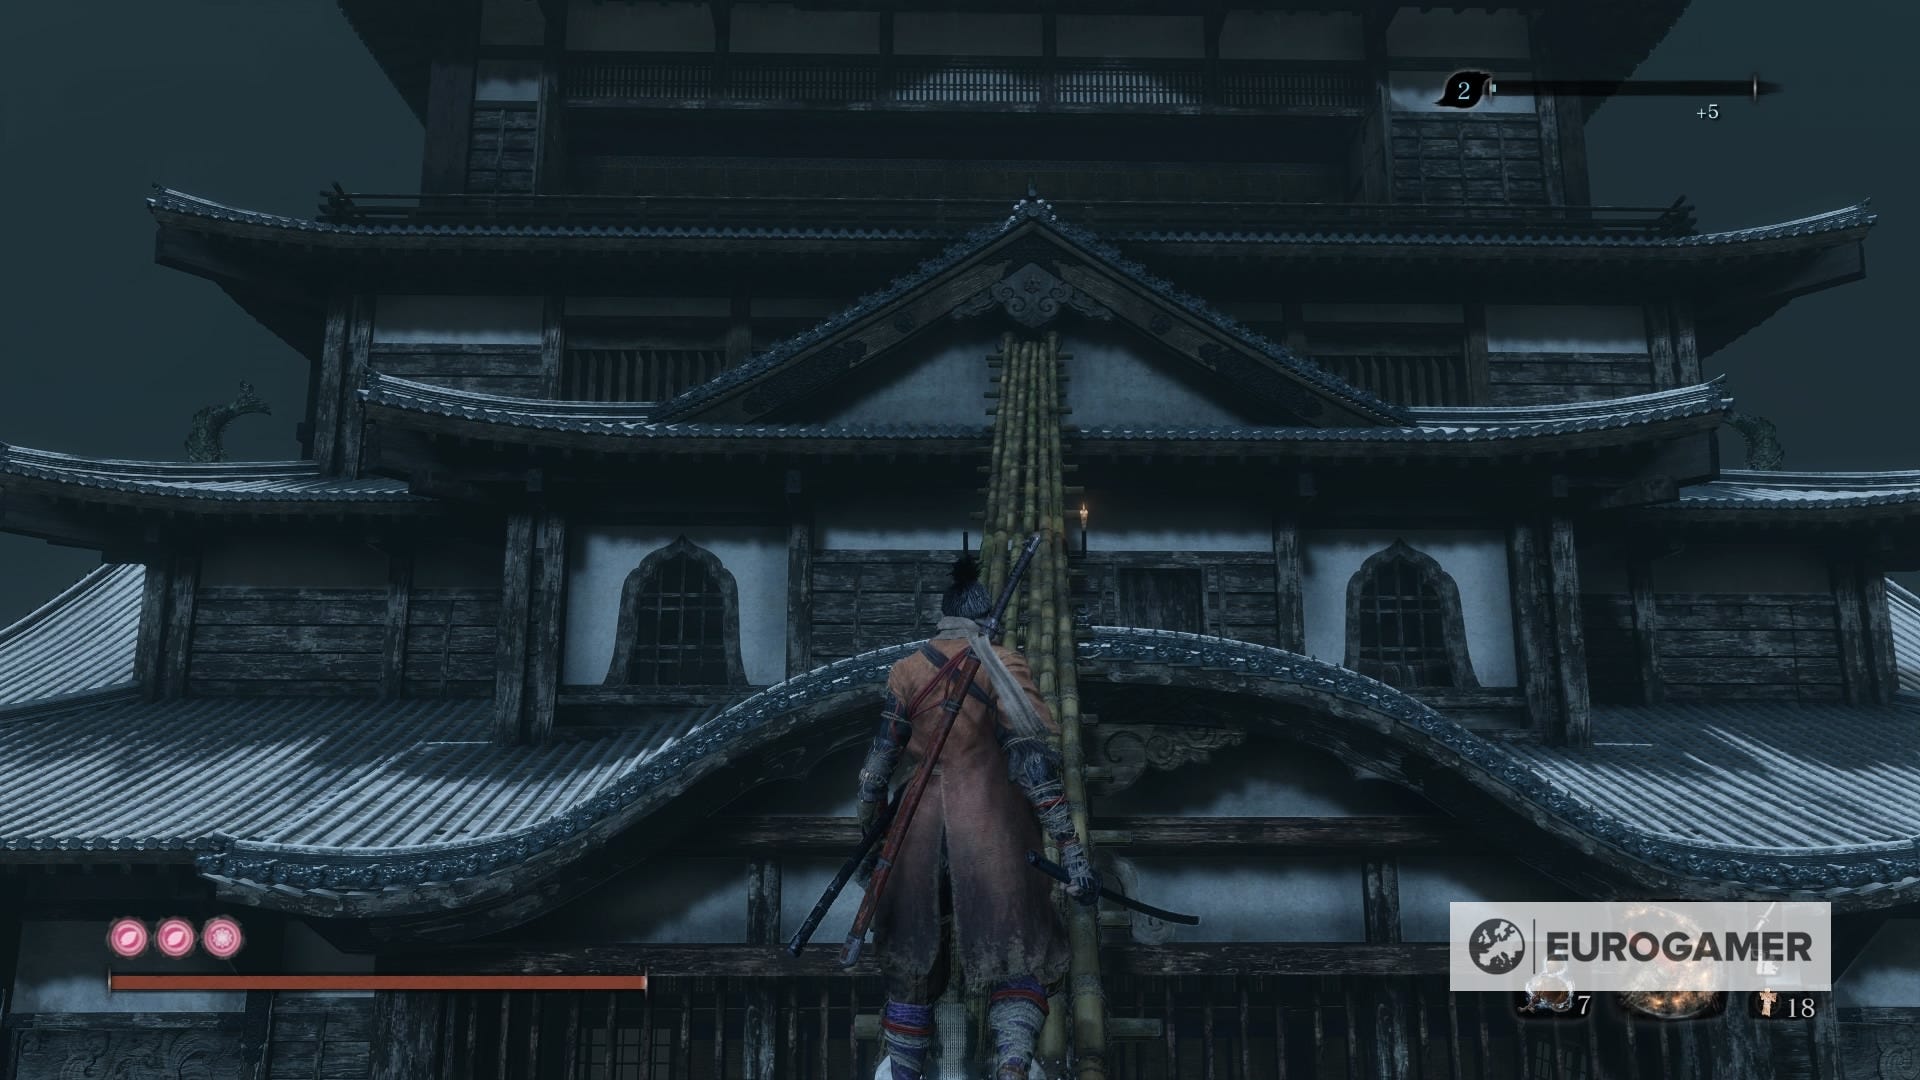
You want to take a turn on the corridor on the right and go down the stairs. Make a U-turn and you'll see a door. Slash it with your sword and get inside. If you follow the corridor, you'll cross paths with Ashina Elite - Ujinari Mizou. It's similar to the first Ashina Elite in the Dojo, only that this one is a Red Eyes. Use fire, and use it hard. You'll obtain a new Prayer Bead.

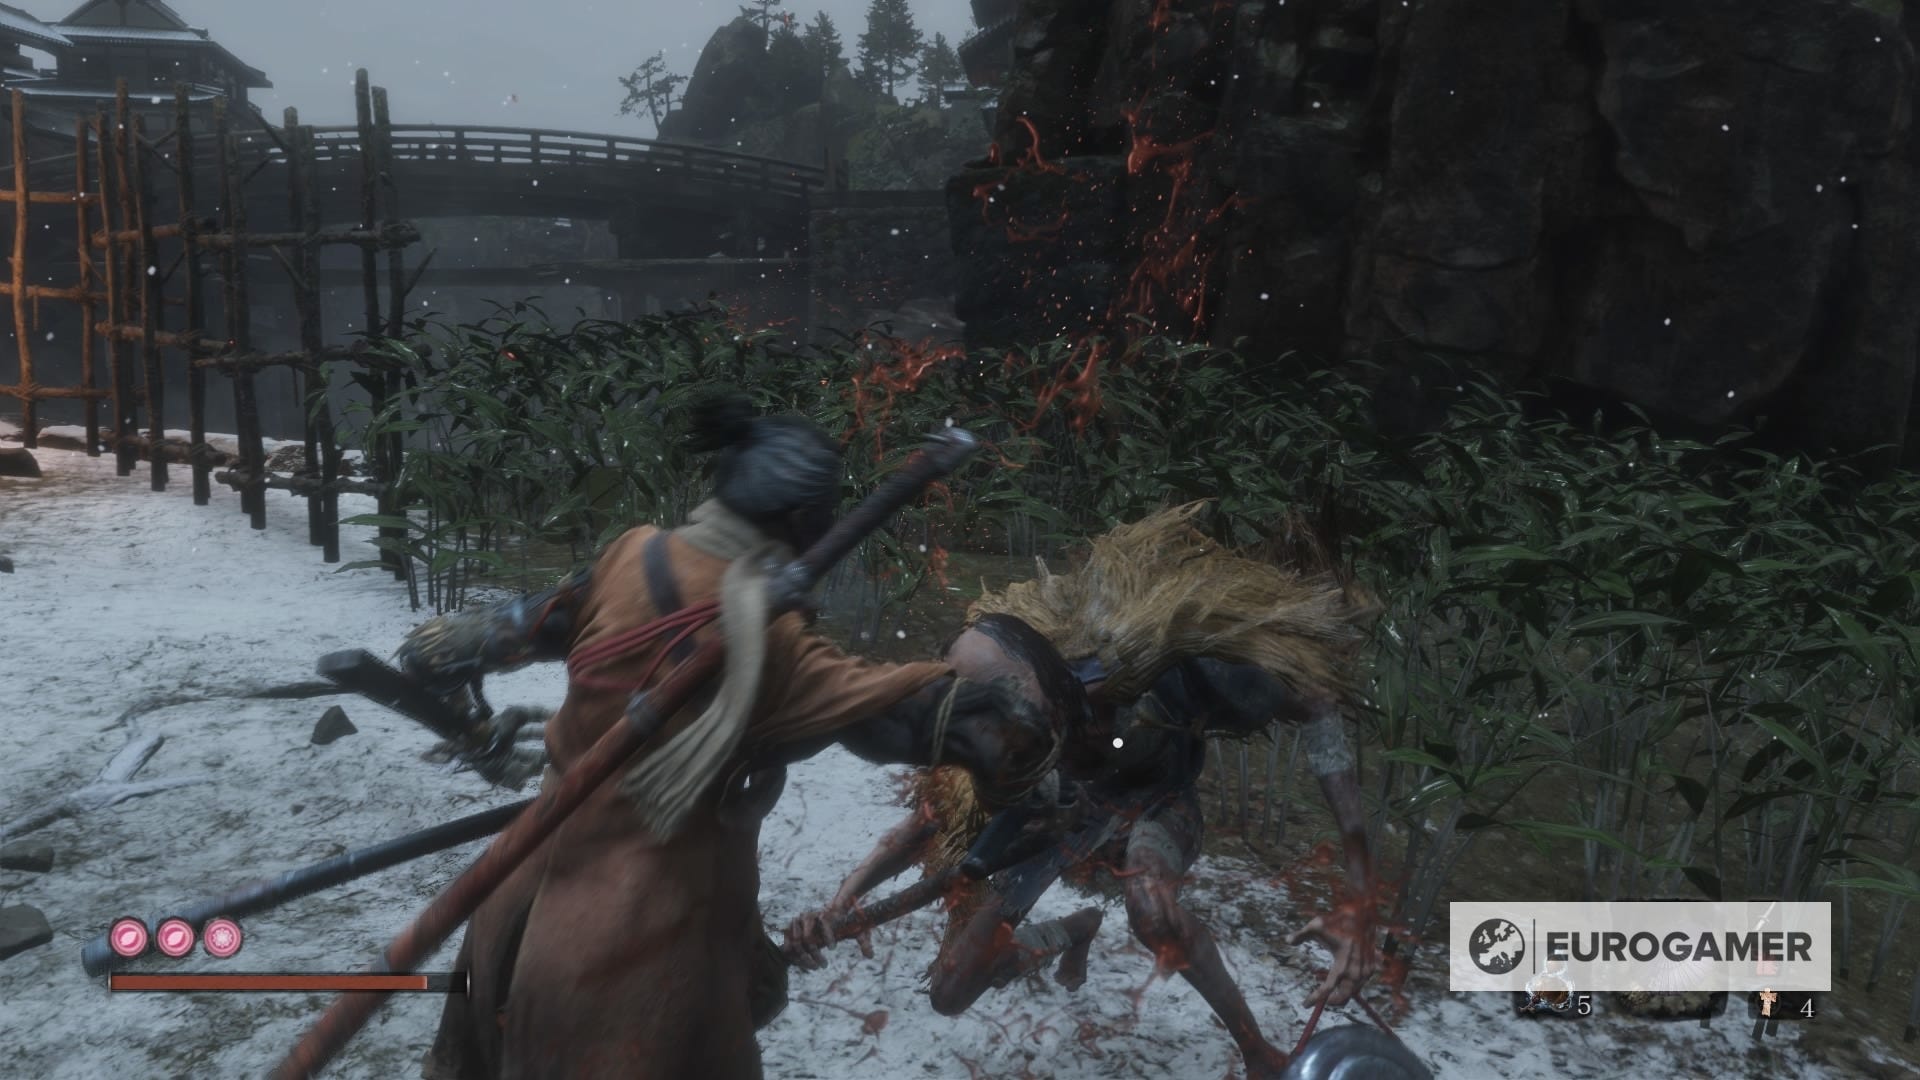
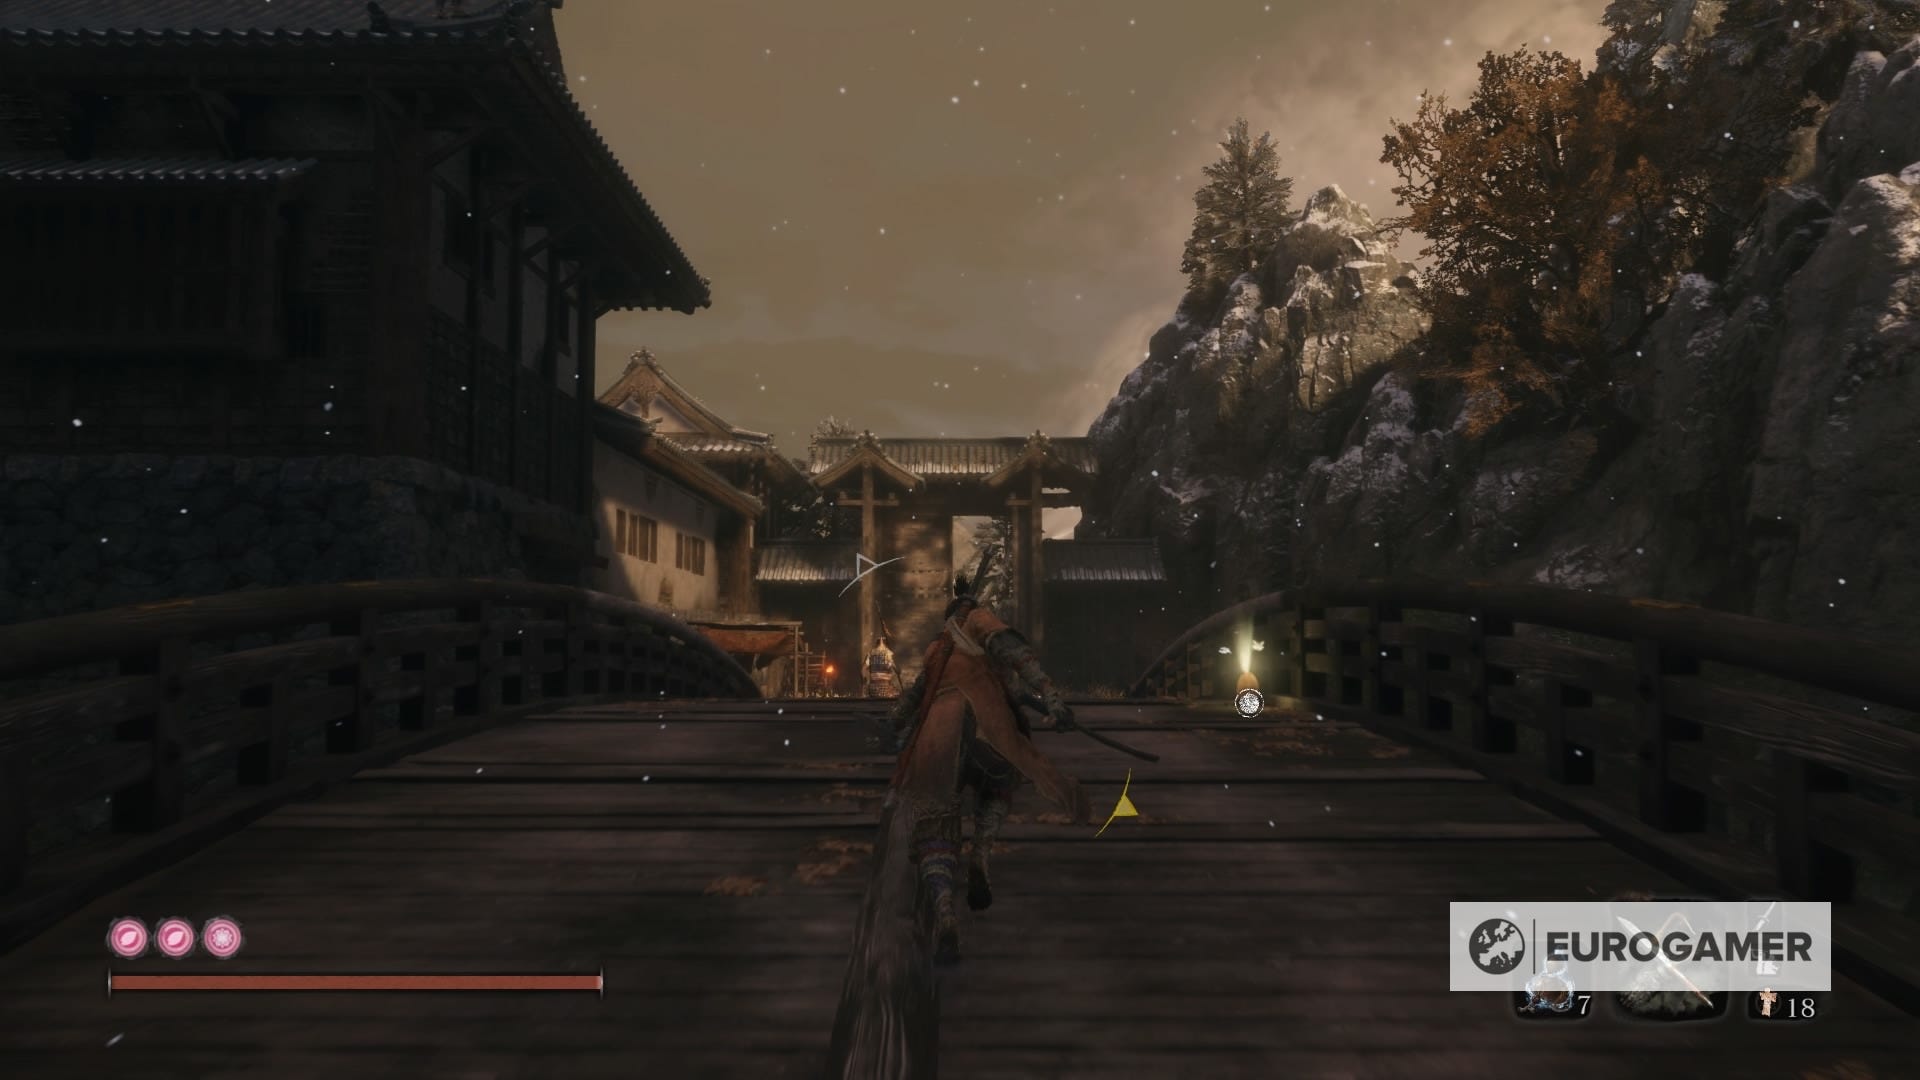
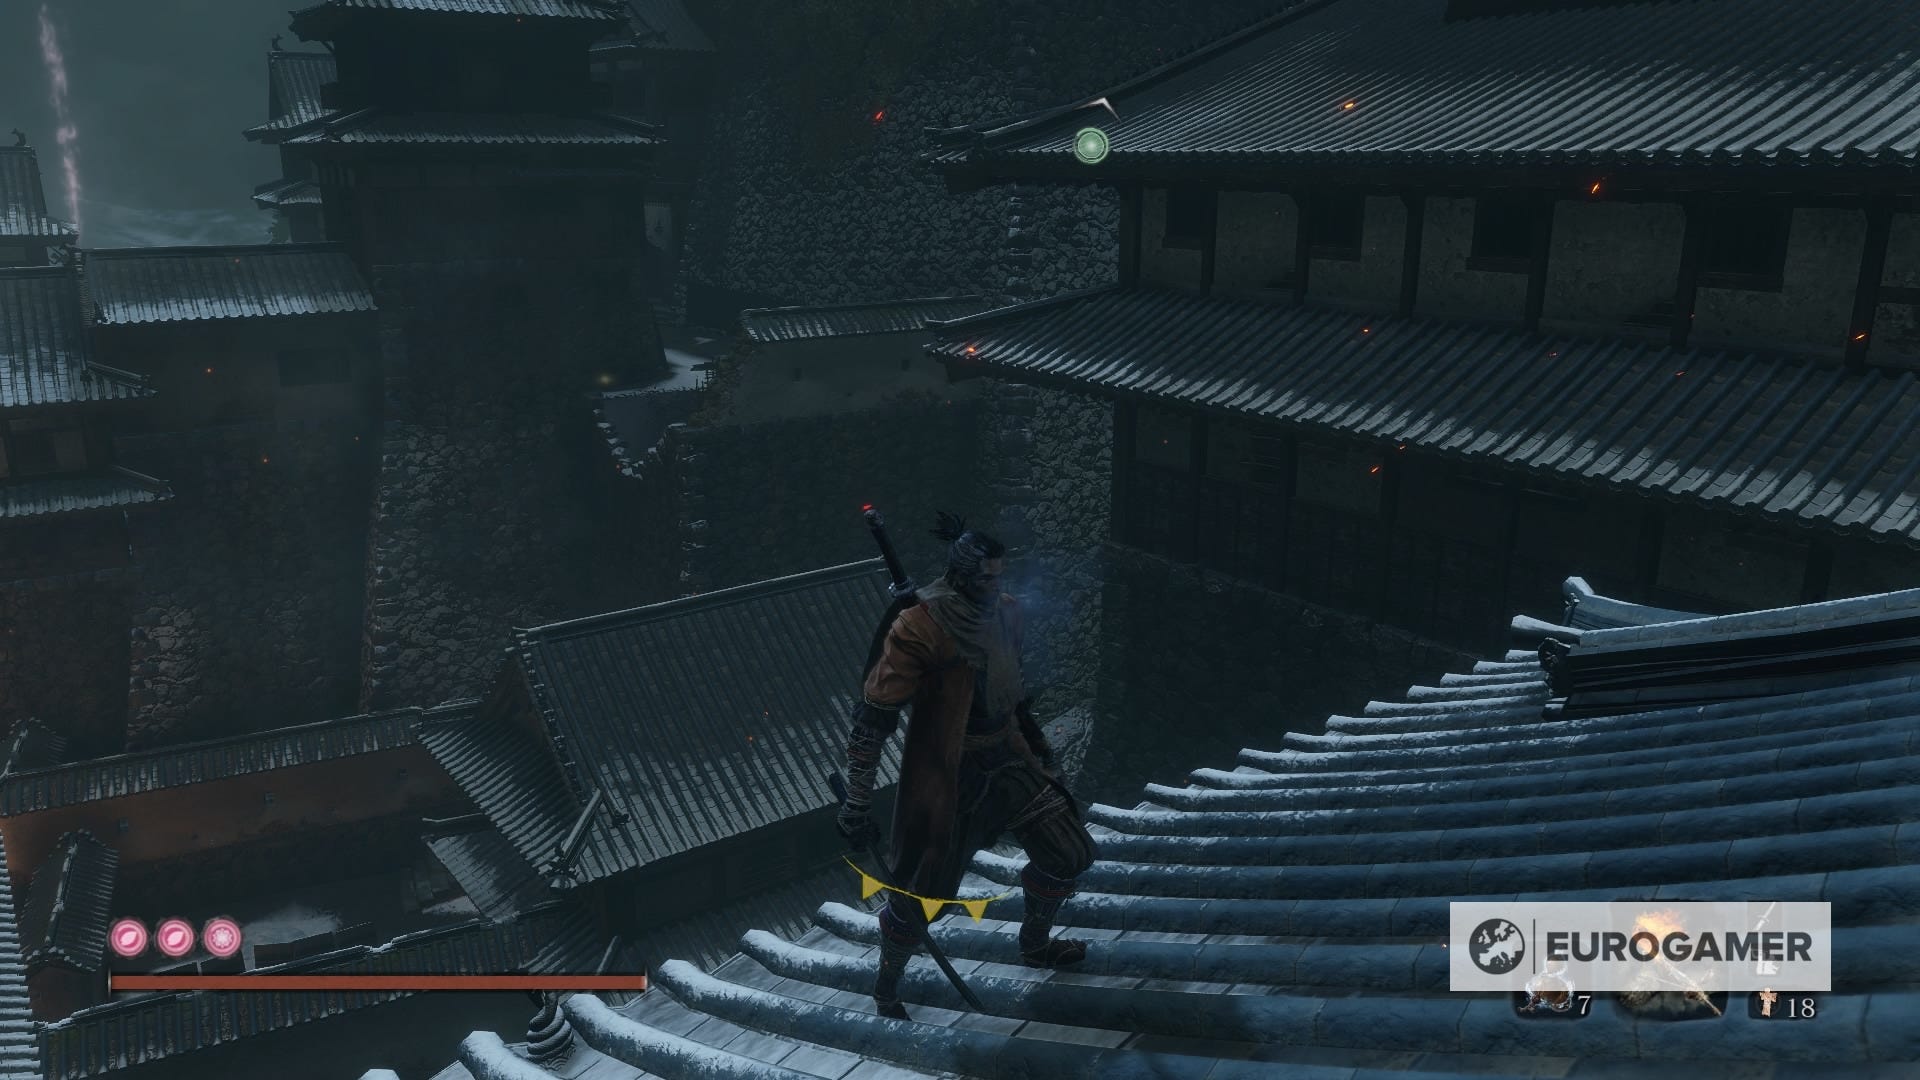
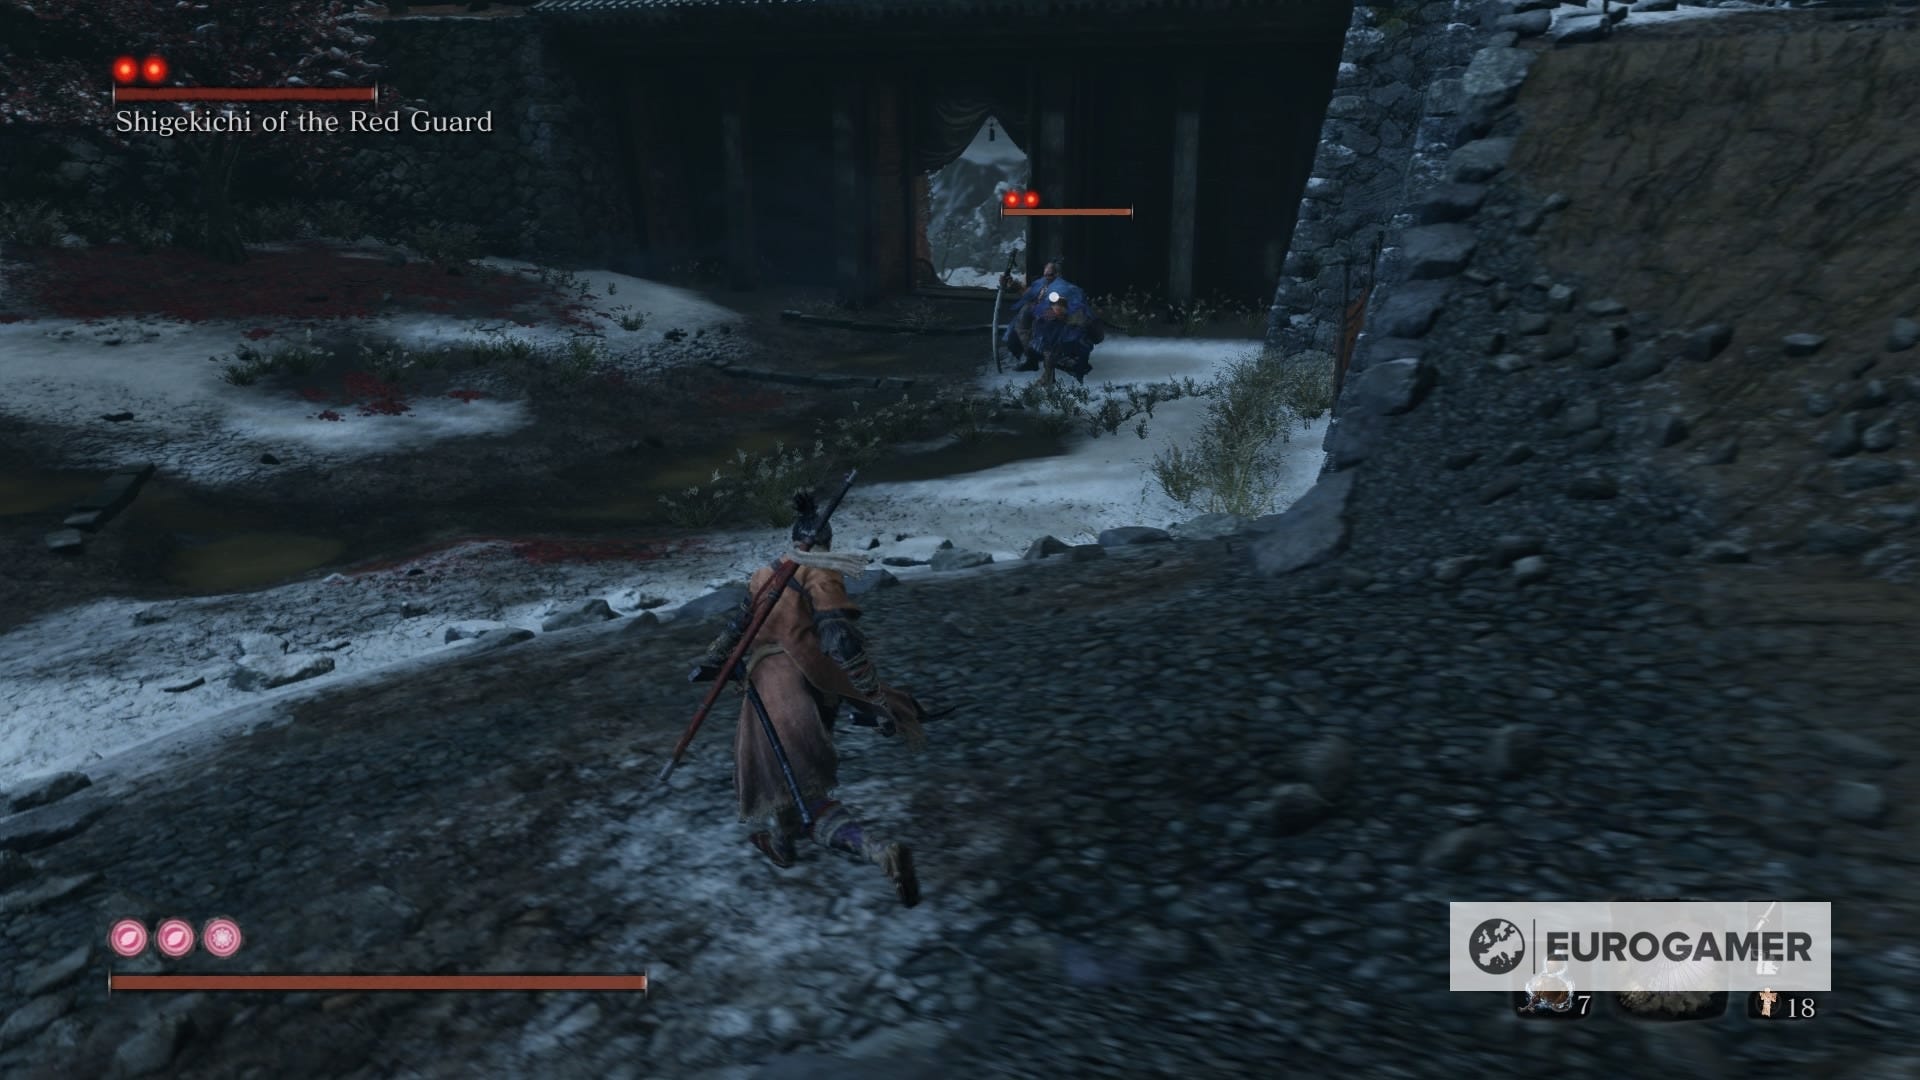
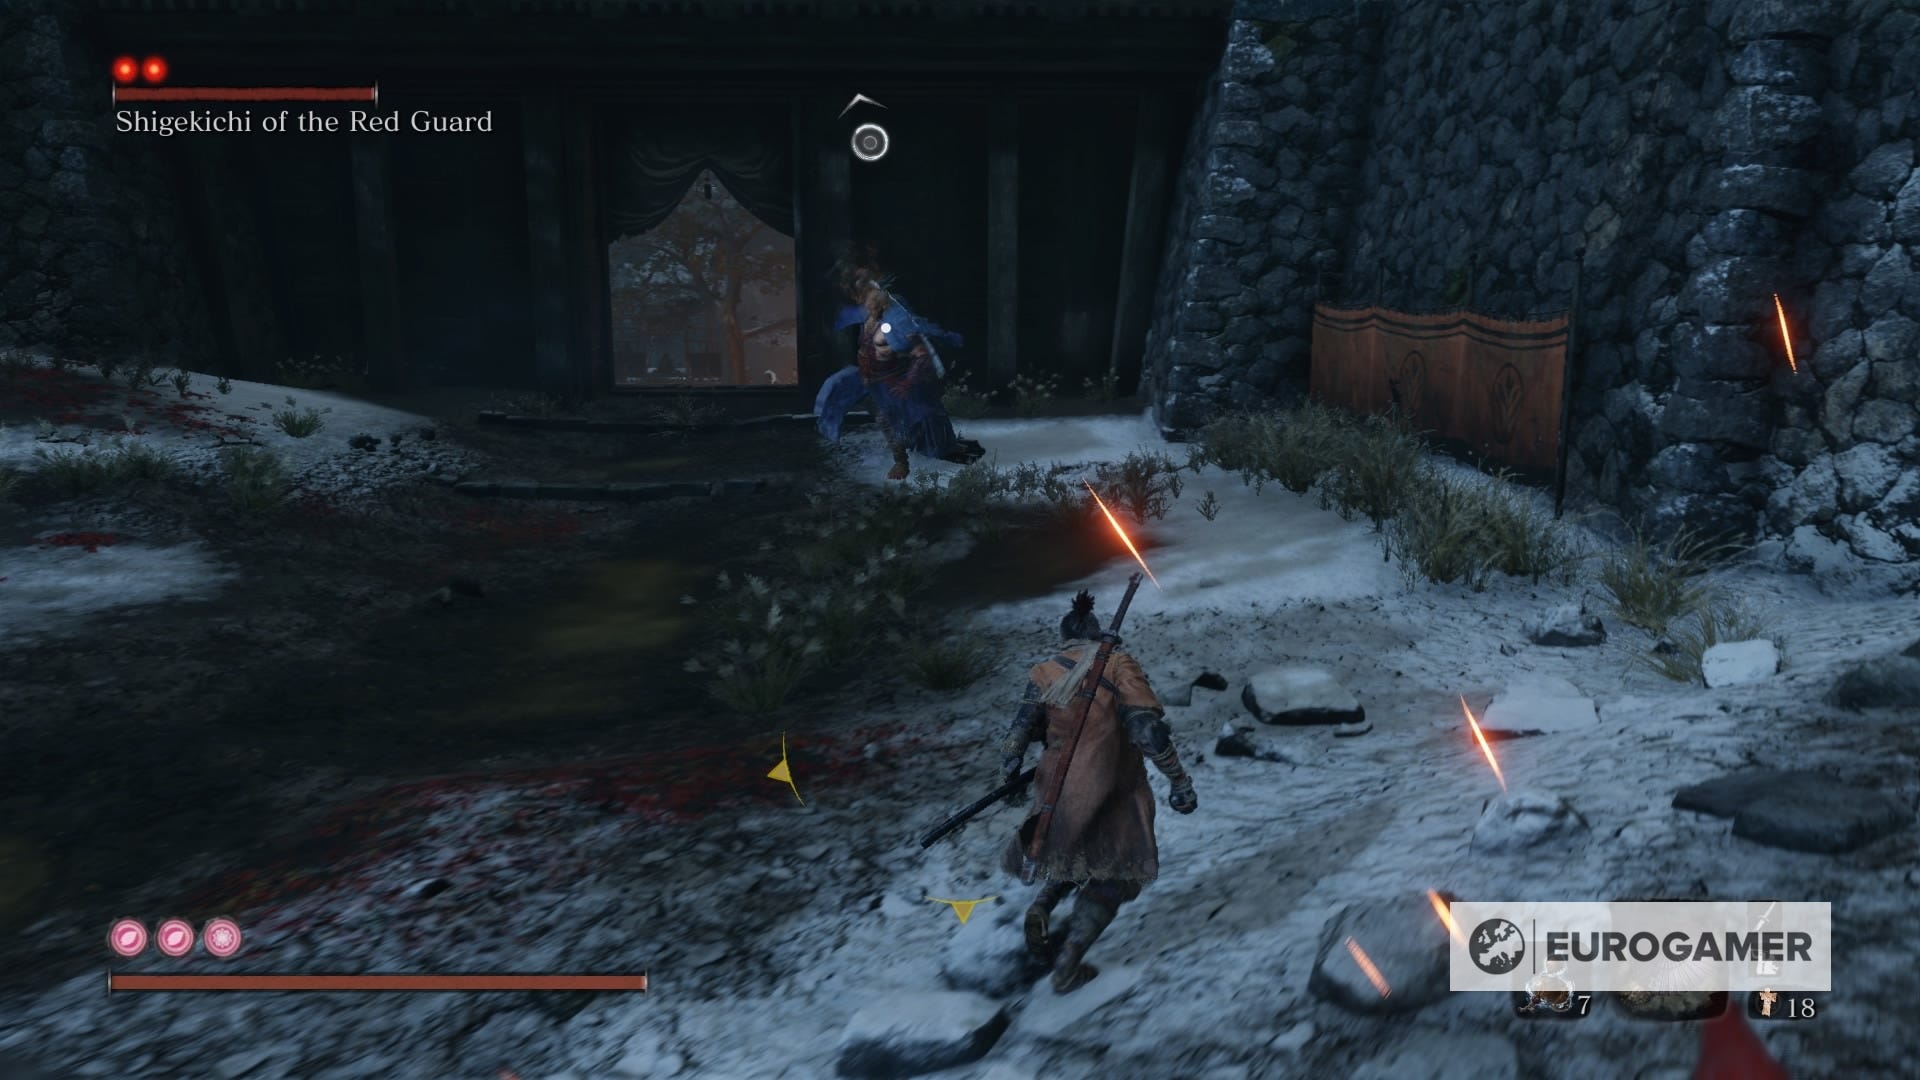
40. Ashina Outskirts - Outskirts Wall - Stairway (From Old Grave Idol): Shigekichi of the Red Guard
Make your way around the castle until you see the Old Grave Idol. From there, you want to go down the main stairs that lead to the entrance of the castle.Start making your way through the rooftops until you see the Kite you used back in the Temple area.
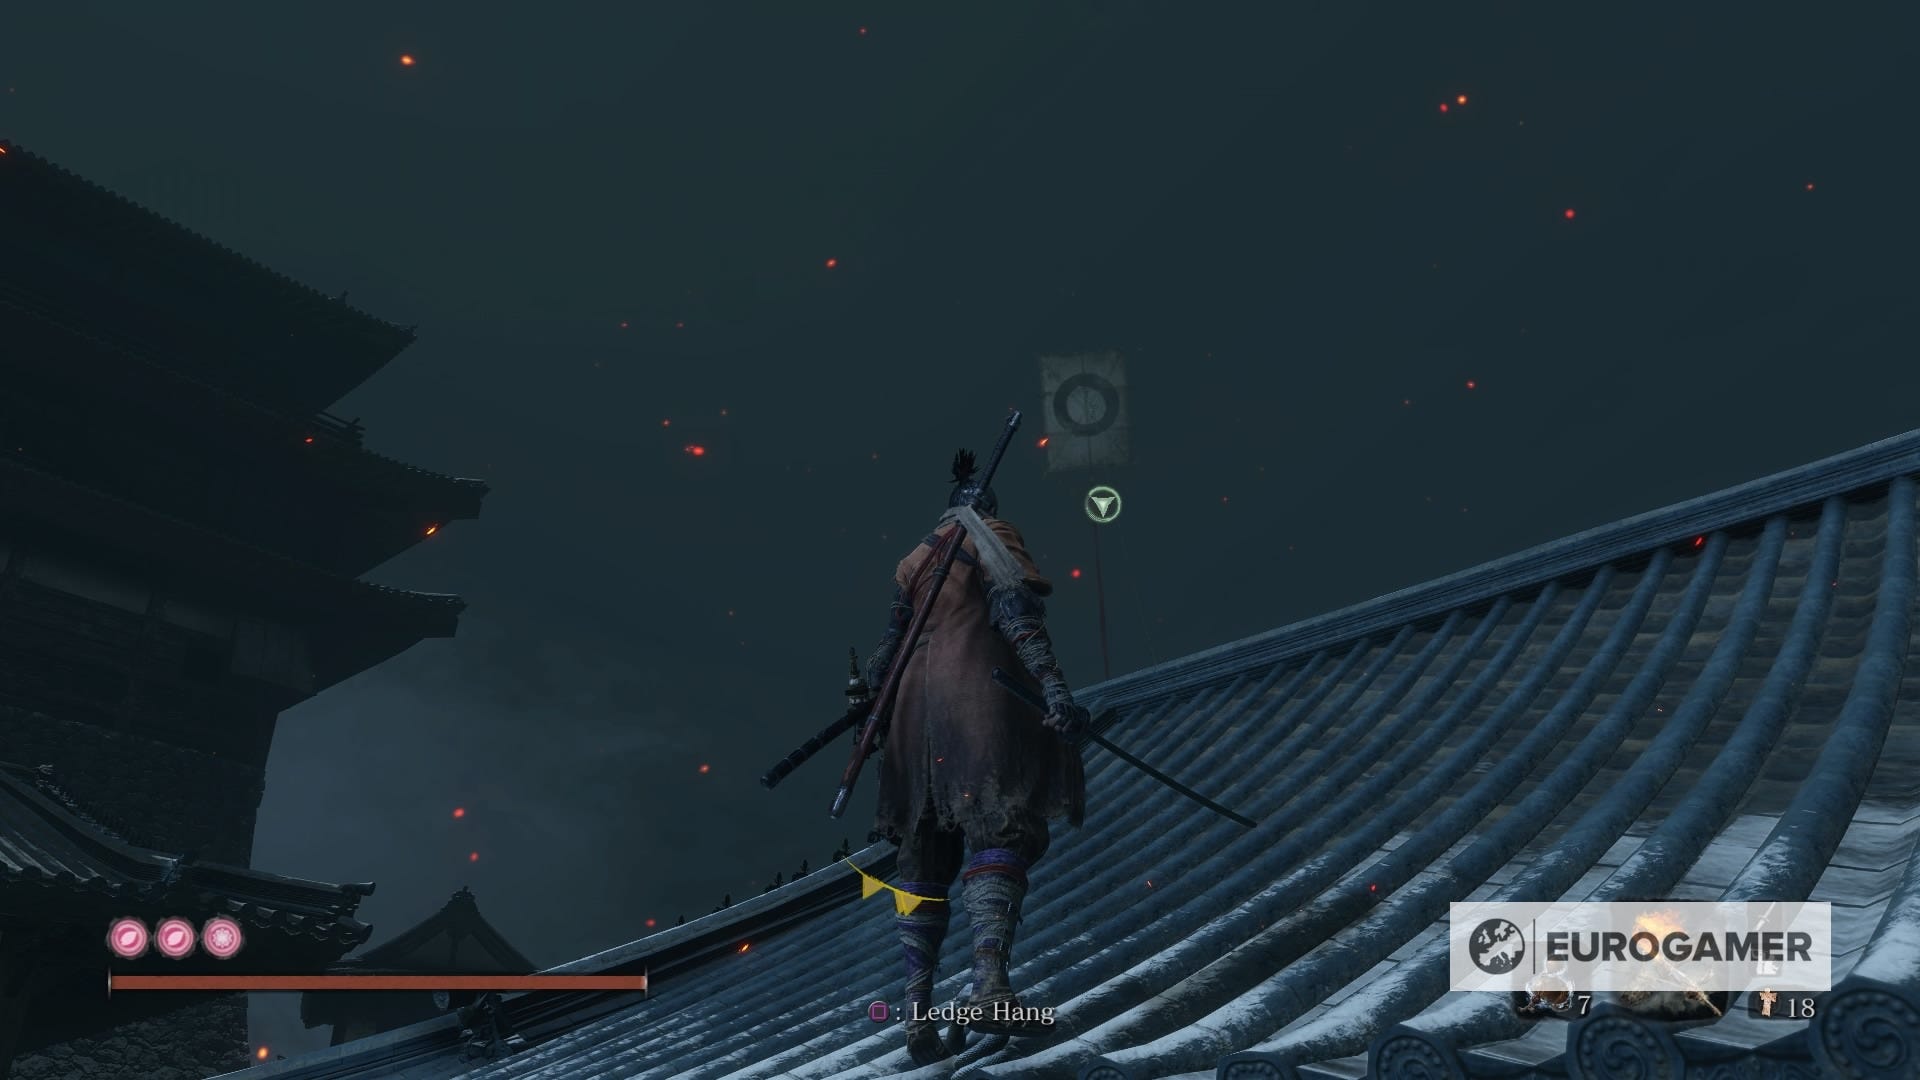
Use it to grapple yourself all to the other side, where a massive fight is taking place in the bridge. Make your way around to the other side and then jump to the right side to obtain the Underground Valley Idol.
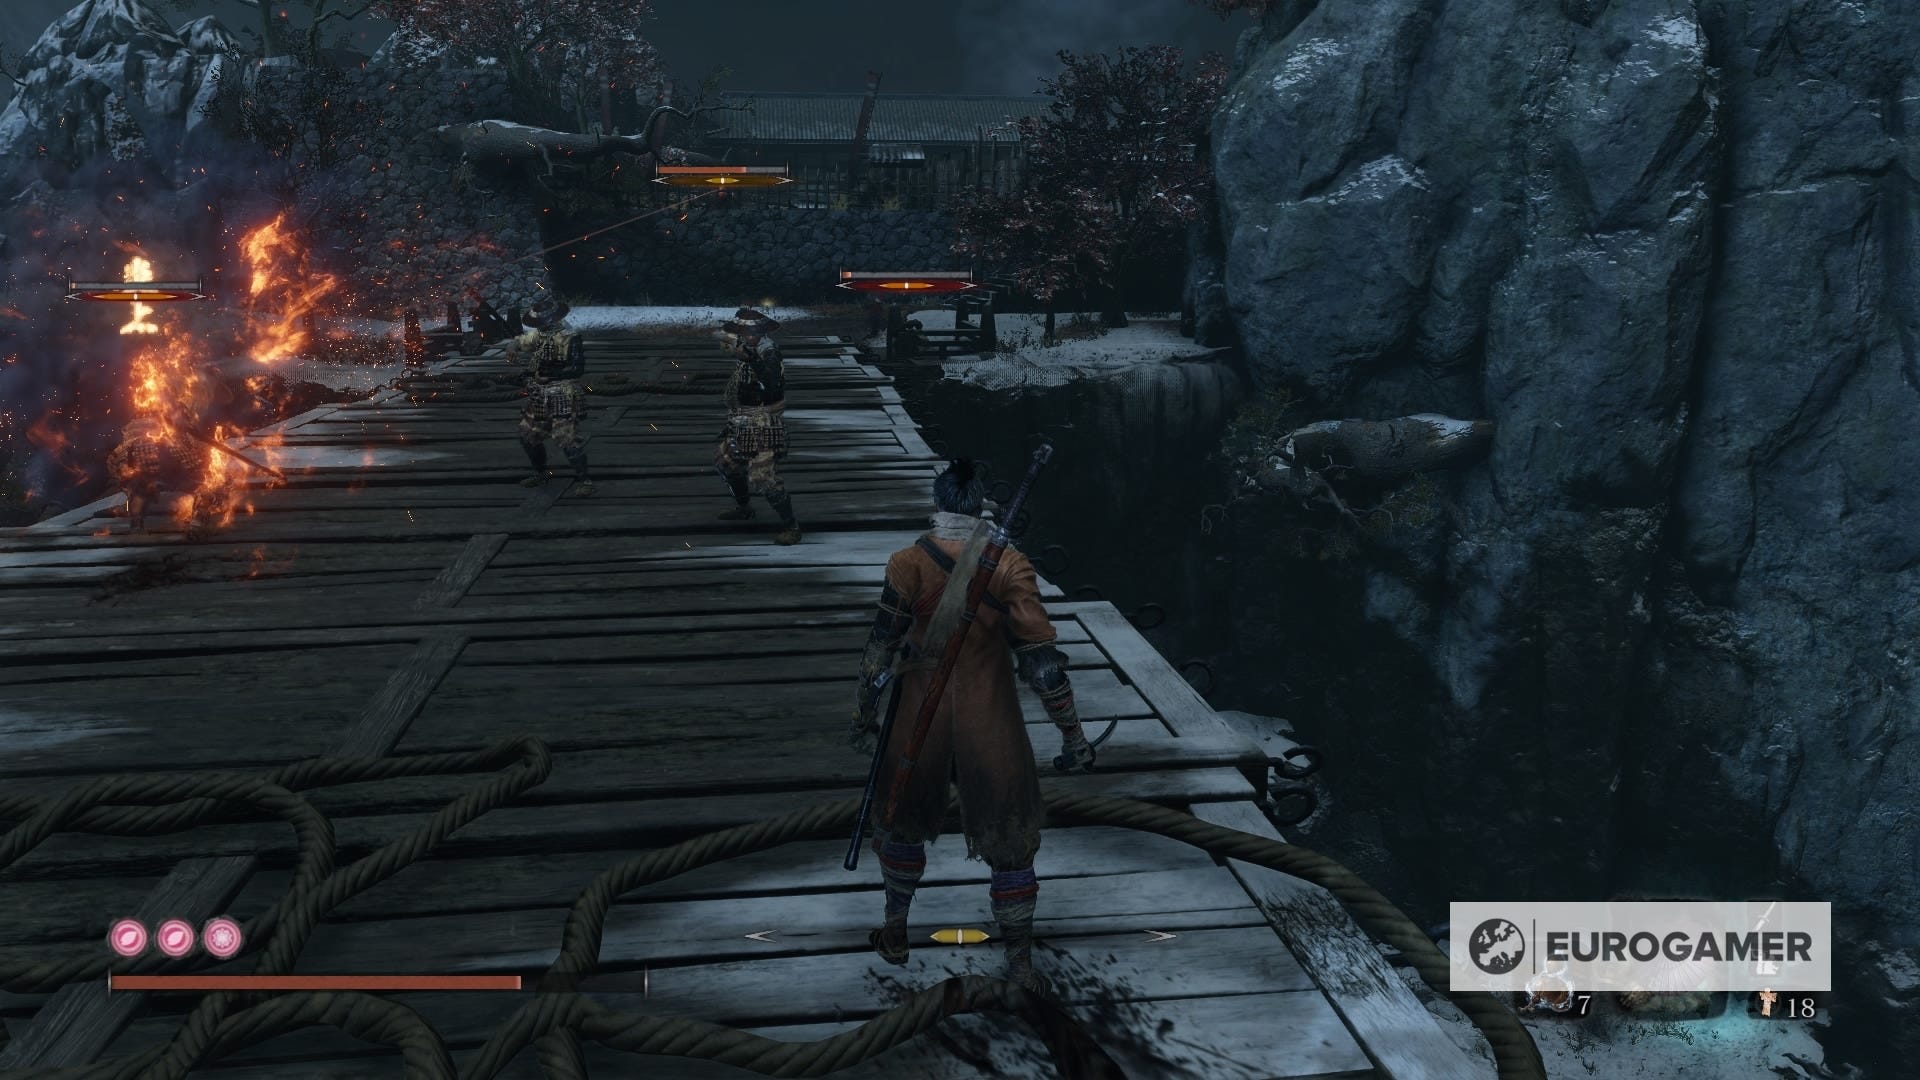
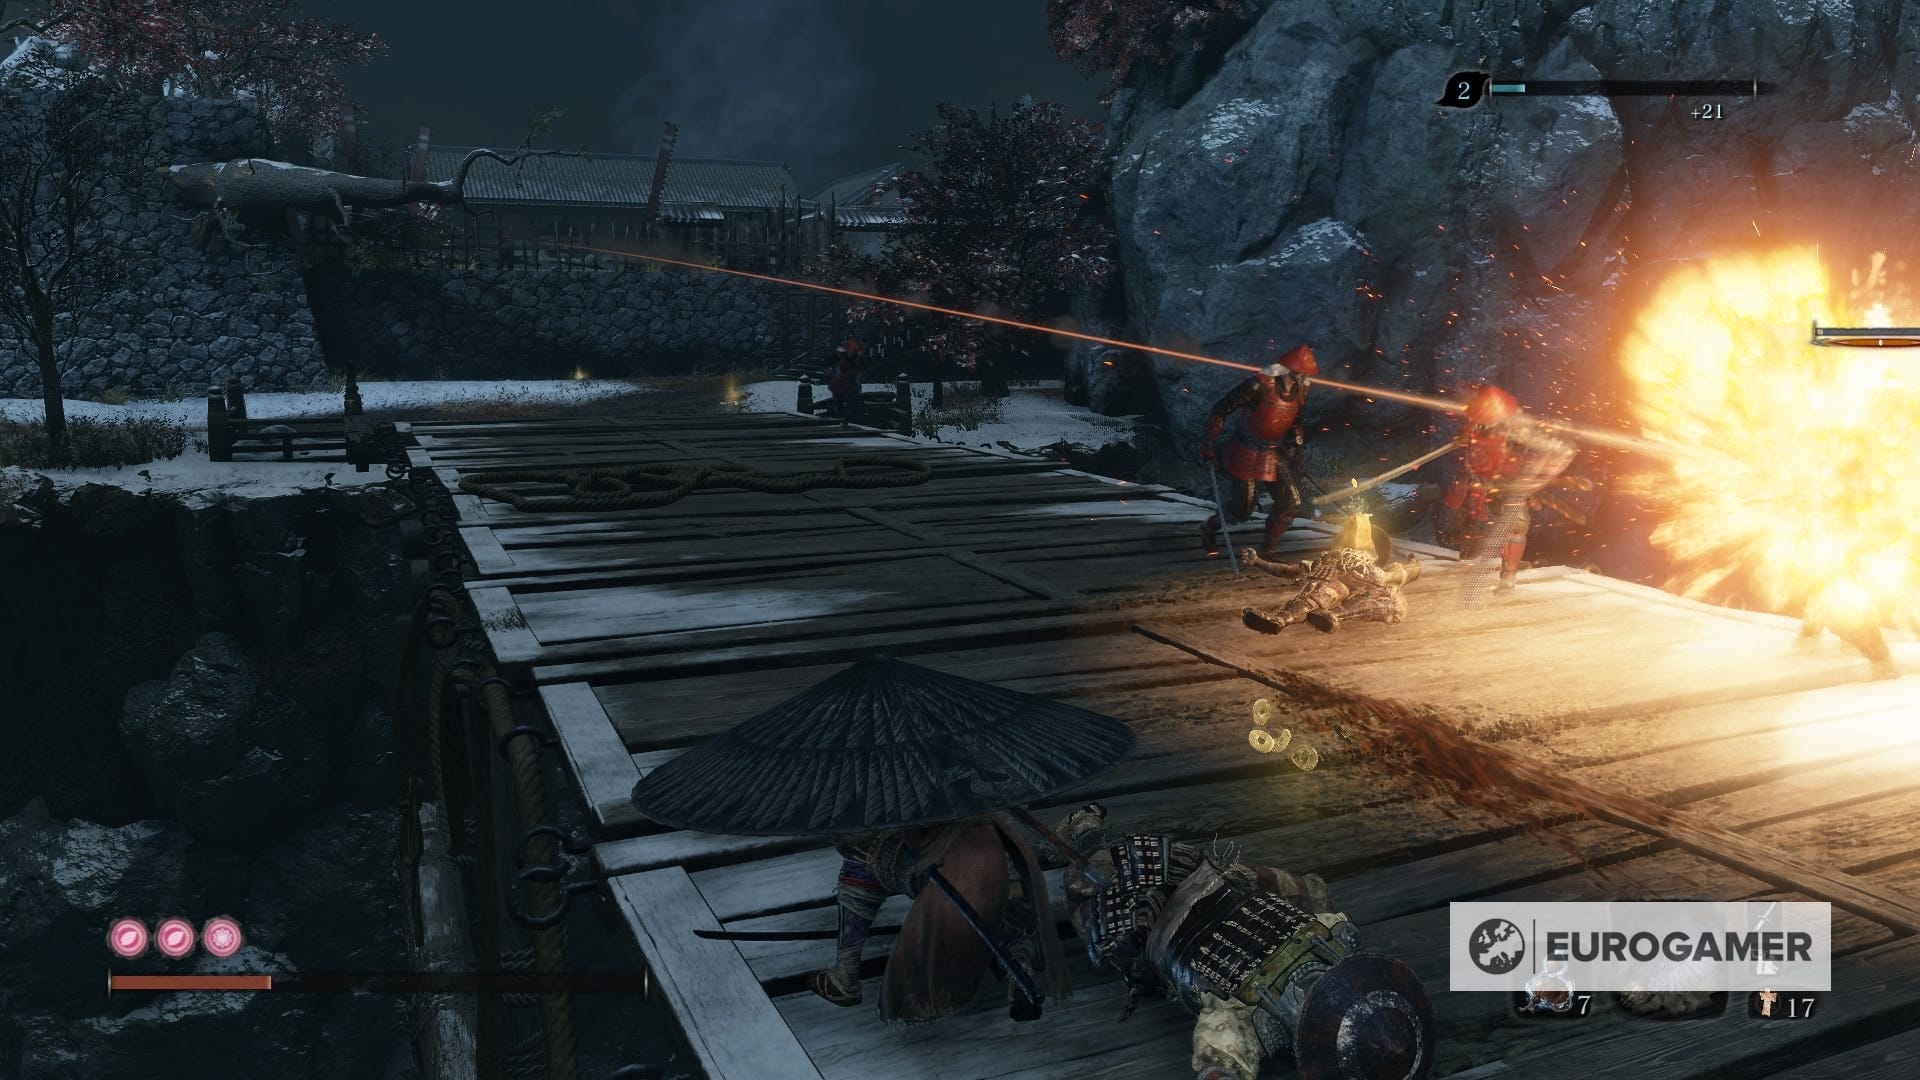
From there, just go up to the bridge again and take the right side. You'll get to small battlefield where Shigekichi of the Red Guard is expecting you, who is similar to the Drunkard but uses fire instead. Once defeated, you'll be set with the final Prayer Bead. Congrats!
That's all 40 Prayer Beads done! Head back to our main Sekiro guide, boss list and walkthrough for a list of all our other pages like this to help you thruogh the game.