Dark Souls - Blighttown strategy and finding the second Bell location
How to explore Blighttown in Dark Souls.
Blighttown is arguably Dark Souls' most infamous area, known for its frame-rate issues (on consoles Xbox 360 and PS3) and being rather frustrating to explore.
You can come across it from multiple other areas, though the most common is by completing the The Depths after beating the Gaping Dragon.
Travelling through here is required to find the second Bell location, an essential step in completing Dark Souls.
It should be noted you can find The Great Hollow from Blighttown, but we recommend doing so much later in the game.
If you're looking for more help, our Dark Souls walkthrough and guide can help with all other areas of the game, including the dreaded Taurus Demon, Capra Demon, Ornstein and Smough bosses.
Exploring Blighttown
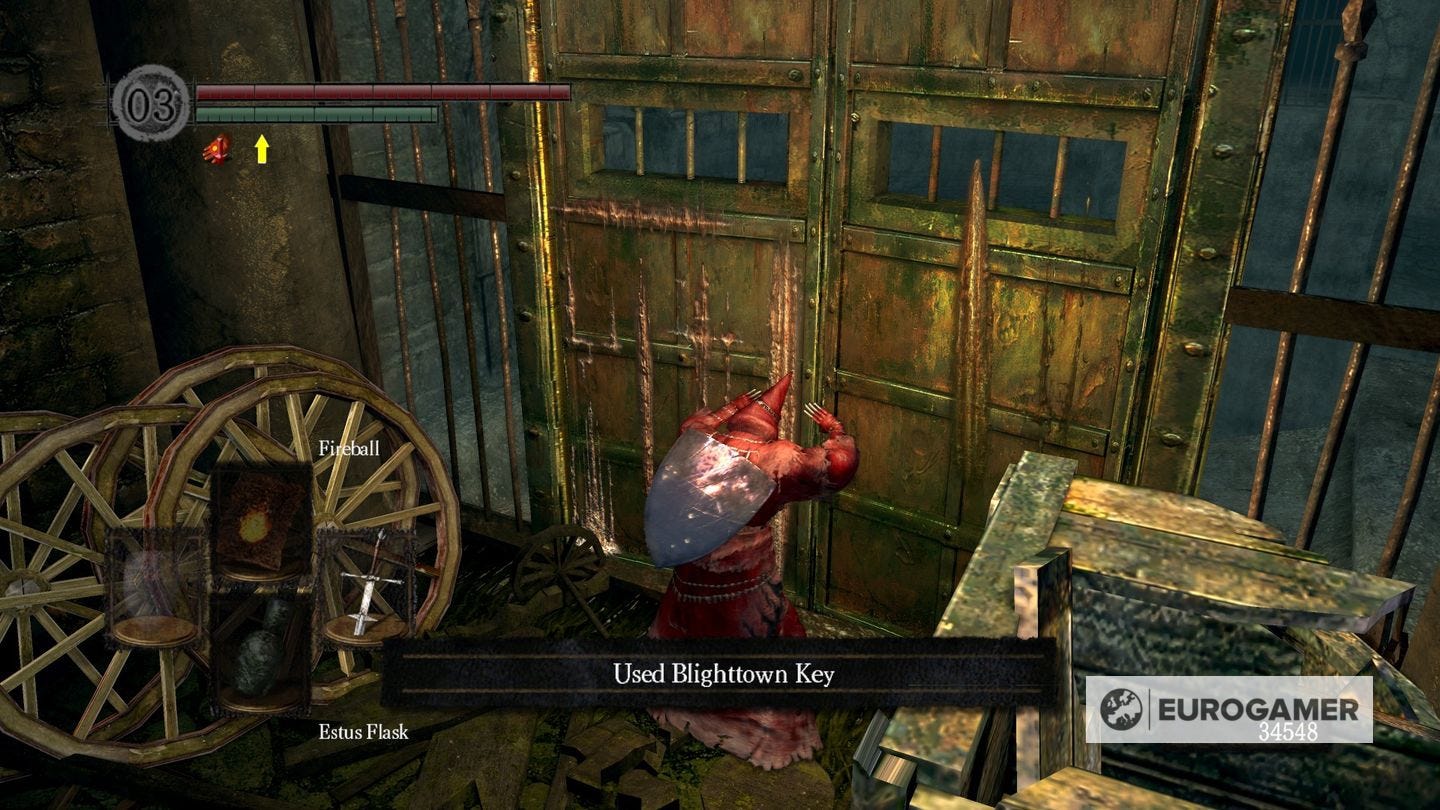
First of all, taking the route to Blighttown through The Depths is not recommended. If you have the Master Key, you can head to Blighttown from Firelink Shrine, then over to New Londo Ruins, then unlocking a gate to the Valley of Drakes, and then Blighttown.
That said, the following covers the path from The Depths, which is the most common route for players to take if they are following the core path.
When you've defeated the Gaping Dragon and opened up the door to Blighttown, head down the ladder until you fight a troll. Take this troll out, and then you want to take out the ghouls that are about to rush you.
After that, lure out the others and take them out one by one until they're all dead. Head down the path, and watch out for more Ghouls. Then head immediately left and down the ladder. Kill a Ghoul along the way to get a Soul of Proud Knight.
Head back and down the rickety bridge. Head right down a ladder, and then you'll want to drop a few levels, until you encounter a fire dog. Here, you'll want to follow a bridge which moves.
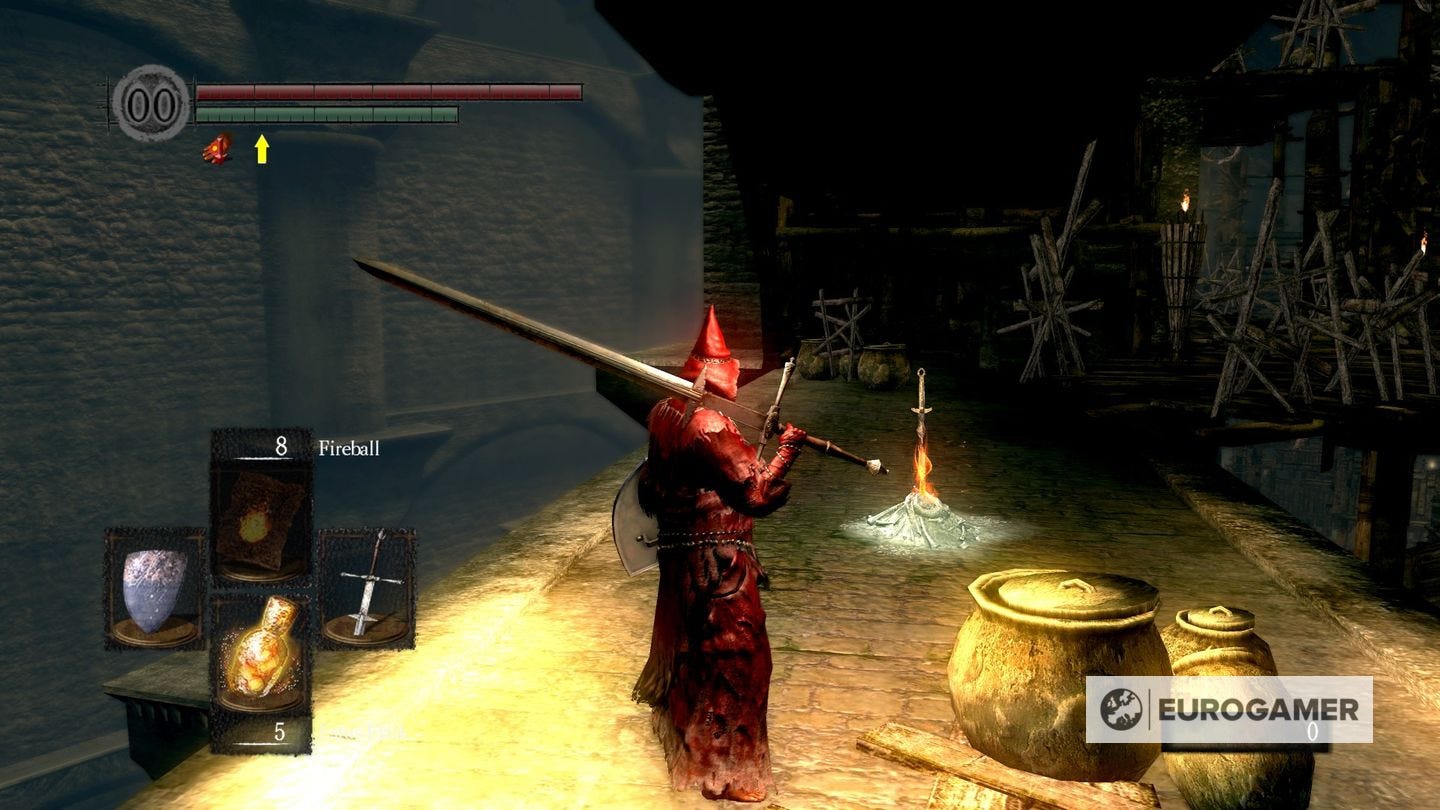
Whenever it moves, stay still in order to pass without harm. To your right will be a few Ghouls, take these out and proceed to go up the ladder directly forward. Then, you'll see the first bonfire.
From the Bonfire, head to the path straight up until you encounter a Ghoul and Two Fire Dogs. From here, go ahead and fight two more Ghouls. Try to use the terrain to your advantage and kick off some Ghouls off ledges.
Continue to proceed up until you see a ladder heading down. Proceed down another ladder to your right, but beware of the Ghoul headed your way. Once down, follow the left path. There, you will find another Ghoul and an Eagle Shield.
Head back up the first ladder, then proceed and hang a right to go down another ladder. There will be a Ghoul waiting for you, as well as another Troll, head down and left into a cave.
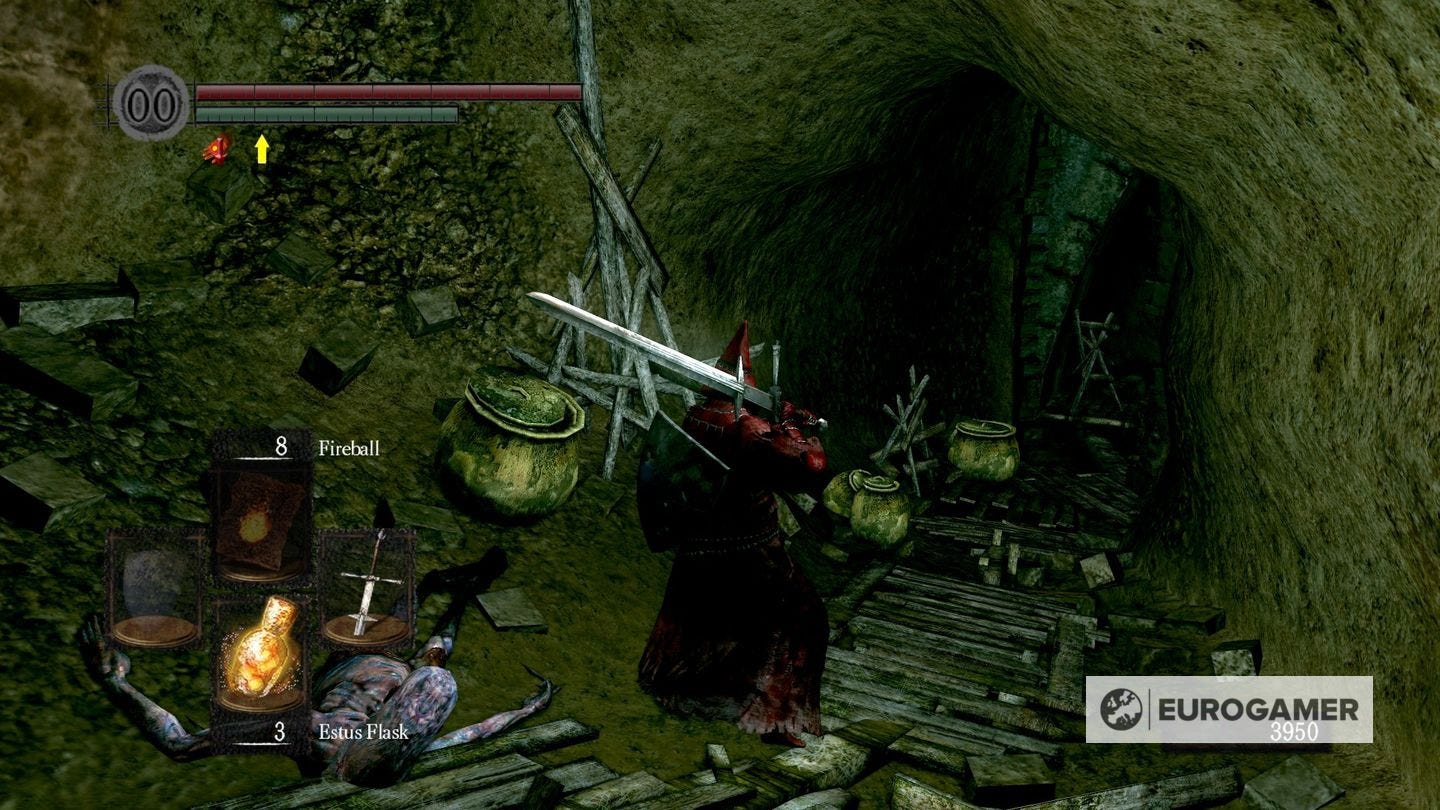
Head down the cave and go through the fog. Head down the ladders until you encounter a two Firebugs, they're not too powerful, just watch out for the flames. Proceed down the ladders. Kill three more Firebugs, and watch out for the poison flies.
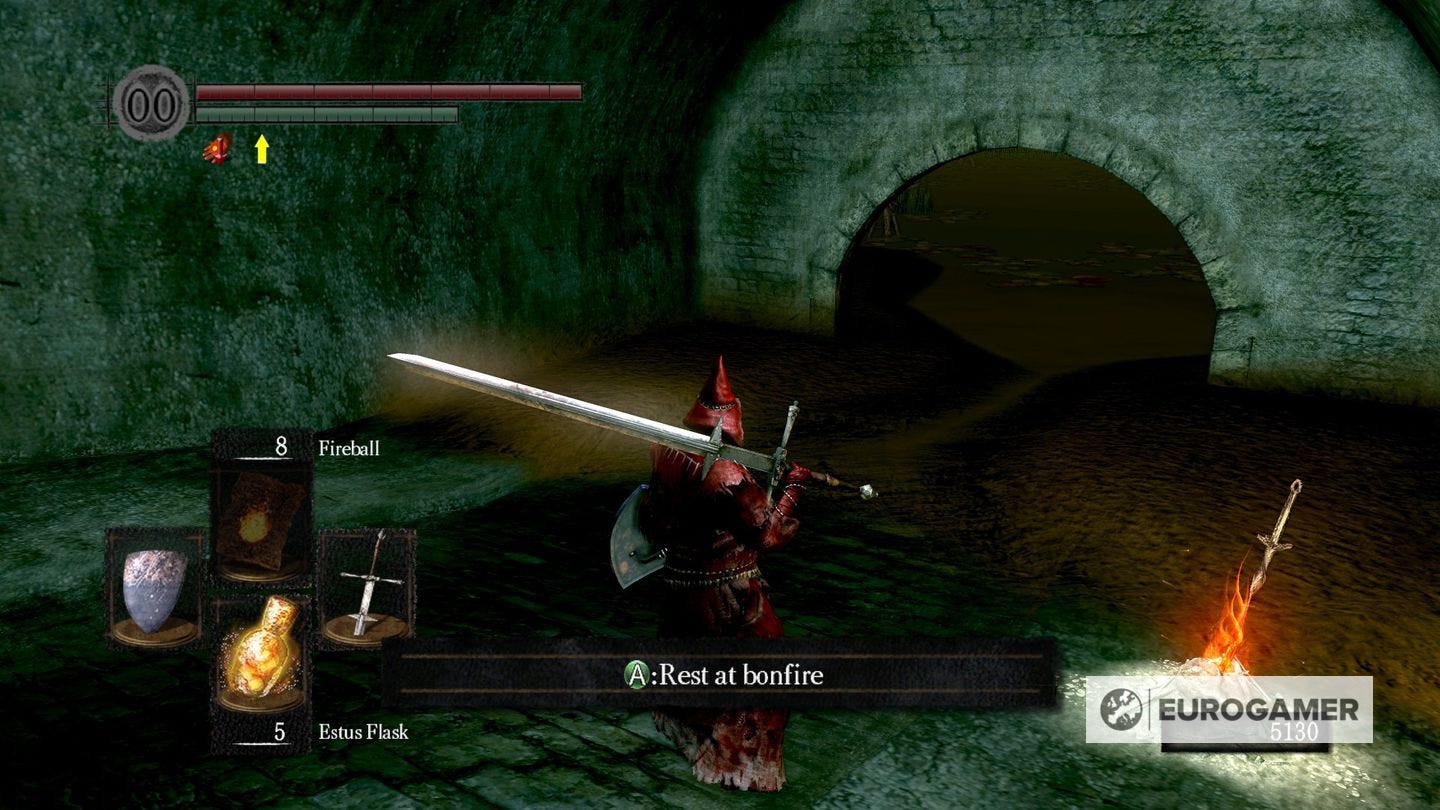
Now, you've entered the Swamp. Congratulations, you've made it through the most frustrating bit of Dark Souls. Now you're in the poisonous swamp. Head right and hug the wall, to find an alcove with the second bonfire.
If you're looking for more help, our Dark Souls walkthrough and guide can help with all other areas of the game, including the dreaded Taurus Demon, Capra Demon, Ornstein and Smough bosses. Meanwhile, we have explainers on how to access DLC Artorias of the Abyss, the best gift and best class in Dark Souls, Dark Souls' best weapons, Dark Souls Covenants, Dark Souls Estus Flasks locations, Dark Souls Titanite Slab locations and NPC quests including Lautrec of Carim.
Second Bell location
From this second Bonfire, you will want to make a beeline to the hairy mound type thing, with Purple Moss clumps to heal the poison. Make sure you head towards the right side of the map, and avoid the rock-throwing Trolls along the way. Make your way up the mound, and into Quelaag's Domain.

Go down the path, ignoring the docile egg-men along the way. From here, you will encounter a boss gate to the next boss, Quelaag.
Once you've killed Quelaag, head inside the building and turn the level to ring the second bell of awakening, which will open up the gate to a fortress that was next to Blacksmith Andre. Before you leave, go down the stairs next to the lever and open up an illusory wall where the eggs are planted. Talk to the NPC here to gain access to the bonfire.

From here, on your way back to the second bonfire, you'll spot a lift to the left. Head up through here and the ladders up, taking out the bugs along the way. Once at the top, you will see 3 Trolls, take them out and head out and into the Valley of the Drakes.
Head past the bridge and to New Londo Ruins. From there, you will be able to hang left and get back to Firelink Shrine, and ready to head to Sen's Fortress.