Dark Souls - Sen's Fortress strategy, and where to get the Lightning Spear from the Mimic Chest
How to complete the challenging Sen's Fortress in Dark Souls.
Sen's Fortress sees you approach the mid-point of Dark Souls, and unlocks after you beat the Quelaag boss after exploring Blighttown.
If you're looking for more help, our Dark Souls walkthrough and guide can help with all other areas of the game, including the dreaded Taurus Demon, Capra Demon, Ornstein and Smough bosses.
Sen's Fortress
Once you're back in Firelink Shrine, head back to Blacksmith Andre, then, after upgrading everything you can, head up to the bonfire and towards the fortress that became unlocked once you have rung the second bell. Upon entering the Fortress, watch out for the Plates at the bottom, which will Fire arrows at you.
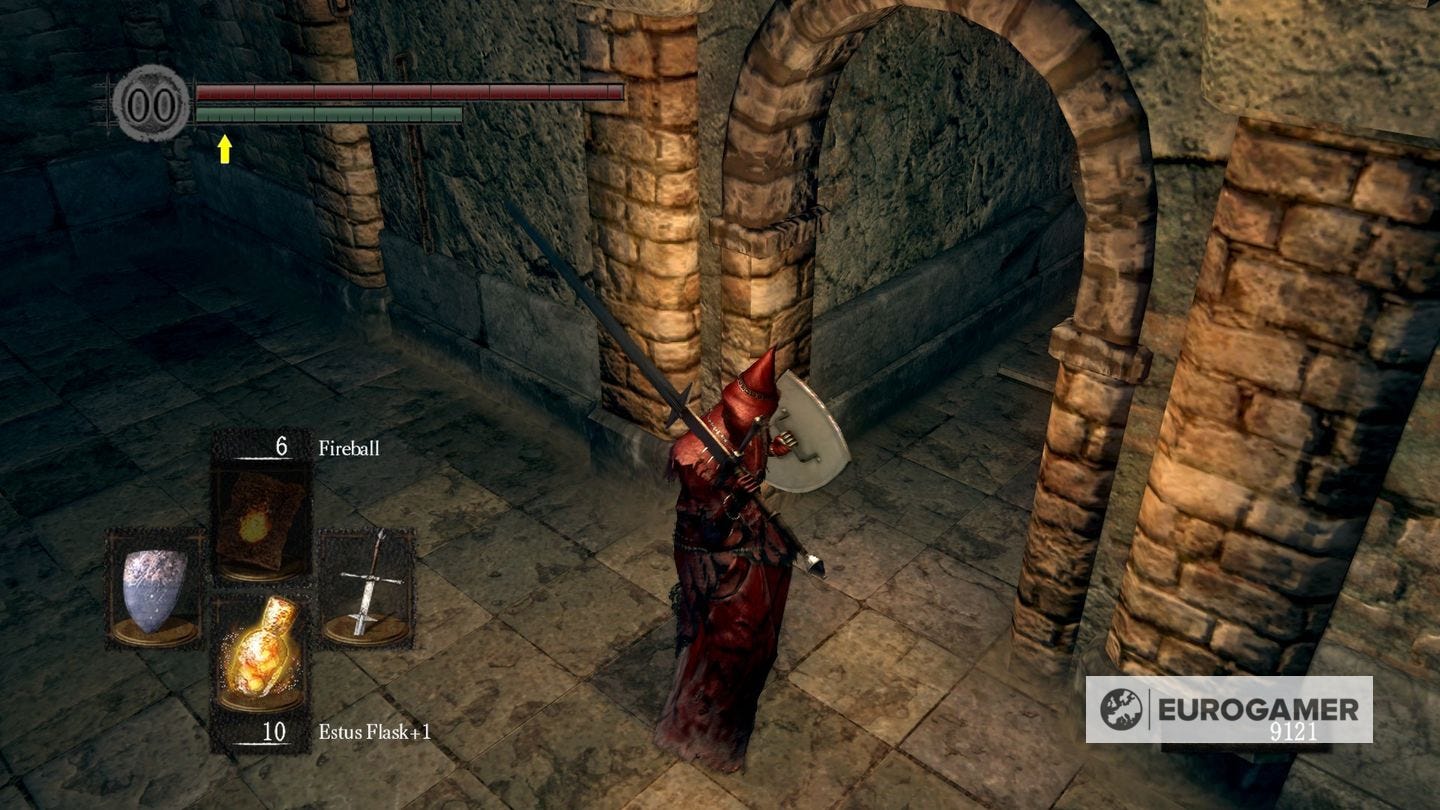
Sen's Fortress is full of these traps, and we will point them all out to you! After entering, you will be attacked by two Snake Men, these are tough, so keep your shield up and get ready to counterattack. In the top corner of this room, there is a Soul of Proud Knight.

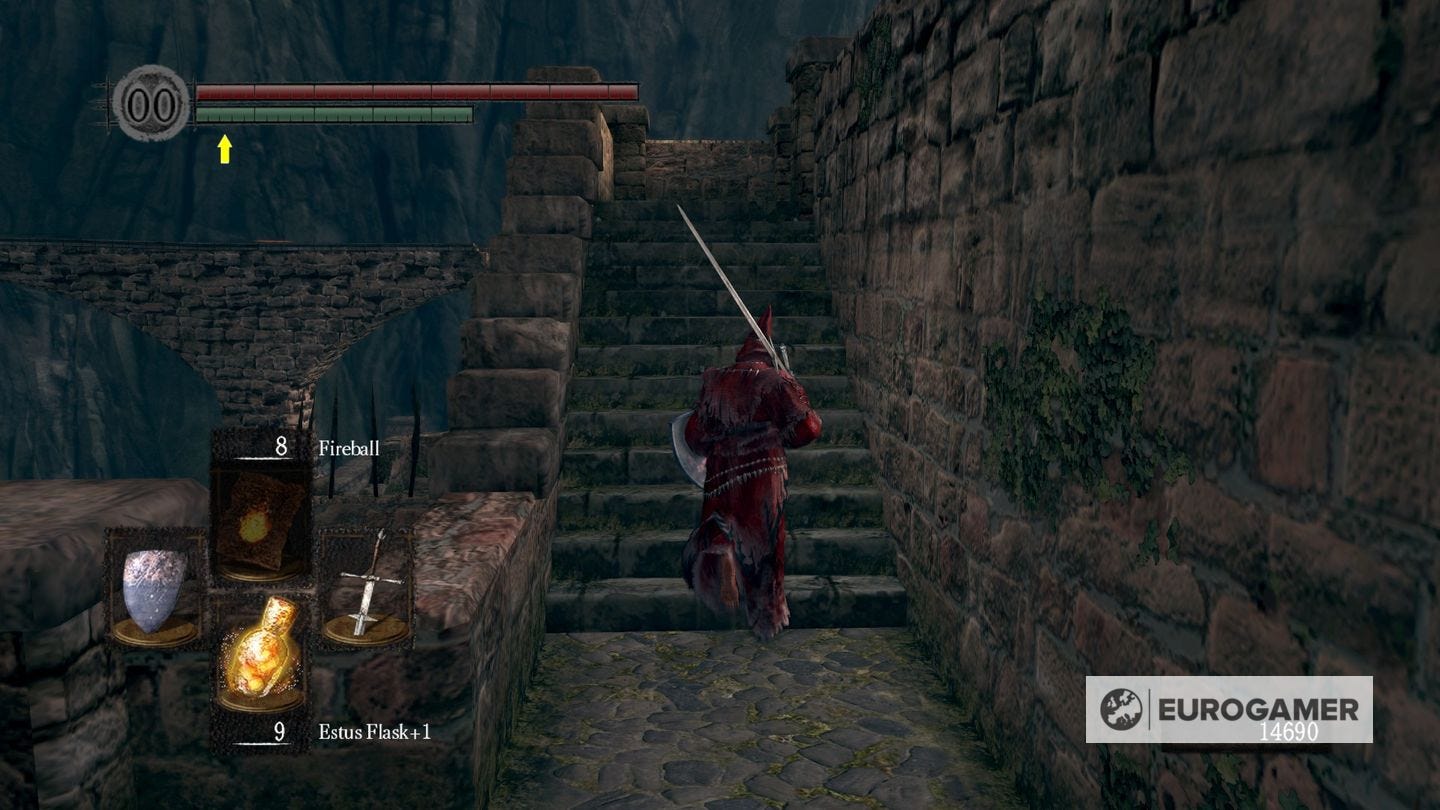
In this next room, you will want to proceed with your shield up, there is a Snake Mage casting spells at you, and it can make you fall off the small walkway if you get caught out.
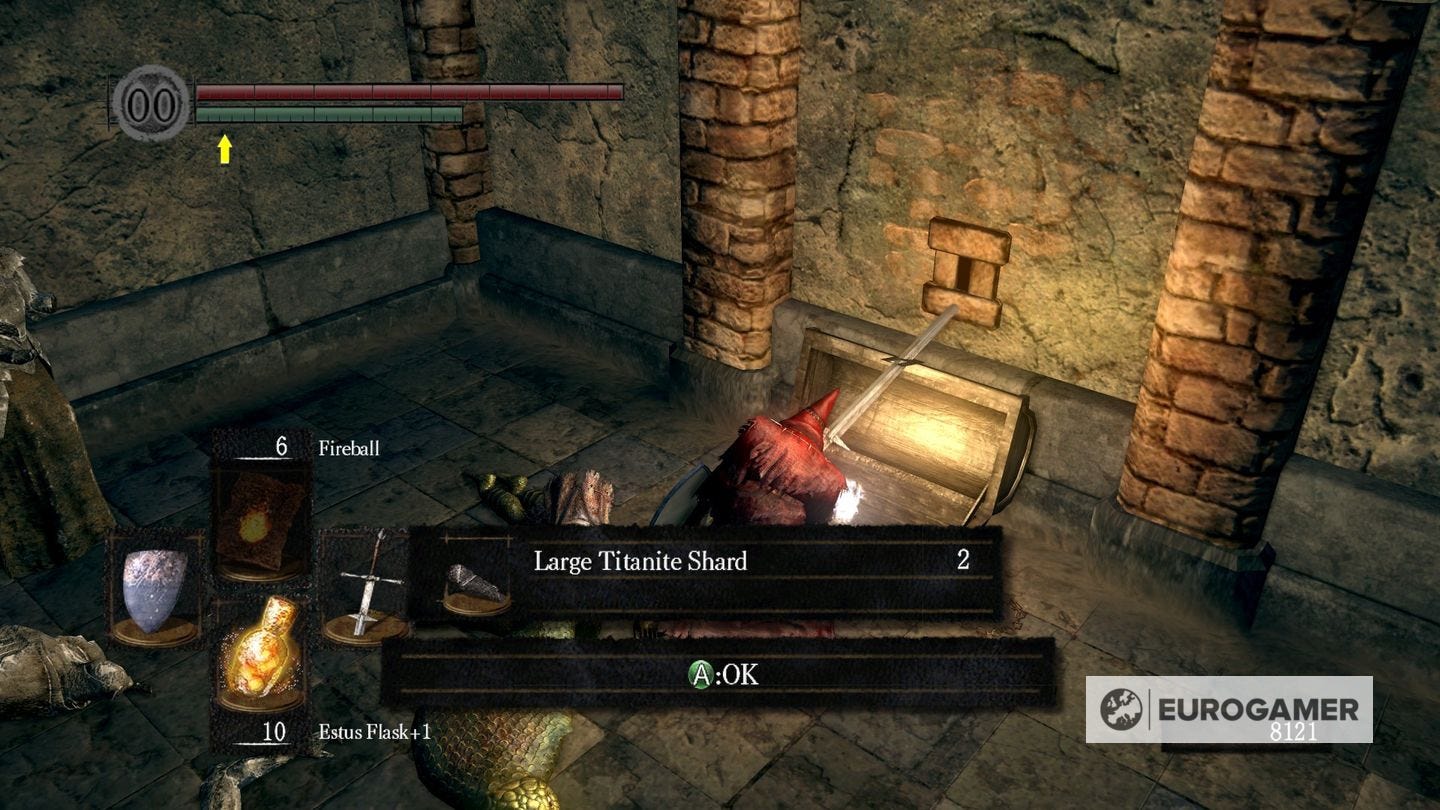
The blades may seem intimidating, but just walk forward at the right times and you will have no trouble. Head left and up after passing the bridge. This is the same deal, proceed with caution and take out the Snake at the end, but before proceeding, beware of the arrow trap ahead. Inside is a chest with three Large Titanite Shards.
Head up and across this walkway until you see an enemy get taken out by a boulder. Ignore the stairs down for now and you will encounter another enemy. BEware of the boulder falling here, and make a break for the right side of the bridge, and jump off where you see ground below to bump into Seigmeyer of Catarina again. Then, head down and back up, now, bolt ahead and get as far as you can up the Boulder hill.
You will see an alcove to the left with a Fog Gate. Ignore this for now and continue to head up and into the room at the top. Here, you will find a chest containing a Ring of Steel Protection. Then, head down and through the fog gate. Inside, you will encounter another trap tile, with arrows that will hit you from behind in addition to another enemy.
Before proceeding up the stairs, you will notice that there is another boulder heading down this route. Carefully make your way down, watching out for the timing of the boulder. Before the path ends, head left.
How to deal with the Mimic Chest and get the Lightning Spear
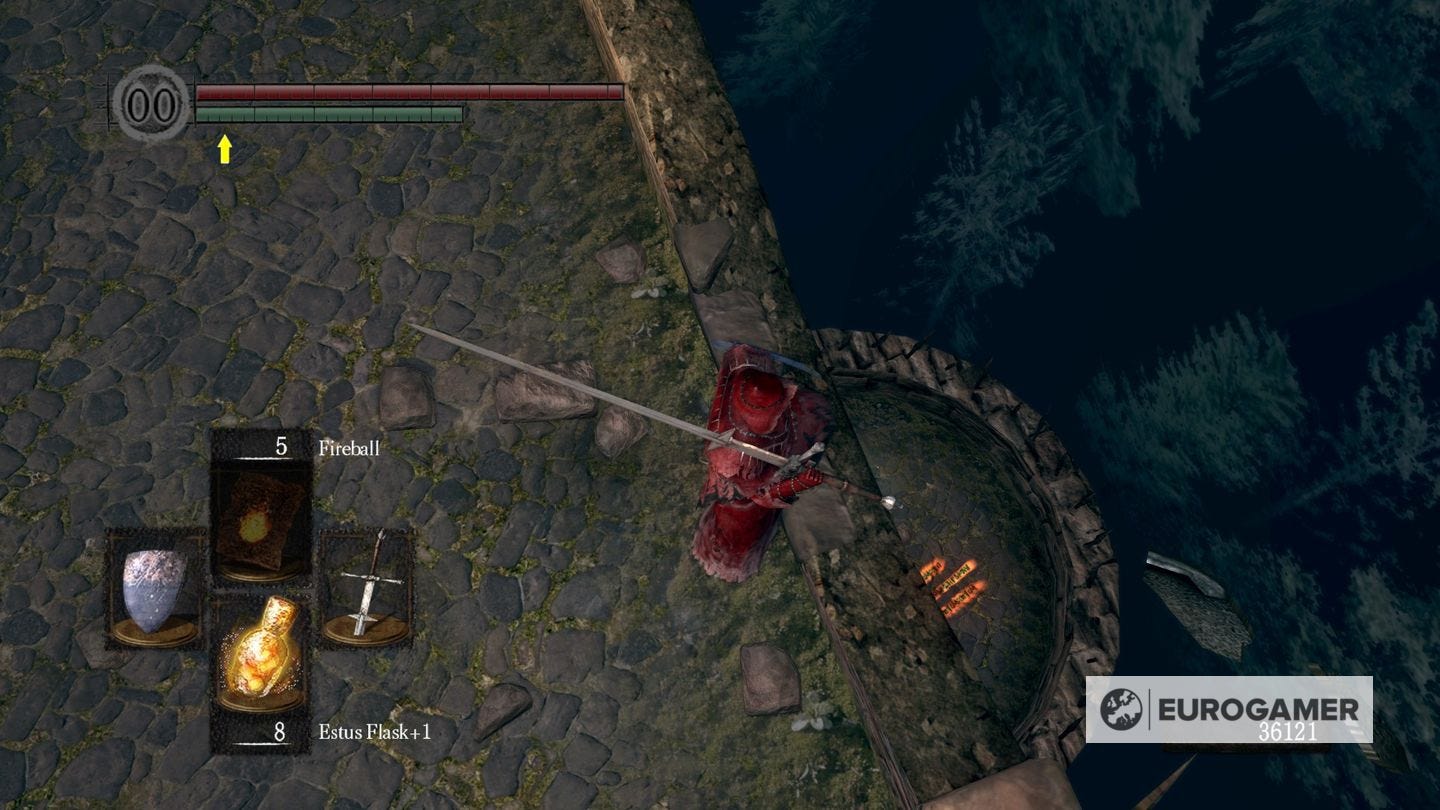
Inside, there is a Mimic Chest. Attack this and watch out for the attacks that will come your way, which can deal some immense damage. Defeat this, and pick up the Lightning Spear as a reward. Then, head up the lift and out of the first exit. If you linger here the lift will take you to a spike roof and kill you.
Now, head out and down the stairs to another Boulder Path. Head up And direct the lever to the path you just came up. Then, direct the boulder elsewhere and head down the hill that you entered the room in. Here, you will find a Wizard, Free them with the Master Key. Then, head back up the hill outside where we found Seigmeyer, and head up to reach the central room again.

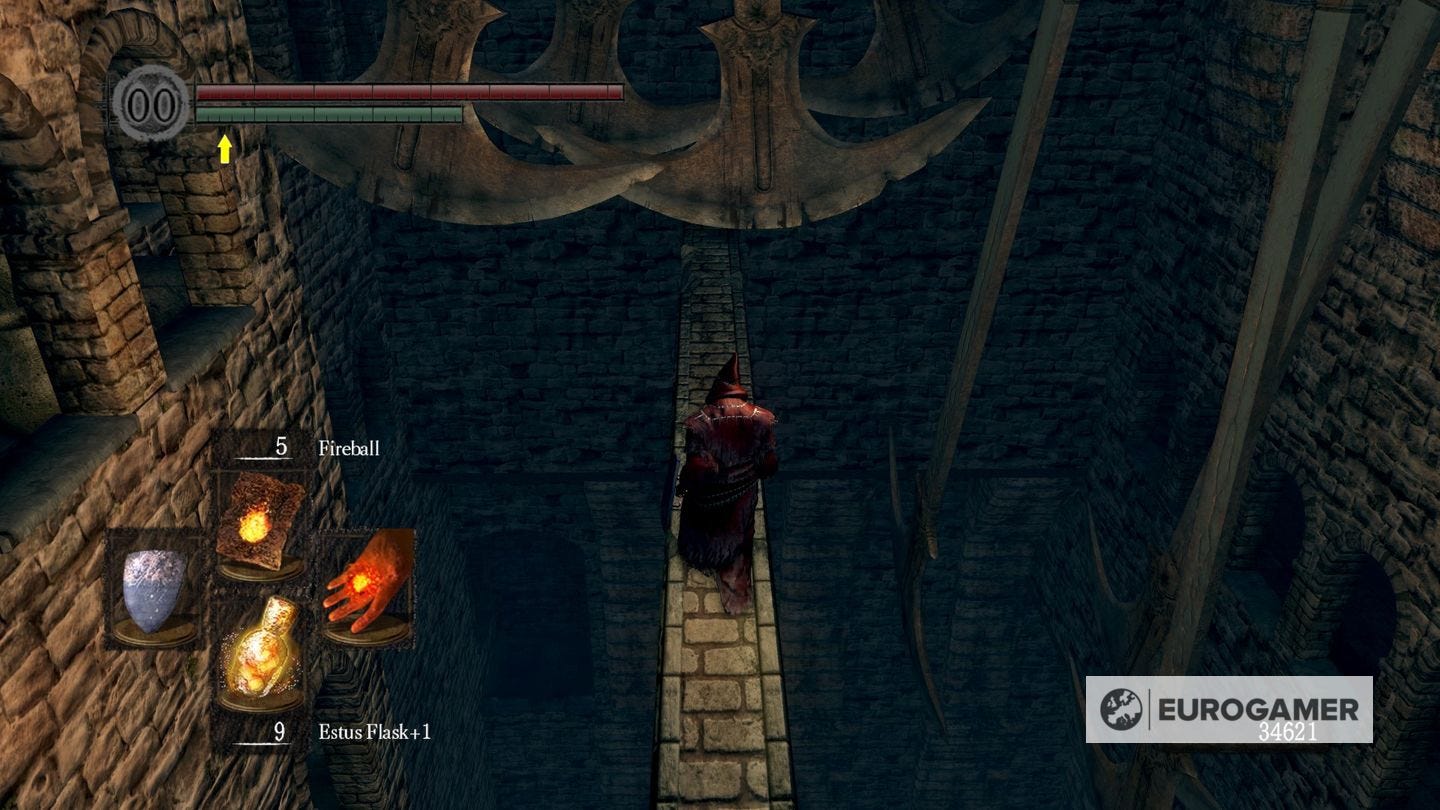
Then, go towards the arched path, and watch out for the arrow trap ahead. Follow the path more until you encounter another Swinging Axe Bridge. This is a bit tricky to get past, you want to sprint through as soon as you get the opportunity. Once you pass, to the right there will be another snake warrior, and up the stairs will be a mage. If you follow the path to the left, you will encounter another enemy, with two Large Titanite Shards at the end.
Then, head up the stairs. There will be a narrow walkway, however, first you want to deal with the mage to the left- use a ranged attack to deal with this, and then proceed carefully. From here, hang right and trigger the arrow trap, which will come from behind- Defend against these and go through the Fog Gate. Head right and down the stairs to encounter two Balder Knights, and a chest containing a Stoneplate Ring at the end.
Make your way back, and onto the path left. Follow the set of stairs up and hang a right, and you will see a broken part of the path, drop down here to find the Sen's Fortress Bonfire.
Once you're all done, head up the flight of stairs to get back to the roof. Now, go up the stairs to the right of where you dropped down for the bonfire, grab the Titanite from the corpse and head down to the heavily armoured knight.
Take this down and head down the ladder you see ahead. Follow the path up until you see a bowman, take them down to get Ricard's Rapier. Then, loot the chests in the building to get a Divine Blessing and Rare ring of Sacrifice. Then, head back to where you fought the Heavily Armoured Knight.
If you're looking for more help, our Dark Souls walkthrough and guide can help with all other areas of the game, including the dreaded Taurus Demon, Capra Demon, Ornstein and Smough bosses. Meanwhile, we have explainers on how to access DLC Artorias of the Abyss, the best gift and best class in Dark Souls, Dark Souls' best weapons, Dark Souls Covenants, Dark Souls Estus Flasks locations, Dark Souls Titanite Slab locations and NPC quests including Lautrec of Carim.
Then take a left onto the narrow path. Watch out for the Firebombs, then head right. There is a divergent path, one with a Balder Knight leading to a dead end, and another leading to a bridge to another building.
Head through here and you will find the shortcut down- we're going to get the key for this just after we deal with that pesky firebomb Giant. Head towards the left and outside. Walk across the narrow path, and kill the archer along the way. Ignore the Fog Gate for now, and head up the spiral Staircase.

Here, you'll find the firebomb Giant. Defend against it's attack flurry, and counterattack when it cowers on the ground, then- head back down to the broken walkway we saw earlier. Jump across and you'll encounter a helpful merchant. At the bottom, you will find the cage key. Then head back to unlock the shortcut.
Now, head towards the fog gate to encounter our next boss, the Iron Golem. After killing it, head towards the yellow ring where you will then be transported to Anor Londo.