Super Mario Galaxy Star Guide
Part 3 of our spectacular guide to all 120 stars.


Hello again. I'm assuming that, if you're reading this, you've already drained all the syrupy goodness from parts one and two of this star-hording extravaganza, and are now ready for the final push against that evil sod Bowser. I hope so, because things get trickier from now own.
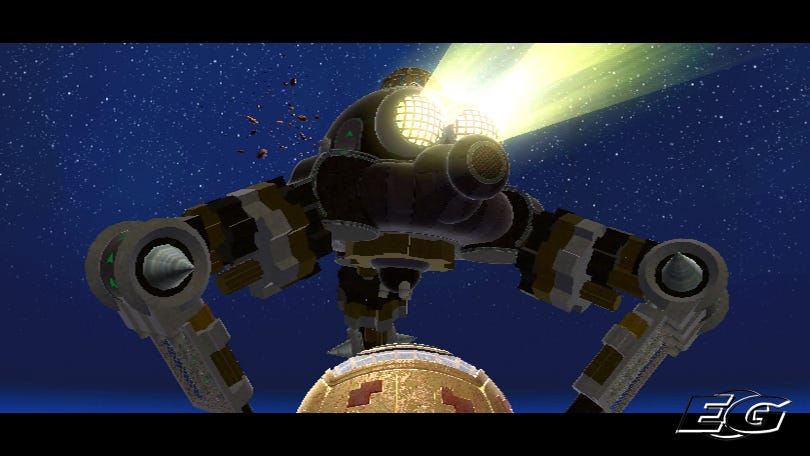
There's now just the Engine Room to complete for the final Grand Star (plus the crisp bonus taste of the Garden), and the big showdown with Bowser. If you've been doing as you're told, you should only be a few stars shy of the 60 required to complete the game, but that doesn't mean we're going to slack off now, as there's plenty more than that to be had.
So, come on. Head up to the walkway between the Library and Kitchen and shimmy up that starbeam to the Engine Room. We've still got a Princess to save.
The Engine Room
Gold Leaf Galaxy
Star #1
Star Bunnies On The Hunt
Dead easy, this one. First of all, find the five pull star pieces. It's quicker if you grab the Bee Mario power up, so you fly to them. There's one on top of the plateau that the boulders are emerging from, surrounded by piranha plants. There's another on the left of the waterfall, that you can reach when you stomp all three stumps. Another launch star takes you up to a higher area with a fountain, which you can use to boost you up to the third piece. The fourth is in the crate behind the waterfall, while the fifth is in the far corner opposite the waterfall above the spring-loaded plunger (fly there, or use the flower stem). Use the new pull stars to launch to the next planet where - surprise, surprise - Mario is indulging his animal-chasing fetish again. That rabbit has your star, but you can even the odds by stomping the red plunger to create some walls that'll slow him down.
Star #2
Cataquack To The Skies
This one pretty much does what it says in the title. Use the Cataquacks (or "creatures" as my addled brain forgetfully labelled them in Part 2) to keep moving onwards and upwards. If there's a Bee Mario power up nearby, grab it - the additional lift and distance from a quick hover is often vital. Things start to get more complicated when you reach the cube hedge maze, but it's just a case of clearing all the crates and enemies then luring the snoozing Cataquack to the Cataquack logo on the floor. He'll then sproing you to the next area - a fiendishly thin walkway with several Cataquacks roaming the edges. You need to reach the launch star at the far end with a Cataquack bounce, but being bounced earlier is more annoying than fatal. On the next planet, get rid of as many enemies as you can, then use the Cataquack to grab the Bee Mario power up, and then to propel you to the top of that Jenga tower. From there, simply hover your way from flower to flower until you reach the star.
BONUS: The Bell On The Big Tree
Here's another simple secret star to snaffle while in the Cataquack level. From the start, nip round the back of the big tree in front of you and jump in a bubble. As you float up the tree, use the Wiimote to ring the bell. A spiral of notes will curl around the tree like a musical python, so simply bubble your way along the line hitting all the notes to get a star. Shazam, as Beethoven used to say.
Star #4
When It Rains, It Pours.
This is a very damp level, and that's a problem since the Bee Mario power up - which vanishes in water - is essential. First things first, make your way around the back of the plateau with the trapeze. Wall kick your way up to the top (there's a vine underneath a piranha plant as an alternate route) and jump on top of the cloud to become the bee. You now need to cross that bridge of flowers, but one of them is under a rain cloud. Use the flower stem near the two piranha plants to propel you over the cloud, then jump and hover to the wooden path. Use the trapeze to reach the top of the clouds, and hover your way across them to the next section. Use the spring-plunger to reach the base of the tower, and dodge the rainclouds using the alcoves. Crack that rock at the top to create a vine to the the observation deck and face the mole-powered gun turret. You need to stomp the big button to raise the steps so you can reach the gun, then run over and stomp it. The bubbles won't hurt you, but they can knock you onto the spikes. If you're still Bee Mario then flying over the spikes is safer than jumping, but don't panic if you're plain old Mario - it's not that hard. Keep moving and stomping and you'll have the star in no time.