Zelda - Joloo Nah trial and Test of Will quest in Breath of the Wild
How to find Joloo Nah trial and Test of Will quest.

Joloo Nah is one of the many shrines located throughout Zelda: Breath of the Wild. Found in the Gerudo region, it is accessible once you have completed the Test of Will shrine quest.
If you need help finding and solving other Shrines, our Shrine location maps page can help, while our Zelda: Breath of the Wild walkthrough and guide covers other aspects of the game.
How to complete the Test of Will quest
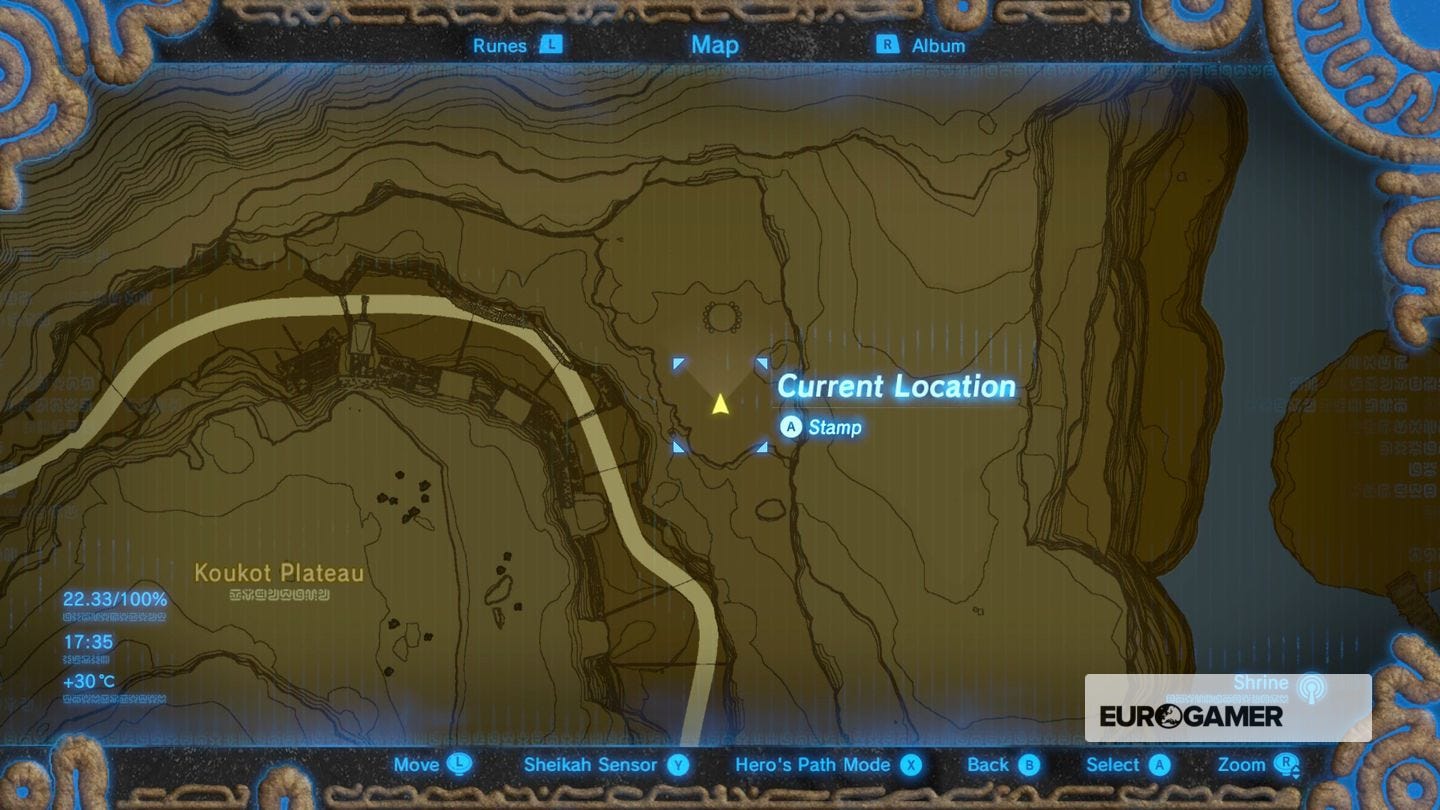
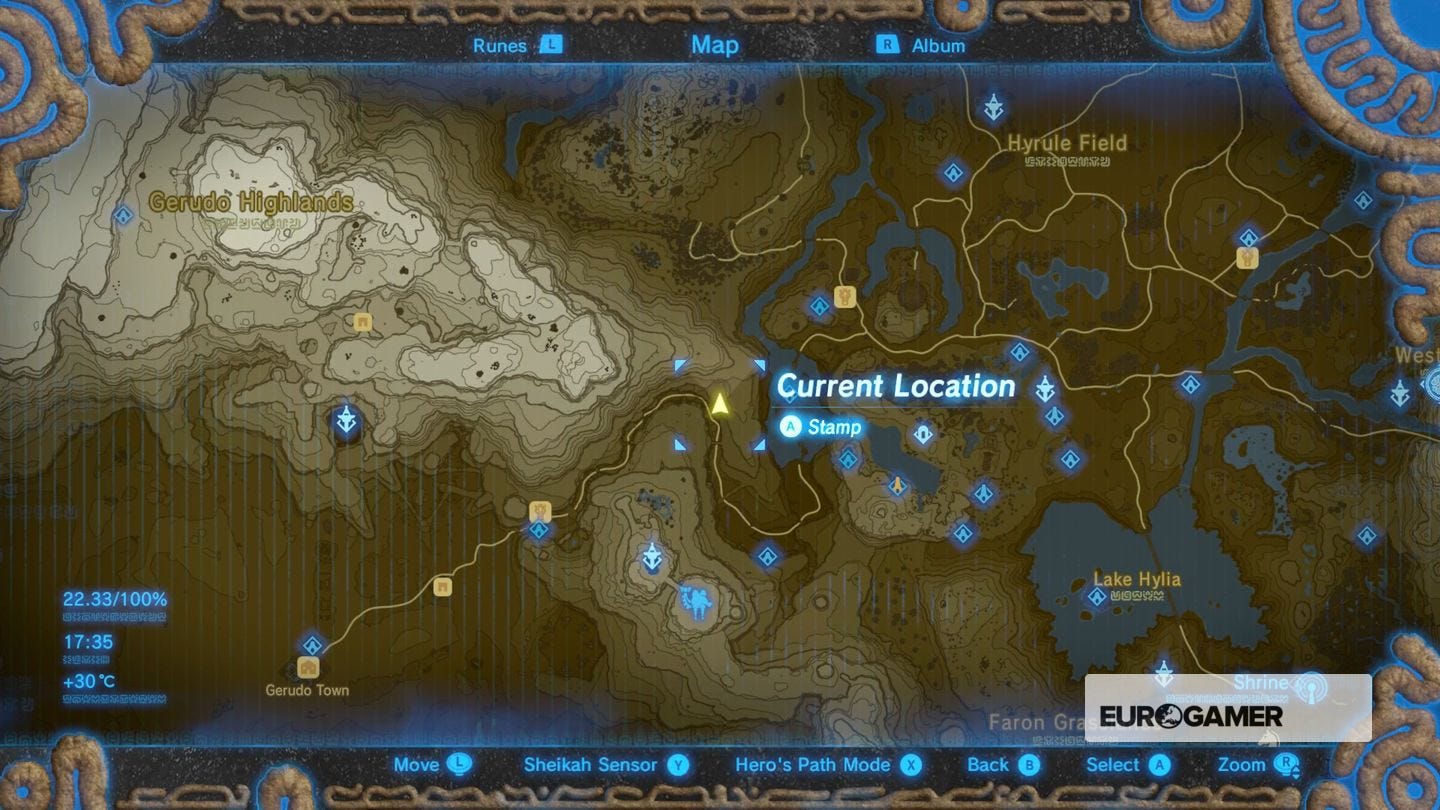
Head to the north of the Gerudo region, where a path winds around the Koukot Plateau. To the east is a cliff with three Gorons and several fire pits. The easiest way to get there is to glide from the Tower to the south.
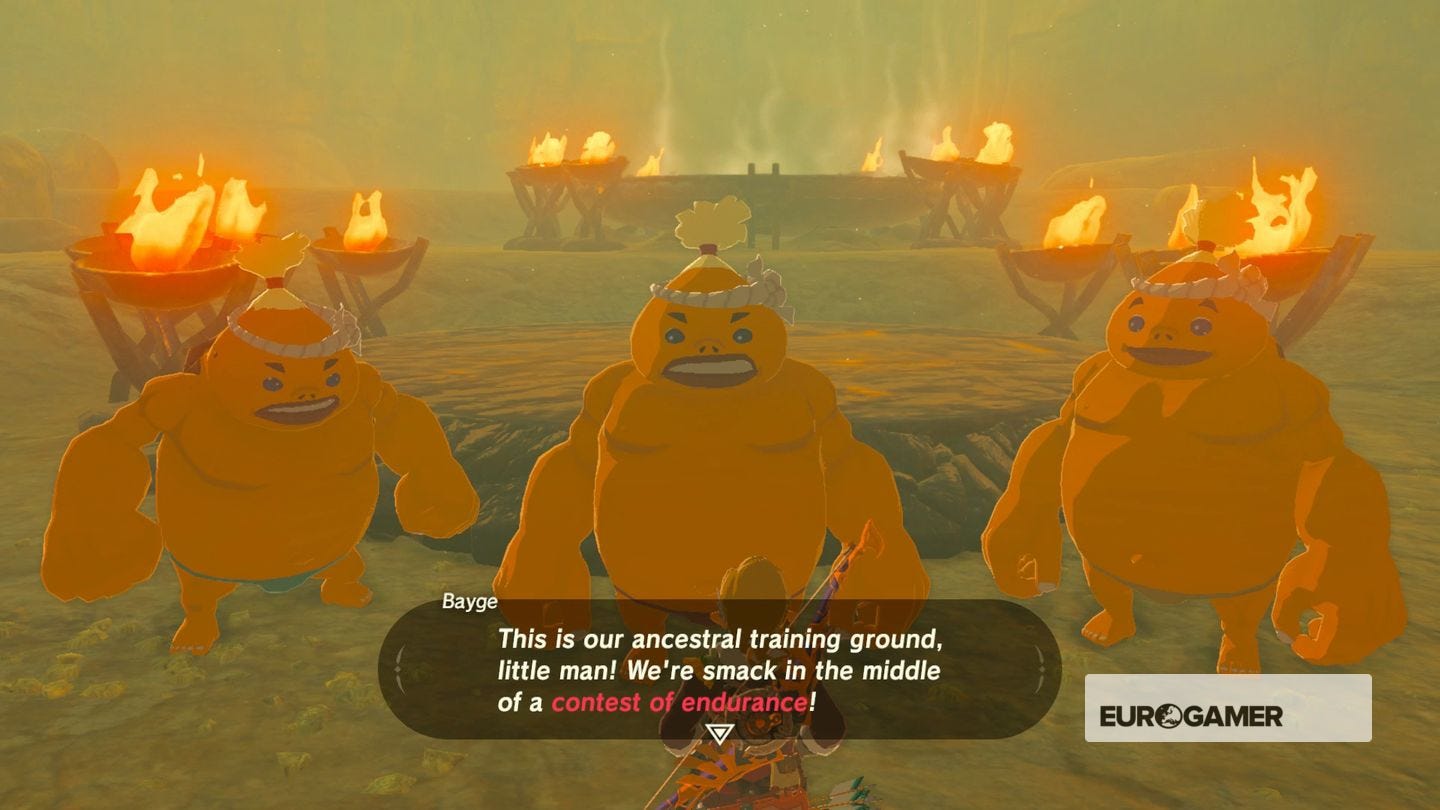
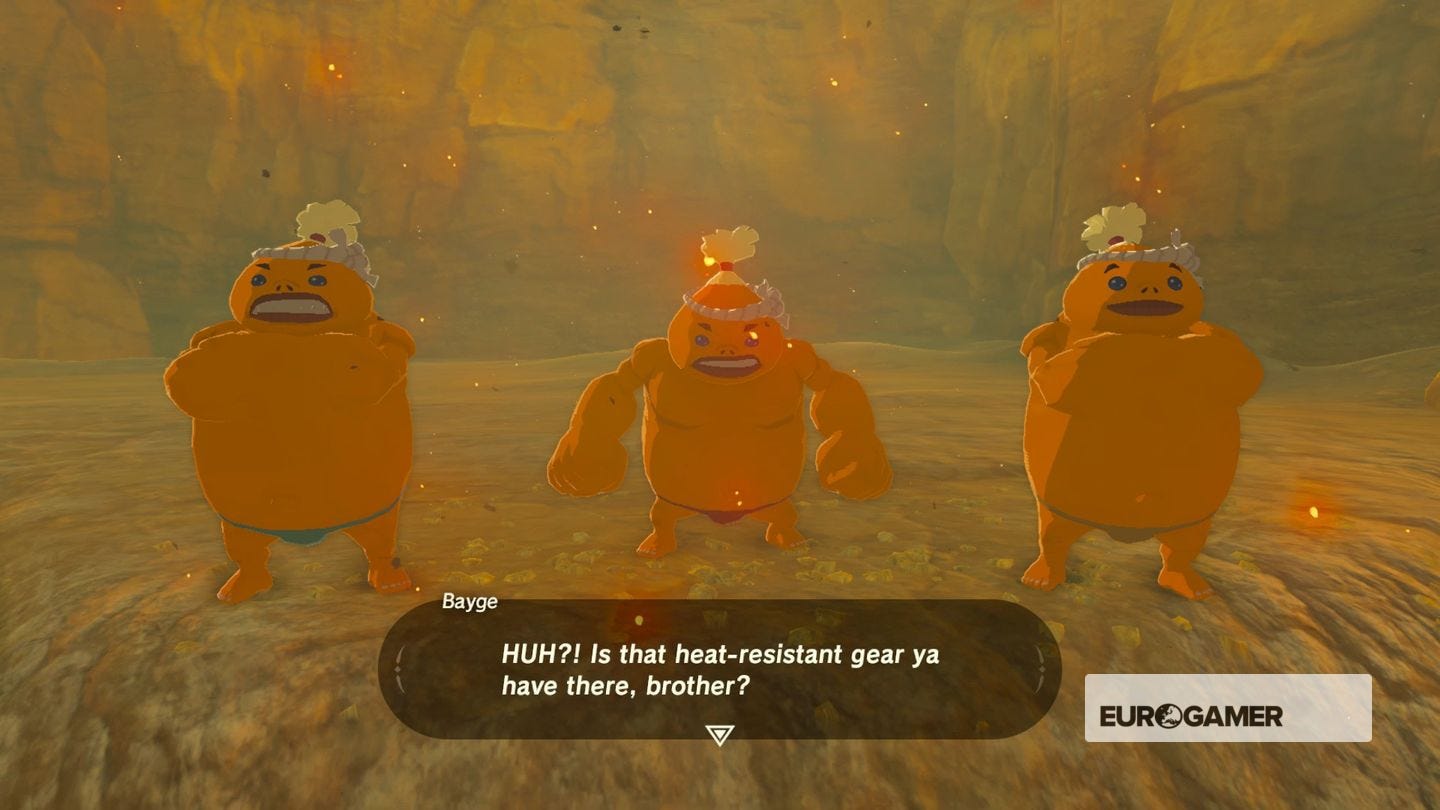
Once you arrive, the Goron will challenge you to withstand the flames within each one. The first can be survived with heat resistant armour, while the second cannot be completed with it equipped, requiring you to use Fireproof Elixir. Our fire resistance page explains where to get these items.
Once done, the Joloo Nah shrine will appear, allowing you to take on its trial.
Joloo Nah Apparatus solution
The trial consists of three rooms with devices that must be manipulated using motion controls. As such, we recommend you attempt this where you can play with a degree of precision. You should also come equipped with some Fire Arrows.
Approach the device in the first room and rotate it so all sides of the cube have power from the conduit above, opening the door.

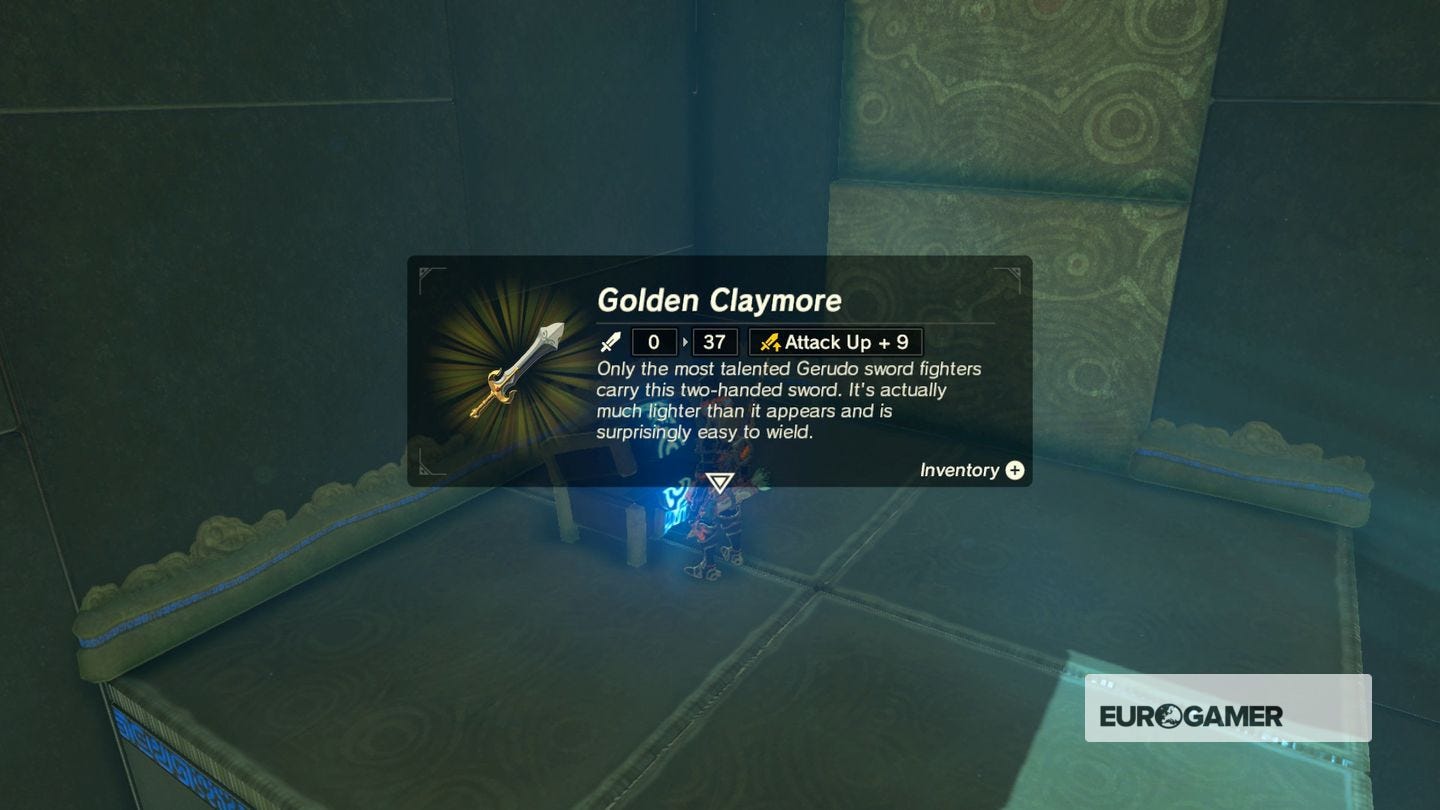
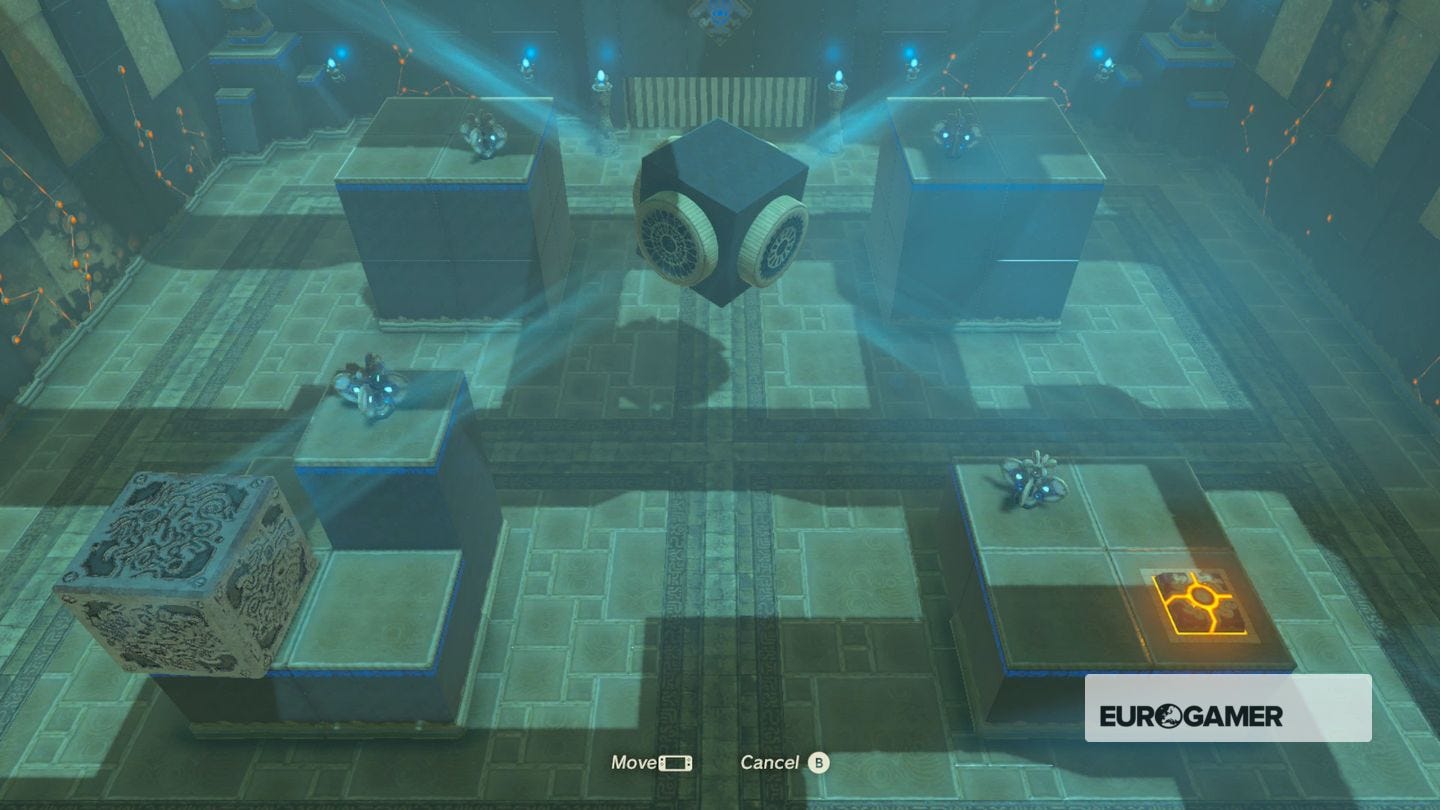
The second room is trickier. First, get the optional chest by moving the cube so one side blows wind to the left corner (aim for the metal box on the left platform), so you can glide with the current to the chest. A Golden Claymore is inside.
To open the door, you must have all four fans spinning at once. Though you can move the metal box using Magnesis to the switches to make the fans the same height, it's actually possible to not move anything and get all four spinning at just the right angle, like so (you may have to 'back out' once in place for the door to then open):
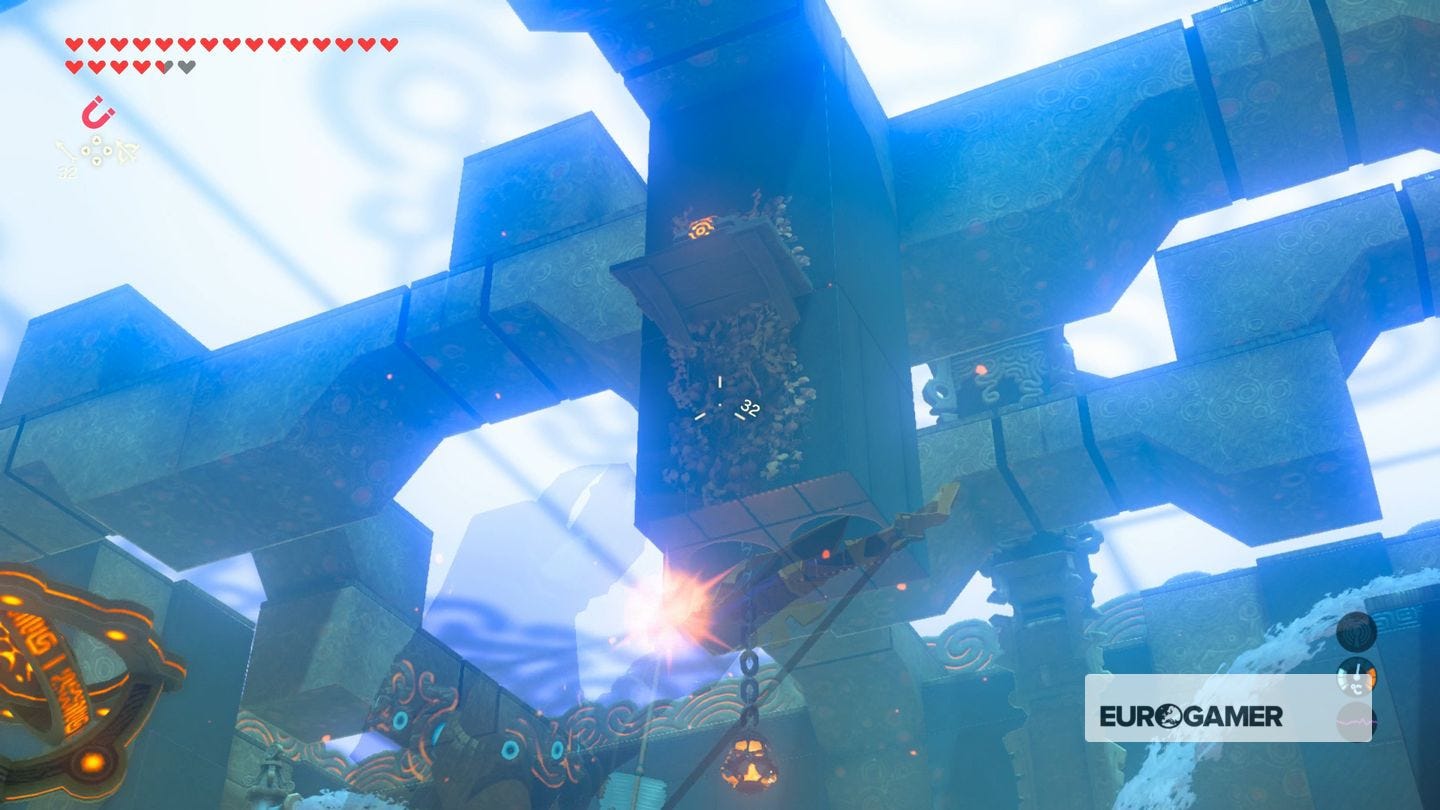
The third and final room has two water jets either side of another cube. First, shoot a Fire Arrow at the wooden shelf above it, dropping a chest containing a Gerudo Spear.
Thanks to a new update, it's now possible to play Zelda Breath of the Wild in VR. Want help with the main game? Our Zelda: Breath of the Wild walkthrough can help complete Divine Beasts Vah Ruta, Vah Rudiana, Vah Medoh and Vah Naboris and more. There's also how to get the Master Sword, Hylian Shield and all Zelda Captured Memories and Great Fairy Fountain locations, while our Shrines locations and Shrine maps hub explains where to find and solve every puzzle room, including dragon locations and Labyrinth solutions. We also have a DLC 1 guide and DLC 2 guide, including all Tingle, Majora's Mask, Phantom, Midna outfit locations.

Use Magnesis on the chest and drop it on the switch on the left side, dropping one of the fountains. You can now rotate the cube so all six torches are lit. It's difficult, and if you are having problems, use Fire Arrows to finish off any remaining sides giving you problems.
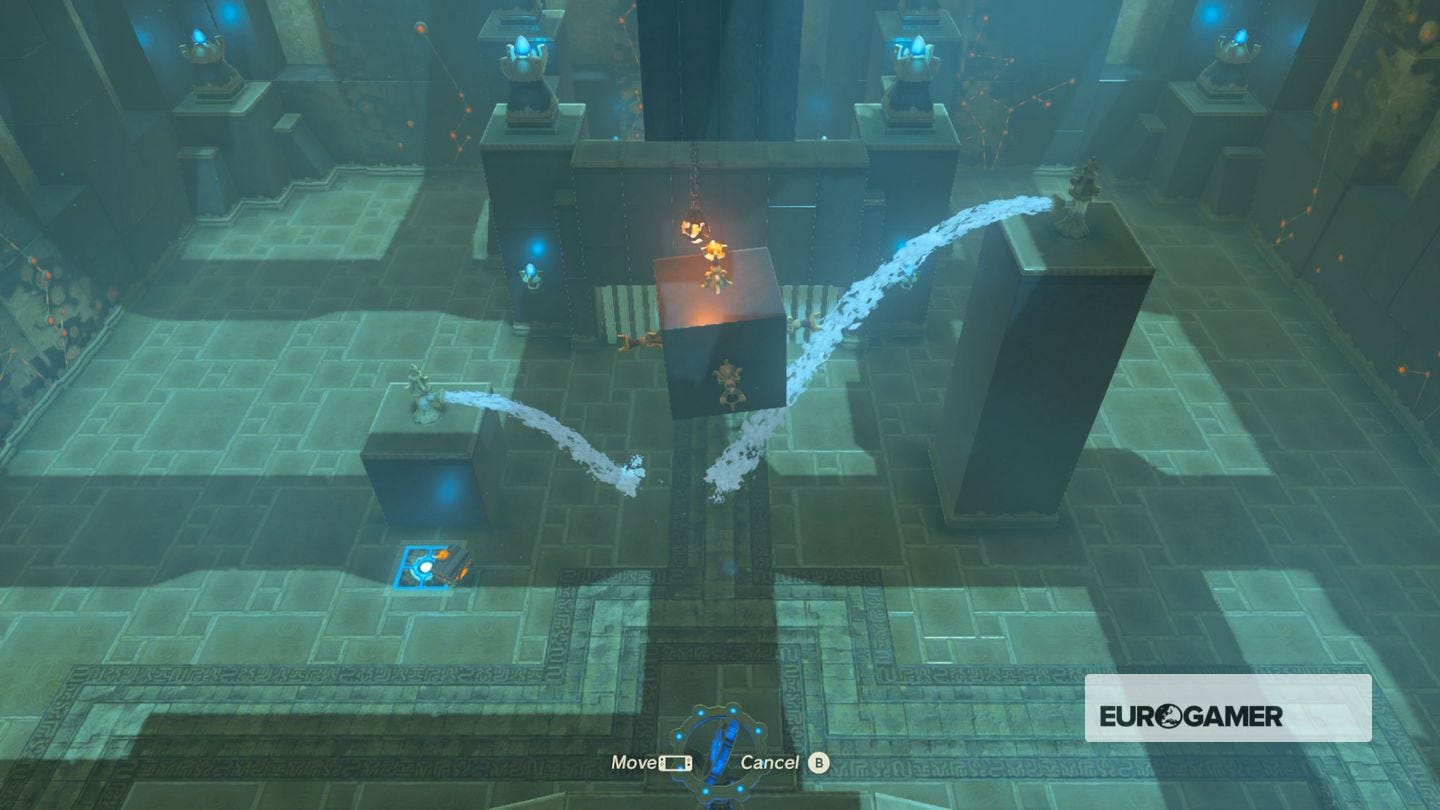
Once done, the final door will open, taking you to the altar and the Shrine Orb.
While you're here, here are other Shrines within this region:
Gerudo Highlands region (6 Shrines)
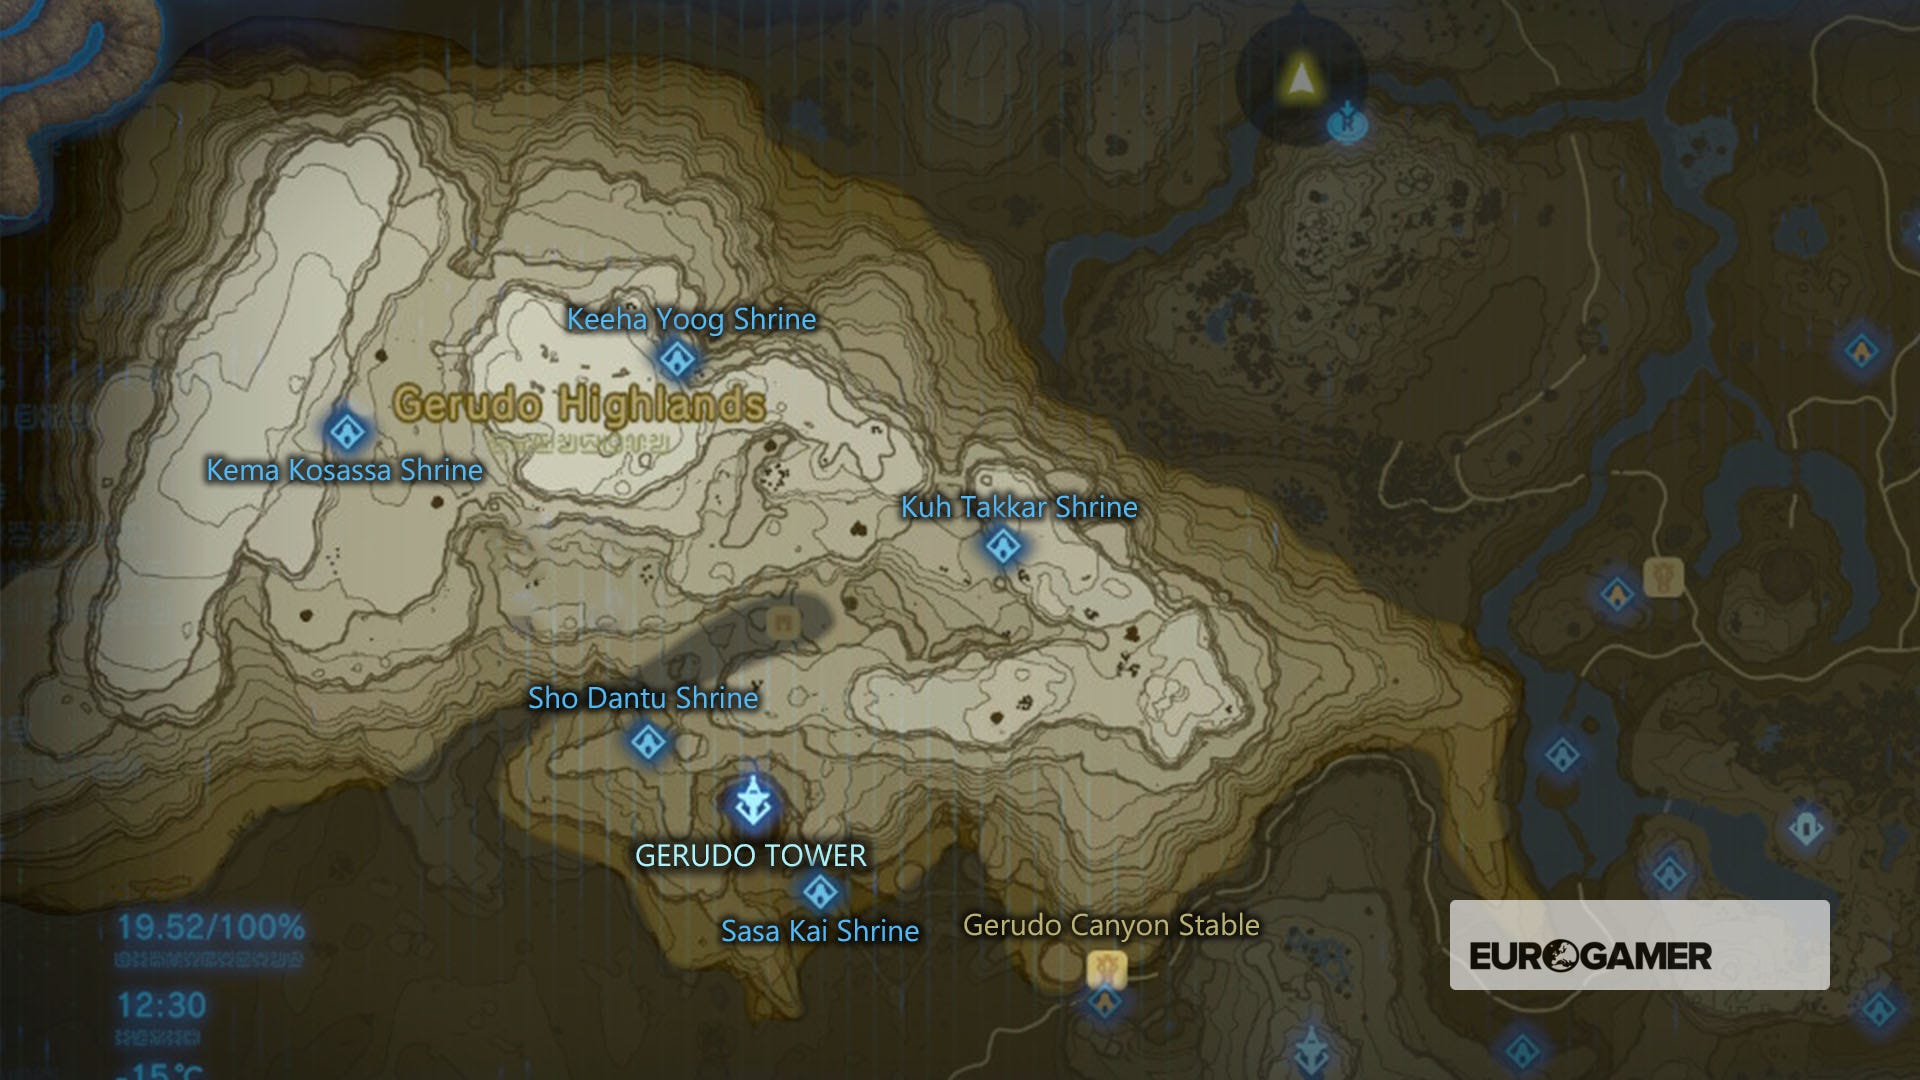
- Joloo Nah trial and Test of Will quest
- Keeha Yoog and the Cliffside Etchings quest solution
- Kema Kosassa shrine location
- Kuh Takkar and the Melting Ice Hazard trial solution
- Sasa Kai and The Sign of the Shadow quest solution
- Sho Dantu and the Two Bombs trial solution
If you're after other trials, then our Zelda: Breath of the Wild Shrine locations and maps hub page can help with other regions.