Wild Hearts Karakuri, including Basic, Fusion and Dragon Karakuri explained
Unleash an ancient arsenal to take down Kemono and build the perfect basecamp.


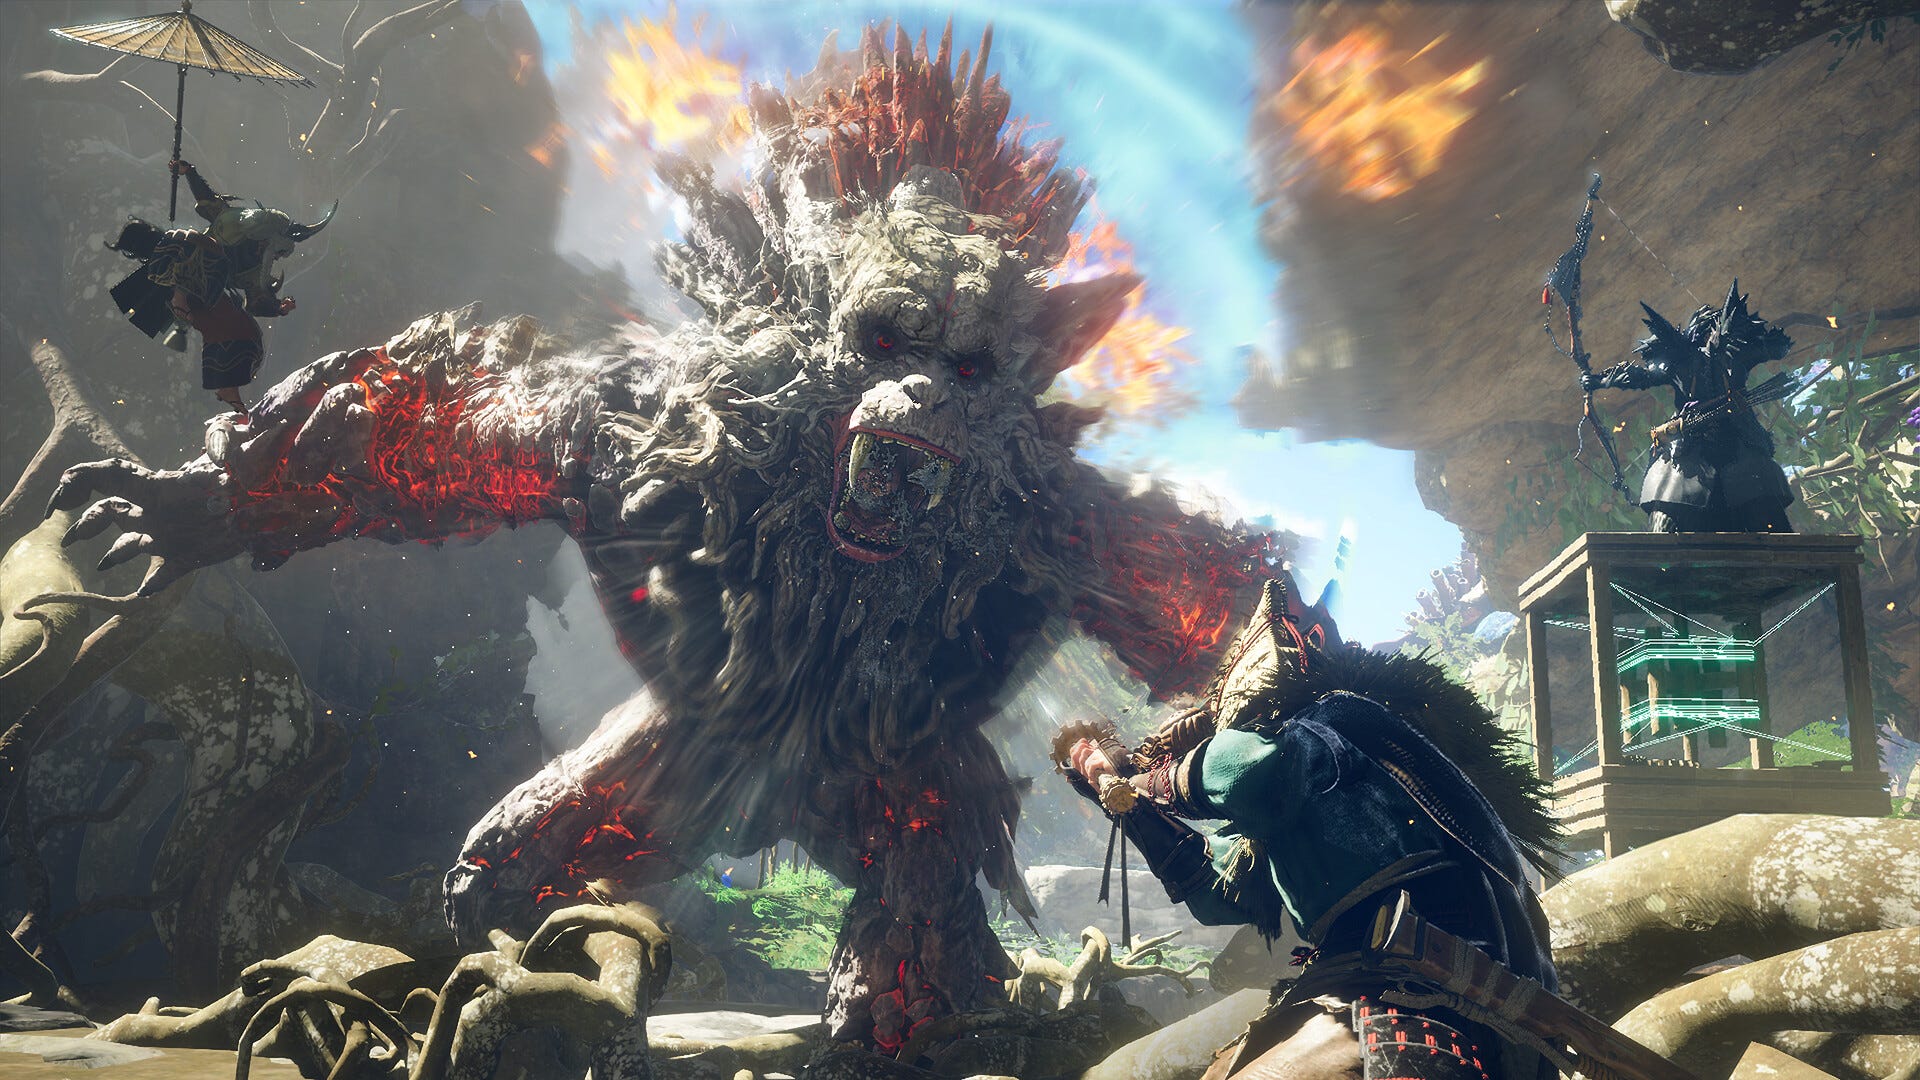
Wild Hearts sets itself apart from similar action RPGs thanks to its intriguing Karakuri. These magical devices will not only help when hunting Kemono, they can also be used to quickly navigate Azuma’s many diverse landscapes, and even create self-sustaining settlements.
The Karakuri system has shades of Fortnite and Death Stranding as you summon structures from thin air, some expendable and others more permanent, all of which can be used by other players. If you’re migrating over from Monster Hunter the Karakuri may seem like a gimmick at first though using them becomes an essential part of Wild Hearts, the system having a genuinely enjoyable depth.
This guide will explain how different types of Karakuri work, how to get more, and which ones you should aim to unlock first.
On this page:

What are Basic Karakuri in Wild Hearts?
Wild Hearts Karakuri come in three different variations: Basic, Fusion, and Dragon. Where the latter are more permanent and used mainly in base building, the first two are expendable and combat-focused.
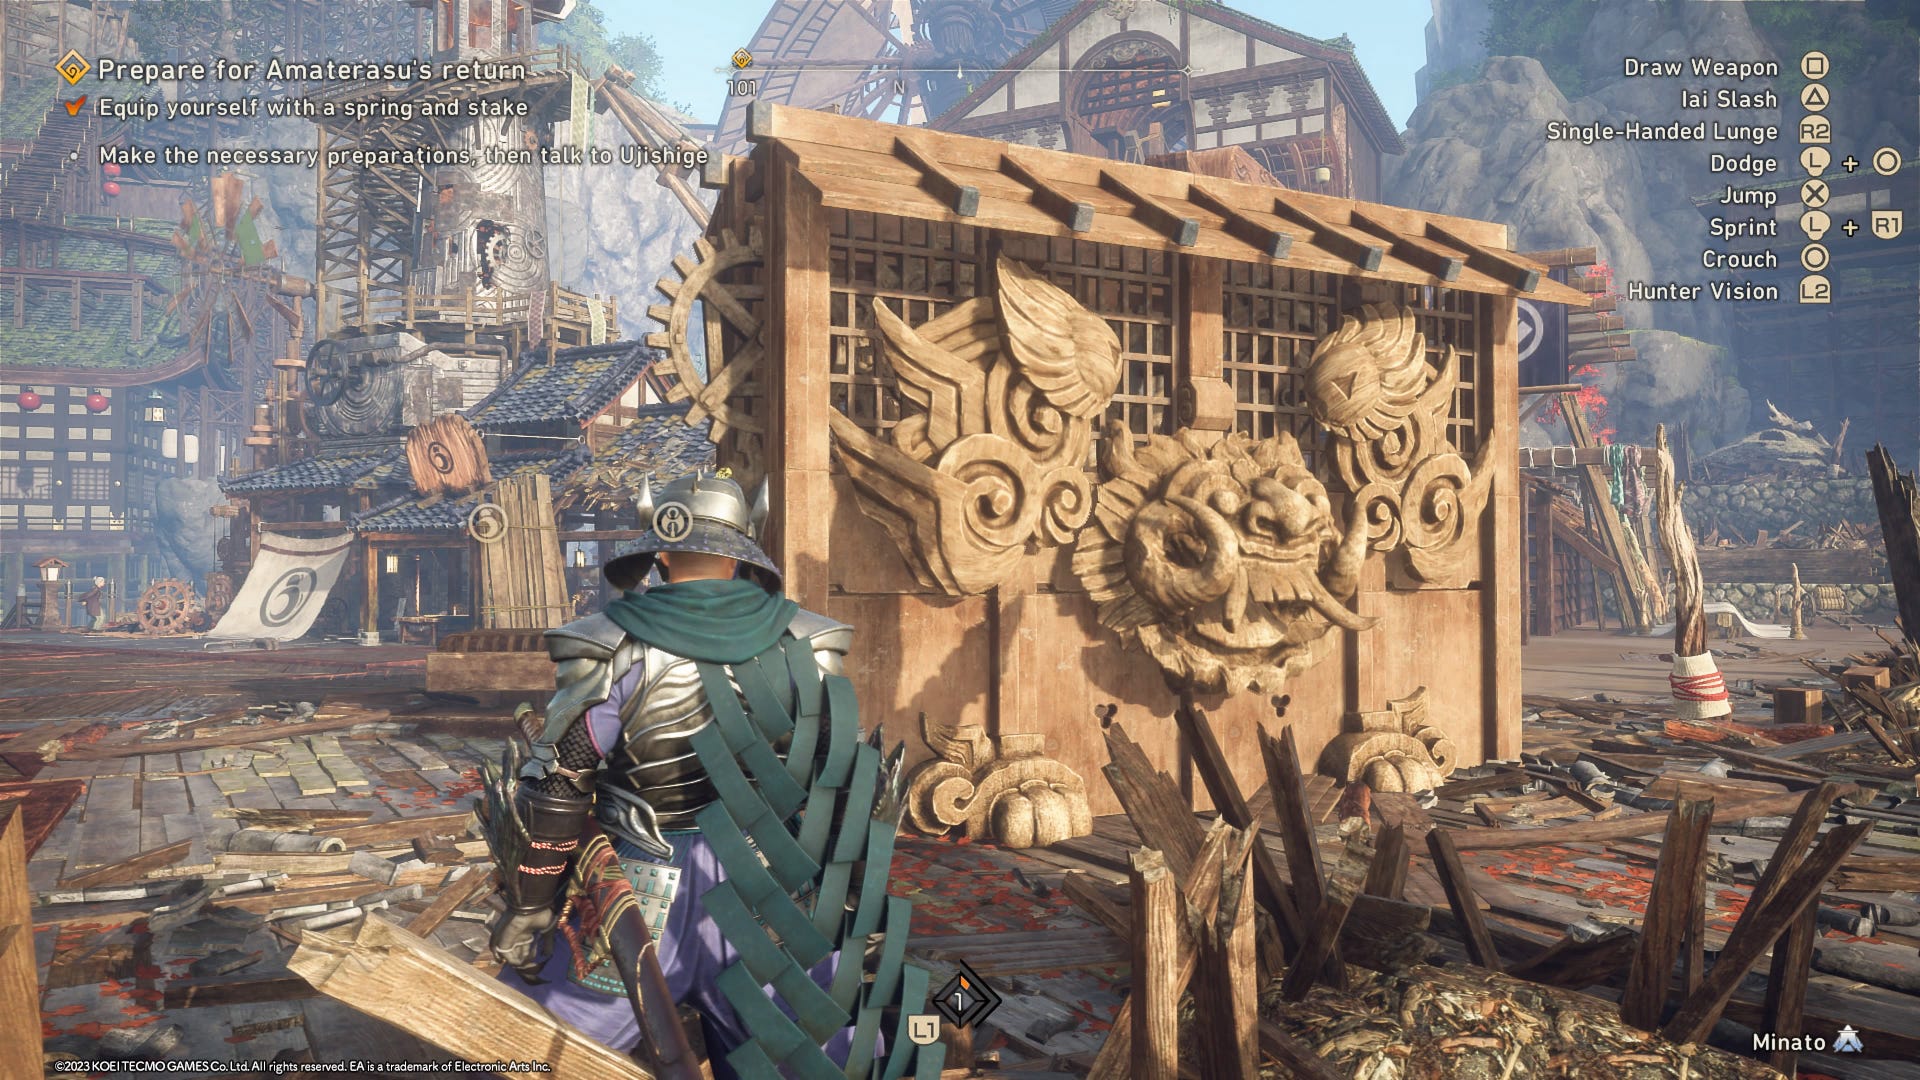
Basic Karakuri - such as the crate, spring, and glider - can be deployed any time on-the-fly using a quick combination of button presses.
Note that you can only have four of these equipped at once, though you can easily switch them out by visiting a nearby forge.
There are six types of Basic Karakuri in total - starting with the crate, you will unlock more by progressing through the story. Here is what they do:
Crate (costs 1 Thread): A box that can be stacked in towers of three to reach inaccessible areas. Hunters can leap from these to unleash a devastating aerial attack.
Spring (costs 2 Thread): A jump pad that can rapidly fling hunters horizontally. Great for evading wide area-of-effect Kemono attacks. Some weapons also have Spring-enhanced attacks.
Glider (costs 3 Thread): A handheld helicopter-like device that propels hunters into the air, then slowly descends. Ideal for navigating vertical structures.
Torch (costs 1 Thread): A brazier that will trigger a flaming attack when hunters walk within close proximity. The added fire element can be useful against certain types of Kemono. Flame attacks can also open areas of the map covered in vines.
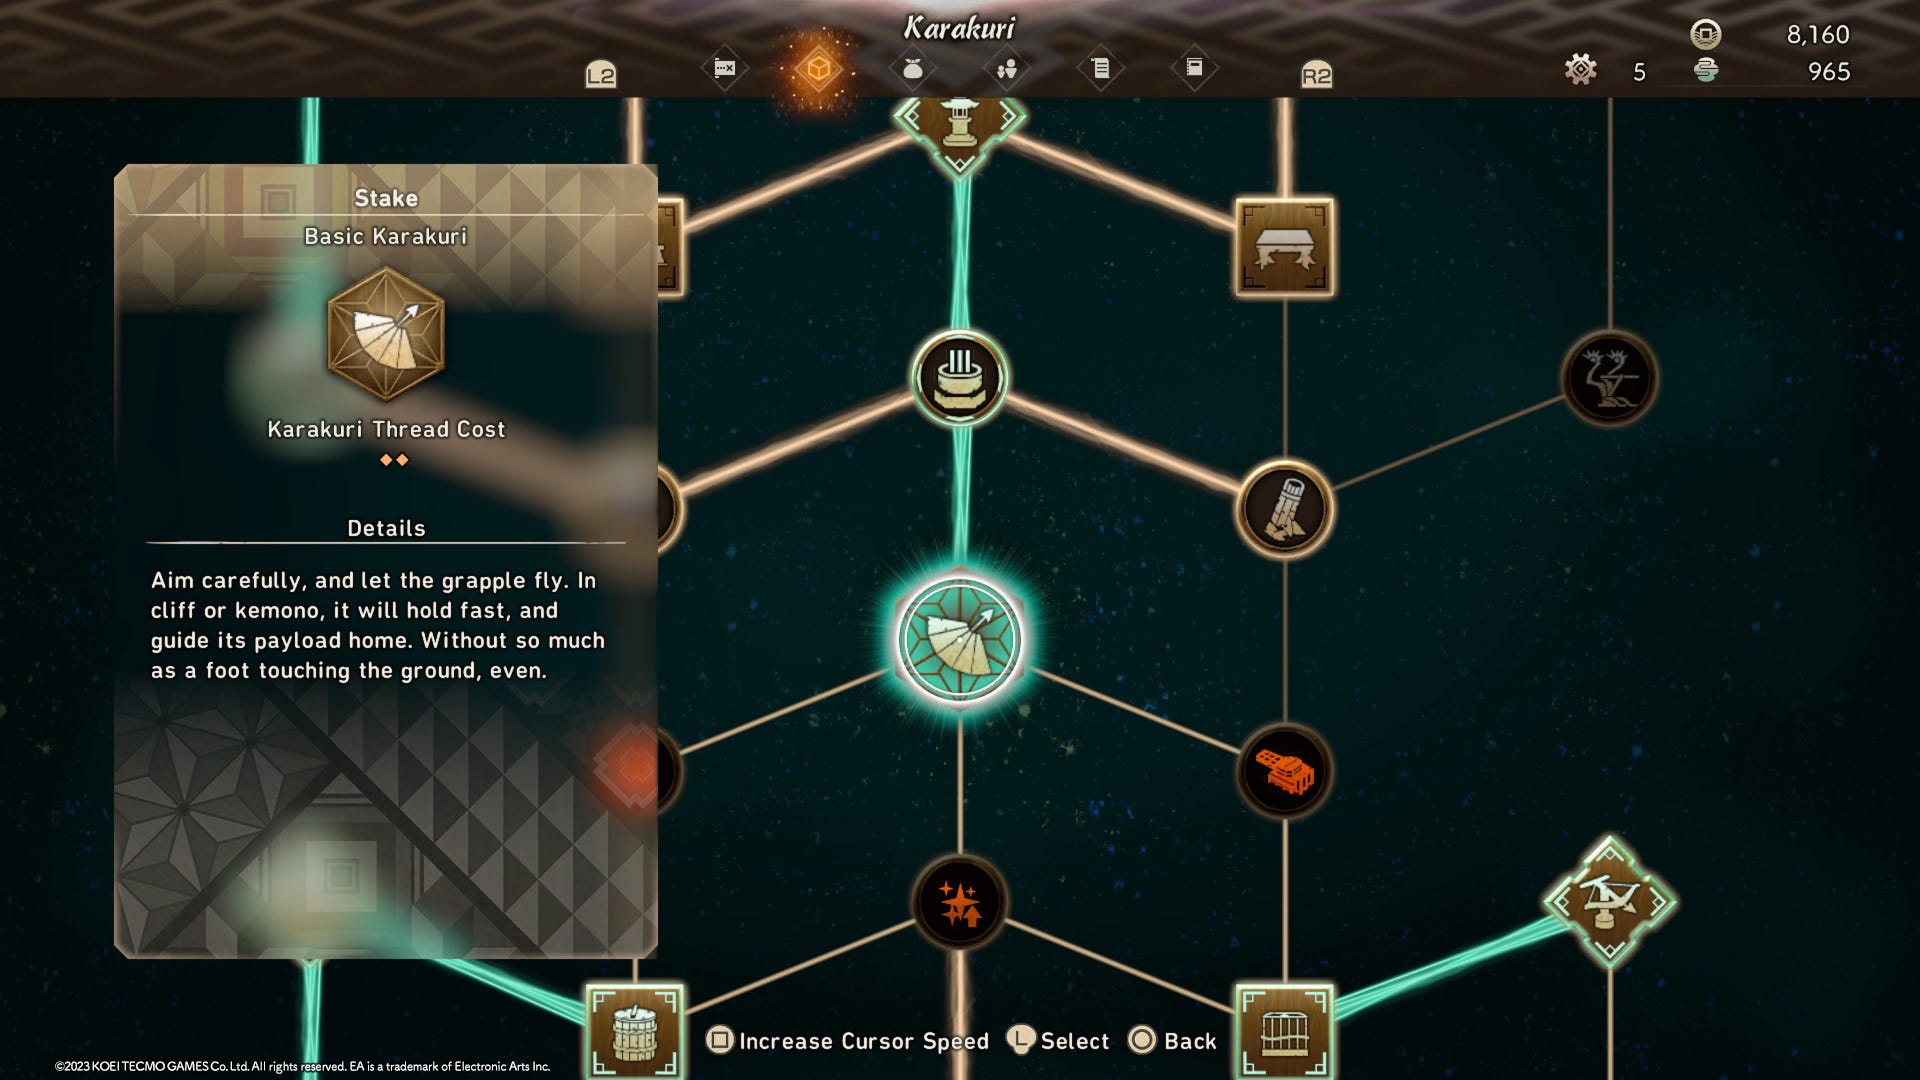
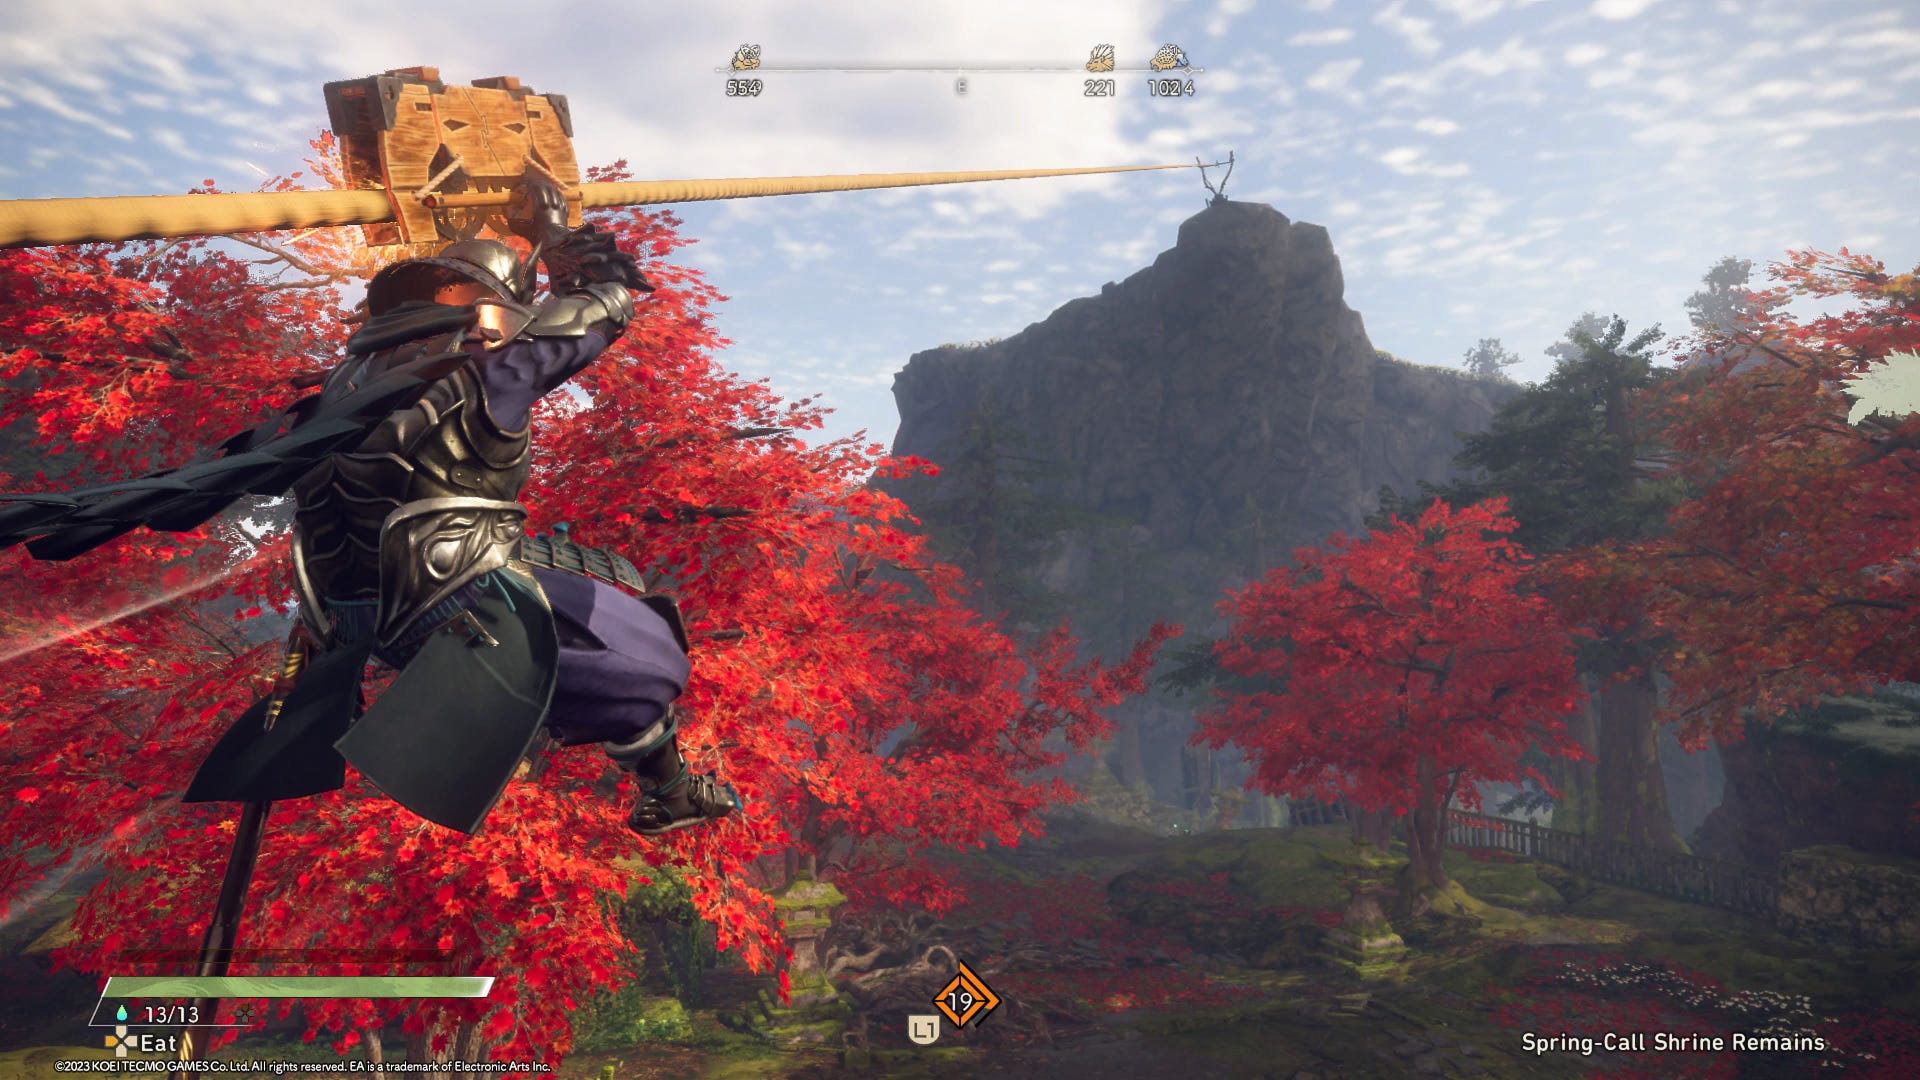
Stake (costs 2 Thread): A grapple hook attached to a small platform on which hunters can stand on, closing the distance with their target.
Celestial Anchor (costs 3 Thread): This device latches onto hunters, creating a tether that pulls them towards where the Anchor is placed. This allows for some flashy evasive manoeuvres that can even be performed in mid-air. Incredibly useful though it will take time to master.
It’s worth noting that you can’t spawn an endless arsenal of Basic Karakuri. Each time you summon one it will consume Thread, a resource that can be extracted from various nodes around each map, highlighted by your Hunter Vision.
In solo play, your Tsukumo will help by occasionally unearthing small Thread caches and as you progress through the game you will also increase your max Thread capacity. Basic Karakuri are also fragile and can easily be destroyed by Kemono attacks.
What are Fusion Karakuri in Wild Hearts?
Basic Karakuri can be useful on their own, but take on a new dimension once you discover how to fuse them together. For example, summoning six crates in a formation will create a Bulwark that can counter a charging Kemono, stunning them or even launching them onto their back.
The Fusion Karakuri available to you will depend on the four Basic Karakuri you have equipped at one time. Although you can get a preview of what each Fusion does by scouring the dense Karakuri upgrade menu, each one requires an 'awakening' before you can actually use them in battle.
These awakenings may seem random though only occur in certain scenarios - for example, when facing an oncoming Kingtusk charge. If you successfully pull off the combination of button prompts that appears on-screen, you will unlock that Fusion to use whenever you please.
While some Fusions are fairly simple, requiring a few button presses, or several presses of the same button, others can be hard to memorise. Thankfully, a list of button combos will appear in the top right corner of the screen whenever accessing the Karakuri menu.
Here’s an overview of Fusion Karakuri available in Wild Hearts:
- Bulwark: A sturdy wall that can counter Kemono charges
- Firework: Triggers an explosion that can stagger kemono
- Healing Mist: Slowly restores health to nearby hunters
- Pounder: A giant hammer attack that can stagger Kemono
- Elemental Lantern: Negates Kemono elemental attacks
- Shield Wall: A stronger, yet smaller Bulwark
- Repeater Crossbow: Automatically attacks nearby Kemono
- Star Bomb: Explodes after a few seconds, dealing heavy damage
- Chain Trap: Ensnares Kemono and holds them in place for a short time
- Healing Vaporizer: Heals nearby hunters and cures status ailments
- Pile Driver: Unleashes a devastating attack when grabbing onto a Kemono
- Harpoon: Fire giant bolts for heavy damage
- Celestial Shield: An even stronger version of the Bulwark
- Celestial Canon: More powerful version of the Repeating Crossbow

What are Dragon Karakuri in Wild Hearts?
Last but not least, we have the Dragon Karakuri. They come in all shapes and sizes, from ornamental signs and lanterns to various work stations, and the zipline-esque Flying Vine launcher.
Once you unlock a Dragon Karakuri, you can place it just about anywhere in Azuma as long as it's safe and not obstructed by an NPC or existing structures. Unlike Basic Karakuri, there is no Thread cost to worry about, though there are still limits on how many you can place in one particular region.
When exploring each map you will notice strange pools of energy surrounded by a swirl of red tendrils. By collecting crystals and interacting with these Dragon Pits, you can raise the limit on the number of Dragon Karakuri you can summon in your current region. While it’s easy to get carried away bouncing between Kemono hunts, we’d recommend taking the time to explore and unlock and upgrade these Dragon Pits.
Each Dragon Karakuri has its own function, with some being purely decorative. You’ll immediately have access to the essentials such as the Hunter’s Tent which creates a fast travel point and the Campfire used to play online and enhance your Tsukumo.
Here’s a list of the different types of Dragon Karakuri and what they do:
- Campfire: Access online multiplayer and enhance Tsukumo
- Hunter’s Tent: Change the time of day and restore health
- Field Forge: Craft weapons and armour, change your equipment
- Drying Rack: Improve the quality of food items
- Hunting Tower: Highlight nearby Kemono, can be upgraded to find hidden Tsukumo and other collectibles
- Flying Vine: Create a zipline between two points
- Sign: Decorative
- Ornamental Lantern: Decorative
- Paddle Scoop: Collect fish over time
- Ingredients Chest: Used to store food items
- Training Bear: Practice weapon techniques and tutorials
- Wind Vortex: Lifts hunters into the air, great for accessing hard-to-reach spots
- Launcher: Catapults hunters and Basic Karakuri
- Pickling Jar: Improve the quality of food items
- Wind Chime: Decorative
- Tsukumo Ore Shrine: Collects minerals over time
- Small Desk: Decorative
- Bench: Decorative
- Wildlife Cage: Collects materials over time
- Fermenting Cask: Improves the quality of food items
- Enhanced Flying Vine: Create a zipline that can also damage Kemono
- Looking Glass: Change your hunter’s appearance (Minato only)
- Communal Ingredients Chest: Used to store food items
- Roller: Spawns a wheel-like vehicle, allowing rapid transport
- Celestial Tsukumo Camp: Recharge your hunter’s Thread
- Sunshade: Decorative
- Smoker: Improves the quality of food items
- Hunter’s Bath: Decorative
- Tsukumo Food Shrine: Collects food over time
- Wildlife Pen: Collects small creature parts over time
- Vermillion Fermenting Cask: Improves the quality of food items
- Vermillion Picking Jar: Improves the quality of food items
- Vermillion Wind Chime: Decorative
- Tanuki Statue: Decorative
- Ornamental Gateway: Decorative

How to unlock more Dragon Karakuri in Wild Hearts
The Karakuri menu in Wild Hearts offers a branching path of upgrades you can unlock by spending Kemono Orbs. The further down this upgrade tree you progress, the more advanced and expensive they become, with options to also enhance your existing Karakuri.
If you are blitzing through the main story missions, you probably won’t have enough Kemono Orbs to unlock some of the more desirable upgrades. For example, once you reach chapter 3, the Tsukumo Ore Shrine and Wildlife are essential as they passively generate hard-to-find materials needed to craft better weapons and armour.
As a result, you will need to grind for Kemono Orbs by completing hunts and breaking Kemono body parts. The fastest way to do this is to use the campfire or Hunter’s Gates to find multiplayer sessions, hunting tougher Kemono for bigger Orb payouts.

The Karakuri system comes with a small learning curve though makes for an enjoyable addition to the monster-hunting genre. It will be interesting to see what kinds of combinations the Wild Hearts player community come up with.