The Last of Us Part 2 - The Escape: All items and how to explore all areas explained
How to complete The Escape chapter and find everything along the way.

The Escape follows on from The Last of Us Part 2's The Island chapter.
This chapter sees Abby, Yara and Lev escape the Seraphite island.
There are multiple missable items here, which can be easy to pass up as you make your way off the island.
On this page:

Looking for help in other areas of the game? See our The Last of Us 2 walkthrough and collectibles hub.
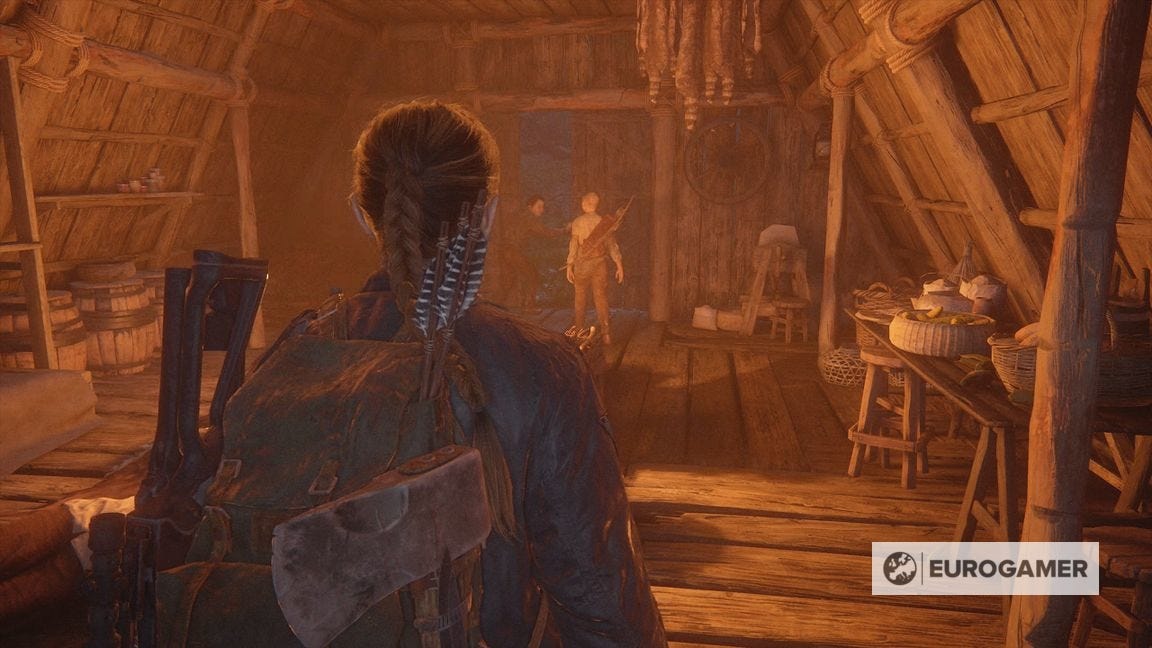
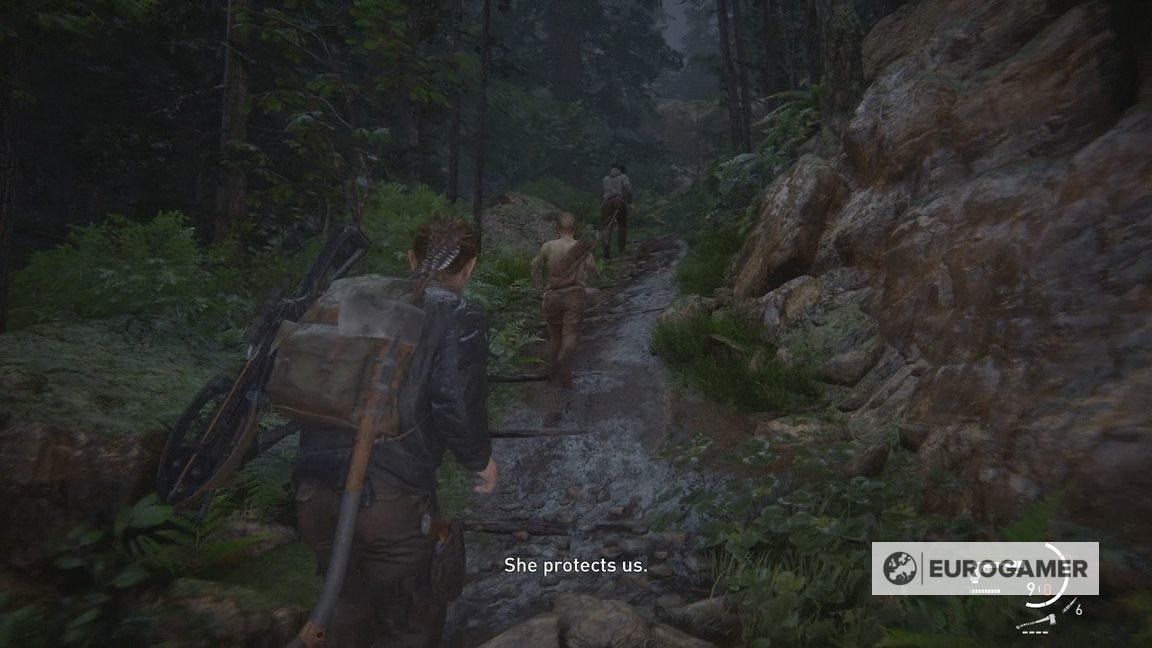
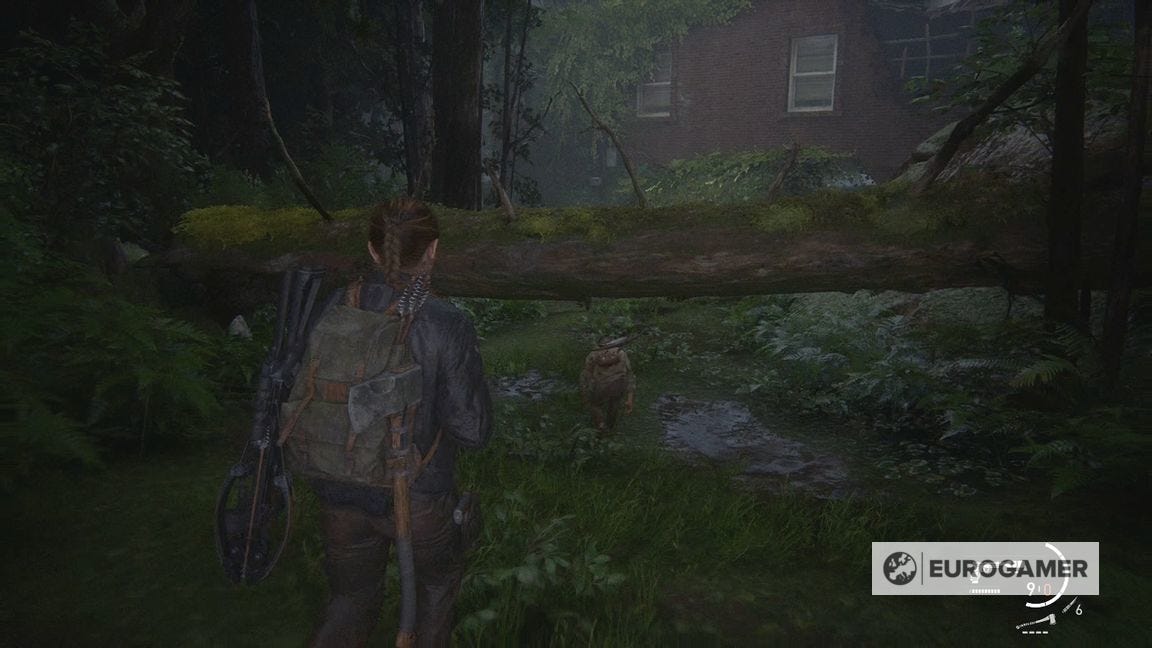
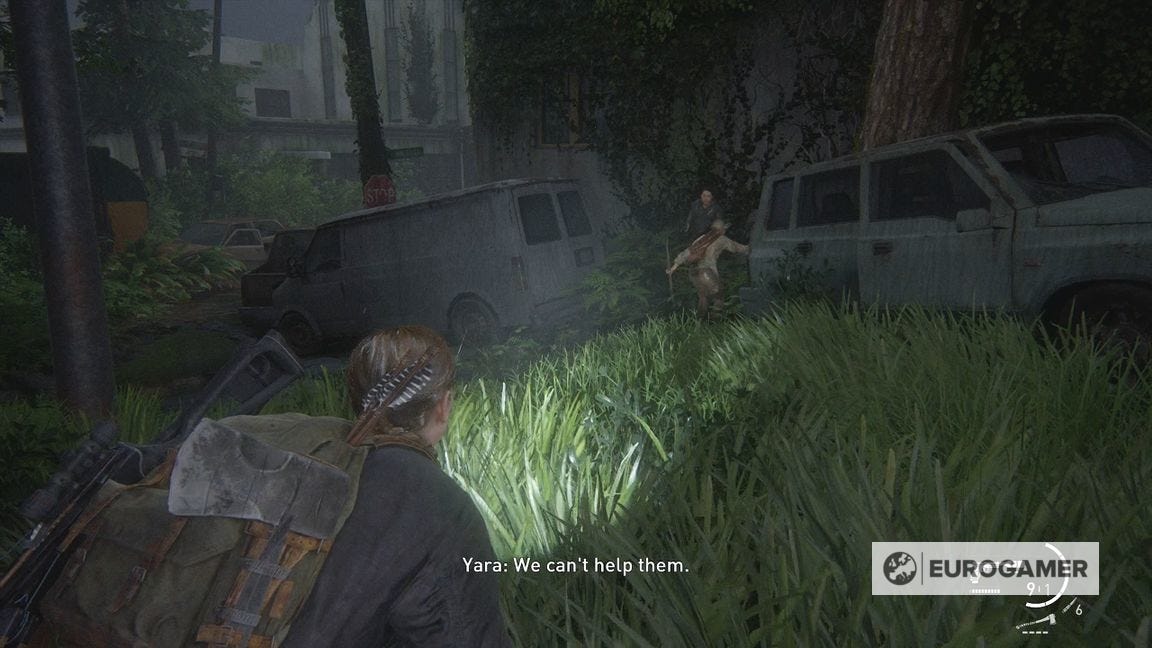
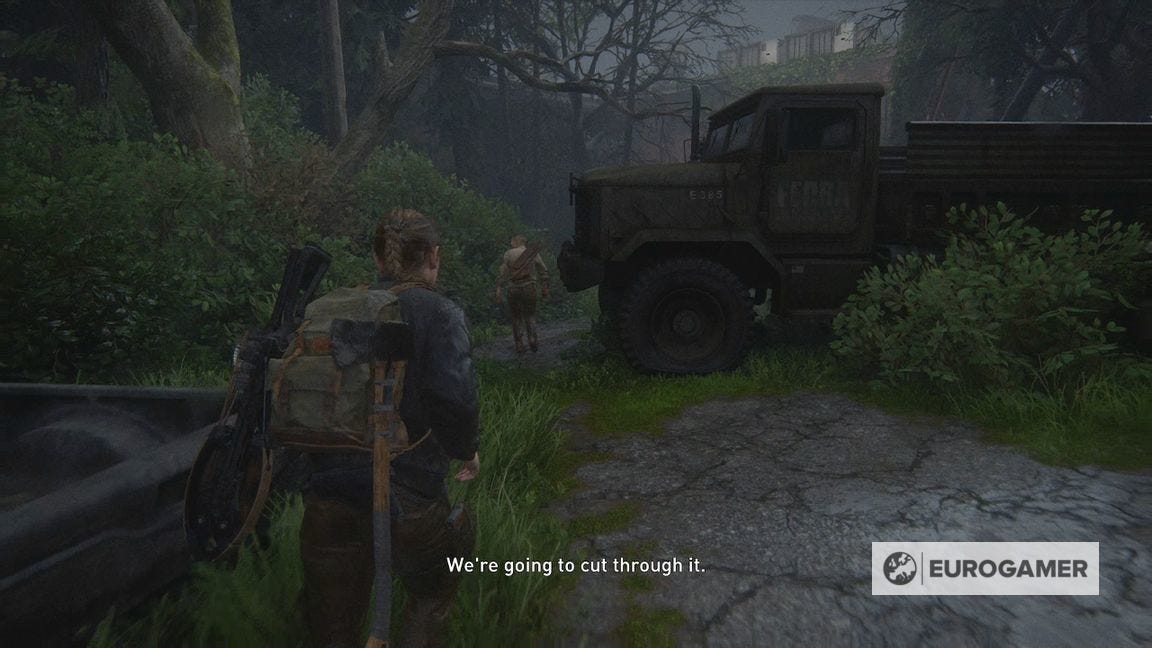
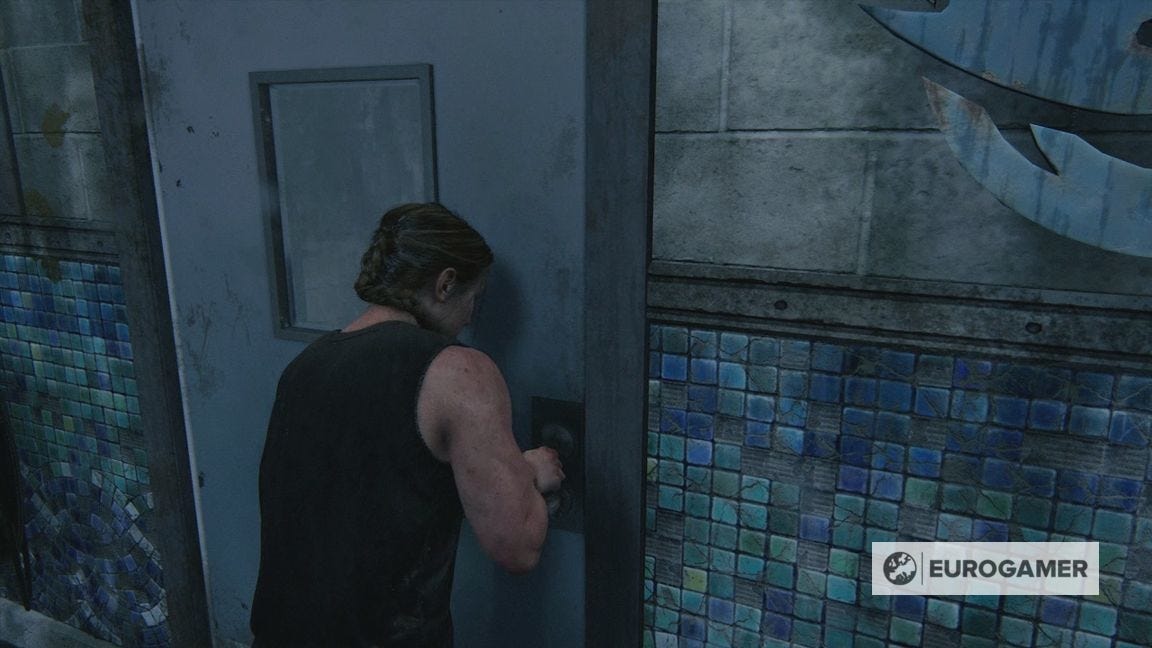
The start of The Escape
Follow Yara and Lev out of the house and along the trail.
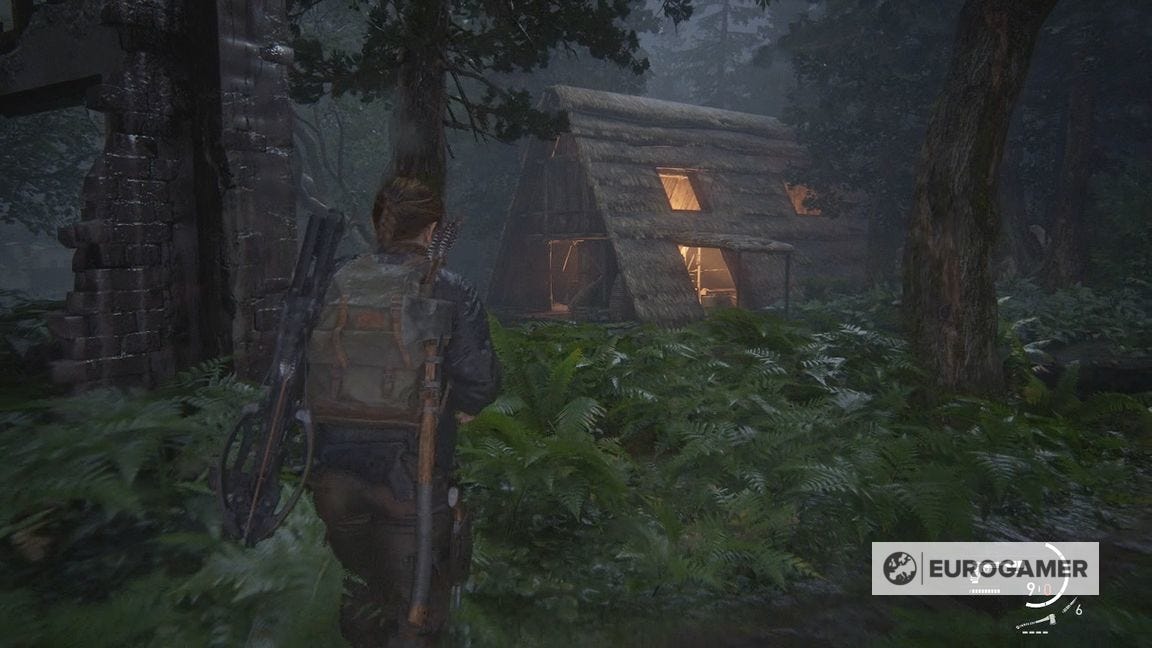
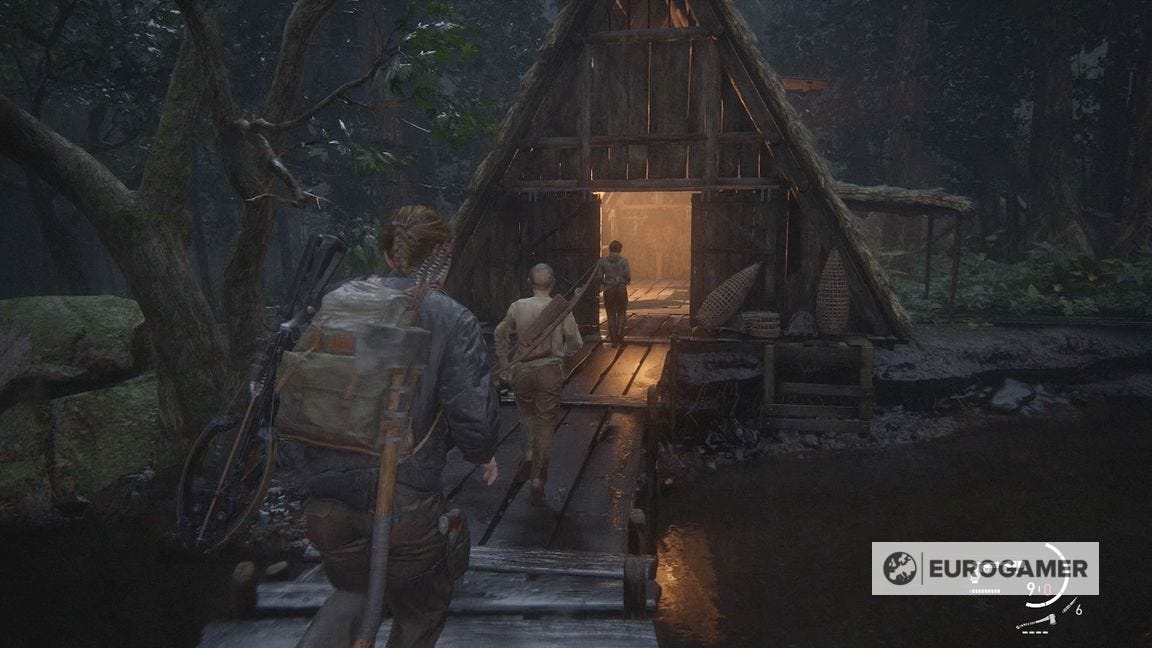
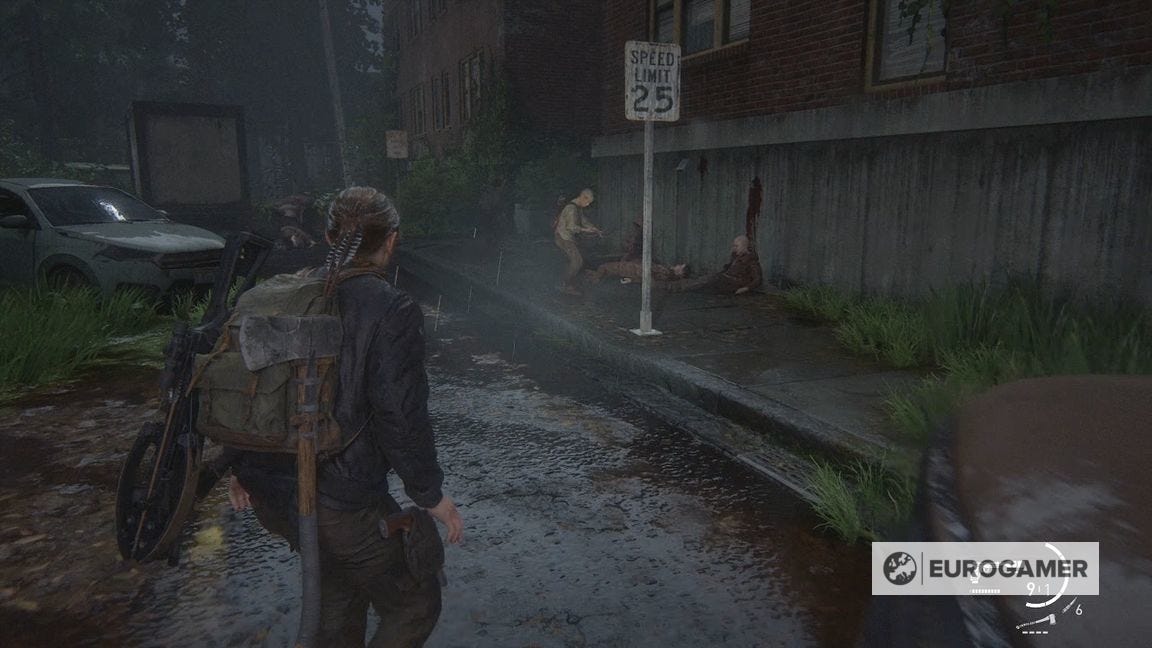
Soon you'll cross a bridge in front of a building, before they take a left. You can go inside and get some supplies.
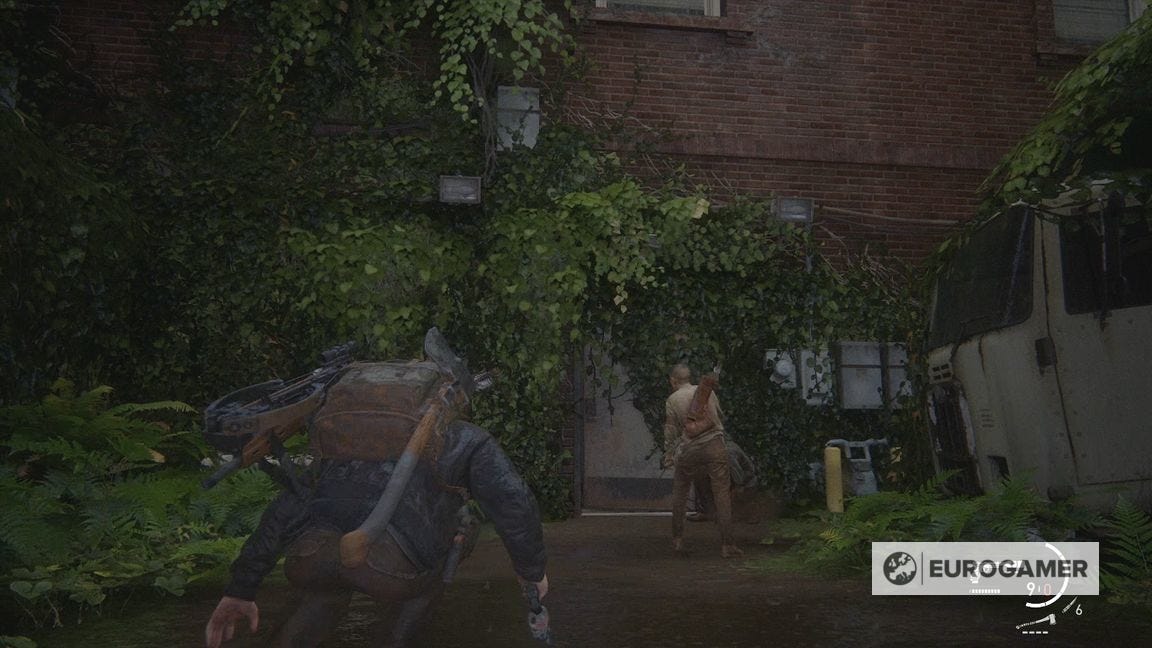
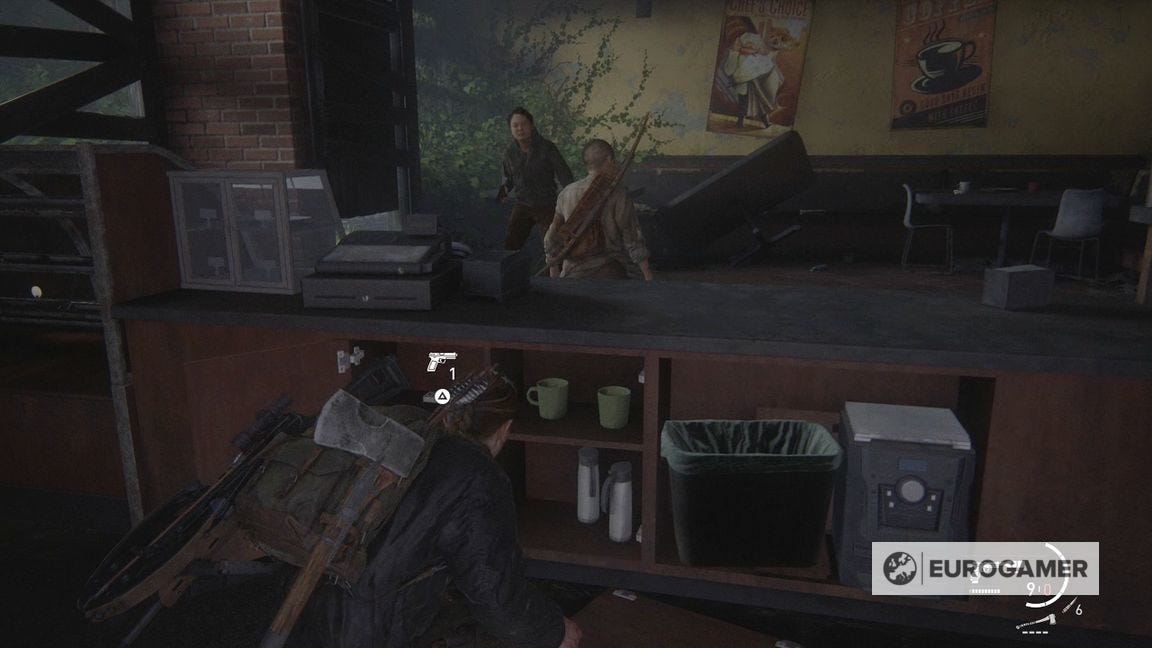
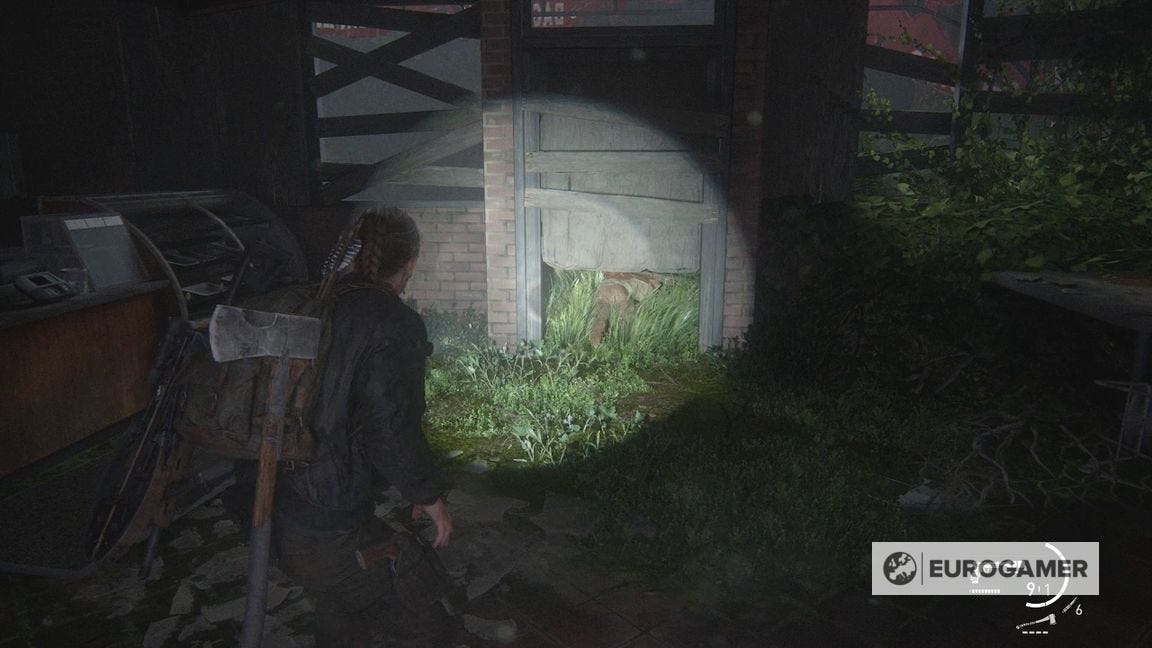
Catch up and you'll come to a brick building. This is a cafe - get supplies inside then crawl under the door to exit.
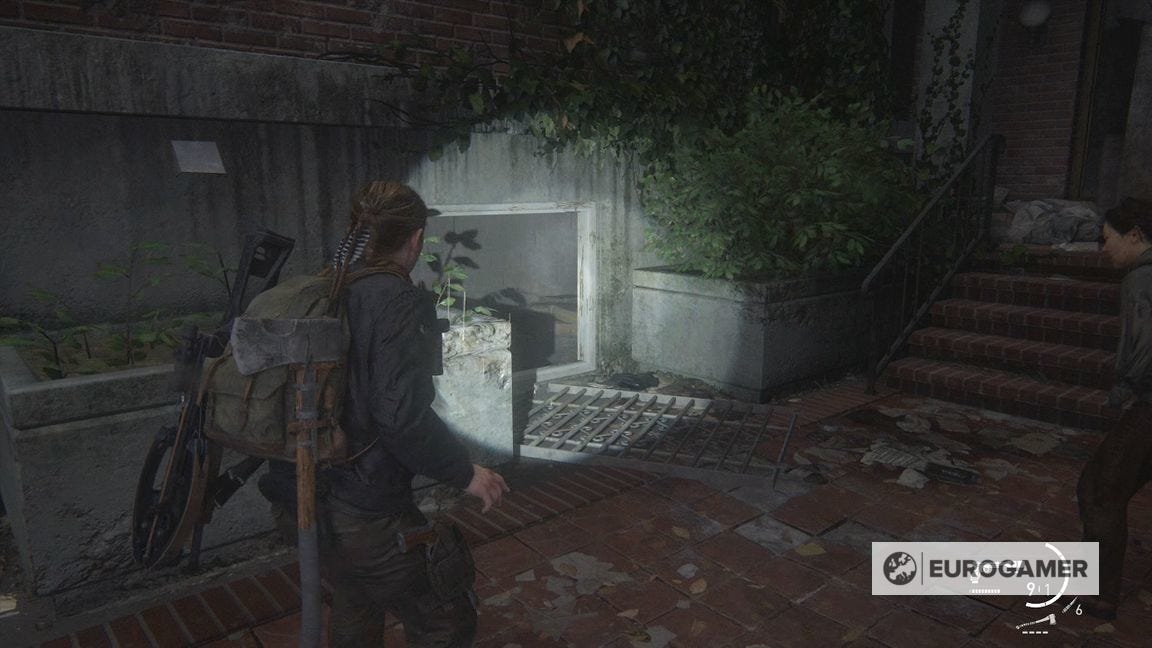
Follow them along the street, until you turn right and drop into a flooded basement through a grate.
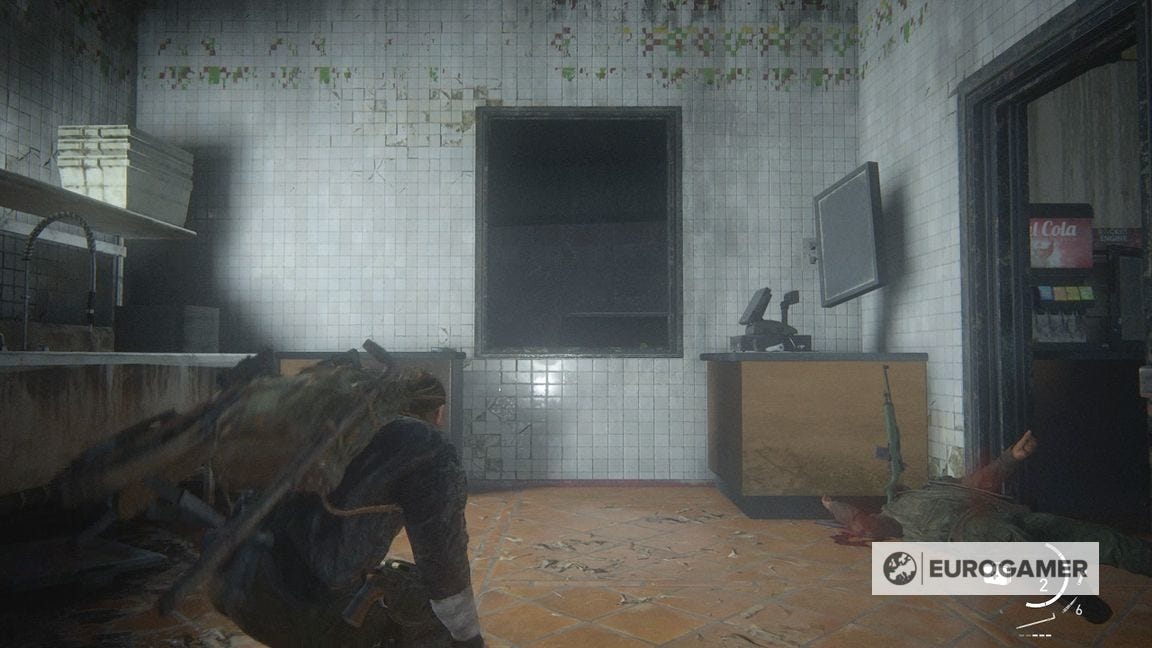
Emerge out the other side into a shop. Grab the supplies throughout the building, then follow out when ready.
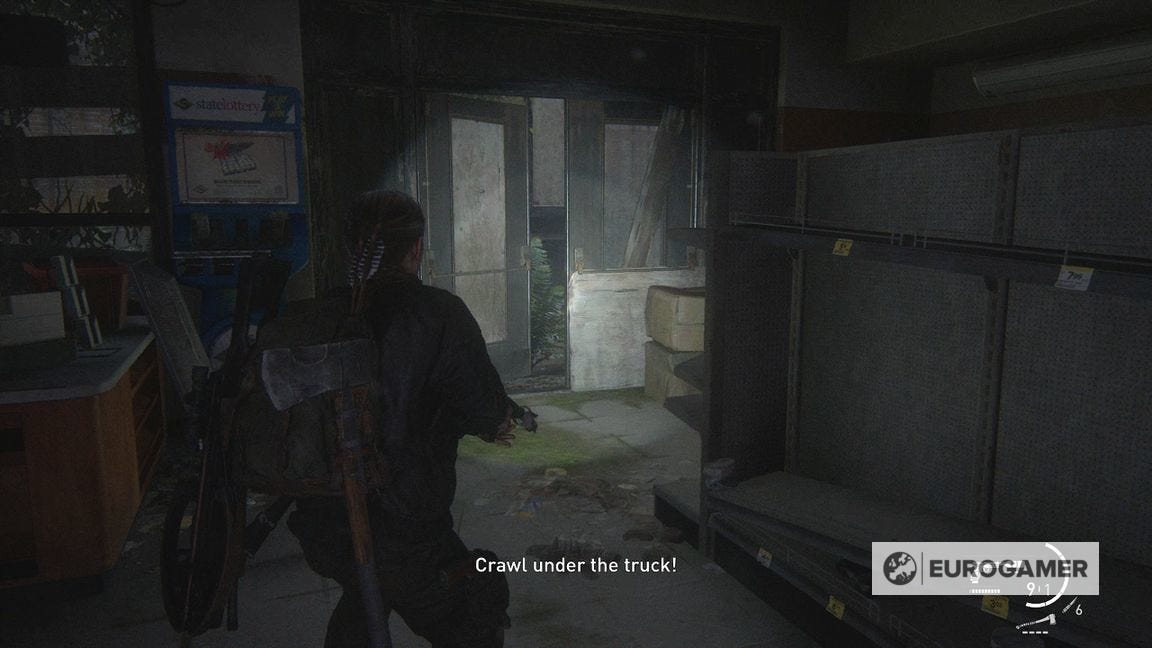
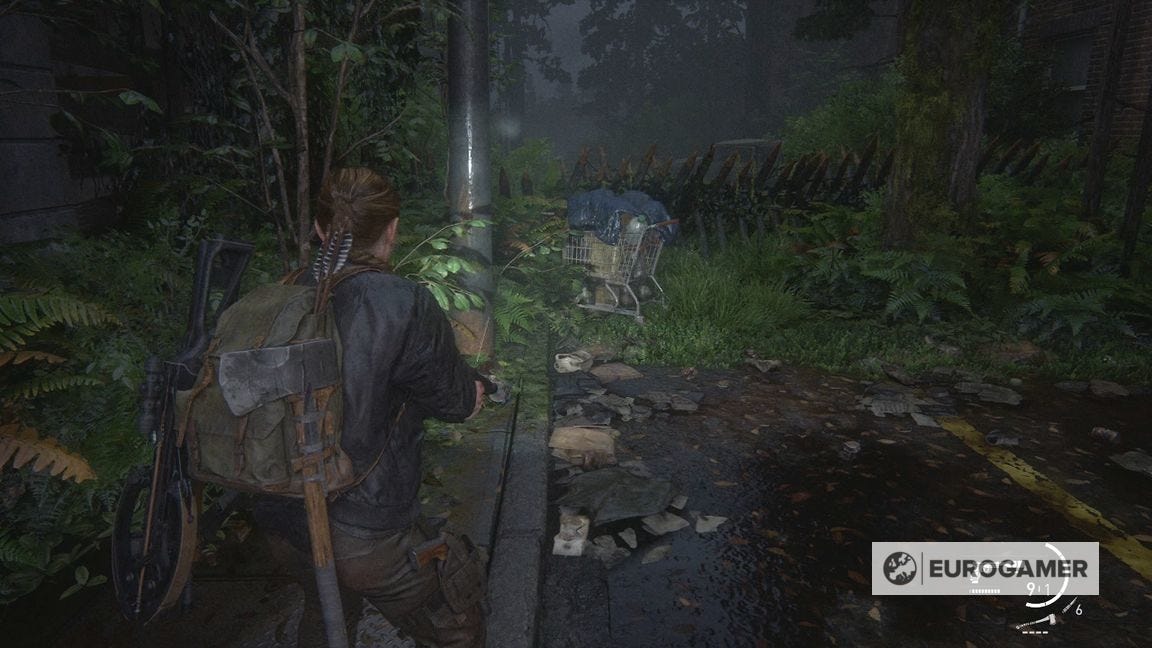
When you leave the building, the pair recommend crouching under the truck. Before you do, go left here and look behind the shopping trolley at the dead end for the Arkansas Coin.
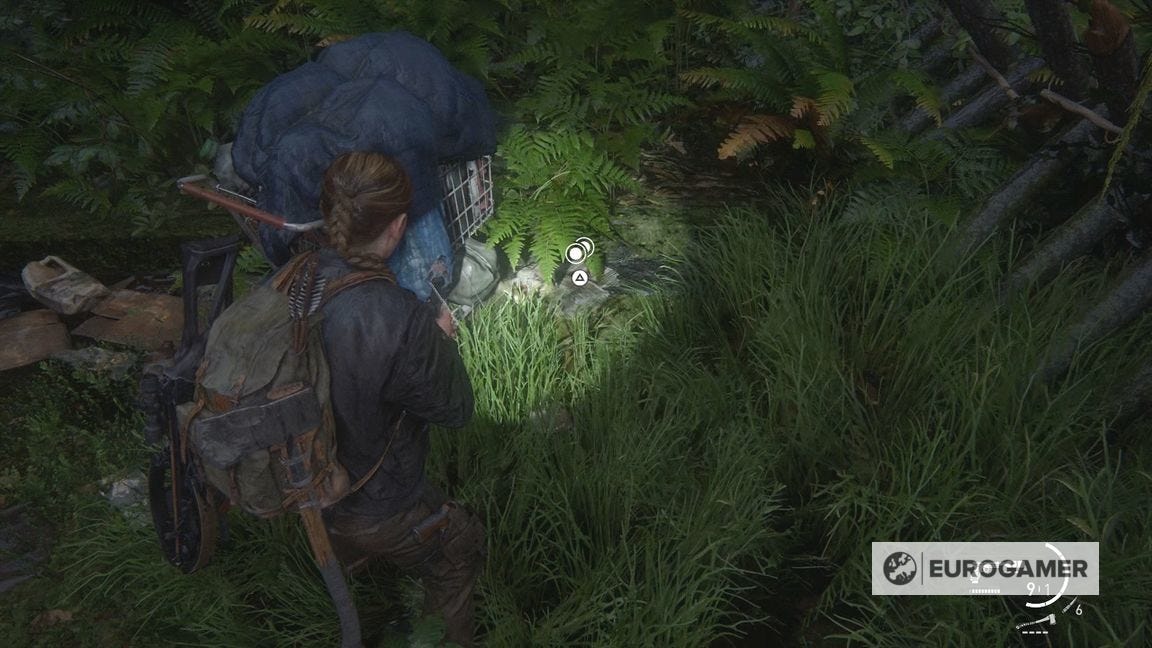
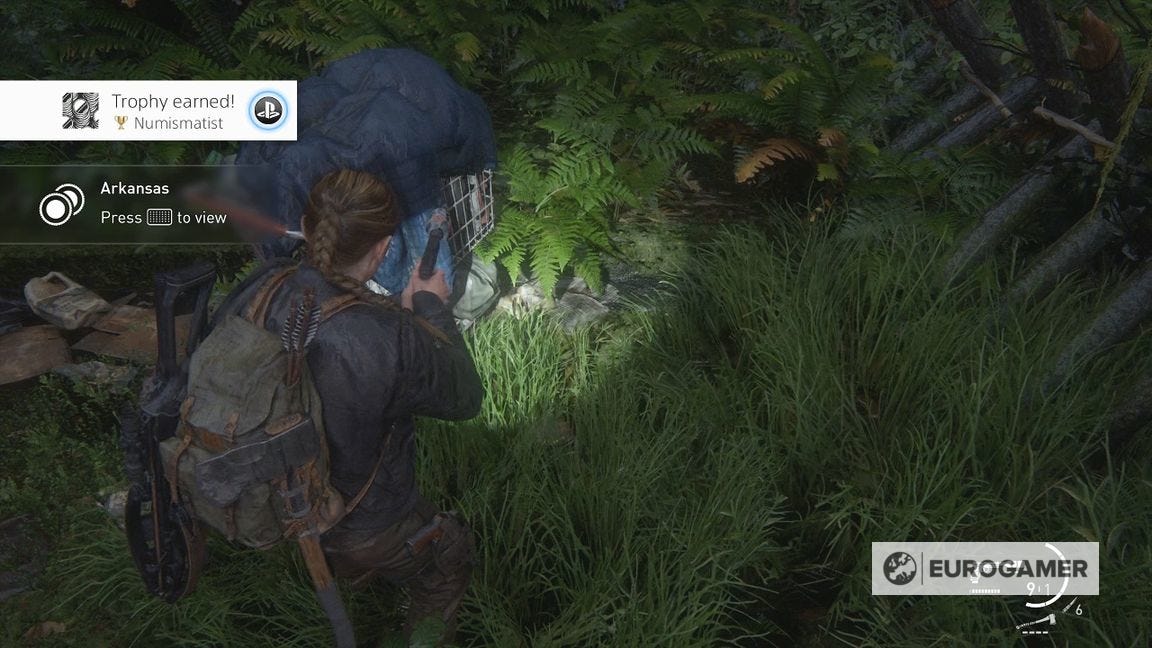
If you have collected all the Coins until this point, the Numismatist Trophy will be yours.
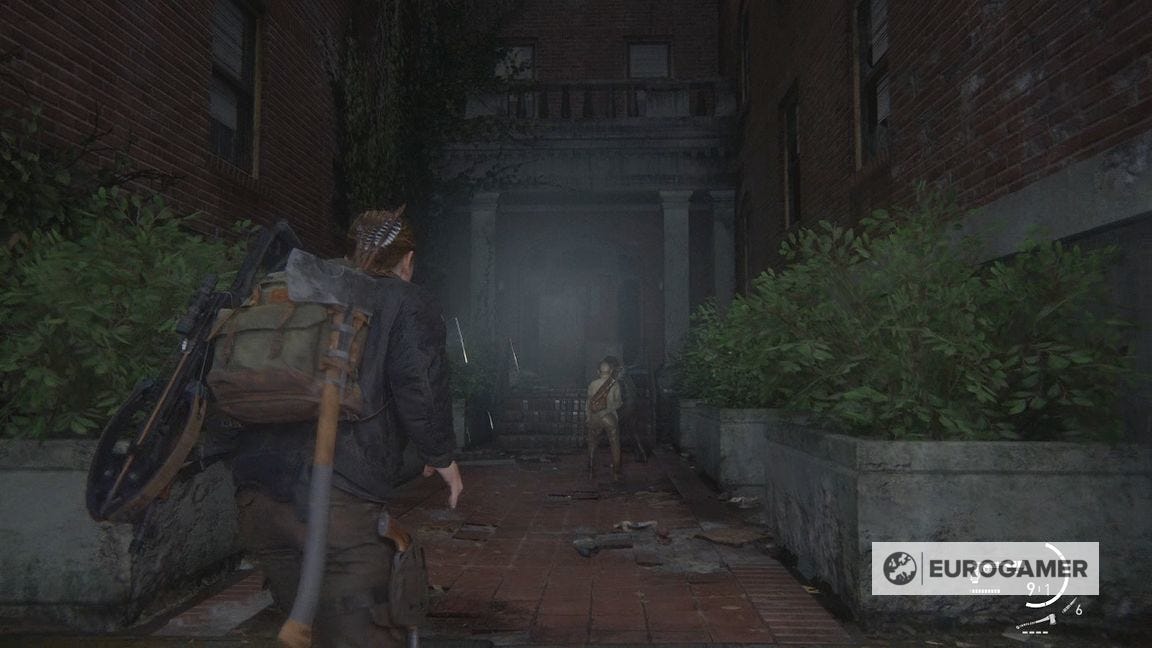
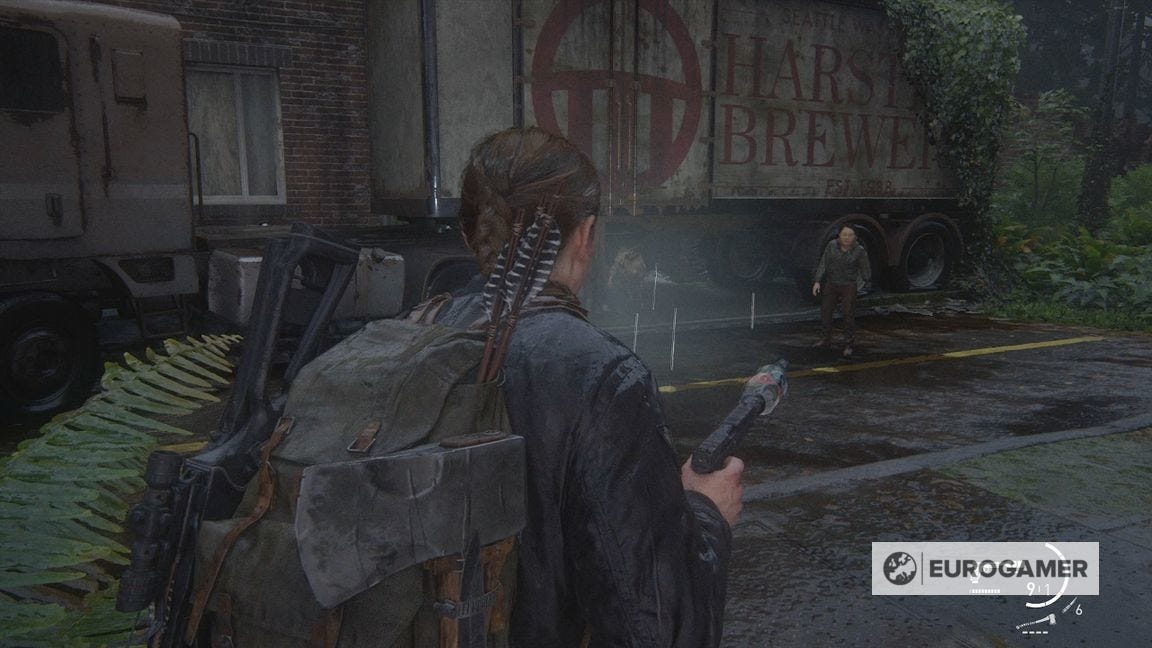
Go under the truck, down the alley, and press the prompt at the fence.

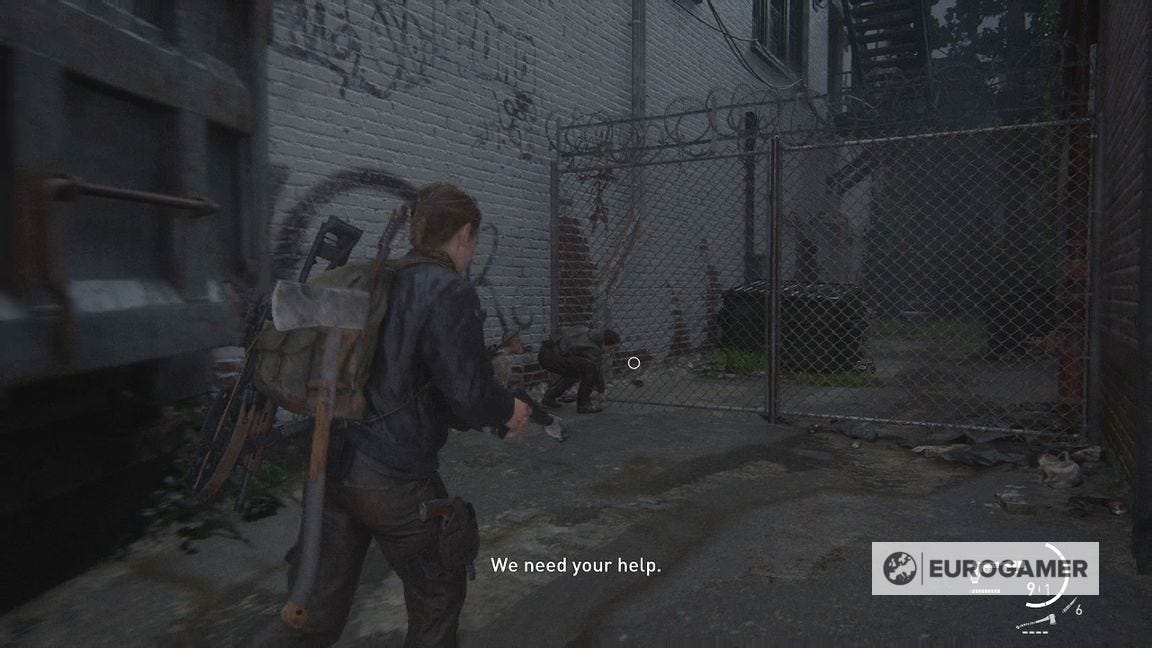
Follow the duo through the building, then out of the window, for a cutscene.
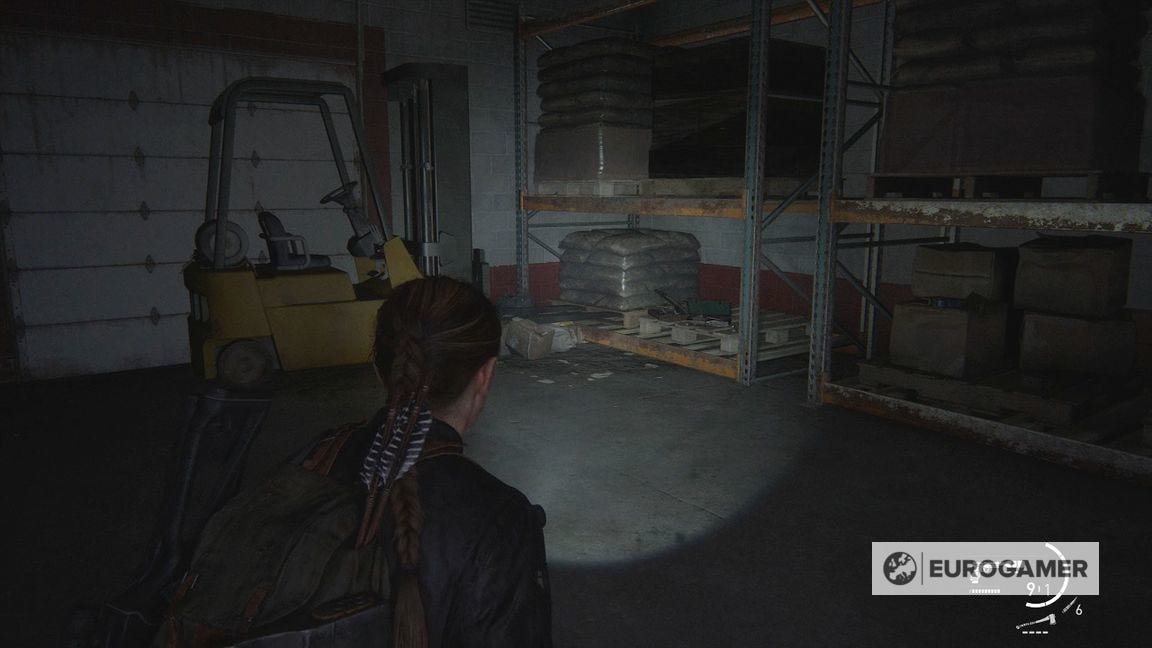
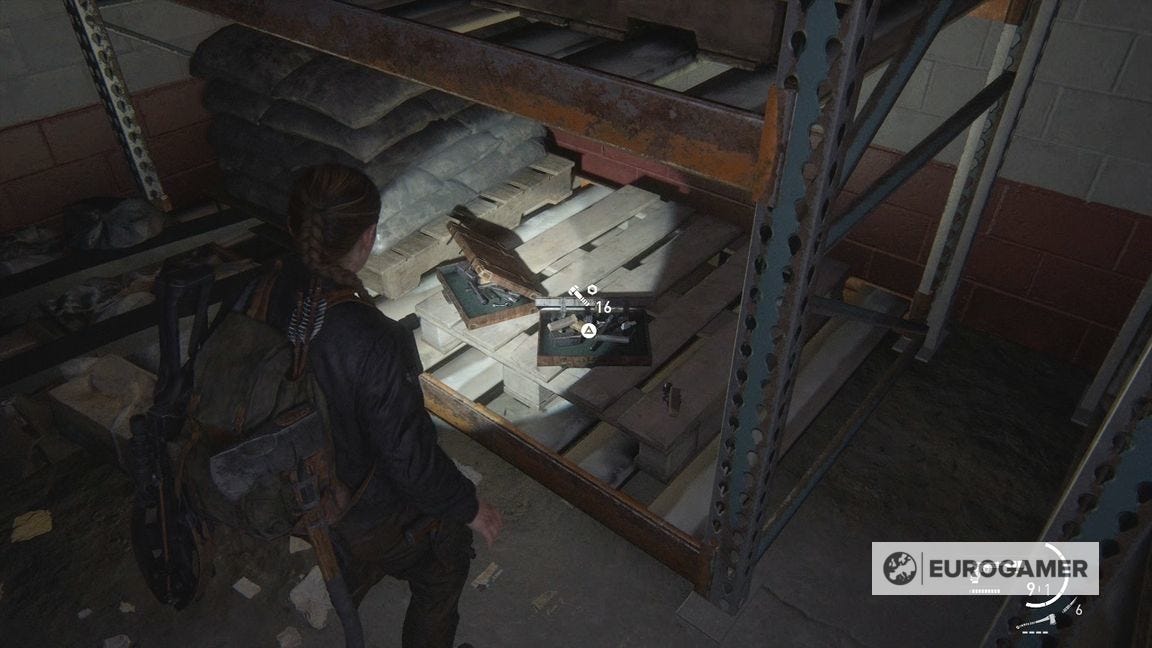
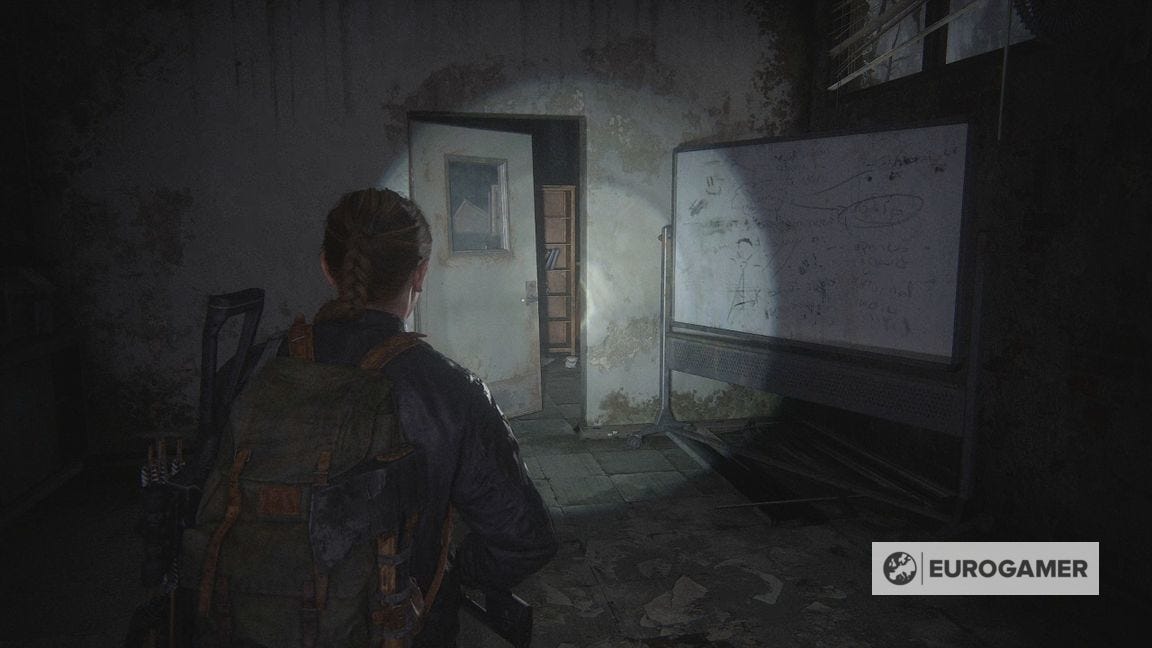
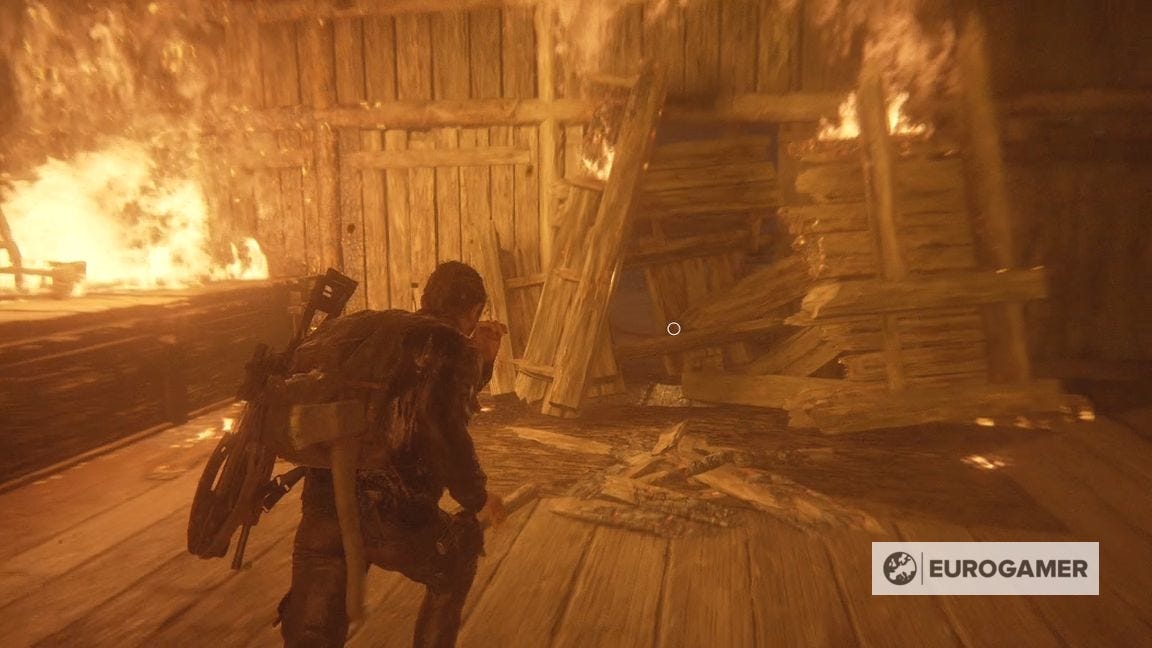
You'll now be in a small warehouse room. The shelves by the forklift has a lot of crafting materials - there are other supplies here worth grabbing.
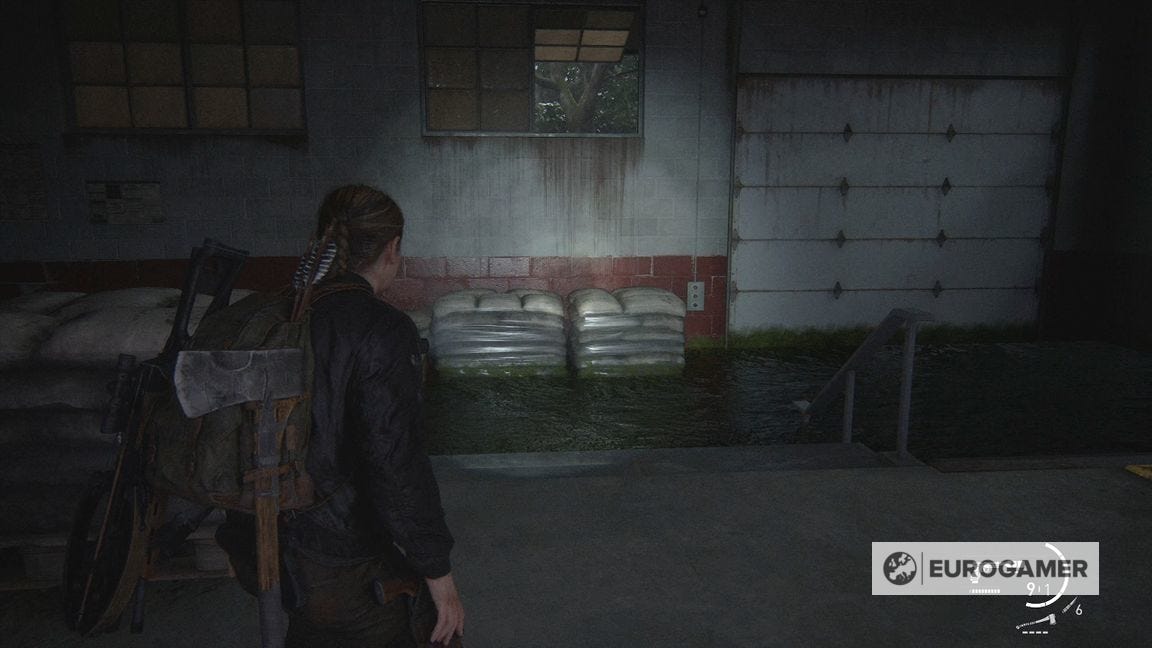
When ready, climb out of the window above the flooded area.
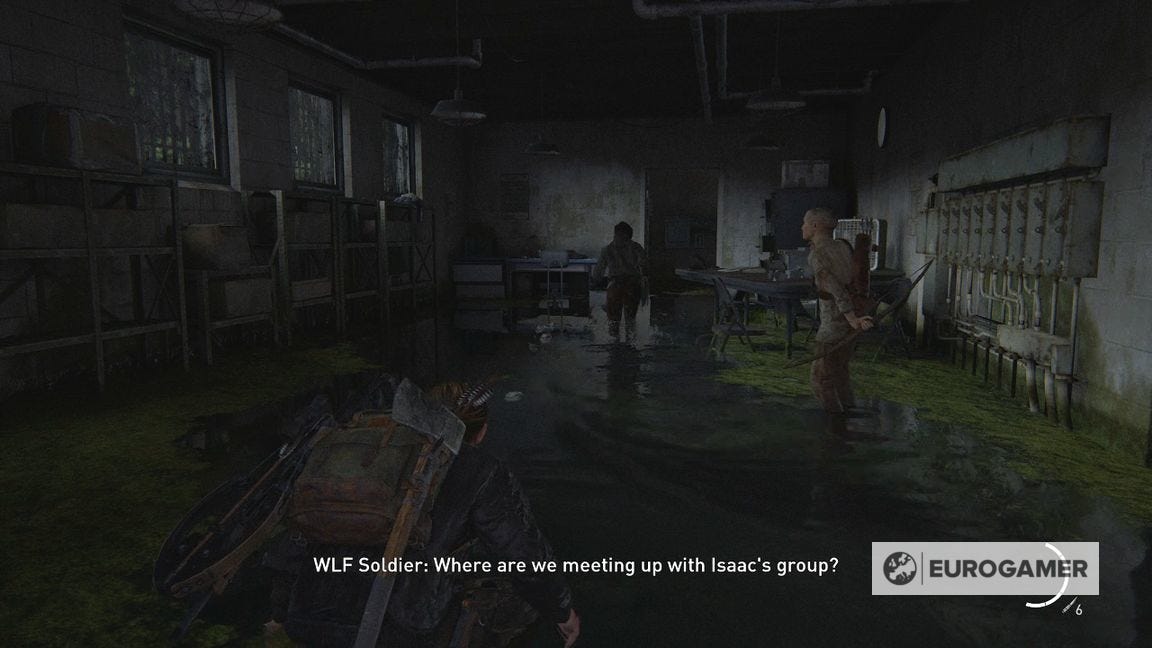
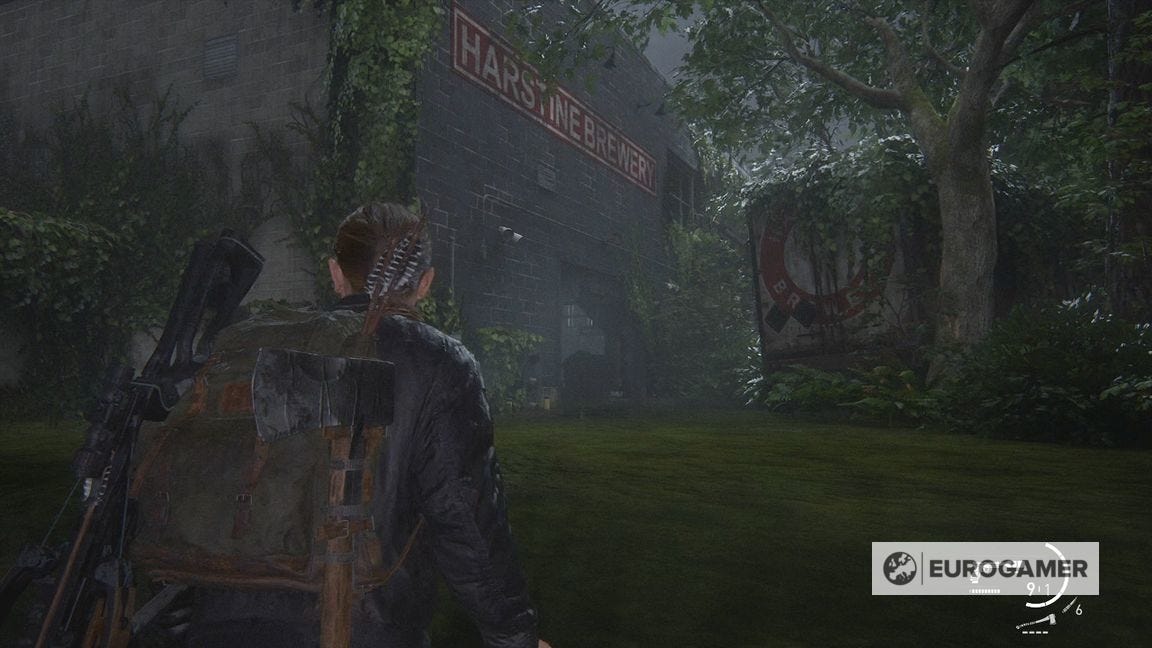
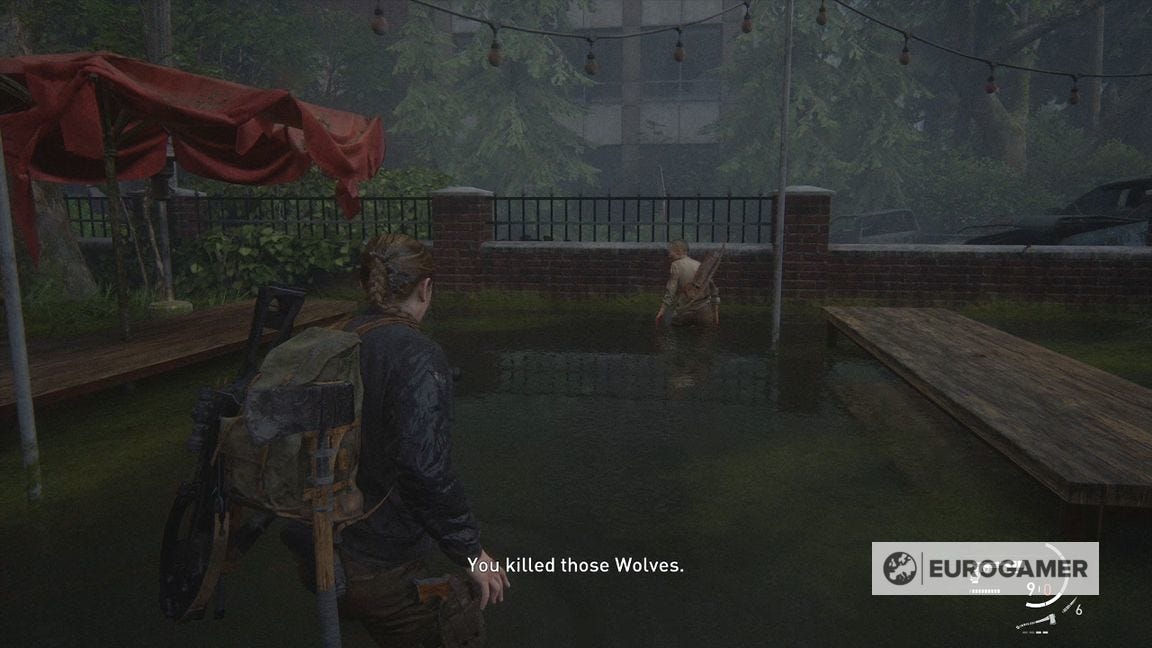
Exploring Harstine Brewery in The Escape
This flooded area in the Hastine Brewery is full of enemies.
Interestingly, if you go prone, you swim under water. This is a double edged sword - it's great for evading enemies, but is very difficult to see where to go. Also, you can only swim for so long before you run out of breath.
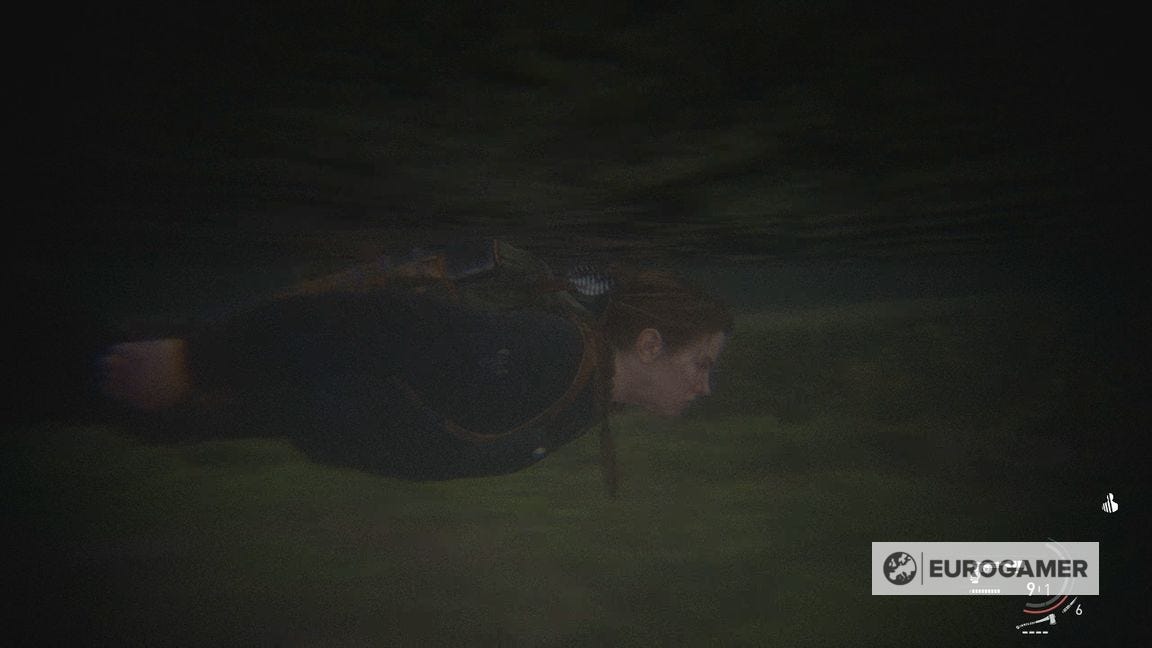
For the first two enemies, you can swim to the right into the corner to avoid detection.
From there, the general direction is into the brewery and to the very far side. There's a door here with an open window above it so you know where you're going.
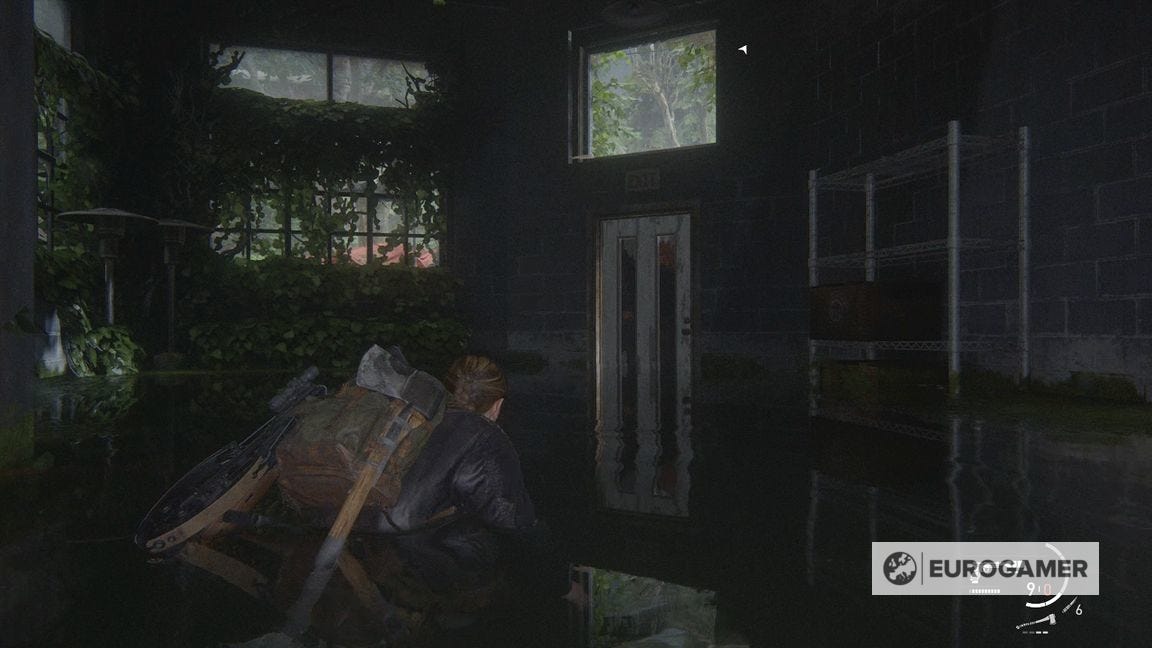
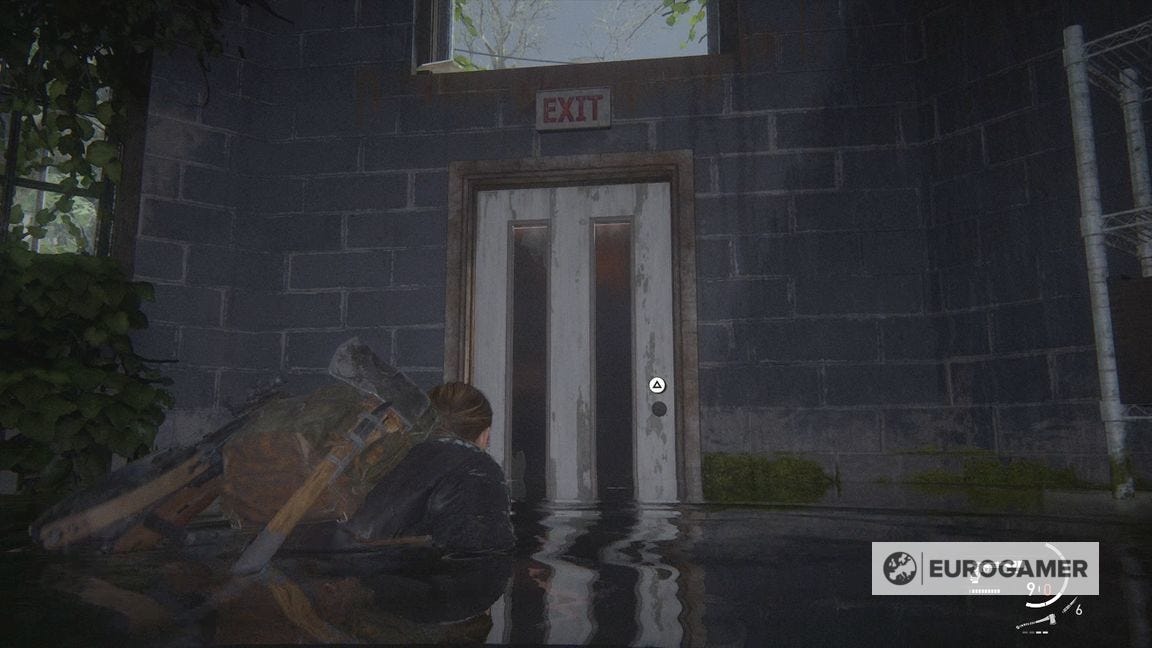
Go through the door to leave the brewery.
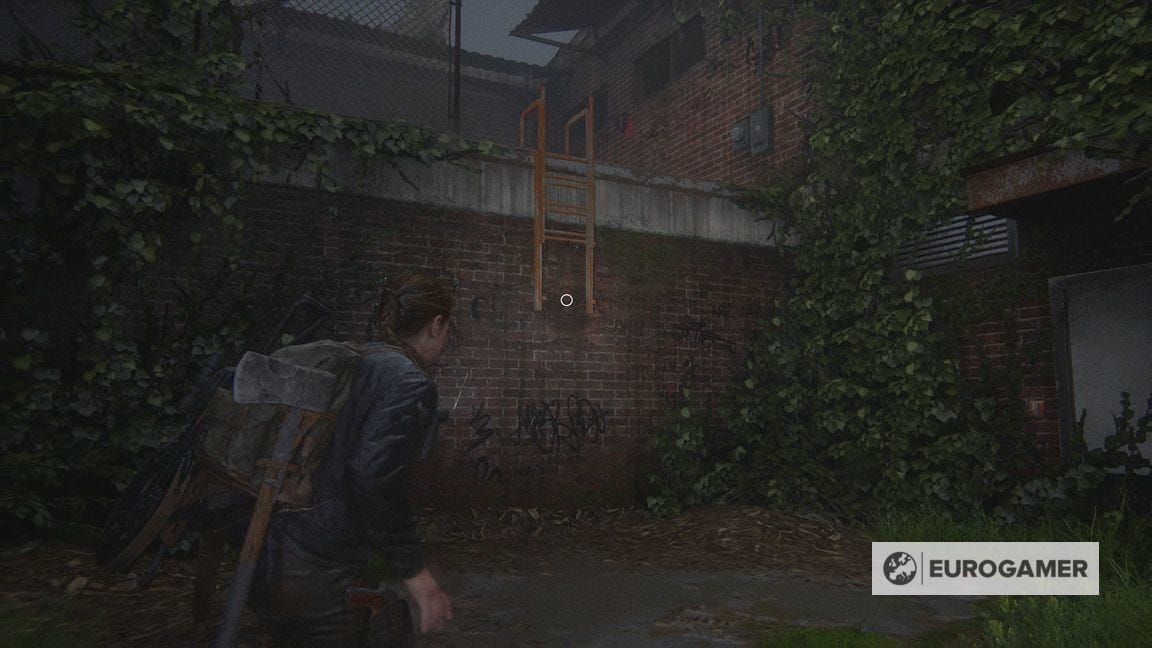
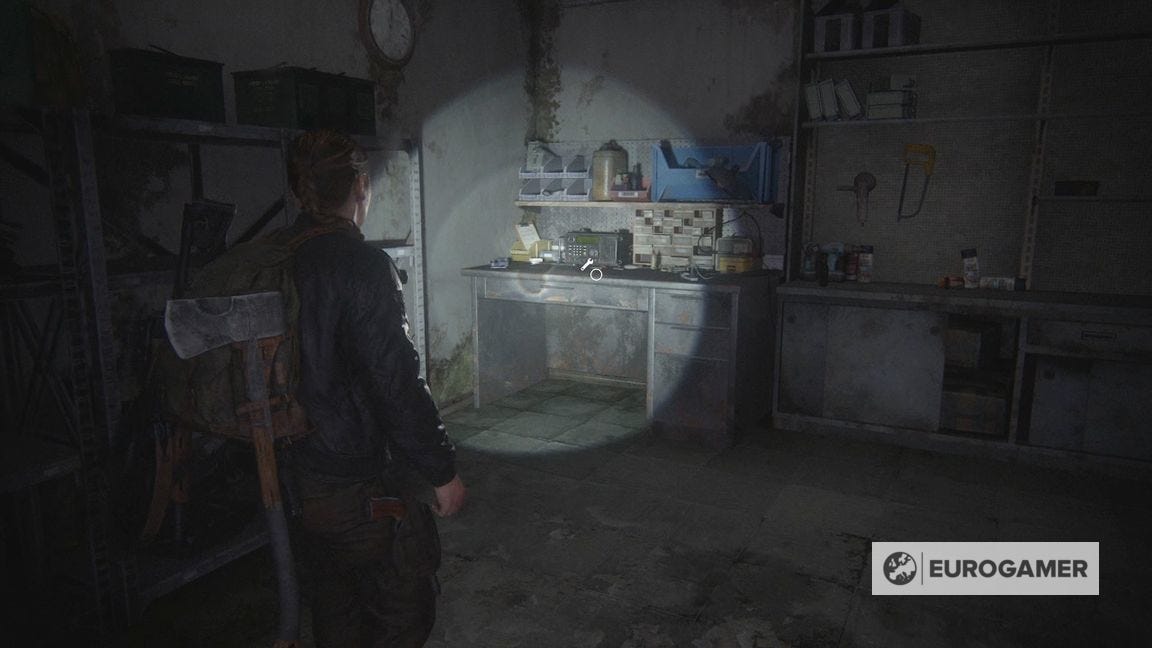
Follow Lev over the wall and to the ladder. Lev will drop it down, then you both jump through a window, to a room with a Workbench straight ahead.
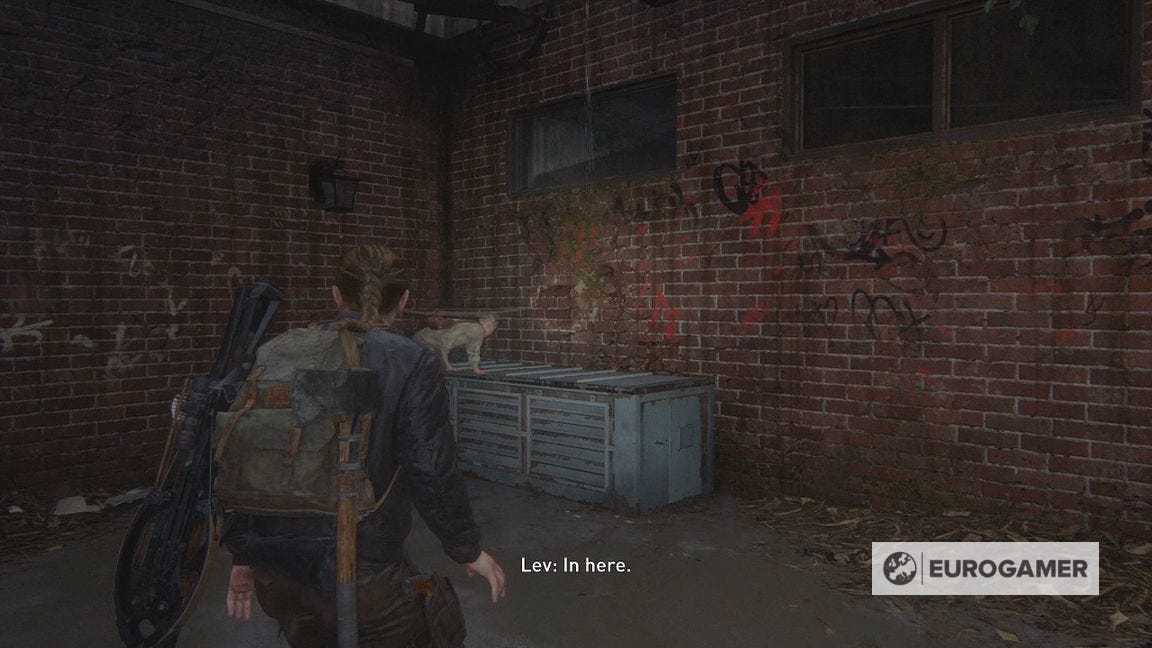
Make use of the Workbench, and grab the supplies here, before pressing on.
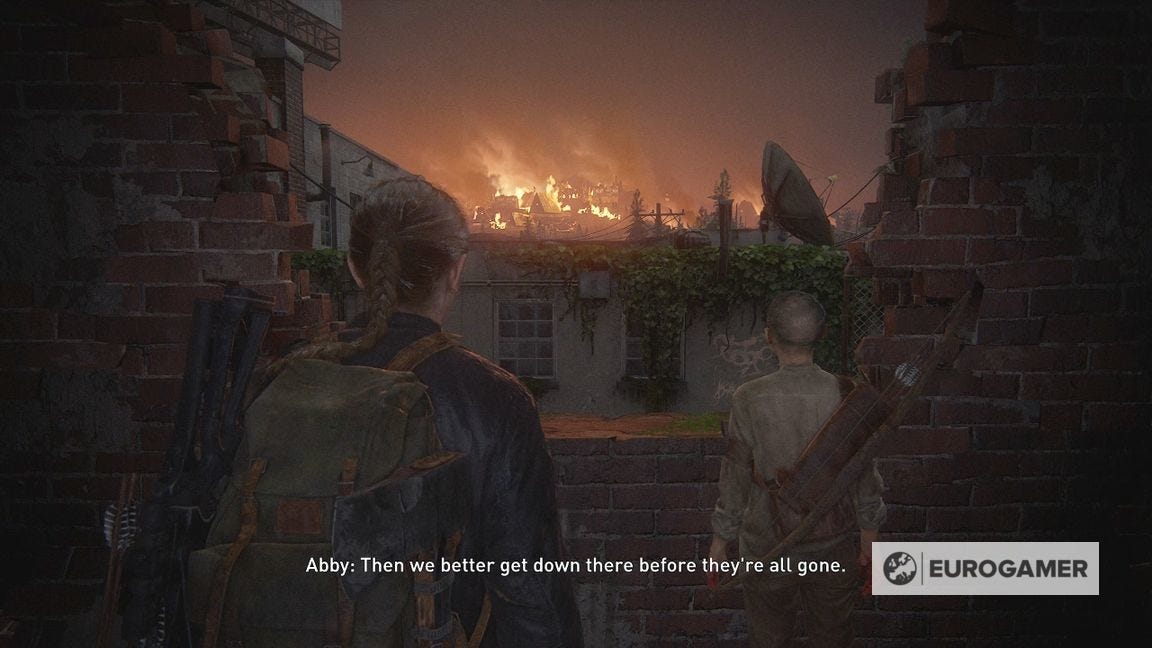
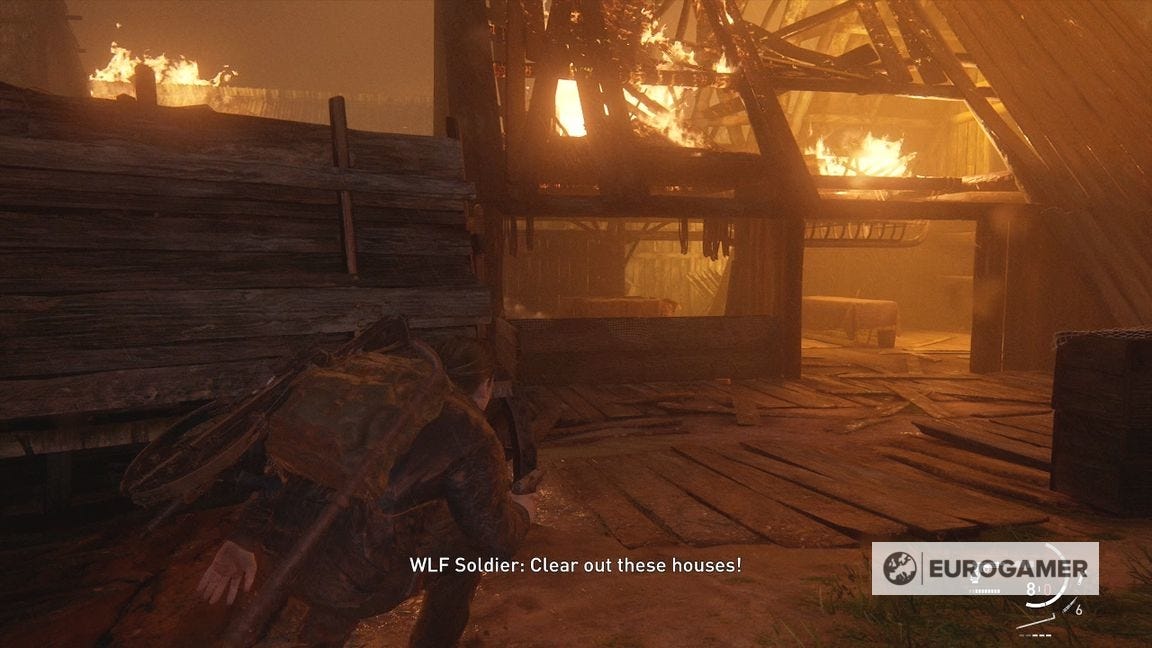
How to make it to - and out of - Haven in The Escape
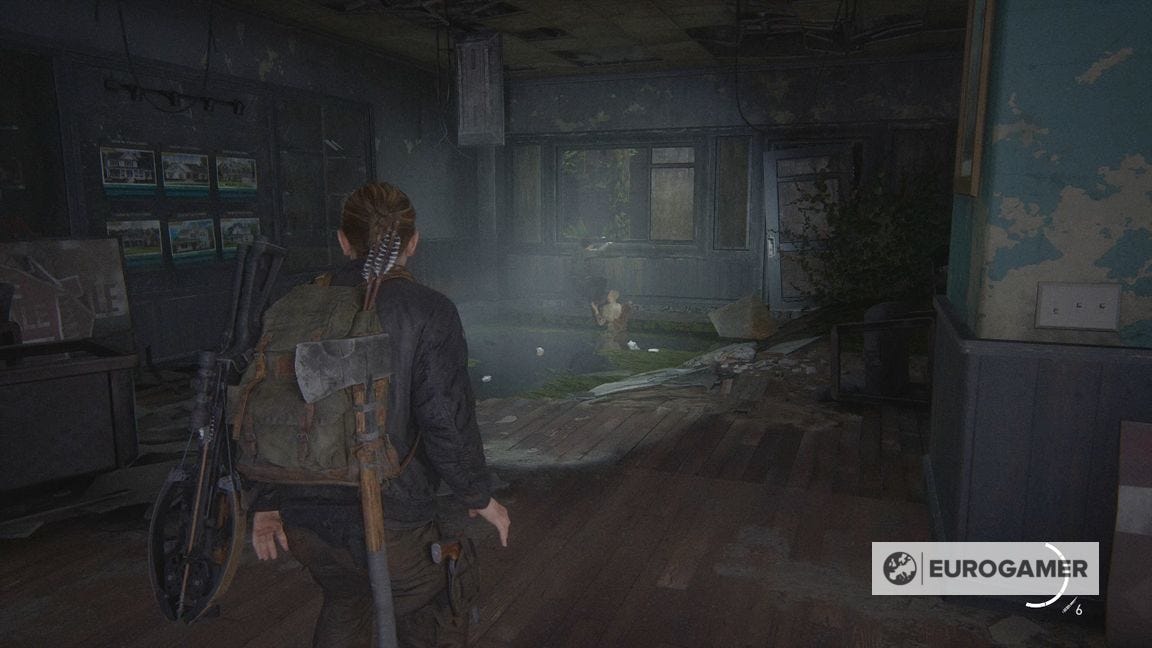
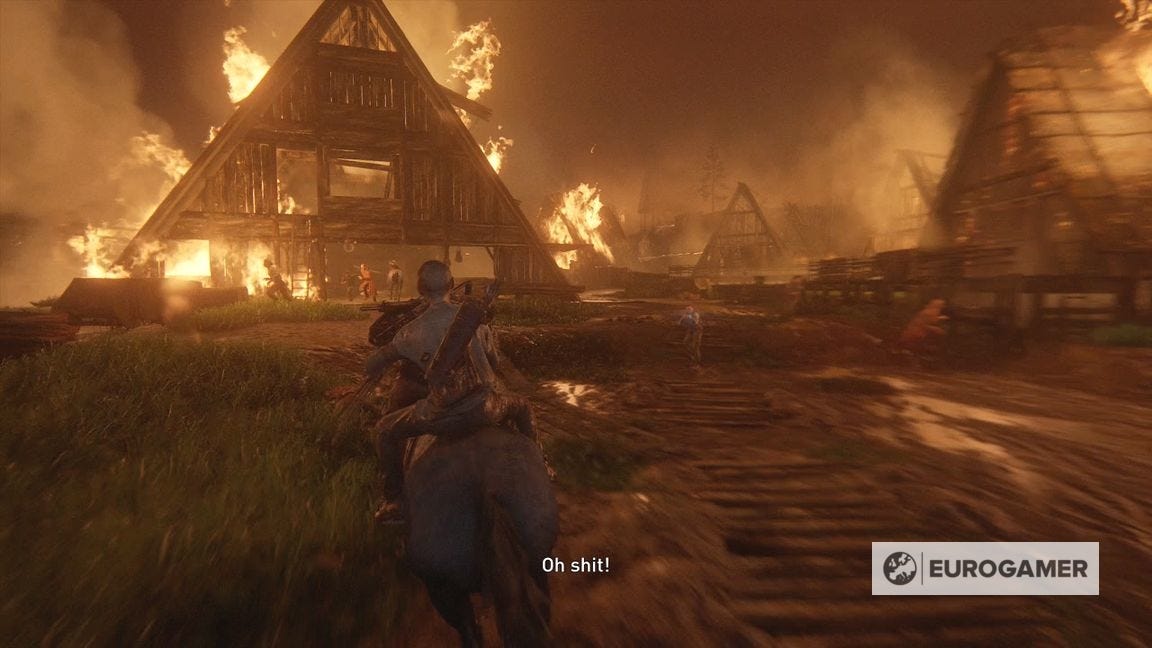
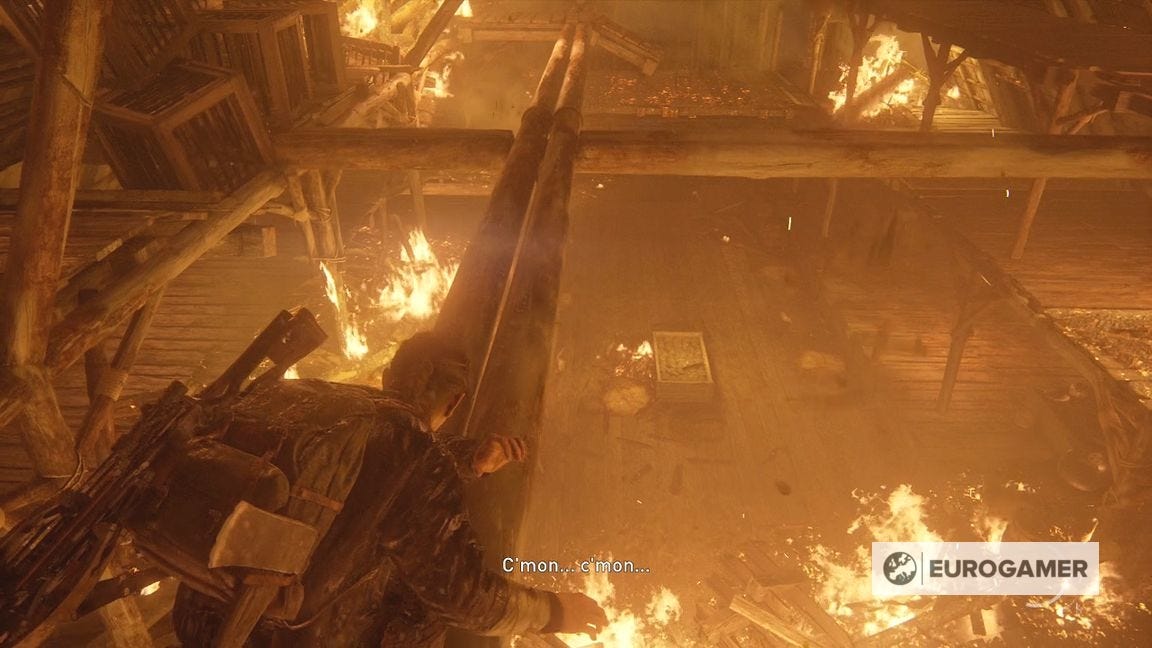
After seeing the burning sight of Haven ahead, drop down into the next area to come across a battle.
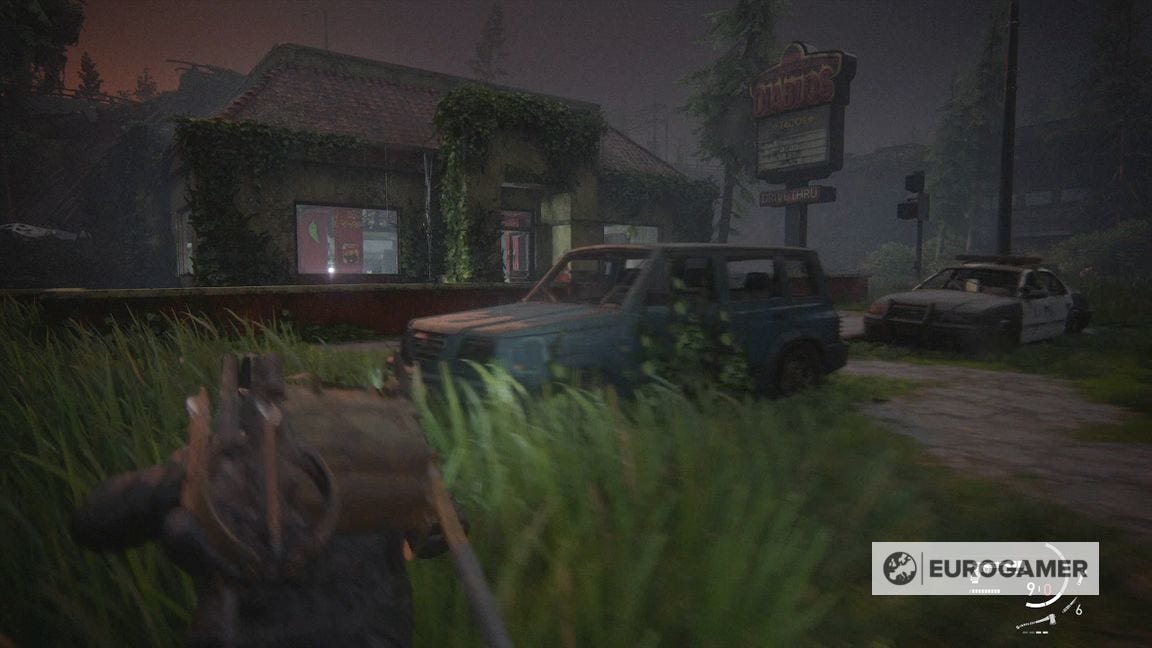
The aim is to hug the left side, into the Diablos restaurant, and out the window in the kitchen to a horse.

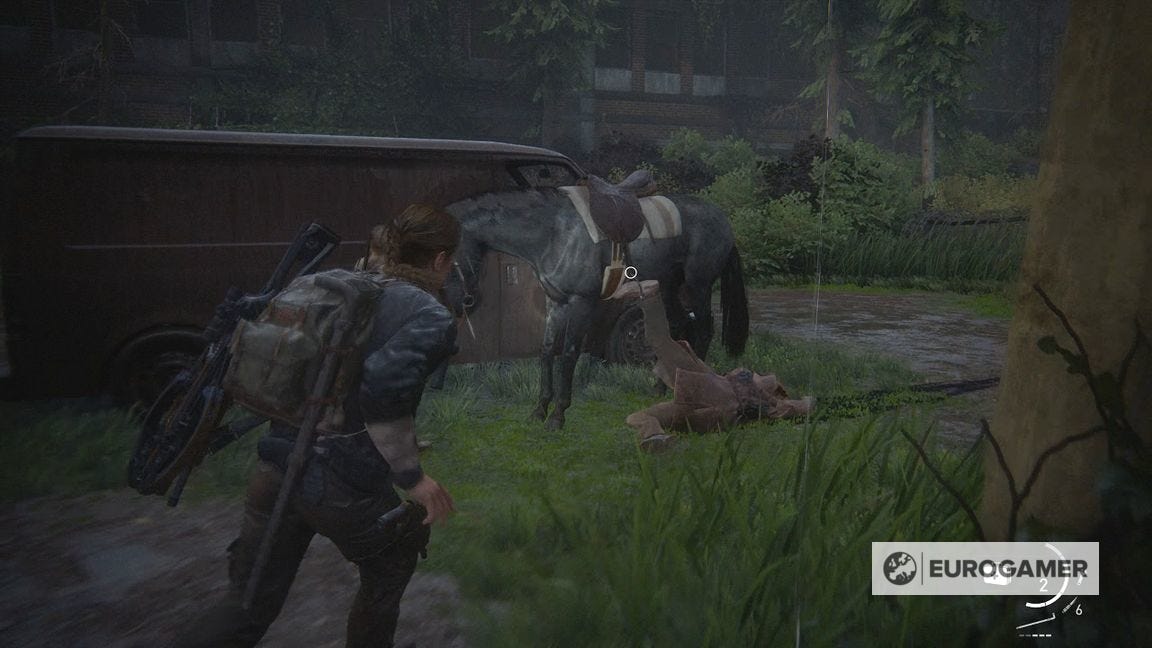
The enemy forces here will be distracted by the other, so you can get away for sprinting for part of it.
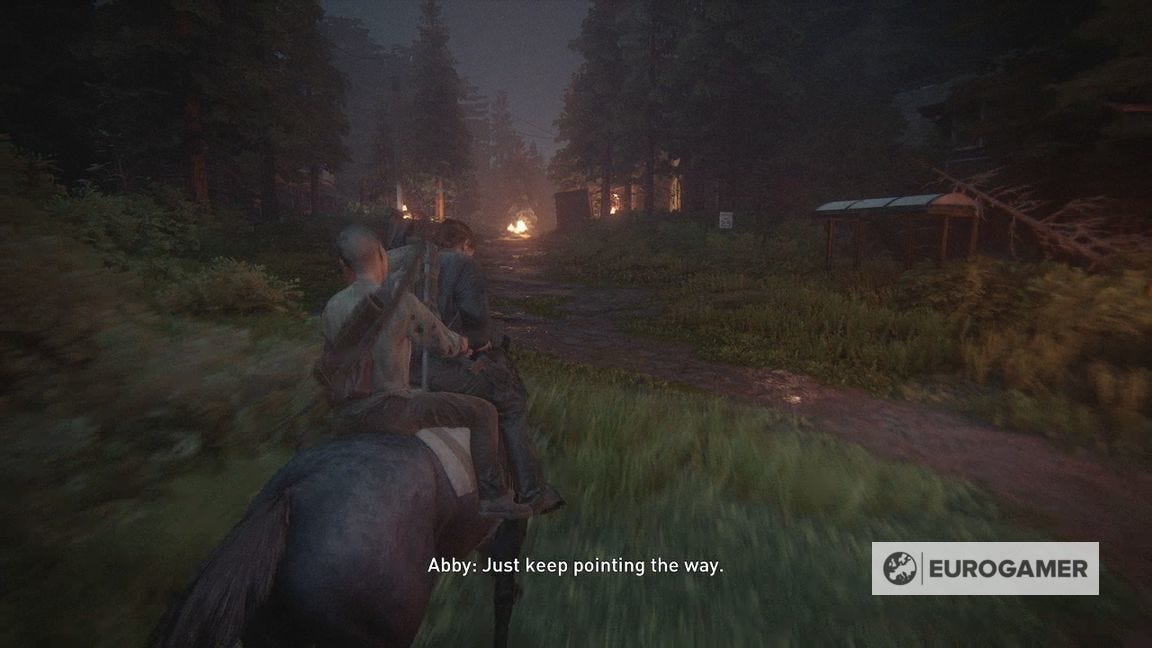
Once on the horse, this is a linear section going through farmland and the village while shooting others on horse.
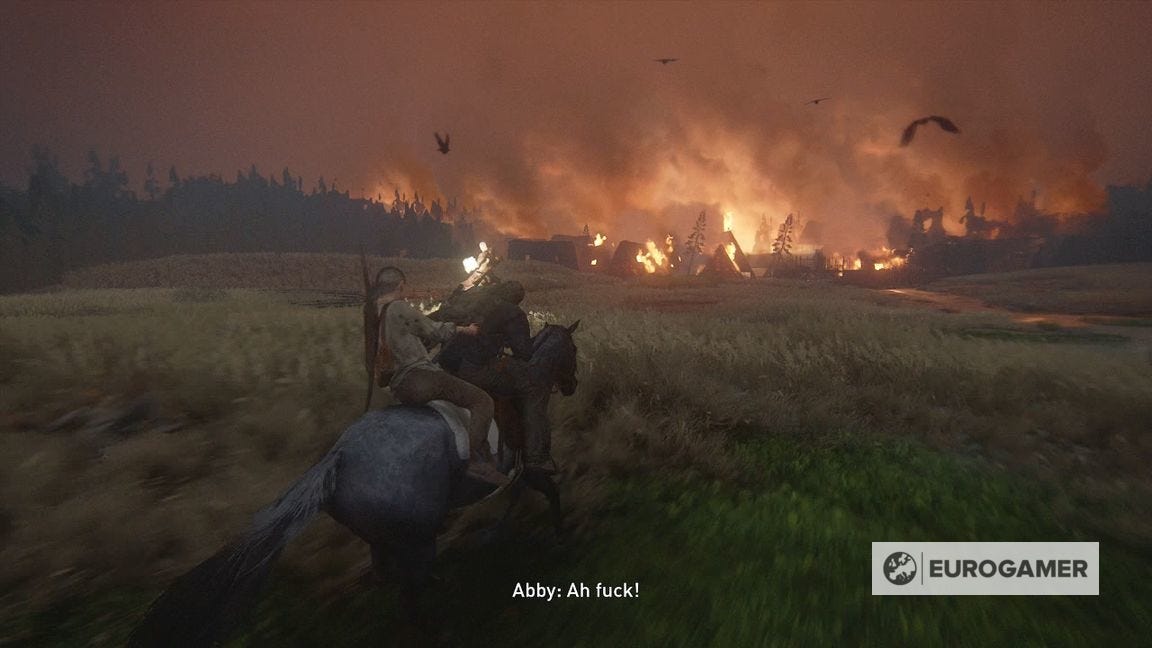
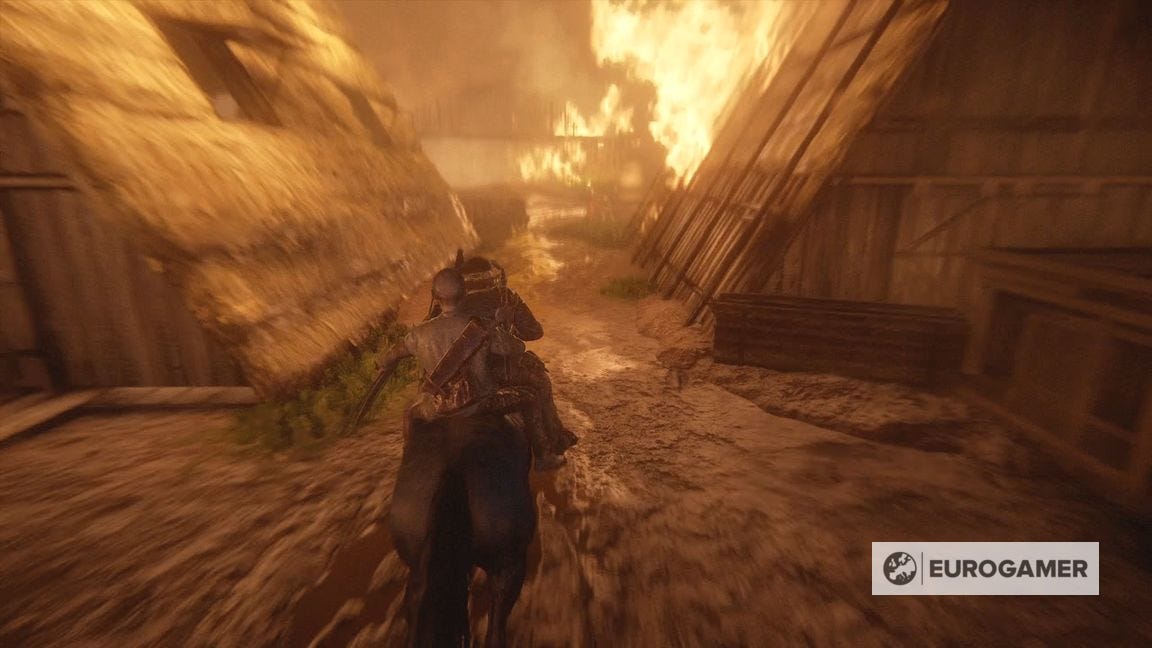
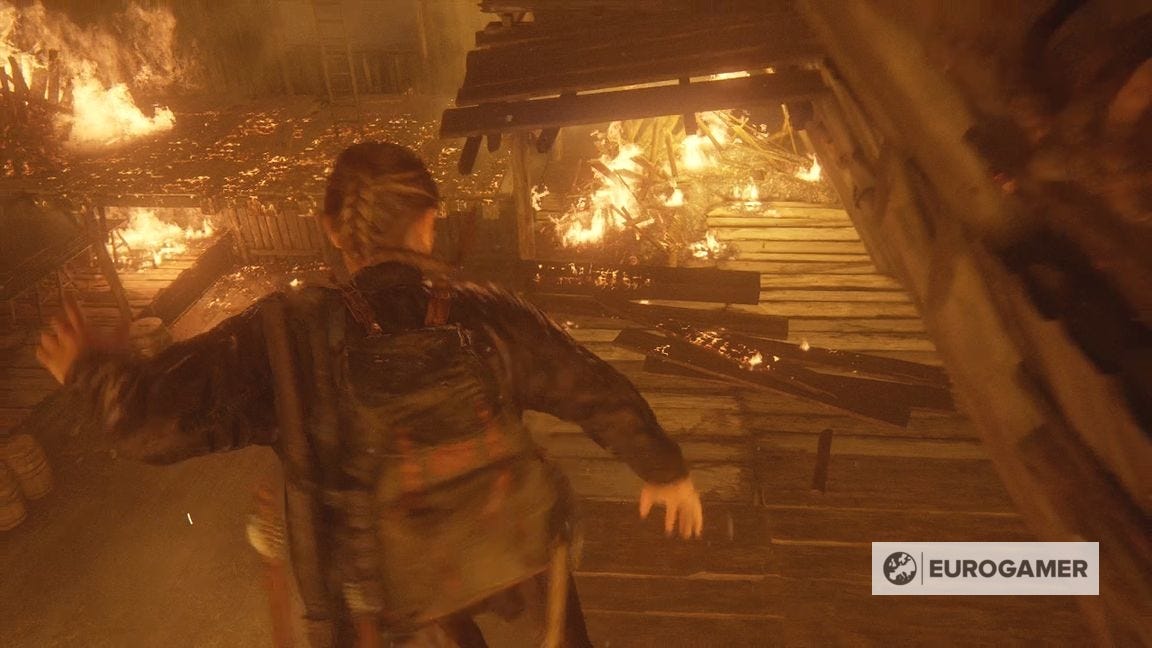
After the collapsing building and losing your horse, you have to make the rest of the way to the docks on foot.
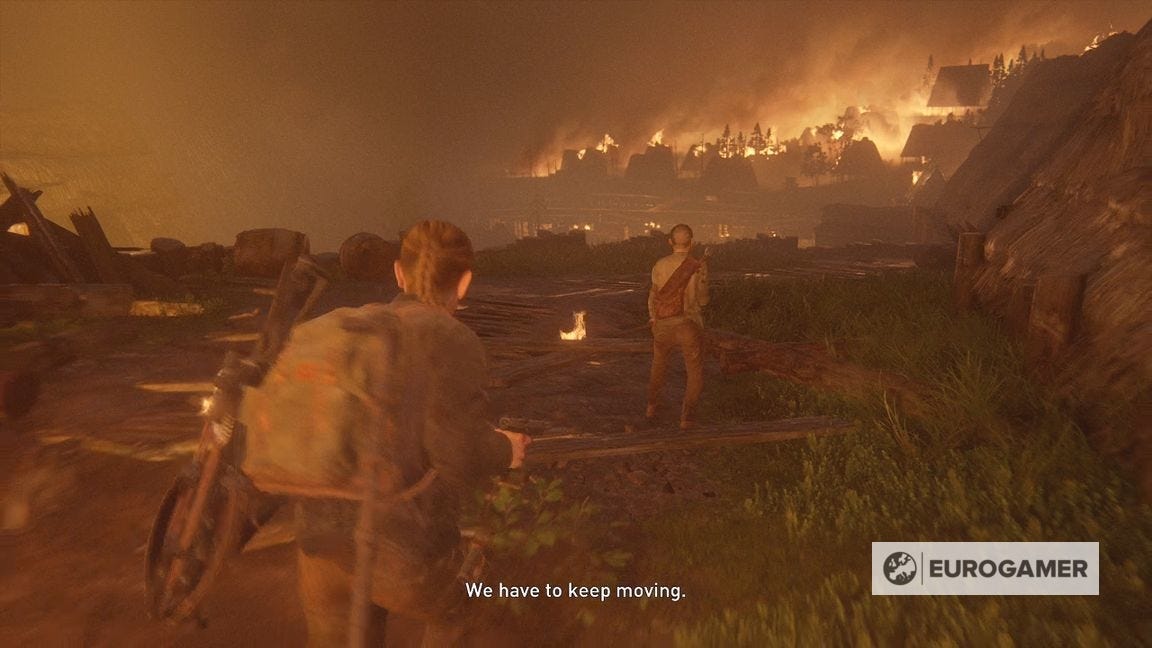

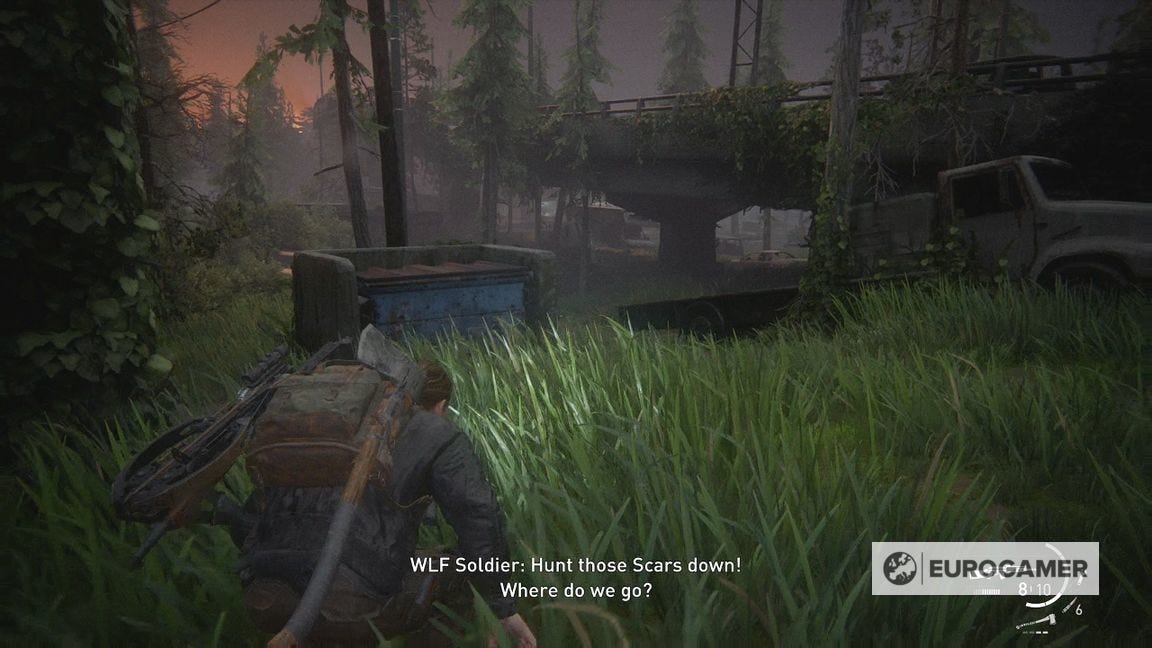
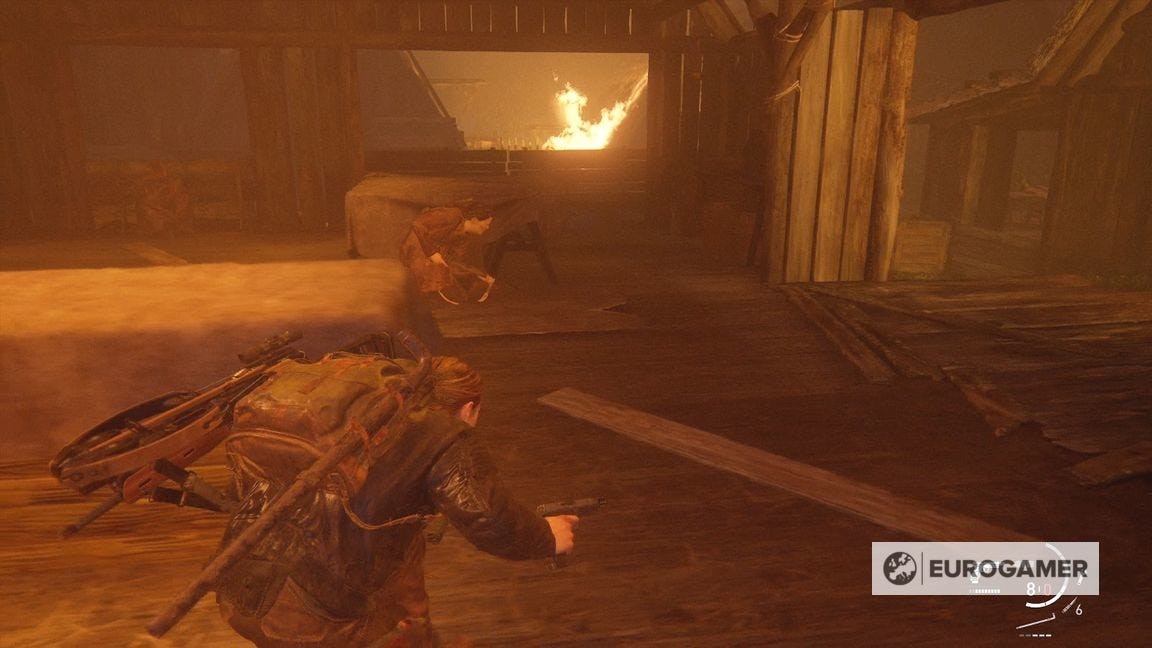
Go through the building, then drop down right, to another area with the two sides fighting.
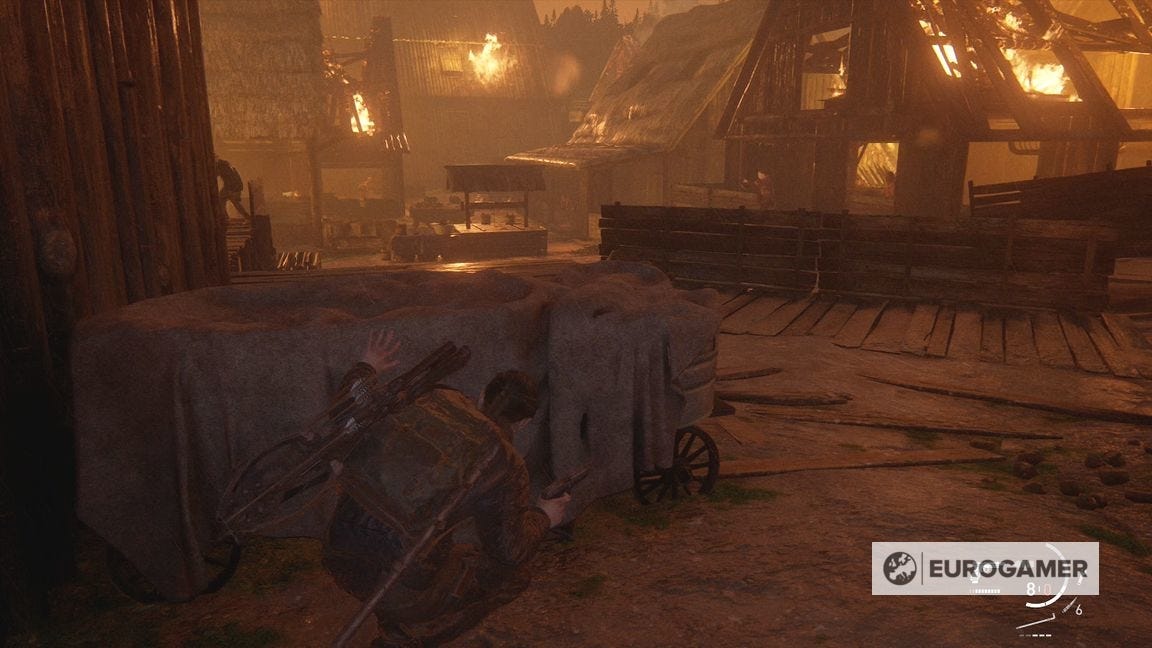
We found staying crouched and hugging the right side, and passing by the fighting Scars, meant we could make it round through most of this section without being detected.
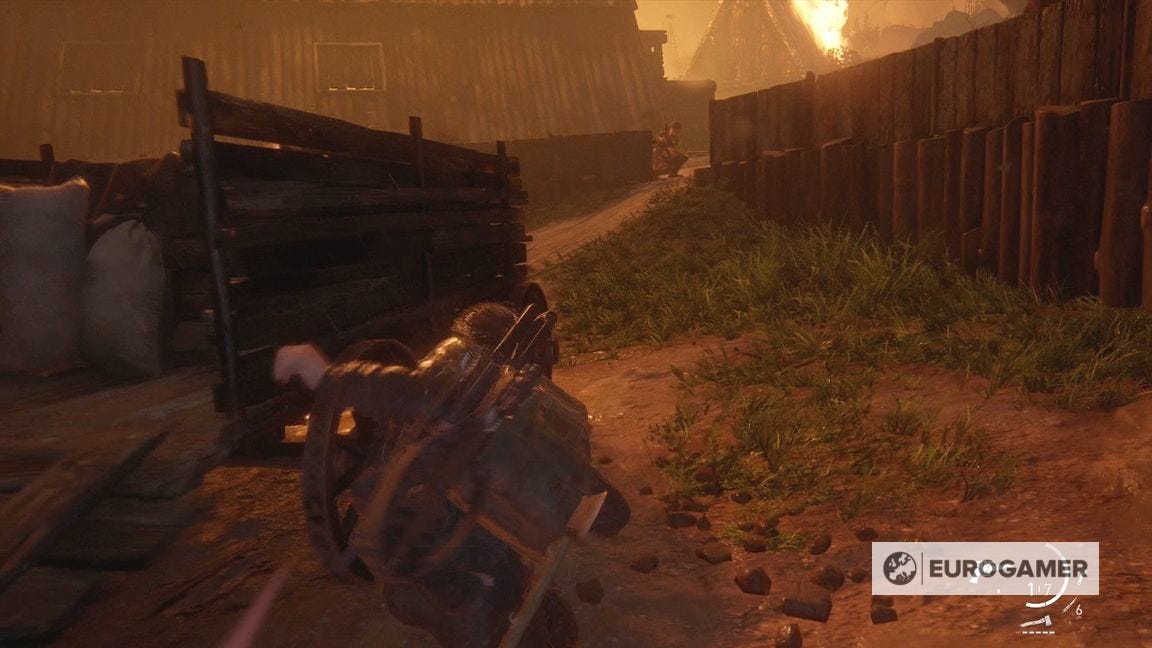
If a Scar sees you, you might have to kill them. Either way, there's a point where you need to go out into the middle of the street then back behind cover again. From here, kill the WLF soldiers hiding behind the cover above, then follow the trail.
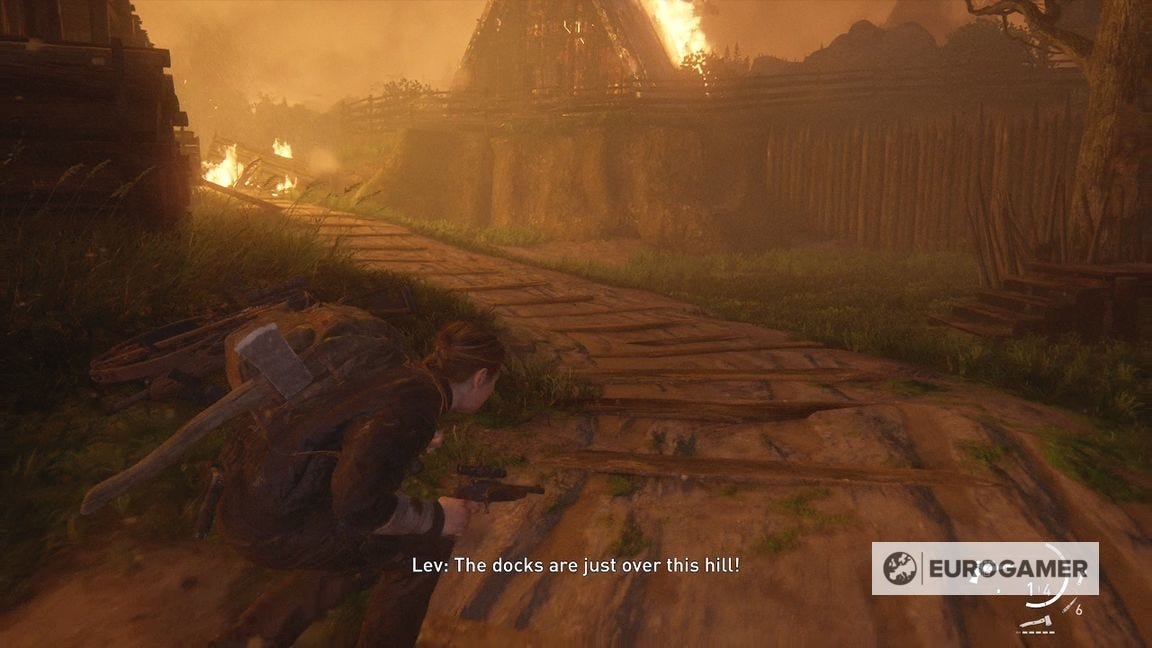
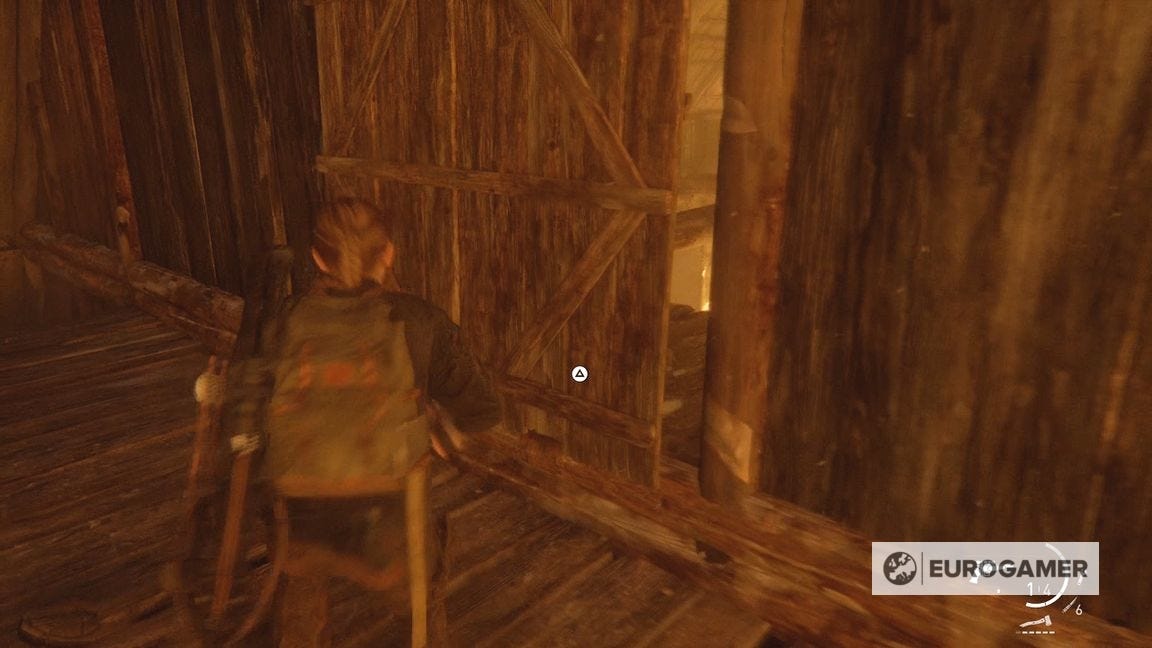
Lev will guide you into the upper section of a barn. Go over the beams here - you can take it slow, despite what Lev says - then jump to the lower section when it collapses, and onto the floor.
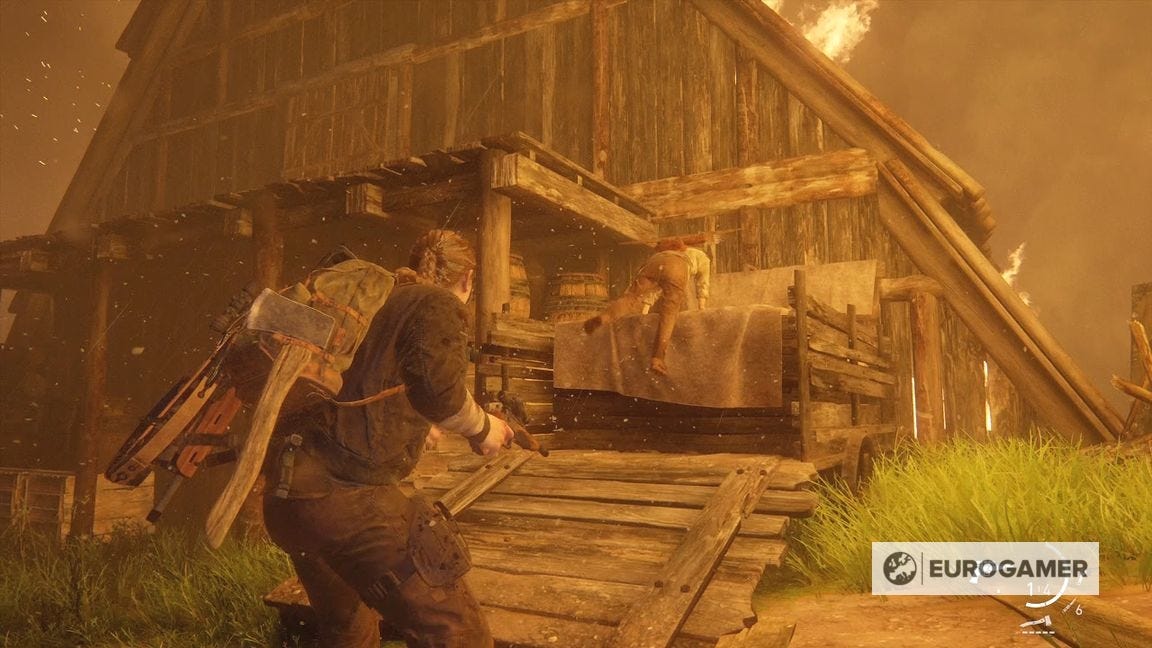
Now approach the far end for a series of button prompts, and a melee fight with a Scar.
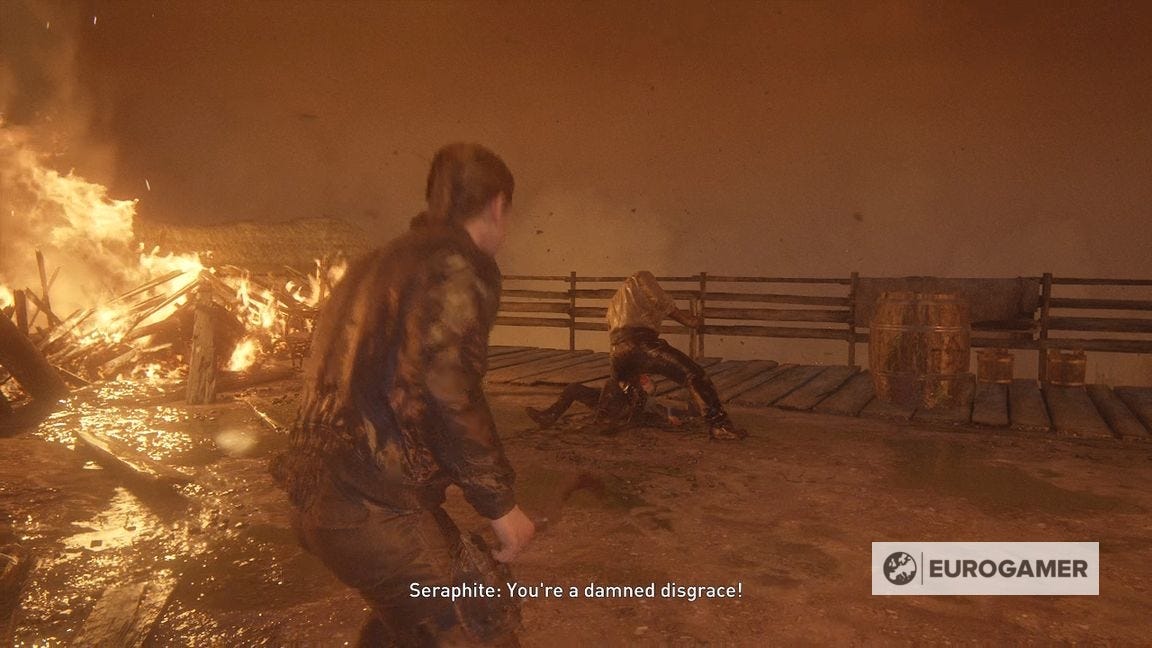
This is similar to the fight after you met Lev and Yara for the first time. Dodge more than you attack here, and wait for openings before you retaliate.
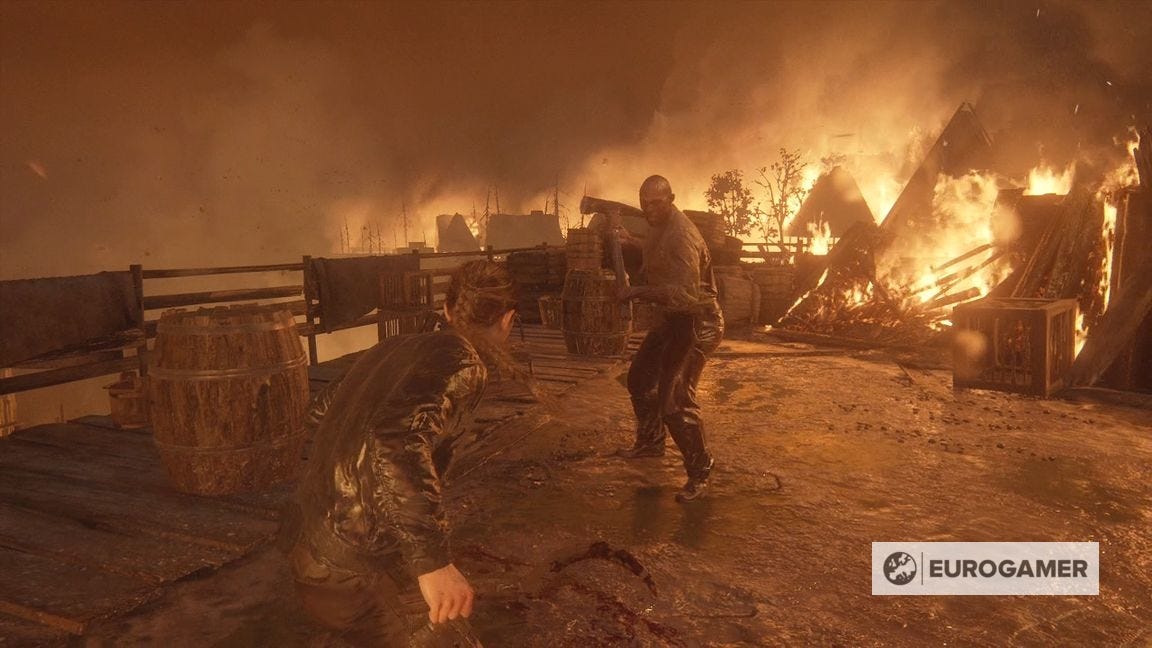
After you strike their face and tear a chunk off, they become more aggressive - you might have to then dodge three times before you can safely get an attack in.
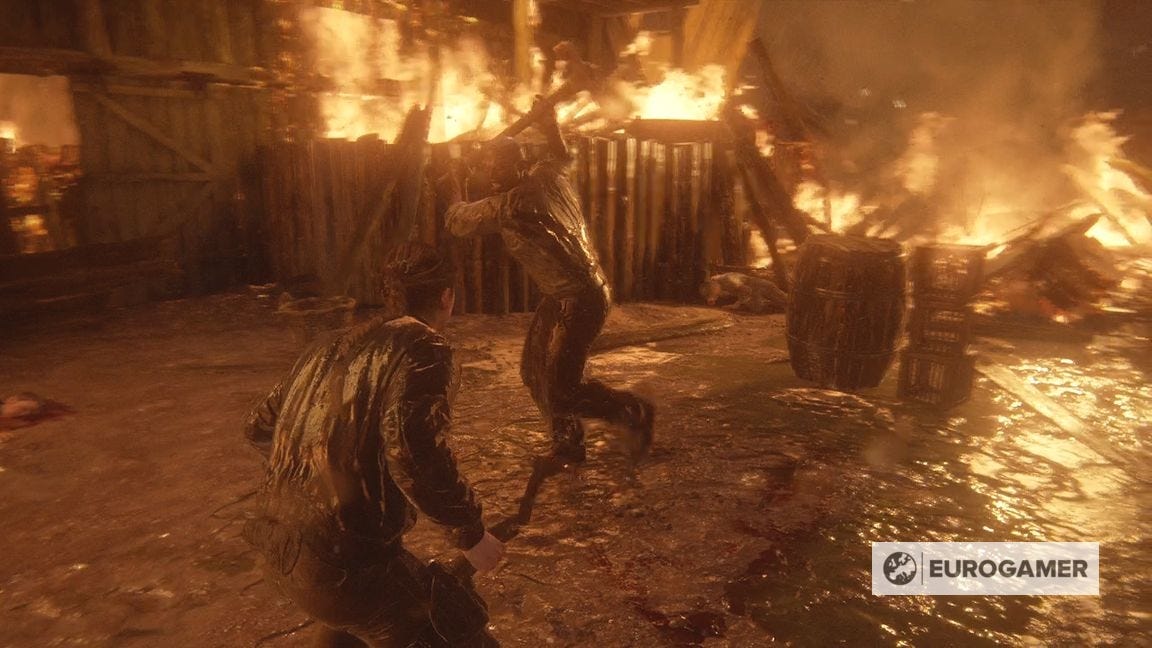
Remember if you are grabbed and pushed to the ground, you can dodge the attack that follows by pressing L1 to dodge, and get in a quick hit in, too.
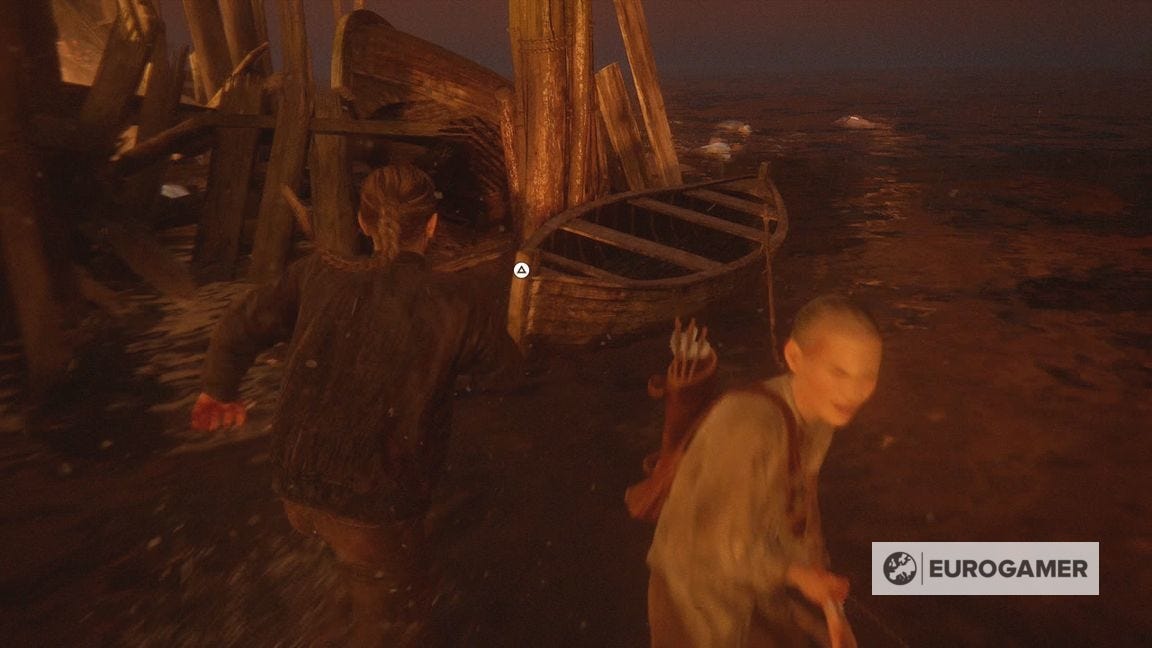
Following the button prompts which end the fight, you're finally at the docks.
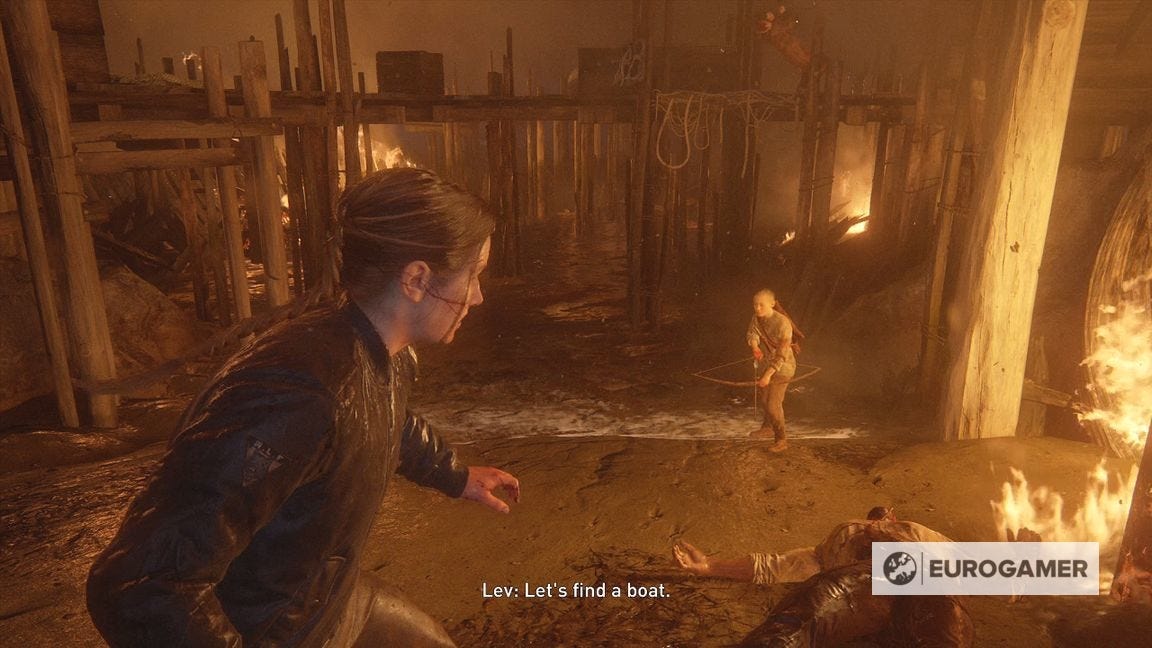
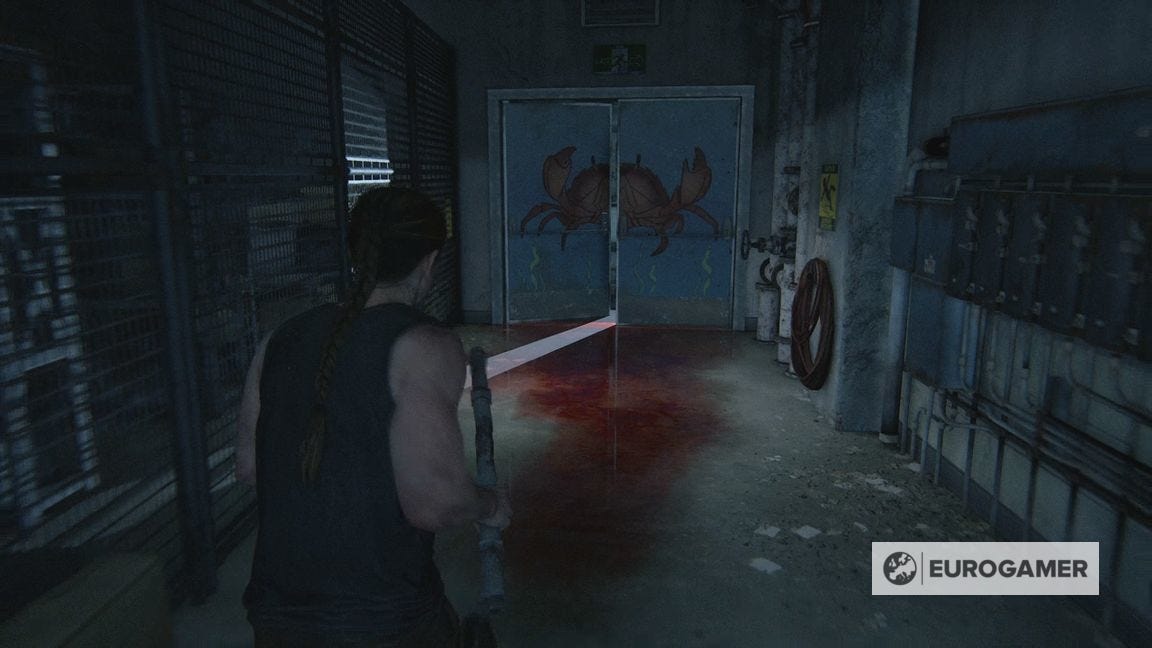
Follow Lev through the water until the boat, and press the button prompts for a cutscene.
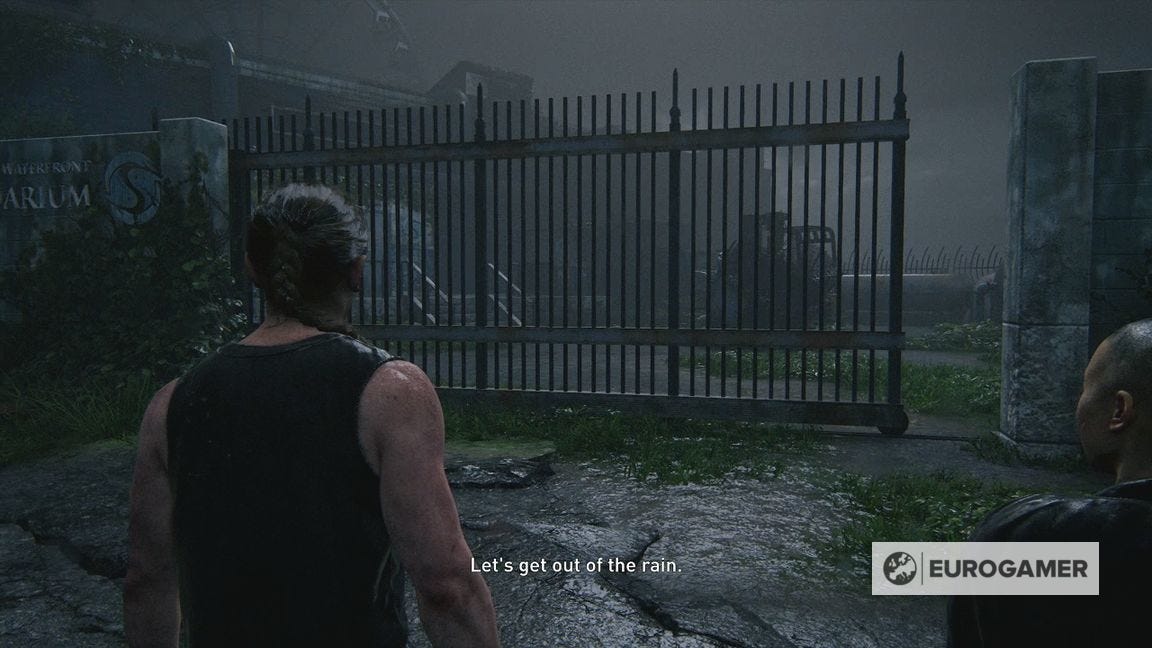
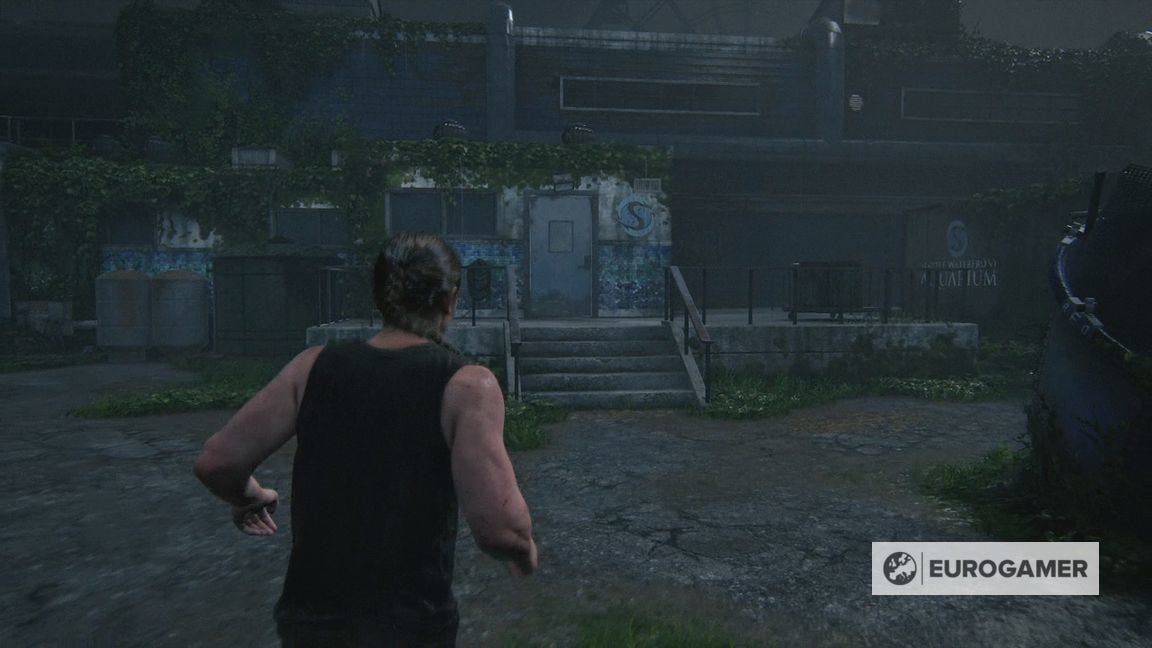
You're now back at the Aquarium. Go ahead, through the doors, and follow the route round until the now familiar crab double doors to end the chapter.
Next is The Confrontation.