God of War - A Path to Jotunheim, Tyr's Secret Chamber and the Hall of Tyr
How to complete A Path to Jotunheim.

A Path to Jotunheim, Tyr's Secret Chamber and the Hall of Tyr come towards the end of God of War PS4's main story.
Here on this page, we'll take you through everything you need to know about this section of your quest, including how to solve any puzzles, take down any bosses and find any useful loot along the way. For guides to specific collectibles we also have pages on Valkyrie locations and how to open Hidden Chambers, Lost and Found locations and Faces of Magic locations, too.
This page follows on from Escape from Helheim, Helheim Landing, Helheim Ship and Skies of Helheim.

Otherwise, you can always cycle back to our main God of War walkthrough and guide hub, too.
A Path to Jotunheim, Tyr's Secret Chamber
In the Realm Travel Room, select Midheim and exit to Brok's Shop, showing him all that stuff you learned about Tyr's key plans.
After a touching moment with his brother Sindri, they make it - Tyr's Key to a mysterious door...
Locate Tur's mysterious door
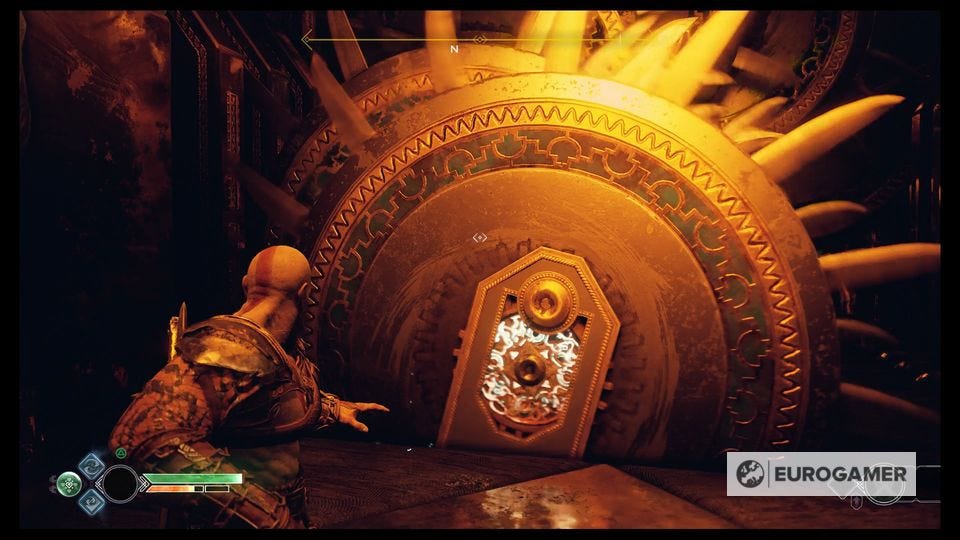
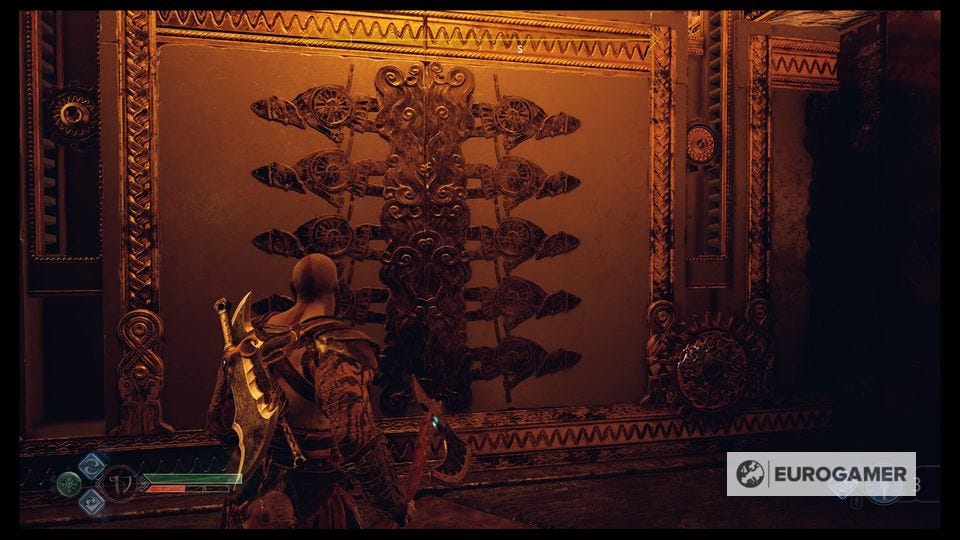
Head outside, following your waypoint down the side of Tyr's temple, and you'll soon approac a locked door in the side of the temple with a triangular handle on the front.

Insert the key and enter Tyr's hidden chamber.
Explore Tyr's hidden chamber
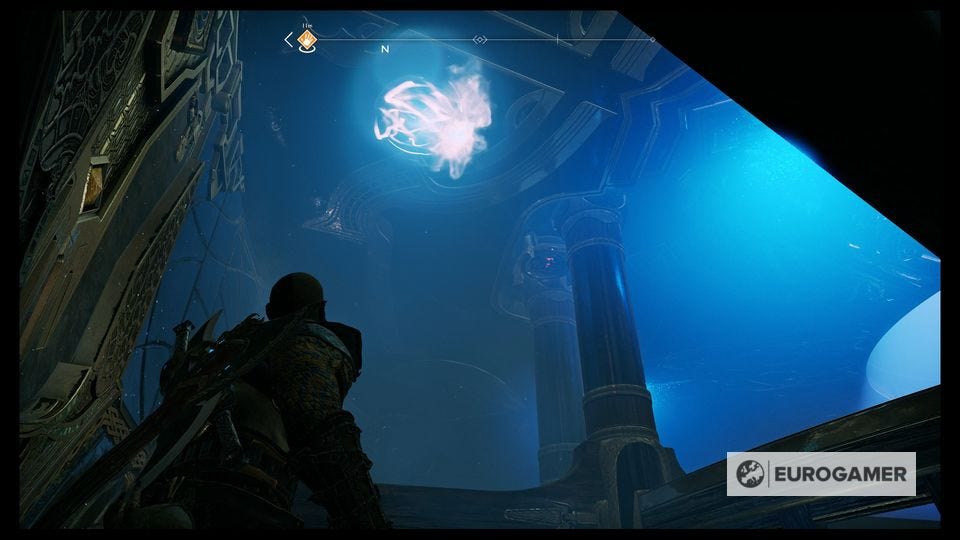
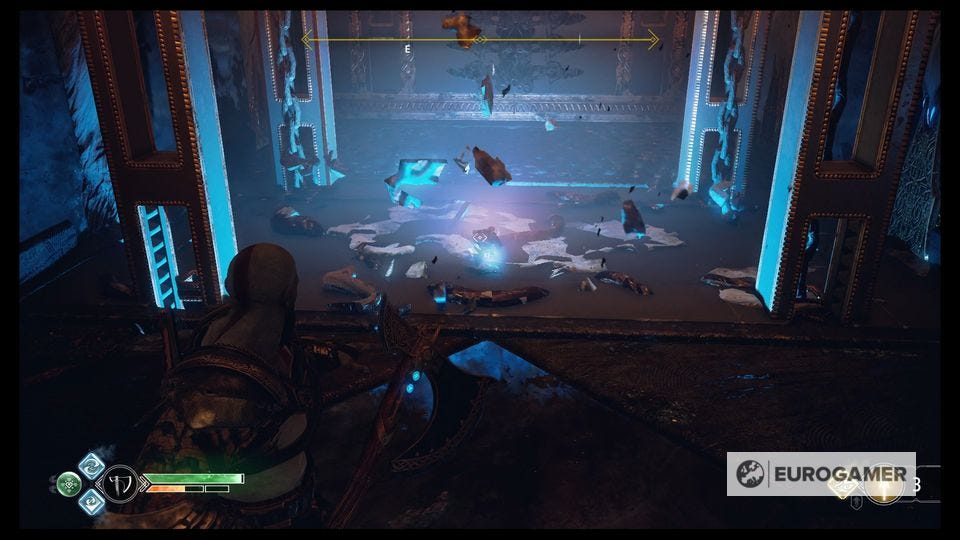
Head up the steps and shoot the light crystal ahead, and go up the ramp into the next room - the Realm Travel Room! - only it's different. You're actually under the regular version, and up above you to one side is the glowing shape of the thing you need to progress to Jotunheim.
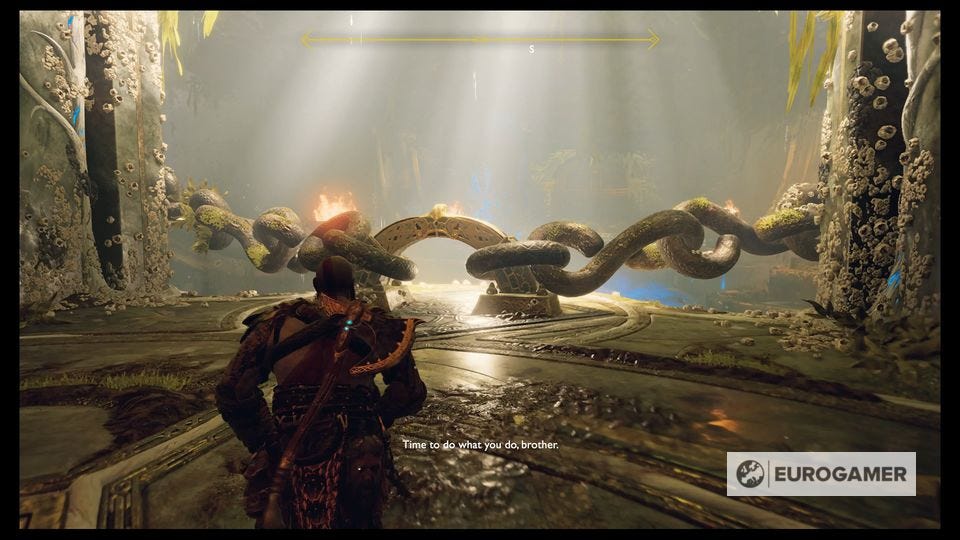
Interact with Boy for a bit of dialogue and then work your way round to the south to another door outside, across another light bridge, where you can follow a corridor to a room called the Hall of Tyr.
The Hall of Tyr
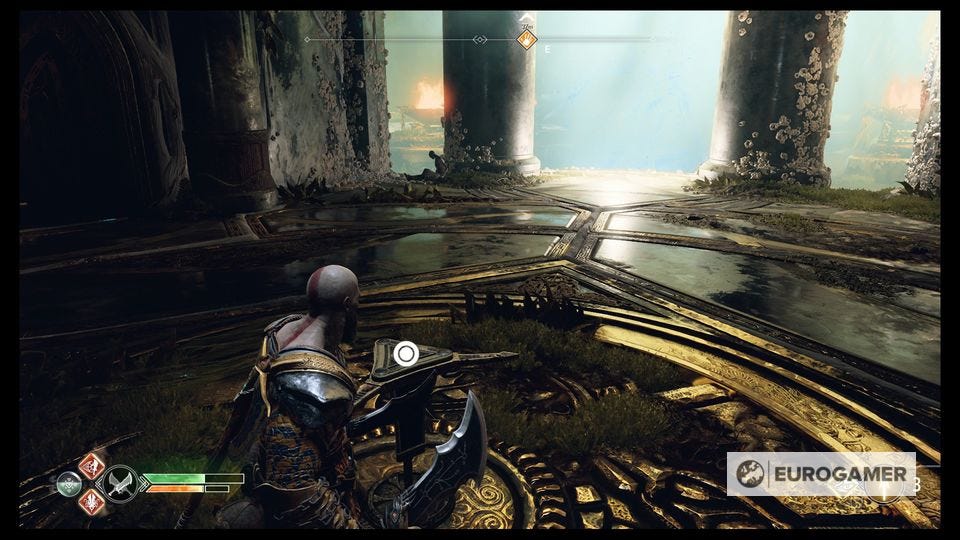
Ahead of you are two lovely statues, and in the middle of the room is yet another sand bowl. Puzzle time!

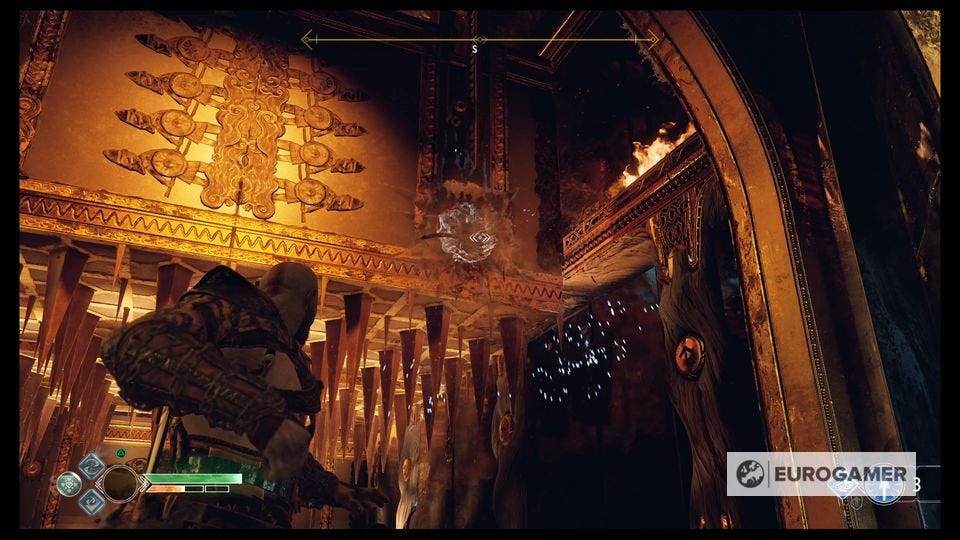
Look to the East to see a rune in the wall - and above it that white glowing thing from the Realm Travel Room.
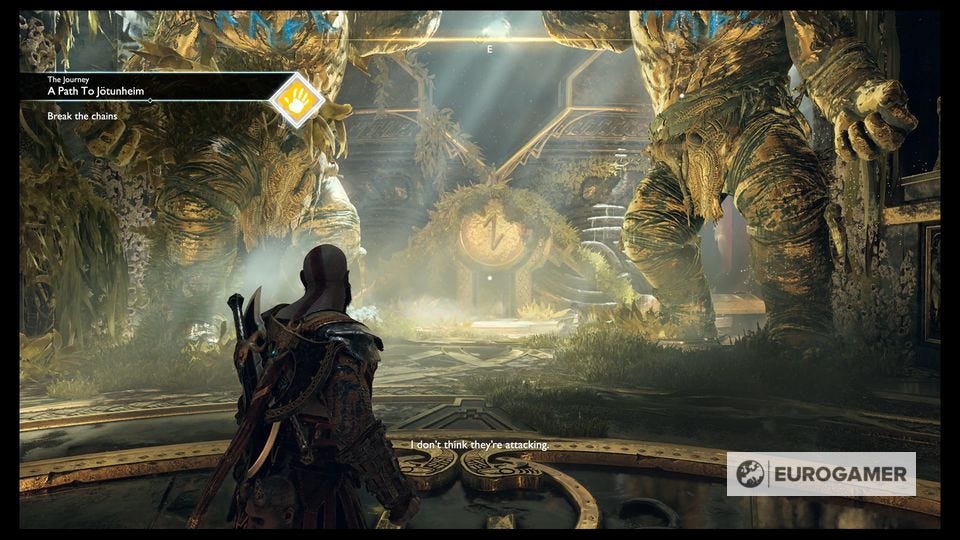
Walk towards it and interact when prompted - you need to flip the entire Realm Travel Room on its head!
Only, you can't - there are chains, one on either side of it, that hold it in place. So, your next job is the break the chains, then flip the room.
Break the chains
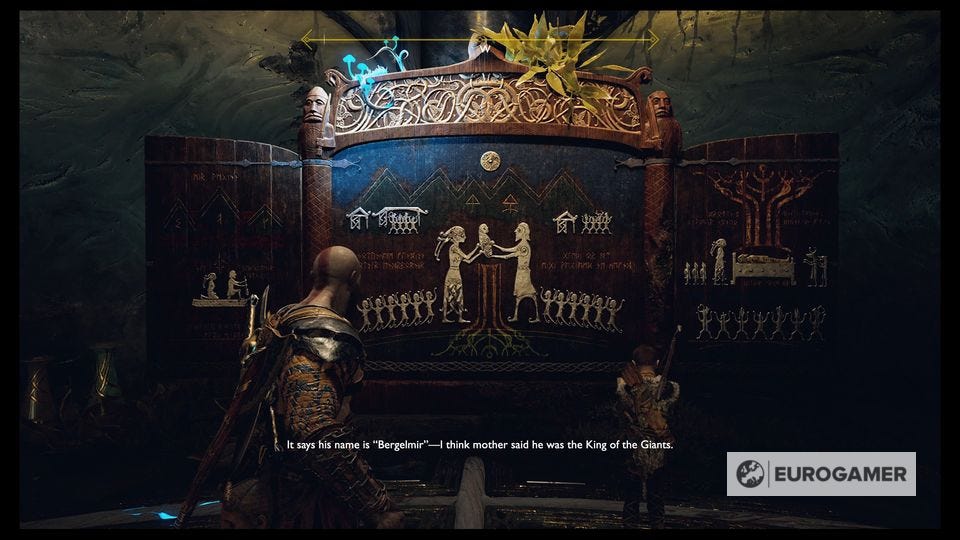
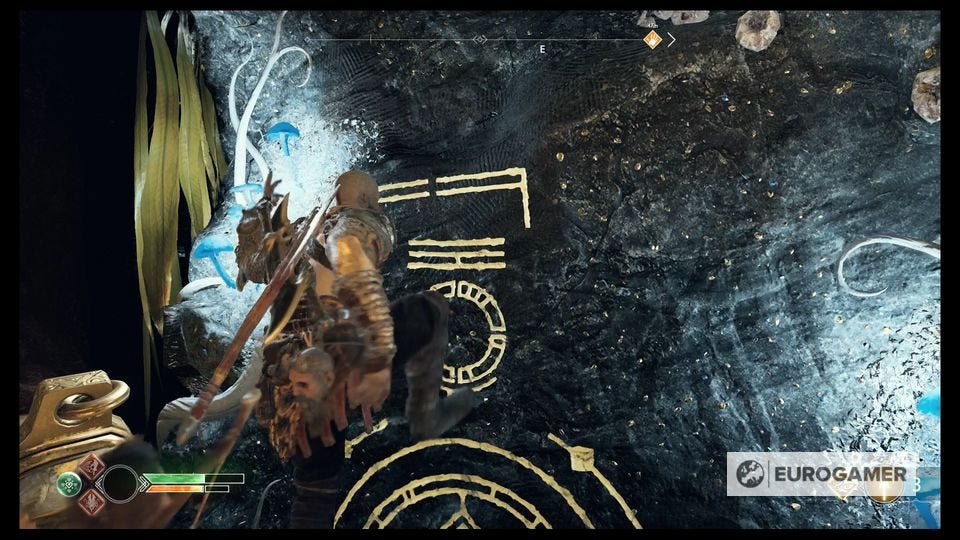
Go back to the sand bowl, and it's been replaced with a lever. Turn it and you'll be lowered down to another level. Look to the West for another Shrine to read.
There are now two directions to go on - one for each chain - and they're both broadly the same. Left or right, you're going to need to go through a corridor full of traps, then fight a gauntlet of enemies in a chamber at the end, and then repeat it for the other side. Let's go left first.
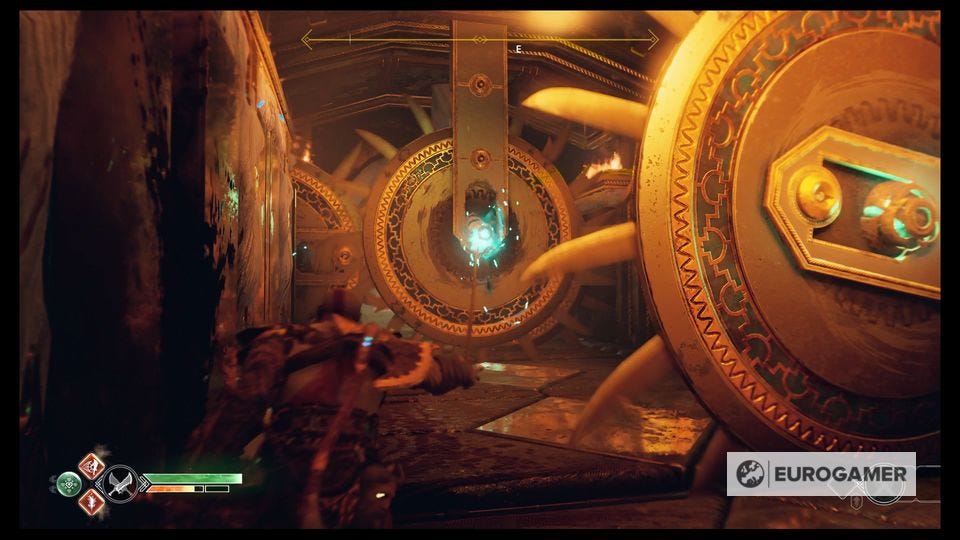
In the left (Norther) corridor, there are a load of twirling, spinning discs rotating around the room. You need to freeze them, on at a time, until they all line up, then when they're spinning around together there'll be room for you to dash by on one side.
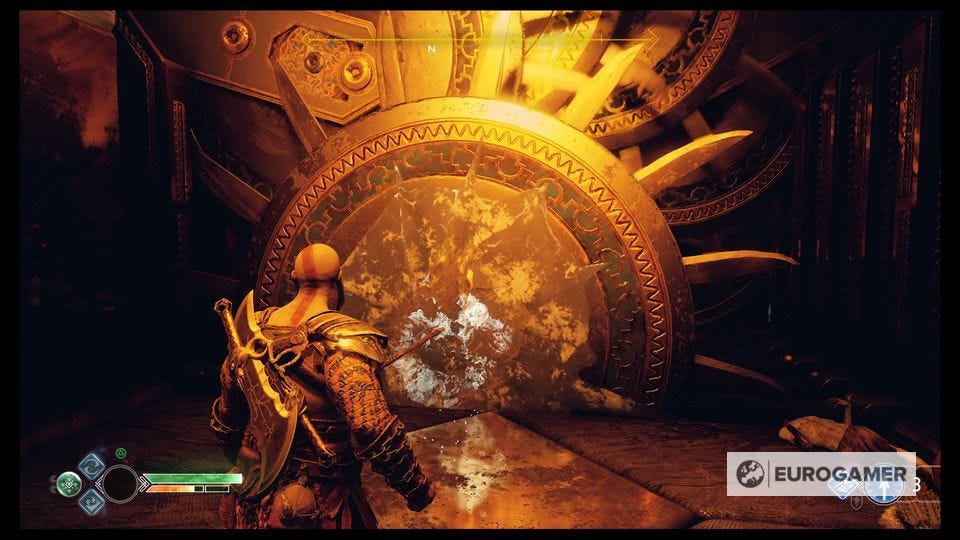
Start by hitting the first disc's cog for a bit, just until it's well clear of the second, then hit the second disc's little marked cog, and wait until it lines up behind the first one exactly, then recall your axe.
Then repeat for the one behind that, and so on. Eventually they'll all be lined up behind one another, or at least roughly so, and you can run through.
Out the other end, it's time for another puzzle, this time involving Winds of Hel. Before solving the corridor puzzle though, nab the wind from one of the spinning discs and put it in the trap just to the left, where there's already some wind next to it, to open a lock to a Legendary Chest. If you're having trouble, get the wind from the locked door and put it in the trap on the right of the corridor to get the blades spinning.

Now, the corridor. Take the winds from that locked door to the trap on the right of the corridor, and the other one to the central blade to get everything moving.
Take the wind out of the first blade when it's pulled back to the right, to allow you through.
When the top blade is moving, wait for it to go to the top position and then take the wind out of that.
Then dash through the two side-blades when they open together - if the timing's a bit tight, take the wind out of one and then put it back in when the line up timing-wise so that they open together at once.
On the far side of the chamber is another Cypher chest for Niflheim. Then hang to the open end of the room and pull at the chain to set it free.
Now, it's battle time.
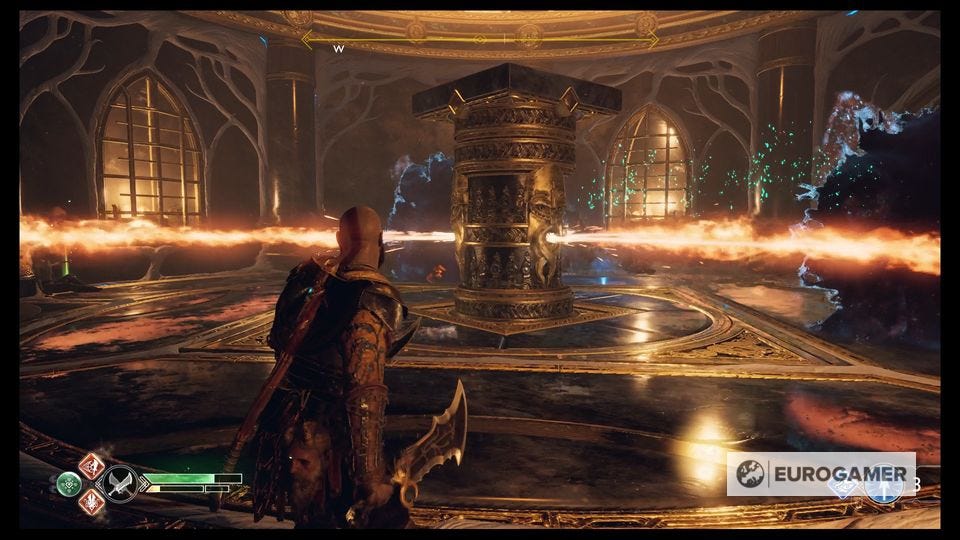
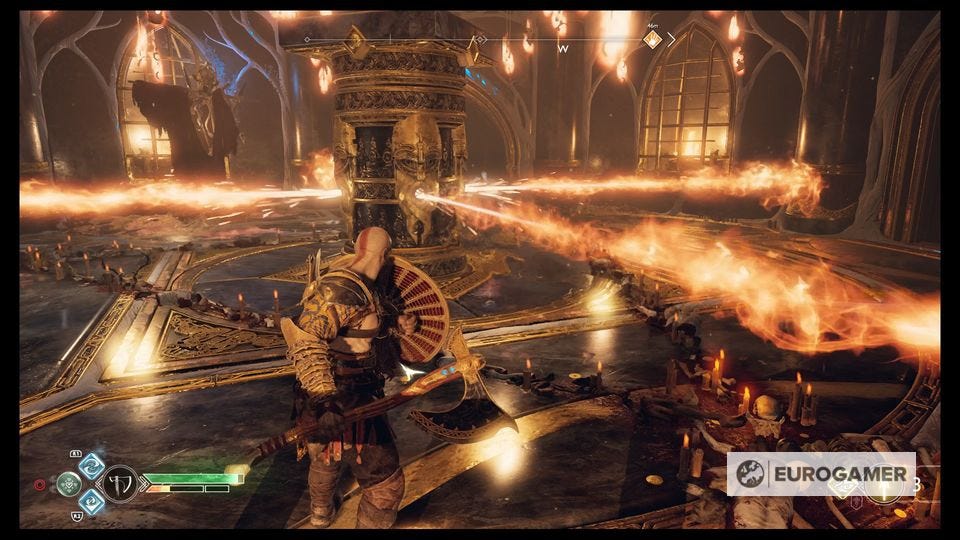
The middle of the room will feature a nice spinning podium that spits fire out in a couple of directions, whilst enemies attack. In this case, they're Draugr and an Orgre.

When those enemies are done, run through the corridor to the previous chamber and deal with the same enemy-and-fire situation again, then return to the central room.
Now, rinse and repeat for the other side of the chain! This time they're vertical masher traps in the corridor.
Freeze the first one as soon as it slams down, then as soon as the second one slams down, recall your axe. That leaves the first two lined up so that, when they raise up, you can run under them both and then under the third one before the first two slam back down.
There's a coffin with some Legendary armour in the next room, then it's on to the next corridor's puzzle.
This one is more vertical mashers, only they don't raise very far. You need to throw some red crystal (there's a stump on the South side of the room) at the red sap on the floor under the first masher, then have Atreus shoot it to make the floor explode.
That lets the first one drop all the way down, and then wait for the next one to be down and you can run straight through, dropping down as you go, to the final chamber.

There's another Niflheim Cipher to grab from the chest ahead, and then you can set the second chain free - and all you have to do now is beat the two Travelers that attack you at once - easy!
It's not that easy let's be honest. Focus on the first one that attacks you - the shielded one - and most importantly remember to hit that glowing skull out of its hand when it raises it above its head to charge a huge attack.
The other handy tip to know is that the red-tinged one can be frozen with a heavy throw of your axe. And frozen enemies can be kicked off ledges, which we did to great satisfaction here.
When you've beaten them both, go back the way you came, to one last room of enemies - Hel-Reavers with shields and ranged attacks, in a room of more hectic spinning fire.
There's no easy solution here. Just keep moving, rotating with the flames to stay in the safe zones between them, and remember to use your chains rather than your axe, which'll be useless.
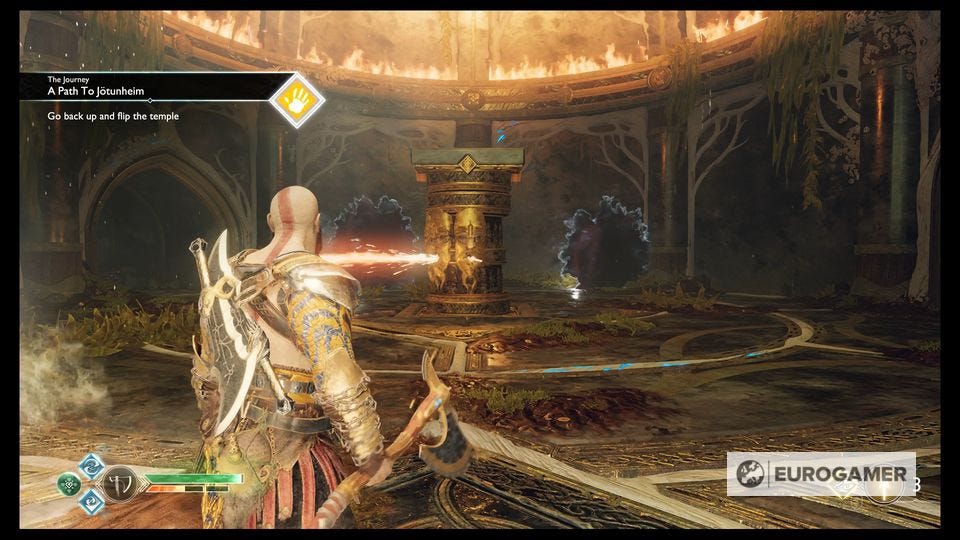
When they're down, go back to the starting central room and take the platform back up the way you came by using the central lever.
Now you can go flip the entire Realm Travel Room from that same spot where you tried it before, by mashing Circle as hard as you can, and there's a gold-marked spot on the left for you to climb.
Return to Tyr's Travel Room
Climb up the wall and pull apart the extravagant doors, and now to grab that weird object.
Collect Tyr's Mysterious Object
Run over and interact with the glowing white orb, and you'll get "some kind of travel stone"...
Mimir knows what it all means. It's time to go to the Realm Between Realms...
Next up: God of War - Between the Realms, Gauntlet of Realms