Destiny 2 The Whisper exotic mission walkthrough
The return of one of Destiny 2's best missions.
The Whisper is an Exotic mission that has returned to Destiny 2 as part of the New Light update.
Guardians will need to brave the depths of Taken infested caves and defeat a series of bosses to overcome this challenge. If they are successful then the mighty Whisper of the Worm Exotic sniper rifle awaits.
This page will detail every step to this challenging task in Destiny 2, including the best loadouts, and how to pass through each section.
On this page:
How to access The Whisper mission in Destiny 2
The current iteration of The Whisper is much easier to access than its original incarnation. Previously you needed to track down a specific public event at a particular spot on Io, relying on luck more than anything. Now you simply start by visiting your old friend Eris Morn on The Moon.


Speak to her and she will assign you the Whispers of the Past quest. This unlocks The Whisper exotic mission in the Into the Light section of your director. Choose between normal and legend difficulty, and launch when you are ready.
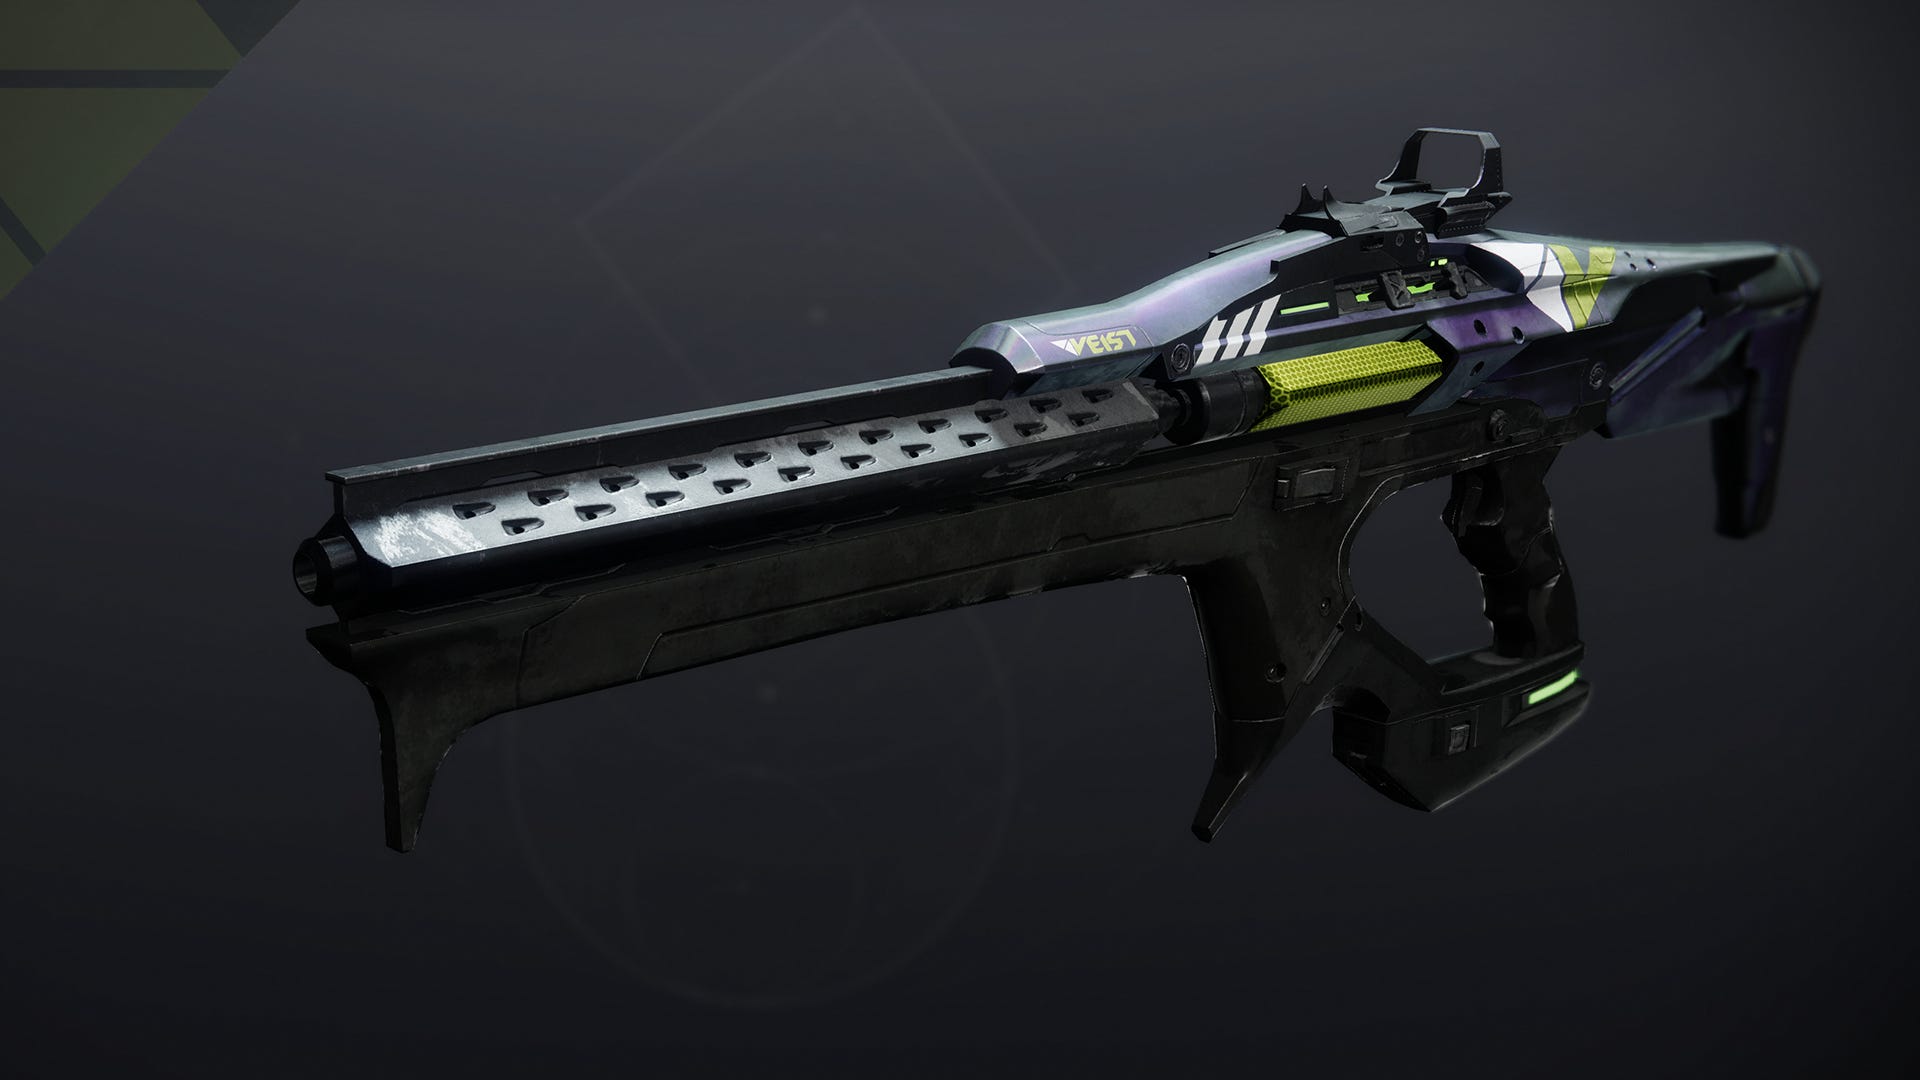
Best weapons and loadouts for The Whisper in Destiny 2
Before you begin the Whisper, there are a few things you should plan for. First, this is a timed mission. You have 40 minutes on normal, and just 20 minutes on Legend difficulty to clear the mission. That means you should build your character and weapons around offensive, rather than defensive play. Riskrunner is a great option, as many of the enemies do arc damage. Osteo Striga is great for clearing adds. Swords like Falling Guillotine are good for tougher enemies, while linear fusion rifles like Taipan 4FR and hard hitting rockets like Gjallarhorn are good for boss damage.
Second, there will be extended periods of platforming. Whatever setup and character you are most comfortable with making long and precise jumps is a good place to start. Remember that your loadout is not locked; you can change weapons and subclass anytime, so it is ok to use one kit for the jumping sections, another for combat areas, and yet another for taking out the bosses.
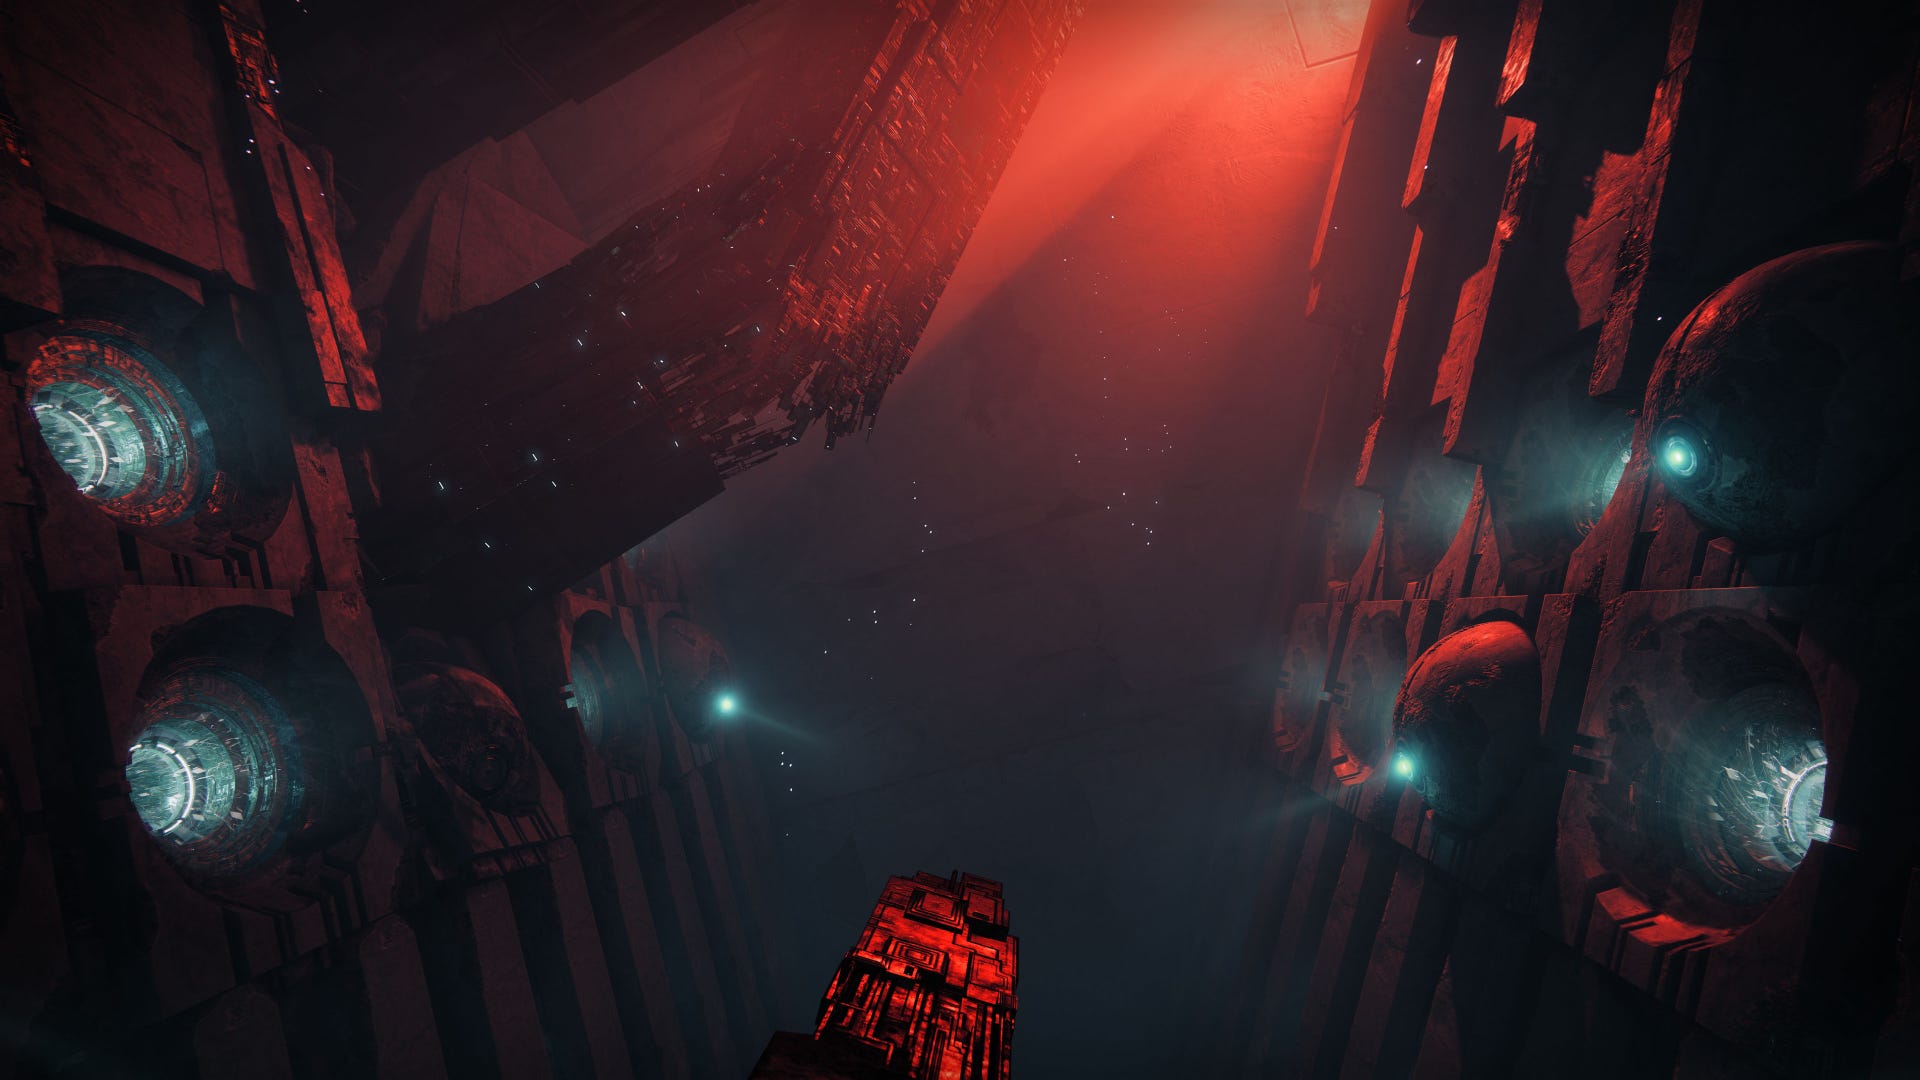
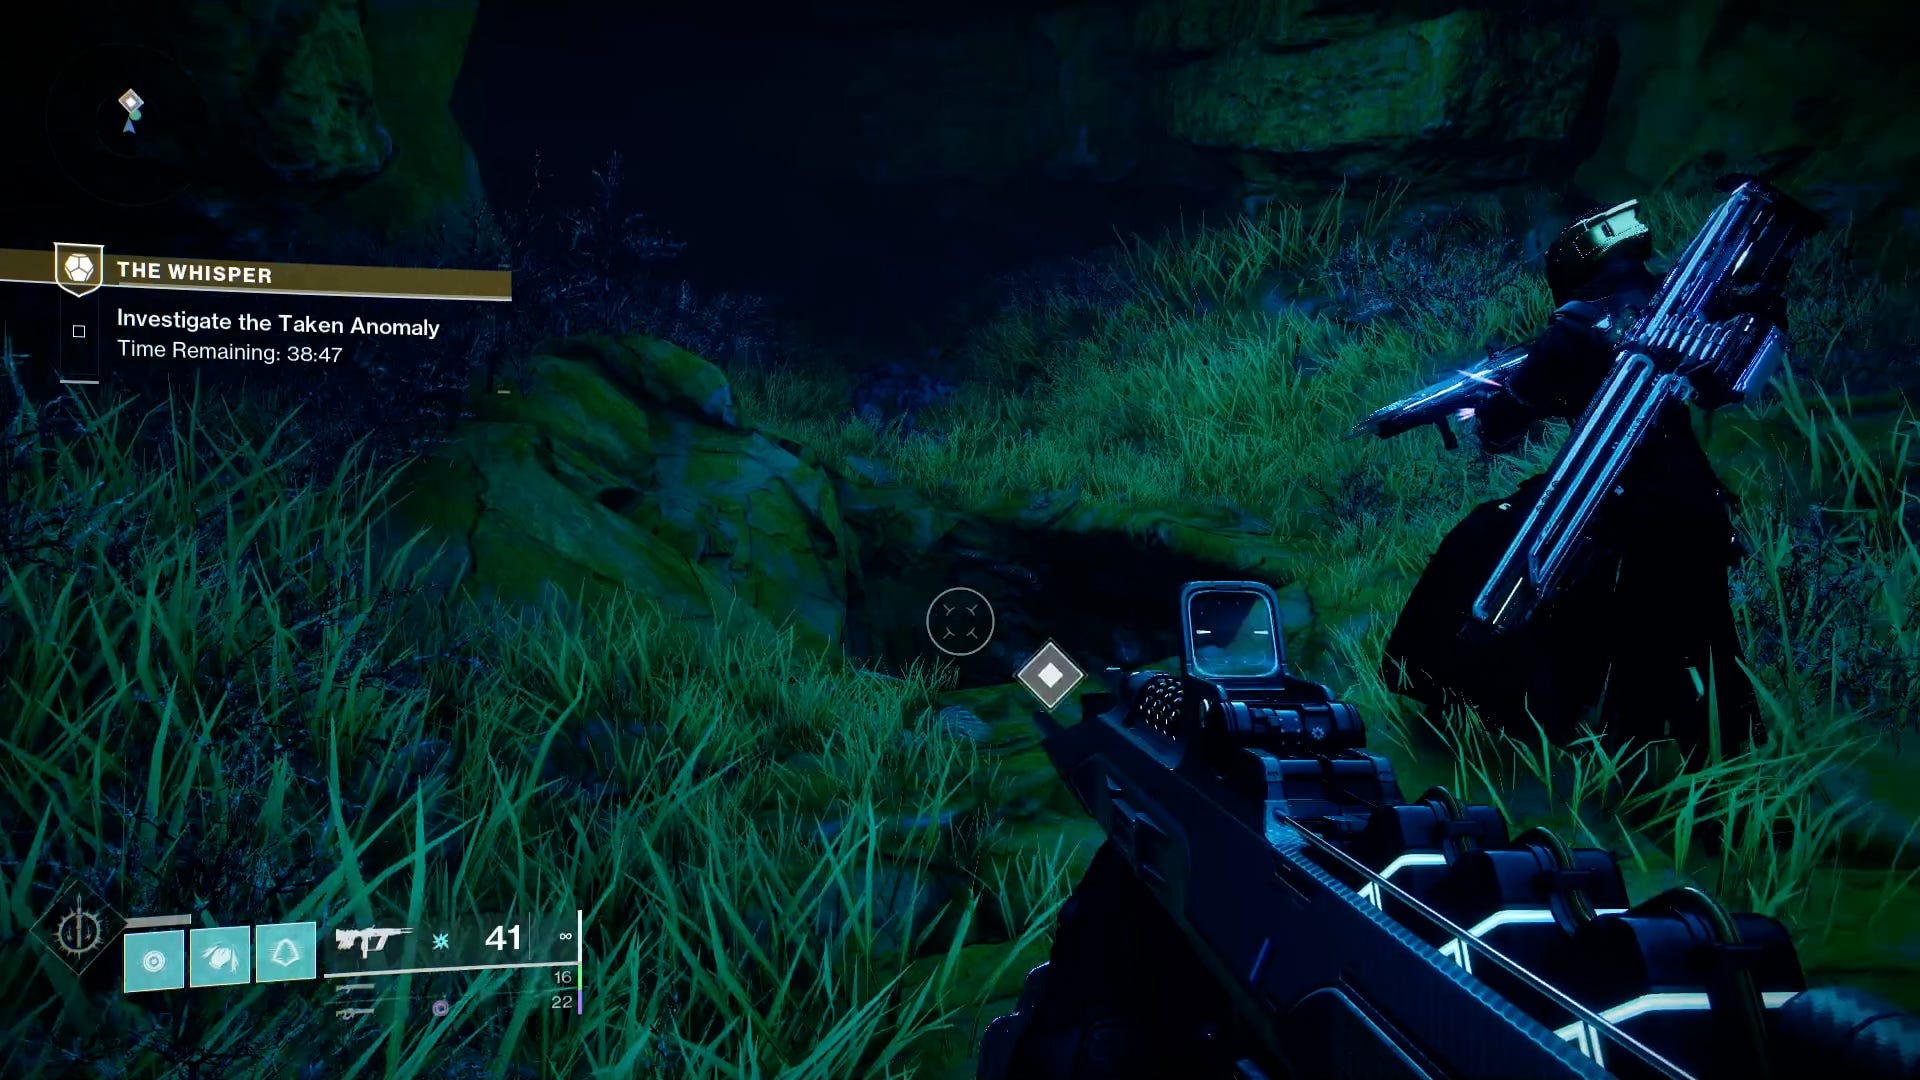
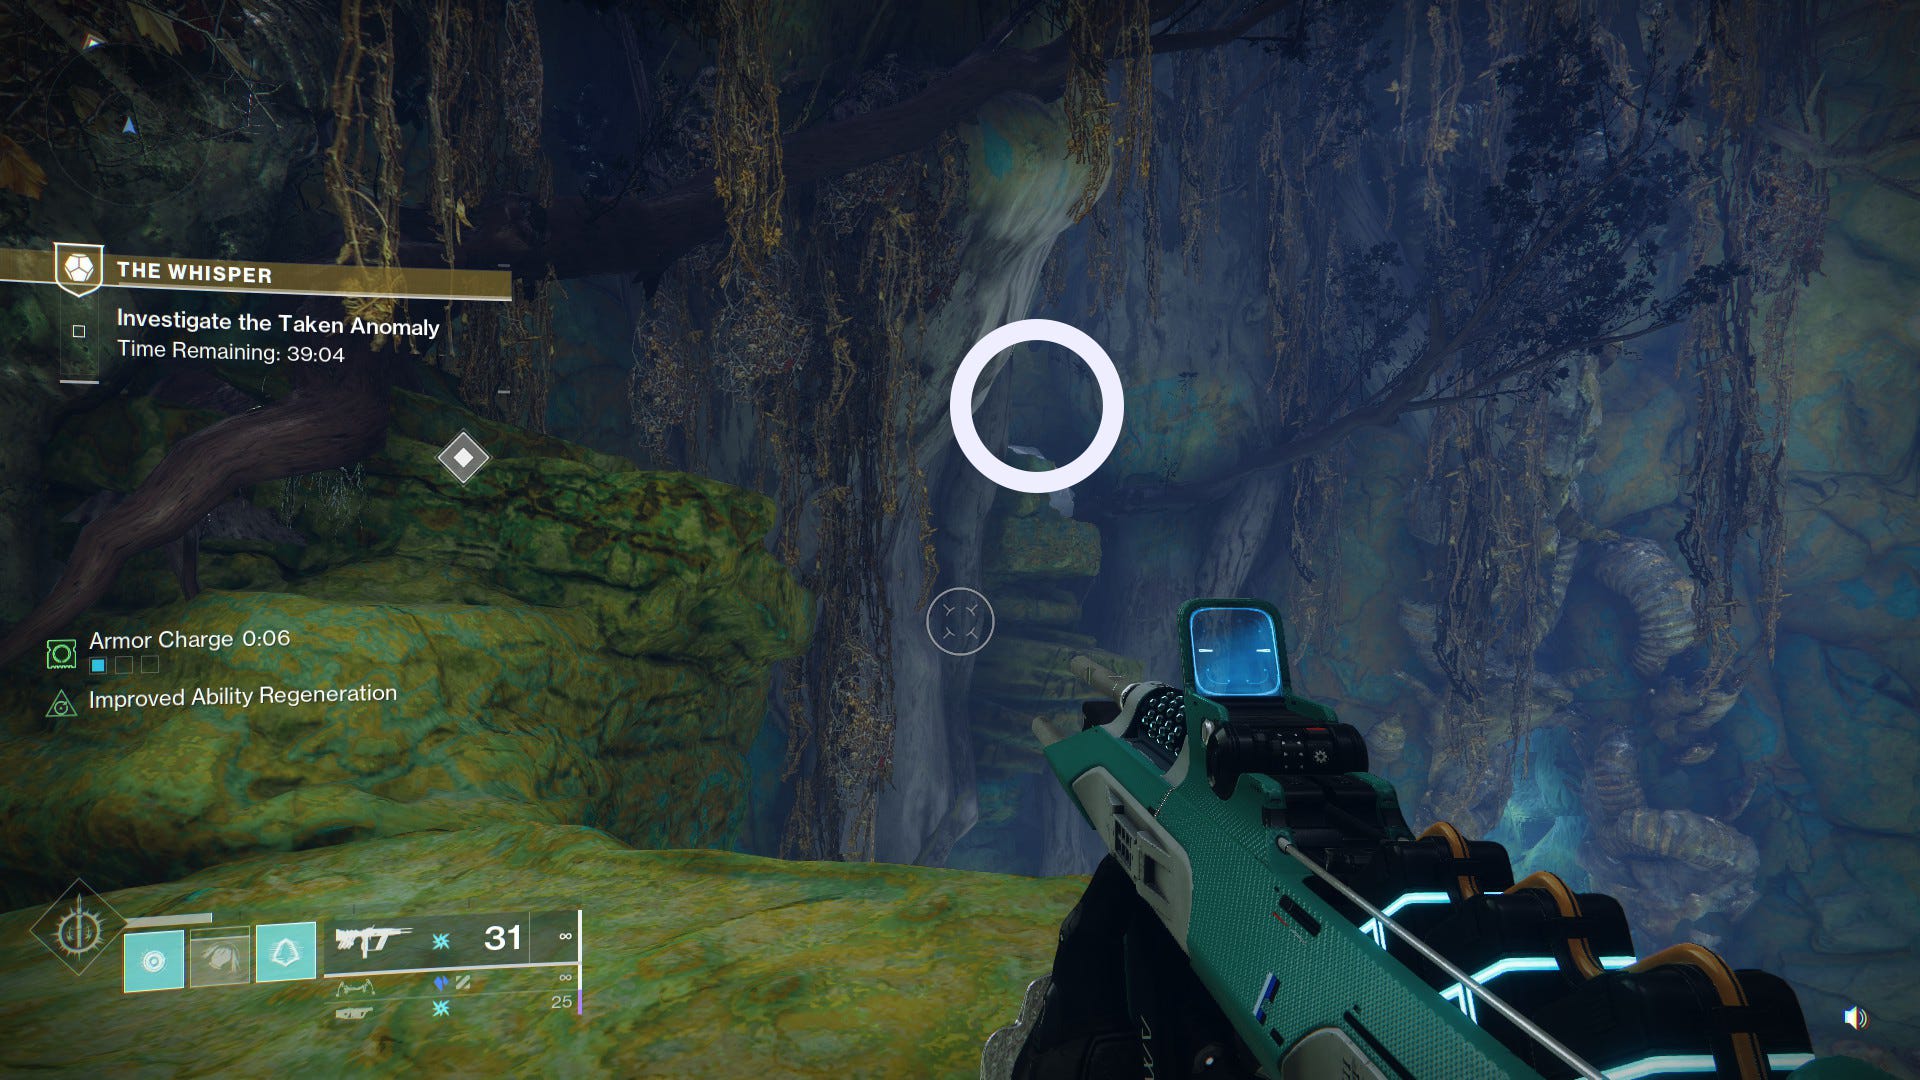
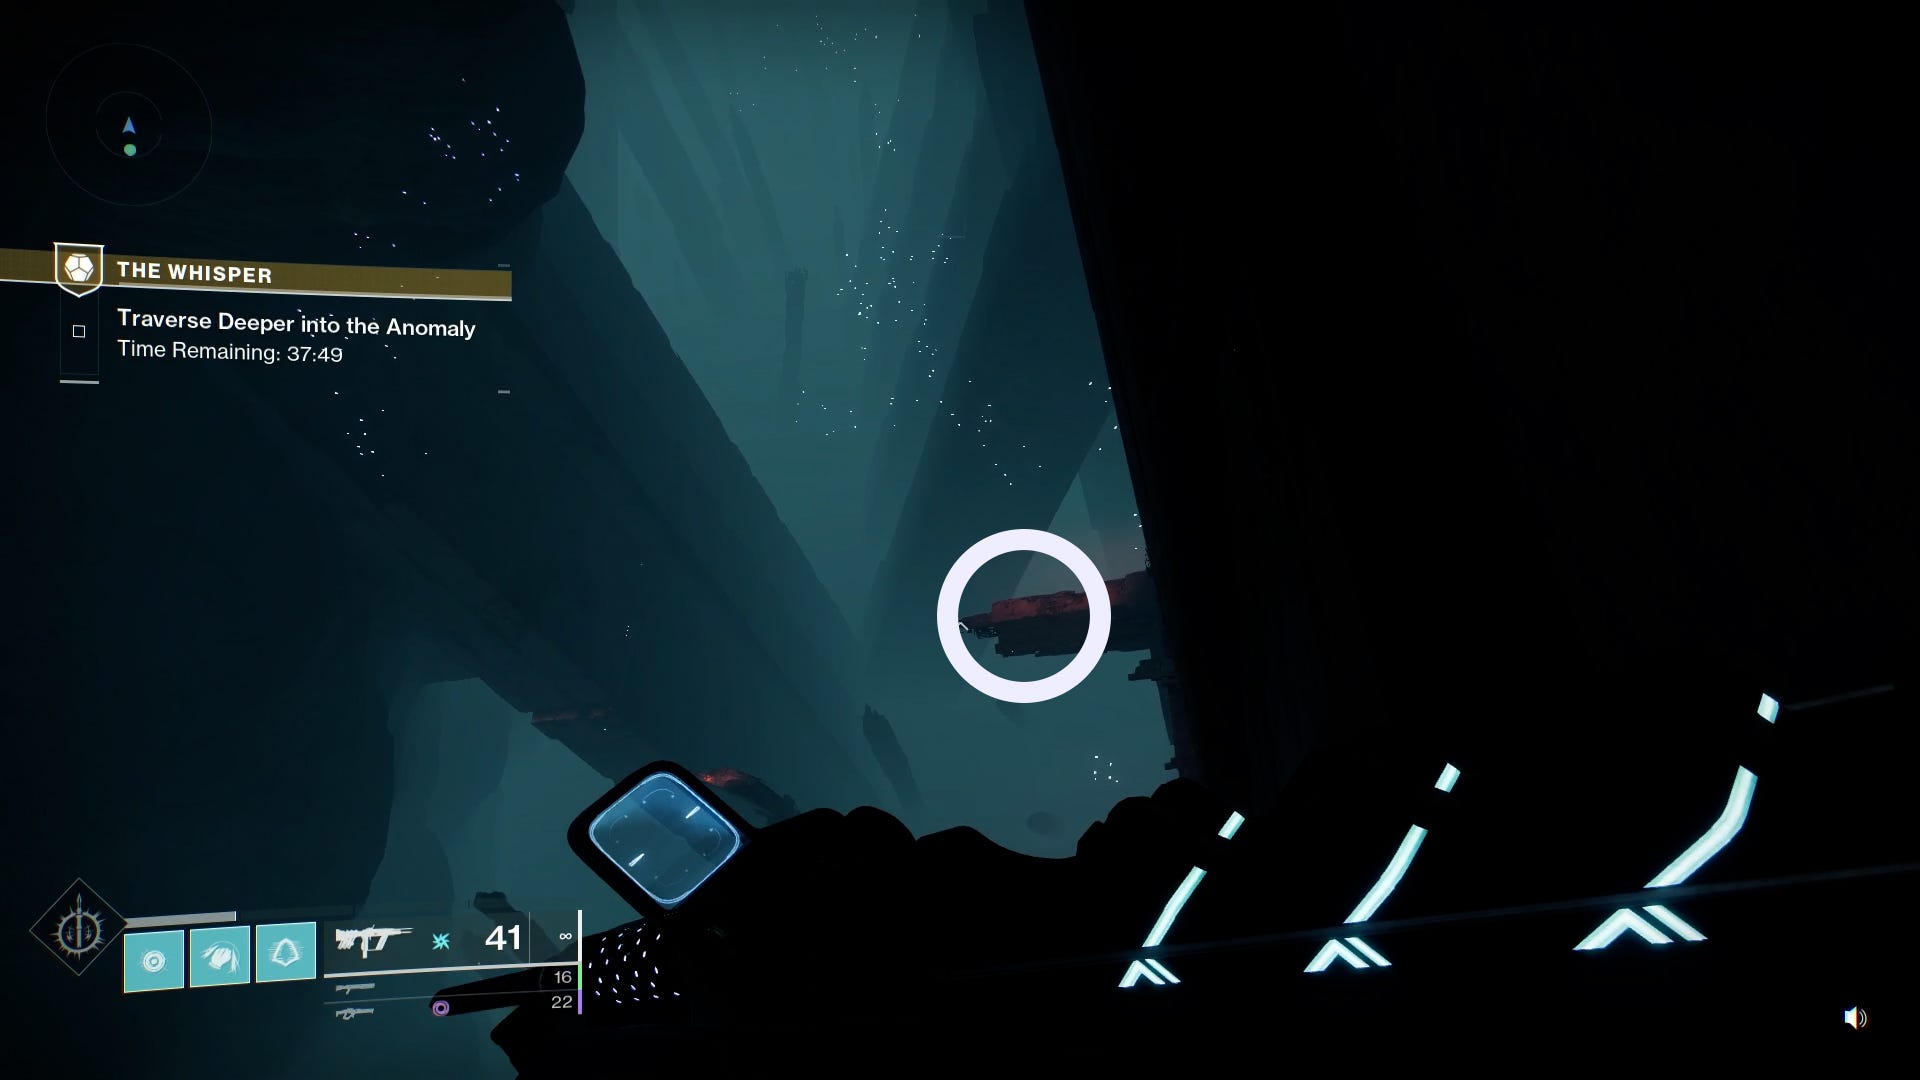
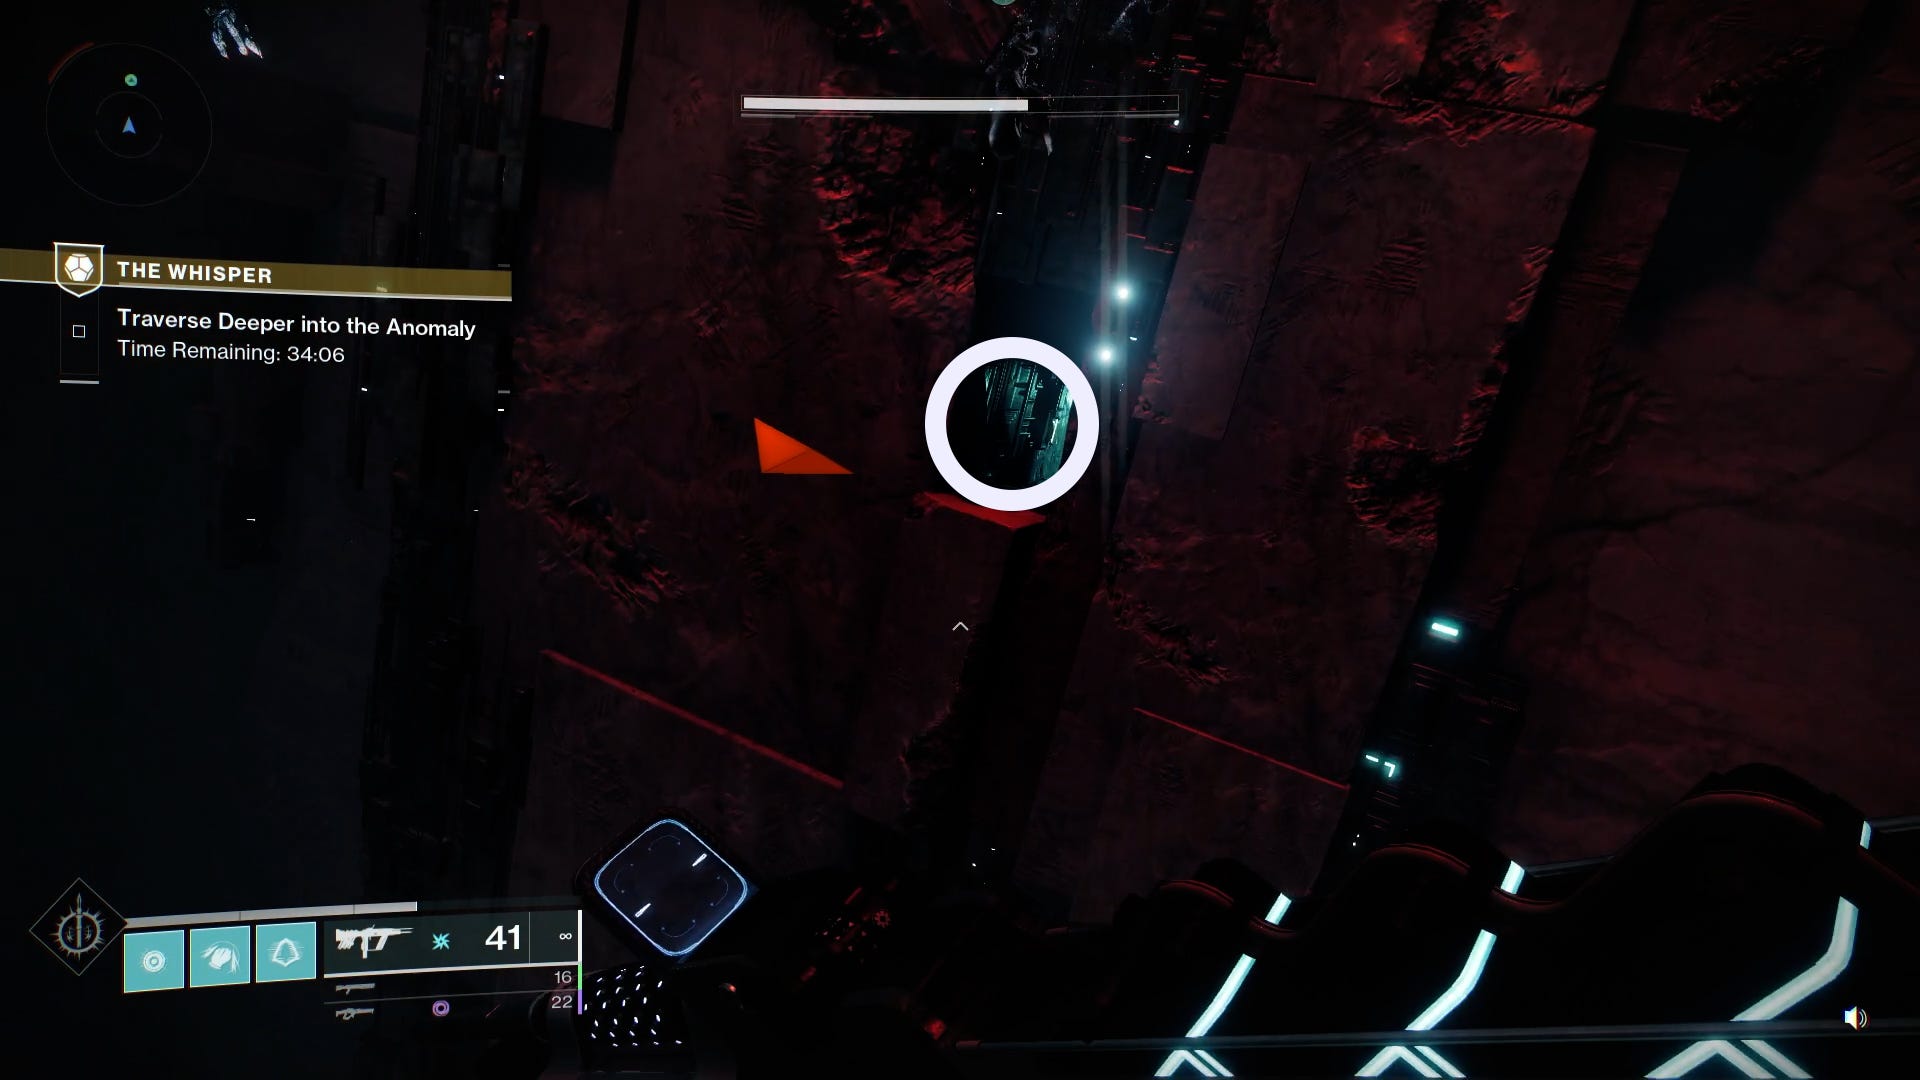
How to traverse the anamoly in The Whisper in Destiny 2
The mission begins with you in a cave on Io. Proceed forward (mind the few Taken enemies) until you come to a ledge. Jump to this rocky opening up ahead. There will be a Phalanx to deal with, and a blight to destroy to open a hole in the ground. Jump in, try to cushion your landing, and proceed forward through the cramped openings.
After a few small jumps you will arrive at a massive open space. Hug the wall to the right and work your way down to this platform.
From there jump across these small steps until you reach the ledge around the big square structure. Follow it left, and be prepared to make a blind jump around the corner to reach a cramped shelf.
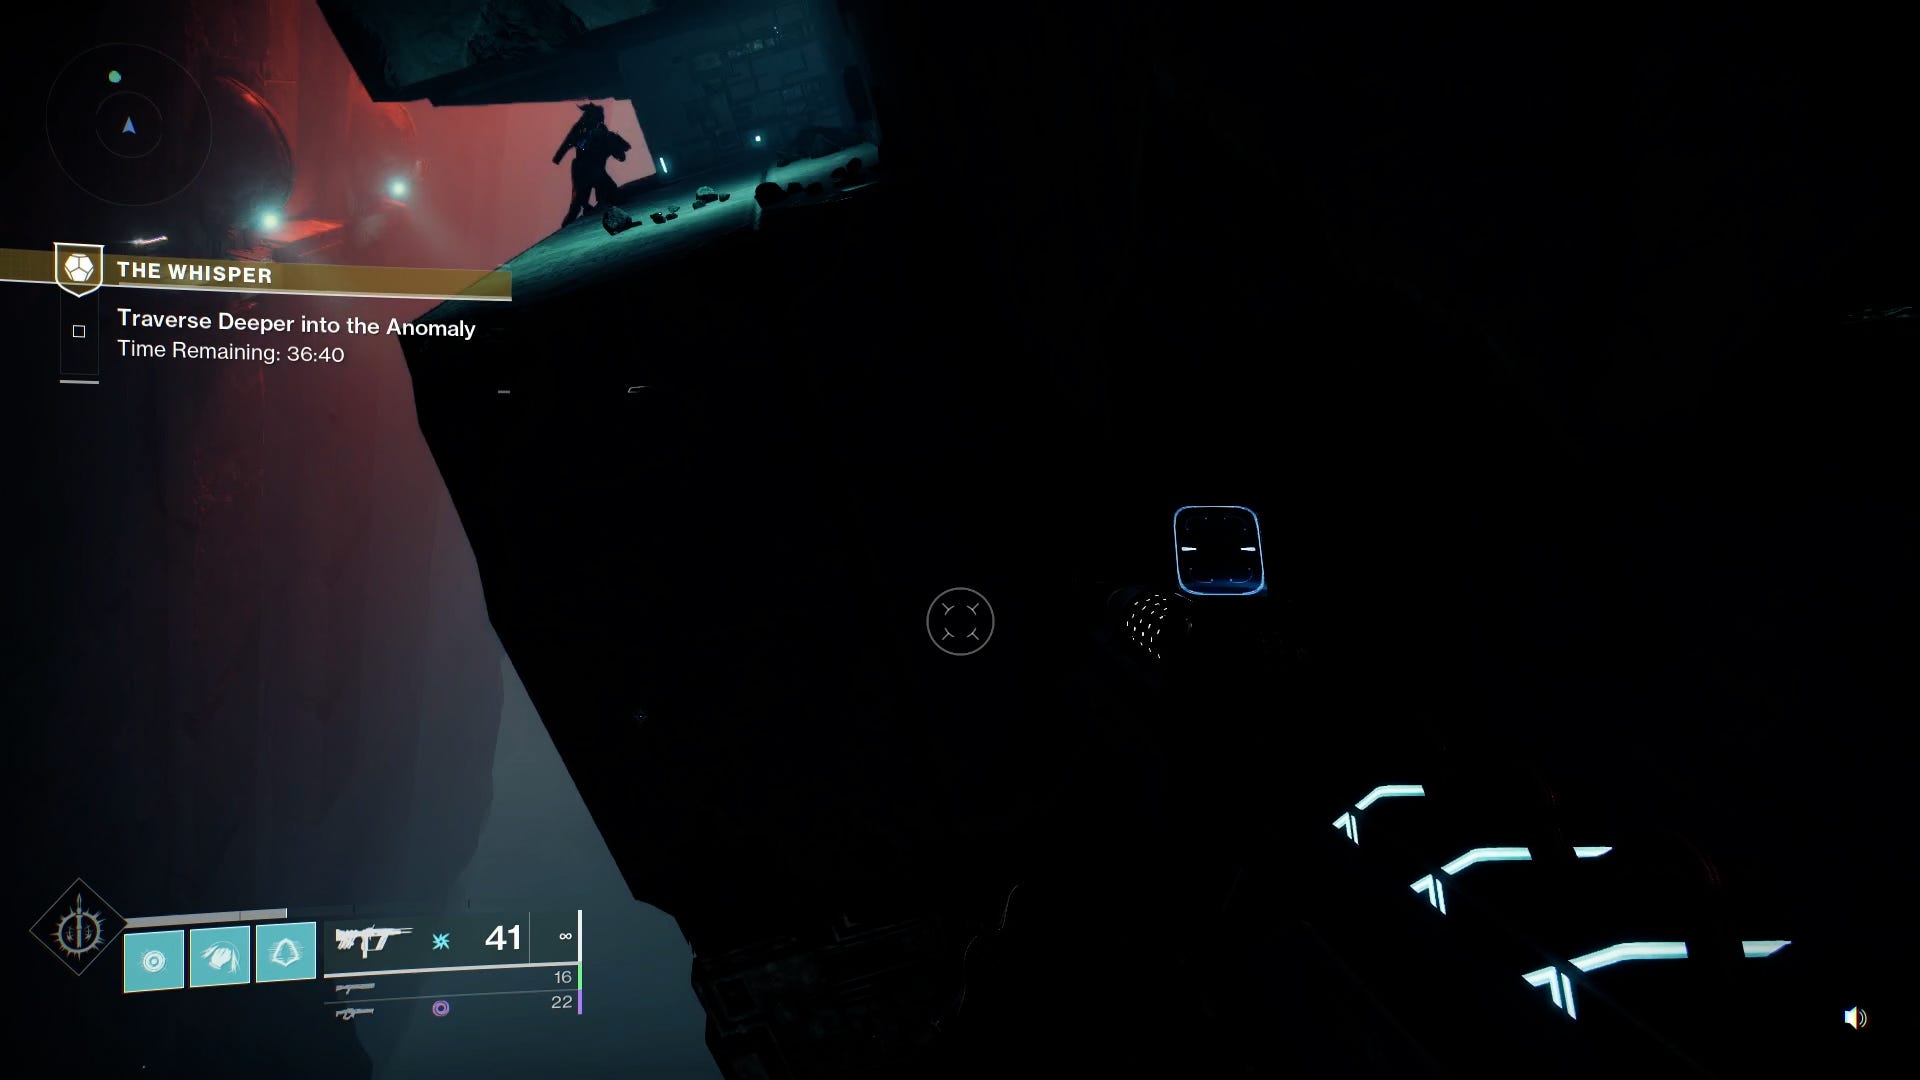
There is a narrow passageway you will cross while crouched. Three sections on this path will periodically push out over your path. Stop at each and wait for them to slide back in so as not to be dropped to your death.
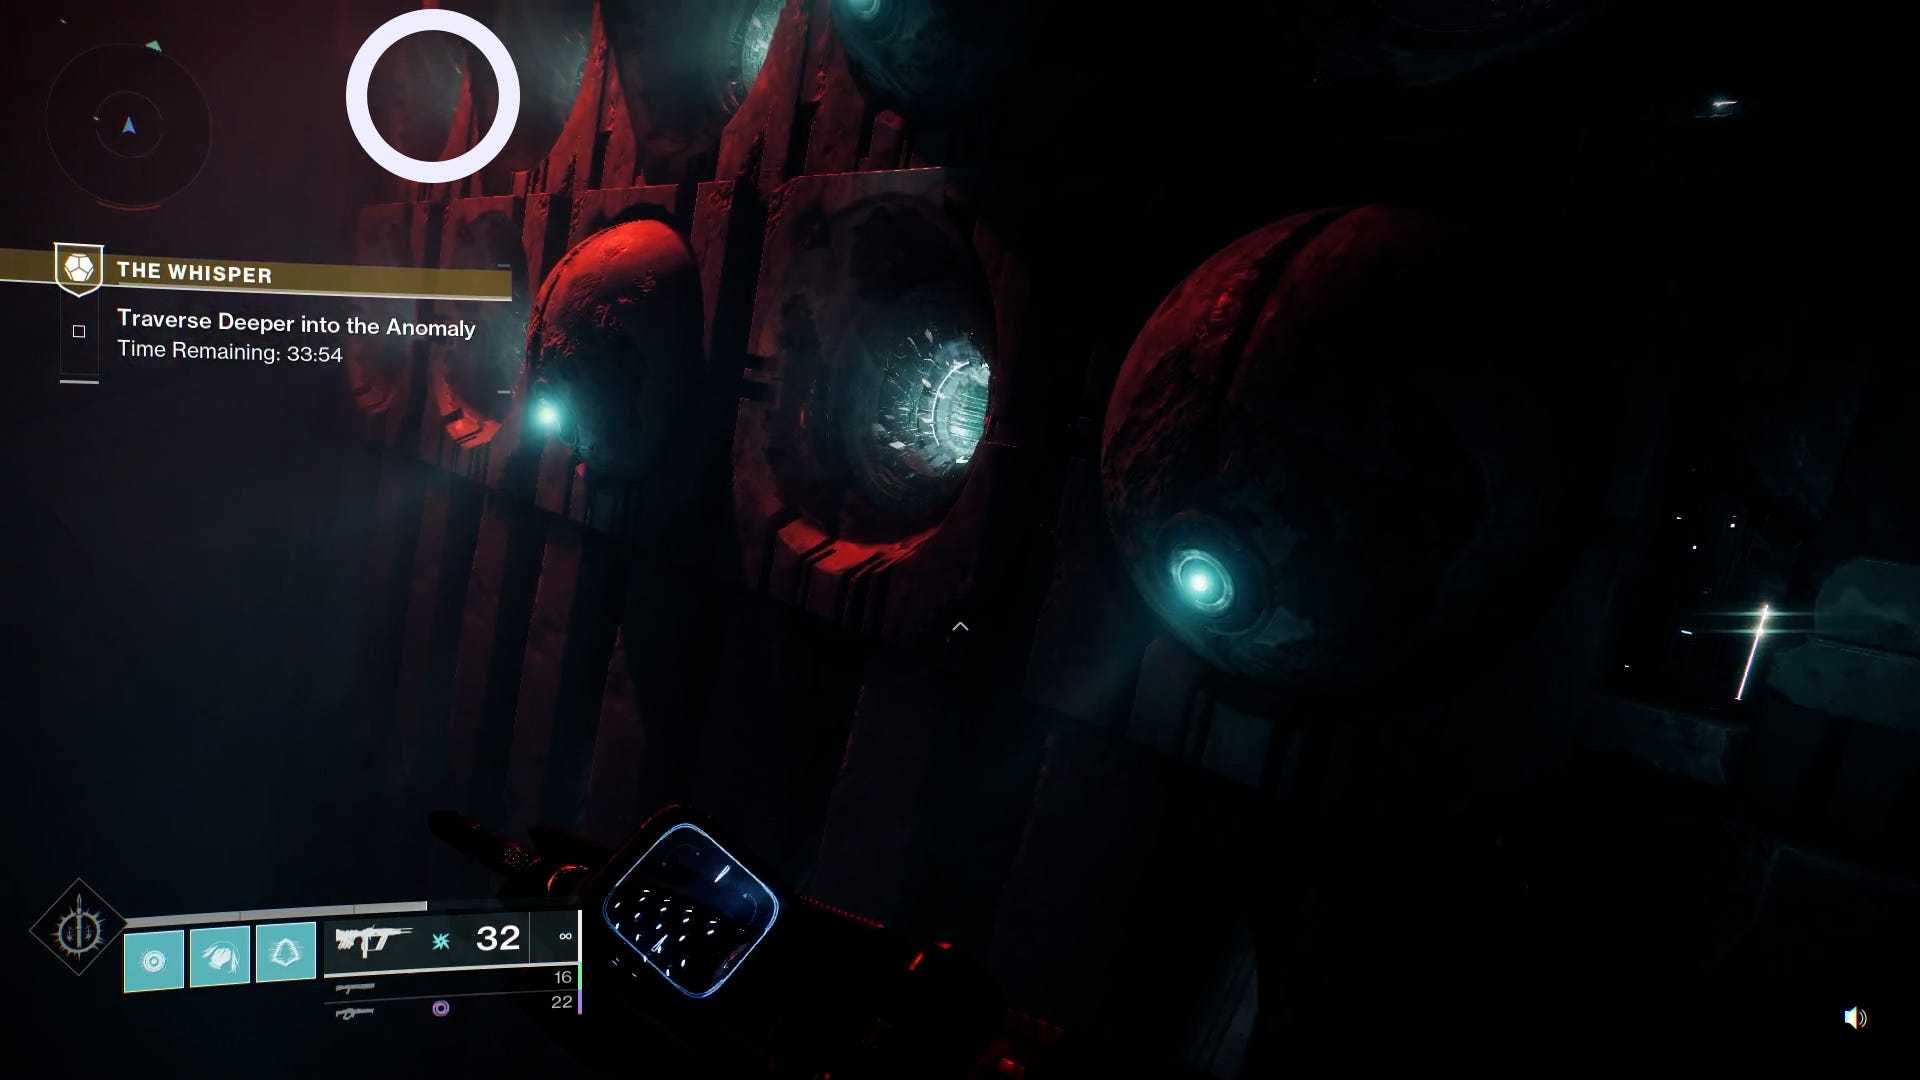
Once you reach the end and can stand back up, look to the left and jump onto the narrow ledge near the wall mounted orbs. Work your way past those until you see this platform moving up and down. Ride it up, and jump onto the raised path. Immediately look left and enter the lit hallway, then turn right and proceed down the strange moving geometry until you come to another open room.
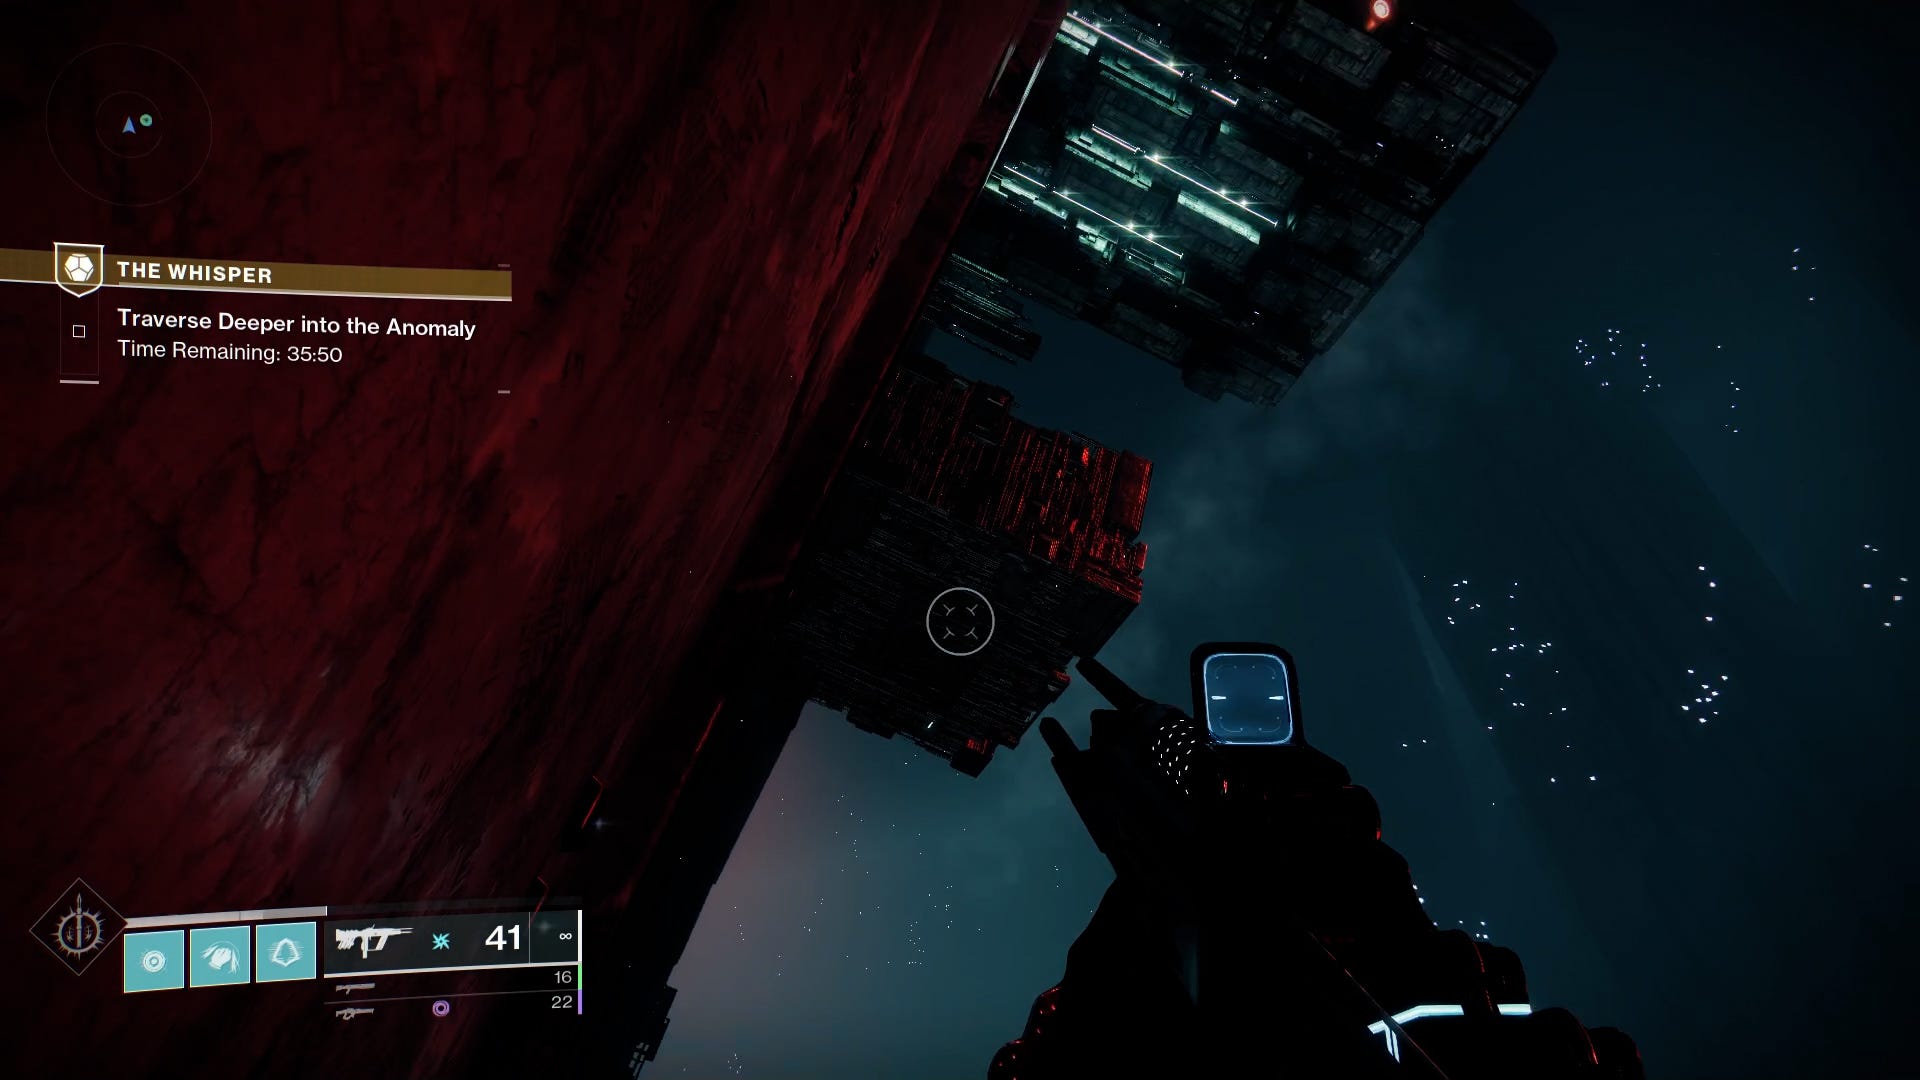
Look forward and you will see a series of narrow paths connected to walls. You will need to jump from one to the other to reach the other side of the room. A periodic blast of energy at each will launch you off, so time your jumps to land right after each shot.
Once you reach the last platform look for this opening, and leap to it.
You will arrive at another open room with holes along both walls. Your destination is the one on the far top right. Jump in to drop down to another path leading to yet another open room.
Take a few steps forward, stop, and turn around. There is a narrow gap behind their rock you can crouch and squeeze into. Drop down, turn right, and move forward until the space opens up again.

Keep to the left around the rounded wall until you reach another extended platform. Look down to see a lit opening far below. Take a running leap, and do your best to cushion your landing.

Follow the patch as it winds to your left, jump to an open up and to the left in the last room, and you will be clear of the platforming section.
How to Eridicate the Taken in The Whisper in Destiny 2
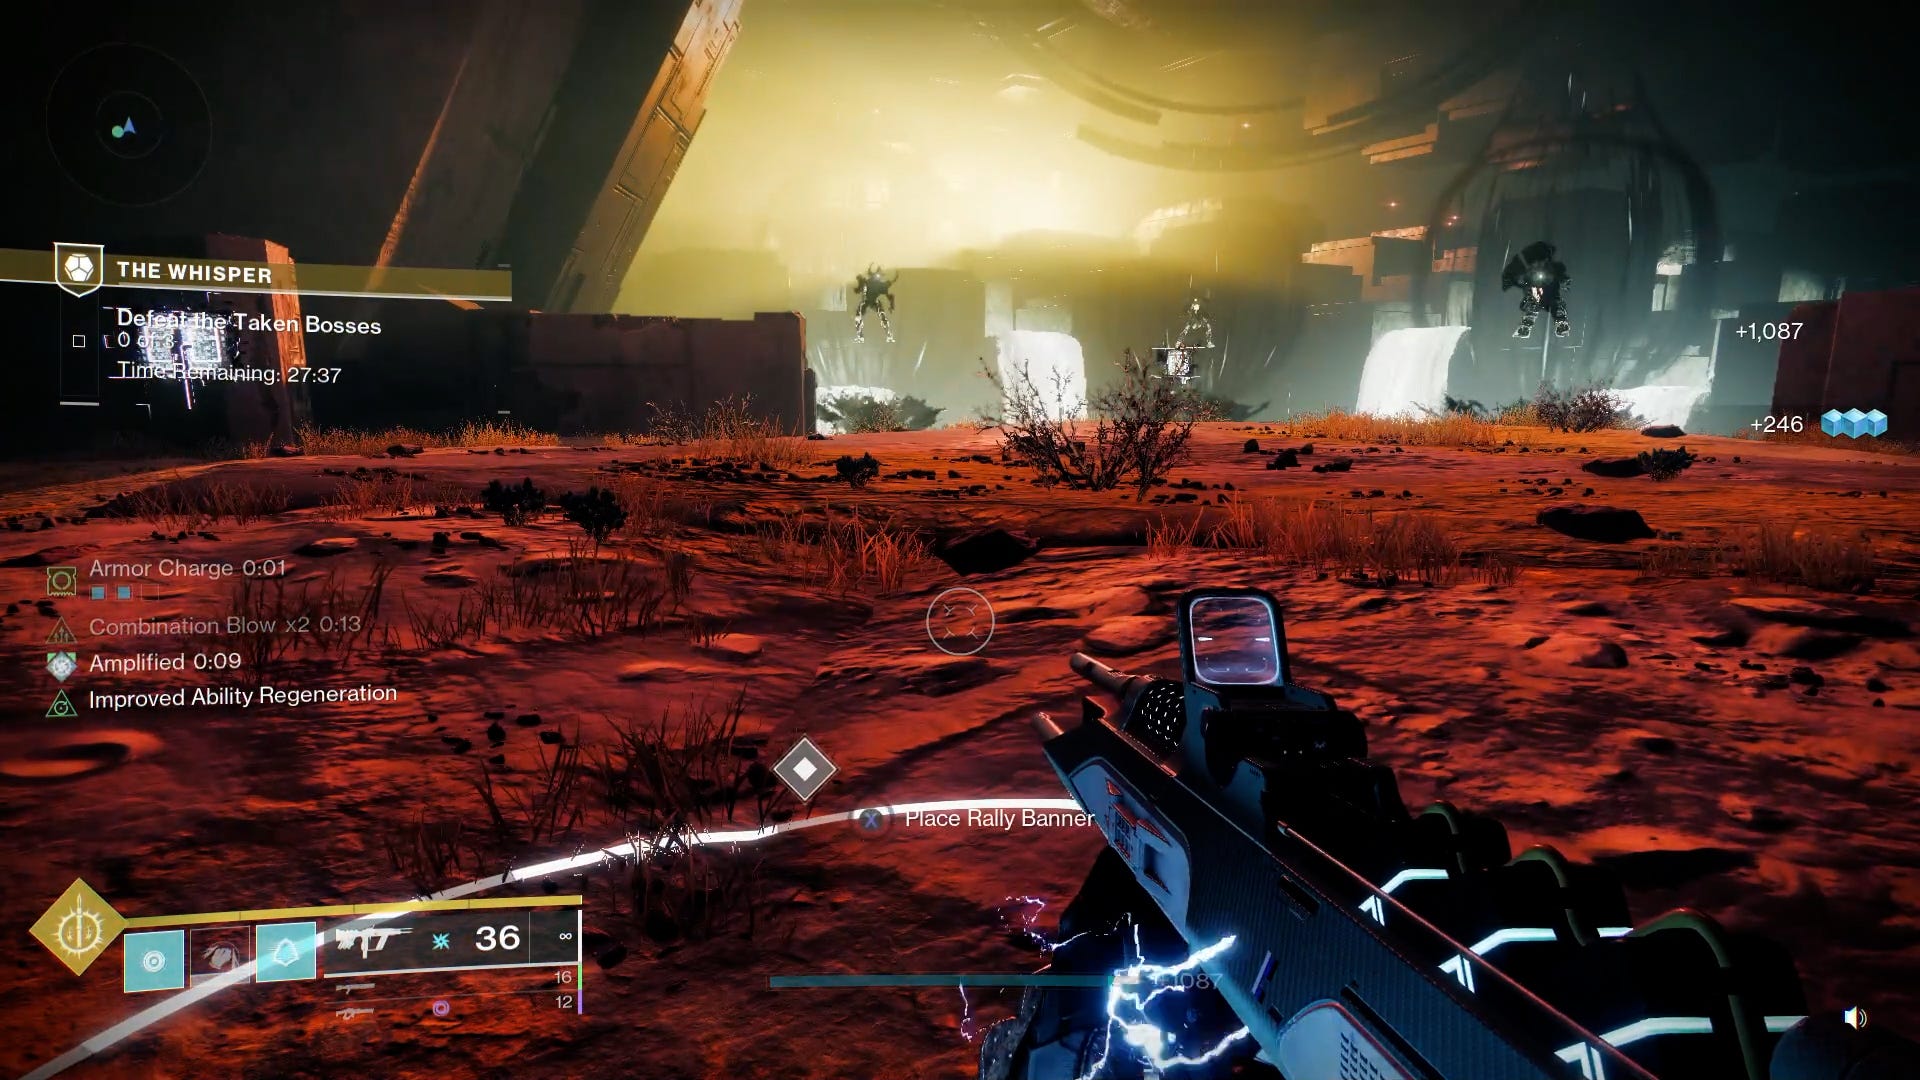
The second half of The Whisper is all about combat. You will need to clear all the enemies out of a series of rooms in order to spawn a blight which, when destroyed, opens the path forward.
The first room is filled with Taken Thralls in the front, and snipers in the back. A roaming super like Hammer of Sol or Arc Staff is great here, especially if you focus on reaching the tougher enemies at the rear of the room first. Clear them and open the door to proceed.
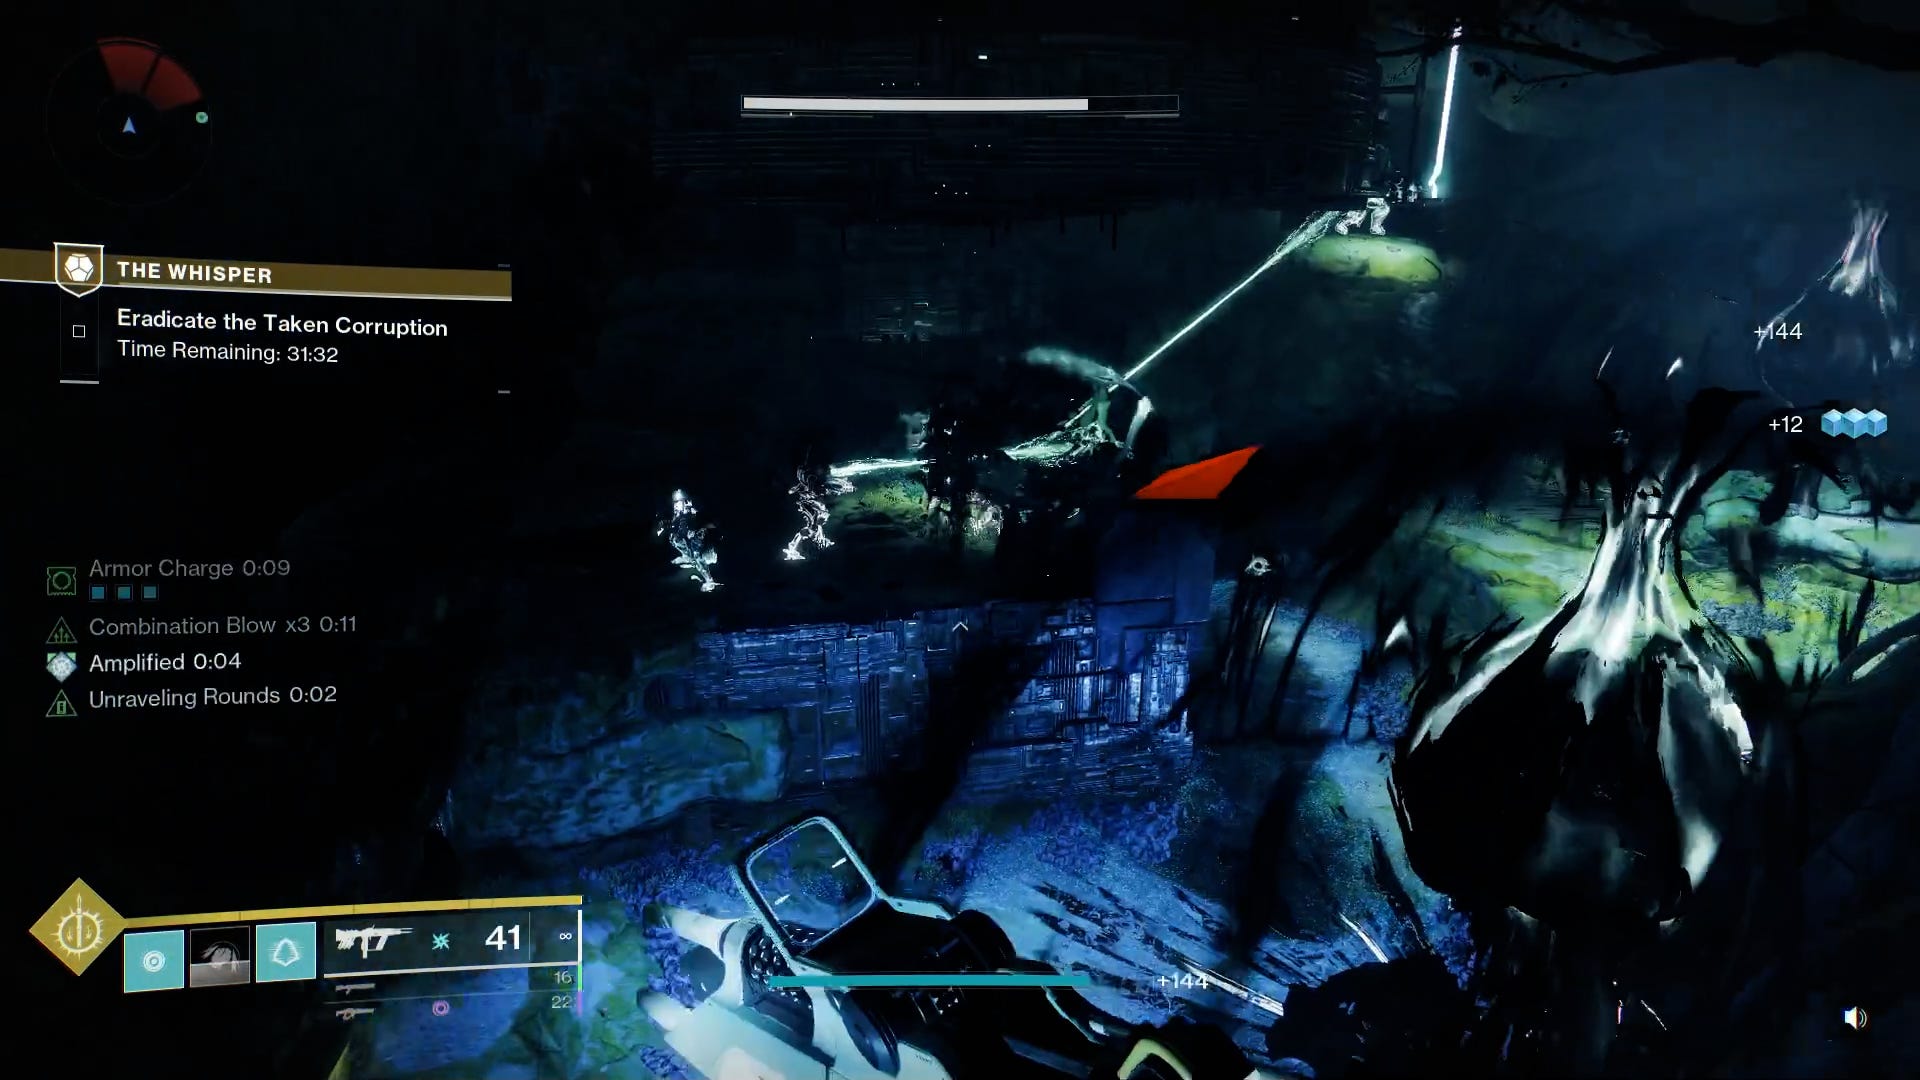
The next two rooms are similar. The first one is confined, and the main challenge is a group of Taken Captains. Clear everyone out and open the door to reach a large room with an upper and lower level. A good tactic is to follow the right wall forward, clearing all the enemies as you go, and wrapping around in a large U shape when you reach the front. Be careful of the Taken Knights, the pools of fire their attacks leave can quickly take down your health, costing valuable time while you respawn.
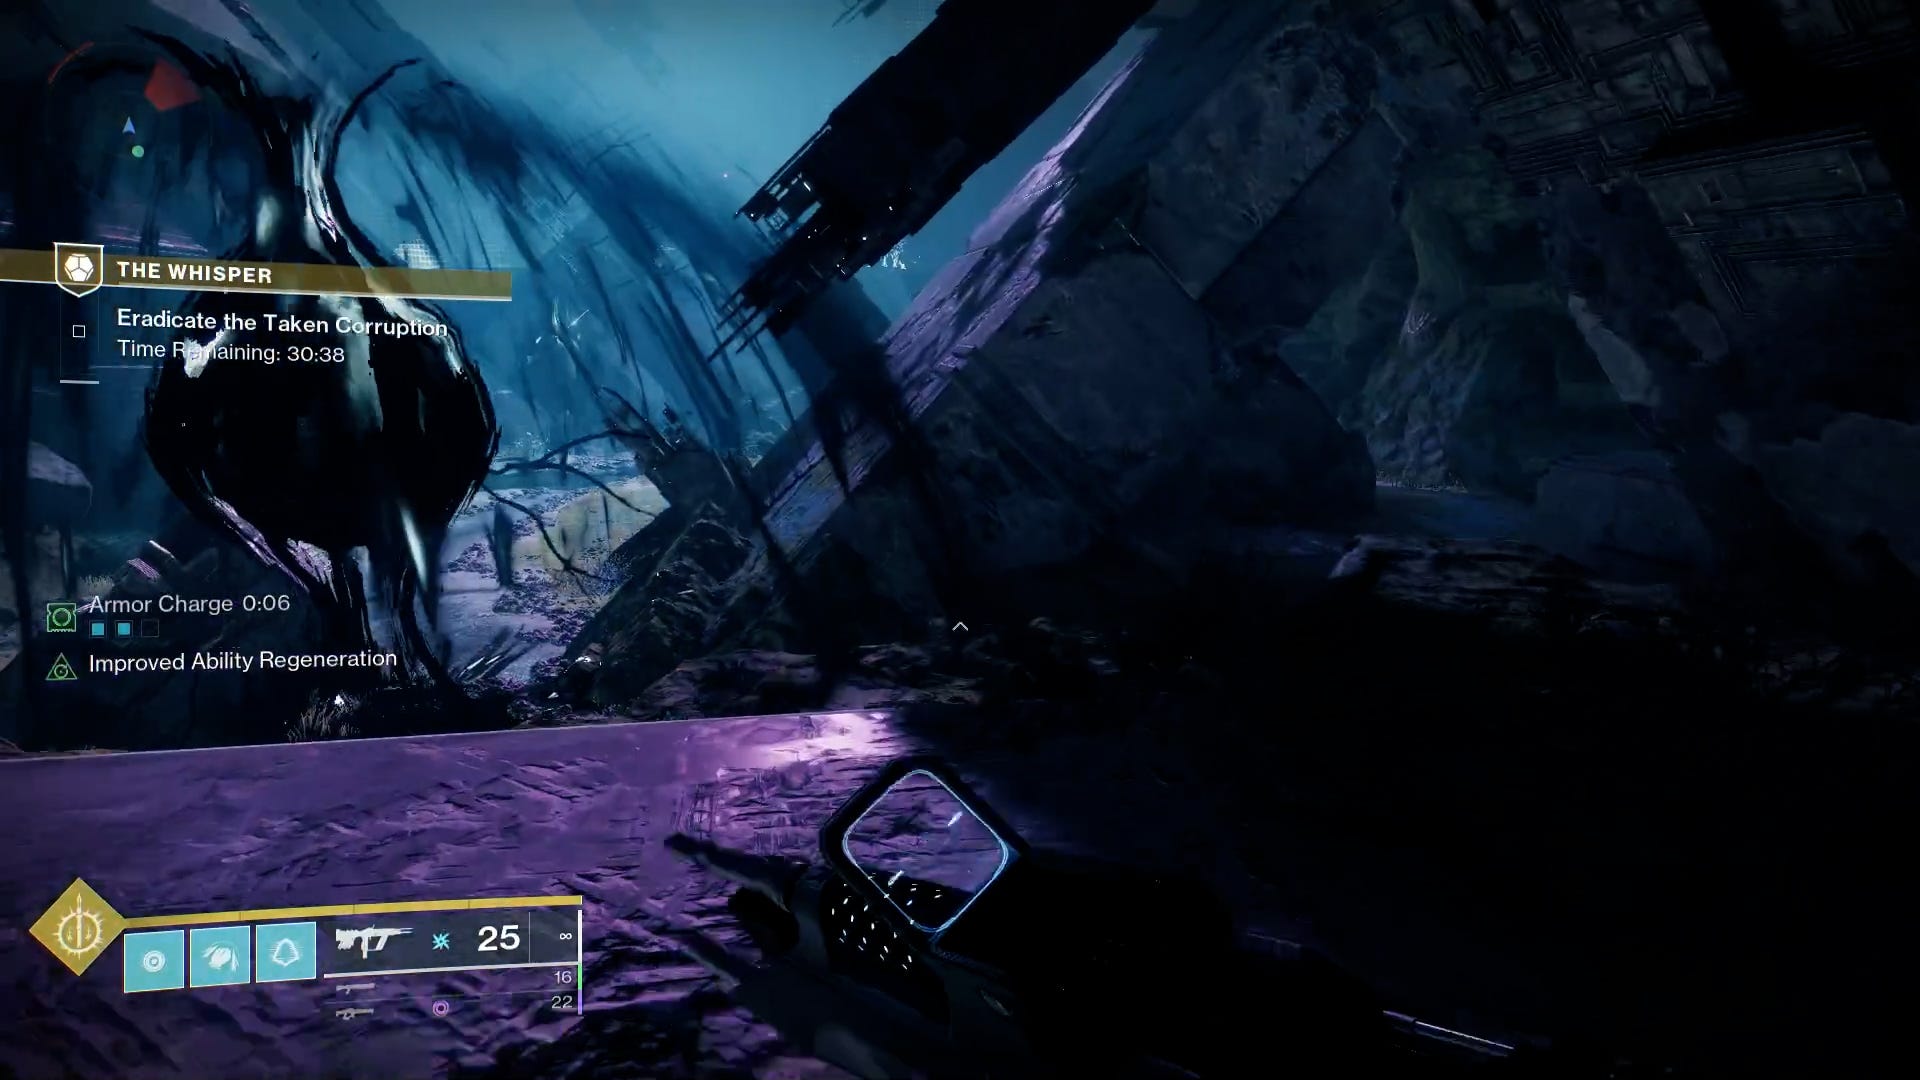
Once that room is cleared you can open the door forward. Target the snipers ahead and up first, but be cautious of a pair of Taken Phalanx that will spawn behind you. Once they are dealt with, turn your attention to clearing the Take Psions around the perimeter of this space. Once the last once is gone a blight will spawn at the center of the room. Jump down to reach the boss room.
How to defeat the bosses, including Tulgorh, Aspect of Agony, in The Whisper
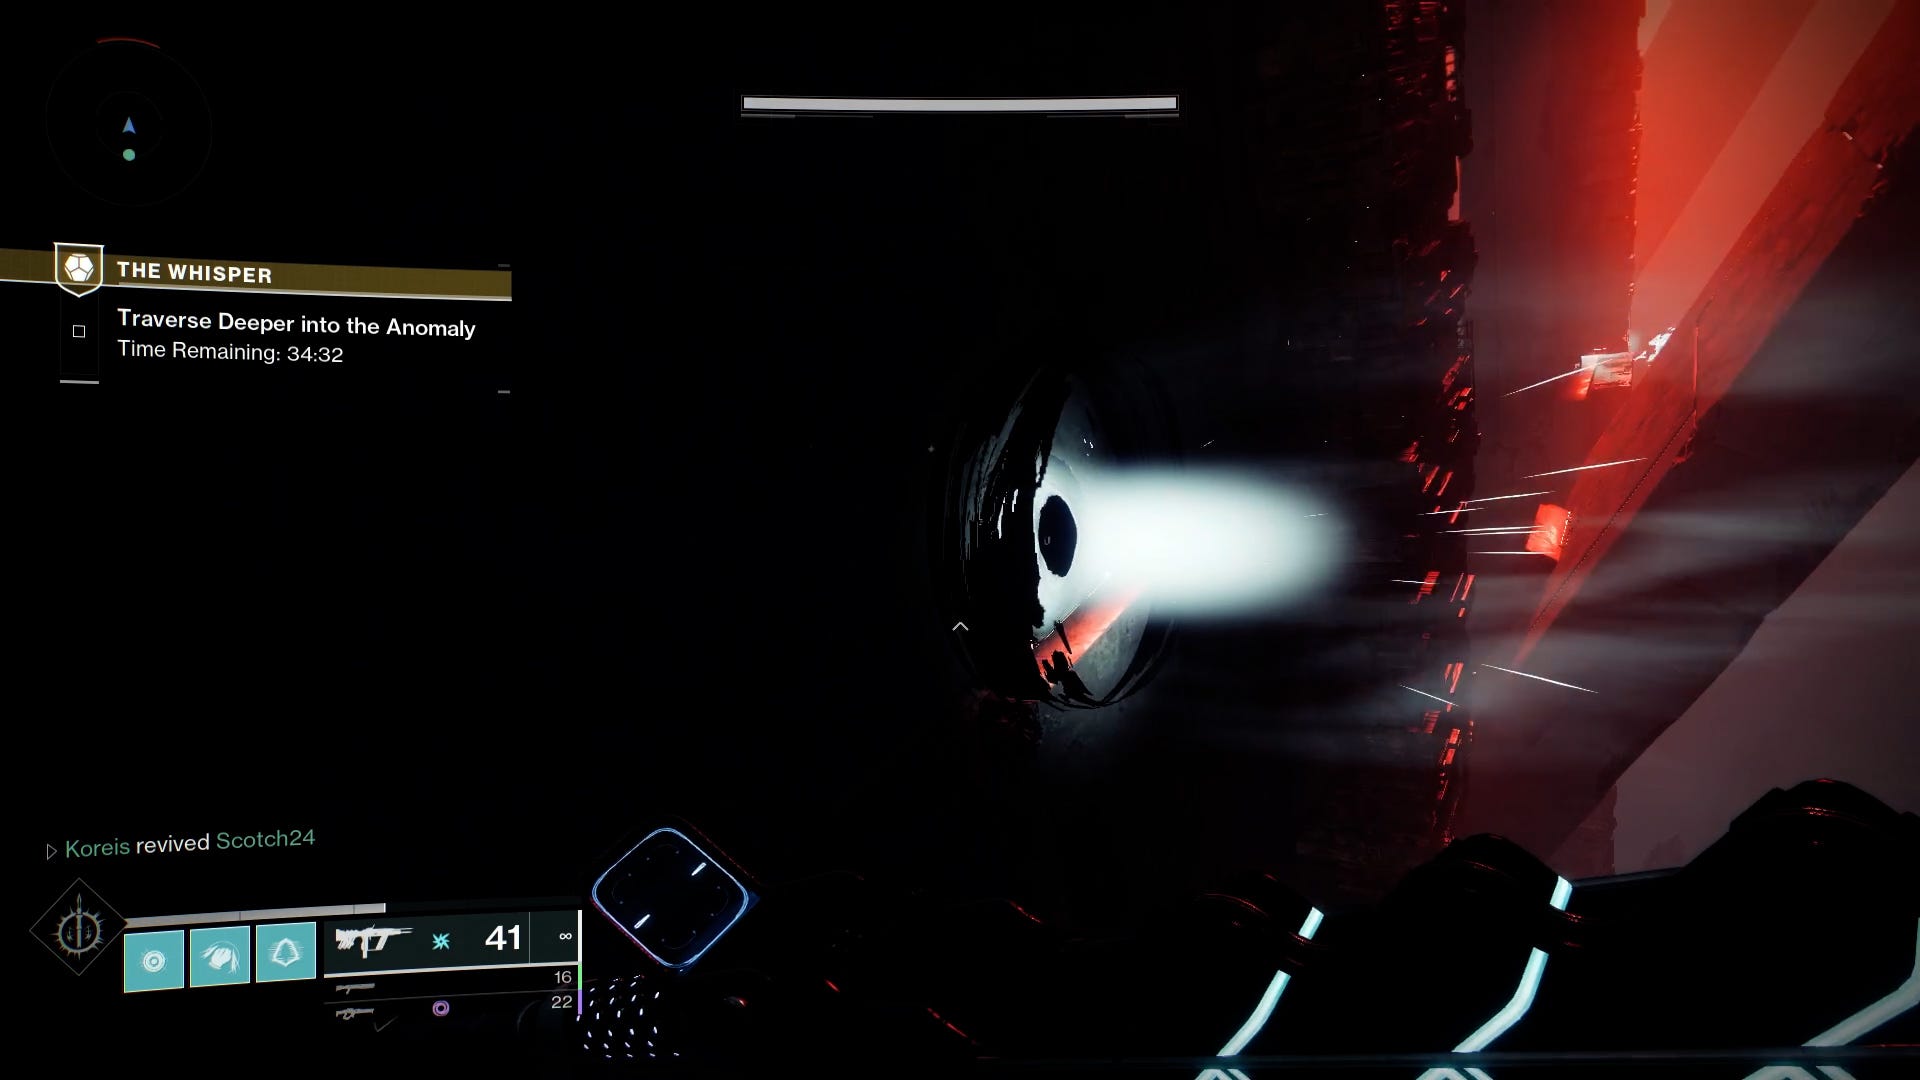
The final challenge of The Whisper is a multi phase boss fight. As you drop down the entry way you will need to leap over a gap (be prepared do that anytime you die and respawn). Clear all of the adds to see a rally banner location and three vex cubes appear. Each cube corresponds to one of the three bosses. Break them one at a time to each boss. Once one boss goes down, summon the next. Repeat this until all three have been dealt with.
Now the big boss appear, Tulgorh, Aspect of Agony. This massive ogre is being shielded bay a pair of wizards near the rear of the arena. Kills them to drop Tulgorh’s shield and unload as much damage as you can into him. Eventually he will start summoning Taken Thralls. These annoying enemies are weak, but will never stop appearing during this fight. You can take some out, but concentrate on the boss as much as you can.
After Tulgorh reaches half health the wizards will appear again. Eliminate them as before, and continue focusing fire on the big guy. Use your heavy weapons and super abilites as they come available, and you will eventually wear him out, and claim victory.
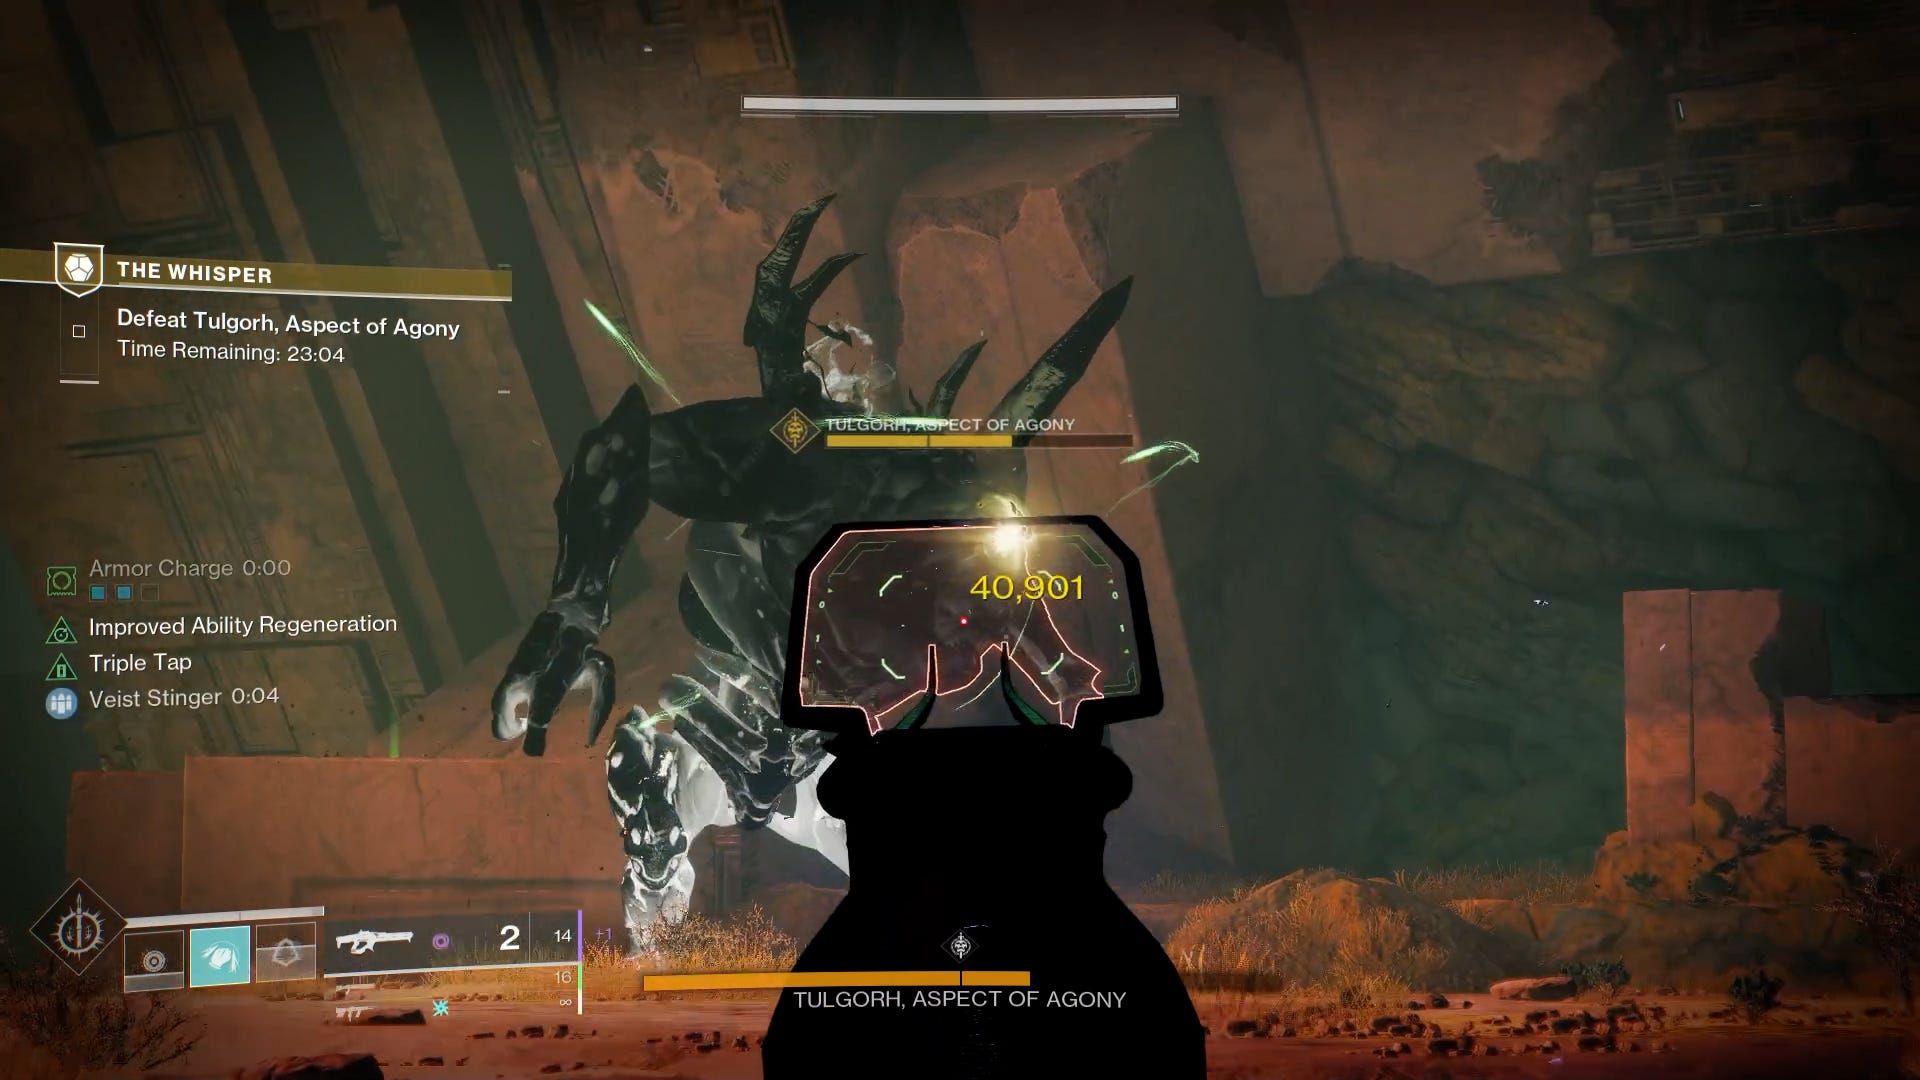
Once he falls a chest will appear at the end of the room. Open it to claim your prize, the Whisper of the Worm sniper rifle. Congratulations on a job well done!