Death Stranding - Episode 2 missions list: How to complete Orders 4 to 16 to bring Port Knot City into the Chiral Network
How to complete every main objective in Episode 2.

Death Stranding Episode 2 - Amelie has you complete a series of Orders in order to bring Port Knot City into the Chiral Network.
This is your first taste of freedom in the game, though you are required to complete pretty much every main Order handed to you as part of Death Stranding's mission structure.
There are also a handful of optional Orders to take which act as useful tutorials, many of which giving you additional insight into how Death Stranding multiplayer works.

On this page:
- Order 4: Smart Drug Delivery: Waystation West of Capital Knot City
- Order 5: Rare Metal Delivery: Waystation West of Capital Knot City
- Order 6: Construction: Postbox
- Order 7: Recovery: Chiral Printer Interface
- Order 8: Collection: Chiral Crystals
- Order 9: Power Supply Unit Delivery: Wind Farm
- Order 10: Construction: Bridge
- Order 11: Resins Delivery: Distribution Center West of Capital Knot City
- Order 12: Recovery: Confidential Documents
- Order 13: [URGENT] Cryptobiote Delivery: Capital Knot City
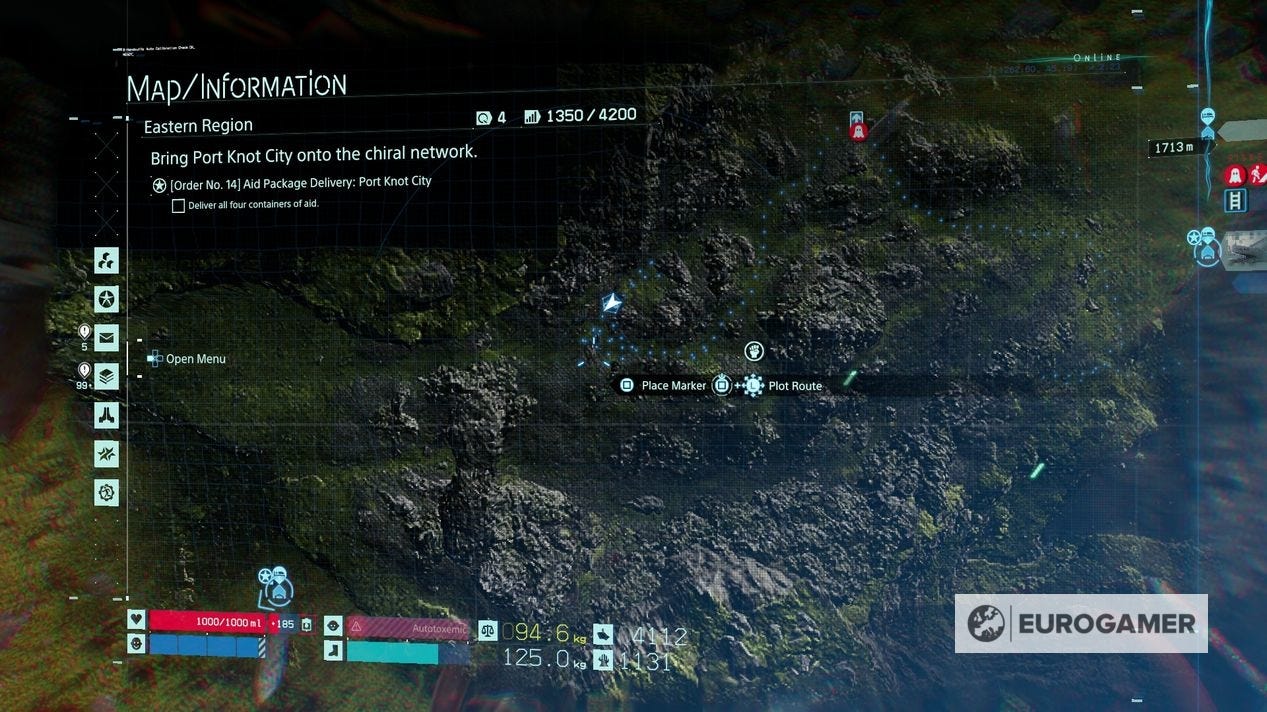
- Order 14: Aid Package Delivery: Port Knot City
- Order 15: Equipment Trial: Hematic Grenade
- Order 16: Elimination: BT
If you're looking for more from the critical path, our Death Stranding walkthrough can help.
Order 4: Smart Drug Delivery: Waystation West of Capital Knot City
- Objective: Deliver the Smart Drugs to Waystation West of Capital Knot City.
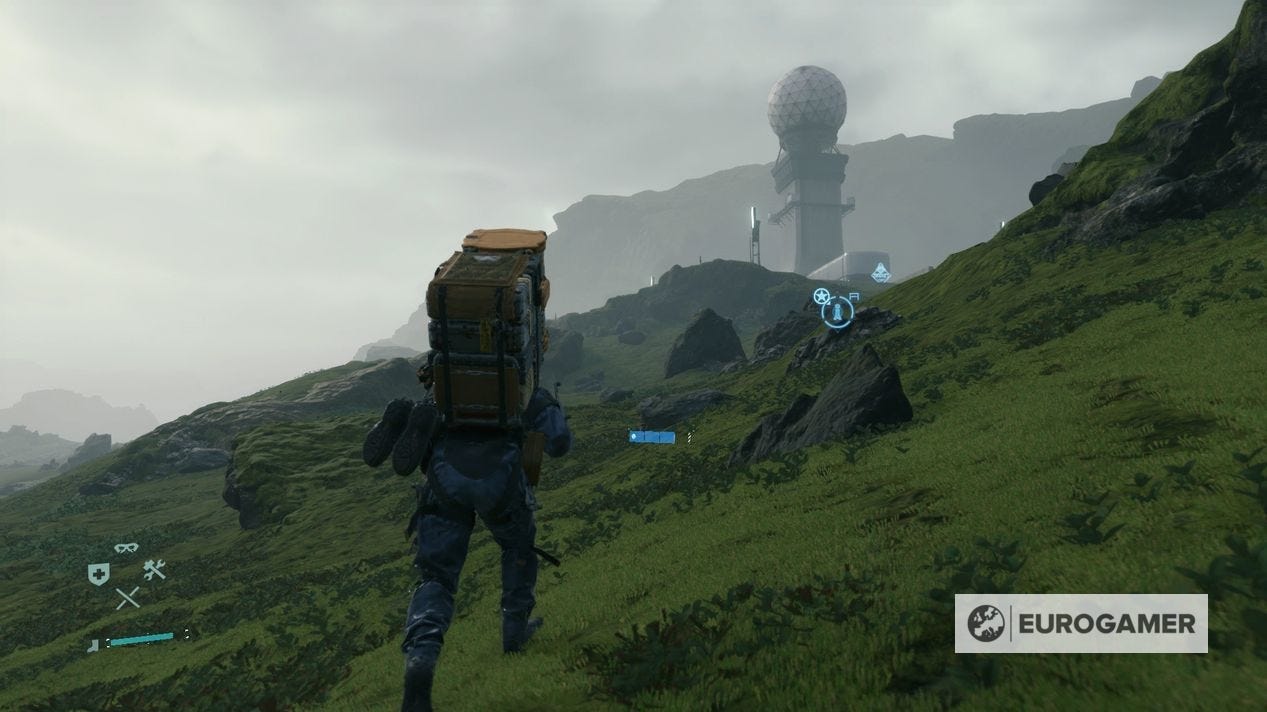
- Tips: This is a fairly straightforward mission. As you leave, as with the previous mission, use the Watchtower on your right to get a higher view of the plains ahead, and create a waypoint of the objective - the Waystation West of Capital Knot City - so it remains on your screen as you go.
- Unlocks: Adds 'Waystation West of Capital Knot City' to UCA Chiral Network, Postbox, Orders 5 and 6
Order 5: Rare Metal Delivery: Waystation West of Capital Knot City
- Objective: Deliver all six containers of rare metals.
- Tips: This will be your first encounter with Mules - though they will flee due to a storm in a cutscene before they reach you - making for an easy delivery.
- Unlocks: Adds 'Distribution Centre West of Capital Knot City' to UCA Chiral Network, Watchtower, Orders 6 and 7, Cuff Link features 'Mail' and 'Data', ability to Recycle at delivery terminals
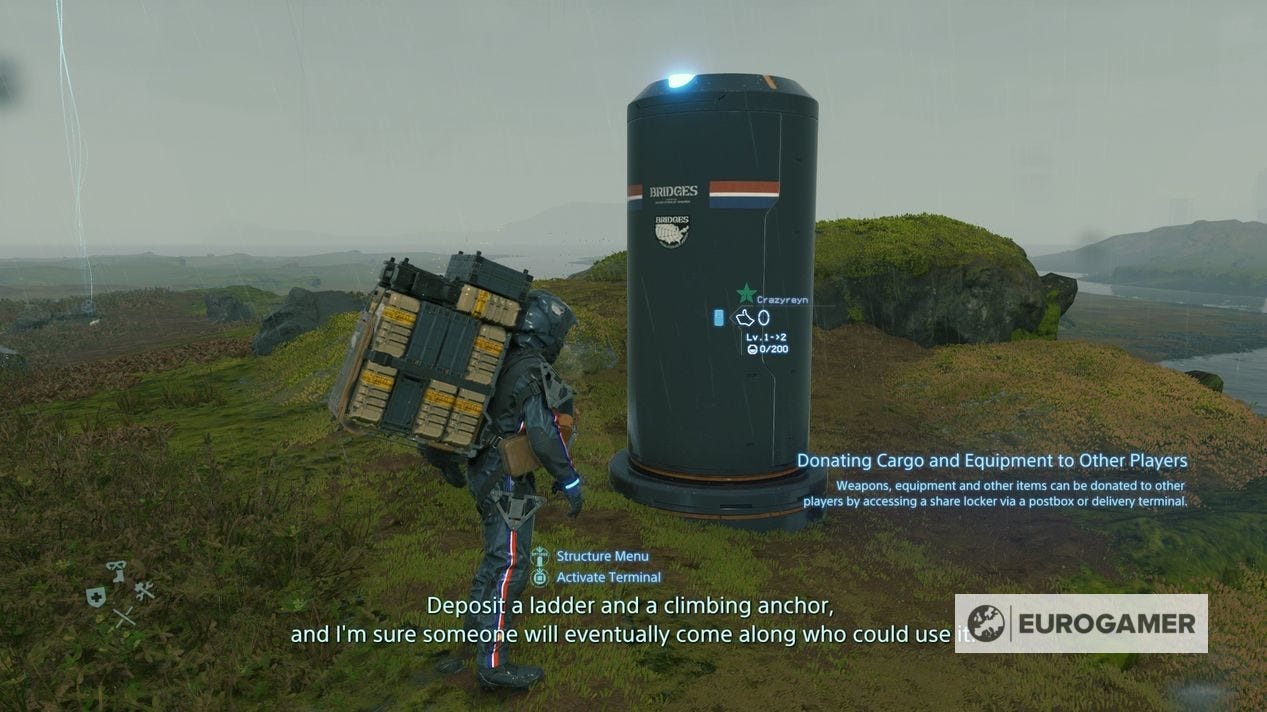
Order 6: Construction: Postbox
- Objective: Build a Postbox in the area instructed.
- Tips: This is a straightforward tutorial, and gives you a little taste of some Death Stranding multiplayer features while at it.
- Unlocks: None - optional Order.
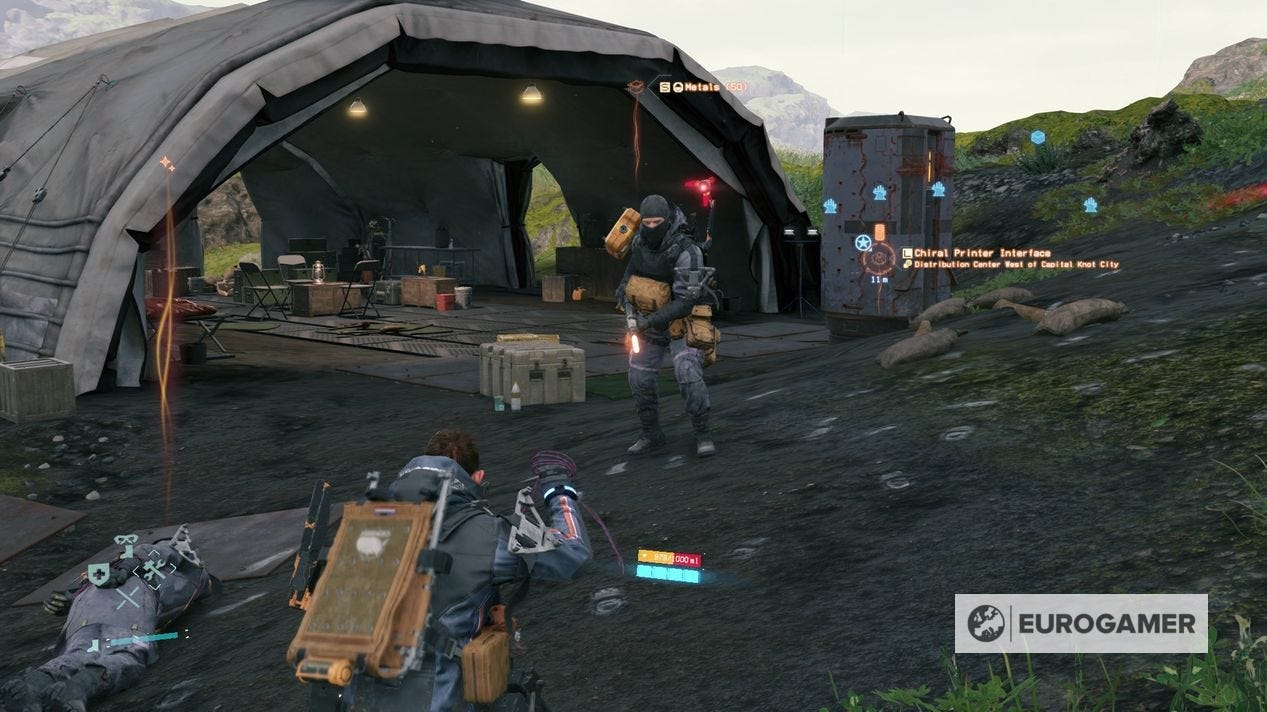
Order 7: Recovery: Chiral Printer Interface
- Objective: Cargo recovery from a Mule Camp postbox.
- Tips: We have a dedicated Order 7 - Recovery: Chiral Printer Interface page to help with this mission, though if Mules in particular are giving you hassle, visit that page instead.
- Unlocks: Bridges Boots (Lv. 1), ability to recycle Chiral Crystals at delivery terminals, Orders 9 and 10
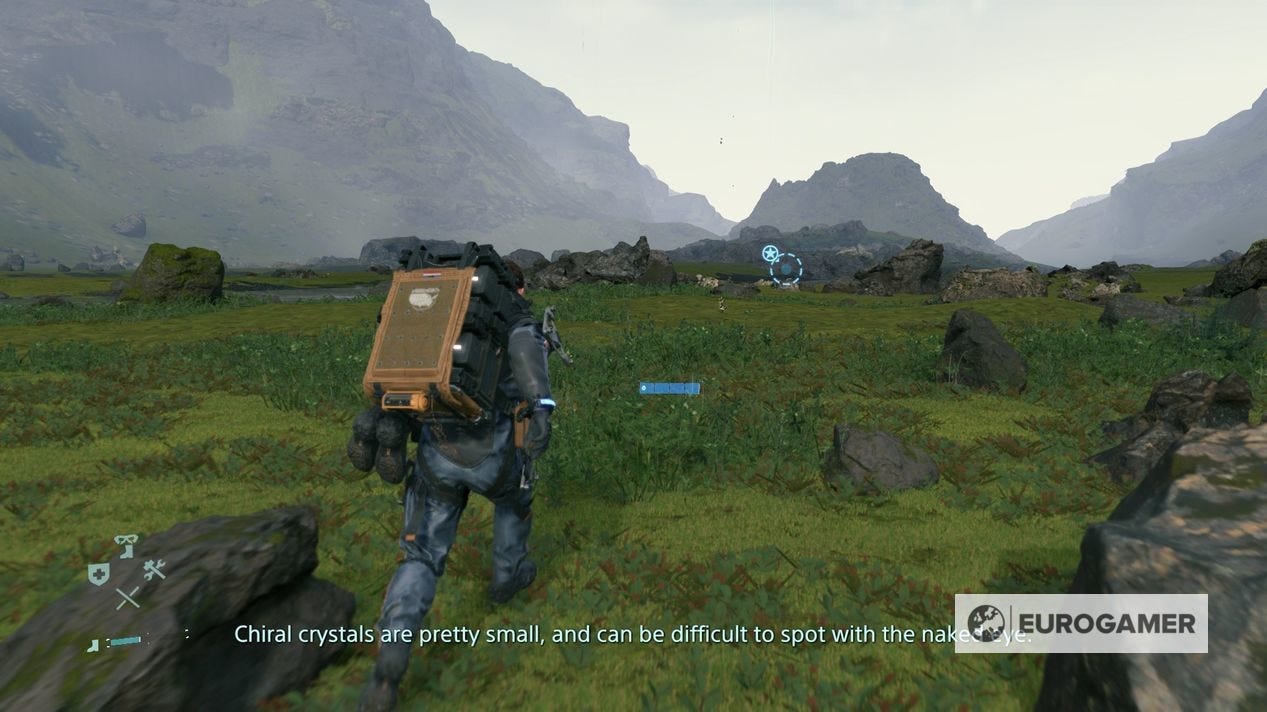
Order 8: Collection: Chiral Crystals
- Objective: Collect Chiral Crystals found in the wild - need 1cg minimum, 100 cg desired.
- Tips: You'll be told where to go in this tutorial-style mission. When done, you have to select 'Recycle' when you get back to the facility - which is not completely clear!
- Unlocks: Container Repair Spray
Order 9: Power Supply Unit Delivery: Wind Farm
- Objective: Deliver the Power Supply Unit to the Wind Farm, a new location to the north.
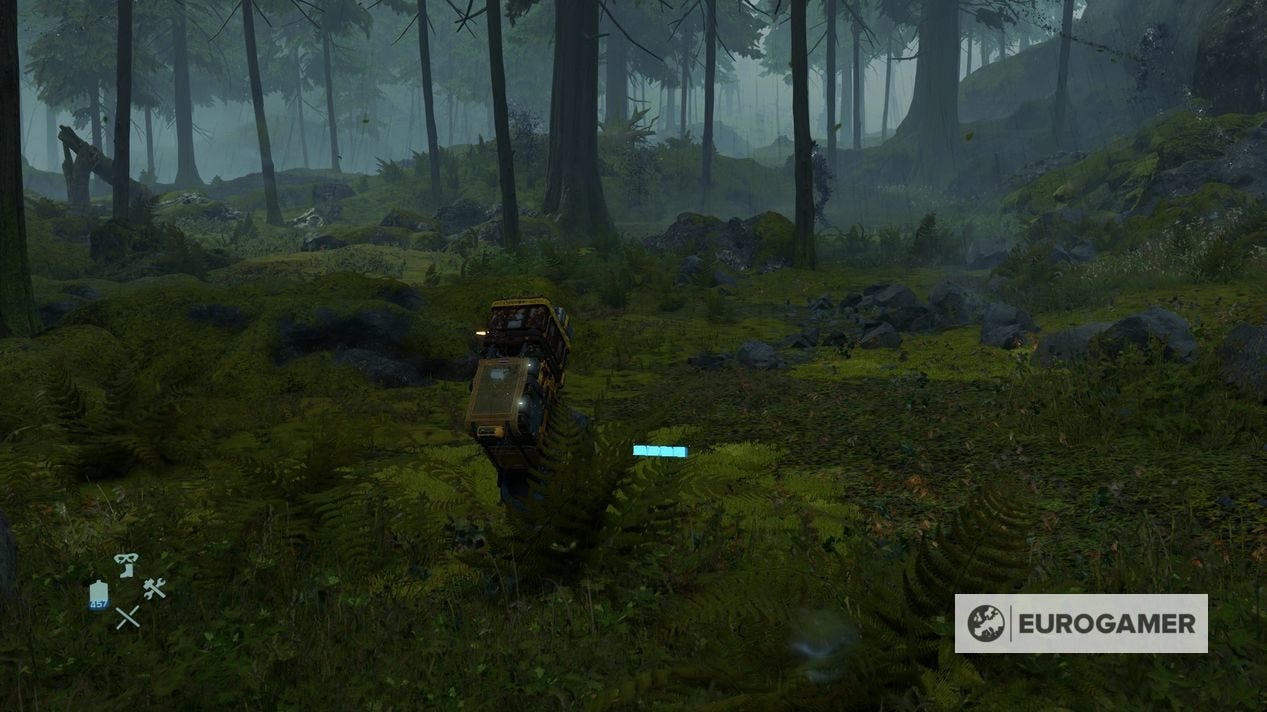
- Tips: After heading up a mountain, you'll encounter BT-filled forest. Not easy, but take your time and remember the basics of how to avoid BTs to get through it. Also, make sure you pack a few Container Repair Sprays with you - you'll be in the rain for a while, and having some will help keep your cargo intact.
- Unlocks: Adds 'Wind Farm' to UCA Chiral Network, adds multiplayer features Supply Requests and Bridge Links to the Cuff Link menu, Generator (allowing you to charge the Bike), new options at delivery terminals including Standard Orders in Deliveries (optional cargo missions), Entrust Cargo and the Garage, plus Order 11 and the Director's Cut story missions
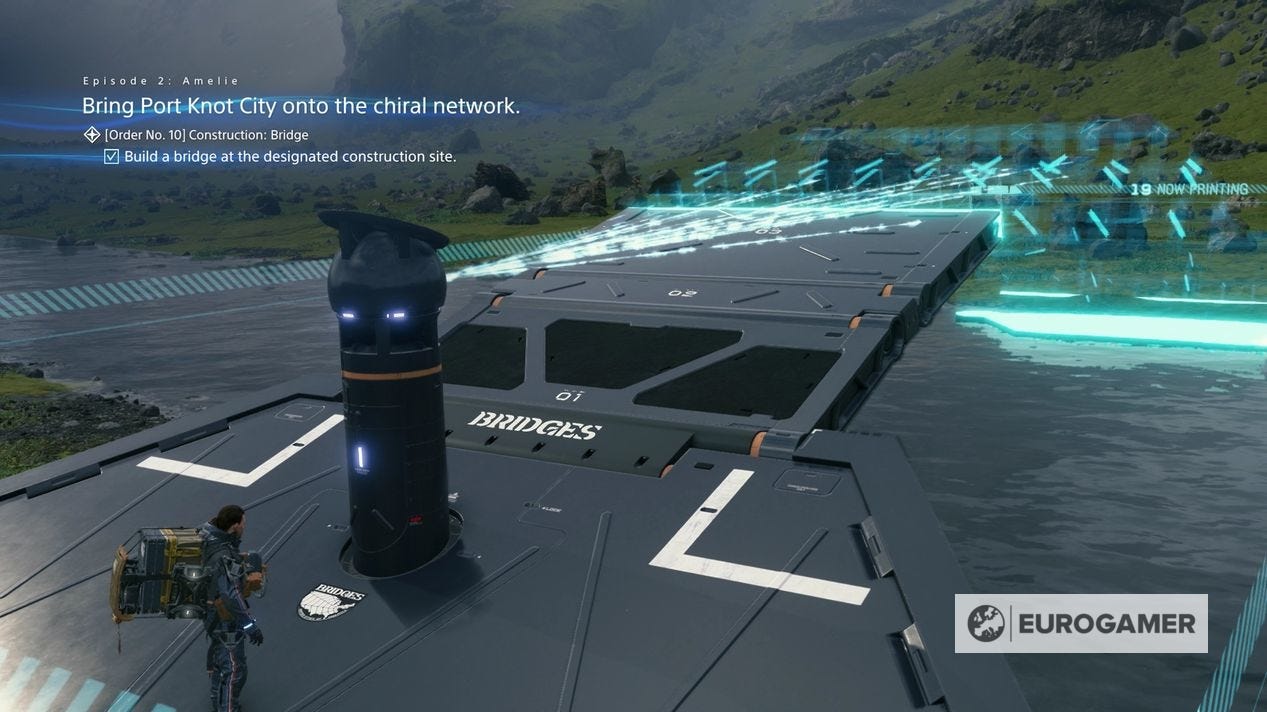
Order 10: Construction: Bridge
- Objective: Build the foundation for a Bridge.
- Tips: Build where instructed in this tutorial mission.
- Unlocks: None - seemingly optional.
Order 11: Resins Delivery: Distribution Center West of Capital Knot City
- Objective: You need to deliver all six containers of resins to the Distribution Center West of Capital Knot City.
- Tips: This is pretty easy - it's just the way you came. Once it's complete, be sure to build a Generator with a PCC to charge the bike to make exploring the rest of the region much quicker.
- Unlocks: 'Anything You Need' sound data, Orders 12 and 13
Order 12: Recovery: Confidential Documents
- Objective: You need to get these documents from the Mule station in the north of the Eastern region, then to the Waystation West of Capital Knot City.
- Tips: It's easiest to clear the Mule camp to save having to stealth your way there.
- Unlocks: None - a seemingly optional objective.
Order 13: [URGENT] Cryptobiote Delivery: Capital Knot City
- Objective: This is a time-limited delivery to Capital Knot City, with 30 minutes ticking down on the clock as soon as you accept it.
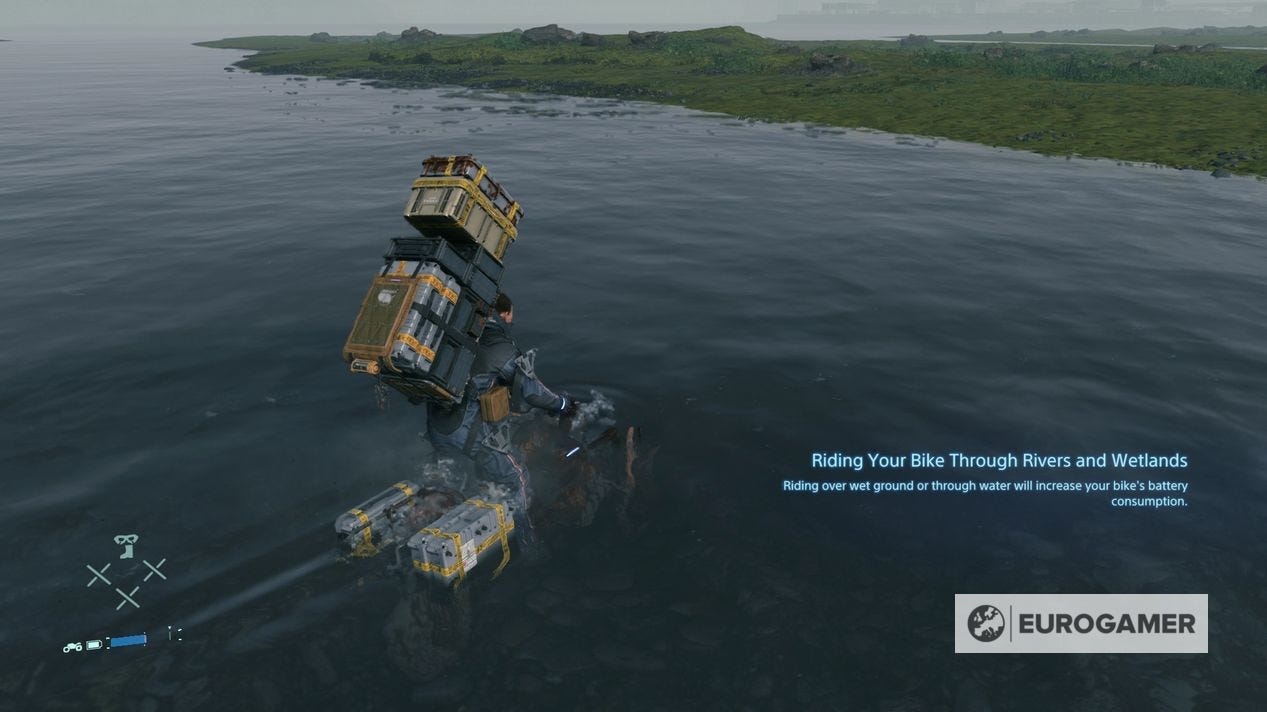
- Tips: First, make sure you build a Generator at the Distribution Center West of Capital Knot City to charge the bike and return to Capital Knot City much faster. As mentioned, you cannot submerge this in water - so stack it on your back and not on the bike if you do need to cross a river - but you should use bridges constructed over bridges where possible.
- Unlocks: 'Easy Way Out' sound data, 'Token of Gratitude' hat, Blood Bag, Hematic Granade (Lv. 1) - both useful for killing BTs - as well as Order 14 and 15.
Order 14: Aid Package Delivery: Port Knot City
- Objective: Take the 4 items (50kg) to Port Knot City.
- Tips: First, it's worth completing Order 15 first to save you making a return trip and giving you a useful explainer on using 'blood grenades' to kill BTs - which you'll encounter a lot of on the way. From the Distribution Center West of Capital Knot City, go north across the river and go north as you can through the mountain range west to find what almost feels like a path - enough to take your bike through. There are a lot of BTs here, so take your time, and if needed, jump off the bike, spot a BT, kill it with a grenade and keep going. You'll rewarded with a stunning view on your way down to Port Knot City.
- Unlocks: Adds 'Port Knot City' to UCA Chiral Network, 'Asylums For the Feeling feat. Leila Adu' music
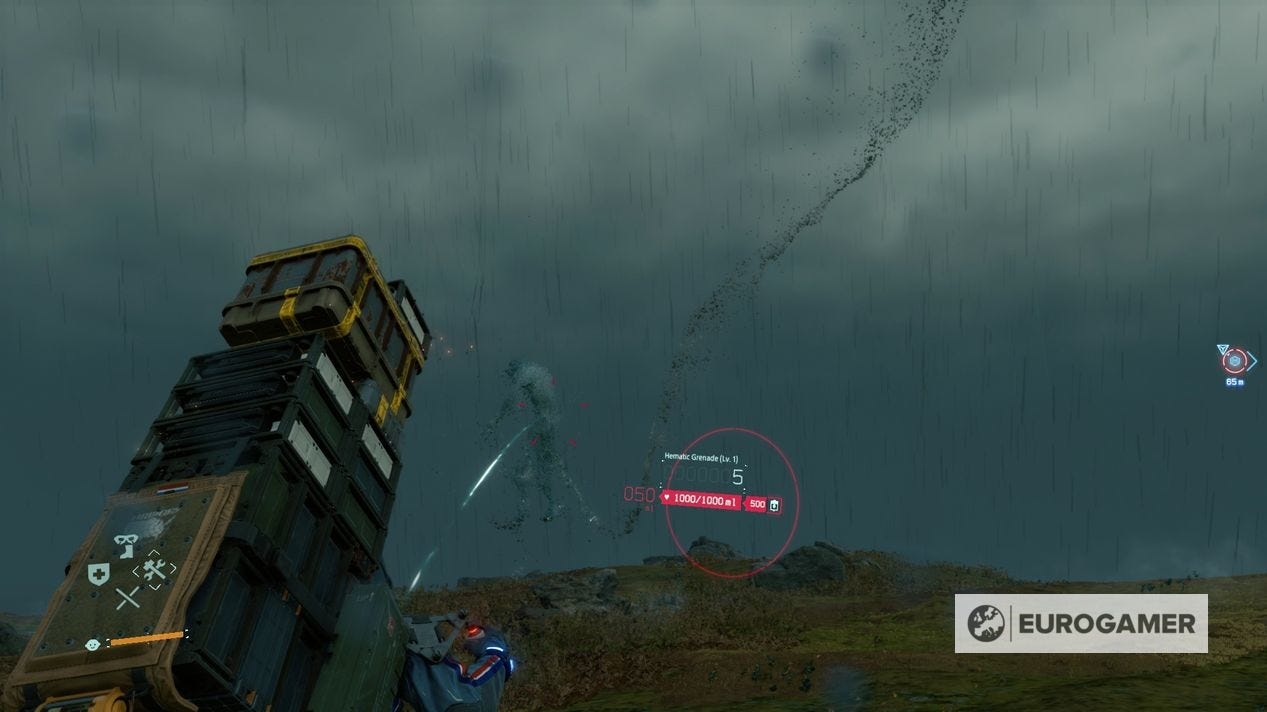
Order 15: Equipment Trial: Hematic Grenade
- Objective: Test out the newly added Hematic Grenade.
- Tips: This is a tutorial-style mission that takes you to a BT area just north of Capital Knot City.
- Unlocks: None - seemingly optional, but a recommended explainer to learn how to kill BTs.
Tomorrow is in our hands - again! Learn about the Director's Cut's new features, including new story missions, a racing mode, Half-Life missions and how to transfer saves to PS5. Our main Death Stranding walkthrough outlines how to play through the story, including Episode 3 missions, the Small Thermonuclear Device and how to find a way to change Lockne's mind As you play, you can find Memory Chip locations, learn how Death Stranding multiplayer works.
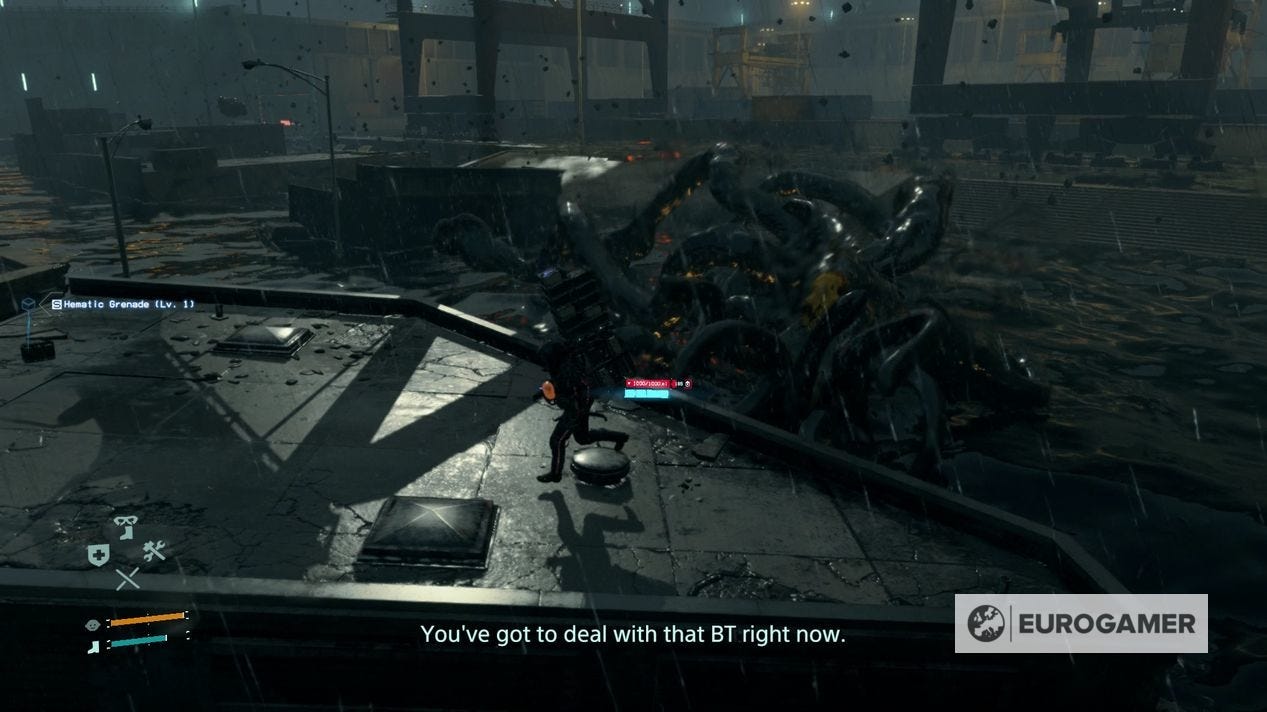
Order 16: Elimination: BT
- Objective: Defeat the BT boss.
- Tips: Defeating the boss is surprisingly simple - just pelt it with Hematic Grenades over and over, as you would a Catcher BT. Of course the stage here is much bigger, with a sea of black ooze to wade through and floating buildings. These can be used to give you a platform to evade the BT a little easier, but otherwise the strategy is to keep moving and throwing grenades when it gets close. Being struck by the BT will see you drop your cargo - pick up what you need (i.e. Blood Bags and Hematic Grenades) and leave the rest - you can pick them up again when the battle ends.
- Unlocks: Episode 3. You have a chance to tie up any loose ends by doing any spare deliveries before going south to the boat. That said, this is not a point of no return - as Death Stranding fast travel is soon about to be unlocked.
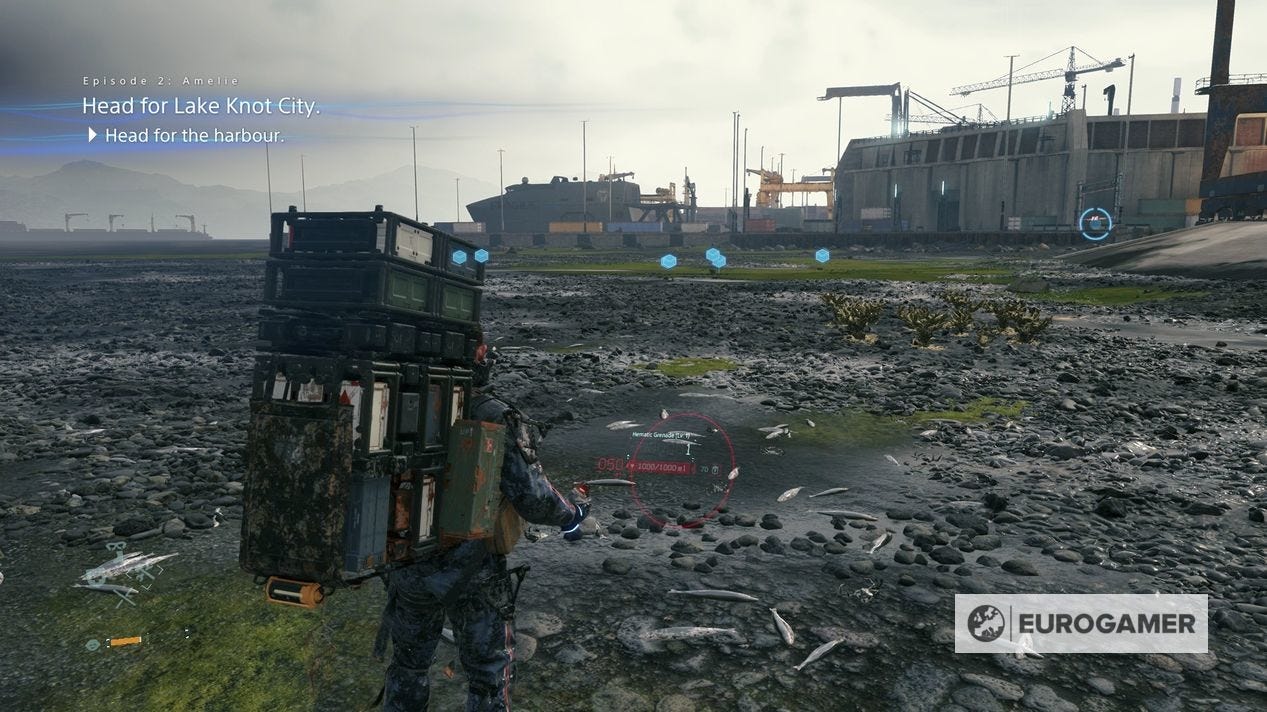
With that all done, Death Stranding Episode 3 begins!