Death Stranding BT strategy: How to survive, avoid and kill BTs
How to avoid the nightmarish foes you'll find out in the wild.

Death Stranding BTs are, alongside Mules, one of the main adversaries you'll often run into while making your post-apocalyptic delivery runs.
They make their presence very known throughout the game, and are introduced early in the story as a threat you should be very wary of.
Though they are difficult foes, there are a few simple rules it's easy to give them the run around - and after too long, some tools to help you kill BTs to stop them bothering you altogether.
On this page:

If you're looking for more from the critical path, our Death Stranding walkthrough can help.
When do you know you are near a BT in Death Stranding?
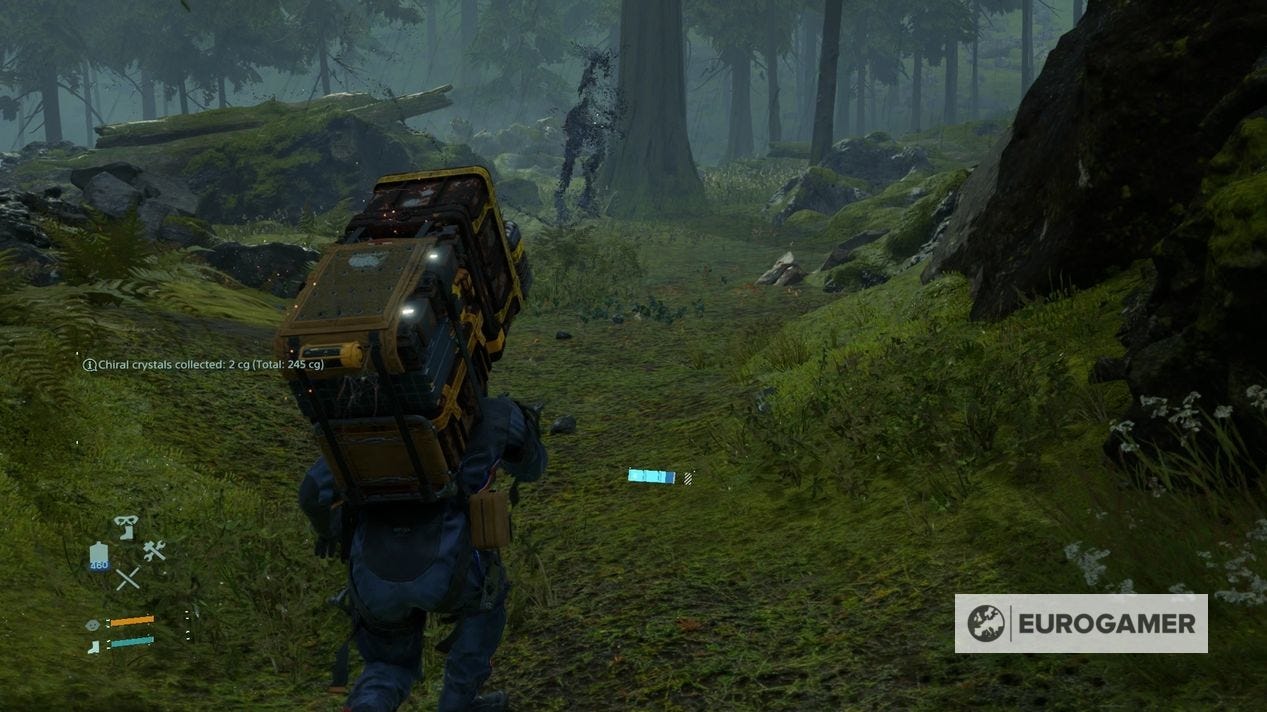
Though there are scripted moments when BTs will always appear in the story, you can also run into them when you are exploring the open world. Either way, the telltale sign you might start running into them is when it starts raining.
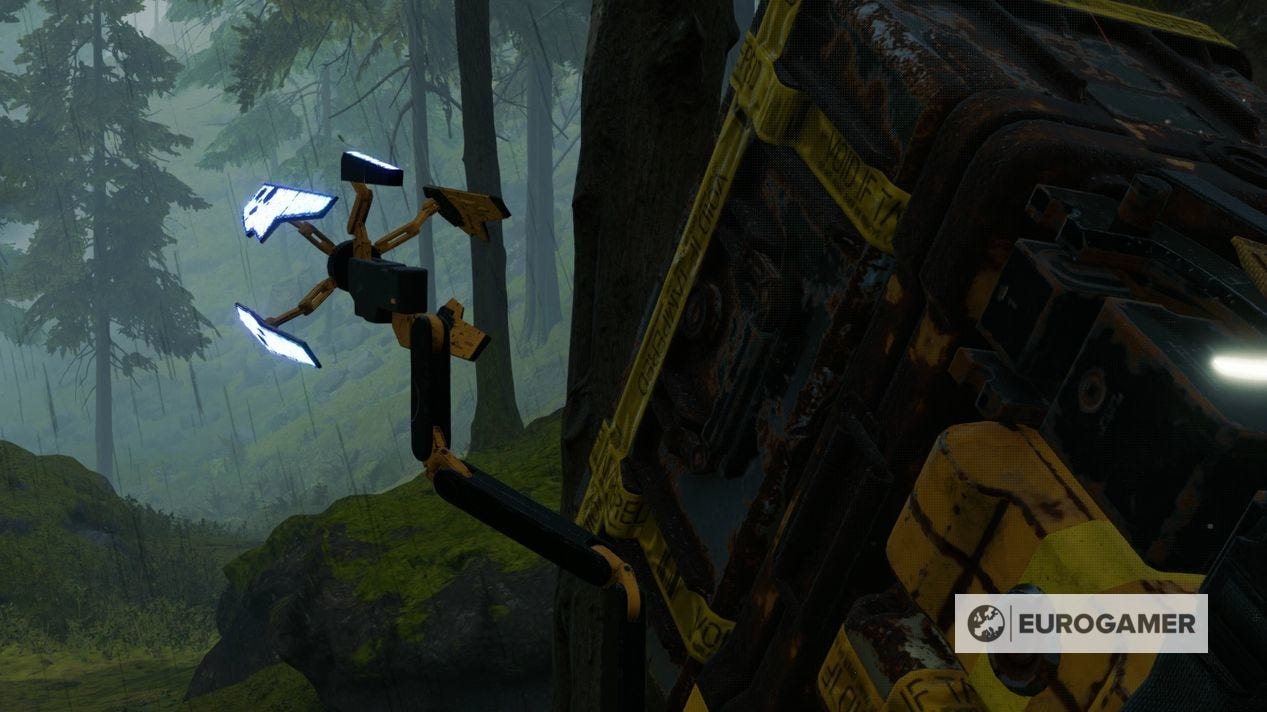
Though it's not guaranteed, be wary at this point an encounter is likely. You are safe until a very obvious cutscene occurs when the action stops, and your Odradek - the spinning fan-like device on your shoulder - kicks in. At this point, BTs are definitely in the vicinity and you should move cautiously.
This includes when you are in a vehicle, too - the same steps as above will kick in, and just because you are on a bike or in a truck doesn't mean you are immune to BTs. If anything, you have to be more cautious - as the slower you go, the easier it is to detect and avoid running into them.
How to survive and avoid BTs in Death Stranding
When you know BTs are around, there are two rules to follow to help avoid being spotted - crouching and holding your breath.
When the Odradek first kicks in, crouch then continue moving. Observe the Odradek to learn where specifically BTs are, based on the direction it looks and whether it starts spinning faster.
Use this as a tool to try and avoid running into them, but if one is in your path, you can continue going if you're careful.
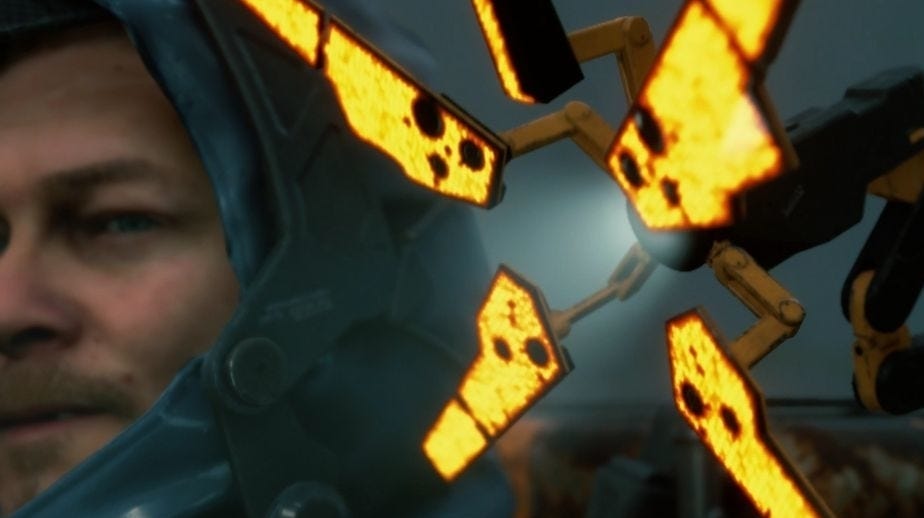
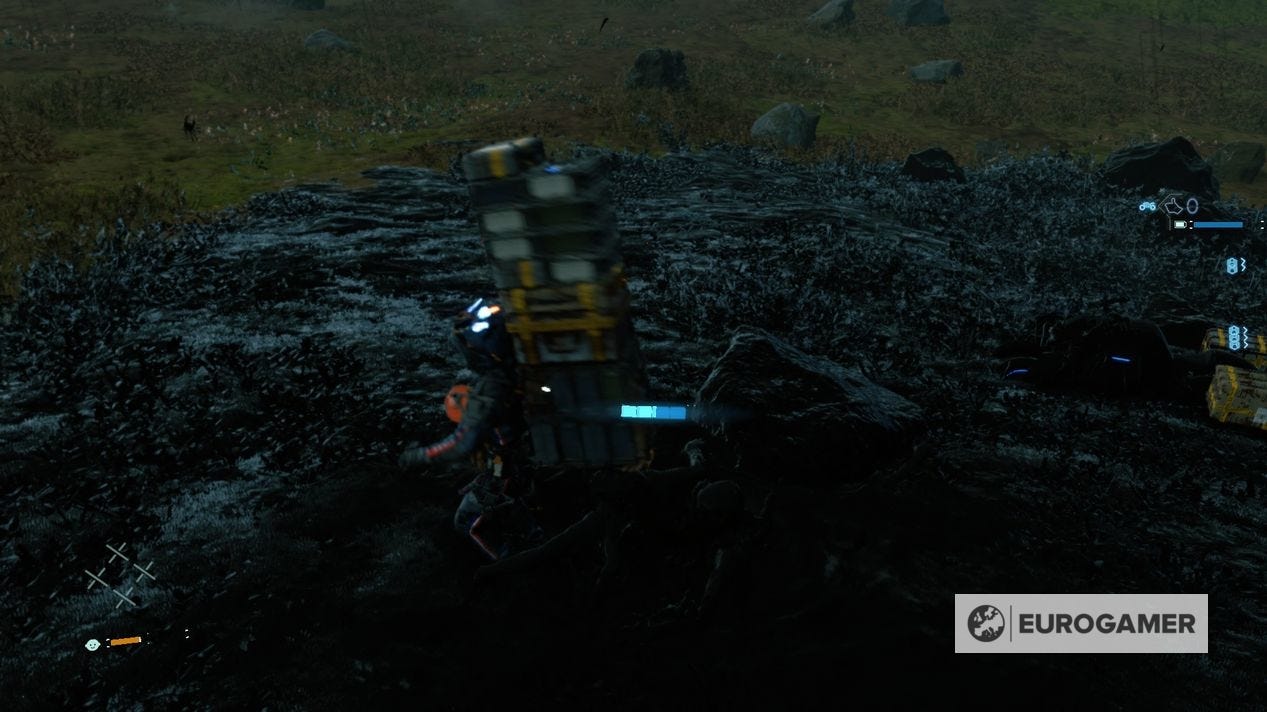
When a BT is very near, you'll know it. You'll hear the BT, the controller will rumble and you'll see them floating in the air. Footprints can also appear in the ground, stomping around you, to help narrow down their position further.
At this point, you should hold R1 to hold your breath. This means the BT can't hear you, and helps hide your position. You can, however, keep moving - just do so while continuing to crouch, and away from the BT's direction.
Holding your breath has a catch though, as you must then observe the stamina gauge. Don't let it go down to below the final notch. If it does, it'll turn yellow, forcing you to take a deep breath when you release it. This will alert BTs to you!
To summarise: the strategy is to continue moving while crouched - don't run! - while holding your breath, occasionally stopping to catch your breath before the stamina gauge drops too low, then waiting until it recovers so you can hold it and move away again.
Repeat this until you are far away from the BT. It can take a little while, but the underlining thing is BTs shouldn't stop you moving around - you just have to perform those steps to stop being spotted.
If you want to try and avoid BTs better in future, much later in the game (completing Chapter 3's Order 27, to be precise) is when you'll unlock the Weather Report feature for your map, allowing you to see where rain will appear ahead of time. There will be key missions where BTs remain unavoidable of course, but these can help you avoid encountering them better.

What to do when caught by a BT and how to fight Catchers in Death Stranding
If you do get caught by a BT, all is not lost. A black radius will appear around you, and you must get outside of it before you're dragged inside.
Tap Square to struggle against the BTs attempting to pull you down while moving towards the edge, little by little, which you will soon break free.
Once outside of the radius, you are safe, and it's a case of waiting until the radius and the BTs disappear. This means if you've dropped your cargo or left a vehicle behind, you can recover them.
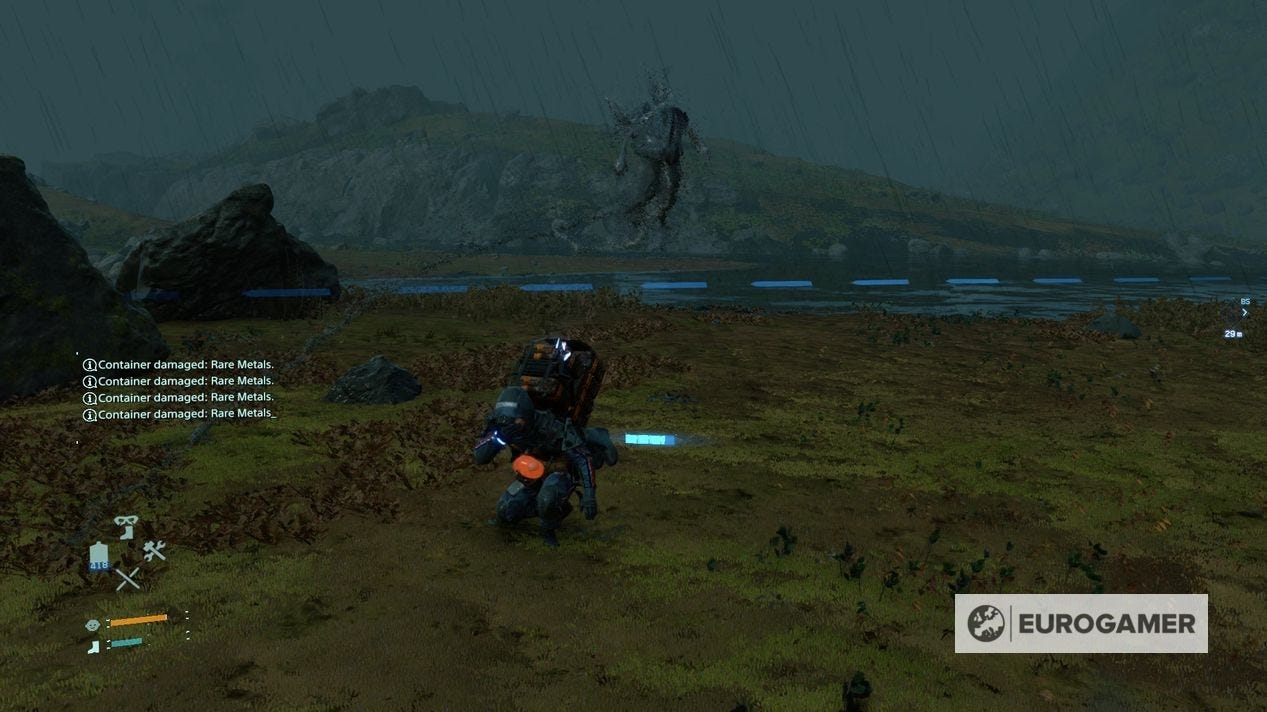
If you don't reach the outside of the radius, you'll be dragged under, then across the landscape in a first-person cutscene before fighting a fish or beast-like BT around you.
This Catcher mini-boss has a simple treat to beating it - by retreating. If you look at the map, you'll notice a radius around you. Flee to outside of that, and the BT will disappear.
You can fight the Catcher boss and these regular BTs if you like - but only if you have the firepower, and the good news is you won't have to wait too long into the game to actually fight back.
Tomorrow is in our hands - again! Learn about the Director's Cut's new features, including new story missions, a racing mode, Half-Life missions and how to transfer saves to PS5. Our main Death Stranding walkthrough outlines how to play through the story, including Episode 3 missions, the Small Thermonuclear Device and how to find a way to change Lockne's mind As you play, you can find Memory Chip locations, learn how Death Stranding multiplayer works.
How to kill BTs in Death Stranding
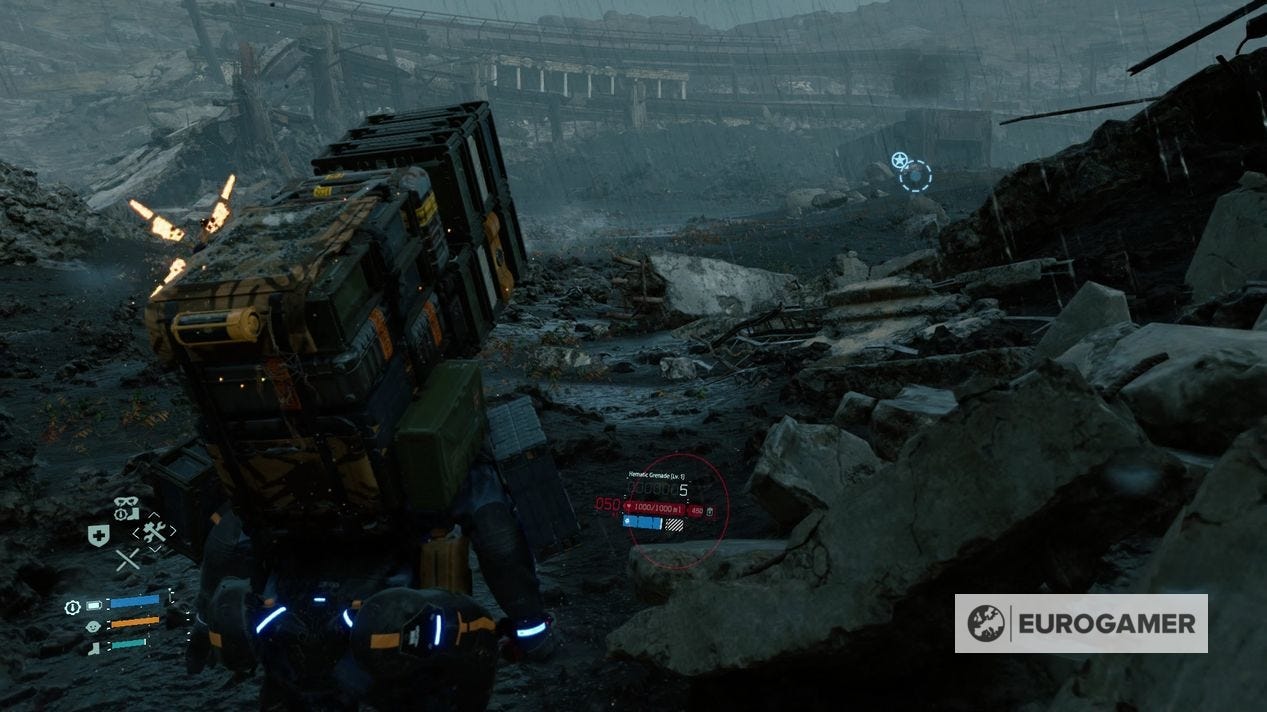
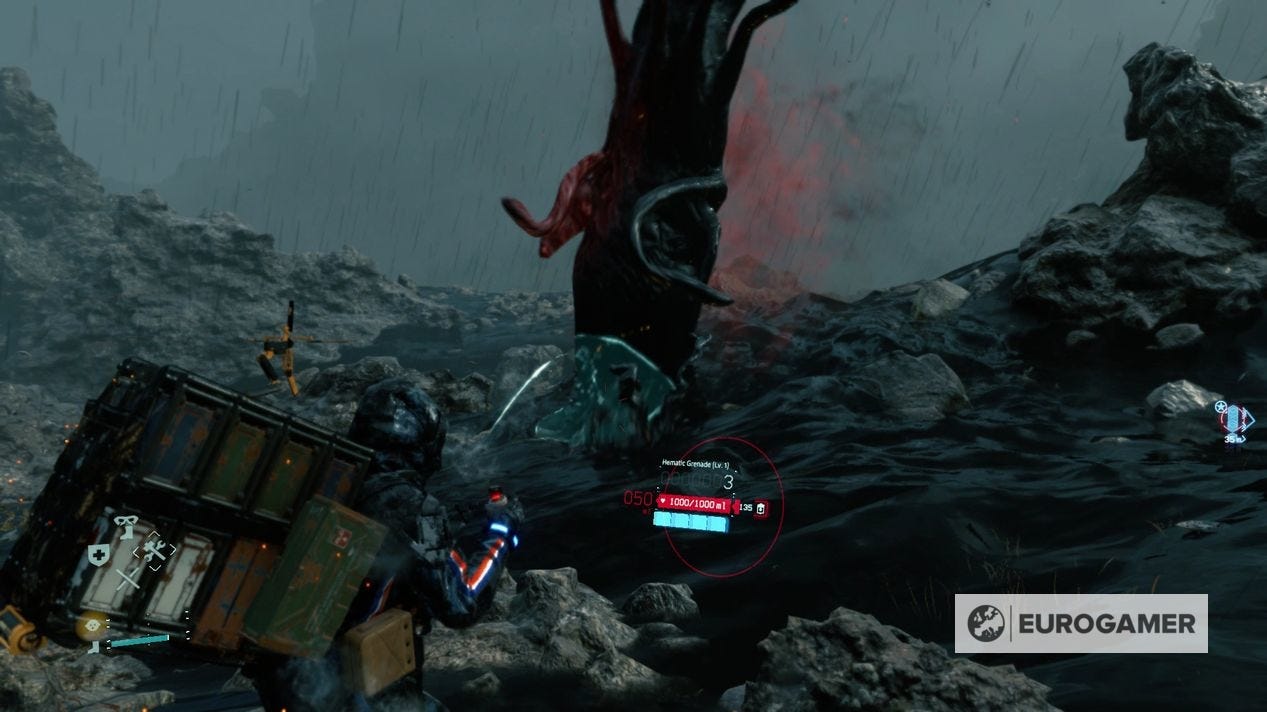
At a certain point in the story - specifically Episode 2's Order 13: Cryptobiote Delivery: Capital Knot City - you'll unlock the use of Hematic Grenades, also known as 'blood grenades'.
These grenades are surprisingly effective against BTs, where a single throw can kill them and clear them from your path. If there are two BTs close together, both can also be taken down by a single grenade, too.
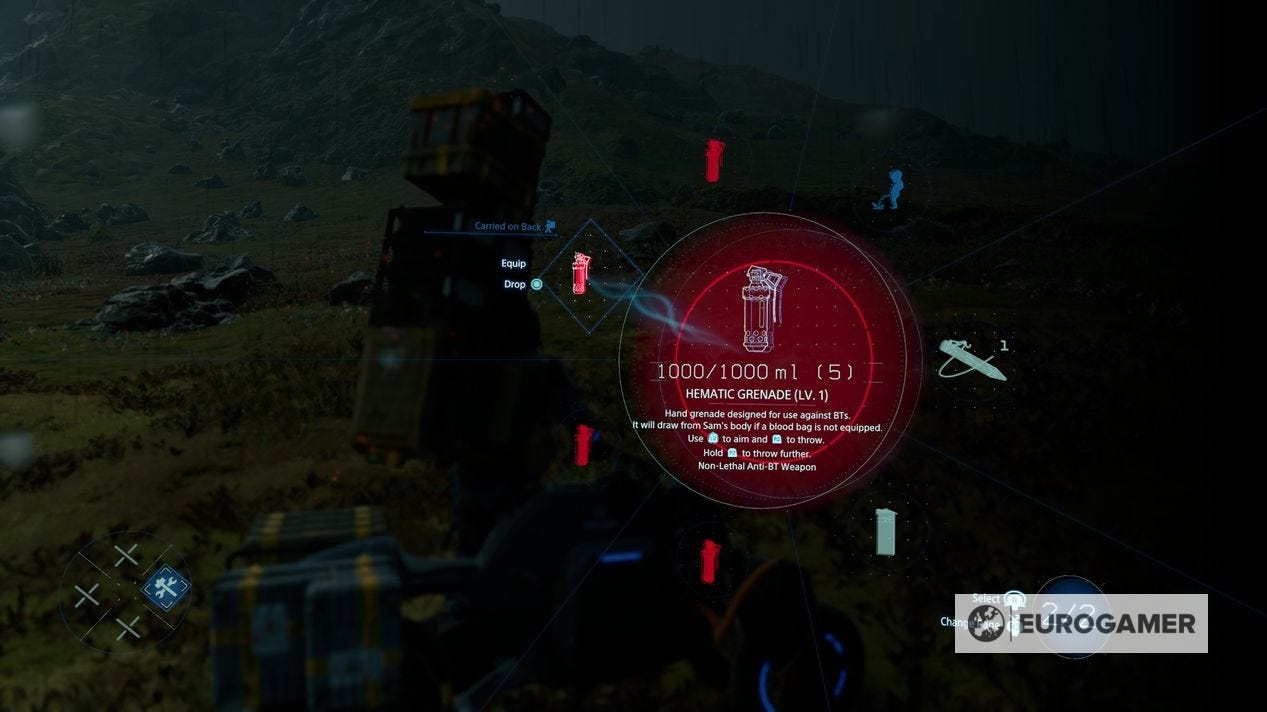
Completing Order 13 will unlock Orders 14 and 15, the latter of which is 'Equipment Trial: Hematic Grenade'. This gives you a step-by-step guide to using them.
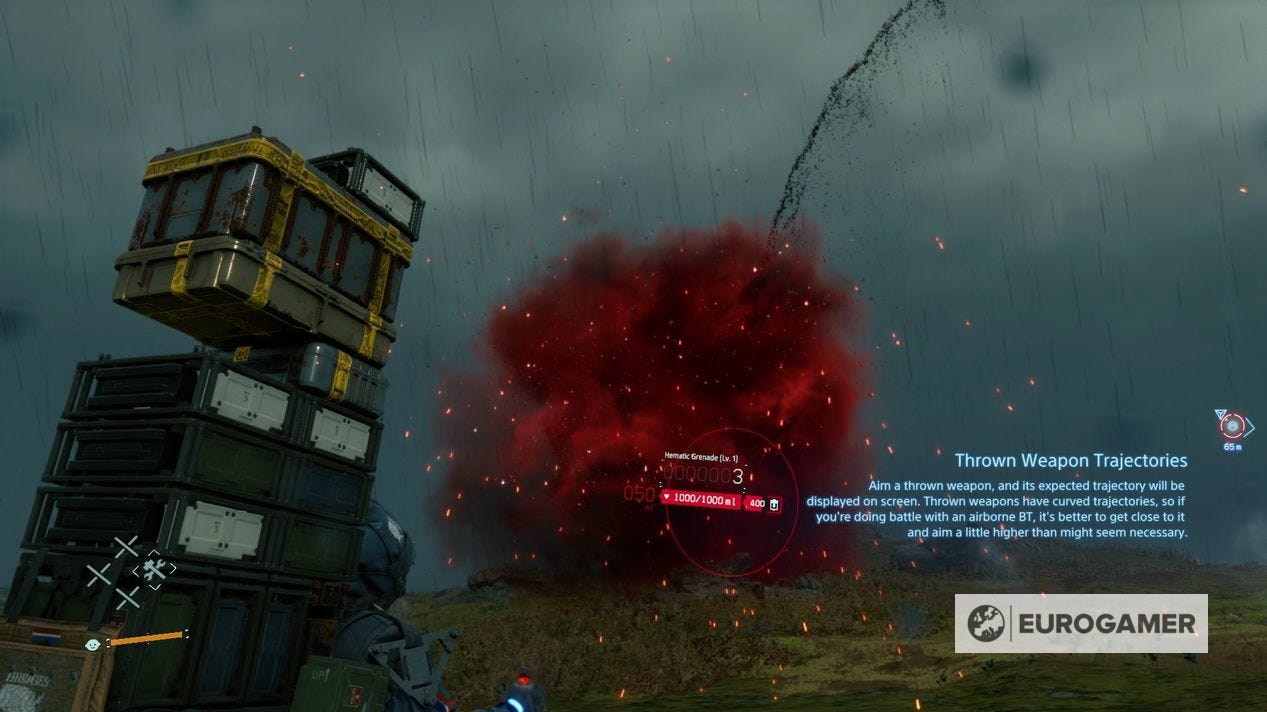
The key is having visibility of the BT before you throw. Get close enough to actually see them hovering in the air, then begin to aim. The aiming reticule will actually reset on the BT itself, so you know it'll definitely land there.
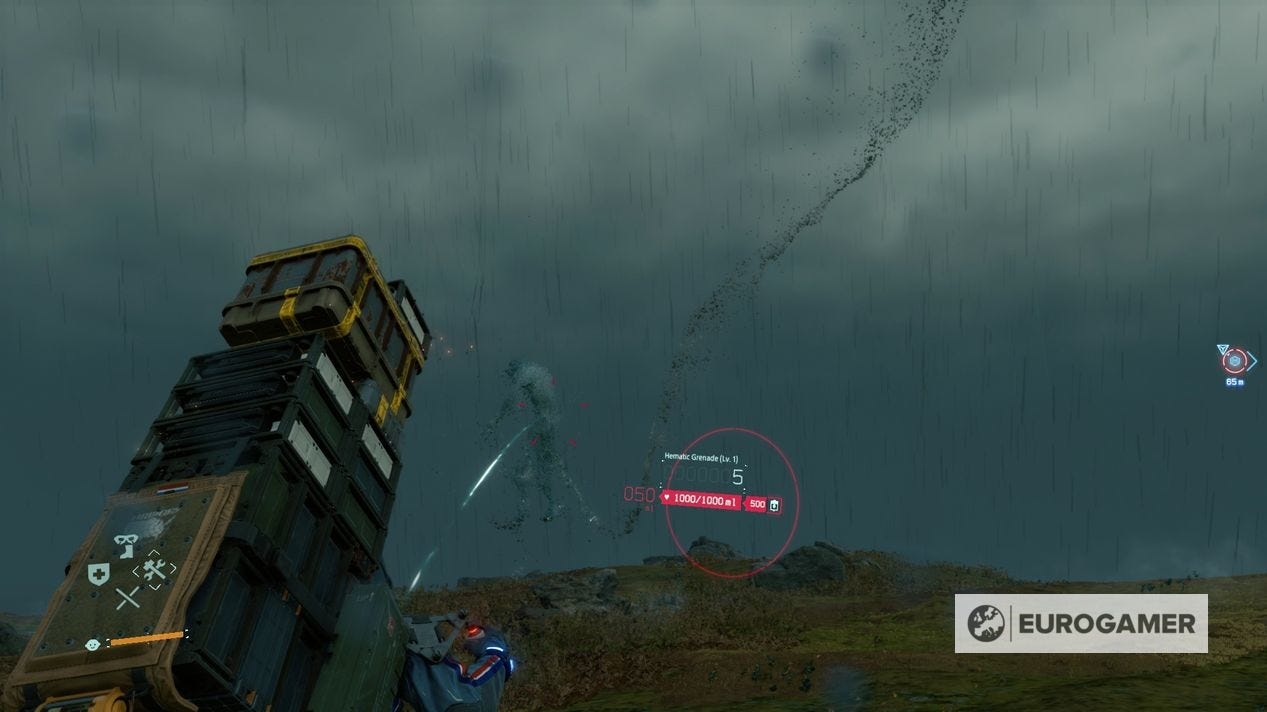
Though BTs move slow, make sure you are center to ensure it'll land, resulting in a red mist and a BT that'll scream out and die in a few moments. You'll also spawn a group of Chiral Crystals as a reward.
Additionally, if you have just survived getting pulled into the ground, then you can throw it at the horde (once outside ideally) to kill it off faster. These blood grenades work against BT 'bosses' too - they just take a handful of projectiles to take down.
And if you are struggling with these blood grenades, you'll continue to get more firepower throughout the game to help you fight back - from stunning Bola Guns, which bind them in place, and Anti-Guns that can kill them off entirely - both of which unlock in Episode 3.