Resident Evil 3 - How to open the Safety Deposit Room and get the Battery for the Shower Room Wall
How to complete the Police Station section as Carlos.

Opening the Safety Deposit Room becomes the next main objective as you are exploring the Police Station as Carlos.
Doing so allows you to get the Battery for the Shower Room Wall - allowing you to finally reach the STARS Office.
On this page:
Looking for something else? Visit our Resident Evil 3 walkthrough for more help.

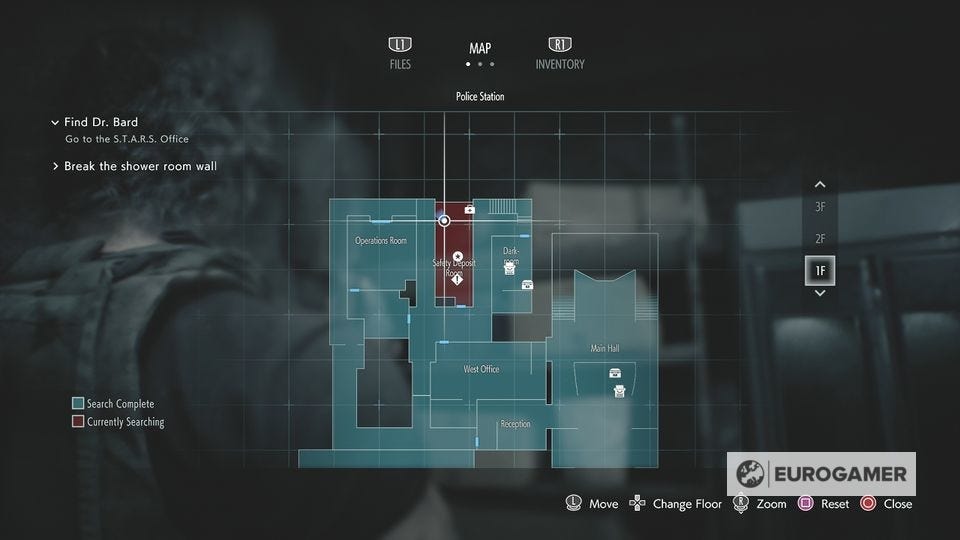
How to open the Safety Deposit Room
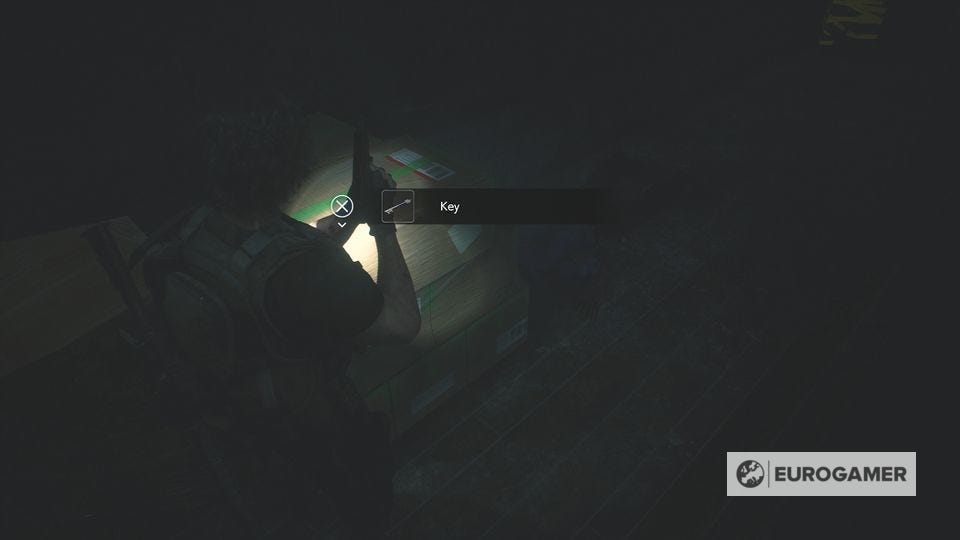
Once you have reached the Shower Room, you need to find a Key to reach the Safety Deposit Room, allowing you to get the component you need to blow it open. From here, go up the stairwell and you'll find a Key on the 3F.
This is also the same location as one of the Police Station Lockers, so make sure you open it while you are there.
The Safety Deposit Room, if you don't remember, is back down on the first floor, opposite the West Office.
Head back down the stairwell and make sure you save in the Dark Room along the way. This is because as you turn the corner for the Safety Deposit Room, you'll encounter a Licker.
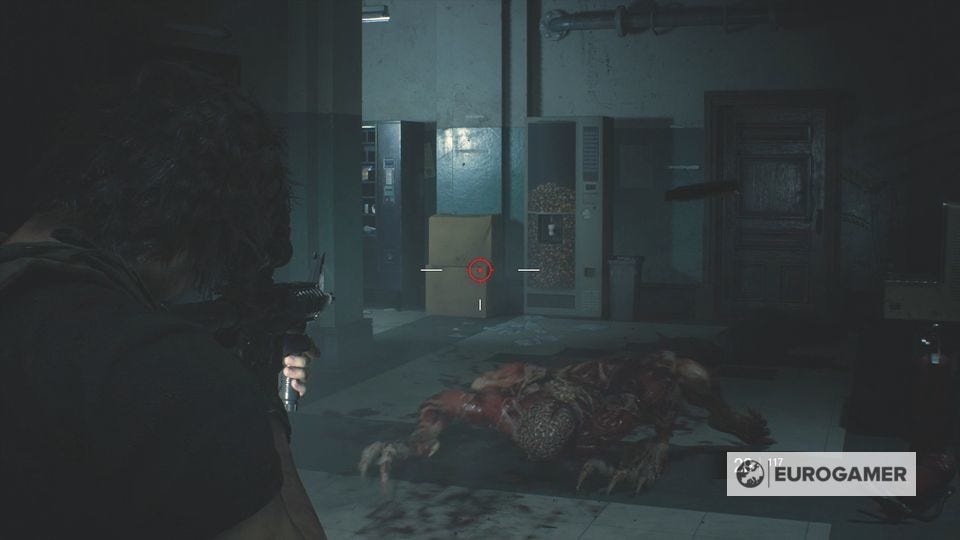
These are remarkably tough enemies, and your Assault Rifle won't make much of a dent. The best approach is to walk down the corridor armed with a Flash Grenade and lob it, then enter the room quickly.
How to get the Battery from the Safety Deposit Room
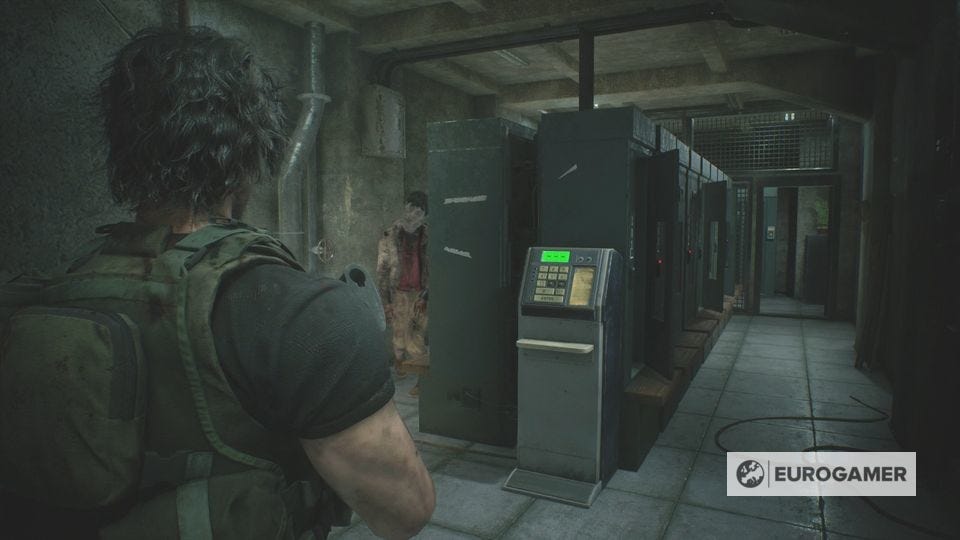
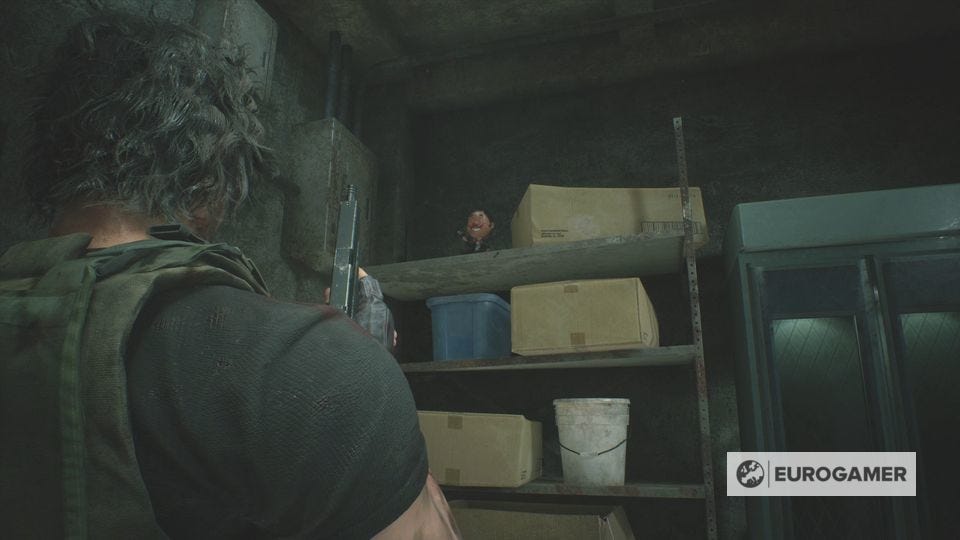
Once inside, there is a zombie on the left side of the room before it's safe to explore.
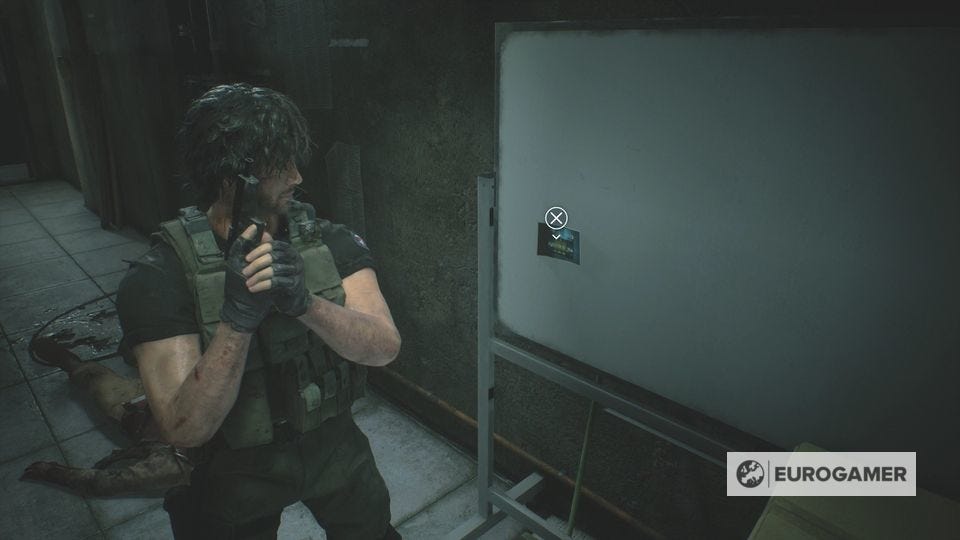
There are a few other consumable items here to find, as well as a 3F Locker file on your right as soon as you go in.
Additionally, you can shoot a Bobble Head in the far corner, which is sitting on the top shelf.
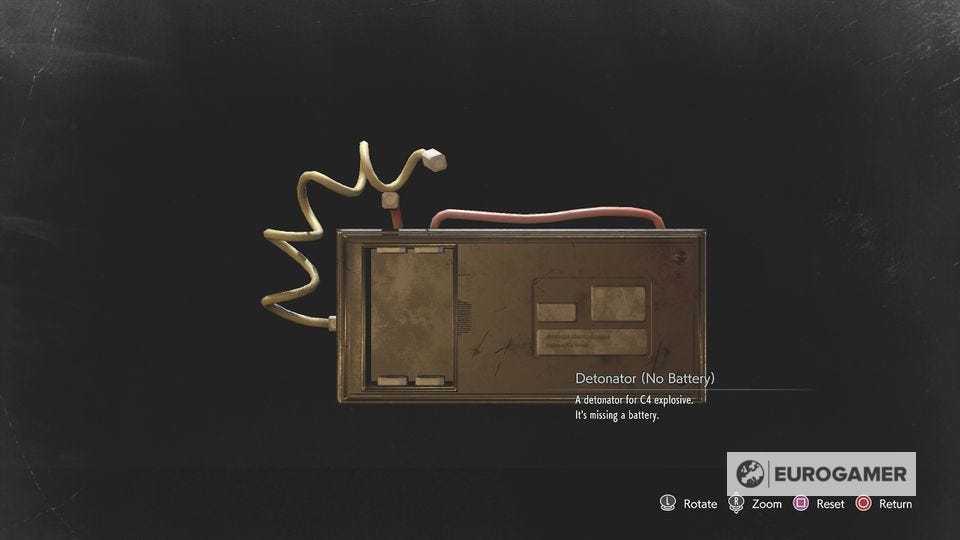
With that done, it's time to get the Battery. At the start of the room is a console with a keypad. You need to enter the codes for each of the lockers to retrieve their contents.
Unlike the Resident Evil 2 remake puzzle in this same room, you don't need to do anything special here - just enter the digits for each locker, then press open.
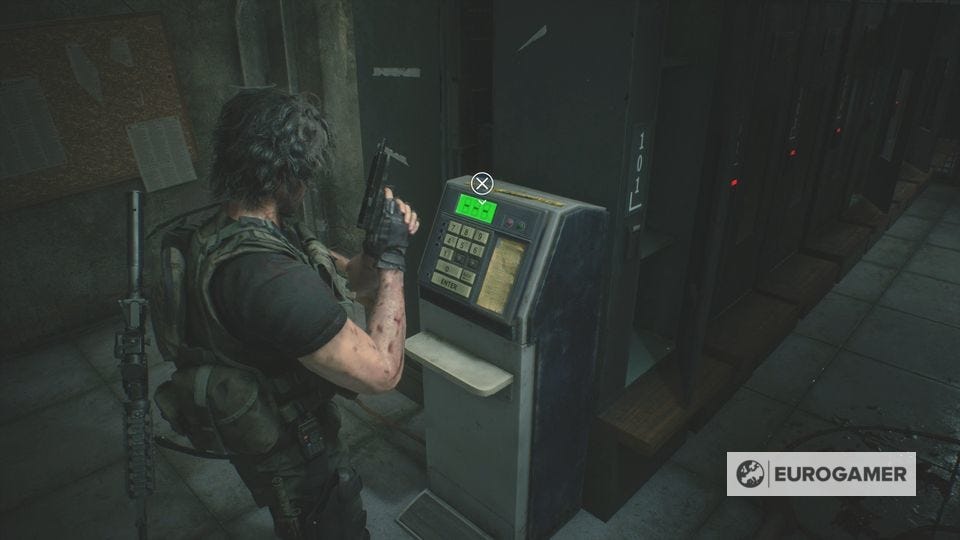
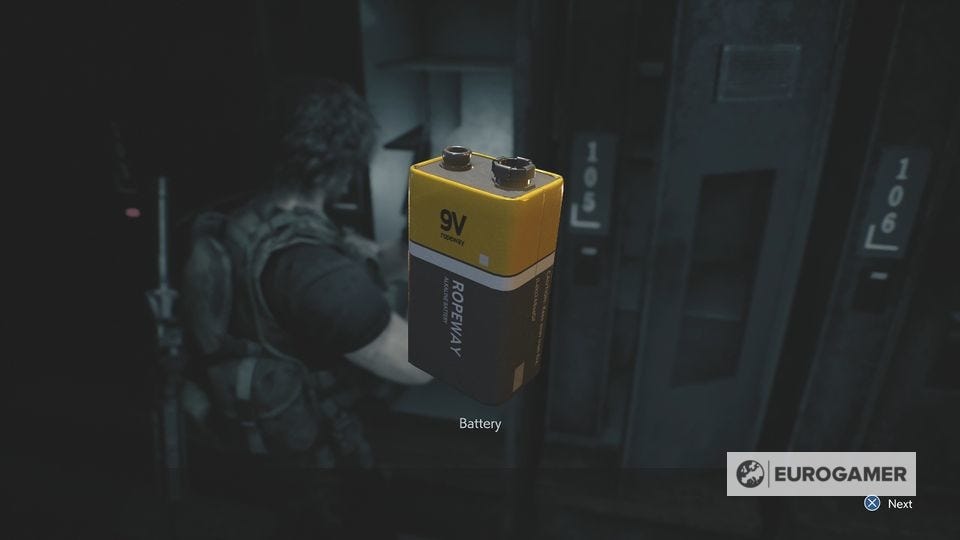
There are three you can enter - 104, 106 and 109 - giving you the Battery, Assault Rifle ammo and Grenade respectively.
Once done, you'll want to make your way back to the 2F Shower Room. Be wary of the zombie which falls at the base of the stairwell, and to save along the way, as you'll come to a difficult combat section again shortly.
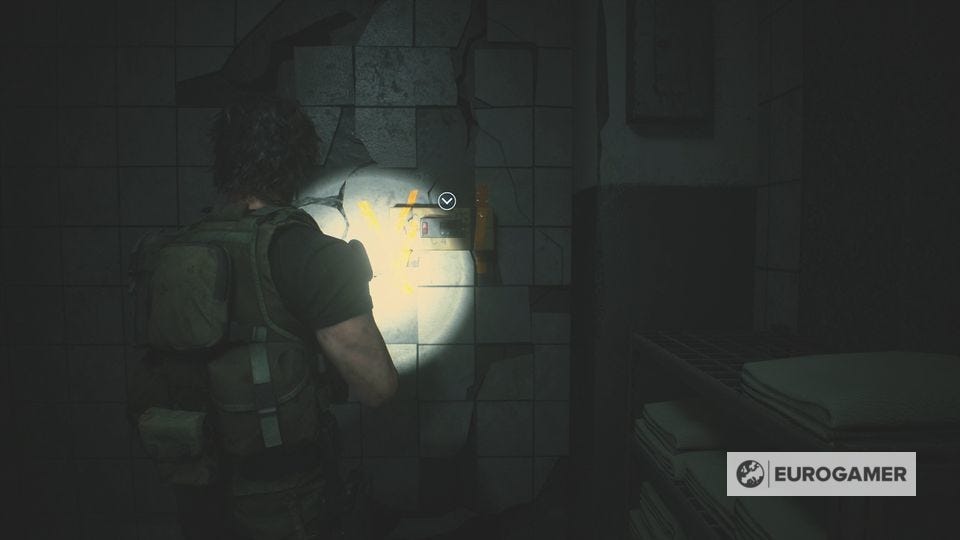
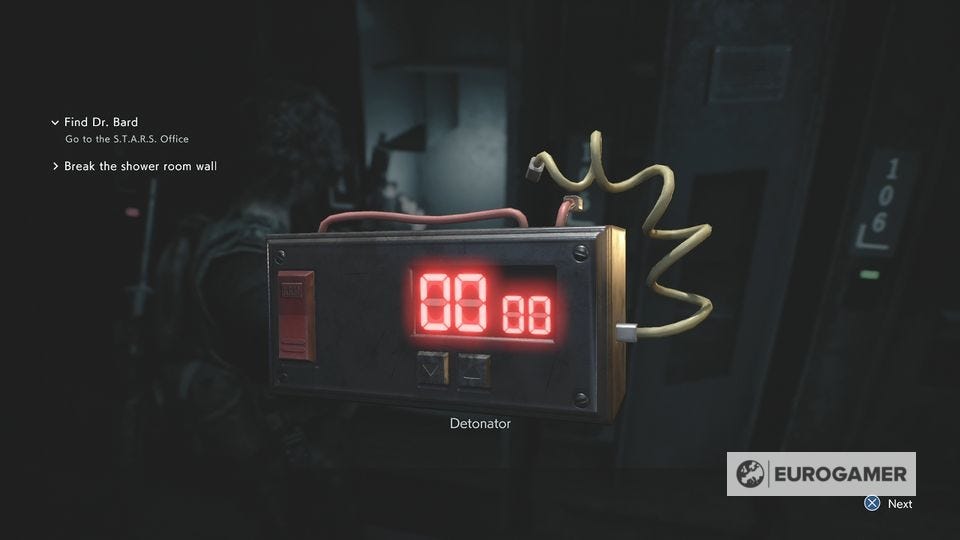
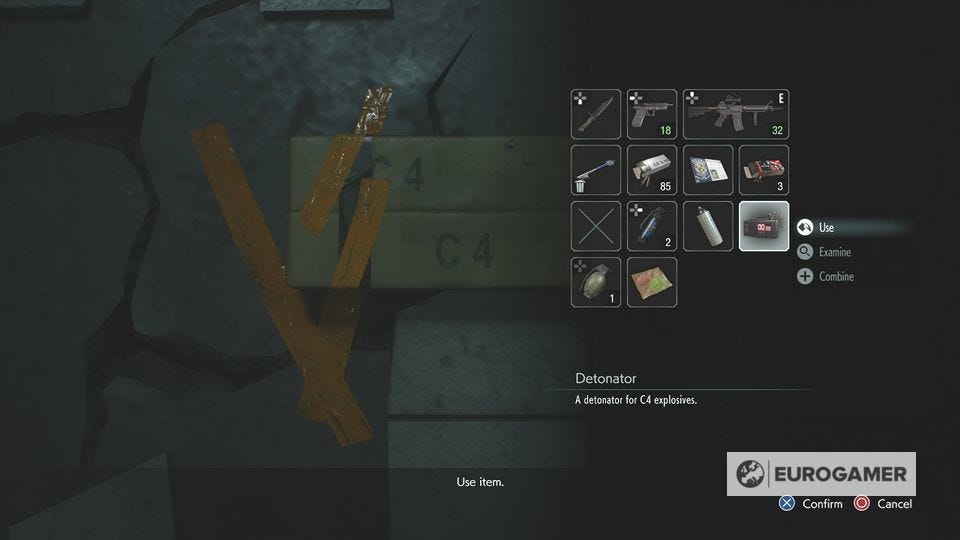
The Shower Room has an Electronic Gadget on the wall. Collect it, and inspect the reverse in your inventory to see a slot of the Battery. Now combine both items, and interact with the wall once more for a cutscene.
Our full Resident Evil 3 walkthrough explains every aspect's of Jill's, including the Shotgun location, Bolt cutters and Lockpick locations, how to reset the Circuit Breakers to restore power in the Substation, find the Drugstore safe code solution and Aqua Cure clue, Police Station Safe, Locker codes, Hospital safe code and courtyard box for the Magnum explained.
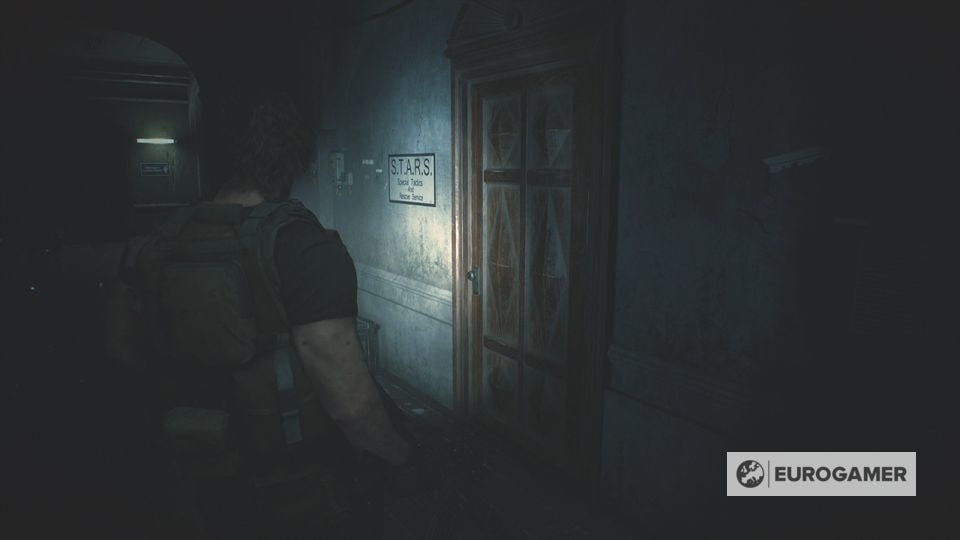
How to reach the STARS Office
With the wall blown, you'll be trapped here as the steam will block your retreat behind you, and the next room will have a lot of zombies.
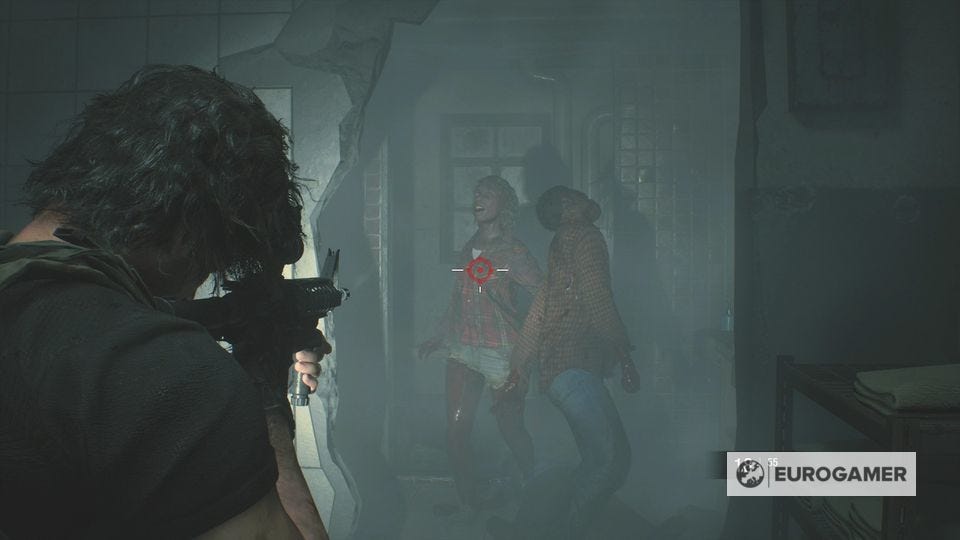
Once you have cleared this initial set (remember to switch to the Handgun to shoot their heads on the ground to ensure they're fully dead) then inch your way forward and look left - more are waiting to ambush you. Do the same again with the next room, and when you're at the end, another will break through the door.
It's a bit relentless - but there is ammo and health in this final room, which you'll want to grab after that encounter.
You're not done yet. Ready a Flash Grenade and chuck it when going through the door to blind the Licker, then sprint down the corridor into the STARS Office that's the first door on the left. This is easier than fighting it, and the only thing you'll miss in this corridor are two consumable items which you can live without.
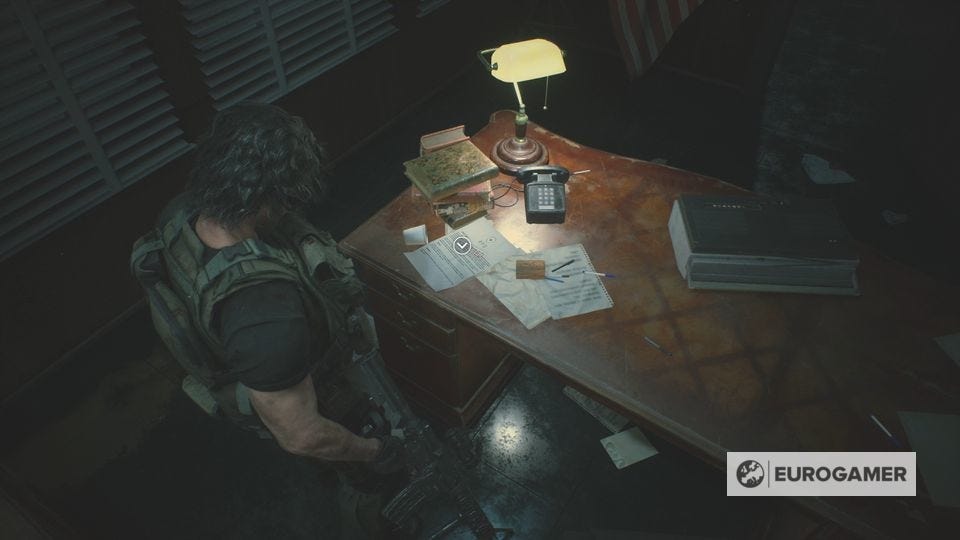
After the STARS Office cutscene, you can explore it to get some more items. Get the Report on the Mansion Incident file from the desk of the left office, as well as the various consumables dotted all around.
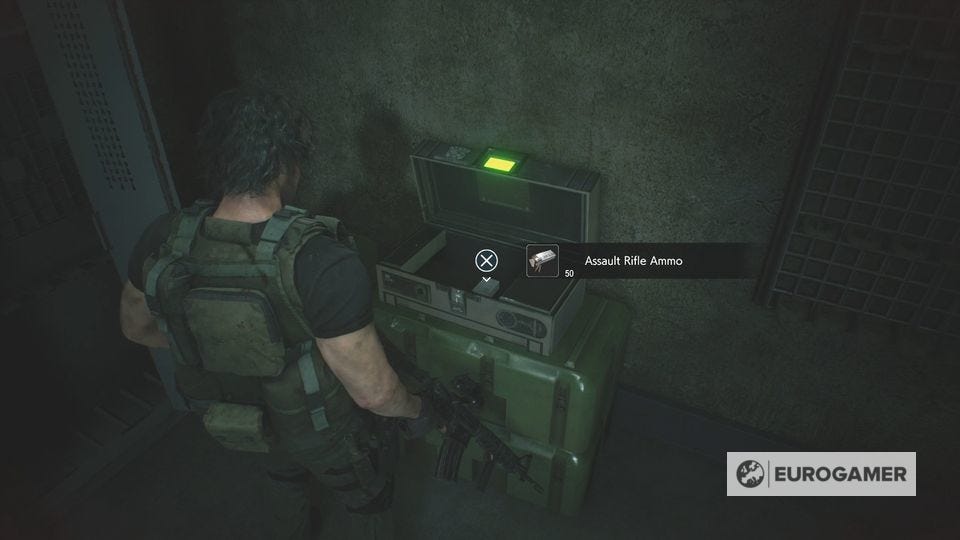
Finally, open the final ID Card crate in the locker room in the back for more Assault Rifle Ammo. You can now discard the ID Card after use.
With that done, leave the room and another cutscene will play. You'll now be playing as Jill again starting from the Dilapidated Shelter.