Mt. Coronet Pokémon, trainers and items in Pokémon Brilliant Diamond and Shining Pearl
Our complete guide to Pokémon BDSP's trainers, items, and wild Pokémon.

Mt. Coronet is a key, central location in Pokémon Brilliant Diamond and Shining Pearl that you'll pass through three main times, the first following on from Route 206 and Route 207 in your adventure, the second after Lake Valor and Lake Verity, and the third after Team Galactic HQ and Warehouse.
Below we'll take you through all the key details for the location, including any Pokémon encounters, trainers, and items that might be available, plus a walkthrough of your key objectives and anything else you'll need to know for each visit in order.
On this page:
- Mt. Coronet first visit - Pokémon, trainers and items
- Mount Coronet second visit entrance level - Pokémon, trainers and items
- Mount Coronet second visit B1F North - Pokémon, trainers and items
- Mount Coronet second visit 1F North - Pokémon, trainers and items
- Mount Coronet third visit - Entrance and 2F South Pokémon, trainers and items
- Mount Coronet 3F South Pokémon, trainers and items
- Mt. Coronet Exterior South Pokémon, trainers and items
- Mount Coronet 4F Pokémon, trainers and items
- Mount Coronet Exterior North Pokémon, trainers and items
- Mount Coronet Sunken Cave Pokémon, trainers and items
- Mount Coronet 5F Pokémon, trainers and items
- Spear Pillar Pokémon, trainers and items

Mt. Coronet first visit - Pokémon, trainers and items
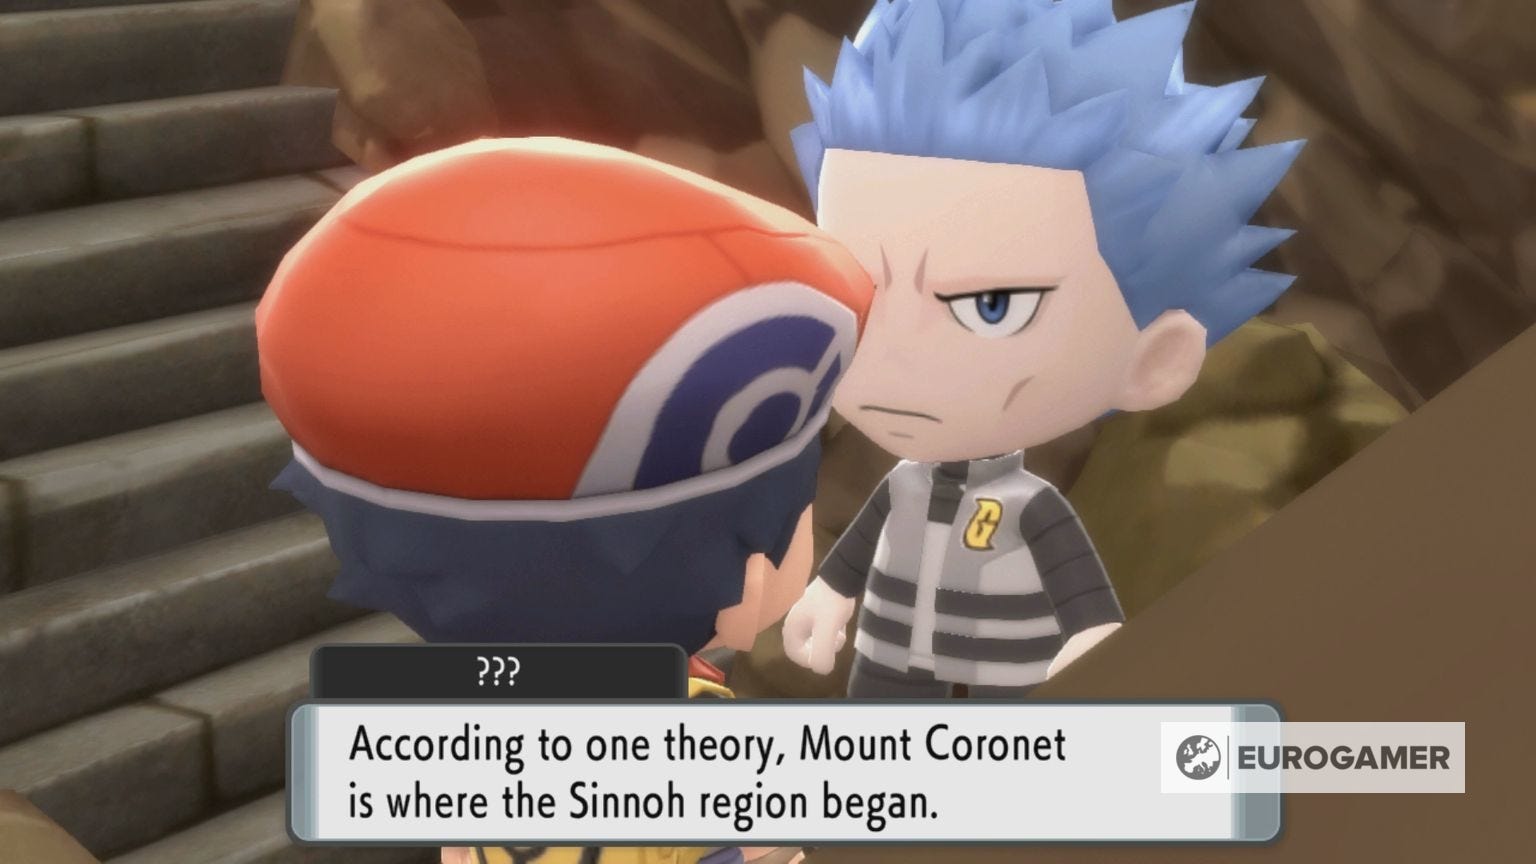
Your first visit to Mt. Coronet, via Route 207, is a short and simple one. You can't explore any of the proper cave and can instead just collect an item, catch a few interesting Pokémon like Chingling, Meditite, and Cleffa, and proceed on to the east.
When you first step into the cave though, you'll be accosted by someone serioues looking in Team Galactic clothing. He seems very upset at the state of the world, ranting on about it - weird!
Anyway, you should absolutely come back to Mt. Coronet when you have Surf, Rock Climb, and Strength - and indeed there will be plenty of other visits which we'll detail below as we expand our walkthrough.
Available Pokémon
| Pokémon | Availability |
|---|---|
| Cleffa | Ground |
| Geodude | Ground |
| Machop | Ground |
| Chingling | Ground |
| Meditite | Ground |
| Zubat | Ground |
Items
| Items | Location |
|---|---|
| Ether | Hidden - in the standalone rock up the stairs north of where you meet the Team Galactic man |
For now, head east out of the cave to your next destination: Route 208!
Mount Coronet second visit entrance level - Pokémon, trainers and items
Right, welcome back to Mt. Coronet! This mountain is split into several sections, and this time you're going to be entirely in the northern section. We're assuming you've entered from the west, via Eterna City and Route 211. You'll come in at ground level, go down to one basement which we call B1F North, then come up to the ground level further north, which we'll call 1F North - and that takes you outside to your next destination (in this case, Route 216).
Available Pokémon
| Pokémon | Availability |
|---|---|
| Cleffa | Ground |
| Geodude | Ground |
| Machop | Ground |
| Chingling | Ground |
| Meditite | Ground |
| Zubat | Ground |
Items
| Items | Location |
|---|---|
| Revive | Hidden - in rock in front of you as you enter |
| TM69 Rock Polish | Near entrance, requires Strength |
| Tiny Mushroom | Hidden - in rock in front of East entrance by ledge |
| Rare Candy | North from East entrance then use Rock Smash to get to dead end on left |
Let's dive in! First up, after entering from the west use Strength on the first grey boulder you see to shove it upwards, so you can pick up the item near the entrance.
Circle back and now shove the next boulder right (east), head to the right and pick up an Escape Rope. You can exit from here onto Route 211 East which is the one that takes you to Celestic Town, but no need to do that now - you want to be going north!
There's also a boulder to the south. This is the way to the entire southern section of Mount Coronet, but it's one-way only, as pushing that boulder will just jam it against a wall and you still won't be able to progress. You'll be back here soon enough though, so ignore that for now and head north, all the way, and down the stairs when you find them to a foggy level.
Mount Coronet second visit B1F North - Pokémon, trainers and items
On this level things are super foggy, so it's time to use Defog from your Pokétch, allowing you to suddenly see clearly.
Now you can see what you're doing, explore this level collecting the many, many items here, and when you're ready to progress, head north to the stairs up to the Route 216 entrance level which we call 1F North.
Note that this is also the only place in the game where you can catch Feebas, the Magikarp-like fish Pokémon that evolves into Milotic. It spawns in an unusual way however: it appears on exactly four water tiles, which are randomised, and so you'll have to fish on each tile in the pool of water a couple of times, all the way around the entire pool until you find one. There is one possible shortcut however: one reddit user (with a name we won't link as it contains coarse language) has uncovered this tool. Follow the instructions there and it'll identify which tiles Feebas is catchable on that day. It's based off your Lotto ID number, which changes daily and can be found by talking to the secretary at Jubilive TV. Easier yet: just trade a Feebas from another game where you caught one already...
Items
| Items | Location |
|---|---|
| Stardust | By stairs from 211 Entrance behind smashable rock |
| Nugget | Hidden - in rock below Stardust |
| Light Clay | Surf out onto water to small patch of land |
| Max Elixir | Thin bit of land north-east corner of water |
| Soft Sand | At dead end on west side heading north through strength and rock smash rocks |
| Ultra Ball | Hidden - in left of two rocks, north of water between two staircases |
| Revive | North of water and up stairs to the right, behind Strength rock (push it right) |
| Full Restore | At dead end on east side of water behind smashable rocks |
| Rare Candy | Hidden - In one of the two rocks in very north-east corner near stairs |
| PP Up | Hidden - Go down to shore of water from southern entrance, then all the way north along shore, smash the top rock, in the wall |
Available Pokémon
| Pokémon | Availability |
|---|---|
| Feebas | Fishing (special) |
| Golbat | Ground |
| Graveler | Ground |
| Meditite | Ground |
| Clefairy | Ground |
| Chingling | Ground |
| Machoke | Ground |
Mount Coronet second visit 1F North - Pokémon, trainers and items
Head up to 1F North and there's just the one item to collect, a hidden HP Up, and then you can head outside. You made it! That wasn't so tough! You've now arrived at your next destinations: Route 216 and Route 217.
Mount Coronet third visit - Entrance and 2F South Pokémon, trainers and items
Welcome back! This section details your third visit to Mount Coronet, and therefore there are SPOILERS here if you haven't already got the Icicle Badge from Snowpoint City, and defeated Team Galactic at their Veilstone HQ. That's your warning!
Now we can crack on. This is going to be a completionist walkthrough of your third visit to Mount Coronet, nabbing all the items and defeating all the trainers as we go. There are several levels this time and one or two dead ends, but follow our instructions and hopefully it won't be too tricky!
Enter via Route 207 again, but this time collect the Dawn Stone across the water to the south, then go back up to the top of the room and go east across the northern bit of water, use Rock Climb to get up the wall, and go up the stairs to 2F South.
Here, collect the Max Potion and Ether then follow the path round to the south of the room. There are lots of great items here. First take a tiny detour by going outside onto what is technically Route 207 to collect an Iron, then come back inside to get the rest and proceed. After getting the Escape Rope and the outdoor Iron, go up onto the raised level and head north.
Cross the bridge to the left and first go south to collect TM80 Rock Slide at a dead end. Then go back north to collect a Revive, then head east across a longer bridge, loop underneath it and go into a mini cave to the north.
Go east out of the mini cave and first go east again into a nother mini cave to get a hidden Max Revive. Then come back out and head north, and you're on 3F South.
Available Pokémon
| Pokémon | Availability |
|---|---|
| Golbat | Ground |
| Bronzong | Ground |
| Machoke | Ground |
| Graveler | Ground |
| Bonzor | Ground |
| Clefairy | Ground |
| Chingling | Ground |
| Medicham | Ground |
| Bronzor | Ground (rare) |
Items
| Items | Location |
|---|---|
| Dusk Stone | Technically on entrance level from Route 7 now you have surf, go across water to the south. |
| Max Potion | On raised level soon after you enter |
| Ether | Hidden - in single rock on raised level with Max Potion |
| Escape Rope | Among rocks in south of room after Max Potion |
| TM80 Rock Slide | At a dead end near western exit, cross north-west bridge to get to it |
| Revive | North-west area across bridge |
| Max Revive | Hidden - in single rock after looping under bridges to the north, into first mini cave, right across path to 3F, into second mini cave, down. |
| Iron | Outside (technically Route 207) down Rock Climb bit to dead end |
Mount Coronet 3F South Pokémon, trainers and items
Head north up the steps to find a Galactic Grunt. Time for some battling! This is just a small section so work your way through it, get the one item, and head outside to the south-west, to Mount Coronet - Exterior South.
Available Pokémon
| Pokémon | Availability |
|---|---|
| Golbat | Ground |
| Bronzong | Ground |
| Machoke | Ground |
| Graveler | Ground |
| Bonzor | Ground |
| Clefairy | Ground |
| Chingling | Ground |
| Medicham | Ground |
| Bronzor | Ground (rare) |
Items
| Items | Location |
|---|---|
| Super Repel | Hidden - in rock in top-left corner after first Grunt |
Trainers and Opponents
| Trainers | Pokémon | Level |
|---|---|---|
| Team Galactic Grunt | Beautifly | Lv.40 |
| Team Galactic Grunt | Bronzor | Lv.39 |
Mt. Coronet Exterior South Pokémon, trainers and items
You're now on the exterior of Mount Coronet, the first of two exterior areas so we're calling this one Exterior South.
Beware it's snowing outside, meaning your Pokémon will take Hail damage in battle. Go inside at the first door you see, after using Rock Climb and getting the items. Grab the items and then you can't go any further from this entrance without Waterfall, so go back out the way you came and now head west through more long grass.
Eventually you'll reach the western entrance to 4F, go inside and now you can continue onwards.
Available Pokémon
| Pokémon | Availability |
|---|---|
| Bronzong | Grass |
| Medicham | Grass |
| Chingling | Grass |
| Machoke | Grass |
| Abomasnow | Grass |
| Snover | Grass |
| Chingling | Grass |
| Clefairy | Grass (rare) |
| Bronzong | Grass (rare) |
| Golbat | Grass (night) |
| Noctowl | Grass (night) |
Items
| Items | Location |
|---|---|
| Full Heal | Hidden - in gap in long grass as it first turns northwards |
| Nugget | Hidden - in single rock in long grass up second Rock Climb wall by east entrance to 4F |
| Max Potion | Hidden - in single rock behind breakable rock in south-west area near western 4F entrance |
Mount Coronet 4F Pokémon, trainers and items
After collecting the two items on the eastern side, enter via the western entrance from the outdoor snowy area.
Now you're on the left side, head up the Rock Climb wall in front of you to more smashable rocks and a Galactic Grunt. After beating the two Grunts, head east along a narrow path to exit to Mt. Coronet Exterior North.
Just a quick note: when you have the Super Rod (obtained in the Fight Area after defeating the Elite Four) you can use it fish at this waterfall and catch the rare Pokémon Dratini and Dragonair, which eventually evolve into Dragonite. With Waterfall, you can also go up that waterfall and enter a cave with the Stone Plate item.
Available Pokémon
| Pokémon | Availability |
|---|---|
| Medicham | Ground |
| Bronzor | Ground |
| Graveler | Ground |
| Machoke | Ground |
| Clefairy | Ground |
| Golbat | Ground |
| Chingling | Ground |
| Medicham | Ground |
Items
| Items | Location |
|---|---|
| PP Up | Hidden - in rock immediately left of entrance between two smashable rocks |
| Ultra Ball | Hidden - up stairs in front of entrance in a rock |
| Revive | Hidden - in rock left of Galactic Grunt behind smashable rock |
| Ether | Hidden - in rock along upper wall past Galactic Grunt |
| Escape Rope | Hidden - in rock south of second Galactic Grunt |
| Stone Plate | Return with Waterfall, go up it and into the cave. |
| Items | Location |
|---|---|
| PP Up | Hidden - in rock immediately left of entrance between two smashable rocks |
| Ultra Ball | Hidden - up stairs in front of entrance in a rock |
| Revive | Hidden - in rock left of Galactic Grunt behind smashable rock |
| Ether | Hidden - in rock along upper wall past Galactic Grunt |
| Escape Rope | Hidden - in rock south of second Galactic Grunt |
Trainers and Opponents
| Trainers | Pokémon | Level |
|---|---|---|
| Team Galactic Grunt | Dustox Golbat Dustox | Lv.35 Lv.38 Lv.35 |
| Team Galactic Grunt | Stunky Golbat | Lv.38 Lv.38 |
Mount Coronet Exterior North Pokémon, trainers and items
Out here, here are a few places to go. First follow the long grass north to a rock with a hidden Rare Candy in it.
Then go down to the lower area with a cave door. This is a detour with some items and Grunts, it's worth taking, so go inside, clear it out, then come back outside. We've called it the Sunken Cave and it's the next section we cover below.
When you've cleared that out, go west up the Rock Climb wall, collect some items and all the way to the west is the entrance to 5F, take that! There's a hidden Tiny Mushroom in a rock on the way there, too.
Available Pokémon
| Pokémon | Availability |
|---|---|
| Clefairy | Grass (rare) |
| Abomasnow | Grass |
| Medicham | Grass |
| Snover | Grass |
| Machoke | Grass |
| Chingling | Grass |
| Bronzong | Grass (rare) |
Items
| Items | Location |
|---|---|
| Stardust | Hidden - immediately after exiting 4F, go directly south and smash the lower-left rock, then interact with wall on left |
| Rare Candy | Hidden - in single rock among long grass, follow it north past frozen staircase |
| Tiny Mushroom | Hidden - in single rock heading west through lots of long grass |
| Big Mushroom | Hidden - go far wast, then north to northernmost ledge, then far east to rock at dead end |
Mount Coronet Sunken Cave Pokémon, trainers and items
This is and optional cave from the early part of Exterior North, but there are a few trainers and items in here, so it's worth poking your head in!
Enter via the cave door in the sunken part early on in Mt. Coronet Exterior North. You can go straight down to the central area or take the long route around the outside. Take the long route to get all the items! Battle the Grunt and go down the Rock Climb wall, collect the Max Ether, then the Big Mushroom, then continue north.
Battle the next Grunt, continue all the way to the north corner and battle the third. Collect the Full Restore and Nugget, then Rock Climb down to the central area.
Finally, you'll reach a Grunt blocking to doorway. They're lost and don't have any Pokémon, and there's no way to move them, so head back out the way you came! There's a shortcut via Rock Climb in the south-west of this sunken central bit. Your next stop is west through Exterior North to 5F, covered in the next section below.
Available Pokémon
| Pokémon | Availability |
|---|---|
| Clefairy | Ground |
| Bronzong | Ground (rare) |
| Graveler | Ground |
| Golbat | Ground |
| Chingling | Ground |
| Machoke | Ground |
| Medicham | Ground |
Items
| Items | Location |
|---|---|
| Max Ether | Hidden - in wall behind lower of the two breakable rocks in south-east corner |
| Big Mushroom | Hidden - in single rock on southernmost raised ledge |
| Full Restore | Hidden - in wall behind smashable rock in north-westernmost corner |
| Nugget | Hidden - in wall at dead end by stairs to thin ledge in north-west area |
| Rare Candy | Hidden - in small rock behind smashable rock by large rock in central lower area |
| Revive | Hidden - in single rock on raised bit south-east of Rare Candy |
| TM02 Dragon Claw | After defeating Cyrus - go through door blocked by Grunt who will have left, and it's on the left |
| Hyper Potion | After defeating Cyrus - hidden in rock directly above TM02 Dragon Claw |
Trainers and Opponents
| Trainers | Pokémon | Level |
|---|---|---|
| Team Galactic Grunt | Golbat | Lv.40 |
| Team Galactic Grunt | Wurmple Beautifly Silcoon | Lv.34 Lv.38 Lv.36 |
| Team Galactic Grunt | Croagunk Stunky Croagunk | Lv.35 Lv.38 Lv.38 |
Mount Coronet 5F Pokémon, trainers and items
There are actually three short tunnels that connect here, each going up a level gradually, but we're just going to bundle them together as 5F as they're so brief!
Once you're inside the second tunnel, there are more Grunts to battle. After the first two, go west into the next section and there's one last grunt to go, as you work your way up the steps.
Head outside to the Spear Pillar, at the very top of Mount Coronet!
Available Pokémon
| Pokémon | Availability |
|---|---|
| Golbat | Ground |
| Chimecho | Ground |
| Bronzong | Ground |
| Chingling | Ground |
| Clefairy | Ground |
| Graveler | Ground |
| Machoke | Ground |
| Medicham | Ground |
Items
| Items | Location |
|---|---|
| Tiny Mushroom | Hidden - in lower rock in connecting tunnel to 5F |
| Max Potion | Hidden - in rock by first Galactic Grunt |
| Stardust | Hidden - in rock on southern wall before second Grunt |
Trainers and Opponents
| Trainers | Pokémon | Level |
|---|---|---|
| Team Galactic Grunt | Bronzor Glameow | Lv.38 Lv.38 |
| Team Galactic Grunt | Bronzor Golbat | Lv.37 Lv.37 |
| Team Galactic Grunt | Golbat Glameow Bronzor | Lv.37 Lv.37 Lv.37 |
Spear Pillar Pokémon, trainers and items
First up, there's a double battle against two Grunts to get through - take them down! Then stop, heal up and save before you go any further.
Head forwards and you'll notice the heads of Team Galactic. Cyrus opens a portal, summoning the Legendary Dialga / Palkia (in Diamond / Pearl respectively)!
Sounds like Cyrus has gone full-on villain mode, if he hadn't already! Time to take him down. But first, a double battle against both Jupiter and Mars - and with the help of your old pal Barry!
Heads up the Skuntank has a Citrus Berry which heals it when on low health, and the move Belch, which follows up with hefty damage after the berry's been eaten. After the battle, Barry heals up your Pokémon, and it's time for the showdown with Cyrus.
But before you can battle, he turns to Dialga/Palkia, which is in the middle of creating a new galaxy for Cyrus when the Lake Guardians turn up! They remove the Red Chain, freeing Dialga/Palkia so it no longer has to obey Cyrus.
Once defeated, Cyrus flees. Rowan and Dawn/Lucas appear, suggesting that Dialga seems to be waiting for you, challenging you to a test. Time to see if you can catch it! Save your game then interact with it to start the encounter.
It wants you to stop it, as it's out of control after being shackled by that Red Chain. After you've caught it, don't leave! There are a few little things to do first.
First, grab the Adamant/Lustrious Orb that's down the steps just behind where the legendary Pokémon appeared.
Available Pokémon
| Pokémon | Availability |
|---|---|
| Dialga Lv.47 | Brilliant Diamond - interact after defeating Cyrus |
| Palkia Lv.47 | Shining Pearl - interact after defeating Cyrus |
Items
| Items | Location |
|---|---|
| Adamant Orb | Behind where Dialga was standing, go down some steps (Diamond only) |
| Lustrious Orb | Behind where Palkia was standing, go down some steps (Pearl only) |
Trainers and Opponents
| Trainers | Pokémon | Level |
|---|---|---|
| Team Galactic Grunt 1 and 2 | Stunky / Dustox Glameow / Croagunk | Lv.38 / Lv.38 Lv.38 / Lv.38 |
| Commanders Mars and Jupiter | Bronzor / Bronzor Skuntank / Purugly Golbat / Golbat | Lv.41 / Lv.41 Lv.46 / Lv.45 Lv.41 / Lv.42 |
| Team Galactic Boss Cyrus | Honchcrow Gyarados Crobat Weavile | Lv.45 Lv.45 Lv.46 Lv.48 |
Then, go back to that dead-end tunnel where the lost Grunt was blocking the way. With Galactic defeated the path will now be open, leading to two rare items and back into the northern part of Mt. Coronet, where you can leave to the east and head back to Celestic Town.
Quickly go to Celestic Town and talk to the Elder lady there, Cynthia's grandmother. She'll show you a picture of whichever of Dialga or Palkia you didn't catch, which adds it to your Pokédex, allowing you to complete it without trading for one. Handy! You can now also catch the three Lake Guardians at the three lakes!
We're heading straight to your next main quest step though, as you've still got the final Gym Leader and then the Elite Four to beat. Your next stop is the Route heading east from the Hotel Grand Lake. Route 222!
For more guides and links to the rest of our walkthrough pages meanwhile, return to our main Pokémon Brilliant Diamond and Shining Pearl walkthrough hub.