Destiny 2 Starcrossed quest walkthrough
Venture once more into the Black Garden, O Guardian Mine!

Starcrossed is an Exotic Mission in Destiny 2, introduced as part of the Season of the Wish.
This adventure takes Guardian back into one of the most famous locations in the Destiny series, the infamous Black Garden. Completing this is a key step in earning the Exotic bow Wish-Keeper in Destiny 2, and all of its associated catalysts.
This page will show you step by step how to beat Starcrossed in Destiny 2.
On this page:
How to beat the first encounter of Starcrossed with Sire's Obligation
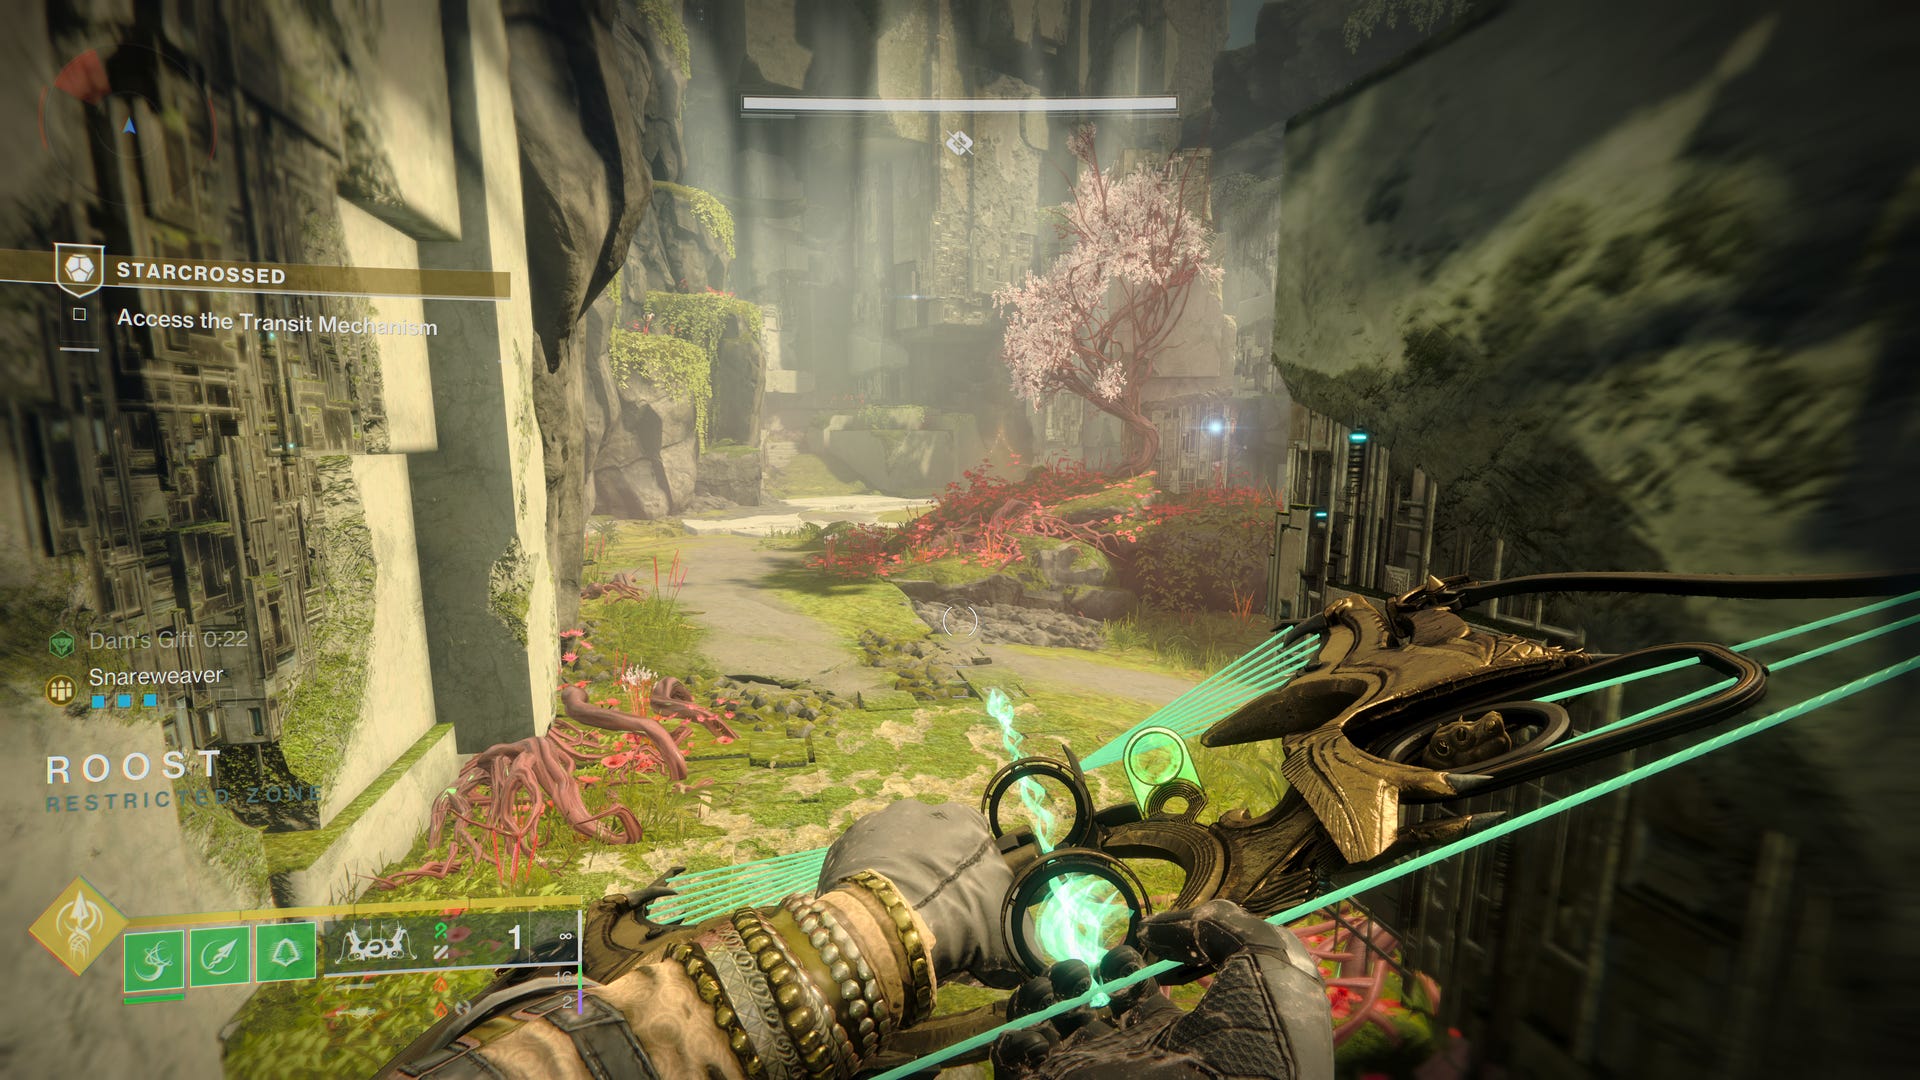
You begin in a cave system. This is a simple jumping puzzle as you move towards the far side. Minding the gaps. You should keep an eye out for large, bulbous plants. Shooting these will cause their leaves to temporarily fan out, giving you a platform to aid your path. Once you reach the end with the small Vex detachment you will arrive at a large open area.
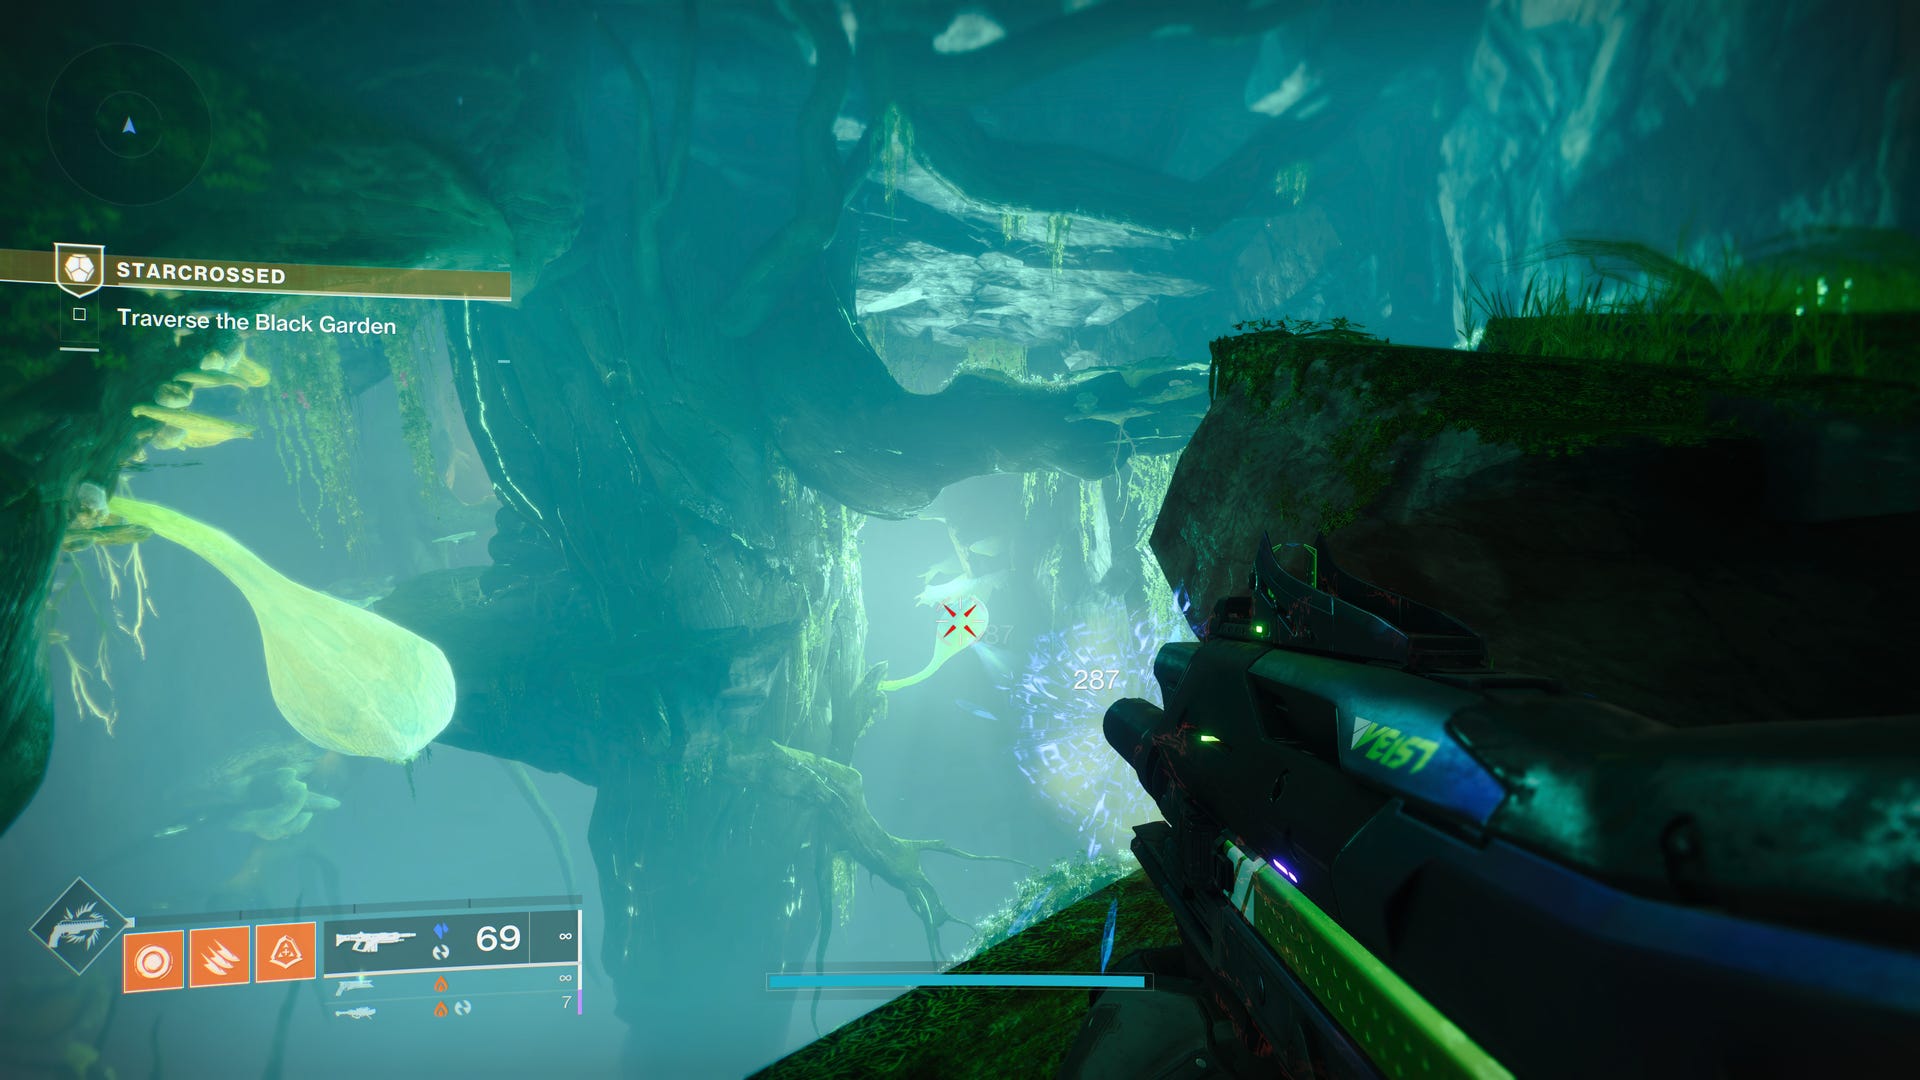
From here you can move straight ahead (mind the snipers!), and you will soon approach a sealed door guarded by a mini-boss Phalanx. Above his head will be a symbol, and the same symbol will be displayed above the door. There is a pool of light nearby, standing inside of that grants a buff called Sire’s Obligation. You must have this buff active in order to damage the Phalanx, killing the Phalanx opens the door.
This introduces a core mechanic that will repeat again several times in this mission:
- See symbol on sealed door
- Find Taken Obdurate Phalanx with the same symbol
- Collect Sire’s Obligation
- Eliminate Phalanx to open door
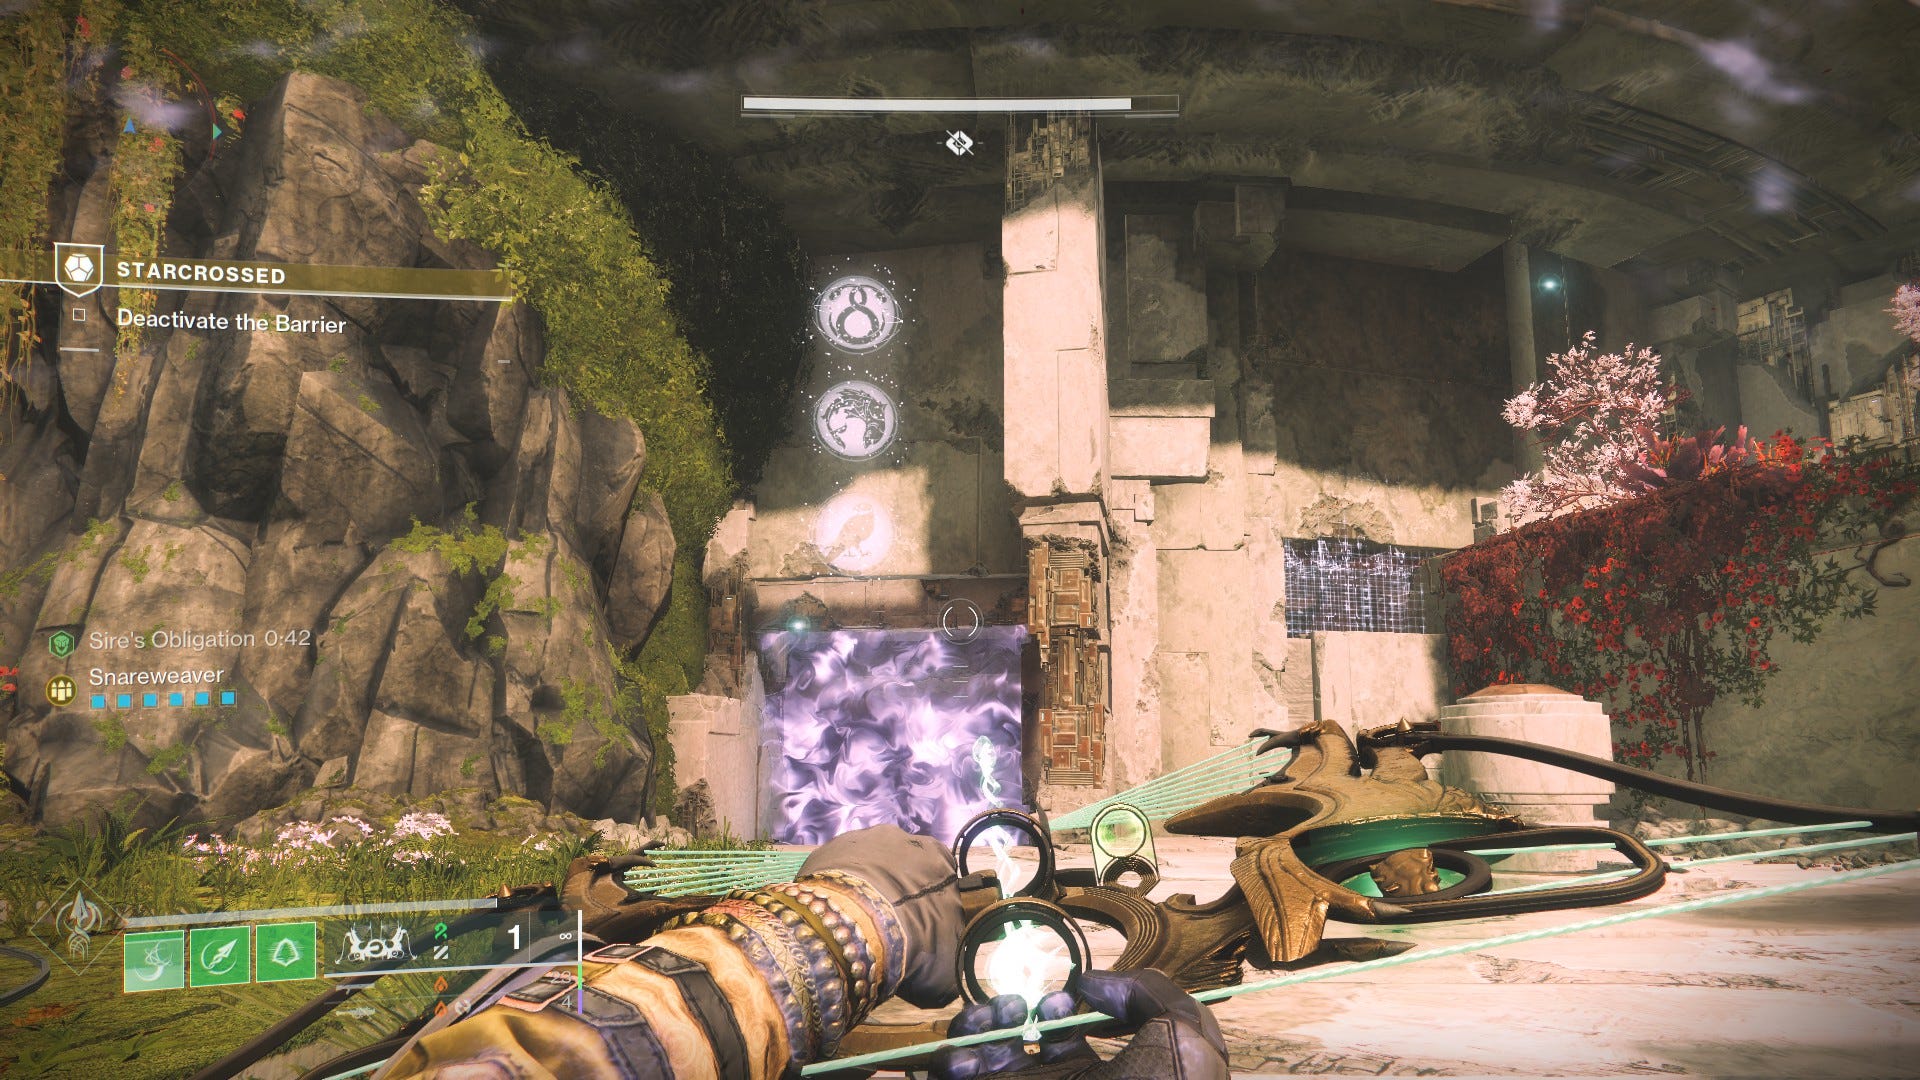
Once you pass through the door you will arrive in another large room. A pool of light will be near the front center of this room. At the far end of this area will be another door, this time sealed by three symbols. You will need to seek out and eliminate the three Taken Obdurate Phalanxes with those symbols, and you must do it in the order (top to bottom) that they appear on the door.

The Phalanxes are spread around the left, center, and right of the room. You will likely need to return to the pool of light multiple times as you eliminate each. There will be other adds to deal with, and several Cyclops will spawn on the various ridges around the area as you progress. Taken those out should be a priority.
Once you defeat all the Taken Obdurate Phalanxes in the correct order the door will open, and you can push forward toward the next encounter.
How to beat the second encounter of Starcrossed with Dam's Gift
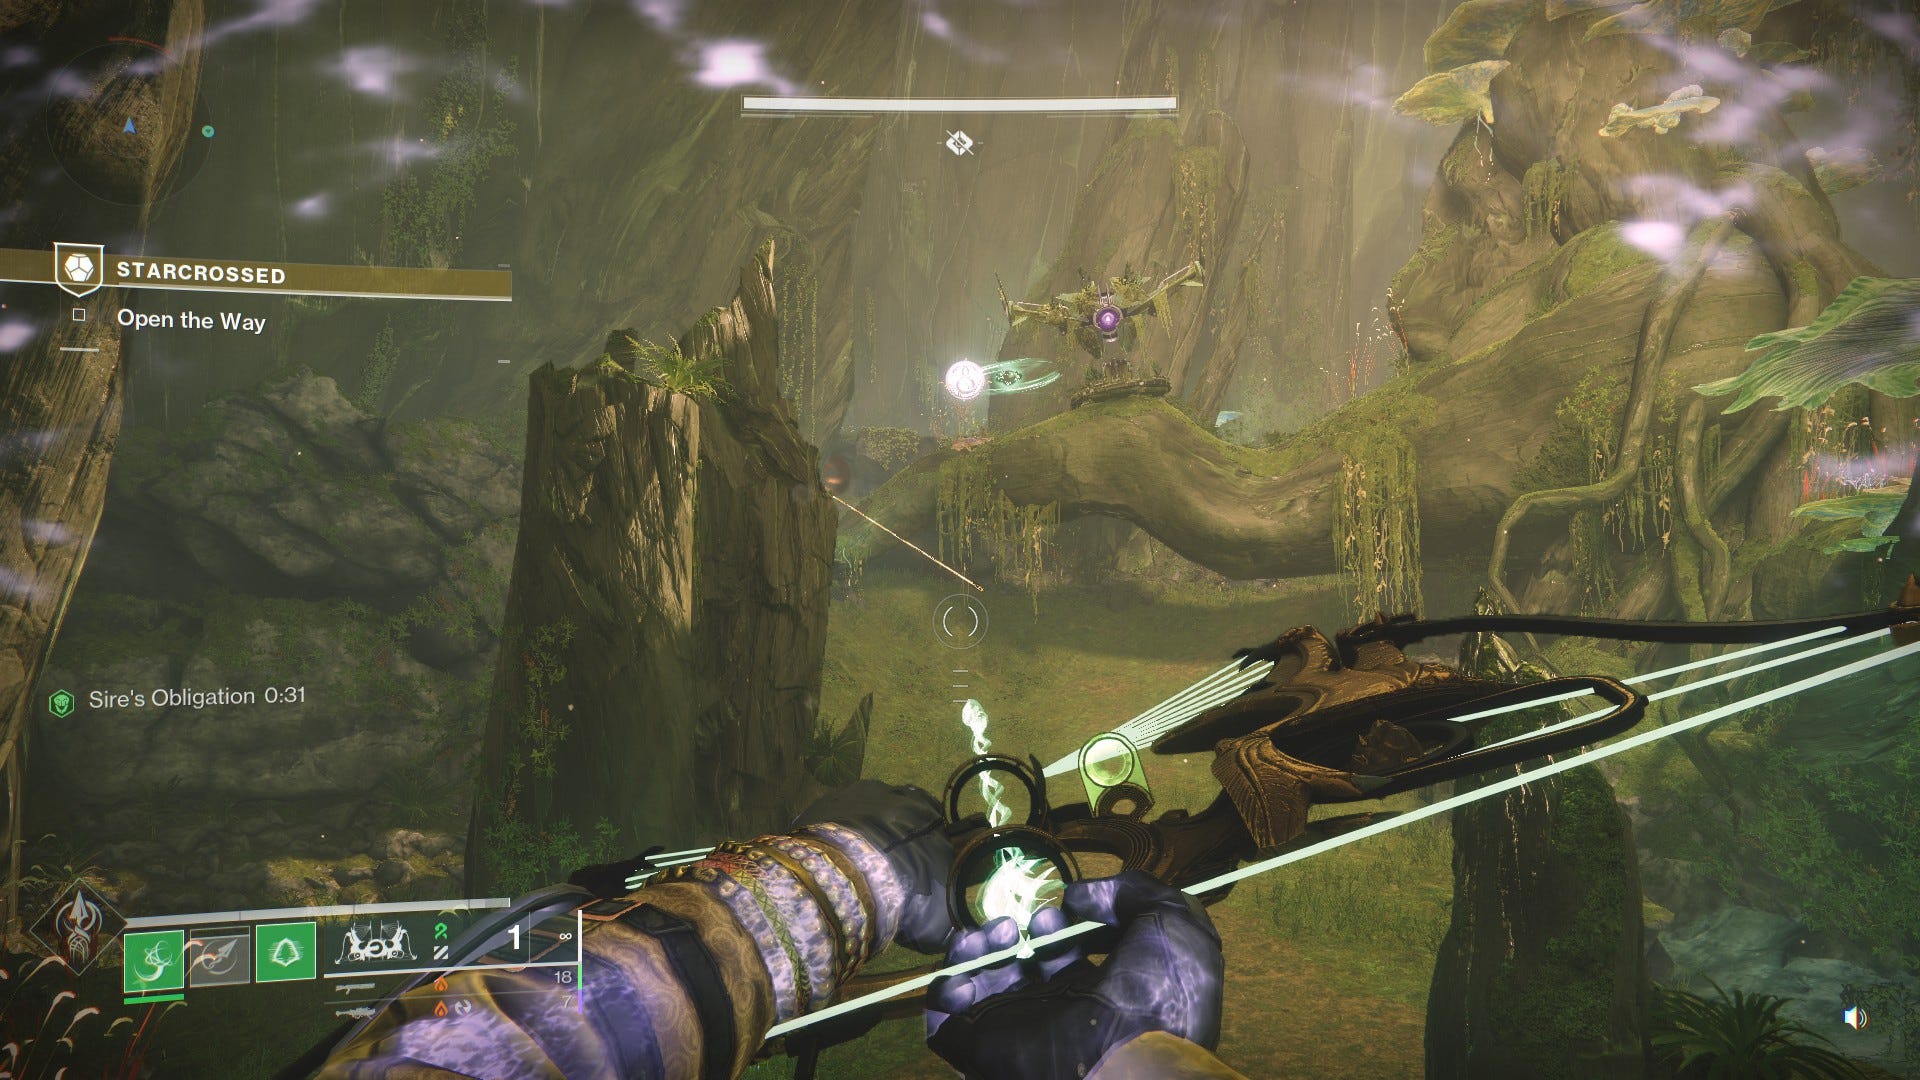
Soon you will arrive at the center of some Vex structures. The path forward from here takes you through a red mist that will kill you over time, don’t enter that just yet. Instead look at the pool of darkness swirling in the center of the room. Stepping into this will bestow a new buff called Dam’s Gift. The function of this is simple, it makes you immune to the red mist until the buff runs out.
This second mechanic is very simple:
- Find an area filled with red mist you want to pass through
- Collect Dam’s Gift
- Pass through quickly before Dam’s Gift dissipates
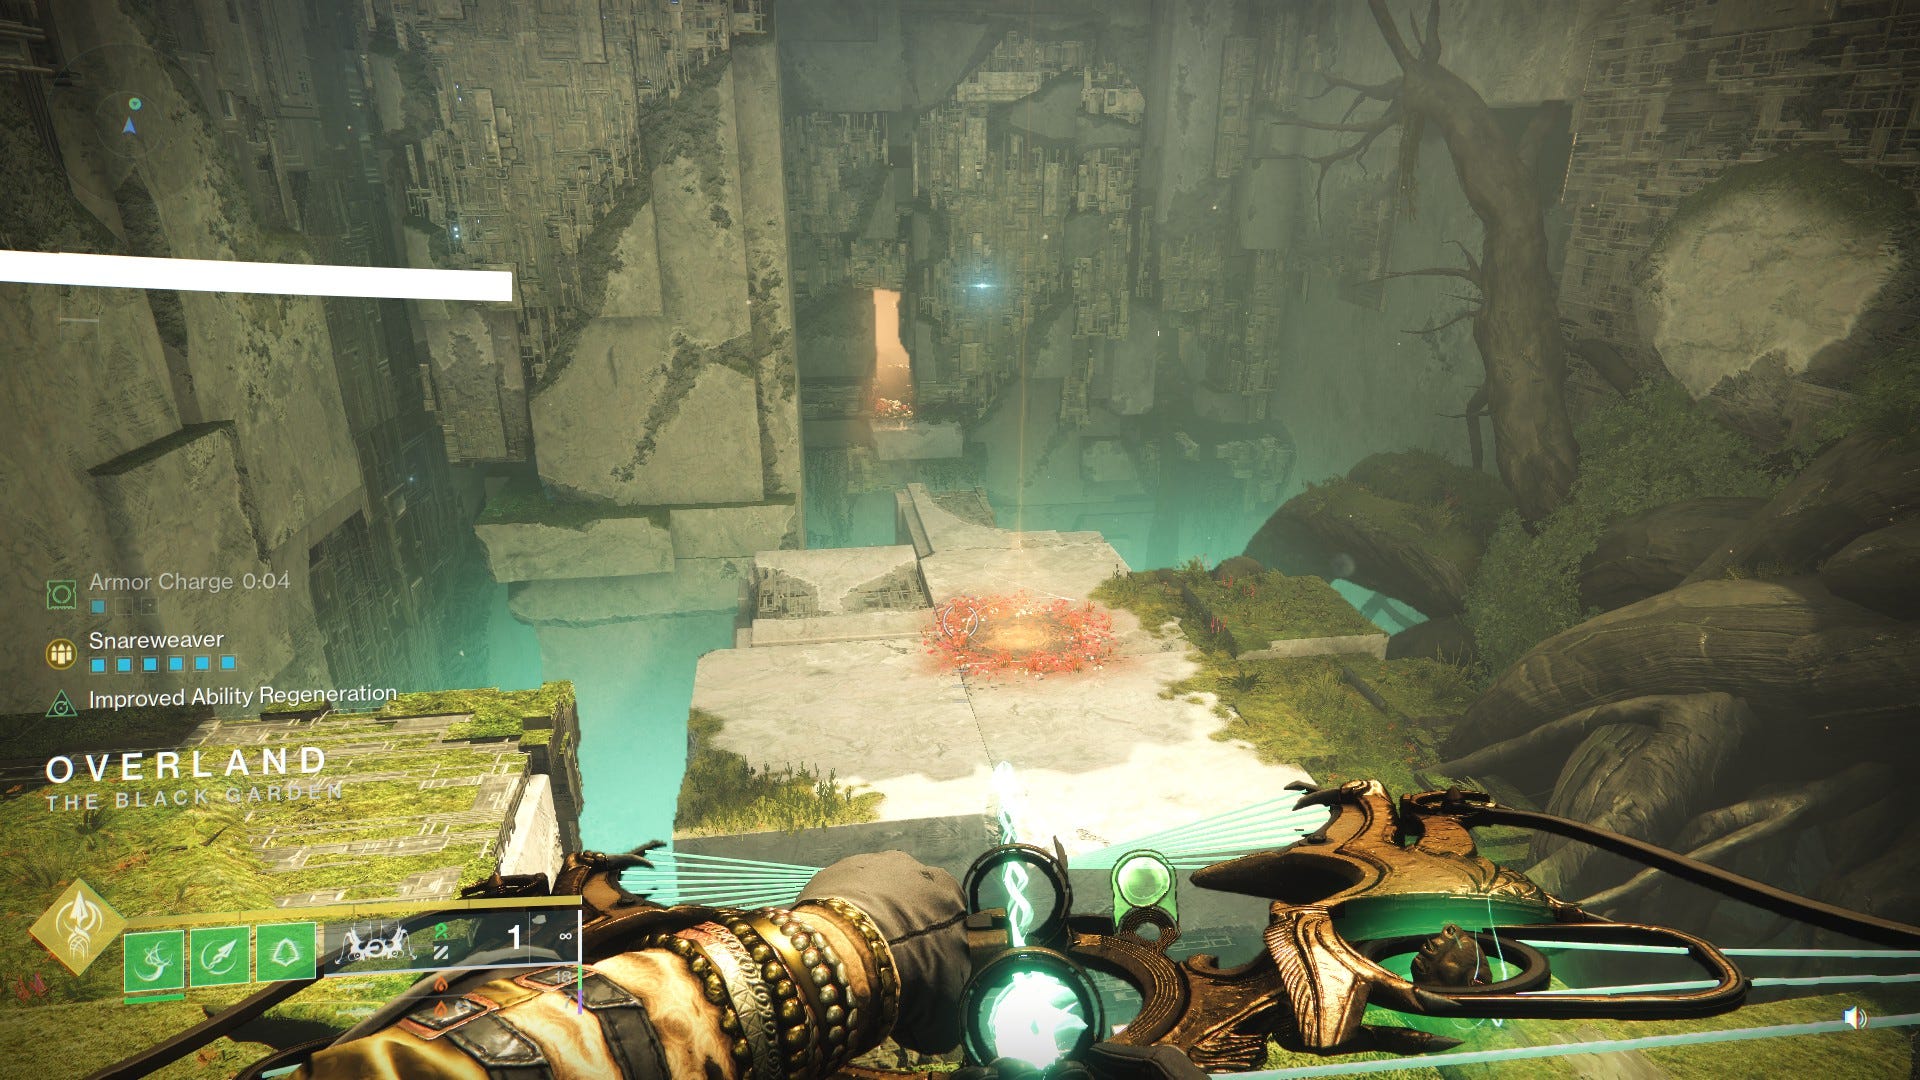
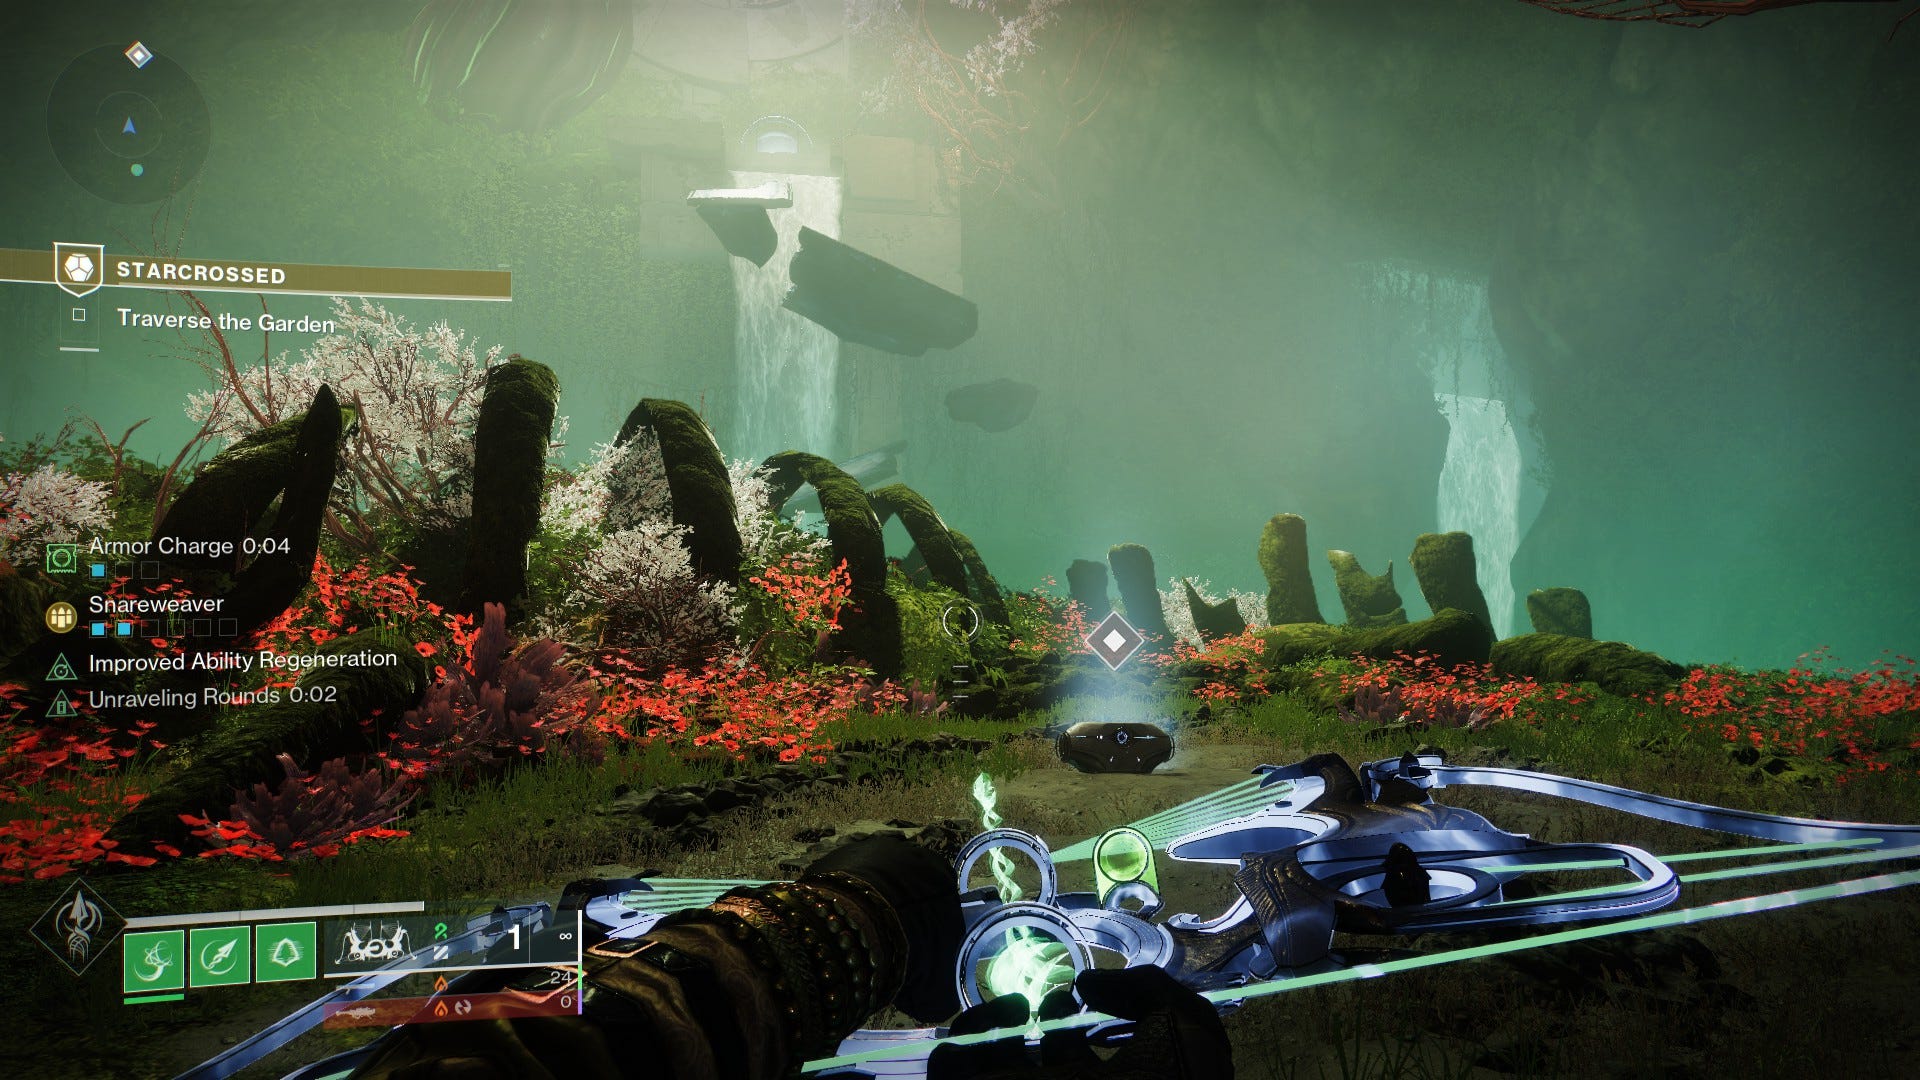
From here you will move straight ahead through some narrow, and occasional moving, corridors in a fairly linear jumping puzzle. When you reach the other side you will emerge in a large room with another pool of dark in the middle. Ahead of you will be red misted doorways to the left, center, and right.
For the first part of this encounter you will need to collect Dam’s Gift and enter each of those areas one at a time, and defeat a Wyvern. Once the Wyvern falls a Vex node will be exposed that you will then activate. The Wyverns are very tough and you will be racing against the clock to take them out before your Dam’s Gift buff expires. Using your super and/or heavy weapons is strongly encouraged.
Repeat this process for all three areas to activate all three Nodes, refreshing Dam’s Gift in the center room as needed. Once all the Nodes are online the boss, Ixion, Covetous Mind Minotaur, will appear. There are no special mechanics to this fight, but beware all the adds Ixion brings, particularly the snipers that spawn at the front of the room.

Clear them all out, collect your loot, and you are ready to move on.
How to beat the third encounter of Starcrossed with Crowned by Dragons
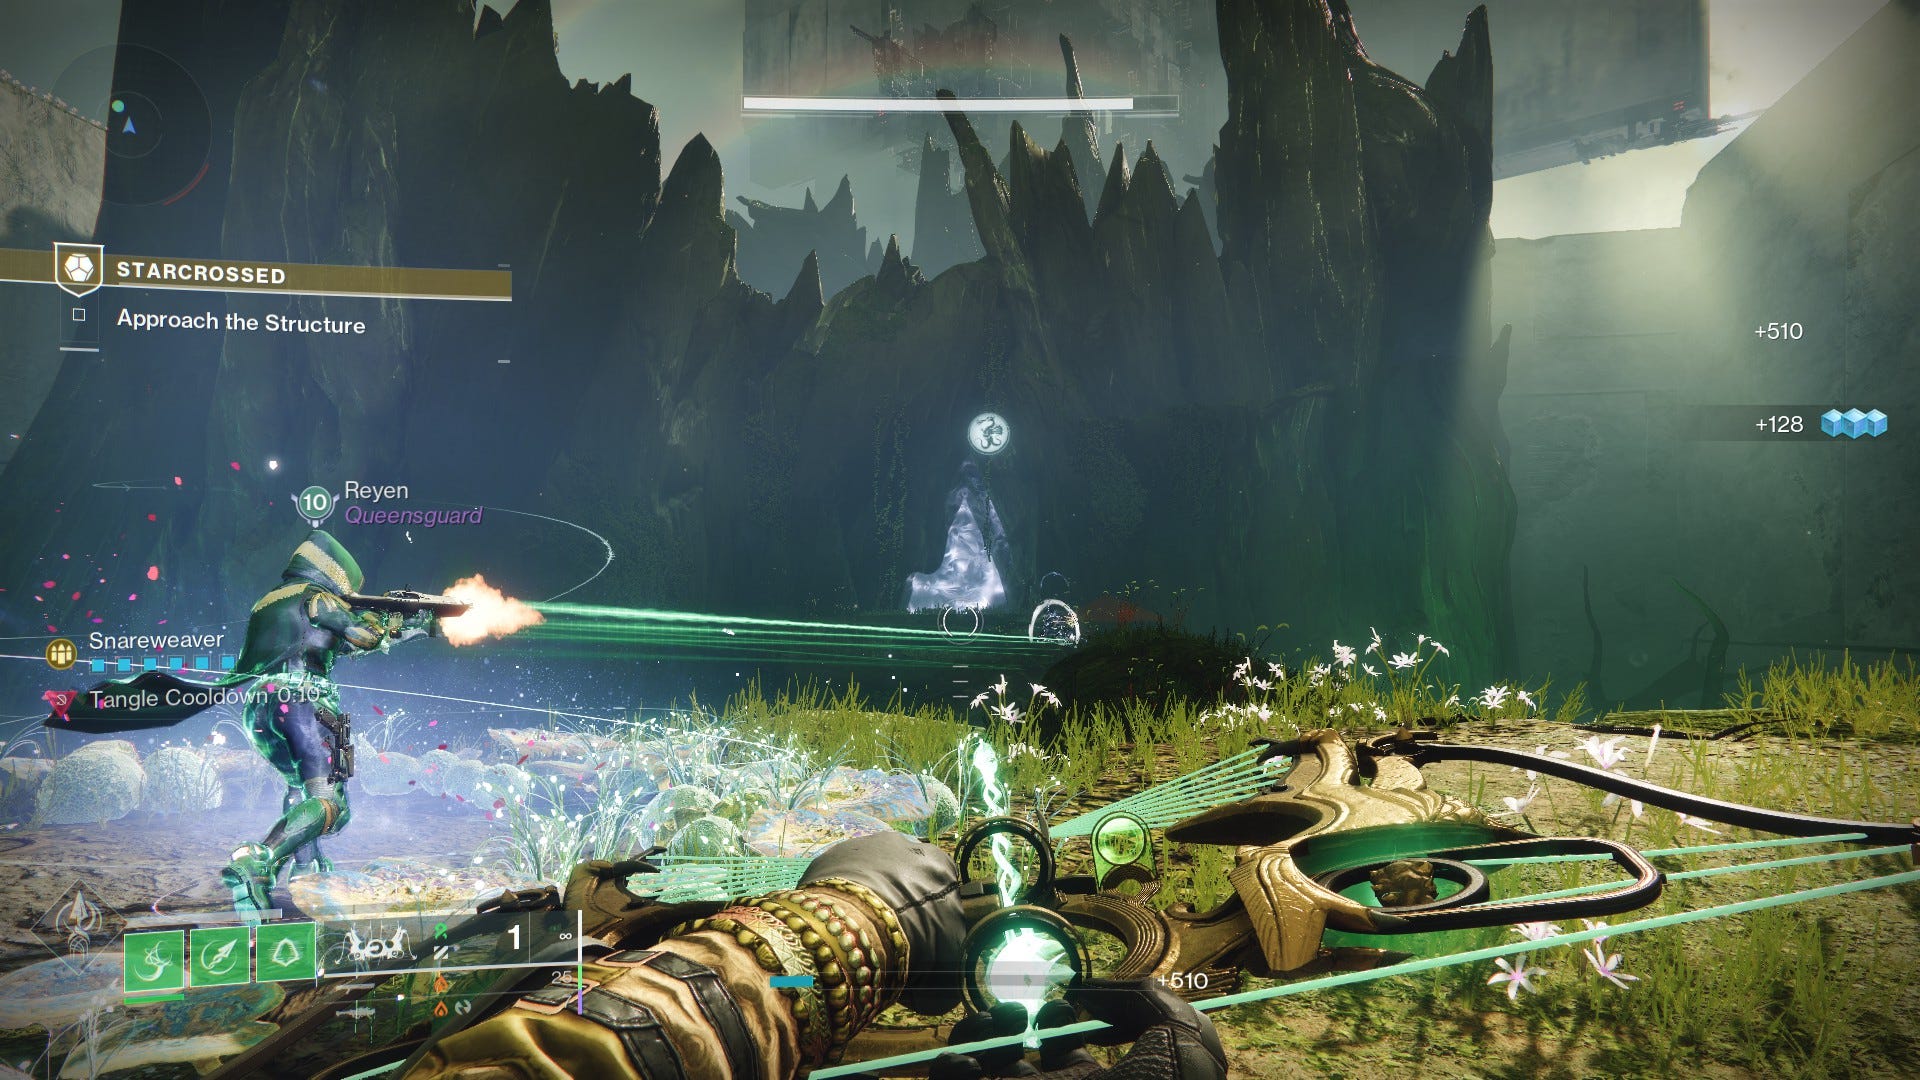
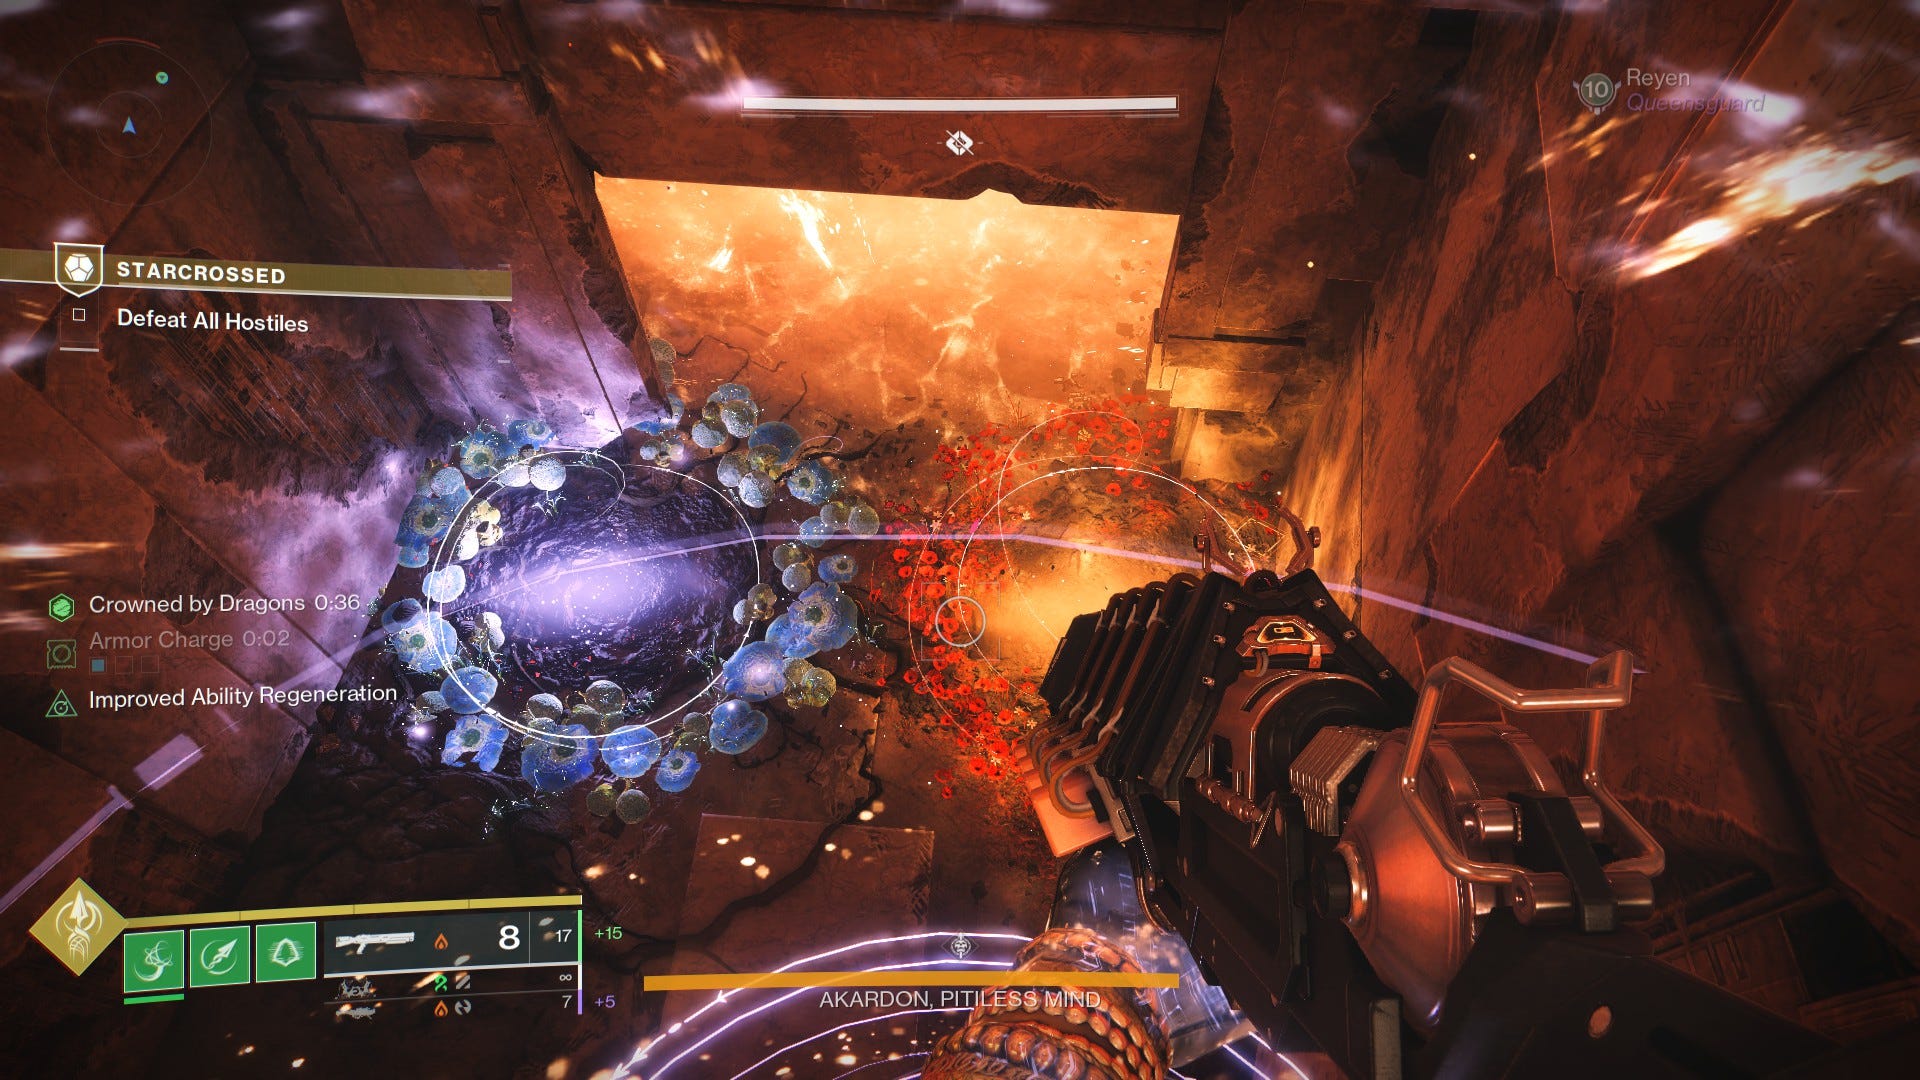
After another short platforming section you will arrive in a wide outdoor space, roughy divided horizontally into three areas. In the center section will be a pool of darkness, giving you Dam’s Gift. The left section will have a pool of light, granting Sire’s Obligation, if you collect both, you will then receive a new buff called Crowned by Dragons, which combines the effect of both. The timer will reset any time you step in either pool of light, but if it expires completely you will need to gather both once again.
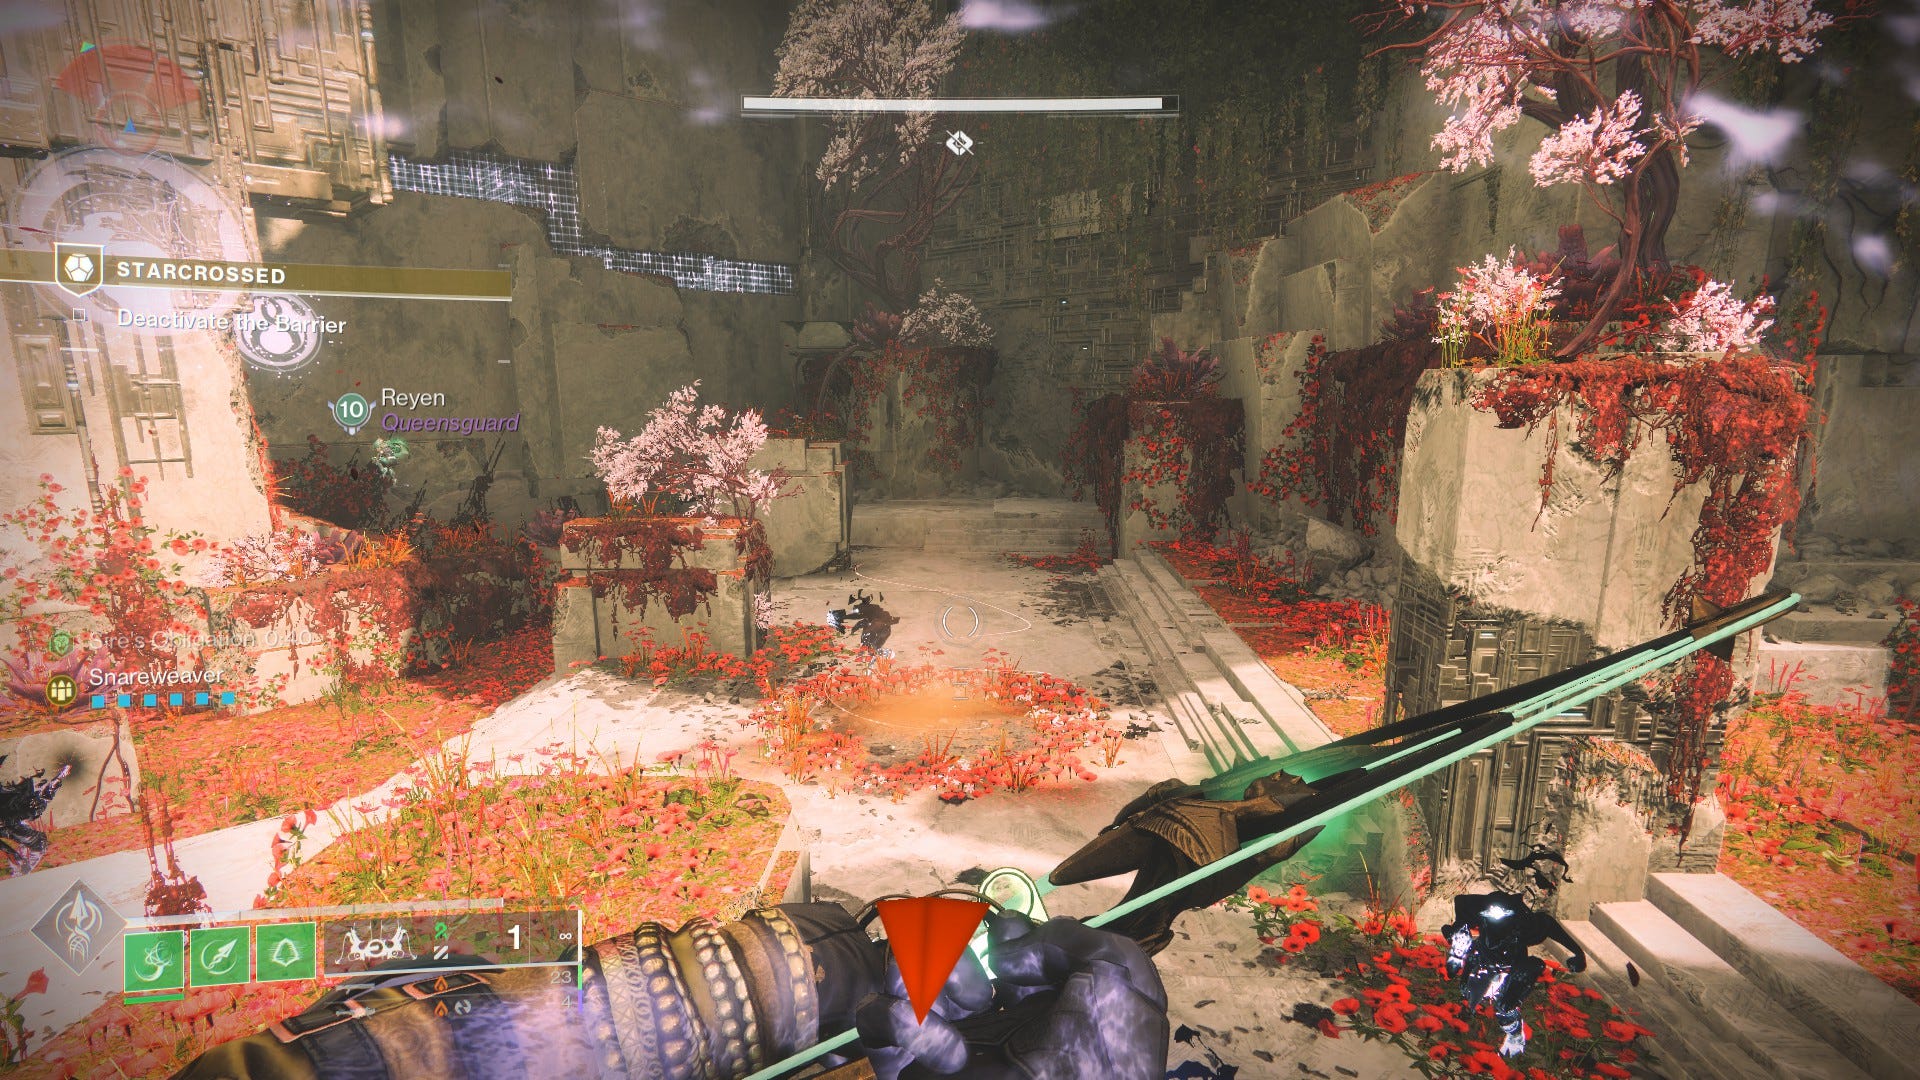
The left area has a door sealed by three Ahamkara Symbols, similar to the first encounter. You will once again need to seek out and eliminate three Taken Obdurate Phalanxes in the correct order to open the way to the final boss. One will appear in the middle section, the other two will be through doorways in the left and right areas sealed by the red dust, which is why the dual effect of Crowned by Dragons is essential.
Use the pools of light to hunt the Phalanxes in order. Be very careful not to eliminate a Phalanx out of order, doing so resets the encounter. This is particularly easy to do with the middle Phalanx, since it is exposed.
Once the three Phalanxes have been dispatched, the Ahamkara Symbol doorway will open, and you can proceed to the boss of the mission.
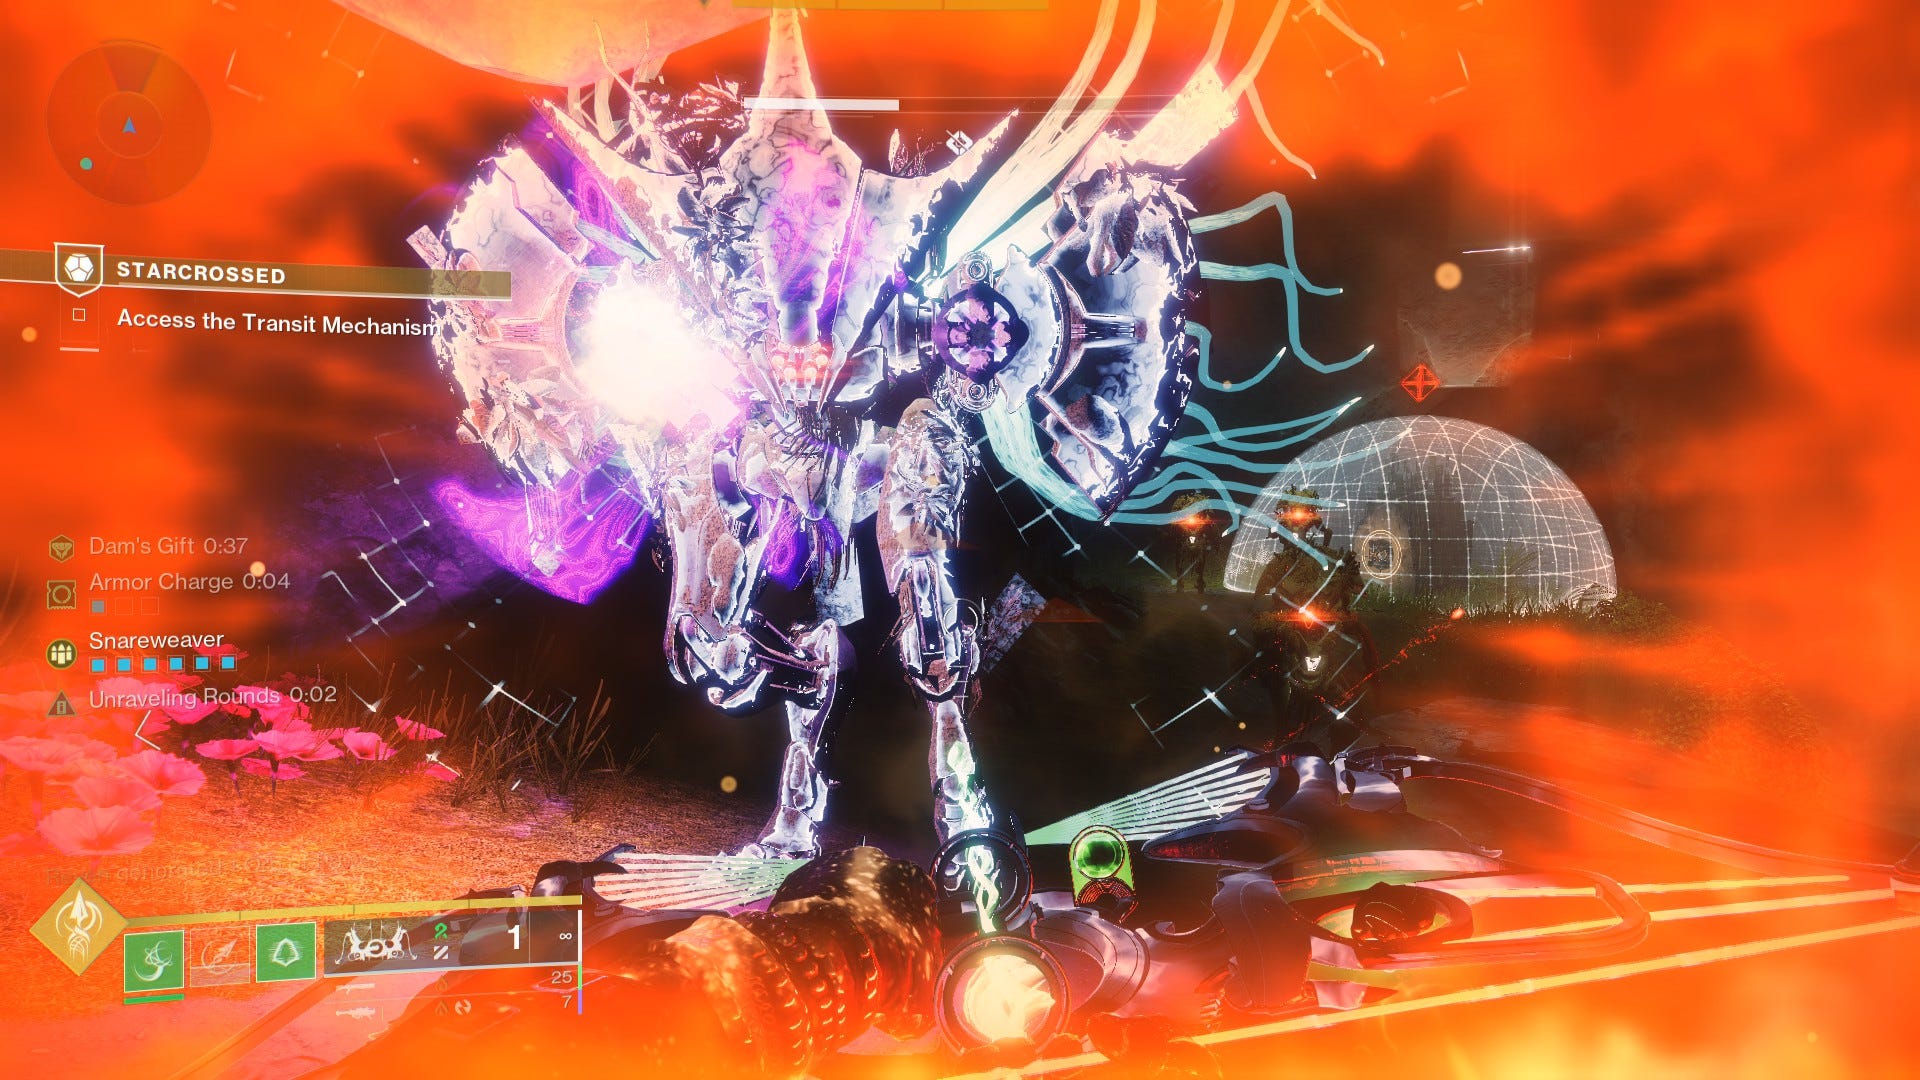
How to beat the final boss of Starcrossed, Akardon, Pitiless Mind
As one might expect, the ultimate battle in the Starcrossed mission touches upon the mechanics learned so far. Akardon, Pitiless Mind is a large Vex Hydra, and the splash damage from his cannons can quickly tear through a Guardian.
As soon as you pass through the door and jump down to his area there will be pools of light and darkness, use these to apply Crowned by Dragons right away. Most of the boss room is filled with red mist, and you will both buffs to keep alive and damage the boss.
Akardon itself is a strong, but fairly run-of-the-mill Hydra. Long range attacks timed to hit in the openings if its rotating shields will do a lot of damage. There will be adds to watch out for. Yellow-health bar Phalanxes called Pitiless Attendants will be on the far left and right of the map guarding pools of light and dark. Remember that if you touch either pool before Crowned by Dragons expires that it will renew the entire buff.
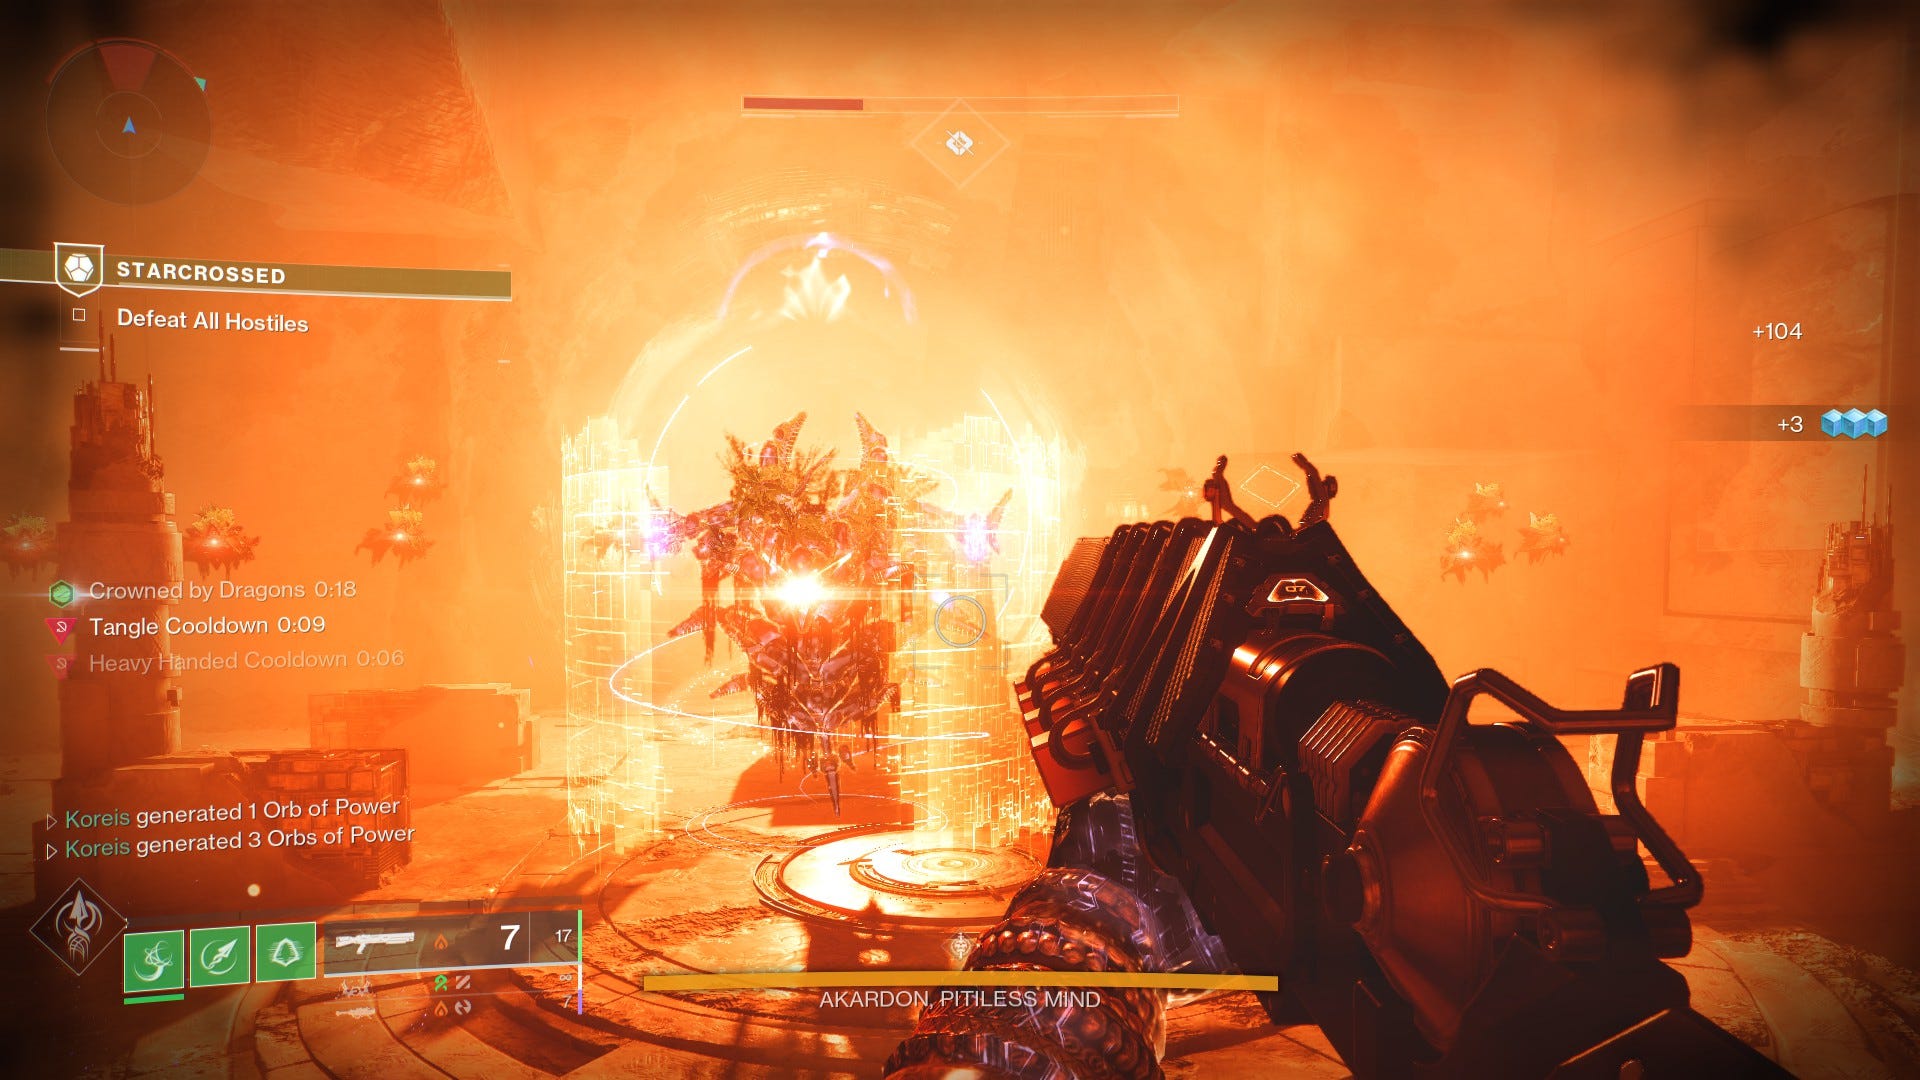
Keep your buff active, maintain fire on the boss, and watch for detains, which trap you in a barrier you have to shoot out of. You can use the pillar toward the right of the room for cover. Keep this up and Akardon will fall.
Go forward to collect your loot (and the Wish-Keeper bow if this is your first time), and revel in the thrill of victory.