Destiny 2 Prophecy Dungeon walkthrough
A dangerous journey, to see an audience with The Nine.
Treasures of the strange and mysterious Nine await deep within the Prophecy Dungeon in Destiny 2.
Added as part of the Season of Arrivals in Destiny 2, Prophecy is a feast of mind bending visuals, with some unique mechanics, and on the fly puzzles to solve.
This guide will help you prepare your fireteam, and walk you step by step through each encounter, including how to defeat the Phalanx Echo, escape The Wasteland, solve the Hexahedron, take out the final boss, the Kell Echo.
On this page:
Organizing your team for the Prophecy Dungeon
Dungeons are intended to be endgame difficulty content for fireteams, so preparation and coordination will be key. Clear communication will help. You can get by with emotes if you need to, but voice chat is strongly recommended. The power level for Prophecy is set to just 1600, so no power leveling should be needed before diving in.
There will be large groups of enemies, and frequently you will be fighting combatants at longer than usual distance. Great add clearing weapons like Riskrunner or Osteo Striga are handy up close, while Snipers, Bows, and Linear Fusion Rifles for long distance engagements help a lot.
Defeating bosses will be easier if you have good DPS weapons. Linear Fusion, Grenade Launcher, Rockets, and even swords are all extremely viable. There will be plenty of running and gunning, so while something like Divinity can be helpful at times, its utility is diminished here relative to other hard missions.
How to pass through Heaven/Hell using motes of light and dark
You begin aboard the Drifter’s ship. Walk ahead and a portal will open up, sending you to an area called Heaven/Hell. Taken enemies will immediately and continuously start appearing.
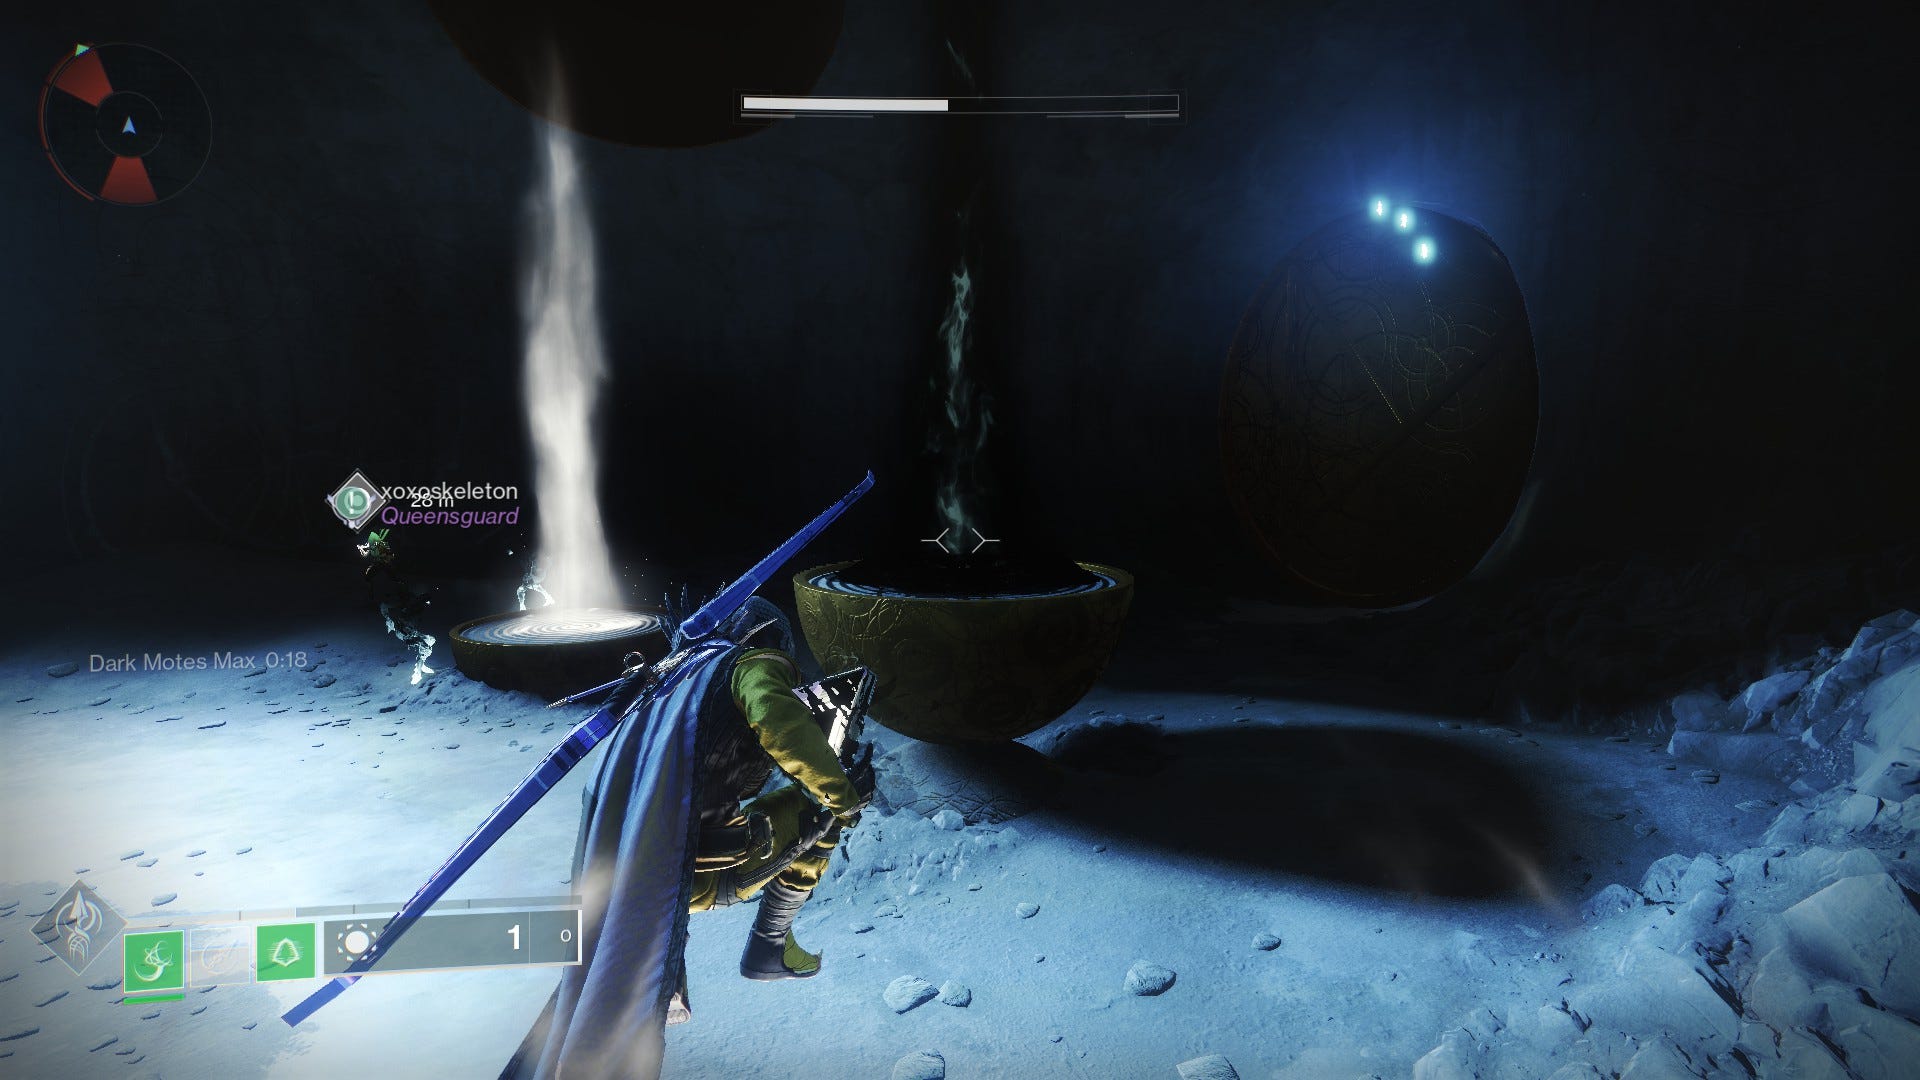
At the opposite end of the hall will be a Pillar of Light, and a Pillar of Darkness. You will need to activate these in order to open the way forward. In order to activate these you must collect 5 motes, either Light or Dark, and dunk them on the corresponding pillar. It’s similar to a game of Gambit. Just note that if you have motes of one element, and pick up the other, that your stacks will reset. There's also a time that counts down, and if you don't use or collect motes in time then they disappear off of you.
In order to get motes to spawn, you will need to take out Taken Knights. Pay attention to lights and shows while you fight. Defeating a Knight will in a fully lit area will cause them to drop Motes of Light. Killing them while you are in a dark or shaded area will make them drop Motes of Darkness.
Use shadows and cover to control which motes you are harvesting, and focus on collecting enough to activate the Pillars of Light one at a time. Once you’ve activated them all, the door will open and you will repeat the process again. Once you have done this all again, the way to the first boss, the Phalanx Echo, will be open.
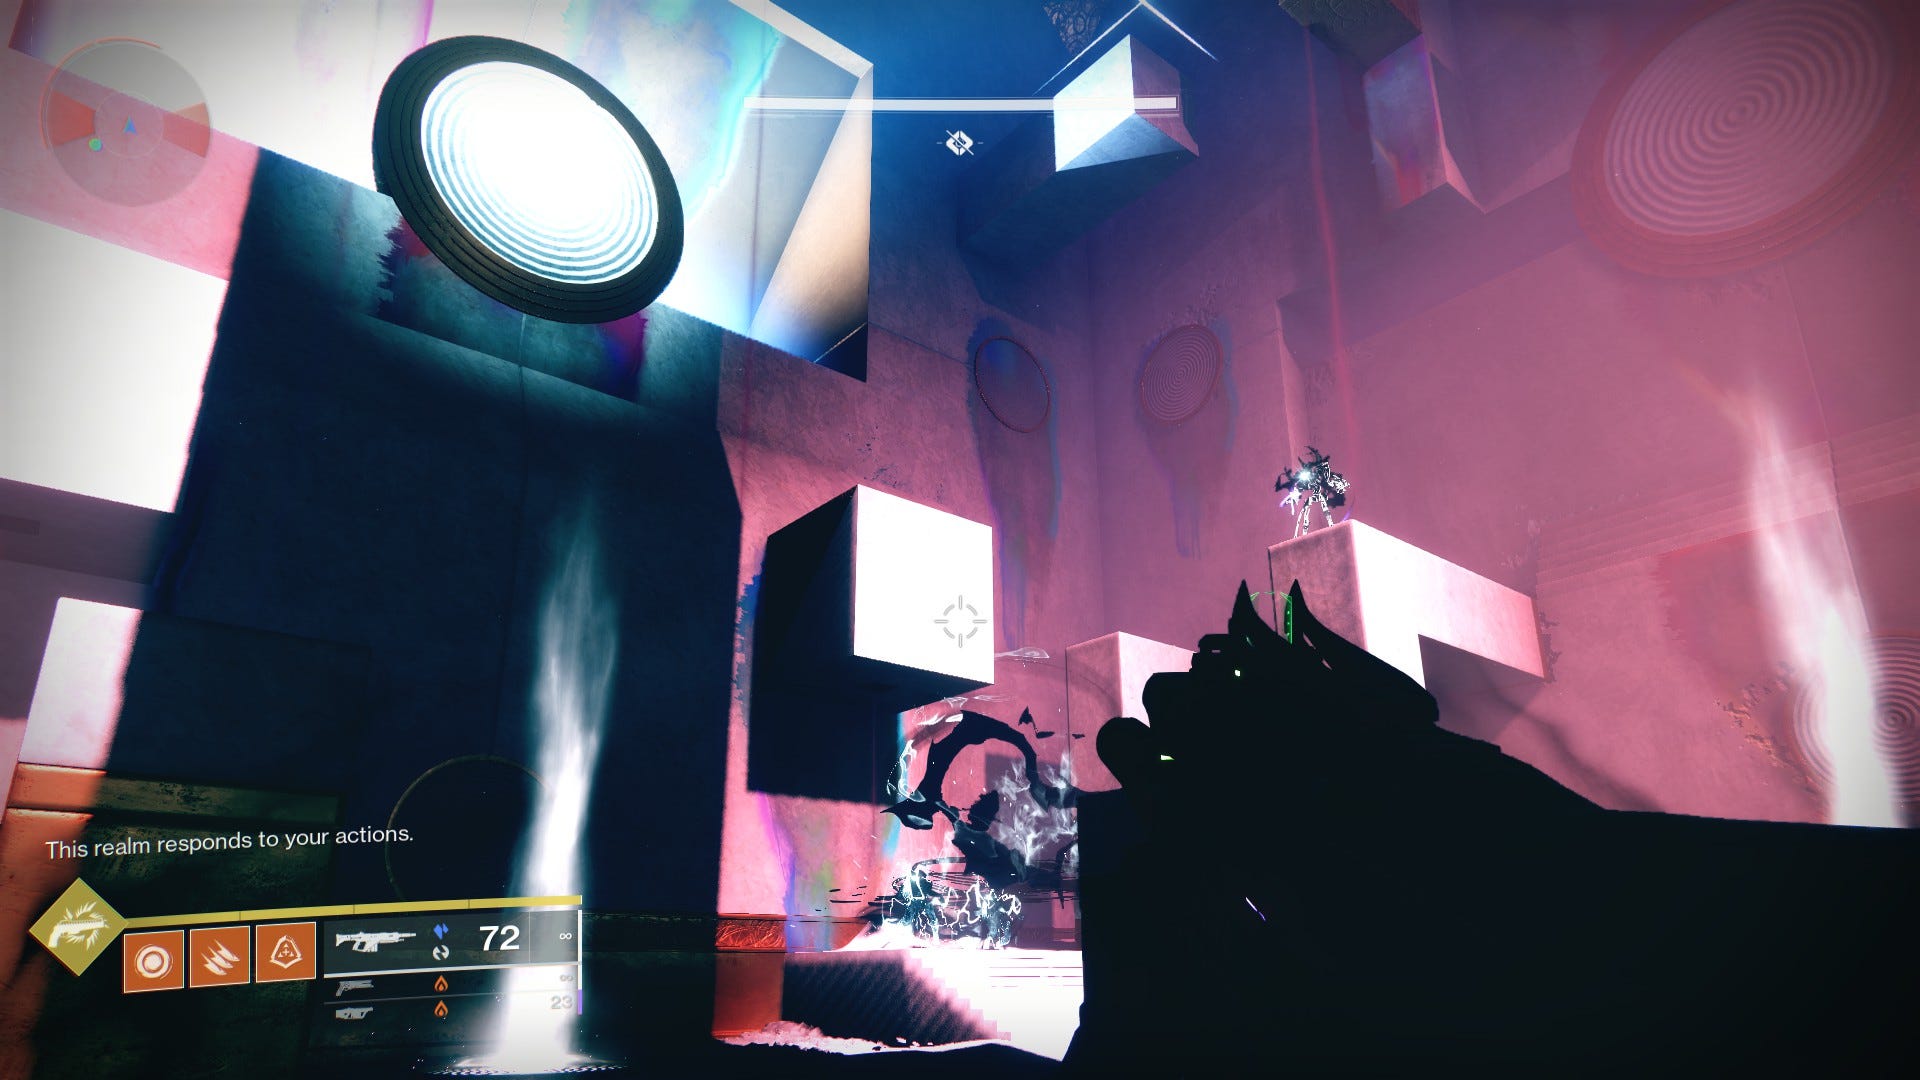
How to defeat the Phalanx Echo in Destiny 2
The first boss of Prophecy is the Phalanx Echo, a hulking Phalanx protected by an army of the Taken. The fight takes place on a raised circular platform, be weary of getting too close to edges and plummeting to your death.
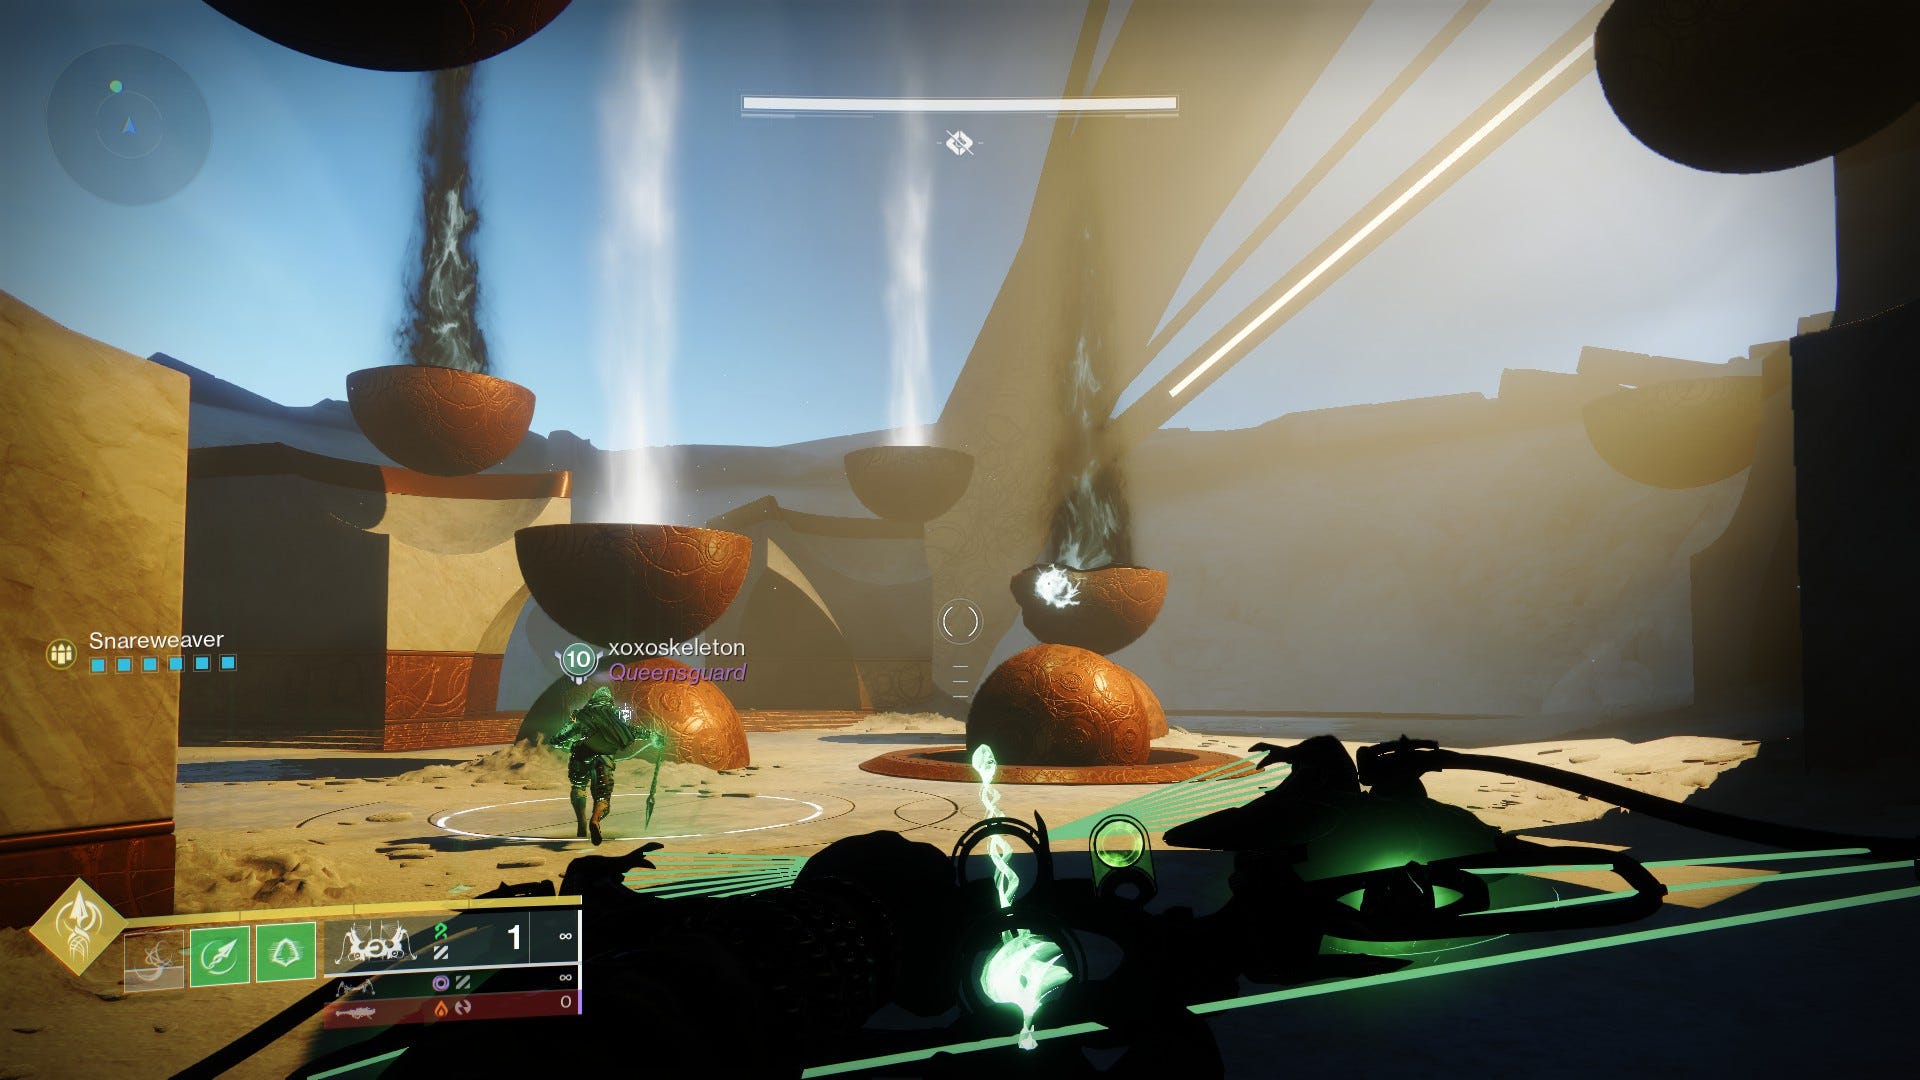
The boss has a shield that prevents all incoming damage. Around the arena are Pillars of Light and Darkness, just like in the Heaven/Hell section. Once again you will need to hunt Taken Knights and collect the motes they drop. Use the shadows cast by the various platforms to stand in darkness to get dark motes to drop, stand in the light to get light motes. Make sure you only collect one type until you have a full stack of five, then make your way to the pillar of Light or Dark and activate it.
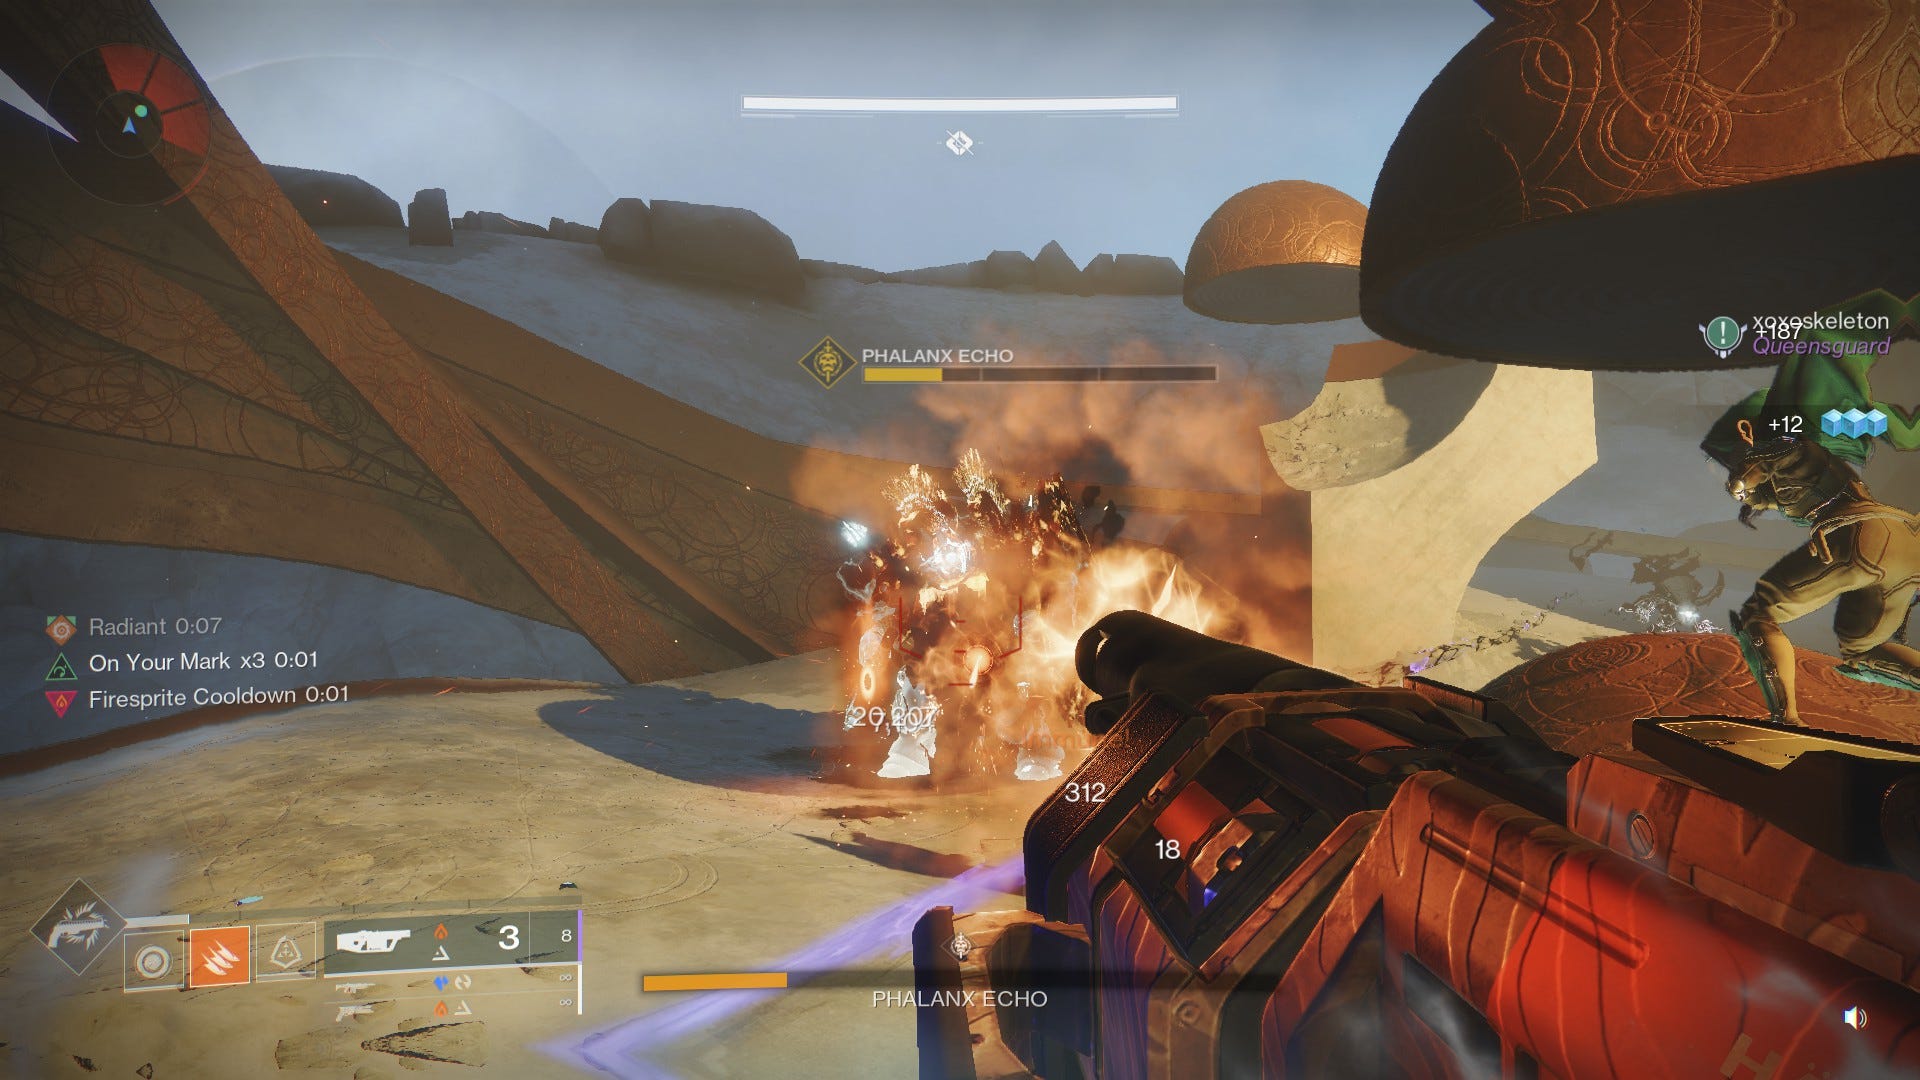
Once all pillars are activated the Phalanx Echo will be vulnerable. Quickly dump as much damage into the boss as you can, but also keep an eye out for Taken Goblins. These have the ability to cast a shield on the boss that stops incoming damage. Casting a roaming Super like a Warlock’s Stormtrance or Titan’s Hammer of Sol can keep them at bay. If you don’t kill the Phalanx Echo in a single damage phase it will eventually regenerate its shield. Repeat the process with the pillars of light and darkness until the boss falls.
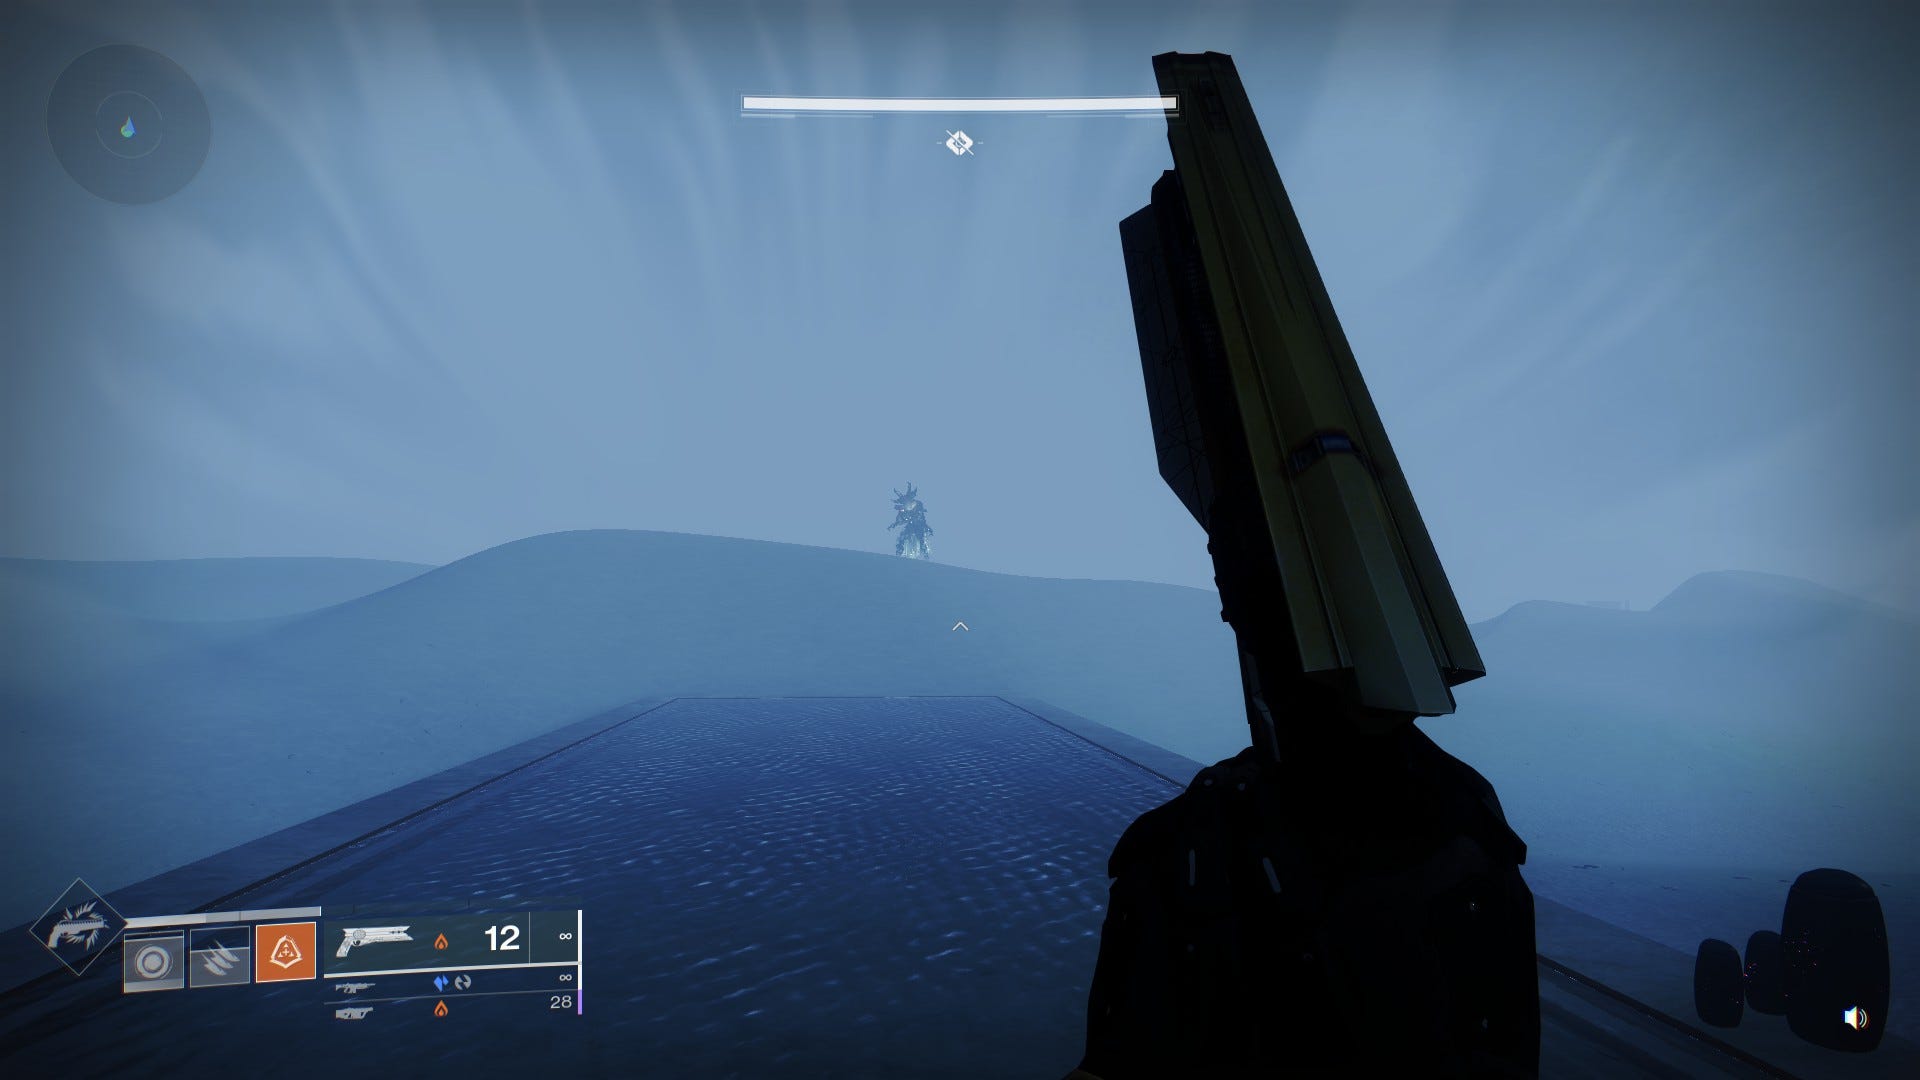
How to escape the Wasteland
The wasteland is an enormous sand covered desert. You and your fireteam will be traveling all across it, fortunately you can summon your sparrows for some badly needed speed.
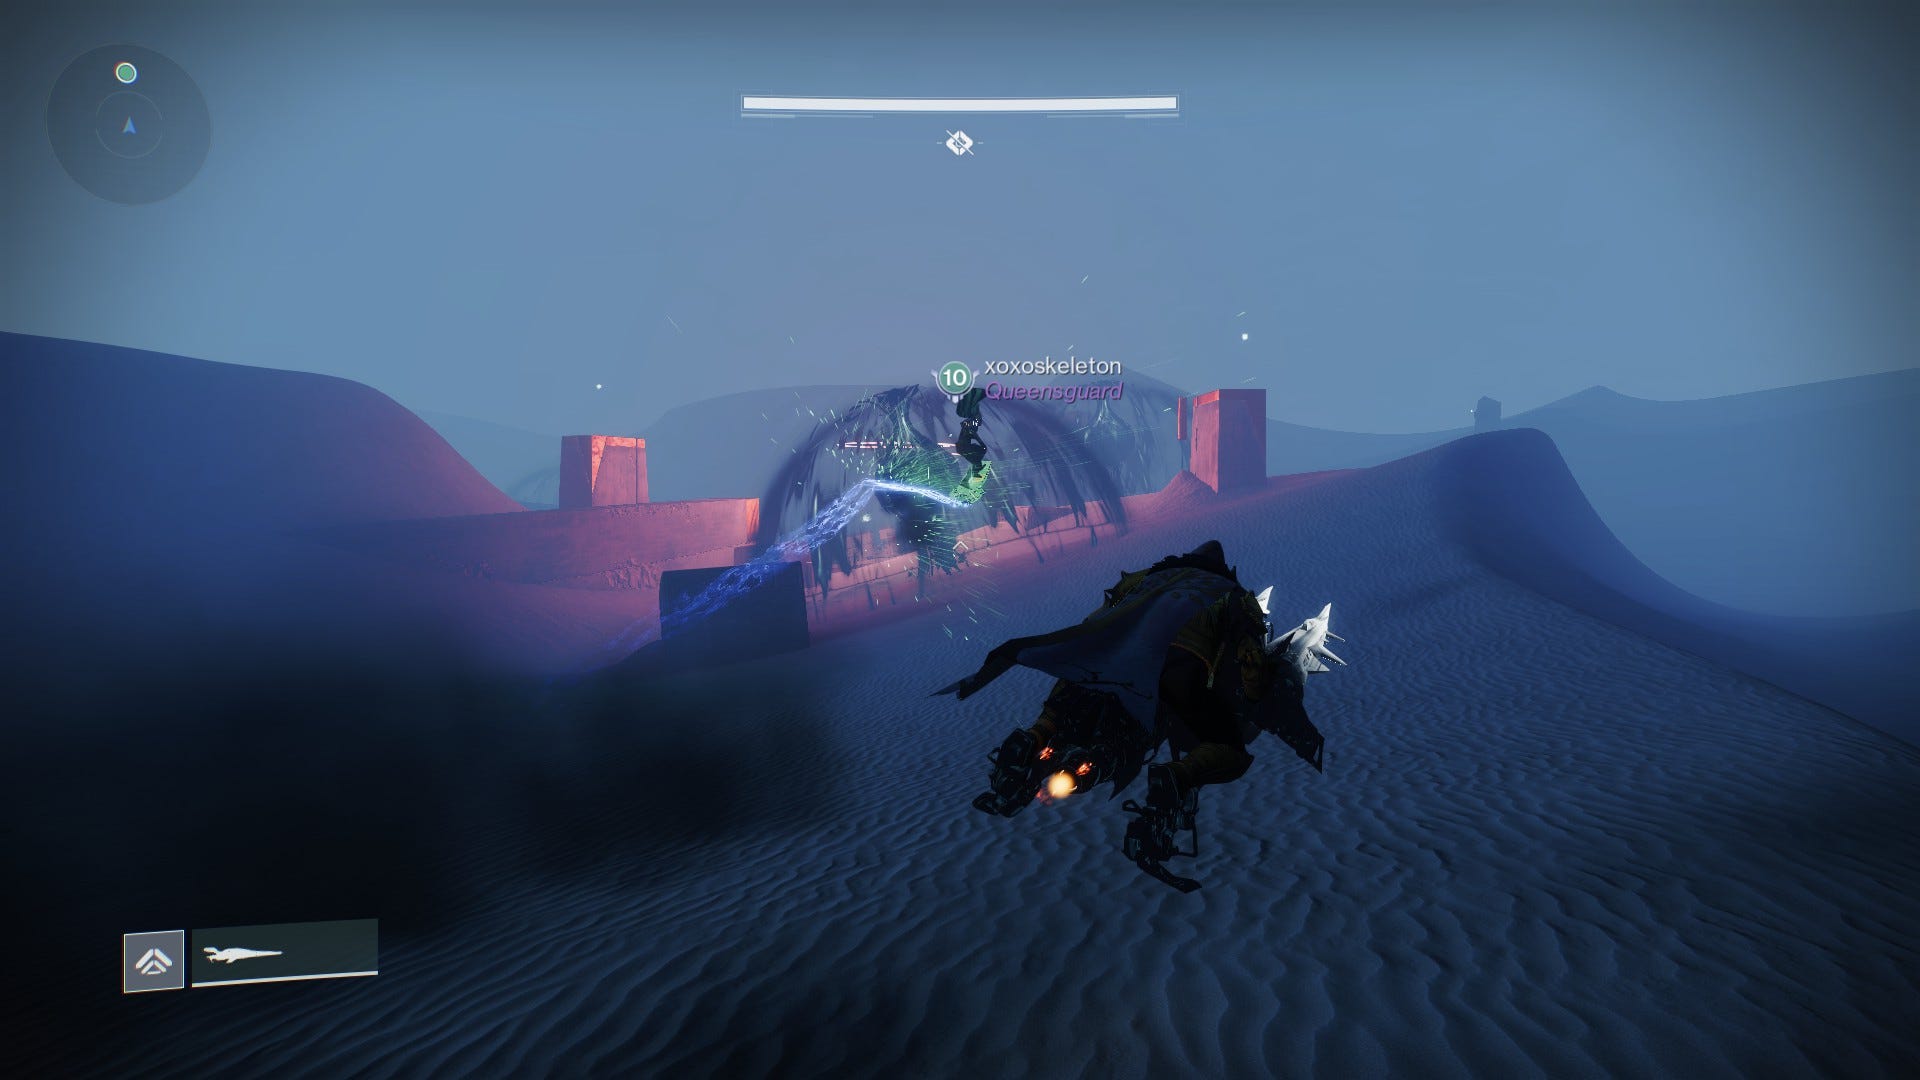
The objective here is to track down a number of Taken Blights and destroy them. They will be protected by small continents of standard Taken enemies. There’s not much technique to tracking these down, you can split up and stay together, but regardless of your grouping it’s simply a matter of jetting around until you come in contact with enemies or see the blights. Once you destroy the Blights in the area, locate and touch the floating 'Toland' orb.
You will need to do this three times. Watch out for the giant, invisible minotaurs on patrol. Once all the Blights are gone and the floating orbs touched a shaft of light will appear, showing the way to the exit out of the Wasteland.
How to solve the Hexahedron puzzle
Good news! You’ve made it deep into the Prophecy dungeon. The bad news is you’ve gotten yourself trapped in a giant cube called the Hexahedron. We’ve all been there. The purpose of this encounter is to 'solve' the Hexahedron by rotating it in various directions, sort of like a giant and simplified rubik's cube. One side of the cube (including the ceiling) will always have a Toland orb floating, you will need to rotate toward whichever direction this is.
In this space you have walls on all sides, and platforms made of uneven geometry. Make note of where shadows are cast, the light and dark mote mechanics will be at play here. There will be a Pillar of Light or Darkness in each of the four directions. Kill Hobgoblin snipers to cause Knights to spawn. As before, eliminate them while standing in light or darkness to create motes, and once you have enough of them you can activate a Pillar of Light or Darkness, depending on which type of mote you have collected. Once you activate a pillar, a portal will appear at the center of the room. Once your entire fireteam steps into it, you will teleport to the new orientation.
The enemies here are pretty relentless. Any clearing supers are helpful, as is a Well of Radiance super from a Warlock. The snipers are a constant nuisance, so try to stay behind cover. Witherhoard is a great option to take down the Knights using its damage over time pools while you hide somewhere safe.
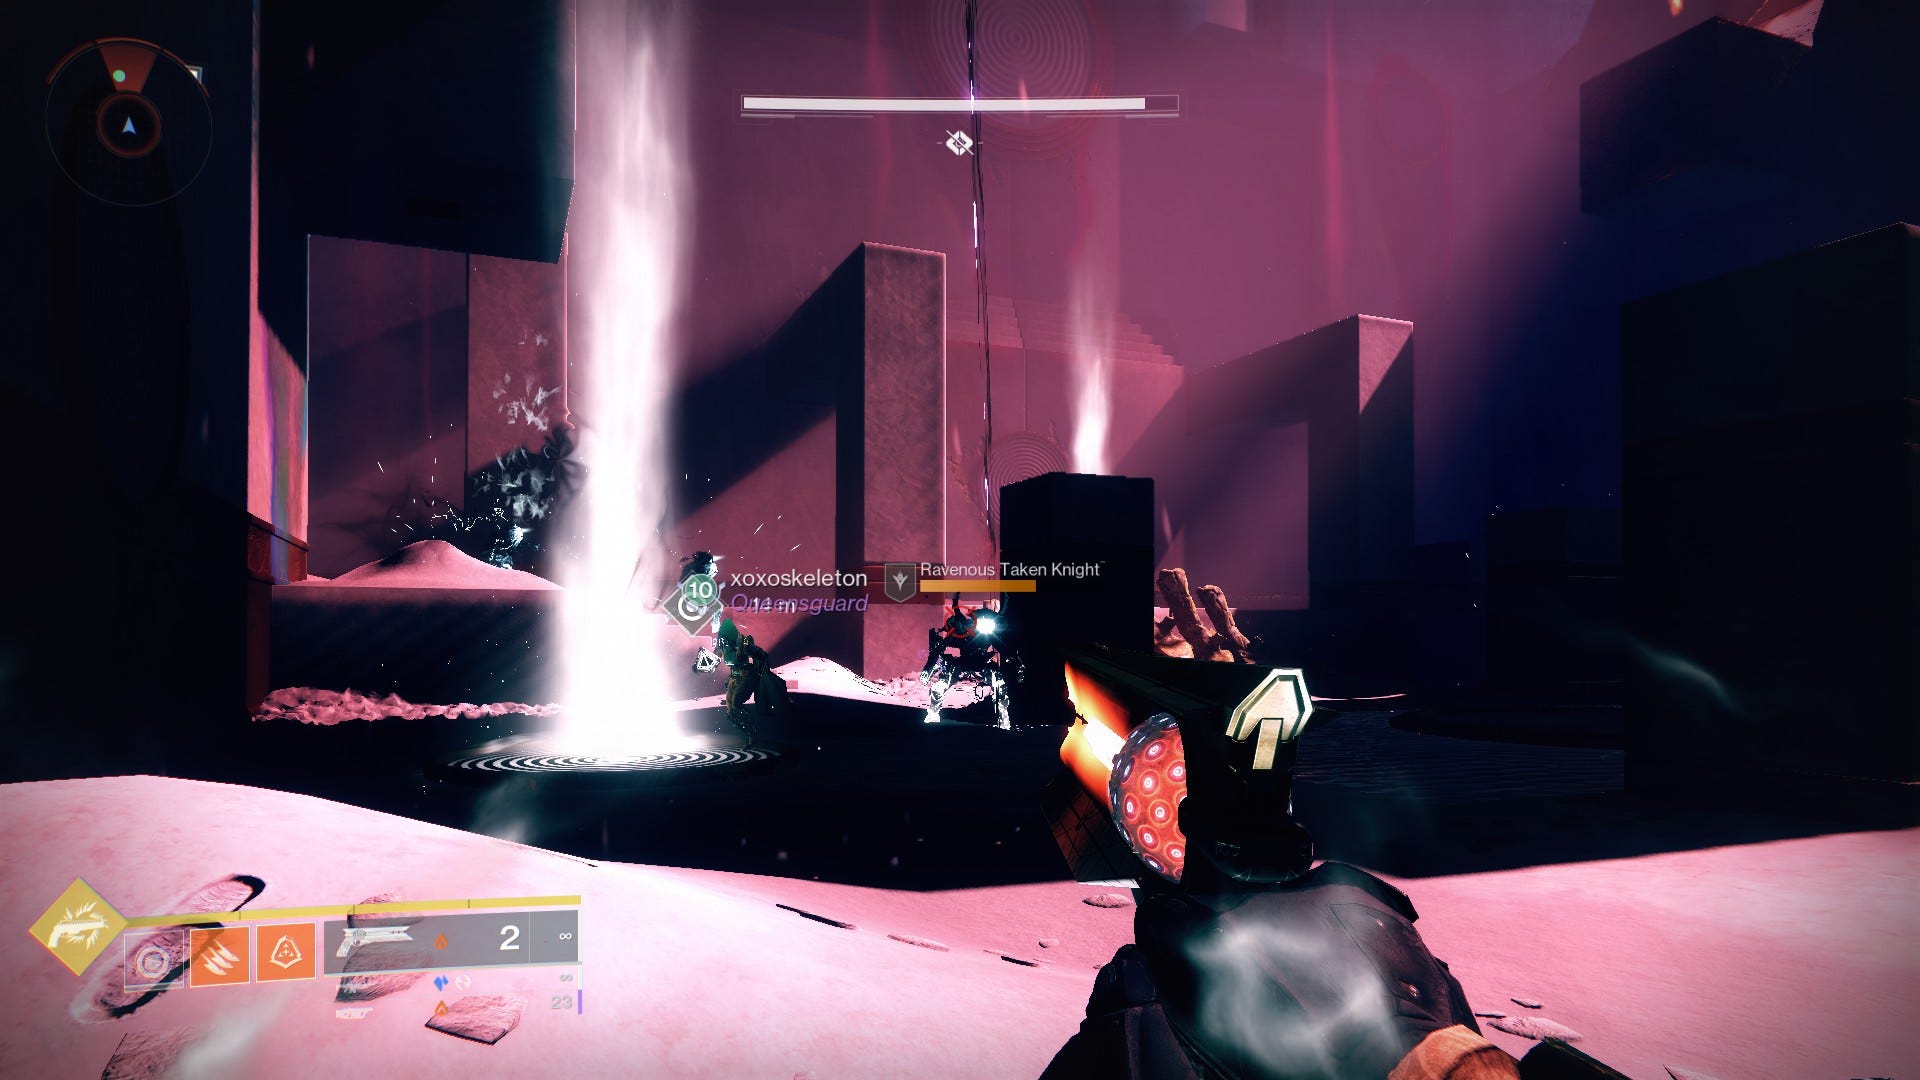
The room will rotate towards whichever pillar you activate. Generally this means you will see which side has the Toland orb, and activate the pillar on that side. If it is on the ceiling you will need to rotate twice in the same direction. Once you correctly rotate to the orb five times a pair of bosses called Centurion Echos will spawn. Eliminate them (they aren’t very strong) to clear this section.
How to pass through the Singularity
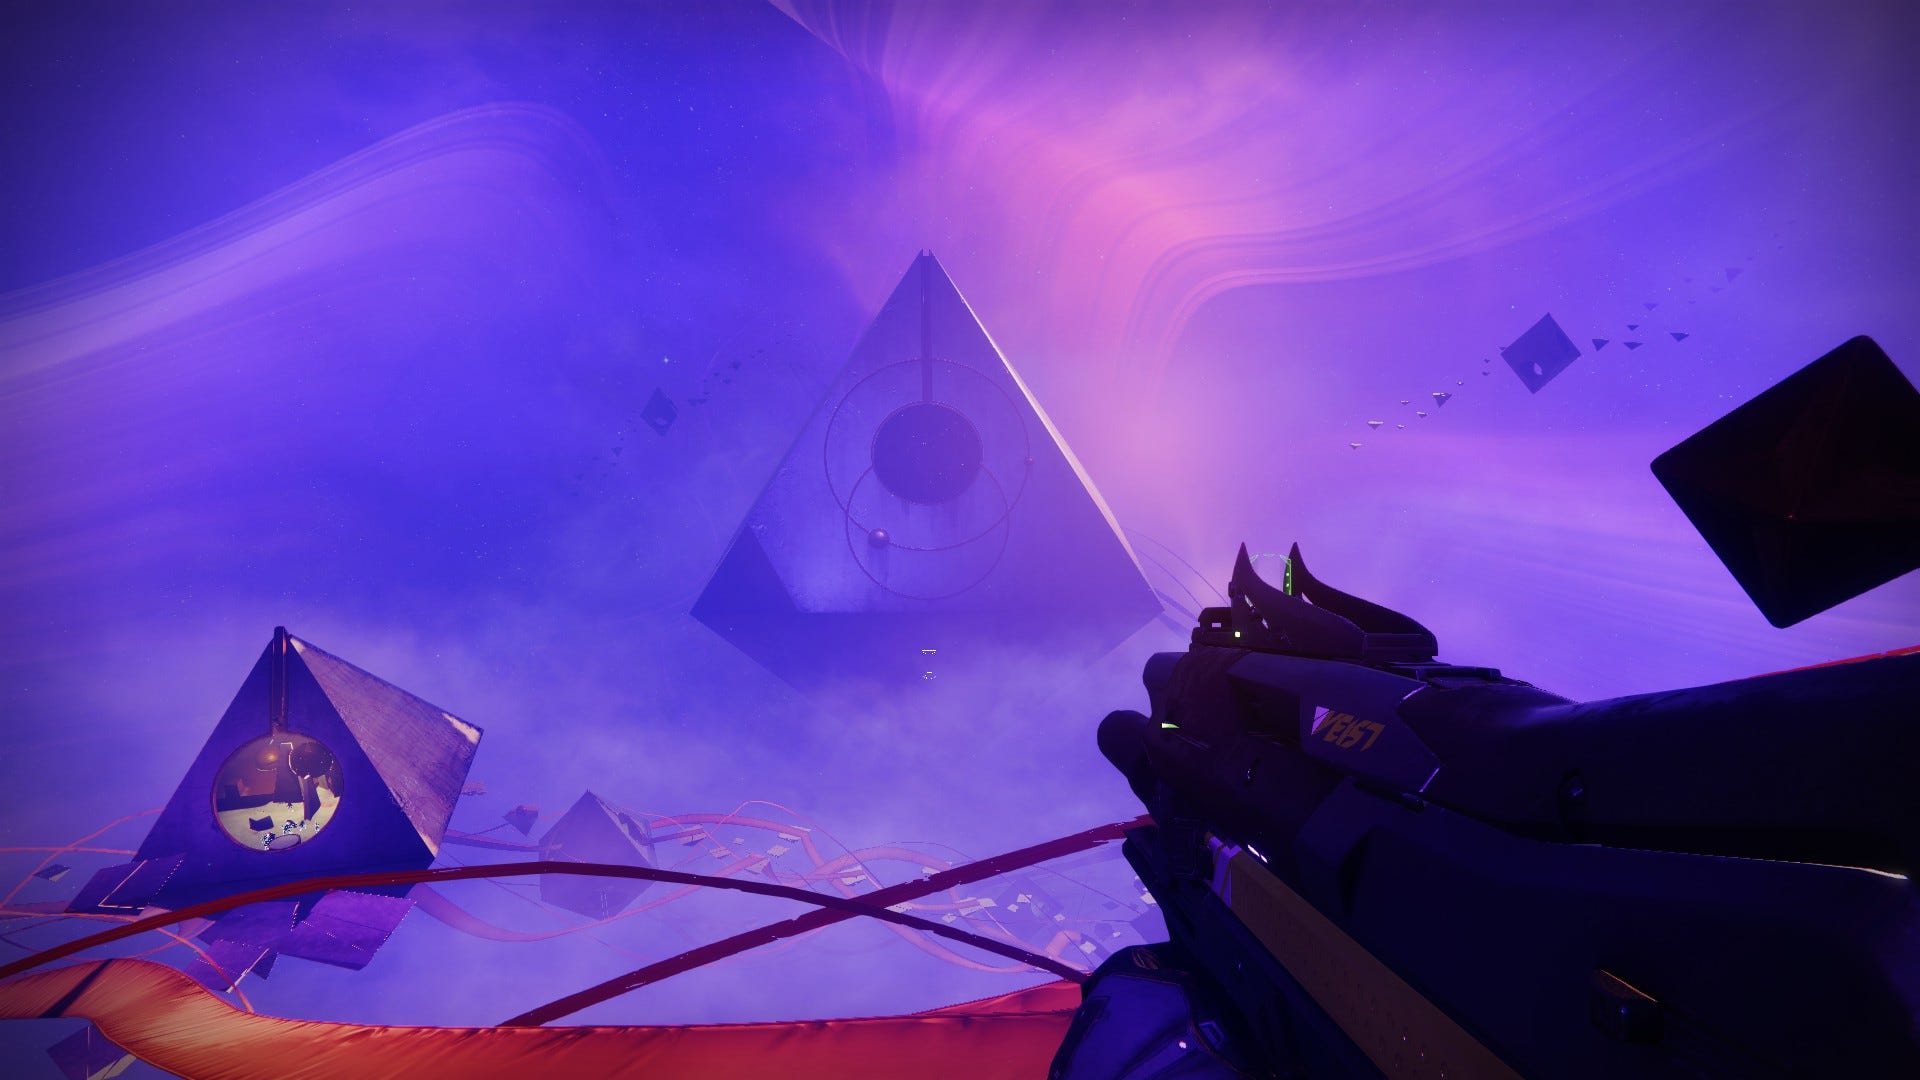
You will once again find yourself in the Wasteland. This time the boss of the Dungeon, the Kell Echo, will appear. Follow him as he heads towards the exit. You won’t be able to damage him, but he will be shooting at you, so make sure to evade incoming shots. Eventually he will lead you to another doorway. When you pass through it you will be greeted by yet another enormous space often referred to by Guardians as 'Rainbow Road'.
Your objective is to follow the long ribbon-like pathways to the end, where a pyramid like structure awaits. It’s a long path, and summoning your sparrow will save you time. Just watch out for incoming sniper fire, and look ahead to the branching paths to make sure they don’t flip or end suddenly. If you need to bail out from your sparrow and make some strategic jumps you can do that too.
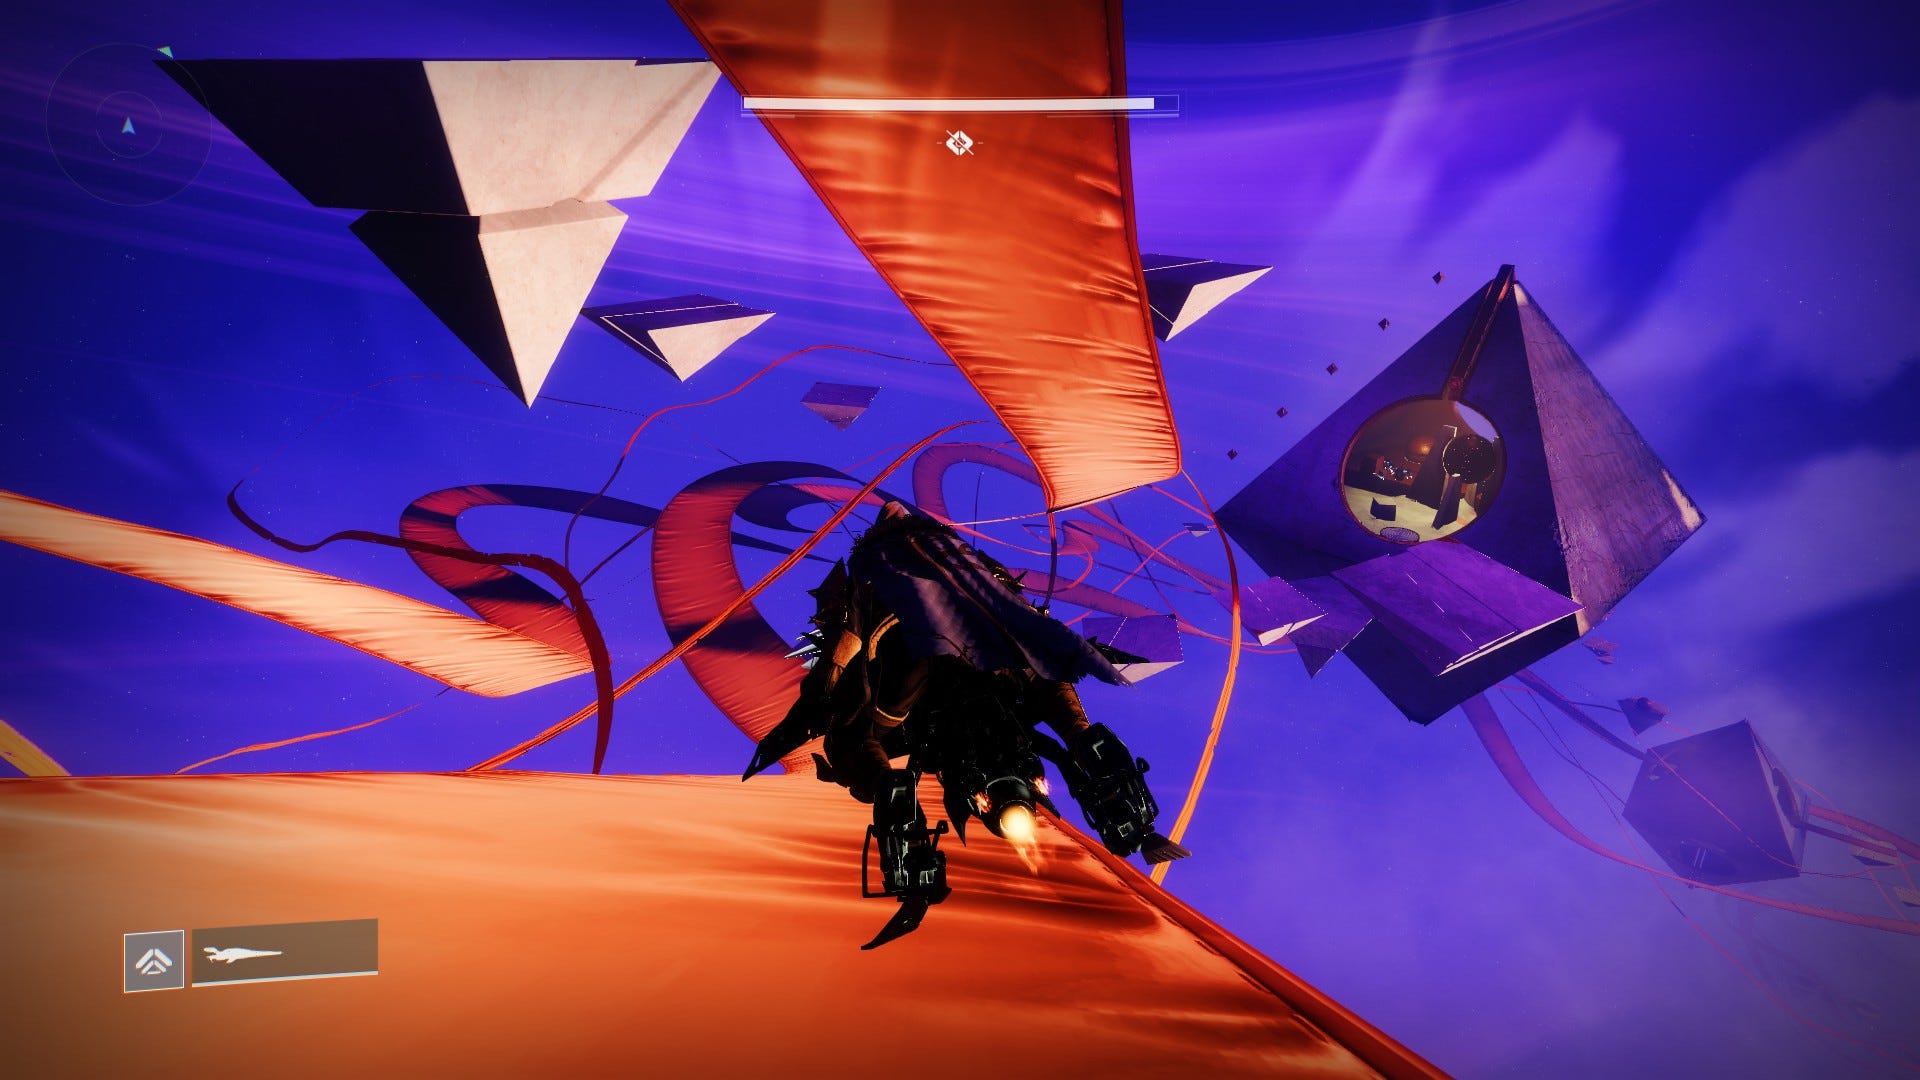
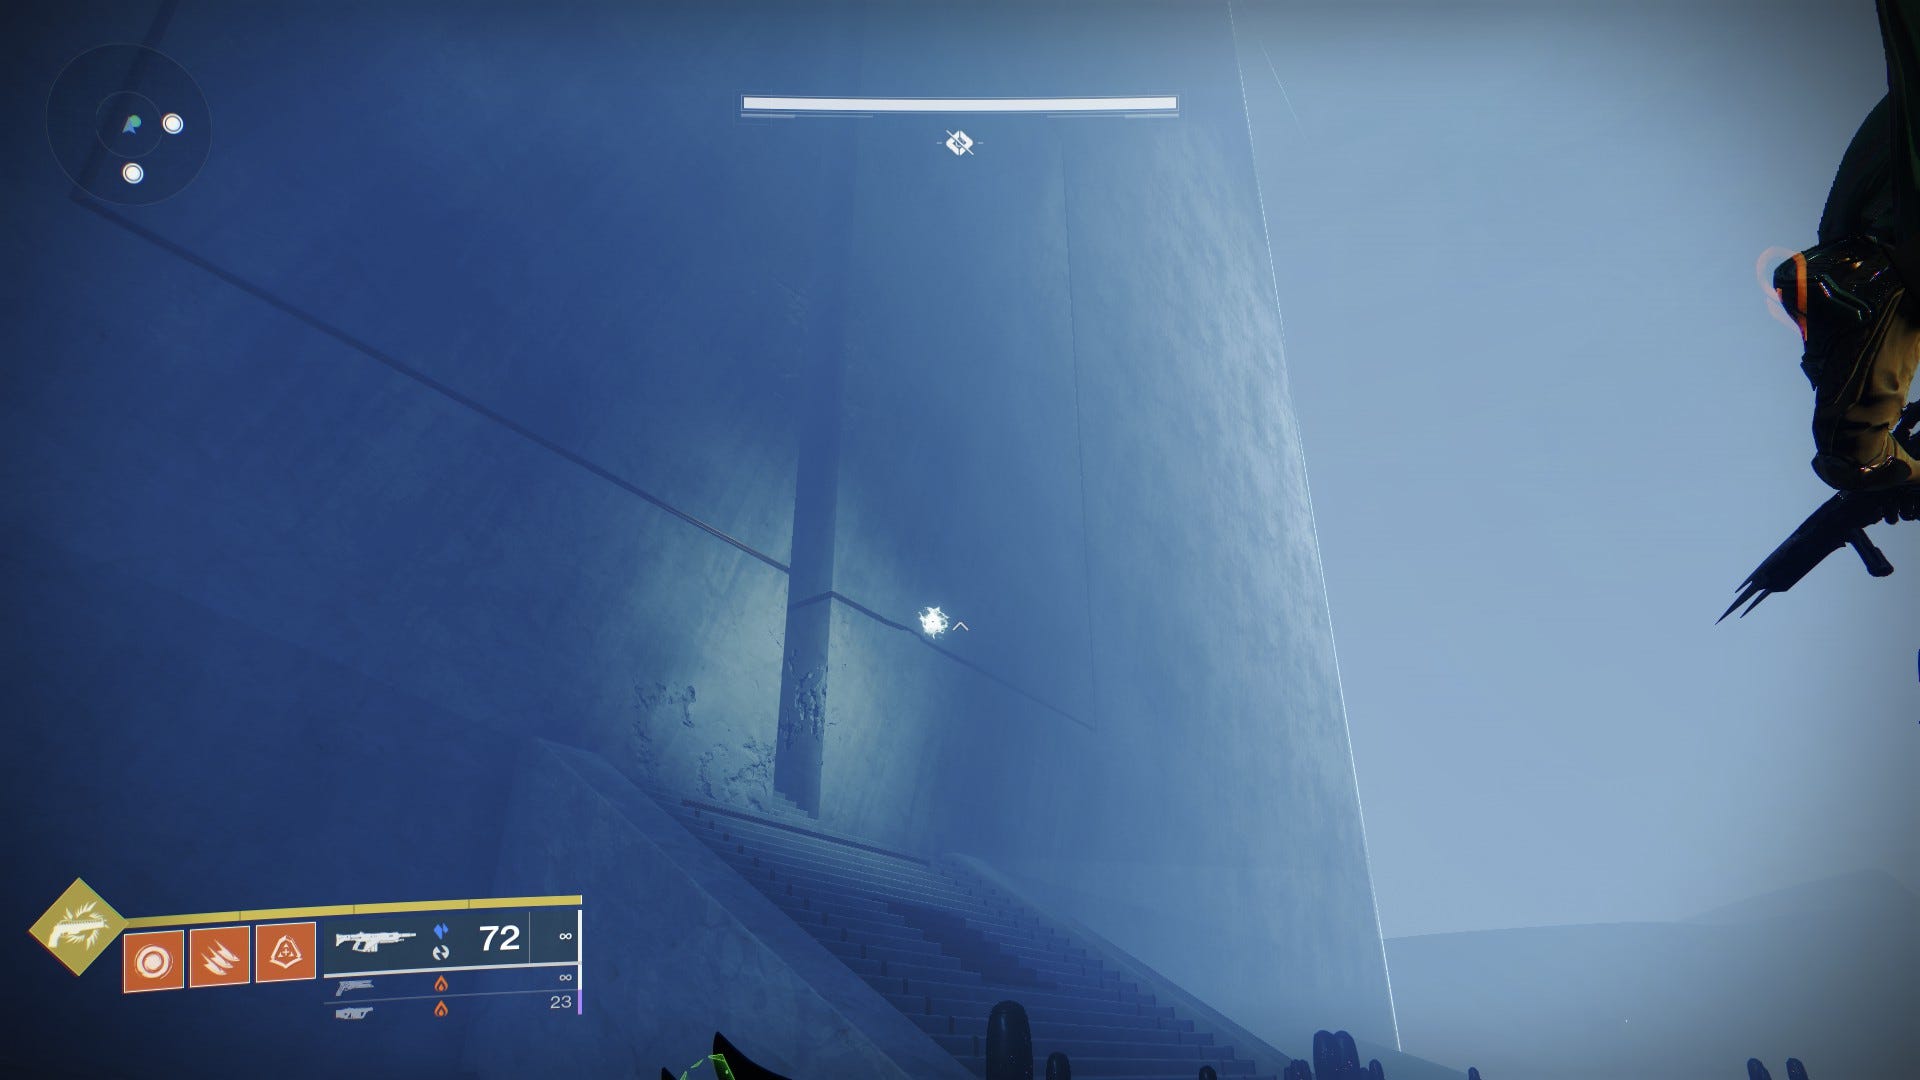
Eventually you will reach the bottom of the paths, where a floating island is waiting with a launcher to send you flying to the pyramid. Head inside, up the stairs, and to the final boss fight.
How to defeat the Kell Echo, and beat the Prohpecy Dungeon
The finale of the Prophecy Dungeon is a showdown with the Kell Echo. As is fitting of an end encounter, this will combine the mechanics from earlier in the dungeon. The boss himself is highly mobile and a damage sponges, so weapons that can hit hard from a distance like Linear fusion rifles, rockets, and even an Izanagi’s Burden sniper are viable. There will also be times where you are dealing with large and aggressive mobs of enemies, at least one or two group clearing weapons are a must.
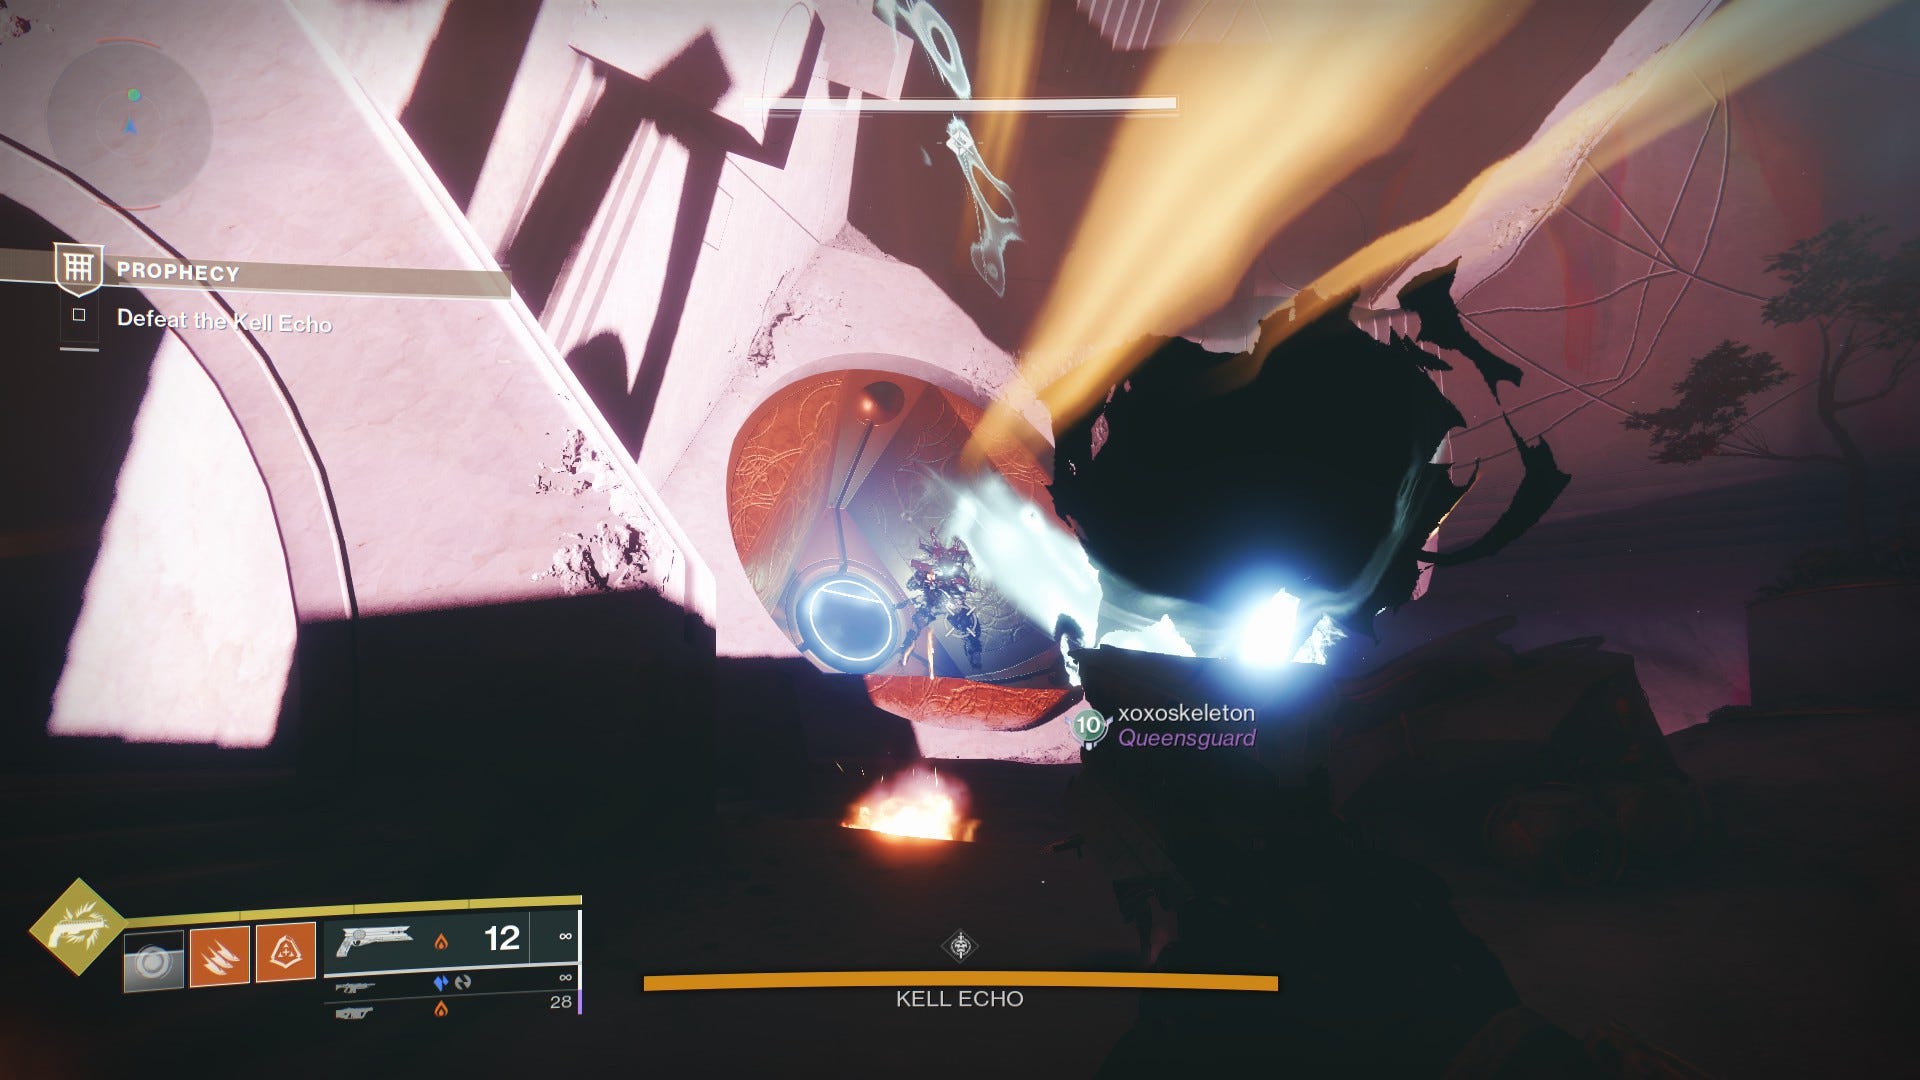
There are two phases to this fight that you will alternate between. First you will be in a triangle shaped room. Each point of the triangle has an invulnerable copy of the Kell Echo trying to blast you to pieces. In front of each is a Pillar of Light or Darkness.
If you’ve done the rest of the dungeon then you can probably guess what comes next. You will need to survive the onslaught of enemies and hunt the knights to collect motes of light or darkness. Gather five of one of those, and use them to activate the pillar that matches.
Once you activate a pillar two things will happen. First, the Kell Echo clone will disappear. Second, an Ogre will emerge from the ground. Take it out quickly, then get ready to repeat the process twice more until all the Kell Echo clones are gone. A teleporter will appear at the center of the arena, take it to be warped to where the Kell Echo has been hiding.
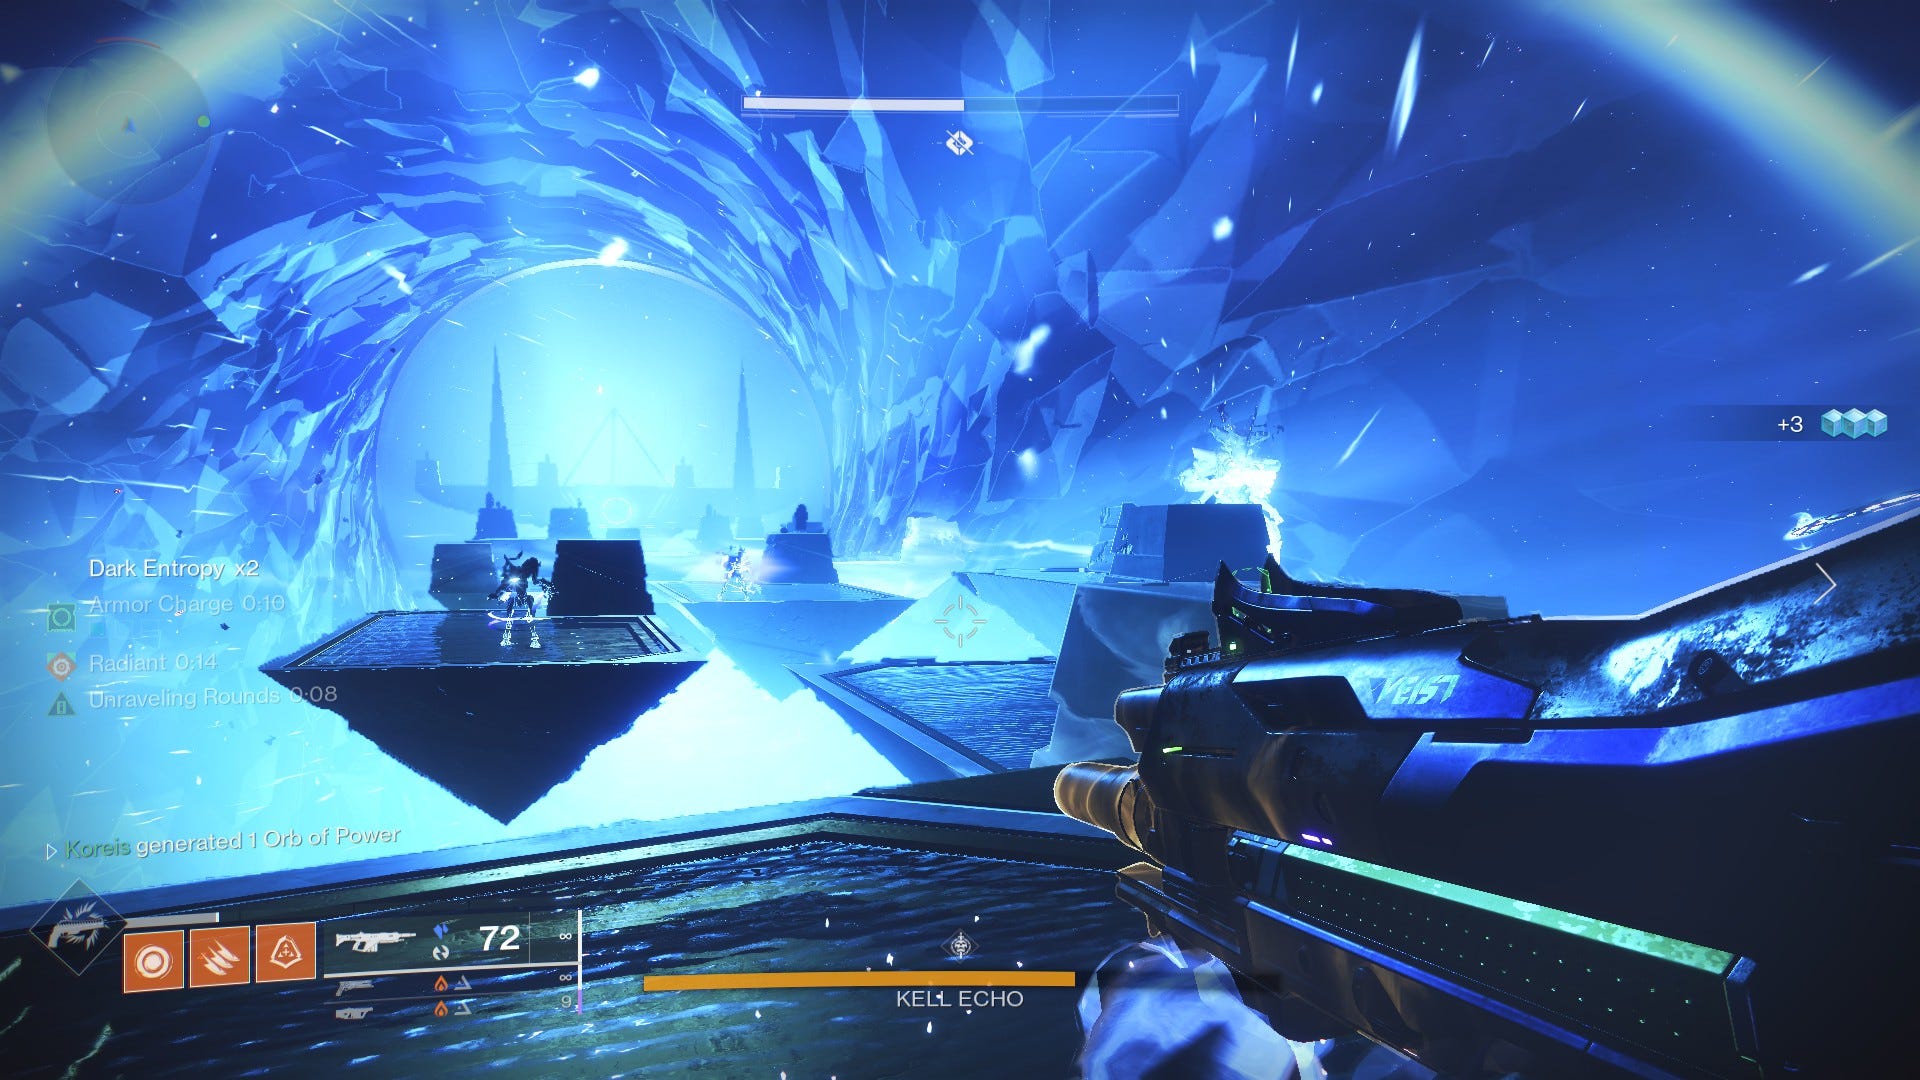
You will arrive in a long, open corridor. A portal is at the far end, waiting to return you to the triangular room from phase one. A series of platforms will be ahead of you, as will the Kell Echo.
Start unloading all the damage you can into the boss. He and some Taken Hobgoblin snipers will be shooting you, and the Kell Echo will blast Teleporter Blights at you. When they hit you you are instantly teleported to the beginning of this area. This is a problem because anytime you are not near the boss you will start accumulating stacks of Dark Entropy. If it reaches 10 stacks, you are killed instantly.
As the Kell Echo takes damage he will travel along the platforms towards the portal at the rear of the room. Give pursuit, and stay close enough to avoid the Dark Entropy while you unload damage on him. Eventually he will reach the end of the room, and teleport away. This is your que to jump through the portal, and repeat the process.
From here, it’s a battle of endurance while you survive phase one, and hammer away at the Kell Echo in phase two. Persevere, and he will eventually fall, sending you to the realm of the Nine, where some lot awaits to reward your triumph.
Good luck in the Prophecy dungeon!