Destiny 2 Garden of Salvation raid challenges Zero to One Hundred, To the Top, A Link to the Chain, Staying Alive explained
How to complete the optional challenges in the Shadowkeep raid.

Garden of Salvation challenges see the return of bonus raid objectives in Destiny 2, pushing players to their limits by giving them an extra consideration within a boss battle, but give bonus challenge rewards for their efforts.
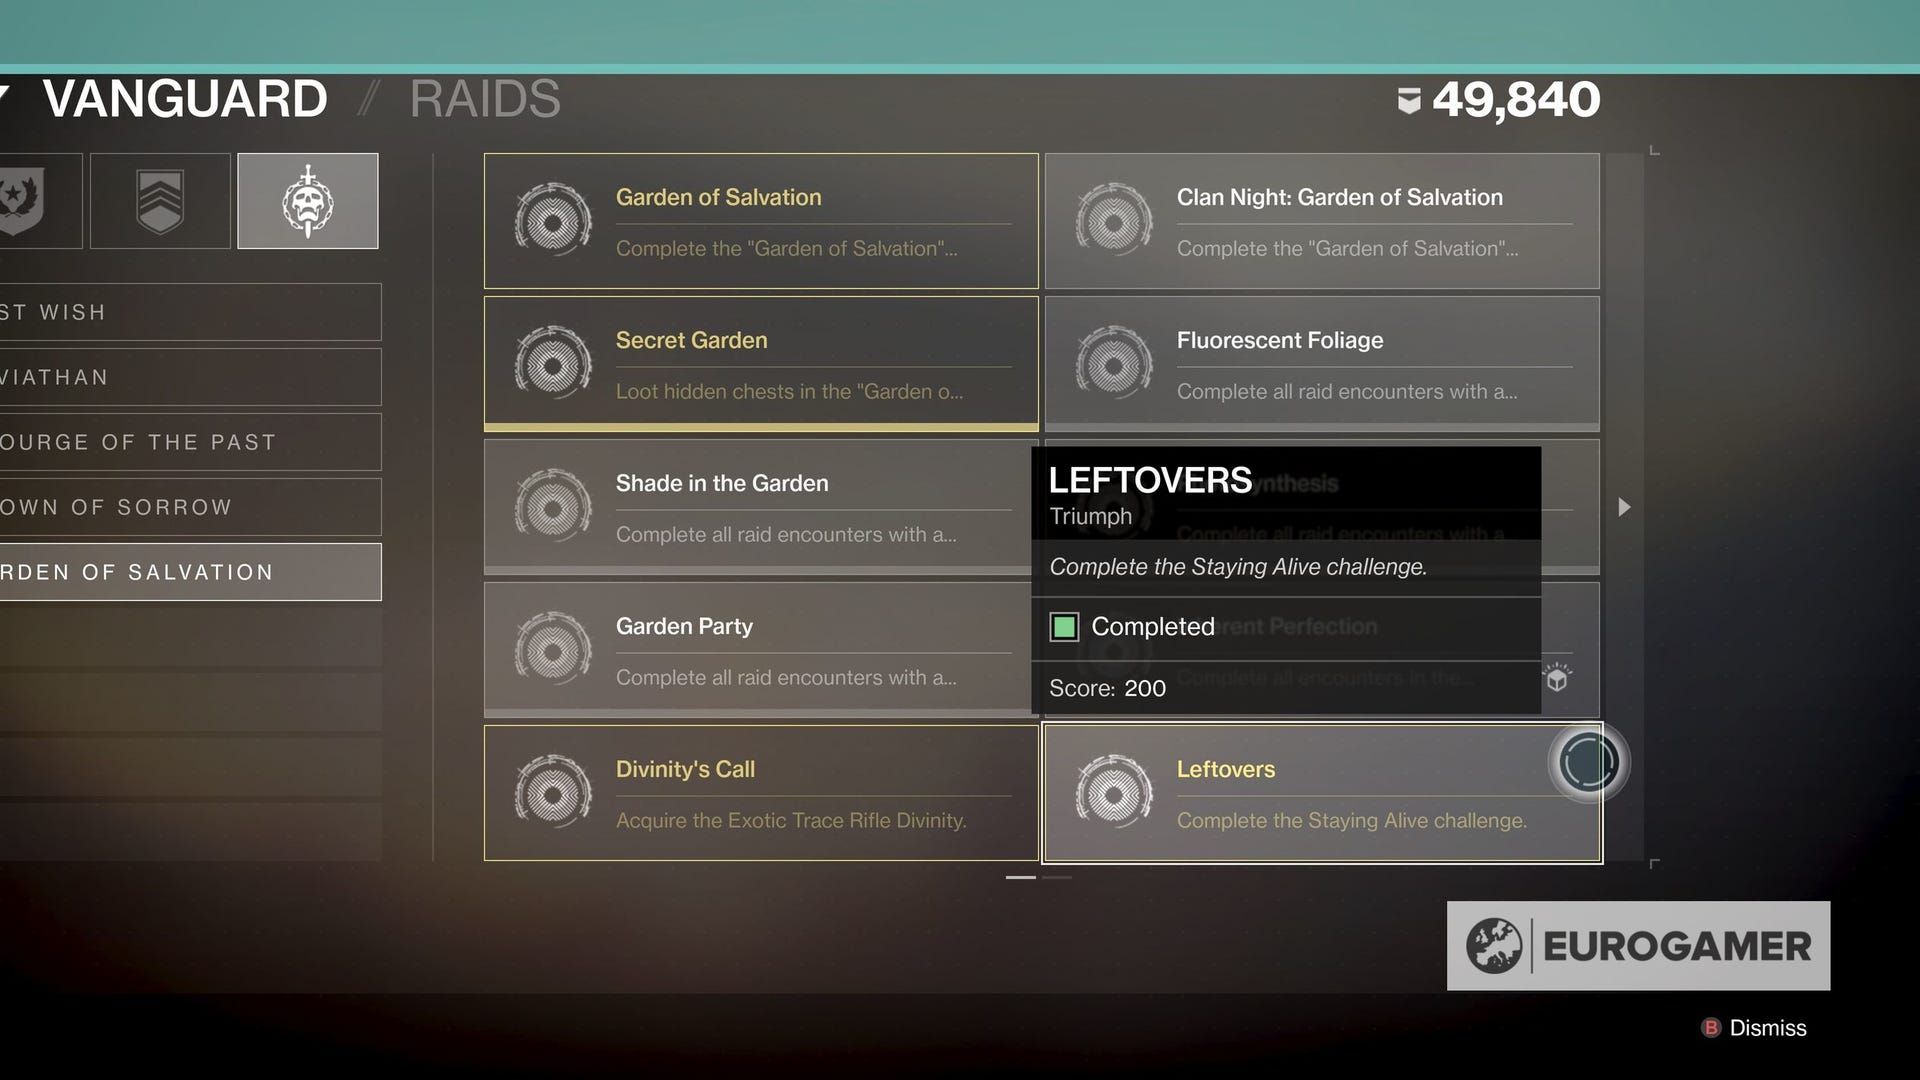
When it comes to Destiny 2's latest raid, the Garden of Salvation, November 5th, 2019 saw the first raid challenge go live - Staying Alive (also known as Leftovers in the Triumphs listing), with three more arriving in the following weeks, including A Link to the Chain, To the Top and Zero to One Hundred.
On this page:
The following Garden of Salvation challenges page assumes you already have a knowledge of the basic strategies to the raid, as though we'll outline the solutions, knowing how to complete them originally will help with your understanding.
Also - it's worth noting that you do not need to pick up this Raid Challenge from Hawthorne in the tower as with previous bounties.

How to beat the Staying Alive (or Leftovers) challenge in Destiny 2's Garden of Salvation
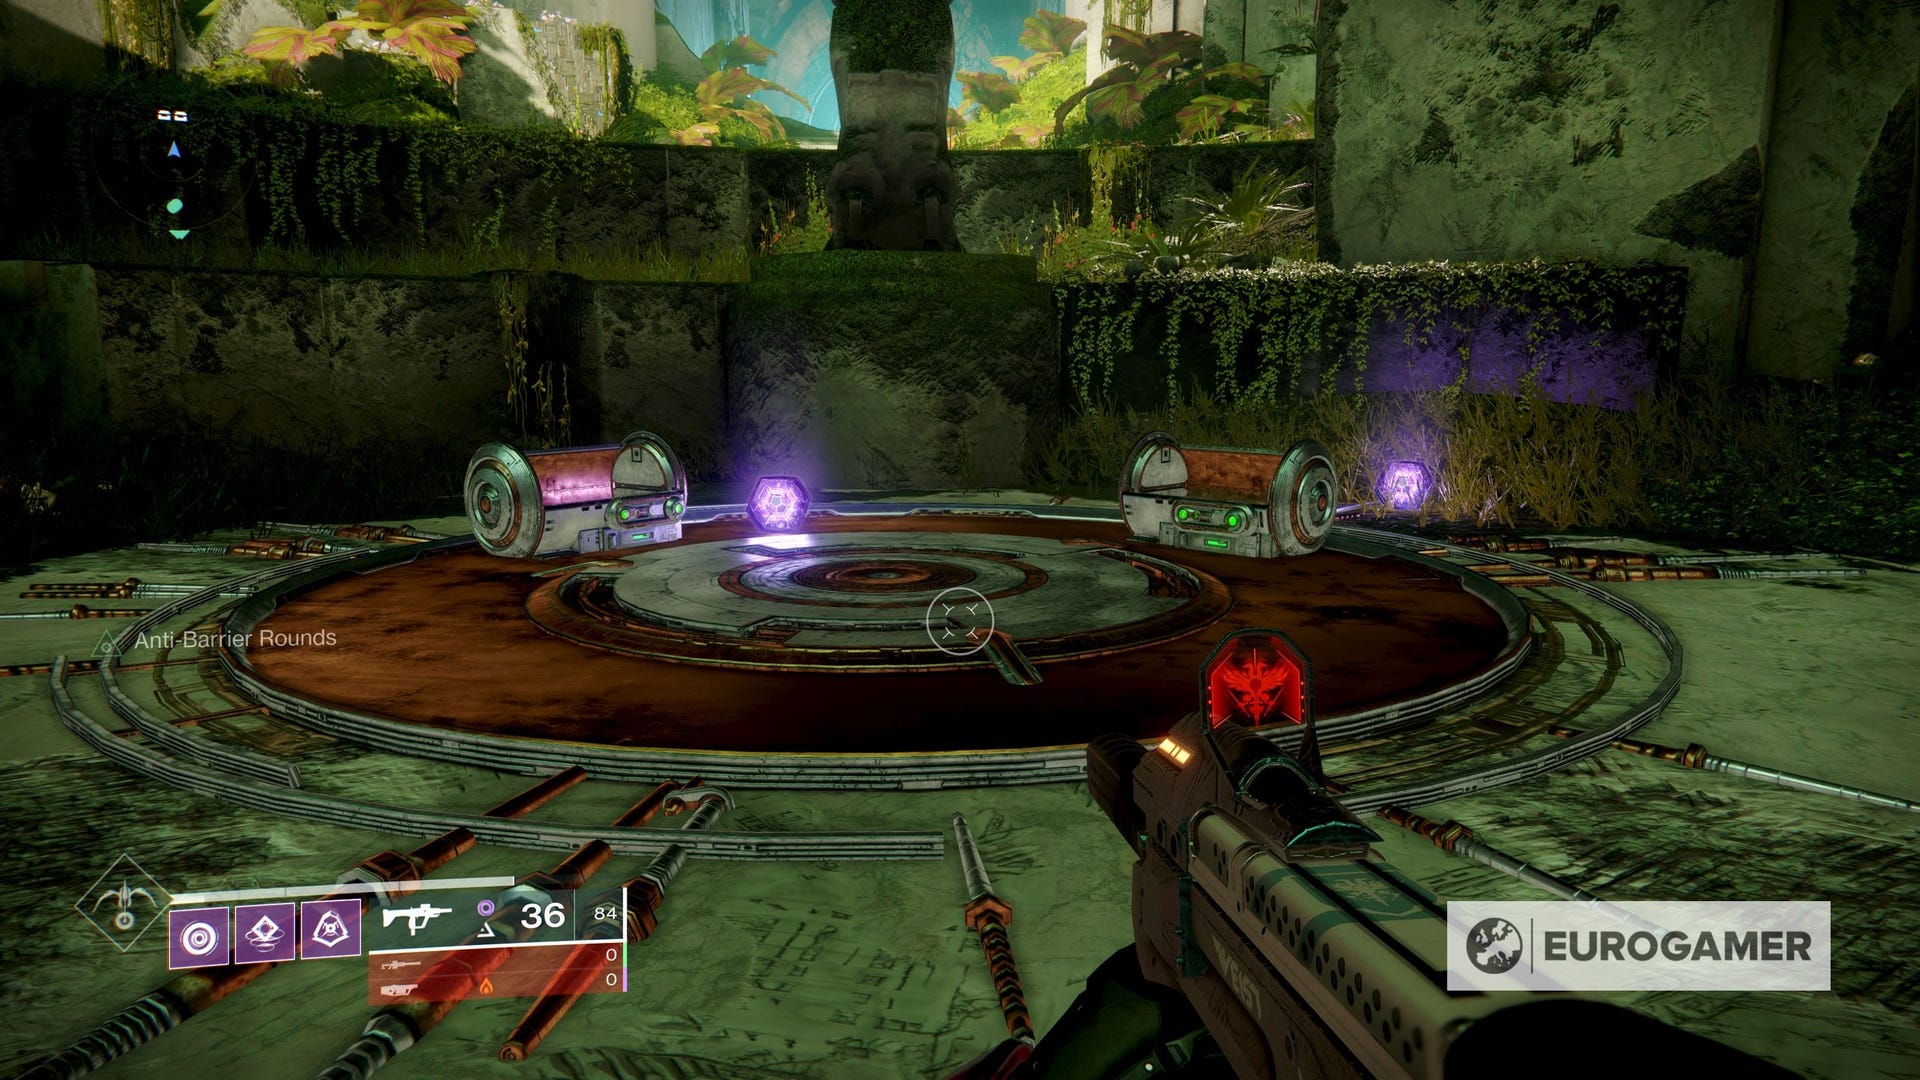
The core of Destiny 2's Staying Alive challenge is to ensure that the dual cyclops in the first two rooms are not killed, significantly upping the difficulty of each area.
Instead, these Cyclops will spawn when the other team makes progress in their designated area but they still pose a threat to your survivability.
If you've already completed this encounter, there isn't much difference in your approach. You clear each room, pick up Voltaic Overflows, and tether open the closed doors as per usual.
The large difference is knowing that you need to kill the singular Cyclops that awaits you when you first open the door to the next room, but when two Cyclops spawn later in that room they cannot be killed.
Our fireteam also avoided killing the plethora of Cyclops that spawned in the final stretch with most players opting to skirt the sides of the runway until they needed to pick up a Voltaic Overflow, but other strategies have stated they opted to kill these enemies and still completed the challenge.
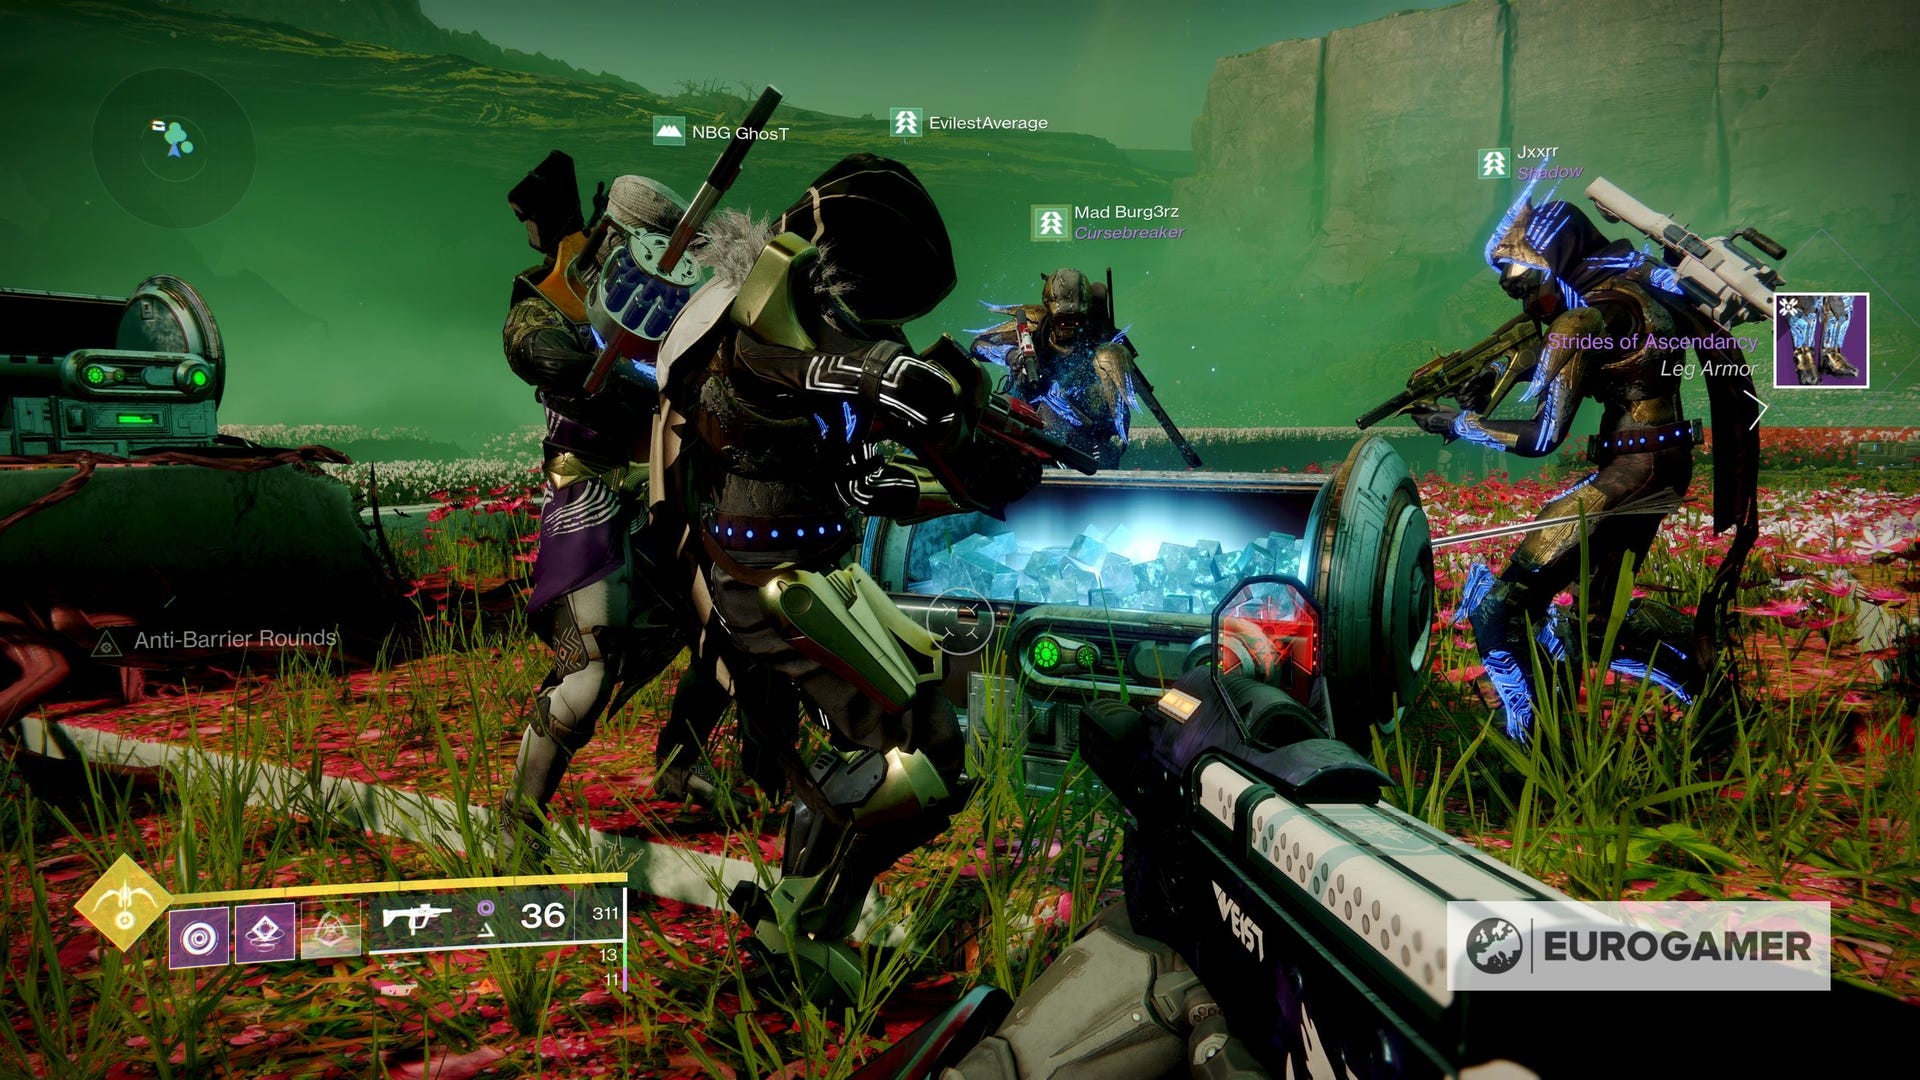
How to beat the A Link to the Chain challenge in Destiny 2's Garden of Salvation Raid
The Garden of Salvation raid challenge, A Link to the Chain, takes place during the second encounter, and to complete it, all players need to receive the enlightened buff at the same time.
While players do not need to converge on one singular relay - any of the four will do - they will have to ensure that there are no stragglers.
The team will need to maximise coordination, so before you start, we recommend nominating one person to become the coordinator who tells the team to activate the buff.
The most effective approach is to have all six guardians tether are the first relay, then split into three teams. The first team will go left, the second team will remain at the first relay, and the third team will go right.
These teams should all progress towards their target and kill all enemies in the area. When those areas are cleared you should countdown to activate the buff at the same time. One player from the first team and third should then stay with the relay and kill enemies while the second person continues on to the final relay at the back.
After the wave of enemies subsides, both solo players on the left and right relays should return to the first relay of the encounter and begin the countdown.
From then on, players should split to ensure that always have at least two players at a relay for a buff phase. It's possible to have three players converge on the initial relay and the final relay, or to have three clusters of two guardians at the relays of your choosing.
Both of these strategies have their pros and cons, but both have the same result. So long as your team observes a countdown and all shoot the box simultaneously there should be no issue.
After you've cleared the waves of Angelics on the outer relays, your whole team must then converge on the centre and connect to the conflux in the centre.
Due to the large number of enemies that spawn it might prove difficult to tether at the same time, but you must ensure that all players continue to tether together or the challenge will fail.
How to beat the To the Top challenge in Destiny 2's Garden of Salvation Raid
The Garden of Salvation raid challenge To the Top takes place during the third encounter, and to complete it, you need to deposit motes 10 at a time at the conflux.
For this encounter it's best to split the fireteam equally as two squads; the motes team and the boss team. In this specific challenge, the motes team must always deposit 10 motes at the conflux each time, whereas the boss team would tackle the encounter as usual.
For the motes team, instead of all waiting to kill the first minotaur, one of them will have to run directly to the conflux after they tether to the initial box to prevent any Vex from sacrificing.
As the initial player from the motes team is defending, another member of the team should kill two minotaurs and pick up all 10 motes as quick as possible.
They should then switch with the initial defender of the conflux while the next member of the motes team kills their two minotaurs, then repeat this process one more time.

After 30 motes have been deposited, the damage phase will start as usual. It's best to try and kill this boss in a single phase, as when progressing to a second phase, there is less time for the cycle of minotaurs to be killed again prior to any Vex sacrificing at the conflux - but that doesn't mean it's impossible.
How to beat the Zero to One Hundred challenge in Destiny 2's Garden of Salvation Raid
The Garden of Salvation raid challenge, Zero to One Hundred, takes place during the fourth and final encounter, and to complete it you will need to fully fill each conflux with 30 motes within 10 seconds of initially banking the first set of motes.
To complete this challenge you will need to split your fireteam into two, one team for the red conflux and one for the white conflux.
In your teams, you will want to send an initial single player through the portal by shooting one of the red weak spots on the boss, have them kill all the enemies therein and pick up 10 motes, then the players outside should pull them out by shooting the corresponding weak spot on Sol Inherent.
This player will now have between 40 and 50 seconds before their motes expire, so the next team will have to be quick.
When the first player returns, the two remaining players on each side should enter and pick up the motes the initial player left behind and focus on killing those enemies in the area.
If done correctly, the second team of players should both have 10 motes and the initial player should also be waiting at the conflux with 10. As the second set of players are pulled back, the first player should wait for them to close in on the conflux and deposit them back-to-back.
If the team does not deposit back-to-back and fails to place all 30 motes in 10 seconds for each conflux, both white and red, the challenge will fail.
It's worth noting that each conflux has to be complete within 10 seconds of its respective motes being deposited, and both confluxes do not need to be filled simultaneously.
Alternatively, there is an inverted method which involves two players initially entering the portals and deliberately picking up less than 10 motes each before being pulled. As those players are pulled, the one remaining player in the team should then enter and gather 10 motes before the original team of two brings the player back and enters again to top their motes up to 10 each before depositing and reset their mote timer.
Both of the aforementioned methods work and it largely comes down to preference and the speed in which you clear the enemies in the portal that drops motes.
After all motes are deposited, you progress to the damage phase as normal. Should you not clear the boss in one phase, you will once again need to repeat the process of filling a conflux within 10 seconds again.
The Season of the Deep is here alongside the Into the Depths quest. You can know go fishing too! Don't forget to keep an eye on the Lost Sector and King's Fall challenge rotation schedule!
Destiny 2 Garden of Salvation challenge rewards
When it comes to rewards, you'll notice a second chest will spawn just across from your usual one when you have completed the challenge.
Inside will be an additional piece of Pinnacle Gear, bringing you one step closer to that ever elusive Pinnacle power level.
Unfortunately, this chest does not appear to pull from a different loot pool, so it's the same standard equipment you'd expect from your standard chest within the raid.
On top of that, completing all of the Raid Challenges as they become available will net you with a raid specific shader, which each one gives you a Triumph. These count for a significant chunk of the Triumph activities needed to earn the Garden of Salvation title, Enlightened.