Sekiro O'rin of the Water fight - how to beat and kill O'rin of the Water
How to beat the O'rin of the Water mini boss in Sekiro: Shadows Die Twice.

O'rin of the Water is the next tricky encounter in Sekiro, found in the game's Mibu Village area, following on from Snake Eyes Shirahagi in our walkthrough of the game's bosses and mini-bosses - although there are a few other, easier ones you will have encountered along the way before it!
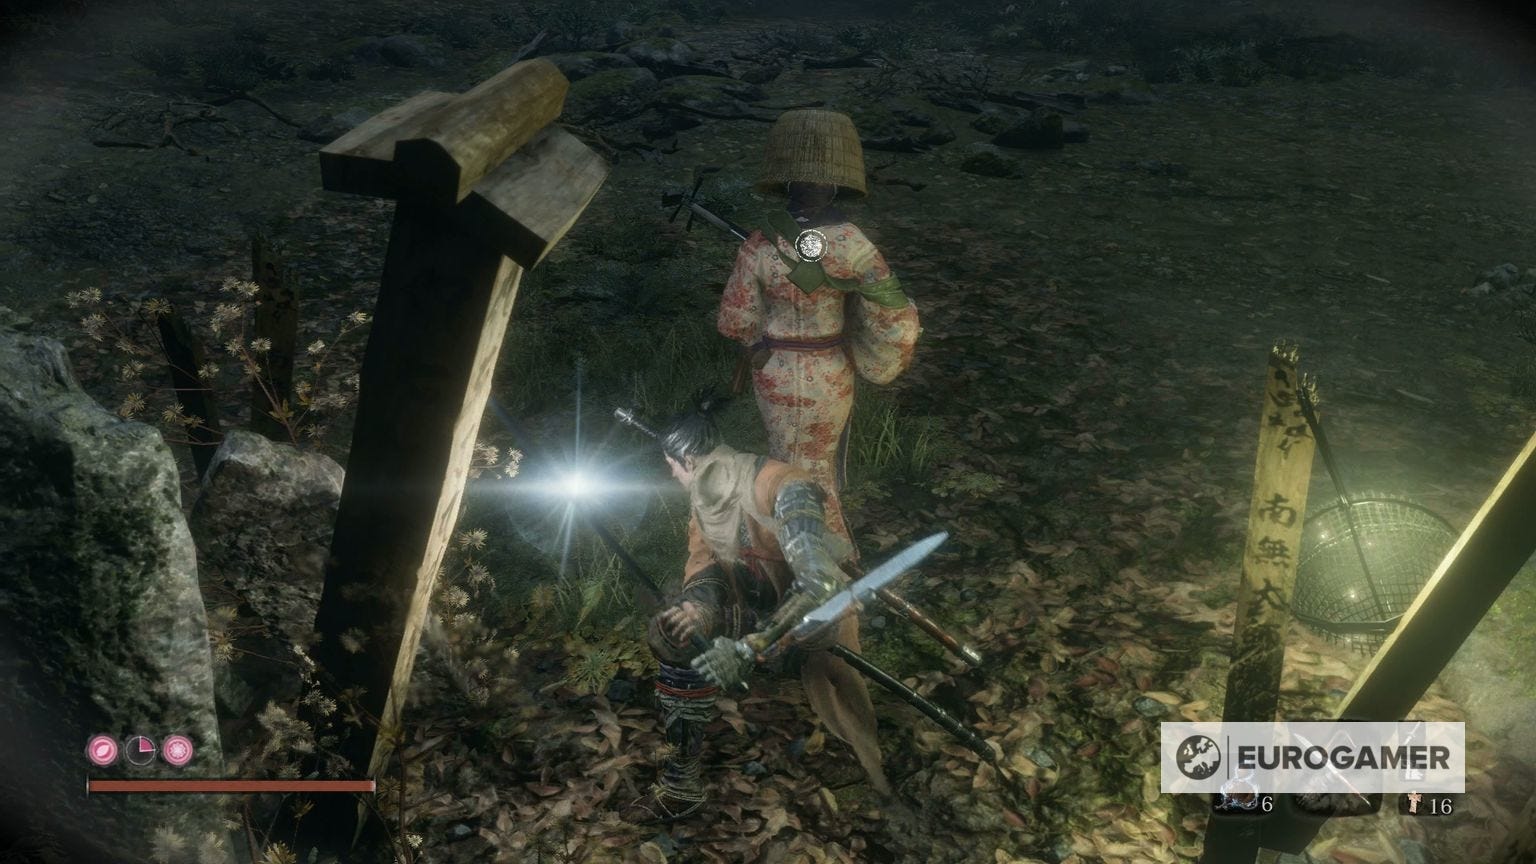
You'll find O'rin of the Water in a clearing shortly after the Water Mill Idol. She's playing an instrument like a seemingly harmless NPC, but will attack as soon as you talk to her or walk past, so be ready.
Below, we'll cover how to beat Sekiro's O'rin of the Water, including any particularly strong methods or weaknesses they might have and any handy things to bear in mind.
For more guides and pages like this, meanwhile, cycle back to our main Sekiro walkthrough and boss guide hub.
Sekiro O'rin of the Water - how to beat and kill O'rin of the Water
O'rin of the Water has two Deathblow marks, and there's no way to take one of them off with a stealth kill or anything like that - which means you'll need to meet her face on for the whole thing.
As with all bosses and mini bosses in Sekiro though, there's a knack to it, so don't panic, and start off with a slightly unsportsmanlike hit on her from behind, followed by a quick Combat Art of your choice, to get an early chunk of her health down while she's unprepared.
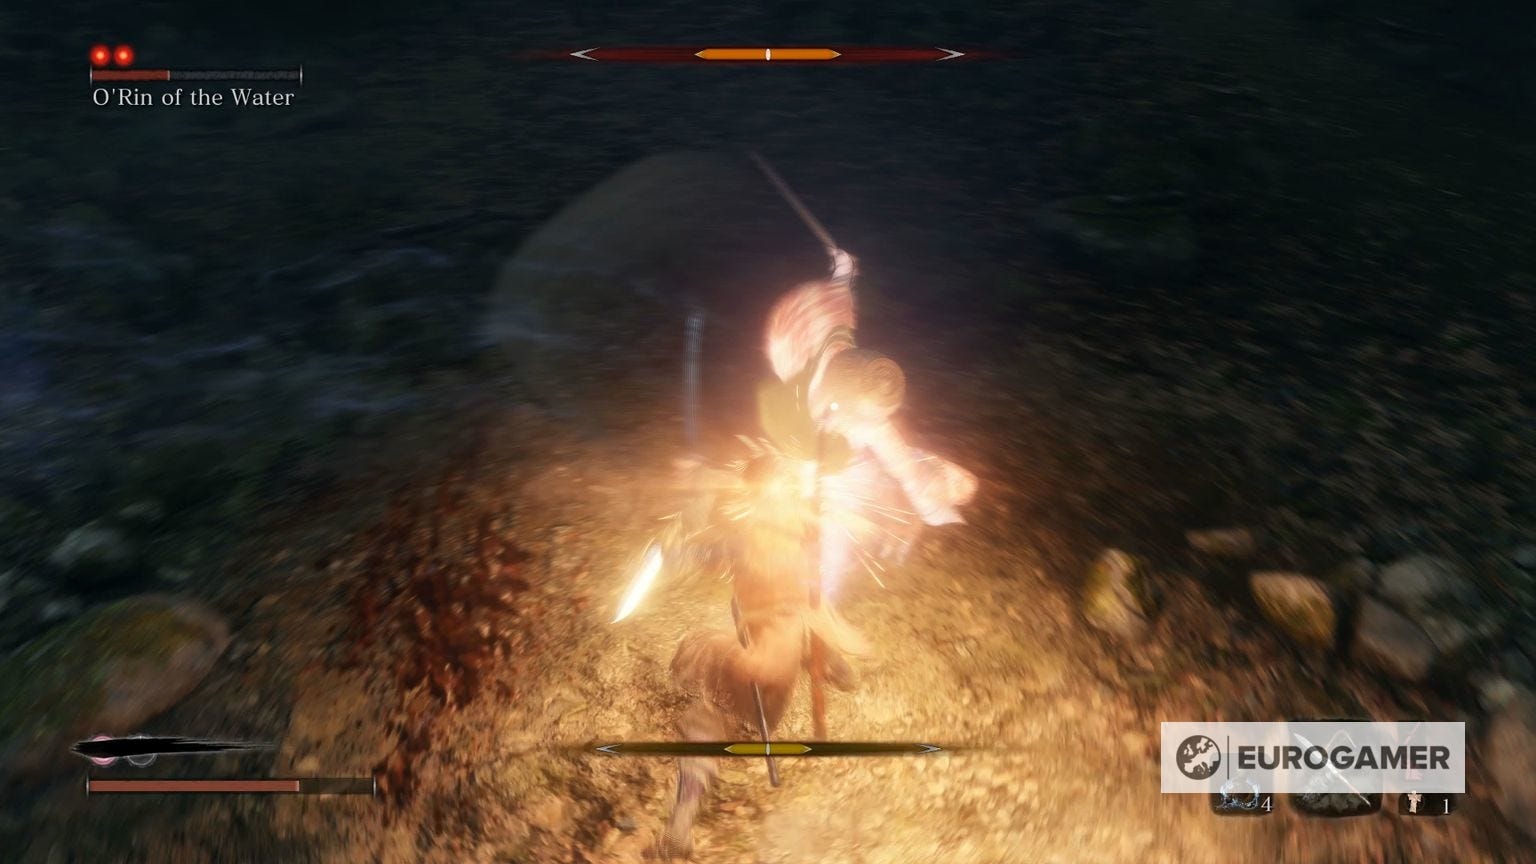
O'rin is, unfortunately, a lot like Genichiro Ashina - albeit in much simpler form - because beating her is going to come down to parrying and patience more than anything.
She'll float away and perform one of a couple of attacks to follow up, either slowly swooping at you, or swooping in fast. Both have different flurries that follow up, and most flurries - but not all - are followed by a Perilous Attack.
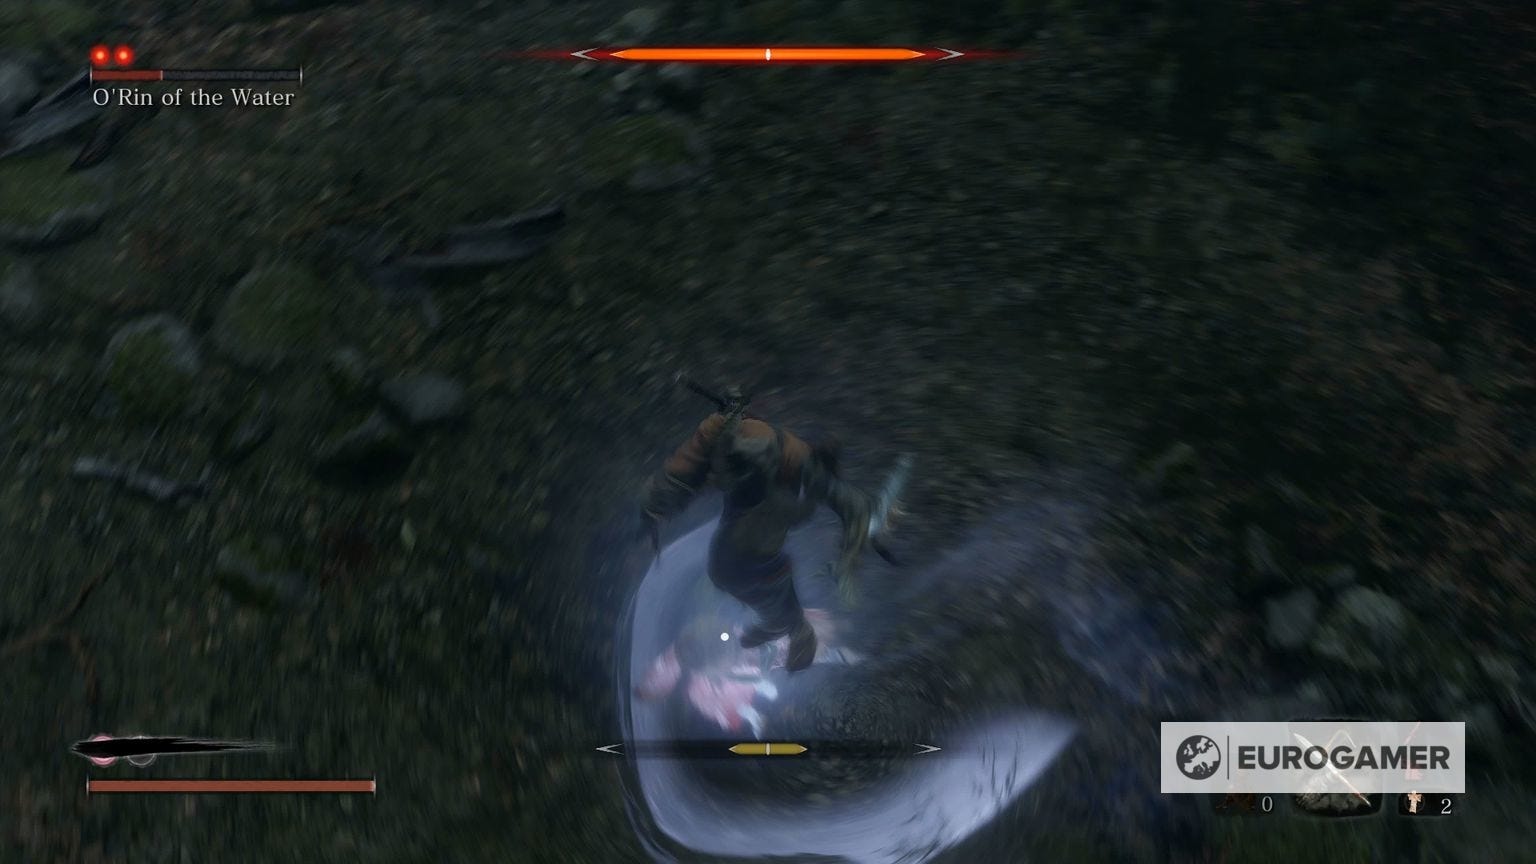
The good news is that she has just one Perilous Attack - a Sweep - which means you just need to wait for the red symbol and just jump and double jump to bop her on the head for some good Posture Damage.
Looking for more Sekiro pages like this? First up, the first main Sekiro patch notes for update 1.03 are live. Otherwise, our Sekiro boss guide, boss list and walkthrough hub has everything in one place, including pages on Lady Butterfly, Genichiro Ashina Way of Tomoe, Folding Screen Monkeys, Corrupted Monk, Guardian Ape, Great Shinobi Owl, Emma and Isshin Ashina, True Corrupted Monk, and Divine Dragon. We also have in-depth pages like Sekiro tips and tricks to get you started, Sekiro Skills, skill tree and Esoteric Text locations explained, our deep dive on the Sekiro combat system, Posture, and Perilous Attacks, or details on all Sekiro Prosthetic Tool locations, how to cure Dragonrot and Rot Essence in Sekiro, Gourd Seed locations, a Divine Confetti farm route method, all Treasure Carp Scale locations, all, Prayer Beads locations and all Snap Seed locations, too. And when you're ready - the how to beat Isshin Sword Saint and an Isshin Sword Saint cheese, plus the many Sekiro endings.

Back away - don't dodge at any point, as it makes you vulnerable and there's nothing you need to dodge from her attacks anyway - wait for anther flurry to deflect (do your best to deflect every attack in it), be prepared to jump on the end, and repeat.
Note that you shouldn't use any directional movements when you jump - she gets very close to you with that attack, so if you push forwards or sideways while jumping you'll miss her and the free Posture damage that comes with it - and otherwise that's mostly it.
You can use Divine Confetti or Snap Seeds if you like - we didn't opt for either, but we have pages on a great Divine Confetti farm and all Snap Seed locations if you want to pick some up - otherwise just remember you can learn her moveset by holding block for a couple rounds just to get the rhythm, and then it's over to you to get parrying!
That's all you'll hopefully need for tackling this encounter. Next up in our guide is the Corrupted Monk, or you can cycle back to our main Sekiro walkthrough and boss guide hub for much more explainers and advice.