No Man's Sky Atlas Path walkthrough - how to reach the Atlas Path ending
A pre-NEXT legacy guide explaining the mysterious Atlas, how to follow it, and the rewards for completing the Atlas Path.

Note: As of the big NEXT update of summer 2018, this page is now somewhat out of date. If you're playing an unupdated version of the game from way back at launch it still applies of course, but otherwise we'll be leaving it up for posterity's sake, and as a reference for anyone looking back fondly, to a simpler time...
There's not a great deal of story in No Man's Sky - it's a game of exploration, after all - but the one element which does stand out as a more structured narrative is the Atlas Path. Although obscure, easily missed, and unexplained, one way or another you'll still need to engage with the Atlas in No Man's Sky - if only to get your hands on an Atlas Pass.
So what exactly is the Atlas Path, how do you complete it, and what's at the end? Obviously, full spoilers will follow.
Please note that our No Man's Sky guides are in the process of being updated after the launch of No Man's Sky BEYOND - for now, this page may still have plenty of useful info, but bear in mind it's due a refresh! If you're looking for more on that big update though, our guide to what's new in the No Man's Sky BEYOND update and its release time on Xbox One, PC, PS4, our big list of No Man's Sky patch notes, or our guide to the new No Man's Sky multiplayer and Nexus hub are the best places to start!

What is the Atlas Path in No Man's Sky?
The Atlas Path is one of three 'paths' you can take in your No Man's Sky adventure - the other two being, presumably, free exploration or hot-tailing it to the galactic core. It's the closest thing to a linear story or questline in the game, and dominates much of the discussion you'll have with alien NPCs, and interactions with objects throughout the course of your journey.
The first chance you'll get to join the Atlas Path is at the very start of the game. On investigating the site of your crashed starship, you'll come across a piece of debris which kicks out a glowing red orb when interacted with. That orb will offer you the chance to follow the Atlas or go about your exploration freely. If you choose to follow it, then a marker will be added to your galactic map for a nearby system which contains the first Atlas Interface.
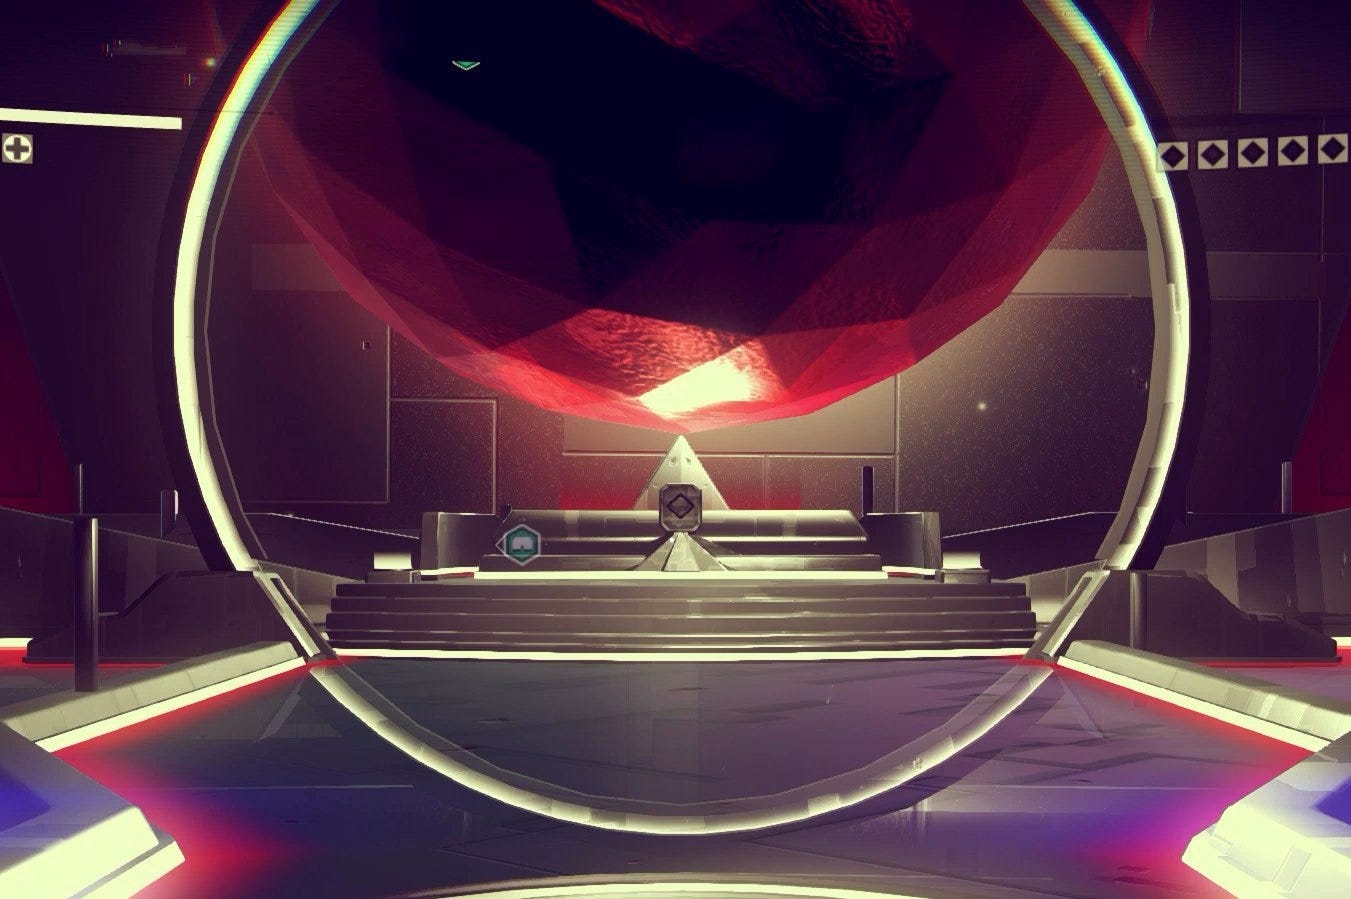
At each Interface, you'll interact with a large orb or object which seemingly represents the Atlas in some way, whilst some intriguing flavour text describes your character's thoughts and reactions to the strange situation.
If you rejected the opportunity to follow the Atlas' guidance at the start of the game, you can still pick it up. To rejoin the Atlas Path, you'll need to find Nada and Polo inside a Space Anomaly and choose the Atlas option when speaking to Nada. The two aliens appear seemingly at random - unless you're already on the Atlas Path - and so in order to find them, you'll simply need to scan as many new systems as possible until the Space Anomaly discovery notification pops up, and a purple icon appears on your starship HUD.
How to complete the Atlas Path in No Man's Sky
To complete the Atlas Path, you'll need to follow a series of steps:
- Initiate the Atlas Path - either at the start of the game, or by finding Nada and Polo, select the Atlas Path dialogue option (see above).
- Head to one Atlas Interface at a time - each time you reach a new Atlas Interface - there are eleven in total - the next will be highlighted on your galactic map. All you have to do is craft the Warp Cells to reach each one, and follow the path lit up for you on your map. Many Atlas Interfaces offer two Warp Cells inside for free, but you can also craft Warp Cells using Antimatter, which we've explained how to craft and find, too.
- Keep a hold of your Atlas Stones - as we reported before, No Man's Sky finishers have suggested from the start that it's a good idea to hang onto your Atlas Stones. That's because you'll need 10 to fully complete the Atlas Path - although as we'll explain below, it ultimately doesn't really make a difference - and will only be given 10 for free along the way. If you lost or sold them, Atlas Stones can be bought from a Galactic Trade Terminal or NPC, but they'll cost you a whopping 2-5 million Units in the process. Check out our tips for the fastest ways to earn more money if you're in that predicament yourself.
- Hit at least 50 journey milestones - you'll need the title of "MAGELLAN" to fully complete the Atlas Path, although each Atlas Interface you commune with will require another rank up in your milestone achievements to continue 'submitting' to it's will. Shoot down ships, earn some money, warp to new systems, get hiking and generally play the game to level yourself up if you're behind.
Want to get the most out of No Man's Sky? Check out our main No Man's Sky guide, tips and tricks page, plus our advice on the best, fastest way to earn money, how to fix your ship, what to do first, and how to increase inventory space. We also show how to use a massive No Man's Sky exploit for infinite rare resources, along with explaining how to save and how to get the elusive Atlas Passes, Antimatter recipe, Zinc, and how to get the Hyperdrive and its required Warp Cells in No Man's Sky.
Atlas Path rewards in No Man's Sky
All this may have made it sounds like following the Atlas Path is a rather fruitless endeavour. In many ways, not least in terms of story, it is - however there are still numerous rewards you can earn along the way which do, just about, make it worthwhile:
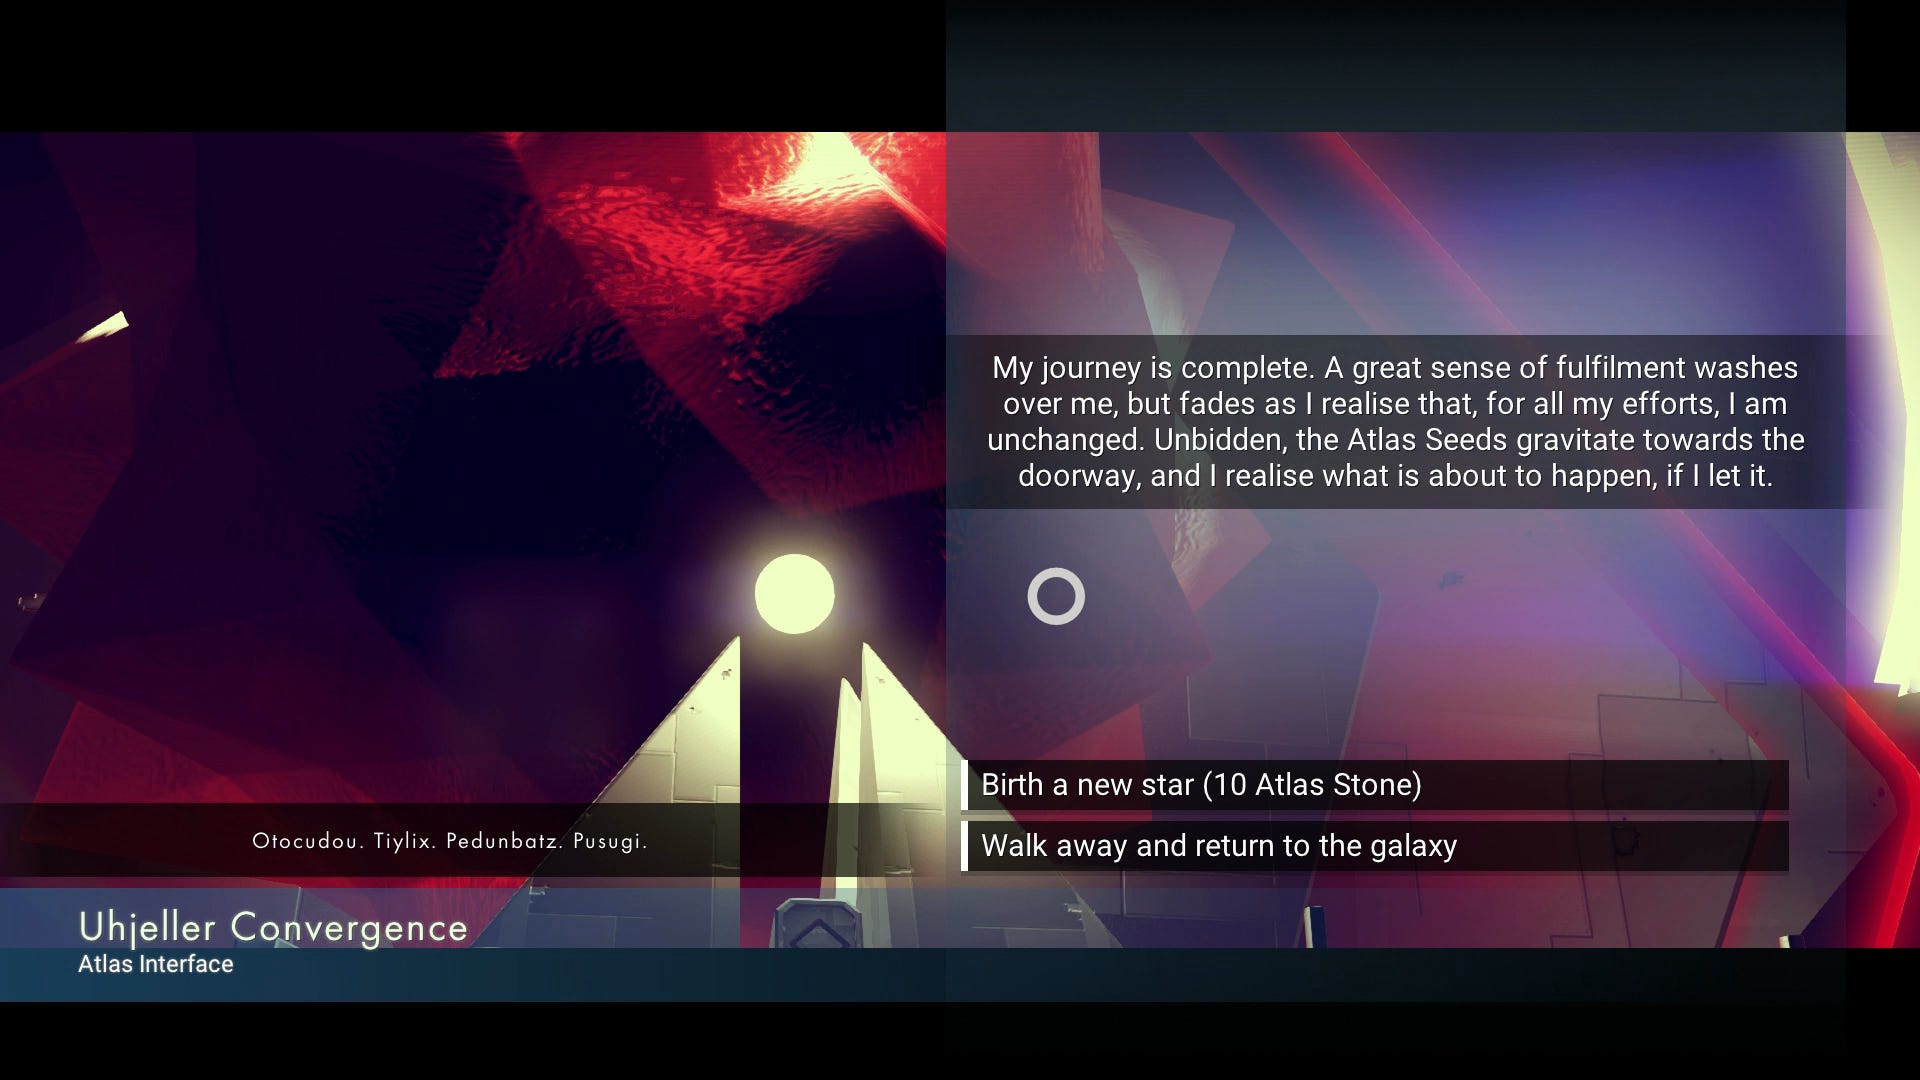
- Finishing the story - the Atlas Path's final requirement is that you hand back over the 10 Atlas Stones you gained along the way. All that wasted inventory space will give you the opportunity to birth a new star when you do - however this is only explained to you by text, and changes nothing else about the game, so only hand them back over if you really want that sense of completion (and not much else).
- Atlas Stones - you'll receive one Atlas Stone each time you visit and interact with an Atlas Interface, aside from the final time, meaning 10 in total. If you don't care about accessing that final bit of story content, these can be sold at the very high price of 70,000 Units each, or around 140,000 if you hold onto them until you find a trader who has them in demand. Be aware that Atlas Stones hold no other purpose, and occupy one slot of your inventory each, so there's no other reason to hang onto them than this.
- Warp Cells - most, but not all, Atlas Interfaces will offer you two free Warp Cells, which are held on podiums in front of the large orb itself.
- New technologies - each Interface will grant you one or two new technologies, which we found were most often for our Exosiut. Simply walk down to central path to the main floating orb to activate them, but note that these can, and often will, be duplicates to ones you already know.
- Learning new words - a somewhat overlooked point regarding the Atlas Path is the access it provides you to new words for the Gek, Vy'keen and Korvax languages. Inside each Atlas Interface is a platform which surrounds your ship. On it are numerous silver orbs, which will pop as you run over them. Each one has a chance to teach you a new word, and you'll normally pick up around 10 to 15 words each time you run around an Interface, making it a great way to quickly learn the game's languages and fill out your journey milestones.
Finally, once you complete the path, you'll be shown the way to a Black Hole, which will take you slightly closer to the galactic core. Otherwise, that's all there is to it for the Atlas Path - you're now released from the shackles of the Atlas and free to carry on exploring to your heart's content.