Destiny 2 Scission strategy, including how to use Field of Light and Flux of Darkness
Destiny 2 Scission strategy, including how to use Field of Light and Flux of Darkness
Scission is the second encounter in Root of Nightmares raid of Destiny 2, and requires a mix of fighting prowess strong movement skills.
Before you can reach the Scission, however, you will need to travel through some twisting paths in this Destiny 2 raid and fight your way to it.
To see how to complete the entire Root of Nightwares raid, be sure to check out our full Root of Nightmares guide.
On this page:

How to reach Scission in Root of Nightmares
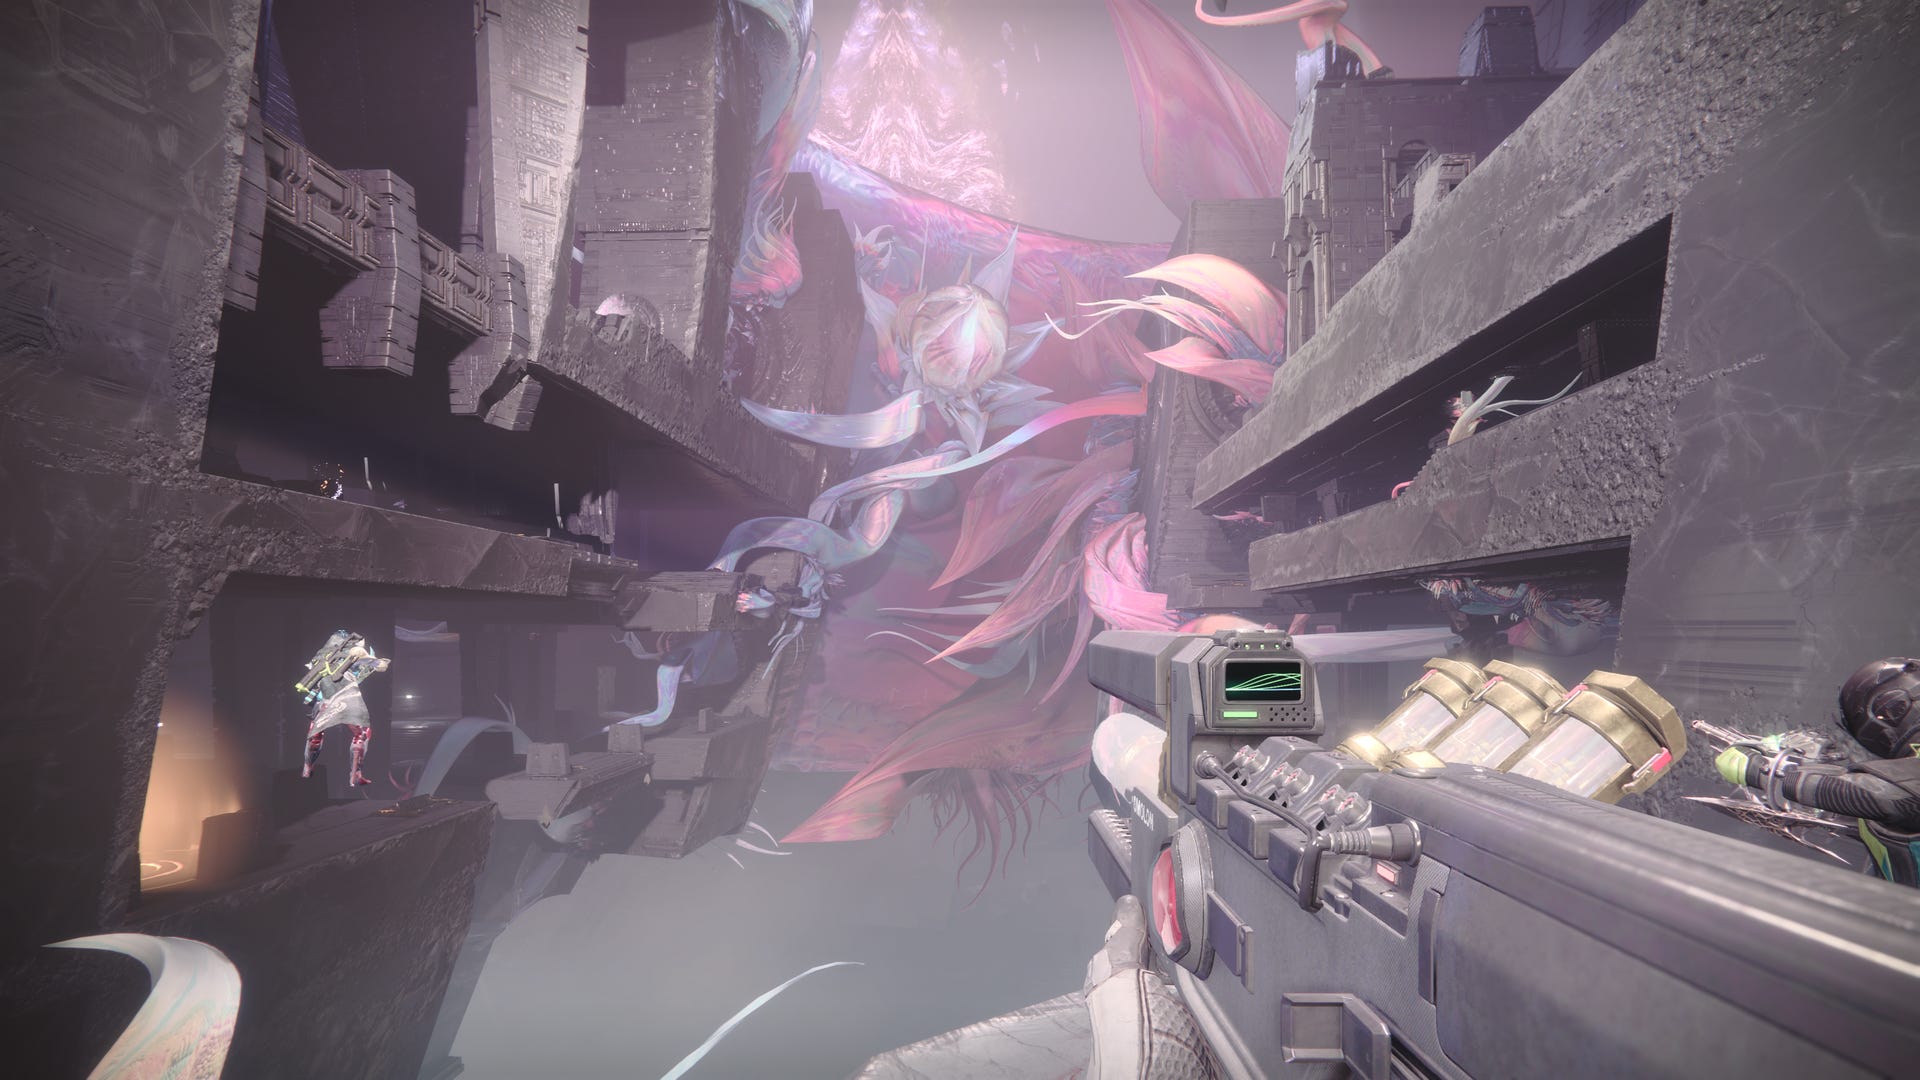
Immediately after the Cataclysm encounter, cross the narrow bridge and enter the building.

You will be following a mostly linear path that leads up the Root of Nightmares. Eventually you will come to large colourful vines, use these as a bridge to continue the ascent.
There will be pockets of enemies to fight through, but this isn't a darkness zone. Just keep pushing, and eventually you will reach the Scission.
How to complete Scission in Root of Nightmares
The objective of this encounter is similar to the previous: create Orbs on all of the plates. This time the countdown timer to doom is called Imminent Expulsion, and there are no Tormentors to kill to extend it. The sections are three vertical levels, and there are now both light and dark Orbs, which confer Field of Light and Flux of Darkness. The arena is split in half with a massive chasm dividing the two sides. Crossing from one side to the other requires standing in front of a person-launching bumper and shooting a floating icon to activate.
Start by dividing into two teams, three to the left side of the chasm, three to the right. One person on each team is a runner, responsible for activating the Orbs. The other two in each group are in charge of clearing adds. Have all three members of each team stand within the Aura surrounding the orb, and shoot them to start the encounter.

Everyone will now have either Field of Light or Flux of Darkness. The two runners will need to locate nodes that match the colour of their buff. This will require that they both launch across the chasm, then stand near the node and shoot it before their buff expires. Once they’ve done this, each should go to the aura on their current side, and shoot it to gain a new buff. They will need to find another node matching their colour, activate it, and return to the Orb with the Aura for another round.

The Nodes that need to be activated alternate sides. Half the time Nodes will be on the same time as an Orb that grants the matching aura, the other half a runner will need to cross the chasm. Each runner must make sure their counterpart has activated their Node before taking the Field buff, as activating the Orb removes the buff from anyone not in the Aura. Each time a runner returns to an Orb they should call out which ('Returning to Dark', 'Returning to light', etc.). The specific Orb that grants the buff will change every couple of nodes, make sure to track to the new location each time.
Everyone else will be focused on clearing adds. On each side there will be occasional yellow-bar enemies with either a darkness or light shield. The add clearers will need to have the matching Field of Light or Dark buffs to damage them. Everytime a runner announces they are going to an Orb, the add clearers should wait in the Aura, and receive the buff when the runners shoot the orb.

Once all of the nodes are activated the Imminent Expulsion timer will end, and there will be a final wave of enemies to clear. When they are dead, an additional launcher will form on each side, sending everyone up a level. Repeat this process with a fresh Expulsion Timer to clear the second and third levels. Once the third level is done Scission will be complete.
The next part of our King's Fall guide explains how to beat the Daughters of Oryx encounter. Return to the walkthrough hub for more sections of our King's Fall raid guide.