Dead Cells The Concierge boss strategy
How to beat the first boss in Dead Cells - The Concierge.


Dead Cells boss The Concierge - previously known as The Incomplete One in early access - is the first boss you'll come across on your run.
Found on the Black Bridge, this area is dedicated just to this boss fight - unlike the Elite enemies you fight to collect Runes elsewhere - and must be defeated before you can progress. Good luck!
If you're interested in more advice, we recommend checking out our Dead Cells tips page.
On this page:

The Concierge boss strategy
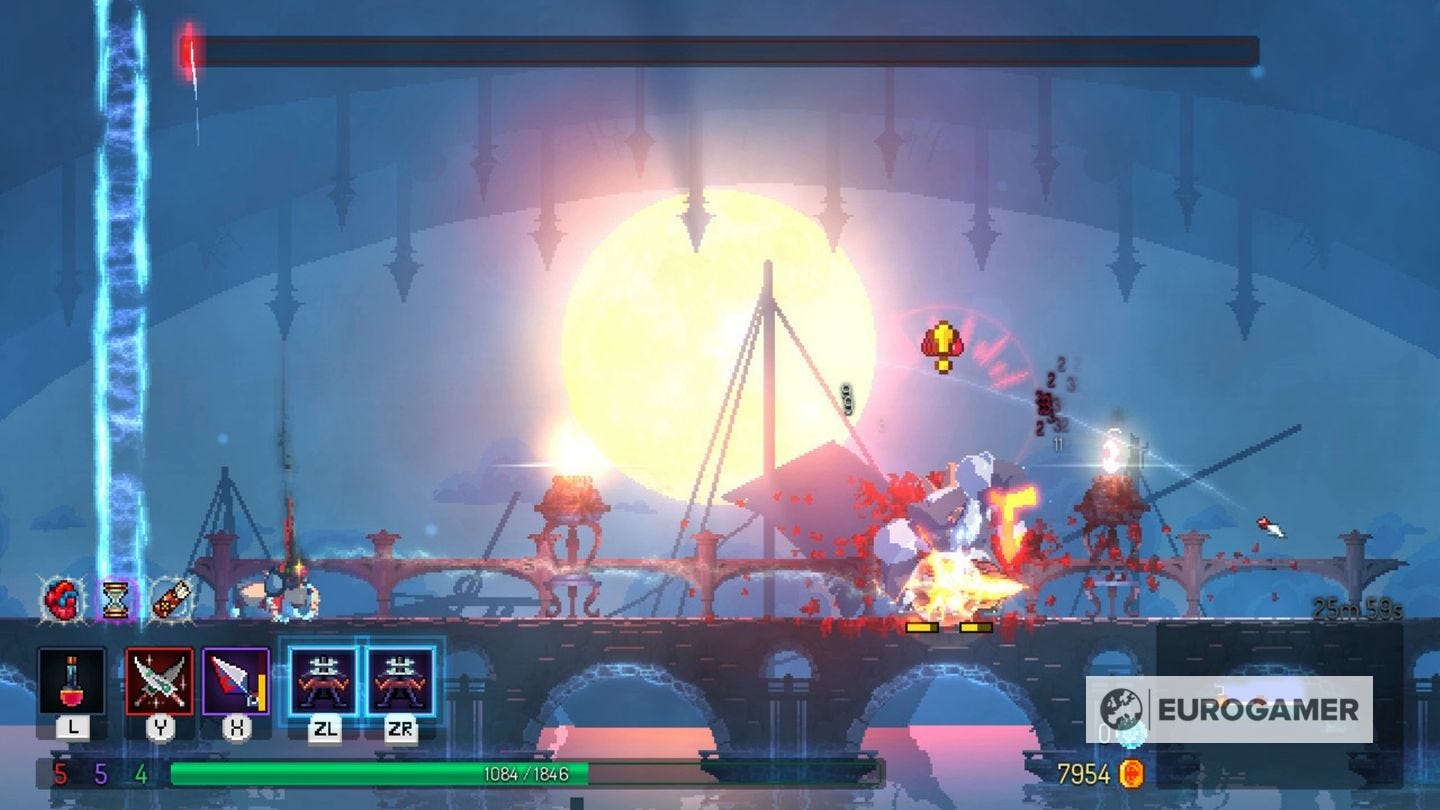
The Concierge is the biggest enemy you've faced so far, and between that and trapping you on the bridge without an escape route, makes it a particularly intimidating foe. Thankfully, its attacks are few and far between, and once you have them memorised, they become straightforward to avoid.

This powerful brute pins you into a small enclosed space, and slowly walks towards you. Your best bet is to keep your distance at all times, and use ranged attacks, whether it's arrows or knifes, or if you have them, equipment (such as Sinew Slicers) you can deploy that'll chip away at its health and do the job for you.
Though its attacks pack a punch, they are thankfully easily telegraphed. As soon as you see the yellow exclamation mark appear, you know you must evade.
There are three type of attacks. One is a swipe up close, which you can easily roll. The other two are deployed wherever you are standing - a shockwave and a lunge. In our experience, the shockwave was followed by the lunge every time - allowing you to predict them easier.
The shockwave sees The Concierge pull its arm back - when you see that, double jump to avoid the shockwave. The lunge sees The Concierge crouch - roll towards the boss to avoid it entirely. If you want to use a melee attack, doing so between these two attacks (after the lunge) is your best bet.
It takes a little practice to get the timing right, so if you have health upgrades to give you a buffer throughout the fight, that'll really help.

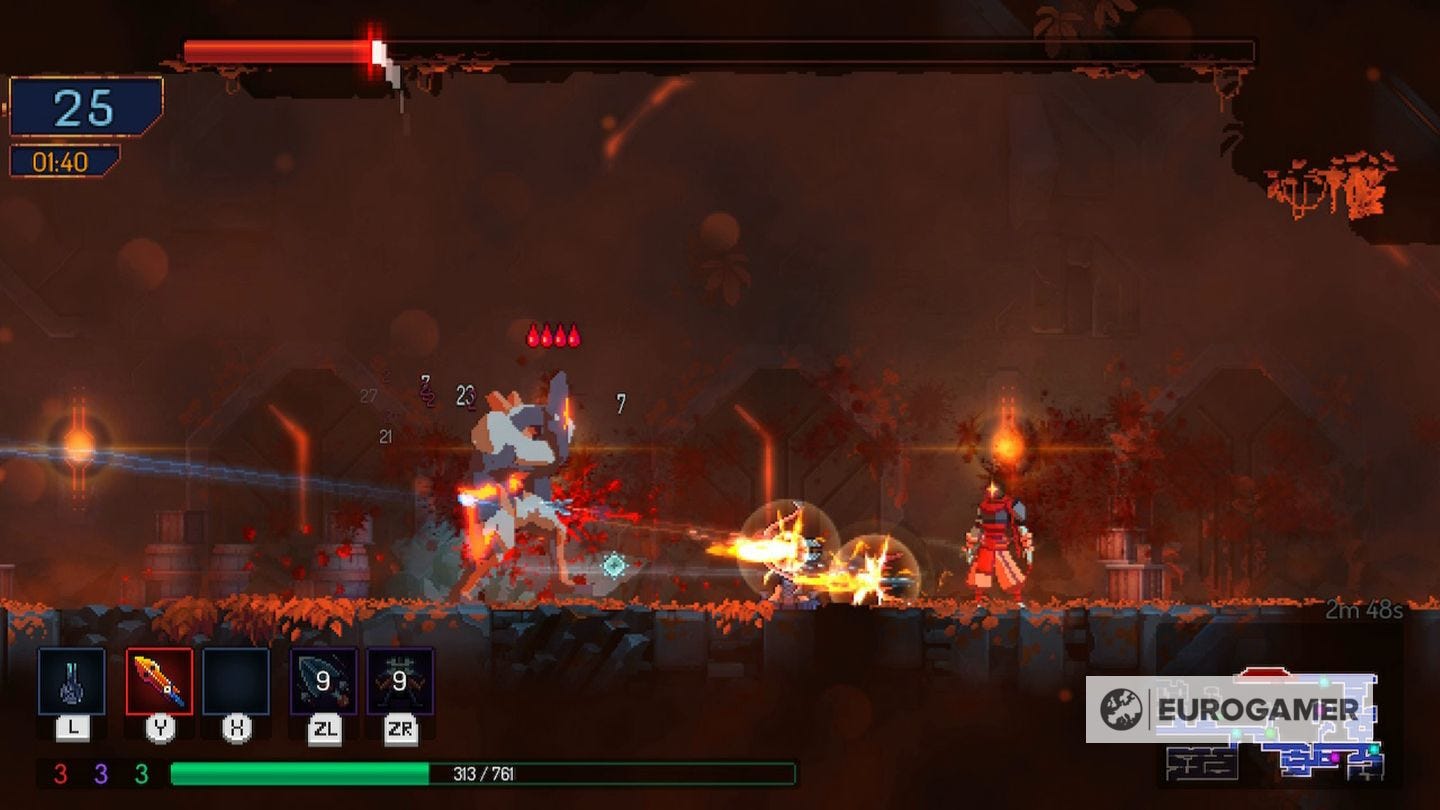
Throughout the battle, the Concierge will also be surrounded by different shields, which will reduce or nullify any damage. Thankfully these are short lived, so just wait it out if you can, or use ranged attacks to try and destroy them.
If you become pinned against the side while a shield is active, jump over the boss rather than roll through. The shield might inflict a little damage as you pass, but it's better than staying put.
That's essentially how the battle plays out - looking out for those two attacks in order, and steering clear of the shield when it gets close. Keep calm and focused and you should succeed.
Beat The Concierge, you'll earn the Challenger's Rune (allowing you to access the Daily Challenge), some gold, Cells, some powerful equipment, and a Blueprint (with new drops on subsequent defeats).

Other things you should know about beating The Concierge in Dead Cells
Though the above strategy will see you through no matter your loadout, there are a few ways to prepare if you are particularly struggling.
We recommended coming with a ranged loadout (equipment, bows) and several Tactics upgrades to give them a boost, as well as a smattering of health upgrades. Then you can lay these down without worrying about melee attacks, and concentrate on dodging attacks.
If you haven't already, the second potion upgrade - so you can have two swigs to top up your health - and the Mutation that gives you a second life (Ygdar Orus Li Ox) will keep you alive longer. And if you have an amulet with triple jump (which, we should say, is very rare) that will be an extra help with evading the shield.
Though Sinew Slicers are great at dealing damage on their own, a great way to nullify The Concierge entirely is by using the Wolf Trap, which makes it immobile and won't cause it to attack after an initial swipe, allowing you to use melee attacks of your own. If you have a freeze attack - whether it's a bow, or grenade - then it'll immobilise it further. If you have these, then the boss becomes so much easier.
Shields are still a factor, but keep your distance, lay down a trap, wait until it walks into it, then freeze and attack, and repeat.
If you have already beaten it the once and want more practice, then the Daily Challenge - which unlocks after you beat The Concierge - will appear at the end of runs. This will be without a shield, so is useful for better learning the timing for its attacks.
This is handy as, unless you choose a different route through the game (which are unlocked later with various Runes) you'll be facing The Concierge plenty of times as you slowly inch your way to the end boss - so getting used to beating it efficiently, no matter your setup, is useful!