Best Helldivers 2 Stratagems
Spread managed democracy among the stars with the best offensive, defensive and supply Stratagems!

The best Stratagems are what you’ll need to succeed in Helldivers 2, ensuring you have all the right tools for lethal force against the enemies of Super Earth.
Whether you’re in a group of four or dropping onto planets as a lone ranger, the Stratagems you equip and employ in Helldivers 2 will be a large part of what helps you survive.
To help you on this journey, we’ve put together this handy page to guide you through the best Stratagems in Helldivers 2, as well as an explainer on how Stratagems work, and a list of all Stratagems in Helldivers 2 listed.
On this page:
Best Helldivers 2 Stratagems
Picking the right Stratagems in missions is essential to success in Helldivers 2, with many options not always fitting the bill for a particular objective or moment.
Some options are effective to have on several mission types, whereas others have specific use cases that make them primarily applicable to a smaller pool of situations.
Especially when in a team, coordinating and planning which Stratagems each player equips will make the higher difficulties of Helldivers 2 more feasible to complete. Without the right picks you may end up very quickly becoming Terminid dinner, or crushed under the metal clank of Automaton forces.
With that in mind, we've compiled a list of the best Stratagems across Offensive, Defensive, and Supply-based options, providing additional recommendations if you're just starting the game off:
Each of these recommendations are given based on the ways in which they can be implemented and how effective they may be at any given moment.
It's worth keeping in mind however that even if a Stratagem isn't listed below, it doesn't mean it's not worth using since each can be used in different ways, and we'd imagine that lower-performing Stratagems and weapons may end up receiving balance changes in the future which could lead to what's hot evolving in the coming months.
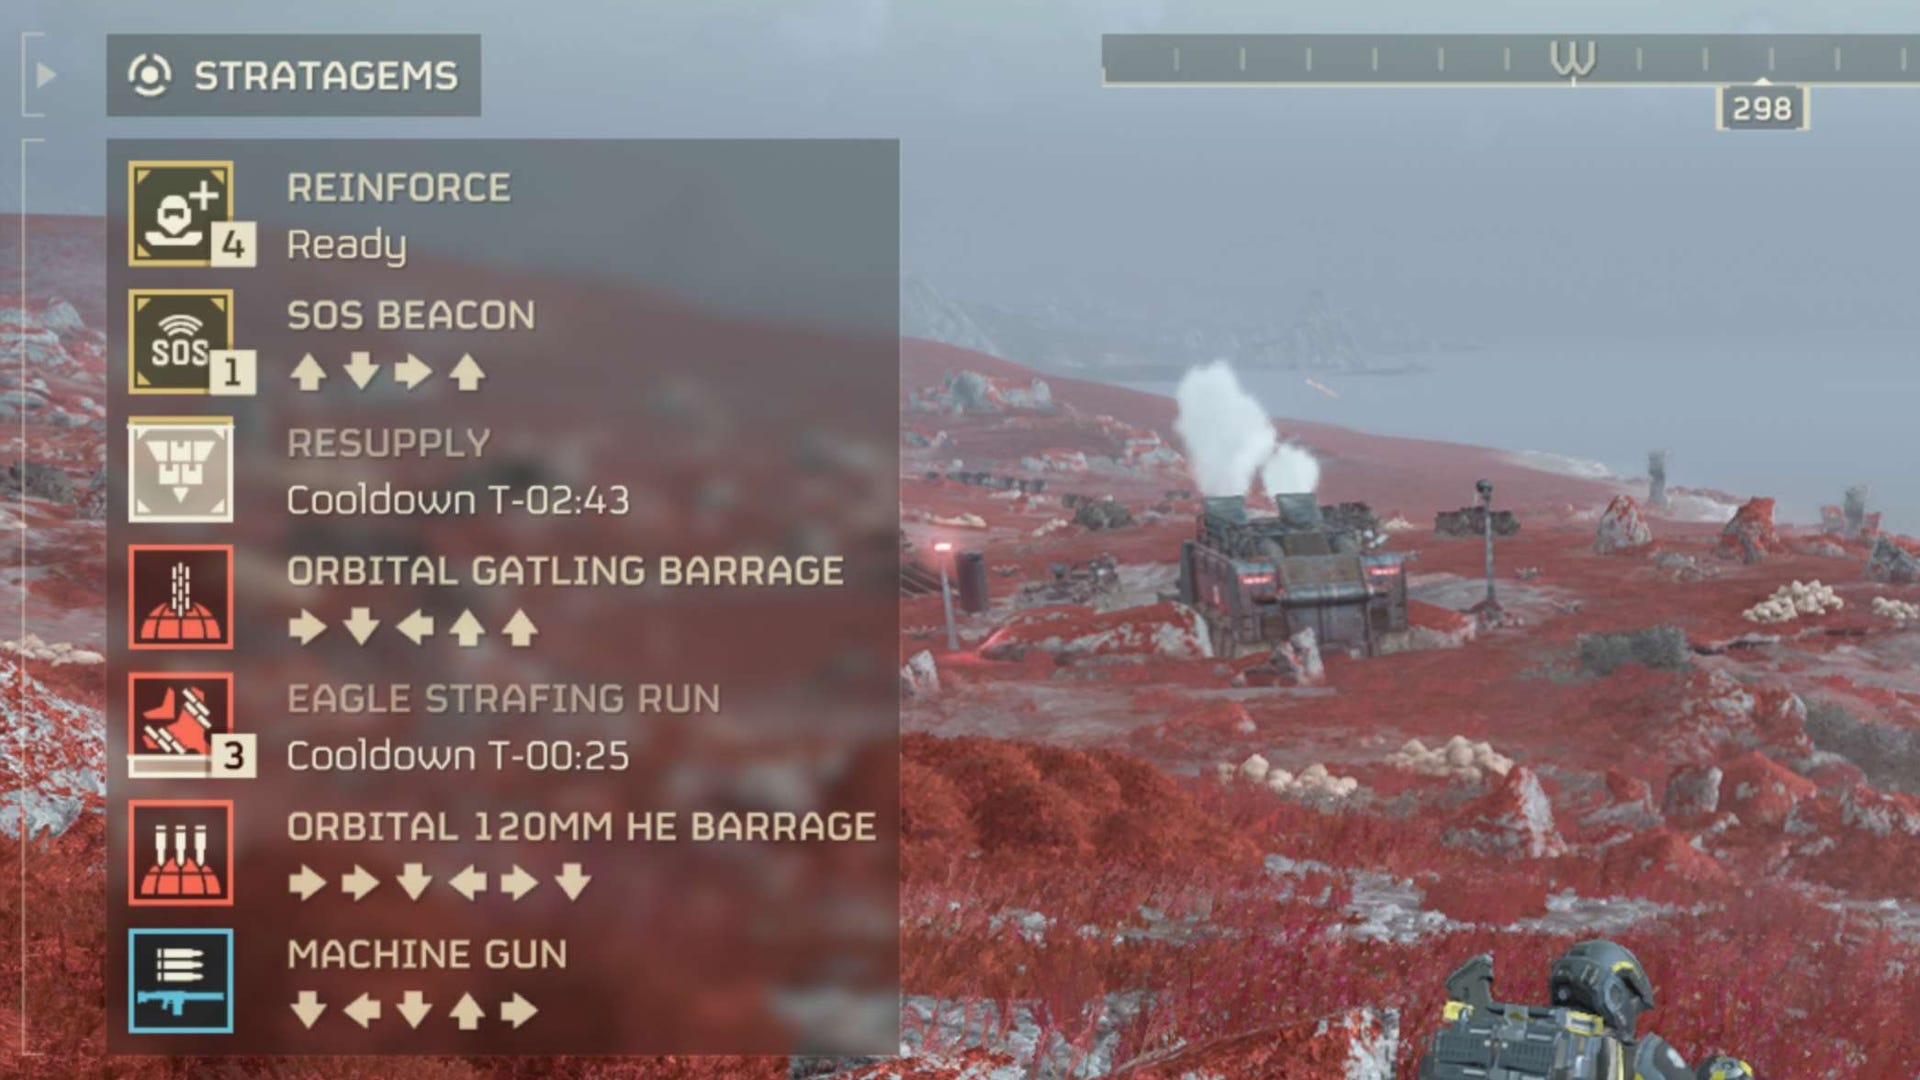
Additionally, we haven't included the general Stratagems you are given automatically in each mission - it goes without saying that the Reinforce and Resupply Stratagems, which let you redeploy after death and get more ammo respectively - are both very strong and useful, and ones you'll no doubt continuously use when playing.
Keep reading for the list of recommendations across all three Stratagem types below.
Best Offensive Stratagems in Helldivers 2 recommendation
Best Offensive Stratagem recommendations:
- Eagle Airstrike/Cluster Bomb
- Orbital Precision Strike
- Eagle 500KG Bomb
There's a lot of options when it comes to Offensive Stratagems in Helldivers 2, and there's so many specific use case examples, with a lot of general use purposes too. As such, it's worth trying every Stratagem out since they're all likely to get usage depending on the mission.
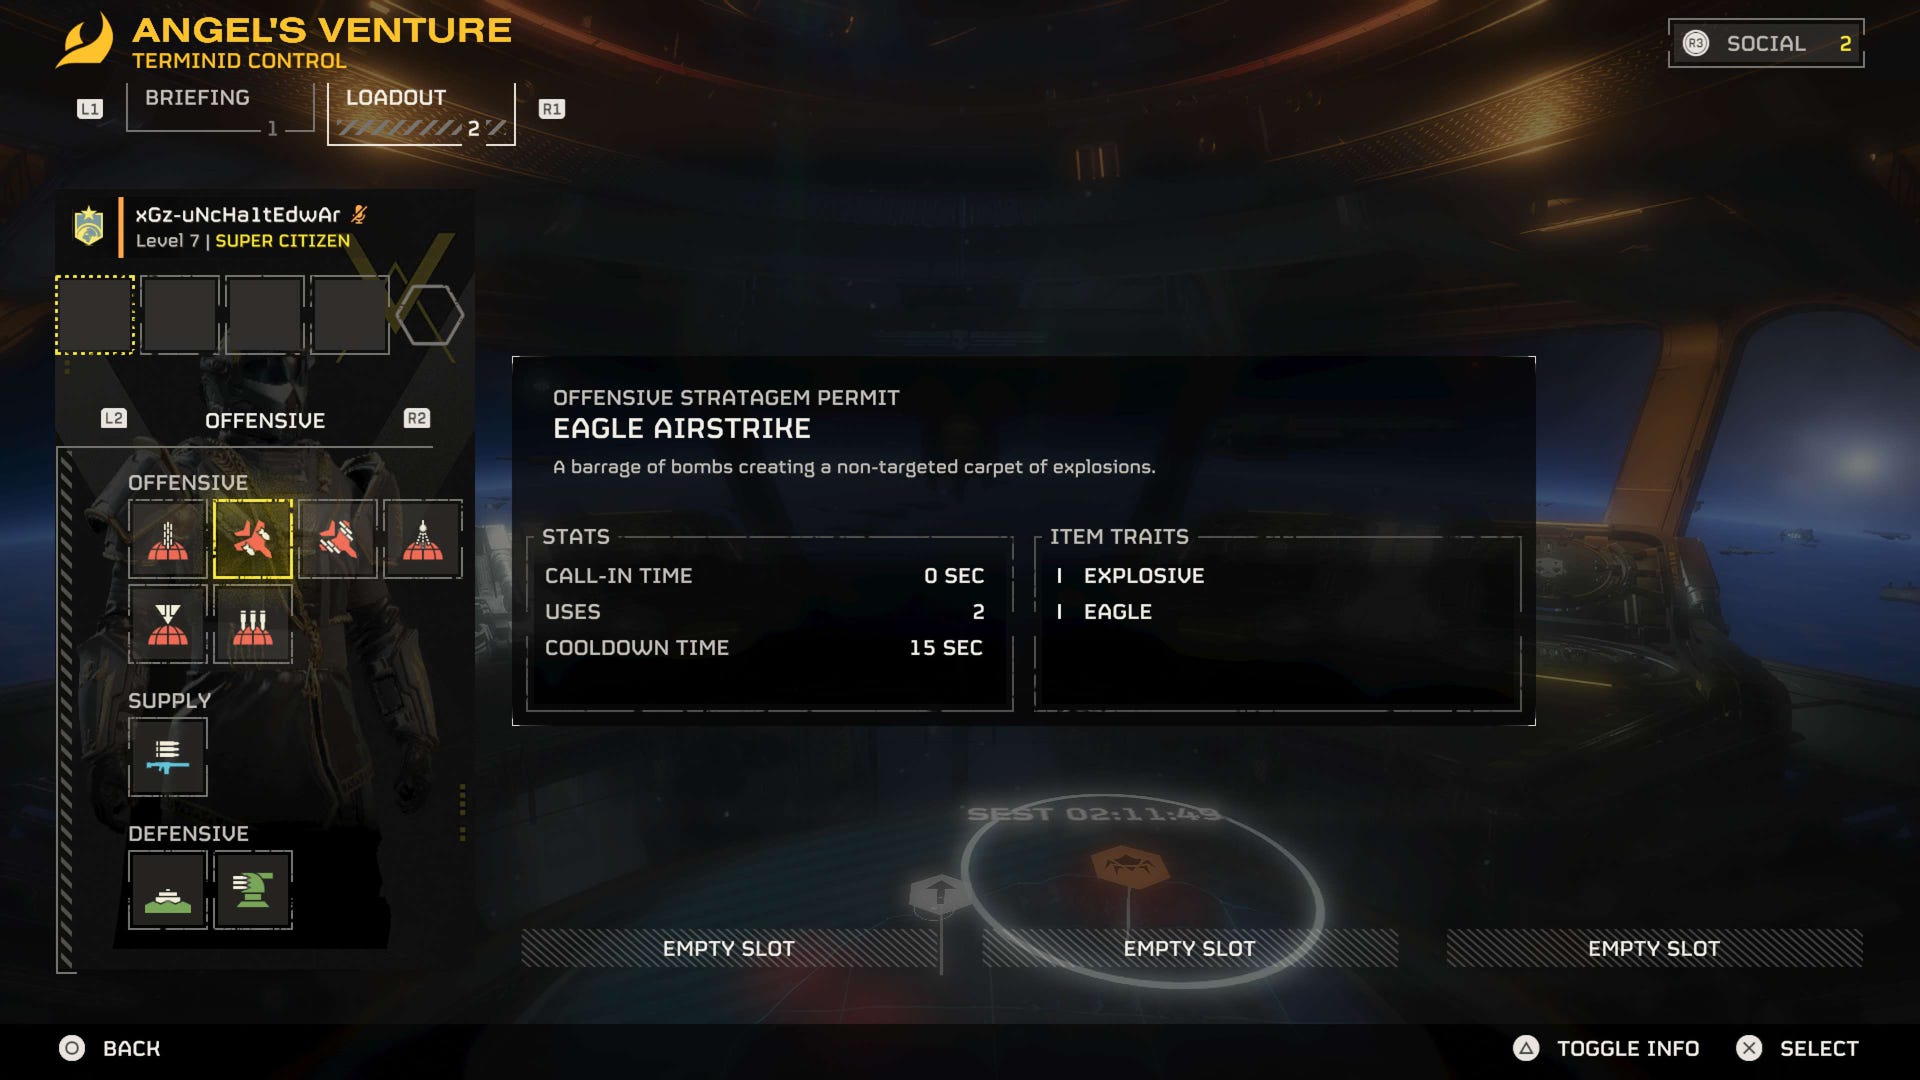
One of the strongest Offensive Stratagems we've found so far is the Eagle Airstrike, a carpet bombing of explosions that whilst not targeting any particular enemy, does have a quick response time when calling it in, and can create a nice buffer between you and the oncoming enemies, thinning the waves heading your way. Thanks to its carpet bombing nature, it'll also spread out in a line across nearby areas rather than only hit the exact location you call it in at.
It also has the ability to destroy certain structures, as well as some armoured enemies too, opening its usage up to a wider array of situations. Whilst it does need to rearm and reload every two uses, there's only fifteen seconds between each of those uses, meaning you're getting a hefty amount of power in two short bursts with little wait time between them. After the second shot though, it will need some additional time for the Eagle to be re-armed, a process which you can manually request between shots so you can load up from one to two shots for when you might need them both.
An alternative to this would be the Eagle Cluster Bomb that has similar effects with a little added pressure on the area in which the strike is happening. It can't destroy buildings, but it will most certainly destroy many of the enemies that enter its radius. As a bonus, it has double the number of uses before a reload is needed too, making it even more valuable.
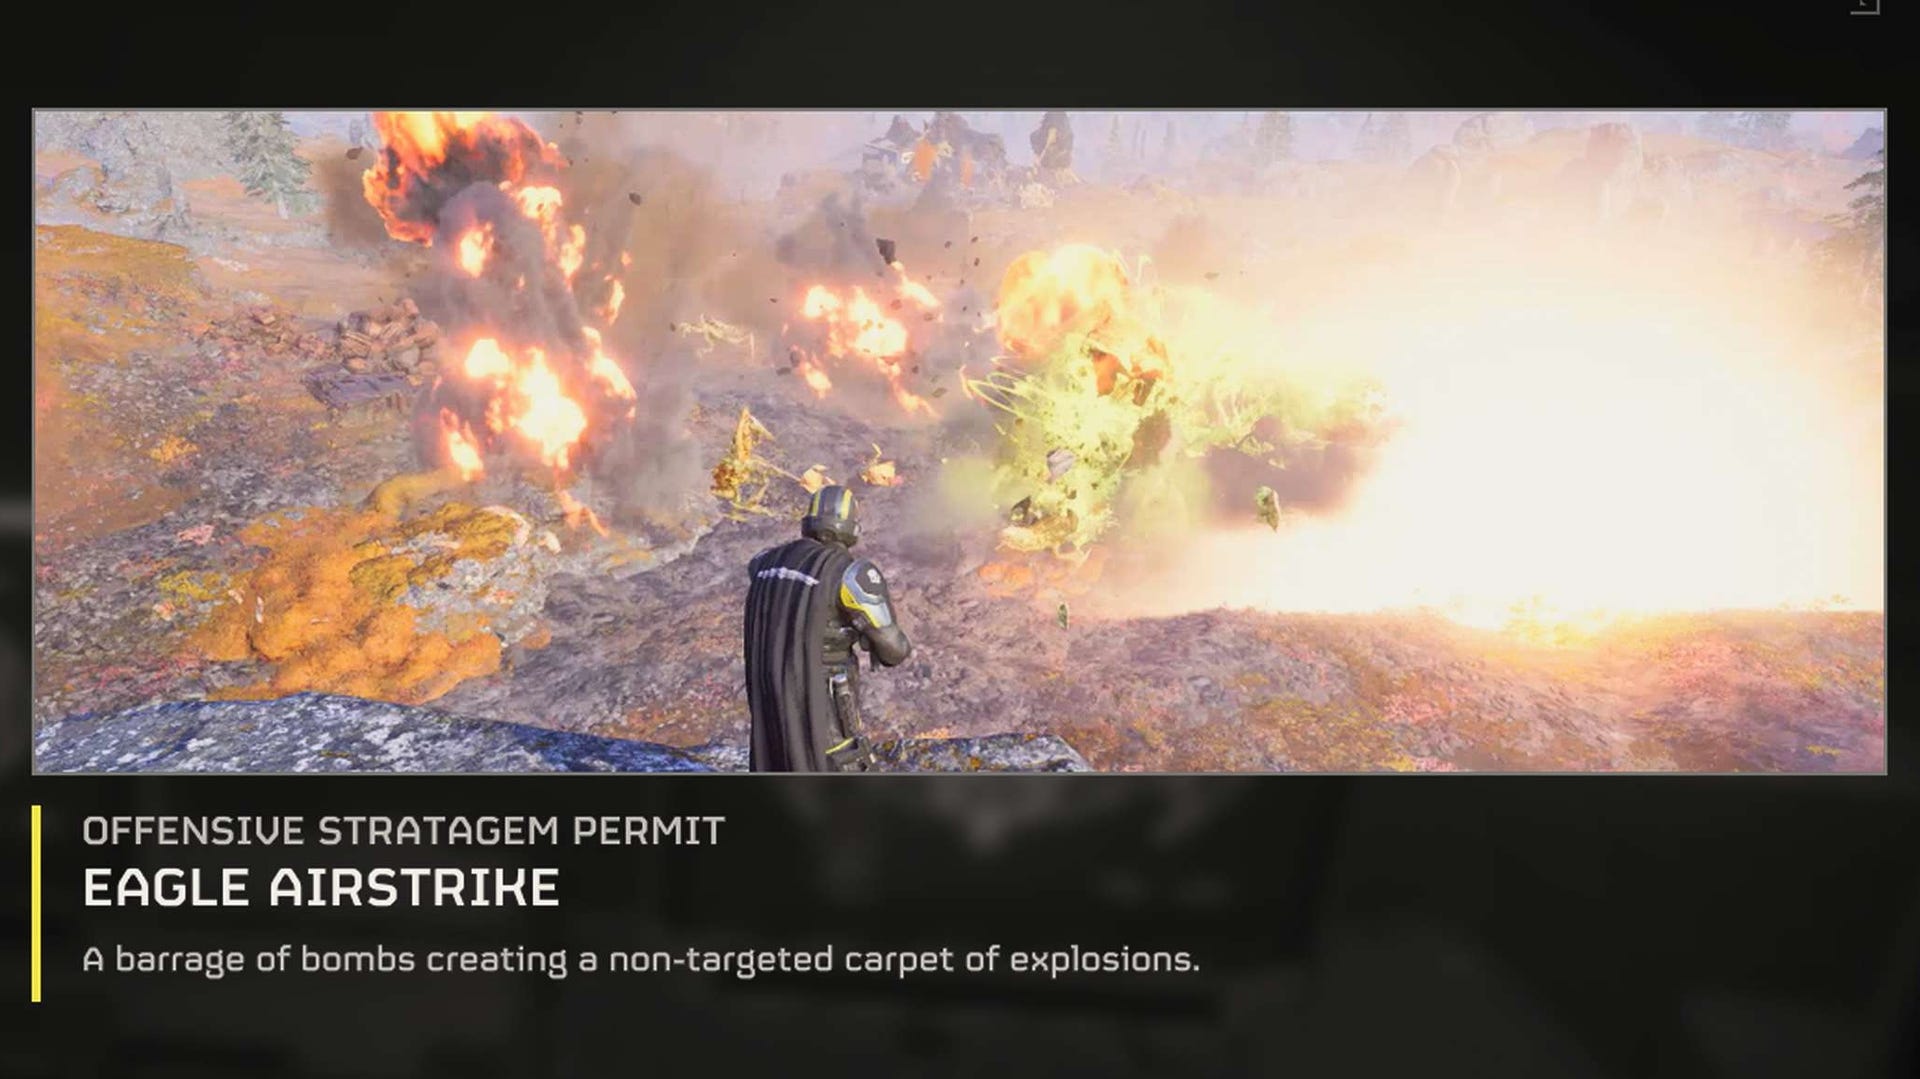
Beyond this, there's the Orbital Precision Strike - one of the Stratagems you start the game with - that's also a solid option to keep with you. It does require more precise placement and is only one singular strike with a 100-second cooldown making it punishing if missing a shot, and difficult to use against moving enemies, but it's one of the only ways you'll have off the bat for destroying buildings, Terminid hives and holes, stronger foes, and more.
You might find this is something you'll want to swap out for another Stratagem later down the line though, and whilst there is an upgrade that reduces its call-in time by one second, that doesn't make too much difference when in need of an instant airstrike.
Finally, whilst we wouldn't definitively call it the absolute best, the Eagle 500KG Bomb is a fine contender for one of the most powerful Stratagems in the game, specifically due to its sheer amount of damage, fantastic for taking out the largest combatants you'll encounter. It is only a singular explosion however, so this isn't the best pick for putting pressure on enemies with constant bombardment and the like.

As mentioned, each Stratagem has a variety of uses and you may find that some are very useful on some kinds of missions, whereas others aren't. For example, more support-based Stratagems in this category might be more helpful, such as the Orbital EMS Strike that stuns all target who enter its radius, or one of the smoke screen options to blind the enemy line of sight. When communicating in a team with others, this is where you're more likely to use some of these other options as you coordinate and discuss the best ways to decimate the enemy. Of course, as you level up, it's worth experimenting to see what works best for you and your squad.
When it comes to the best Offensive Stratagems that fit the most uses or can be useful for a solo player, the Orbital Precision Strike and Eagle Airstrike are the ways to go for those first few difficulties. In teams, feel free to swap out the orbital strike for something else depending on the overall makeup of loadouts.
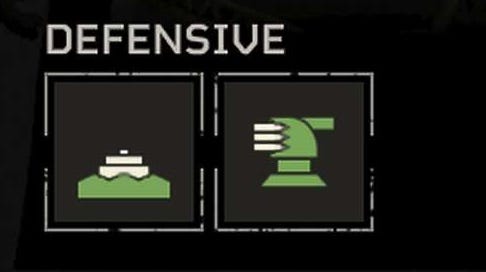
Best Defensive Stratagems in Helldivers 2 recommendation
Best Defensive Stratagem recommendations:
- MD-6 Anti-Personnel Minefield
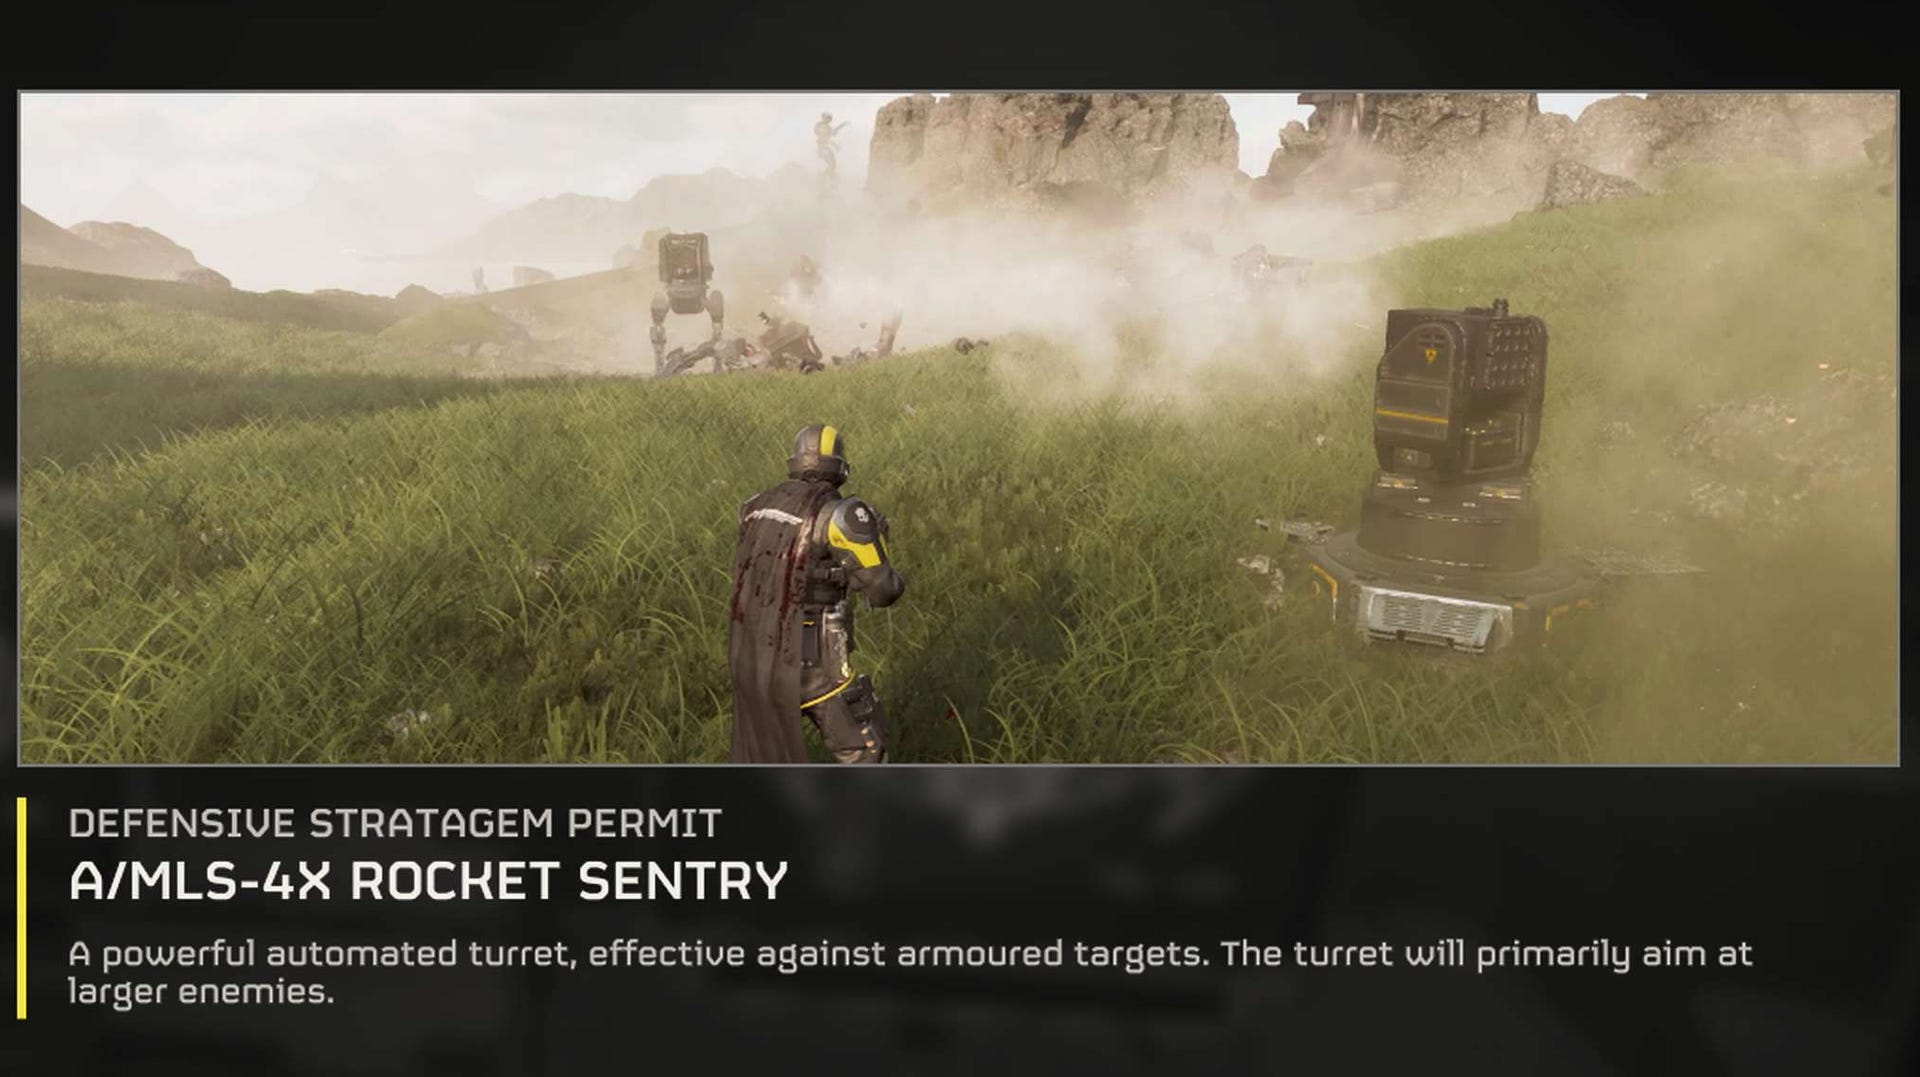
- A/MLS-4X Rocket Sentry
- E/MG-101 HMG Emplacement
It's a bit of an early game recommendation to start things off with, but the MD-6 Anti-Personnel Minefield is both incredibly useful as a defence against smaller enemies, and also very dangerous for your own safety thanks to the fact its mines can detonate from your own movements too. This has meant several unintentional deaths, I won't lie!
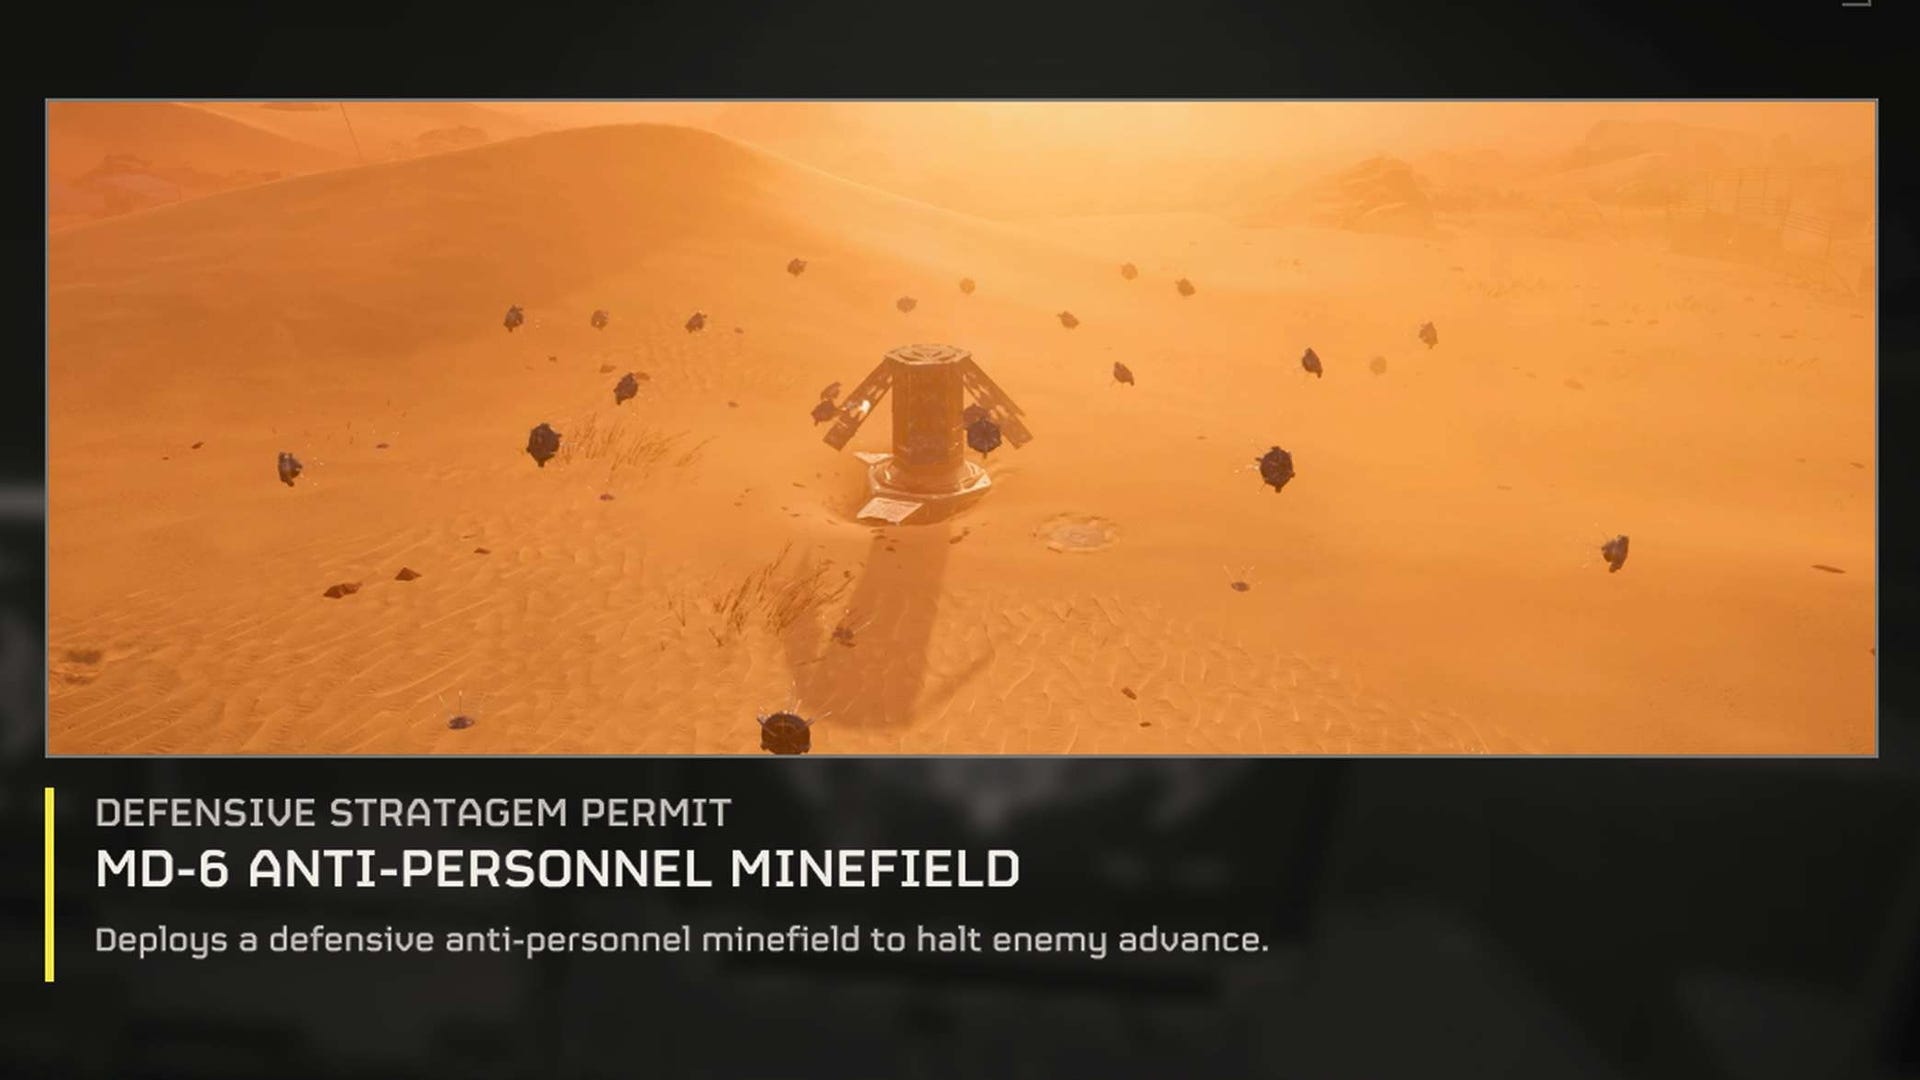
Despite that though, it's also very good as a defensive strategy for holding off from waves of enemies when trying to defend an area. It likely won't punch through the biggest bugs and automatons, but it can really make a dent in the waves of smaller ones. However, bear in mind you'll want to get this set up ahead of an enemy attack as it's call-in and set up time can mean it's not good for when you need a quick strike to respond to incoming forces.
In terms of the other best defensive means, there are a few sentry turrets in Helldivers 2 to mess around with, from machine gun turrets, mortars, rockets, and more. Whilst they each can be useful in their own way, it's looking like the A/MLS-4X Rocket Sentry is the one to pick. Not only is it great for armoured targets, but it'll also primarily focus on attacking larger enemies, allowing your other Stratagems and weapons to be left for the smaller, easier-to-take-down enemies.
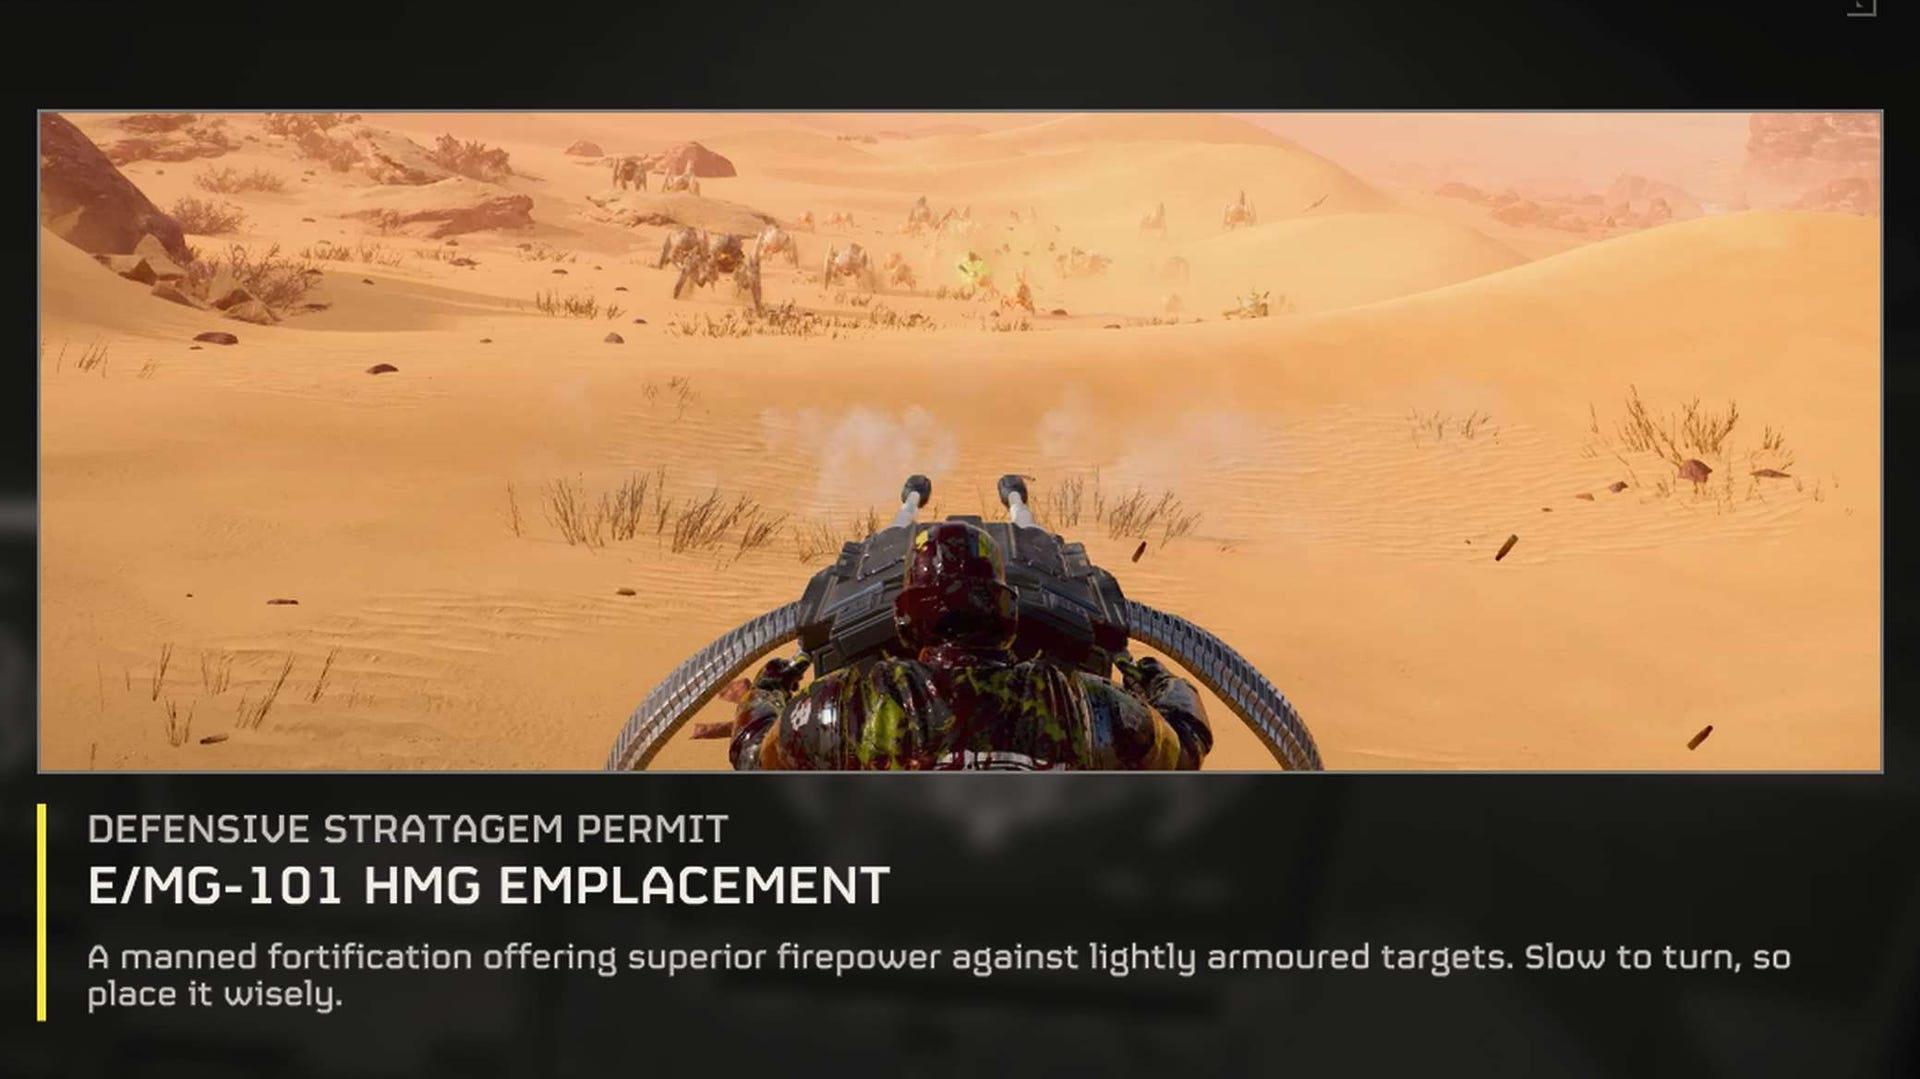
In a similar vein to the Rocket Sentry, there's the E/MG-101 HMG Emplacement which is typically better used for defense missions or when playing in teams than it is for solo play since you'll be locked in one position, but it still can be a great alternative to using standard weapons, allowing you to conserve that ammo and thin out the light-armoured enemy waves.
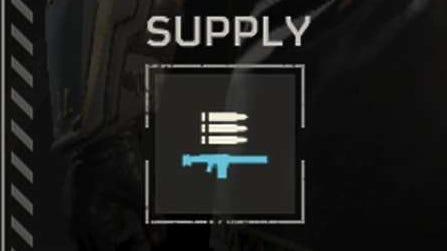
Best Supply Stratagems in Helldivers 2 recommendation
Best Supply Stratagem recommendations:
- MG-43 Machine Gun/Stalwart MG
- Railgun
- B-1 Supply Pack
The selection of Supply Stratagem is a bit of a mixed bag since there's a lot of ground it covers from automated defense units, to air-dropped weapons you can pick up and equip as a third firearm - the latter of which starts getting into best weapon territory, especially when those weapons can also be randomly found at various locations on each planet.
That said, there are a couple of great weapon options you can call in via Support Stratagems, namely the two Machine Gun options: the MG-43 and the M-105 Stalwart. Both are great at lasering through the cannon fodder enemy types. The former comes with a little bit more recoil and is best used when stationary, whereas the latter sports a lower damage for a faster reload and greater accuracy.


You'll have access to the MG-43 right off the bat, whereas the Stalwart is unlocked a bit later, but they're still both reliable machine guns worth considering as a third weapon to cut through waves of low-tier Terminid and Automaton forces.
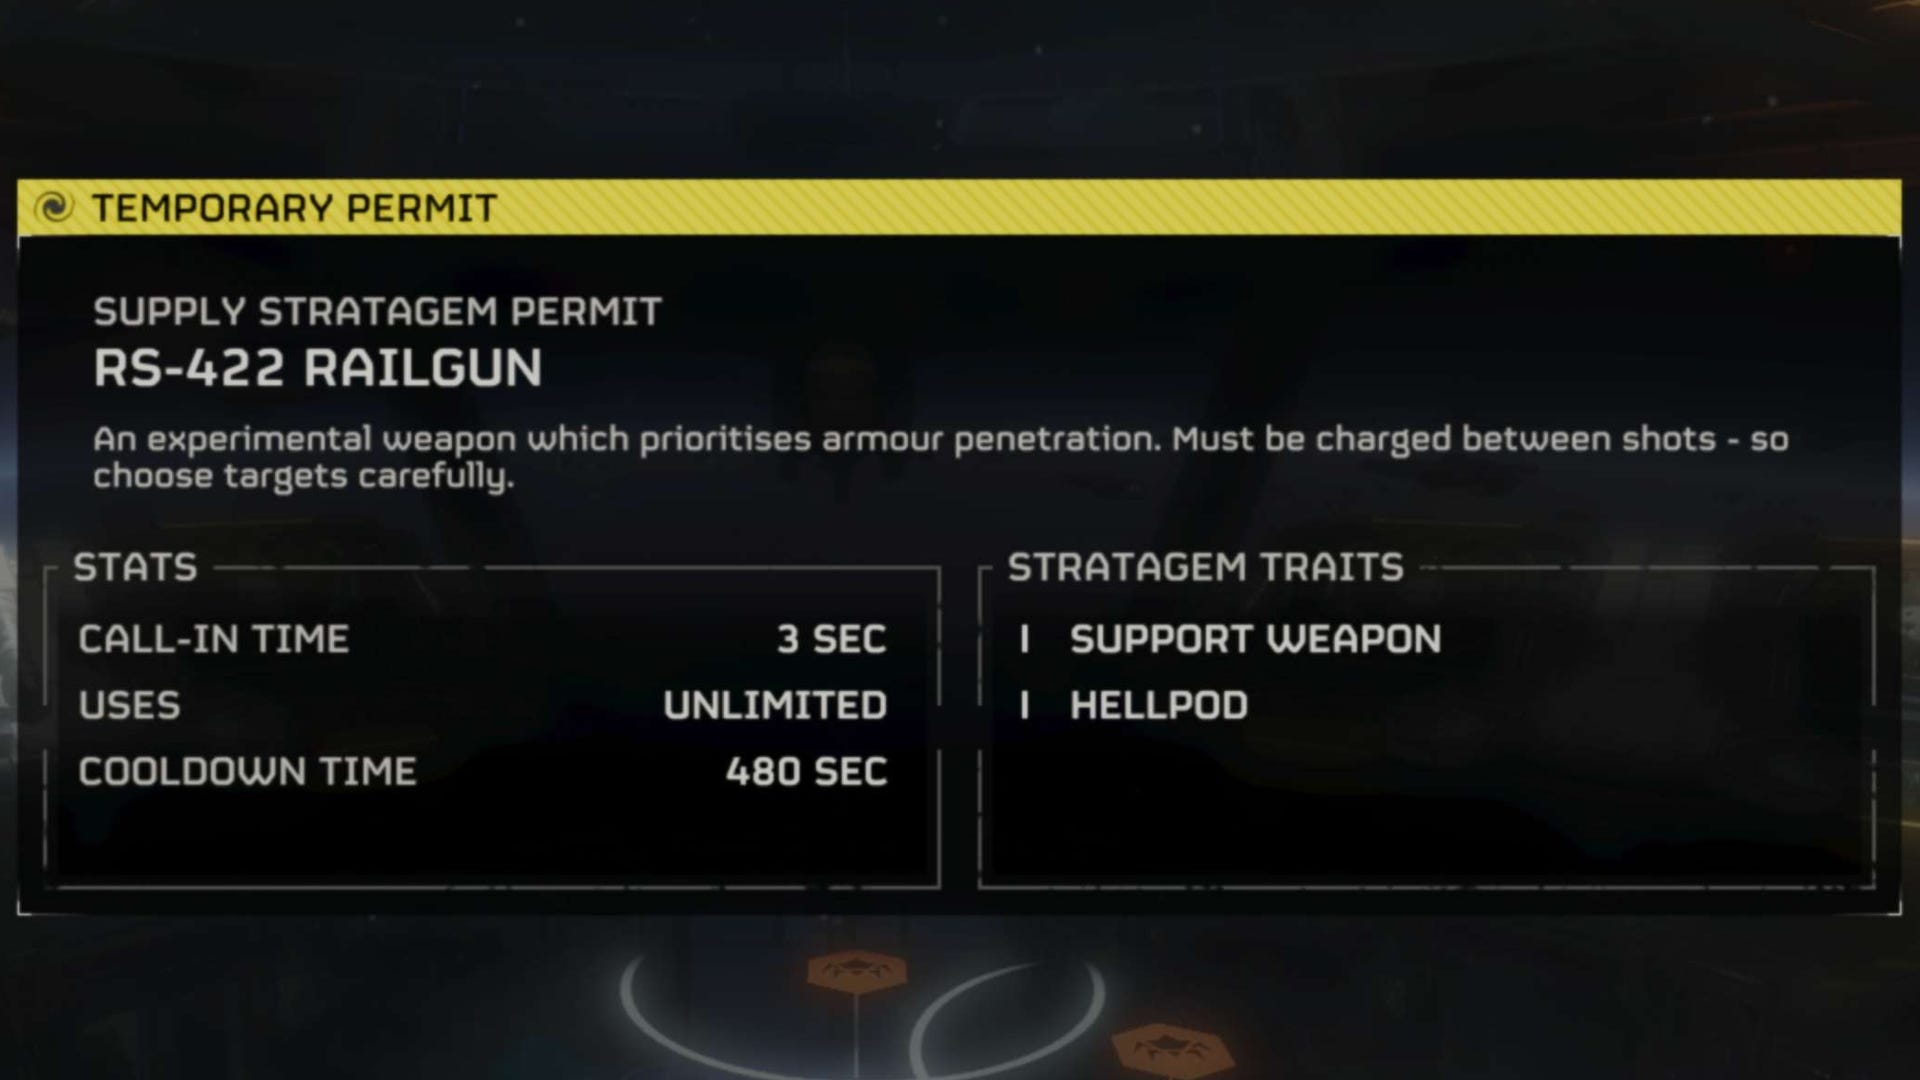
For something that's packing a lot more heat and is perfect against armoured enemies, look no further than the RS-422 Railgun, a rifle that requires a short charge before firing and one that'll penetrate more heavily-armoured targets. This is a Level 20 unlock to equip in your loadout, meaning it's initially out of reach for newcomers, but you'll also be able to find this weapon lying around if you're lucky when exploring planets during missions.

Not only that, but you might've even gotten a taste of the weapon early on if you were playing during the game's launch weekend when it became available as a Temporary Permit available to all players - this is where I first got my hands on it, and found it was incredibly useful for taking down some of the stronger Terminids I found myself up against.
Whilst it's not one I've used just yet, there's been some chatter about the GL-21 Grenade Launcher being a handy weapon to have too. It won't destroy vehicle armour or fortified buildings, it's helpful for closing bug holes and defeating armoured infantry, and might be a strong alternative to the Railgun with more rounds per mag and no charge-up before shots.
Looking further out at more support-based equipment, the B-1 Supply Pack is slowly becoming a fan favourite specifically for team-play, as it grants a few extra ammo packs that keeps you and other players stocked up with ammunition.

Since the Resupply Stratagem shares its cooldown with all players in the party, and there's only four packs included, it's rarely enough to stock a full party up, especially after a big battle. That's where the Supply Pack comes in handy, and is a perfect backup for those intense moments where you and the team need a restock of supplies.
Helldivers 2 Stratagems explained
If you’ve been playing quite a bit of Helldivers 2, you’ll know that the array of Stratagems they have on offer are the key to survivability and completing missions thanks to the various effects and perks they provide.
Many Stratagems provide offensive power or tactical support, and they often have a particular way in how they’re best utilised.
For example, the Eagle Smoke Strike creates a smoke screen to block the enemy line of sight and open up a chance for you to flank the opposition, whereas the Orbital Railcannon Strike fires a automatically-targeting railcannon round at the largest target closest to where it’s called in.
With a wide variety of effects and use cases, Stratagems are broken up into several categories - Offensive, Defensive, and Supply - and all feature their own stats in terms of how long they take to call in, how many uses they have, and a cooldown time of how long it takes before it's able to be used again.
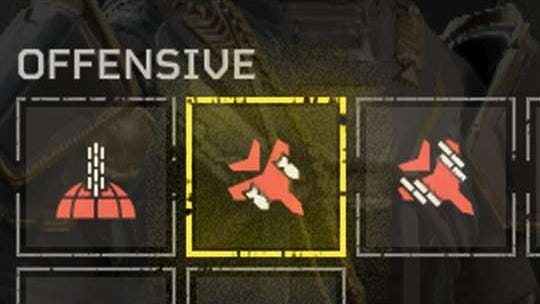
Offensive Stratagems (red) are the primary go-to option for delivering high amounts of firepower to decimate the Terminind and Automaton menace plaguing the system.
Defensive Stratagems (green) are more geared towards providing support via fortification techniques and set upsperfect for defending specific locations and holding off oncoming enemy waves.
Supply Stratagems (blue) are a mixed bag of both passive, and offence-or-defense-driven abilities that can be used in a variety of ways, whether that be to directly support yourself or teammates, or grab a third 'Support Weapon' that can be used alongisde your Primary and Secondary weapons.
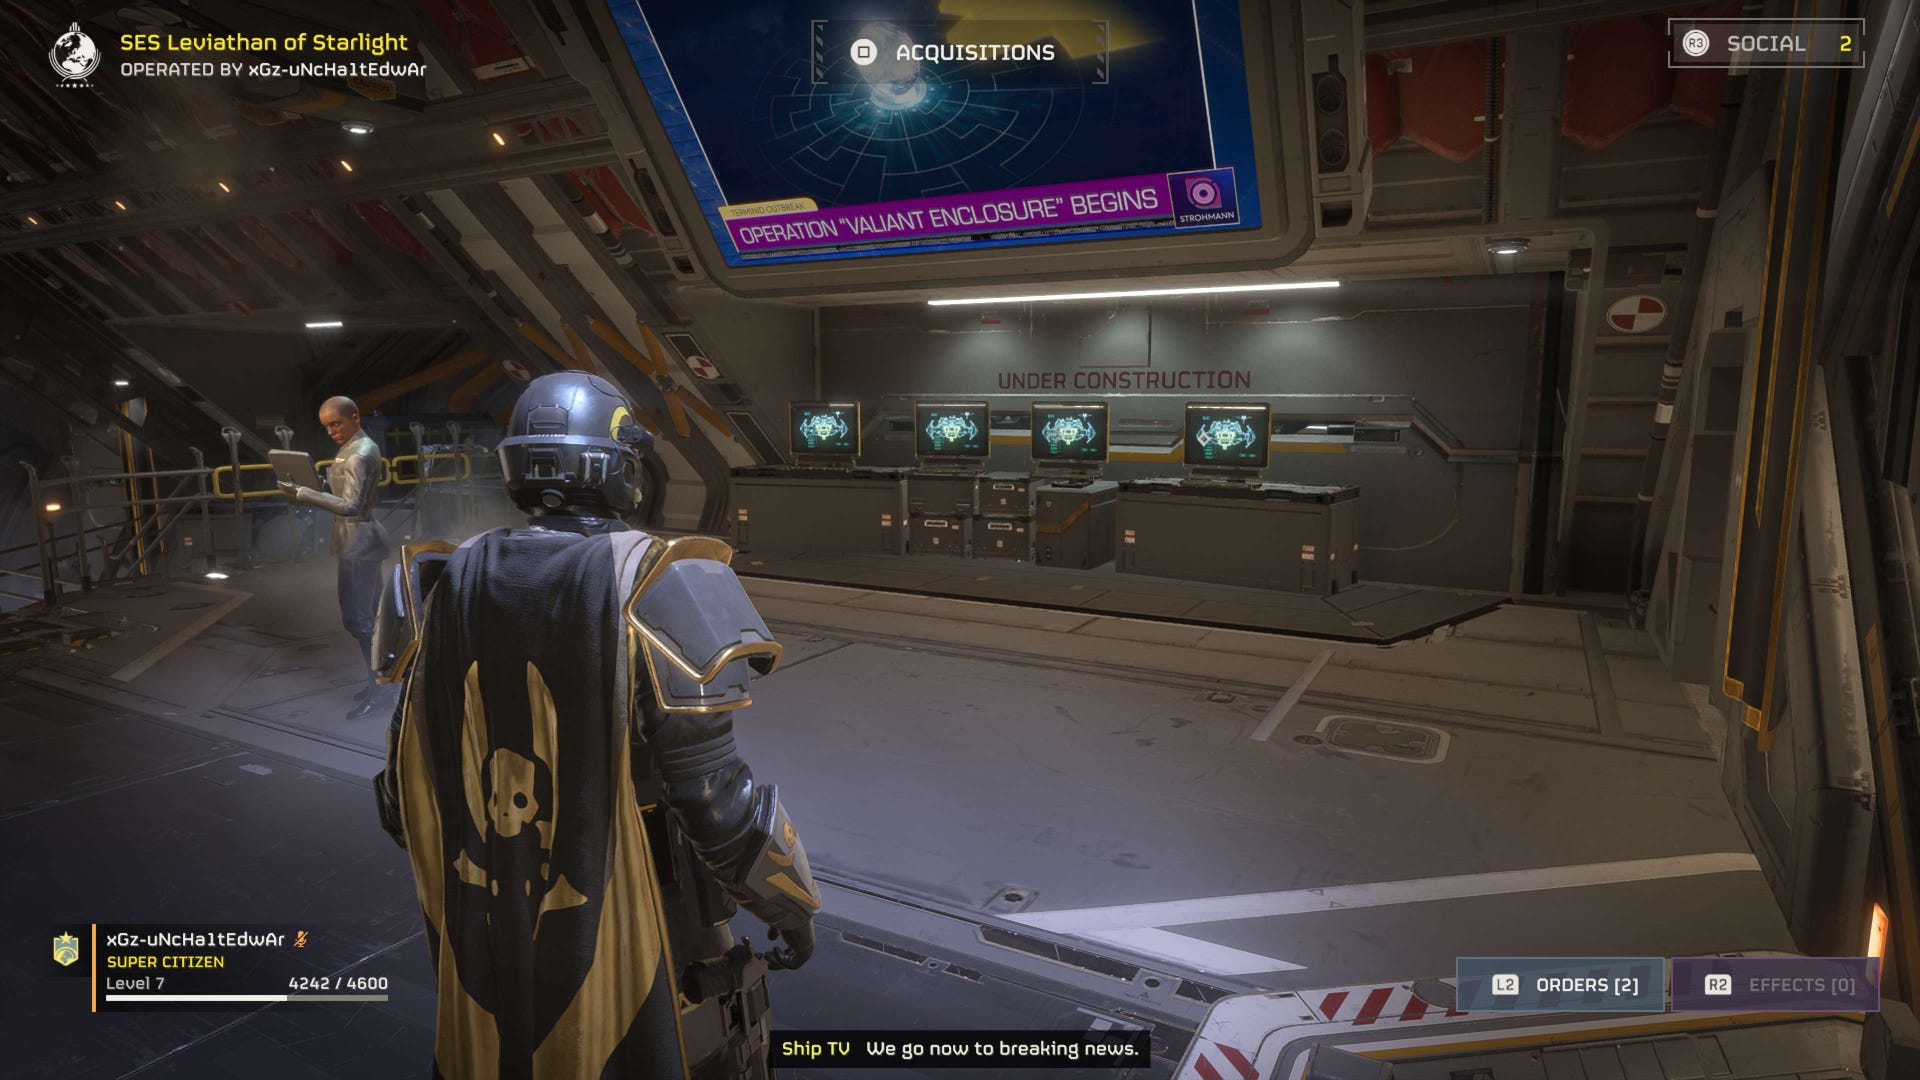
Some are automatically provided to you during missions, whereas the majority of Stratagems are acquired by reaching the required level and then purchasing them with Requisitions via the Ship Management station onboard your ship.
Requisitions are earned as you play the game, by completing missions, objectives within those missions, and orders.
Additionally, purchasing and unlocking 'Ship Modules' will allow you to upgrade the functionality and effects of Stratagems beyond their base strengths.
Once a Stratagem is unlocked, you can then select and equip up to four for use in missions via the loadout screen before you ready up and helldive into a planet’s atmosphere.

Furthermore, Stratagems may be made available to all players as a bonus during specific periods.
For example, during the game’s launch weekend, developer Arrowhead opened up the Railgun support weapon Stratagem to be available for all players to call in during missions.
This didn’t have to be equipped manually, instead automatically added to your loadout within a separate slot alongside your Resupply, Reinforce, and SOS Beacon Stratagems.
All Helldivers 2 Stratagems listed
As mentioned, there are several different kinds of Stratagems, each with a different use case or particular function.
They’re all separated into individual sections relating to different areas of your ship, like the Hanger, Engineering Bay, Orbital Cannons etc.
Beyond that, they are each providing assistance in one of three categories: Offensive (red), Defensive (green), and Supply (blue).
At the game's launch, there are 50 total Stratagems in Helldivers 2, split across the aforementioned categories with 18 Offensive, 11 Defensive, 18 Supply, and 3 General Stratagems.
Those three General Stratagems are automatically granted and equipped to all players and teams in every mission, and further permits will show up here. As an example, this is where one of the additional 'Temporary Permits' for the RS-422 Railgun was equipped when it was made available to use for a short time after the game's launch.
Below we’ve compiled a list of all the different Stratagems for each part of your ship, ordered by whether they’re a Offensive, Defensive, or Supply-based Stratagem:
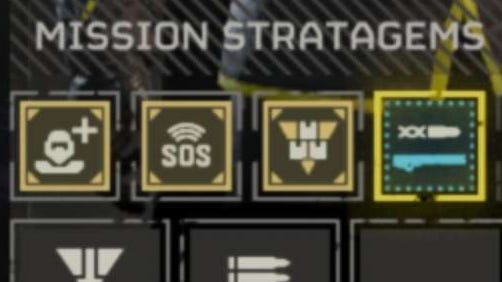
General Stratagem Permits
These Stratagem Permits are given to all players/teams automatically during missions. If in a team, they are shared meaning a higher number of uses for the Reinforce Stratagem, but a shared cooldown for Resupply.
- Reinforce
- SOS Beacon
- Resupply
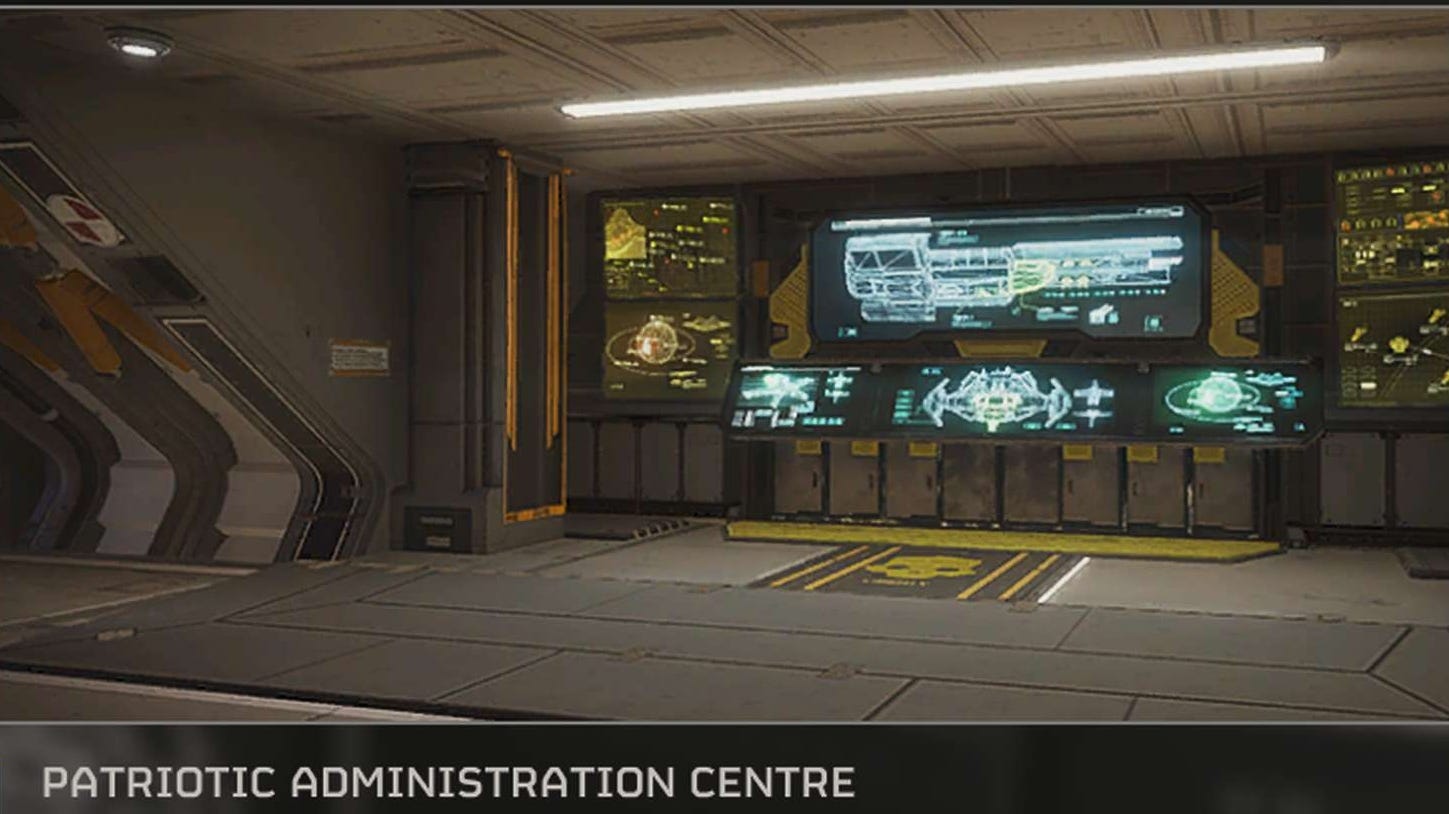
Patriotic Administration Centre
At launch, these Stratagems are all Support weapons you're able to call in that can be carried as a third weapon alongside your Primary and Seconary weapons:
- MG-43 Machine Gun
- APW-1 Anti-Materiel Rifle
- M-105 Stalwart
- EAT-17 Expendable Anti-Tank
- GR-8 Recoilless Rifle
- FLAM-40 Flamethrower
- AC-8 Autocannon
- RS-422 Railgun
- FAF-14 Spear
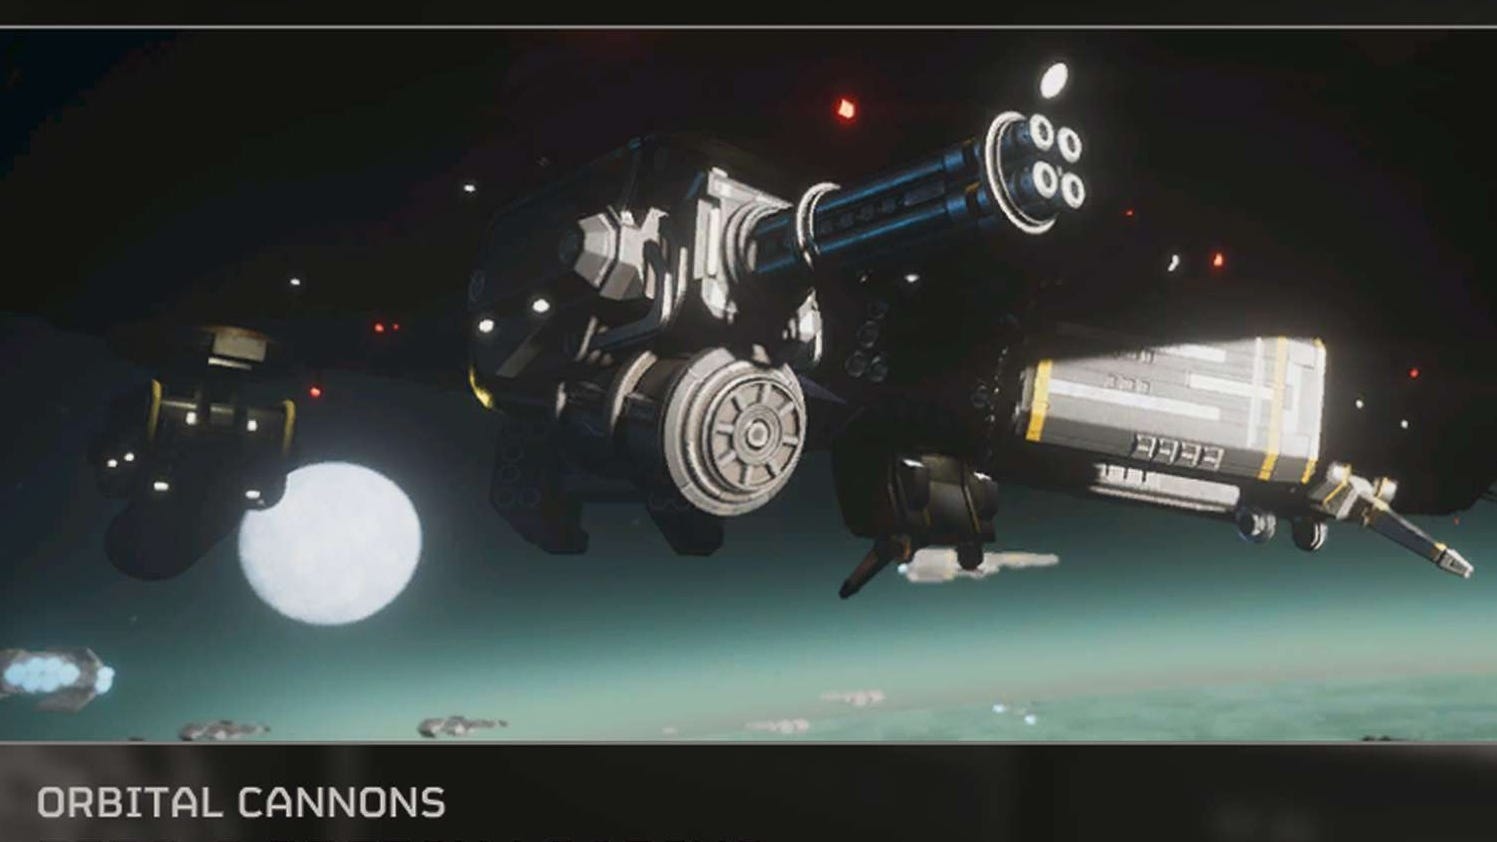
Orbital Cannons
At launch, Orbital Cannon Stratagems are airstrike-like attacks sent by your own ship hovering in the planet's orbit:
- Orbital Gatling Barrage
- Orbital Airburst Strike
- Orbital 120MM HE Barrage
- Orbital 380MM HE Barrage
- Orbital Walking Barrage
- Orbital Laser
- Orbital Railcannon Strike
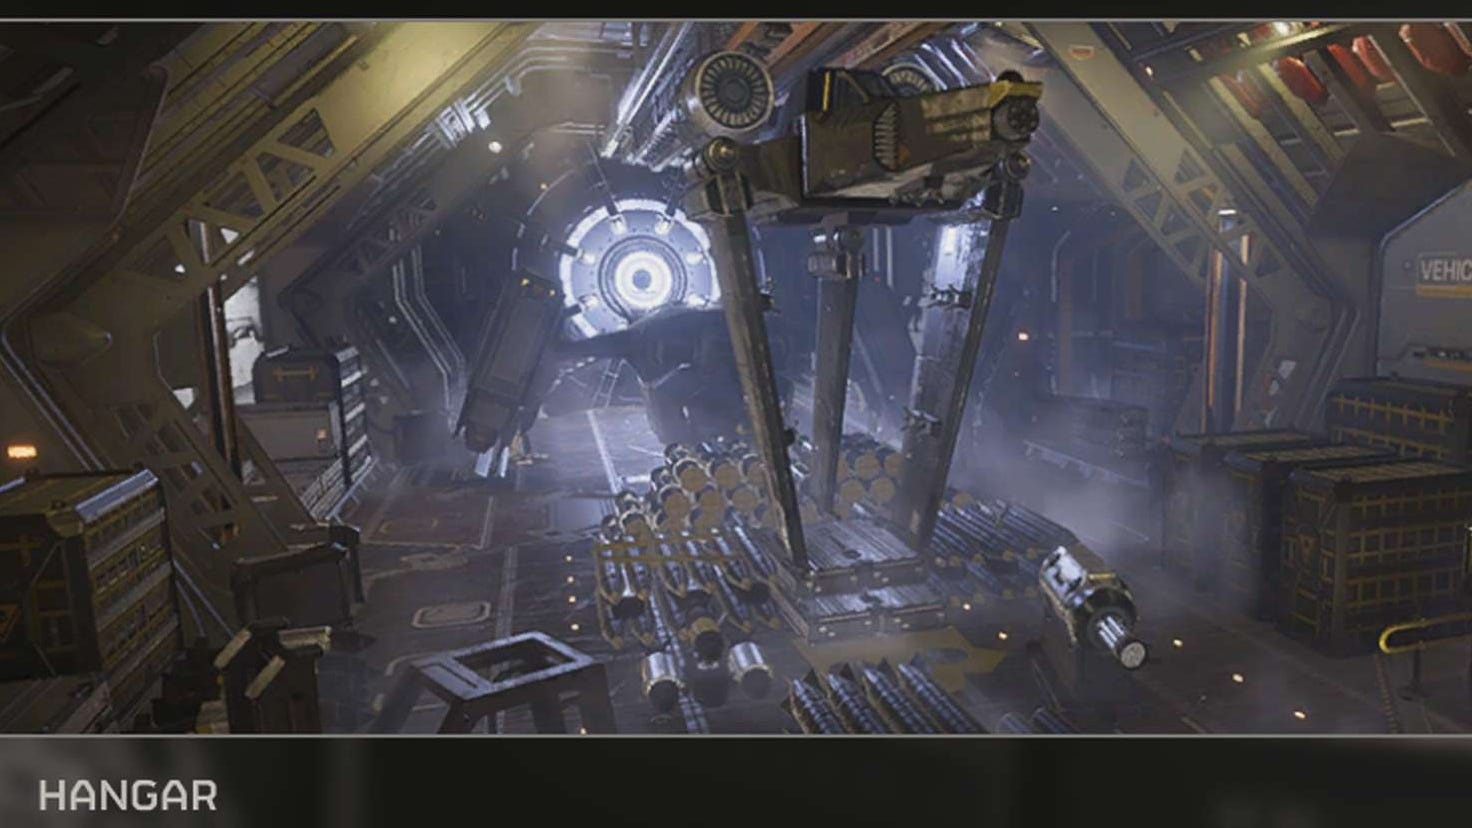
Hanger
Most Stratagems in the Hanger category have an almost-instant response time, and can be reloaded manually on your request via the in-game Stratagem menu after any of its ammo has been used:
Offensive
- Eagle Strafing Run
- Eagle Airstrike
- Eagle Cluster Bomb
- Eagle Napalm Airstrike
- Eagle Smoke Strike
- Eagle 110MM Rocket Pods
- Eagle 500KG Bomb
Supply
- Lift-850 Jump Pack
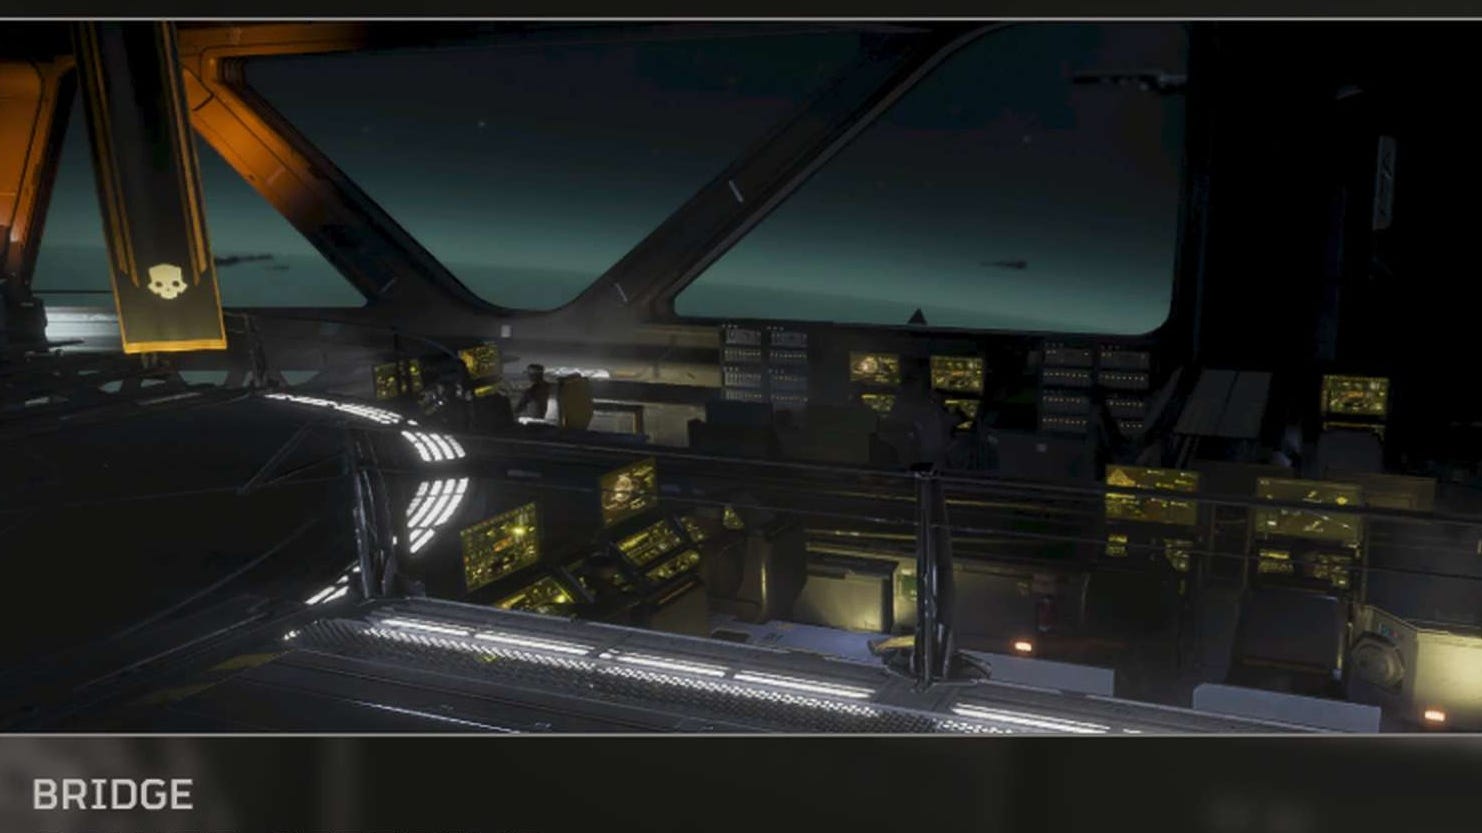
Bridge
With a mix of Offensive and Defensive options, Bridge Stratagems tend to have generally lower cooldown times and are more aimed at crowd control and area-of-effect functions:
Offensive
- Orbital Precision Strike
- Orbital Gas Strike
- Orbital EMS Strike
- Orbital Smoke Strike
Defensive
- E/MG-101 HMG Emplacement
- FX-12 Shield Generator Relay
- A/ARC-3 Tesla Tower
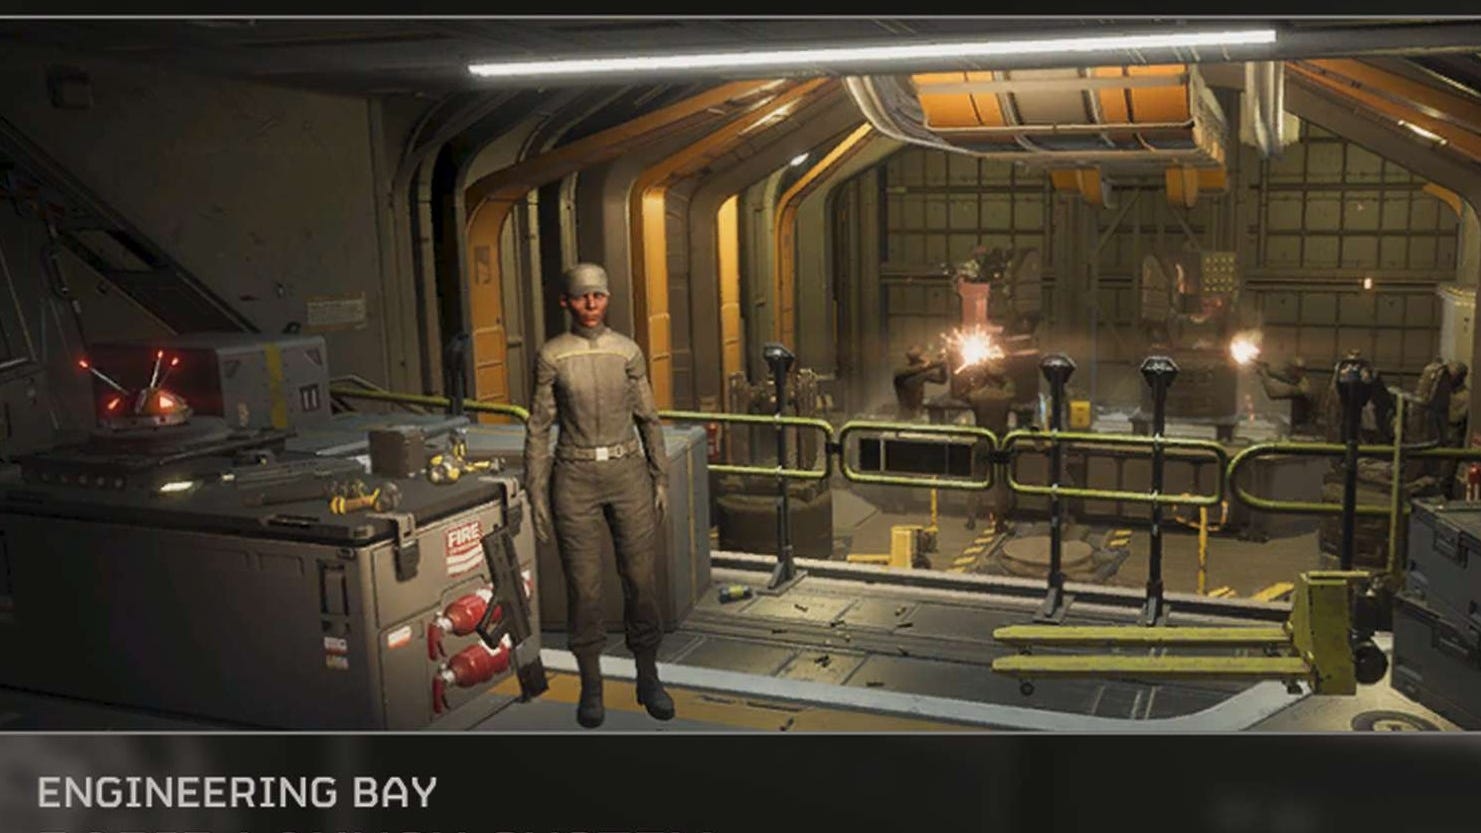
Engineering Bay
Containing a mix of Defensive and Supply-based options, Stratagems from this category are focused on support and defense:
Defensive
- MD-6 Anti-Personnel Minefield
- MD-14 Incendiary Mines
Supply
- B-1 Supply Pack
- GL-21 Grenade Launcher
- LAS-98 Laser Cannon
- AX/LAS-5 'Guard Dog' Rover
- SH-20 Ballistic Shield Backpack
- ARC-3 Arc Thrower
- SH-32 Shield Generator Pack
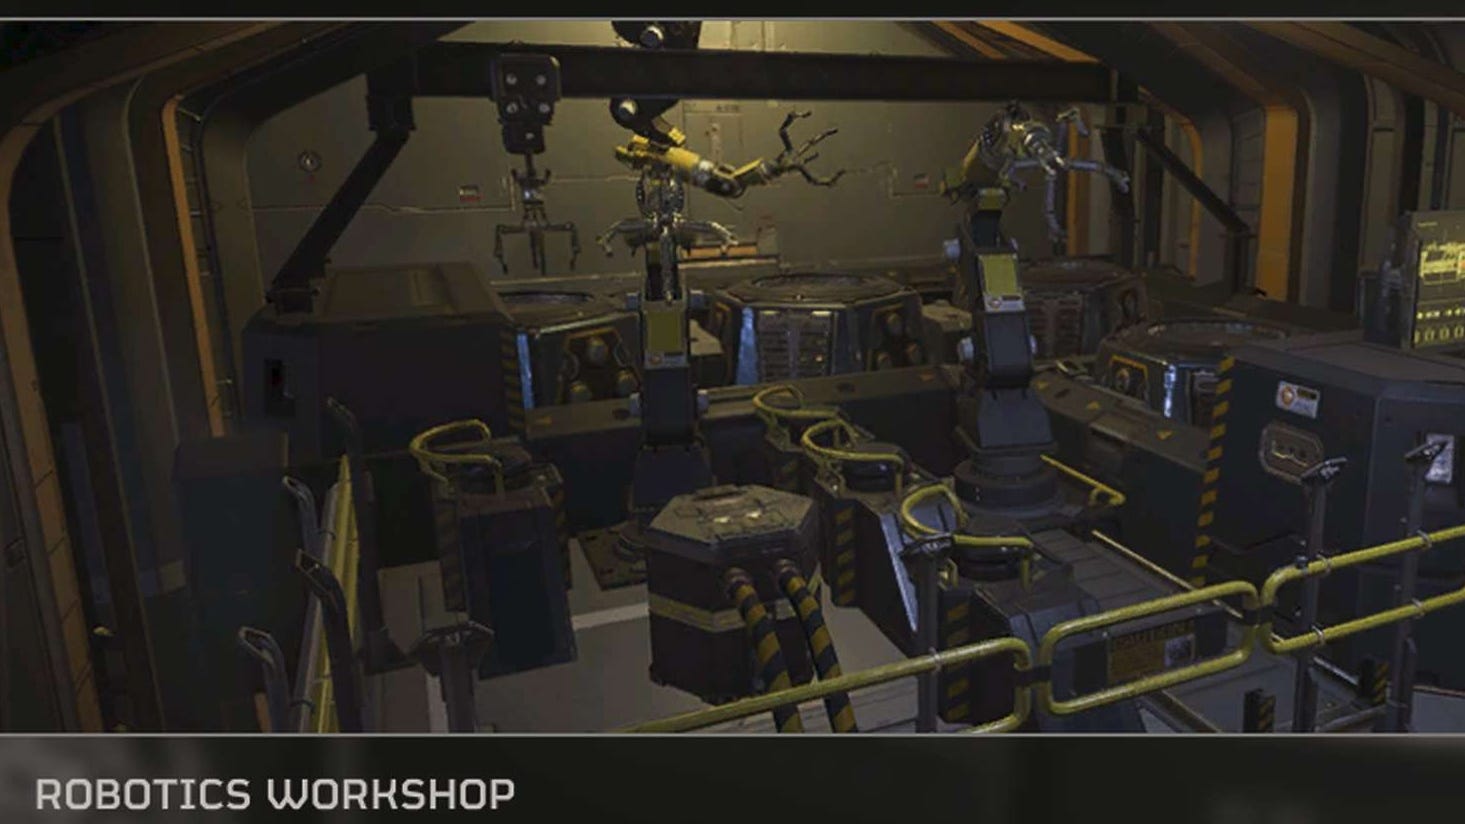
Robotics Workshop
Similar to both Bridge and Engineering Bay Stratagems, this category places a focus on automated sentries for defense and fortification:
Defensive
- A/MG-43 Machine Gun Sentry
- A/G-16 Gatling Sentry
- A/M-12 Mortar Sentry
- A/AC-8 Autocannon Sentry
- A/MLS-4X Rocket Sentry
- A/M-23 EMS Mortar Sentry
Supply
- AX/AR-23 'Guard Dog'
This is the complete list of Stratagems available in Helldivers 2 at launch, but it’s likely that – much like the original game – this list will be expanded on in future updates and releases.
For more on Helldivers 2, be sure to check out our guide on workarounds to try if you're having server issues, or check out another one of our pages to learn more about playing online and crossplay.