Zelda: Link's Awakening - Turtle Rock dungeon explored, crystal location explained and how to get the Magic Rod
How to complete the eighth dungeon and the final item - the Magic Rod.

Turtle Rock dungeon is the eighth dungeon in Zelda: Link's Awakening, following on from exploring Western Tal Tal Mountains.
The final proper dungeon of the game is, perhaps unsurprisingly, one of the toughest, and has you come up against a number of returning mini-bosses as you make your way round a lava-filled series of trials.
Along the way you'll receive the Magic Rod, the final piece in the puzzle to help you in completing the dungeon.
On this page:
- How to get the Stone Beak and Map in Turtle Rock
- How to solve the 'Fill all the Holes' puzzle and find the crystal switch in Turtle Rock
- Where to find the Turtle Rock Compass
- How to solve the 'If the statue looks strange' puzzle
- How to solve the 'Attack them from a higher place' puzzle
- How to beat the boxer mini-boss
- How to use the Magic Rod to get the Nightmare Key and reach the Nightmare Door
If you're looking for more assistance, our Zelda: Link's Awakening walkthrough can help.
How to get the Stone Beak and Map in Turtle Rock
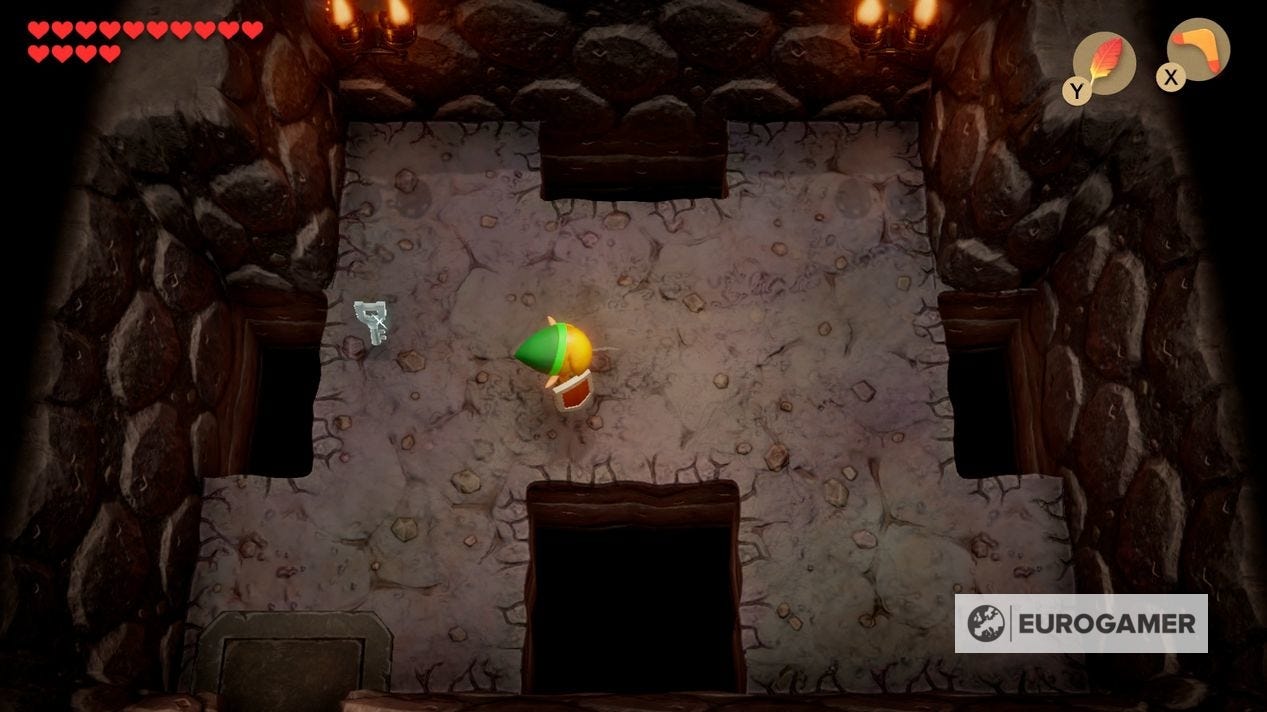
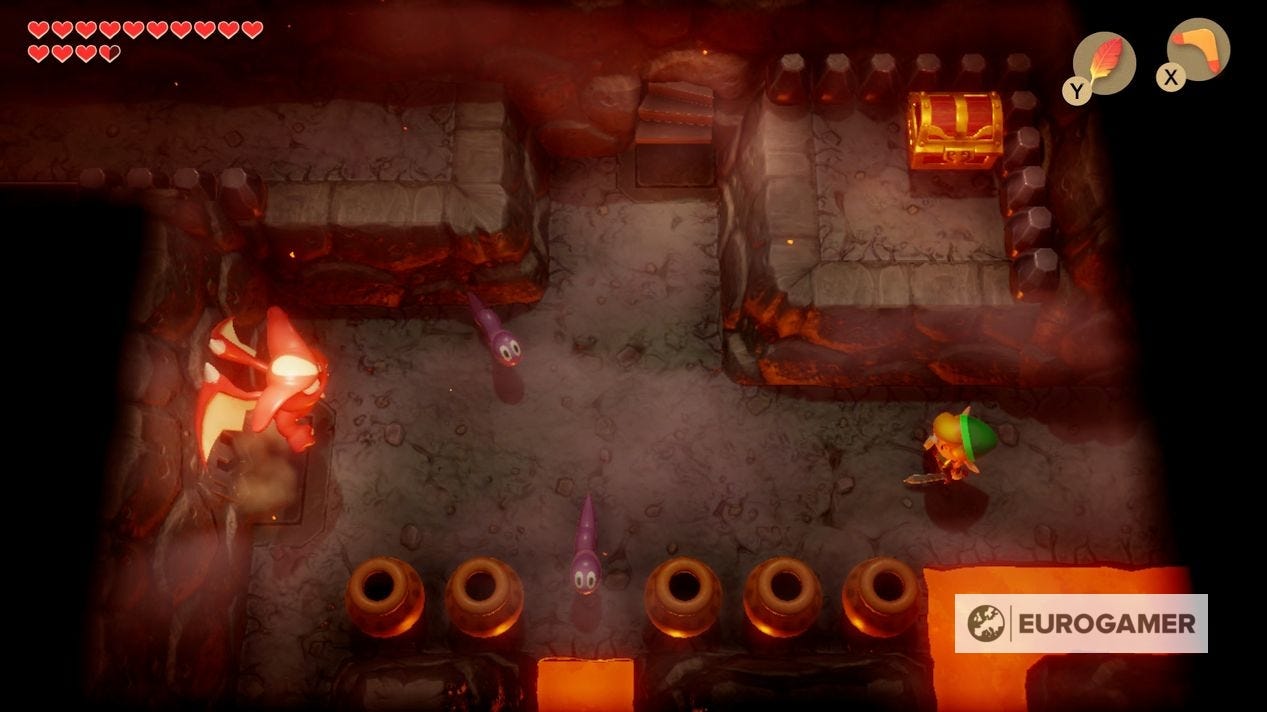
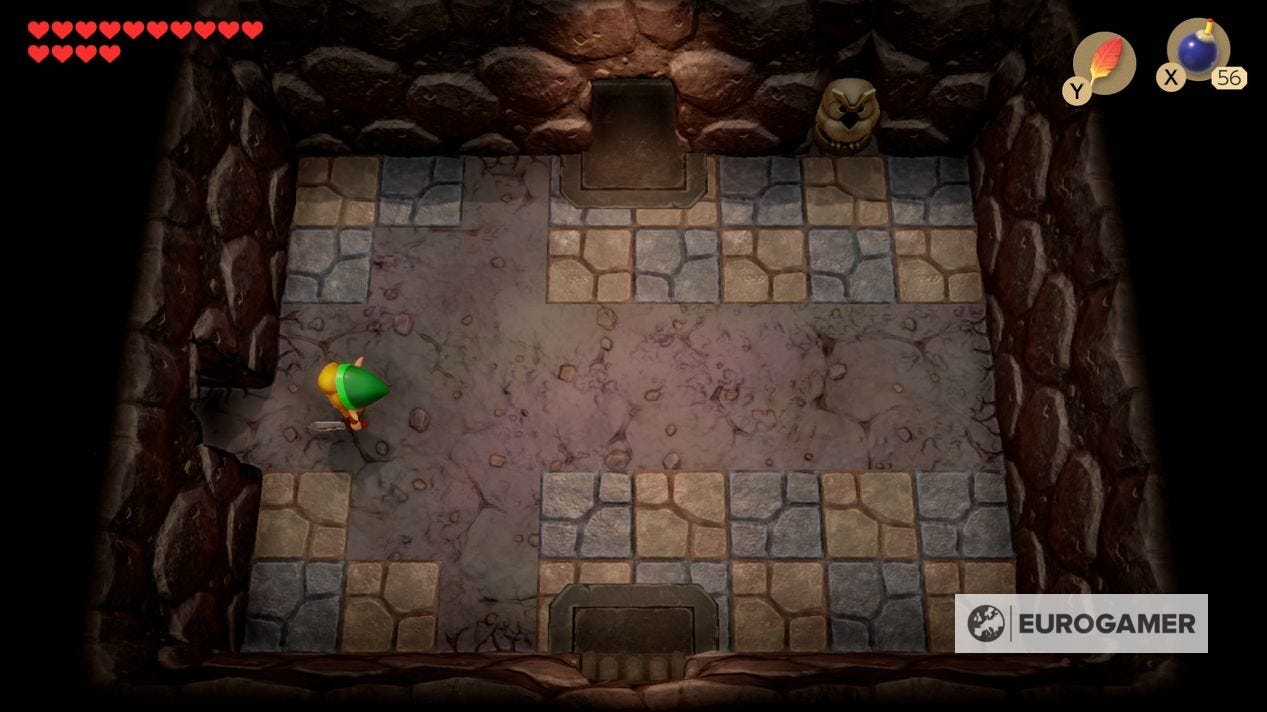
The first proper room of the dungeon will have you face off against a flying demon. The projectiles it fires can be reflected using the Mirror Shield if you stand in the right position, so do this over and over to damage it.
Alternatively, when it swoops, you can Pegasus run and injure it that way, if you can time it right. When it's defeated it will open the side doors.
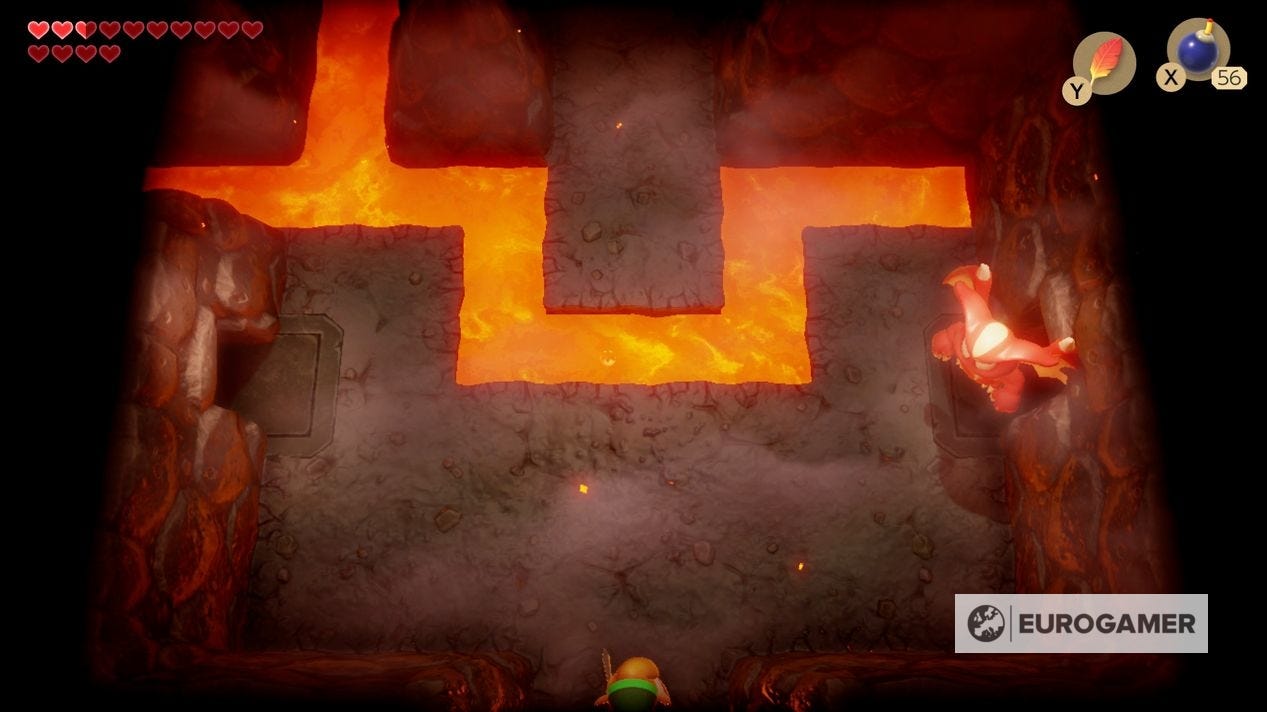
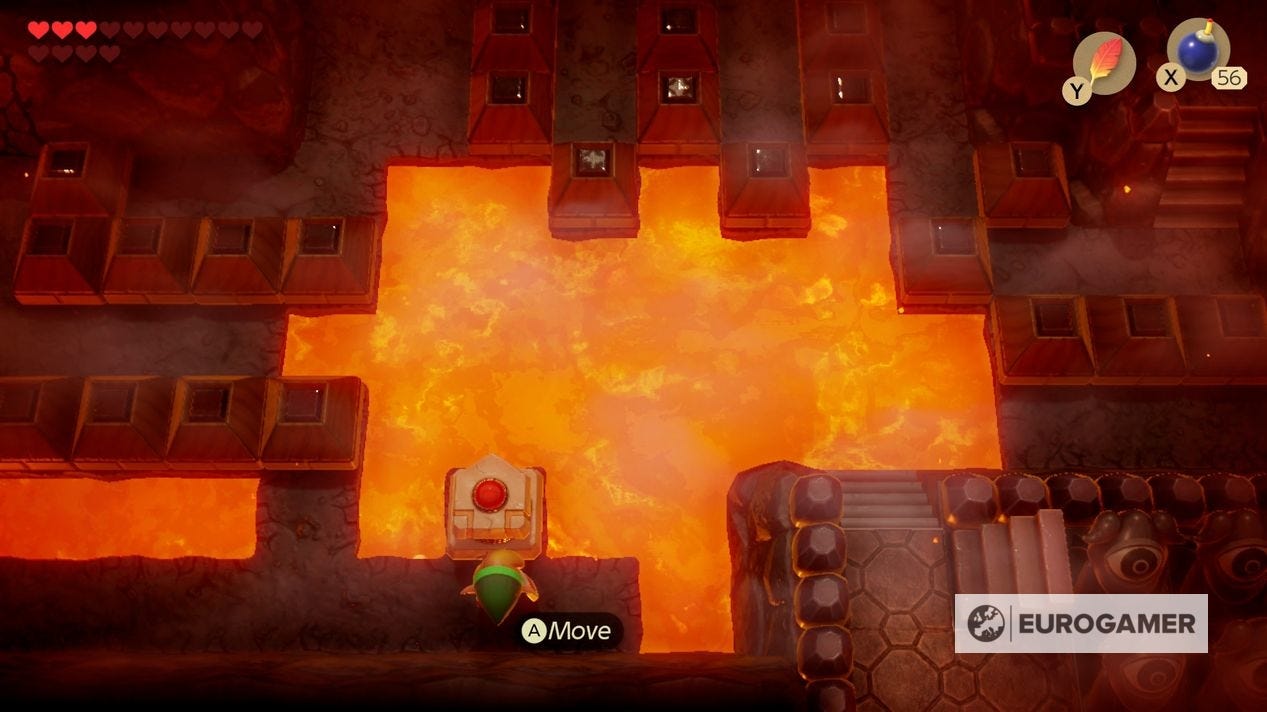
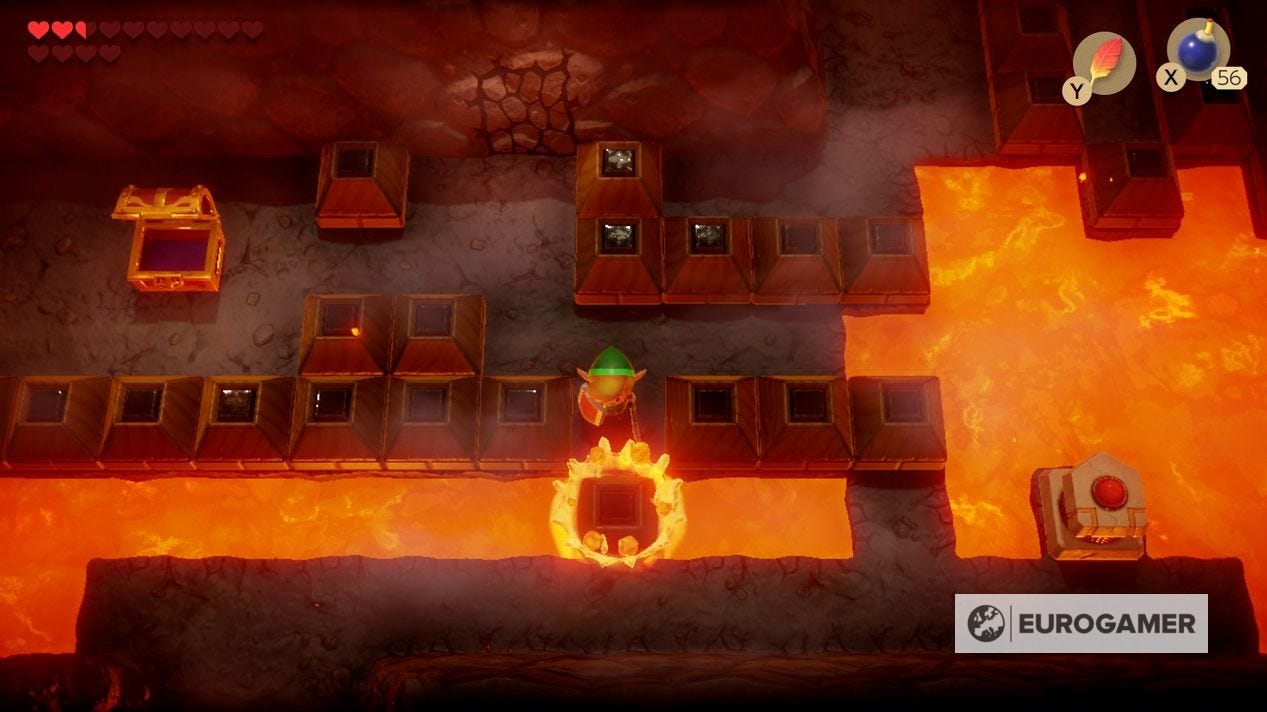
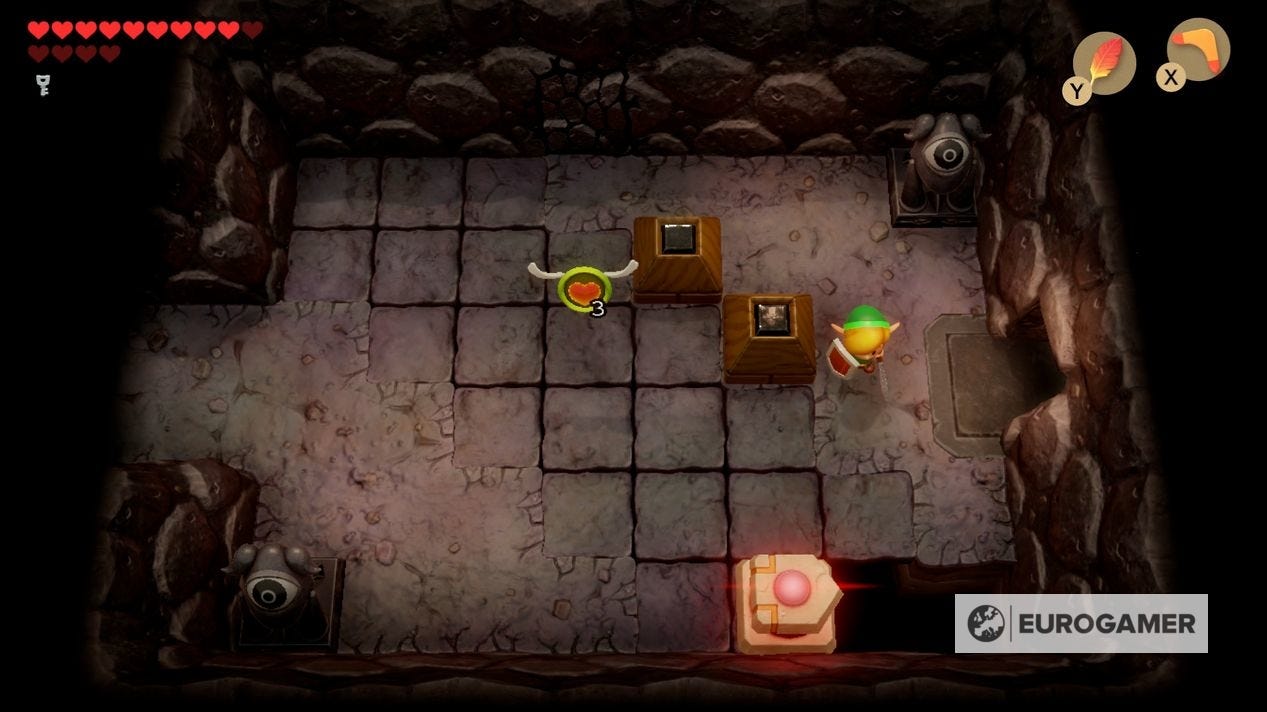
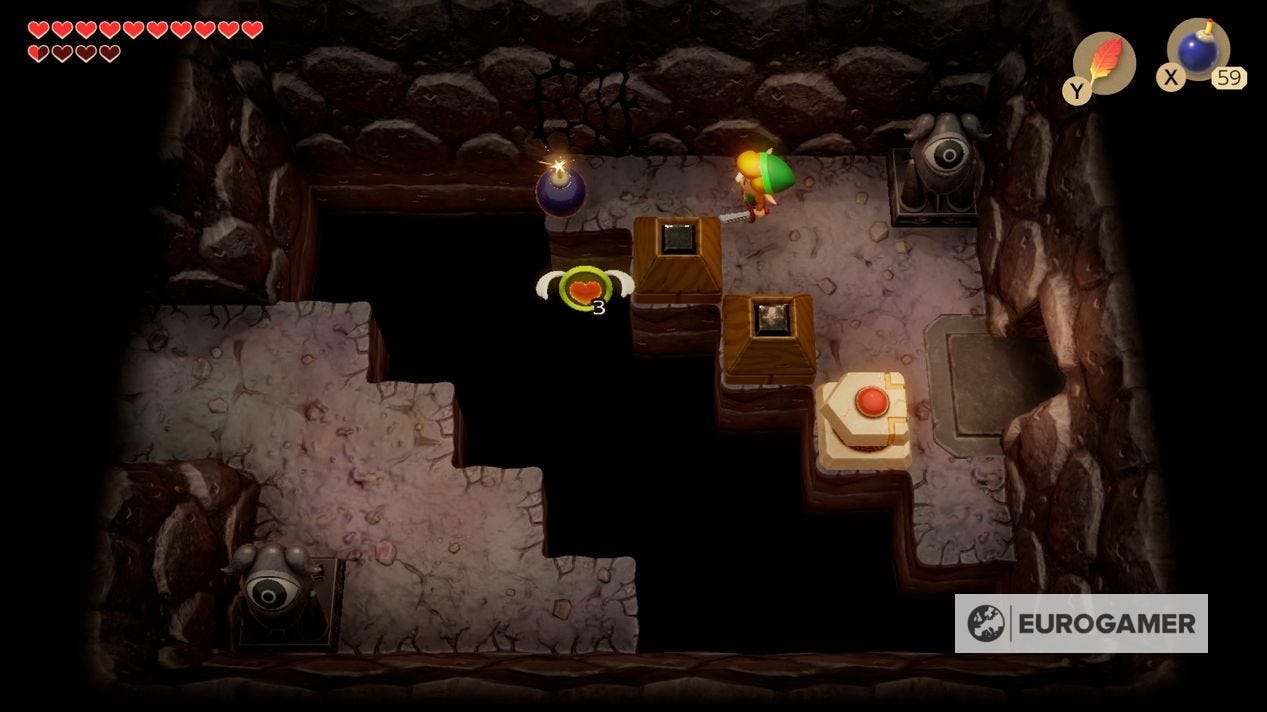
However, ignore these for now and go north to a room with a chest behind various blocks and a pit of lava on the right.
Activate the contraption - which you can control with the left analogue stick as its moving - to create a temporary bridge over the lava to the up then left.
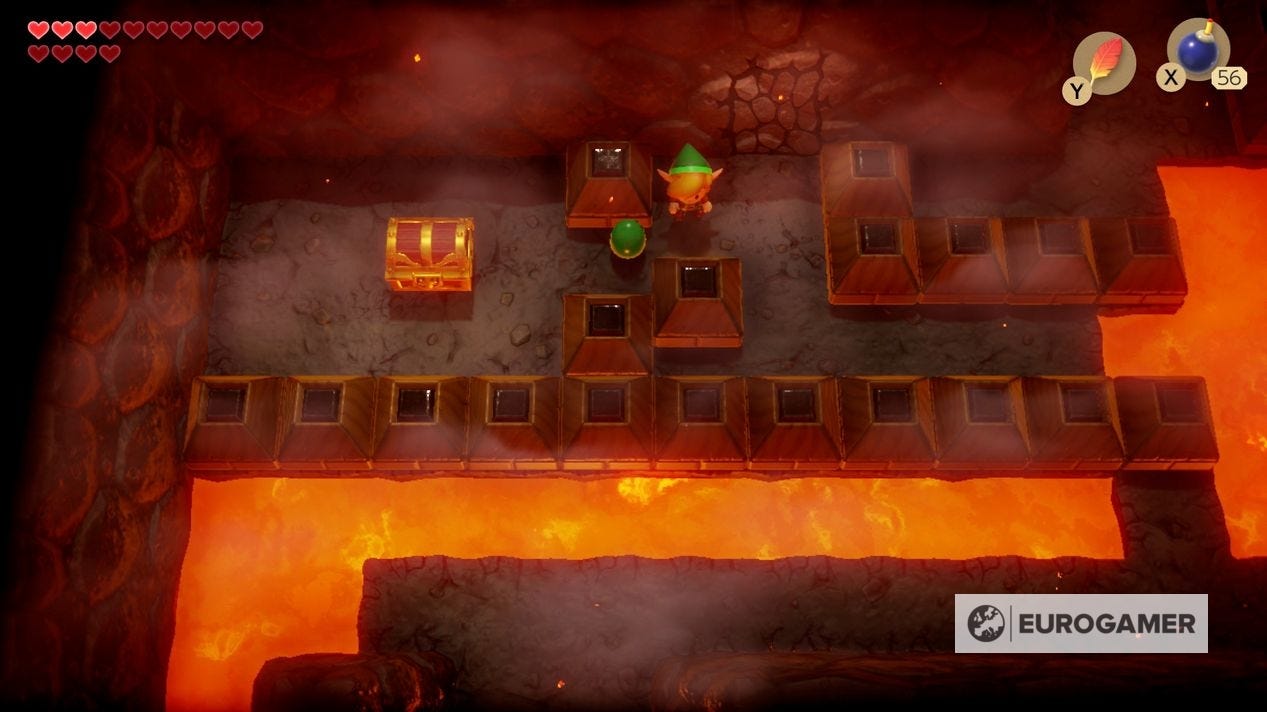
In this upper left corner, move the blocks right of the chest - the top and bottom ones left, then the middle one down - to reach it and get the dungeon's Map.
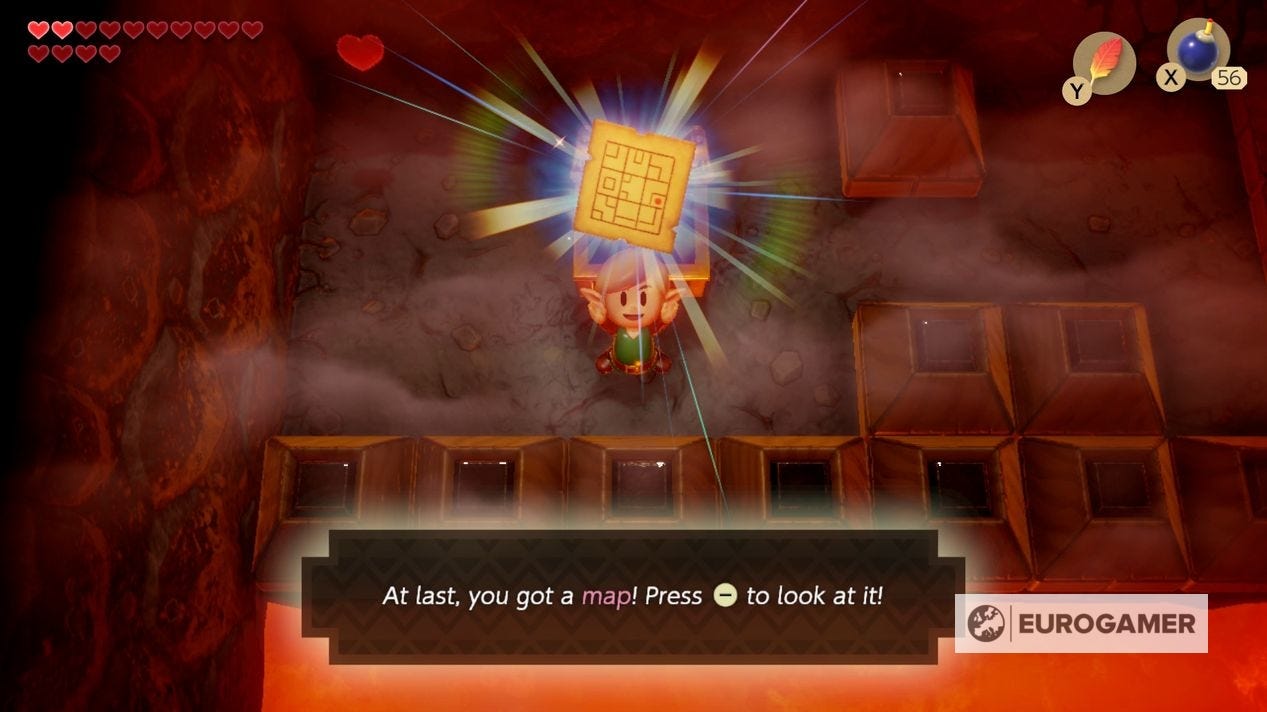
Move the third block from the bottom row to reach back to the device, and use it again, going north out of the room.
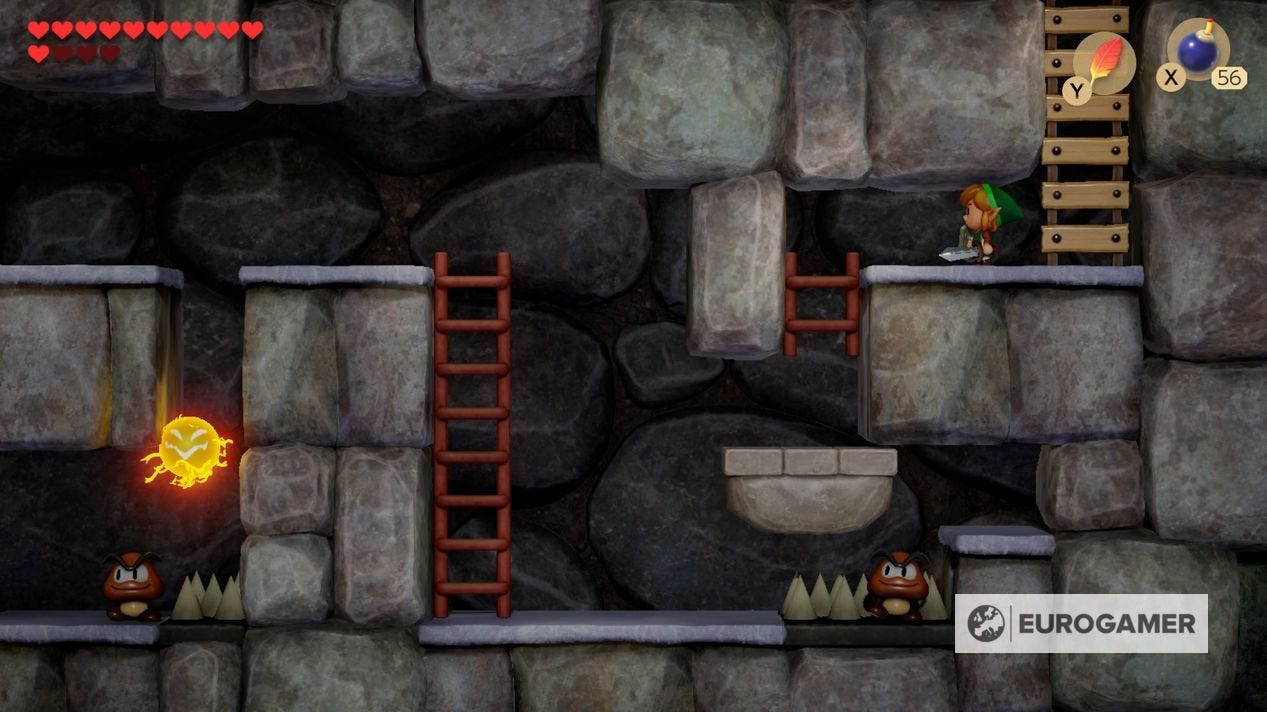
All the way left is a staircase, and a side-scrolling section with jumping fireballs to avoid.
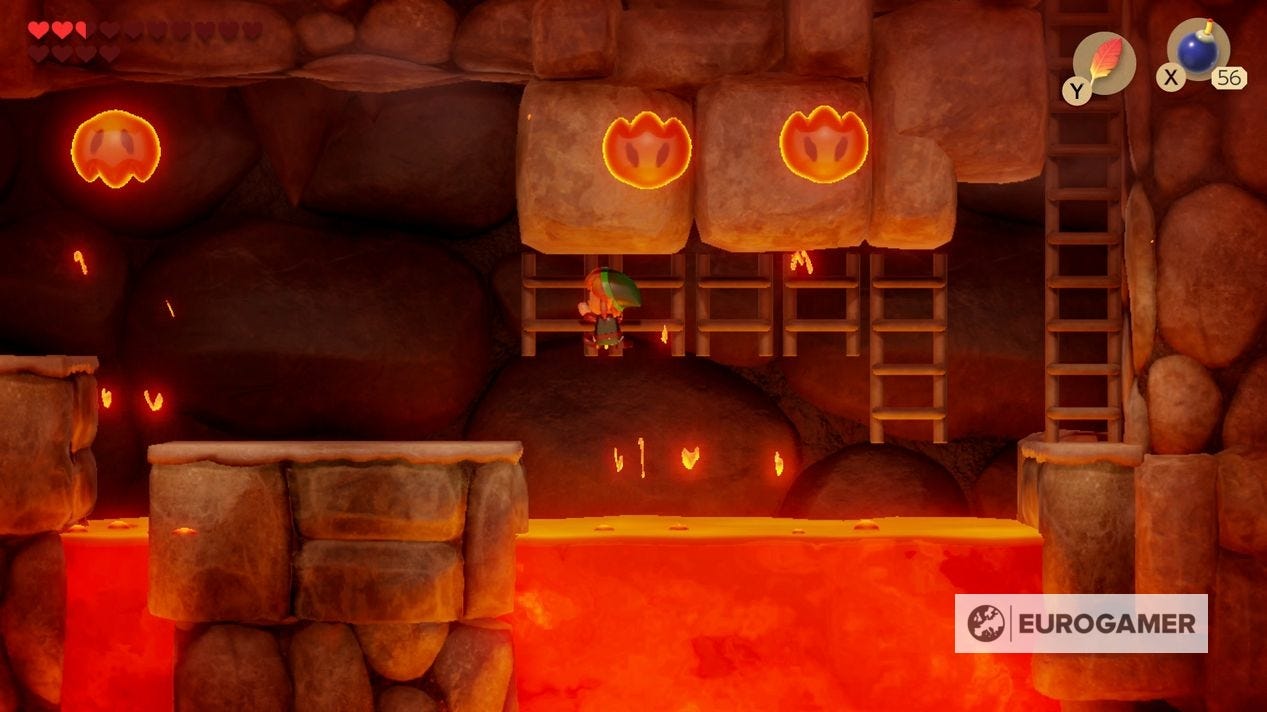
On the other side, clear all the snakes to open the door, and get the Stone Beak from the chest before going to the next room.
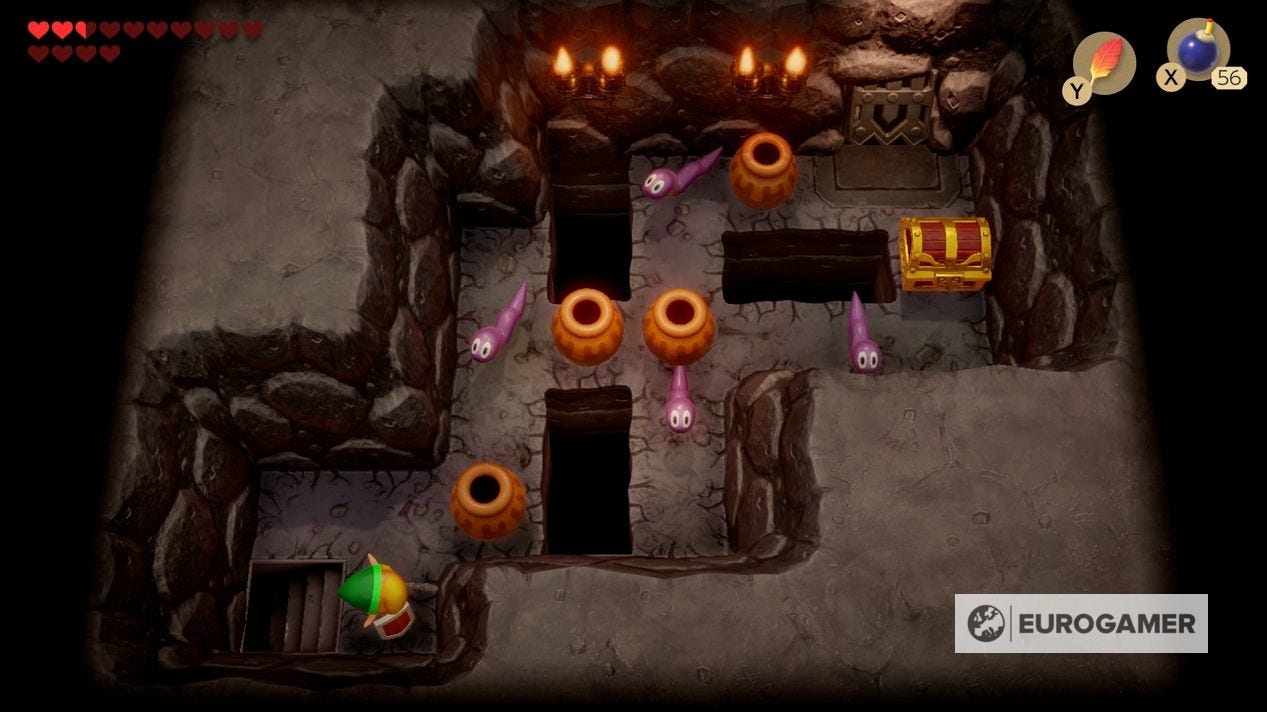

How to solve the 'Fill all the Holes' puzzle and find the crystal switch in Turtle Rock
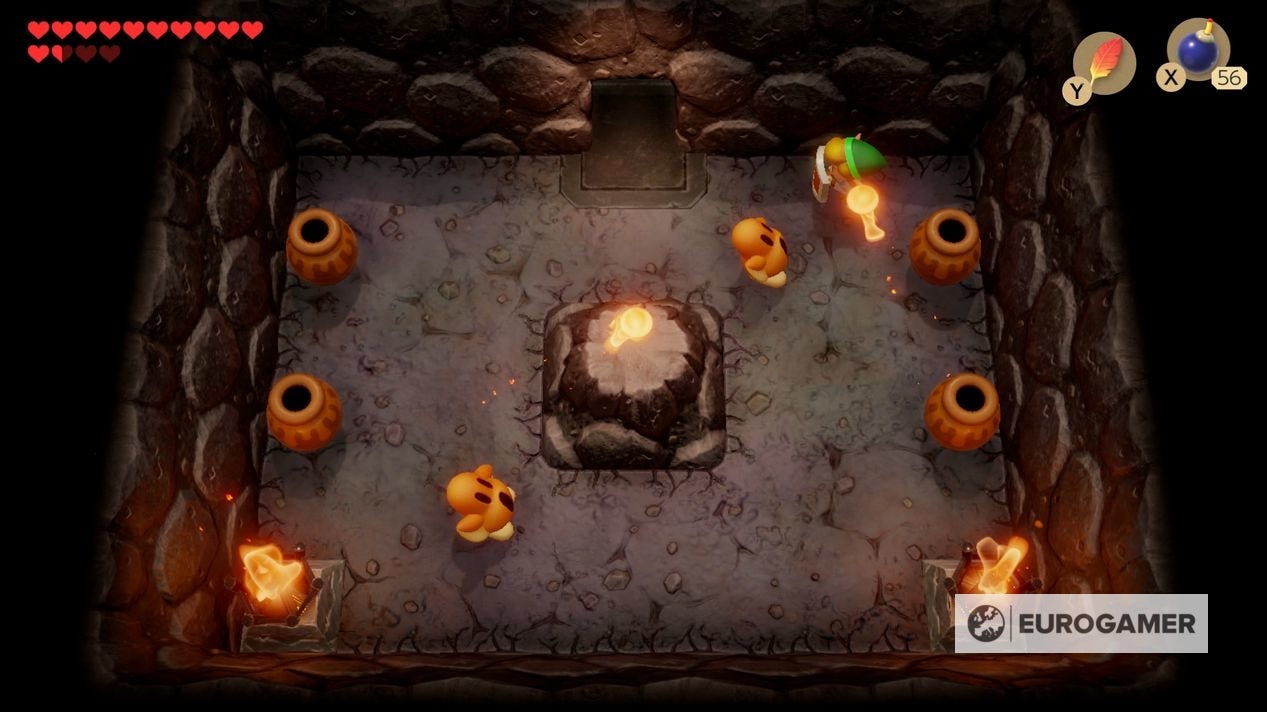
Here is the return of the ball-throwing mini-boss from a previous dungeon. The same strategy of grabbing the ball when it misses you and throwing back at it until it's defeated applies here, and will open the doors north and west.
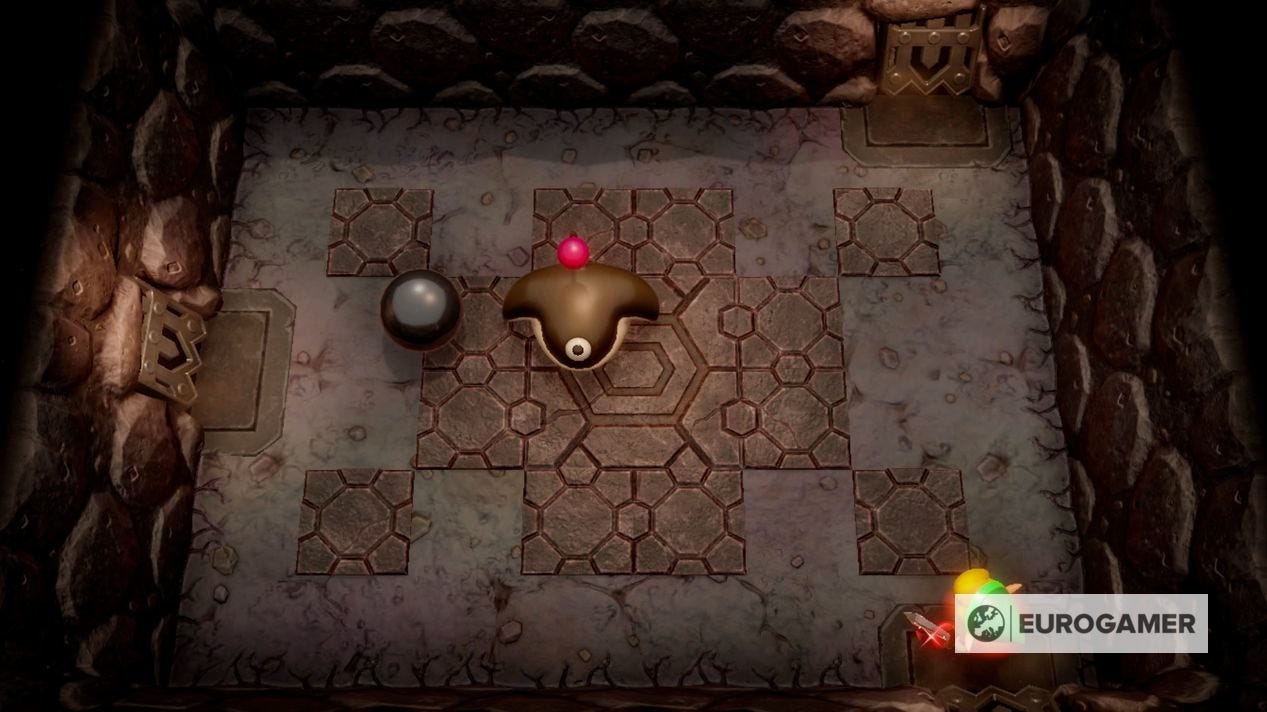
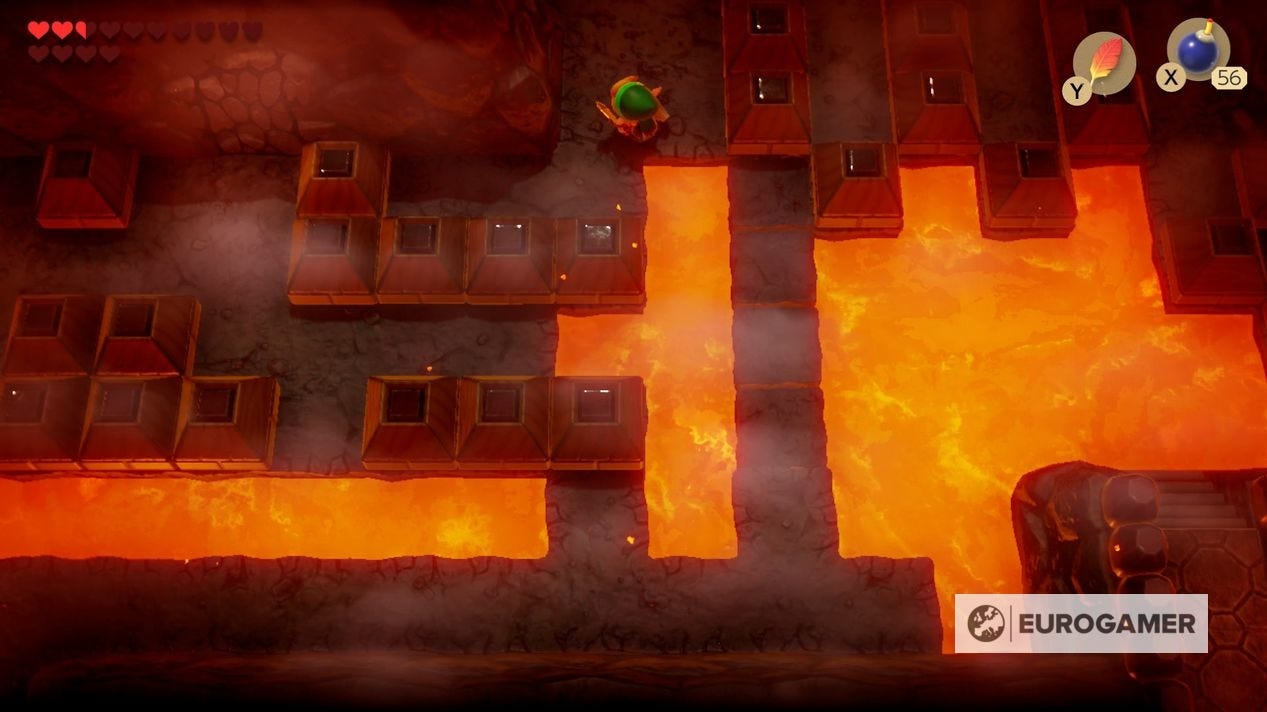
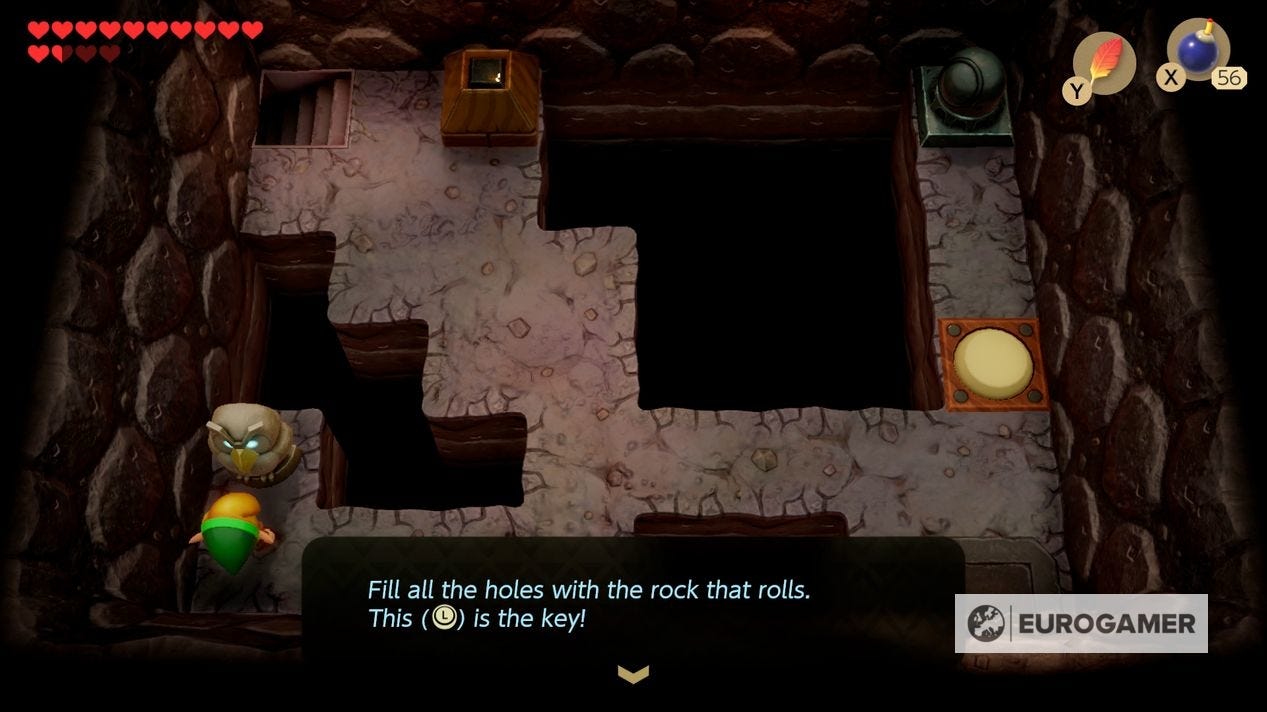
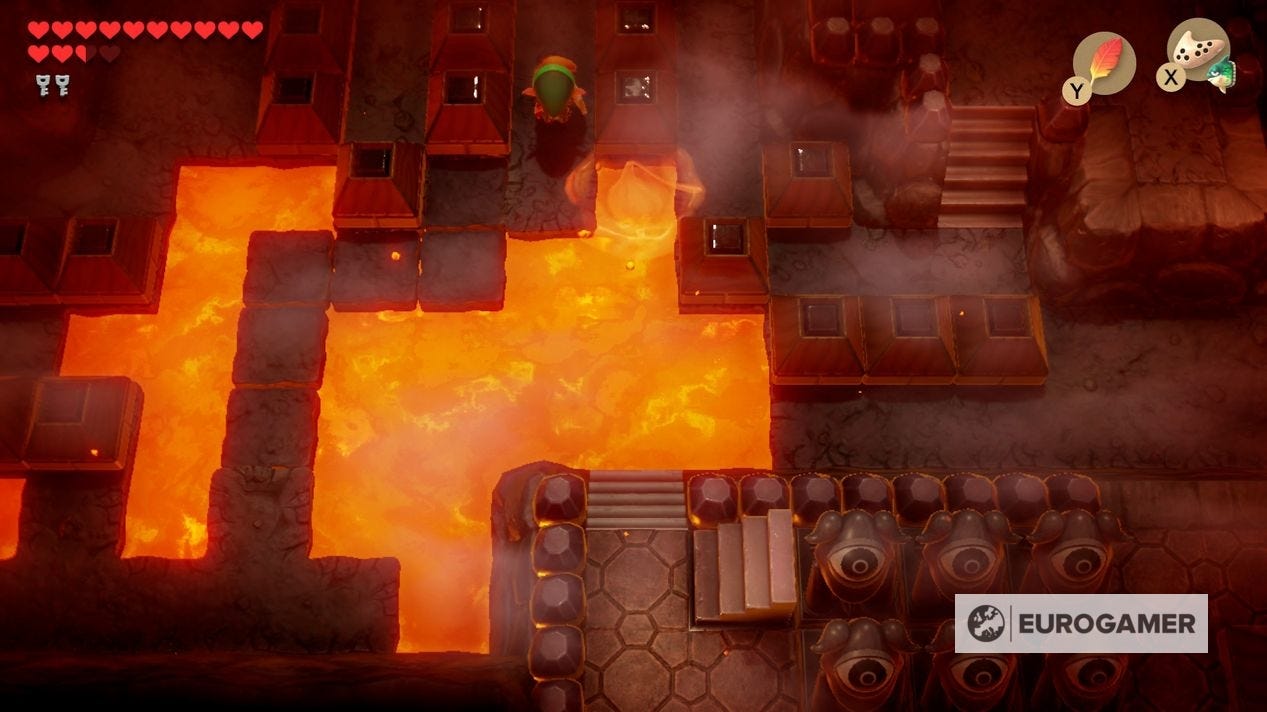
Go west first to enter a room with a large crevice and a contraption on the right. If you went north, you'd have spoke to an Owl to learn "Fill all the holes with the rock that rolls. This (left analogue stick) is the key!" - which is the key to this puzzle.
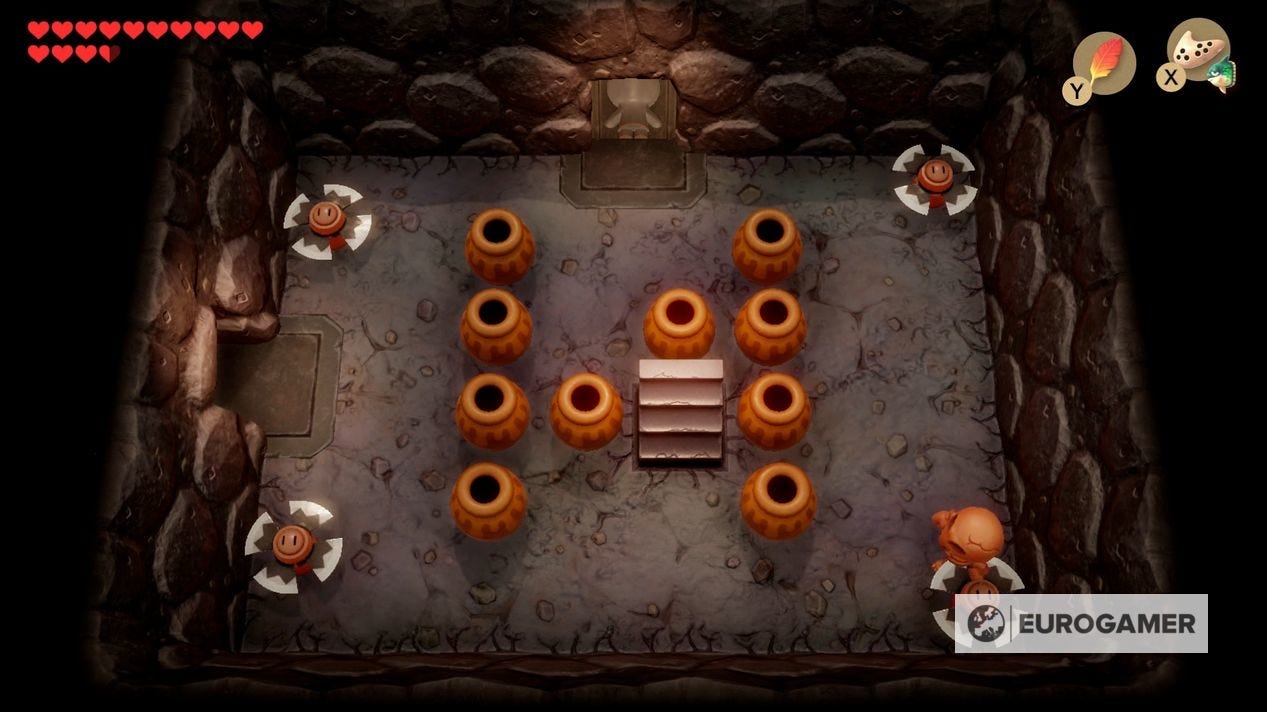
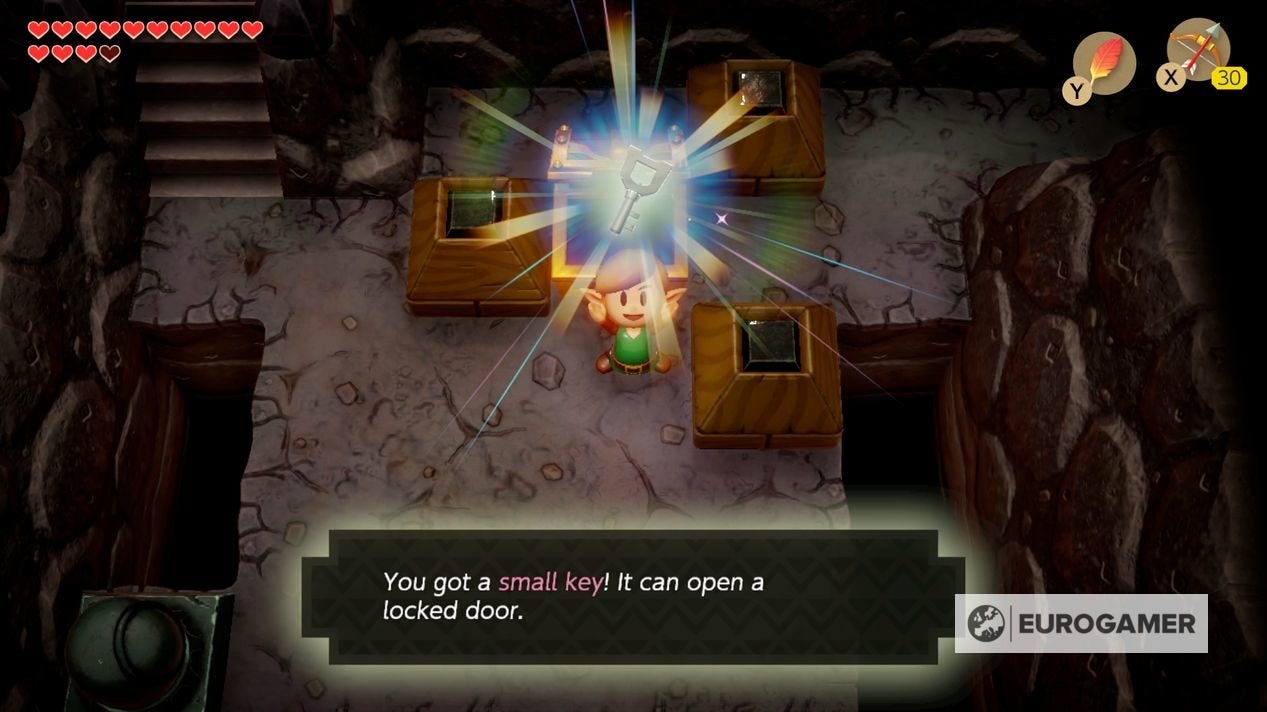
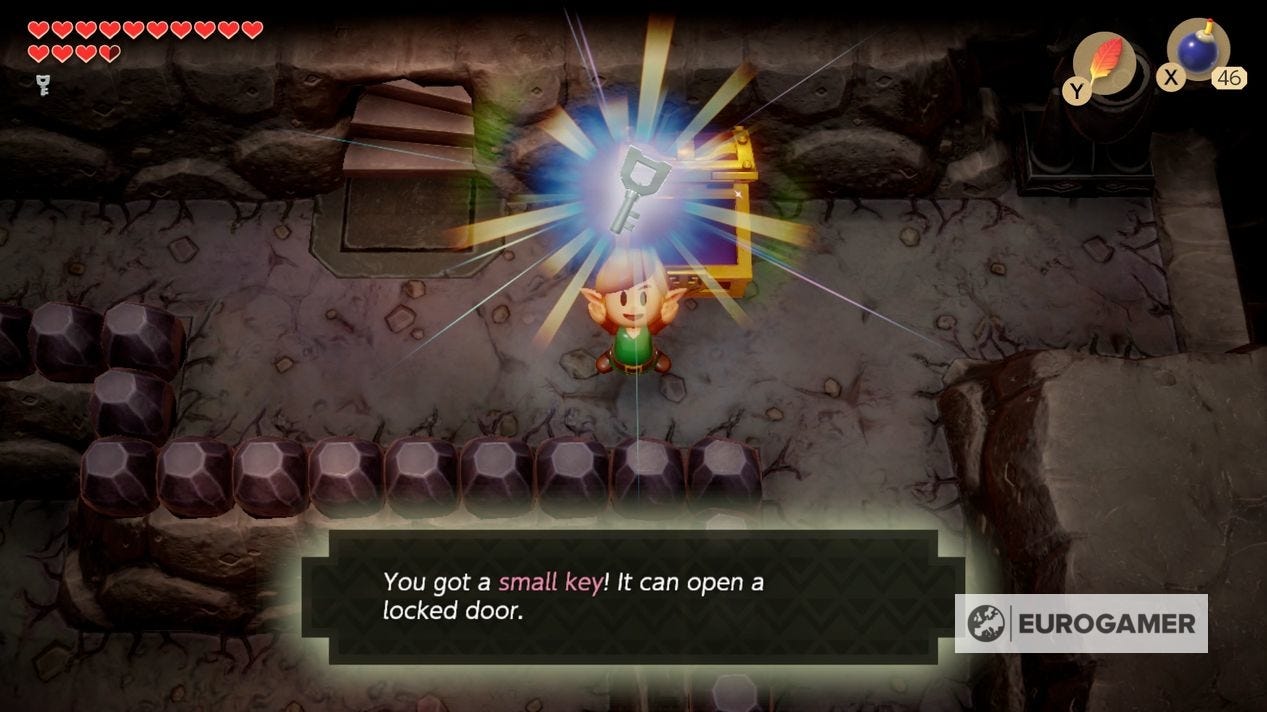
Stand from above the contraption so its first move is down, then point it left and up, filling the owl from the outside in an anti-clockwise fashion, moving up and left, then down and right, to the lower right corner, rewarding you with a Small Key.
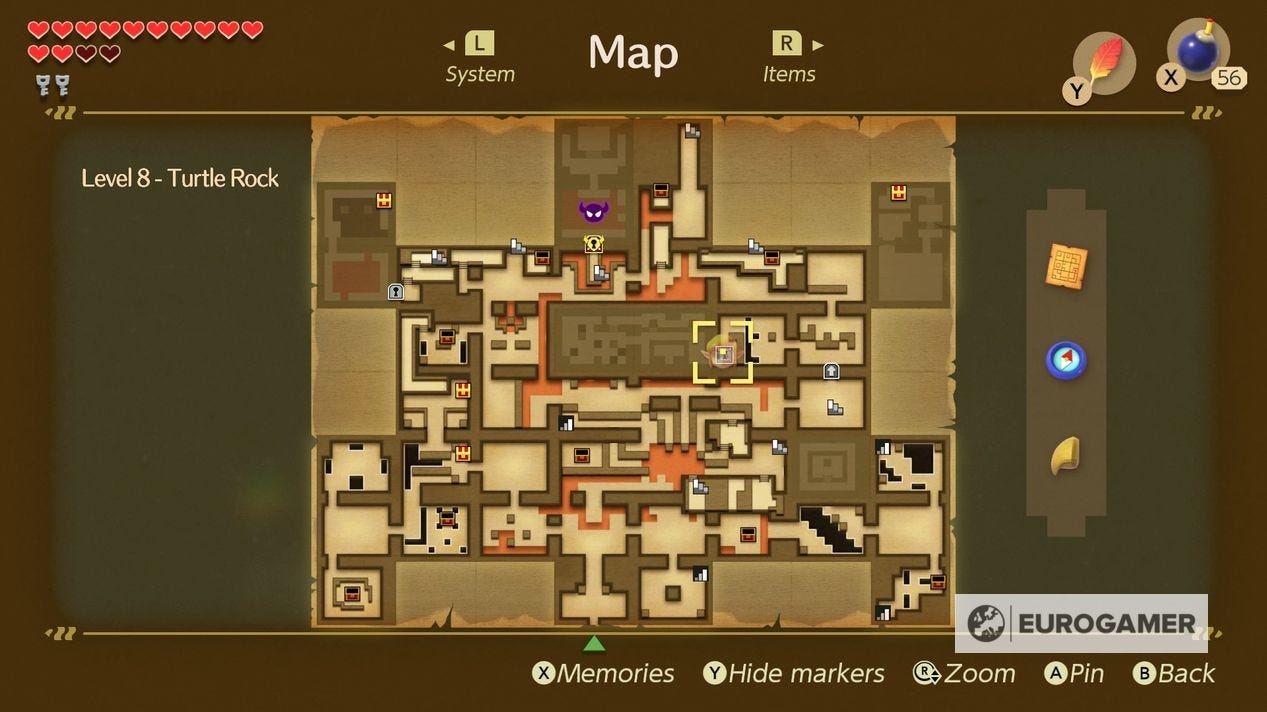
While you are here, it's worth also bombing the cracked wall at the top of the screen and hitting the crystal switch inside. Don't worry about the blocks it activates for now - it's for much later in the dungeon - but doing it while you're here will save you a spot of backtracking.
Next, it's up to you whether you want to simply control west back to the entrance, or take a slightly longer route round - going back to the mini-boss room, then north, into a staircase and side-scrolling section, then emerging south of the pot-filled room right of the entrance. There's no items to collect in either route, so the choice is yours.
Where to find the Turtle Rock Compass
Now we're back at the entrance, and have gone north and east, it's time to go west. Clear the room of enemies then go north to face a Hinox mini-boss. If you have the Boomerang, you can now damage it from afar, making this a quick battle.
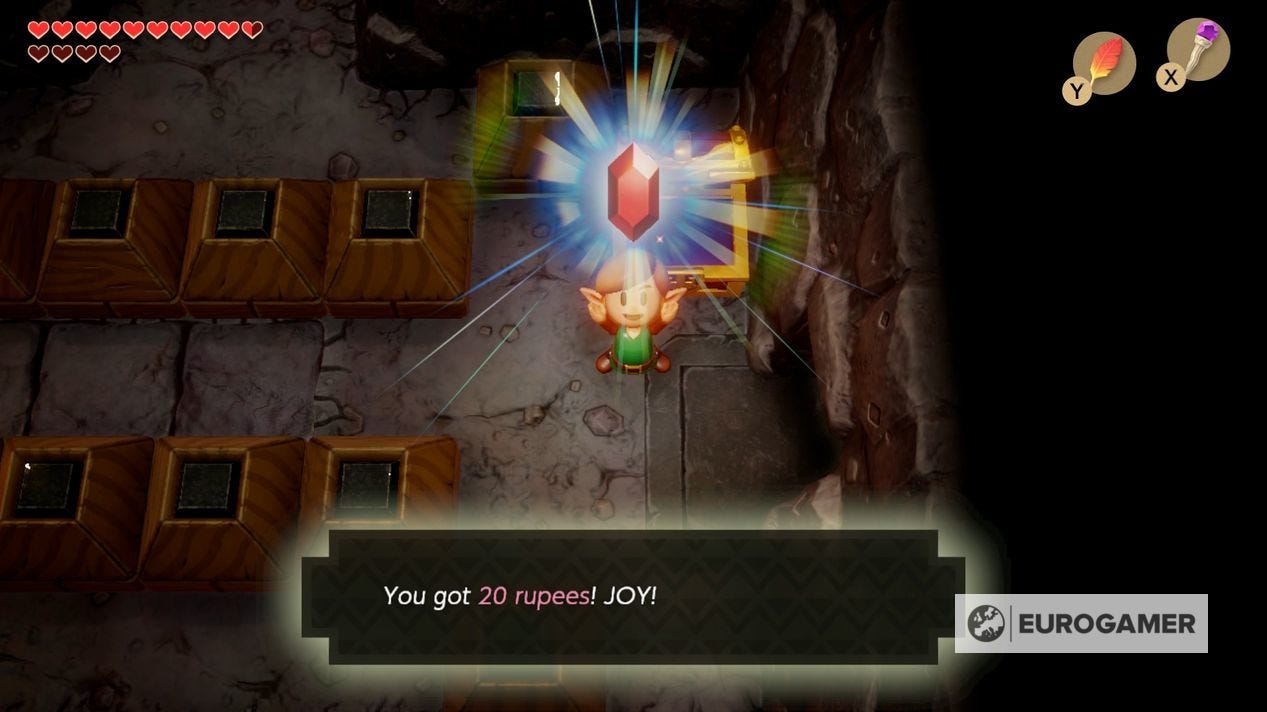
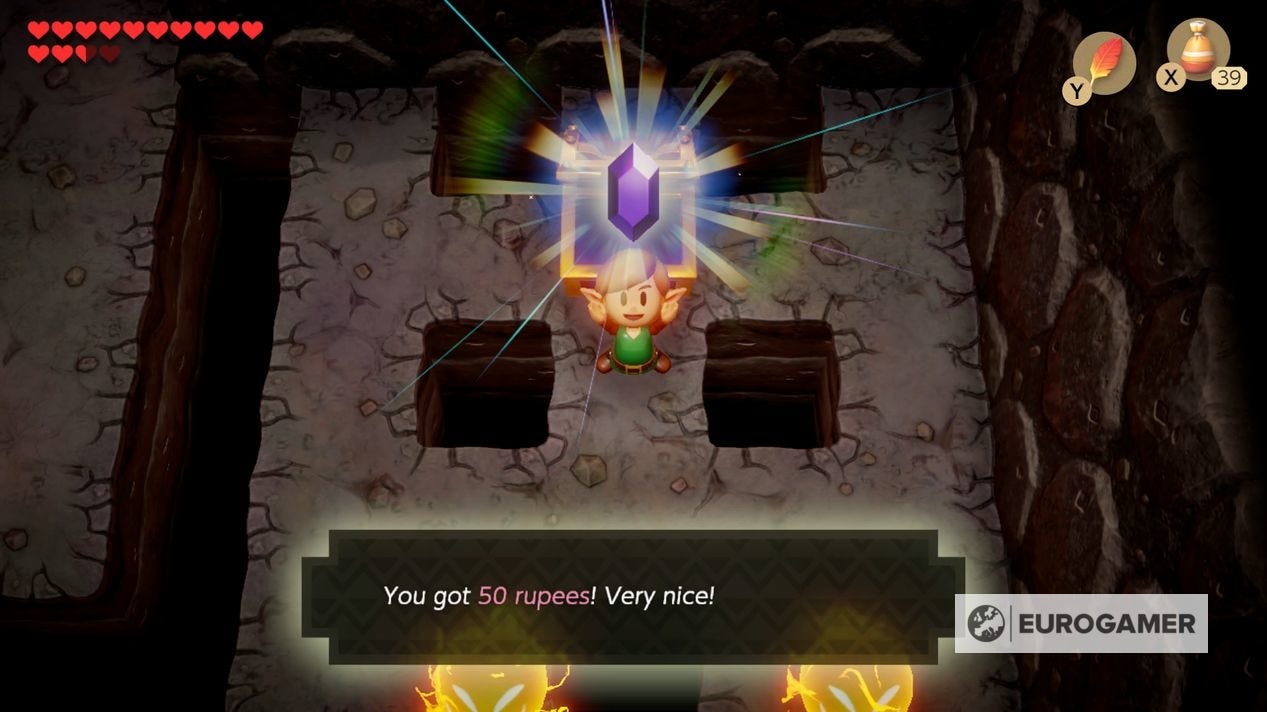
Leave west and use the contraption to create a bridge - if you fill the hole here, by turning up, left then down, you'll spawn a chest with some Rupees inside.

Go south, and the next room is a chest with 50 Rupees in and a doorway going west.
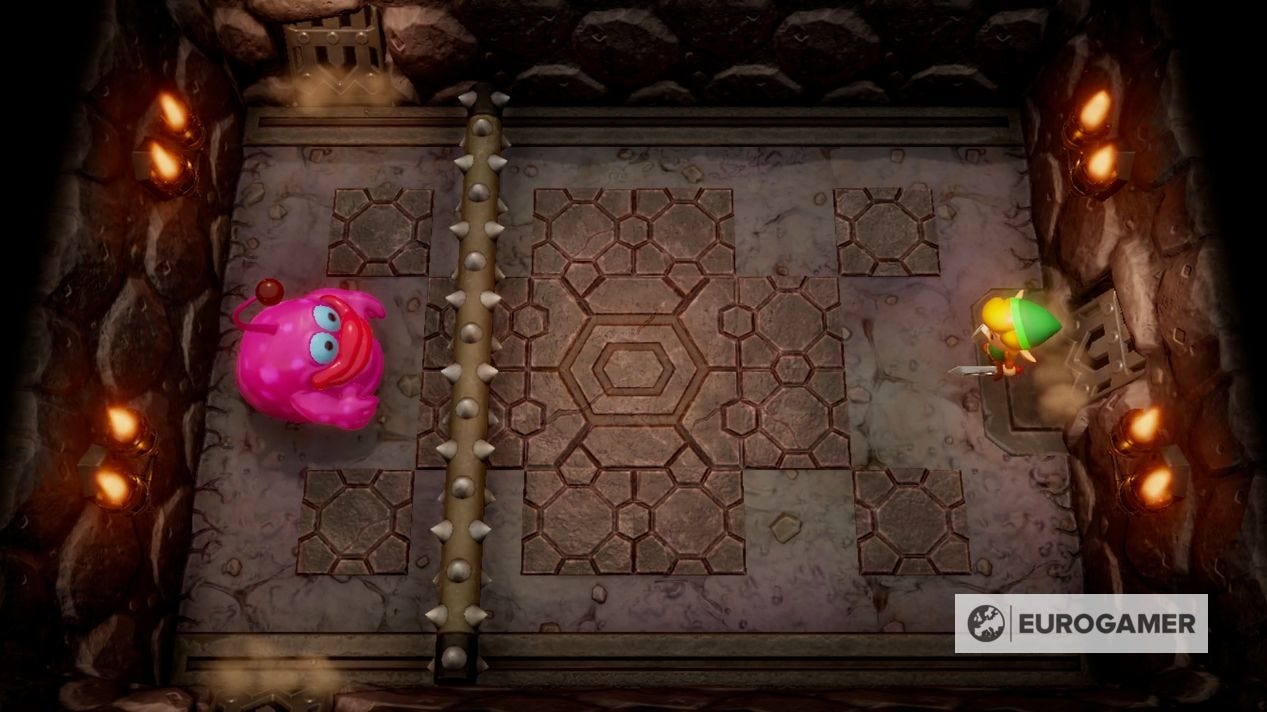
In the next room is the first mini-boss we came across - with the Boomerang, you now don't have to wait for it to leap over the spiked column, making this an easy fight.
Go south to the vortex room, where there's a chest with the dungeon's Compass.

Go back and then north, and defeat the demon for a Small Key.
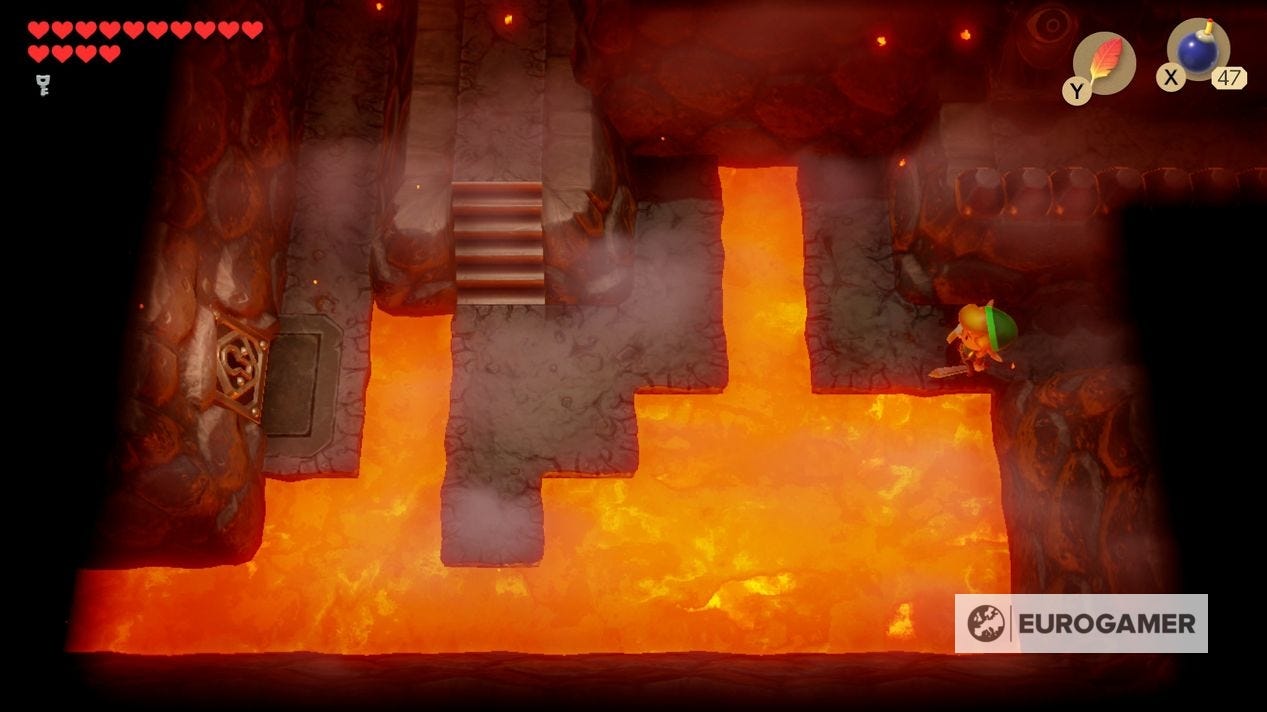
Now backtrack to the entrance and go north again now we have two Small Keys, the Map, Compass and Stone Beak in our inventory, and use the contraption to go up and right, ending it between the two tiles jutting out over the lava to the top.
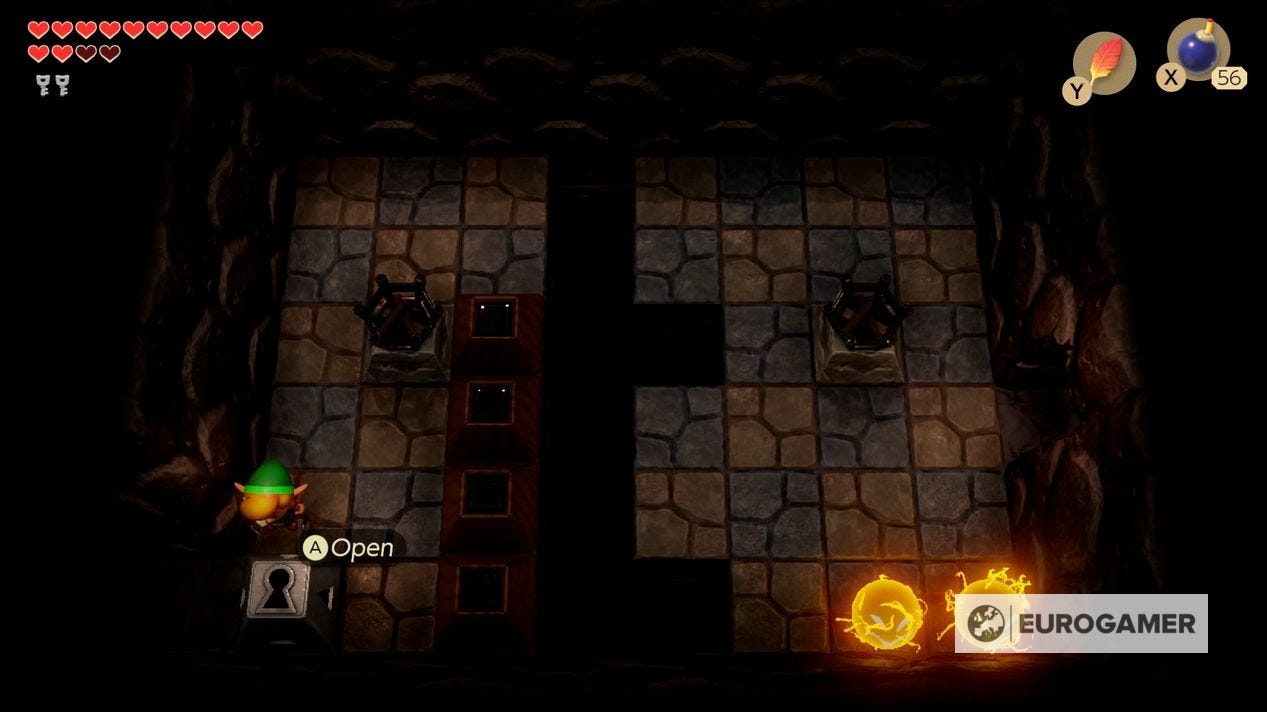
Push the right block then move across to the central of the three forks going up, which takes you to a Locked Block.
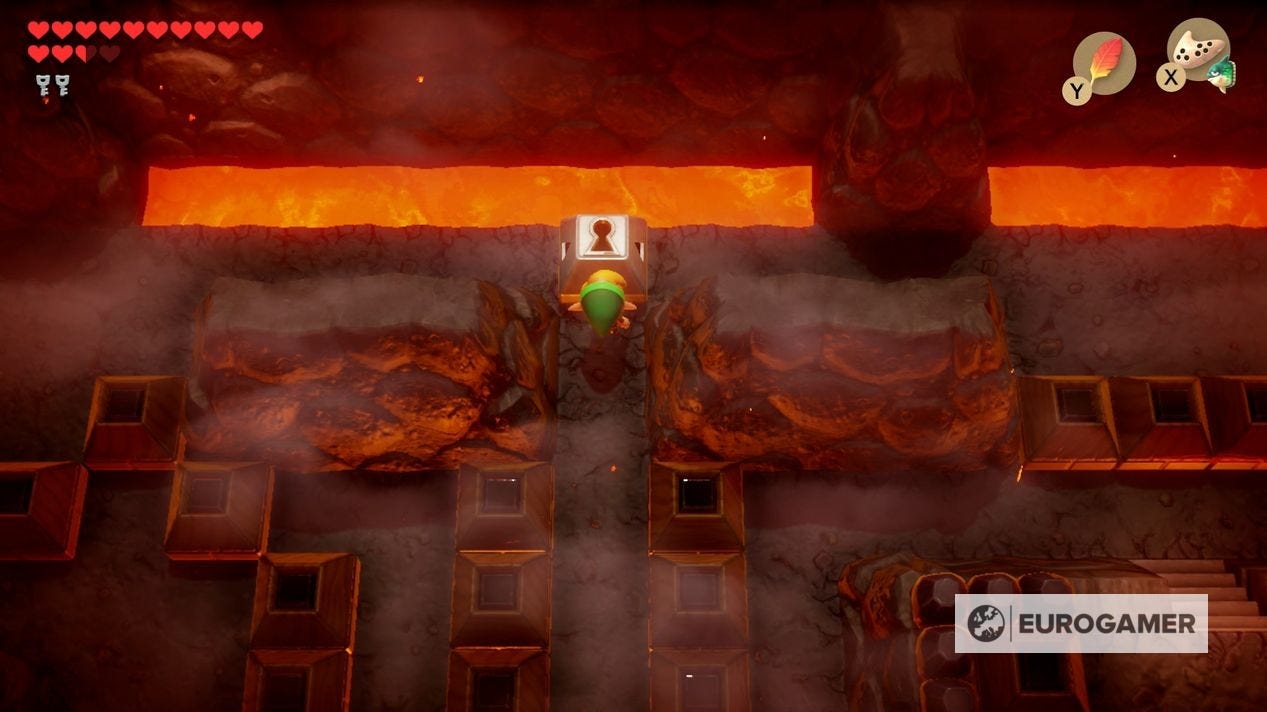
Unlock it, then unlock the door on the right with a Small Key.
This next room as a staircase going up. It's completely optional, taking you to a room with several consumable item refills (in fact, you will be forced to come back this way if you get an optional chest a little later on, so best to wait either way).
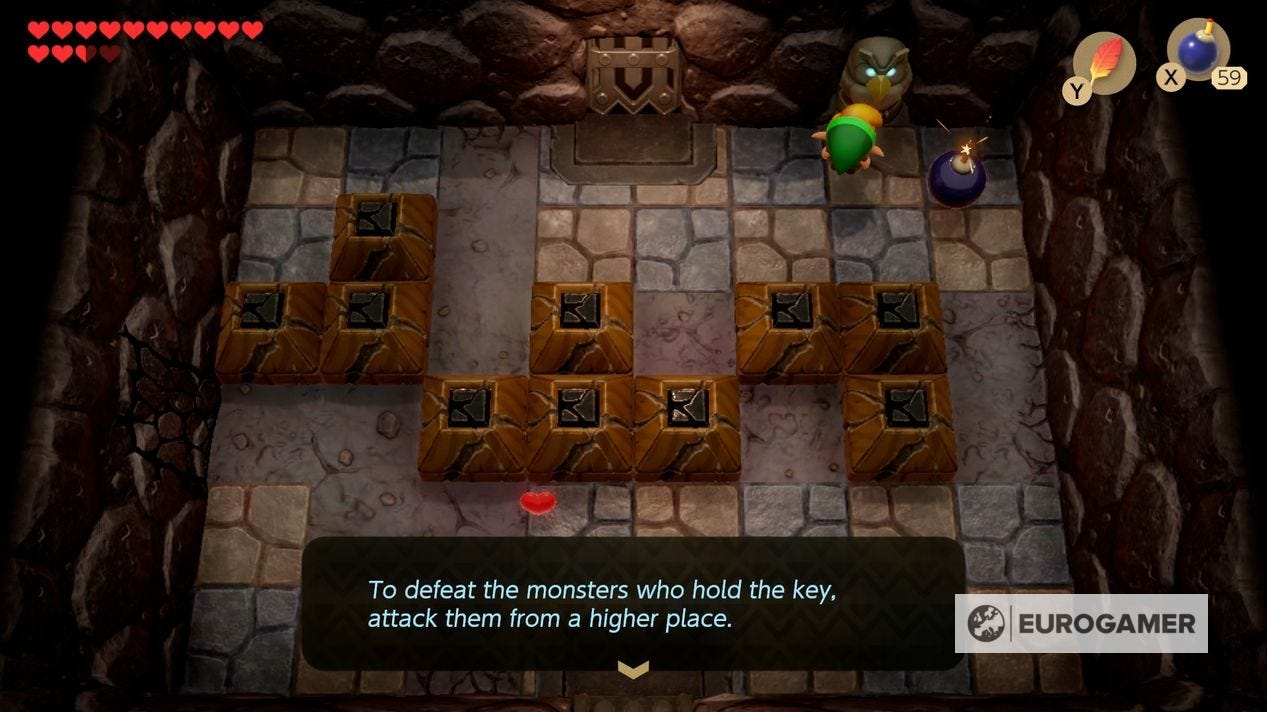
Instead go north to a room filled with cracked tiles and a Stone Owl in the corner that says "To defeat the monsters who hold the key, attack them from a higher place." This comes in handy in a little while. You can also bomb the left wall here, which we'll need to do eventually, but we recommend ignoring for now and going north.
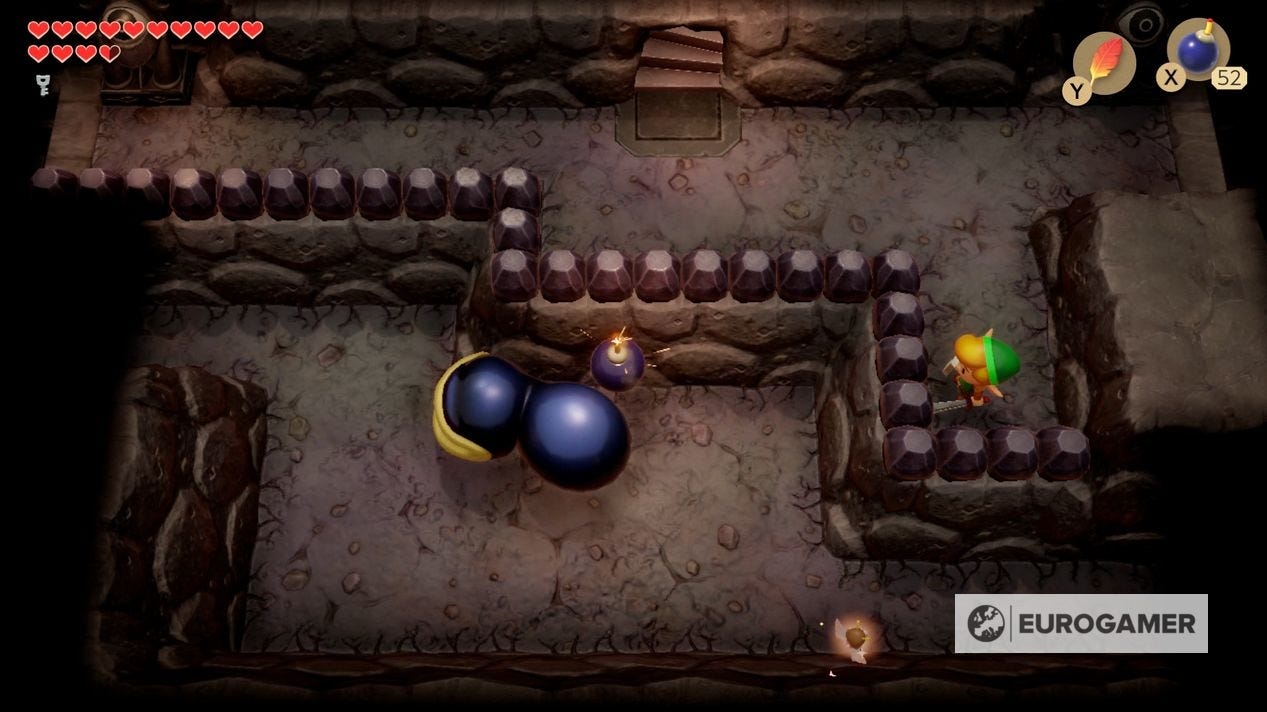
Going north begins you to a corner room where the floor is entirely cracked. Killing the enemies here will spawn a Small Key, but you have to keep moving in order to do so. Ranged weapons is a good idea, as is laying a bomb between the enemies if you can manage it.
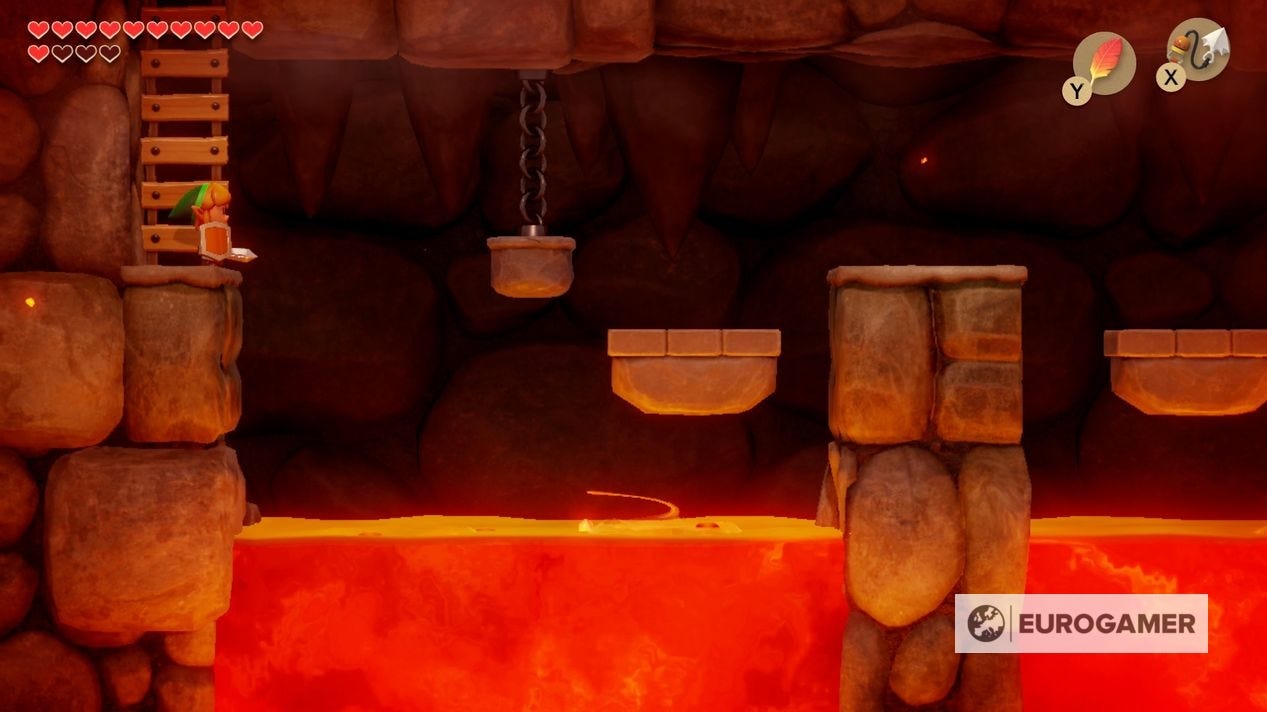
Once you have the Small Key, go west to meet the black shelled enemies from an earlier dungeon. Ignore them for now, and continue west for a lava filled room, a locked door west and a staircase north.
Taking the north staircase is completely optional - after using hookshot to the chest gives you a Secret Medicine, you are forced to drop down right and backtrack to a previous room (the one with the optional staircase going up after the locked door). Up to you if you want to make the trip!
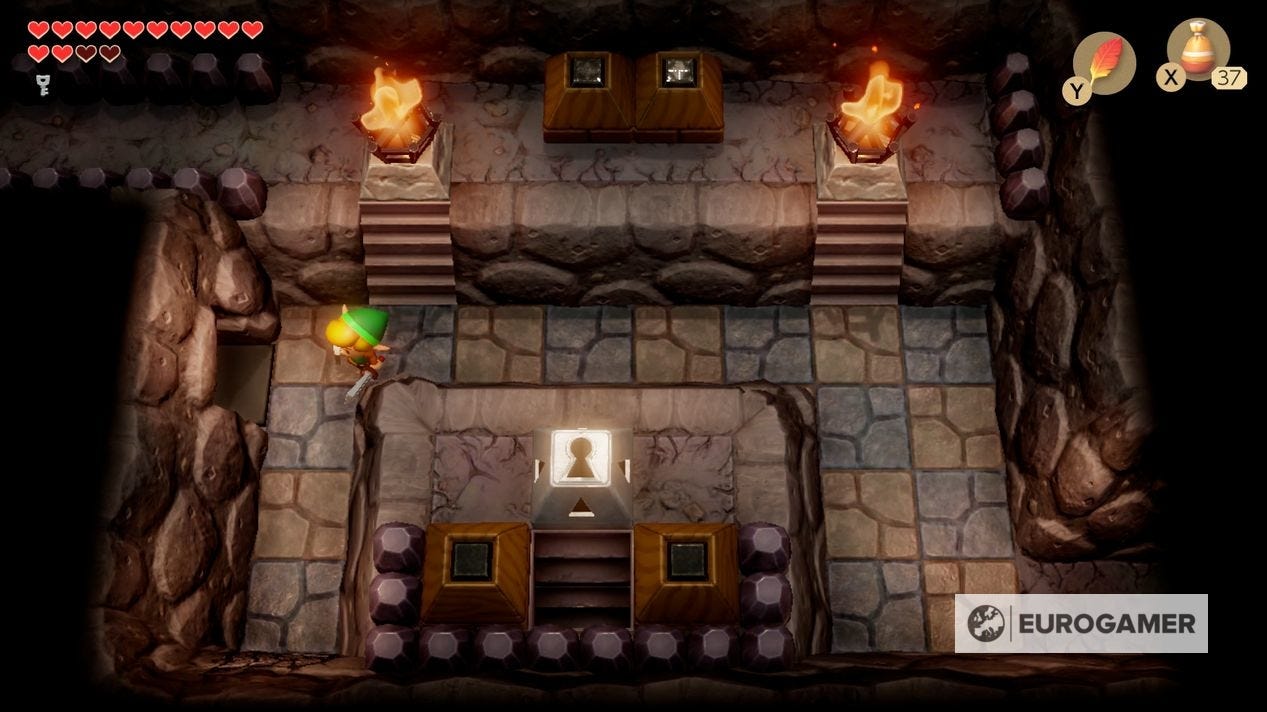
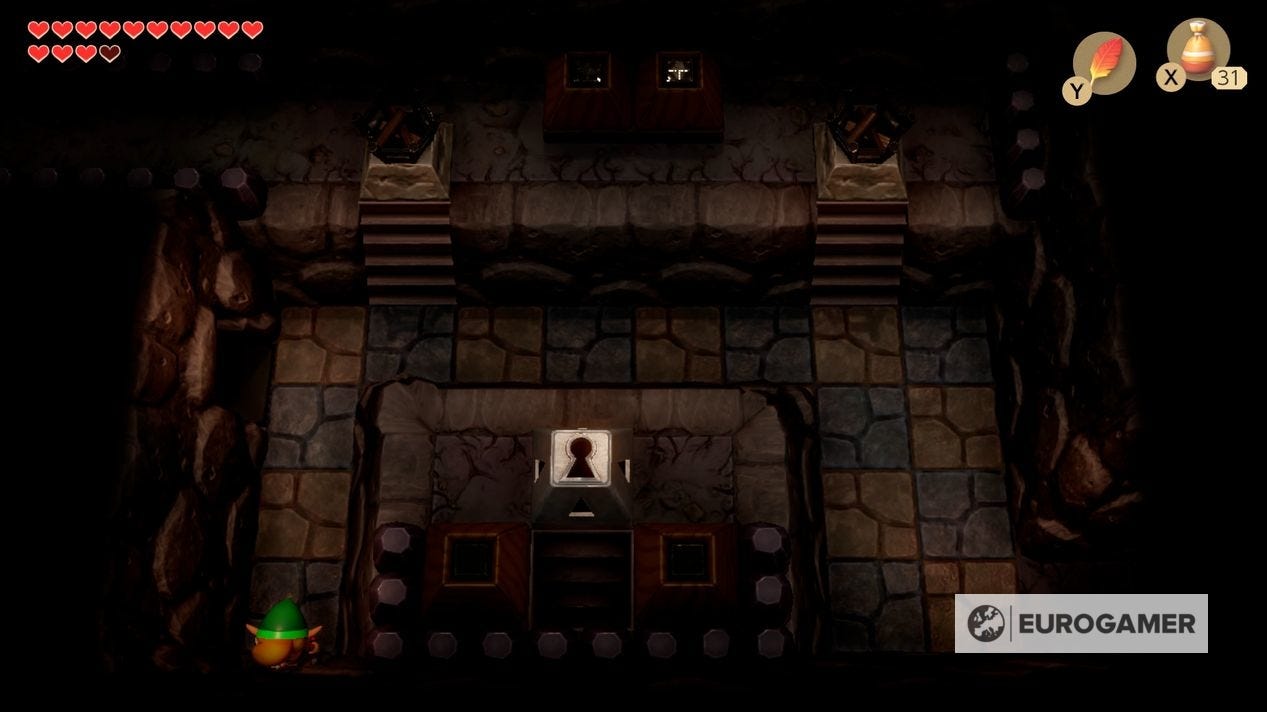
How to solve the 'If the statue looks strange' puzzle
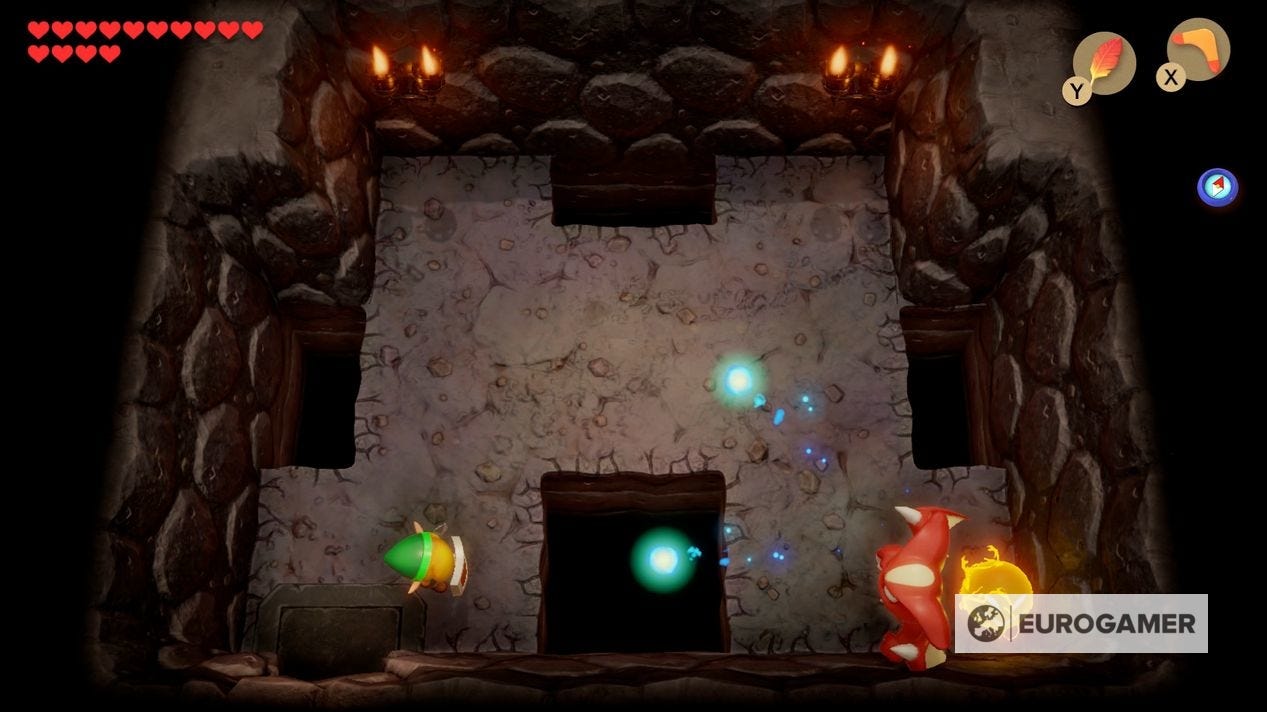
Either way - you'll want to unlock the left door, taking you past an inaccessible Nightmare Door to a lava-filled room with a demon.
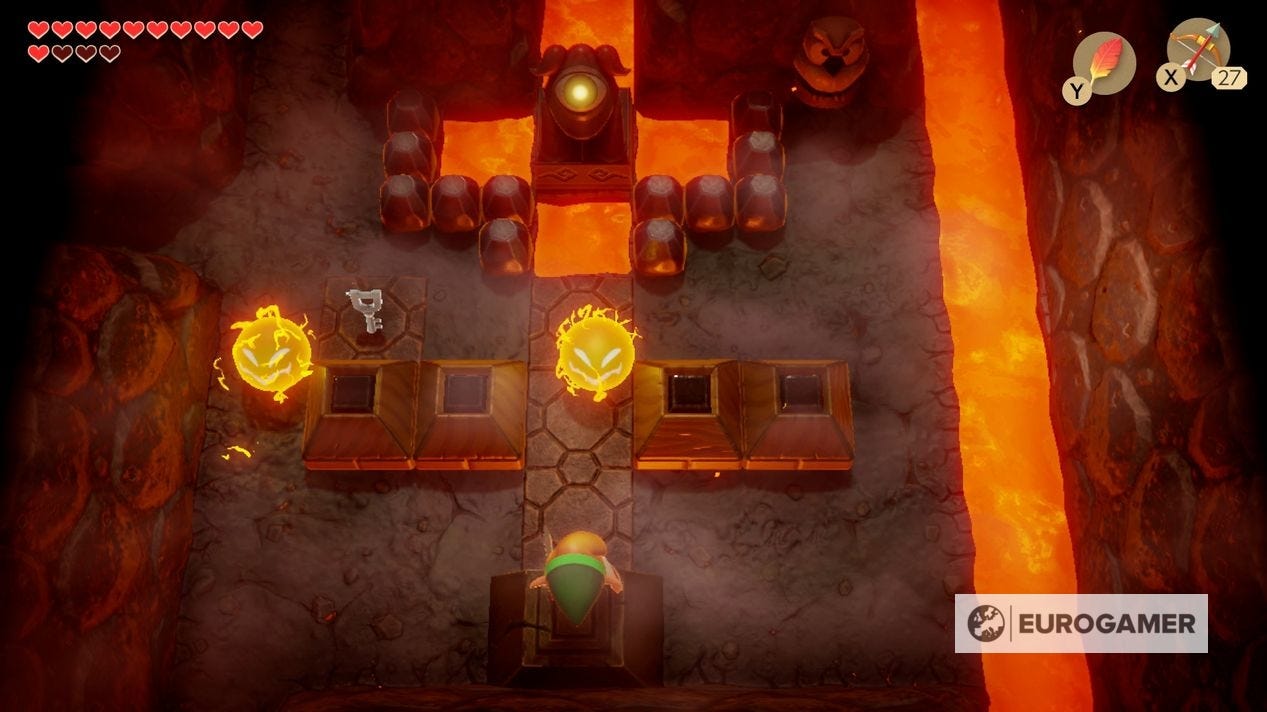
Killing it opens the door west, but don't go that way just yet, as there is a route south to take, with two sparks and a Stone Owl in the corner, telling you "If the statue looks strange, shoot it with the bow."
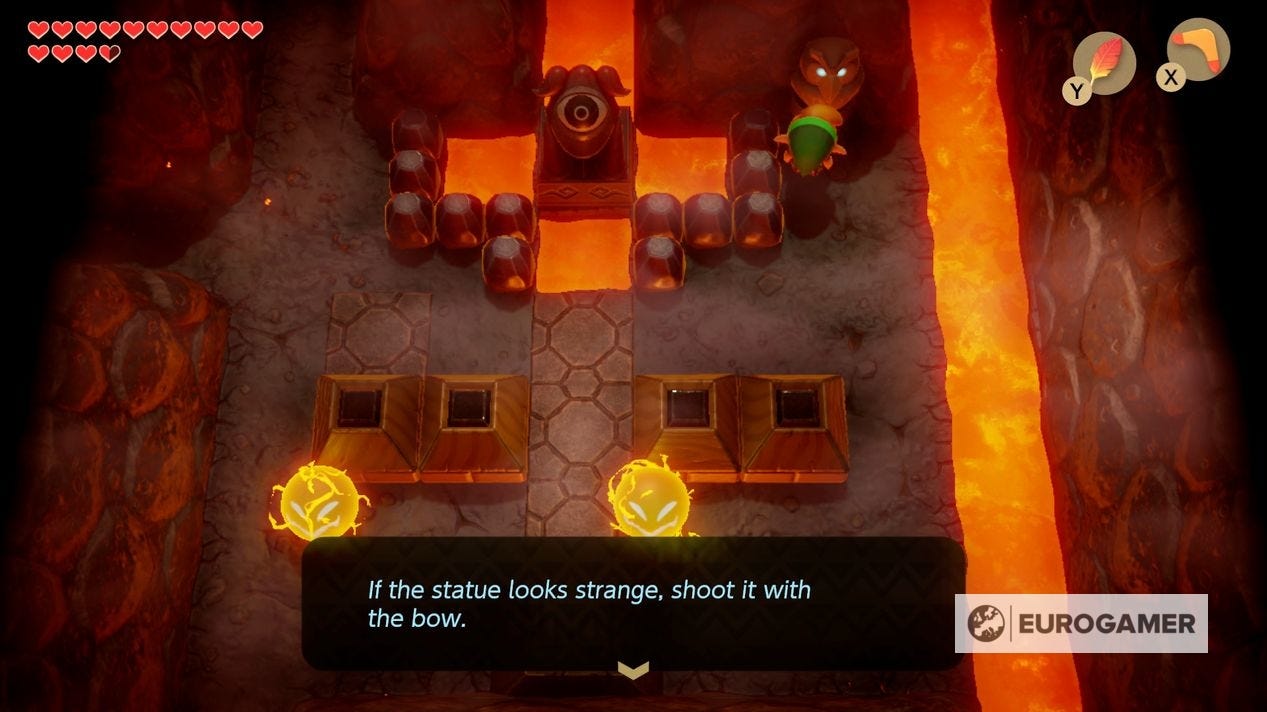
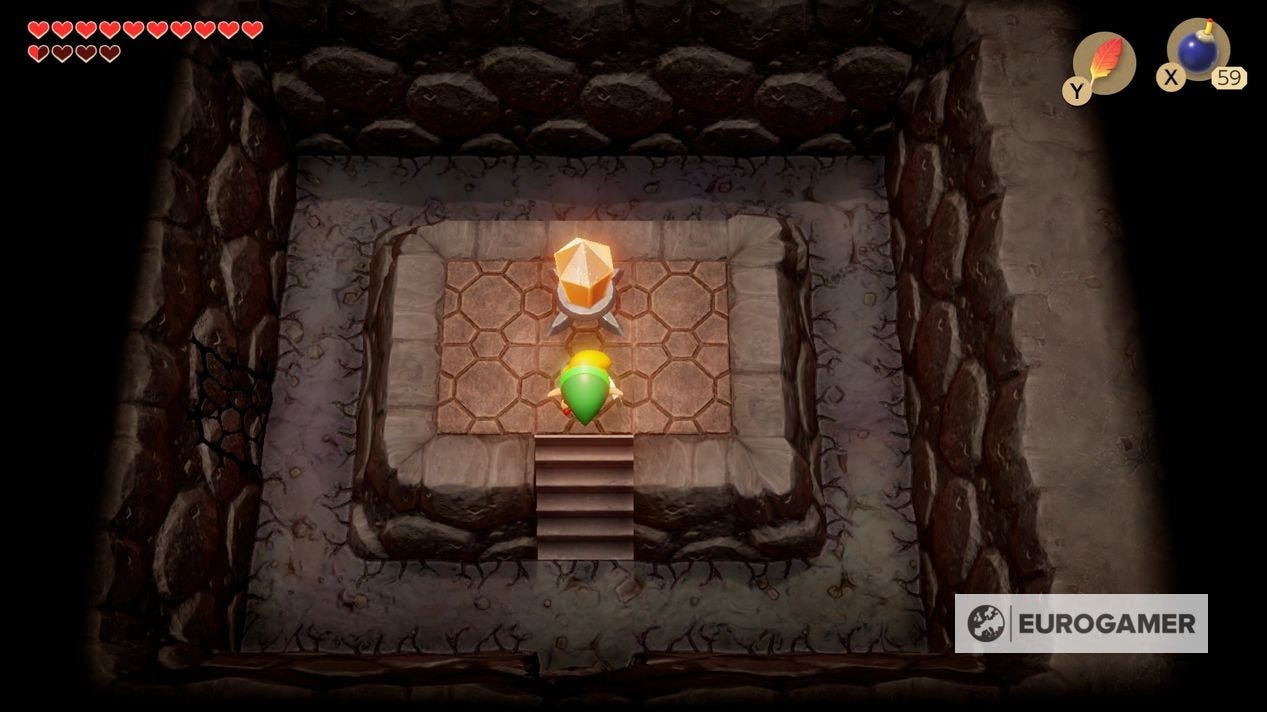
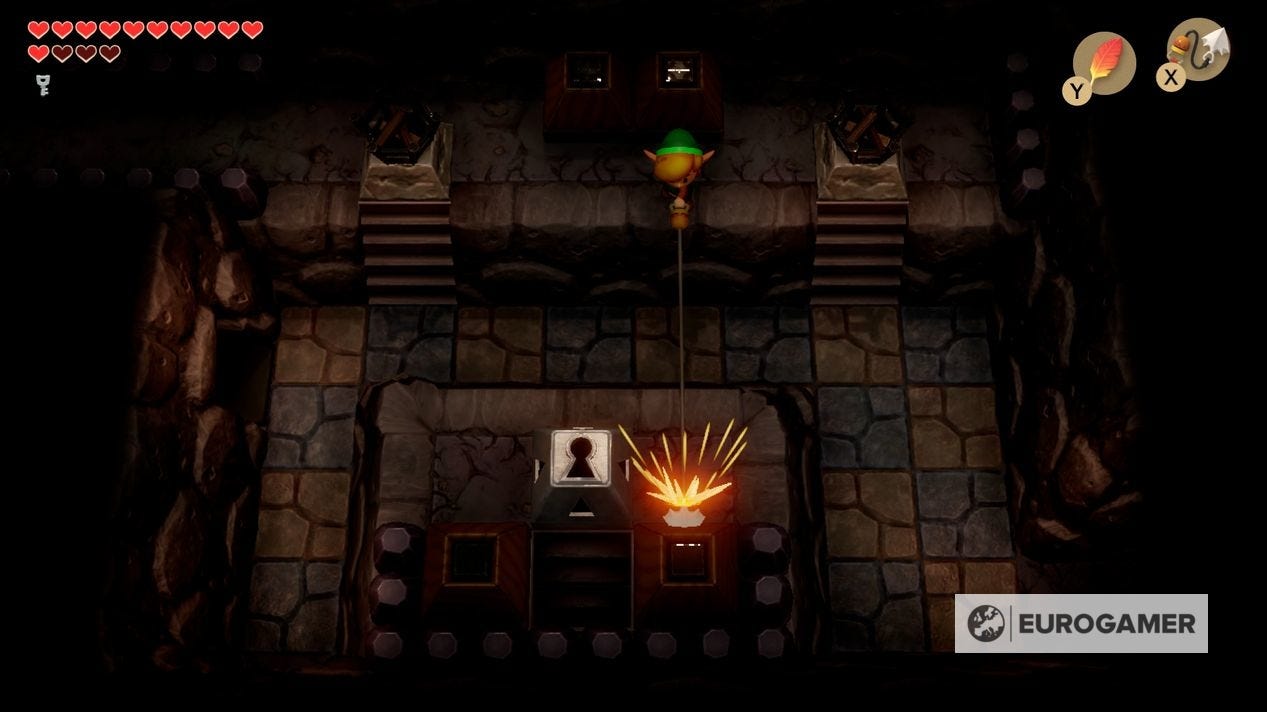
To solve this, jump on the elevated block to the south, and fire an arrow north at the statue for a Small Key.
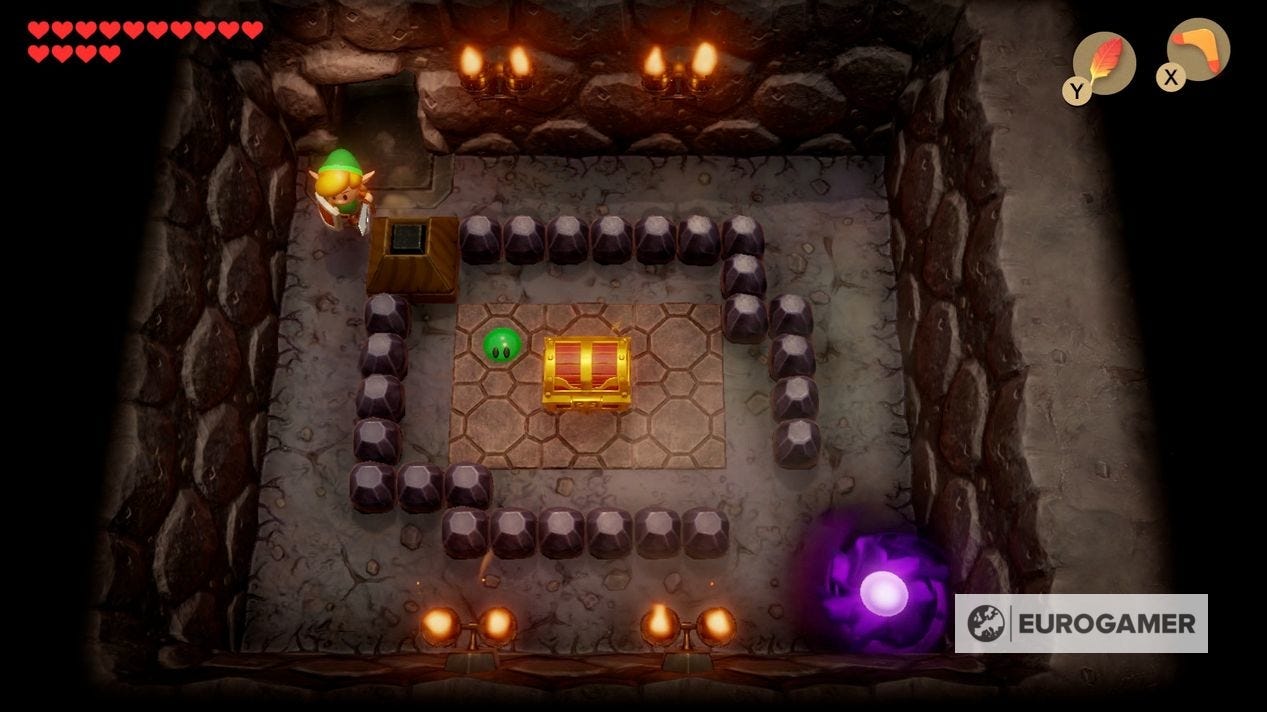
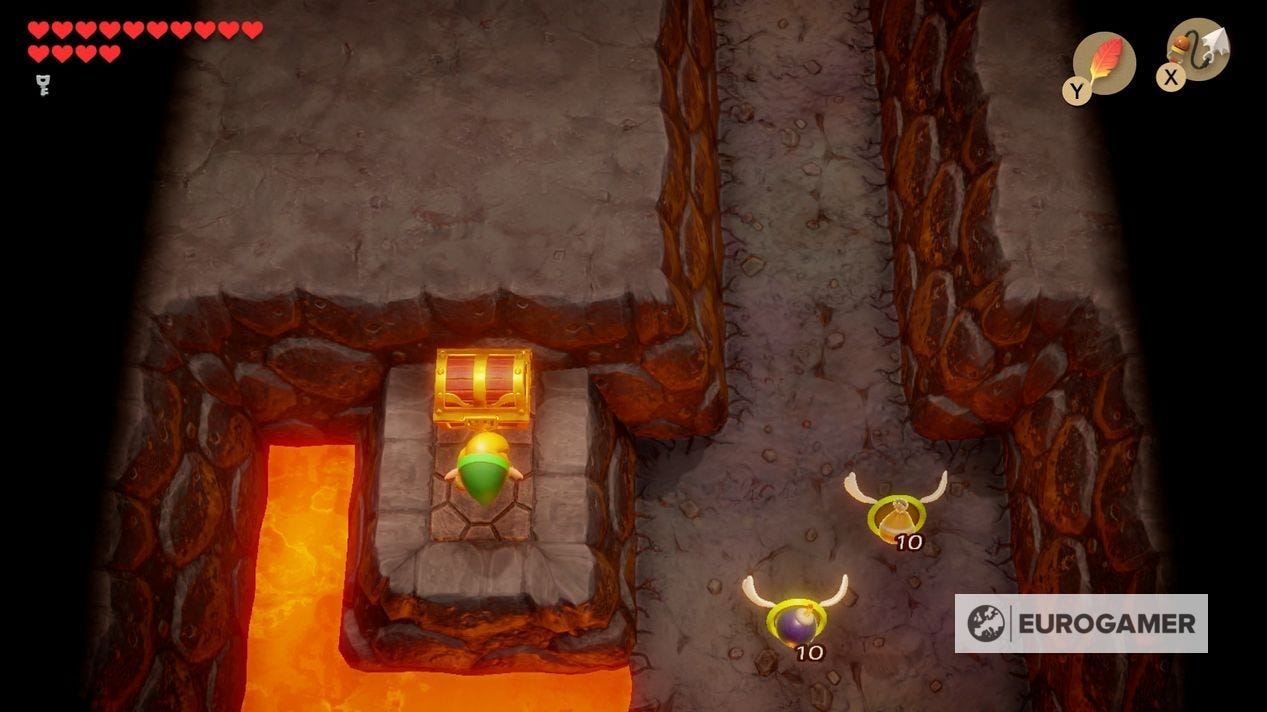
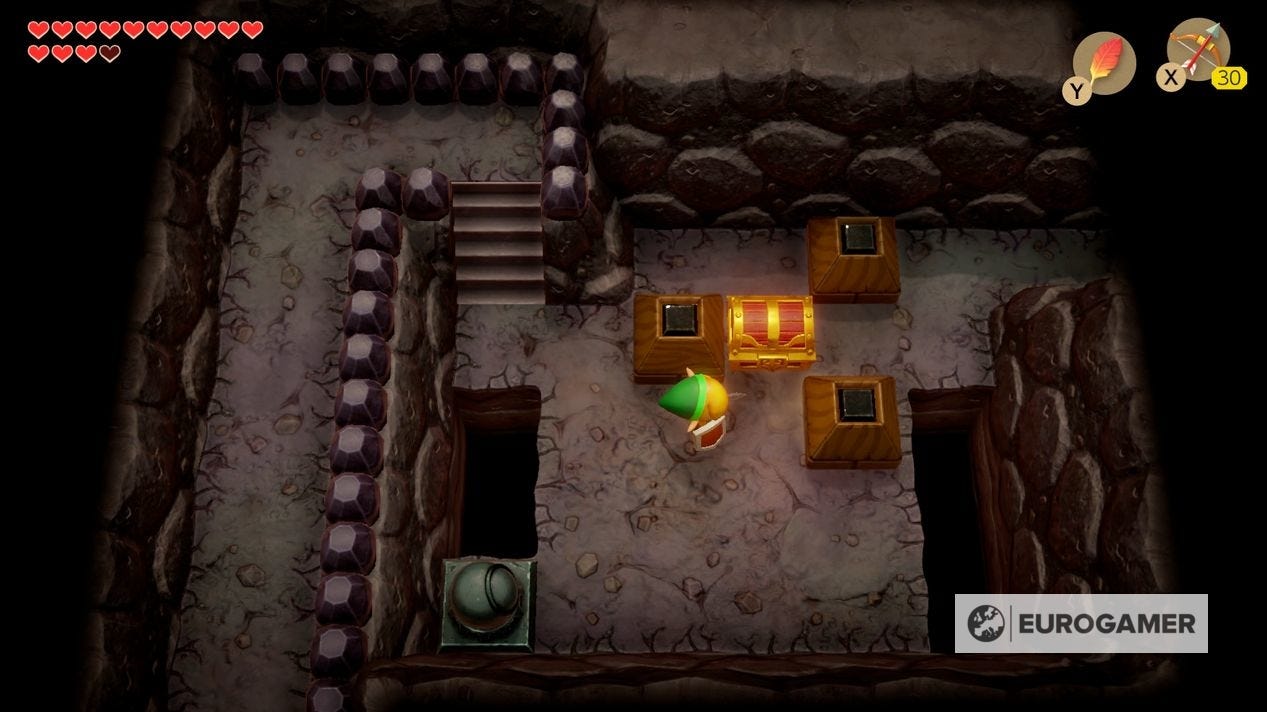
Go south for some floating consumables, then west for a room with some tiles surrounding a chest. Move the blocks so you can access the chest for a Small Key.
Go up the stairs and south to a dark room (you cannot solve this just yet!) then back again to reset the tiles you just moved to get the Small Key so you can return east then north to the room with the demon.
Head west to the next room (again, you need to kill the Demon to open it) then up the stairs to return to the same height as the chest in the corner, which you can reach with a hookshot, giving you 50 Rupees.

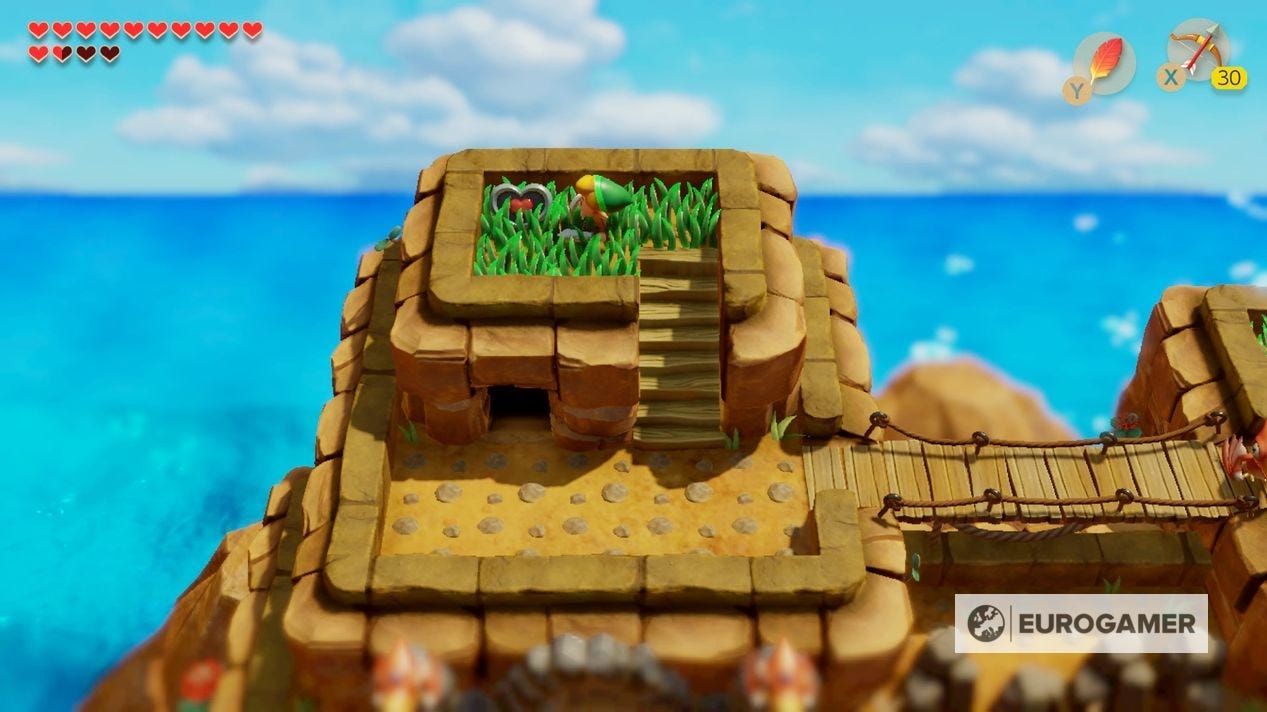
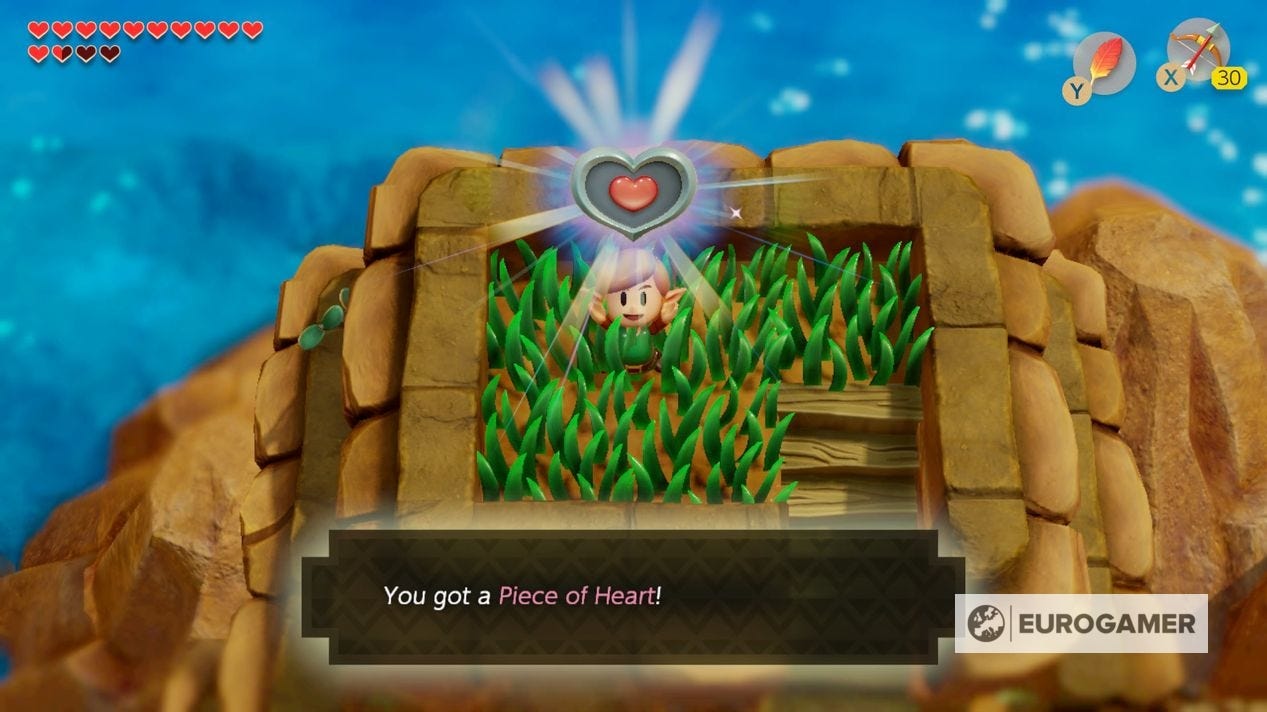
Go north now up the staircase to emerge back in the overworld.
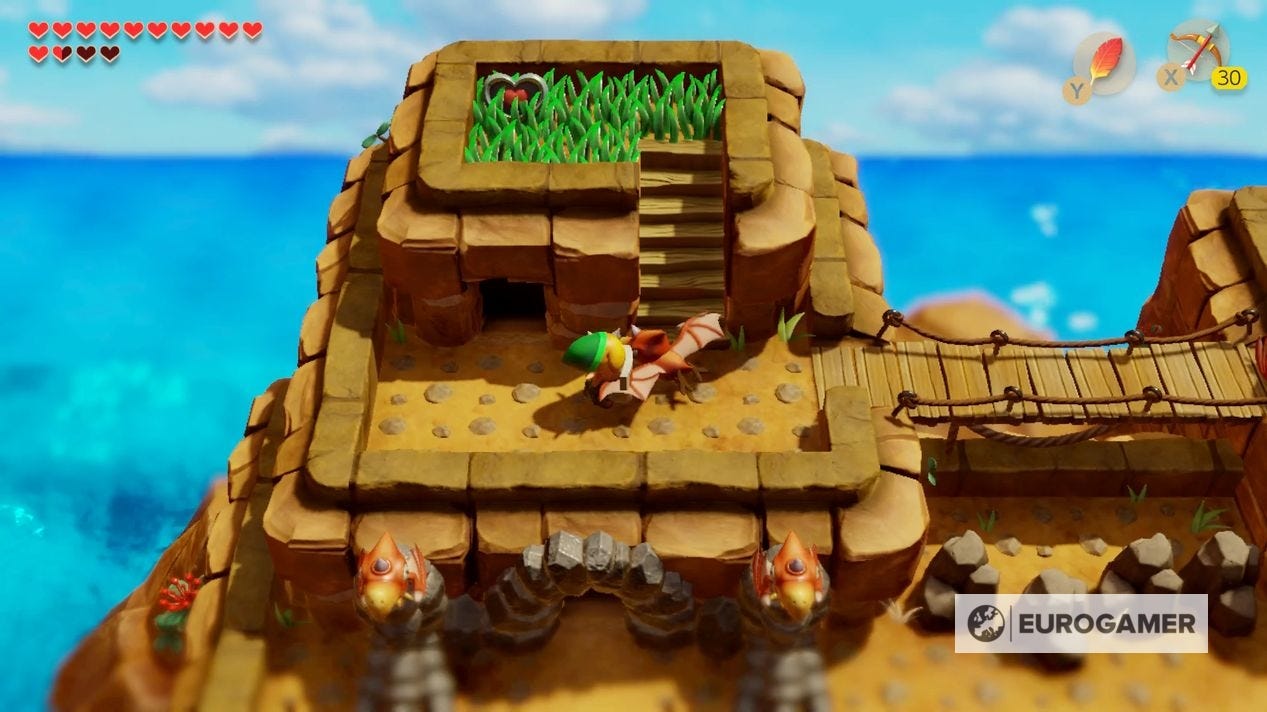
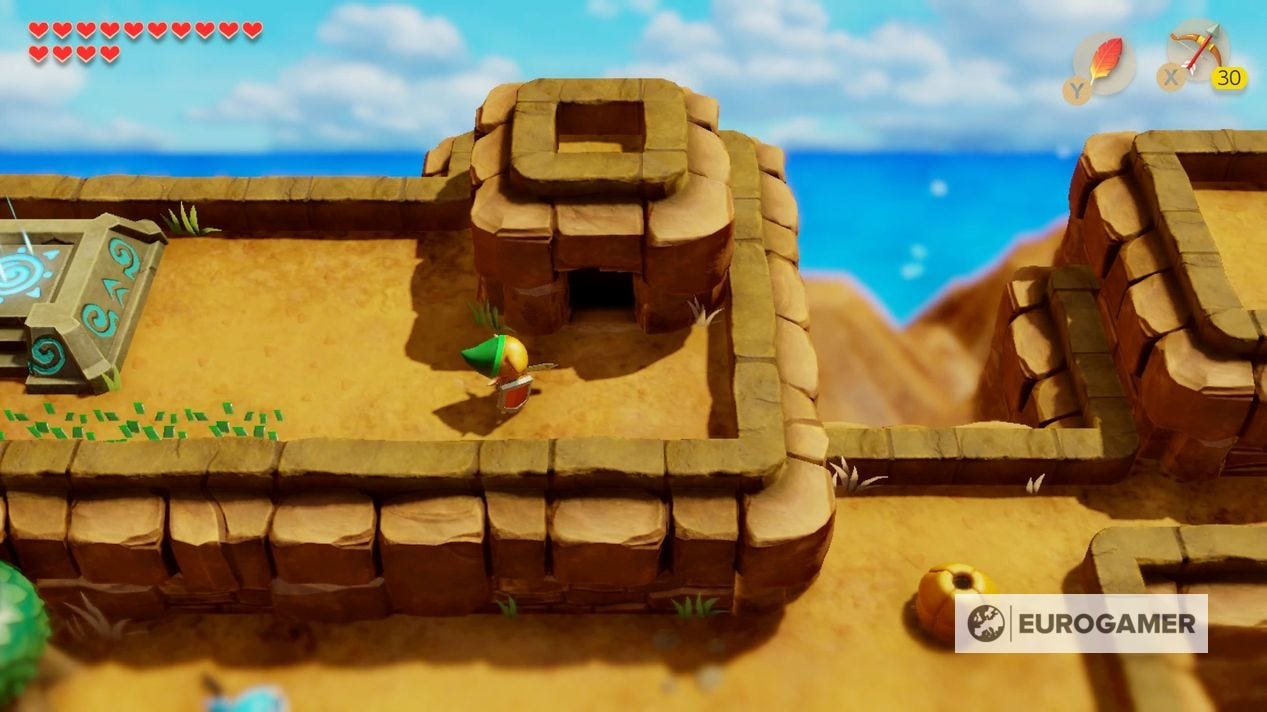
There's some points of interest here - a Heart Piece above where you emerge, and a warp point to the right.
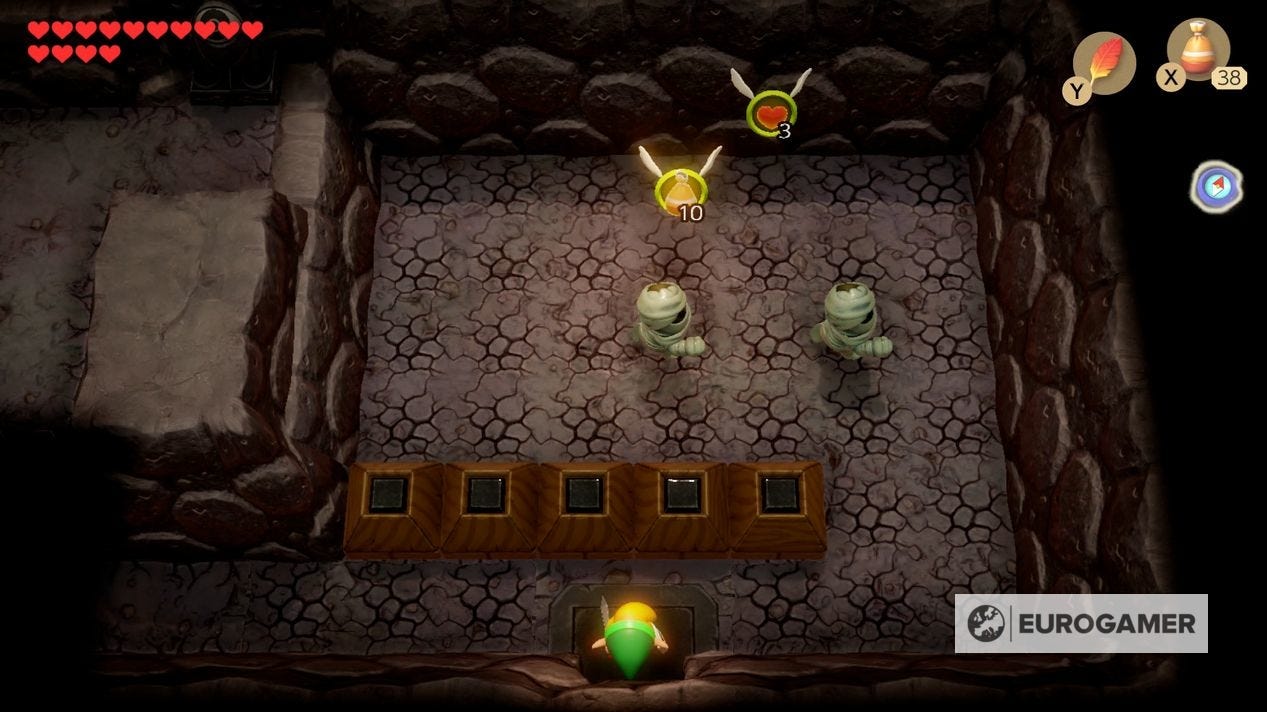
Keep going an enter the hut to emerge back in the dungeon, above the two black-shelled enemies.

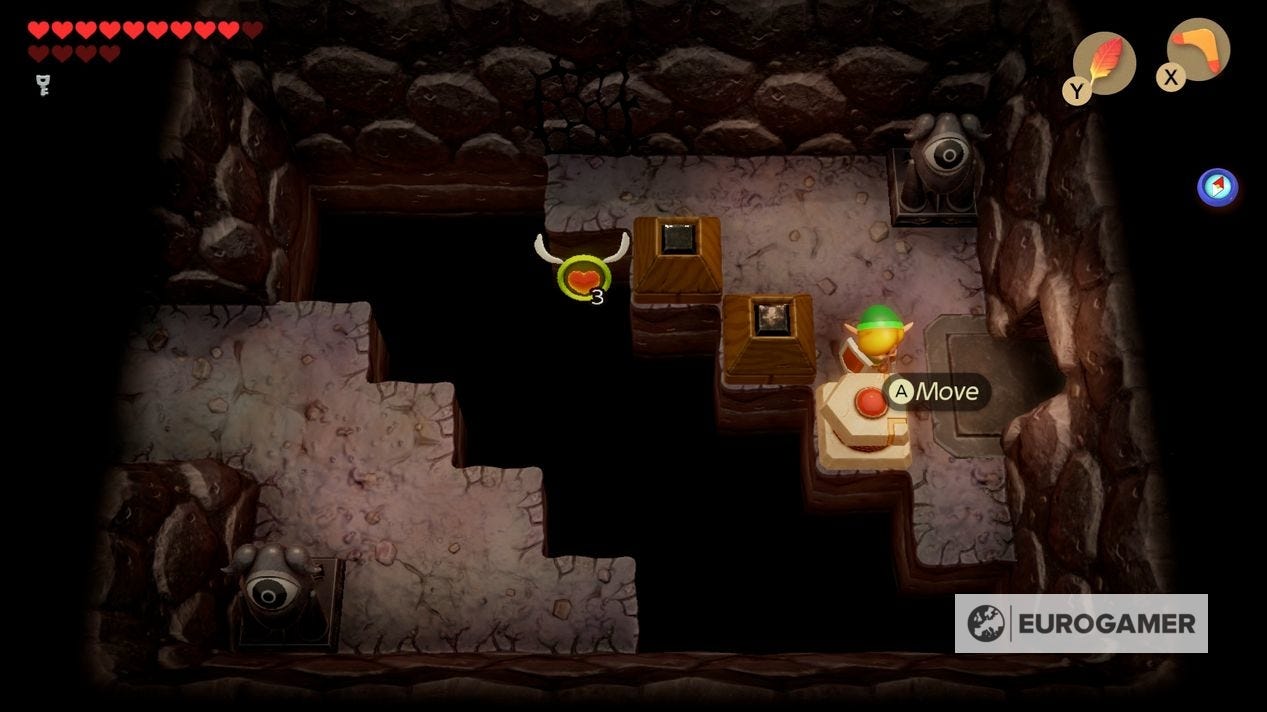
How to solve the 'Attack them from a higher place' puzzle
Taking note of the Stone Owl's advice earlier ("To defeat the monsters who hold the key, attack them from a higher place") you need to defeat these enemies using bombs, as they will spawn a chest from this higher vantage point. Open it up for a Small Key.
Remember the room to the east with Stone Owl that gave you that advice and the cracked blocks? Head back there and bomb the left wall for a secret room.
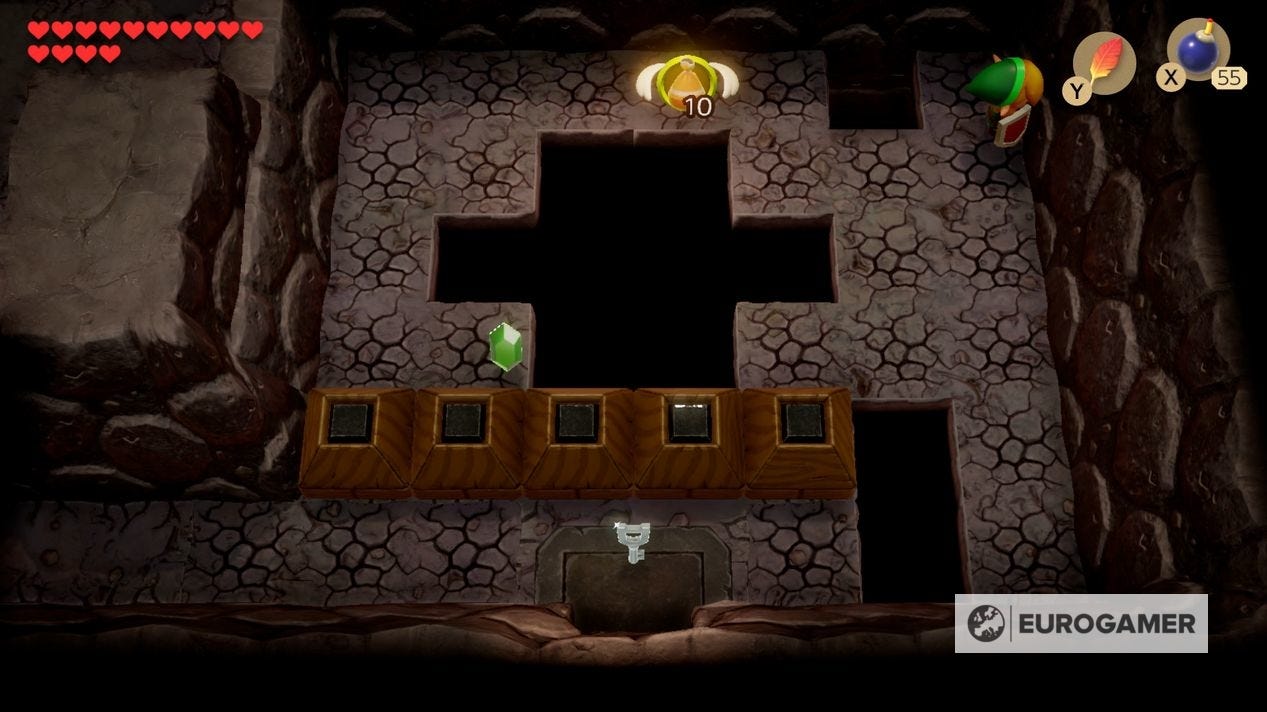
Go through here and unlock the corner Locked Block.
Next is a room with a Locked Block on a higher point on the south. Don't worry about lighting any torches - none are needed to solve a puzzle.
Before we proceed, we can bomb the south-west corner for a shortcut back to a prior route, but it's not mandatory.

Head west, unlock the Locked Block in the corner, to return to the previous room from a higher vantage point. Hookshot down to the south side, unlock yet another Locked Block, and use the stairs.
After the side-scrolling section, you'll be in a room with a chest above. To get to it, head south to drop into a room with a mini-boss.
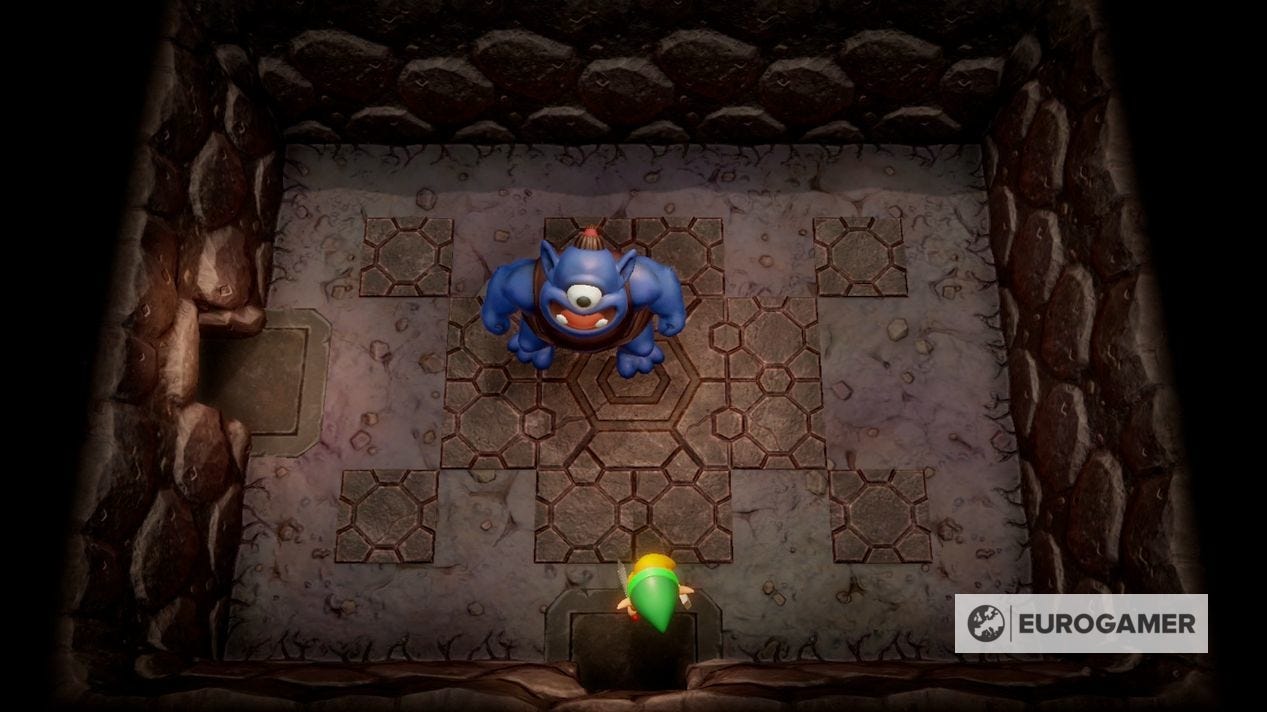
How to beat the boxer mini-boss in Turtle Rock
This boxer deals out a lot of damage and will block a lot of your forward attacks, so you have to wait until it's open. Block the small jabs with your shield - or move out the way the best you can - until really swings for you.

At this point, leap out of the way using Roc's Feather and attack it from behind. It can do a much bigger attack that's more telegraphed and easier still to avoid, so if you're struggling, wait for those.
You can do damage between small jabs too, but the windows of opportunity are quite rare. Be patient, use your shield and use those leaps to get out of the way and it's very doable.

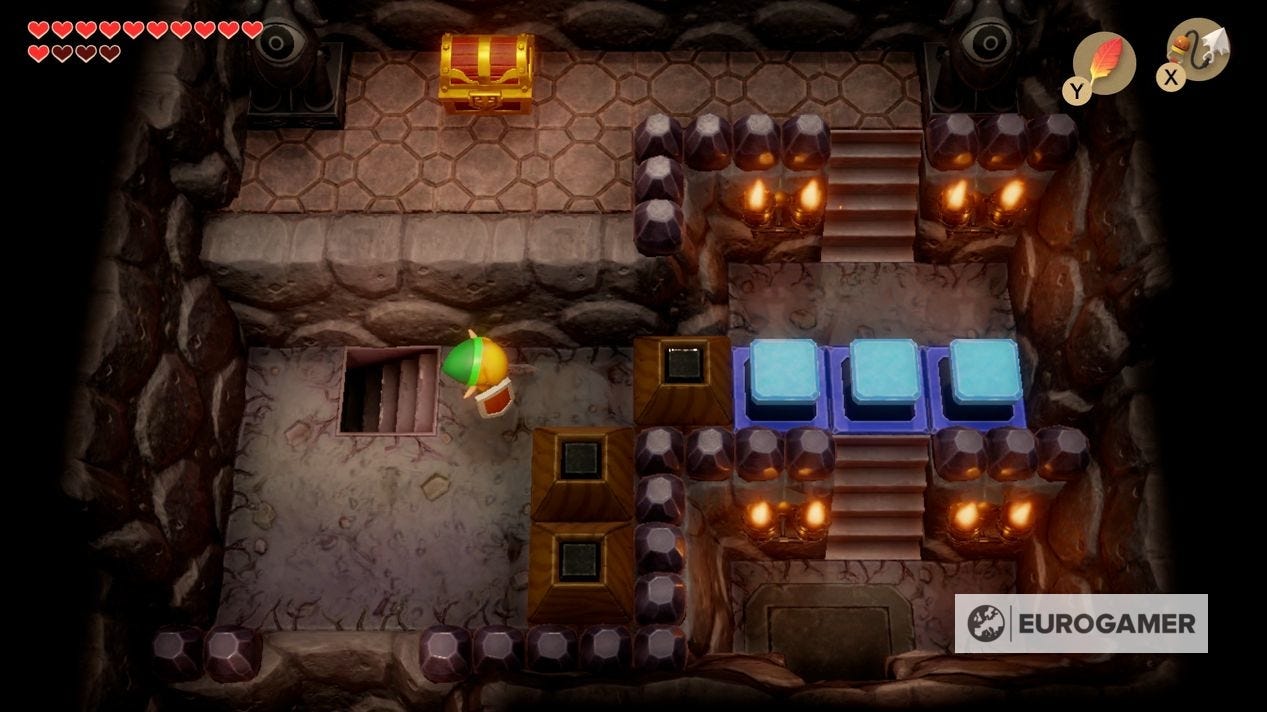
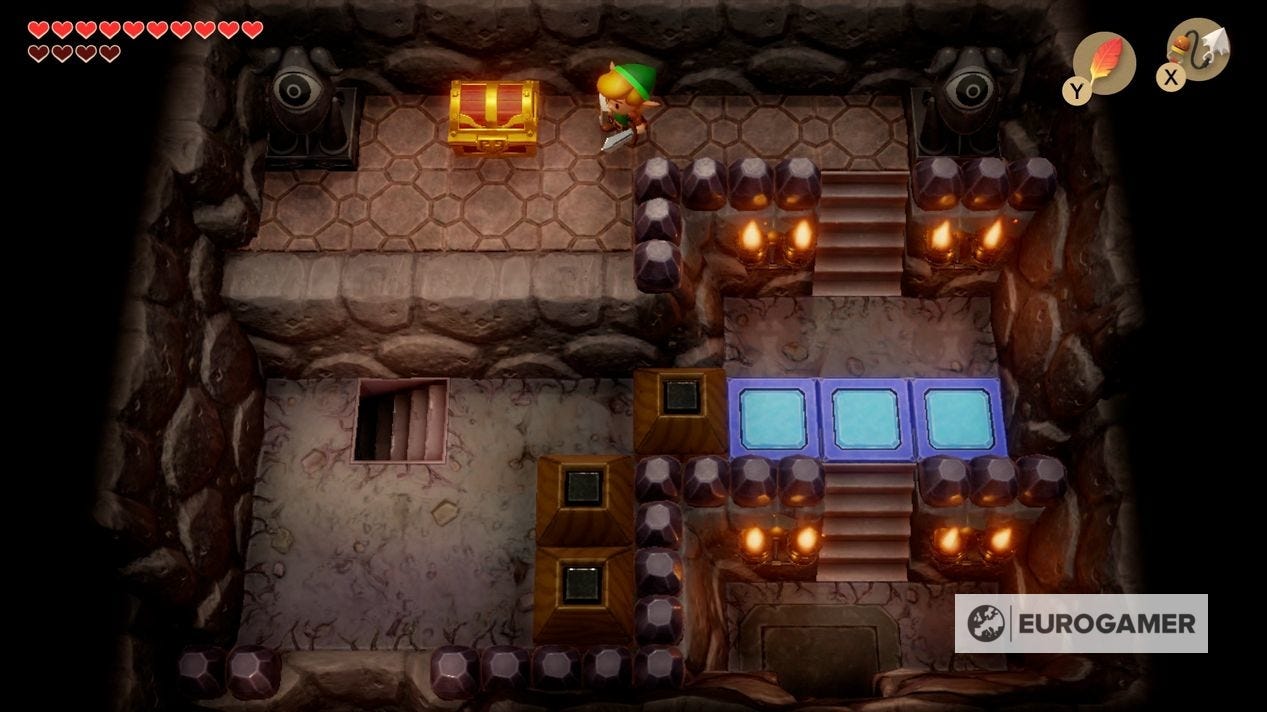
Once done, a warp point will appear, and the door north will open. Going through brings you to a series of switch blocks. You need to find the crystal to activate these.
The crystal, in case you missed it, is in the same room where you had to completely fill the large crevice with the device to the east of the dungeon. There's a cracked wall at the top with the crystal inside - the warp point you just activated will make going back and forth to this spot a little easier.
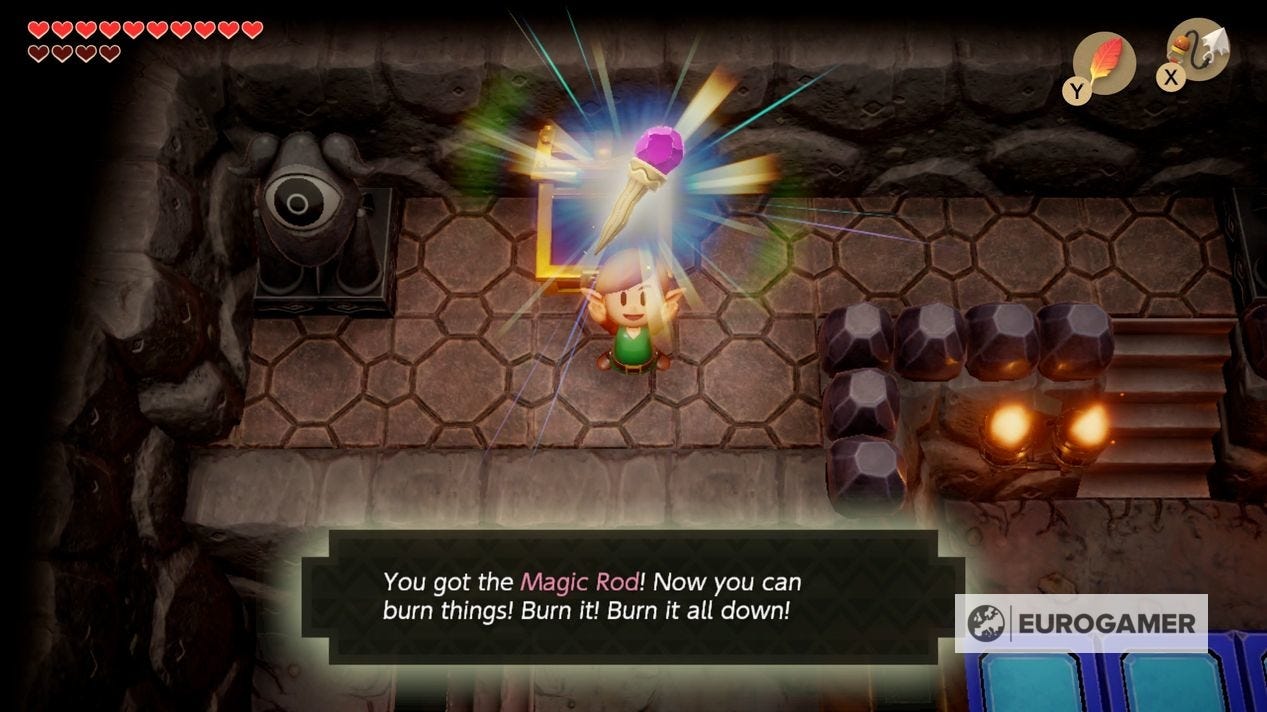
Once done, head through to the chest, containing the Magic Rod, allowing you to light distance torches and melt blocks of ice.
Our Zelda: Link's Awakening walkthrough and guide can help you with the critical path, including the Eagle's Tower and Turtle Rock dungeons. There's plenty to be done on the side, too - including Zelda Link's Awakening Heart Pieces, Zelda Secret Seashells and the Zelda Link's Awakening trading sequence. Finally, there's also the new Zelda Chamber Dungeons feature to unlock and complete.
How to use the Magic Rod to get the Nightmare Key and reach the Nightmare Door
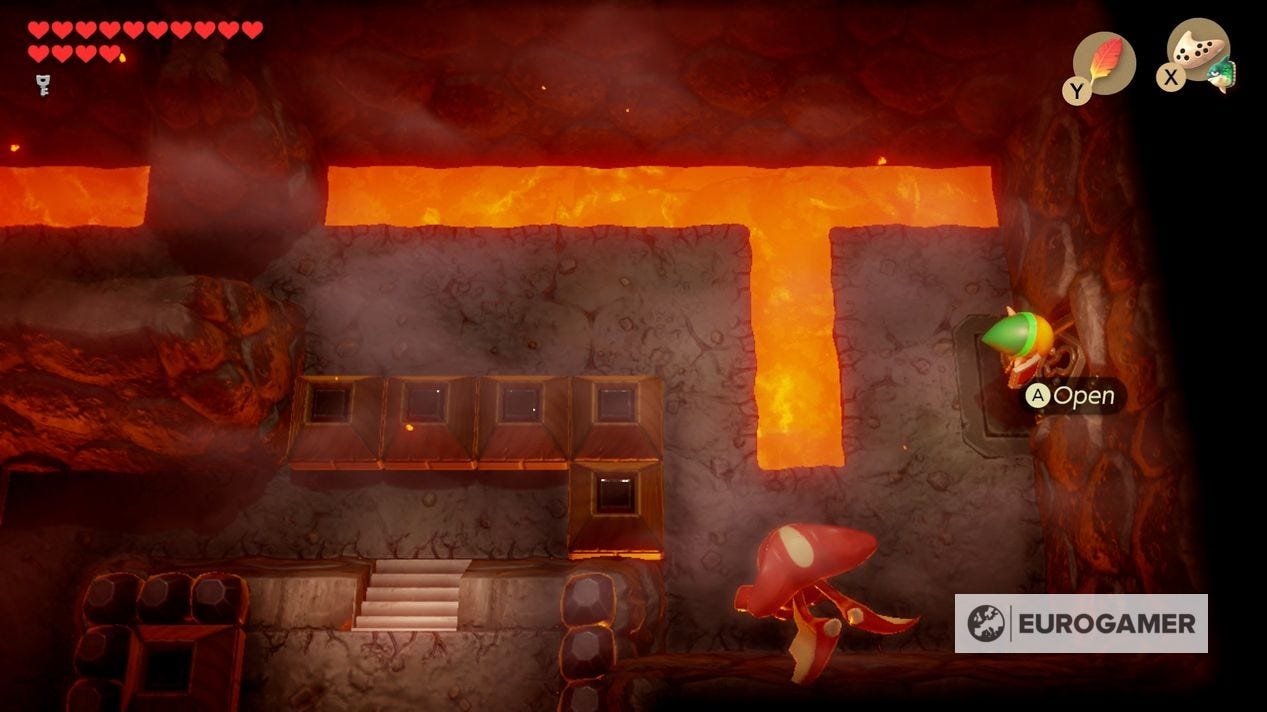
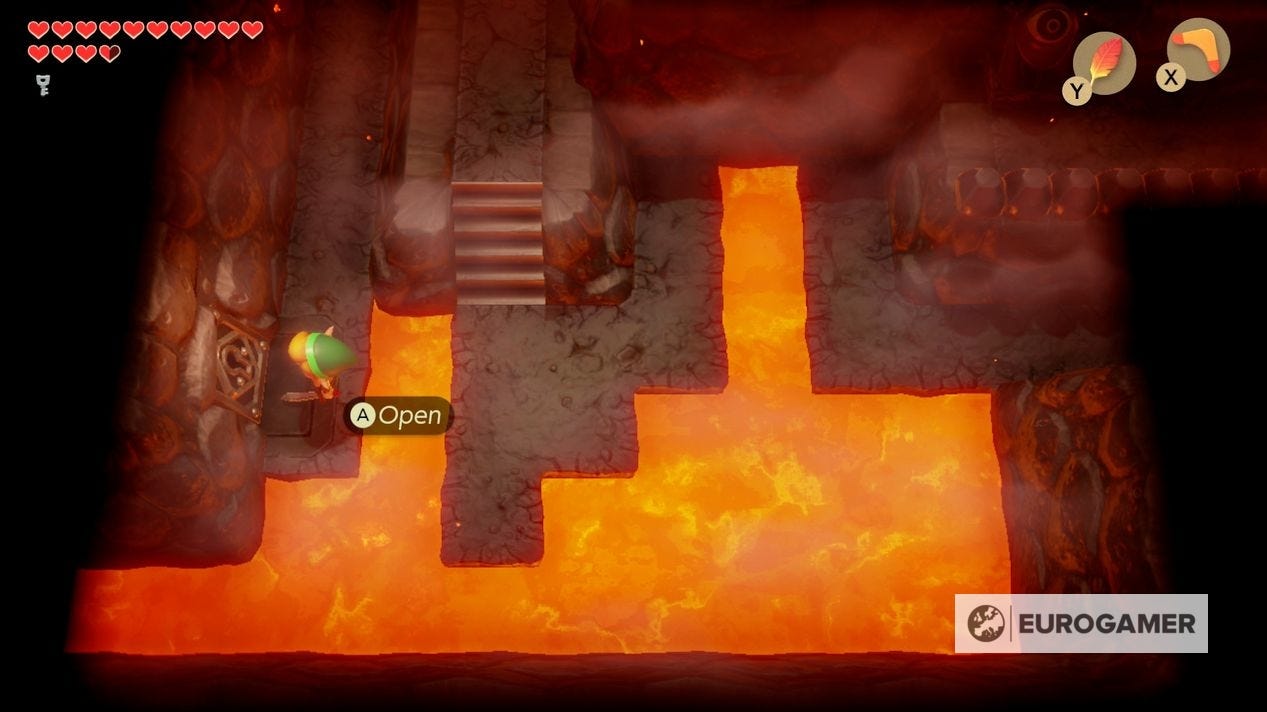
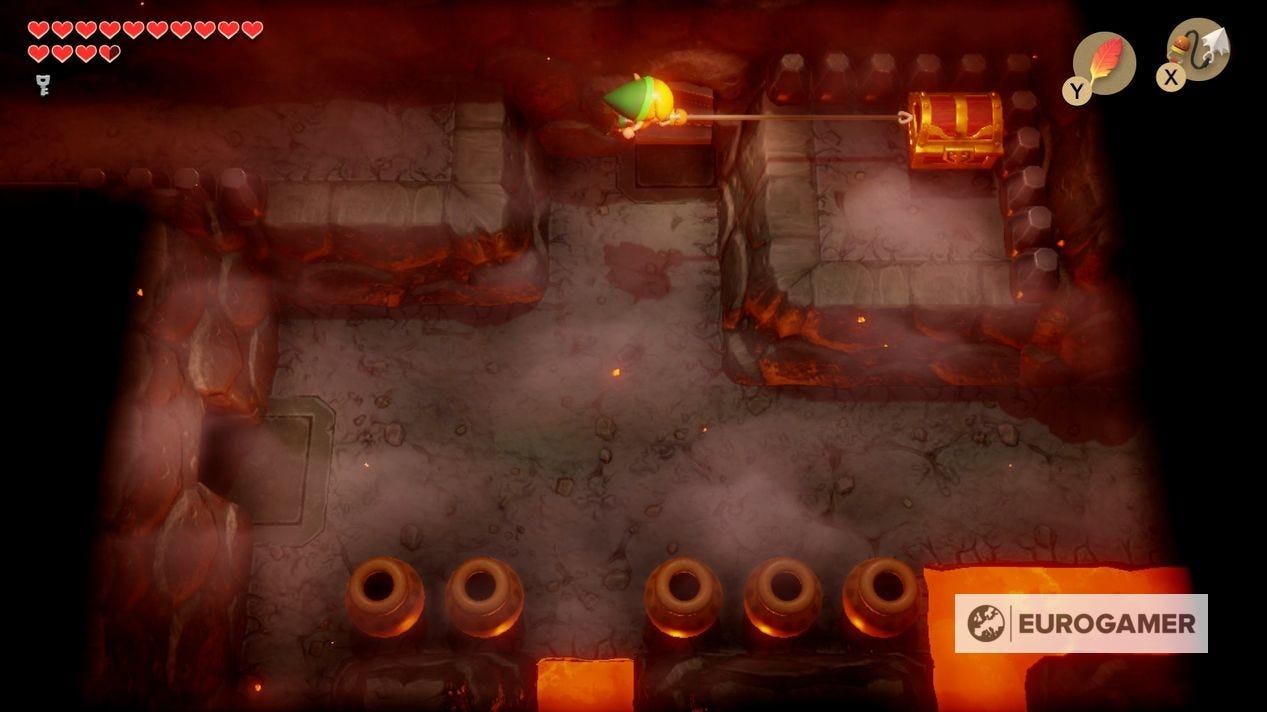
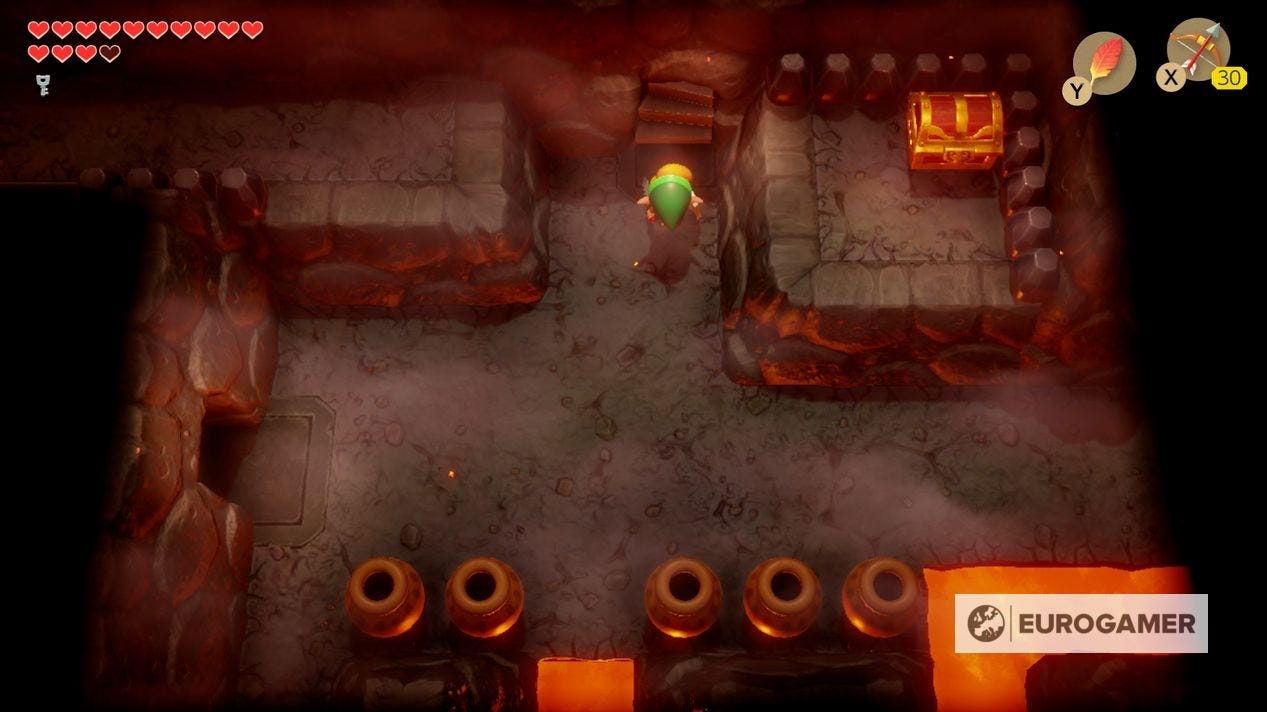
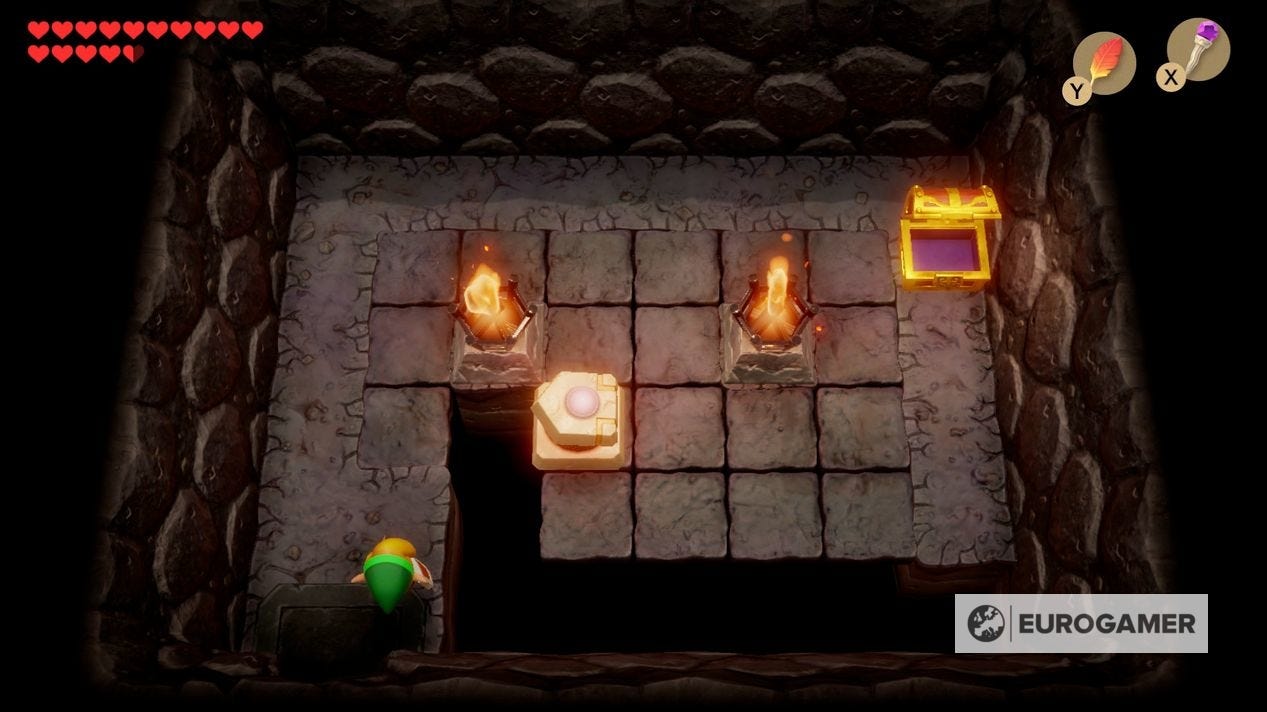
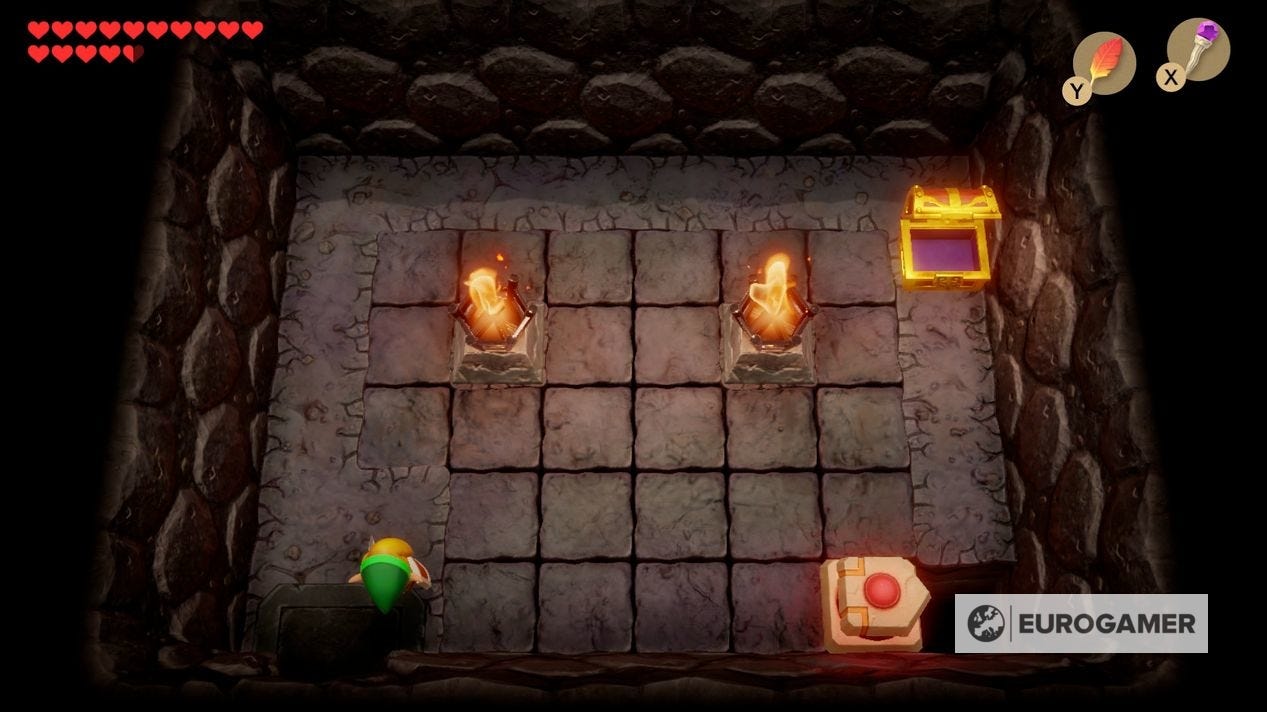
First port of call with the Magic Rod is to head to the west of the dungeon, where you came across two torches in the corners you couldn't light yet. Use the Magic Rod on these for a chest containing a Small Key.

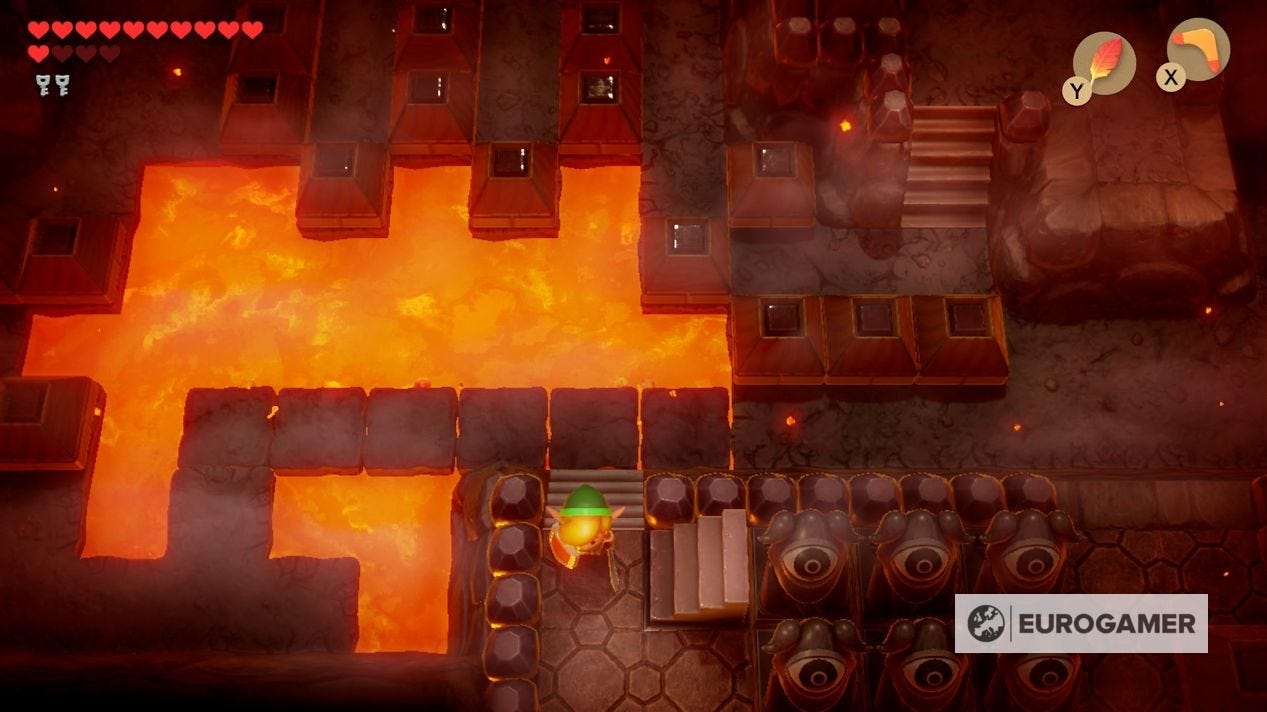
Next, you'll want to find the Nightmare Key. Head north from the entrance to the lava contraption, and move it right, so you can access the staircase to the south.
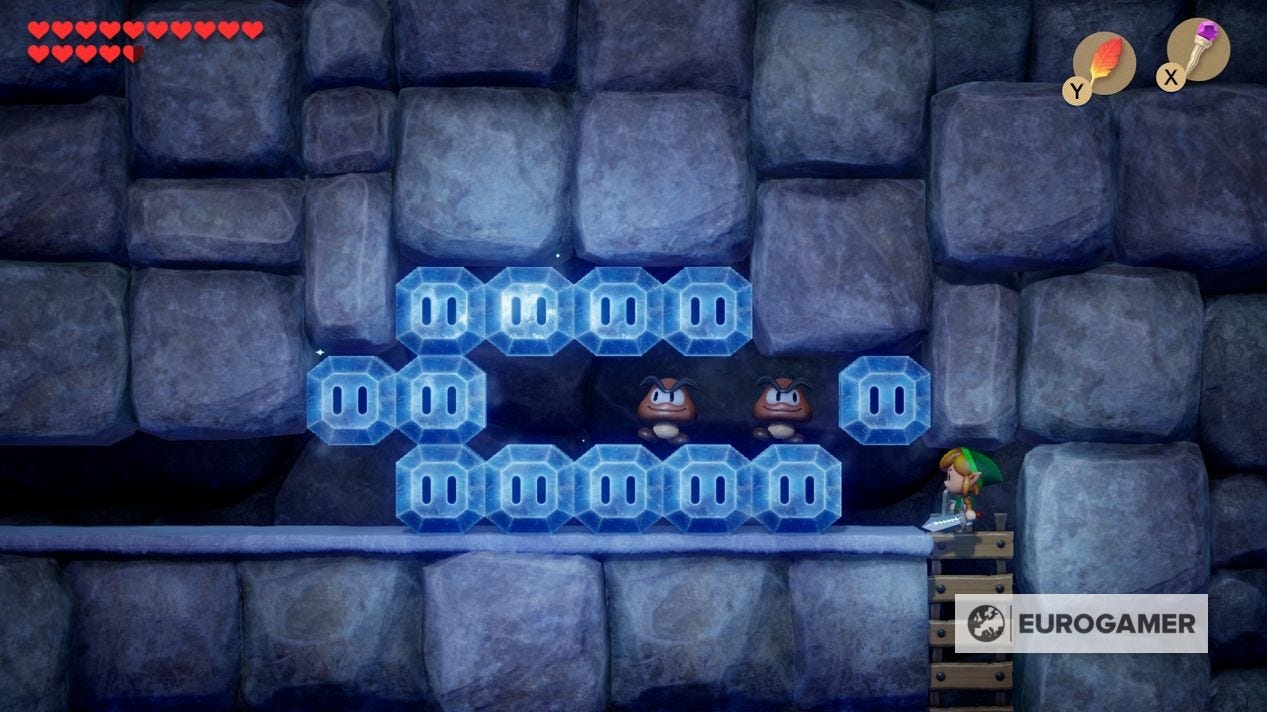
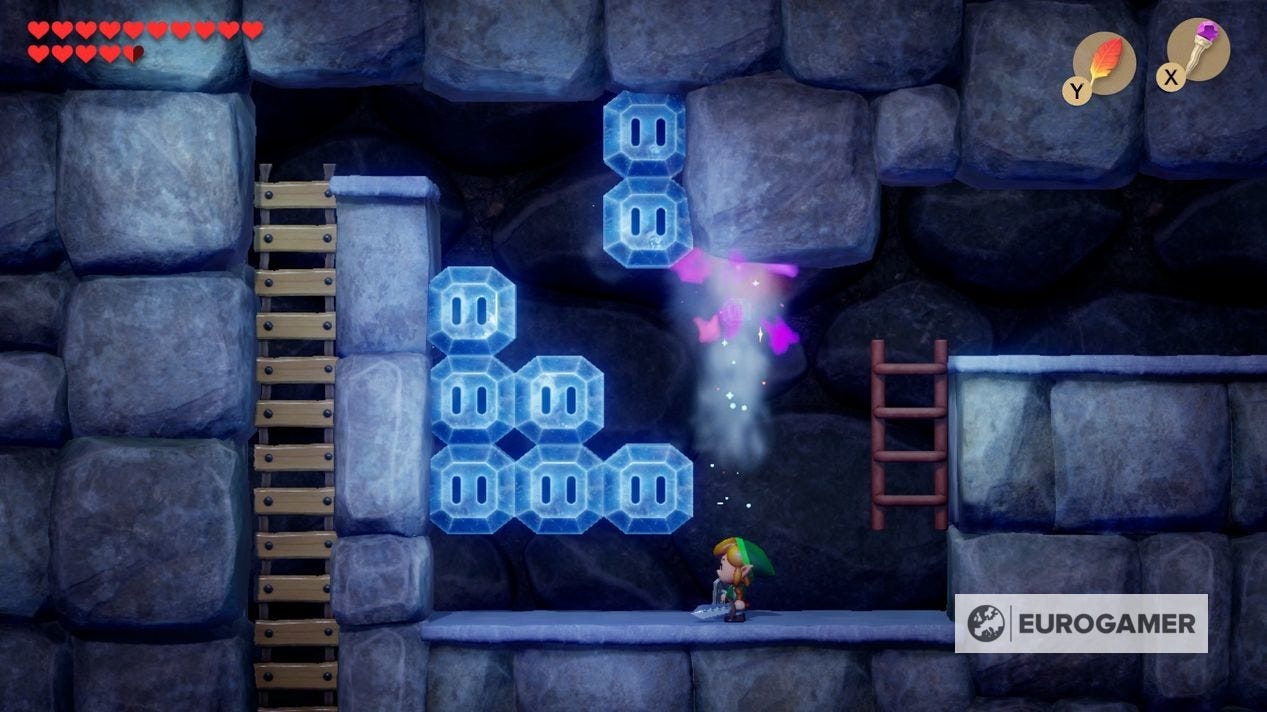
This is a side-scrolling section with ice blocks, made light work of using the Magic Rod. Clear the first screen with a single attack, while the second requires you to clear only the higher row with a leap in order to make it over.
Unlock the Locked Door to the south on the other side to fight a mini-boss. Again, this is a boss you've faced before, and you have to attack it from anywhere but the front to attack it.
There's one big difference - there is a pool of lava in the middle making things difficult. As such, you need to use the Boomerang to attack it from the side. It can take a while, but you essentially want to be in a position of firing from the top or bottom of the screen to the opposite side.
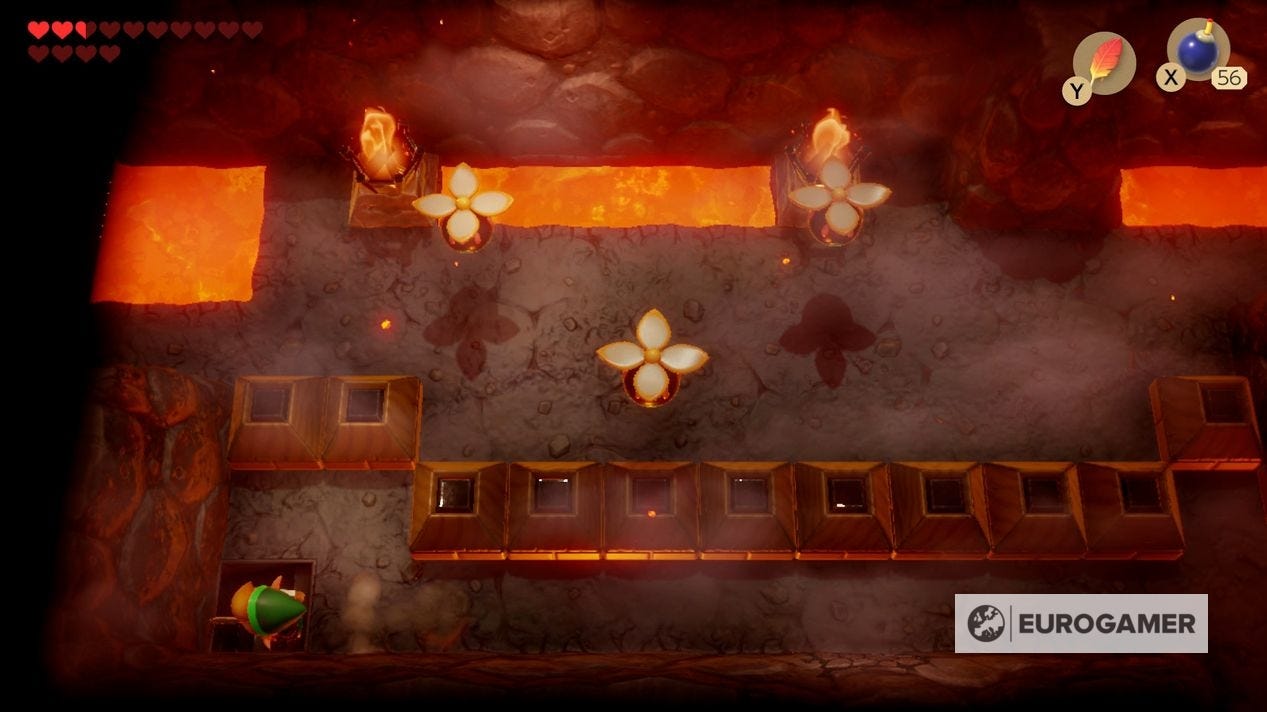
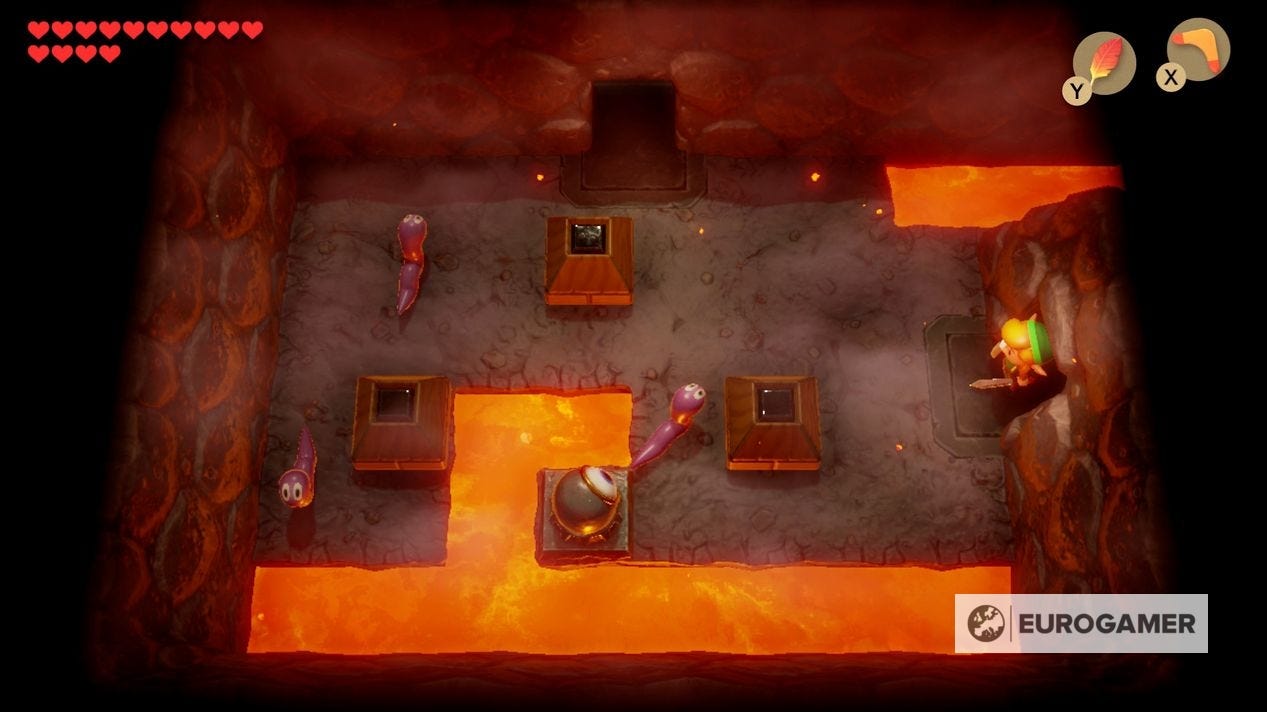
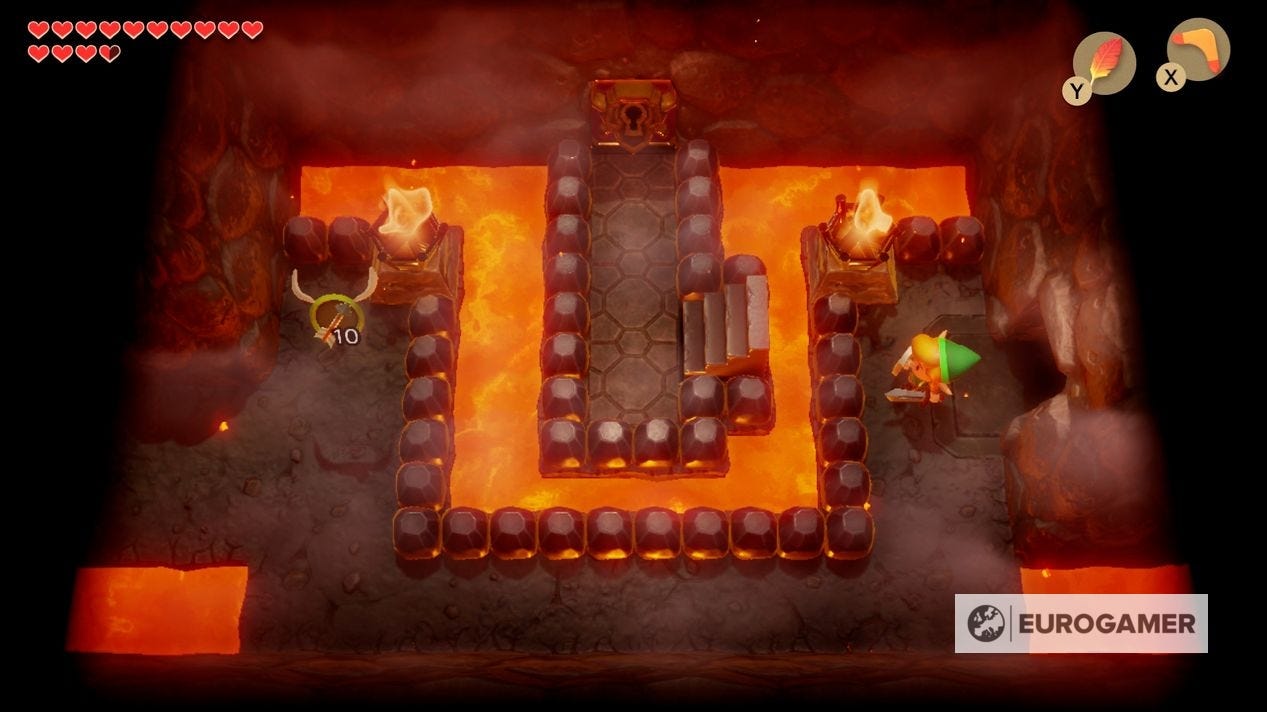
Once done, the next room has another contraption. You need to fill the floor completely as usual; do so by starting going clockwise round the first torch and stopping when you're to the right, then the same again with the other.
Then create a line let underneath both torches, and zig zag up and down until you are at the far corner. Doing so gives you the Nightmare Key.
To reach the boss, head north from the entrance to the lava contraption, and have it go right to the staircase in the corner.
This side-scrolling section is filled with ice blocks. You have to be careful with your deployment of Magic Rod blasts; the first room you can clear everything, but reaching the left route might require you dropping from above, firing as your fall, and doing the same again to land there and continue.

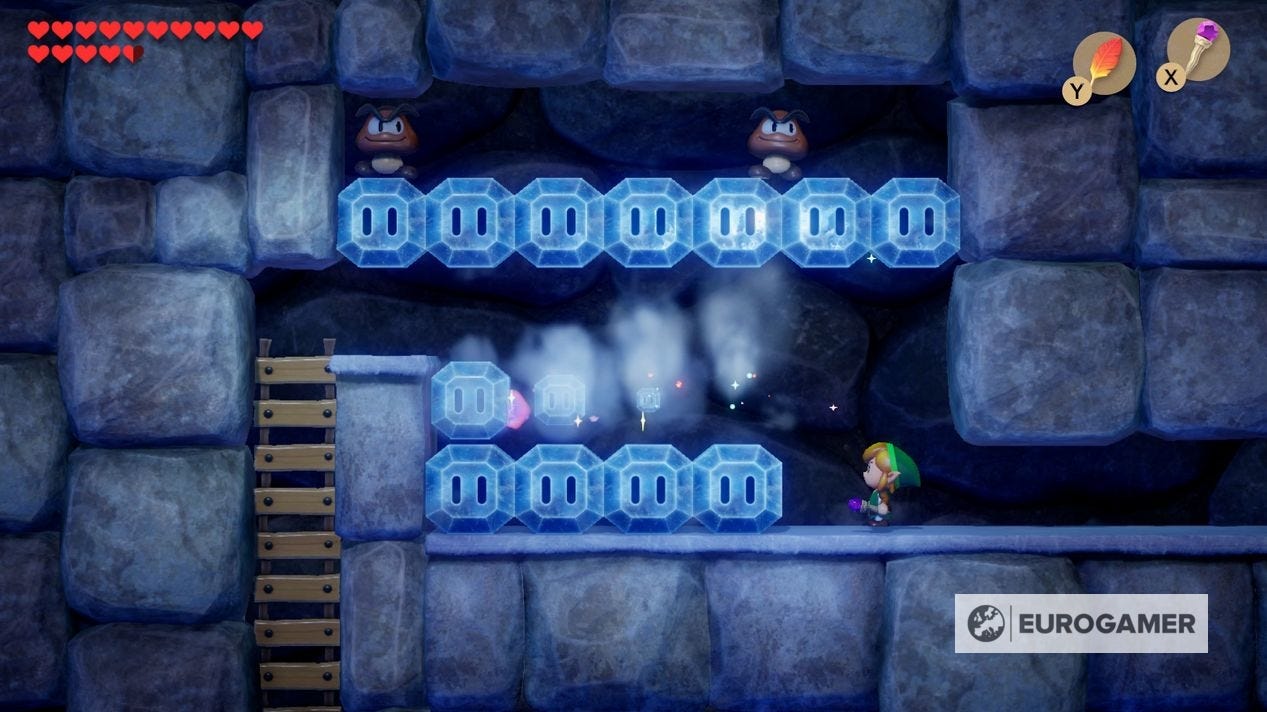
The second room, meanwhile, has you retain the staircase of blocks going up in order to reach the far side. To do this, stand on the nearest column, fire down, then from the ground left across. Finally, fire up at the next column. Now leap from the ladder to the staircase of blocks that's left and make your way up and over.
Once you emerge, you are at the Nightmare boss door and face Hot Head.