Dark Souls 2 - Lost Bastille, statue, blacksmith, shortcut, bastille key
If you need a little help killing the five enemies guarding one small room in the Lost Bastille, we've got a guide to thinning out the pack.

There's an extremely cramped fight coming your way during the Lost Bastille section of Dark Souls 2. We've got a few useful tips that should help you gradually thin out the pack, and reach the end fully prepared for the showdown with the Ruin Sentinels.
The Lost Bastille guide
First things first, head upstairs and then go into the cell you can see on your right. Pick up the two Common Fruits that are just inside. Now carry on all the way up the stairs until you reach a bonfire in the cell to your left - light it up before you move on.
Head down the path when you reach the top of the stairs, and ignore the white guard up ahead for now. Instead, look for a gap in the wall over to your left, deal death from above against the enemy below, then take your time finishing off the pair of dogs and the guard who attack you straight afterwards.

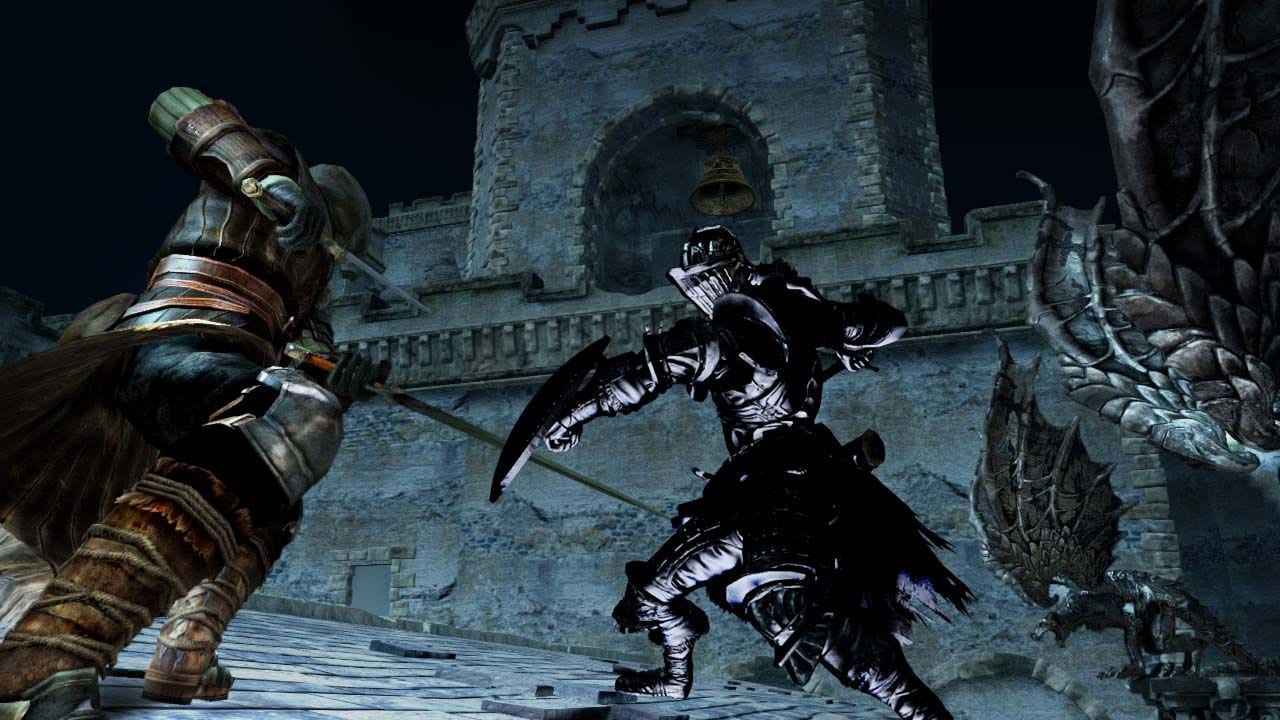
If you're not feeling quite up to the challenge of this, you can always sneak down the ladder up ahead on your left and deal with the dogs separately. Once they're both dead you can deal with the guard from the platform, who will drop down and approach you slowly. Try to fight this guard from the rear if at all possible, so you avoid the wide arc and range of his lance attacks. You're not completely safe even in this rear position, so be ready to dodge out of danger if necessary.
"Try to fight this guard from the rear if at all possible, so you avoid the wide arc and range of his lance attacks."
When this enemy finally dies he'll drop a Twilight Herb. After you've picked it up, smash up the wooden structure that's over in the corner to loot an Alluring Skull. Now smash up the other wooden barricade that's behind you, and slither through the opening you've just created. You'll find a coffer at the end of this section that contains an Estus Flask Shard and a Large Titanite Shard.
Go back through the way you came in and head down the corridor, dealing with the enemy dog along the way. There's a lever at the end of this area. Pull it, then kill the two dogs on the other side of the gate. Keep walking down this hall and then head into the opening on your left.
There's a bonfire for you to light here, before you loot a number of chests on the other side of the doorway. Doing so will grant you 10 Heavy Bolts, 10 Iron Arrows, two Large Titanite Shards and five regular Titanite Shards. Once you've grabbed them all, have a chat with the man nearby. Once you've died a couple of times, you'll be able to come back here and open up the chest he's sitting on. It contains a Twinkling Titanite and a Craftsman's Hammer.
Now exit the room and make your way up the stairway on your right, killing the lance-wielding enemy as you head on up. Just be ready to dodge to the left or the right when he hurls a barrel at you. Now keep heading down the hallway, kill the dog that attacks you, then take the path to your right until you come to a barrel up ahead.
Pick up the Gold Pine Resin at the end of this path, then carry on down the hall, kill the enemy and the dog at the very end of it, then go up the staircase and carry on into the next room along.
If you talk to Lucatiel over on the other side of the room you'll receive a Human Effigy. Once you've got it, make your way back the way you came in, then get onto the balcony via the damaged wall that's just to the left of the stairs. Now take the passage to your right until you come to a doorway, but hold off entering for a moment.
Defeat the five enemies
"Over to your left is a room that contains five enemies - as soon as they become aware of you, they'll come rushing at you all at once."
Over to your left is a room that contains five enemies. As soon as they become aware of you, they'll come rushing at you all at once. Not good. Another pair of enemies are patrolling the stairs nearby. Even if they don't all spot you at the same time, you definitely don't want to do all the fighting in this very cramped space. To make things just a little easier on yourself, first of all get back out onto the balcony and kill the enemy by the choke-point.
Once you've bought yourself a little extra breathing space, dart very quickly into the left-hand room, and then straight back out again so that only three of the enemies inside approach you. Kill them all while keeping a close eye on your positioning. Once they're dead, kill the two staircase enemies - wait for them to come back if they're not yet in a good position. When the first five enemies are dead, make your way into the left-hand room again, then run out with the remaining two guards in hot pursuit. Pick these last mobs off one by one.
Now you've finished off all seven of these enemies, it's safe to make your way downstairs. As soon as you reach the bottom, take a turn into the left-hand hallway, but keep an eye out for an enemy who might be climbing a ladder. Kill him if necessary, or just take the Soul of a Proud Knight and the Human Effigy from the end of the hall.
You can now choose to either climb up the ladder, or make your way back up the stairs you came down on. Whatever else you do, don't open the door that's in the room where the stairs are - there's absolutely nothing on the other side except an embarrassing tumble towards your death.
If you've selected the stairs, interact with the lever to open up the gate that's in the room where the guards were. Kill any remaining guards nearby, then make your way down the hallway. If you took the ladder route, you'll emerge in the cell nearby.
The second open cell on your right contains a pair of Lifegems. Grab them, and then go through the mist at the end of this passage to begin a boss fight against the three Ruin Sentinels.
Don't miss our guide on how to beat the Dragonrider. You can find the rest of our boss guides from the first page of this walkthrough.