Spelunky 2 bosses: Strategies for Quillback and other bosses explained
Our in-progress explainer on how to defeat - or, better still, bypass - each boss encounter.

Spelunky 2 bosses are enemies which require a little more thought and planning than (most) others you come across.
Where as the original Spelunky had major bosses at the end of certain runs, and mini-bosses which would appear depending on the randomness of your run, the sequel mixes things up a bit with presenting you with bosses at key moments - such as Quillback at the end of the first world.
The good news is, you can ignore some bosses entirely - allowing you to treat them more as an environmental obstacle than something to be defeated and overcome.
Note there are spoilers for Spelunky 2 on this page, and the table of contents links just below.
On this page:
If you want to practice these bosses, remember you can unlock Spelunky 2 shortcuts to reach later worlds faster.
Quillback strategy in Spelunky 2 explained
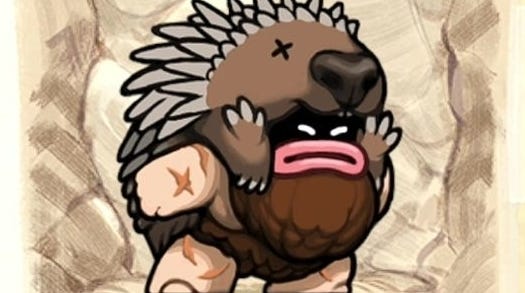
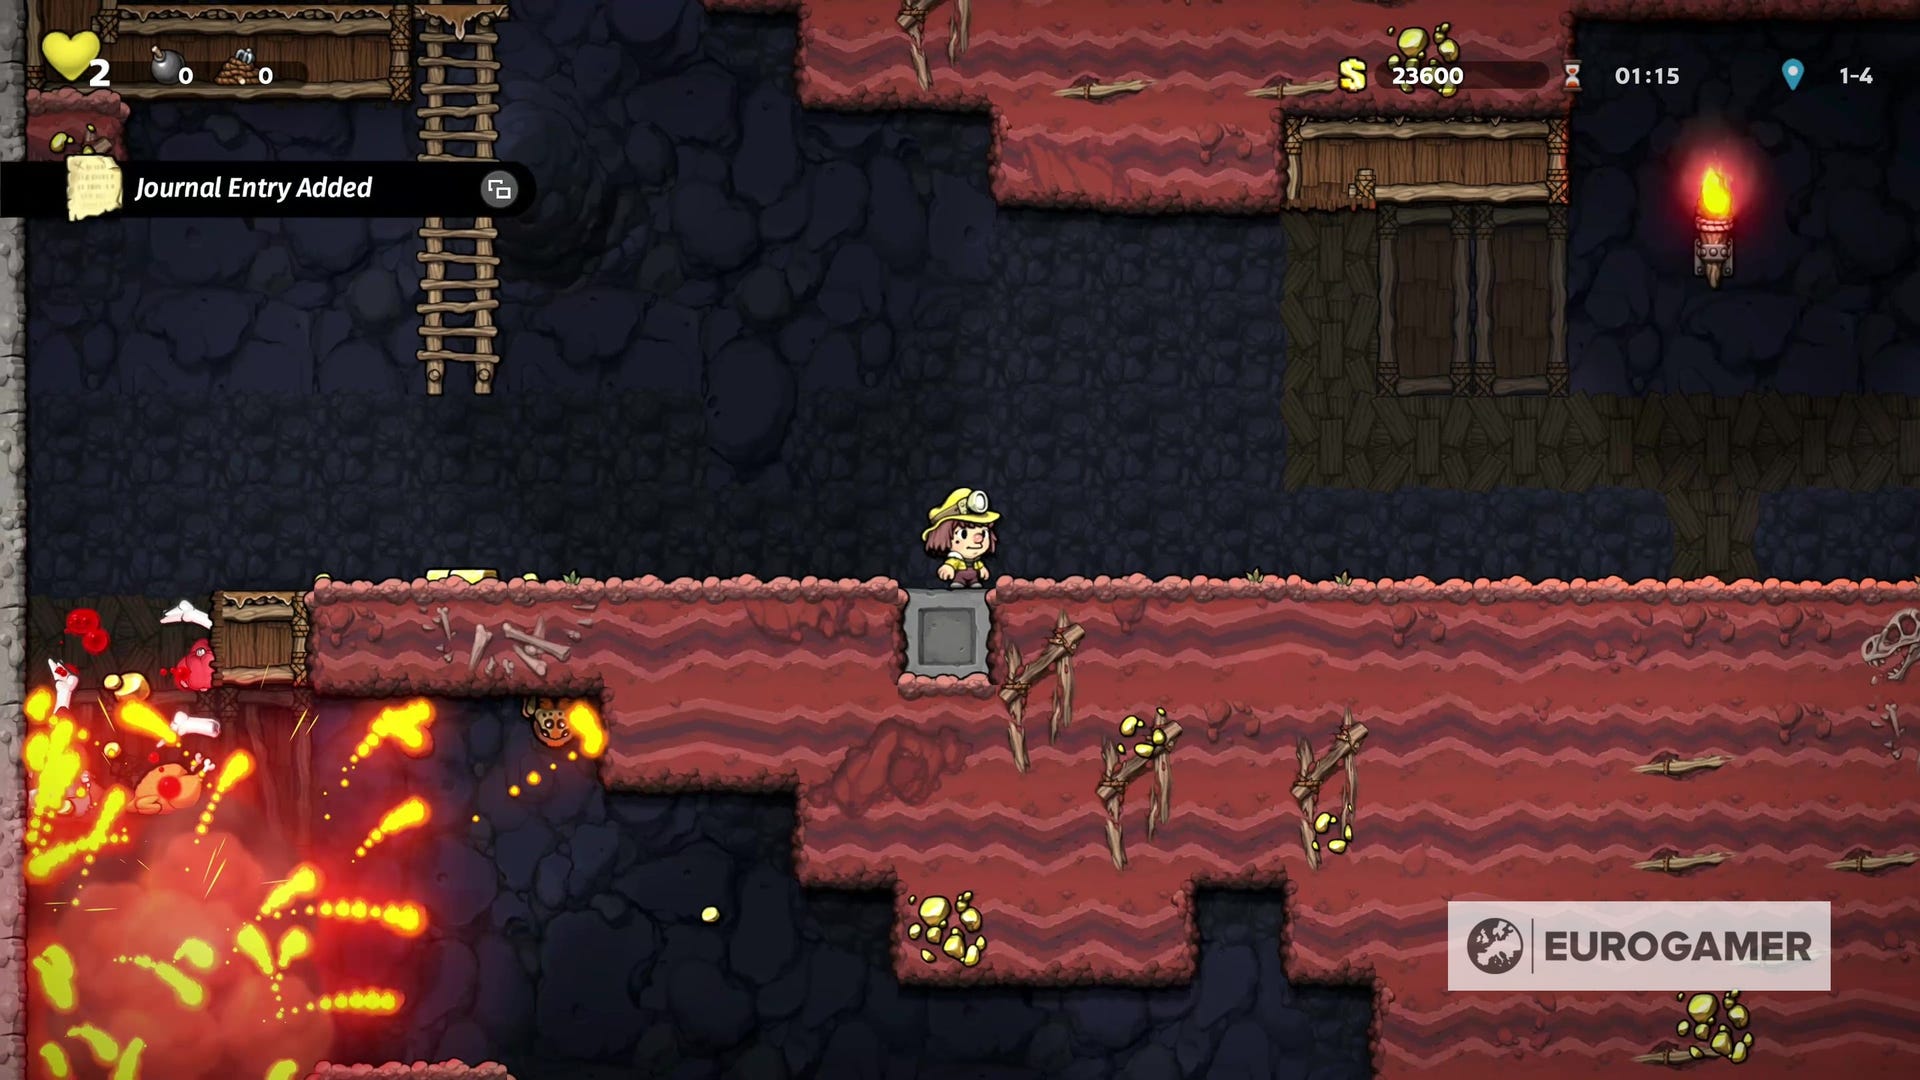
The first boss in Spelunky 2 is Quillback, the caveman leader with the pelt of the last cave porcupine on their back.

You'll encounter them on 1-4, and might serve as the first major threat in your game. Reaching Quillback's lair works the same way each time (unless, of course, you are deciding to use bombs or other items) - via ladders from above.
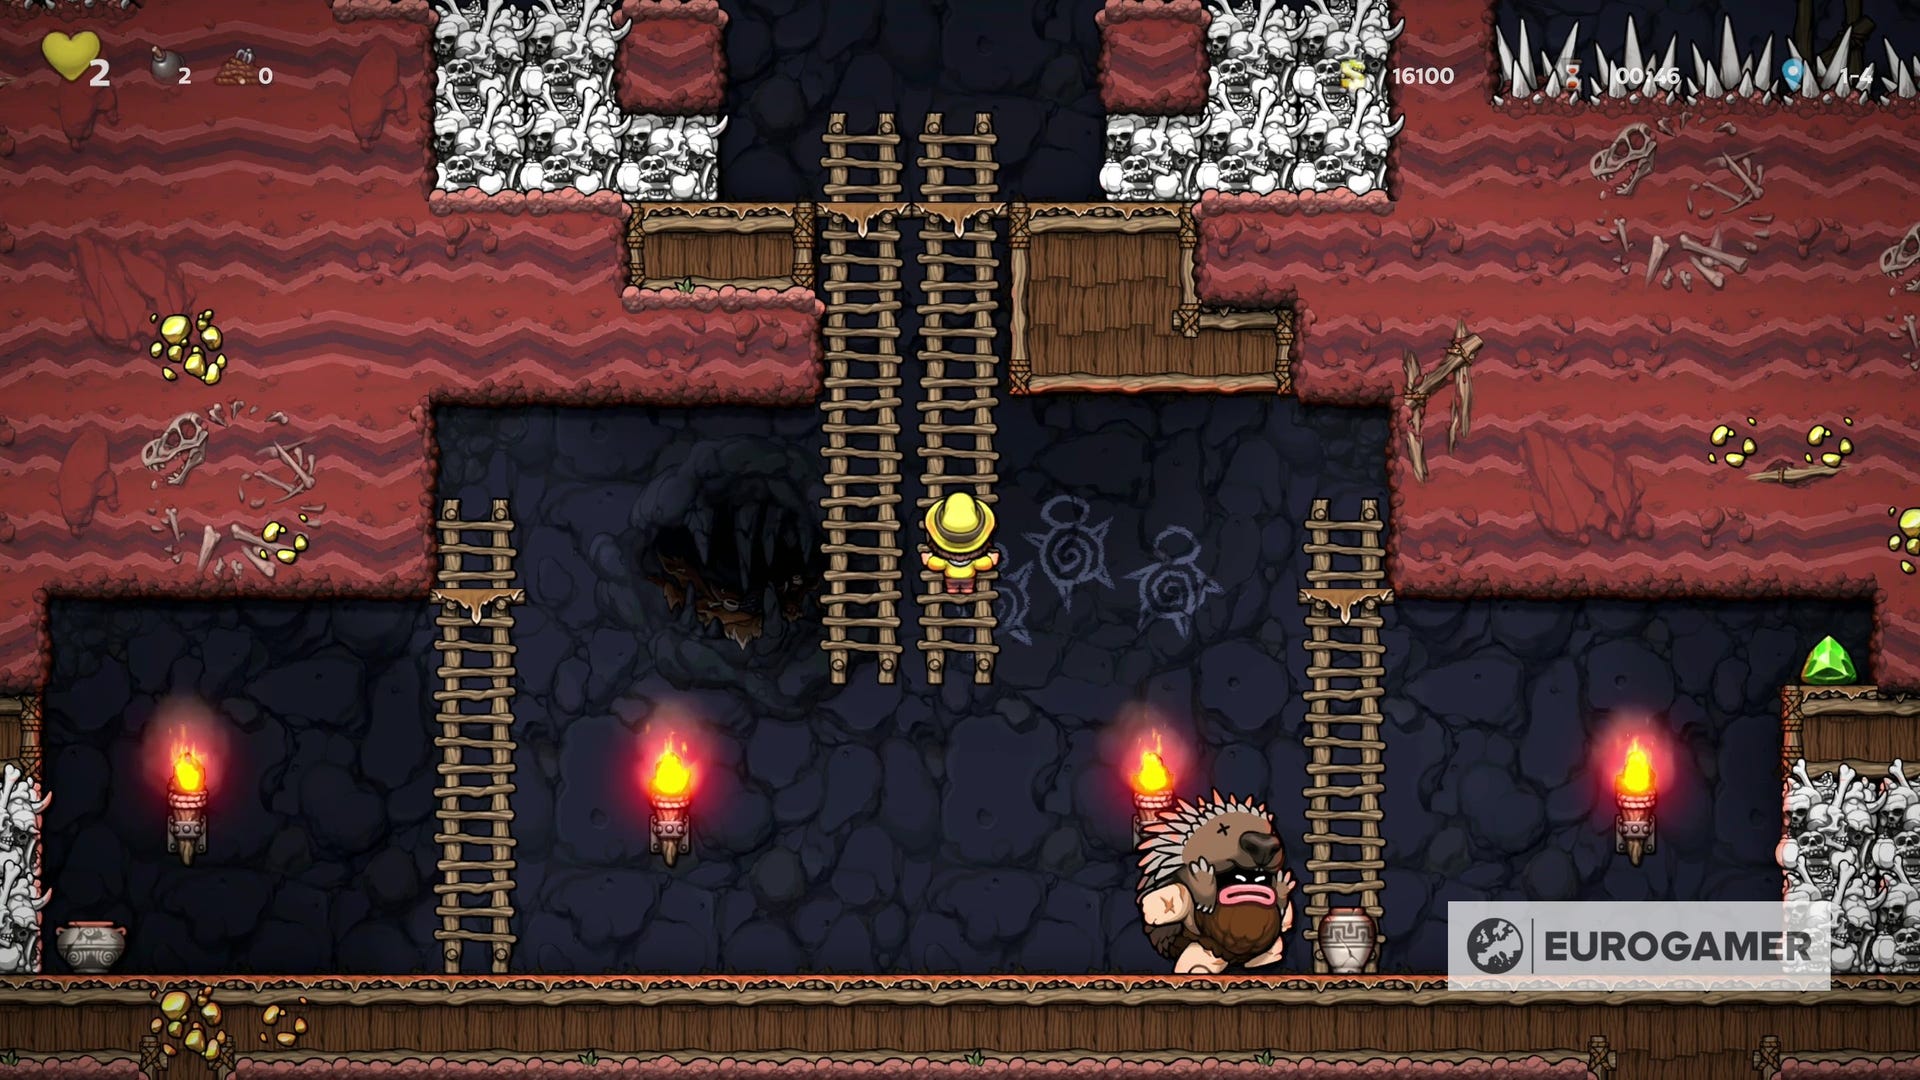
Quillback will be pacing back and forth below, and will charge at you when spotted.
The tactic here is thankfully fairly simple - climb up one of the ladders and let Quillback roll past you. They should then roll into one of the side walls of the lair, destroying them.
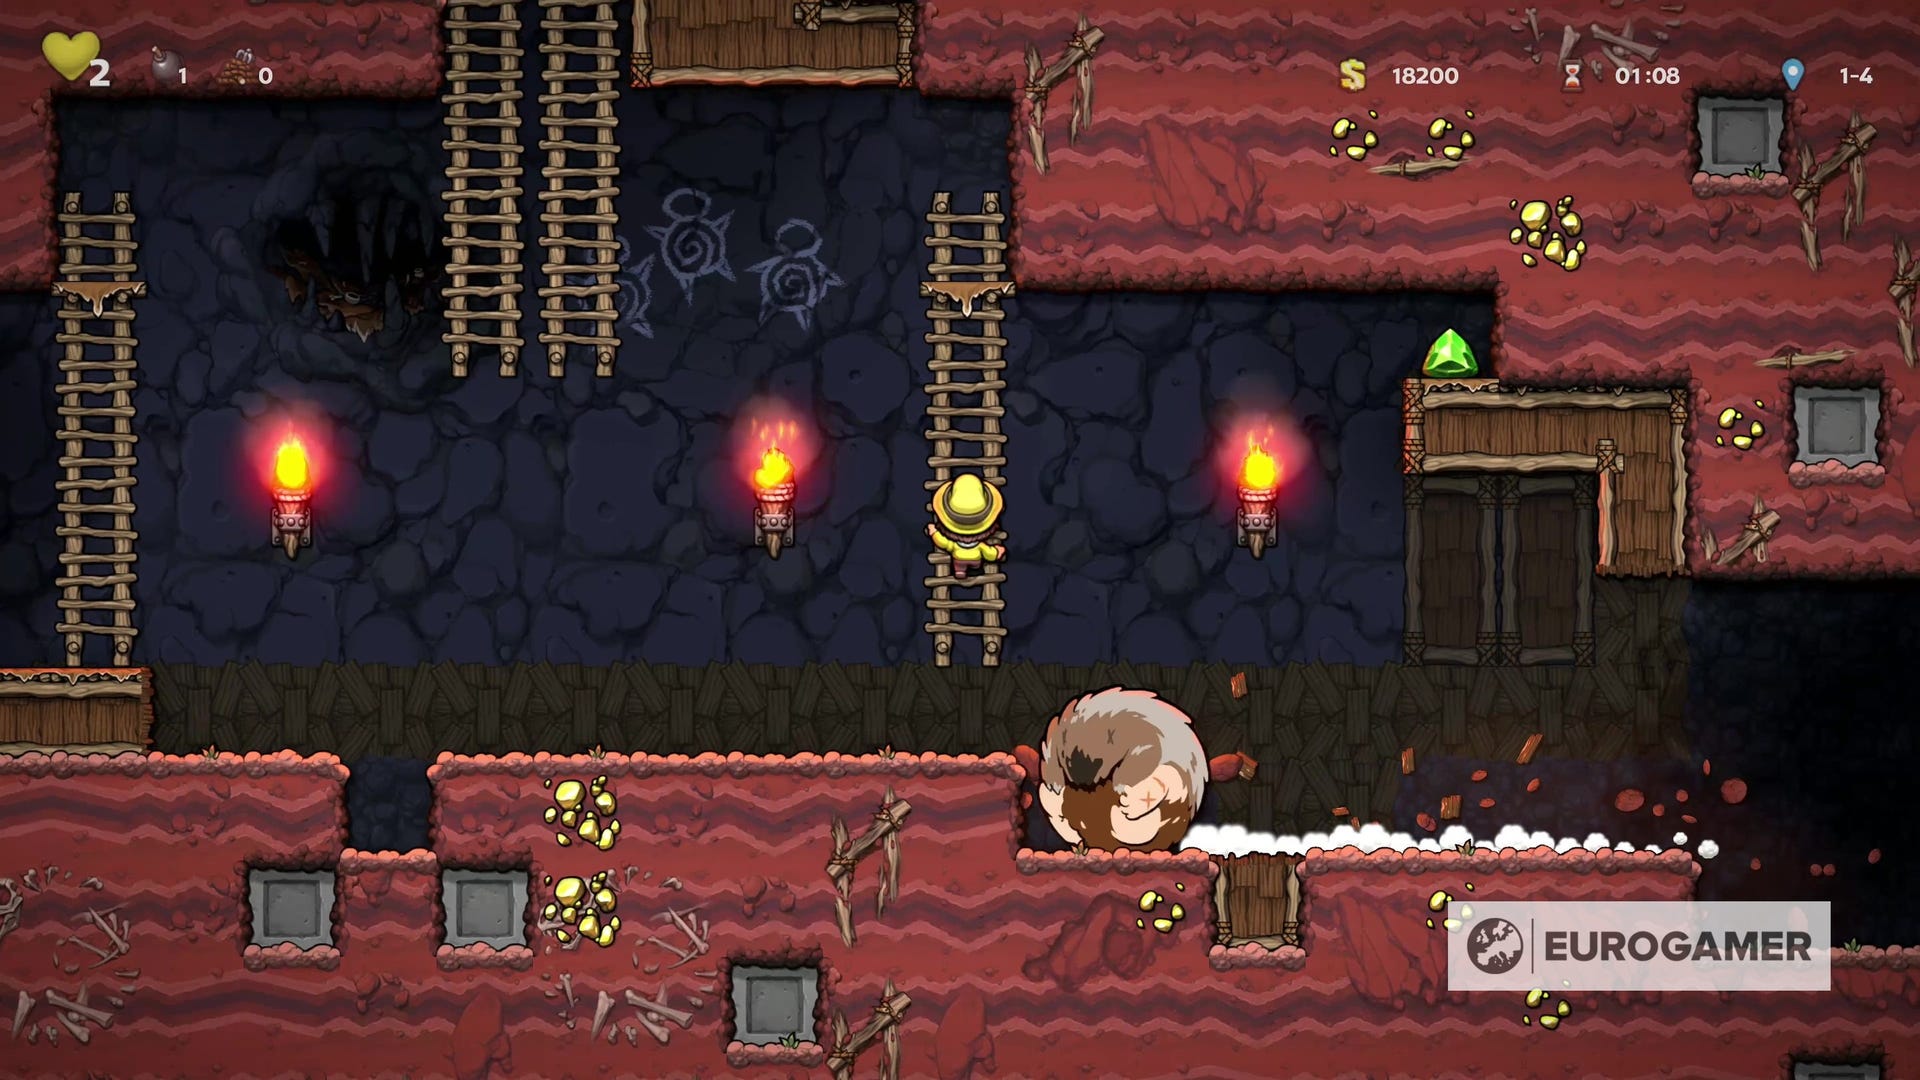
This is how you can avoid fighting Quillback altogether. By baiting them to roll again, they will leave that side of the lair exposed, which leads to a ladder and a door allowing you to continue the rest of the level.
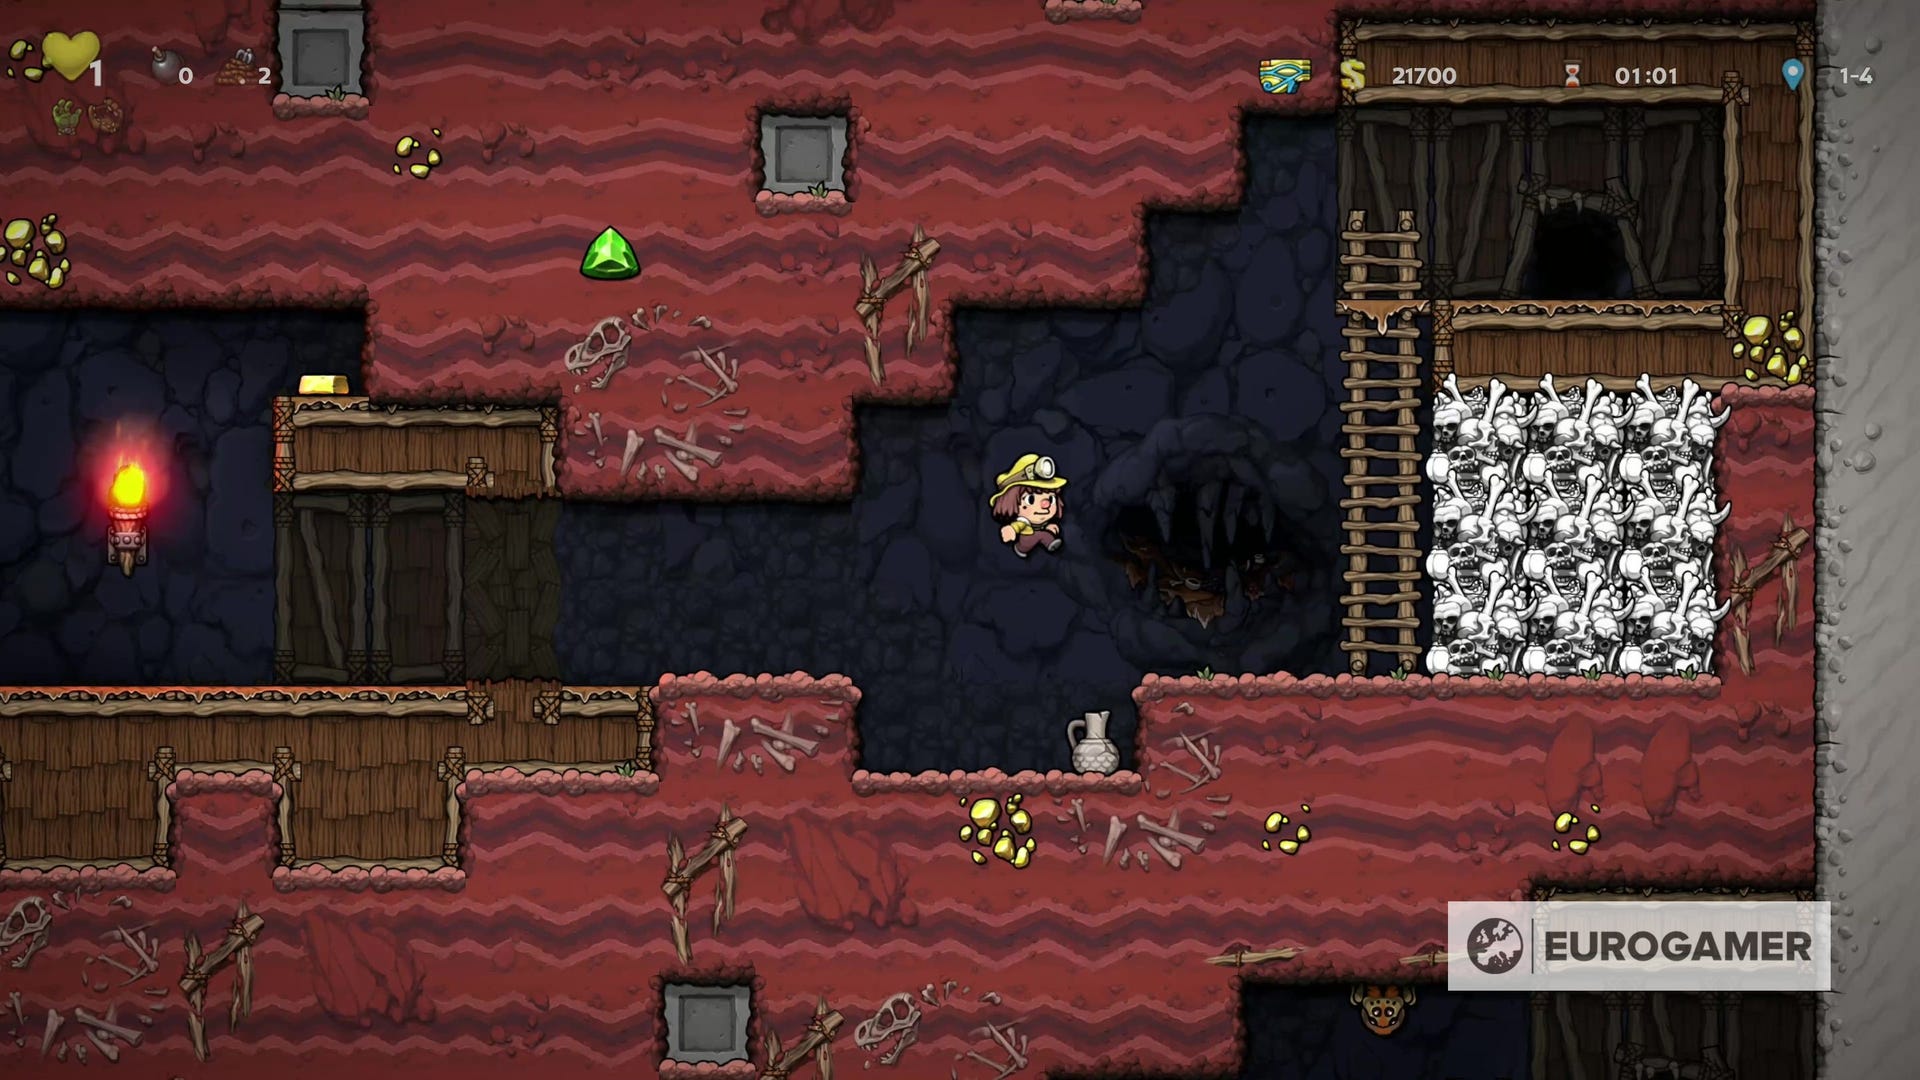
This is the safest and easiest way to deal with Quillback. Alternatively, you can keep goading Quillback into rolling back and forth; each time they should dig further down into the ground, digging up gems and other resources for you to take.
You can also kill Quillback if you fancy it. The easiest way is with the use of a Bomb, though placing it just right is difficult - we managed it when Quillback dropped to a lower level, so we were out of sight. Doing so will give you some cooked turkey, and could be a useful way to get some additional health.
Olmec strategy in Spelunky 2 explained
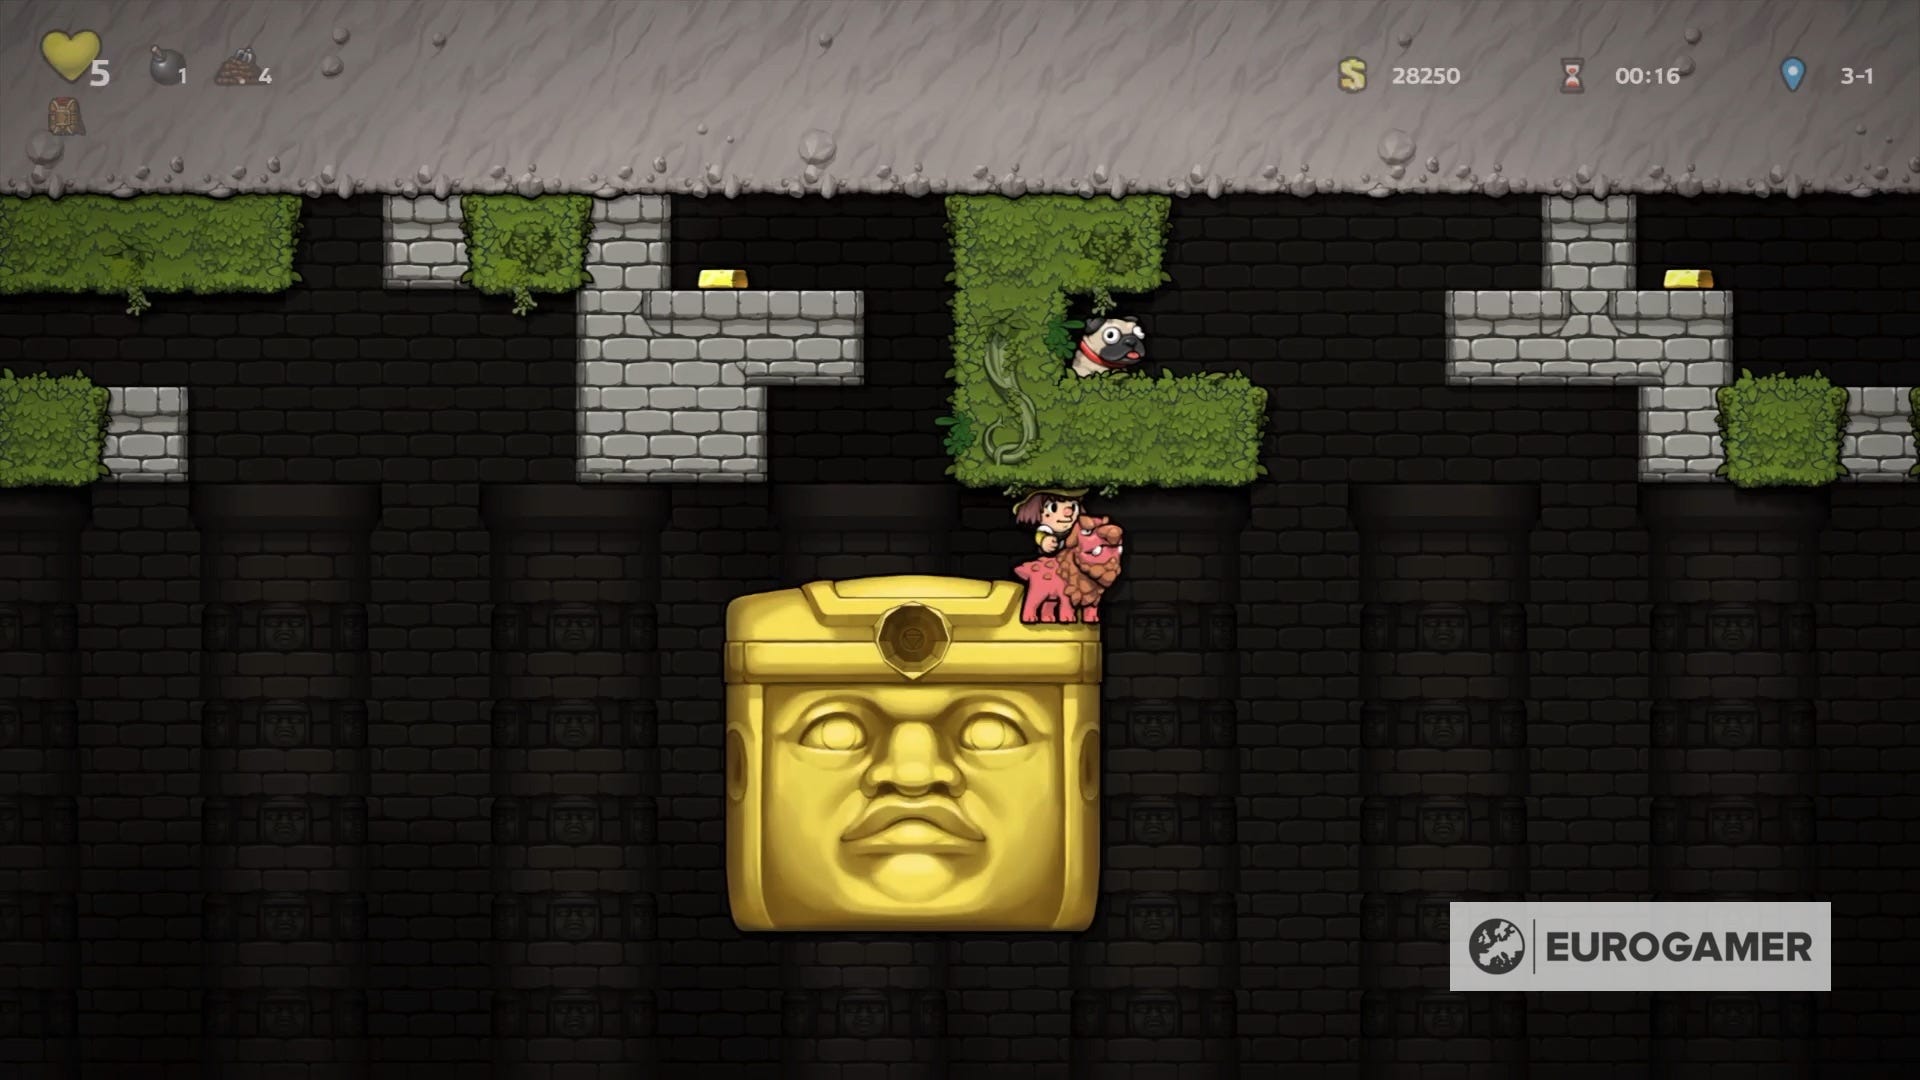
Surprise! Olmec, the last boss of the 'regular' run in the original Spelunky, is the boss of the end of the second branch in Spelunky 2.

There is an easy and a hard way to approach Olmec. The hard way is approaching Olmec as you did in the original. Olmec will hover when you get close and slam down into the ground. You can make Olmec to slam down where you are standing, letting them dig down further and further as you move out of the way each time.

It's difficult to get right as Olmec can squash you, but if you run to the sides and create a pit large enough, you will have enough room to evade Olmec each time.
When you get to the level below, be warned - Olmec will transform and start spitting bombs. Run to the right side, slide the block, and go through the exit to reach the Tide Pool area.
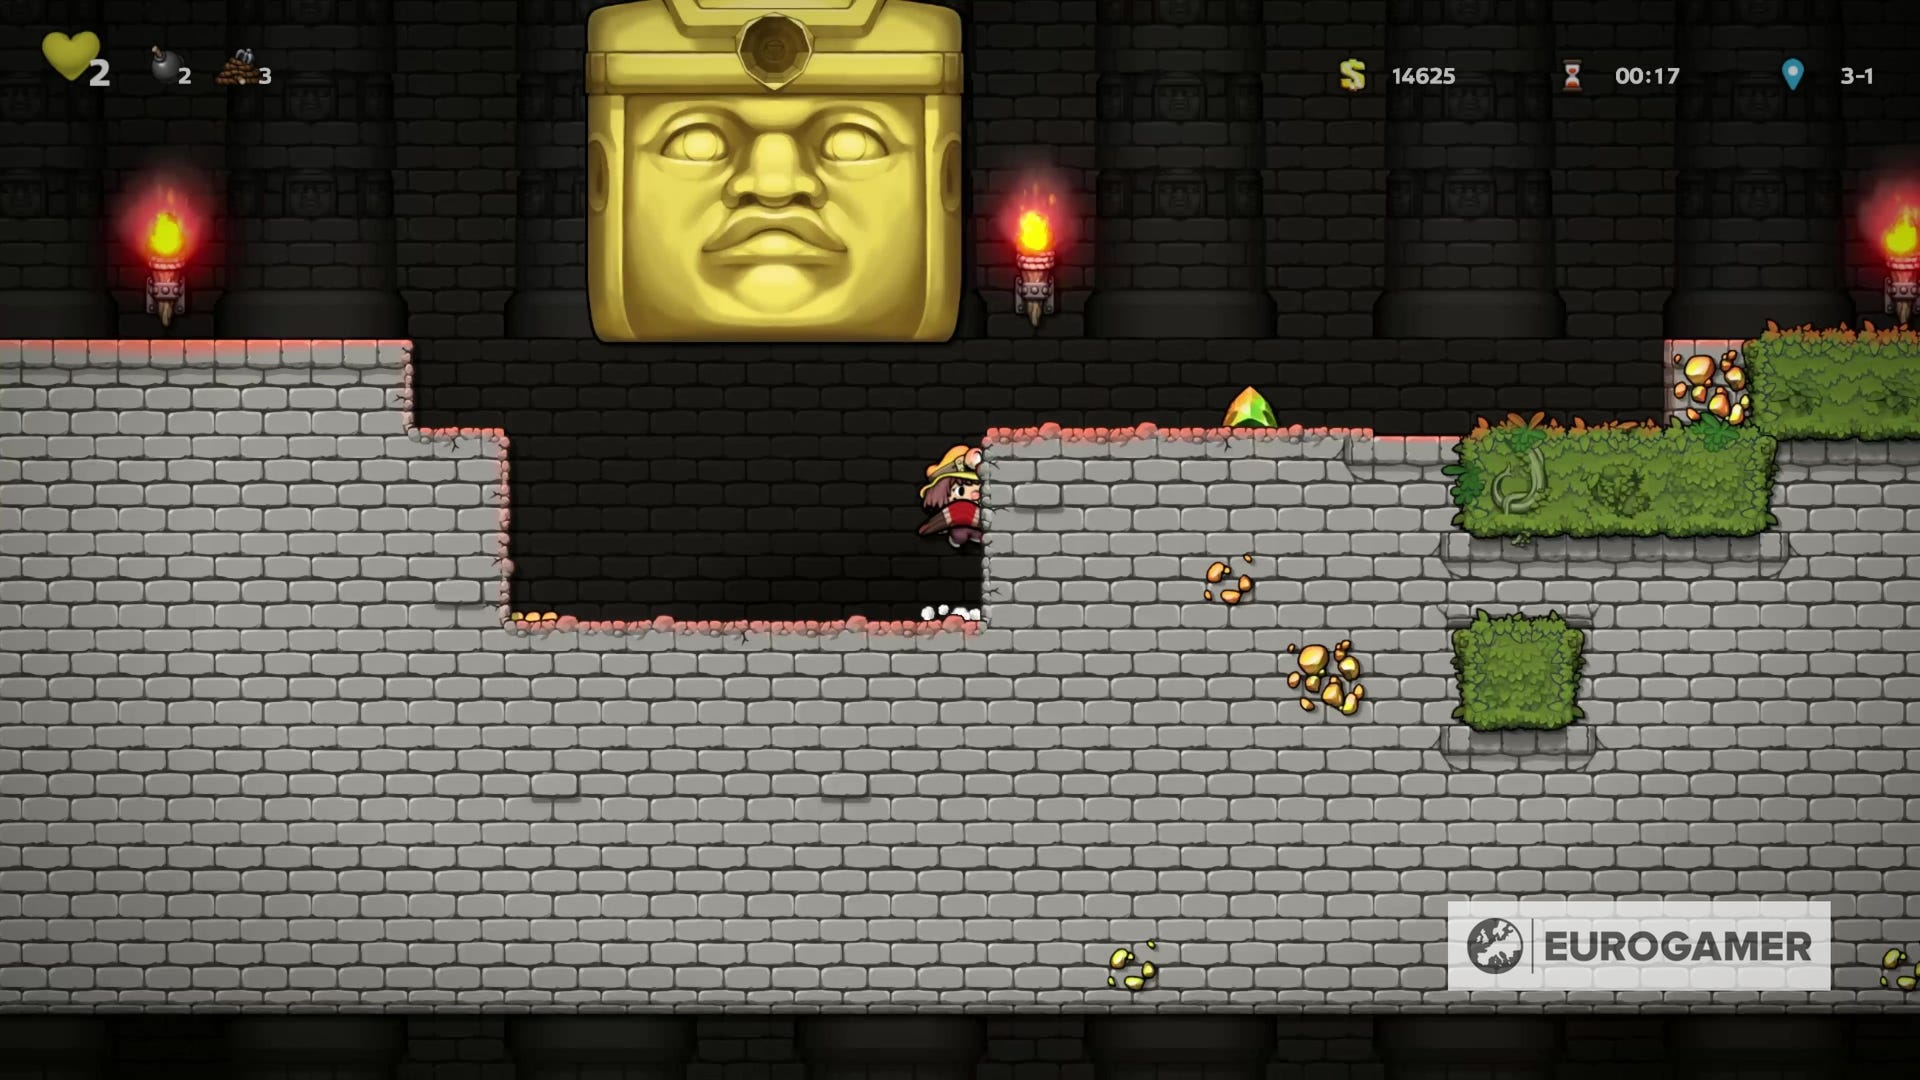
However, much like Quillback, you don't have to defeat Olmec to move on. The Olmec level layout now has two 'gaps' below where you begin, each with a level exit to take. Provided you reach one, you can enter and move onto either branch of World 3.
With just a few bombs, you can ignore Olmec altogether and dig down the left side. Three or four bombs should be enough to reach the first level exit below, and Olmec won't even budge.
Then, another three or four bombs after that, should be enough to reach the next shortcut. (Thanks to Christian Donlan for the tip!)
More coming soon!