Final Fantasy 15 Episode Gladiolus - The Well-Tempered Gladio, how to beat Brunnrsormr and the Nergal boss in the Undying Alliance trial
How to complete the first Trial in the DLC episode.

The-Well Tempered Gladio is the first part of Final Fantasy 15 Episode Gladiolus, and sees you head to your first trial within the Innermost Sanctum.
It's essentially a warm up of the trials to come, and we'd recommend playing the tutorial offered to you at the game's start, which clues you in on the important differences between playing as Noct from the main game and Gladio here.
If you're after help for parts of the DLC, consult our Final Fantasy 15 Episode Gladiolus DLC guide and walkthrough.
While each page will discuss them, we also have a page of item locations for the Picker-Upper Trophy / Achievement, too.
The Well-Tempered Gladio
First off, turn around and grab the Phoenix Down behind you. Continue down the passage, grab the Potion on the left, and defeat the enemies at the way point - if you have a Glave Arts saved up, a single blast of that should clear them. Clear the next set as you proceed down the linear stretch, then squeeze through the cavern to an open area.
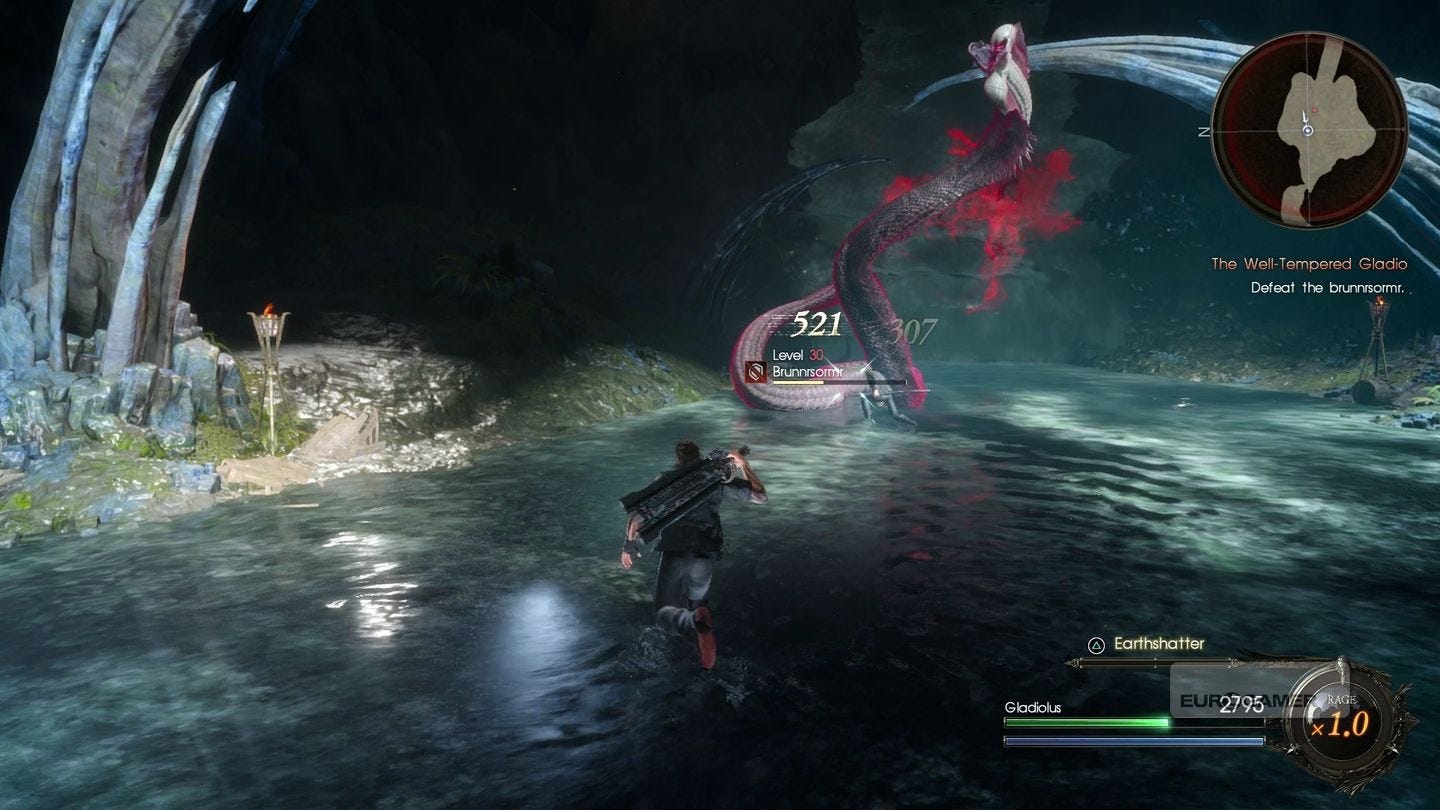
Grab the Potion on the right, and you'll come to a stream. Before you slide down, go behind the waterfall for a Potion. Ride it down to the bottom for a battle against the Brunnrsormr.

Brunnrsormr fight
This is a fairly simple right - block when it starts to curl up, as it'll soon extend out and whip its self around the arena, and when it glows red or submerges, it's about to prepare an unblockable attack, so run to the side and stay out the way for a few moments.
After the battle, you'll face the Blademaster himself in a battle you cannot win. Once the cutscene has concluded can continue exploring. There are four Potions to find in this open area:
- Face the waterfall you just travelled down, then go left (or north on the map) and up the hill to find one tucked away in the corner.
- On the south side, by a torch.
- As you approach the way forward, there are rocks either side, with the Potion tucked away on the left before the water.
- On the left side just before you climb up and continue.
Follow the waypoint and climb up the cliff, and get another Potion on the right out in the open too, and a Hi-Potion on the right as the path ascends further, which reaches a campsite.
Rest here to recover your health, save and get a quick cutscene with Cor too.
Grab the Potion just as you leave the campground and continue down the path to race a group of enemies, including Thunder Bombs. Again, Glaive Arts are great at damaging groups of enemies, but otherwise get stuck into the fray and you should come out the other side no problem.
After the battle, the path splits into two, with the right one almost looking like it look back to the campground. It doesn't and heads to a dead end, but there's a Potion in the corner for the taking.
Head back and follow the waypoint down the left path, but before you head up the spiral path where the torches, you can go left along the edge of the cliff to a hidden area with a Hi-Potion.
Take the spiral path now, climbing up, and at the top go left along the rock to find a Pheonix Down. After the archway, there is an arena with a roaming Reapers ahead, but before that, check out the barrel in the corner where there's a Potion behind it.
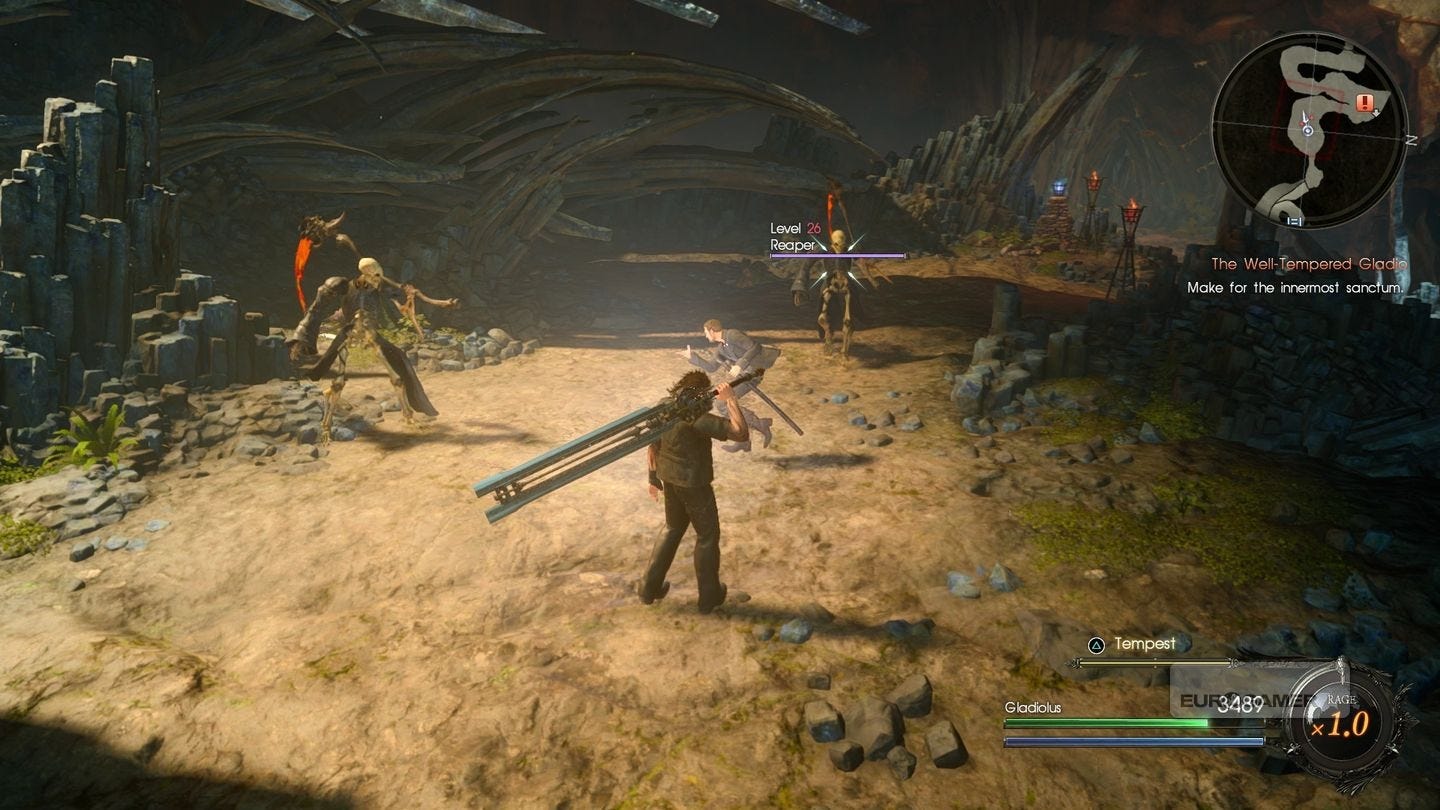
Head to the Reapers and take them on. Despite their intimidating presence, they are fairly simple does, as it's easy to spot their tells and block their attacks, but you can pretty much just swing away and you should walk away fine.
Drop down to the below area to fight more Reapers and a few Skeletons further on. Before you progress, grab the Potions on this corner, one where you drop down and one to the north on the pointy cliff edge.
Follow the linear path round, climb up the cliff, and grab the Hi-Potion on the right along the way to the first trial chamber, with a fight against the Nergal.
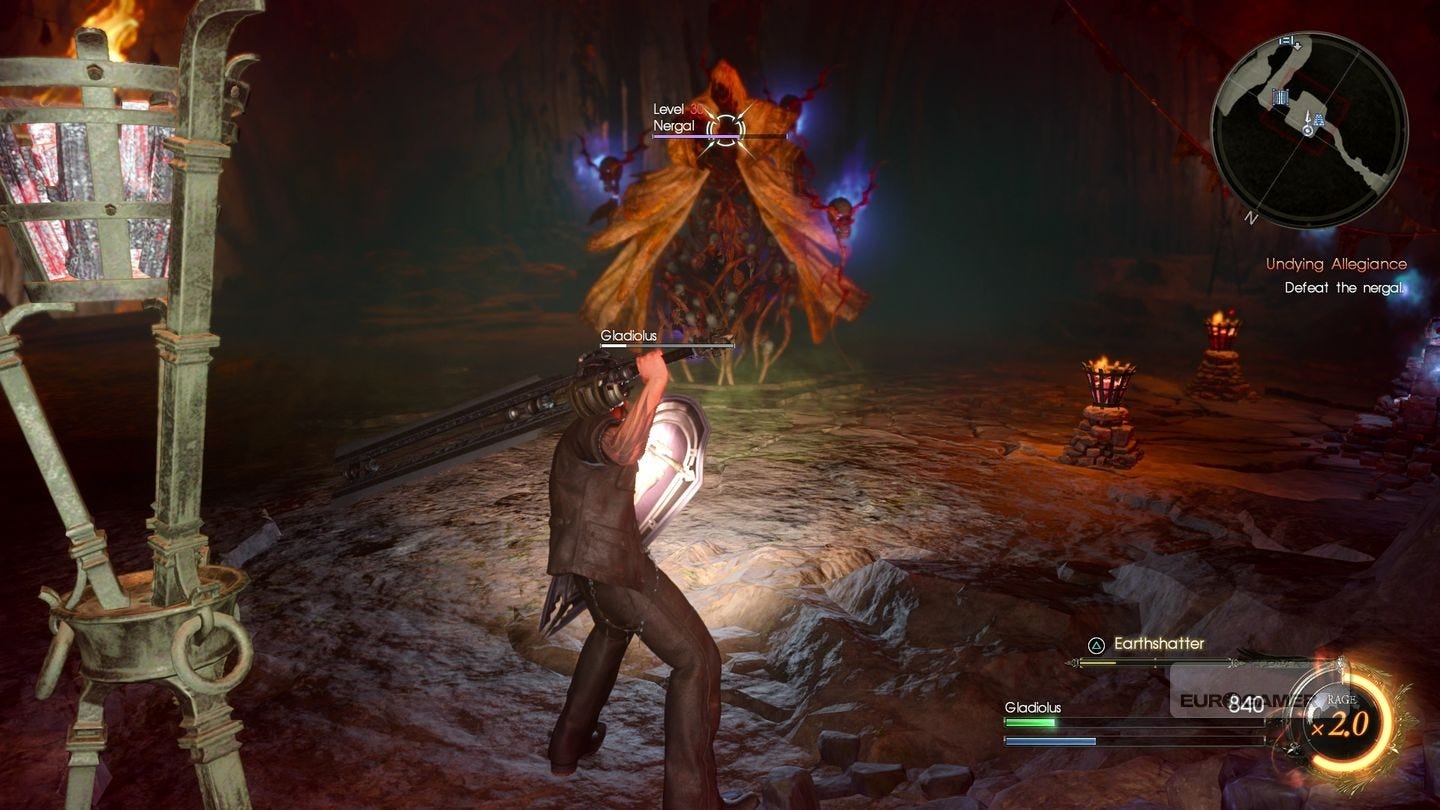
Undying Alliance - defeat the Nergal boss
The Nergal has three main attacks; a close up poison breath, a powerful wide laser beam and the ability to throw its three flaming souls out at you.
You'll want to keep a safe middle distance because of the poison, whereas the other two can be safely blocked and parried to follow up with some extra damage.
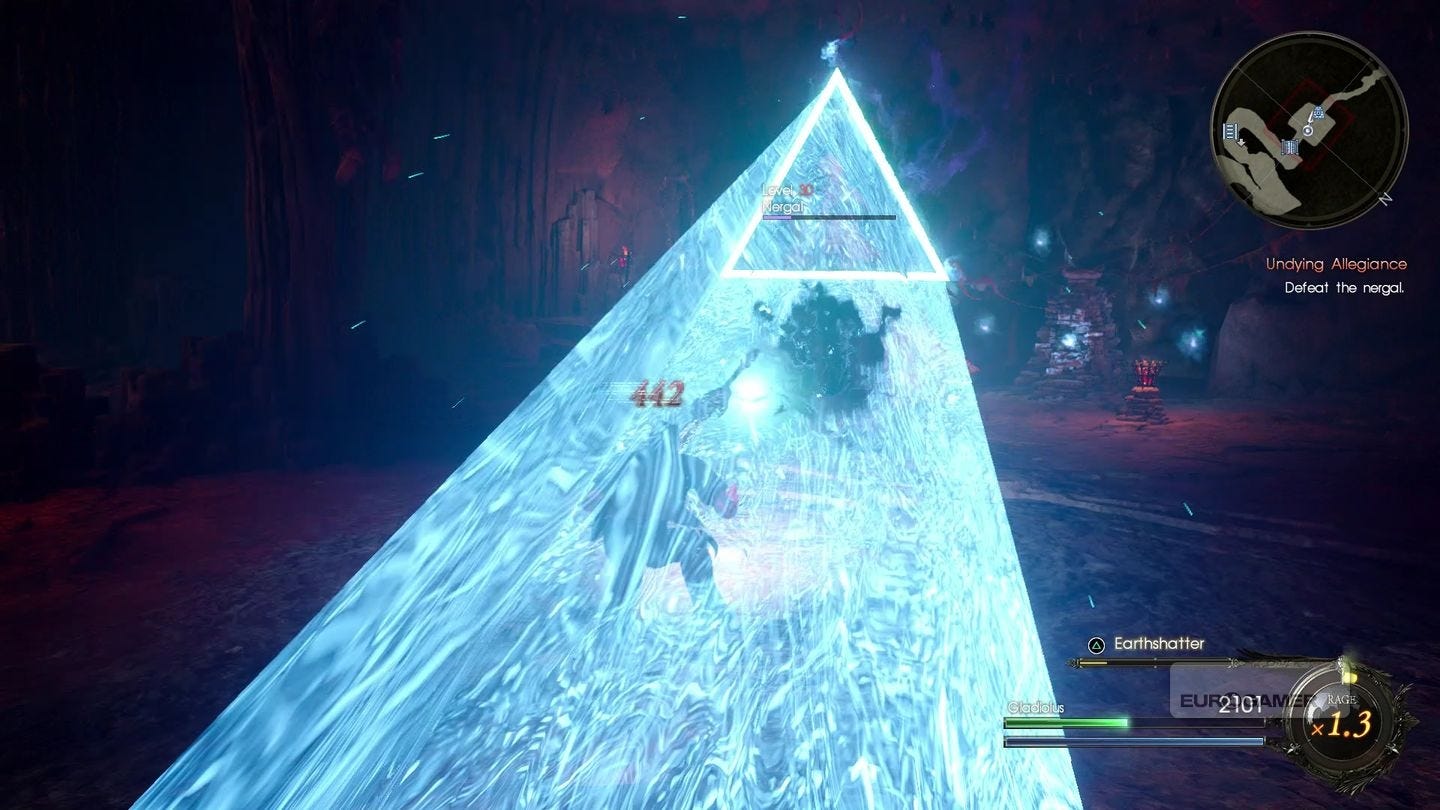
Both have clear tells - one is a triangle that appears in front, the other sees the blue skulls swirling - so as long as you're observant and patient, block and then follow up with some attacks, then retreat back again.
Of course, that's easier said than done with the many enemies around. As such, you'll want to clear these guys as fast as you can. Use your Glaive Arts attacks and hold down attacks until the area is clear, allowing you to focus on the Nergal. After a while the Nergal will summon in more foes, but you'll have a good few minutes to chip away at the Nergal.
Need more help? Our Final Fantasy 15 guide and walkthrough can provide tips on main story, as well as the open-world's many quests and activities. Learning how to get AP fast, EXP fast and money or Gil fast will aid you in many optional dungeons and tombs - including how to open and explore their locked doors. There's also plenty of interesting side-quests, too, such as the Scraps of Mystery and Professors Protege frog locations. And if you want to get around easier, you can rent a Chocobo, learn the infinite sprint trick and later in the game, get the flying car Regalia Type F. There's also more to see and do with DLC, such as Episode Gladiolus and Episode Prompto.
Remember you should have many Potions from exploring at this point, so don't forget to use them - the battles up to this point have been simple enough that it's probably been easy to forget!
Once the battle is over, approach the altar and you'll receive a strengthened block ability, allowing you to withstanding any attack, even those dealt by the Blademaster. Next up, Path to Perdition and the Enkidu boss, the second trial.