Noddy's Guide To Home Networking
How to build a LAN in your own home

Back in the day, the idea of network gaming in your own home was utterly ridiculous - the closest I ever got was playing Doom over a serial cable at a friend's house.
Network gaming was a craze limited to buildings full of journalists, and although services like the relatively short-lived DWANGO and the rather pants TEN did their best to bring multiplayer gaming to the average Joe over the phone network, it was more of a dream than a pastime.
Buying The Bits
These days of course things are different. A recent poll of the average internet-connected family in the States discovered that approximately 25% of households have two PCs, with nearly 20% owning three.
As such, home networking is a very valid concern. Internet Connection Sharing is easy to do, there's the ability to share printers and files between computers, and of course what we are all most interested in - network gaming. Doing it for yourself isn't as hard as it used to be either, and even our technophobic Editor-In-Chief has managed to set up a two computer network in his home...
The first item each PC will need is a Network Interface Card. You can pick these up fairly cheaply, but don't go too cheap or you may encounter compatibility problems. In a sense you get what you pay for, but as long as you choose a good manufacturer you should be alright. Personally, I use the NetGear FA310TX - £16 from Dabs in all of my machines, and it has served me well with no defects or compatibility issues so far. There are wireless alternatives, but I wouldn't recommend them yet.
Installation
If you only have two PCs and don't intend to add any more to the network, you can pick up a cheap "crossover cable" and link the two computers directly, just as you would with a serial cable.
However if you intend to use three or more computers, or just might add more PCs to the network later on, it's worth investing in a "hub". The hub needs little explanation - you just plug all of your network cables into it, put the power adapter into a mains socket, and it allows your PCs to communicate. No drivers or software are needed - it's a very intuitive device. Again, mine is a NetGear EN104TP - £25 from Dabs.
Installing the network card is really no harder than taking the lid off, inserting the card firmly (but carefully!) into a spare PCI slot so that all of the golden pins are covered, tightening the screw and putting the lid on again. If you're new to hardware, don't be afraid - there's very little you can break if you are careful. I've done absurd things to my PC and we've always come out smiling.

Software Setup
Once the card is in, you should install the drivers. This is again very simple. Boot up your PC and Windows should recognize the new hardware, and if you're lucky enough to have Win2k a lot of network cards will install automatically - the FA310TX just runs without any fiddling.
Driver installation is as straightforward as usual; you just insert the appropriate disk when asked for it and point the computer to the correct location. Make sure you have your Windows CD handy for this (and later) as a lot of the networking components are not installed by the initial Windows setup procedure, and will need to be added now.
Once the drivers are installed, Windows will ask you to reboot. Do so, then when you have powered up immediately go to the Control Panel and select the Network applet. Scan the list of installed components - you should have TCP/IP tied to both your Dial-up Adapter and the network card.
Some older games will require the IPX protocol to be installed for them to work over a LAN, although for most modern games and simple file sharing and the like, TCP/IP is enough. If you do need to install the other components, click on "Add" and select "Protocols", then click on the "Microsoft" selection in the left-hand pane and select "IPX".
Setup
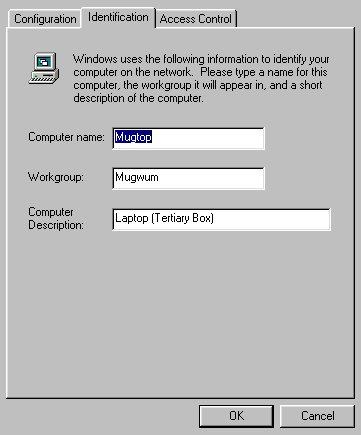
Now you have installed all the necessary drivers and protocols, it's time to set up your network. Without leaving the network config applet, click on the Identification tab at the top and then enter an appropriate name for your Workgroup.
Most people stick with the default "Workgroup", but you can choose whatever you like. Select a name and description for your PC, preferably something fairly sensible so that you can tell which computer is which once your network is up and running.
Now, go back to the main tab, select TCP/IP, and click on the Properties button. Under the IP Address tab, enter "10.1.1.100" as your IP address. The actual number is largely academic, as long as each computer on your network has a different address. The "Subnet Mask" should be set to "255.255.255.0". Now click OK.
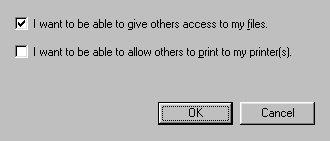
In the main network applet, click on File And Print Sharing beneath the main scroll-list of protocols. Check both boxes that pop up, click OK, and then click OK again in the main applet. Your PC will now install some things from the Windows CD and then ask you to reboot. Once it has done that, your PC should be set up to access the network!
Repeat the above installation procedure on any other machines you will be including on the network, but number them sequentially (10.1.1.101, .102, .103, etc) so that each PC has an unique address. Once your PCs are all happily up and running with the new network cards, just plug them all into the Hub (or connect them together with a crossover cable if you only have two computers) and you should be away.

Getting It Going
Once you have completed the above steps, you will see a new Sharing tab whenever you right-click on a folder and select Properties. By setting something to share, you allow other people on the network to access it. If you select Full rights, people can read and write to that directory, otherwise people may only read from it.
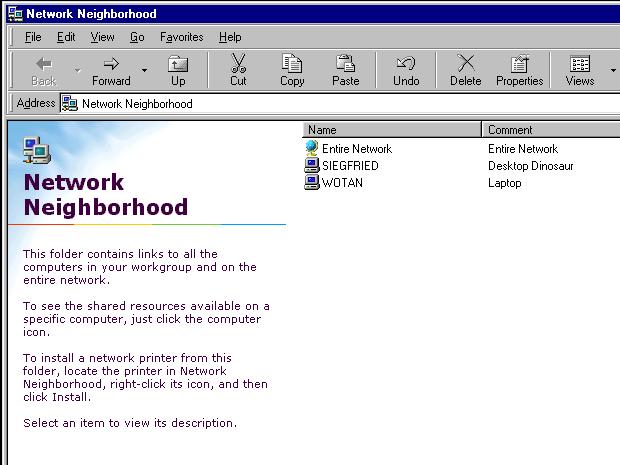
To check it's all working, double click on the Network Neighbourhood icon on the desktop (if it wasn't there before, it should now have appeared) and double click on Entire Network. Your workgroup should be visible, and within it all the PCs on the network!
Sharing your Printer isn't difficult either - just double-click on the computer it's connected to in the Network Neighbourhood, and providing you have set it up to be shared on that PC, it should appear. A simple right-click and "Install" should allow you to send tasks to it whenever needed!
If at this stage you can't see the PCs, make sure you have given them all unique IP Addresses. In order to get my Network up and running, I had to install a "Gateway" within the TCP/IP Properties of the Network applet. As long as each PC uses the same Gateway you can all see each other just fine! Some setups seem to need this, others do not..
If you still can't see anything, the first thing to check is the wiring. Our illustrious editor once wasted two hours trying to work out why his laptop couldn't connect to a network, only to find that the cable was faulty!
Game On!
Of course, the real reason you set all of this up had nothing to do with productivity and print sharing did it? You just wanted to play games, and who can blame you!
Playing Quake III : Arena is very easy indeed. All that's required is for you to load up the game, and select the "Multiplayer" option from the menu. Then click on the "Create" button and select an appropriate map and the number of players you want to allow in. Set Timelimit and Fraglimit as you normally would with Bots, and then click Fight!
The other player should be able to find you by looking you up under "Local" servers in the Multiplayer menu. You may want to deselect "Pure Server" when setting up the game - this has been known to flood clients off the server unexpectedly. Also, make sure that both machines have the correct version of the patch - Quake III is very picky about this. Of course, you can now use your new network to transfer the appropriate patch from one computer to another at the blistering rate of 10Mb/s.
Details vary from one computer to another, but most recent games are easy to play over a network. Older games may require some digging in the readmes and the use of esoteric command line options to run properly...
Conclusion
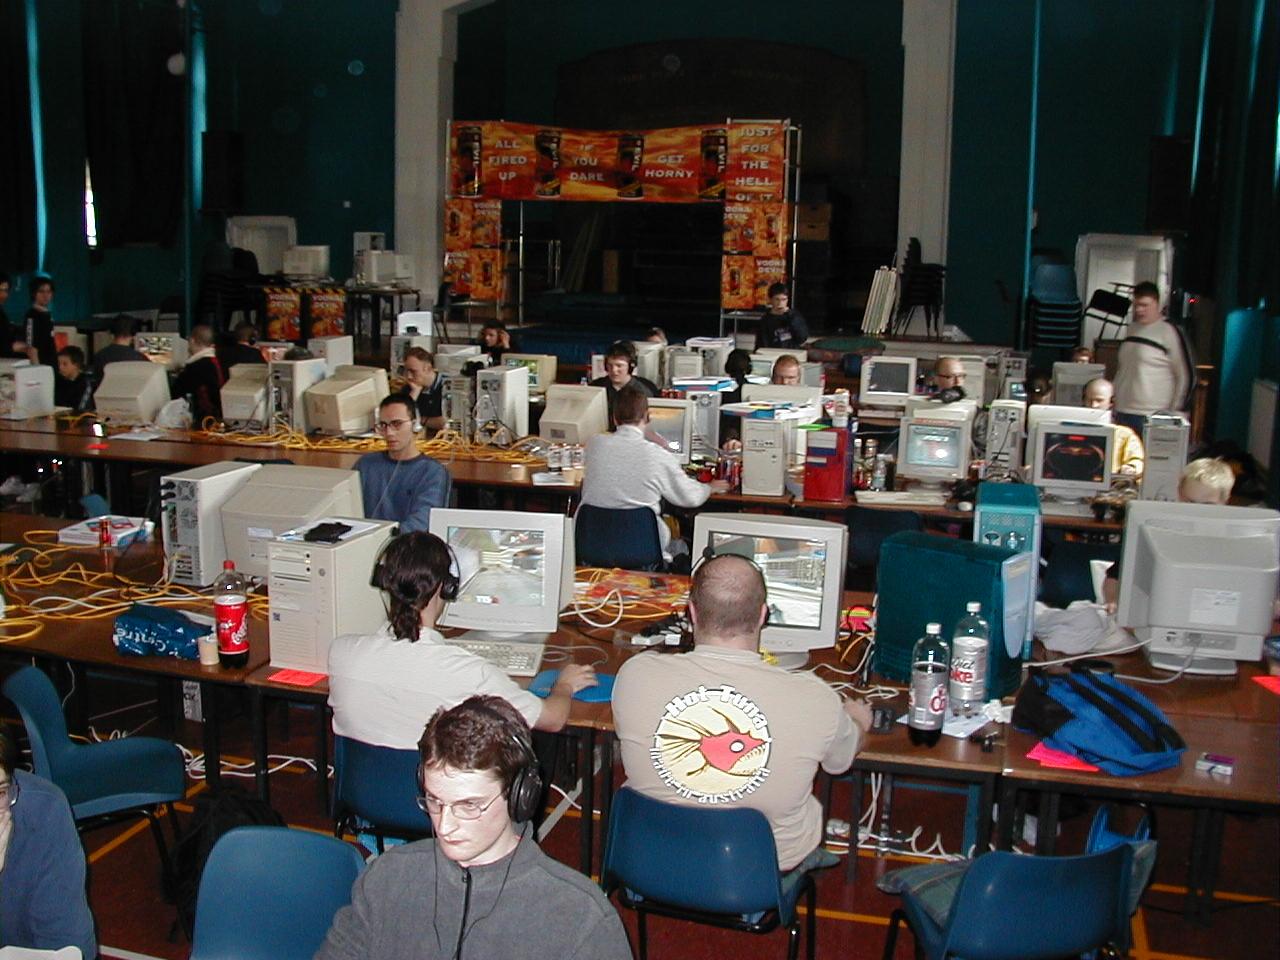
If you wish to attend LAN Parties, such as our own EuroLAN events, all you need to do is turn up with your kit and change your TCP/IP information to work with the event's network. Once you get home you can adjust it back to normal without difficulty.
As you can see, Home Networking is not the expense it once was, nor is it as difficult to implement as you might imagine. If you enjoy gaming and want to take it to the next level, I can heartily recommend network gaming. If not .. well, what are you doing here?
-