Final Fantasy 15 Episode Prompto - Sins of the Father, Barbarus boss fight strategy
How to defeat the chapter's only major boss battle.

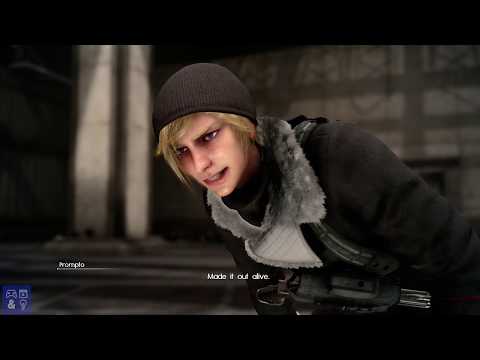
Sins of the Father is the second half of Final Fantasy 15 Episode Prompto, seeing you team up with a familiar face to take down another bad egg from Niflheim.
If you're after help for parts of the DLC, consult our Final Fantasy 15 Episode Prompto DLC guide and walkthrough.

Before starting Sins of the Father
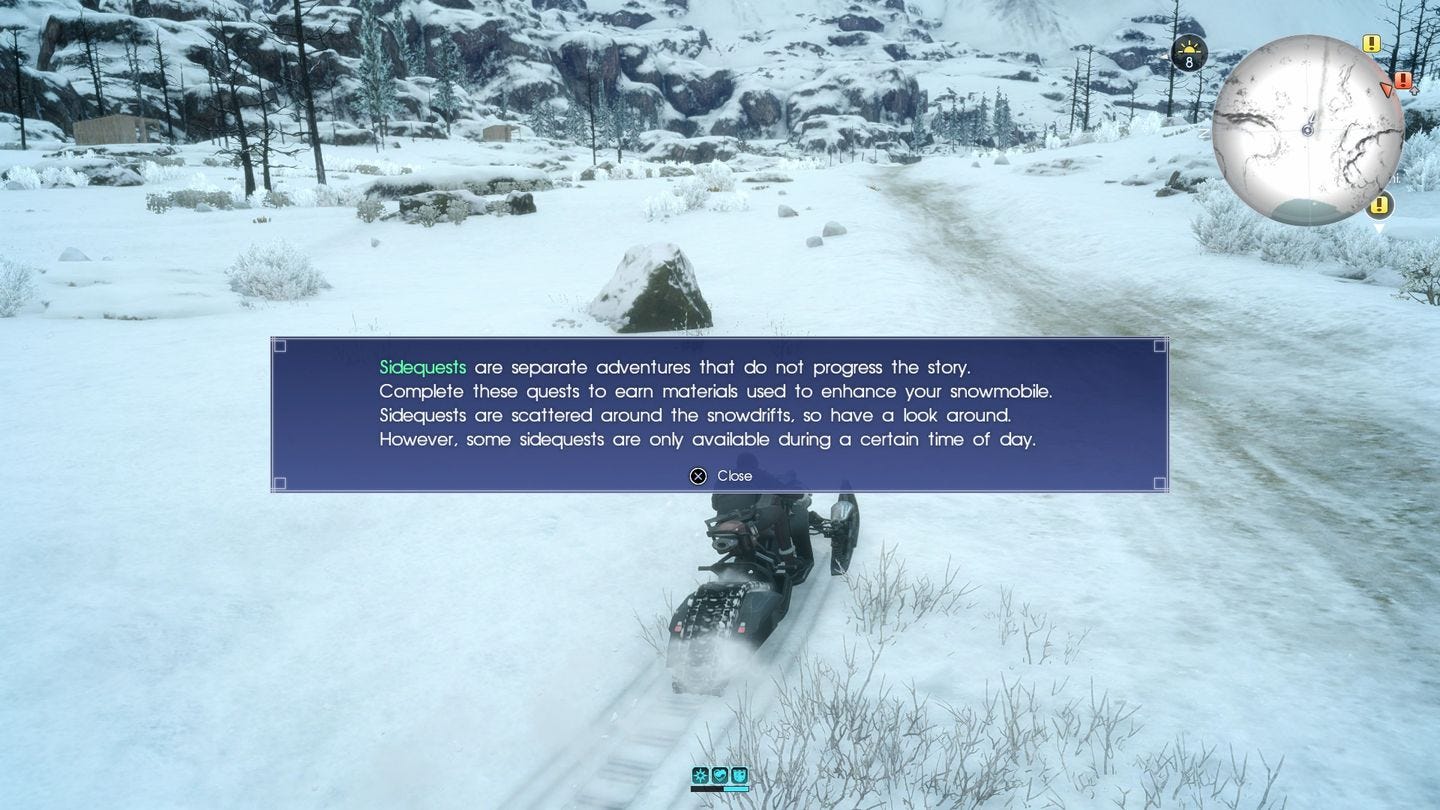
Though it feels like you're just getting to grips with Episode Prompto after completing Life in Captivity, Sins of our Father is the closing part of the game. Though you can save just before the final boss fight and retreat to pick up side-content, now might be a good time to investigate it if you prefer to complete the story and be done with the DLC.
With no levelling to speak of, however, feel free to ignore it. From what we've experienced, side-quests are simple endeavours that slowly drip feed you snowmobile upgrades, which has very little use in this chapter regardless (or carry over into future replays or the main story) though it's worth noting defeating the Kaiser Behemoth will earn you a Trophy / Achievement, and maybe picking up a few Goggle and Mask attire costumes if you want some things to collect.
Sins of the Father
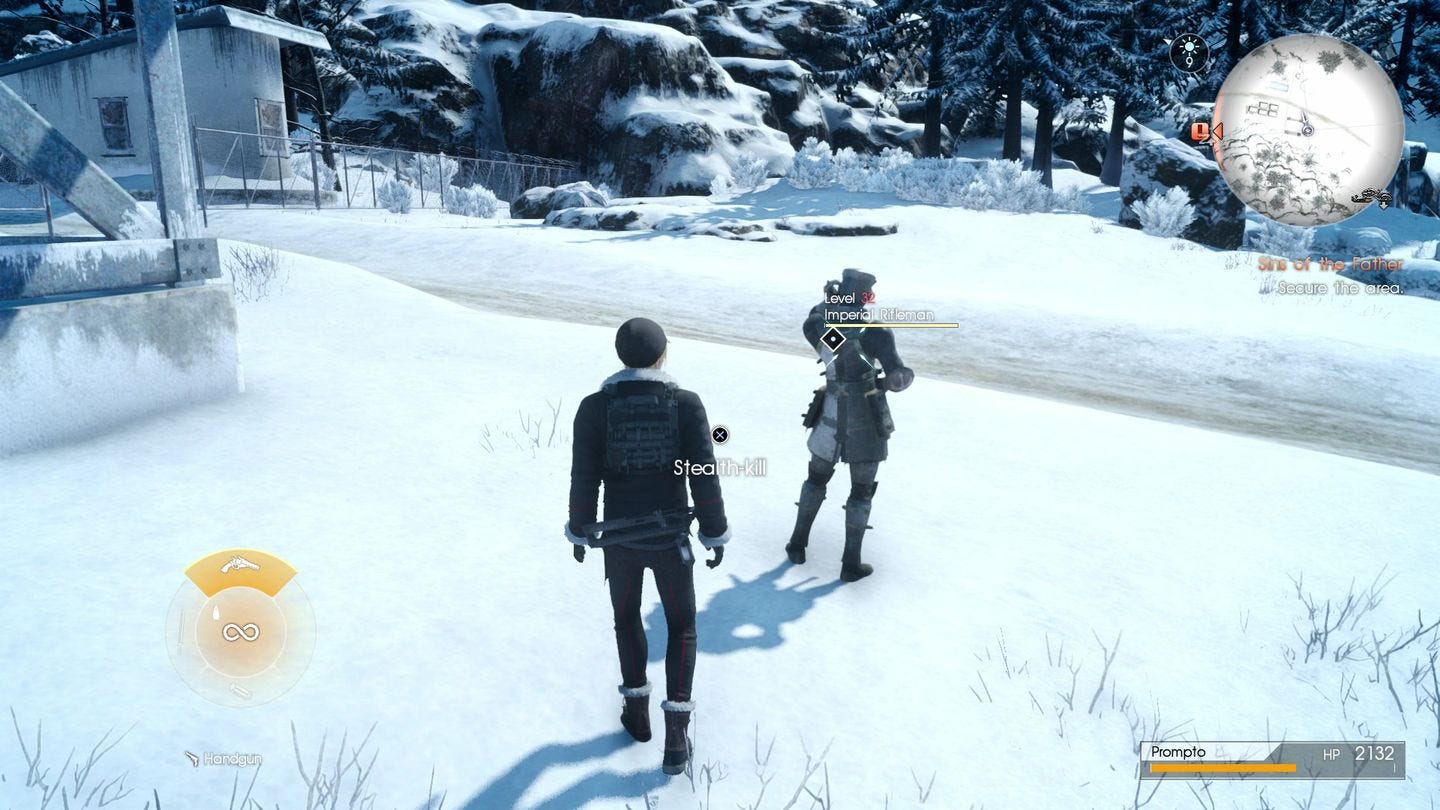
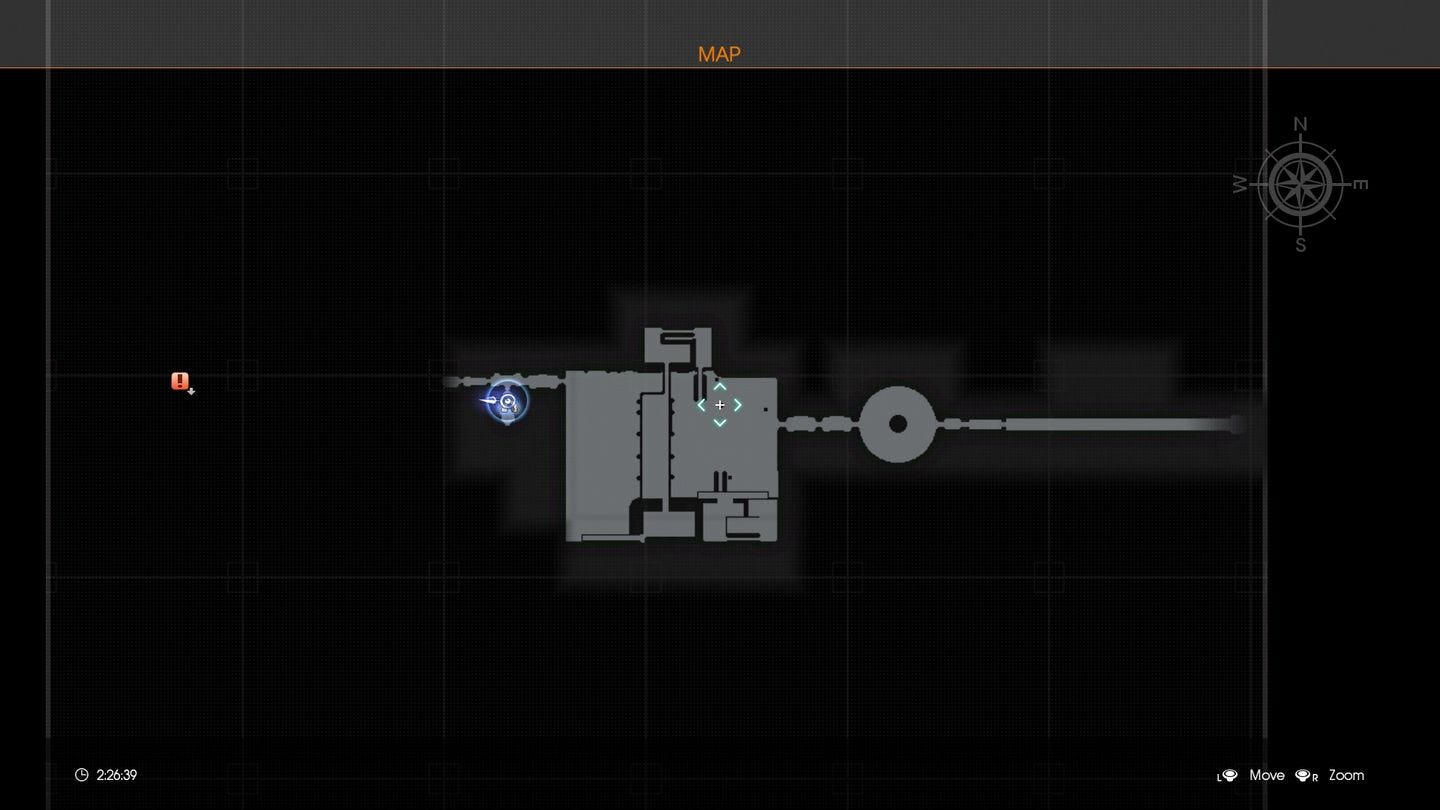
Whenever you're ready, take the snowmobile to the marker ahead, where you'll mark outside a watch tower and chainlink fence.
Approach the guard from behind just up ahead and use a stealth-kill, then through the gates into the grounds.
Before approaching the enemies ahead, grab a sniper rifle from the left rack behind the fence (and a Lumen Flare from the right hut) then clear the enemies ahead, shooting the barrels to make light work of the initial group.
There will soon be a larger assembly of foes; use the Lumen Flare to stun, then follow up with Crackshots over and over (Triangle or Y on Xbox) to clear the group.
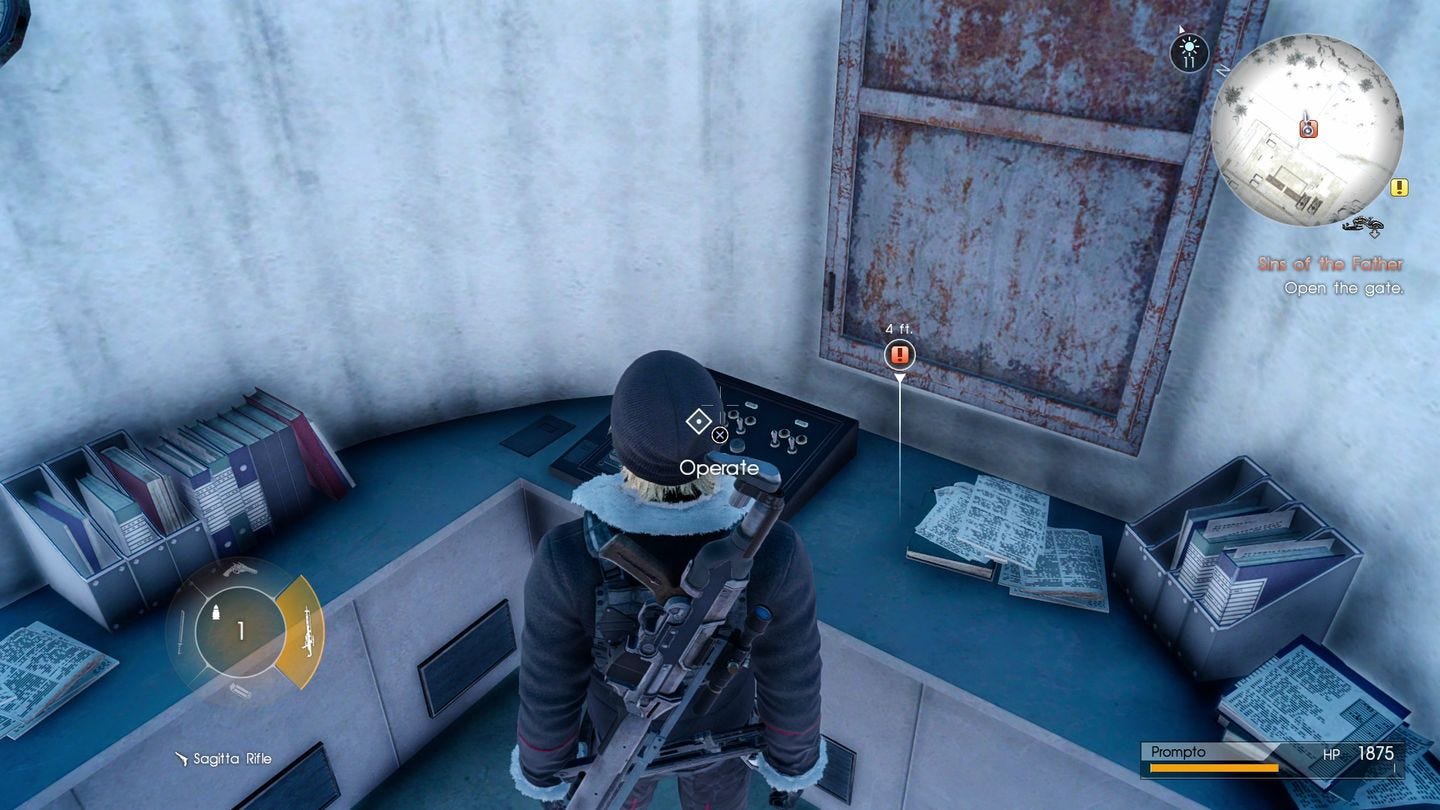
Make sure the area is clear of enemies - use the mini-map to find any stragglers - then enter the hut closest to the gate to find a switch. Head through for more enemies, including MTs.
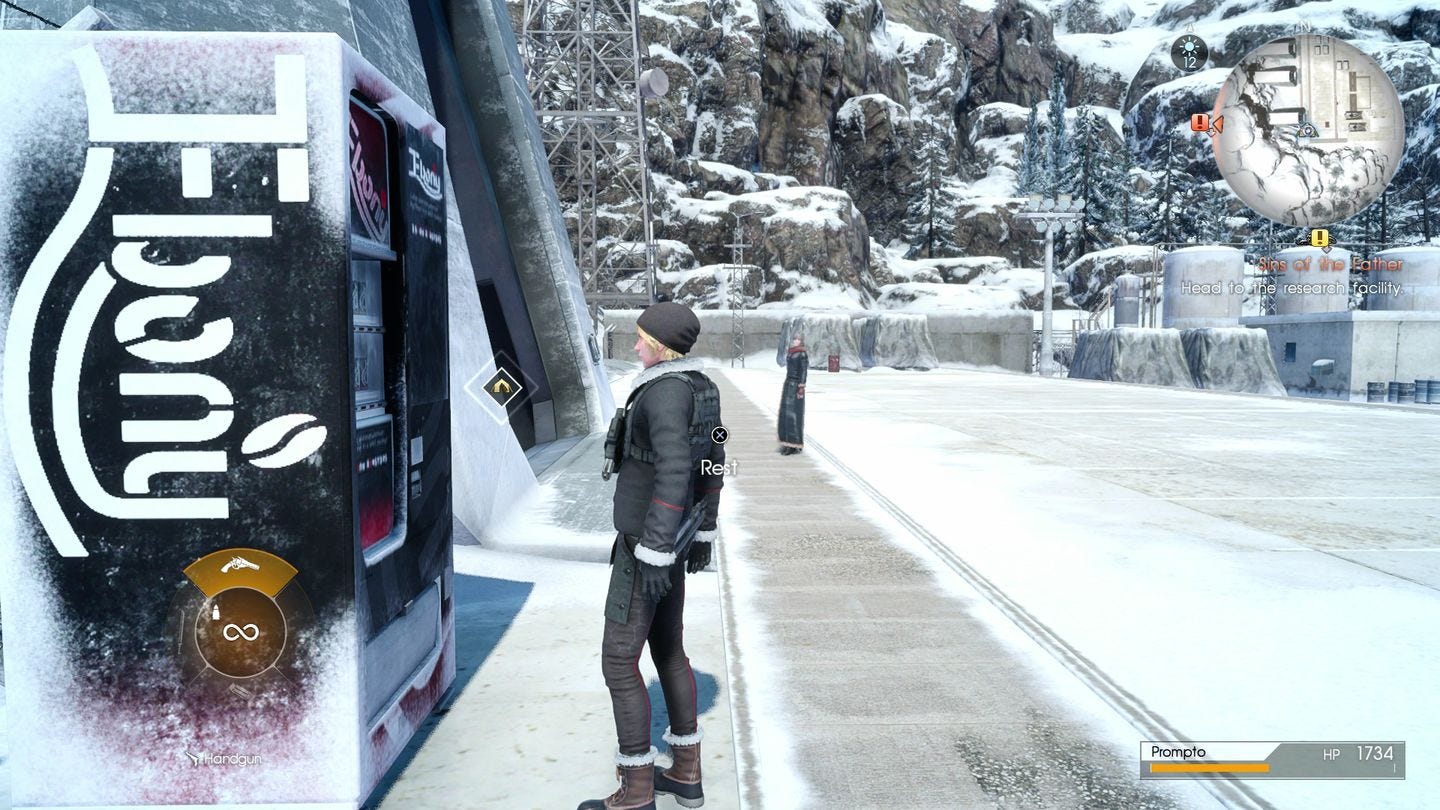
Here Arenea should pull through to kill a few foes, otherwise use close-up enemy kills to get new weapons. Once done, open the door on the far left side to access the facility, and consider using the vending machine to the left to heal up and save first.
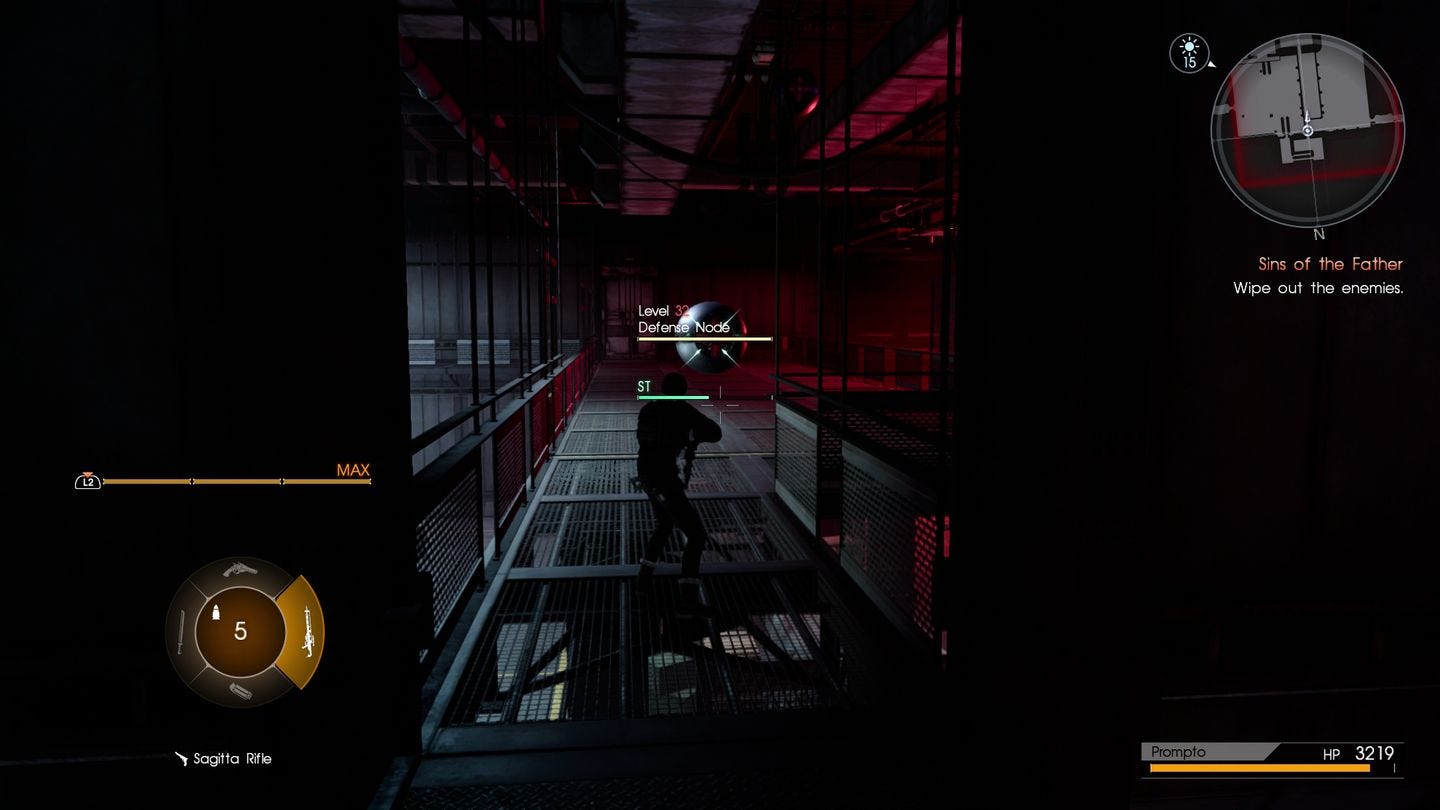
As you head through the laboratory, grab the many research notes and curatives as you go, before another combat filled area. Same drill as before - clear out all the enemies, wait for more to arrive, and repeat. Weapon racks can be found mostly in the side rooms, and as usual, use the mini-map to see where the stragglers area.
Note that new enemies - Attack and Defence Nodes - won't appear on the map, so if you are seemingly done with nothing else to kill, have an explore across every catwalk and room to find them. You'll also need to take down the MT at the back; the Bullet Art attack Dragoon Dive with Arenea can help stun it for follow up Crackshots, while nearby Bazookas will help.
Once done, you can access the corridor leading north, and go left for a vending machine, some curatives and another audio log. Carry on down the hall for yet more backstory littering the corridor, where we'll come to a boss.
Need more help? Our Final Fantasy 15 guide and walkthrough can provide tips on main story, as well as the open-world's many quests and activities. Learning how to get AP fast, EXP fast and money or Gil fast will aid you in many optional dungeons and tombs - including how to open and explore their locked doors. There's also plenty of interesting side-quests, too, such as the Scraps of Mystery and Professors Protege frog locations. And if you want to get around easier, you can rent a Chocobo, learn the infinite sprint trick and later in the game, get the flying car Regalia Type F. There's also more to see and do with DLC, such as Episode Gladiolus and Episode Prompto.
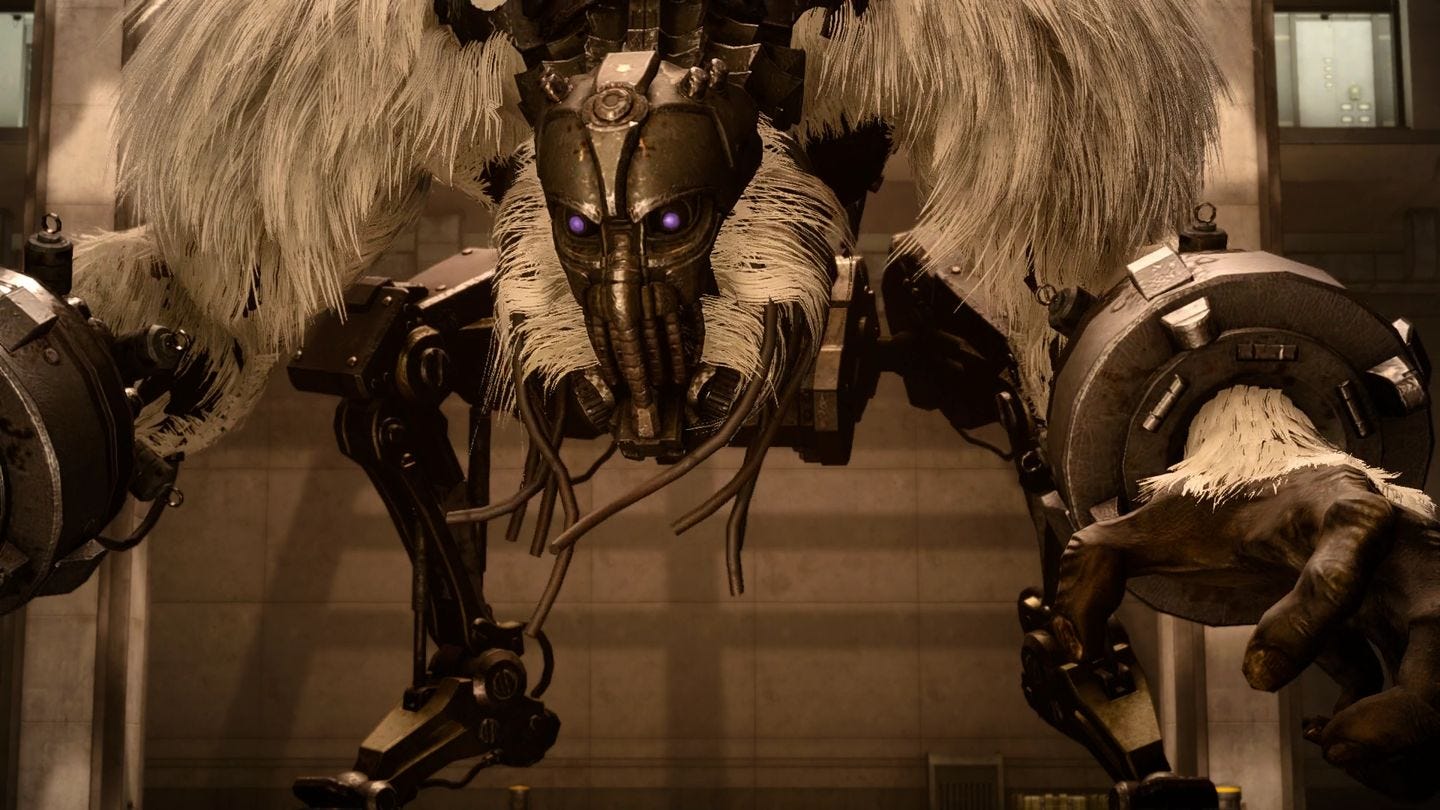
Barbarus boss fight strategy
This mecha-ape will mostly climb on the ceiling for the first half of the battle, making it a fairly easy target as you pick up weapons from the racks at the sides of the hall (SMG left, bazooka ahead and sniper right from where you enter).
You'll want to get into a chain of stunning then following up with Crackshots, which you can do with a handful of sniper rounds, using a bazooka round, or using Arenea's Dragoon Dive ability.
Keep mobile and repeating this until its health is half down, when things start becoming trickier. It'll then spout flames and use powerful attacks, including a fast rush from the other side of the hall or ceiling, as well as a flamethrower when up close. These attacks are quite tough to avoid, but you can increase your chances of evasion by tapping Square / X on Xbox to roll, and using the columns as cover.
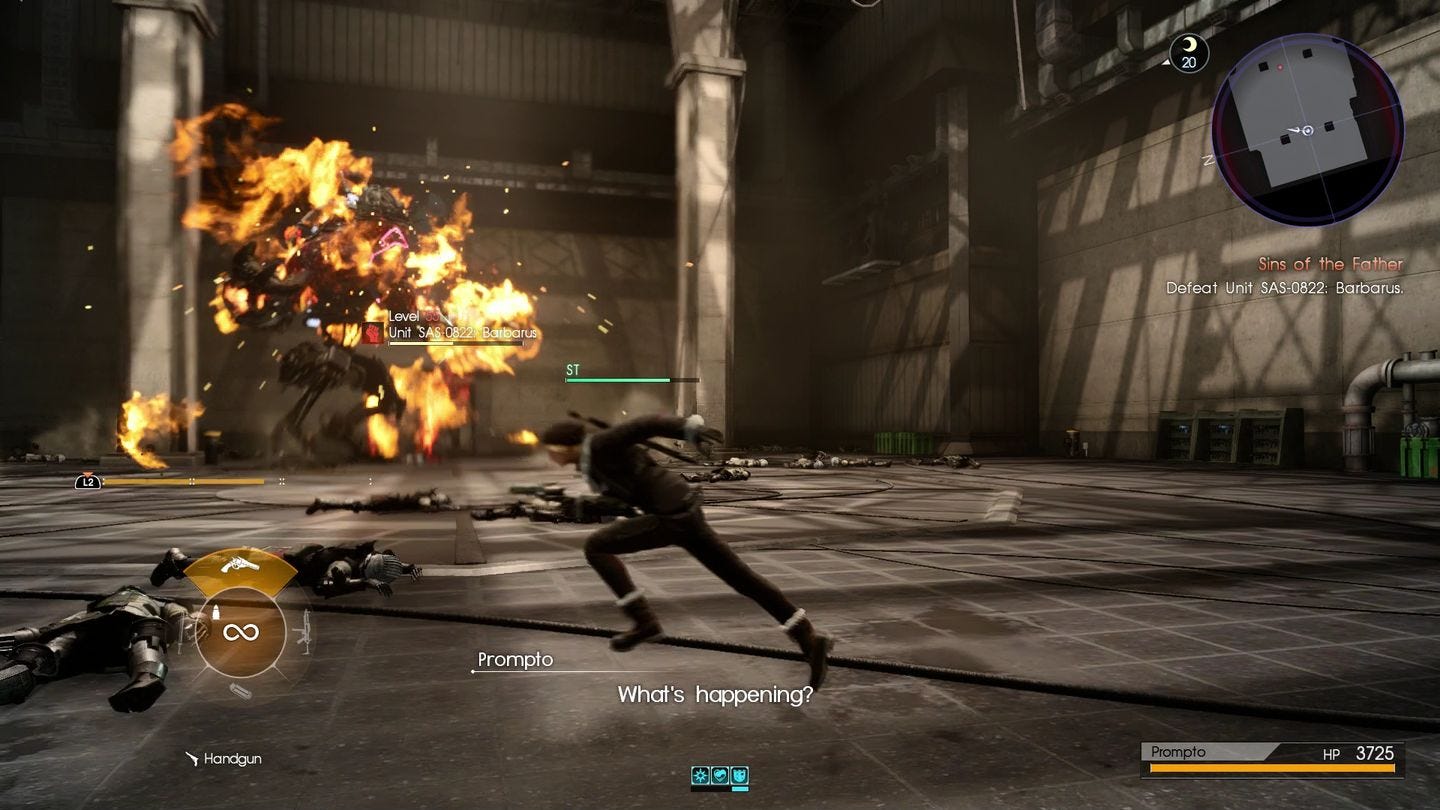
All the while, keep pillaging the weapon racks from round the edges and keep plugging away. SMG does the least damage, but it allows you to be the most mobile when avoiding attacks, while the Bazooka is best when it's on the ground and easiest to hit. Also be sure to keep an eye on your Ability meter to make regular use of Arenea's Dragoon Dive.
Regardless, expect to get attacked a few times and perhaps downed once or twice, in which case quickly use a Potion or Phoenix Down to get back in the fight. You should have more than enough from previous sections to easily keep you going.
Once done, a cutscene will play out, and the final Immortalis encounter will begin.