Super Mario Galaxy Star Guide
Part 3 of our spectacular guide to all 120 stars.

Melty Molten Galaxy
Star #1
The Sinking Lava Spire
OK, this section is tough. Fair warning. From the start, you want to head round the lava pond and to the right. Keep moving. As you jump across the lava those platforms sink fast. Slip past the vents and jump up to the stone button. Stomp that to make a section of the mountain slide down, opening up an area just right for wall kicking - just watch out for vents on the way. At the top, you need to hit four launch stars in a row - the third one is rather spectacular - until you reach three spherical planets close together. Remember these as, you guessed it, we'll be back this way again for a hidden star later. For now, use the pull stars to carefully navigate between the miniature suns (there's a health boost on the way) then hit three more launch stars to reach a planet with cool rock and burning lava. You need to find five launch star pieces so you can finally reach the Lava Spire. The platforms crumble as you head towards it, so no hanging around. Once you reach the base, the "sinking" part comes into play. The whole thing starts to submerge in lava, meaning you got to run and jump around and up the outside as fast as your plumbing legs will carry you. There aren't any really nasty surprises on the way, just nimble platforming, although the moment where you have to stomp a button to create a wall kick section may cause unwary gamers to hesitate fatally. Once you reach the summit, spin that crystal two times and snatch the star.
Star #2
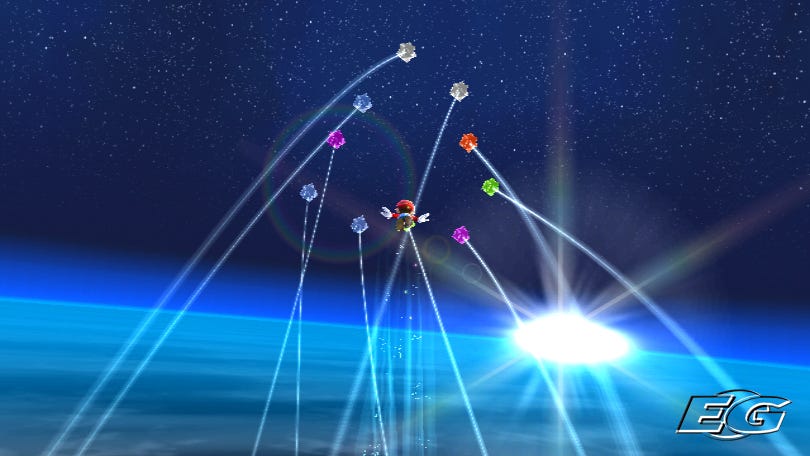
Through The Meteor Storm
Remember those fiery enemies at the start of the last mission? Well, they're pretty useful now. Get them to follow you, and use them to light the torches (that look like jugs). The new launch star takes you to an octagon planet, with Thwomps and meteorites galore. Make you way around the outside edge to the next launch star, picking up an extra life as you go. Find the five launch star pieces, and health boost, on the next area then blast off through a shower of space rock to the bendy tower. Make your way round to the other end, then lure a Bullet Bill all the way back to where you landed to destroy the cage and reveal another launch star. You've now got a quick Monkey Ball section, through that terrifying revolving tunnel. The ball is fireproof, thankfully, but those meteors can knock you for six while the numerous holes in the tunnel mean you should still resist the temptation to rush. Although the rest of this level is frantic, you need to slow right down for this bit, but move fast when required. Drop into the hole at the end to earn the star.
Star #3
Fiery Dino Piranha
Yet another returning boss awaits you, this time the very first foe you tackled all the way back in the very first level of the game. First though, you've got to reach him. The hub planet is going crazy now, with huge geysers of lava to contend with, so you want to quickly make your way to the green pipe you saw in the intro to the level. It's just around the corner from the lava pond, and across some tiny collapsing platforms. You'll need to use the high back flip jump (crouch, then jump backwards) to reach it. The pipe brings you to a small metal planet, which has a launch star. This sends you a short distance onto the next planet which you may remember from the previous level. Last time you were collecting launch star pieces, this time you're trying to defeat every enemy. Spin them to put out their flames, then spin them again to shatter their stony bodies. If they fall into the lava, they'll reignite. The next planet just requires you to dodge some fireballs on the way to another launch star, which takes you to a rotating section with moving platforms. Track down all the launch star pieces, making sure the tightly packed platforms don't knock you off, then head for the top to blast off. Just one last mad scramble across sinking platforms to go, then it's time to put Dino Piranha down for good. As with all the second round boss fights, it's the same as your first encounter, but with added hazards. Dino's tail now catches fire, so you need to wait for it to go out before you spin into it. Keep slapping him with his own appendage until the star appears.
Star #4
Burning Tide
Make your way back to the three spherical planets from the Sinking Lava Spire, and make your you collect 80 star bits on the way. There's a hungry Luma here, and once its appetite is satiated it'll create a new planet. Nothing too taxing, you just need to collect five silver stars from the pathways. You can clearly see where the lava tide comes to, so find a safe spot and wait for the lava flow to subside before moving on. Get five silver stars, and they turn into one glorious golden power star.