Super Mario Galaxy Star Guide
Part 3 of our spectacular guide to all 120 stars.
Deep Dark Galaxy
Star #1
The Underground Ghost Ship
Make straight for that cannon hole and blast yourself over to the planet up and to the left. Aim for the invincibility star - it'll make life a lot easier when you land, surrounded by enemies. There's also a Fire Flower on the opposite side, but you need that to open the gate on the beach. Grab it and quickly use the launch star to return to where you started, lighting the torches on either side of the portcullis. Run inside and dive into the deep water, swimming down as fast you can. There are air bubbles along the way, just in case. Follow the handy star bit arrow and smash the crates to reveal a switch. Open the gate, then swim all the way up the next passage, hitting the switch at the top. Get out of the water and make your way around to the ship, where Kamella, the large Magikoopa, will appear. You know what to do - throw the green shells back at her. Do this twice and the Magikoopa moves up to a higher platform, and is joined by two smaller pals. Shimmy up the pole in pursuit, and hit her two more times for the star. Watch out - her fireballs now split into three when they land, and you've only got limited dodging space.
Star #2
Bubble Blastoff
No time to dawdle - that gunner needs taking out immediately. Stomp the turret three times, using the scenery to avoid bubbles as necessary. Jump into the cannon hole and, just as in the previous mission, you're after the Fire Flower on the enemy-infested nearby planet. Shoot over there, grab it, launch back and quickly light the three torches in the cave. This gets you the Ice Mario power up, allowing you to run across the water and jump up the leaking valves. Grab onto that pole, climb to the ledge, and then the next pole. Make like the Prince of Persia and swing across the gap using those bars and make your way around to the large blue platform with the question coin. The coin produces pull stars to reach the yellow pillars. You're now making a daring ascent using bubbles and poles, with a Magikoopa in hot pursuit. At the top, you're blasted to a new planet where you must stomp all the stumps to activate the bubble machine. Float away to the final planet where you need to leap over the shockwave rings to survive. See those balls rolling around the inside of the planet? Stomp when one is underneath you to send it smashing into the core of the planet which, obviously, is a watermelon. Do this with all the balls and the star is yours.
Star #3
Guppy and the Underwater Lake
Dive back into that deep lake and talk to Guppy. You need to hit another eight rings, which really isn't hard once you grab a shell for propulsion. Just watch out for the water spouts near the end - it's easy to crash into them if you use the speed boost ring.
Star #4
Boo In A Box
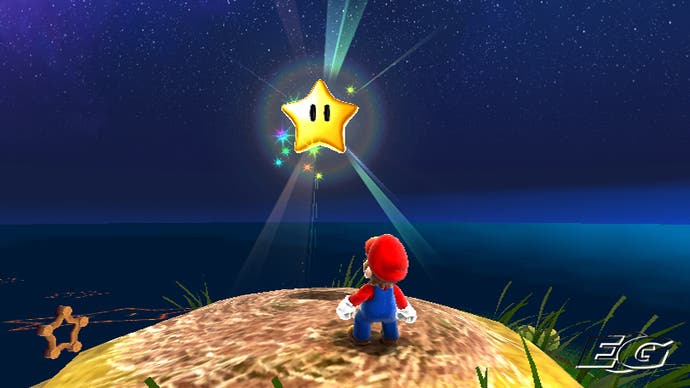
A secret star. Go back into The Underground Ghost Ship after clearing the three main missions and, at the bottom of the first dive, look to the back of the star bit arrow. Throw the green shell at the mines near the wreckage to create a launch star. This takes you inside another gravity-flipping level where you need to reach the crystal on the wall. Smash that, and light streams in. Lure the Boo into the light to get the star.
Dreadnought Galaxy
Star #1
Infiltrating The Dreadnought
From the start, dodge the lasers and make your way to the springboard plunger, which can bounce you onto the top of that shockwave generator for a launch star. You're blasted over to the Dreadnought. Defeat the three enemies and enter the pipe. This leads to another gravity-flipping 2D section, where using the springboards and rising pillars is key to reaching the next area. Once outside, bounce on the heads of the Topmen to scale the generator tower. Use the launch star at the top and make your way to the largish planet with the cage and Bullet Bill cannon. As always, clear a path then lure a Bullet Bill to smash the cage. This floods the planet and causes the yellow laser robots to move and turn closer. You now use these as platforms to reach the star.
Star #2
Dreadnought's Colossal Cannons
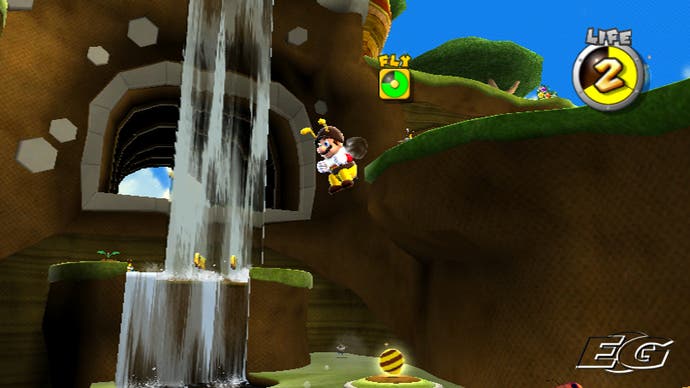
Jump onto those big grey nuts, face left and run on them to spin them along the bolt to the other side. You've now got to hit all these sets of flipswitches while dodging a stupid amount of small Chomps, then use two more sets of nuts to proceed. Two octopi will confuse matters towards the end, so whack those coconuts back at them as quickly as you can. There's a Bob-omb machine, but just leap over it and use the launch star to the exterior of the Dreadnought. Now navigate the moving yellow platforms, bedevilled by cannonballs and lasers, and get ready to jump up to the platform above halfway through, so you're upside down. You'll soon flip right side up again - just before you hit some mines - and after another horizontal dash under a Thwomp you start rising upwards. Things continue in this vein for a little while longer - swapping gravity when possible, avoiding the onslaught - until you reach two pink shockwave machines. Jump on the second one, as it's a spring that will bounce you up to the star.
Star #3
Revenge Of The Topman Tribe
Bounce off the Topman to reach the first launch star, then shunt the two red Topmen into the electrical fence using spins or star bits. This frees the Luma, who launch stars you to a cube planet. Stomp the button to reveal blue pull star pieces, some of which are just out of reach. Use the old Topman bounce effect to get any that are giving you trouble, then sling your way to the next launch star. There's a health boost on the underside of the enormous metal suppository you land on, which will come in handy as you pull star your way through a broadside of cannonballs and mines. If you do take a hit, quickly grab onto the nearest pull star again or you're toast. Take your time, find the gaps in the firing pattern, and it's not so tricky. At the end, grab the pull star on the right, then use momentum from the one in the middle to carry you over to the launch star. Scoot through the shockwave machines, using the white circles to figure out where their waves will stop. It looks like the Venn Diagram from Hell, but it's handy. Launch from the end, and you arrive at the final boss arena. Make your way to the top (ha!) where Topmaniac awaits. Just as before, you need to jump on the button on top, then spin him into the electrical field. This time the field has gaps, and is rotating, but it's still not one of the harder battles. Zap him three times to win the star.
Star #4
Dreadnought's Garbage Dump
From the start of Revenge Of The Topman Tribe, run to the underside of the spaceship and jump in the pipe. It's another trash clearing challenge, and it's got an even tighter time limit than the one in Battlerock Galaxy. Those yellow coin spots on the ground are a handy indicator of the best places to land the bombs, but you'll still need to move fast.


