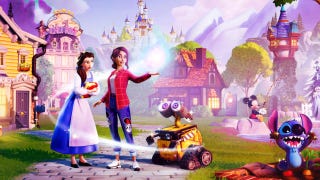
Feature Games of 2022: Disney Dreamlight Valley's promising world in progress Taking the Mickey. 25 Dec 2022 Tom Phillips 5 comments
News Disney Dreamlight Valley's Toy Story realm gets December release date As part of second major update. 22 Nov 2022 Matt Wales 3 comments