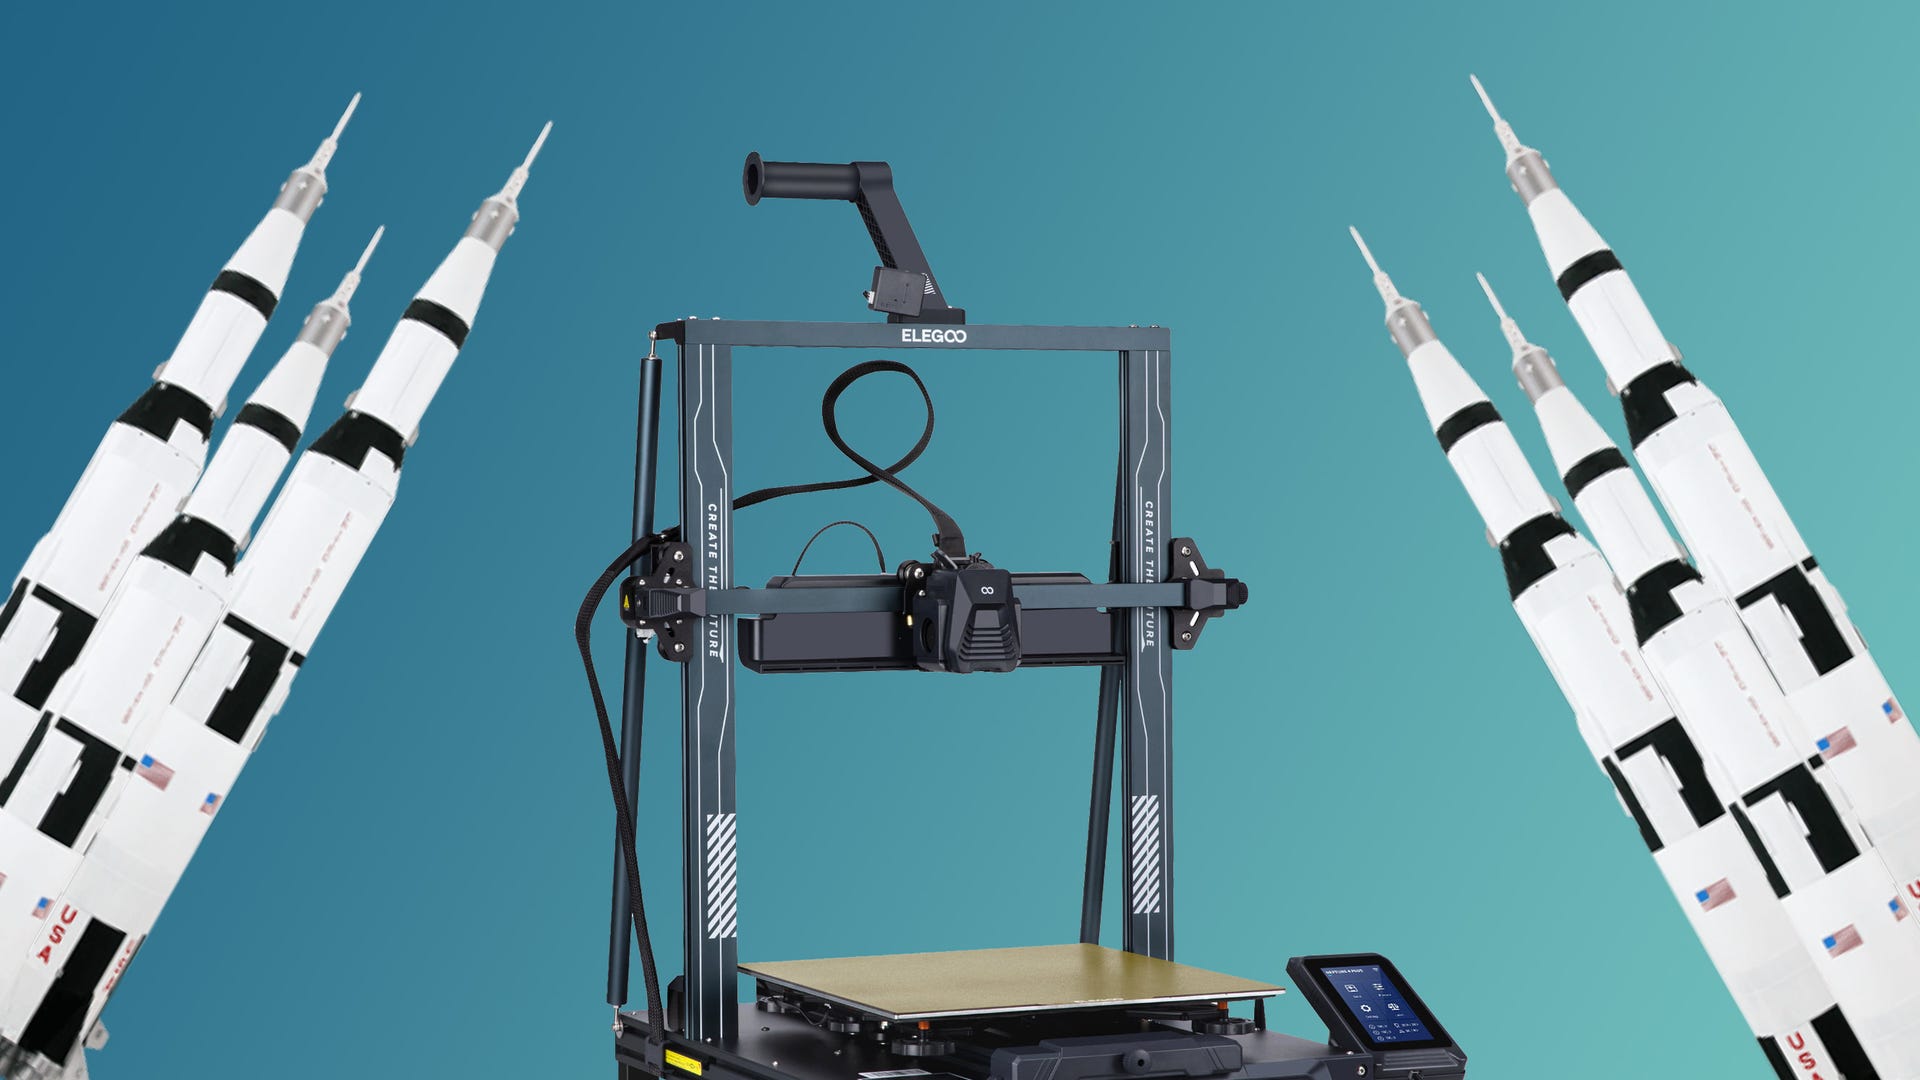
Elegoo Neptune 4 Plus review: 3D printing for fun and rockets
Is this an ideal 3D printer for beginners?

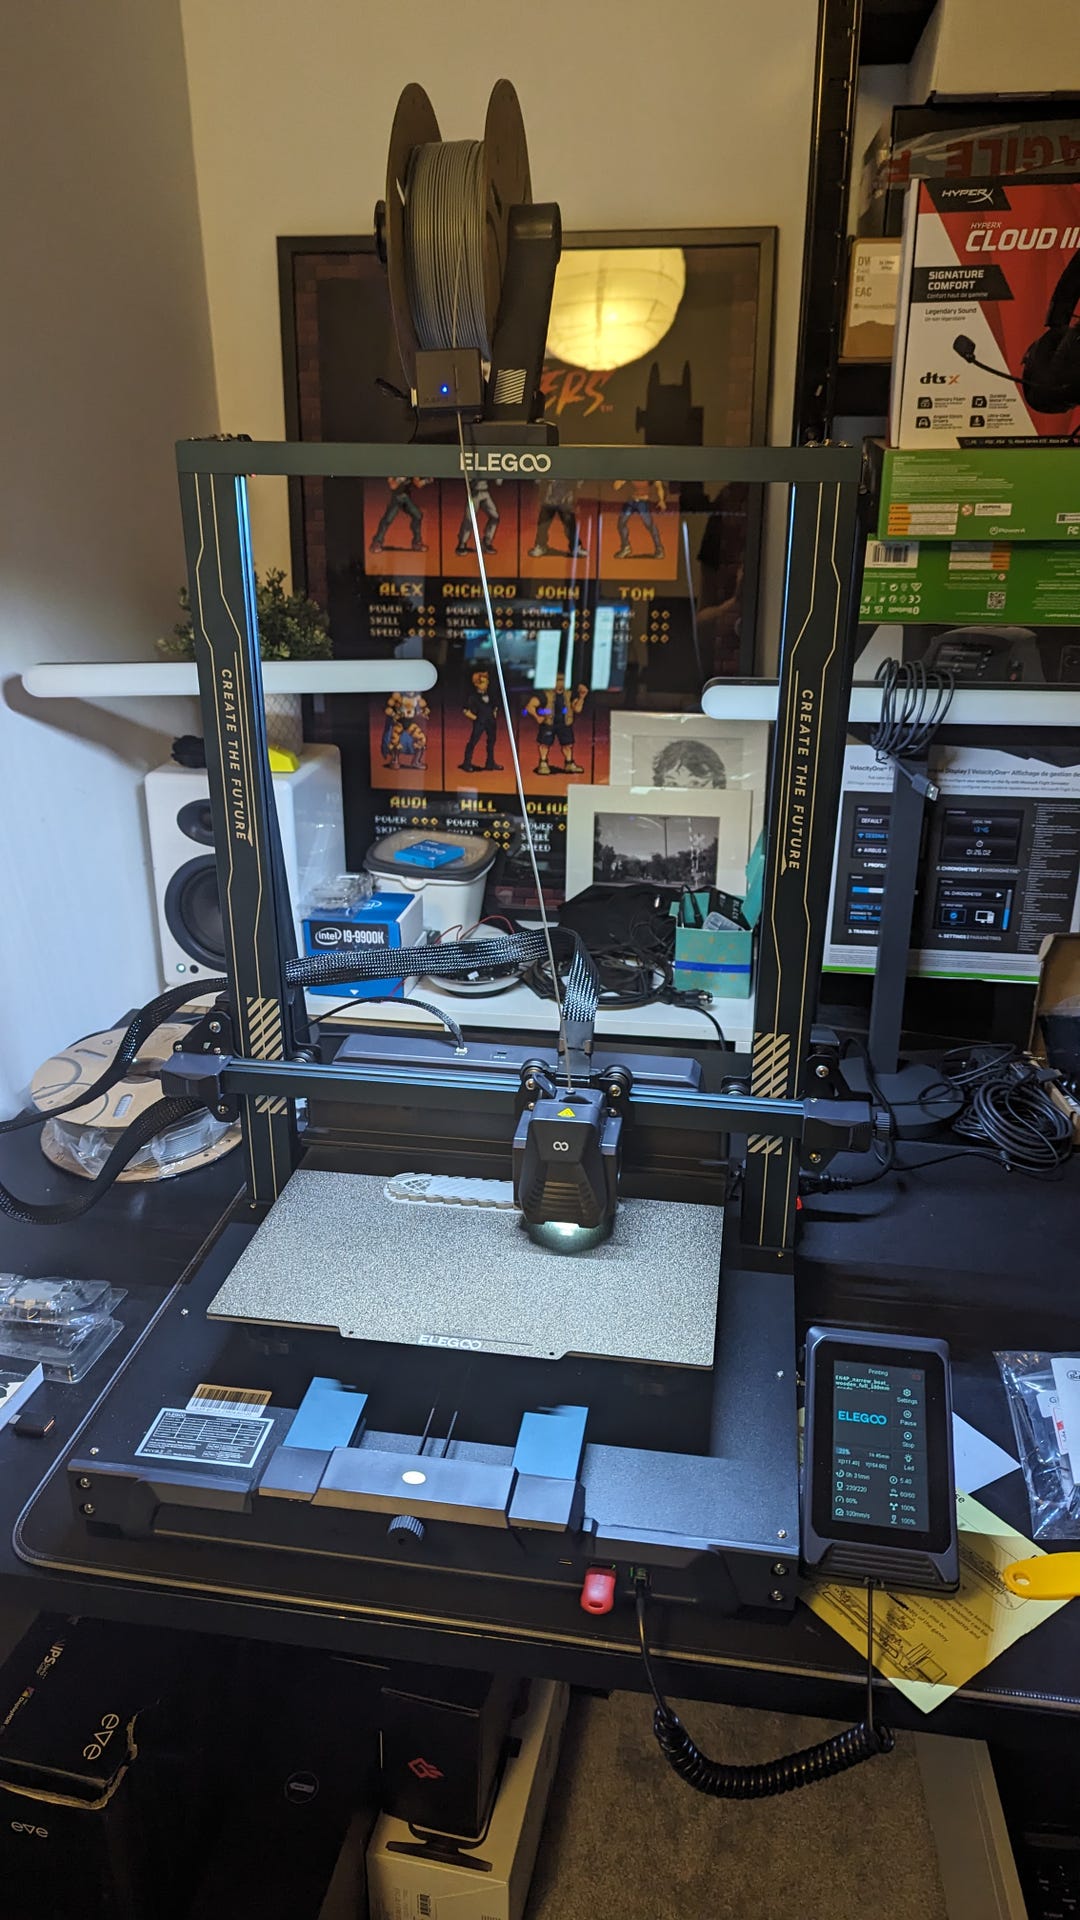
I've always been fascinated by 3D printers but I've never known what I would do with one. When Shenzhen-based firm Elegoo offered to send their $350/£300 Neptune 4 Plus for review, I figured I'd better take them up on their offer and find out just what's possible with a modern 3D printer - and what challenges awaited me as a complete beginner. Here's what I've discovered - from the gauntlet of the initial setup process to the successes and failures that have defined the first few weeks of 3D printing.
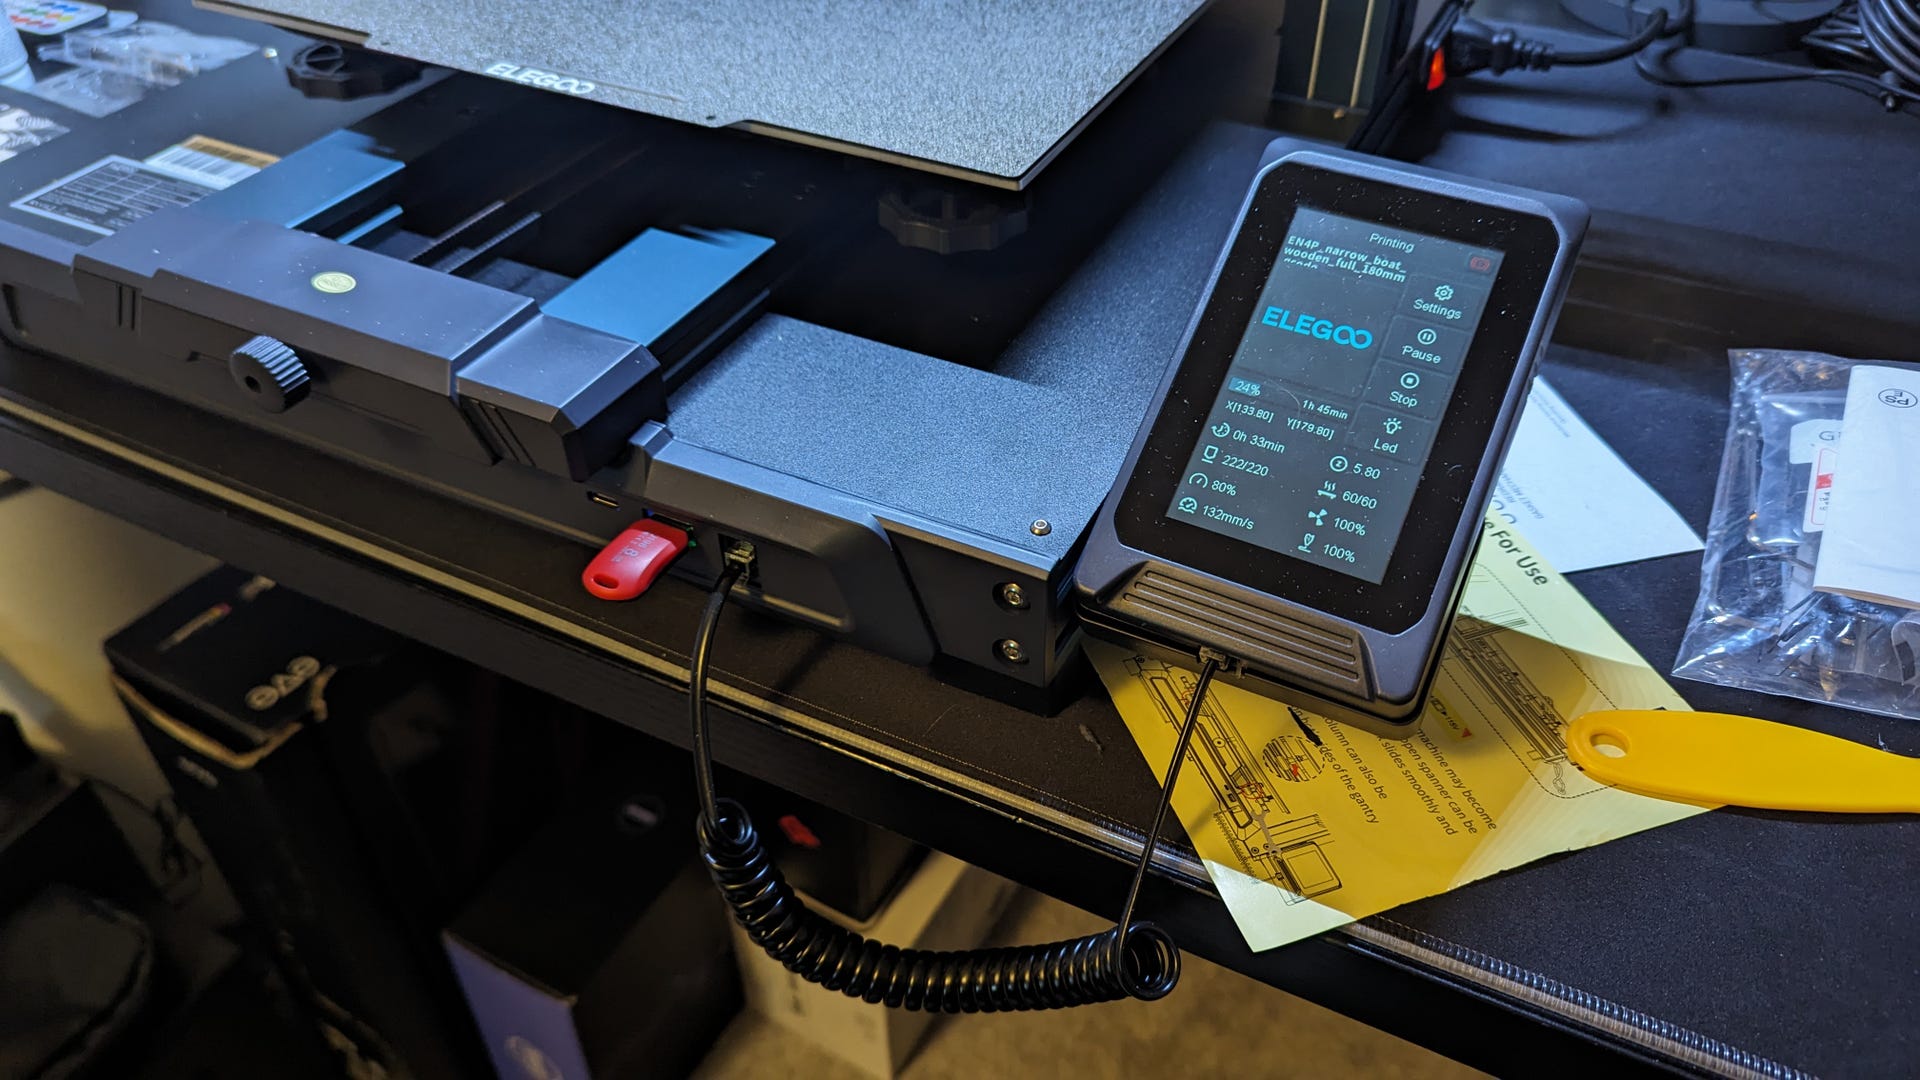
First, the setup process. The Neptune 4 Plus comes in pieces, so you need to follow an IKEA-style assembly process to join the major components, mount the included control pod and connect a bunch of wires. There's a printed manual provided, but there's also a digital version on a USB stick. That stick also contains a video tutorial for the setup process, which I followed carefully. The build itself is quite straightforward and ought to take around an hour, with no real challenges - each step's smaller components like screws are neatly labelled in separate bags and all of the tools are provided which is nice.
The real challenge comes when you've screwed everything together, plugged everything in and turned the machine on for the first time - as now it's time for levelling. This process requires you to raise or lower the nozzle, hundredths of a millimetre at a time, until a piece of paper between the nozzle and the print bed can be pulled out but not pushed back in. This process is repeated on six points around the bed, with the adjustment coming this time from springs below that you can tighten or loosen by rotating a dial. Again, you're looking for a decent amount of friction between nozzle, paper and bed; judging how much friction takes some patience.
After finishing the six points, I had seen a YouTube video that recommended not going ahead to the next step - auto levelling - but instead to go back to the initial levelling step, levelling the centre point once again, doing the six springs again and then finally moving onto the auto-levelling procedure. I did this - only tearing my piece of paper once or twice - and was rewarded with the auto levelling stage, which sees the print head move to 36 different points on the bed in sequence.
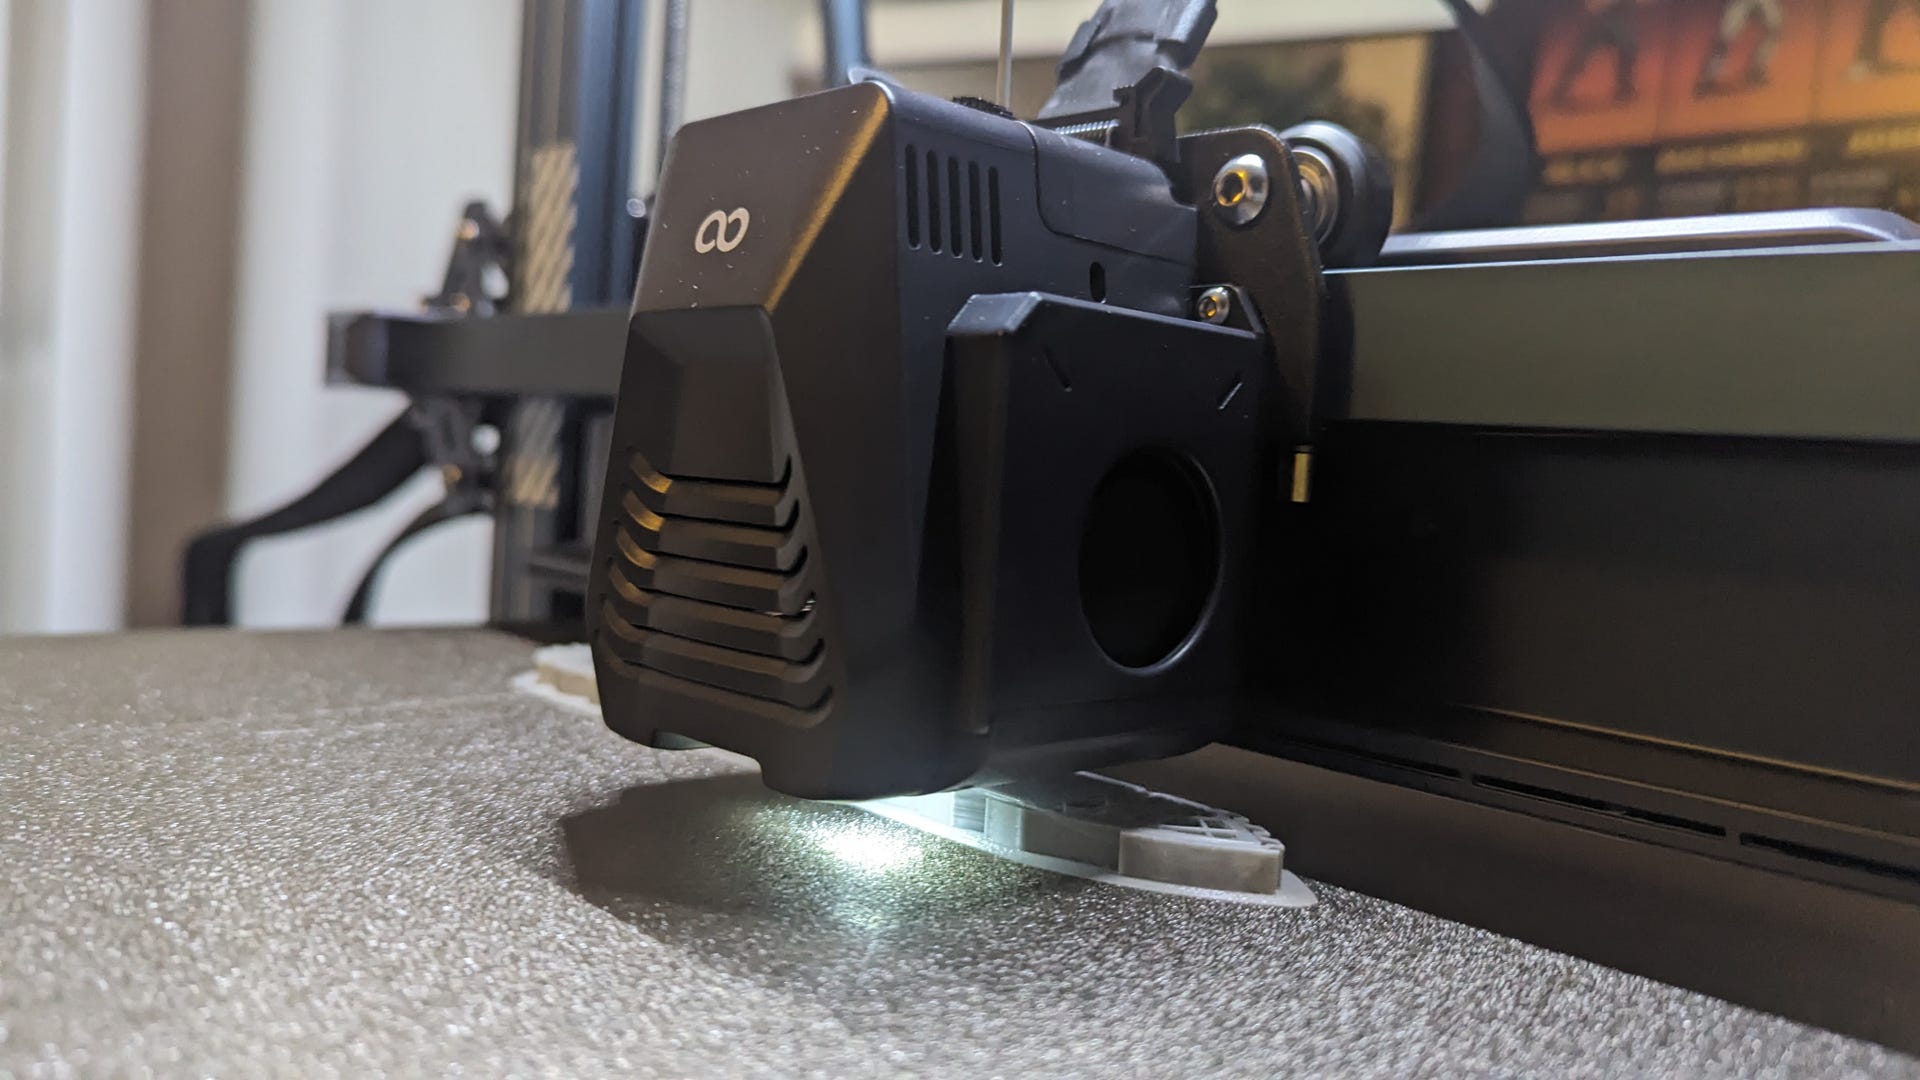
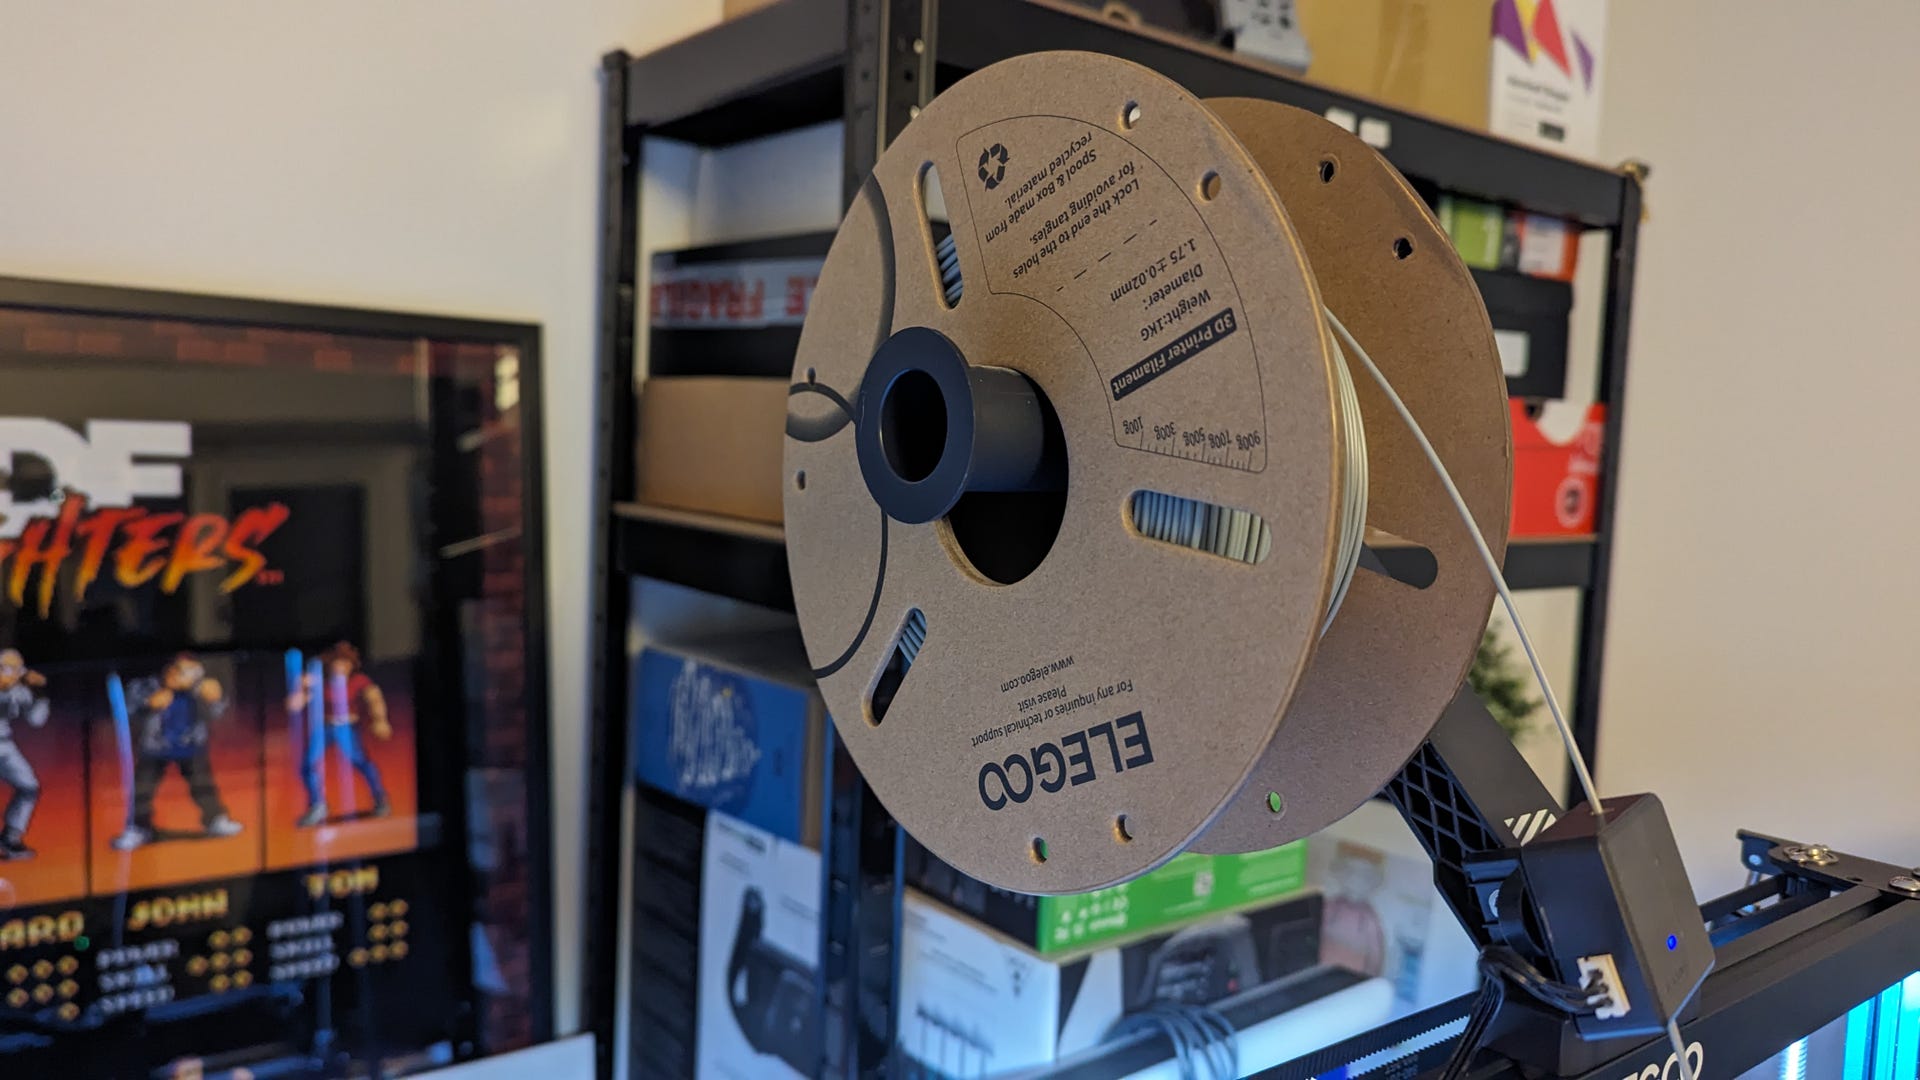
From here, it's a simple matter of adding a spool of PLA to the holder at the top of the machine, feeding it through the 'out of PLA' sensor, pushing it into the top of the print head as far as possible and then finally pressing the 'load' button to heat up the head and start pulling the PLA through it. I didn't quite know what to do with the PLA that flowed through, but I used the plastic scraper tool to poke it away from the print bed and that seemed to work OK.
The USB drive comes pre-loaded with a few designs, so I opted to print a small model Buddha as it seemed the quickest to make. It estimated a build time of around 20 minutes, but after around 12 the Buddha was complete - and seemed in good working order, with extremely faint horizontal lines visible but otherwise more detail than I was expecting on a figure standing only a couple of inches high.
My biggest mistake on that first night was starting up a second print right away: this time a plant pot! I was excited to produce something actually useful and prove the concept out, but the print took around three hours - and it was already past midnight. I didn't want to go to sleep or even leave the room for very long, lest the build be ejected at high speed or the printing to otherwise go haywire, so I babysit it for those three hours while doing work on the other side of the room. PLA fumes aren't incredibly toxic, I don't think, but I opened a few windows anyway just to be sure.
Besides my growing weariness, the issue with this late-night print was that the Elegoo made a heck of a load of noise with its collection of tiny (80mm?) fans at full pelt, with the shaking of the desk and the squeak of the print head as it raced around in circles. I ended up moving basically everything off the desk to stop stuff banging rhythmically into the wall and changed the machine to 'silent' mode - amusingly, 'normal' and 'sport' are the other two speed settings - and this made me feel a little less guilty for potentially keeping my neighbours awake late into the night with a suspicious racket.
After this initial trial, I felt increasingly comfortable with the machine and started churning out prints from my machine over WiFi to the printer under the motto ABP - always be printin'. Over the next few days, I downloaded a ton of models from Thingiverse and made:
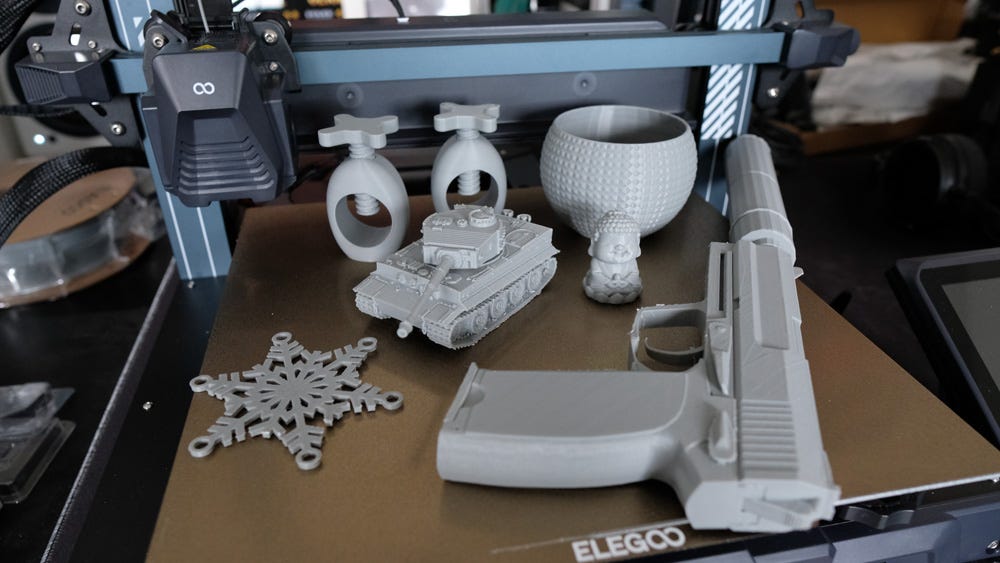
- Colt 1911 pistol (the best thing I've ever printed - incredible detail)
- Weighted Companion Cube keycap (printed in six minutes!)
- Snowflake Christmas ornament (extremely rapid, if a bit grey)
- Two nutcrackers (genuinely useful and cool to see a perfect working screw)
- Another Buddha (for testing purposes)
- USP-S w/ removable supressor (the biggest thing I've ever printed but fiddly)
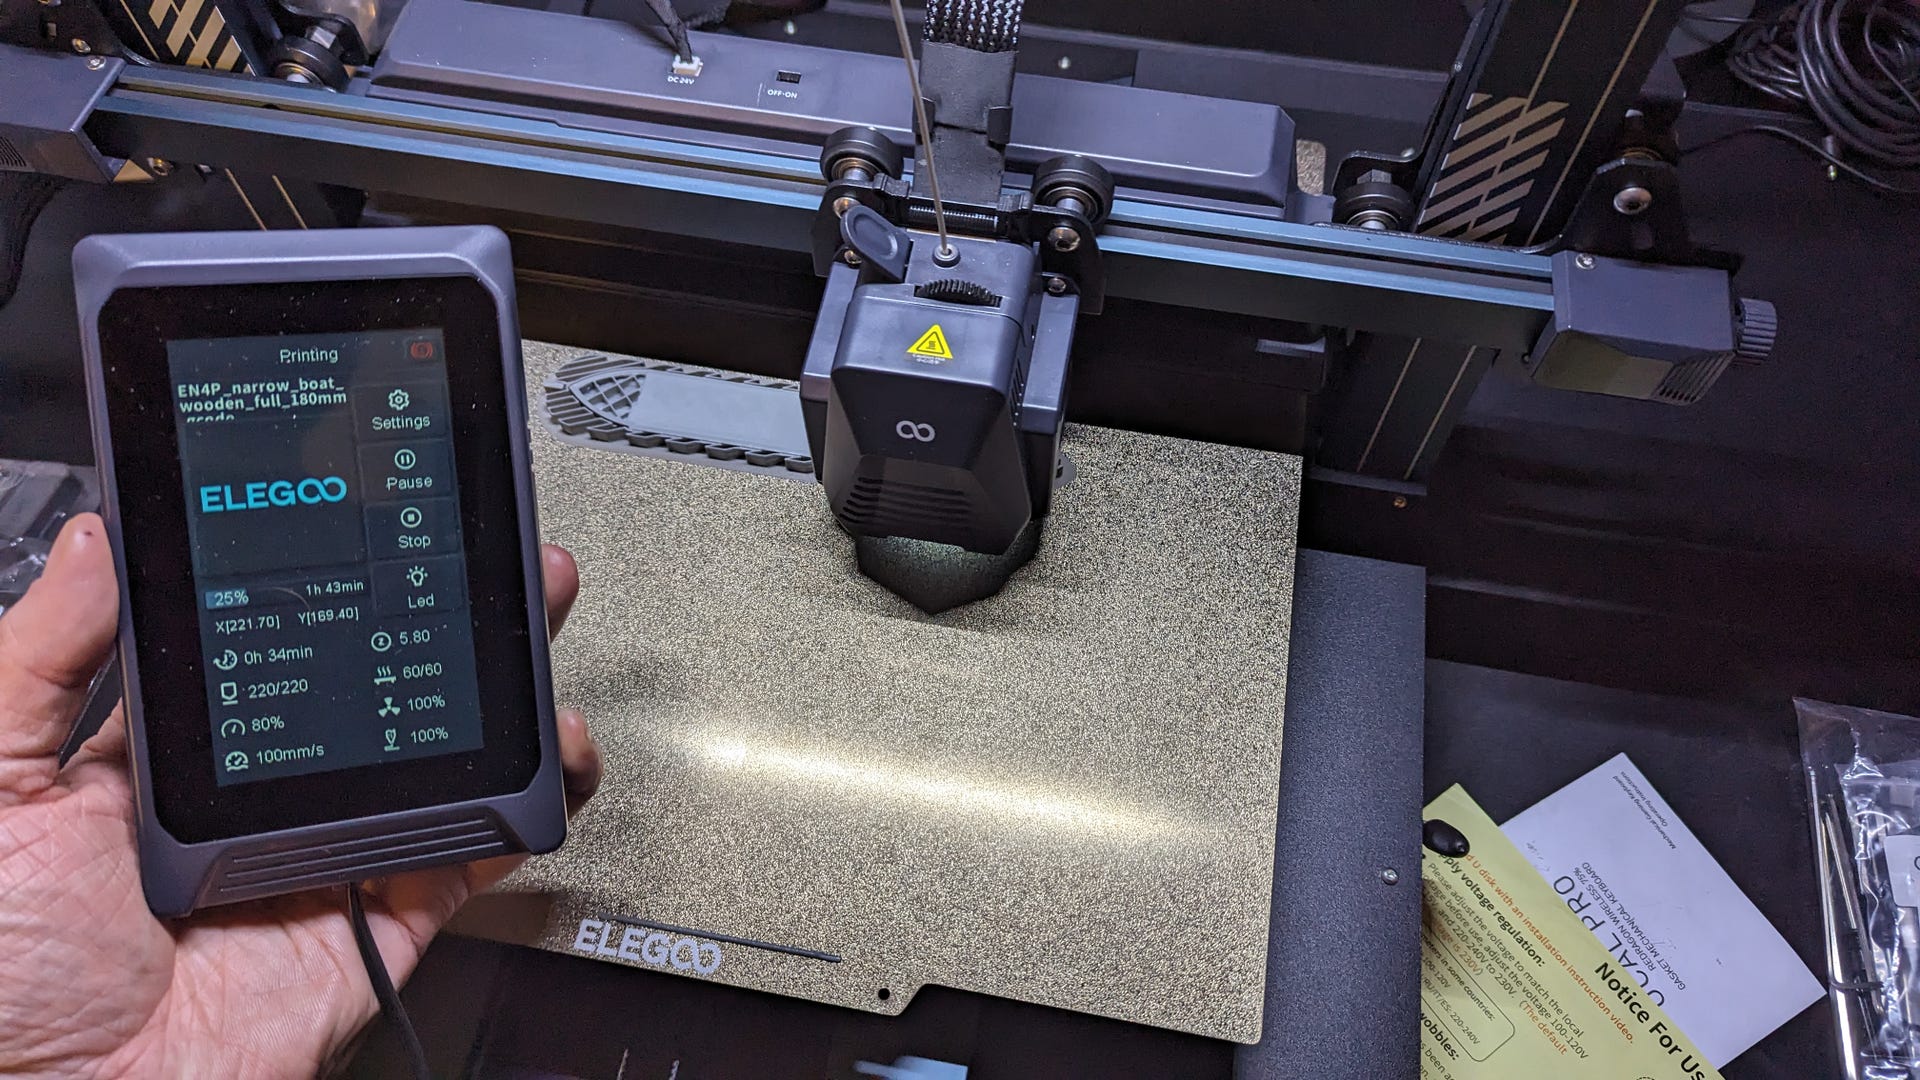
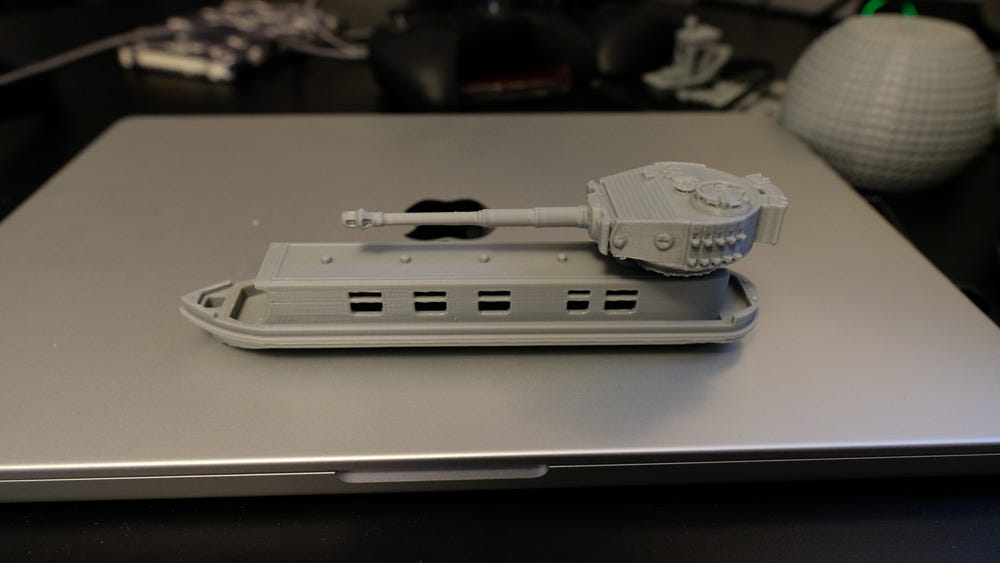
- Narrowboat (printed a huge pile of string before I discovered something called "supports" that need to be beneath "overhangs" so the 3D printer isn't printing into "empty air")
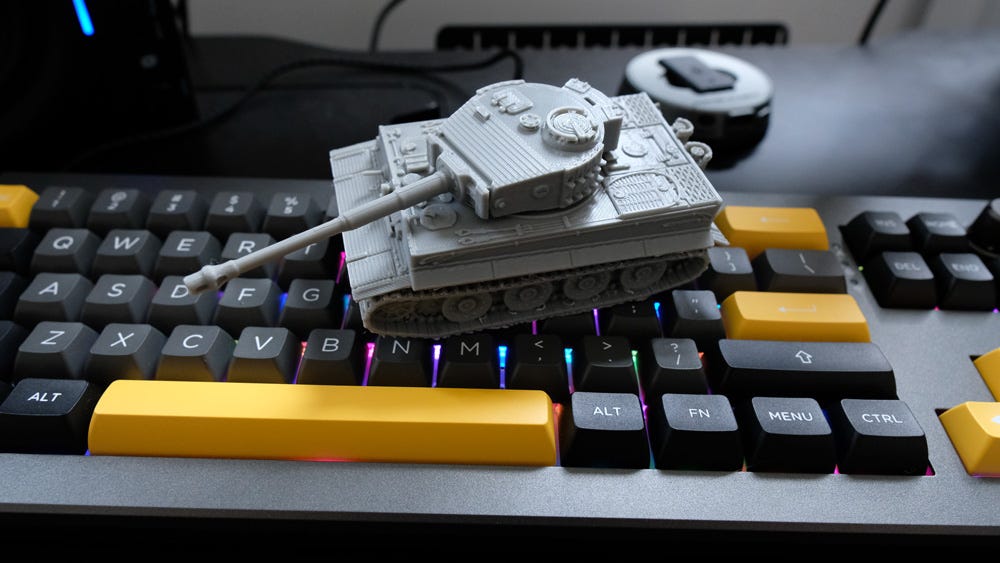
- Panzerkampfwagen VI Tiger 1 Ausf. E tank with rotating turret (that required a huge amount of effort to remove supports printed in the tiny gap between the treads and the chassis)
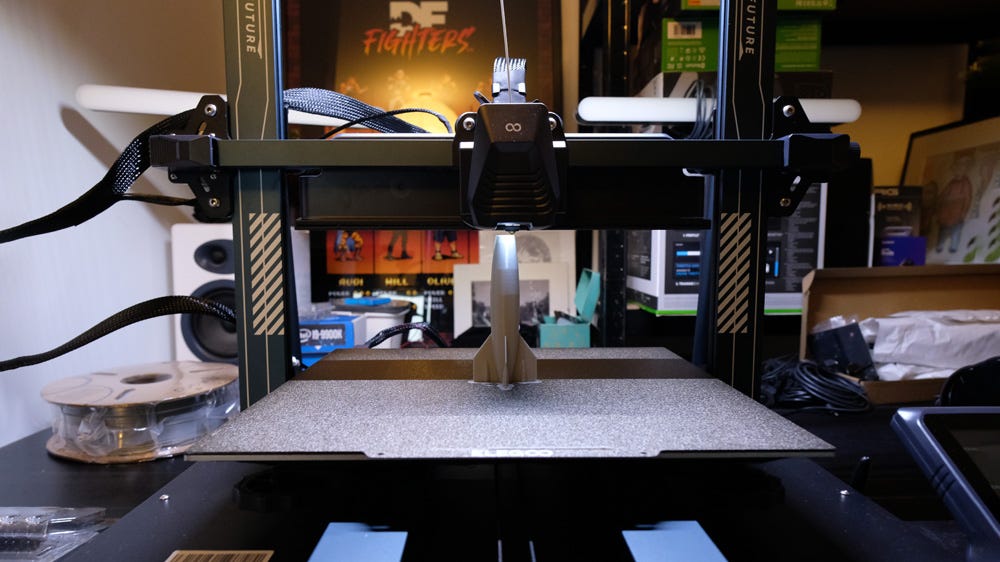
- Classic rocket (so I could use this article title)
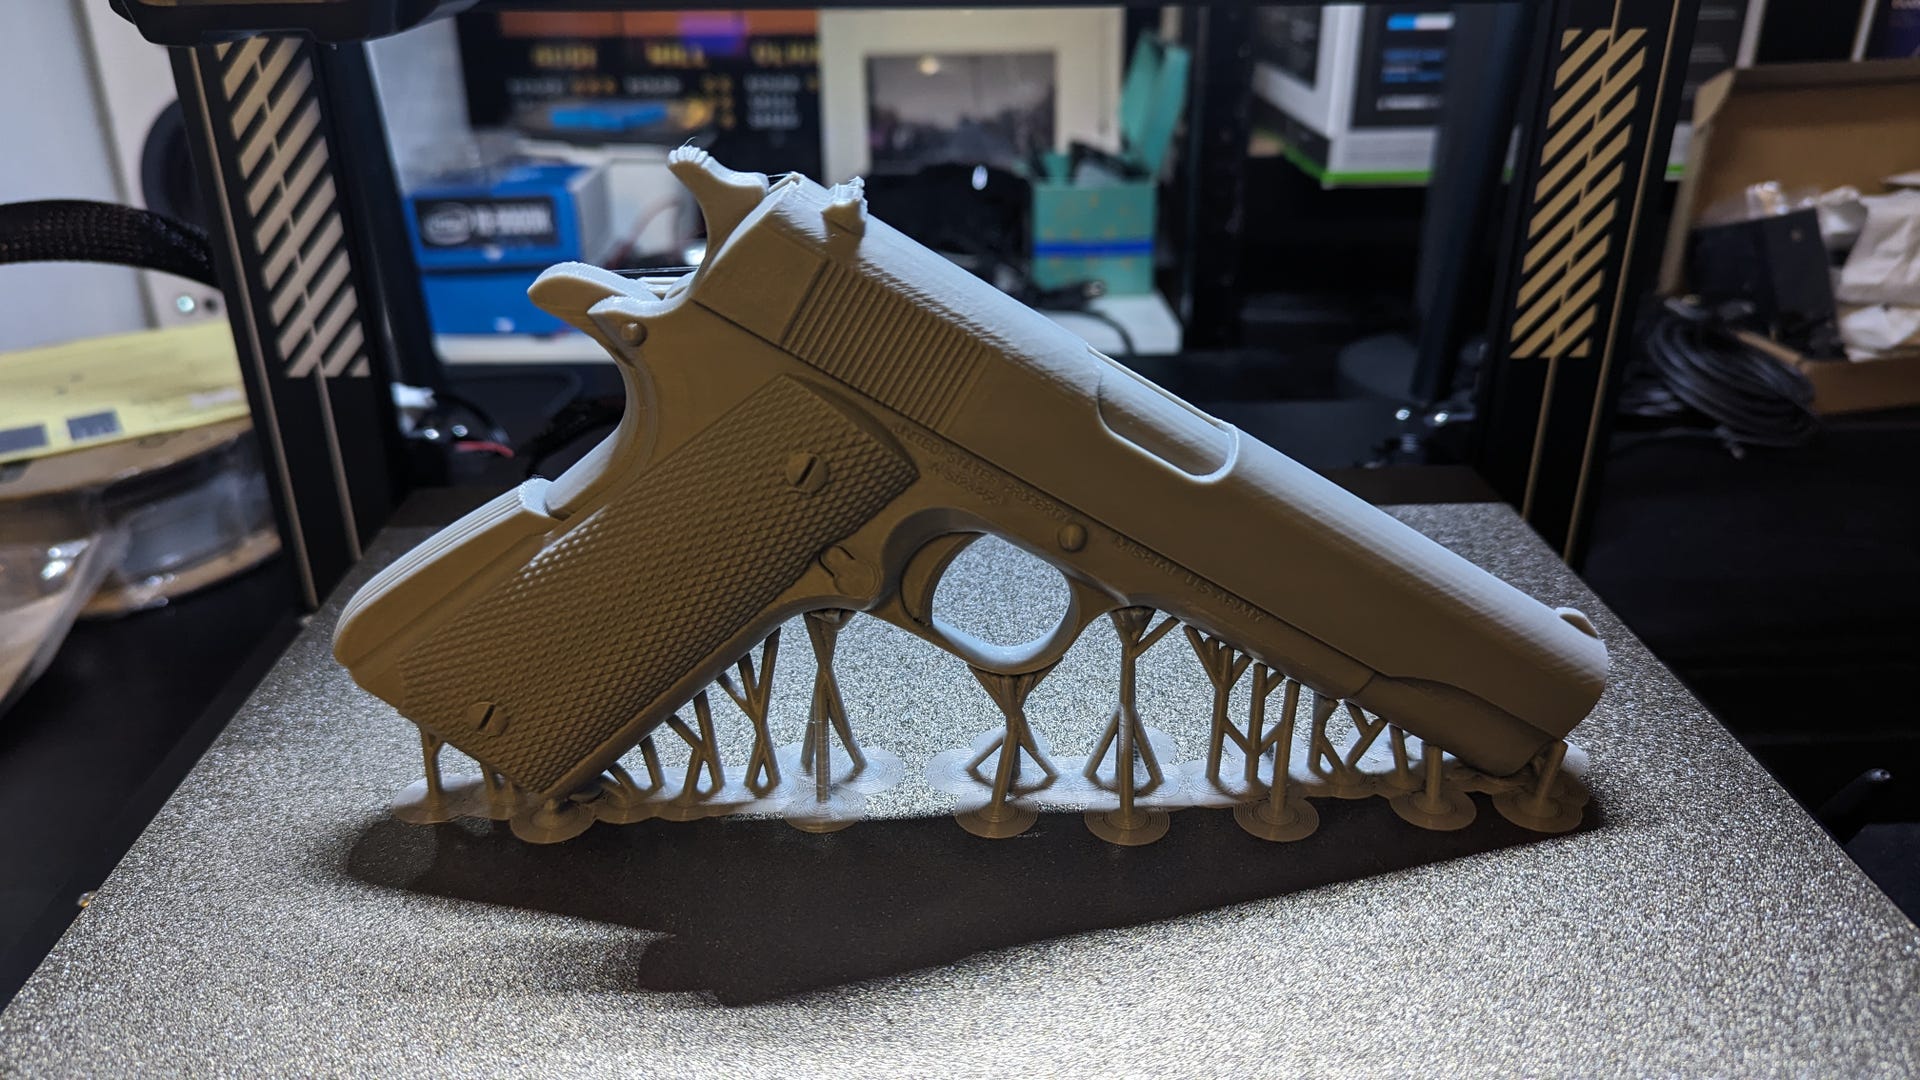
I was quite happy with the detail - seeing fine lettering on the side of the 1911 was particularly jaw-dropping - and the speed at which everything was produced, with the longest print (the USP-S) taking around eight hours, with smaller models like the snowflake, nutcrackers, Budda and rocket being accomplished in around half an hour.
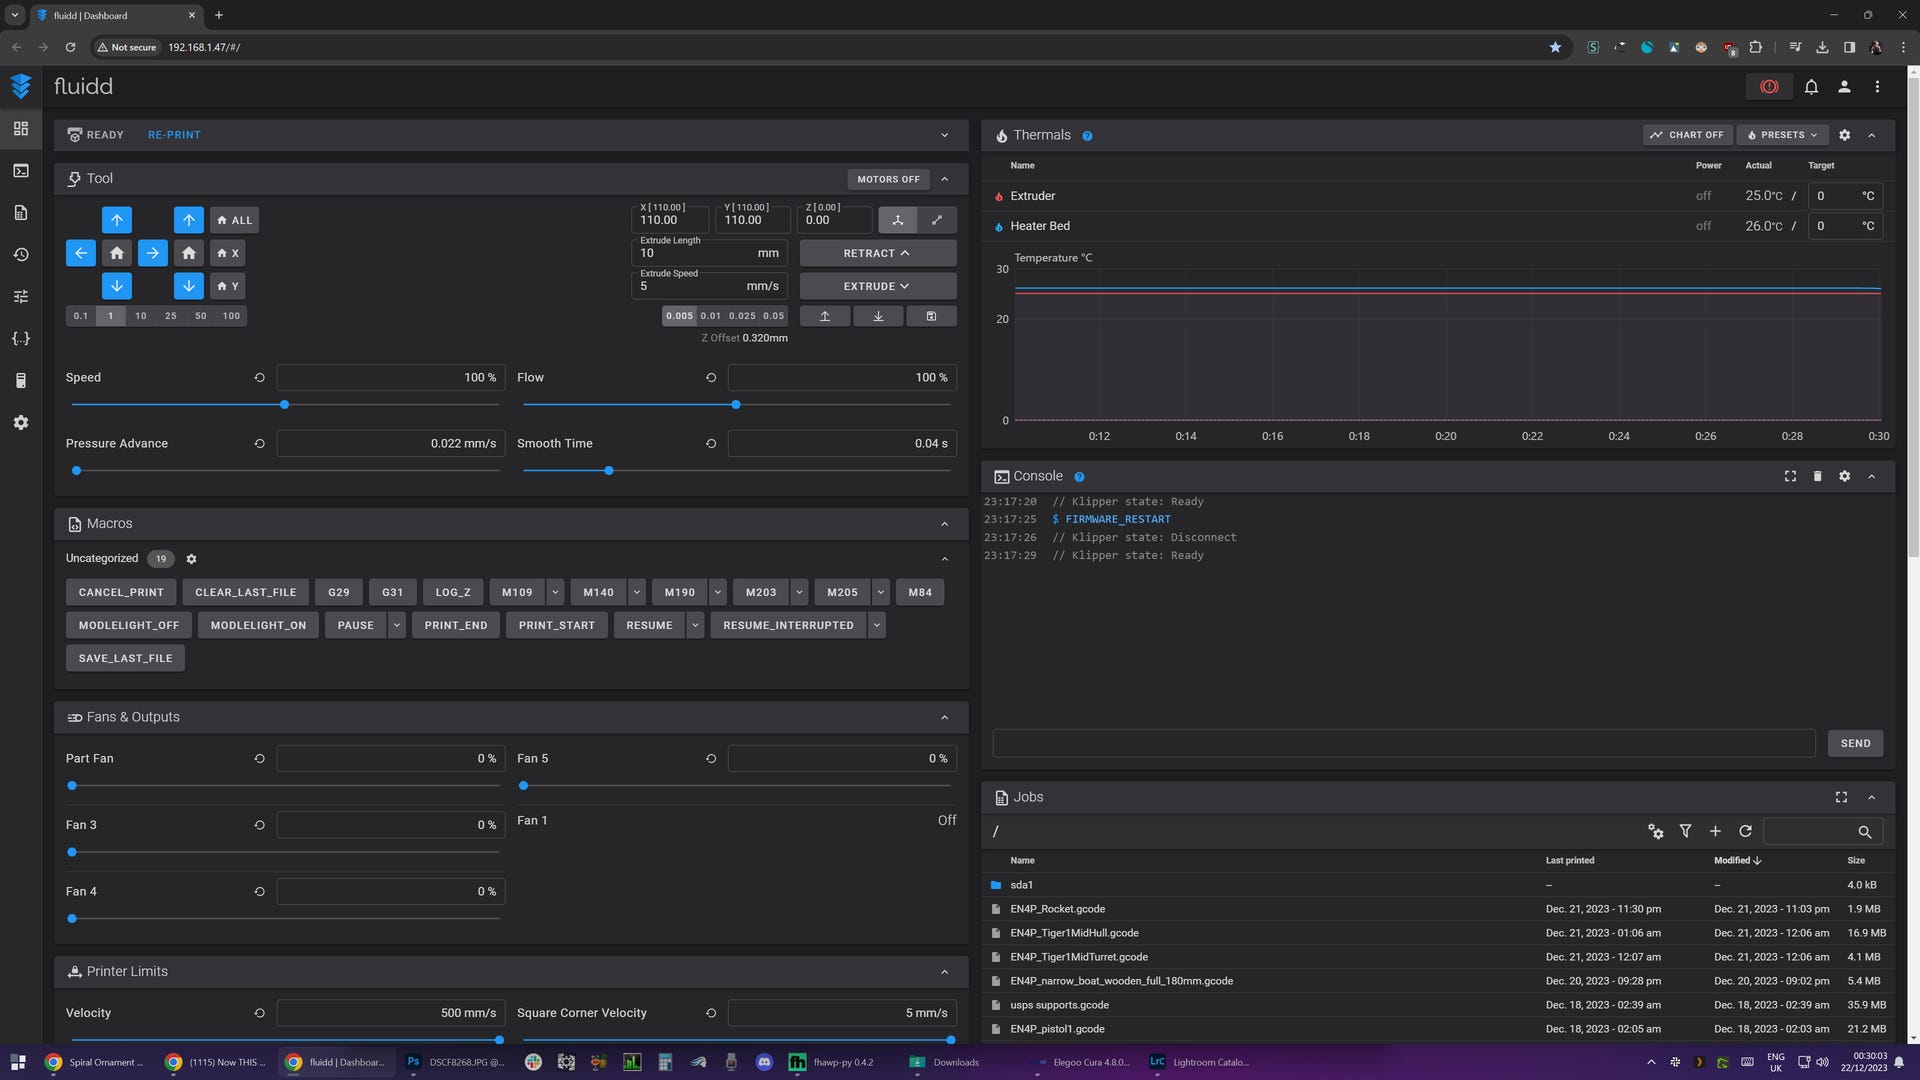
After doing quite a few prints, I tried using a slicer program I'd seen recommended online, OrcaSlicer, rather than the provided option of Elegoo Cura 4.8. Though a profile for the Neptune 4 Pro existed, which I figured would be close enough, it eventually failed. The next print I tried slammed into the nozzle into the print bed, and after this setback, a lot of stuff I tried failed, even printing pre-sliced sample models provided with the printer, and I was convinced that I massively messed things up - I'd busted the nozzle, or borked the firmware somehow.
Thankfully, my issues were resolved with repeated manual and automatic relevelling and I got back to work. Slowly, I learned some necessary supporting skills: how to add supports using Cura, which surely would have prevented some earlier disasters, adding different kinds of supports, and then removing those supports from both external (easy) and internal (really tough) placements. Not every print survived unscathed, but nothing was totally ruined either. I was making genuinely cool stuff, at least if you didn't look too closely at the fine detail.
Around a week on, it feels like a good time to write up this review and share my experiences. This is probably unsurprising, but the main thing here I've learned is how little I actually know about 3D printing and how complex the practice is! This is one of the best and worst parts about picking up a new hobby - something that seems initially simple and straightforward is revealed to have beautiful, terrifying complexity that can just put you off entirely if you're not careful.
Don't get me wrong, reading Reddit threads and watching YouTube videos provides a lot of useful information, but it can be almost overwhelming to see how many variables there are to tweak and how much you ought to be keeping in mind: slicing your models, updating your firmware, choosing your slicer software, replacing nozzles, performing maintenance, using different materials and so on and so forth.
Ultimately though, I'm not going to worry about that side of things too much - I'll seek help if things go horribly wrong, but for now I'm enjoying the ability to think of something, go "ah that would be cool to print", and then have a little plastic model of it a few hours later. If it's not perfectly printed or it goes a bit wrong, that's fine - I'll figure things out eventually and I'm not going to stress about things too much in the meantime.
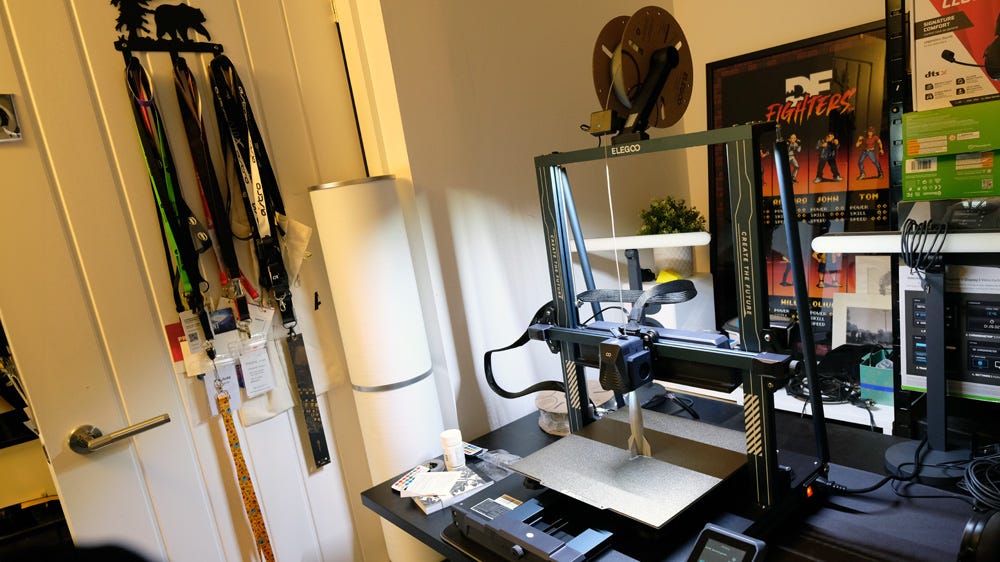
The big question I had coming into this was "is it actually useful to have a 3D printer?" I think it is useful, but that utility comes at a cost - physical space on a desk - about half of an Ikea Idasen 160x80cm desk is entirely subsume; time spent printing, post-processing, planning and maintaining; the need to keep windows open in winter to prevent the build-up of PLA fumes; and of course the investment into the printer itself.
For that though, you can make a practically unlimited variety of small and medium-size knick-knacks for a relatively modest price in PLA and power that means you're sorted for gifts for at least a few years (until your friends get tired of 3D-printed stuff!). You can make useful stuff too, like the plant pots and nutcrackers I made, but the challenge is more about thinking about what you could actually do with - and gaining the skills to design bespoke parts yourself - than it is about mastering print settings. I figure that you'll make your money back after a relatively minor number of prints, and the longer the printer works, the better value it becomes.
And in terms of value, the Neptune 4 Plus does seem like a good one. It's quite big compared to other 3D printers I've seen, yet relatively affordable. The firmware and software remain immature, I think it's fair to say, with Elegoo's provided Cura software being on version number 4.8 while the main Cura build is on the (reportedly much-improved) version 5.5... but out of the box, everything does work. It's certainly not plug and play, but the build process is straightforward and relatively brief, and having some models provided on the printer itself gave me the confidence to try larger and more complex prints earlier on. I like the WiFi functionality, I like the integrated LEDs for the bed and the nozzle, I like the ability to do manual bed levelling.
So, in the end, I really quite like this 3D printer and at $350/£300 it certainly represents good value for money given its size. It just needs to mature so that I can use it with different software packages and upgrade the firmware without fear. (Going onto the dedicated subreddit and seeing reports of people bricking their devices due to a firmware update is not a great look, that's for sure.) For now though, if you stick to the default firmware and the default software package, it seems surprisingly bulletproof for beginners - just remember to level the bed a few times and wipe down the printing area with rubbing alcohol every few prints, and you should be good to go!
I'll continue to experiment with the Neptune 4 Plus behind the scenes, so let me know if there's something you want to know - or something you want me to try and print!