Zelda: Link's Awakening - Face Shrine dungeon explained, chess piece solutions and get the Powerful Bracelet
How to complete the sixth dungeon and get a new strength upgrade along the way.

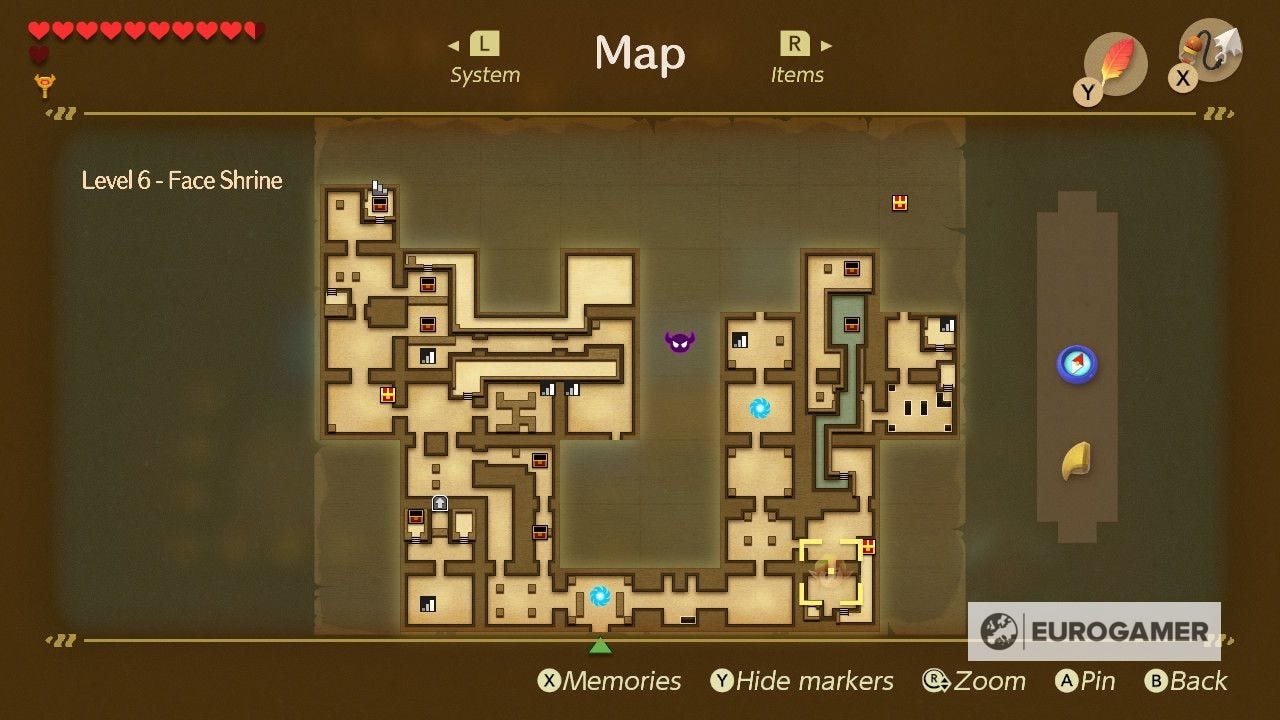
The Face Shrine is the sixth dungeon in Zelda: Link's Awakening, following on from exploring the Ancient Ruins.
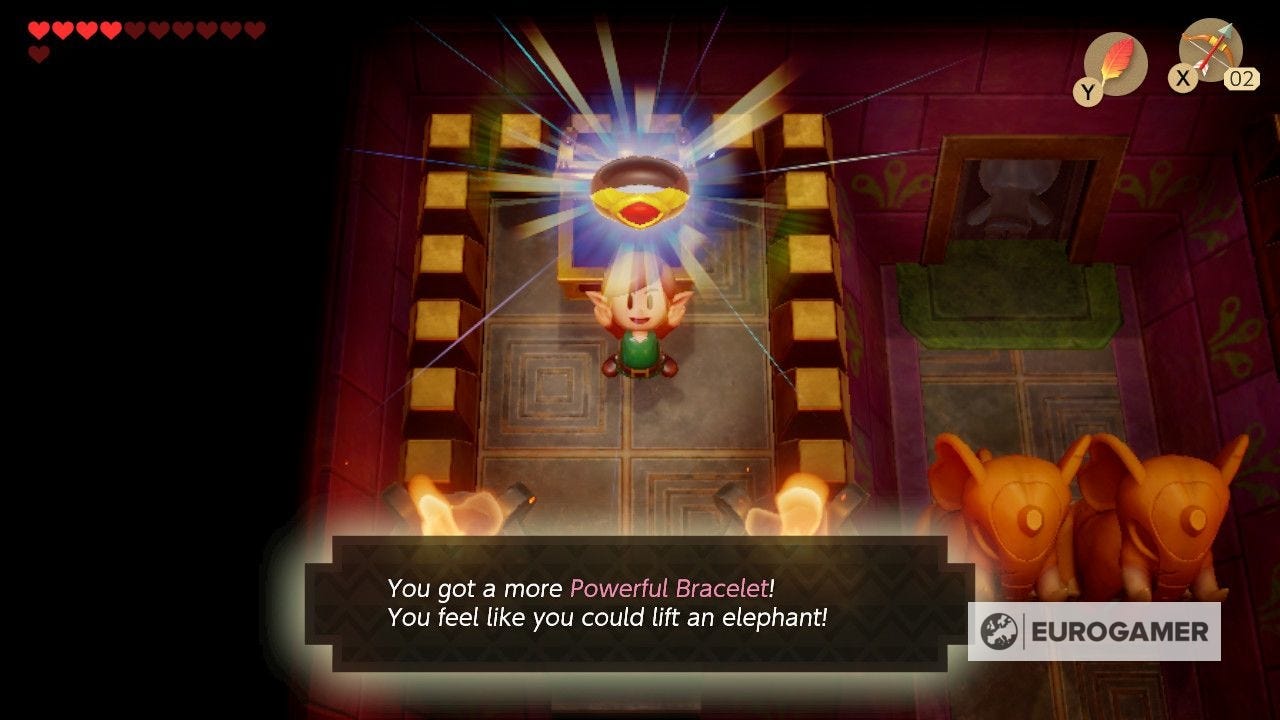
Inside you'll find a new type of puzzle - chess piece blocks - and an item upgrade, the Powerful Bracelet, allowing you to pick up even heavier objects.
On this page:
If you're looking for more assistance, our Zelda: Link's Awakening walkthrough can help.
How to get the Powerful Bracelet in the Face Shrine
As with the Ancient Ruins before it, we recommend you get the Bow.
This is purchased from the Mabe Village shop for 980 Rupees, and is useful to defeat some of the enemies within the Face Shrine. Similarly, the Boomerang is useful and does a very similar job, if you have finished the trading sequence, now possible since you have the Hookshot.
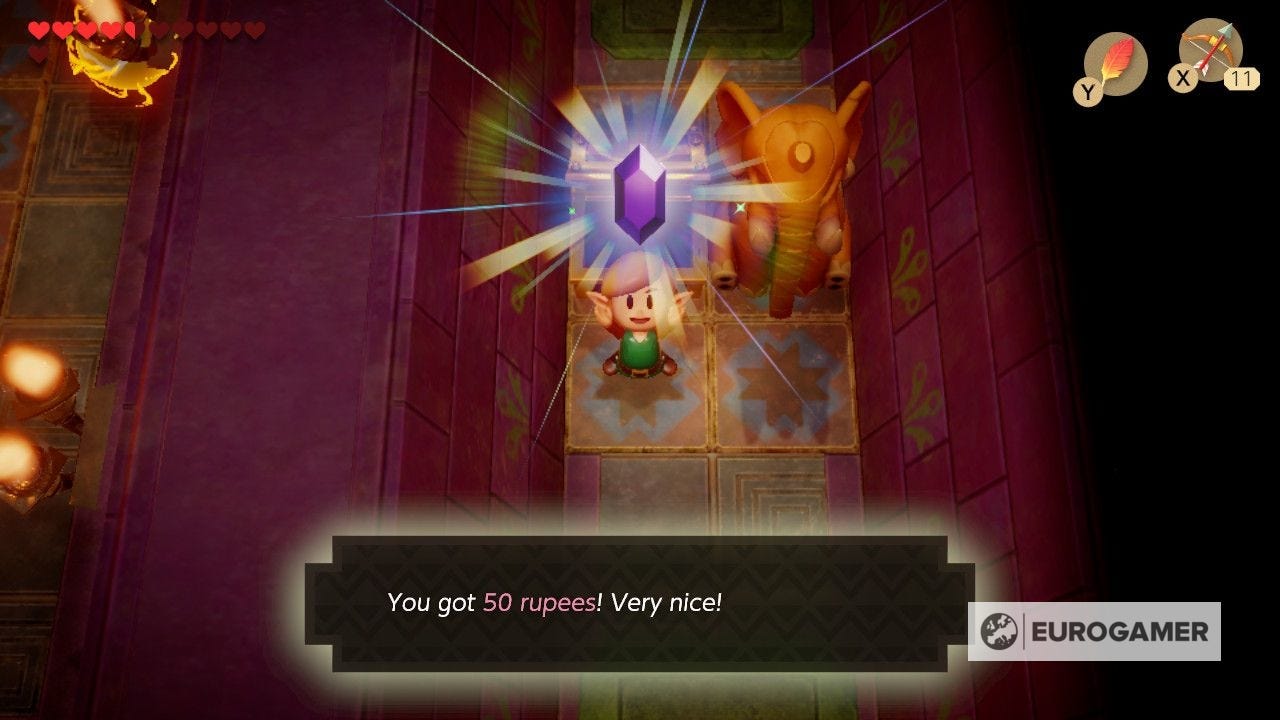
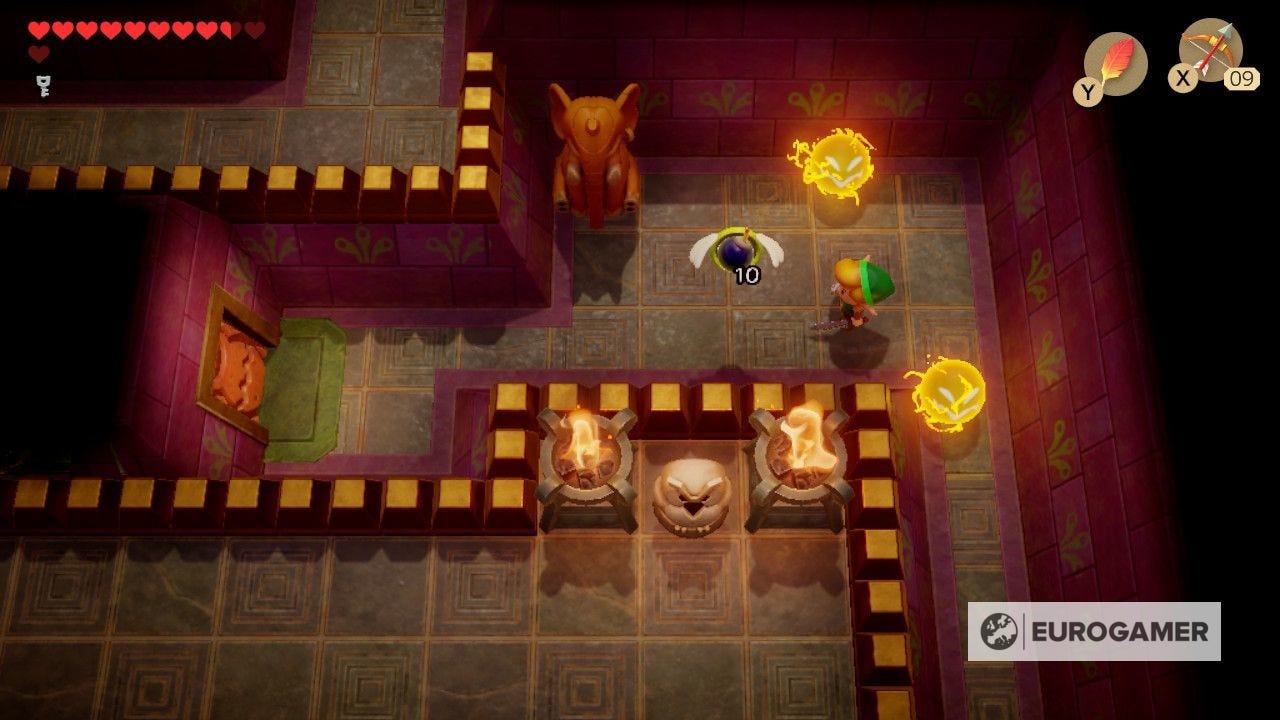
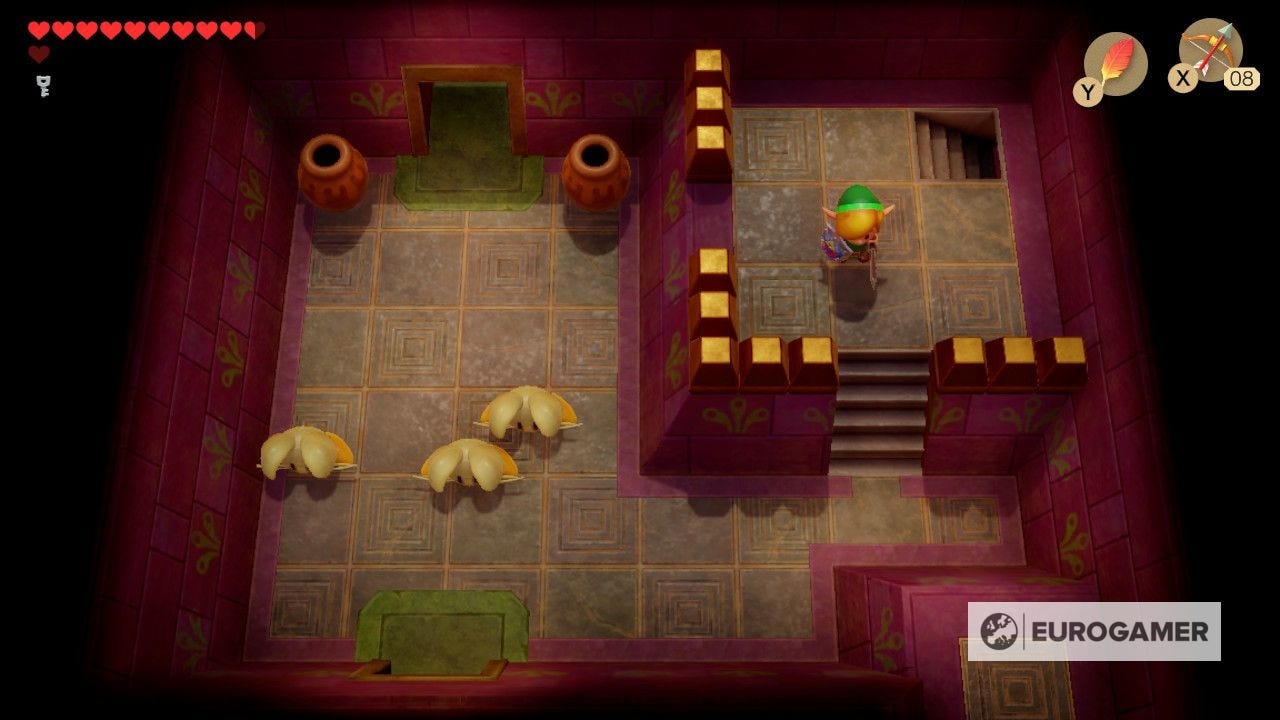
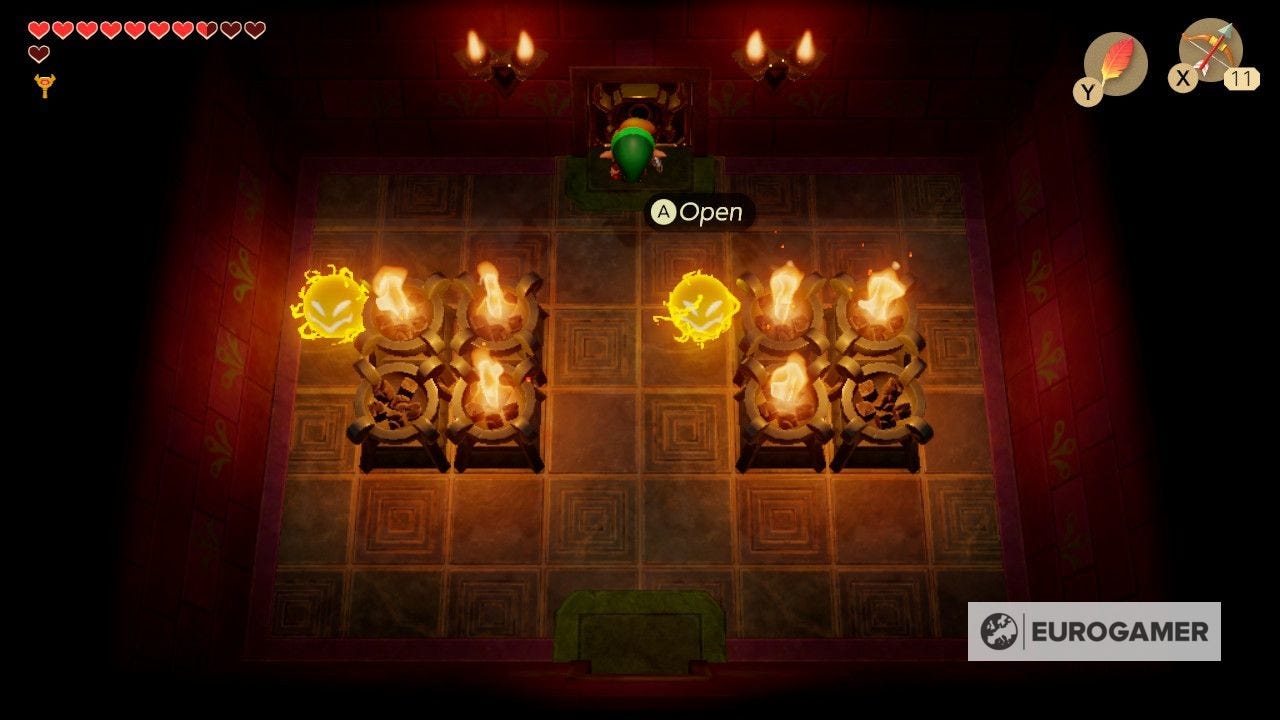
Head left and you'll come to a room with wizard-like enemies, which fire projectiles before disappearing into the ground. These can be defeated easily with arrows from the Bow, and will open the top right door when done for a chest with 50 Rupees inside.
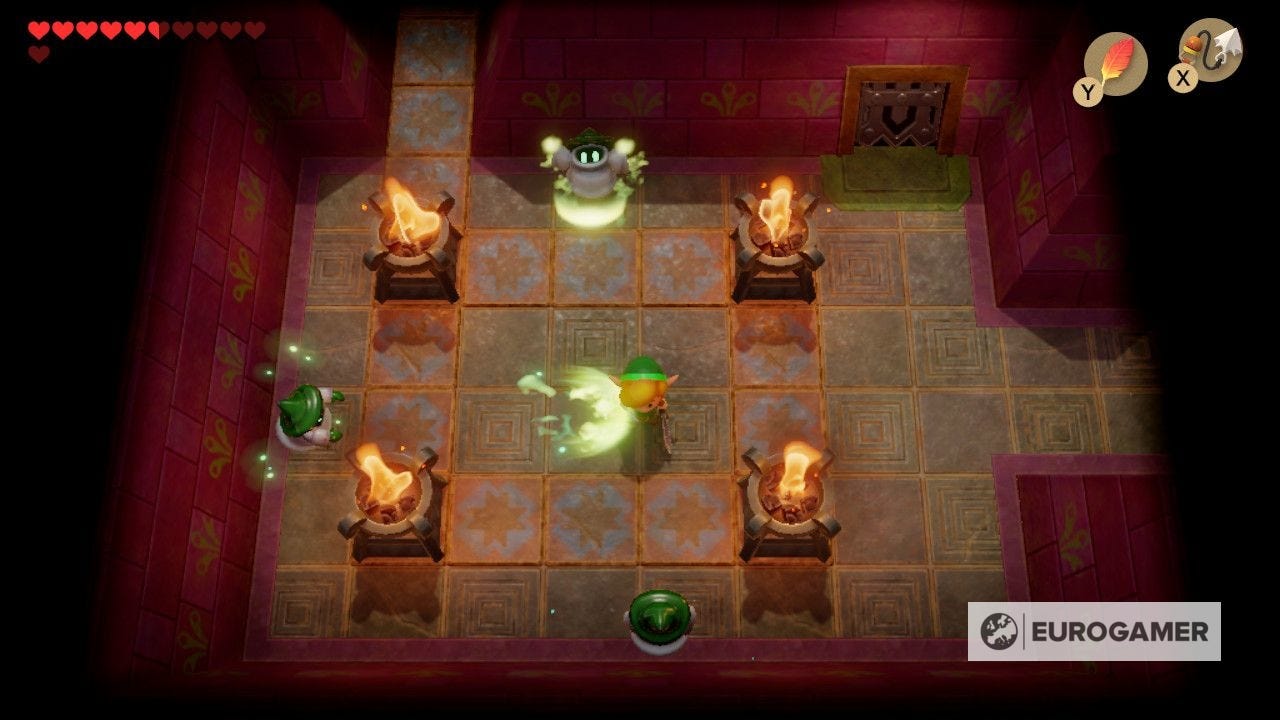
Since you cannot move the elephant statue left, head back down and out the upper left route, along the corridor and round.
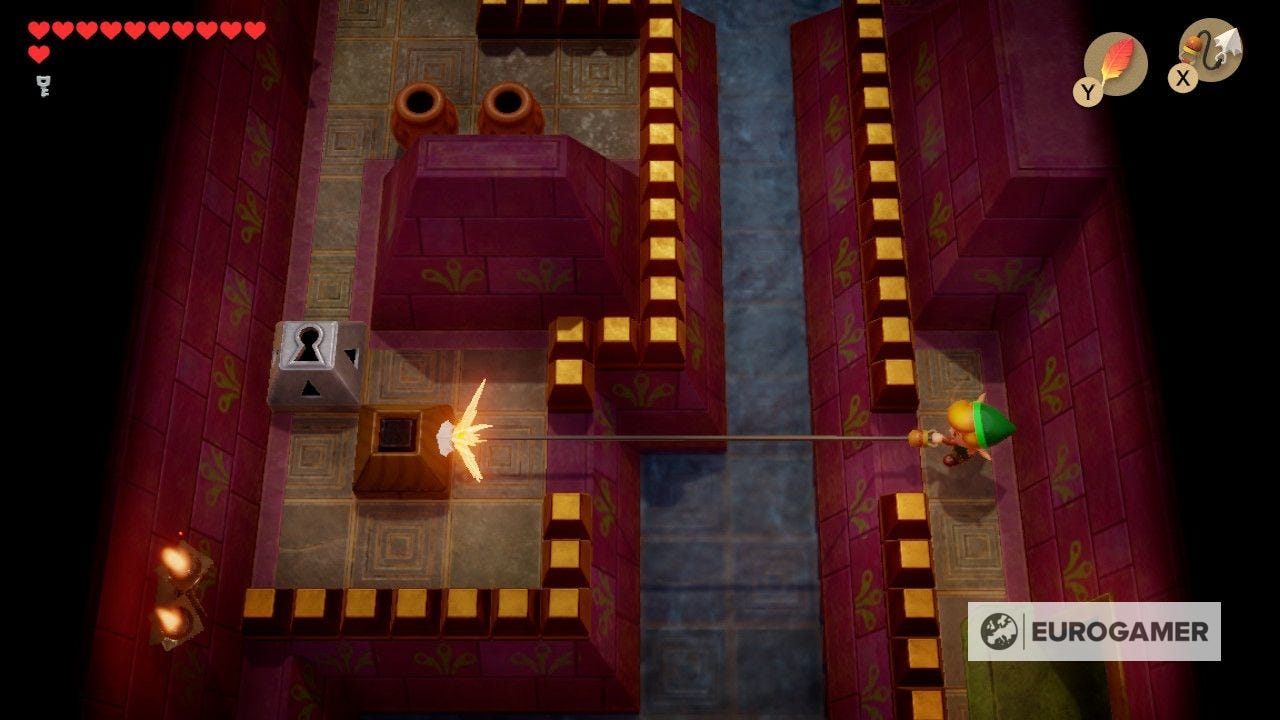
In the room with the crystal switch. The key here is to turn it red while being on the other side - or on top of - the switches it activates. To do this, either lay a bomb or fire an arrow diagonally.
You'll want to do this from the upper right, as in the next room, bomb the right wall to reveal a hidden room that's dark and filled with blocks.
Work your way round and clear the enemies to reveal a staircase in the corner.
After the side-scrolling section with large luminous enemies is a room, you'll emerge in a room filled with lowered blocks thanks to your work with the switch earlier.
Clear the wizards with arrows then go north, where there's a chest with the Powerful Bracelet.
How to get the Face Shrine Stone Beak and Compass
These allow you to move the elephant blocks that have been in the way so far. Head north through the door to emerge back out by the crystal switch. Turn it blue, then go north out the upper right route to the room with the wall you blew up.
Clear the tiles in here and activate the switch, opening the left door. Now go back to the switch again, hit it standing from the upper left, and head up to enter said door.
The next room has a corner crystal switch surrounded by red blocks. Ignore it and go north, and leave right for a chest with the Stone Beak.
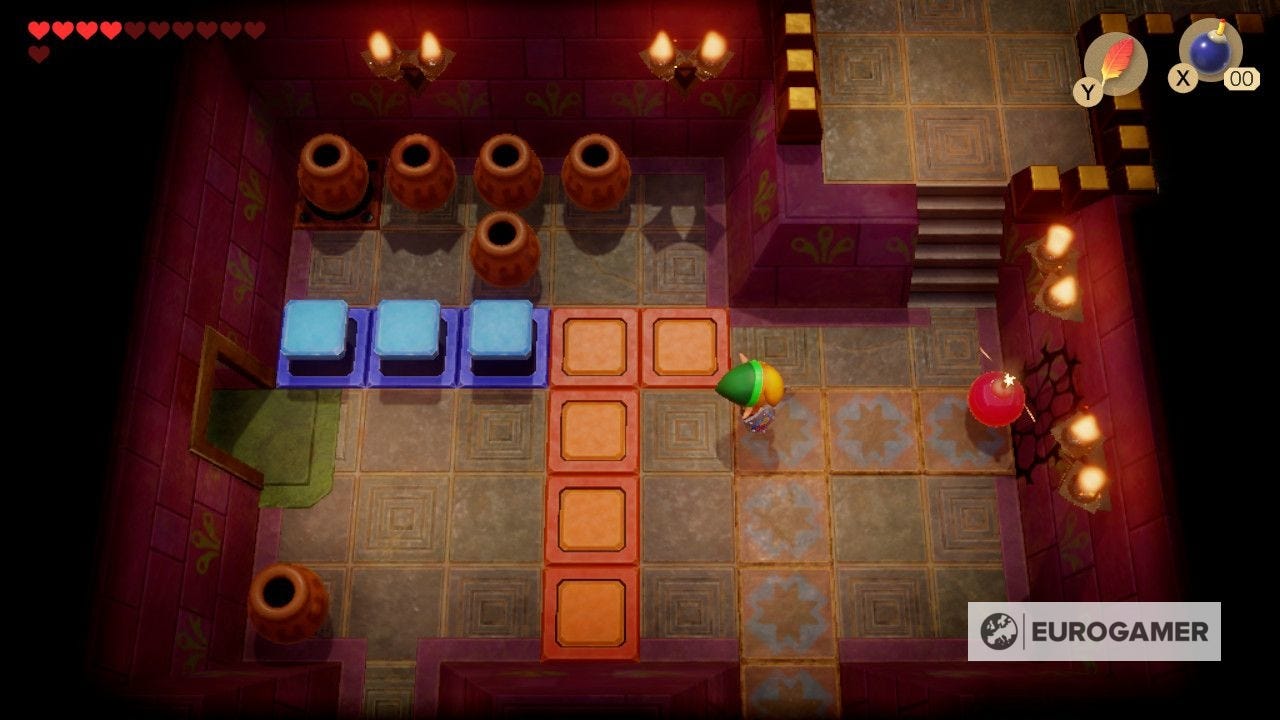
Go back use a pot to smash the door at the top of the screen. Head through it. Next is a row of red blocks blocking your way to a pot door to the north.
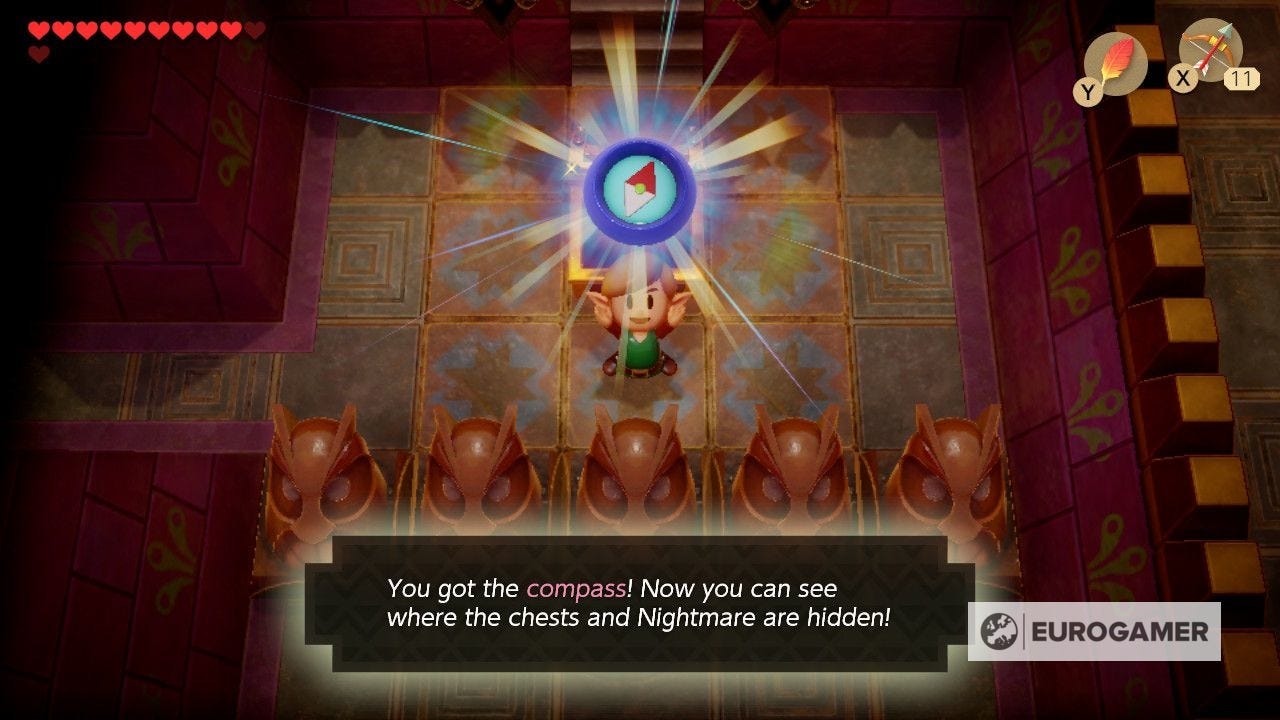
Go right, open the chest for a Compass, then hit the switch crystal to the north to turn it blue.
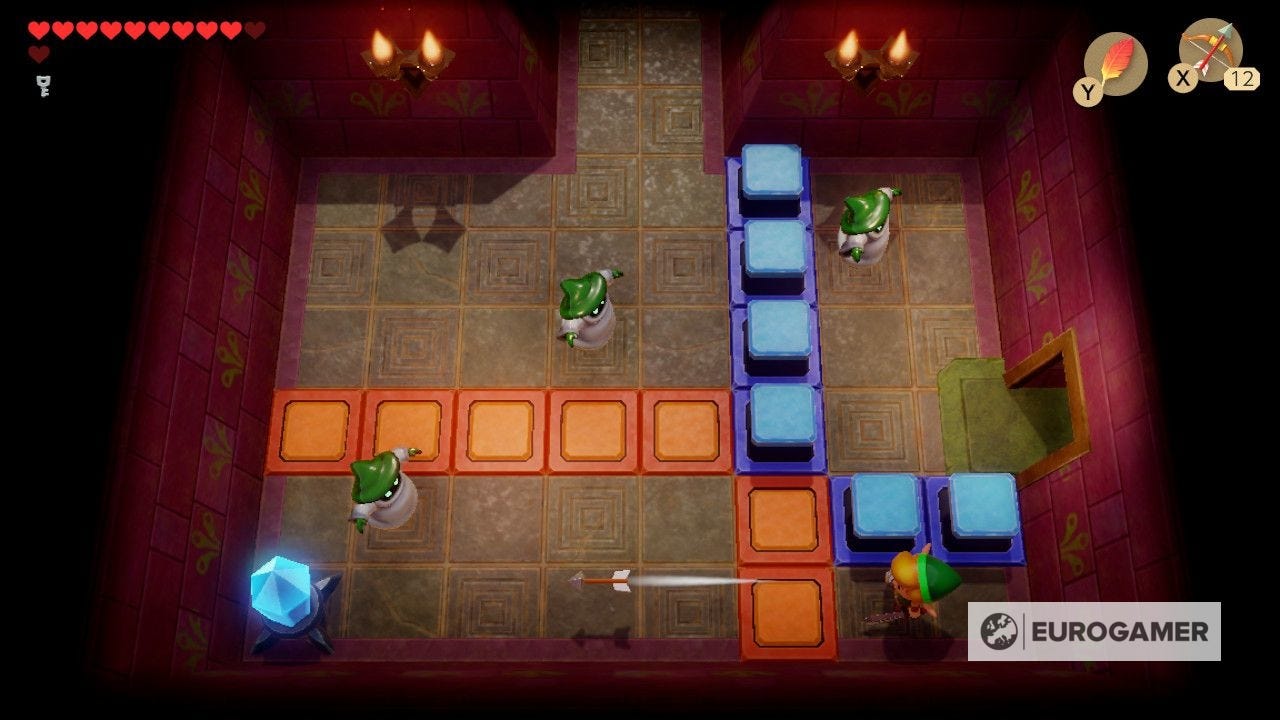
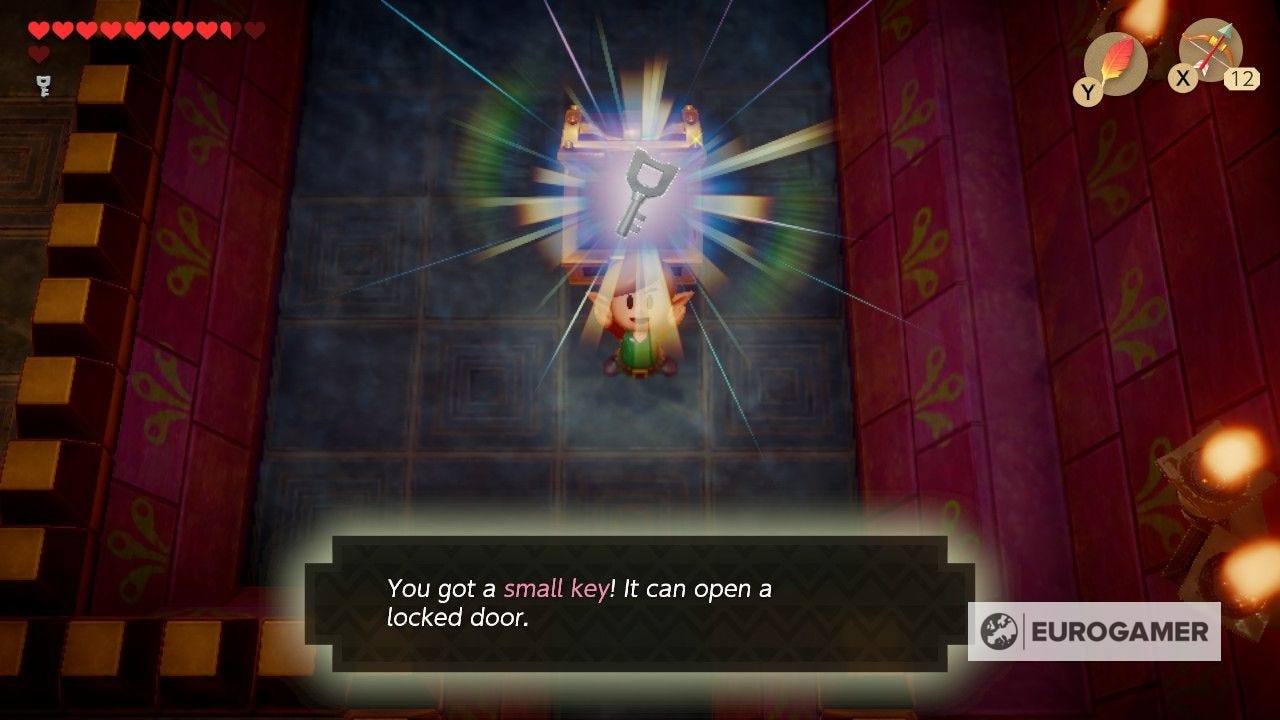
Follow the route round for a room with completely lowered red blocks, and several wizards. Defeat them with arrows to spawn a Small Key. (If you have the Boomerang, by the way, defeating this remaining flame enemy gives you a Fairy.)
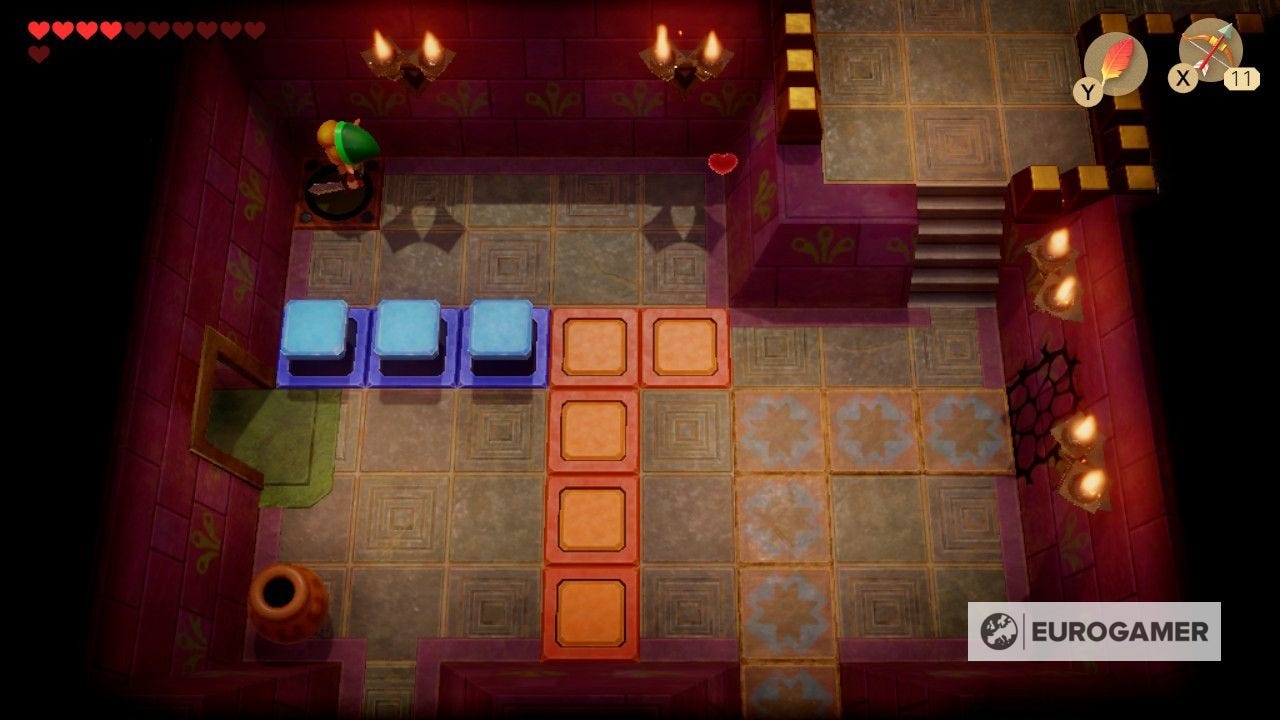
Face Shrine chess piece puzzle solution
Head back to the room with the pot door that was previously locked, and head north through it.
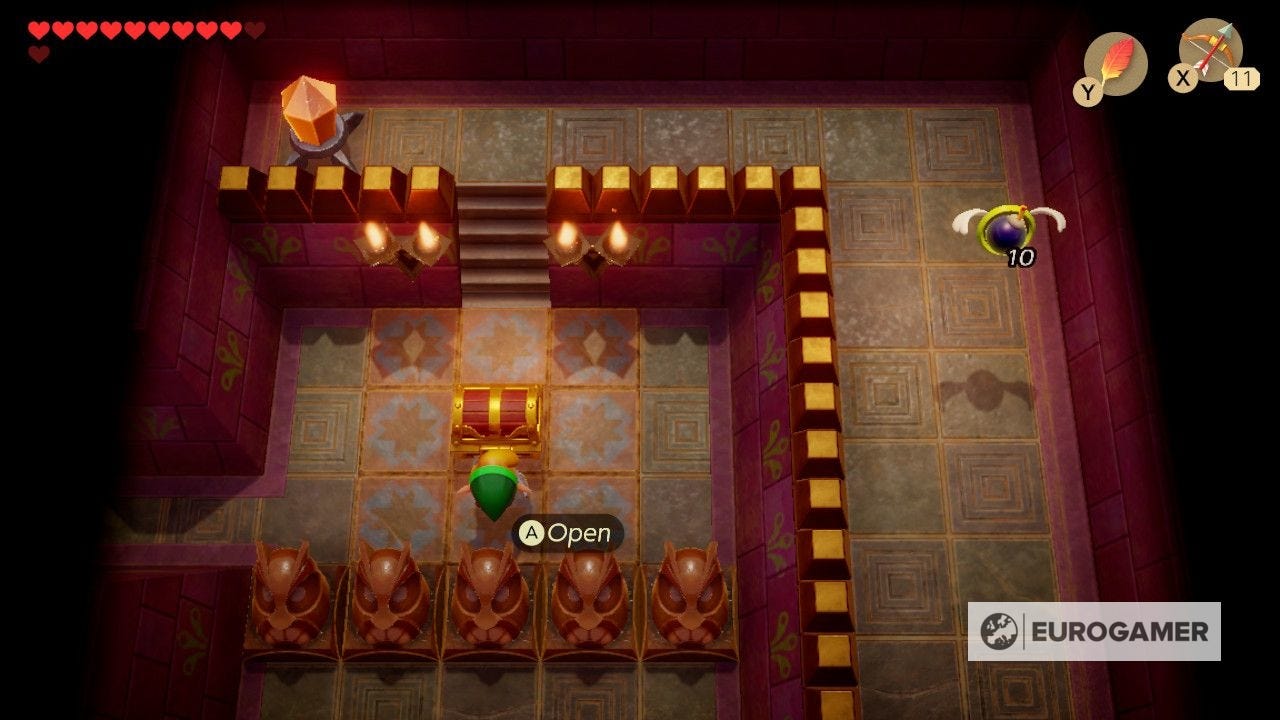
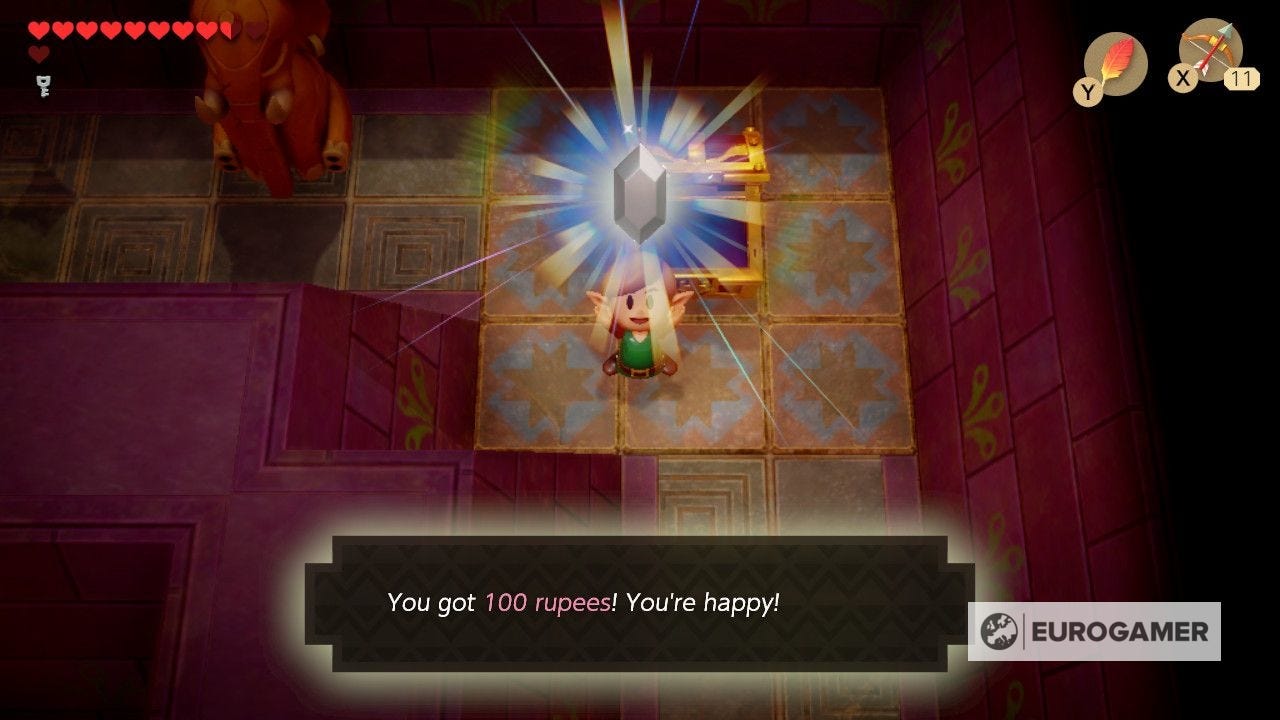
Here you'll find a crystal switch in the corner, two chess pieces nearby, and a chest ready to open in the upper right, which contains 100 Rupees.
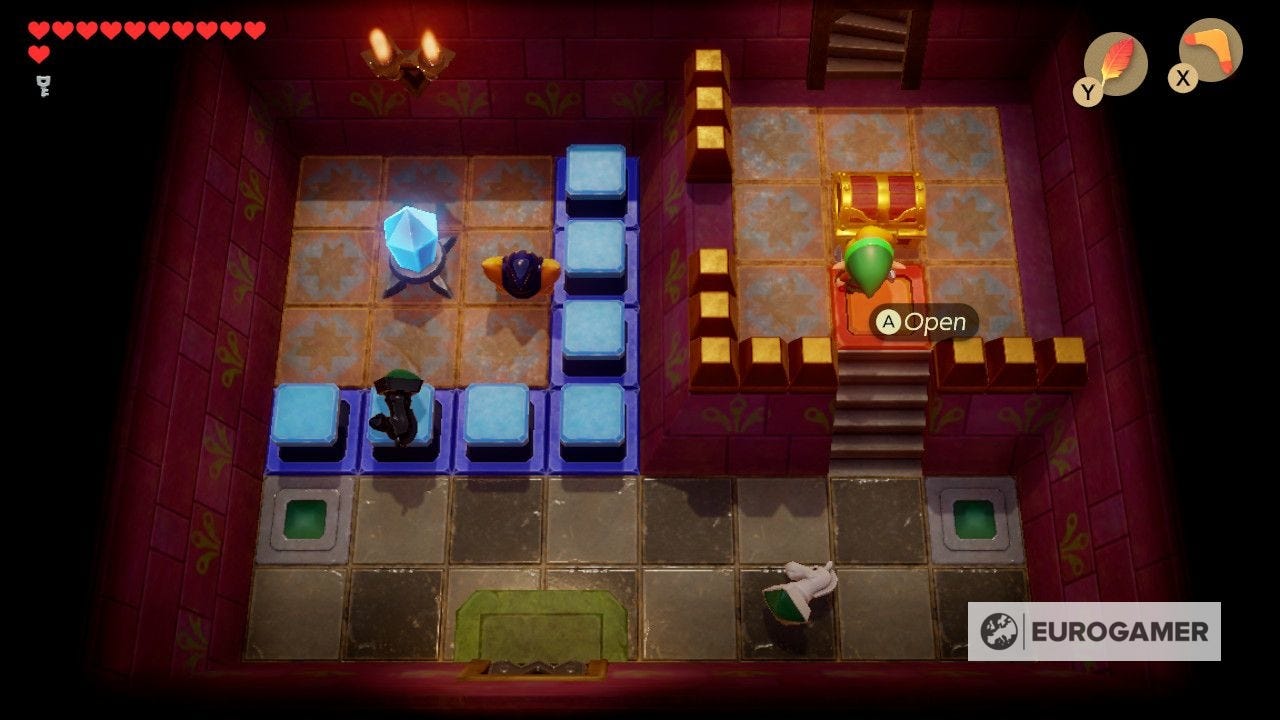
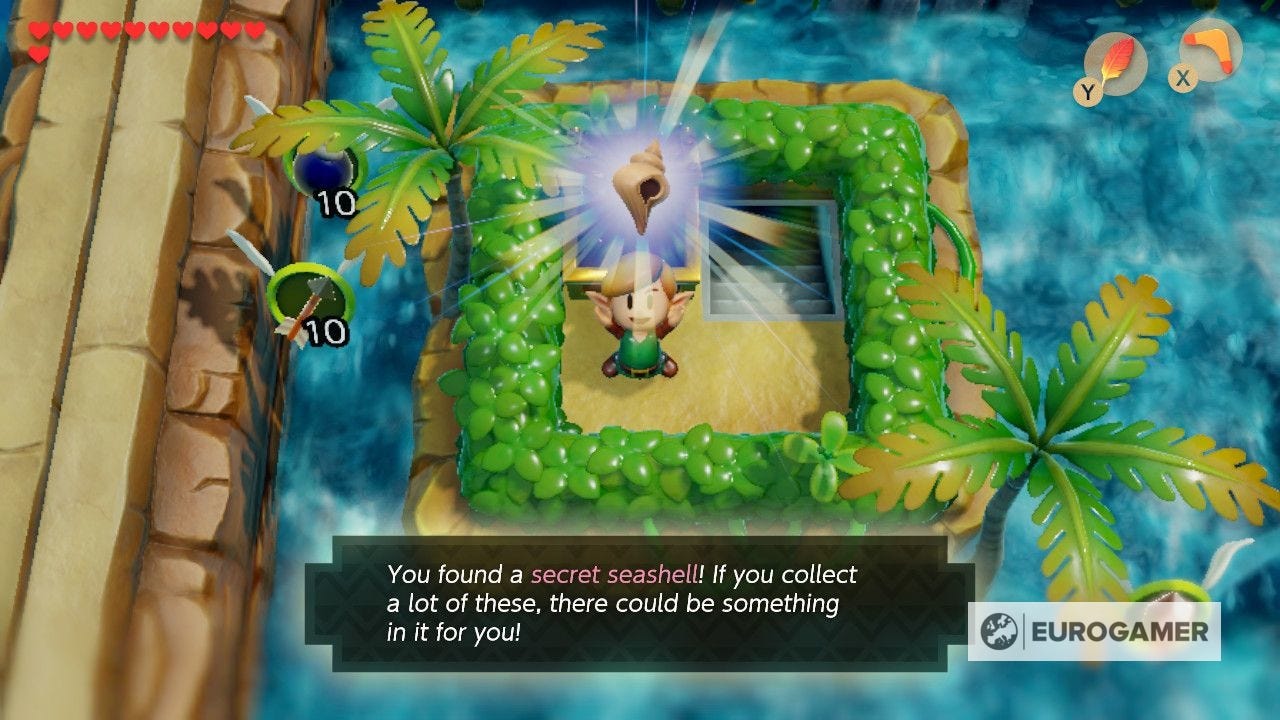
Leave out of the staircase in the corner to arrive back on the overworld, where there's a chest with a Secret Seashell.
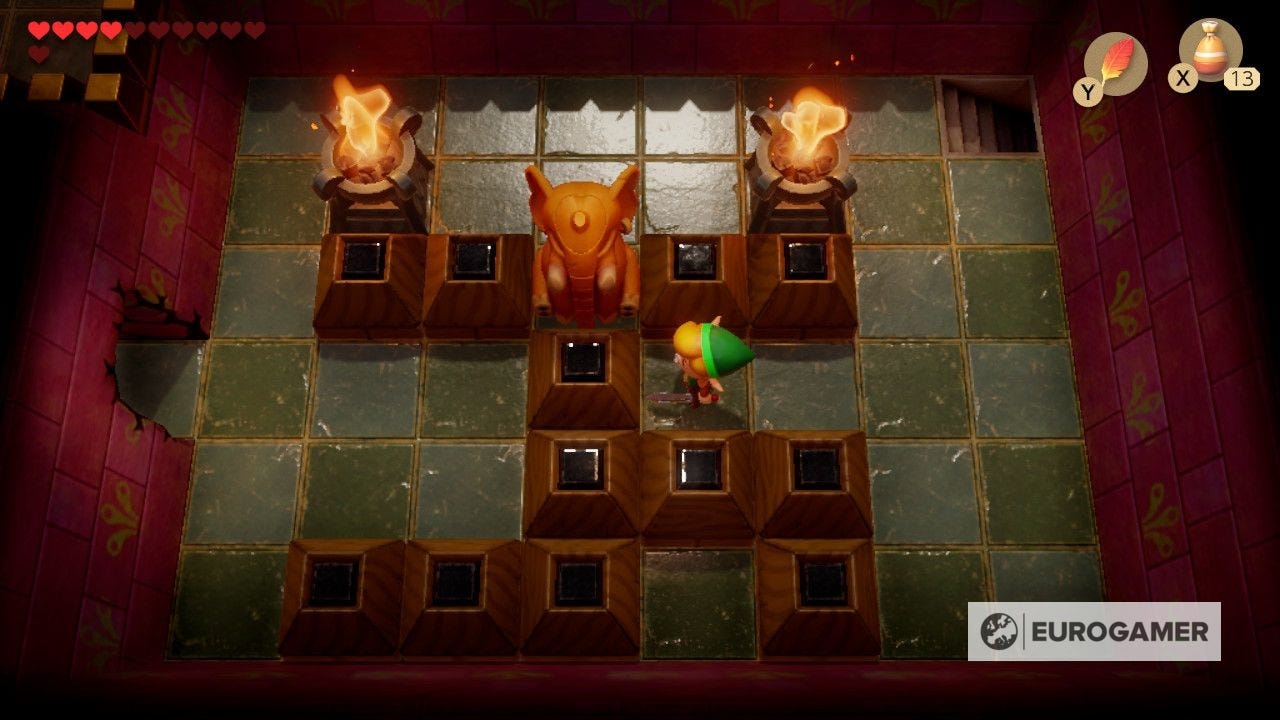
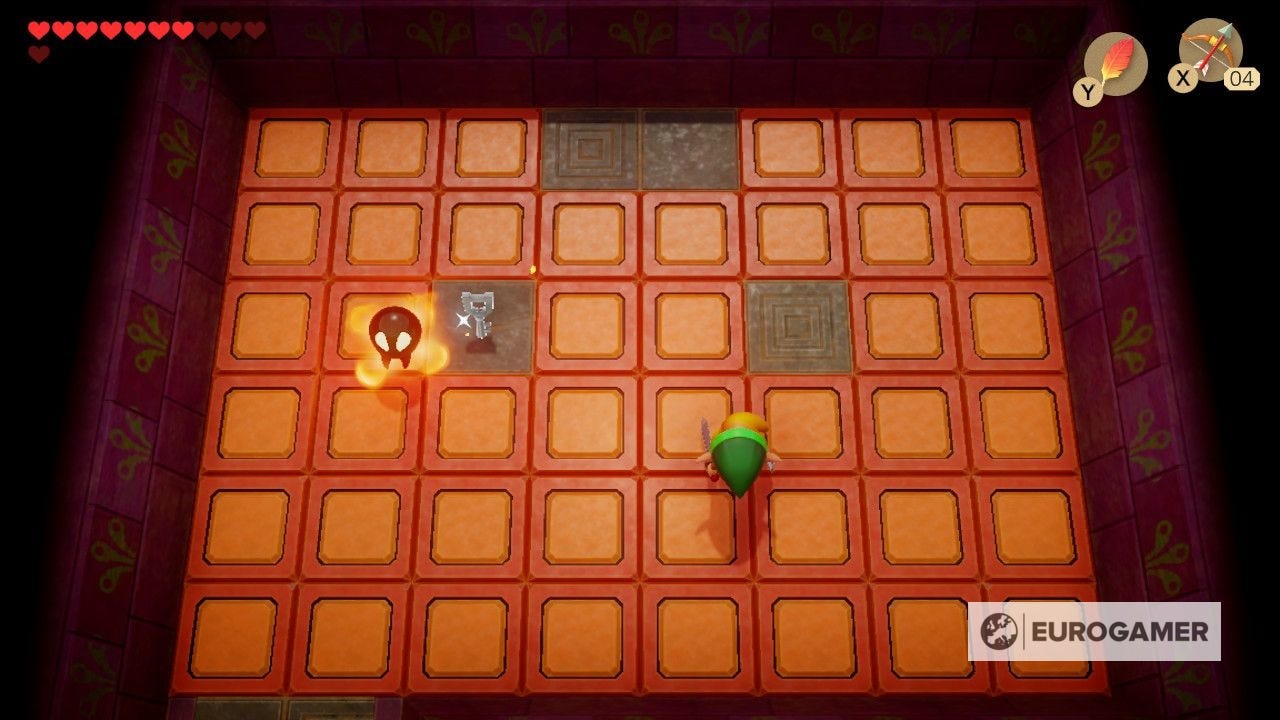
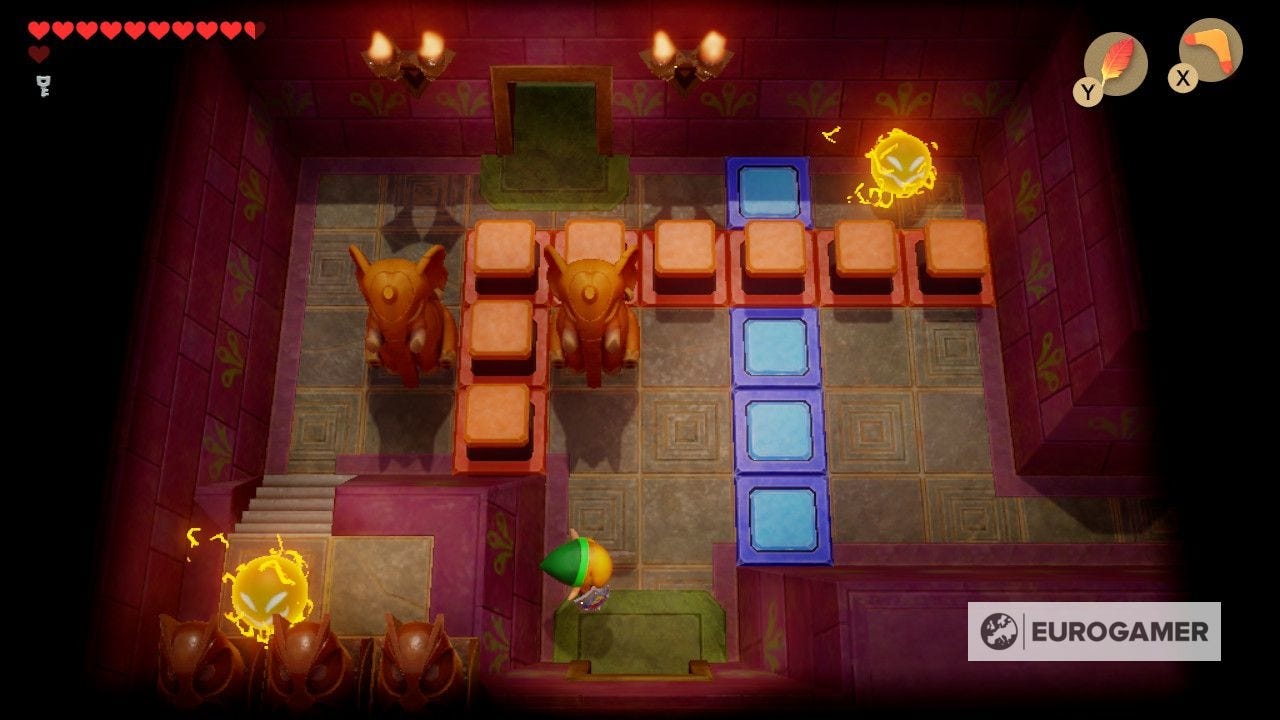
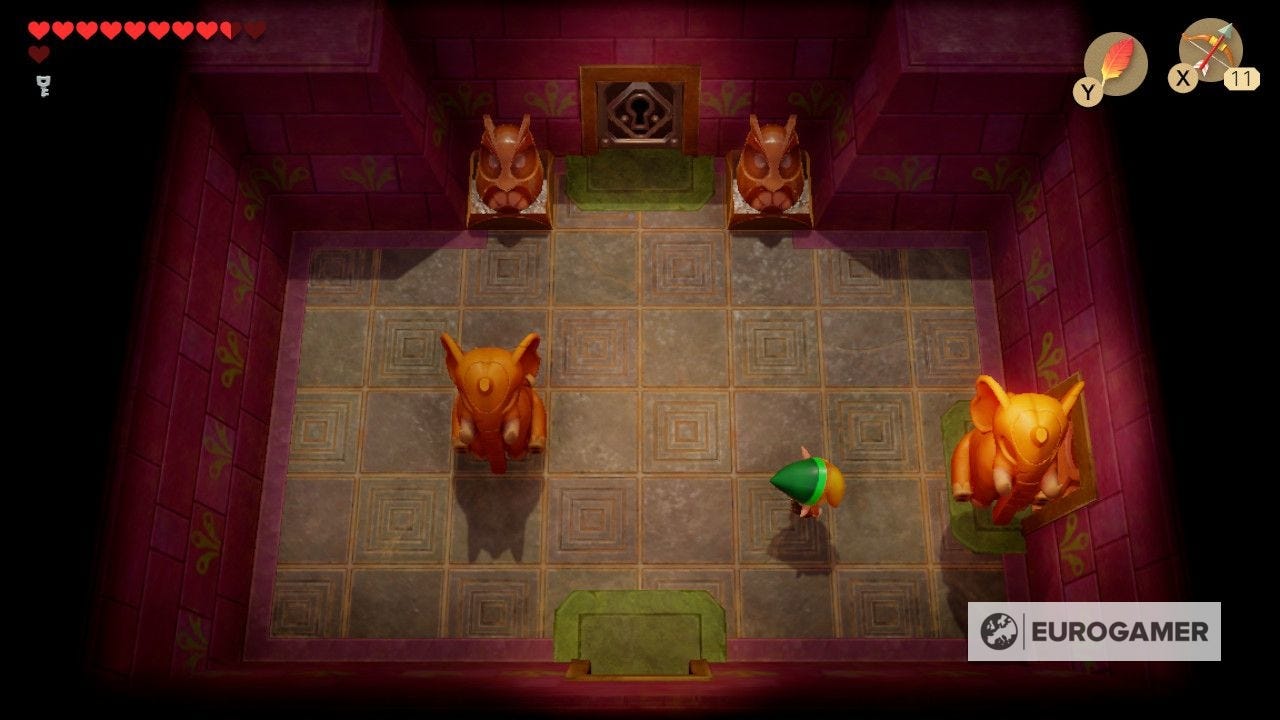
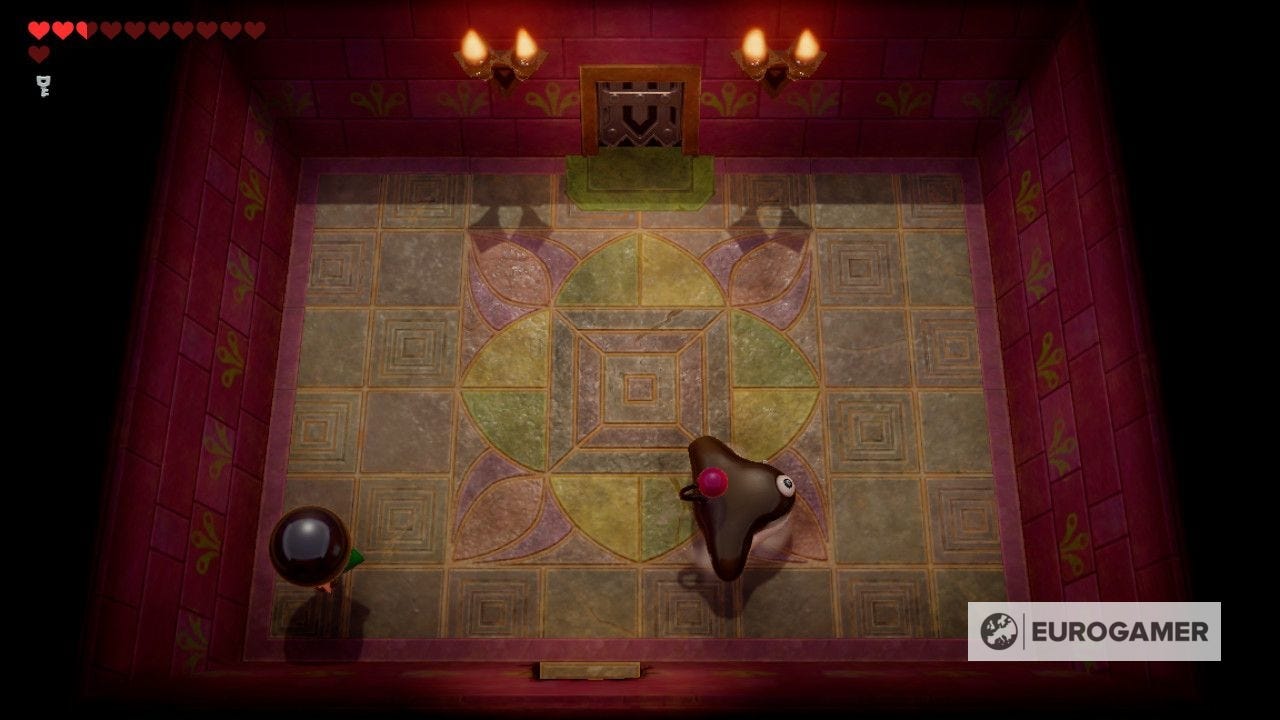
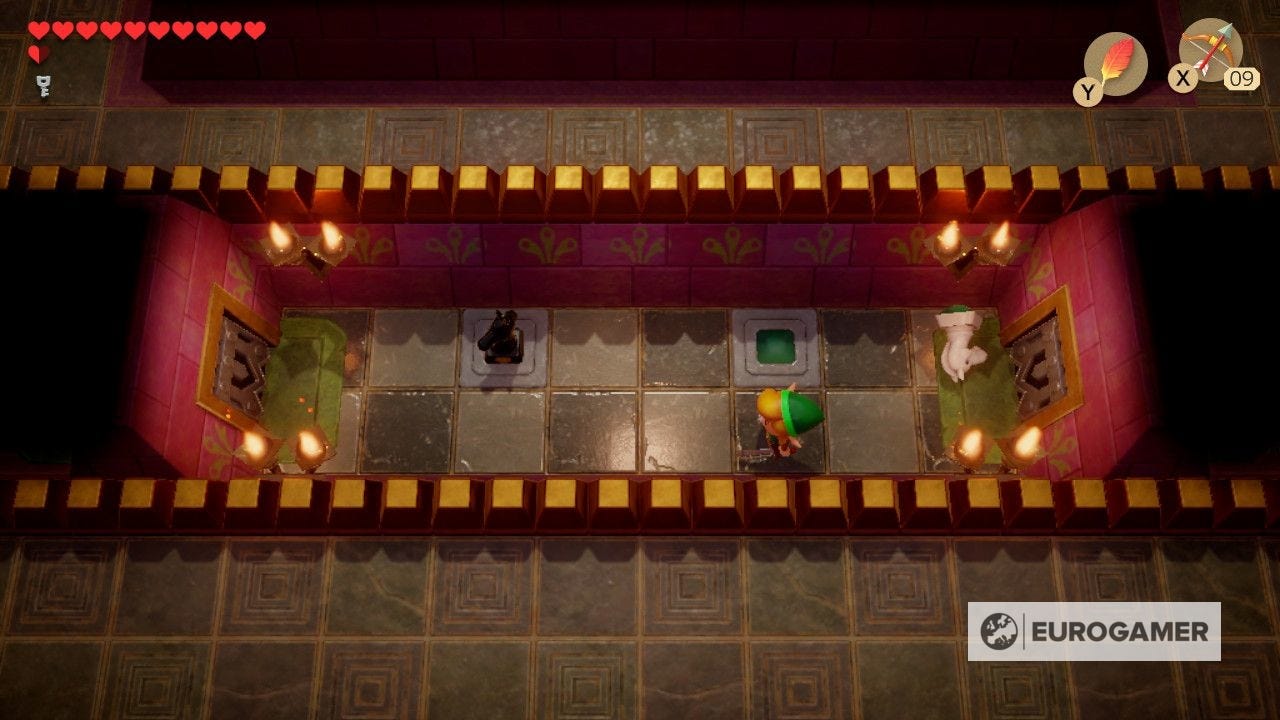
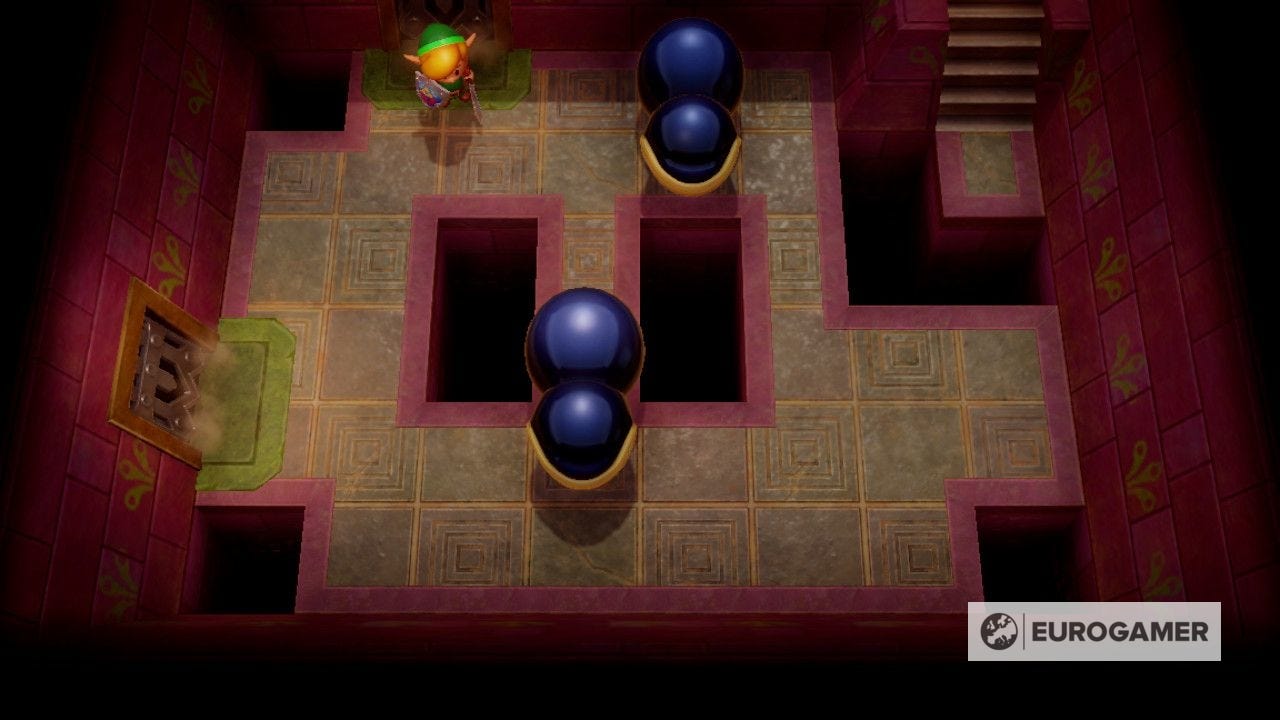
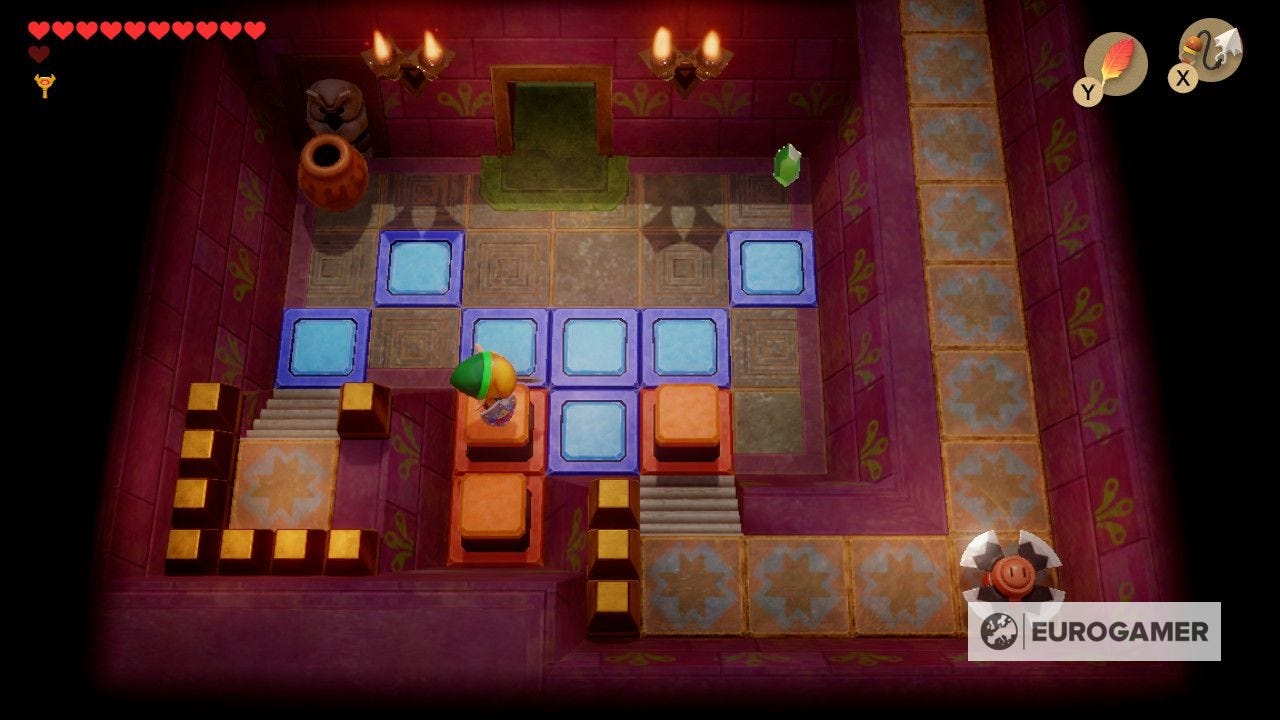
Head back down to be faced with the two chess piece blocks down below. Throw them and you'll notice they bounce then land in a strange way.
This is because they behave like knights in a game of chess - bouncing two squares over then across. As such, you need to throw them below and across from either block, so they land properly in them, like so:
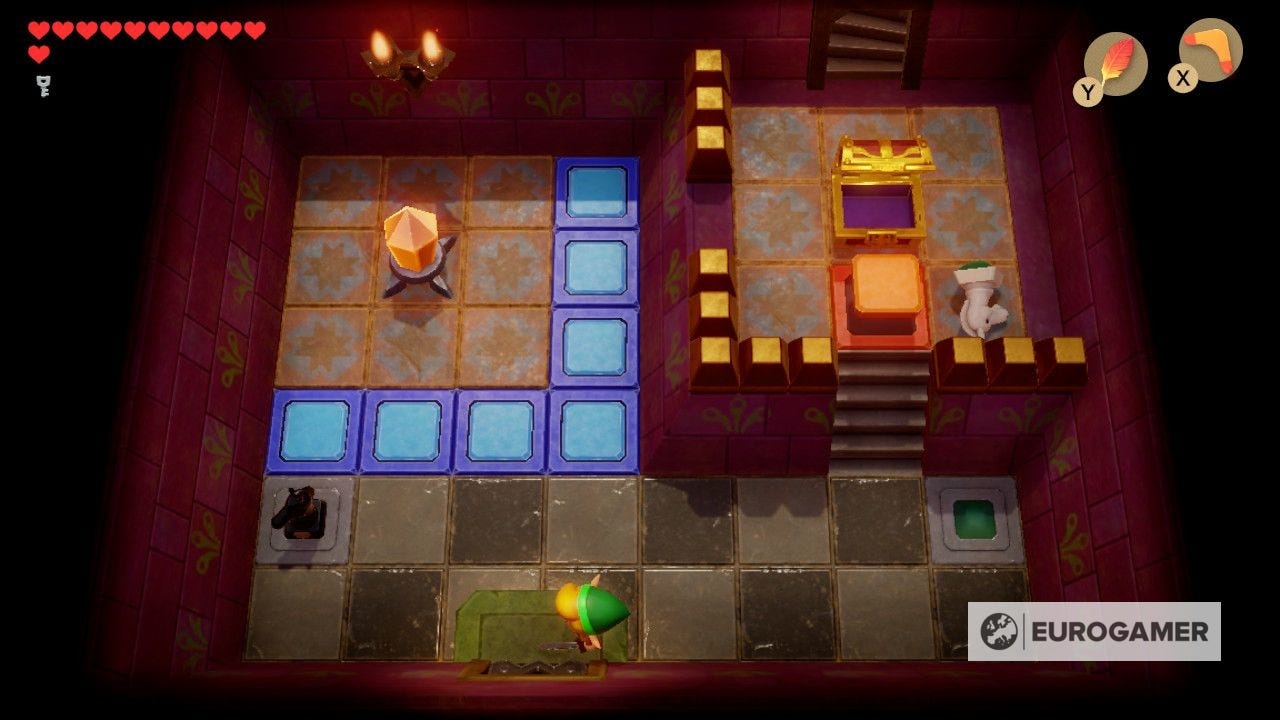
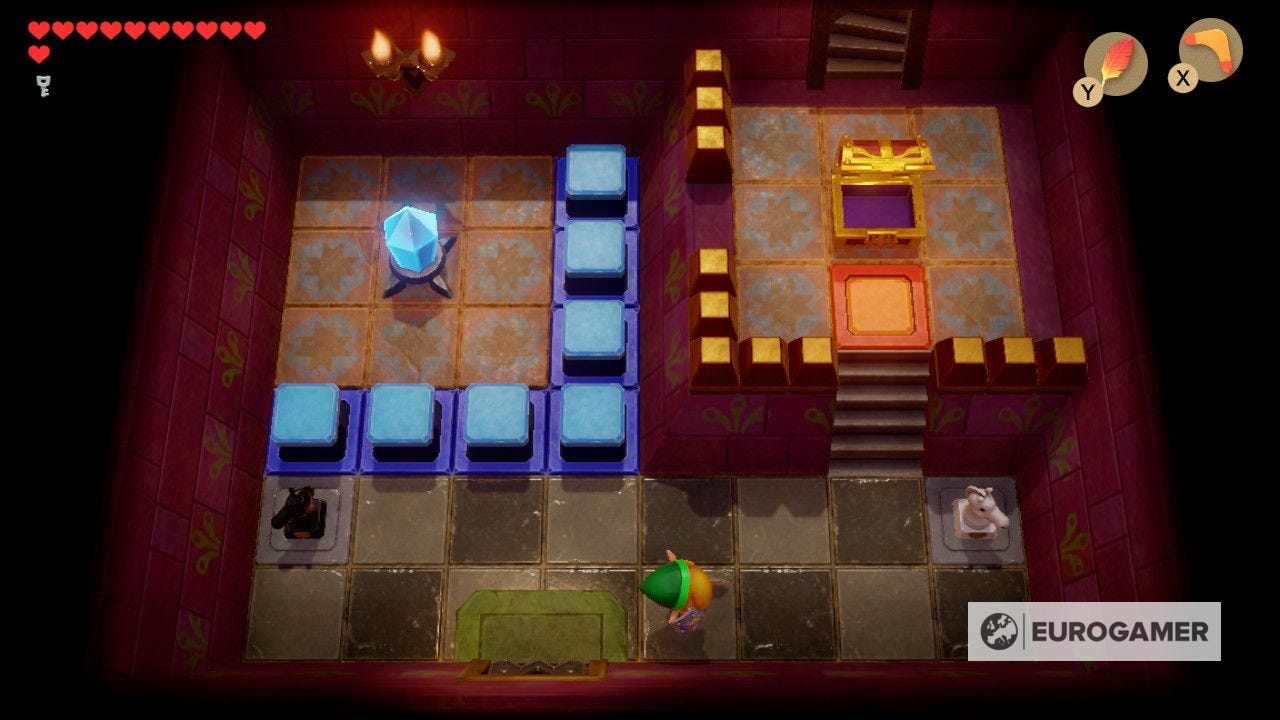
Once done, the south door will open. Swipe the crystal so the red blocks are raised - stand on the right side of the blocks so you're above them - then leave through the door. Now you're on the north side of the red blocks compared to earlier, but you can get round them by climbing the left steps and jumping down right.
Go south back to the room with the corner crystal. You need to use an arrow or boomerang from the bottom right corner, then moving up and past the blue blocks just as it hits the switch.
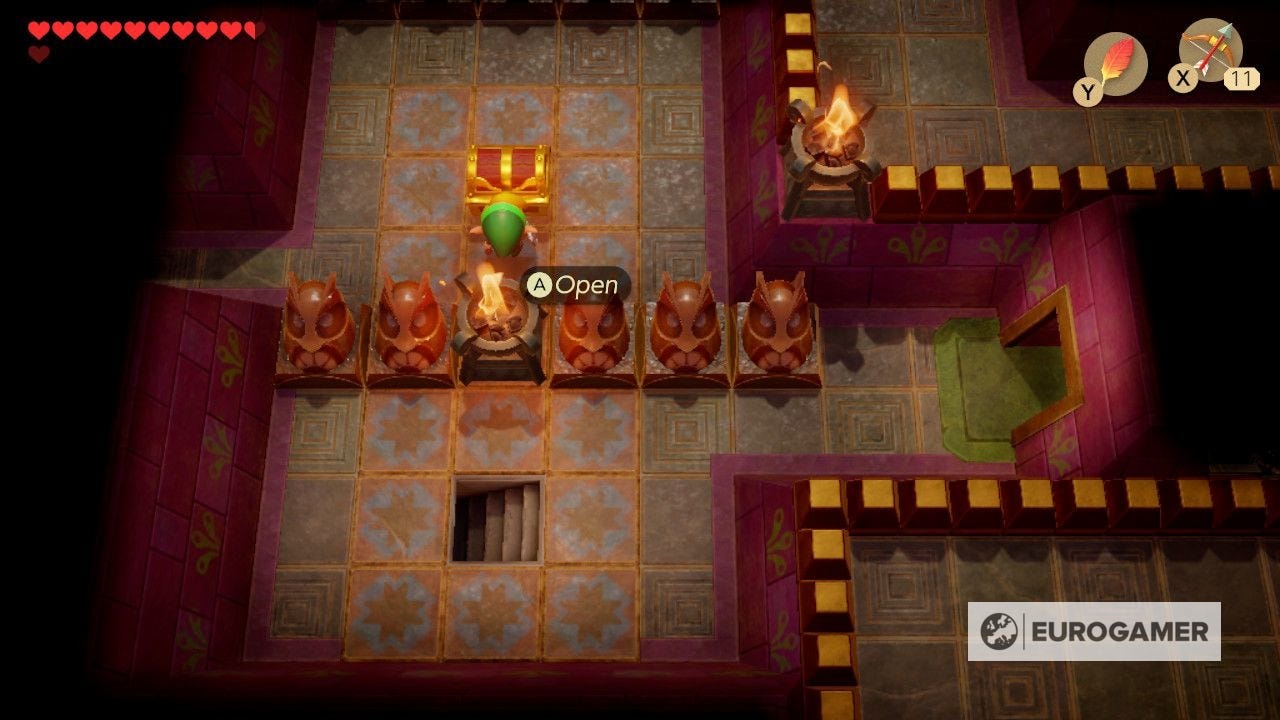
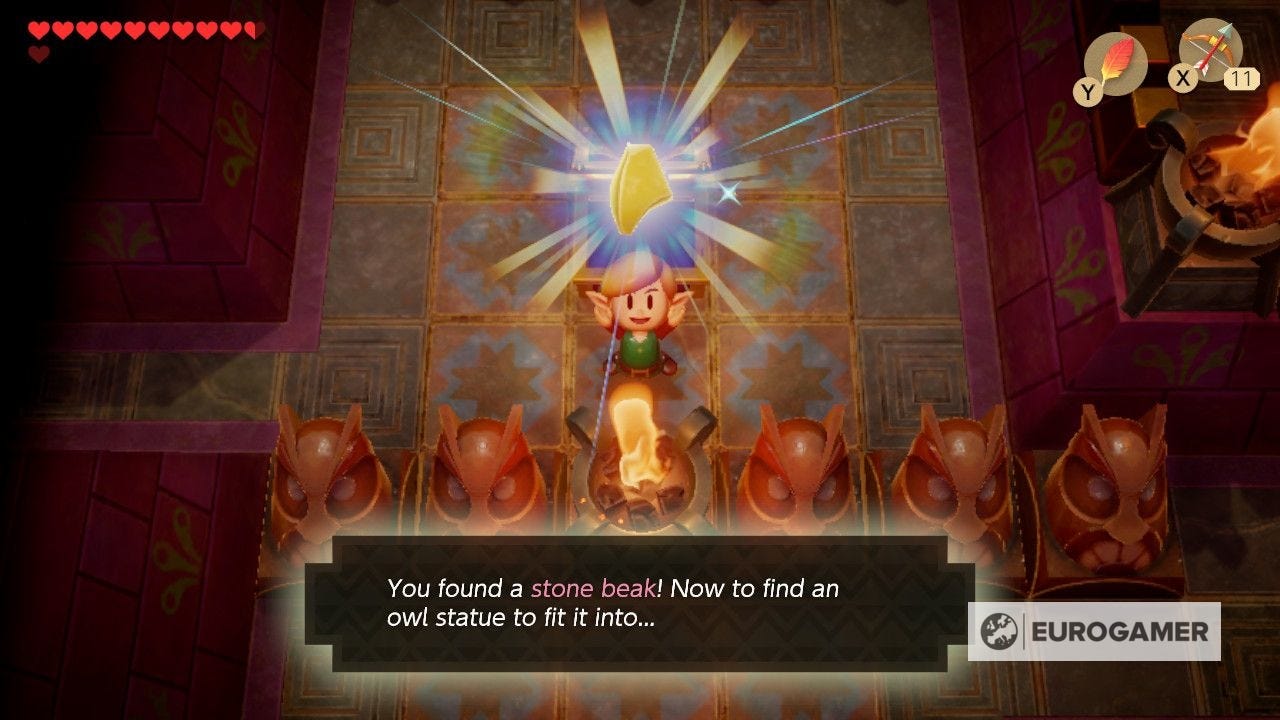
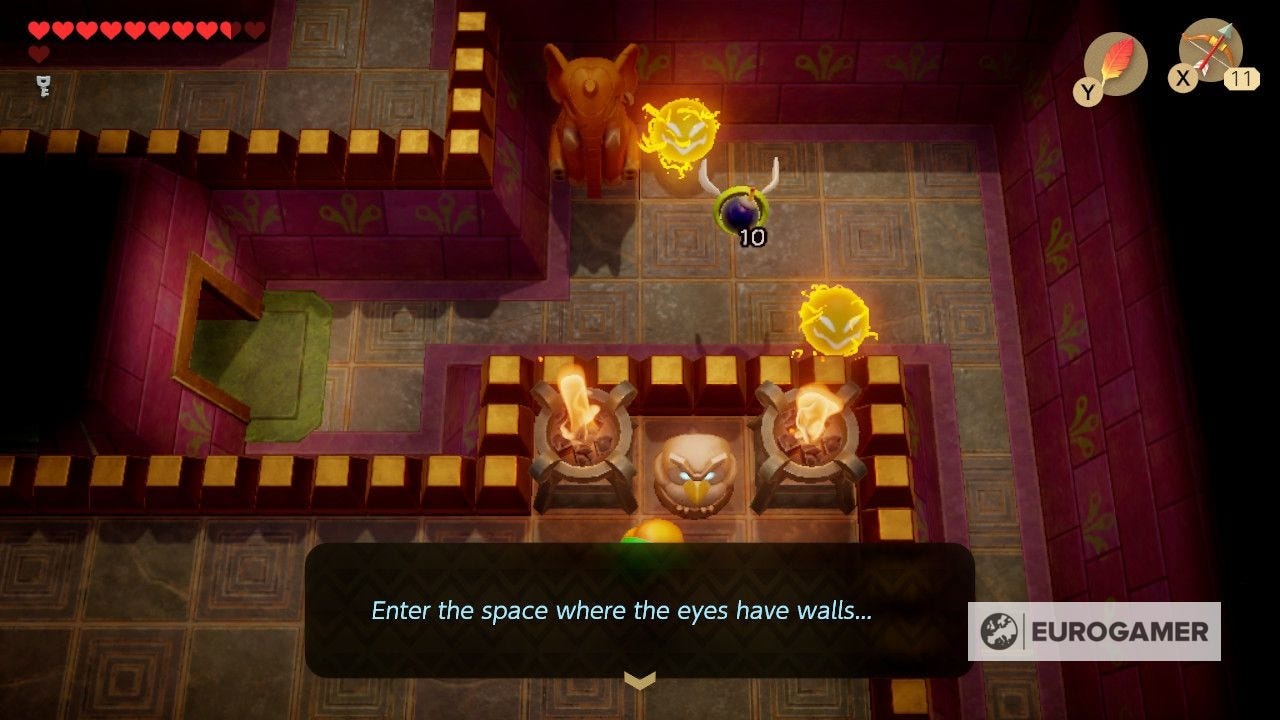
You'll be back in the room you bombed the right wall earlier. Go up and right to the Stone Owl to reach the message 'Enter the space where the eyes have walls'.
You now want to head back to the entrance, but via an alternate route; when you're in the room with the switch crystal in the centre, use the elephant block to open the right pot door, and follow it round for 100 Rupees in a chest, until you are back to the start.
Exploring the right side of the Face Shrine
Now you're at the back at the start of the dungeon, you can take the right route.
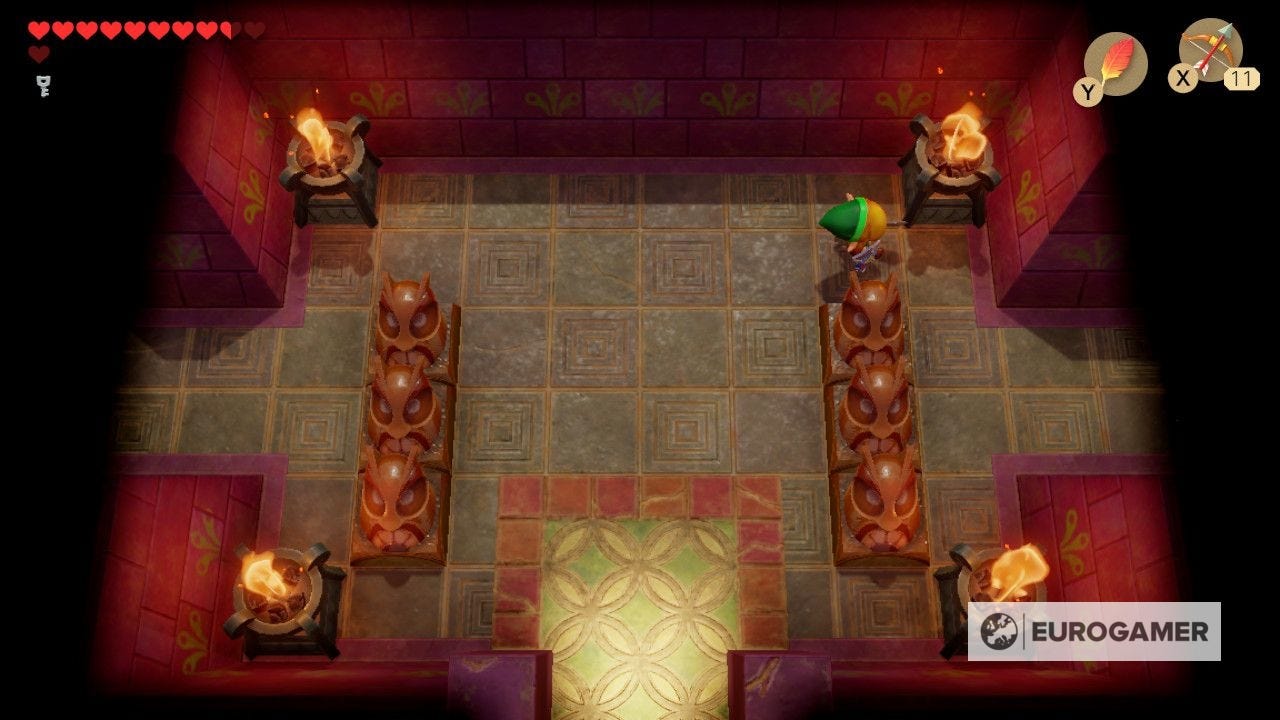
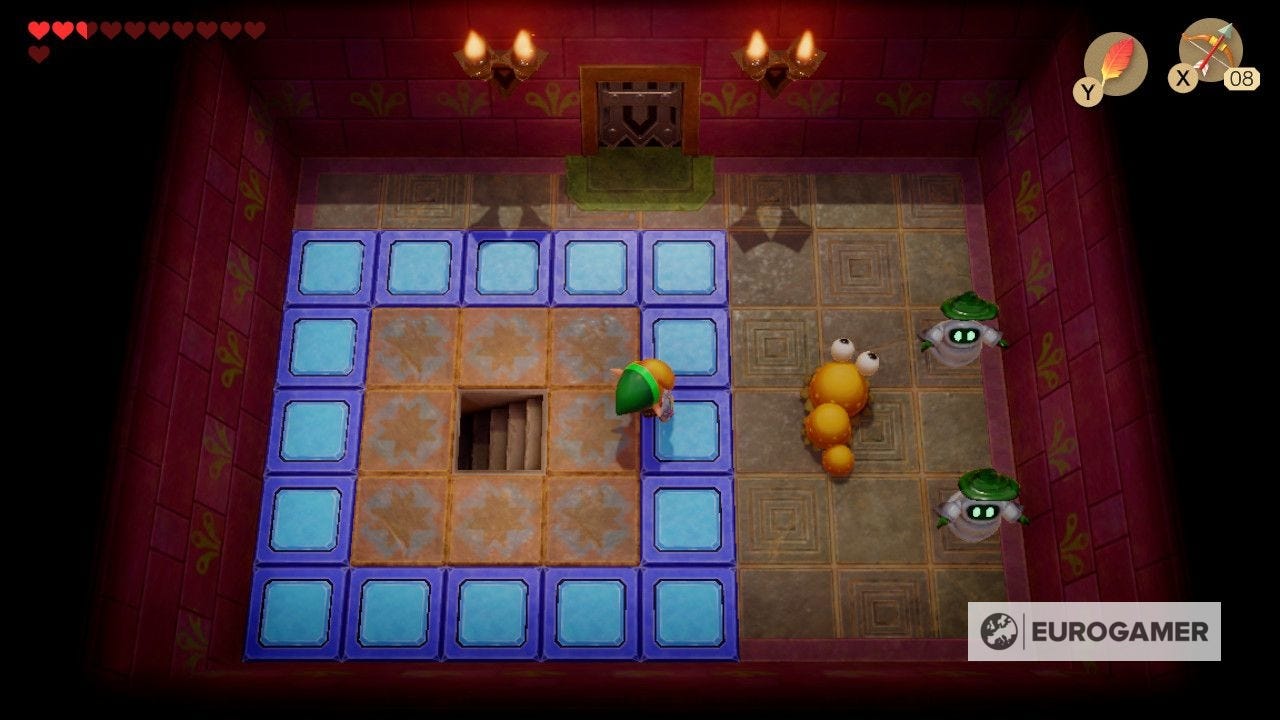
After a room with conveyor belts and saws, you'll see the floor tiles swirl and come to life. Face them with your shield up until they are all diminished, then go north to a room with a locked door and a pot door right.
Go through the pot door first, and defeat all the wizards in here to open the doors around you.
You don't need to go south yet - though if you do, you can read the Stone Owl message "Hop on top of the crystals to move forward", and have to defeat the enemies through the switch blocks to get out again - while north leads you through a water logged room with a chest in the north with a Small Key.
Head back to where you opened the pot door, and open the locked door with a Small Key north. Open the route north with a bomb to reach a mini-boss.
Face Shrine mini-boss solution
To defeat the mini-boss, you have to run around so it gives chase and throws the ball. When it does, you have to quickly pick it up and throw it back, damaging it.
That's essentially the whole strategy. That said, you want to keep moving as it gives chase - if it hits you, not only do you get damaged, but it's likely to bounce back to the boss to give it another go. Instead, you want to move so it misses, giving you ample opportunity to return the favour.
Our Zelda: Link's Awakening walkthrough and guide can help you with the critical path, including the Eagle's Tower and Turtle Rock dungeons. There's plenty to be done on the side, too - including Zelda Link's Awakening Heart Pieces, Zelda Secret Seashells and the Zelda Link's Awakening trading sequence. Finally, there's also the new Zelda Chamber Dungeons feature to unlock and complete.
How to find the Face Shrine Nightmare Key and Door
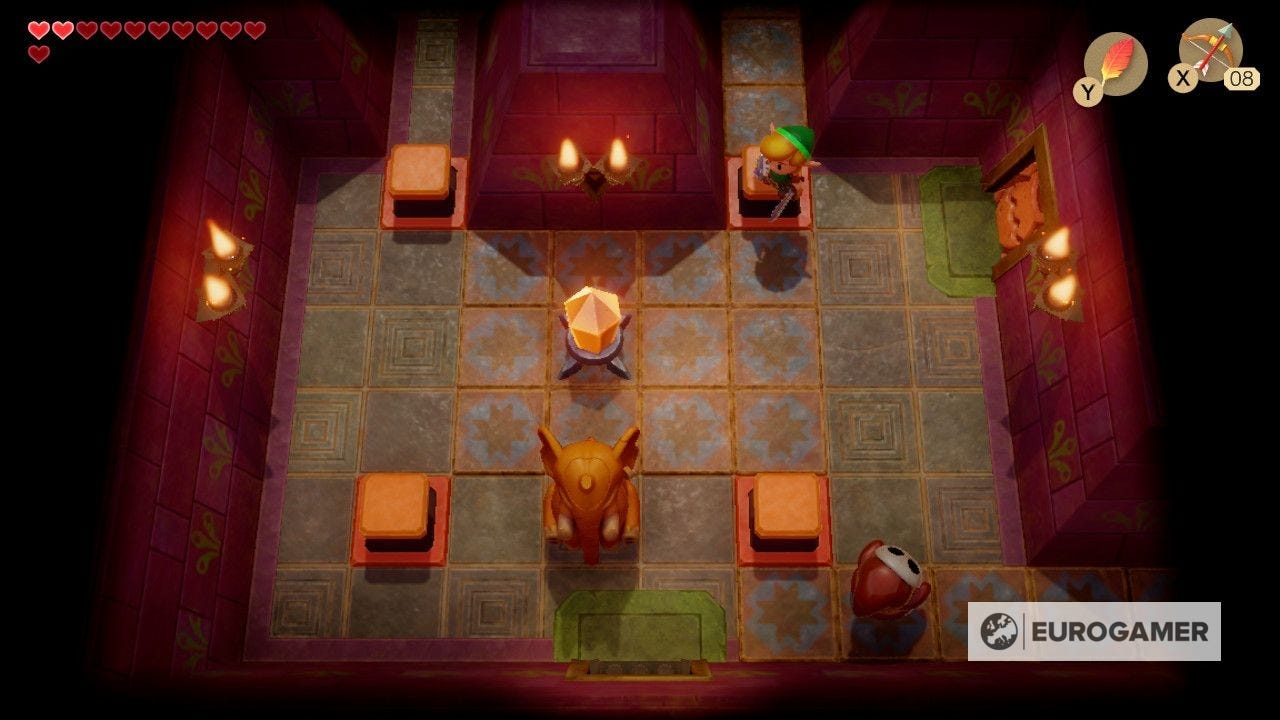
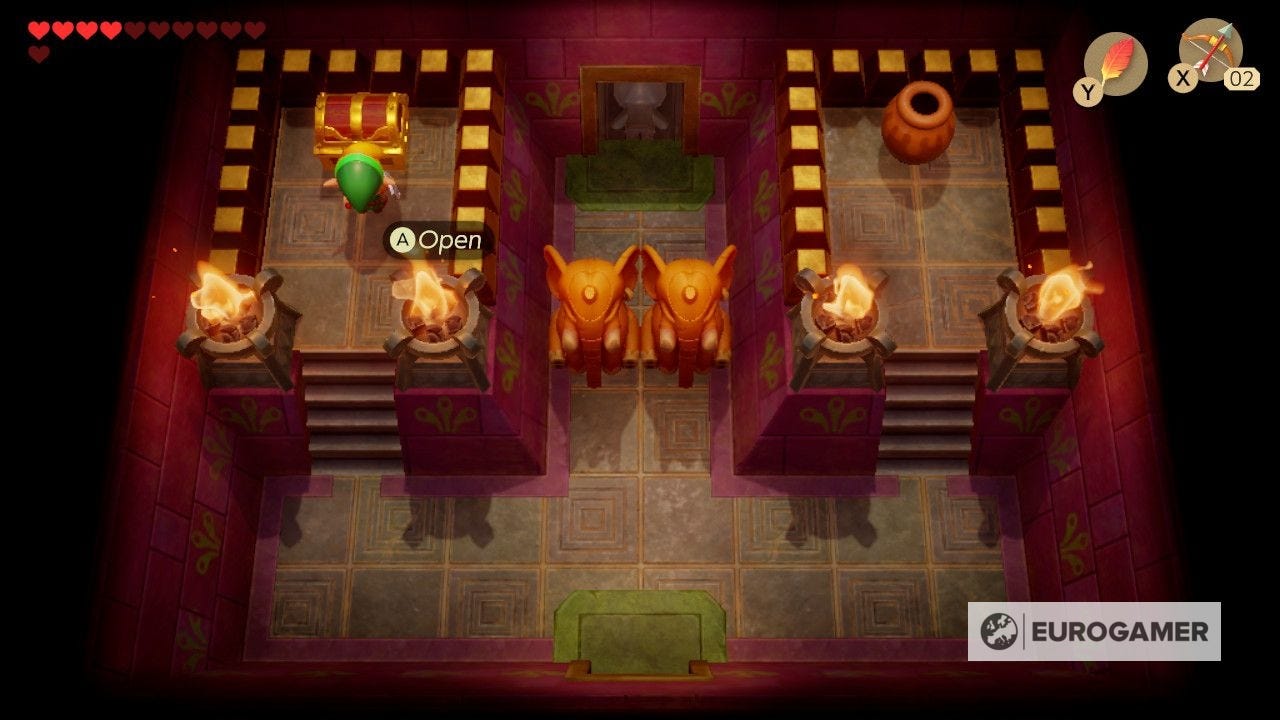
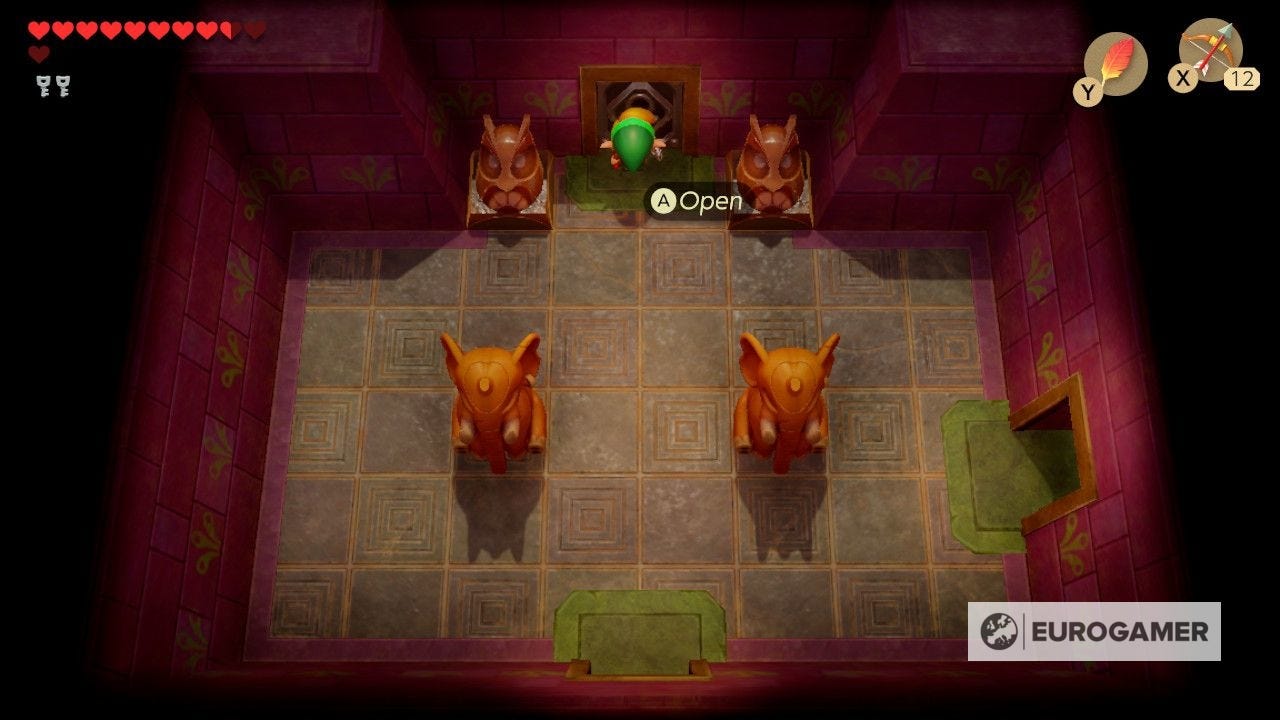
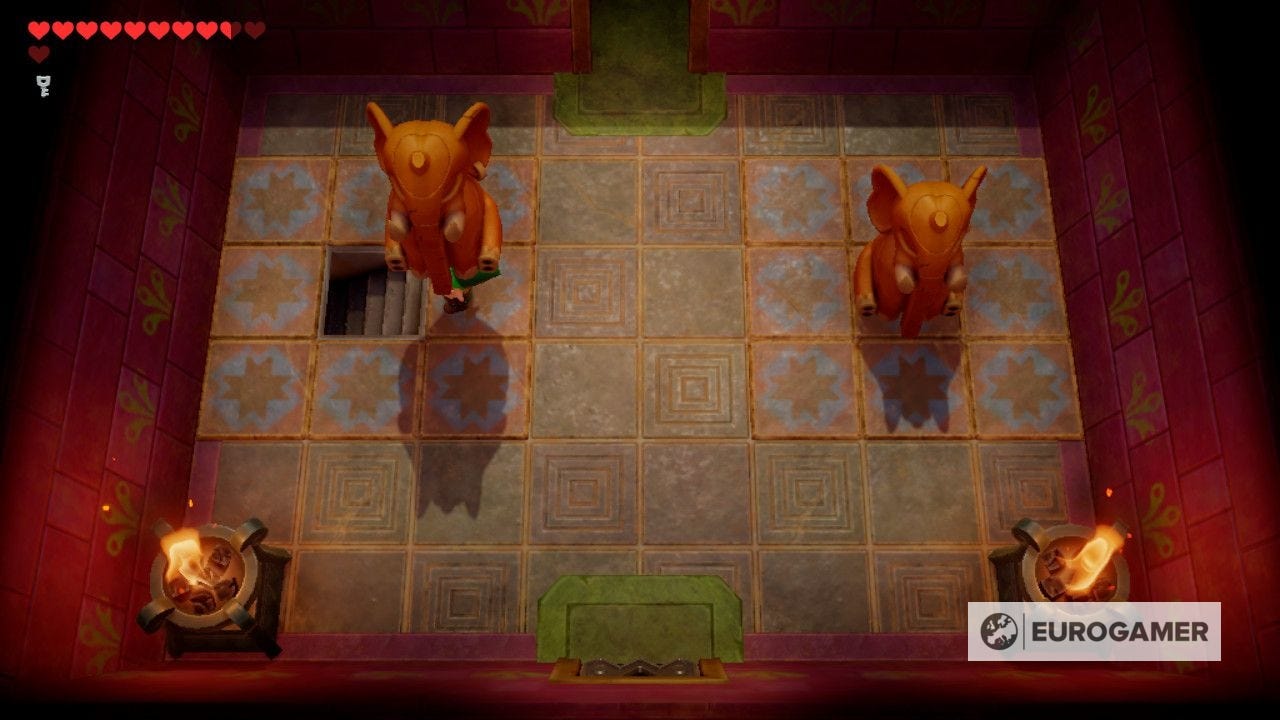
After enough hits, you'll open the door to the north, where there are two elephant statues and an open doorway to the north. If you go through the doorway, you'll loop back round to the previous room - essentially trapping you in a loop. To escape, move the left elephant statue to reveal a staircase.
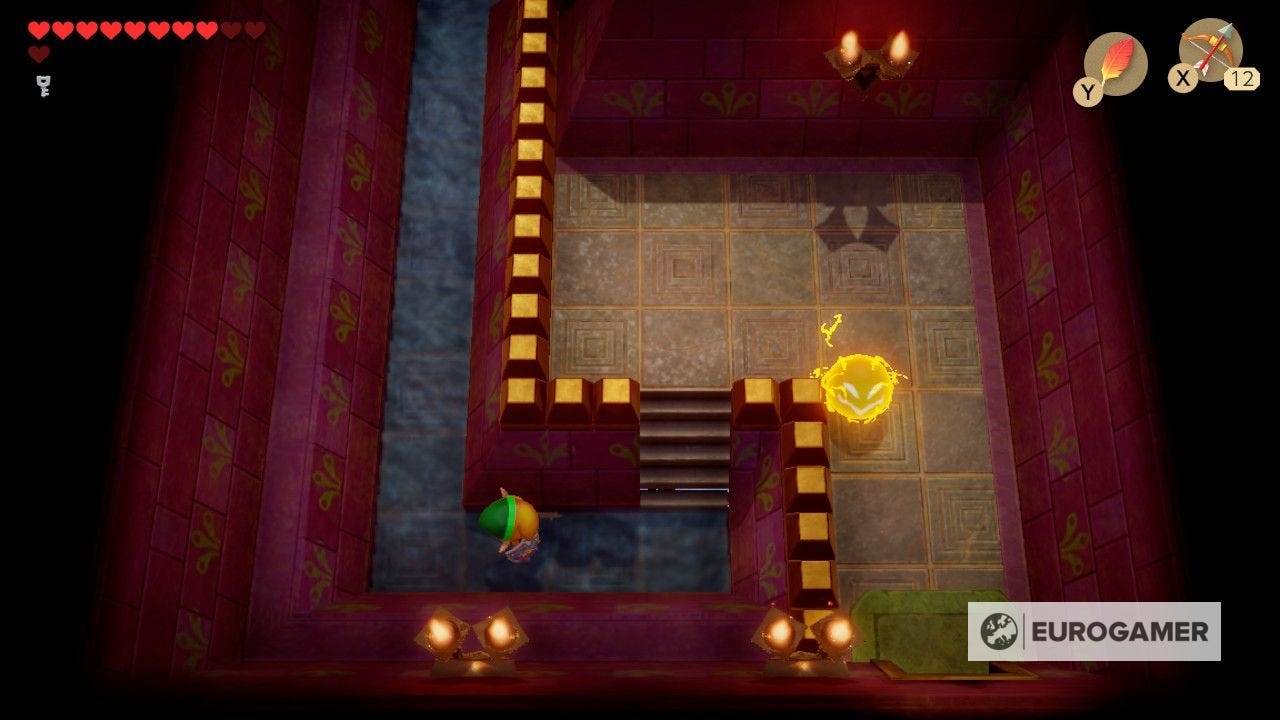
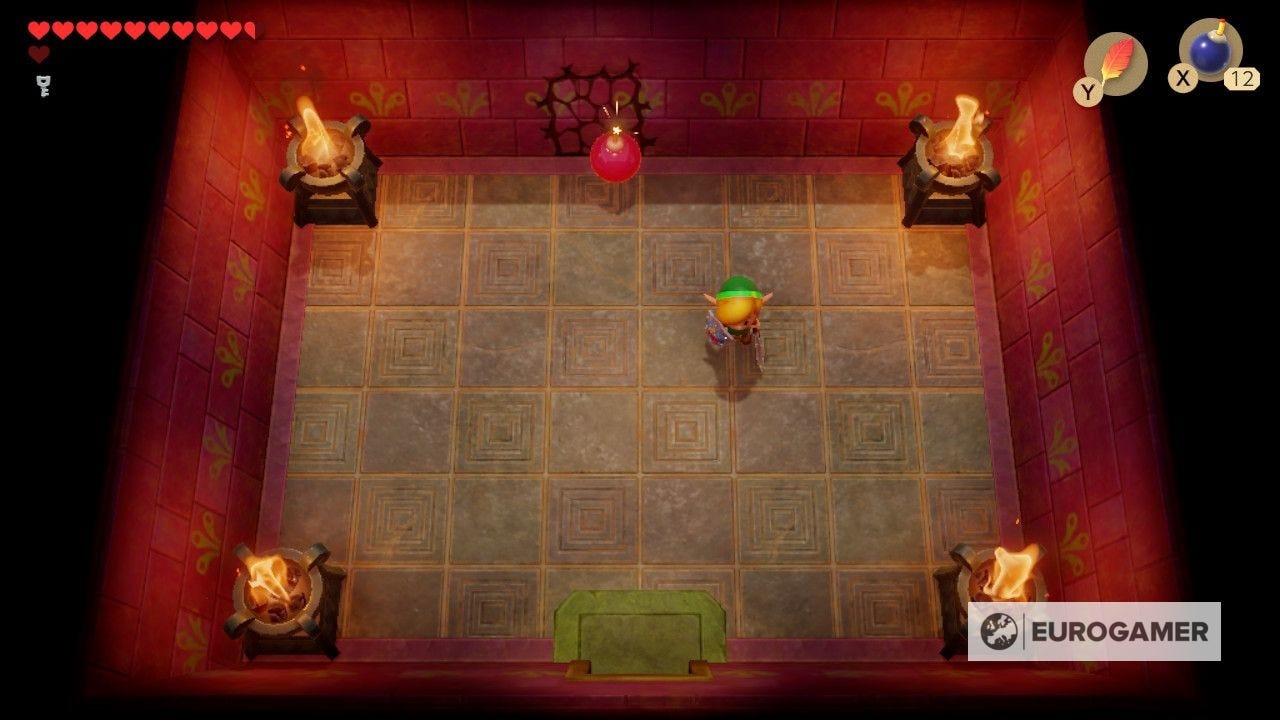
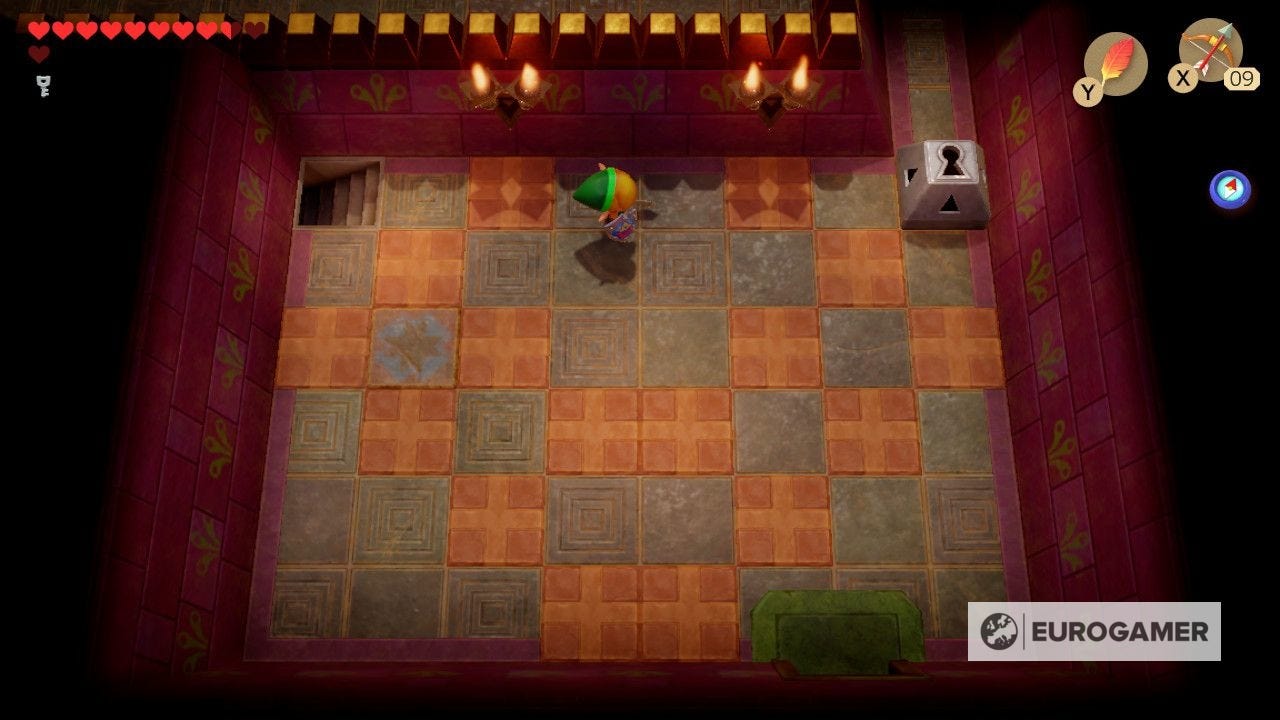
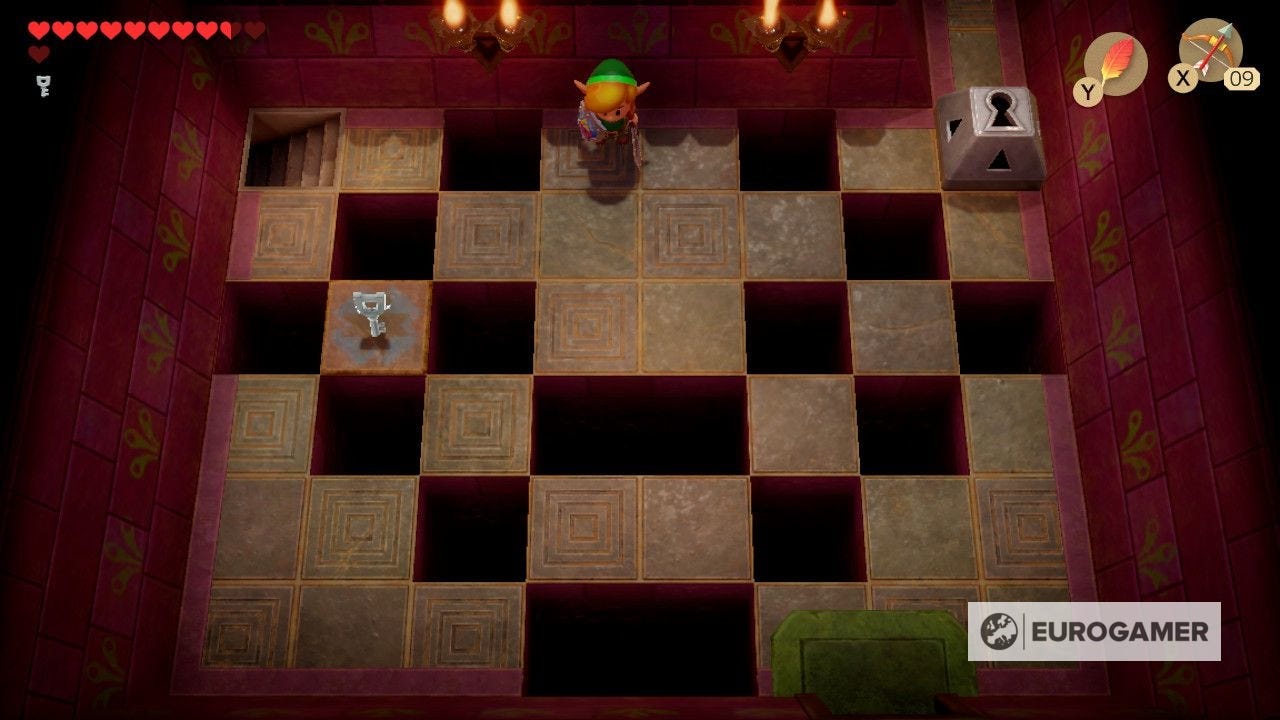
After the side-scrolling section is a locked block in the upper right and a series of tiles flying at you. Hold out your shield until all the tiles disappear, taking care not to fall through the gaps of the tiles as they are moved, to see a Small Key dropped on the left. Grab it and unlock the locked block in the corner.
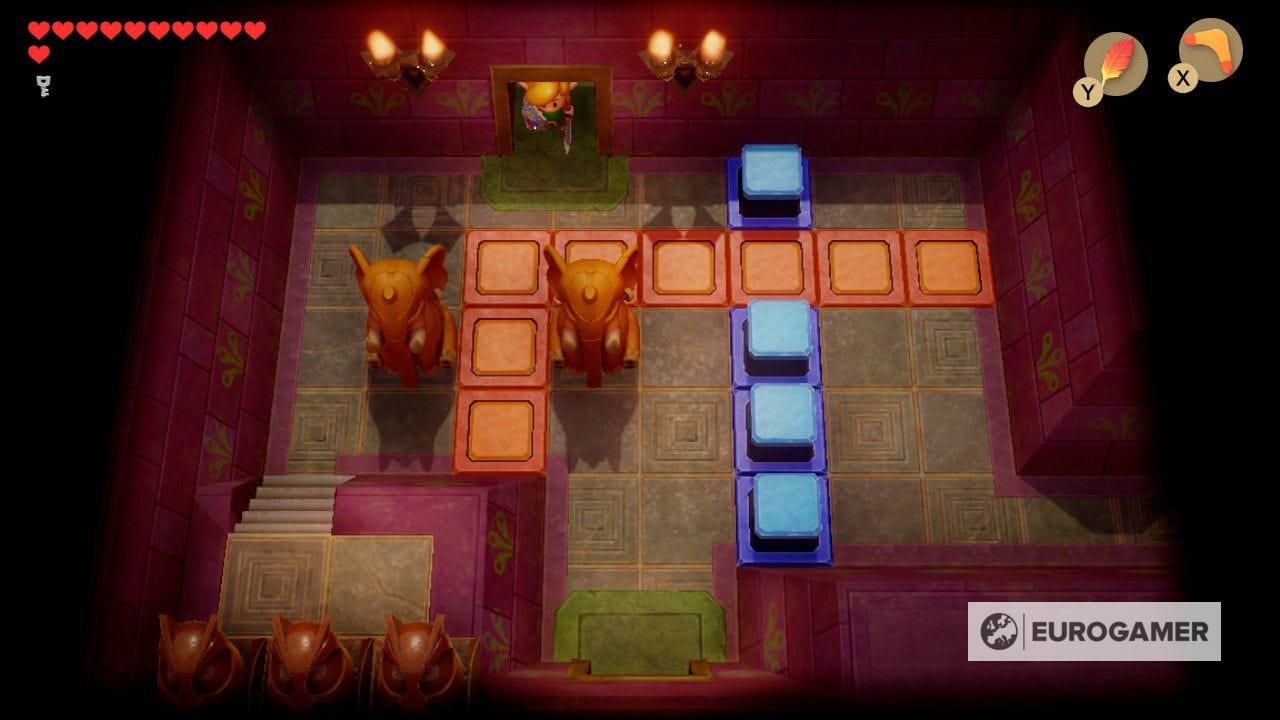
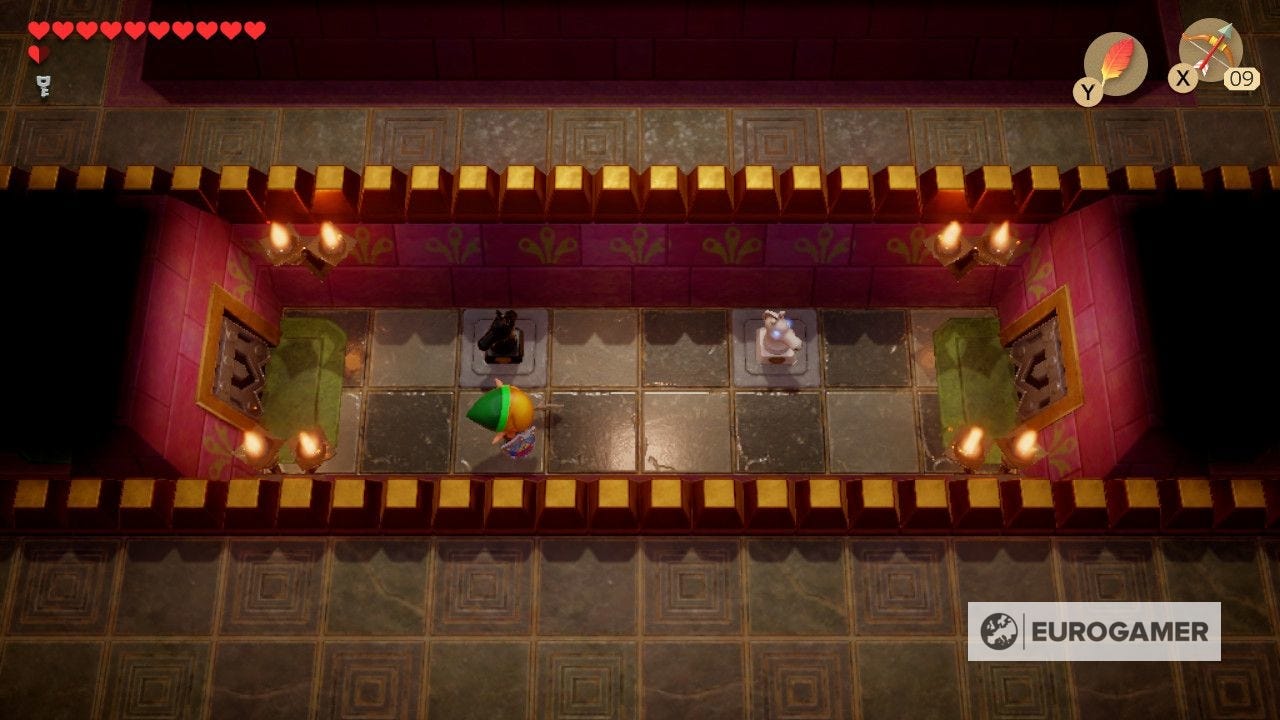
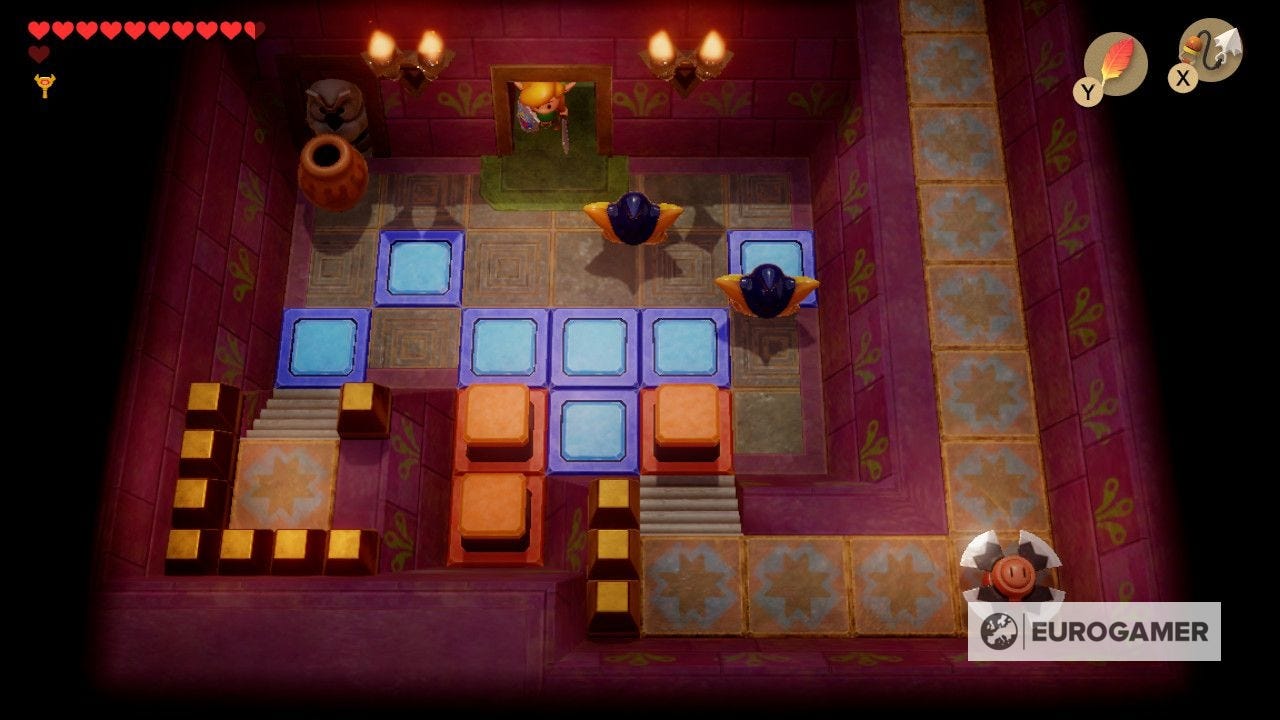
In this corner room, throw the elephant statue at the pot door to reach a thin room with two chess piece blocks.
As before, you need to throw them from below and across in order for them to bounce and land in the slots neatly.
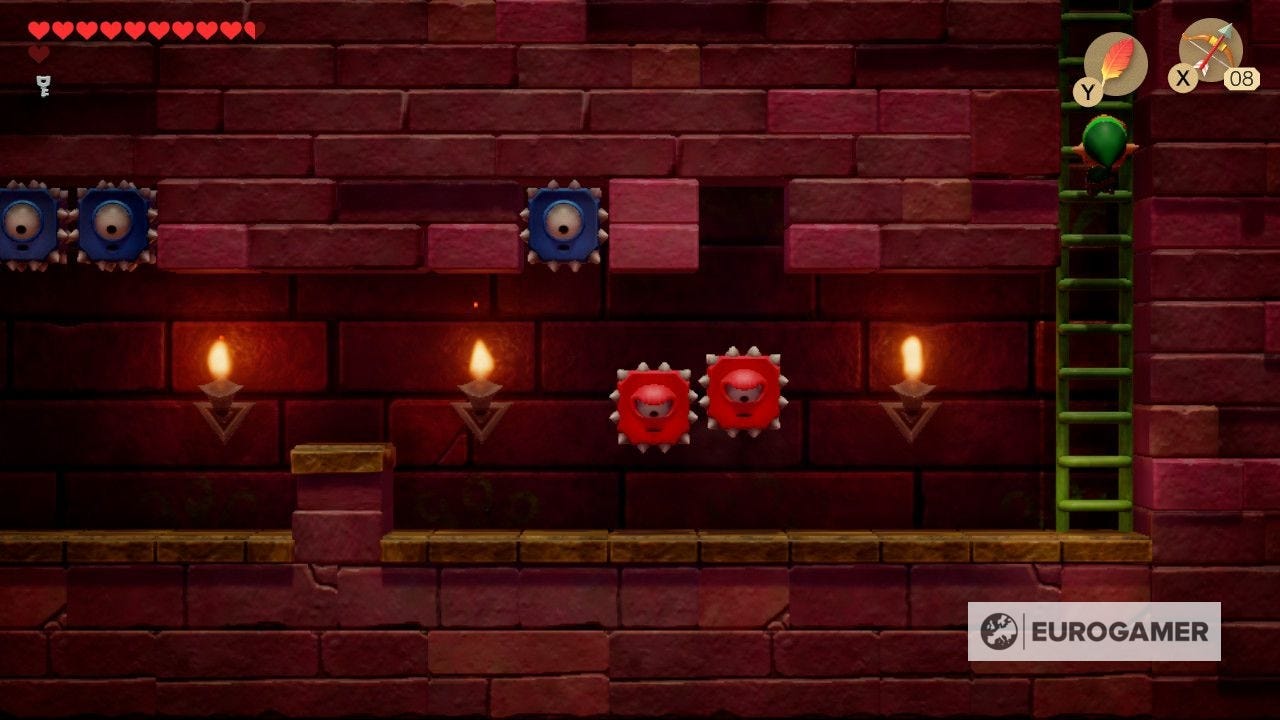
Go left when that's done correctly and down the staircase, and use the Pegasus Boots to zip past all the falling spike blocks in the side-scrolling section.
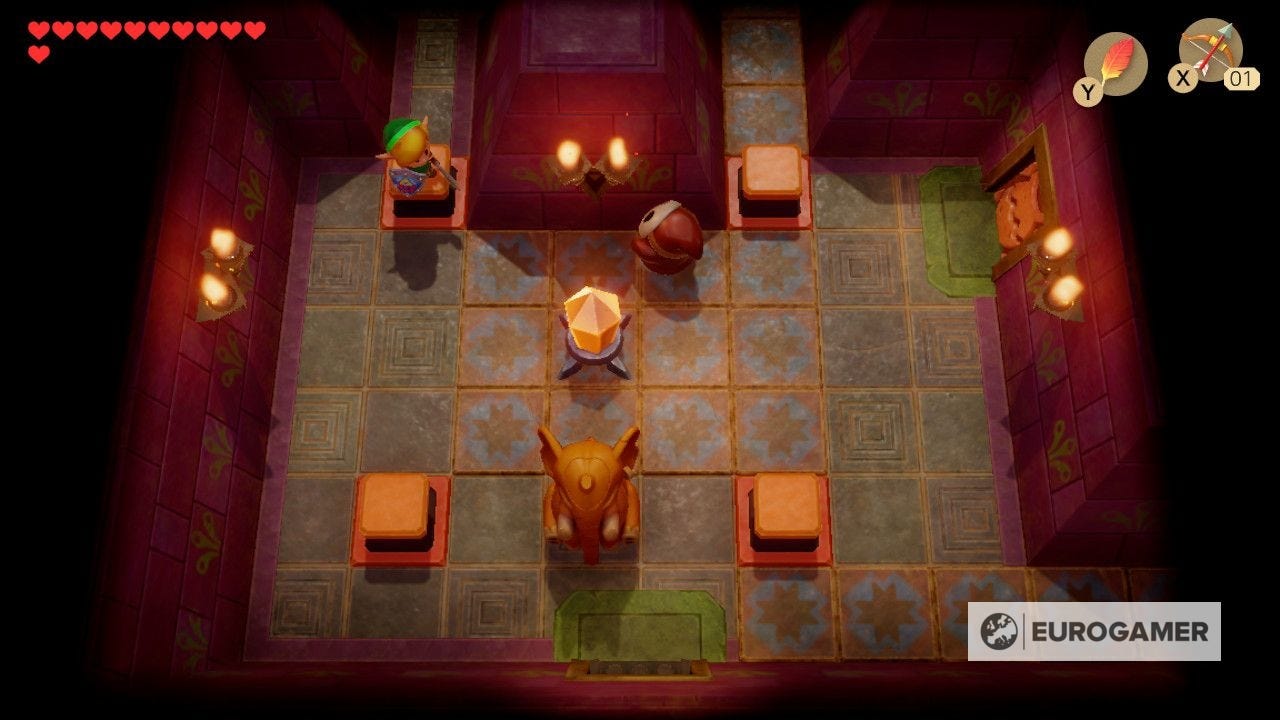
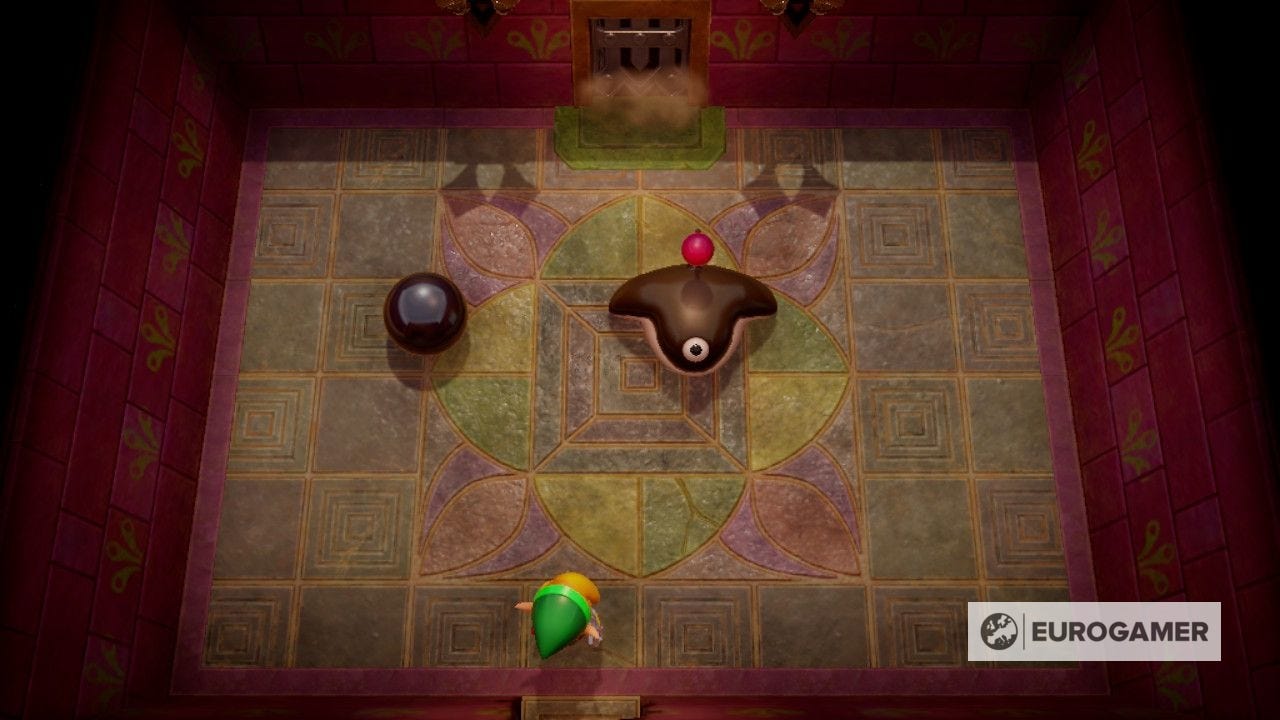
The following room above has three Pols Voice to defeat - you can do so by either throwing pots or using arrows. Once done, head south to face off against a familiar mini-boss - the black shelled enemies that require bombs to be swallowed to defeat them.
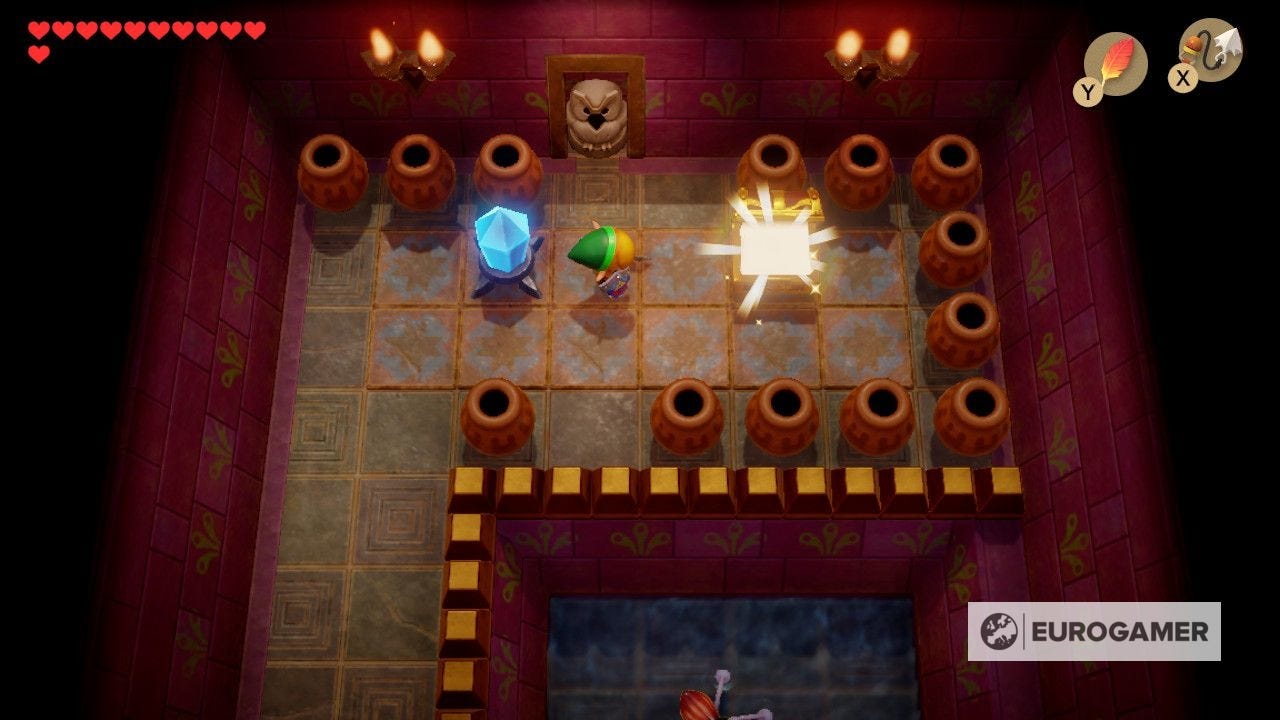
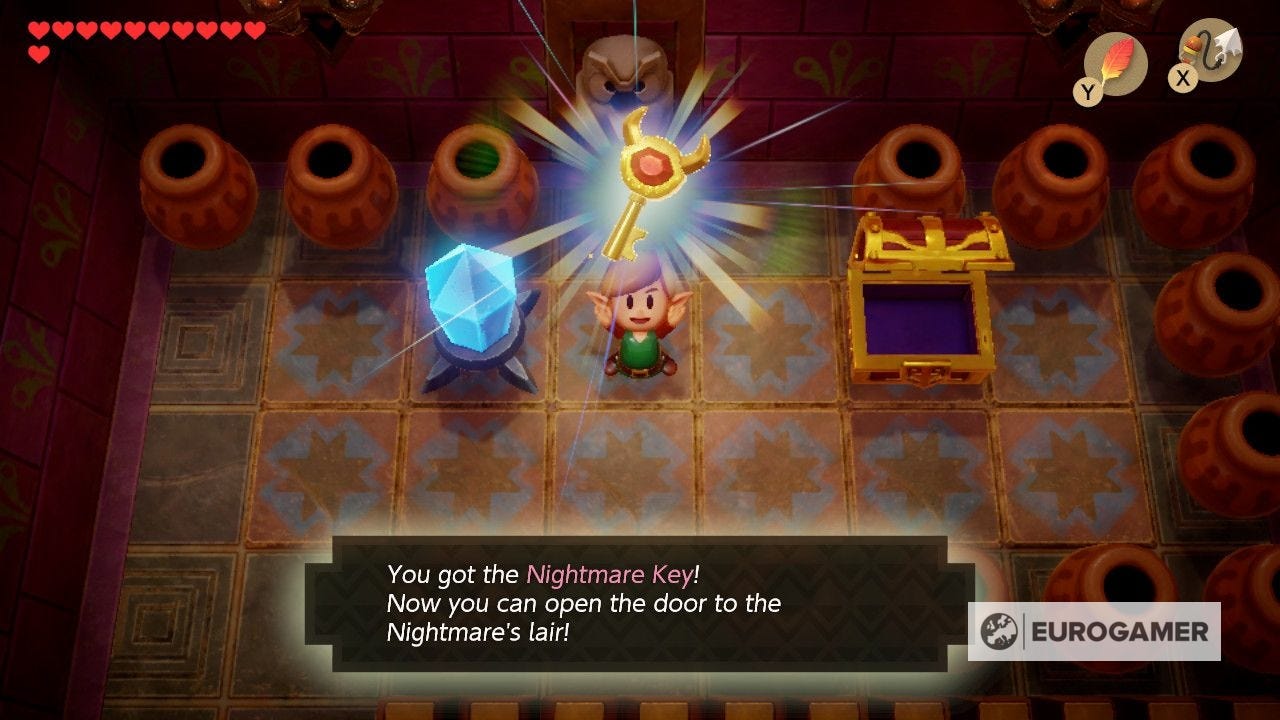
Once done, left out left and use the hookshot to clear the gap, and unlock the locked block using a Small Key. To the north is a circle of pots, a crystal switch, a Stone Owl and a chest that seemingly won't open it. To do so, as the Owl advises, throw a pot at the chest, giving you the Nightmare Key.
Hit the switch so it's orange, then head south, and drop down into the water. Go south back the way you came, and in the room with the wizards, go south to find the switch blocks here has reversed.
You need to go up the stairs in the corner, drop down onto the red blocks, and use Roc's Feather to jump across the right red block, and up. Now to get past the spinning blade in the corner, lure it out first, then as its withdrawing, stand in front and leap over with Roc's Feather.
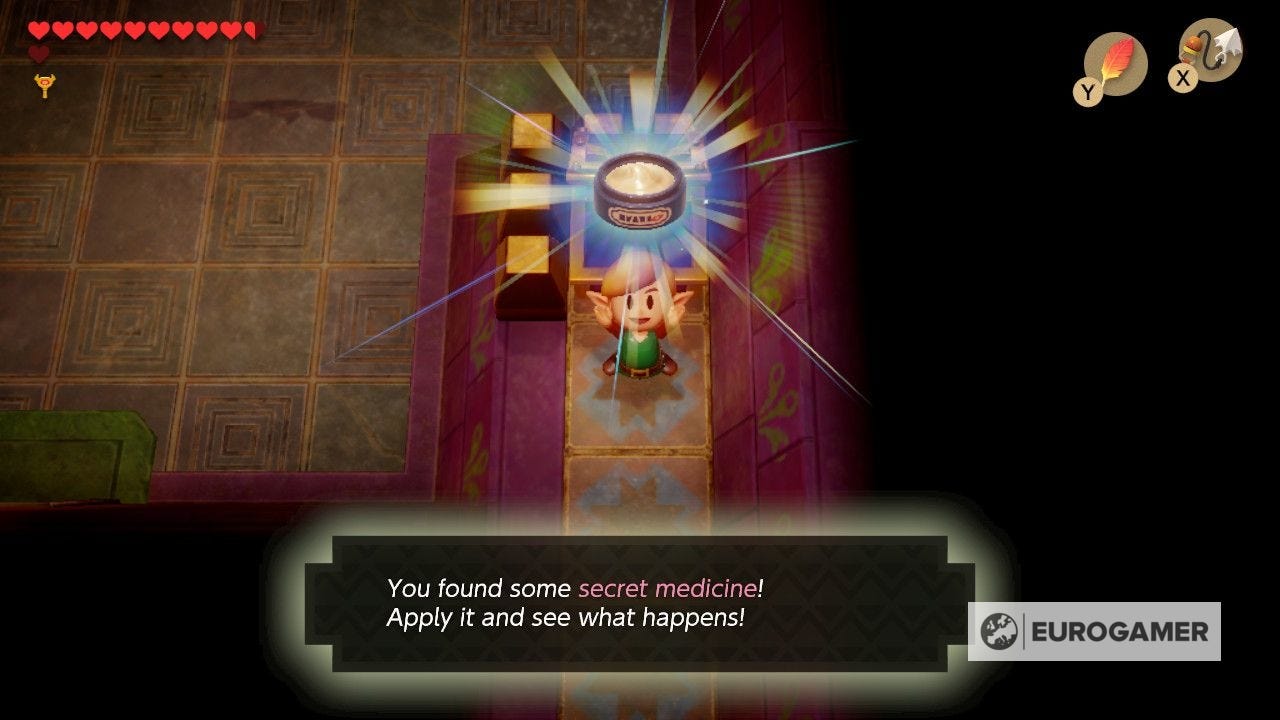
This gives you a clear passage to the chest on the above screen with the Secret Medicine.
Now it's time to reach the Nightmare door. Head back left and north to where you faced the mini-boss and spawned the warp point, and make your way onward down the stairs to the tile-filled room.
Head south from here instead of north to face against a vortex. To open the right door, run round the edges to spawn and suck in all the enemies.
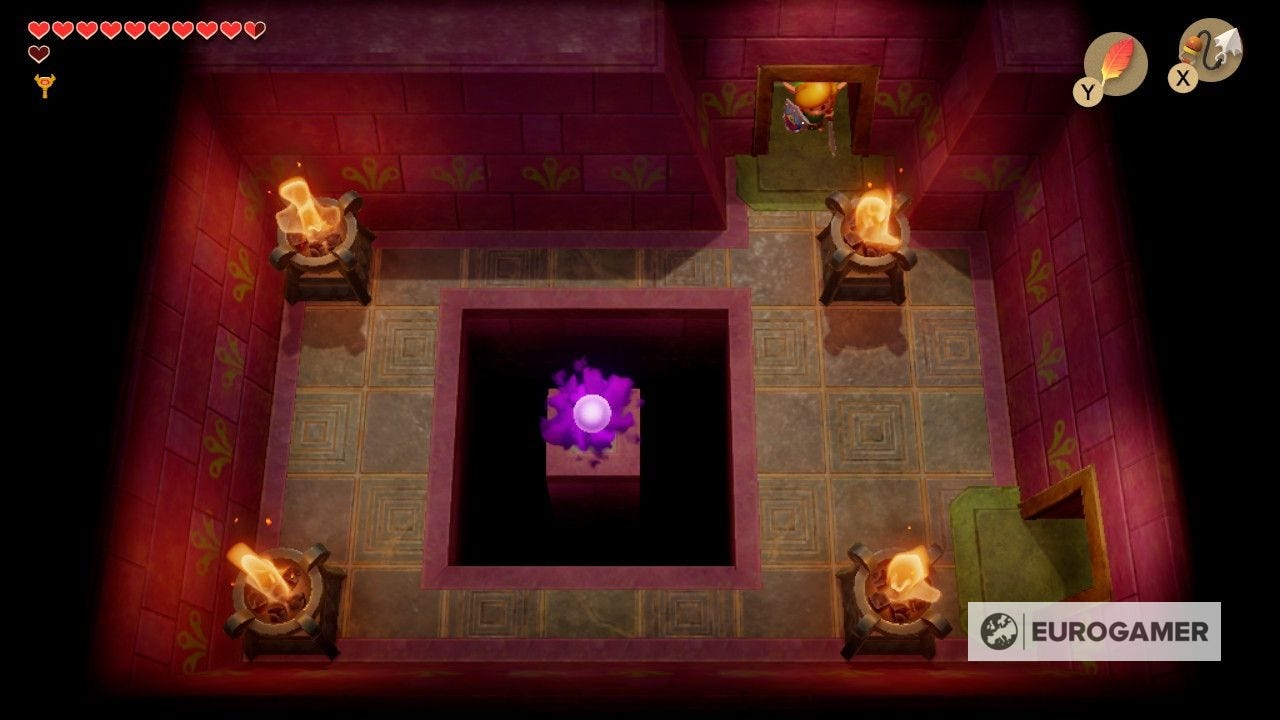
In the next room, leap across the gap and push the block on the edge right into the abyss, then go proceed up, where you'll find the door you are looking for.
It's time to, er, face the dungeon's boss - Facade.