Zelda: Link's Awakening - Key Cavern dungeon explained, where to find the Pegasus Boots location
How to beat the third dungeon and find your next useful item of exploration - the Pegasus Boots.

Key Cavern is the third dungeon of Zelda: Link's Awakening, and follows on from finding the Kanalet Castle Gold Leaf locations.
The boss, as the name suggests, is full of Keys to find, and along the way you'll find your next key item - the Pegasus Boots. Once you find them, the route to the boss of the dungeon, Slime Eye, isn't far away.
Before you begin, make sure you have a full complement of bombs in your inventory, as you'll be needing them throughout the dungeon. The Mabe Village shop - which is just a short walk west - will sell them 10 Bombs a time for 10 Rupees each.
On this page:
If you're looking for more assistance, our Zelda: Link's Awakening walkthrough can help.
How to access the Key Cavern entrance
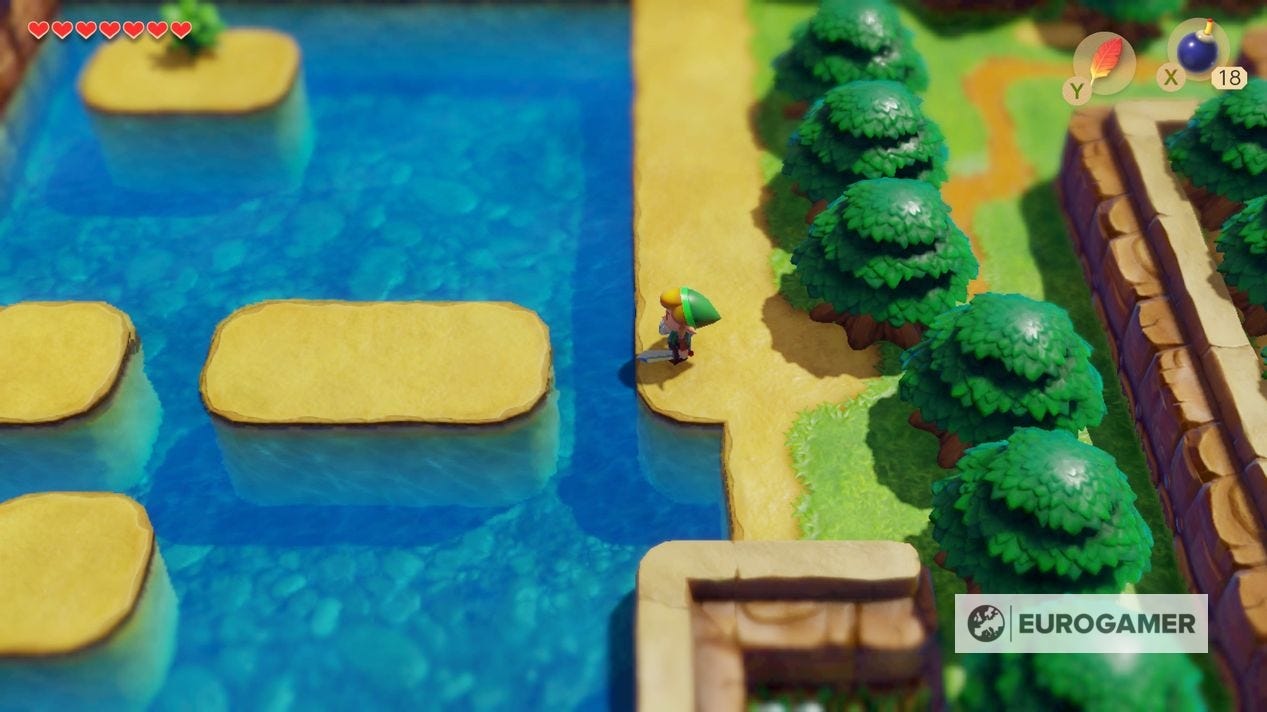
Because it's not immediately obvious, to get to the Key Cavern entrance you need to south of Richard's Villa, anti-clockwise around the Pothole Field, arriving on the east side of the lake next to the dungeon. Use Roc's Feather to traverse the islands across to the entrance.
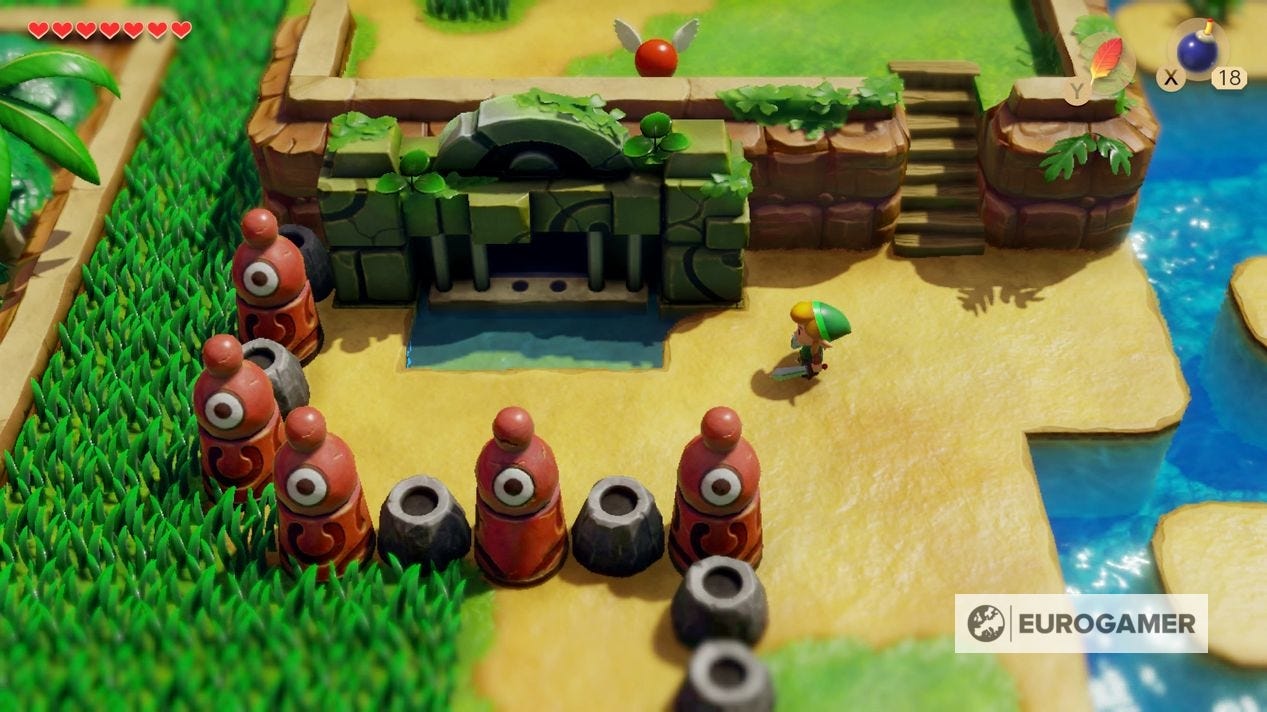
Once inside, it's time to start the Key Cavern.

How to start the Key Cavern dungeon
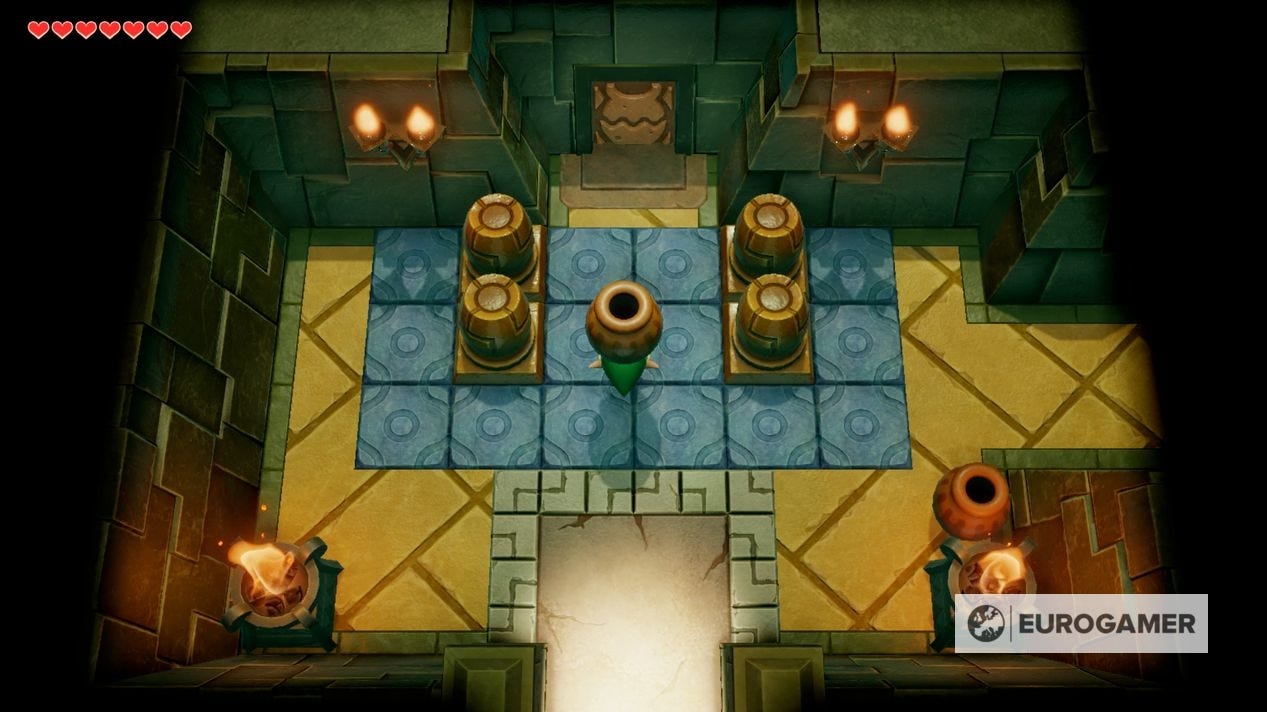
In this first room, grab a pot and throw it at the closed door at the top of the screen to open it up.
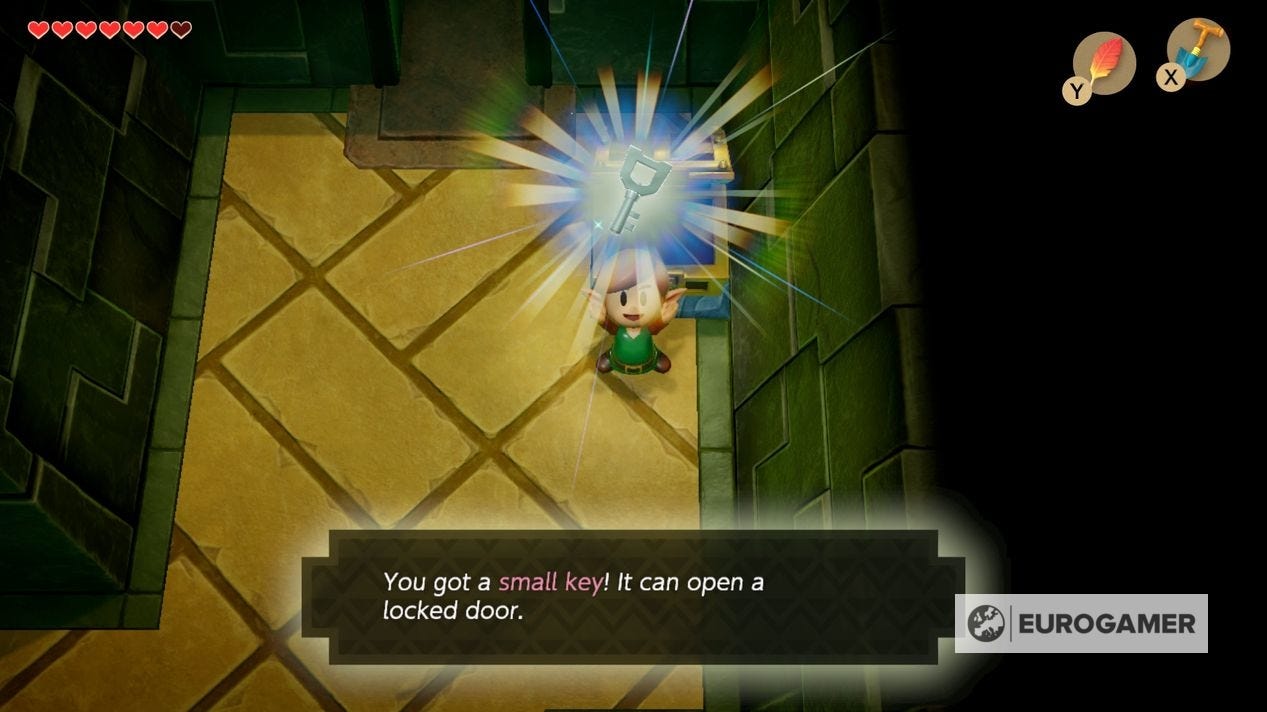
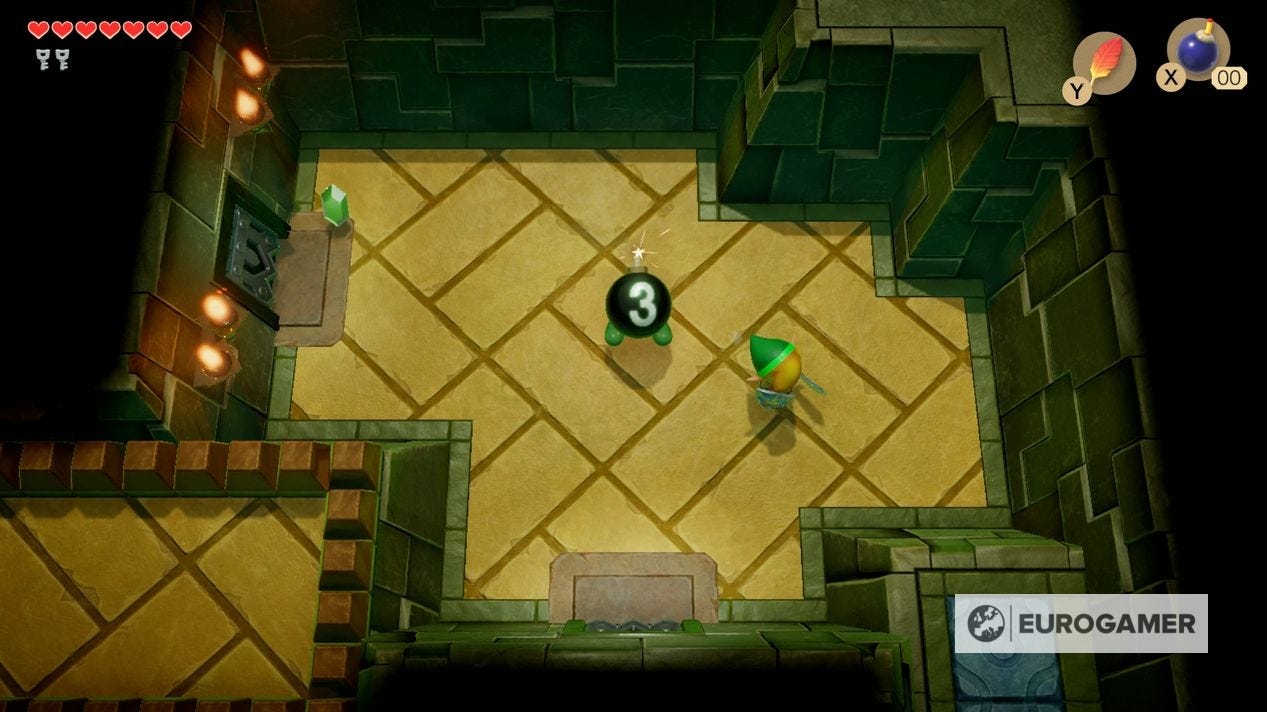
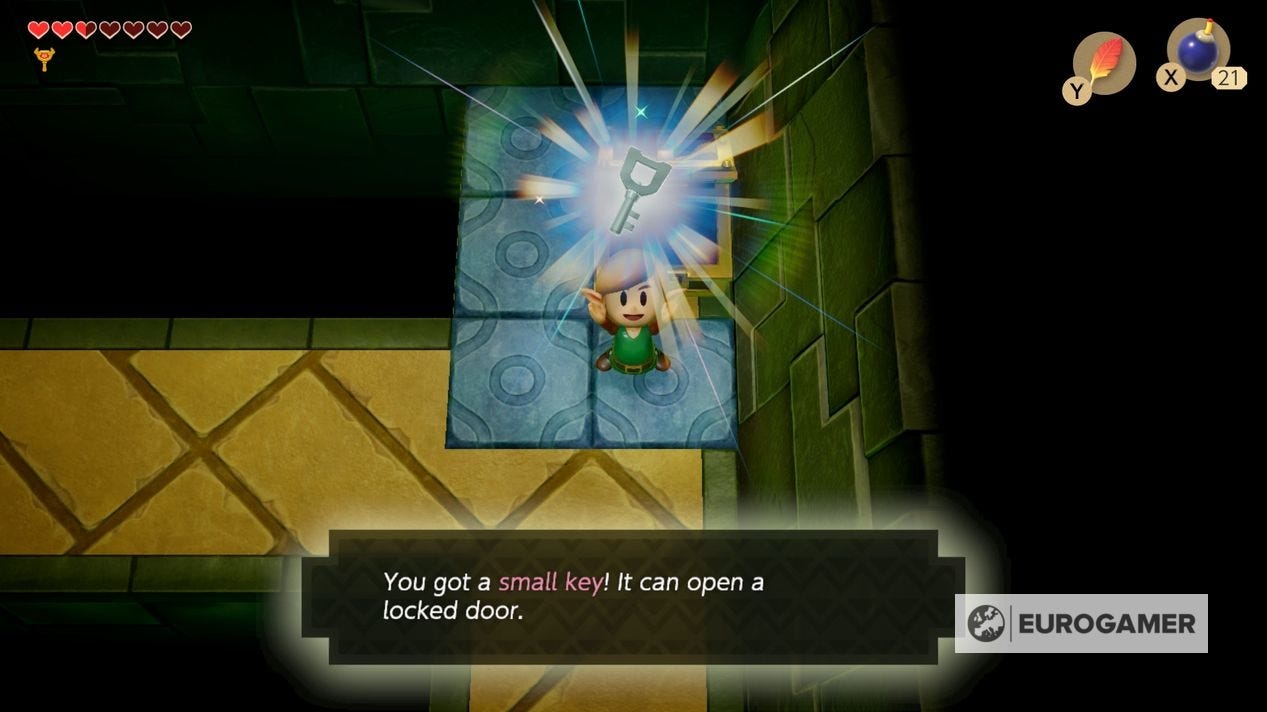
In the following room there are several bomb enemies and a skeletal Staflos. Kill all of these - be sure to raise your shield after striking a bomb, for it will bounce around the room before exploding - to get a Small Key from the chest that spawns.
Ignore the upper left corridor for now and head through the upper right doorway, reaching a room with two doors going north and east. Once you have cleared the enemies here and spawned the chest - which, surprise, contains another enemy - go north and north again to a room with a staircase leading down.
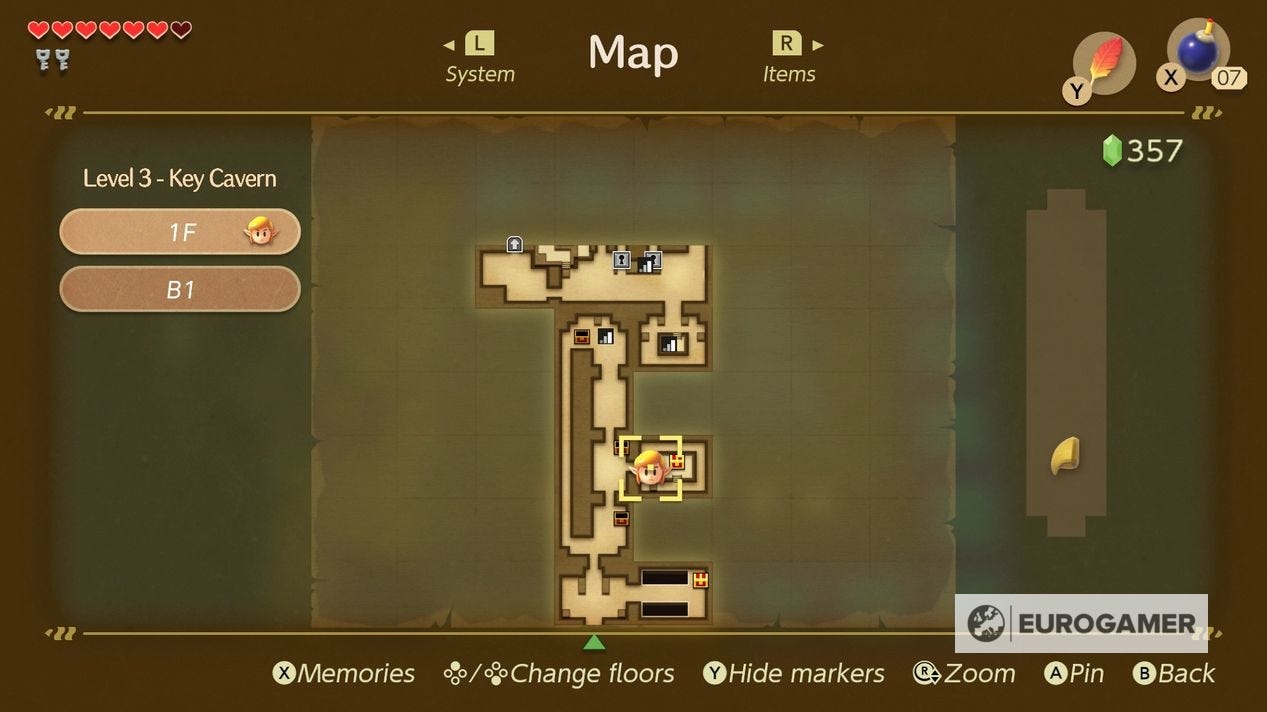
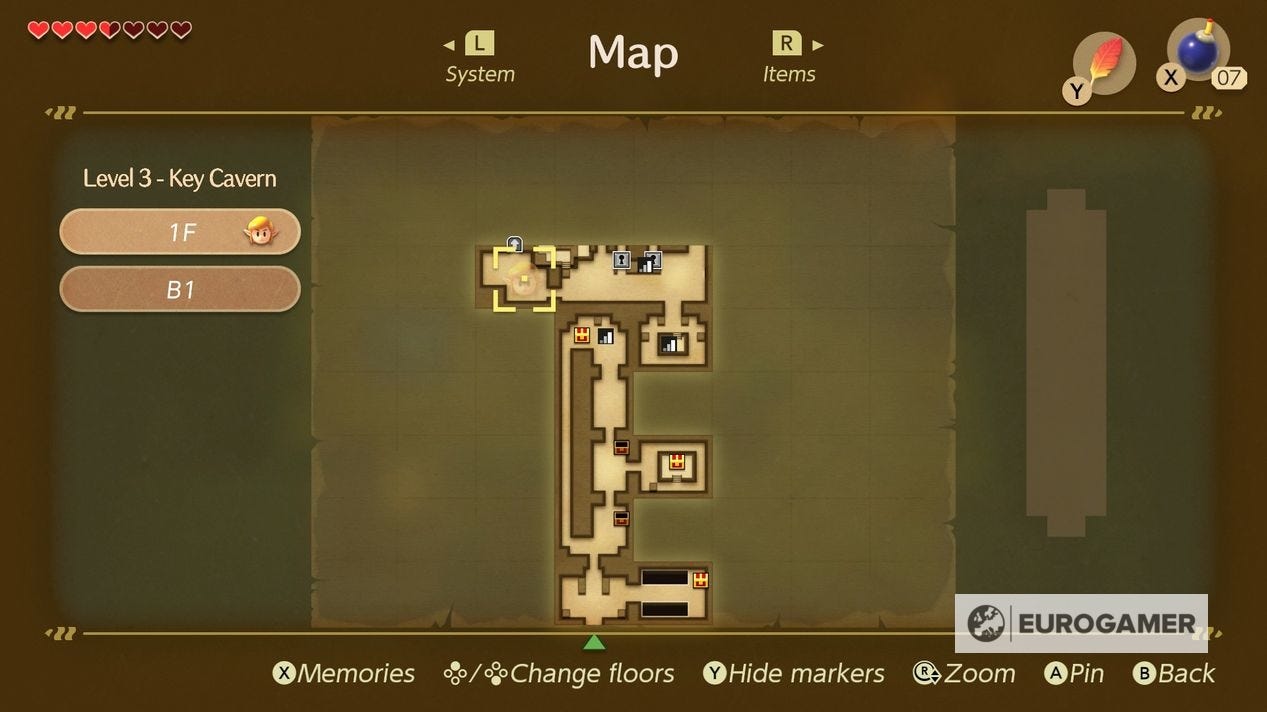
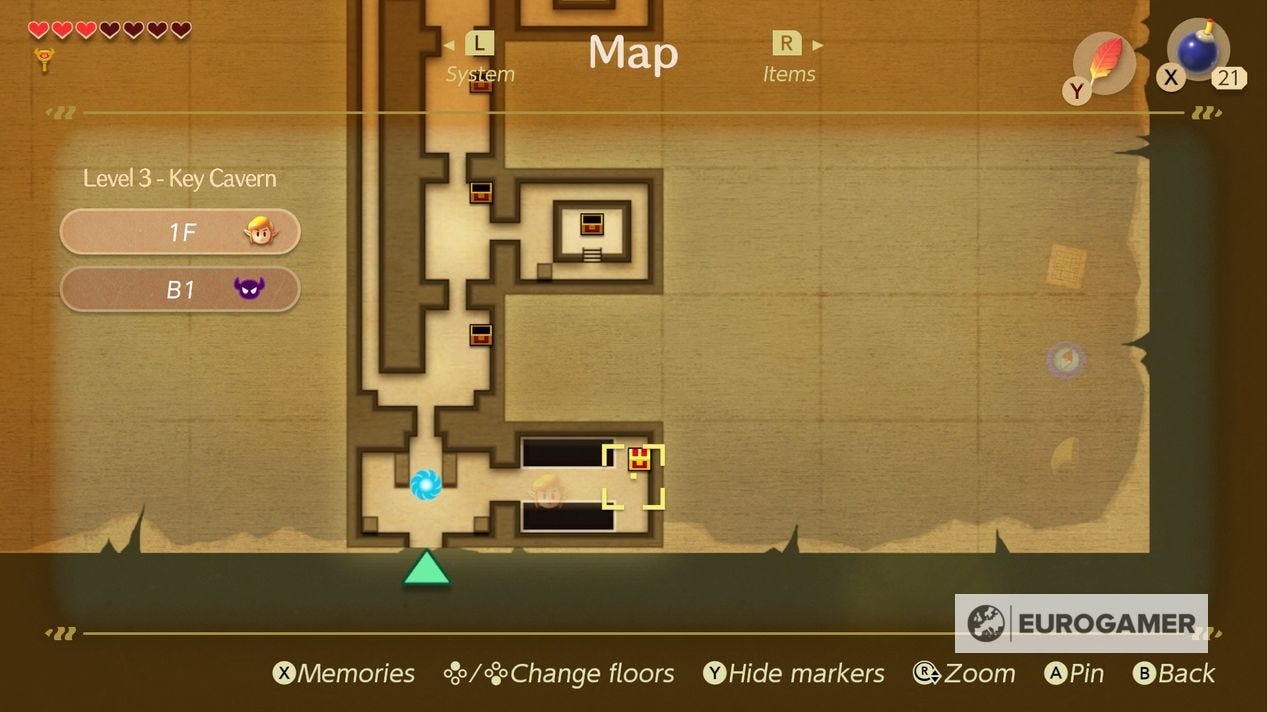
How to explore Key Cavern's B1
This takes you to another room full of enemies, and four doors locked with Small Keys. The Small Key you have will open any of them. Though there is no wrong order, we recommend taking the West and South rooms first - which are technically optional - then North and finally East, which takes you further into the dungeon.
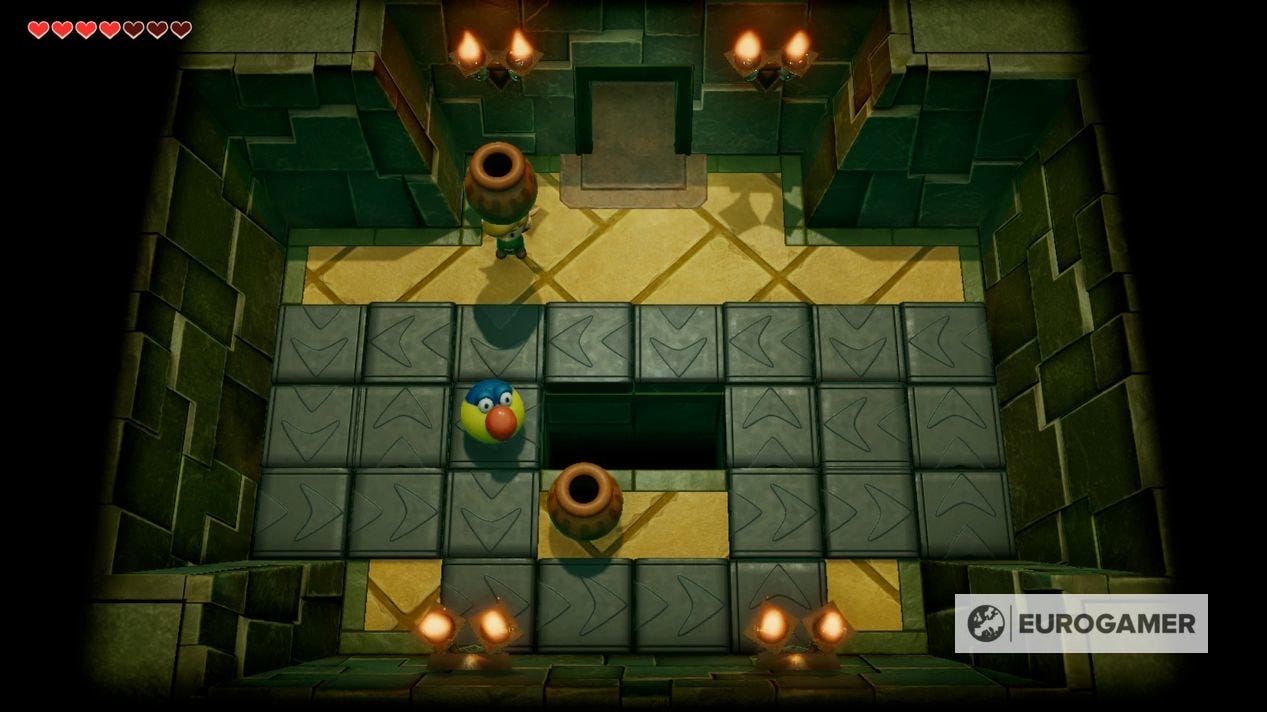
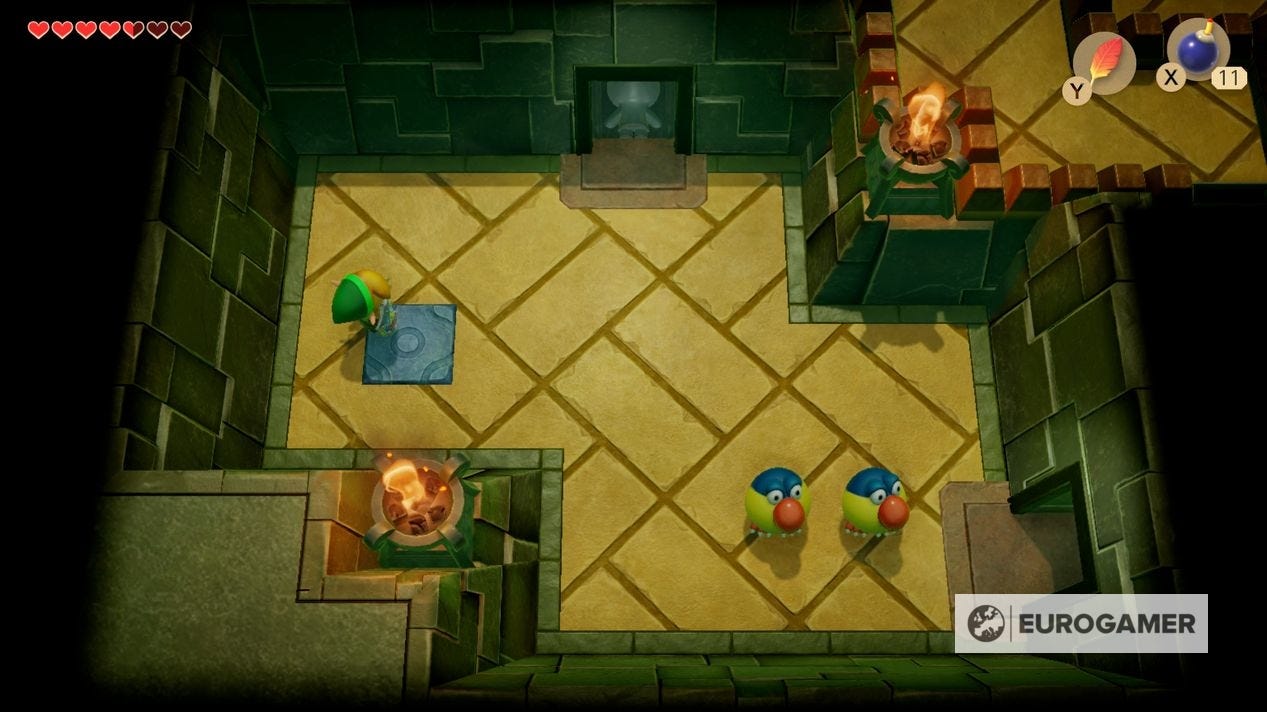
B1 West Room: There are several teleporting birds in here. To defeat them, drop a bomb where they are about to teleport - this will be diagonal to where the bird currently is - and leap towards them to injure them. With them both down, a Small Key will spawn on the conveyor belt. (If it falls into the ground, then leave the room and come back again to make it reappear).
B1 South Room: This is another case of clearing out all the enemies while dealing with a room filled with conveyor belts leading to different directions. The teleporting bird is a little easier to deal with here, though, since you can lob a pot at it from a distance. A Small Key is your reward.
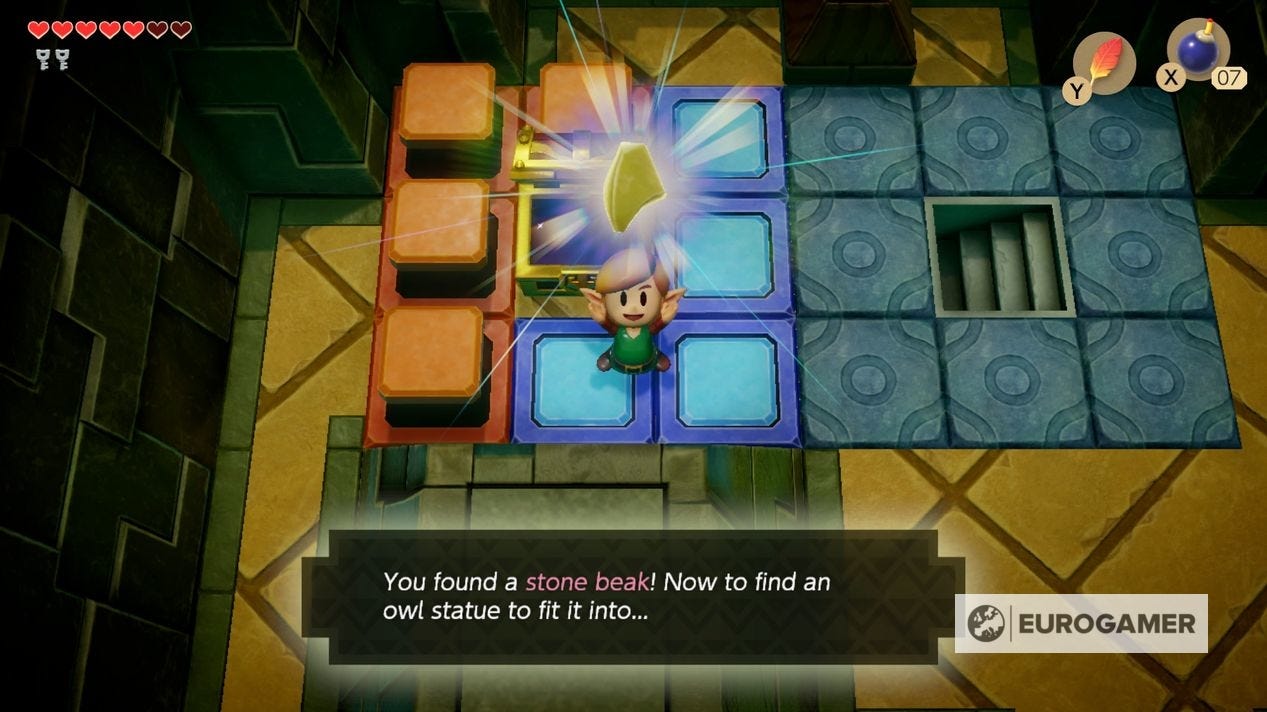
B1 North Room: Clear the enemies in here to be rewarded with a Small Key. There is also an Owl - which you cannot use yet - and a switch.
Hit it to turn it red, then leave the room and head back up to 1F. Now the chest on your left is accessible, giving you the dungeon's Stone Beak.
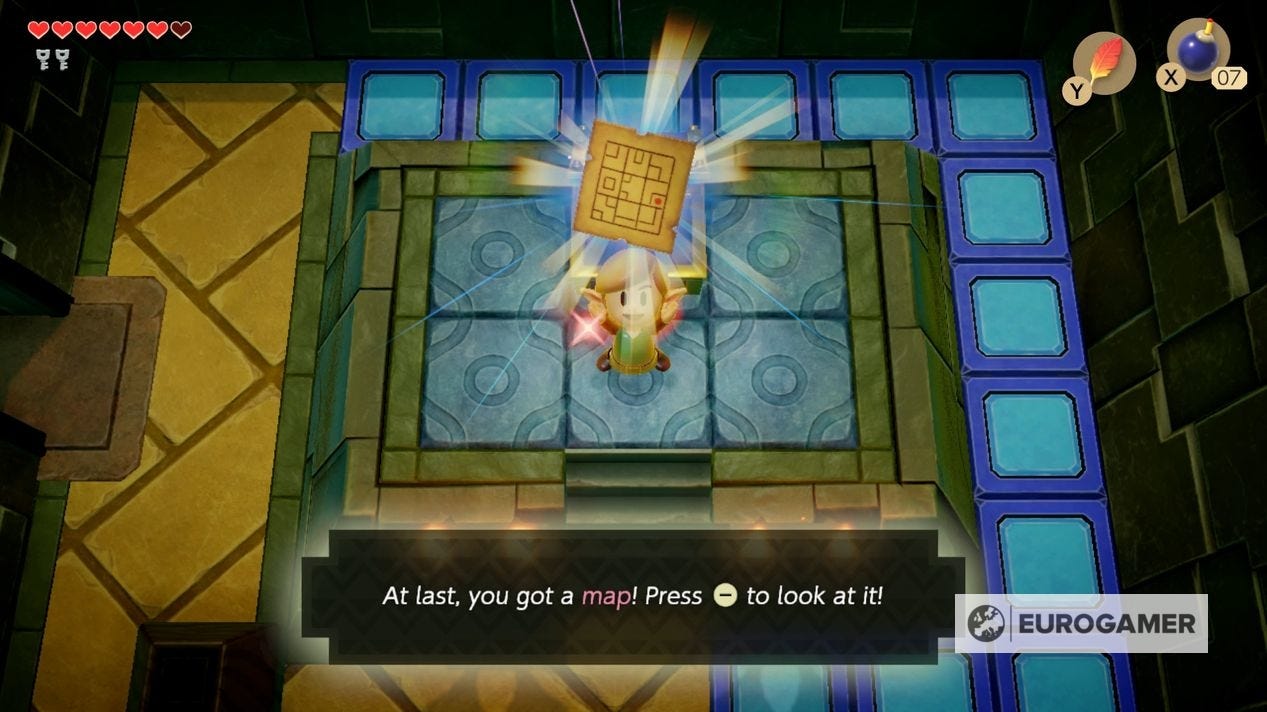
Before you head back down, head one room down, then east, to enter a room where the blocks have also moved thanks to the switch, gaining access to a chest with the dungeon's Map.
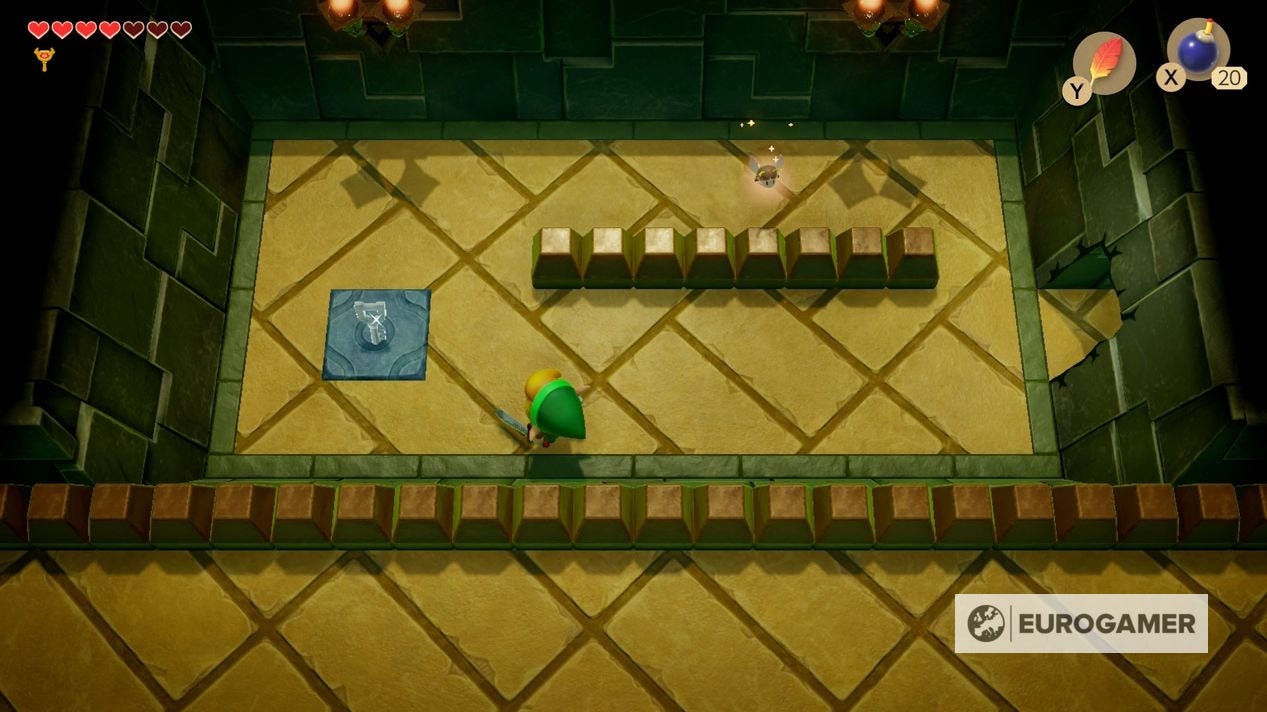
Now if you return to the room with the switch, you'll read the message telling you to dash and not fear if things are far away - a small clue to the dungeon's item to come. You're now down with the switch, so don't worry about switching it to either colour.
B1 East Room: This has a conveyor leading to a staircase. Take it all the way round - there is no reward for clearing the enemies - to emerge back on the first floor.
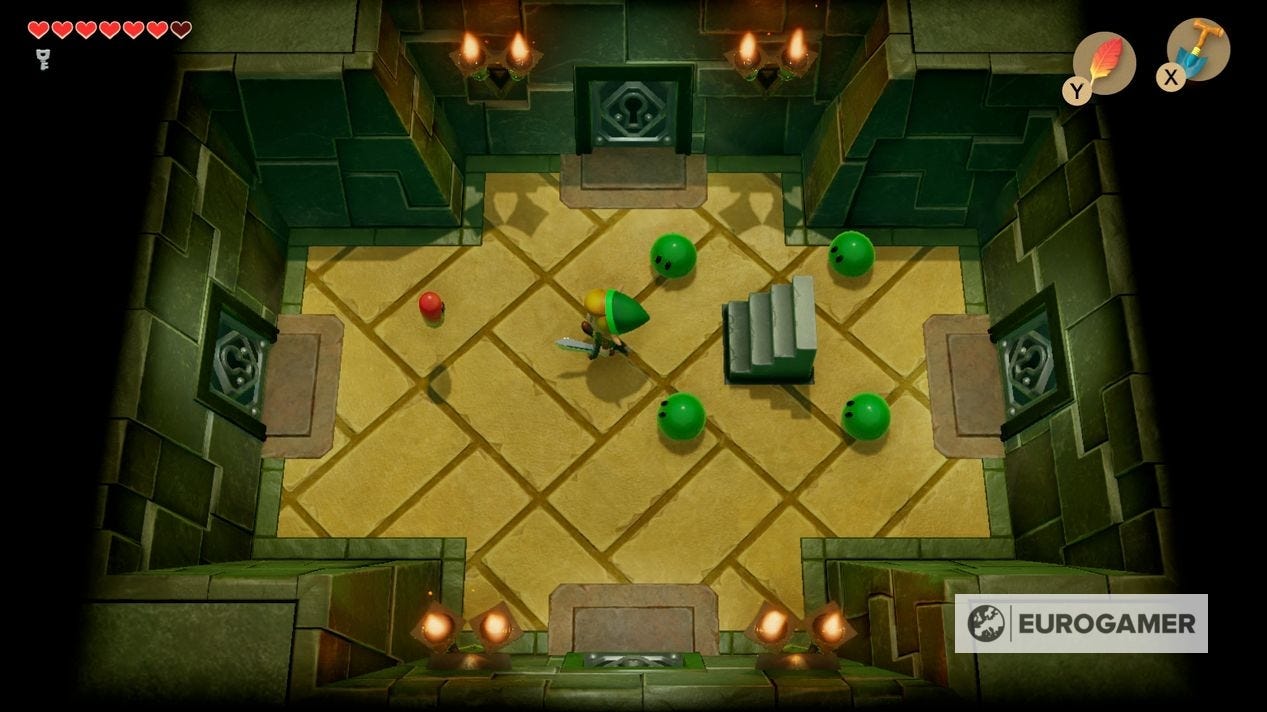
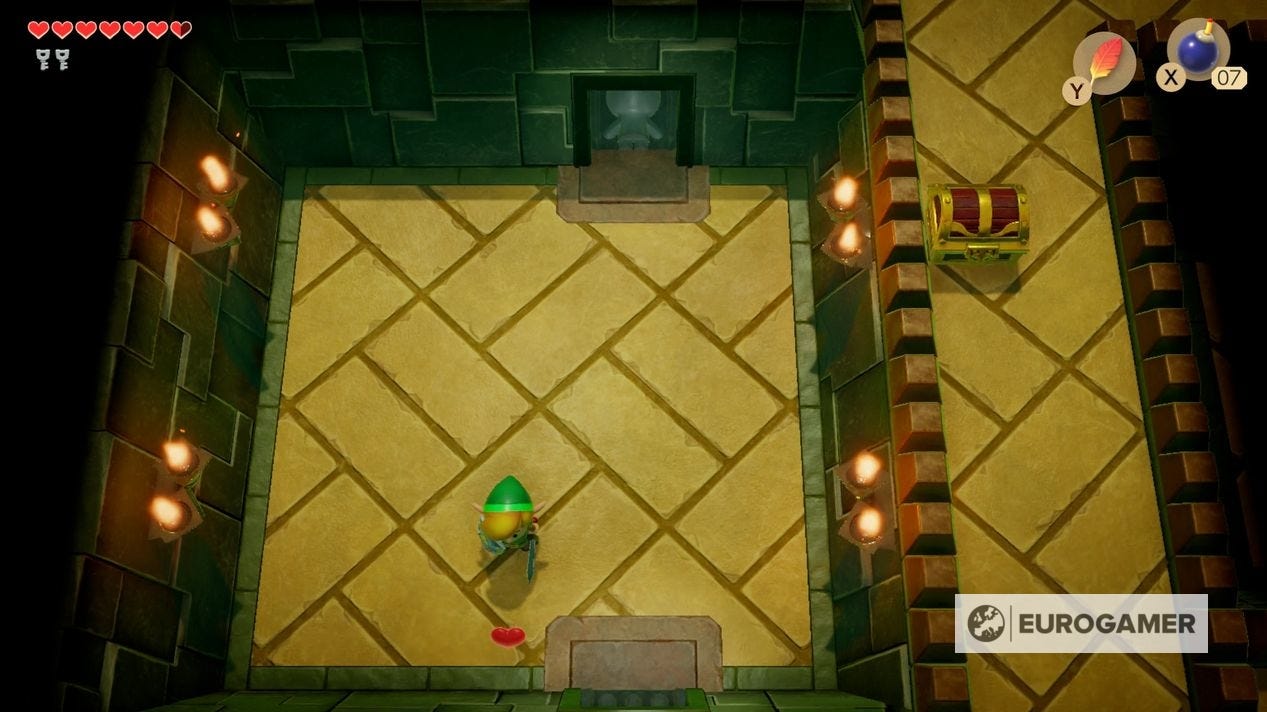
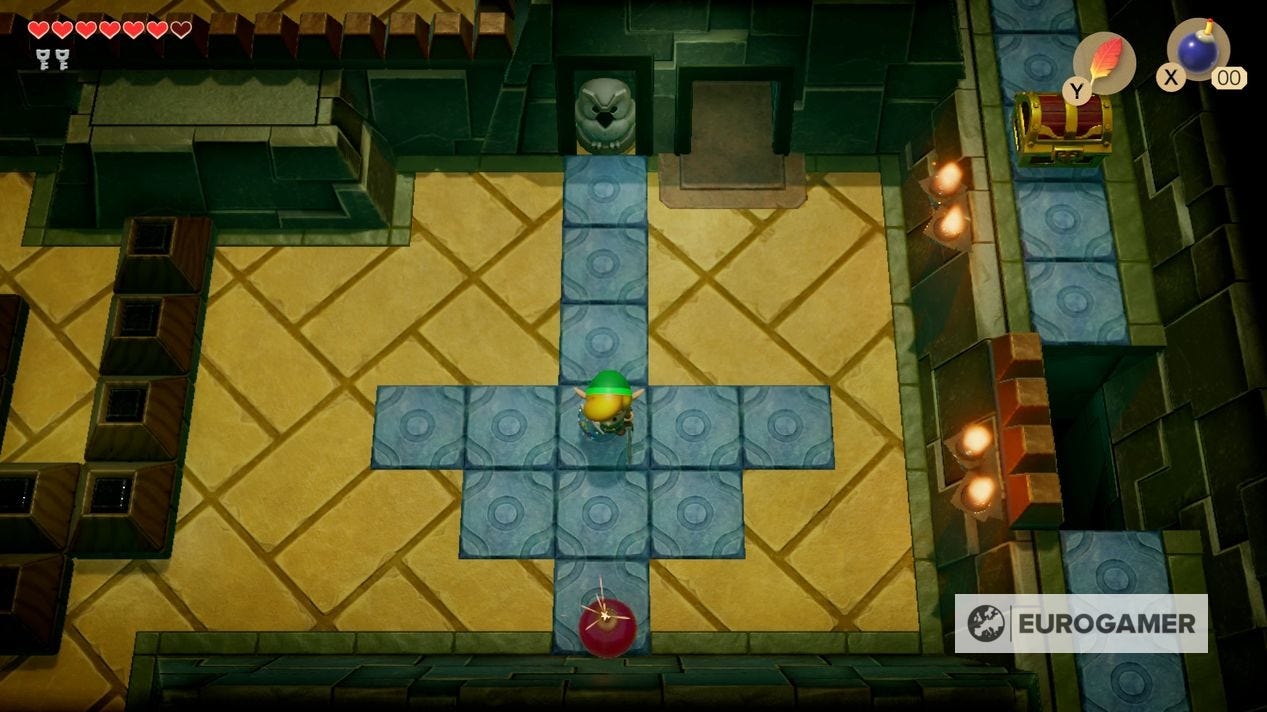
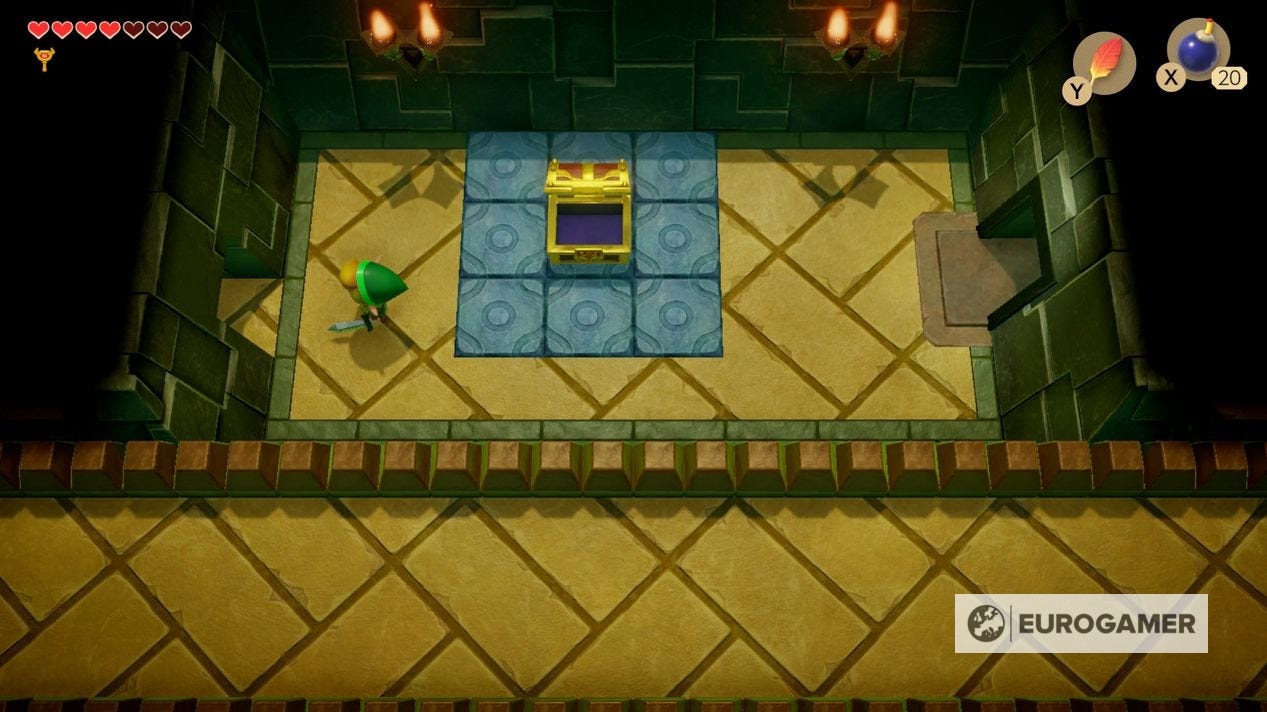
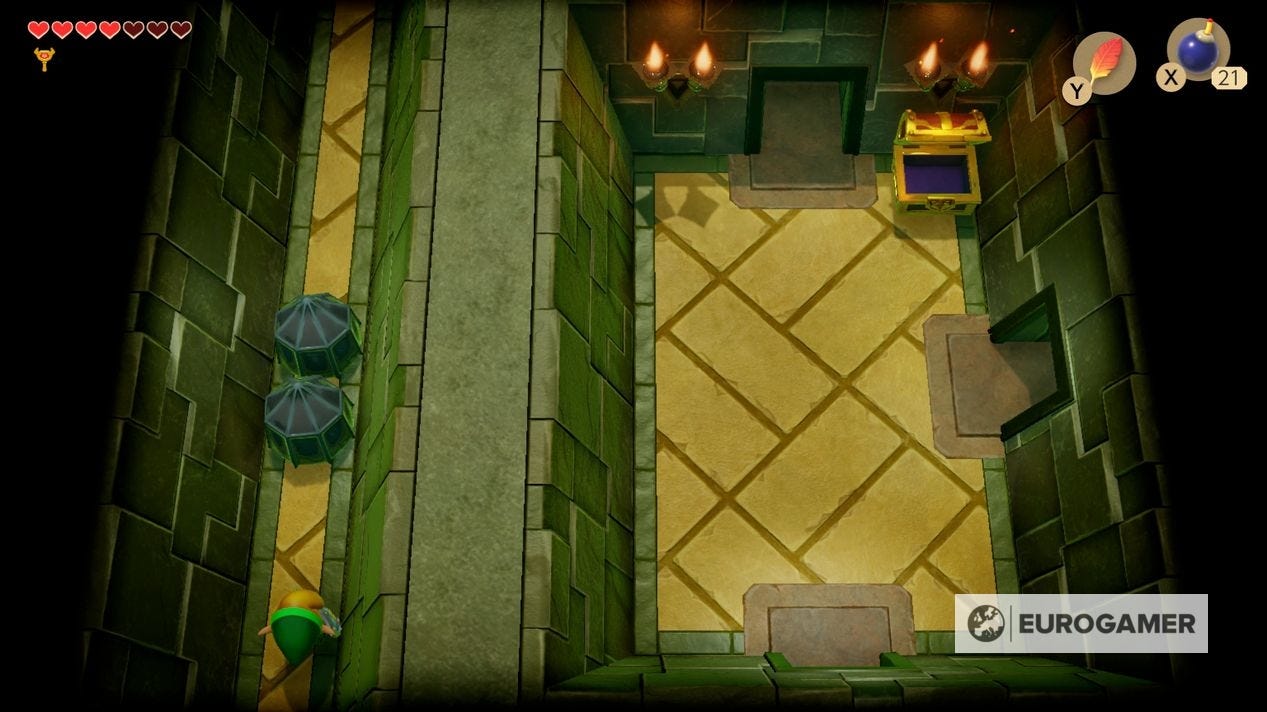
In this room, circle the central platform and kill all the enemies that appear to get a Small Key.
Head north to a larger room now, again, killing enemies until the doors to the west open.
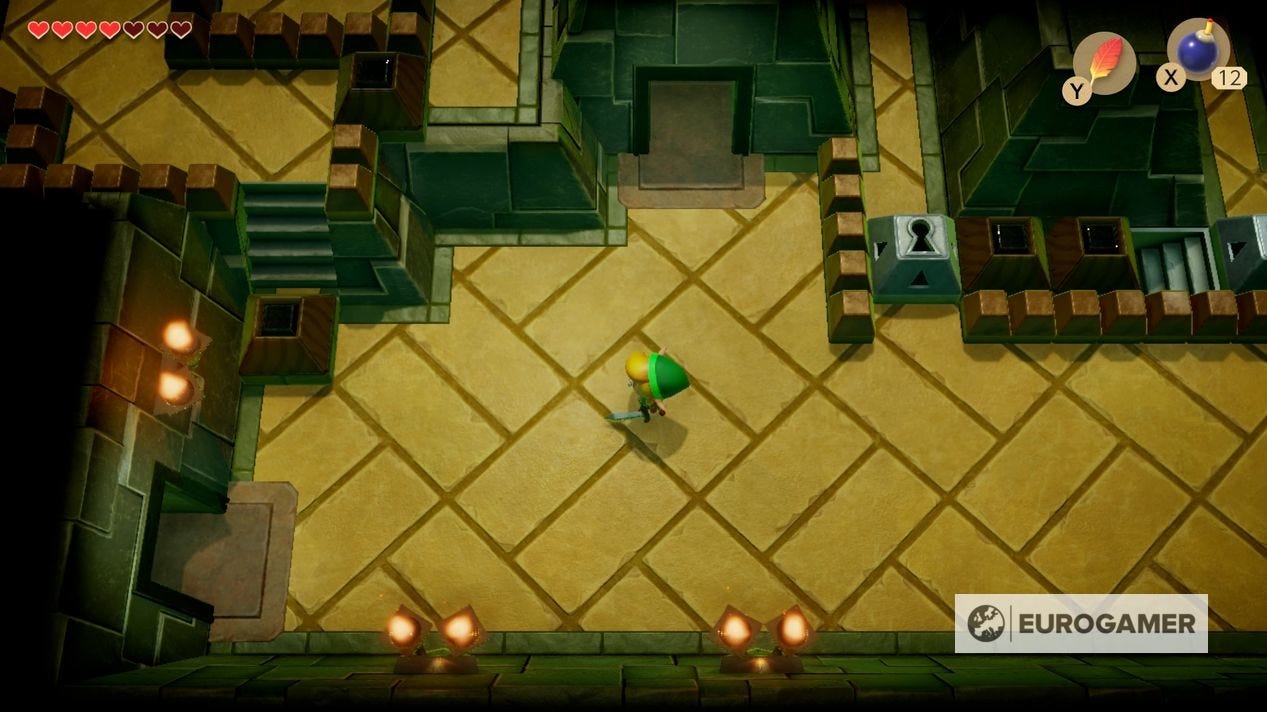
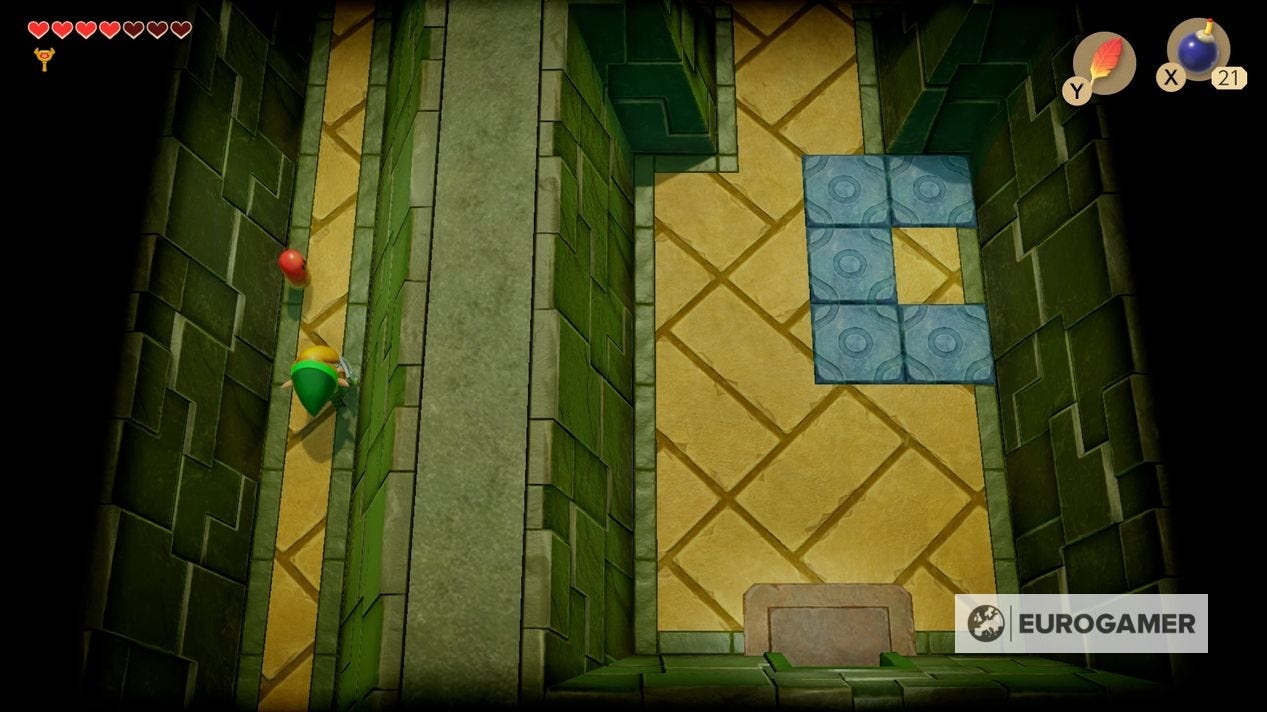
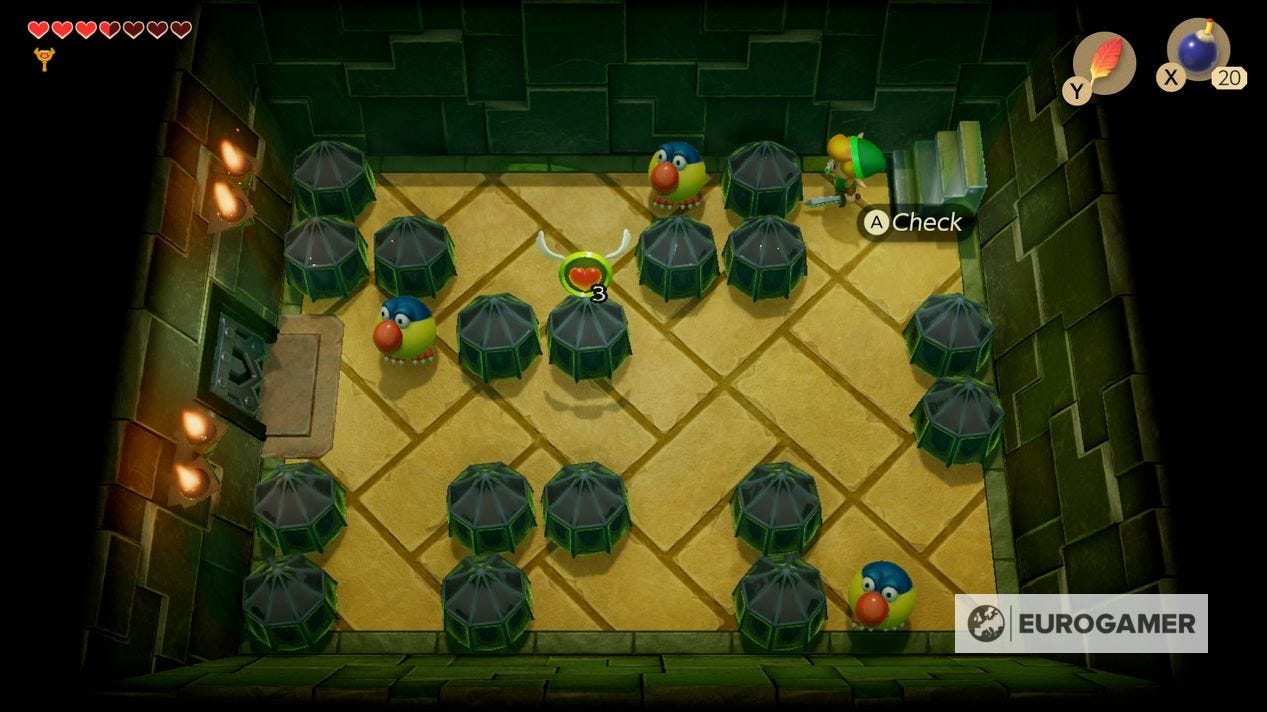
Go through the left-most door first with two teleporting birds, which you can defeat by laying down bombs and forcing them to teleport into, giving you a Small Key.
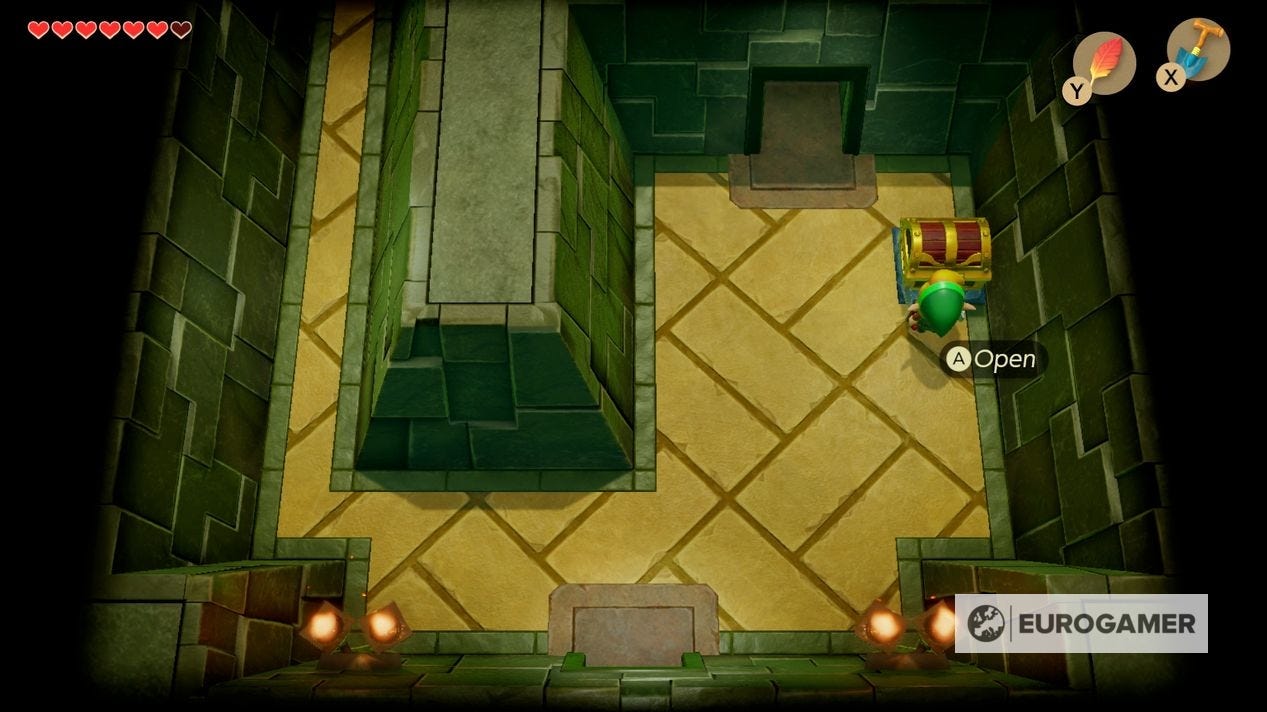
Head up through the one-way door, and clear the enemies to spawn a chest on the right walkway.
Go north again and make your way round to that chest - speaking to the stone owl on the way tells you about having to throw something explosive at the black shelled enemies - to get 50 Rupees. Head south and push the block to arrive back at the long room you were moments ago.
How to get the Pegasus Boots
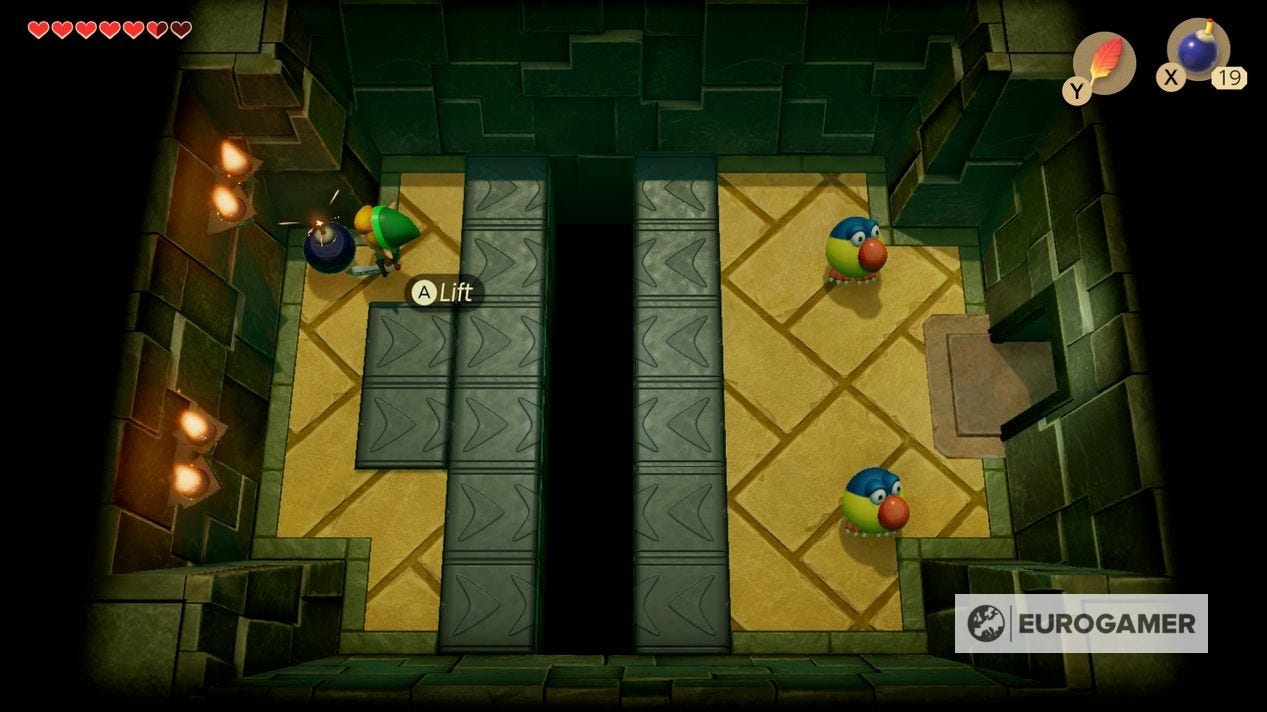
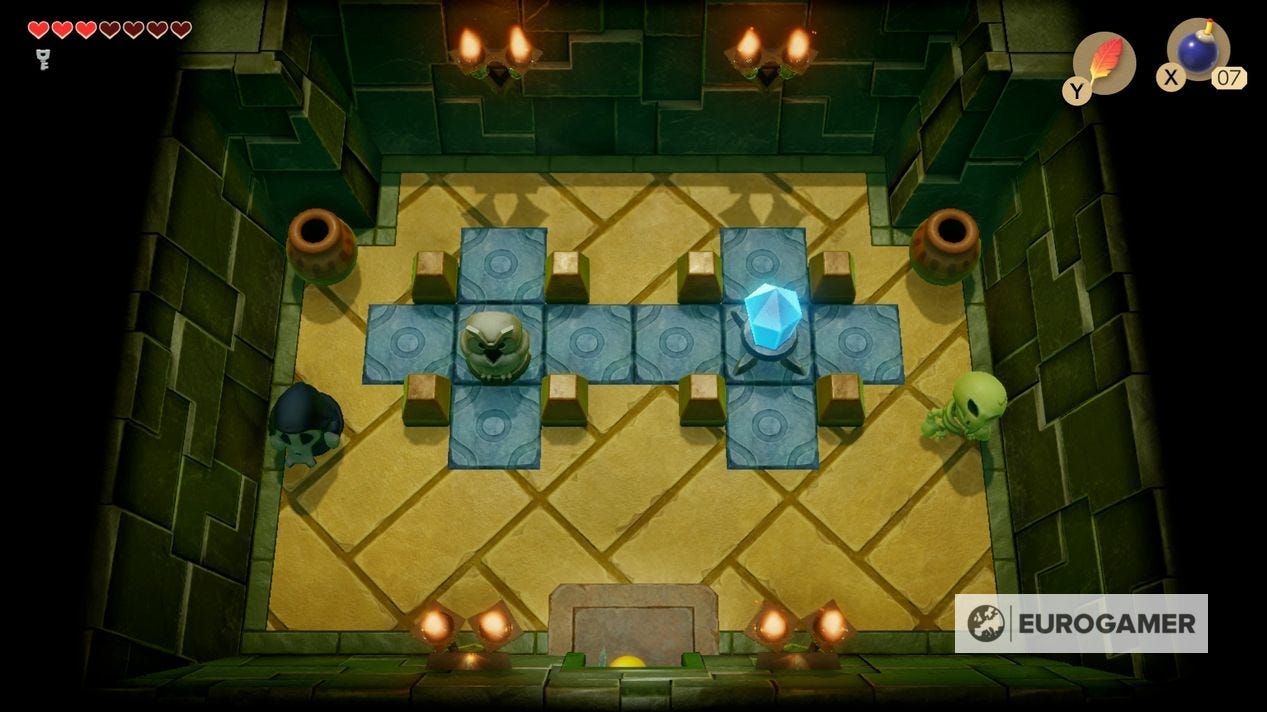
There is a room just north, facing you against a pair of mini-bosses - the two aforementioned black shell enemies.
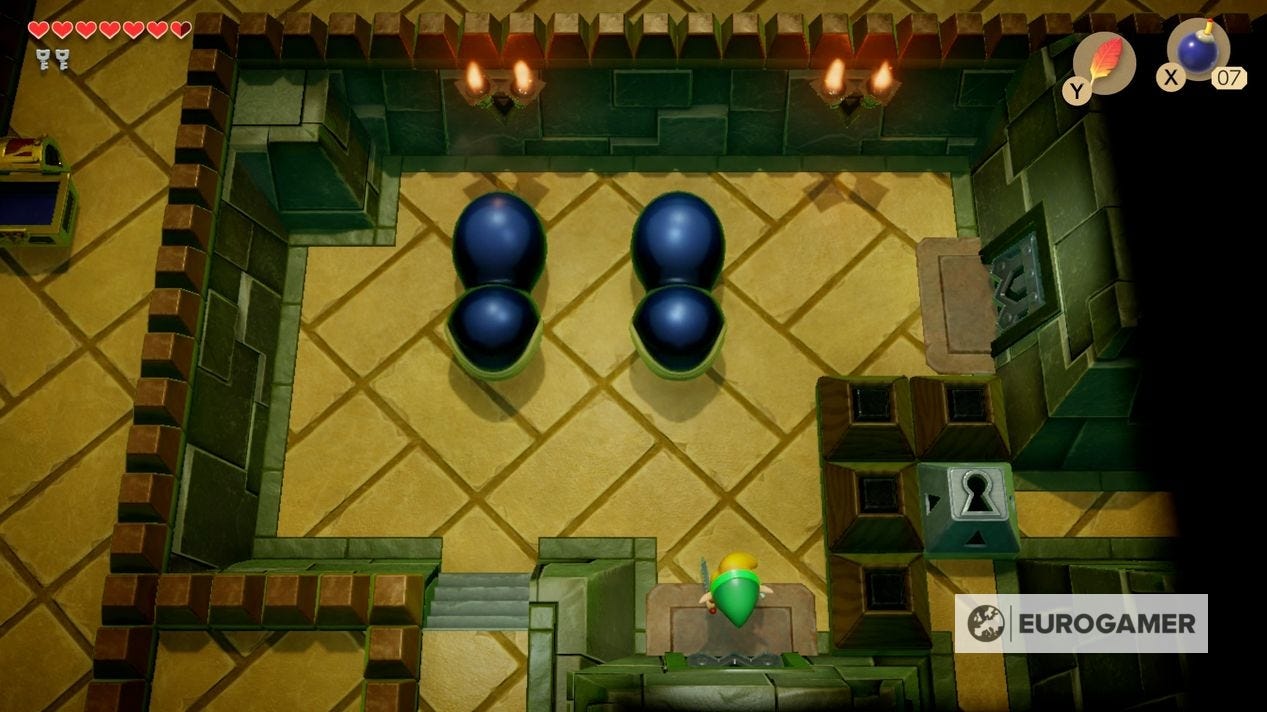
To defeat them, you need to feed them bombs. As they move around, lay a bomb in front of them, forcing them to eat it, blowing it up inside them.
You have to time it just right - before they start moving, otherwise they may ignore the bomb - and it doesn't work if you throw the bombs, they have to be set down.
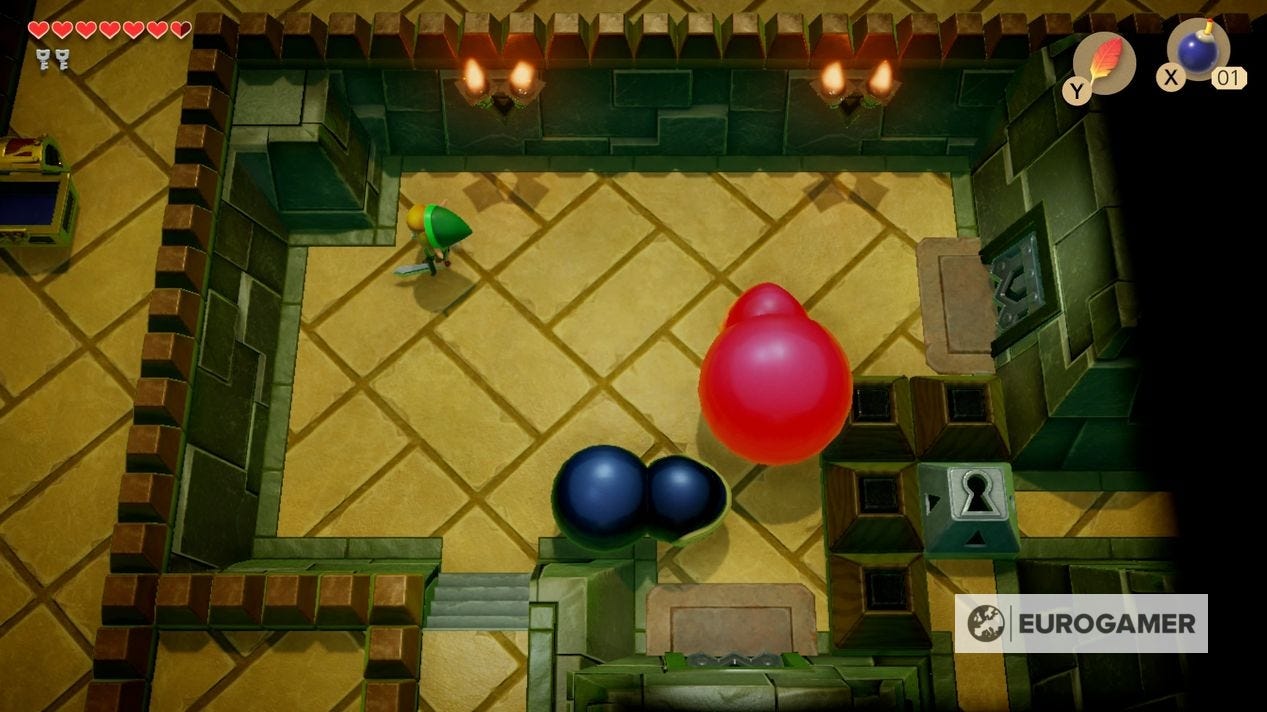
Do this three times per mini-boss - and the route right will open.
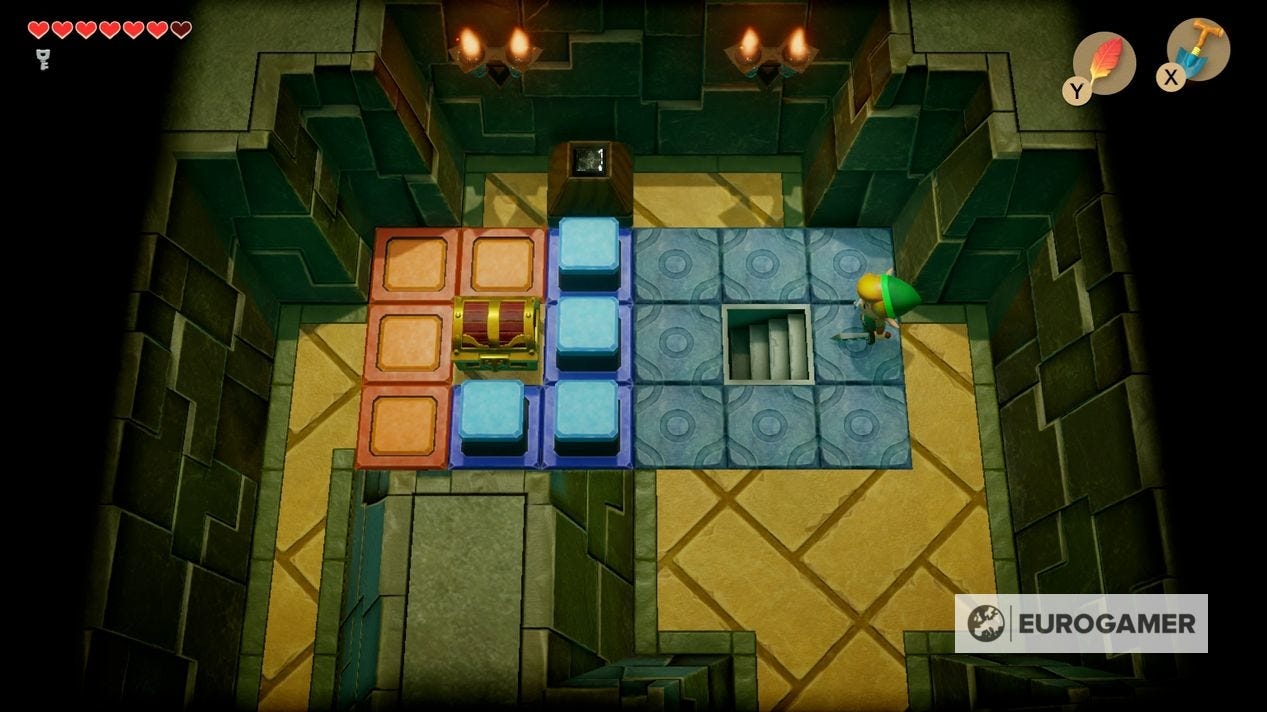
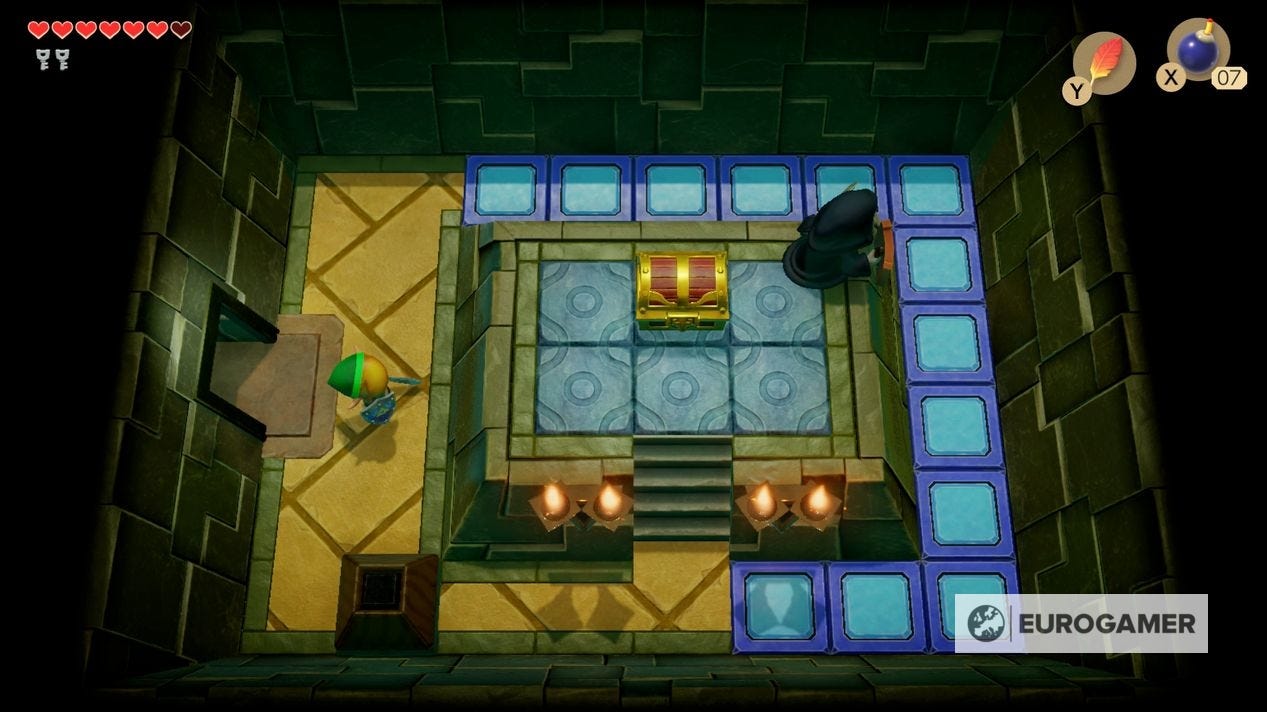
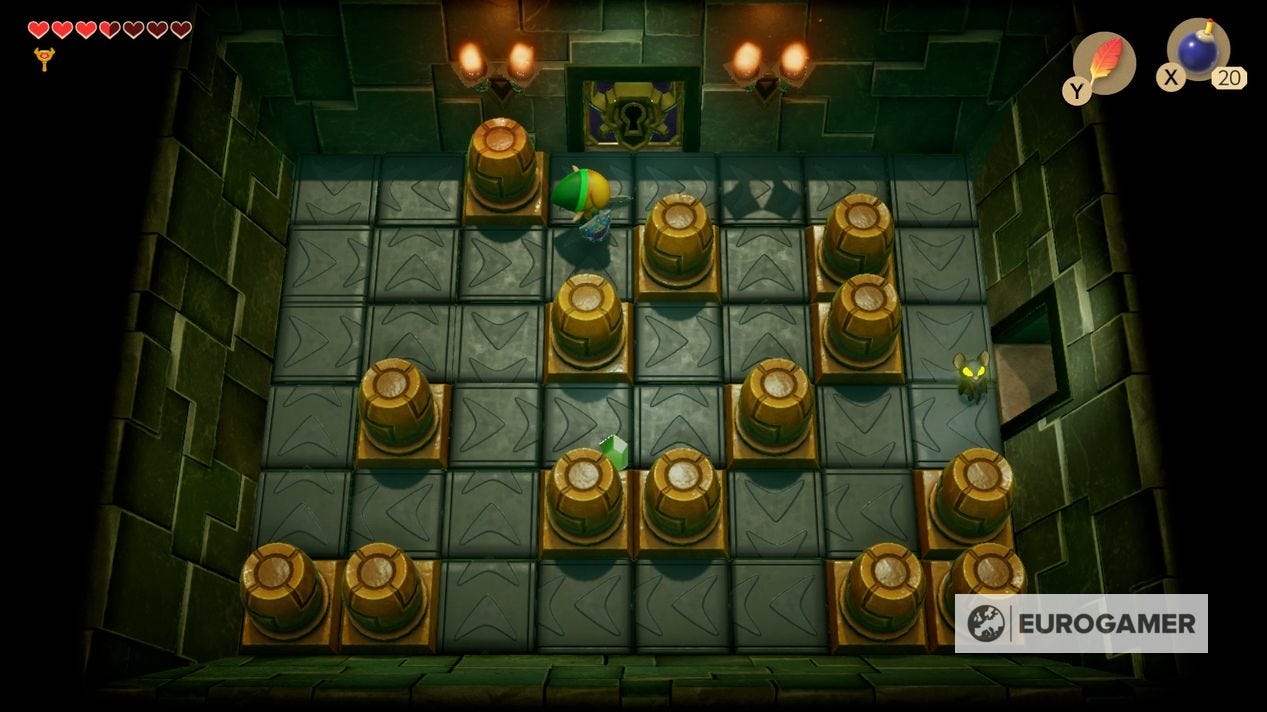
Here, go round the blocks and move the bottom on left and the one above up to reach the chest.
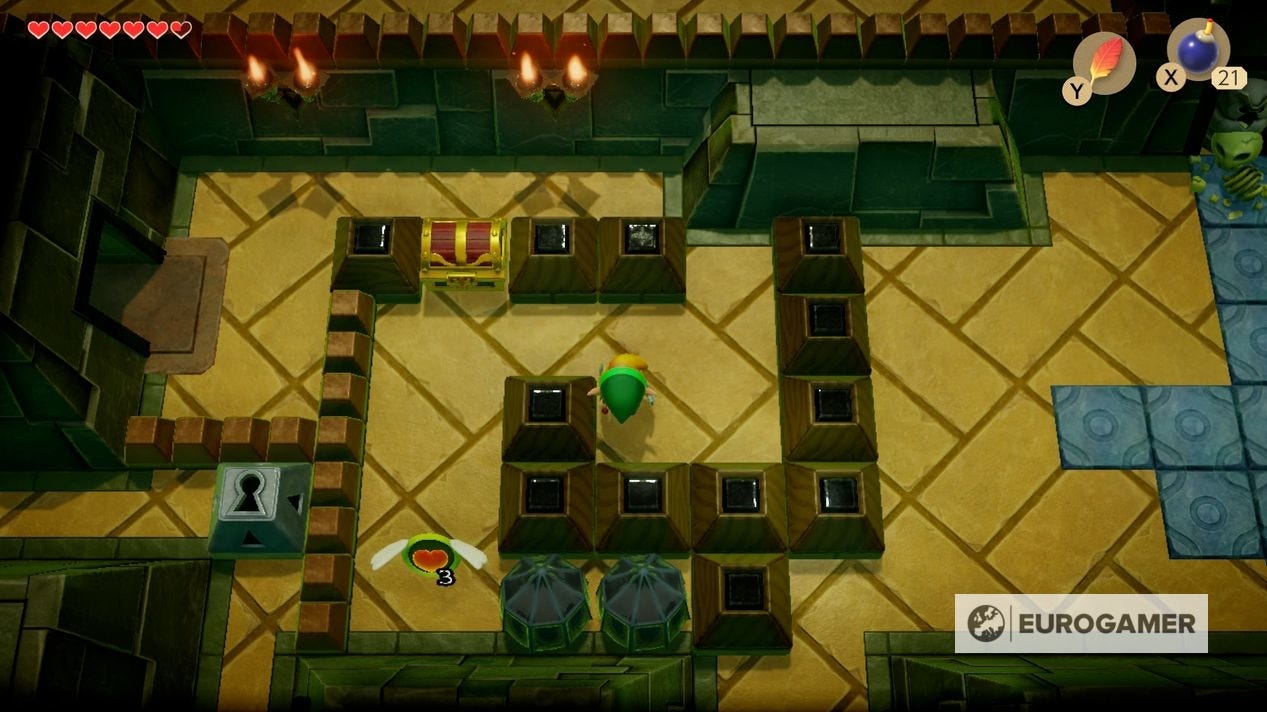
This chest contains the dungeon's item - the Pegasus Boots - allowing you to sprint by holding the left shoulder button.
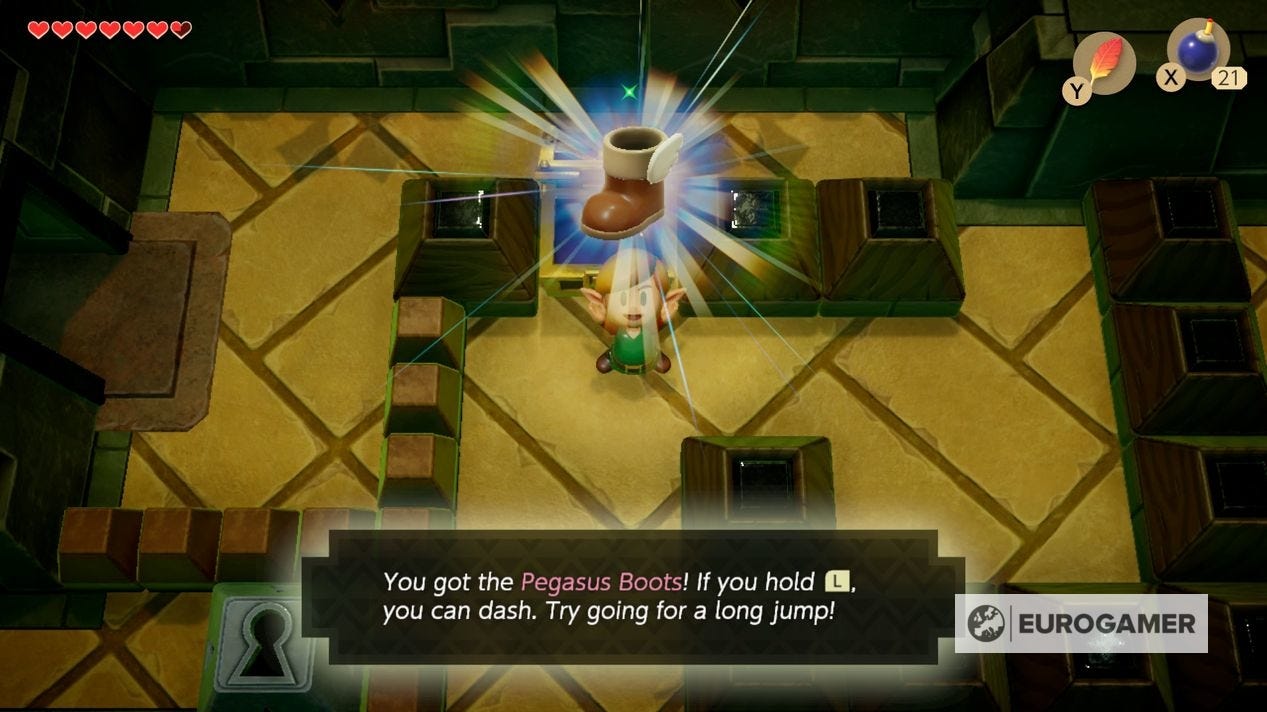
These boots have two functions - one is destroying the tent-like blocks, and the other is when combined with Roc's Feather, allow you to leap great distances. Use the dash to clear the tent blocks below and push the block out right to leave.
Our Zelda: Link's Awakening walkthrough and guide can help you with the critical path, including the Eagle's Tower and Turtle Rock dungeons. There's plenty to be done on the side, too - including Zelda Link's Awakening Heart Pieces, Zelda Secret Seashells and the Zelda Link's Awakening trading sequence. Finally, there's also the new Zelda Chamber Dungeons feature to unlock and complete.
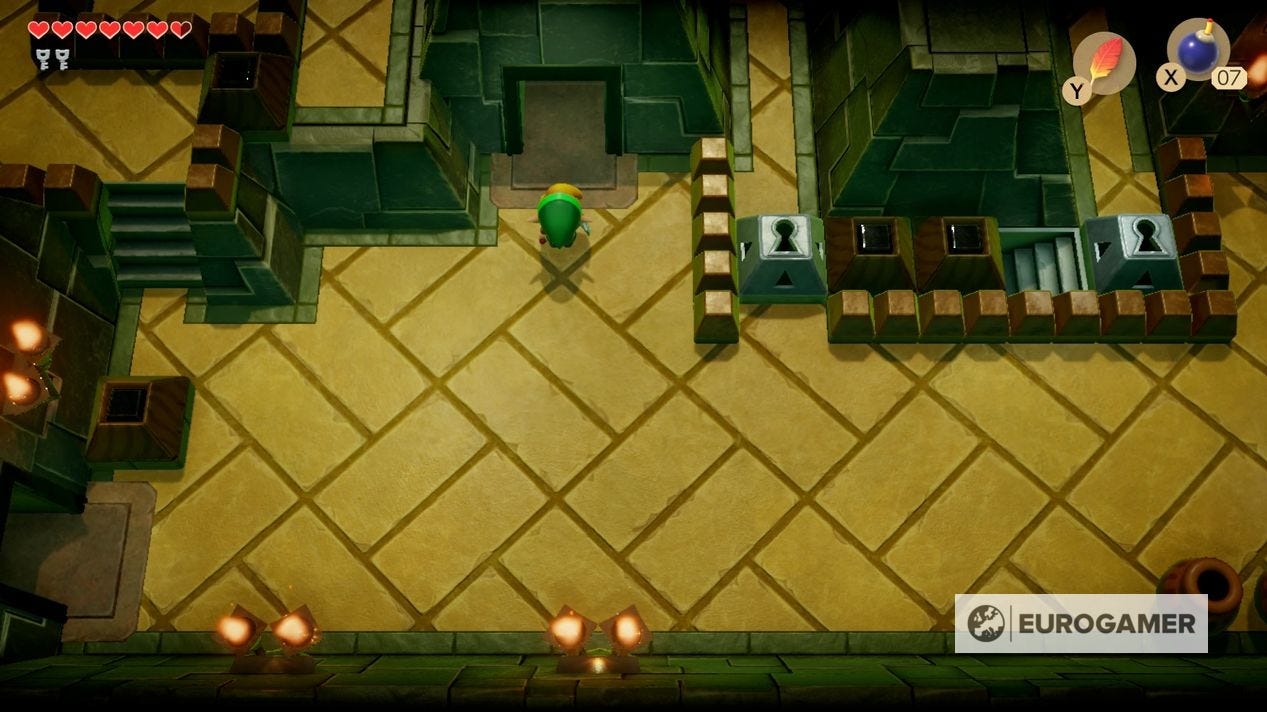
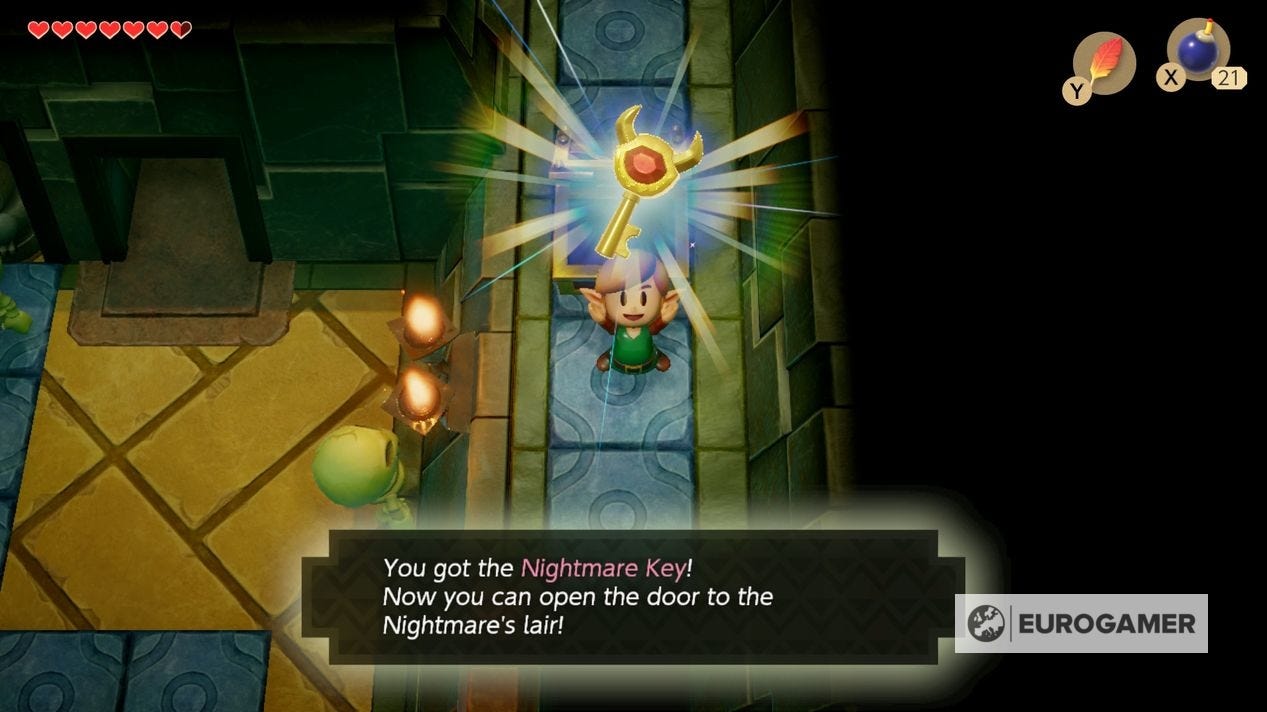
How to get the Key Cavern Nightmare Key and reach the Key Cavern boss
Head north-east now to the room with the giant arrow pointing down. As the Stone Owl suggests, there are secrets in walls at the right places - so lay a bomb there to blow it apart, revealing a hidden doorway.
Use the Pegasus Boots in the next room to dash right, then use the Roc's Feather at the edge, to clear the gap. Do the same in the gap in the next screen up to get the Nightmare Key.
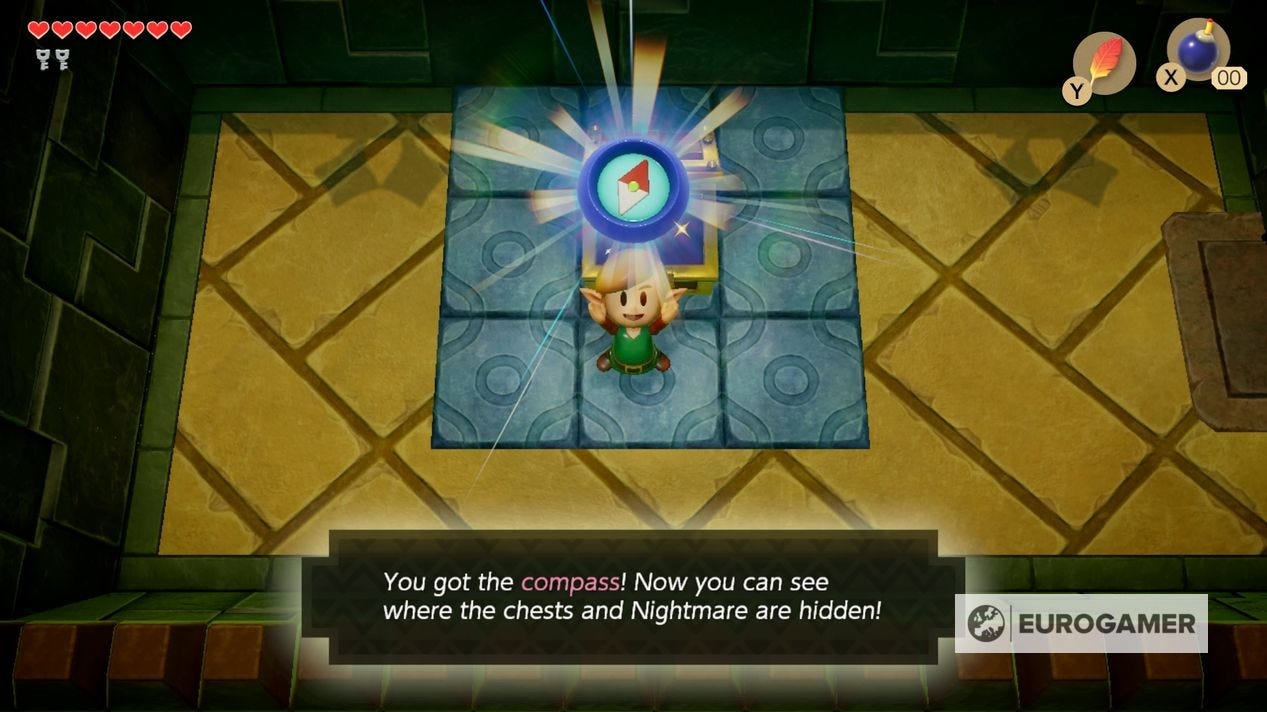
There are now two other Small Keys you need to get to reach the dungeon's boss. The first is going north from the giant arrow room. Take out the bomb enemies - who now give chase before exploring - then next door again for the dungeon's Compass.
Now, bomb the left wall to reveal a hidden doorway, where by clearing the enemies, you'll receive a Small Key.
The other Small Key is right at the start of the dungeon, where you can go right, facing a vortex that pushes you back.
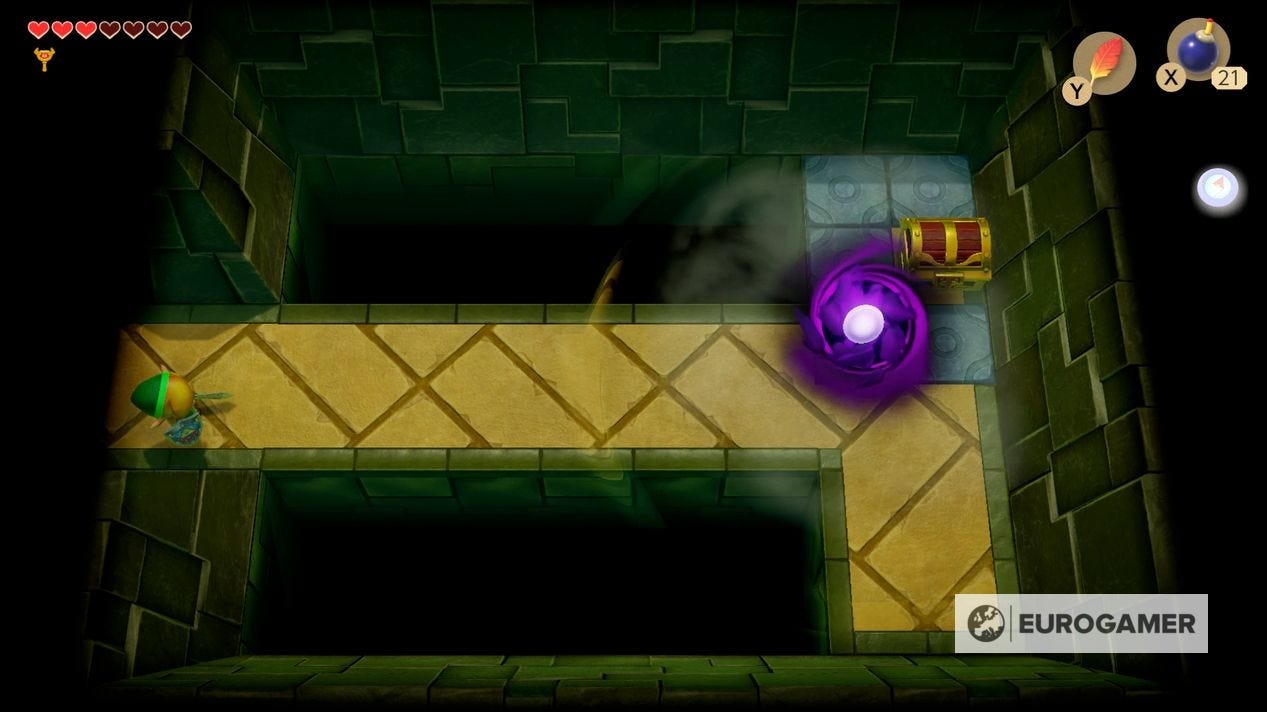
With the Pegasus dash however, this isn't a problem, allowing you to reach the chest with the Key.
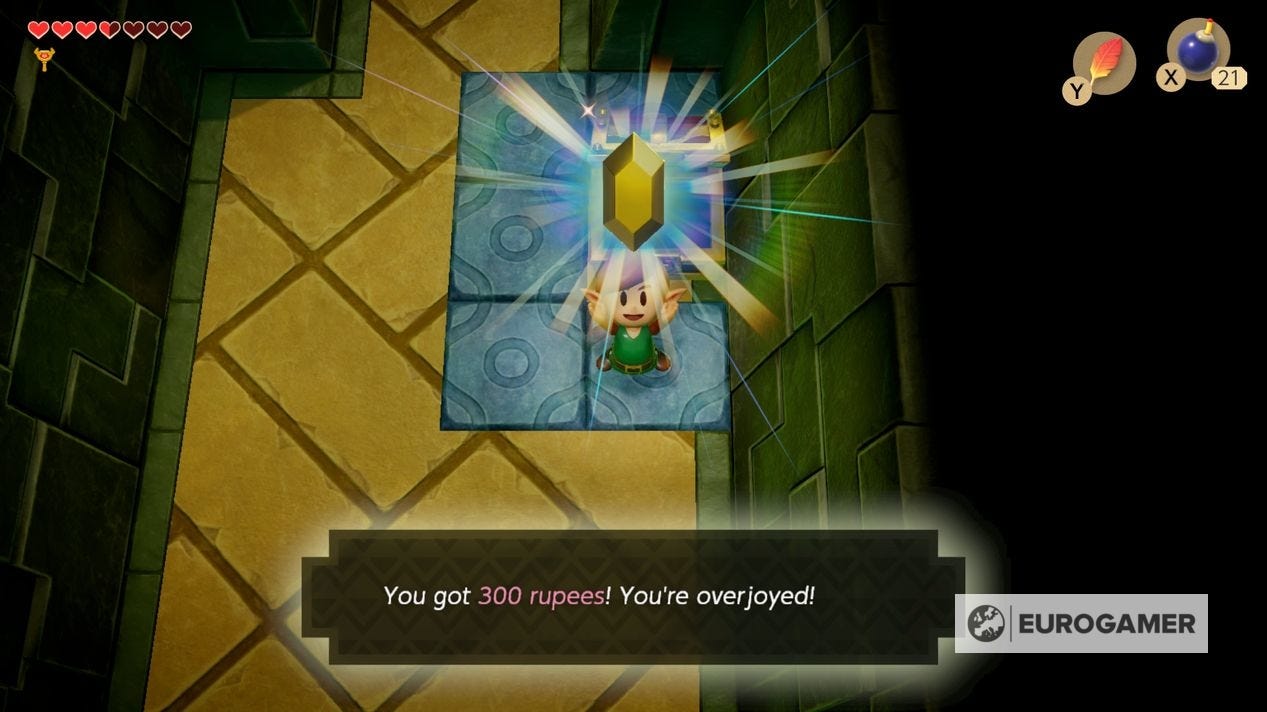
(While you are here, it's worth going north and taking the left path, clearing out the tent blocks with a dash, to find a lone red enemy down the left corridor. Take the right route again to clear the skeletons on the other side to spawn a chest with a whopping 300 Rupee piece inside!)
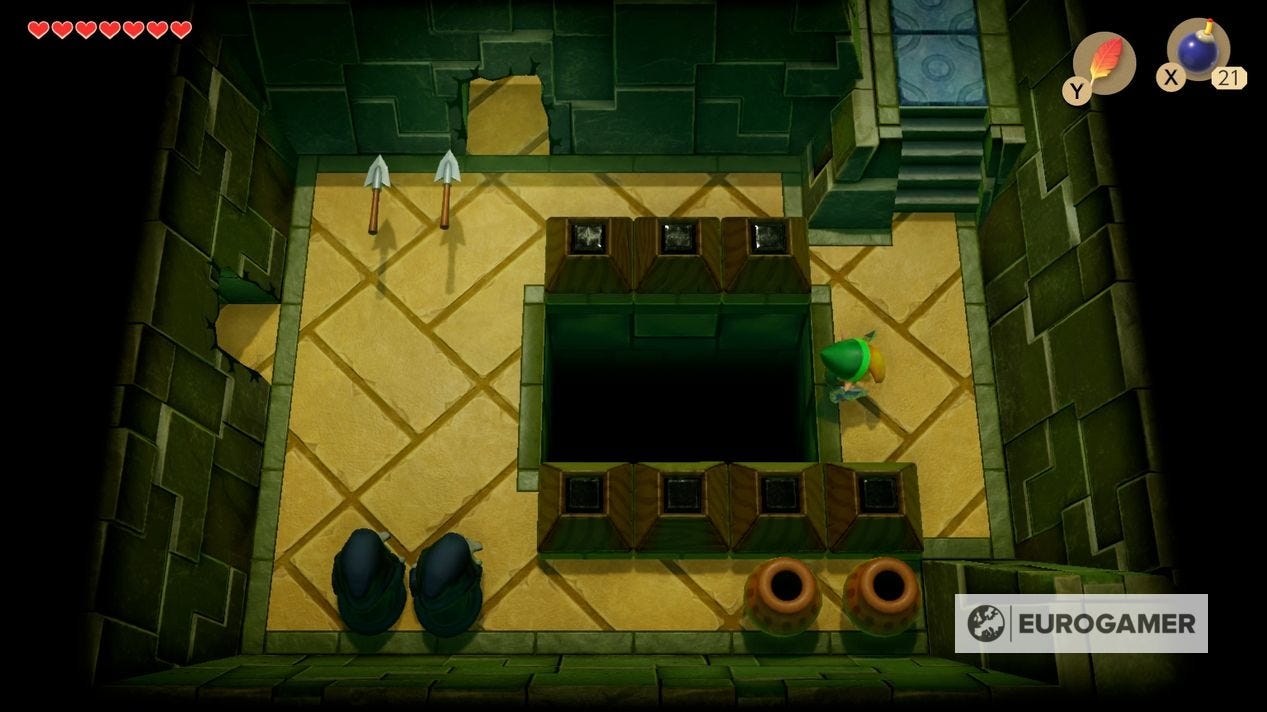
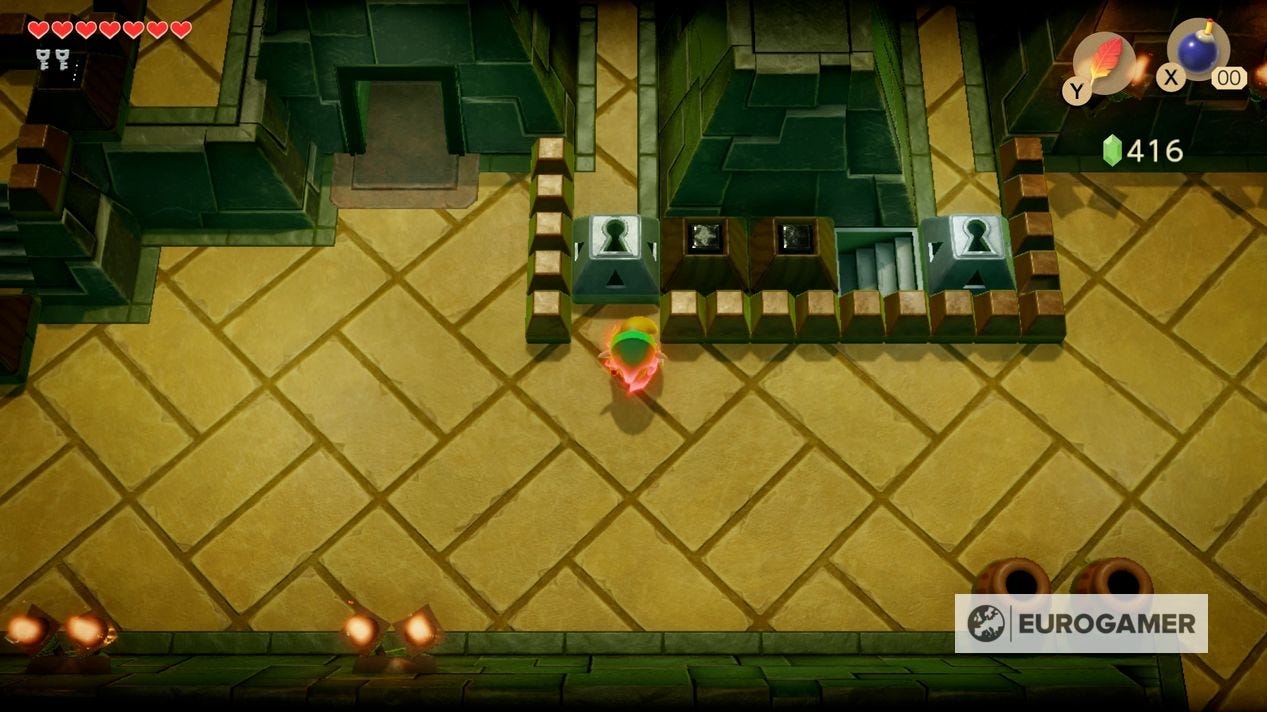
When ready, head to the large room in the north of 1F, and clear out the locked blocks going north (next to where you went to face the black shelled enemies). Using all the keys in your inventory will allow you to reach the staircase.
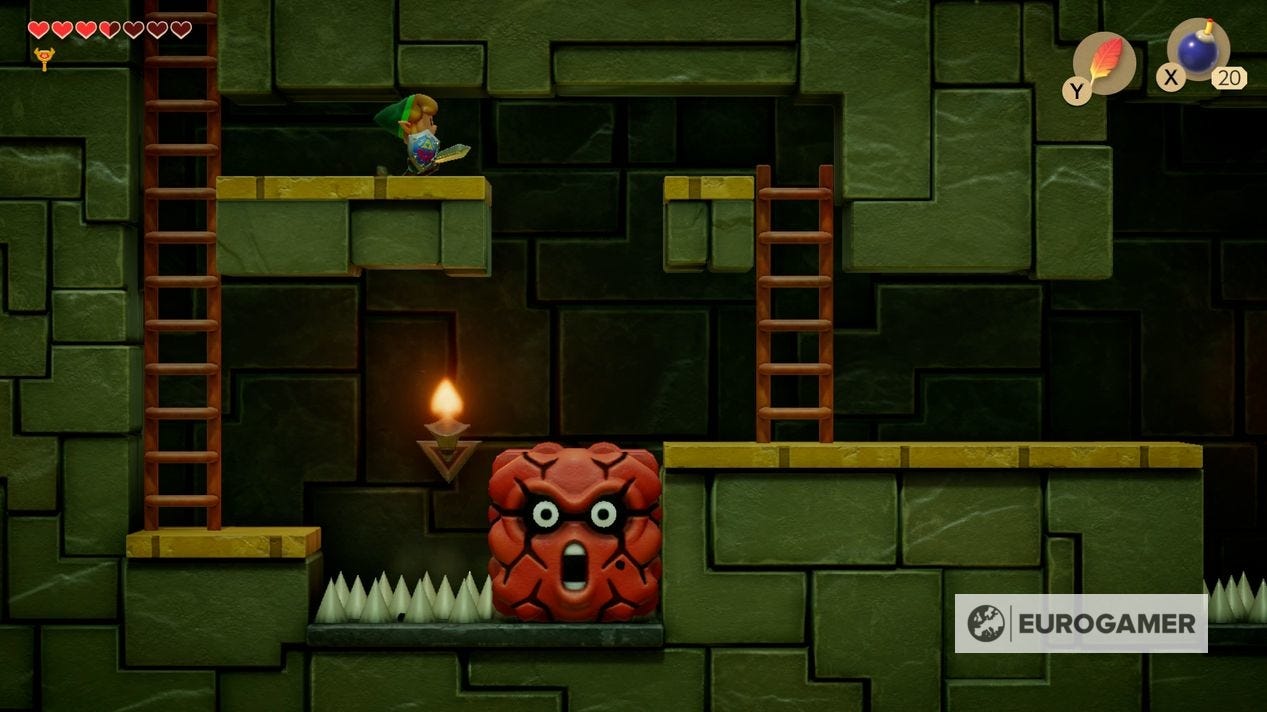
In the side-scrolling section, use the Pegasus Boots to dash right, stunning the red block and dropping it down, and clearing your way to the other side.
You'll emerge in a room with tent blocks and several teleporting birds. No bombs needed this time - position yourself in line with each bird, dash forward, and you'll catch them before they move.
Once cleared you can head left to the pen-ultimate room, where you simply have to navigate the conveyor belts to the Nightmare Door.
Enter the door to face the dungeon's boss, Slime Eye.